| Skid
Plate Install: |
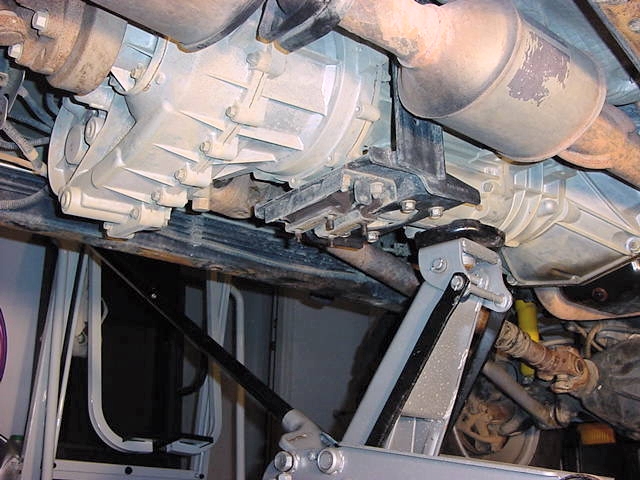
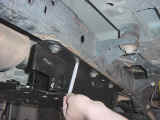
| 1. First remove the (4) nuts holding the transmission mount to the skid
plate with a 13mm socket. |
 |
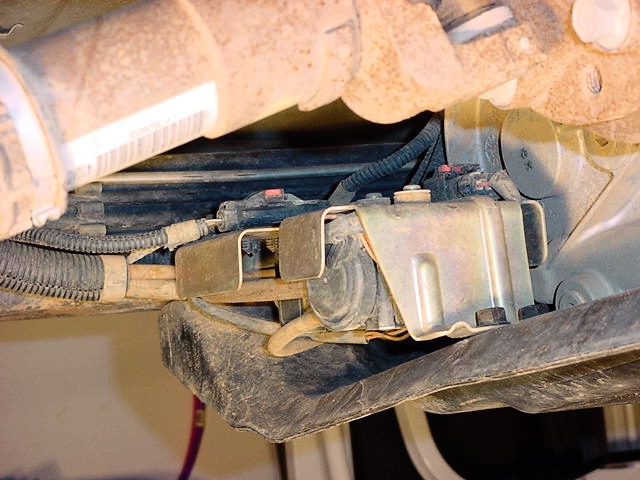
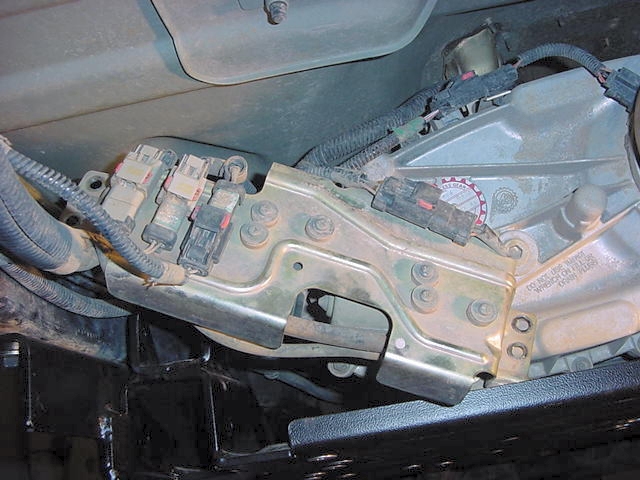
| 2. Now remove the (4) bolts holding the locker compressor bracket
to the skid plate with a 13mm socket. |
 |
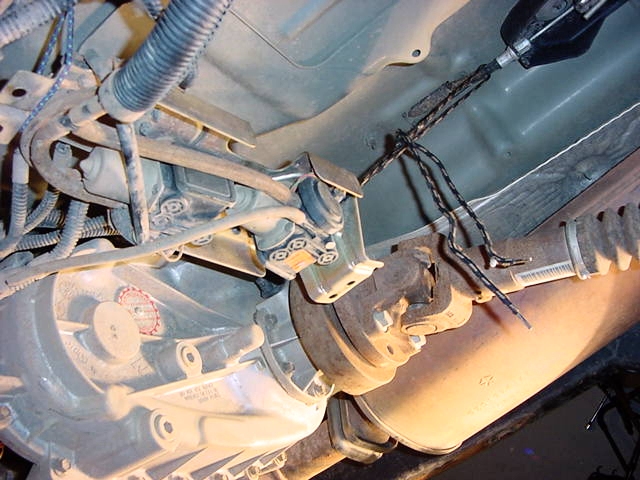
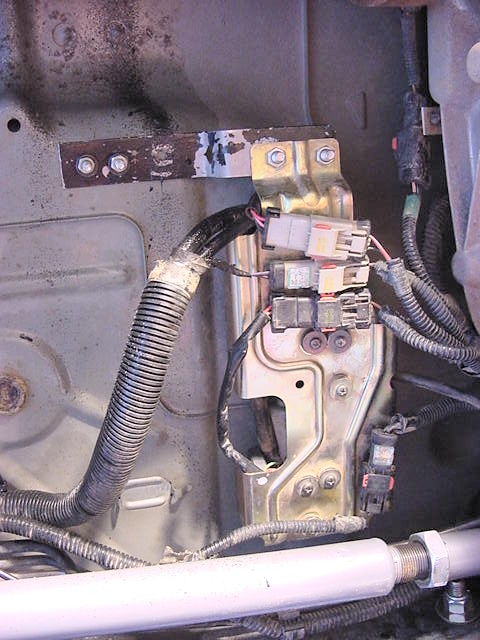
| 3. You will need to support this bracket up and out of the way.
I tied it off to the parking brake plate. |
 |
| 4. Now jack up and support the transmission while you remove the factory
skid plate. |
 |
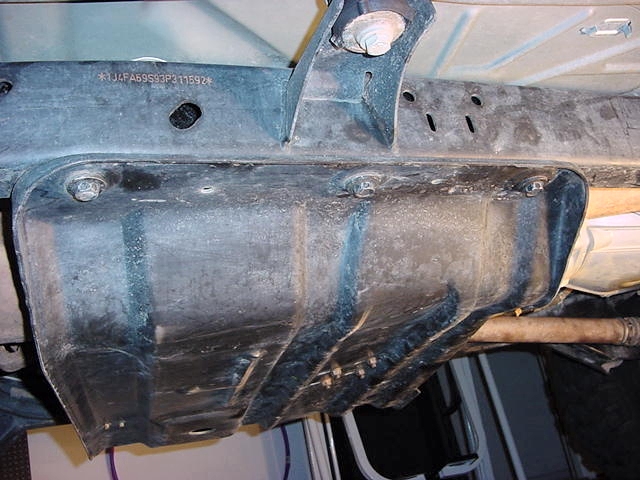
| 5. You will need to remove the (6) bolts holding the factory skid to
the frame with an 18mm socket. Be careful these bolts screw
into well nuts that are in the frame. They may spin if an impact
wrench is used. |
 |
| 6. The factory skid is not as heavy as the RE, but be careful with the
wait. I ended up putting a jack stand under the front of the
transmission to support it. Probably not the best location,
but it gave me enough room to maneuver the RE skid under the Jeep.
While you have the skid off, inspect the transmission mount to see
if it needs replacing. |
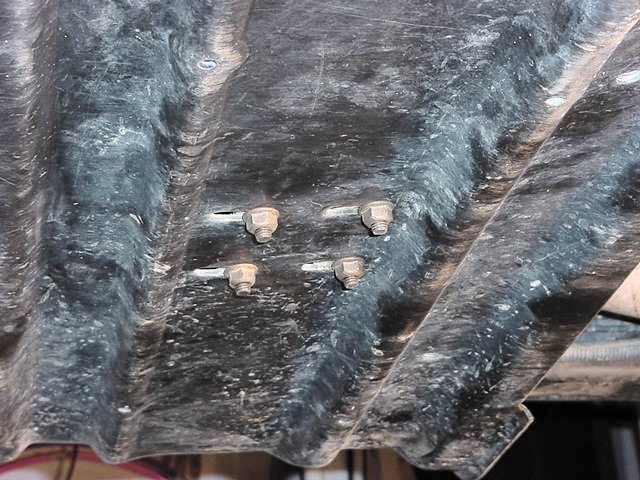
 |
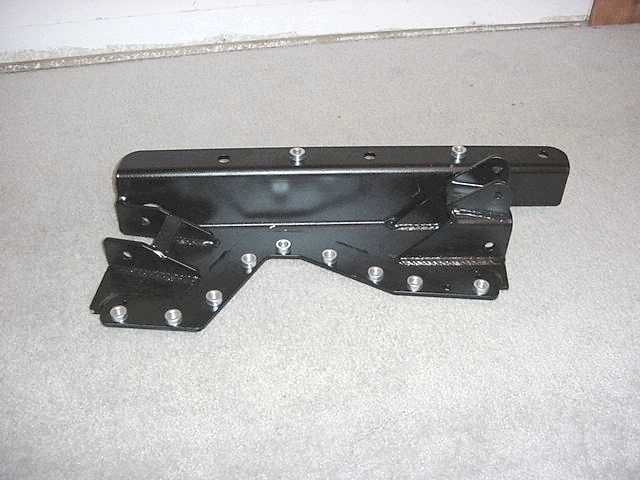
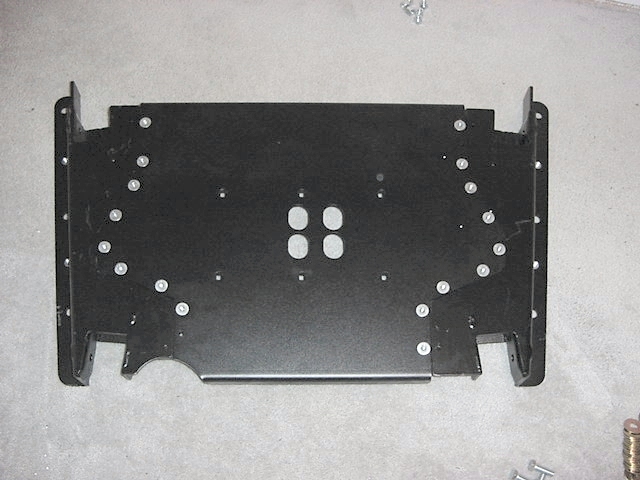
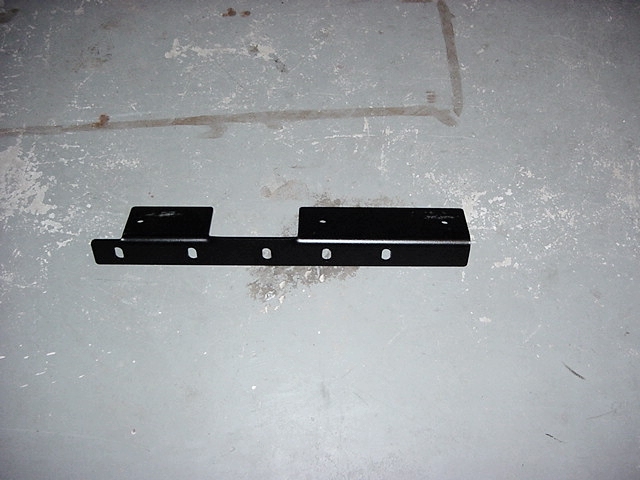
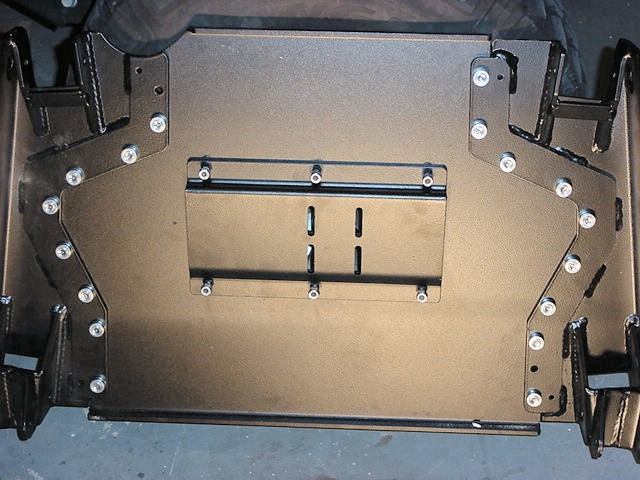
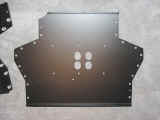
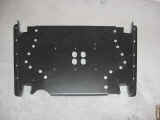
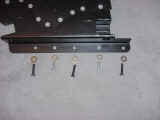
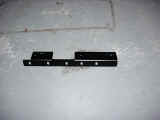
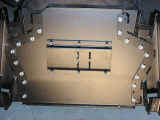
| 7. I preassembled the RE skid plate to make certain that everything fit
and I could figure out where all the bolts went. The RE skid
is actually 6 parts. 2 side frame supports, 2 arm supports,
1 transmission bracket and 1 center skid section. The center
skid bolts to the 2 arm supports with the supplied beveled bolts.
You will need a 5/16" Allen wrench for this. RE did
not specify an torque setting for them, so I originally just tightened
them as tight as I could go by hand. I did have 1 loosen up,
so the next time I put an wrench on the Allen wrench and gave them
a little more of a tighten. |
 |
 |
 |
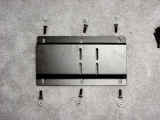 |
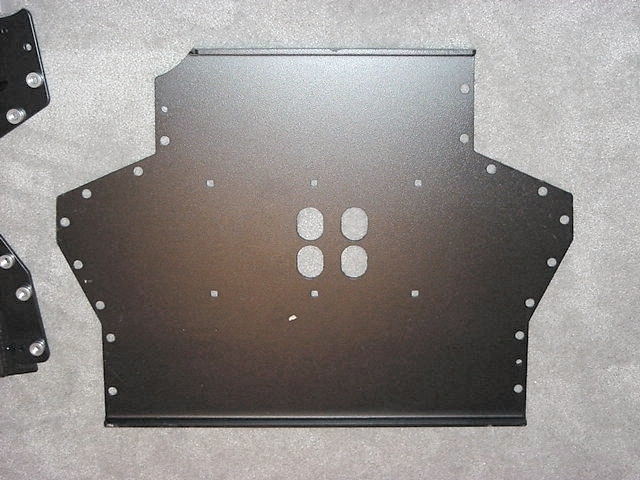
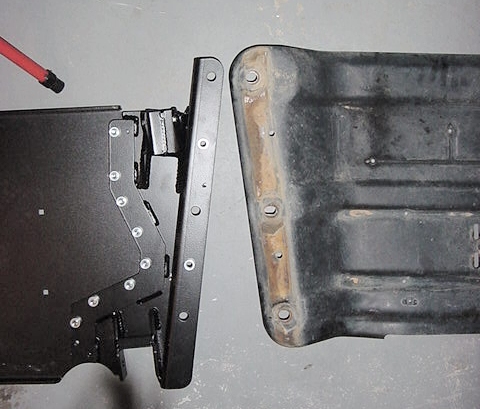
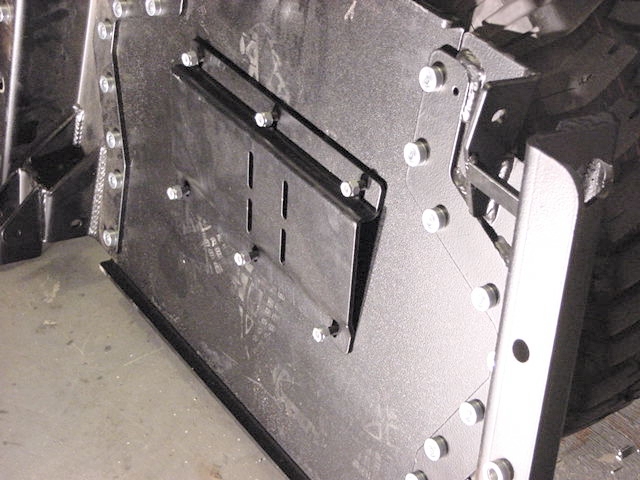
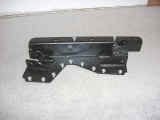
| 8. I took a couple shots to compare the 2 skids. The RE skid is
actually 1/2" shorter than the factory skid even though it doesn't
look it in the picture. My skid was bent in the front so I attribute
this to the picture. |
 |
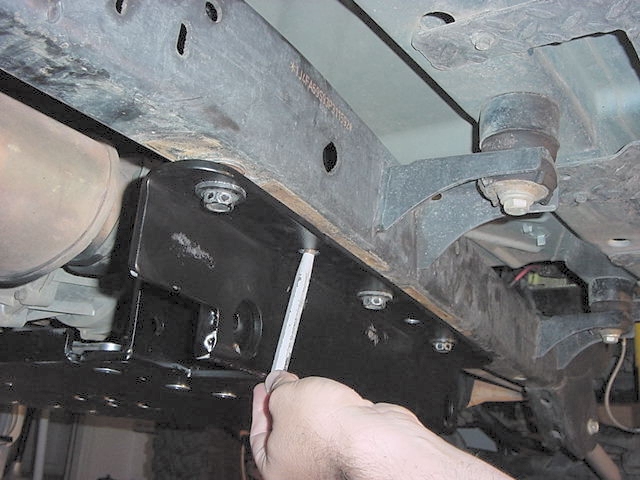
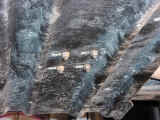
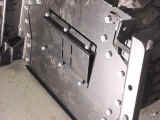
| 9. You can also see how the RE skid has tabs in the back to account
for the difference in mounting positions from pre 2003. If you
are ordering a skid row skid plate so that you can modify it you will
need to order the skid for the 2002. This is due to the RE skid
being further forward than the factory skid. |
 |
| 10. You need to position the RE skid up underneath the Jeep.
Get used to this part, you will do it quite a few times. |
 |
| 11. I bolted up the skid using the factory bolts. |
 |
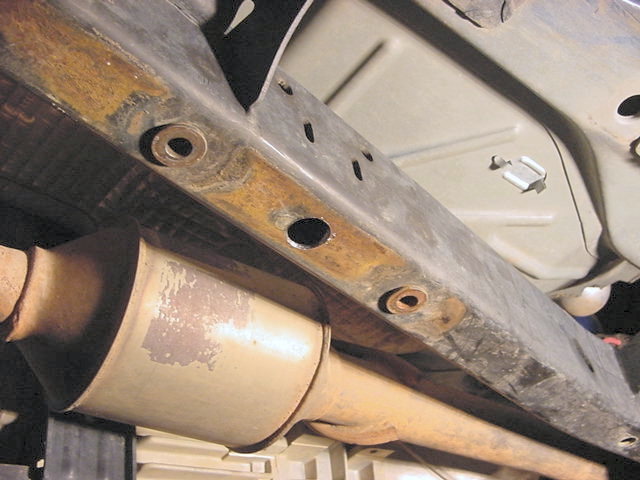
| 12. Now mark the location for the 4 holes you will need to drill in the
bottom of the frame for the inserts that the side frame supports will
bolt into. Once you have all 4 marked, you can take the skid
off again. |
 |
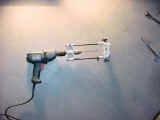
| 13. Once the skid is removed, drill 4 pilot holes with the 1/8"
drill bit. Once you have these drilled you can drill out the
4 holes with your 1" hole saw. Do not buy a cheap hole
saw. Also wear a long sleeve shirt, gloves and a face shield
to protect yourself from flying hot metal chips. I used cutting
fluid to keep the teeth of the hole saw lubricated and to cool off
the metal. This will make a mess, so I draped the frame with
a couple old towels and the ground around it. I then cleaned
up these holes with a Dremel. |
 |
| 14. I bought a Lenox hole saw and with the exception of snapping 1
and bending another pilot bit I chewed right through the frame all
10 times with the same one. |
 |
| 15. Now reinstall the skid plate and bolt the side frame supports in with
the supplied RE hardware. You will need a 3/4" Socket. |
 |
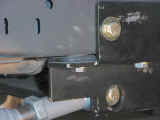
| 16. Make certain that the side frame supports are tight against the frame
and that the skid is sitting up against the bottom of the frame. |
 |
| 17. You will note that the RE skid is actually spaced down because of
the well nuts, so there is a small gap between the frame and the top
of the skid. |
 |
| 18. Once you get everything in position you will need to mark the
6 positions for the inserts that you will be welding in later.
Be very accurate with your positions, it will make for a pain later
if you are off with your marks or drilling. |
 |
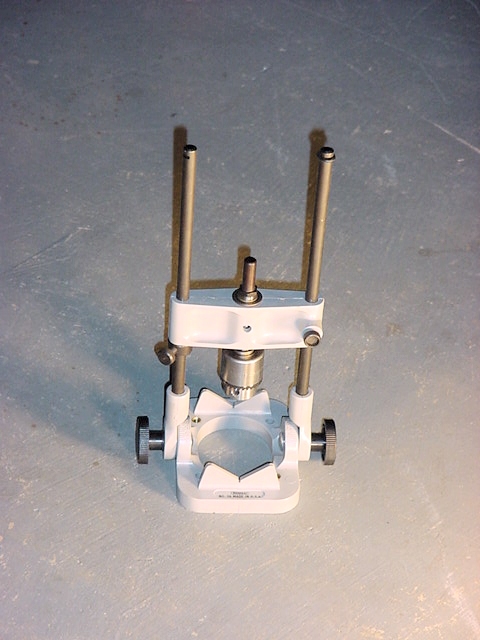
| 19. Now drill 6 pilot holes with a 1/8" drill bit. Once those
are done chuck up the extended length 1/8" drill bit in the drill
guide. |
 |
| 20.
If you are wondering why we did not remove the skid while we drilled
these pilot holes it is because the spacers and bolts have to line
up straight with the side frame supports. The frame curves slightly
near the rear, so you could get your drill off because of this. |
 |
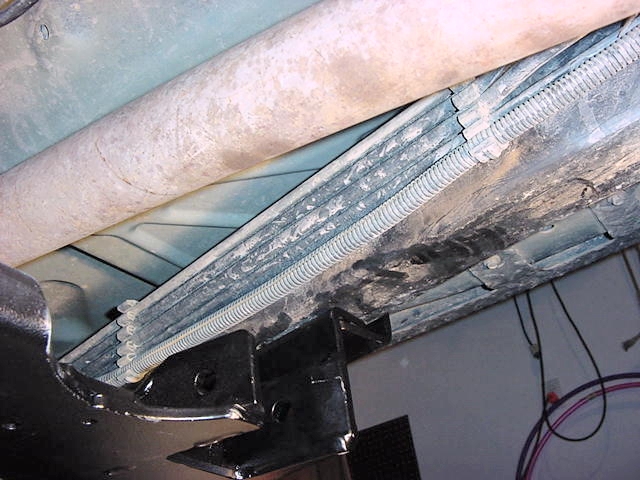
| 21. Drill all the way through the Passenger side frame first. Before
you drill the rest of the way on the Driver side you will need to
pry the 3 trees that are holding the fuel and brake lines against
the driver side inner frame. I put a couple wood block between
these and the frame to space them away. I also set the stopper
on the drill guide so that the initial hole would just go through. |
 |
| 22. Now remove the skid plate so that you can drill out the 6 side holes
with the 1" hole saw. Once again long sleeved shirt, gloves
and a face shield will protect you from the hot metal chips.
I used cutting fluid as before, so drape the frame and floor with
towels. |
 |
| 23. Once you have the 6 holes drilled in the outer frame you will need
to drill out the inner hole to 1/2". I stepped up in drill
sizes as I drilled through. Be careful on the driver side with
those lines. Take your time. I was still able to reach
the lines with the 1/2" bit, so I took it slow going though the
metal. Once all these holes were drilled I cleaned up the edges
with a Dremel. I also cleaned away the paint surrounding the
outer holes so that the weld would have good adhesion. This
is a good time to remember to take out the wood that you were using
to hold the lines away from the frame. I test fitted the spacers into
the frame and hung the side frame supports off of them to see if everything
lined up. Now is the time to make any adjustments if you need
to. Once they are welded in it is a little to late. Mine
sat in there perfectly so I didn't expect any issues. |
| 24. Now since I didn't have a welder I would need to get my Jeep over
to my friends shop so that he could weld them in. So I reinstalled
my skid plate. I first installed the transmission bracket onto
the RE skid. This bracket goes on with the high side being towards
the front of the skid. |
 |
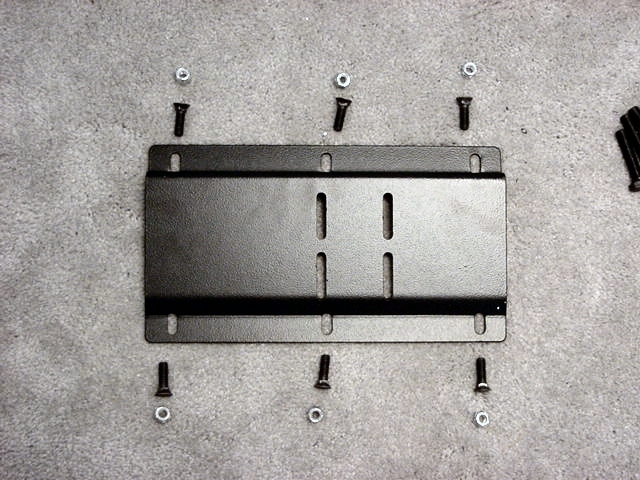
| 25. You will notice that the bracket is slotted. If you have a Manual
transmission the bracket will bolt in as far to the rear as it will
slide. For an Auto transmission it will go all the way forward.
Install the 6 flat carriage bolts through the bottom of the skid and
install the nuts with a 14mm socket. |
 |
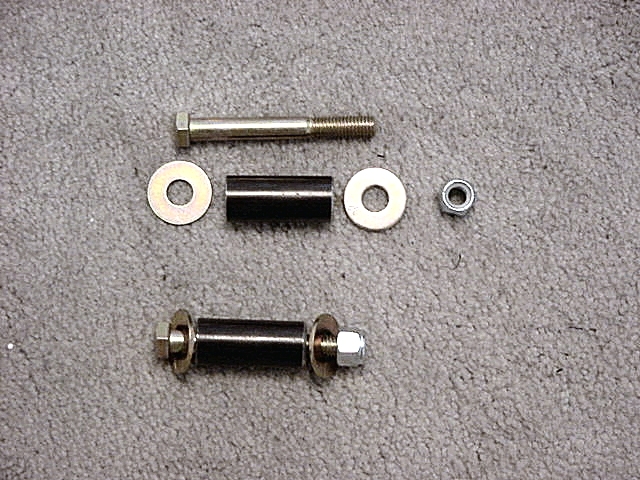
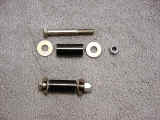
| 26. To weld in the spacers we used a Mig Welder. Remember to disconnect
your battery before welding. I inserted the spacers into the
holes with the 1/2" bolts that came with them. This is
so that the spacer stays centered with the back hole of the frame.
It does cause a small problem with being able to get the welder tip
in there correctly. We did try it with the bolts the other way
around and promptly tacked the very first one. Oh well, Lowe's
was on the way home. These are grade 8, 1/2"x 4" bolts.
I was originally going to grind these down further, but the side plates
lined up with no problem, so I just left them. There really
isn't much of a lip to this weld. |
 |
| 27. Now reinstall the skid plate. You will need to install the
side brackets along with the skid. I tightened up all the bottom
bolts and had the side holes line up perfectly. The passenger
side is easy, you will need to reach on top of the skid to get the
washer and nuts on. |
 |
| 28. The driver side you will need to be careful that you don't pinch one
of the lines when you do this. |
 |
| 29. Once you get the skid secured, lower the transmission back down on
it's new mount and reinstall the nuts with the 13mm socket.
You may need an extension. |
 |
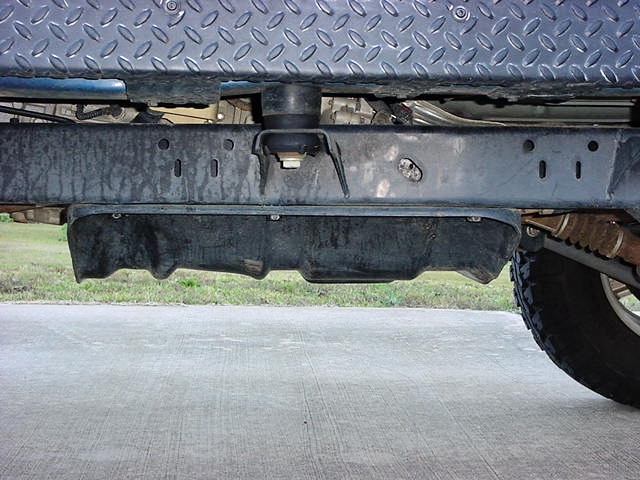
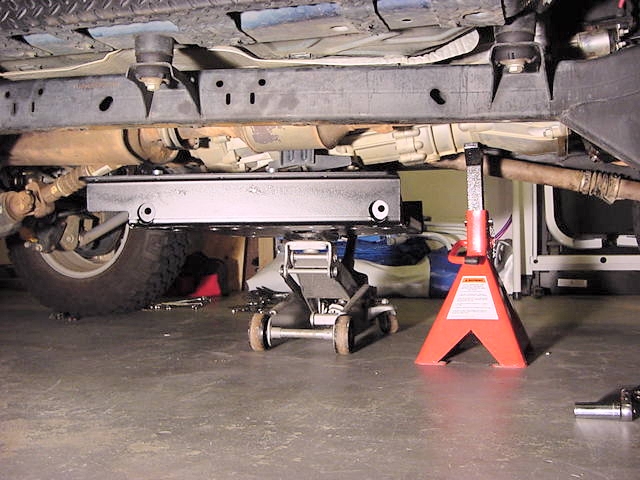
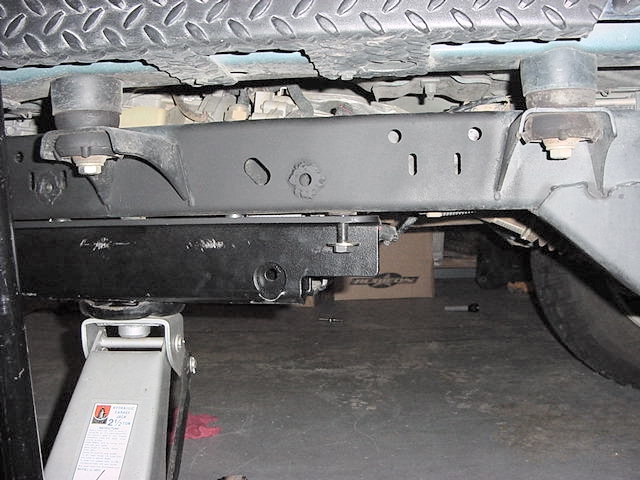
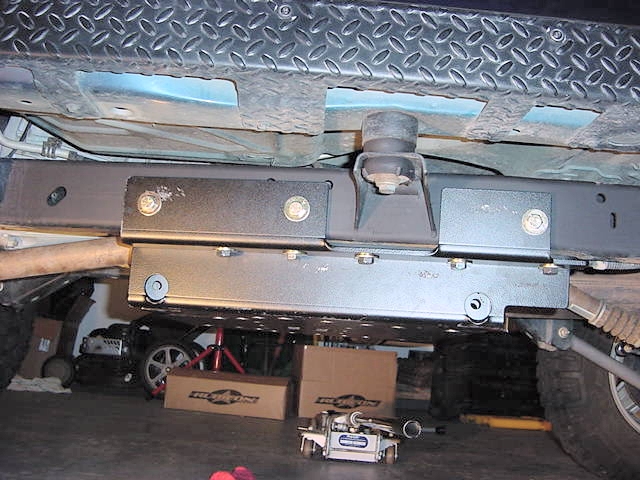
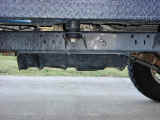
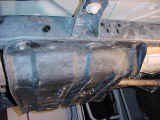
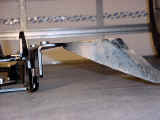
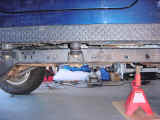
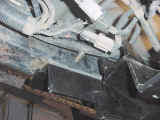
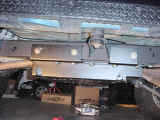
| The
finished project. The final measurements showed that you only
gained 1/2" over the stock skid, but at least it is flat, so
you won't get hung up as easily. |
 |
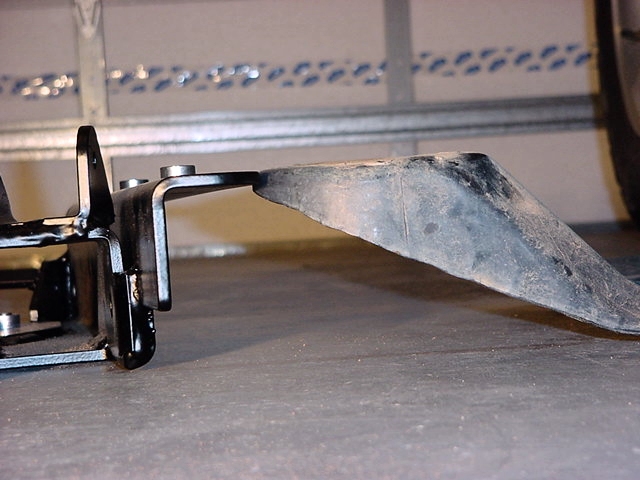
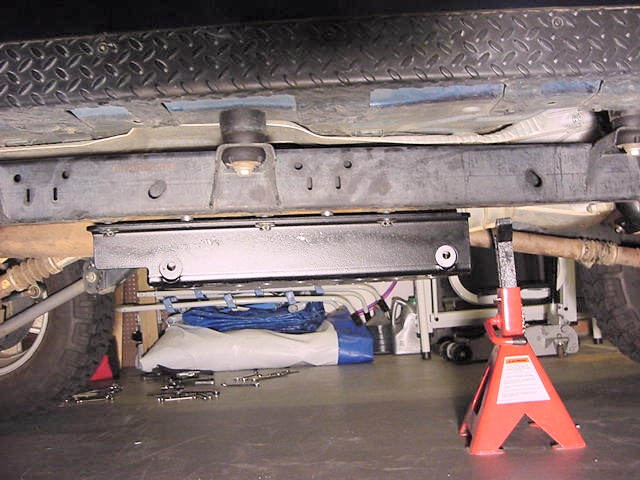
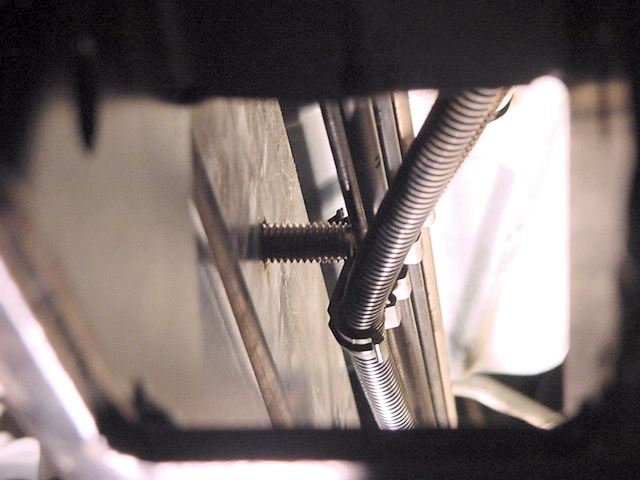
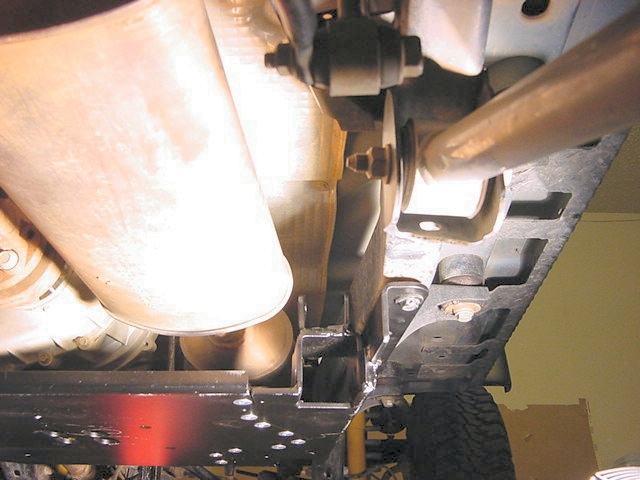
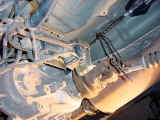
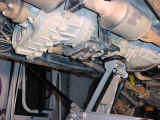
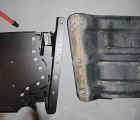
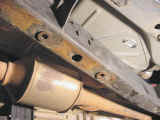
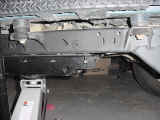
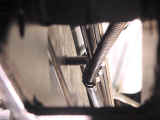
| Here
is a side shot of the muffler area. The upper arm will come
into contact with the muffler when it is installed. This picture
is a little deceiving because my muffler is bent over after an little
accident with a tree root, but I still rub on the muffler. |
 |
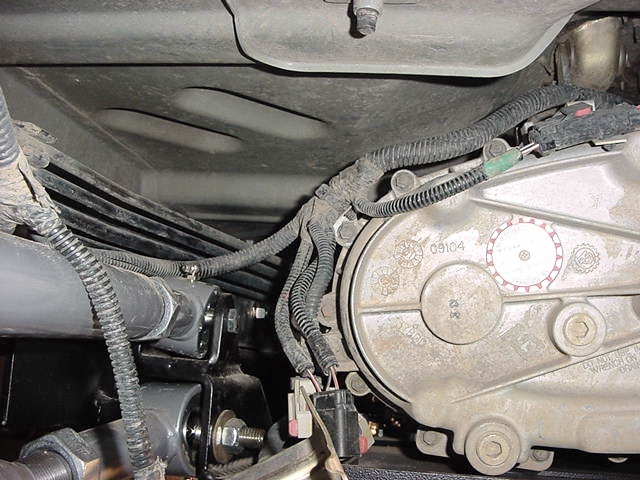
| Now
you still need to relocate the locker compressors, but I will cover
that in another section. |