I looked around for a long while for a bumper that I really liked.
I wanted something that would protect the front end, radiator, and fenders.
I looked at the ARB's, bulletproof, durango, more, etc, etc, etc.
I wanted a bumper the would give me better approach angles for my tires,
so that threw out most of the bumper designs. I then looked around
at who offered protection for the hood and radiator. I figured that
since the top of the radiator was plastic in these Jeep's I would probably
end up damaging that some how. That basically left either a custom
job or a bumper from Toys by Troy, but still I kept looking around.
Then a recent event (see my E-Ticket video), made me decide that I really
needed to go ahead and order a bumper that protected that hood, I then
remembered that Troy had just came out with a new stinger bumper.
So why not, I had only seen 1 picture of it, and I liked it. So
here it is. The fit and finish on this thing is beautiful, it's
a big box (sorry UPS), but the bumper has foam packing inside. The
whole install took 30 minutes to unbolt the old, take pics and bolt in
the new. This entire bumper is designed to be a lifting point, so
it doesn't matter where you put your hi-lift you can lift at that point.
I took a look around at who offered these bumpers since usually going
to the source is the most expensive route. I found a new company
(Macs4x4products) starting up out of Las Vegas, NV that had one in stock
and could ship immediately. Perfect. His price was competitive
with everyone else out there, so I didn't worry about that. Mac
is a Jeeper also and runs these products on his jeep, so there is knowledge
behind the product. Here's the link to his site, he's going to continue
to add products, so who knows what will show up next. www.macs4x4products.com
Additional
Parts:
Anti-Seize
Tools
Needed:
T-55 Torx socket
Ratchet
Dremel or file
Installation:
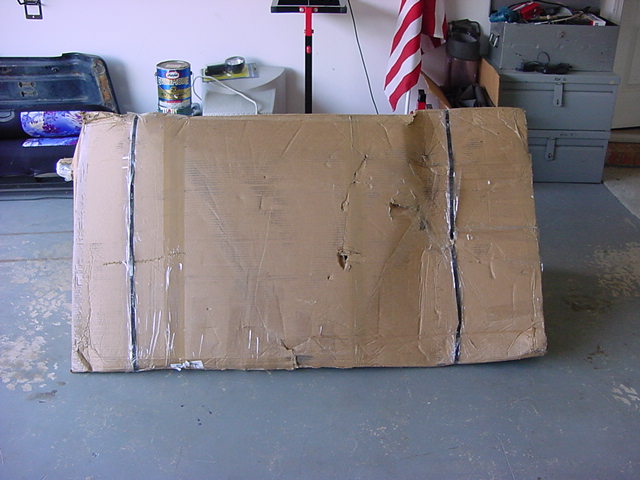
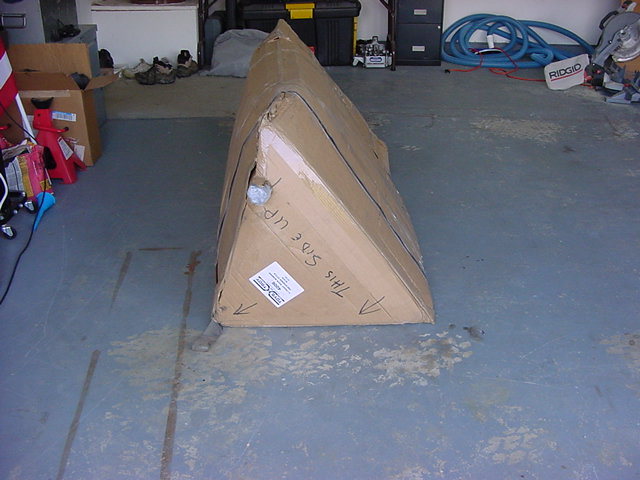
This
is a really big box, I kind of felt sorry for the UPS guy trying to
get it out of his truck, the box was as big as he was. It comes
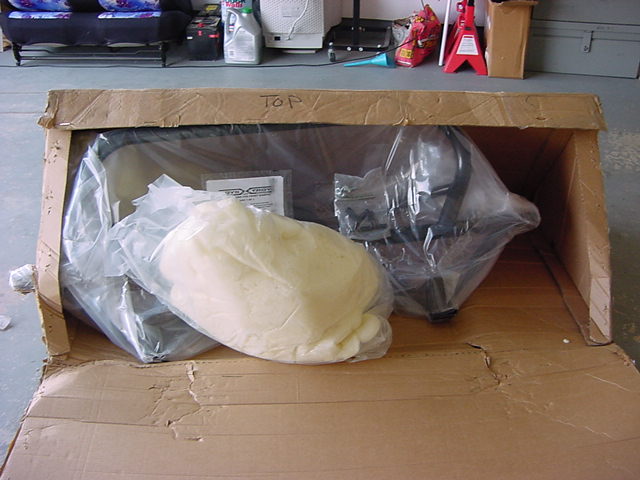
securely strapped. Though even with the foam packing inside,
one end did manage to punch out of the box. No damage to it
though, it's wrapped with a lot of plastic.
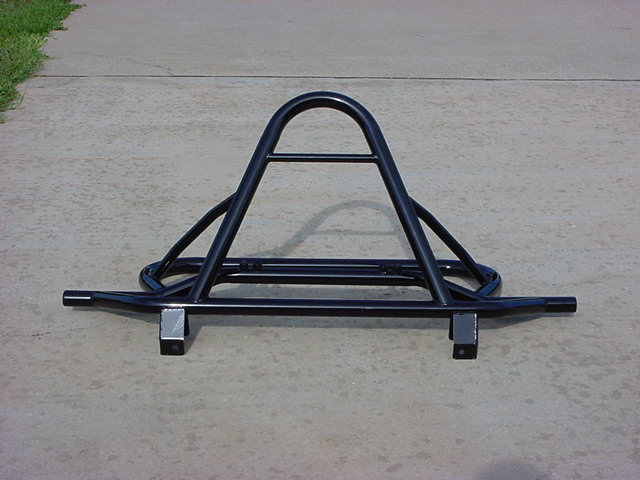
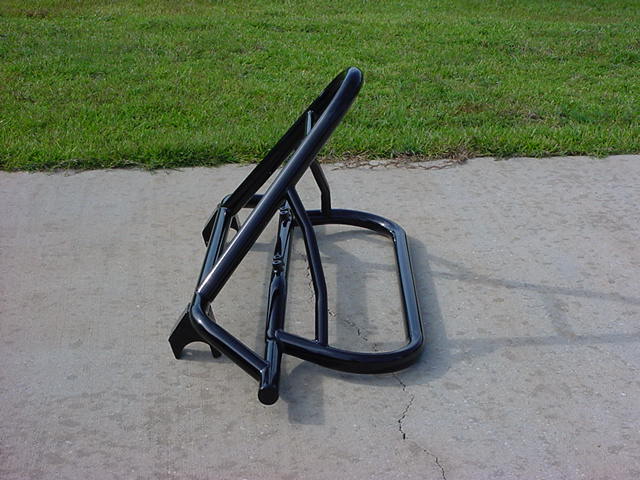
Here
is what the bumper looks like. It took me just about as long
to unwrap it as it did to do the install.
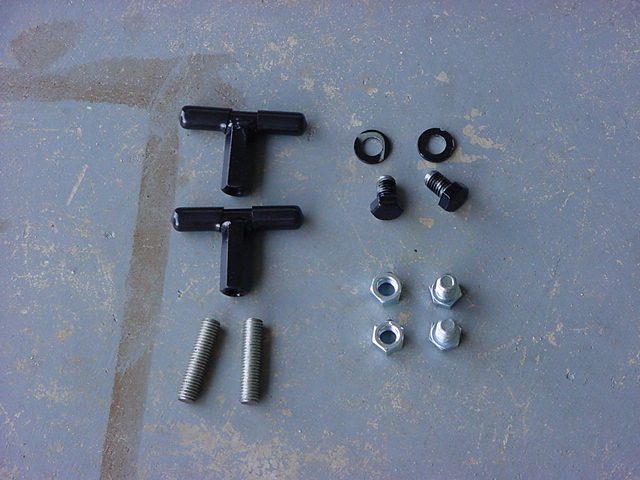
Here
is the parts that come with it. These are used to mount the
hi-lift jack and the light bar to the front of the bumper.
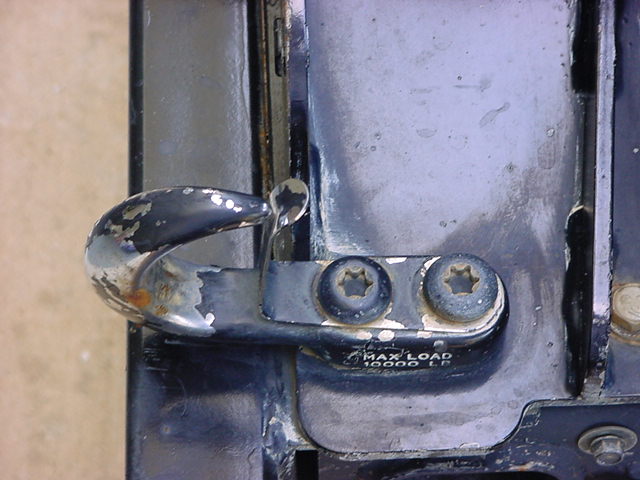
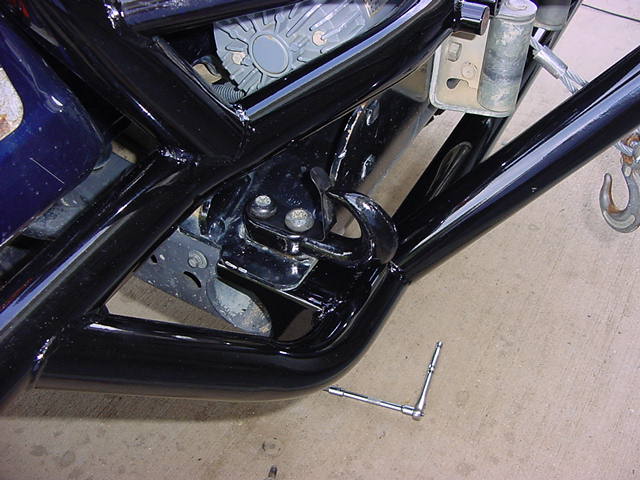
1. Now use a t-55 Torx socket to remove the 2 top bumper bolts and the
1 bottom bumper bolt.
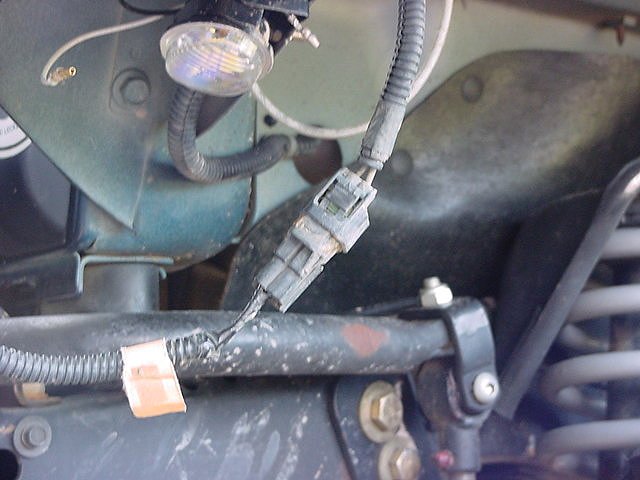
2. You will also need to disconnect the wiring to the fog lights on the
front bumper. Just push in the tab and pull them apart.
Now all you have to do is just pull the bumper off.
3. Now with the old bumper removed, all you need to do is slid Troy's
bumper into position. I didn't have to remove the winch to do
this. Troy's directions state that his bumper will work with
the Warn or his winch plate. I don't know about the other plates.
4. Once you have the bumper slid into position you can start all
the bolts into their holes. I left them all loose until I got
as many in as possible. In my case all but 1 bolt went right
in. Once you have the bumper lined up, all you need to do is
tighten down on all the bolts with a T-55 Torx socket.
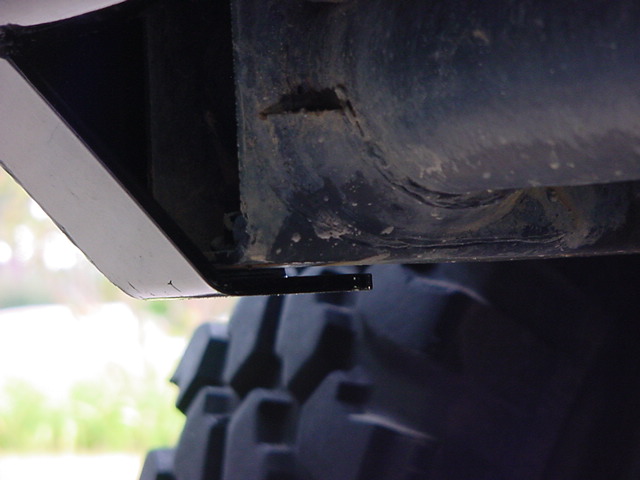
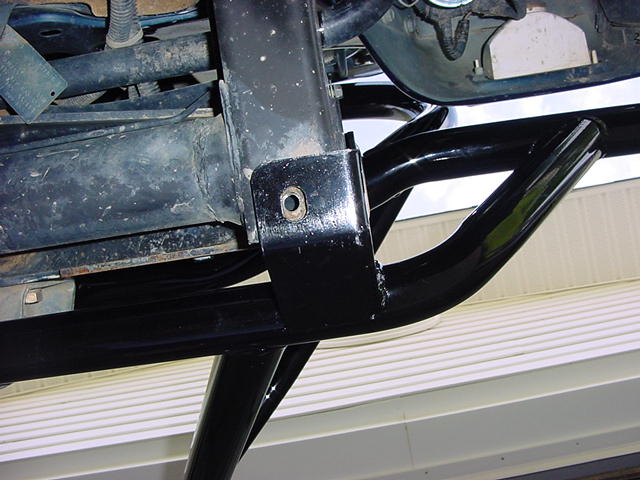
5. As you can see there is just a little bit of a gap between the bumper
and the frame, I slid a stainless steel washer in here and then installed
the factory bolt with the T-55 Torx socket.
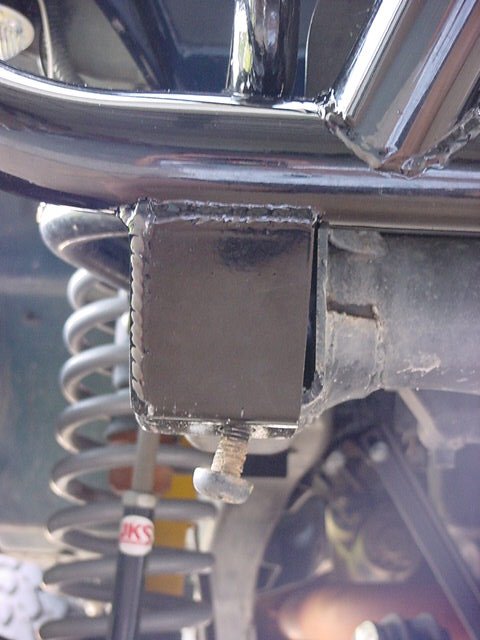
6. Troy's directions state that you may need to grind out a hole since
not every jeep fits the perfect mold. I had to grind out 1 hole
ever so slightly, just about the depth of the thread on the bolt after
I got everything else aligned. The other 5 bolts went in fine.
Usually the top bolts are the hardest to get lined up, but this bumper
was right on. I used the dremel to enlarge the hole and then
installed the bolt with a T-55 Torx socket.
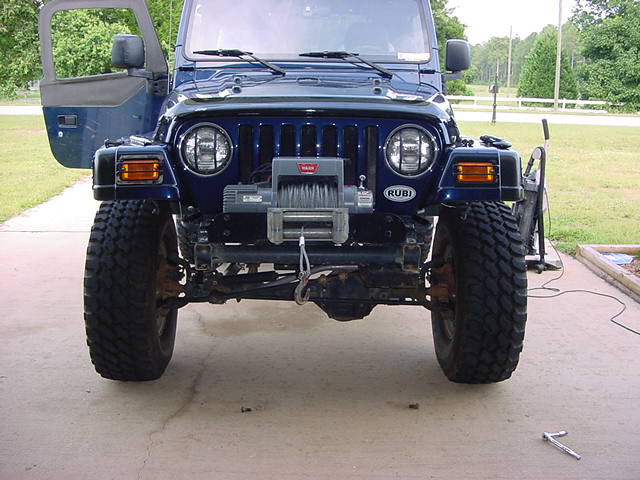
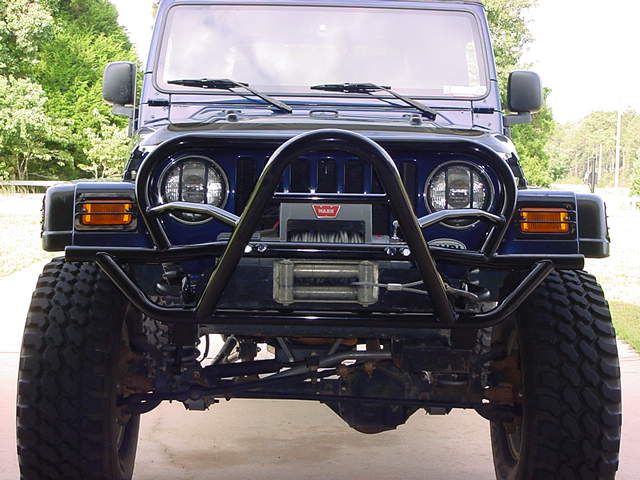
The
final installed product. The cool thing is you can see the tip
of the stinger from the drivers seat.
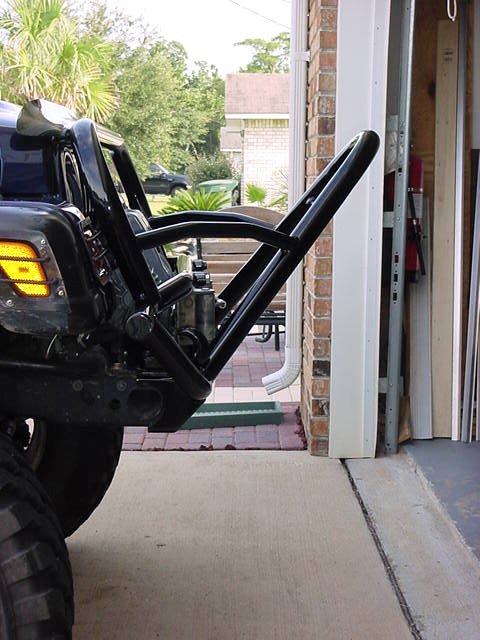
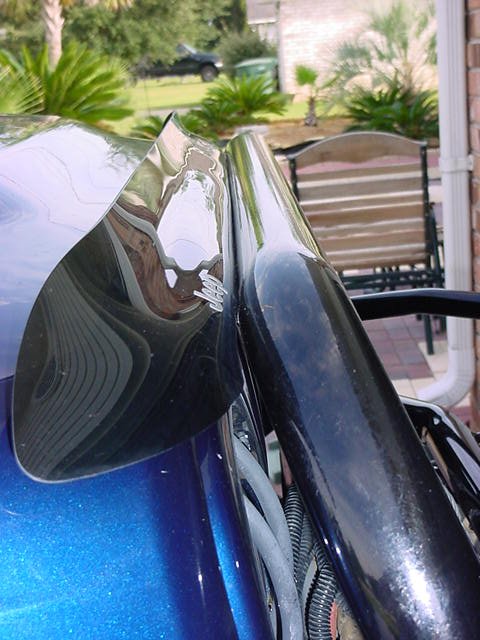
I
will need to adjust either the bumper position a little or the bug
deflector since they touch. Not by a whole lot, but they touch.
You can still open the hood though it's a little more challenging.