I had previously installed an engine skid from Jeep Medic
Fabrications on my last Rubicon and since I really liked how strong it
was I would pick up another one for this LJ project. This was also installed
with the raised transfer case skid this time. I was nice enough
to relieve Jerry from Jeep
Medic Fabrications of both pieces while out at Moab in 2005. Though
I think shipping would have been cheaper than the cost of my gas mileage.
These are some very stout pieces of metal. Now this skid is very well
built and is priced very affordable for what is offered. The additional
neat thing is that it mates perfectly to his belly up transmission skid.
The directions sent with the skid work perfectly.
Installation: |
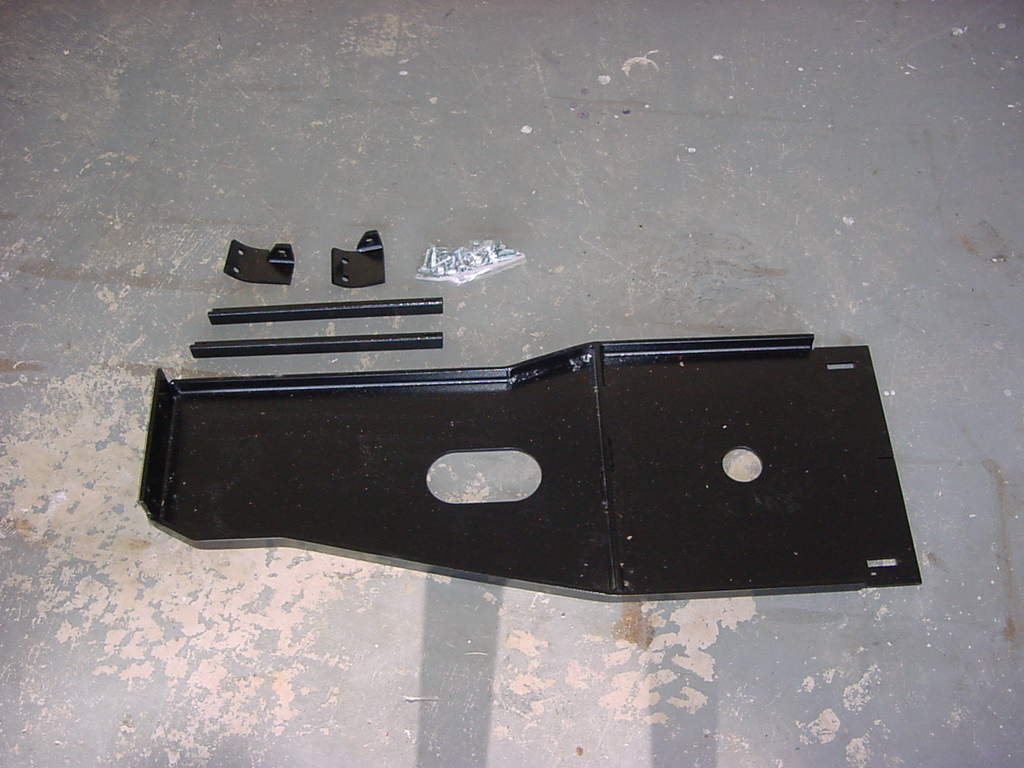
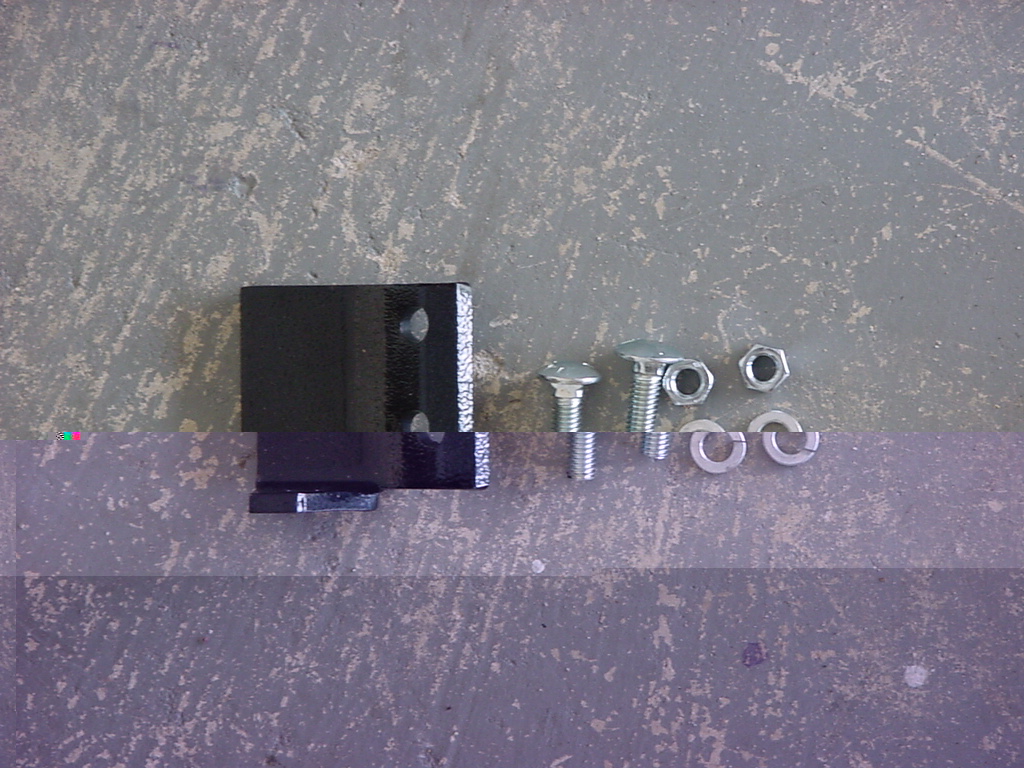
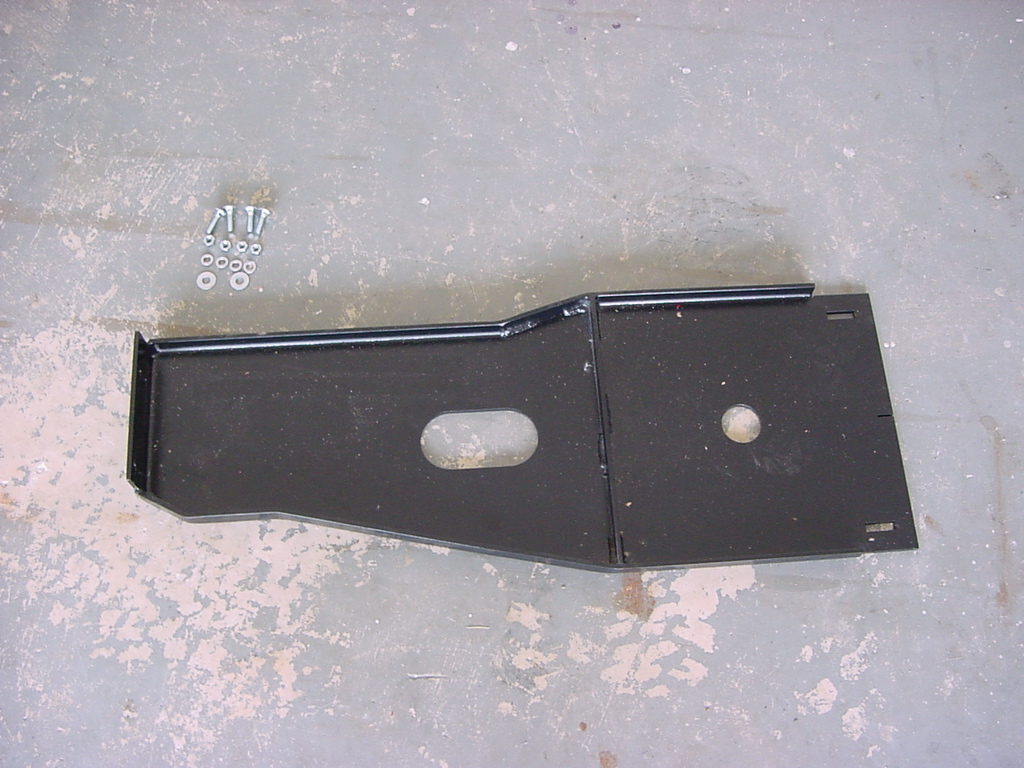
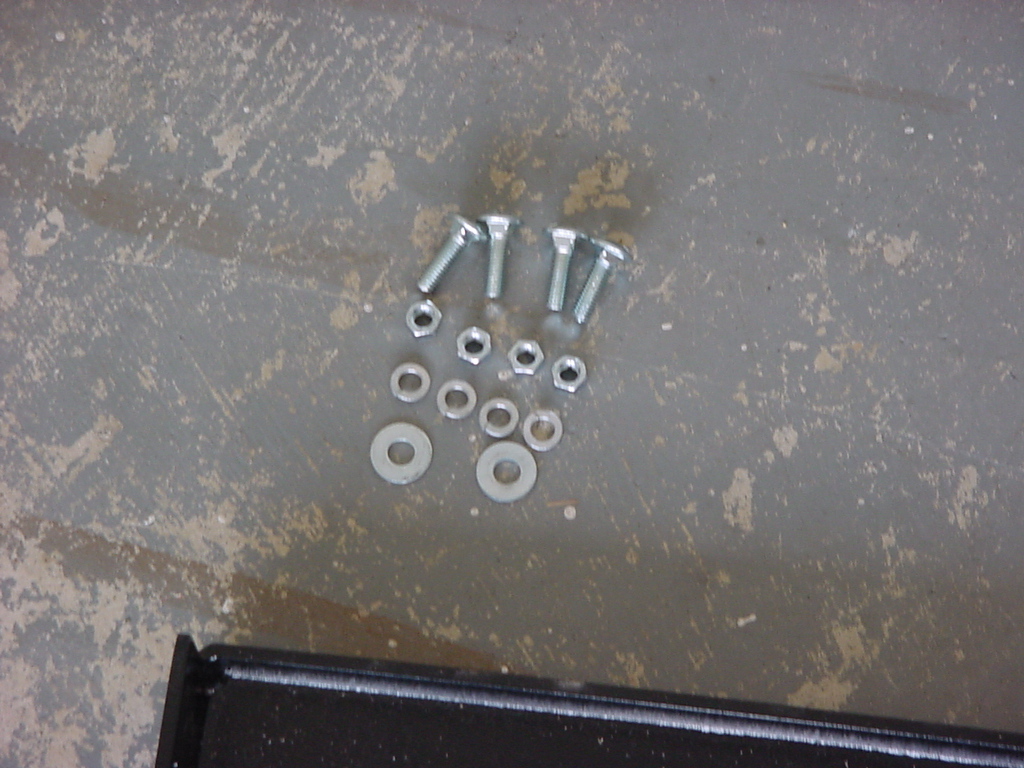
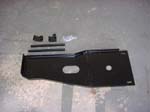
Here
is what comes in the kit. The new packaging is more than adequate
for the skid, but I kind of miss taking about the old crates that
they would come in. |
 |
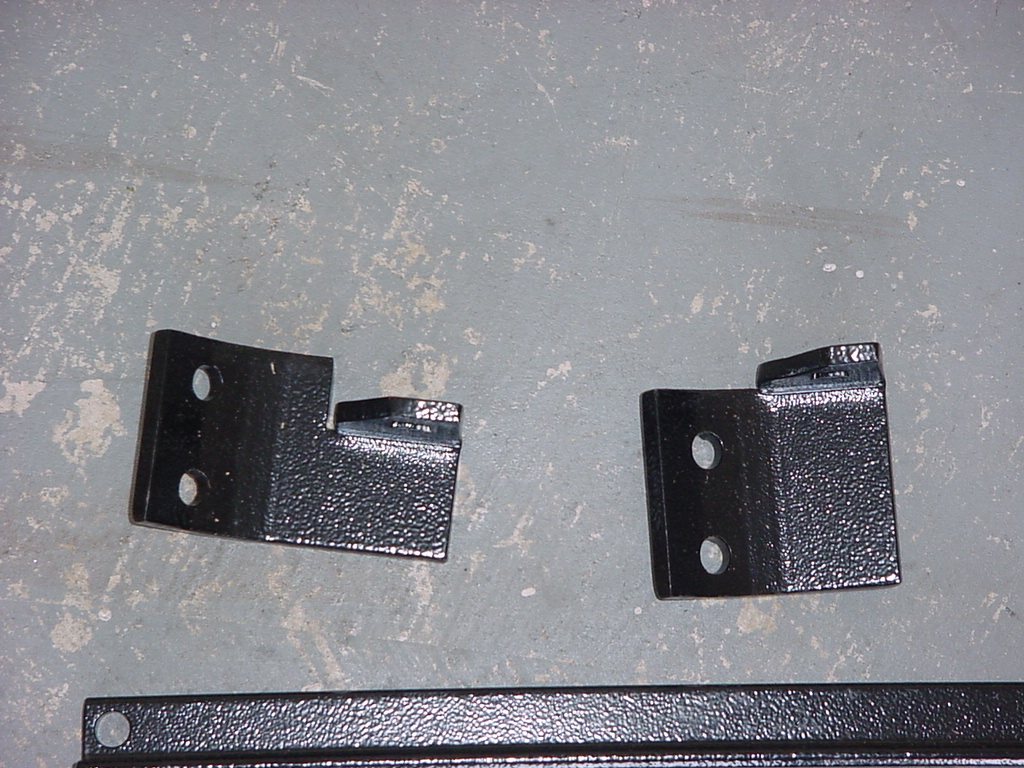
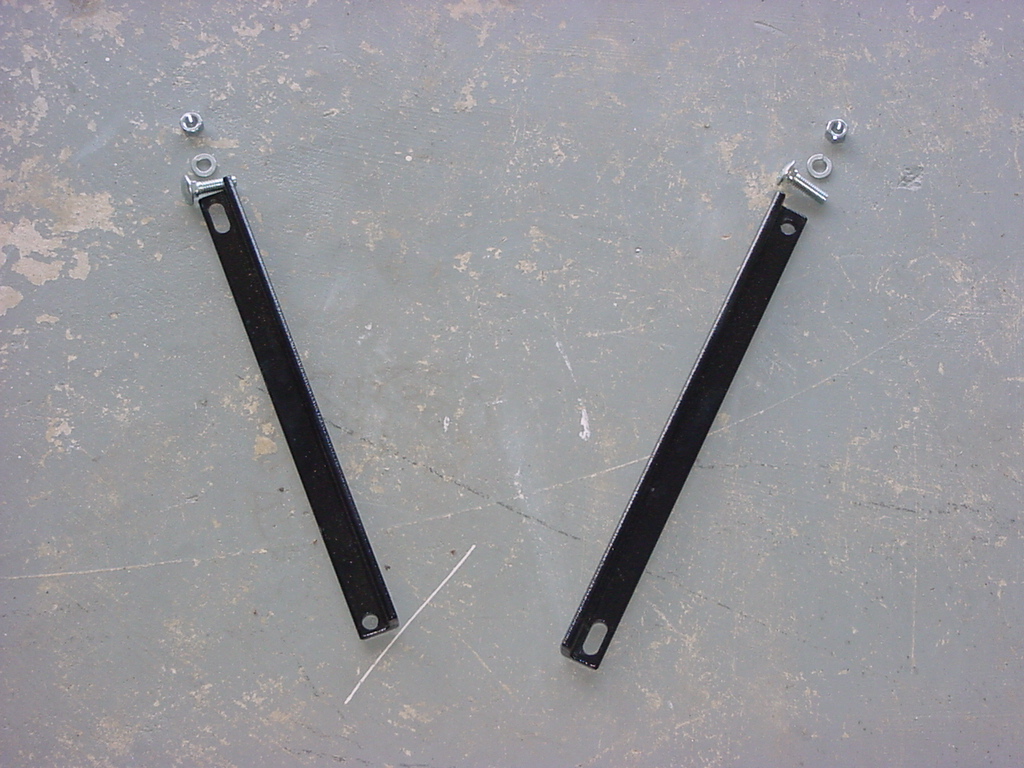
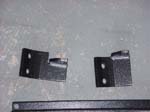
The
kit has gone through a little revision since the last time I installed
one. The driver side bracket has changed so you no longer need to
remove the motor mount bolt, it now just bolts into the frame bracket
like on the passenger side. The new driver side bracket is on the
left. |
 |
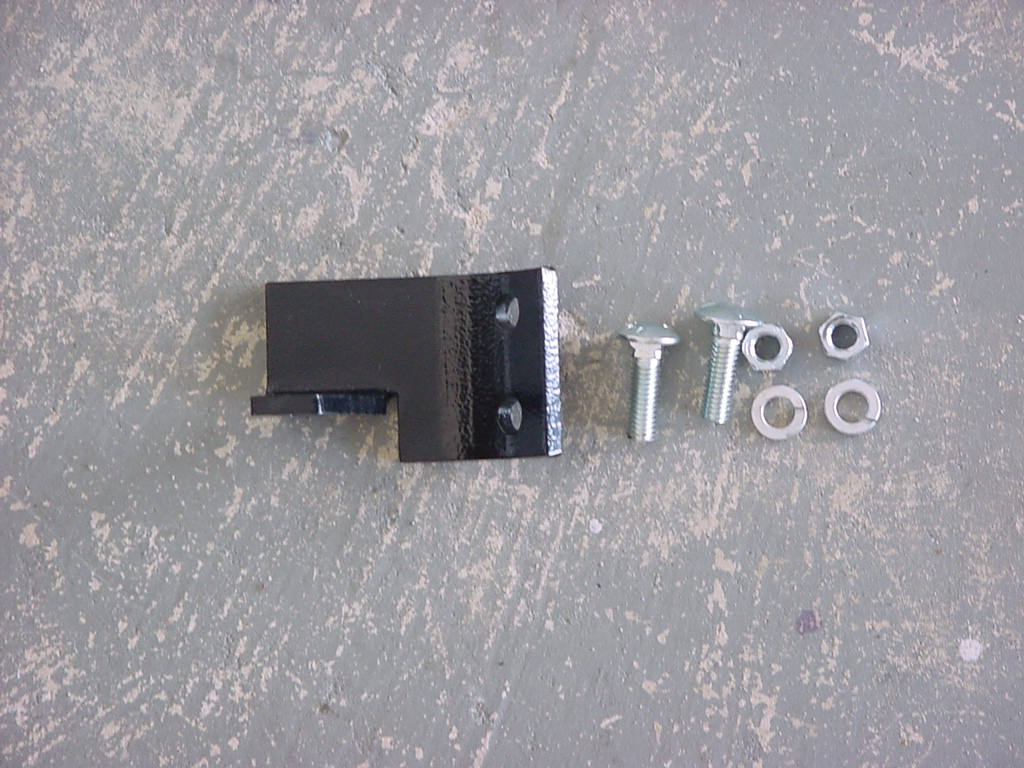
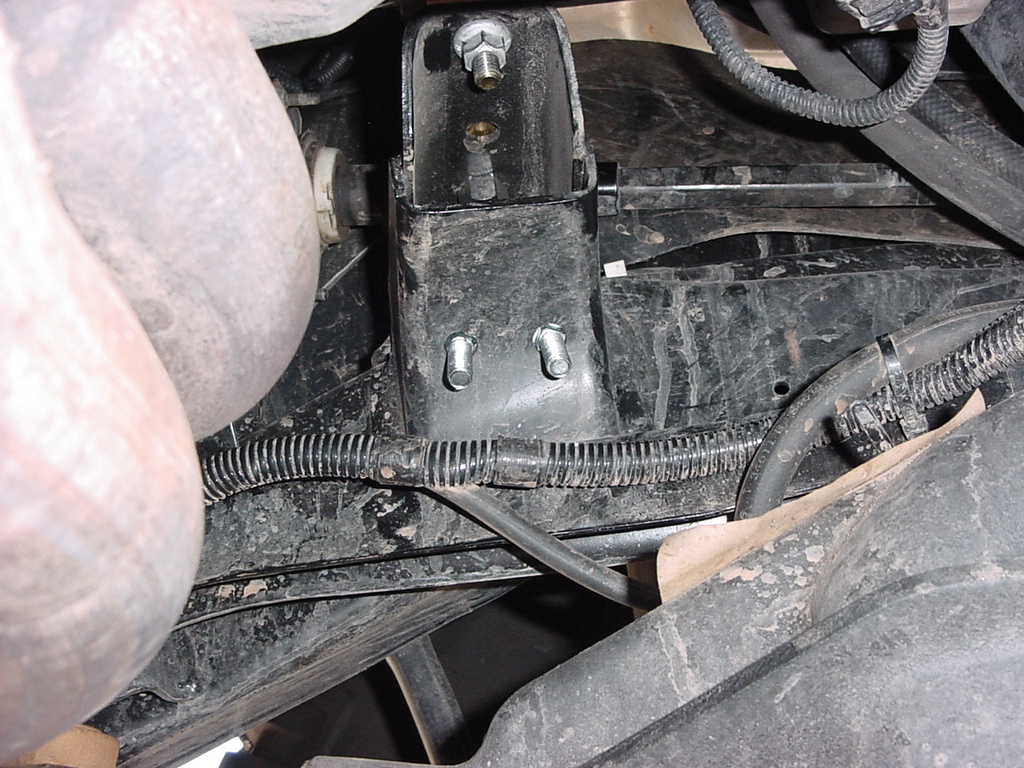
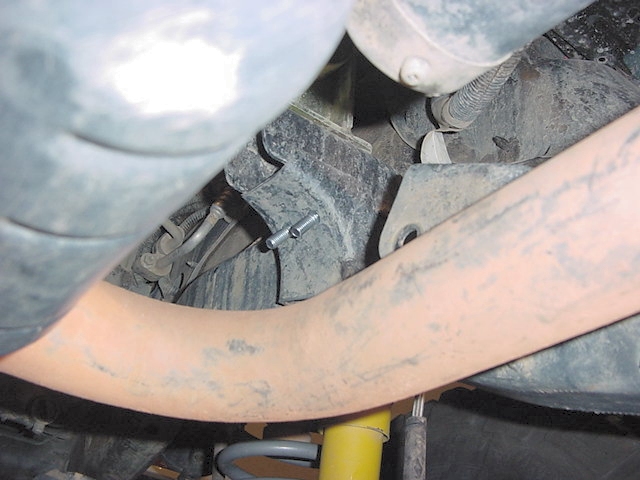
| 1. Install the driver side
bracket. You will need the bracket, 2 carriage bolts, 2 lock washers,
and 2 nuts. Start by placing the 2 carriage bolts in the drivers frame
mount for engine. This can be a little bit of a pain getting your
fingers into the opening and carefully putting the bolts through the
holes. Place the mounting bracket with the holes at the bottom, the
tab towards the engine. Use a lock washer and nut and tighten to 35ft-lbs
of torque. |
|
|
|
|
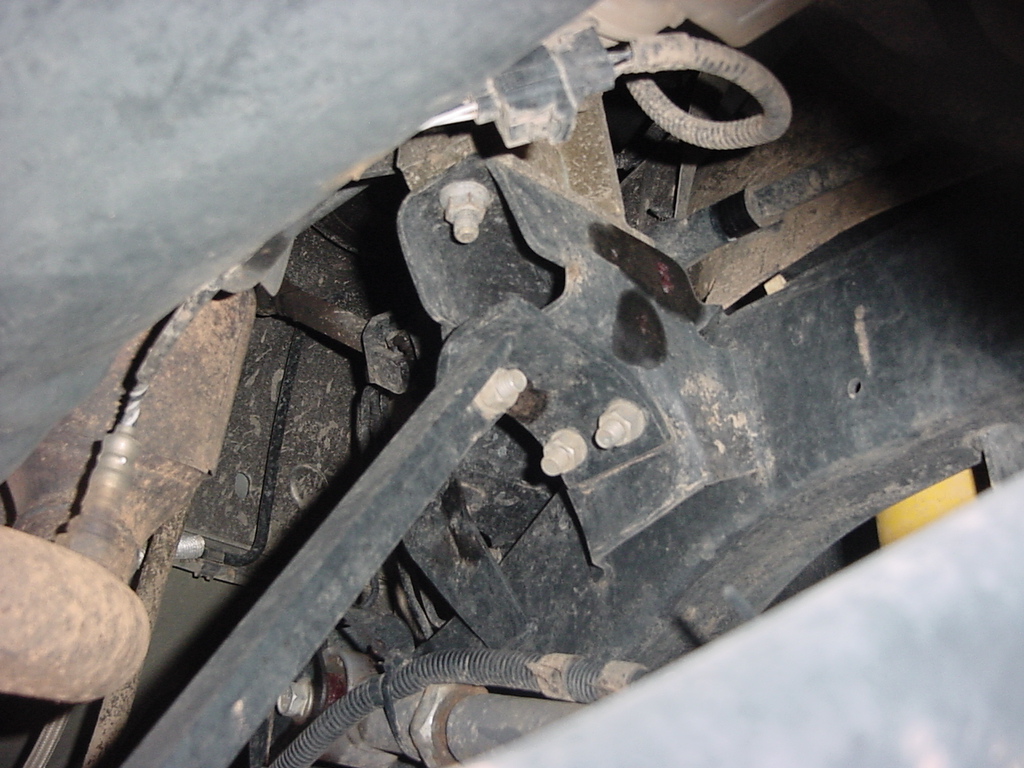
| 2. Install the passenger side
bracket. You will need the bracket, 2 carriage bolts, 2 lock washers,
and 2 nuts. Start by placing the 2 carriage bolts in the passenger
frame mount for engine. This can be a little bit of a pain getting
your fingers into the opening and carefully putting the bolts through
the holes. Place the mounting bracket with the holes at the bottom,
the brackets lip should be towards the front. Use a lock washer and
nut and tighten to 35ft-lbs of torque. |
|
|
|
|
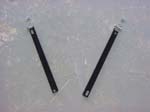
| 3. Take the longer of the 2
angle iron pieces and place that on the front side of the driver bracket
with a supplied 3/8 carriage bolt and, slotted side down. Keep it
loose for now. Take the shorter of the 2 angle iron pieces and place
it with another carriage bolt hand tight for now. Slotted side up. |
 |
| 4. Now collect the remaining
parts which will be the engine skid, 4 carriage bolts, 4 lock washers,
2 flat washers, and 4 nuts. The 2 flat washers will only be used if
you are bolting this skid up to the stock skid plate. |
|
|
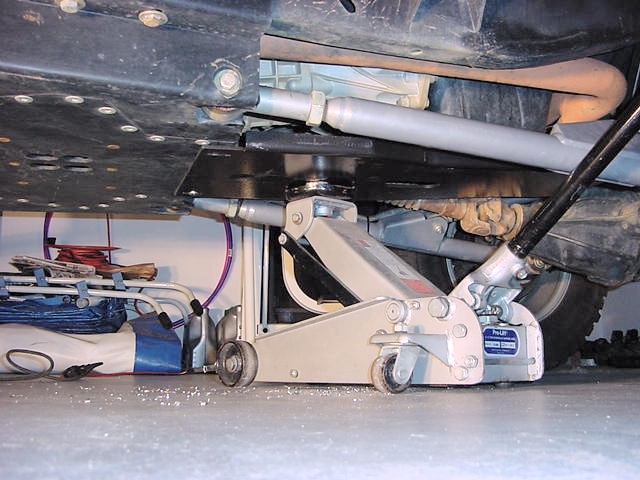
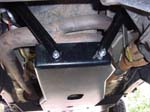
| 5. I lifted the skid with a
floor jack and bolted up the front supports. |
 |
| 6. Lift your engine skid to
your tranny skid and place the carriage bolts from bottom up and hand
tighten with washers and nuts. |
 |
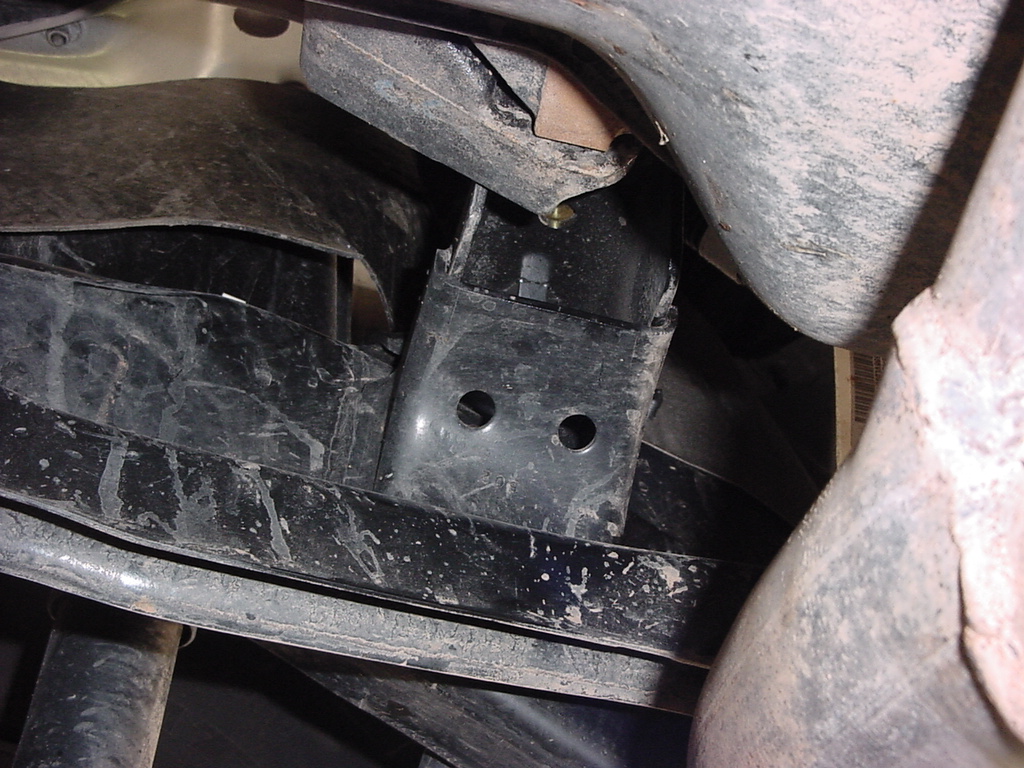
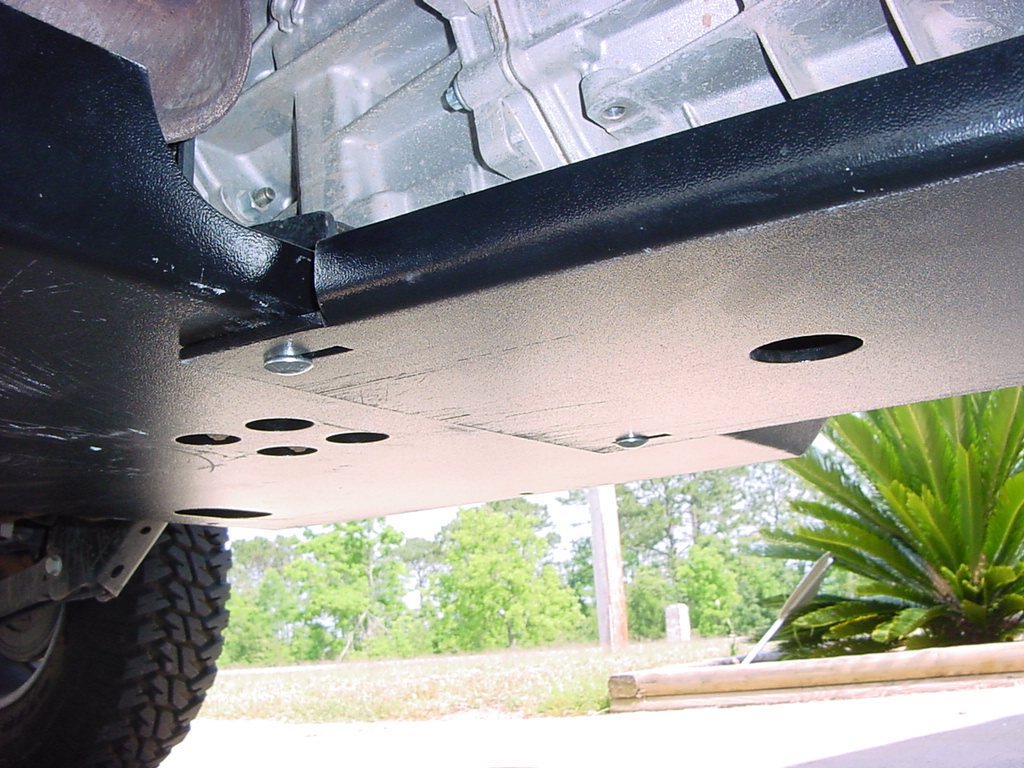
7. Next align the front angle
Brackets with the carriage bolts and hand tighten as well. Now the
medic skid comes with 2 sets of holes drilled in it. Determining which
holes to use will depend on if you have a motor mount lift or not.
With a motor mount lift, you will use the bottom holes on the front
of the skid. With out a motor mount lift you will use the top mounting
holes. Once again it's carriage bolt, lock washer, nut, loosely
installed.
|
 |
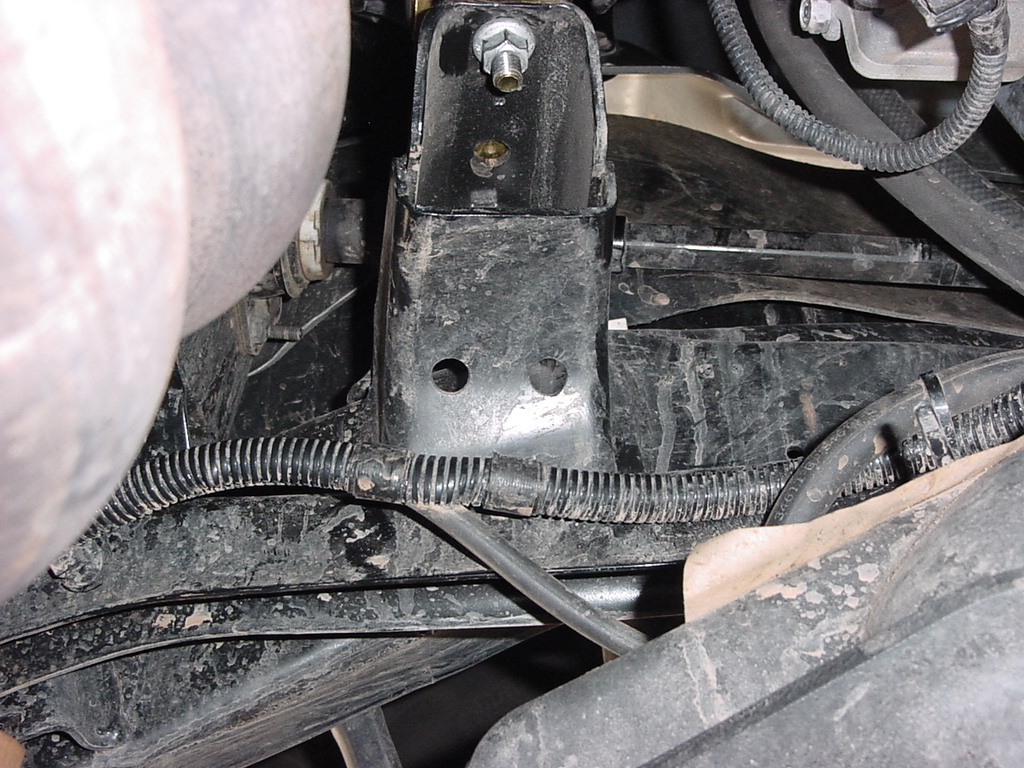
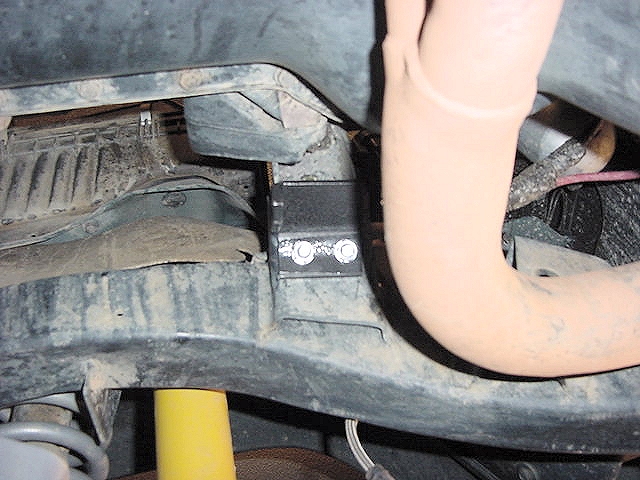
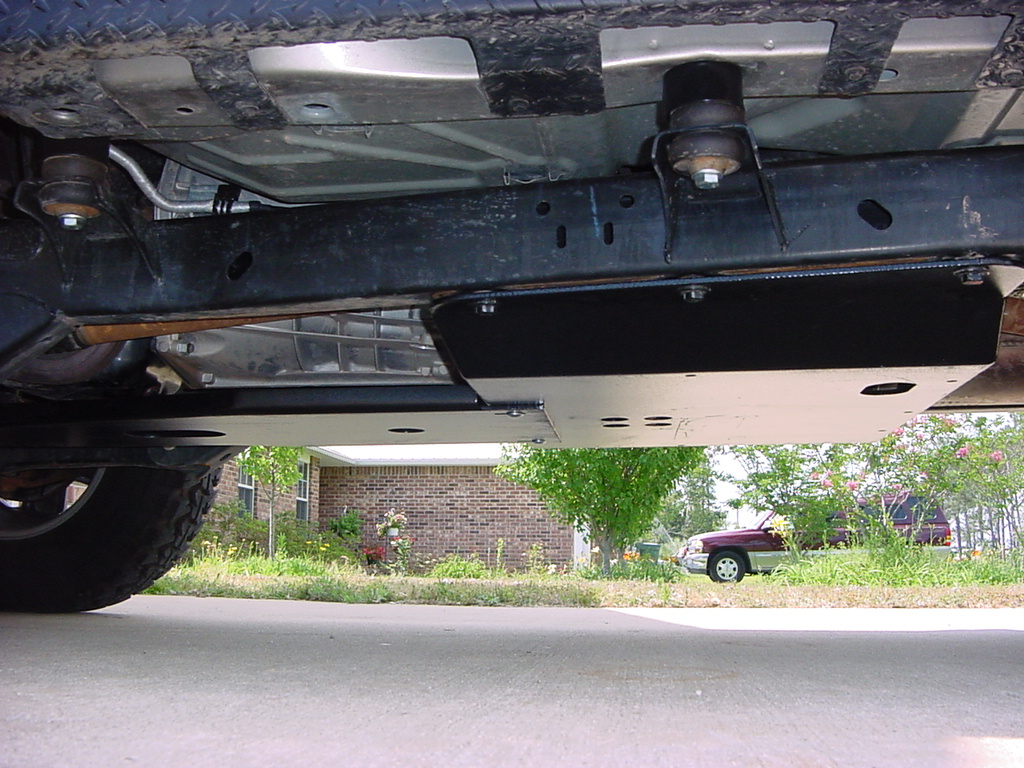
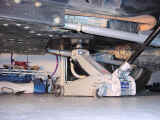
| 8. Push the engine skid back
as far as possible. Now it is time to check for exhaust clearances,
and alignment with the oil Drain on your engine. Once everything is
aligned and checked tighten all nuts to 35 ft-lbs. Here is what it
looks like installed. |
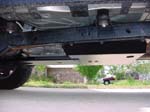 |