One of the issues with the earlier Jeep JK's was the rear pinch seam. The seam terminated at a 90 degree angle and if you ran a 35" tire or larger the tire you ran the chance of impacting this corner when you flexed out the tire. This had the chance of digging into the tire and at worse case could cut the tire open. Somewhere around 2013 or 2014 Jeep finally angled this pinch seam. To make clearance for the tires I decided to trim the Rubicon model rock rail and the rear pinch seam. The rock rail is surprisingly thick and required a little effort to cut. This is also a good time to clean out all the little rocks and dirt that has become trapped between the rock rail and the Jeep body.
| Removal: |
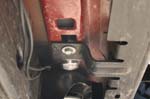
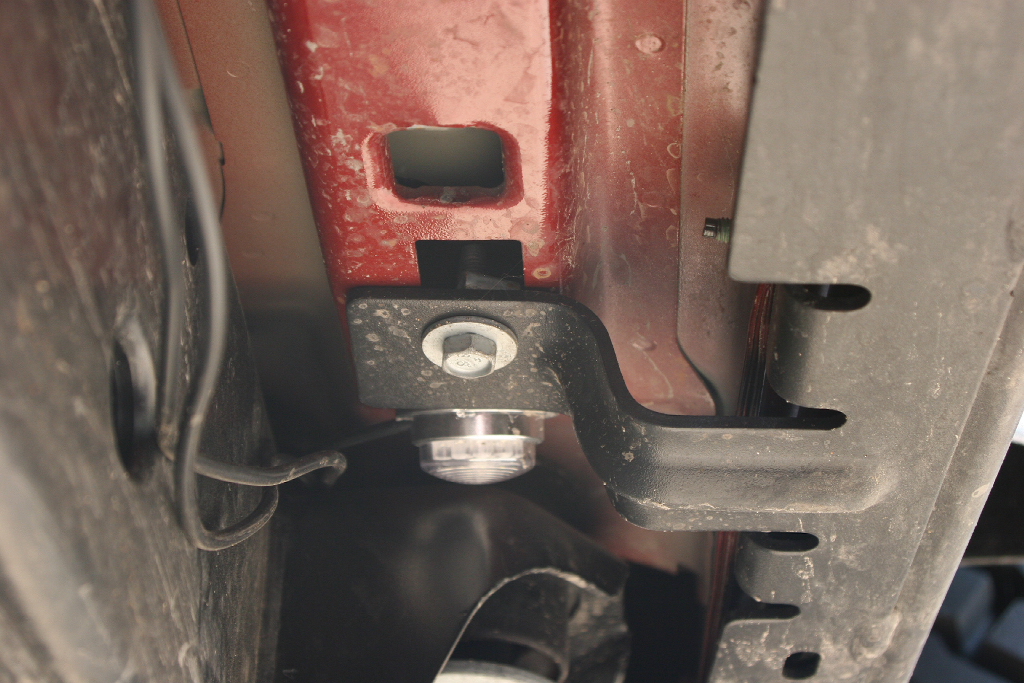
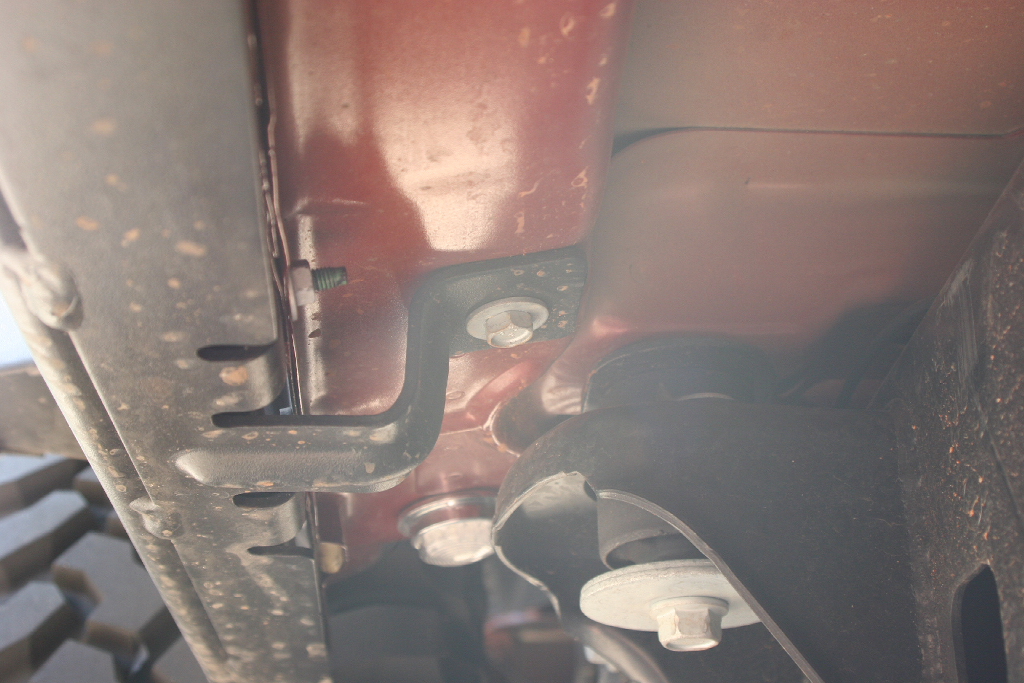
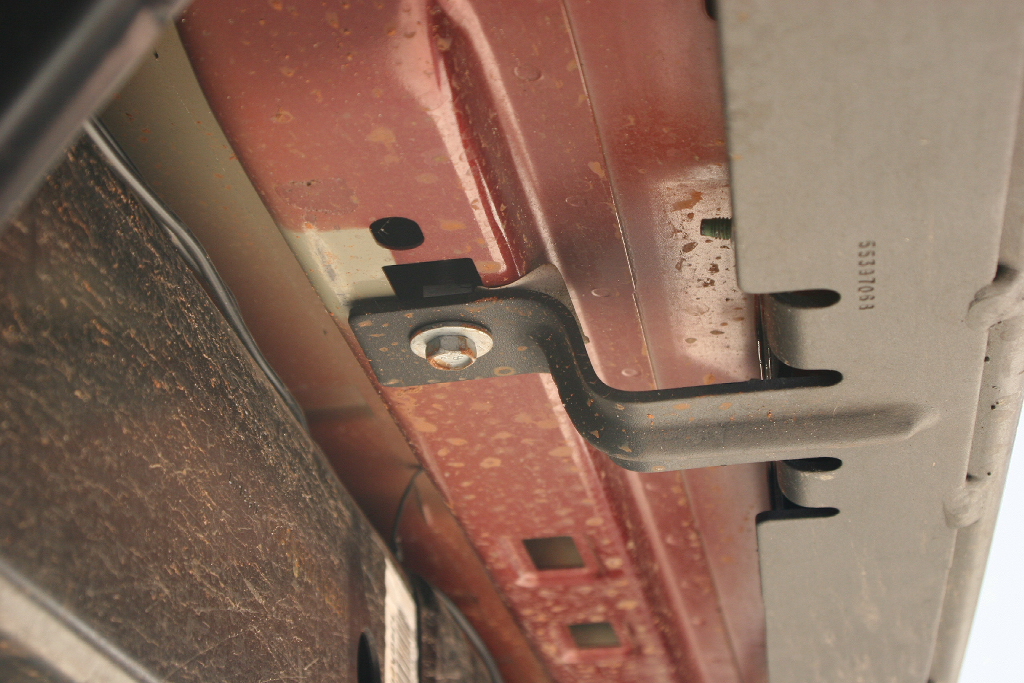
Mark the rearward end of the rockrail. Remove the rockrail from the side of the Jeep. Remove the 6 nuts from the studs holding the rockrail to the pinch seam with a 10mm socket or combo wrench. These are located on either side of the brace that runs underneath the Jeep. Then remove the three bolts holding the rockrail to the body with a 13mm socket. The rock rail will need to be pulled straight out from the body to remove the studs from the pinch seam.
Excuse the fact that my Jeep turned from Red to Yellow in the pictures. Forgot to take pictures. |
 |
 |
 |
 |
 |
| |
| Modifying: |
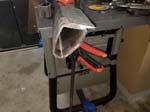
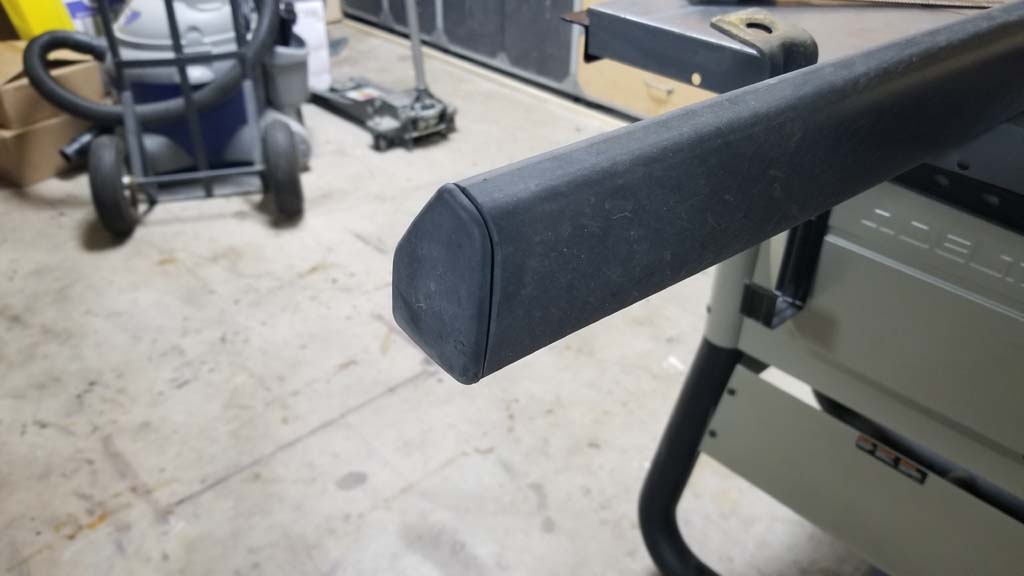
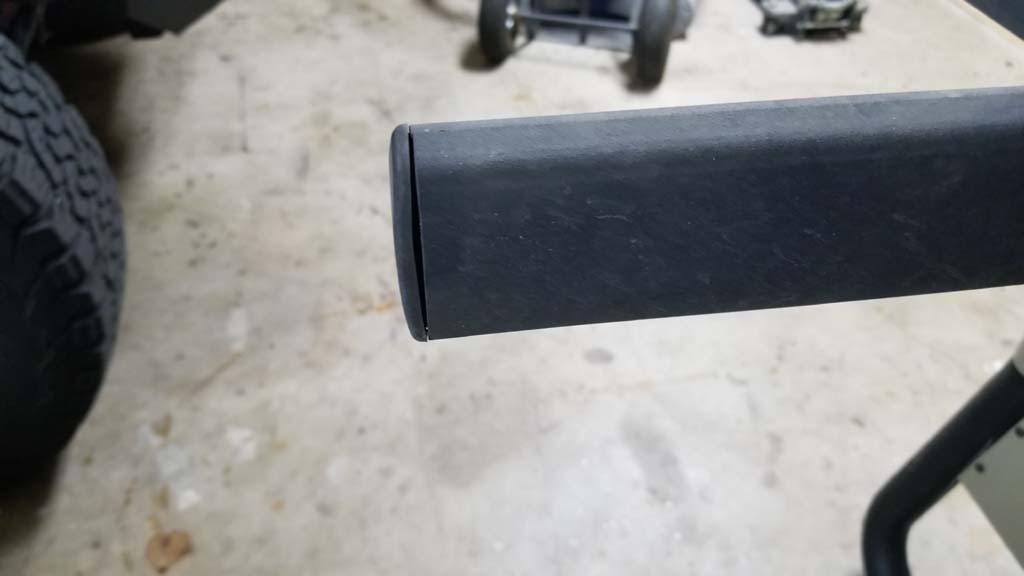
| 1. I suggest doing this one side at a time. Make sure you are removing the rearward cap from the Rockrail (if in doubt put the rockrail back on the Jeep and mark it). |
 |
 |
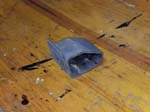
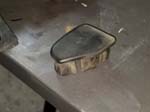
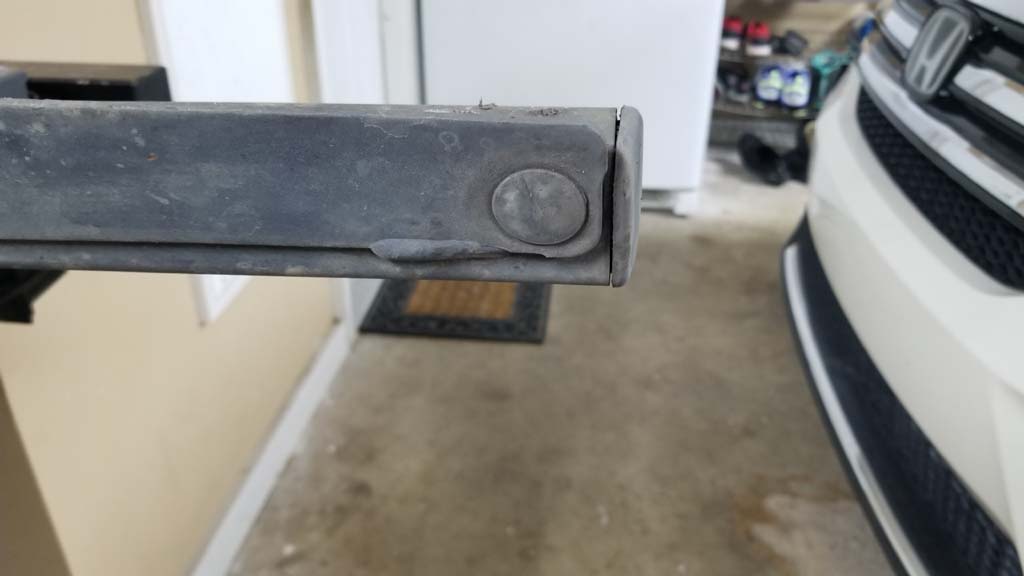
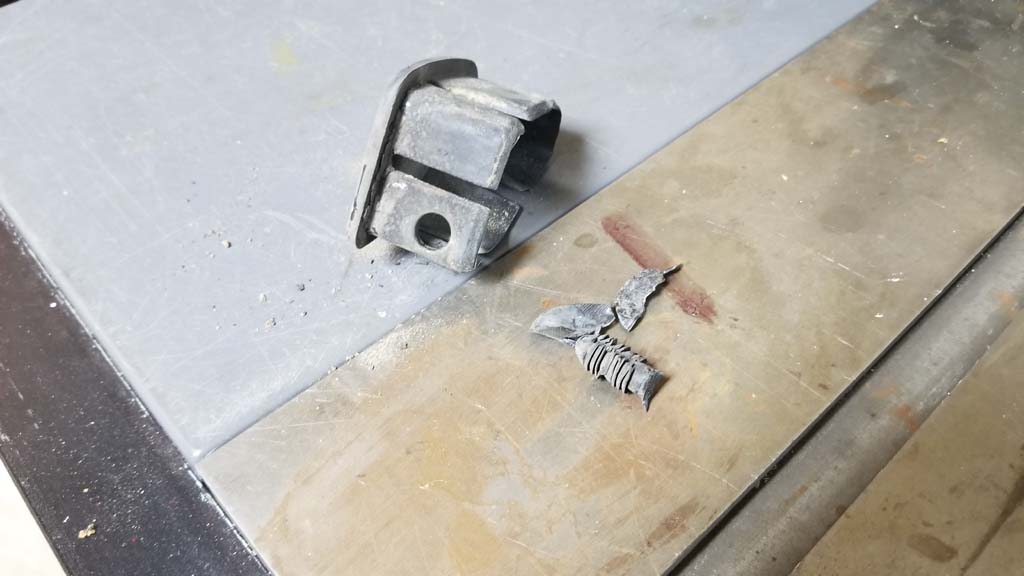
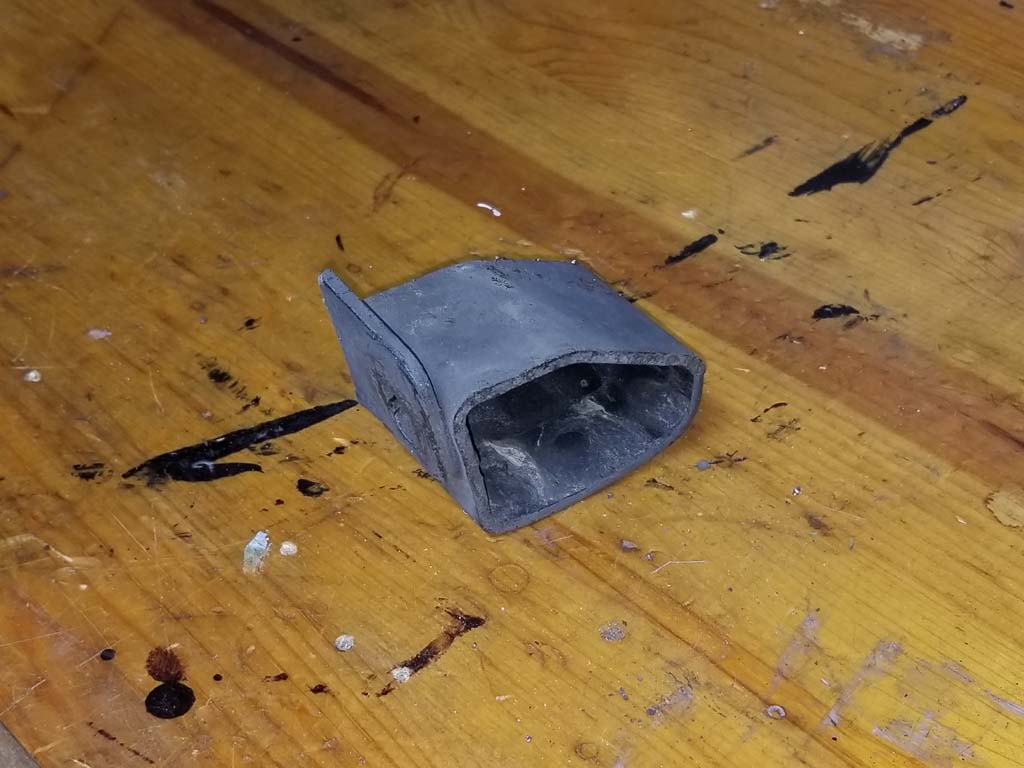
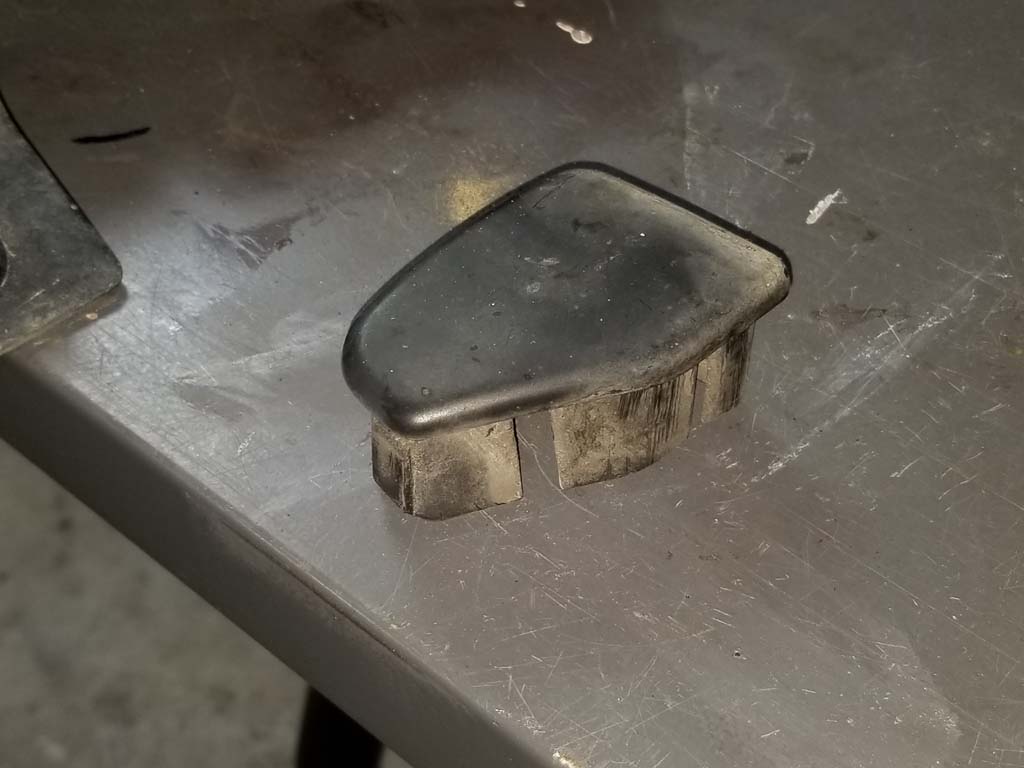
| 2. Remove the christmas tree (retainer) from the bottom of the rock rail with a trim removal tool. I actually broke one of my plastic tools and destroyed one of the christmas trees removing it. You may need to pick up some from the auto parts store for when you reinstall the cap. Once the retainer is removed, you can pry out the end cap with a flat tip screwdriver if it doesn't pull out. |
 |
 |
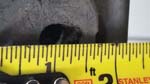
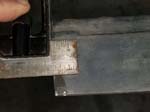
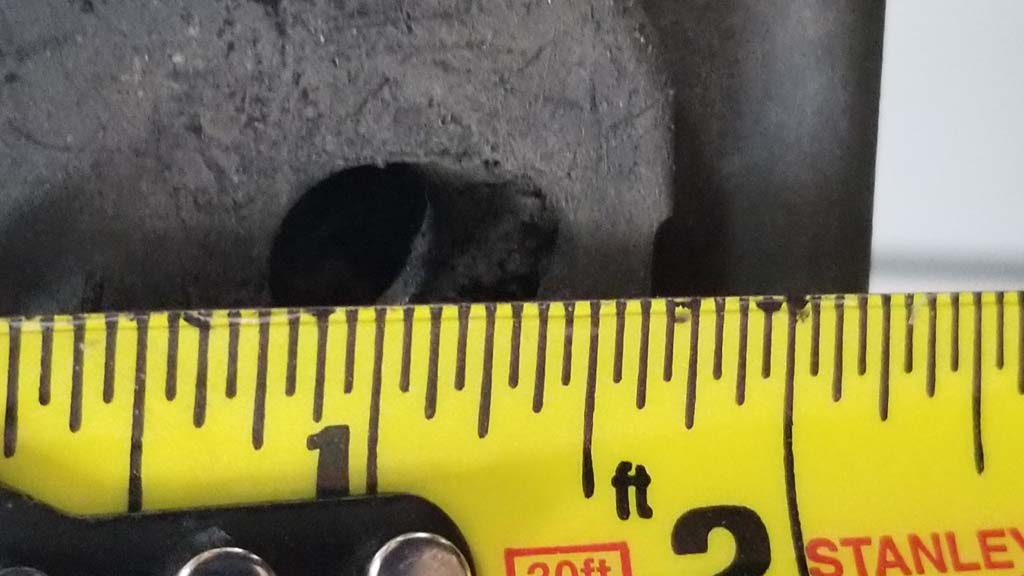
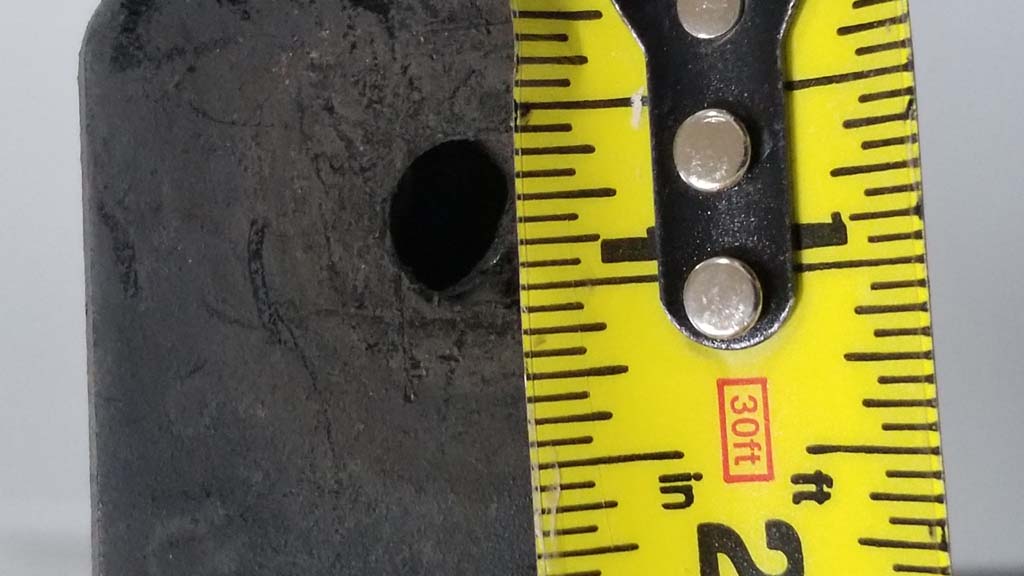
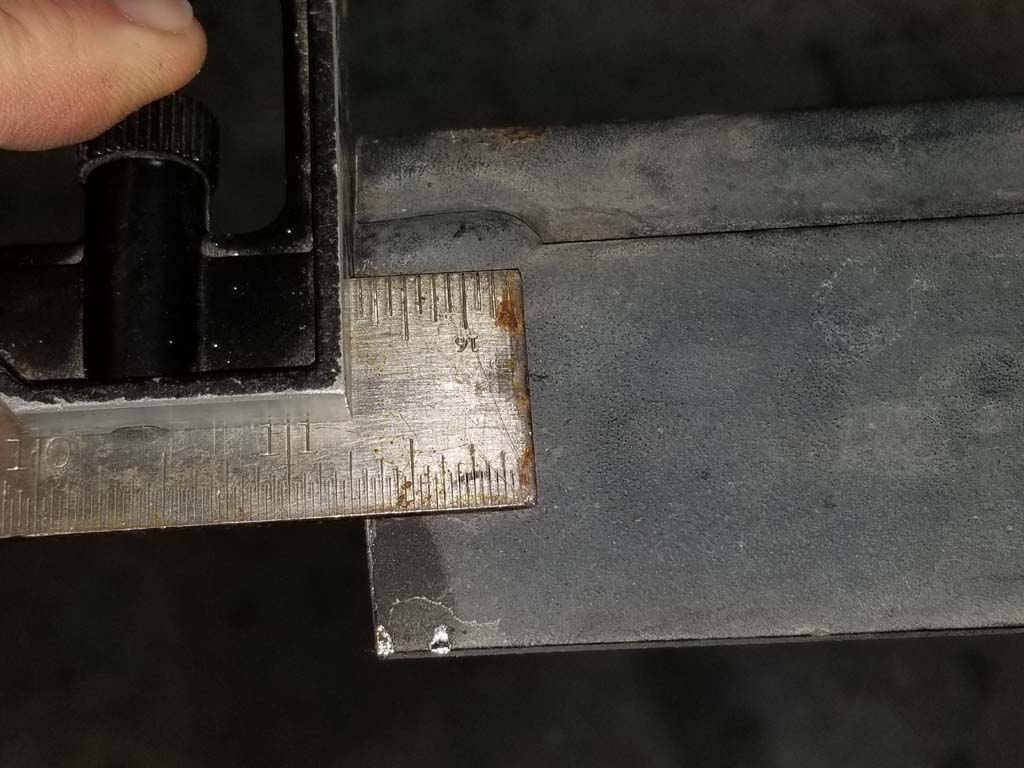
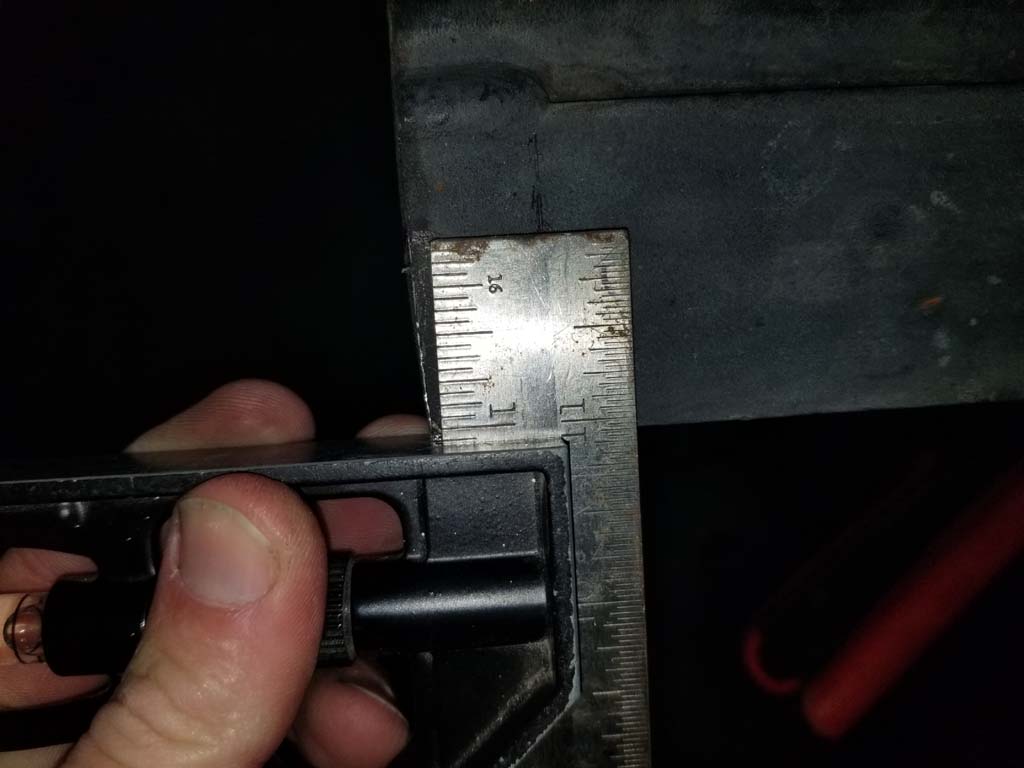
| 3. Measure the location and size of the hole for the retainer, we will be redrilling this later. Mine was about 1 3/32" in from the outer edge of the metal plate and 3/4" in from the end. Your measurements may be slightly different. |
 |
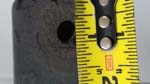 |
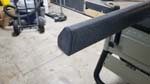
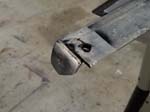
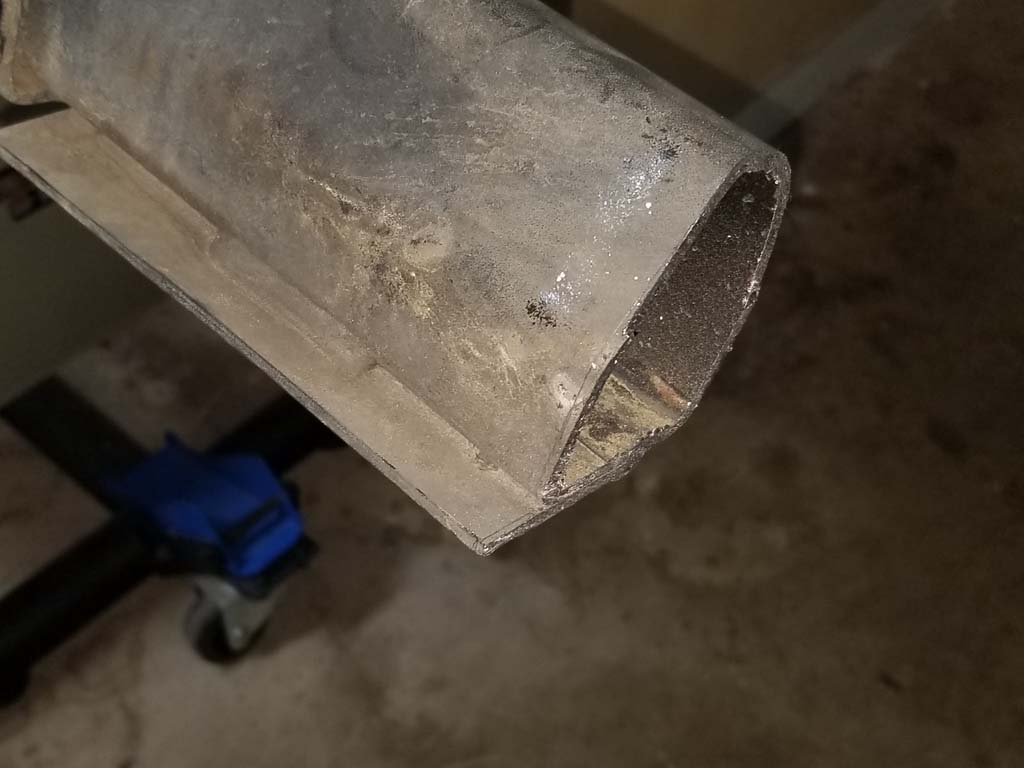
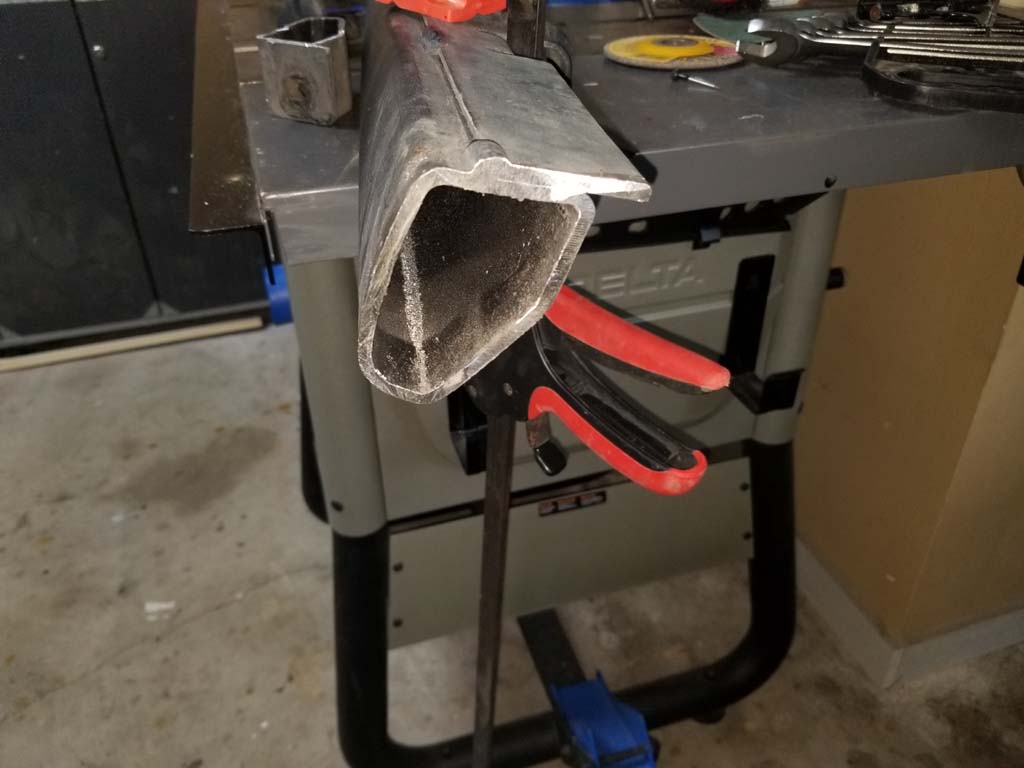
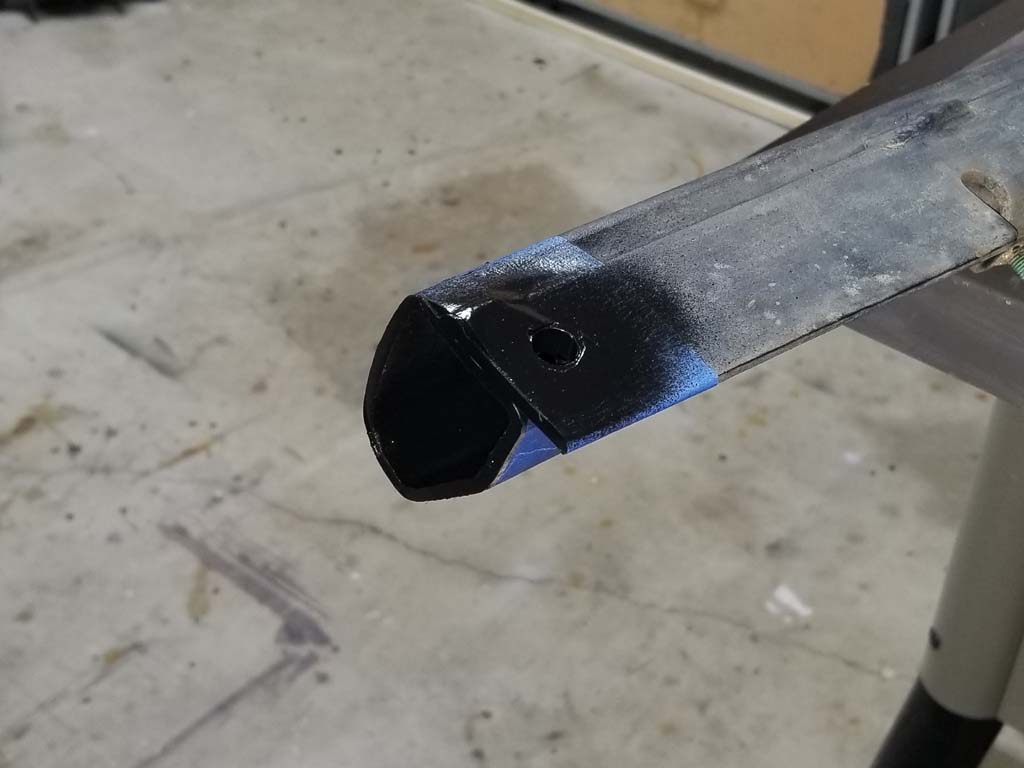
| 4. Measure back from the edge 2" and mark the rail all the way around so you get a nice even cut. The rail is curved, so sitting it flat on a cutter is difficult. I used a cutoff wheel on my angle grinder, but you could use a hacksaw, or dremel also. |
 |
 |
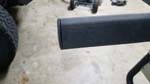
| 5. Debur the edge with flat metal file, and clean out all the shavings. |
 |
| 6. Measure and mark your drill location. Center punch the mark so the drill bit doesn't wander. |
 |
 |
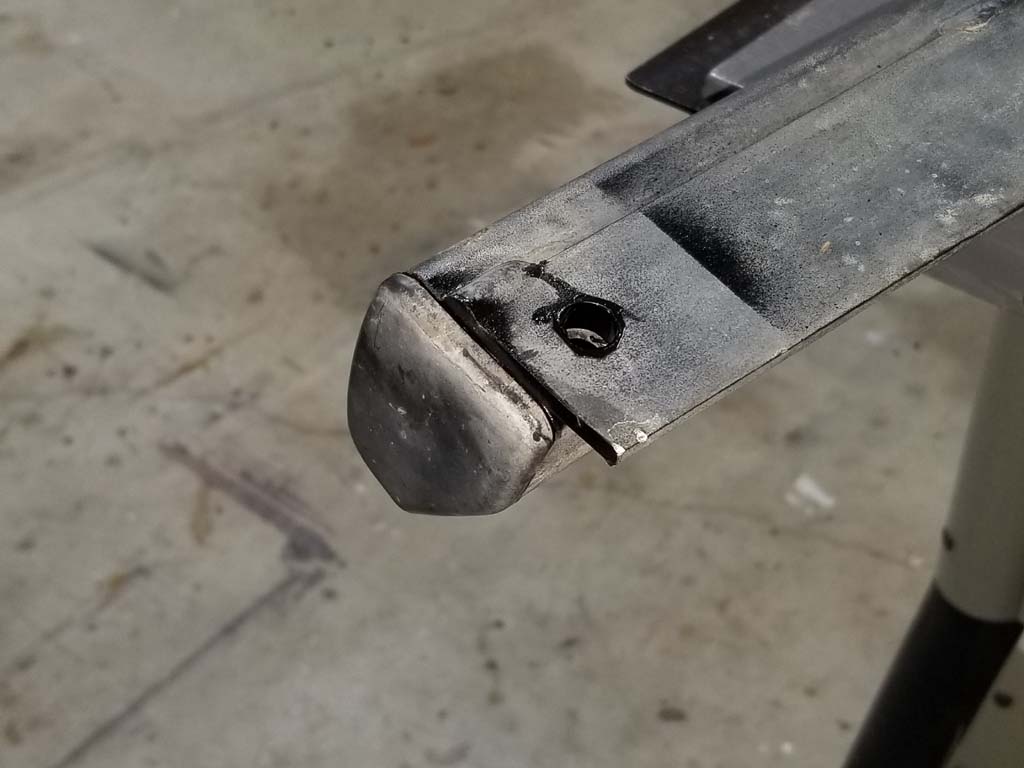
| 7. Drill the hole out with a 3/8 " drill bit. Check the original hole to verify size I recommend drilling a pilot hole since this is two layers of steel and then using a step bit to drill down to the size. Depending upon your step drill, you may still need to chase the hole with the regular drill bit. Use a file to clean out the hole. A combination of flat and round metal files will be needed. |
 |
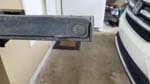
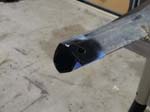
| 8. Tape and paint the exposed steel with paint. I used automotive black spray paint. |
 |
 |
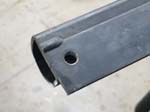
| 9. Reinstall the end cap and christmas tree (retainer). |
 |
 |
| |
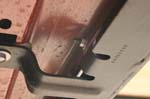
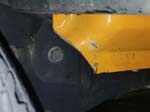
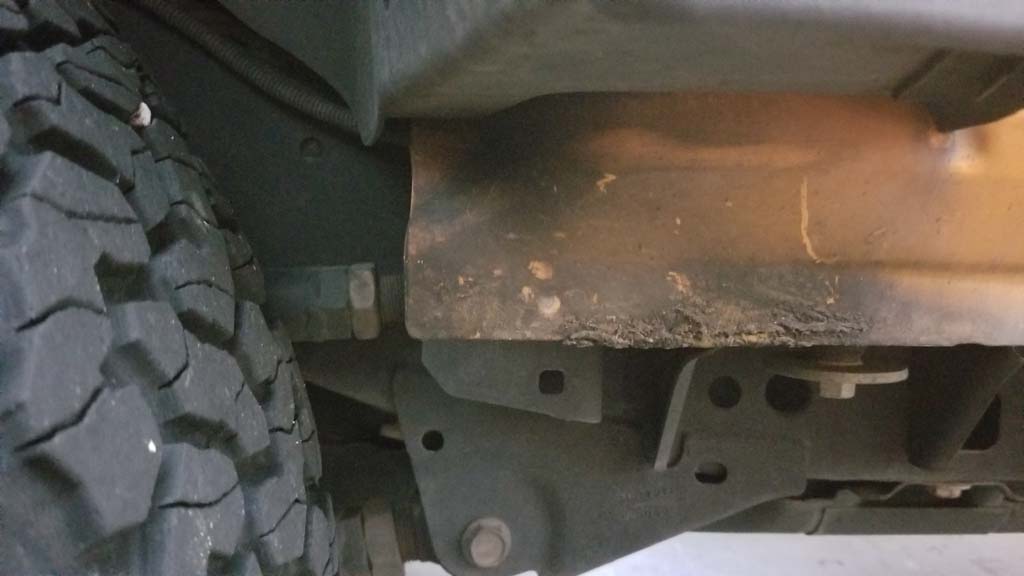
| Cutting the Pinch Seam: |
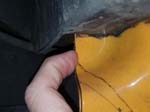
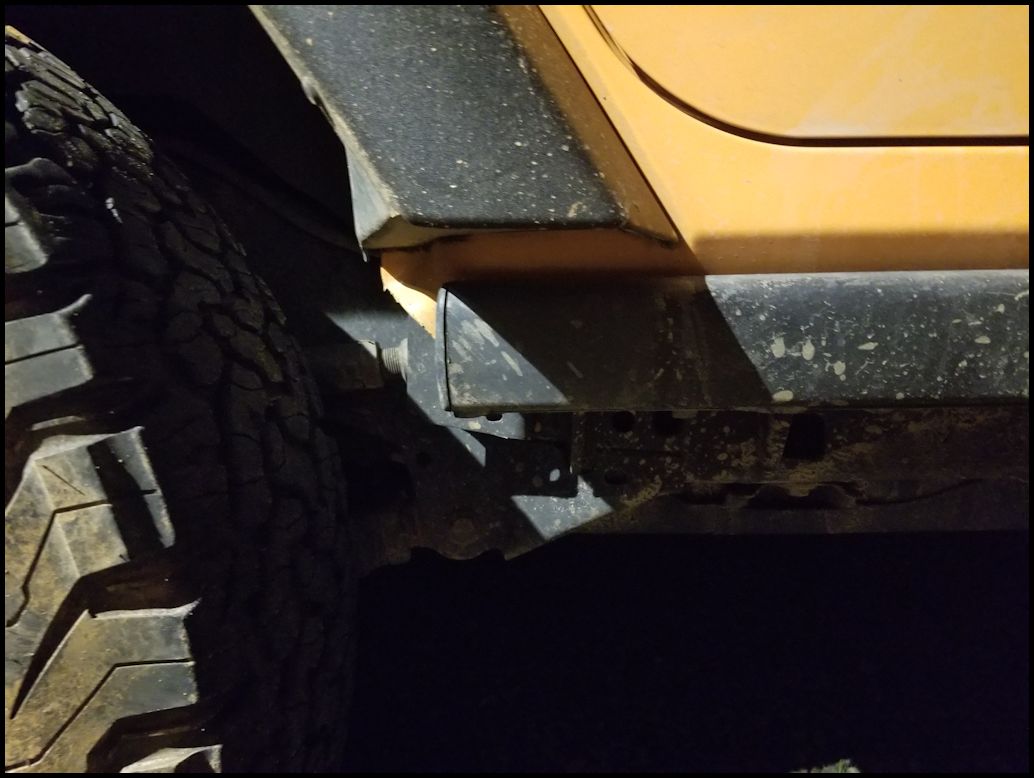
| The rear pinch seam comes down at a 90 degree angle and poses an issue when you go to 35" tires and above. The tires can impact the corner of the pinch seam and at worse case can cut the tire. |
 |
 |
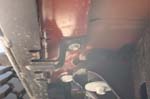
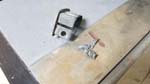
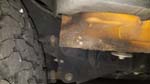
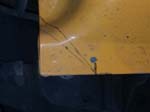
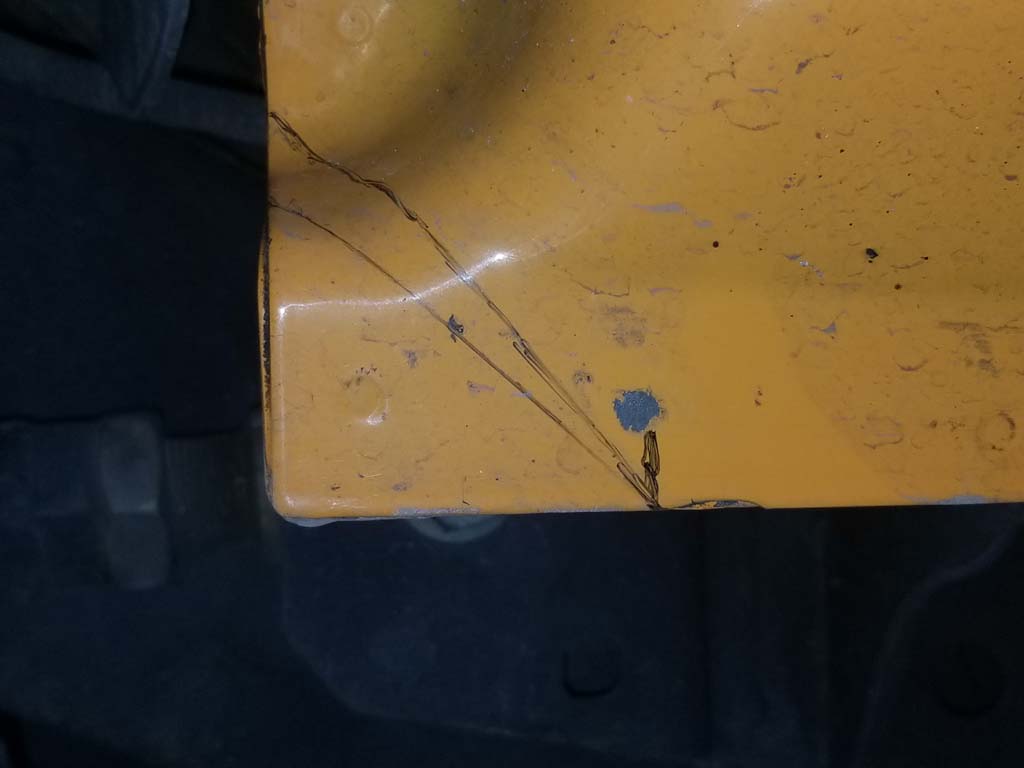
| 1. I started with a mark at about 2" in from the rear edge of the pinch seam. You should see a spot weld right above the mark. The spot weld looks like a slight dimple in the metal. Do not cut to close, or cut the spot weld. |
 |
 |
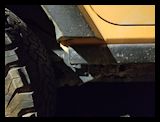
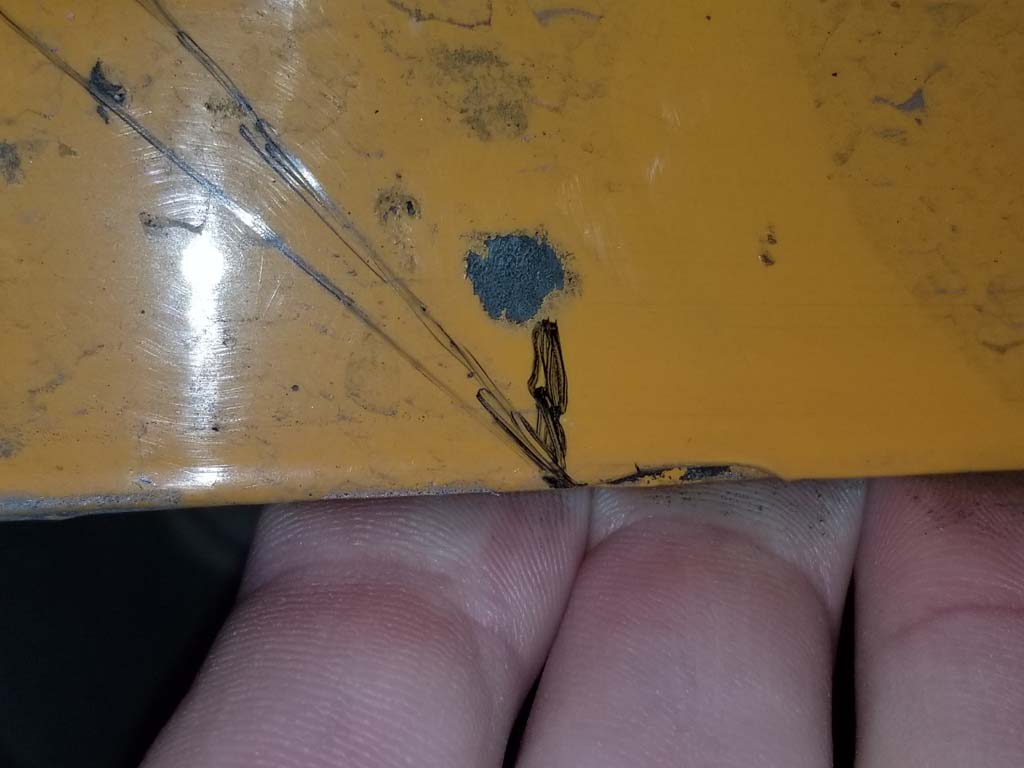
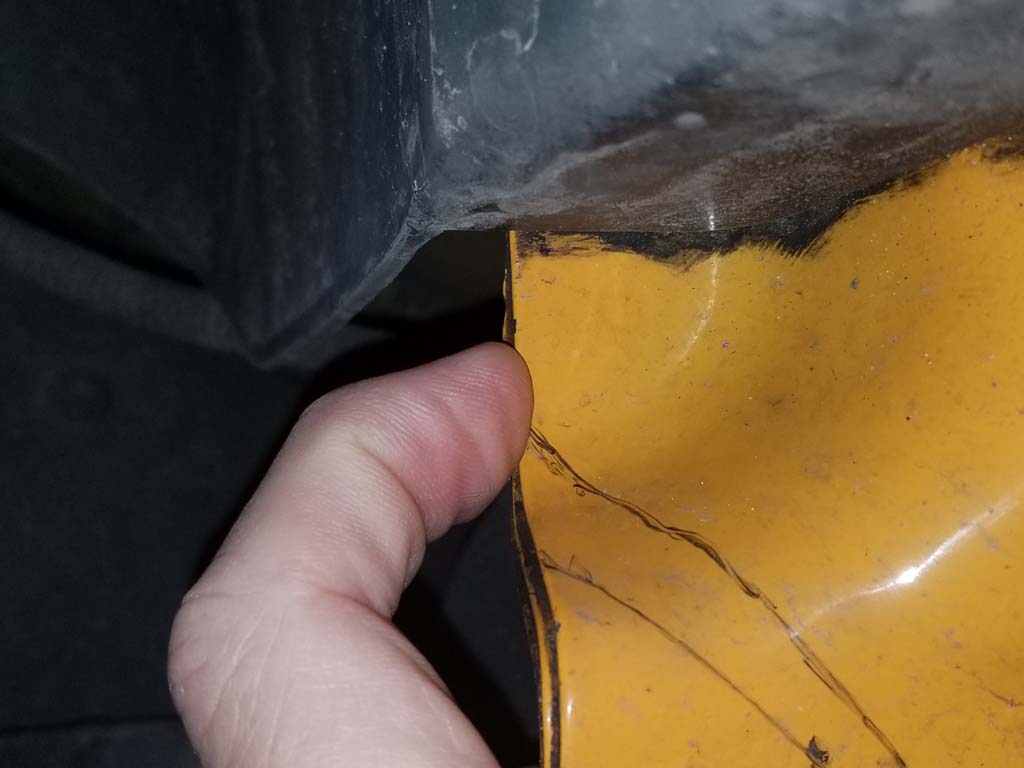
| 2. You will find another spot weld up in the depression just underneath the bottom of the fender flare. I made a mark about 2 1/4" up. Do not cut to close, or cut the spot weld. Draw a line between these two marks, this will be the section you cut off. |
 |
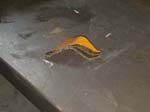
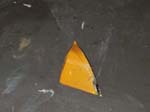
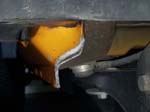
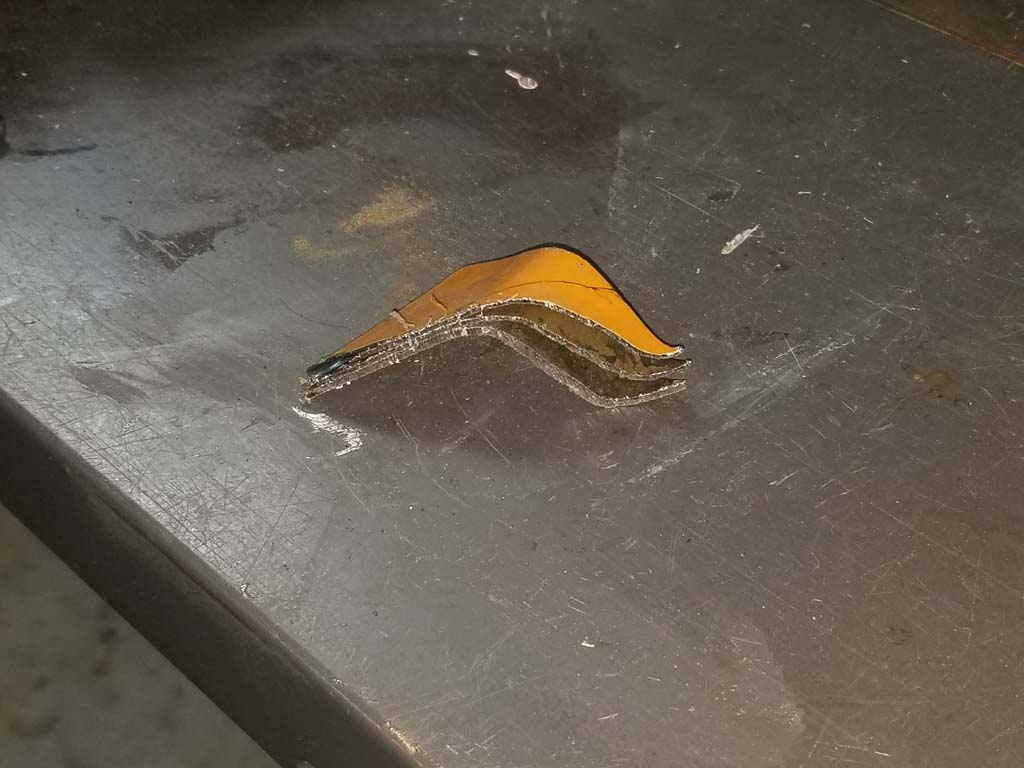
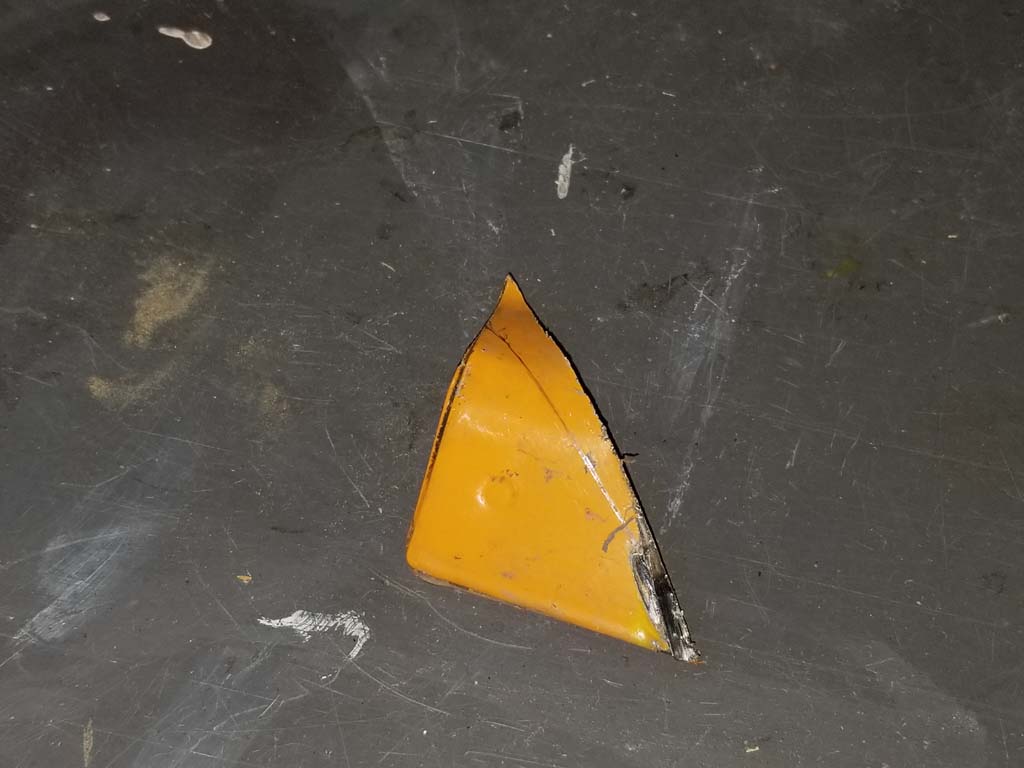
| 3. Use a hacksaw, dremel or an angle grinder with a cutoff wheel to remove the section below the line. Use a flat metal file to remove and burrs from the edge of the cut. |
 |
 |
 |
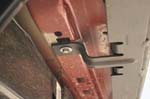
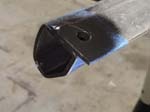
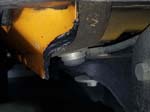
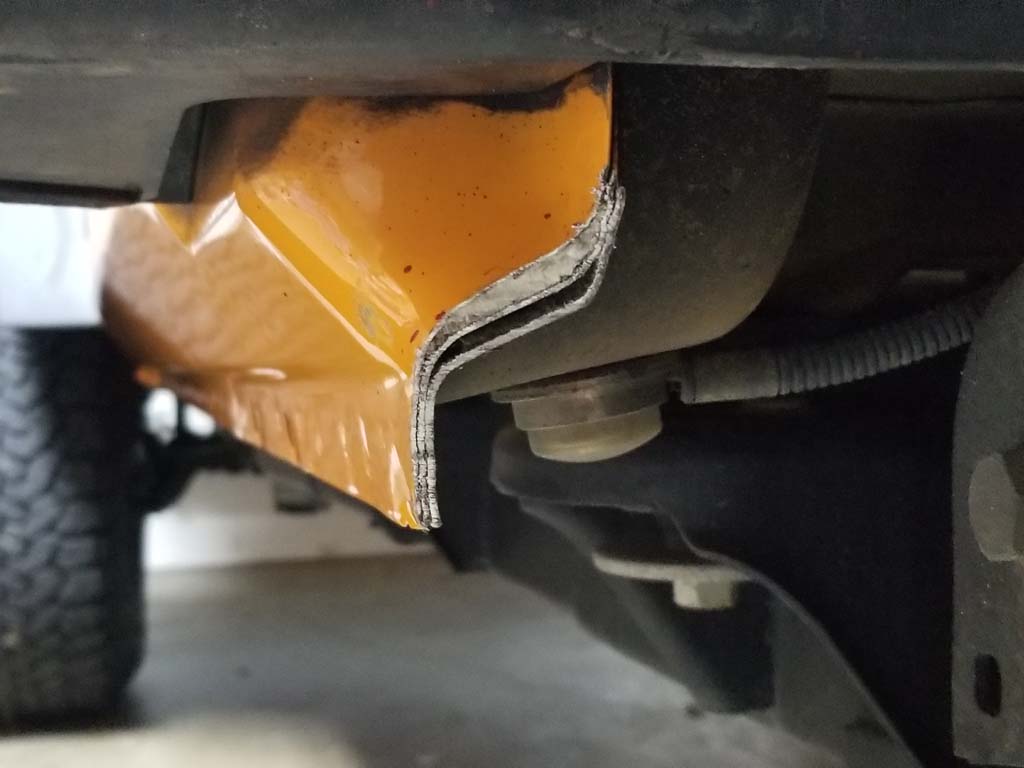
| 4. The cut leaves an exposed sandwich of metal along the edge of the pinch seam. I used some touch up primer and paint along the exposed metal to seal it. |
 |
 |
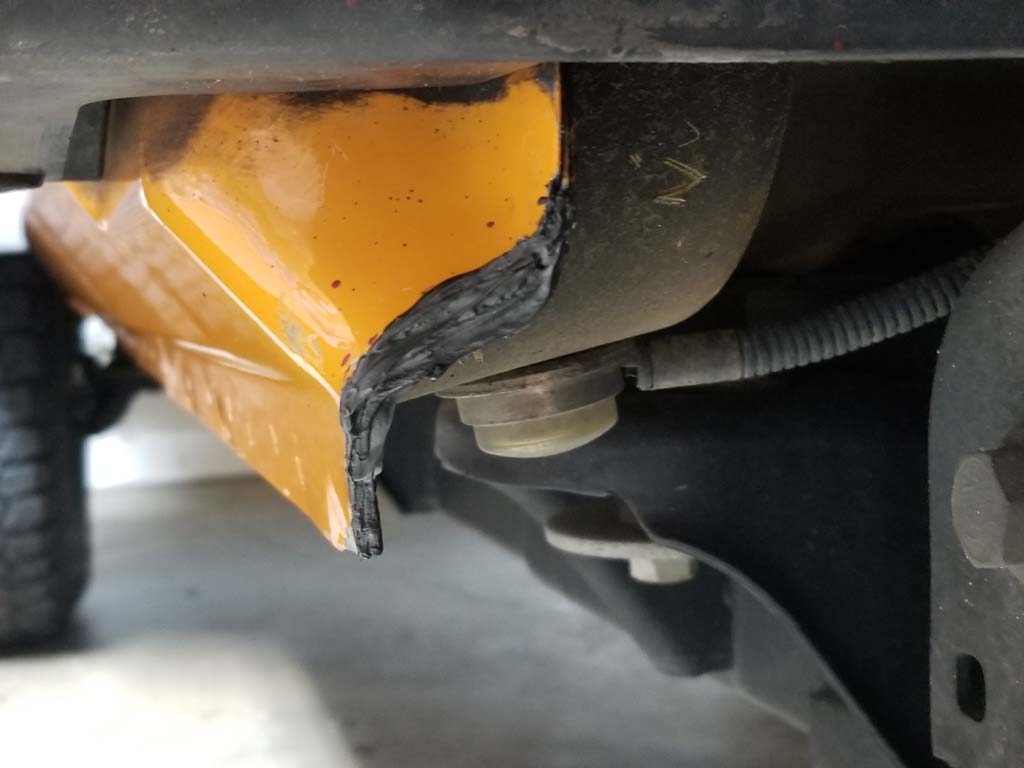
| 5. After the paint dries seal the edge with some black silicone sealant. |
 |
 |
| |
| Reinstall the rock rail: |
Reinstall the rockrail on the side of the Jeep. Slide the 6 attached studs through the holes in the pinch seam. Loosely install the 6 nuts onto the studs holding the rockrail to the pinch seam with a 10mm socket or combo wrench. Then install the three bolts holding the rockrail to the body with a 13mm socket. |
|
|
|
|
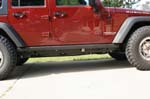
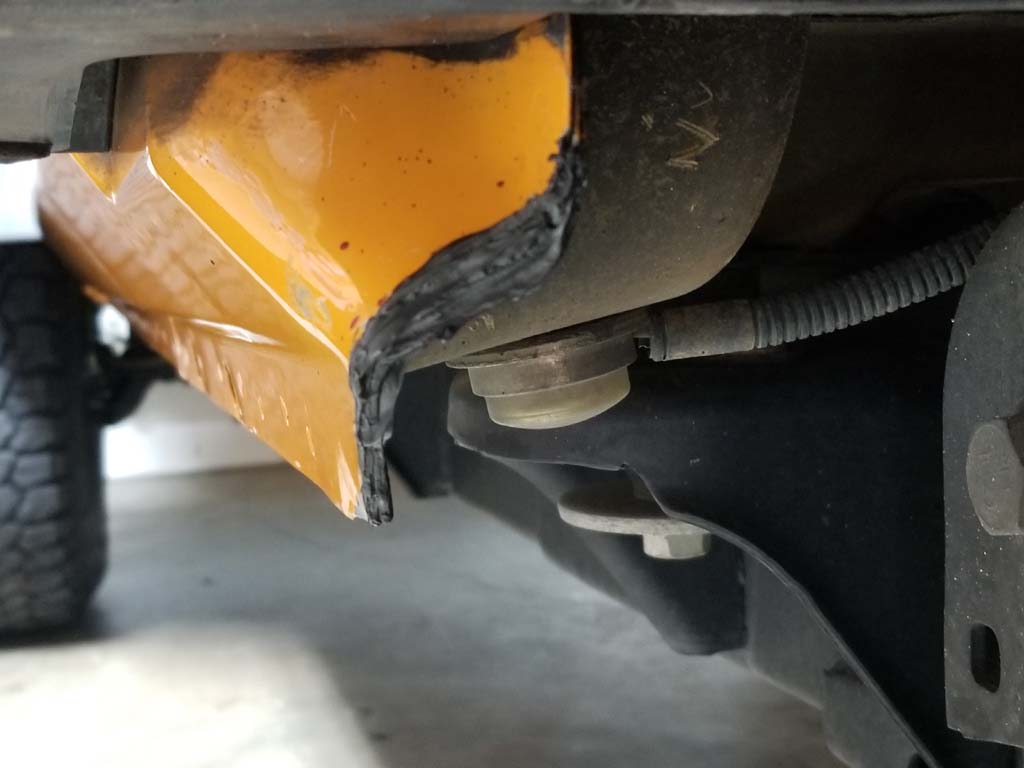
| This is what the finished product looks like. Plenty of clearance for 35's and 37's. |
 |
| |


