About 3 years ago I managed to run over my warn winch controller cable while I was removing a bush from my friends yard. The wires were pulled apart inside, but I managed to make a temporary fix by splicing them back together. This repair had lasted for quite a while so far, but since I was rebuilding my winch, I figured now would be a good time to rewire the controller. This didn't exactly go as planned.
| Disassembly: |
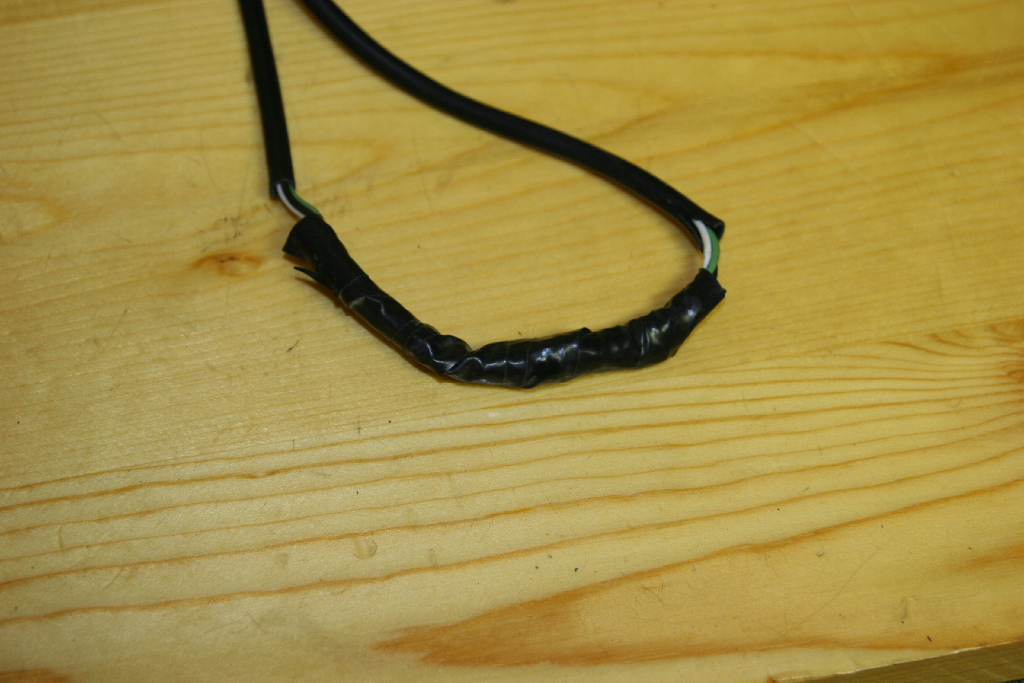
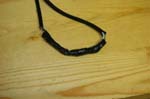
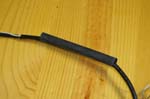
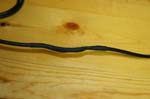
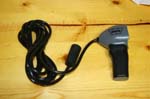
| I dug out the whole mess from the drawer where it had resided lately. Normally this is coiled up really nice. |
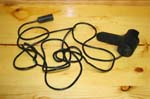 |
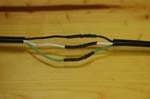
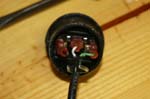
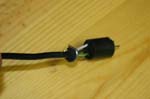
| The break and my very crude off-road (front yard) fix. It worked. |
 |
| |
| Resplicing the wire, simpliest solution for a broken cable: |
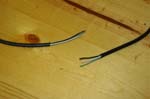
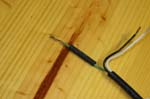
| The hardest part of this is finding the break. Most of the time you will be able to feel it inside the cable, or will actually be looking at 2 seperate pieces of the cable. |
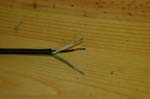
| 1. These are really small wires 18 or 20ga. After you find the break, strip off about 3-4 inches of insulation. I did 2" and 1 1/2", but you can go less on the short side. Strip each wire back about 1/2". |
 |
 |
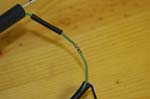
| 2. You will need 3 short (about 1") heat shrink for the wires, and one long (about 4-5") heat shrink to cover the entire gap. |
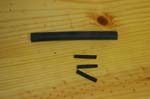 |
| 3. Slide the large heat shrink over the cable bundle, and the short heat shrink over each of the wires. |
 |
 |
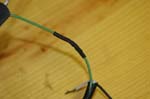
| 4. Audio splice each of the severed wires together. |
 |
| 5. Slide the heatshrink over the splice and heat. |
 |
 |
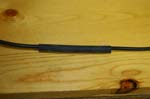
| 6. Slide the large heat shrink over the exposed wires and heat. Done. |
 |
 |
| |
| Attempt to rewire the entire controller: |
| 1. Remove the controller switch from the handle. The handle is rubber, so just pull it to the side and slip the insert out. The insert has a lip that fits into the rubber handle, so you might need a small flat tip screwdriver to wedge in between it and the handle. |
 |
 |
| 2. Push some wire out through the handle so that you can work on the switch. |
 |
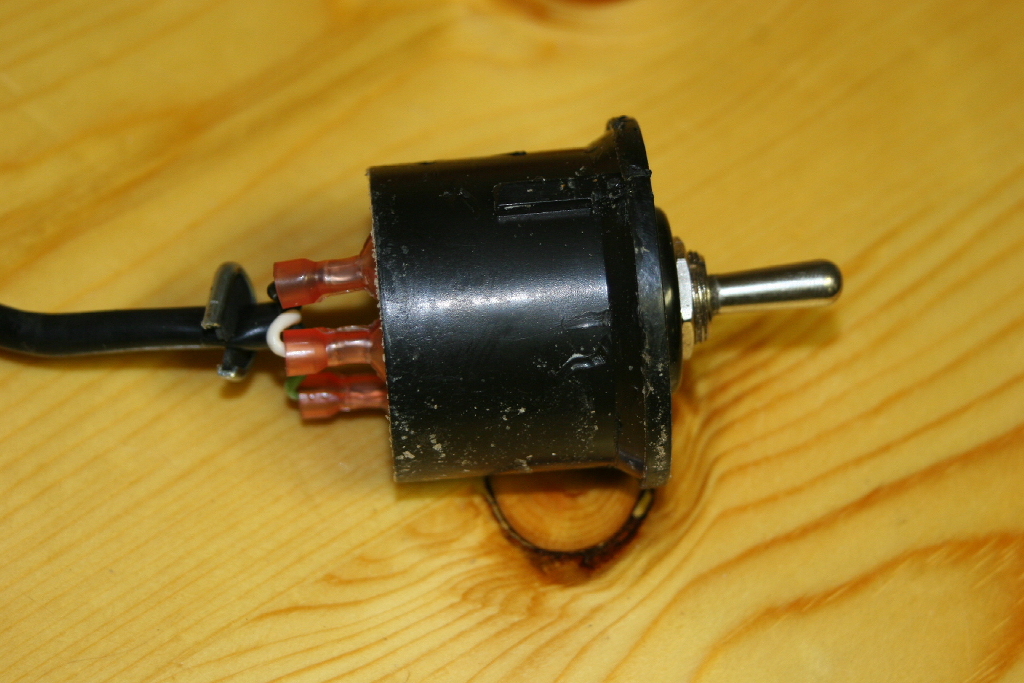
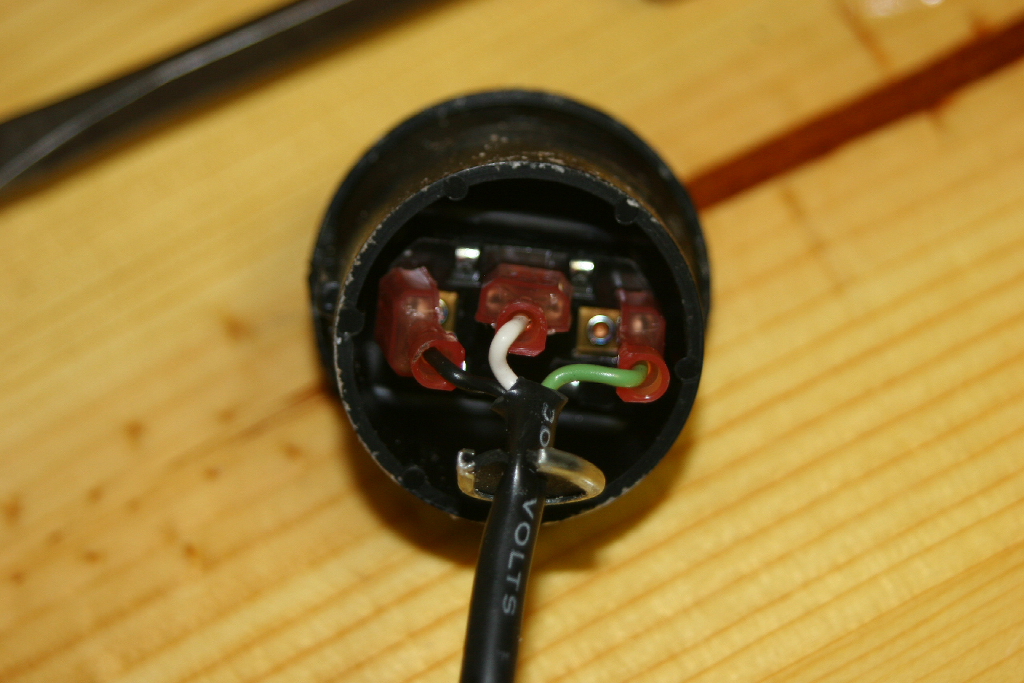
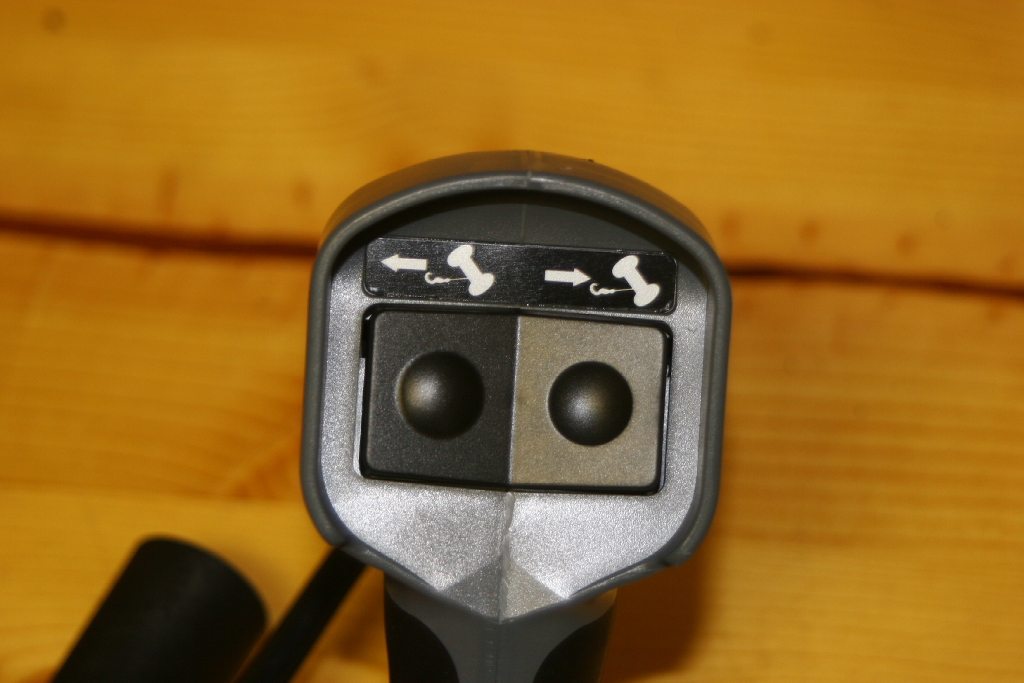
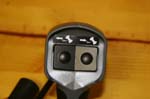
| 3. Make a note as to where the wires go on the switch and disconnect the wires. Put the switch aside. |
 |
 |
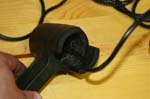
| 4. Remove the wire retainer from the end of the cable. Just pull it off with a pair of pliers. |
 |
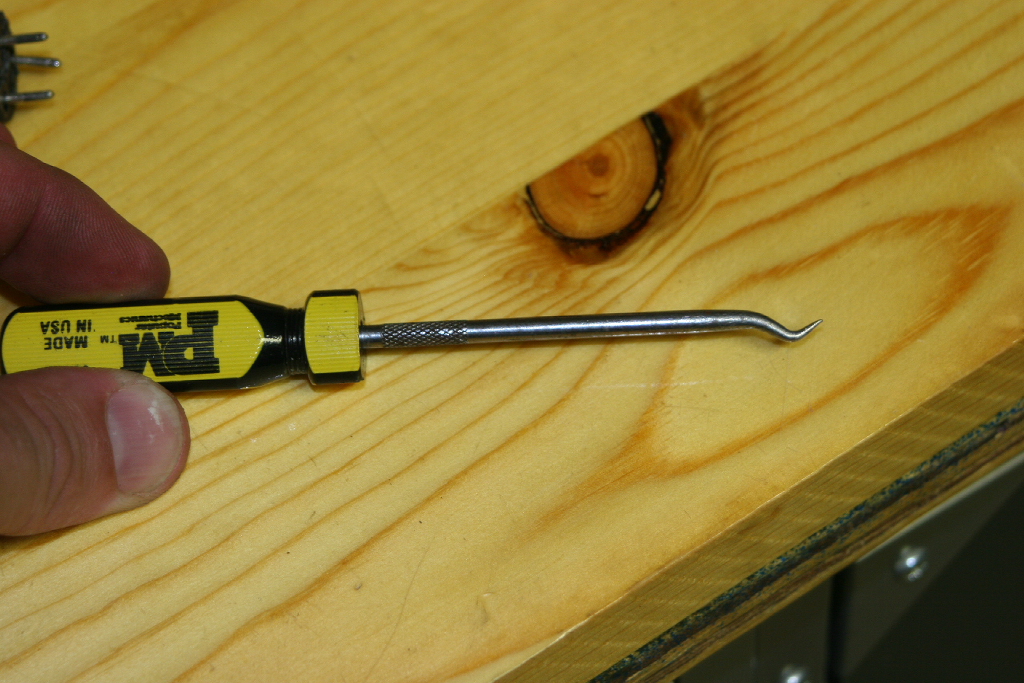
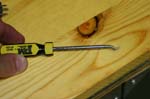
| 5. Getting the end out of the housing was a little harder. I hooked a small o-ring remover inside one of the holes and after a little work, some pushing of the cable from the other side, it slid out. This is just a press fit inside. |
 |
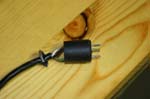 |
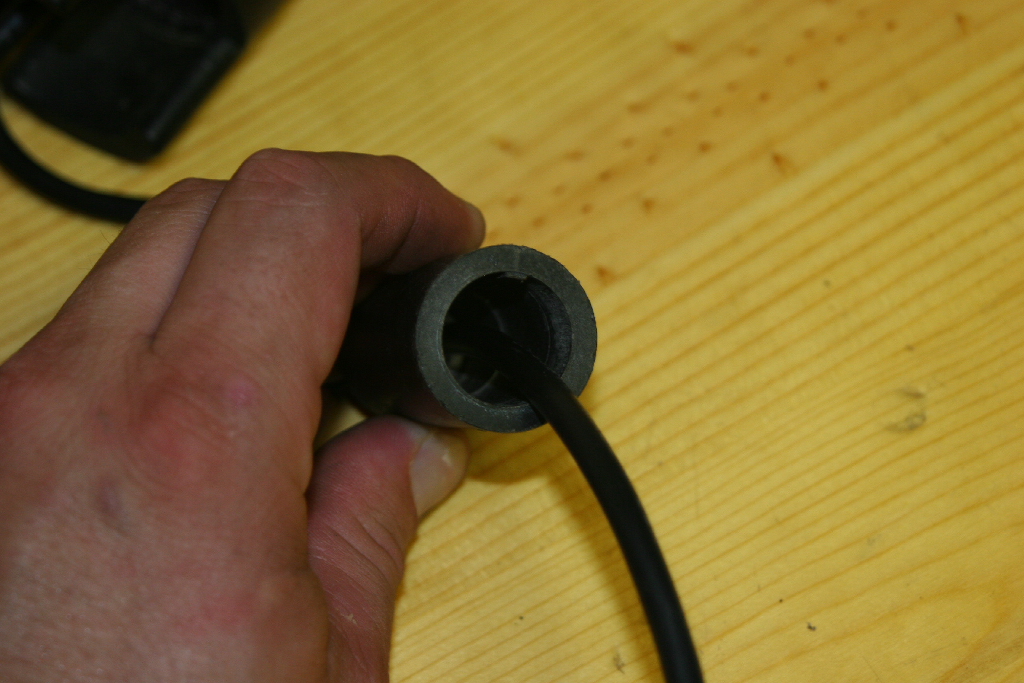
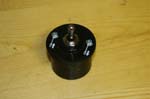
| 6. Push some wire out through the connector so that you can work on the connection. |
 |
| 7. Remove the wire retainer from the end of the cable. Just pull it off with a pair of pliers. |
 |
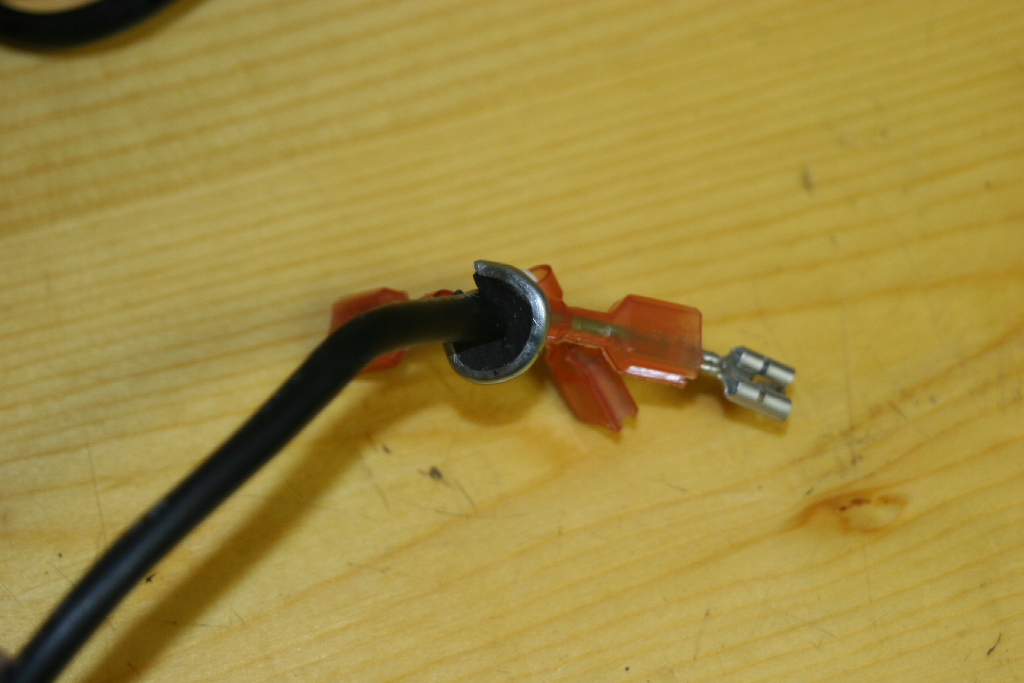
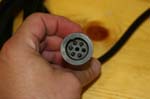
| 8. I tried a few different pin removers and could not get the pins to come out. In the end I decided to use the cable for an incab controller and purchase a new controller for the winch. So I went ahead and cut open the pin end of the cable. The pins were a two piece designe and are double locked inside the end. Even though I could get the pin extractor tool around one set of locks, the second set was pressed out by the extraction tool. This was obviously designed to be installed and left. Warn must have thought about all the times this controller would probably be pulled out by it's cable and didn't want the pins to come out. |
| New controller. |
 |
 |
 |
| |
| Summary: If the ends of your controller are not destroyed, it is better to just splice in a new cable and leave it be, or order a new one, if you destroy the connection to the winch. |