I have always liked the looks of the LED tail lights, but
I didn't want to drill holes in the back of the jeep. I also didn't
like that you would loose the side marker light. I decided that
it wasn't worth it to lose the stock lights just to drill 3 holes in the
body. Off Road Only came out with these great LightDOTs that incorporate
a side marker light, a brake light/ turn signal, and a backup light.
The greatest part is that they bolt right into the stock mounting holes.
Perfect. I originally had the prototype LightPOD's on my Jeep
and really loved them, but they were prototypes so after a while they
started to show their wear. Still worked perfectly fine, but heck the
price was still pretty good for us guinea pigs.
| Installation: |
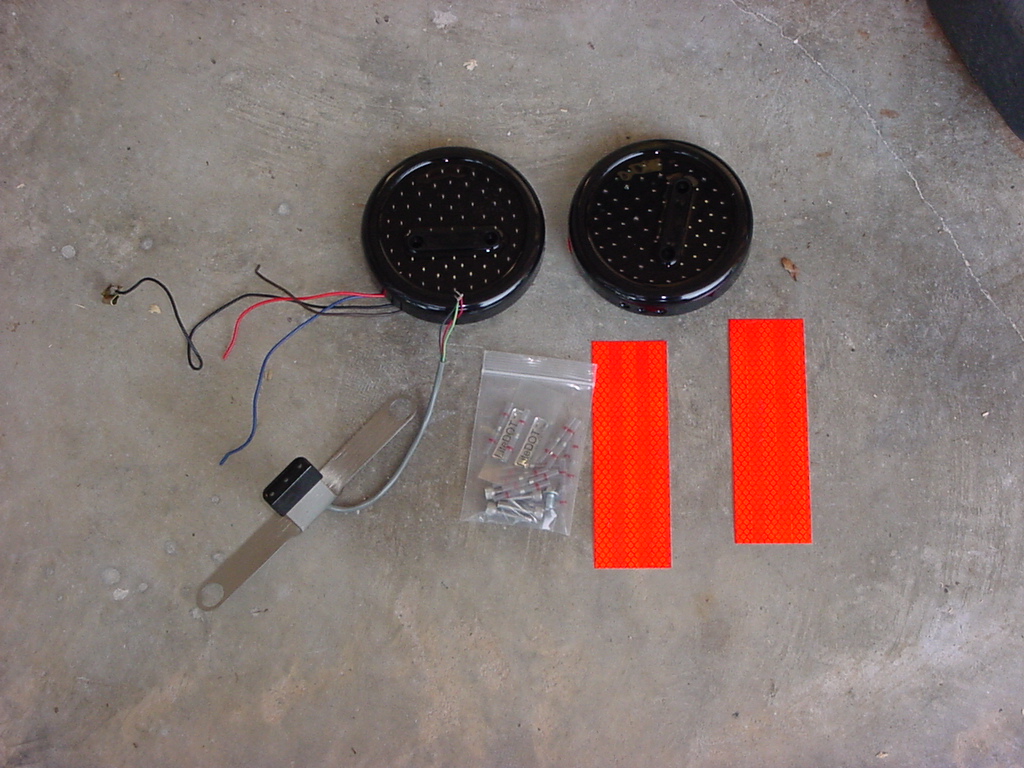
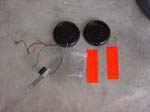
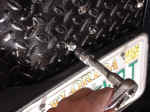
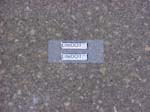
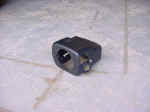
| Here
is what came in my box. |
 |
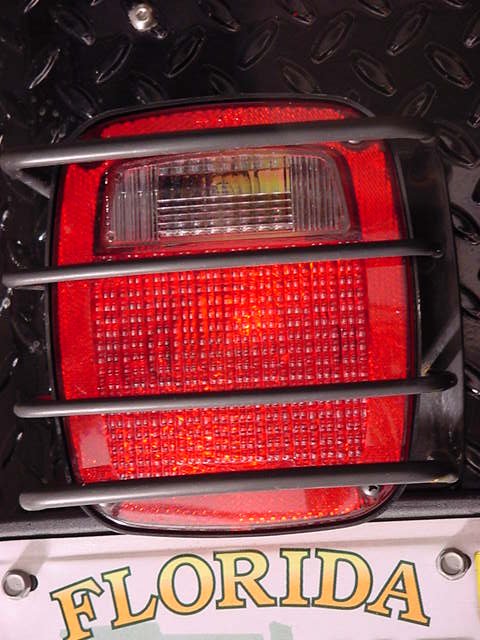
| 1. Remove
the factory light by removing the 4 phillips screws that hold the
lens on. You may need a flat tip screwdriver to carefully pry
the lens out of the housing. I had the LightPOD's installed, so I
removed them. |
|
|
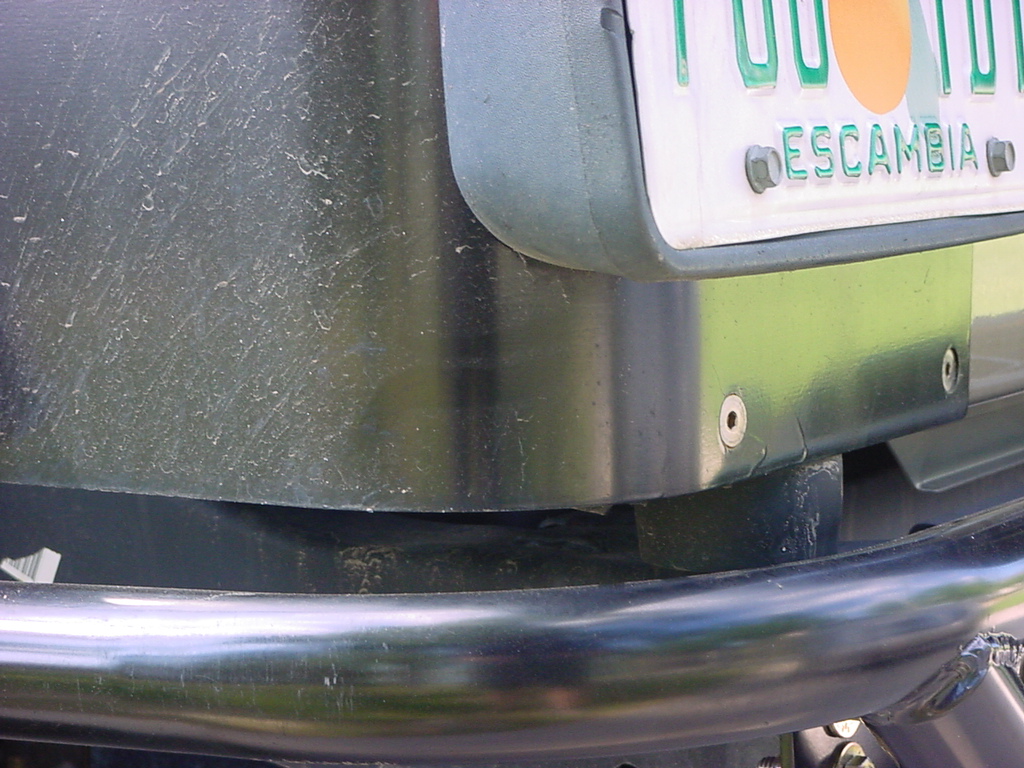
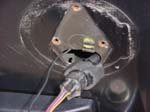
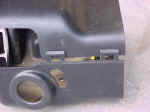
| 2. Remove the 3 bolts holding the housing to the body. This
will require a 10mm socket. |
 |
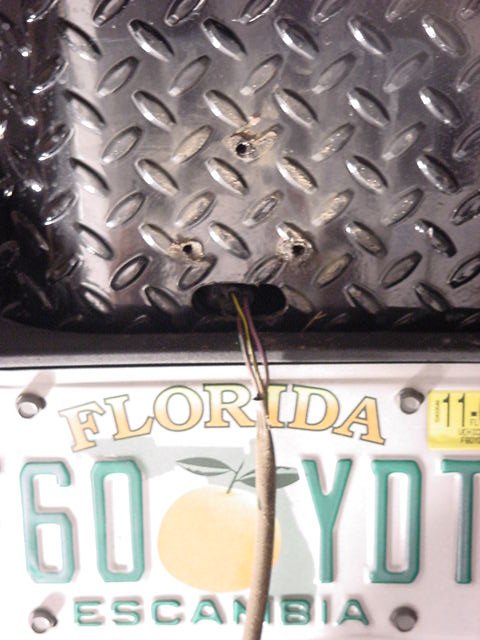
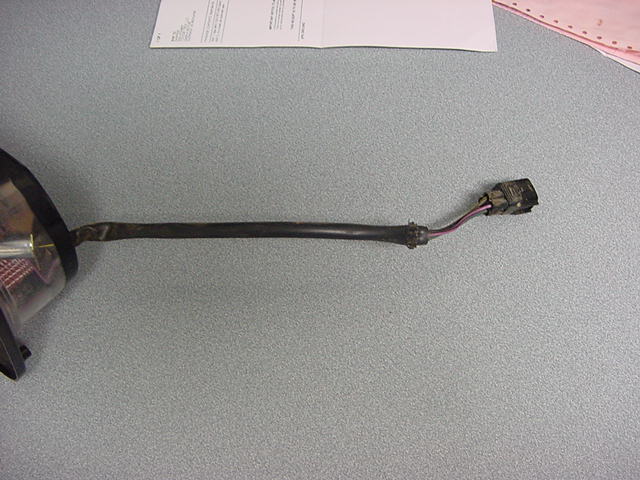
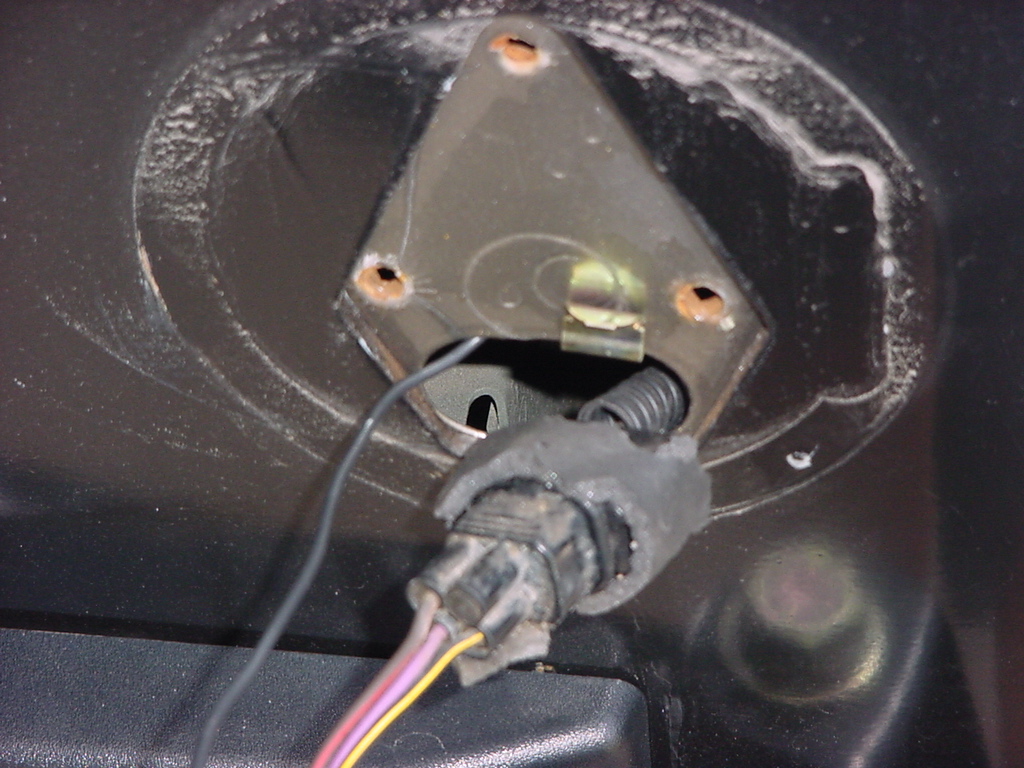
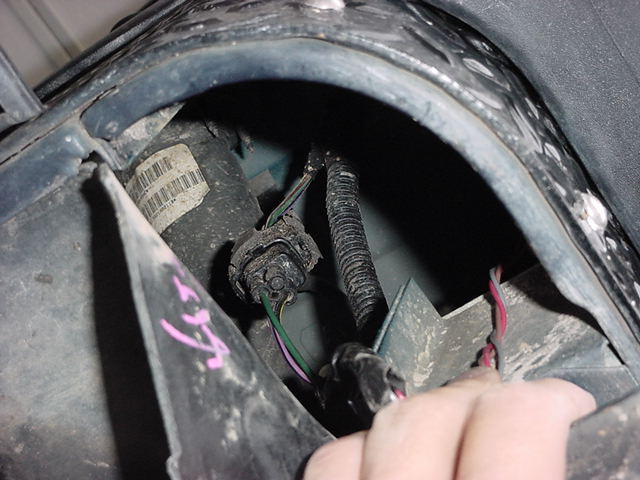
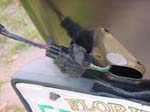
| 3. Disconnect
the wire that comes from the tail light. The connector has a
small clip that you need to press before you pull it apart.
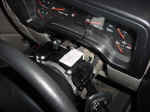
On the Driver side you maybe able to pull the connector through the
body, but on the passenger side you will need to reach up under the
plastic fender liner to get to it on the '03's and up. |
|
 |
|
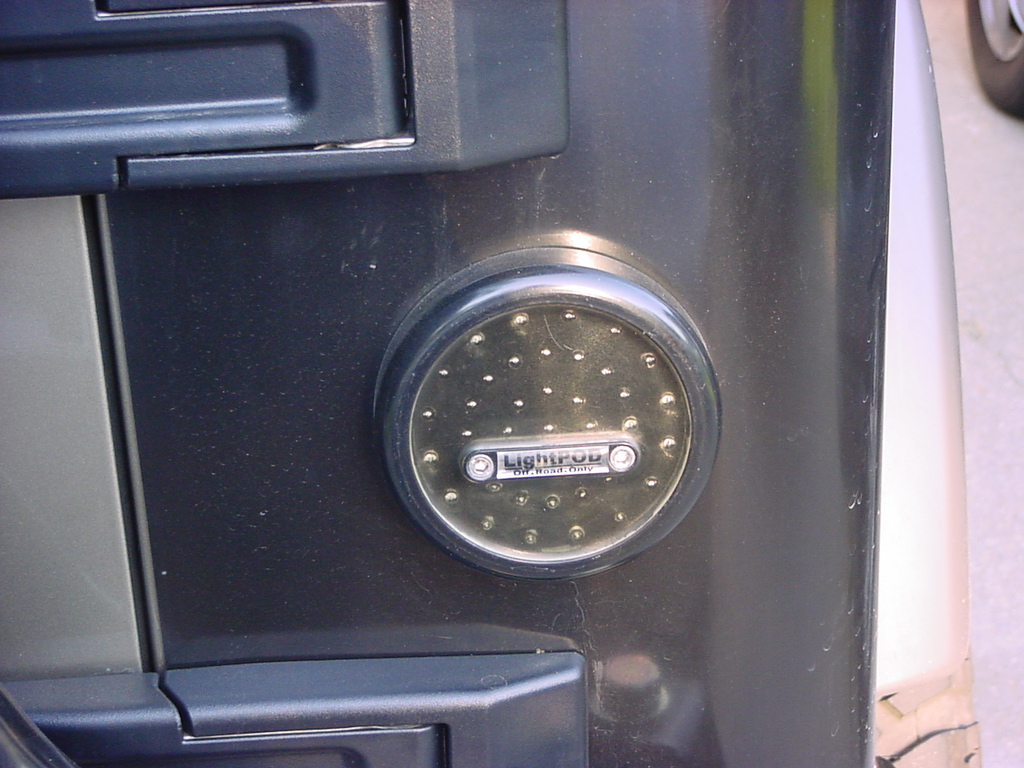
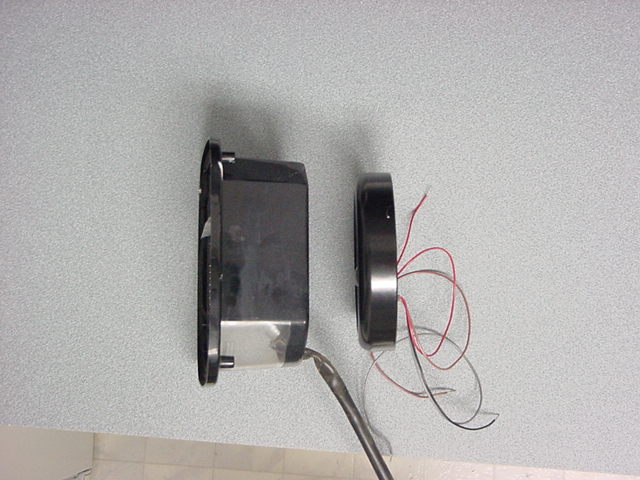
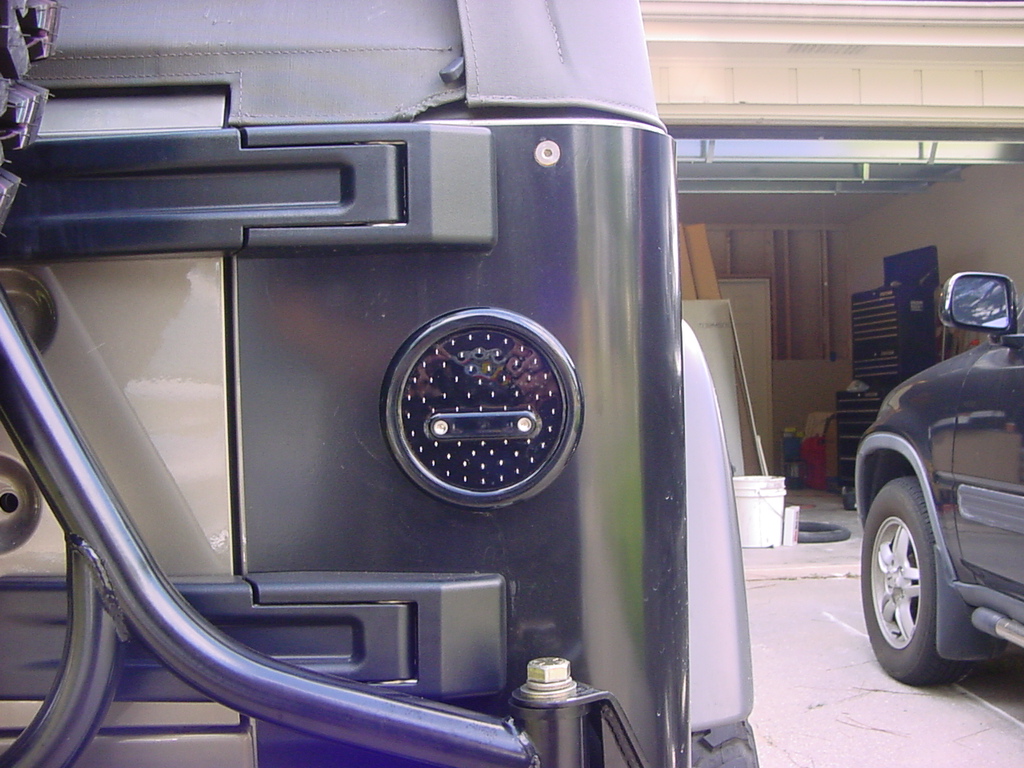
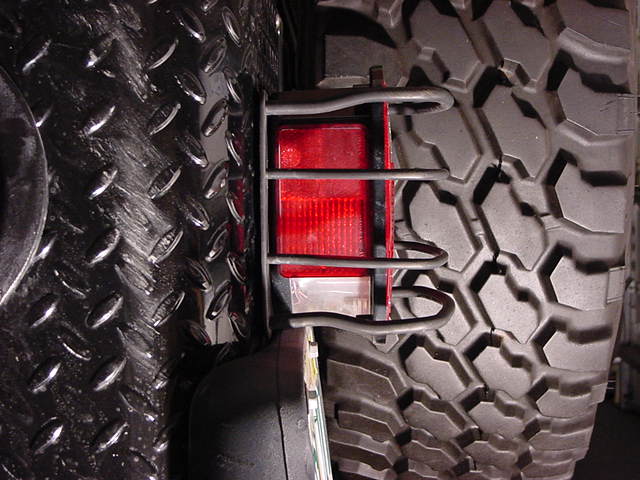
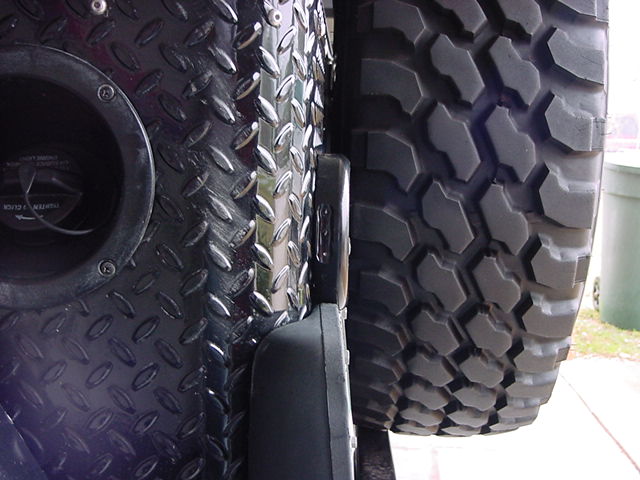
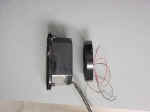
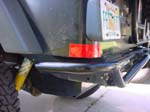
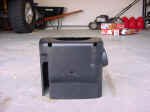
| As you can see the ORO LightPOD is much thinner than the factory tail
light. Your more likely to back into a rock with the bumper
than with the light. |
 |
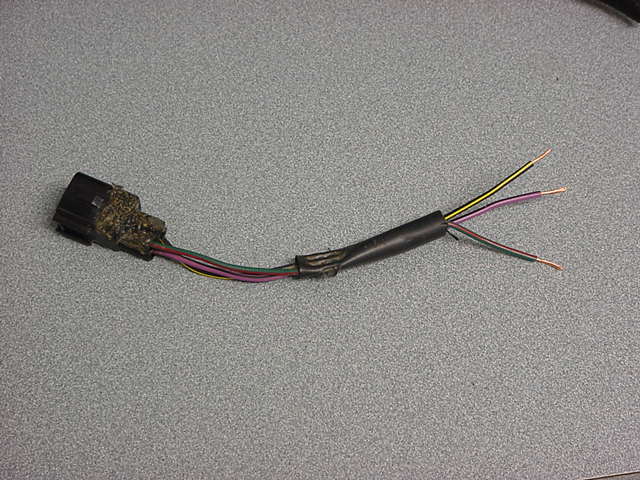
| 4. Cut the OEM harness on the tail lights about midway between the housing
and the connector. |
 |
| 5. Strip back about 2inches of the plastic shroud to expose the 3 wires.
Strip about 3/8-1/2" of wire. |
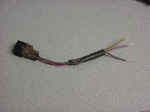 |
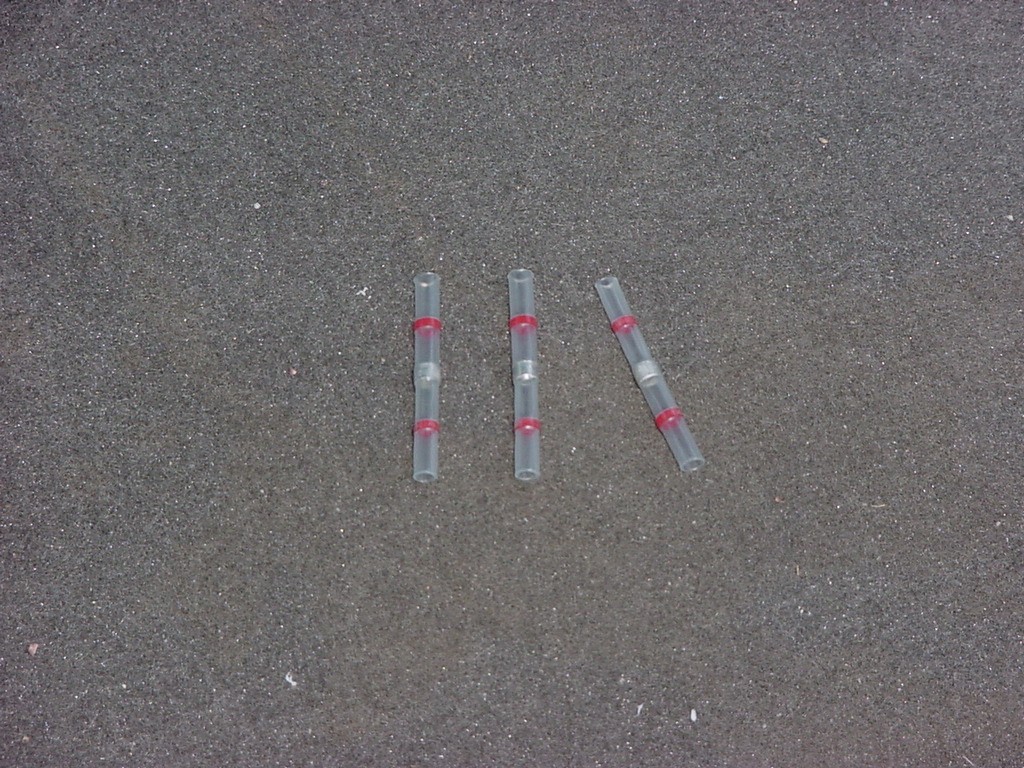
| 6. Slide the provided heat shrink/ solder connectors onto the 3 wires.
I slide them on the LightDOT side of the harness. |
|
|
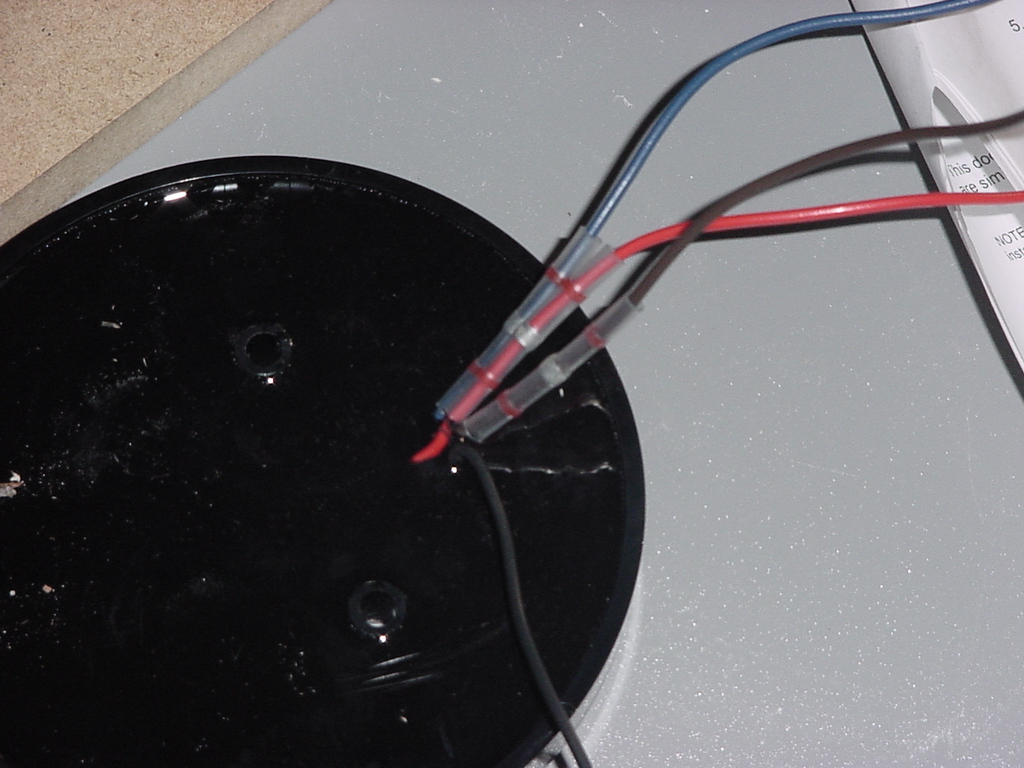
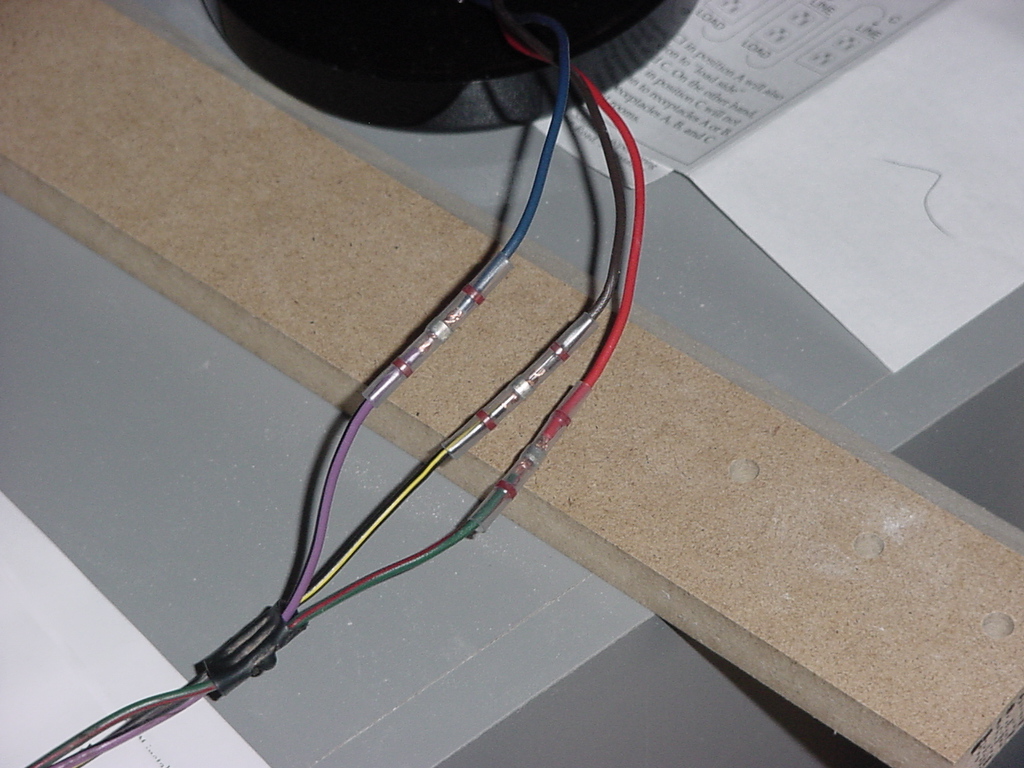
| 7. Now
connect the LightPOD wires to the cut harness. You will need
to do an audio splice on the wire. On the TJ's the wires should be
coded as below. The OEM Tail Lights ground through the mounting
bolts. |
|
|
Left
Side:
Tail -- Black with Yellow Tracer
Brake/ Turn -- Green with Red Tracer
Back-up -- Violet with Black Tracer |
Right Side:
Tail -- Black with Yellow Tracer
Brake/ Turn -- Brown with Red Tracer
Back-up -- Violet with Black Tracer |
| 8. The new LightDOT's come with a self piercing clip on the
end of the ground wire. Just slide this over the edge of the hole
in the body for the wire harness and you have a ground. |
 |
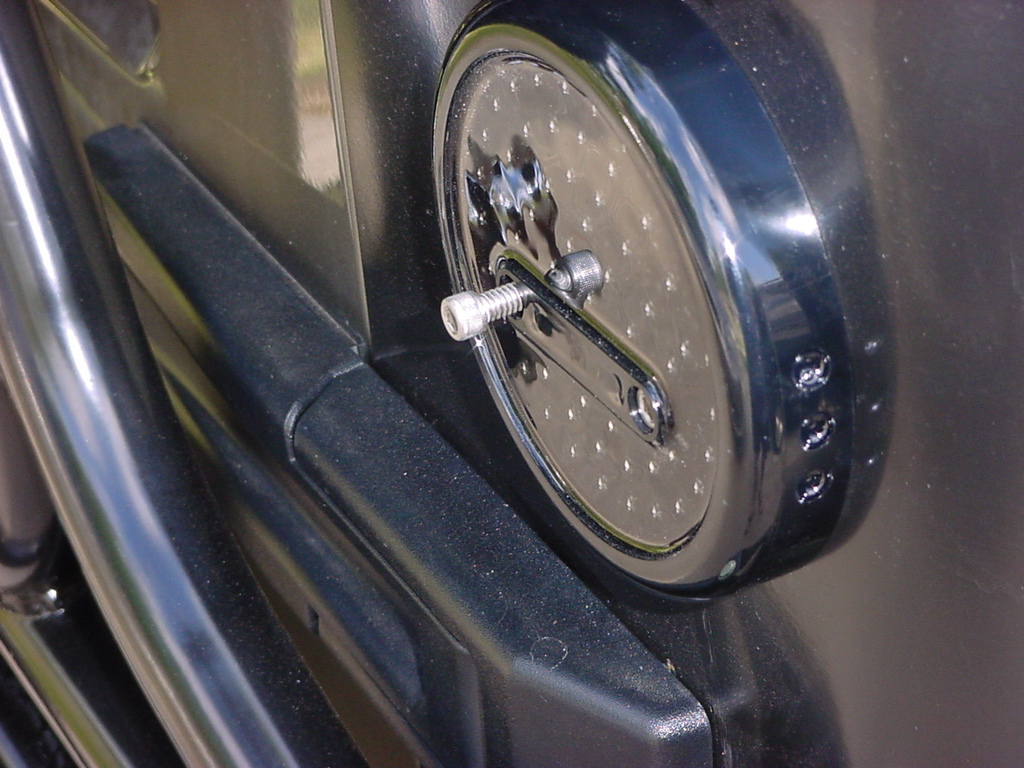
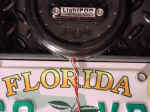
| 9. Insert
the two socket head cap screw into the LightDOT and hold it up against
the Driver Side. You will need to mark the license plate holder
where you will need to cut it. Cut below this marked line. |
 |
 |
| 10. You
will need to remove the factory license plate holder. Remove
the 4 bolts holding the license plate on, and the 4 bolts below to
remove the the holder. You will need a 10mm socket for the license
plate and an extension to reach the holder bolts. |
| 11. Install
the LightPOD by first ensuring that the mounting surface is smooth.
The factory mounting may have raised lips due to the OEM bolts.
Tap these flat. |
|
| 12. Use
the the provided thread cutting machine screw to cut threads for the
socket head cap screws. Lubricating the screws will ease installation.
The Screw requires a 3/8" Socket. |
 |
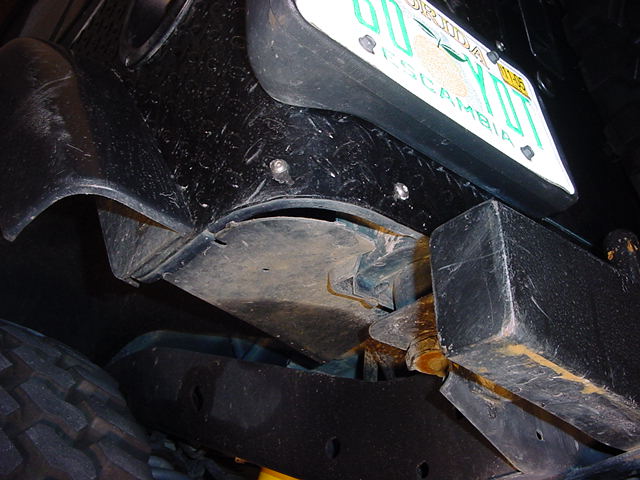
| 13. Now
feed the connector through the opening in the body. On the '03
and up you have the evaporative canister in the passenger rear corner,
that you will need to thread the connector down along side. |
|
| 14. Insert
1 screw through the LightDOT and screw into the body. Don't
screw all the way down. Insert the other screw and tighten down
evenly until LightDOT is seated against the body. |
 |
 |
| 15.
Reconnect the harness. |
 |
 |
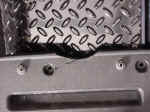
| 16. Fit
the license plate holder up underneath the LightPOD. Check for
clearance and trim as necessary. Bolt back in with the original
bolts and the 10mm Socket. |
 |
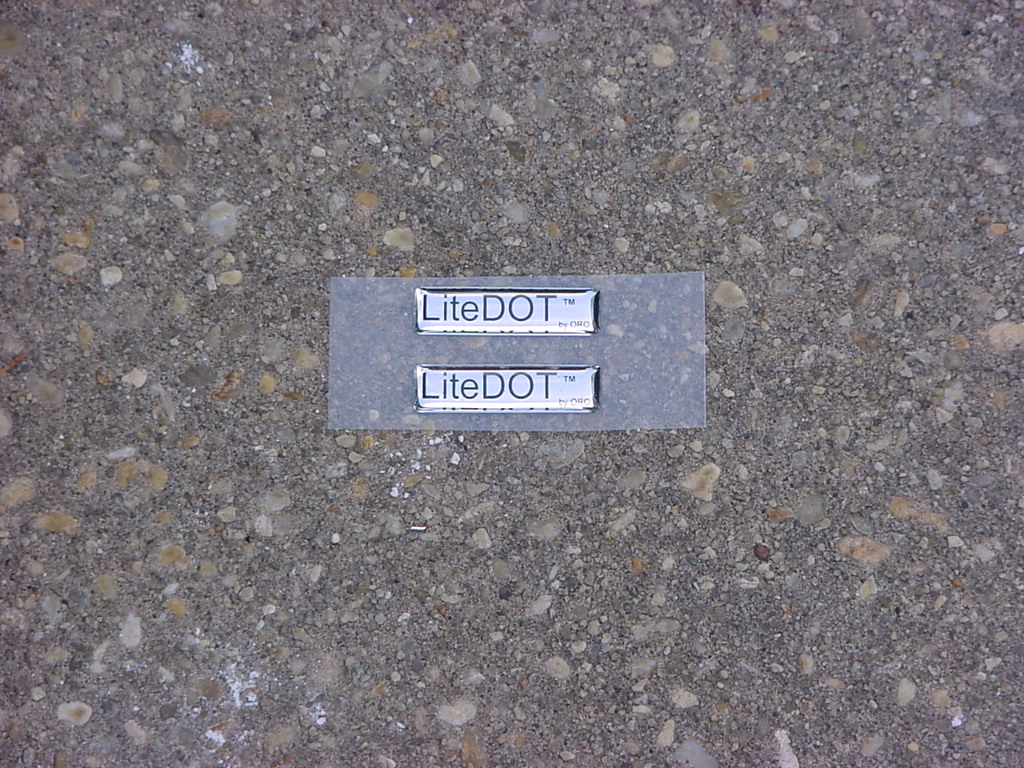
| 17. Of course
you will need to install the LightDOT stickers onto the lights. Now
do I really need to explain this....? |
 |
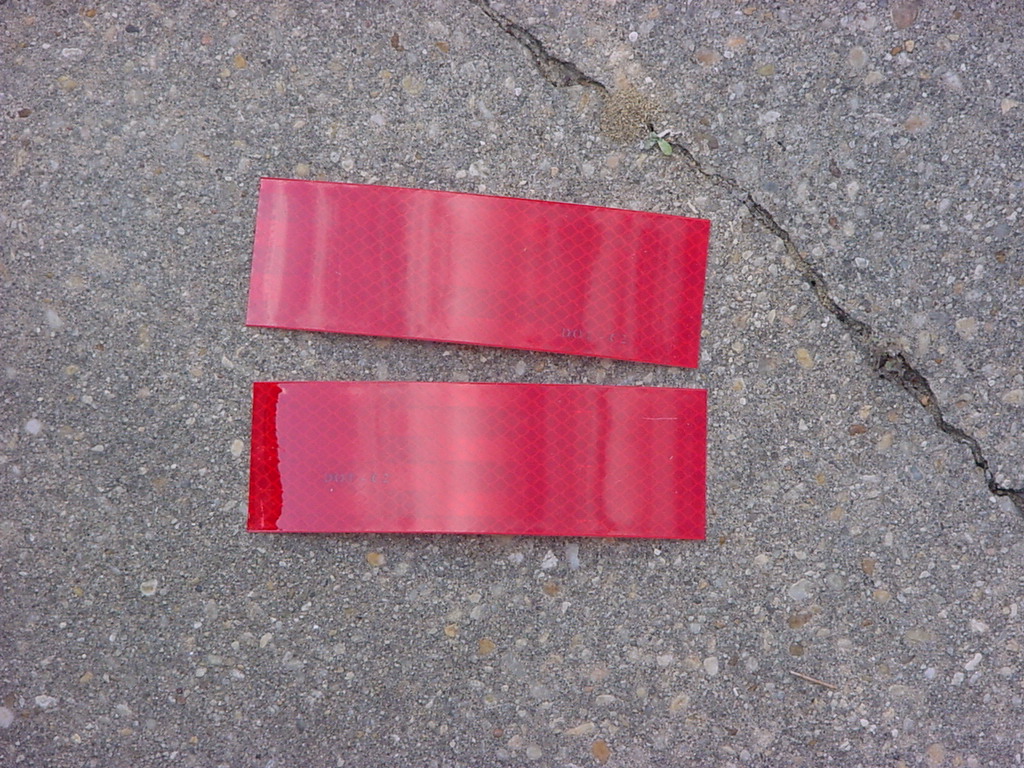
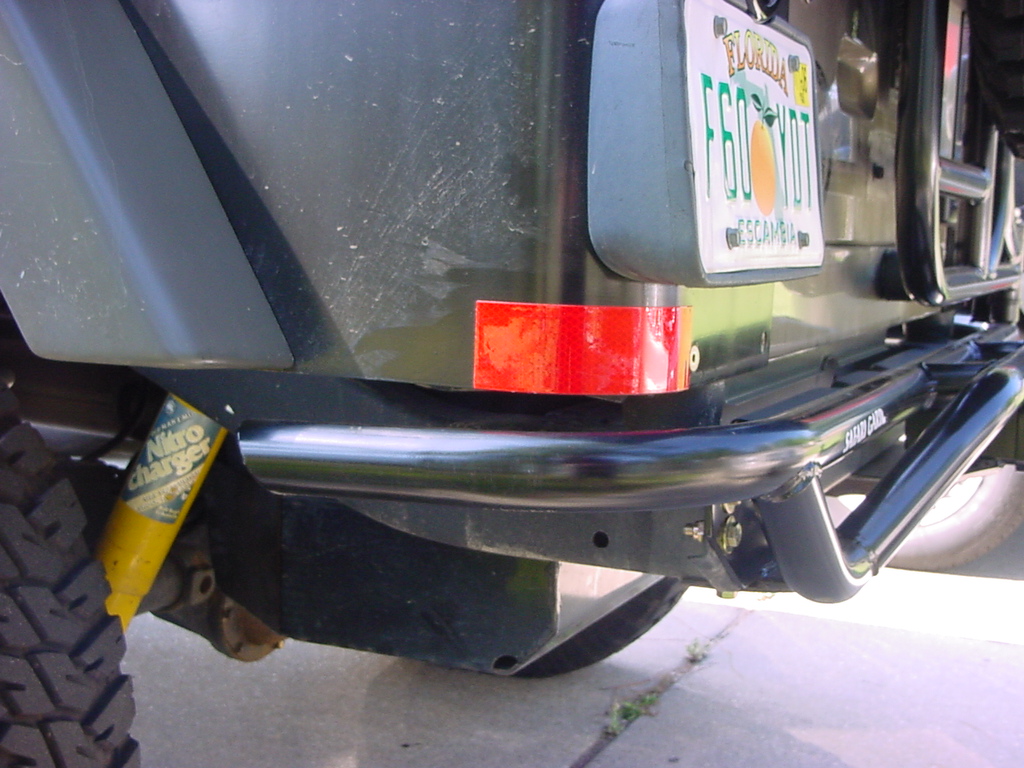
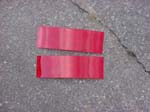
| 18. Install the 2 pieces
of reflective tape on the rear corners of your vehicle. I wrapped
them around the edge to give a little more reflection off to the side.
You will want to stay legal. |
 |
 |
 |
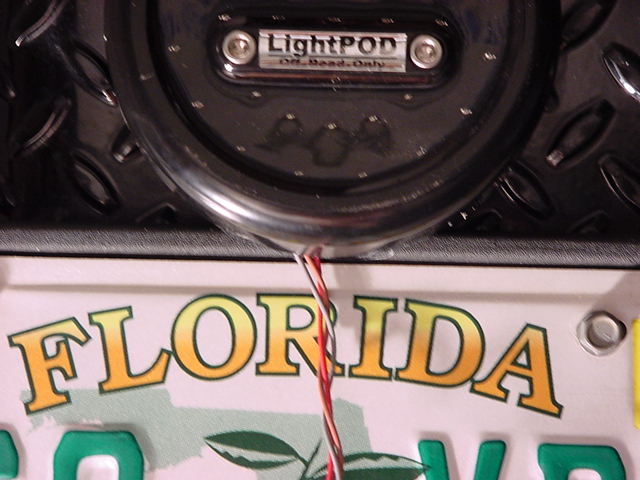
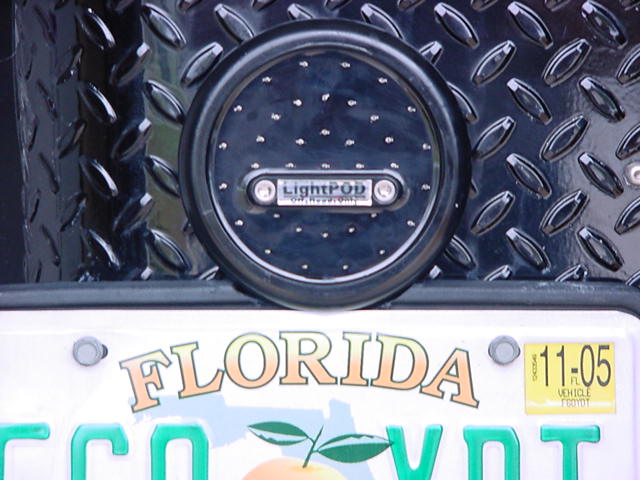
| Finished Product: |
 |
 |
| |
| Flasher Mod |
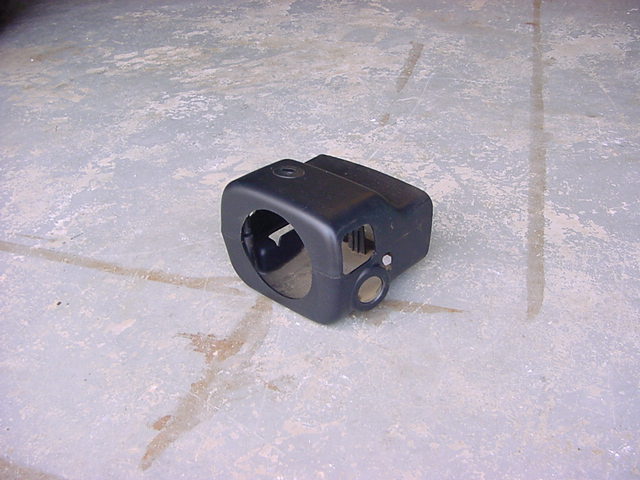
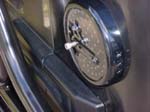
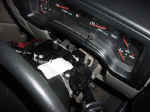
| 1. You
can modify the flasher unit if you want to slow down the flash.
You need to remove the housing from around the steering column |
 |
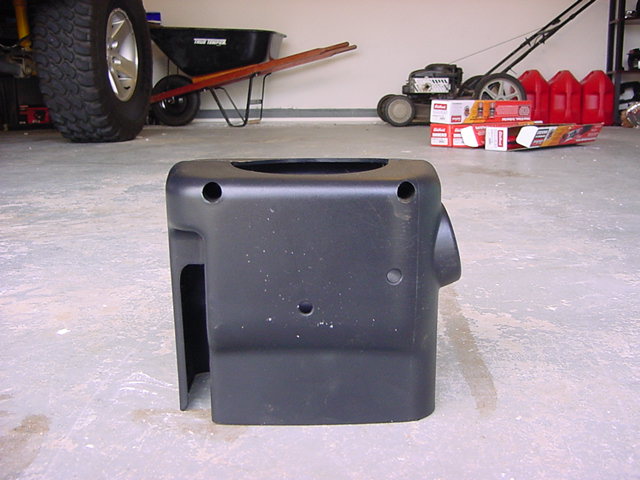
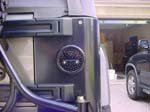
| 2. Remove
the 2 phillips screws from the underside of the housing. Its
the 1 holes on the top of the first pic. Then undo the clips
on each side. Then gently remove the housing. |
 |
 |
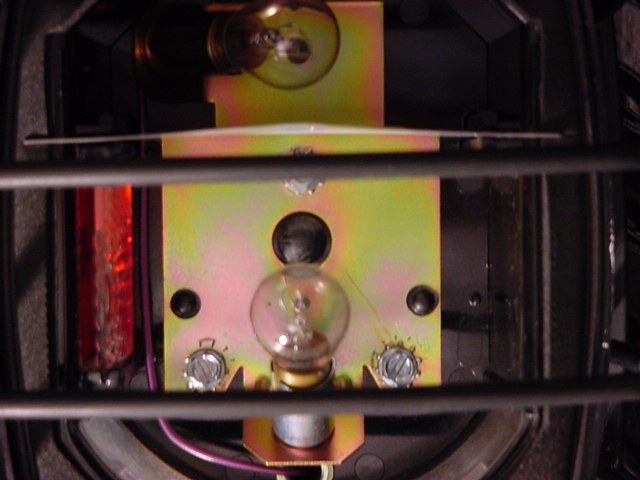
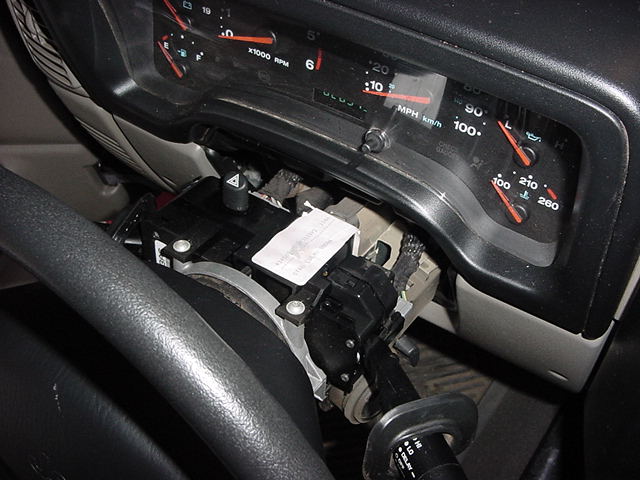
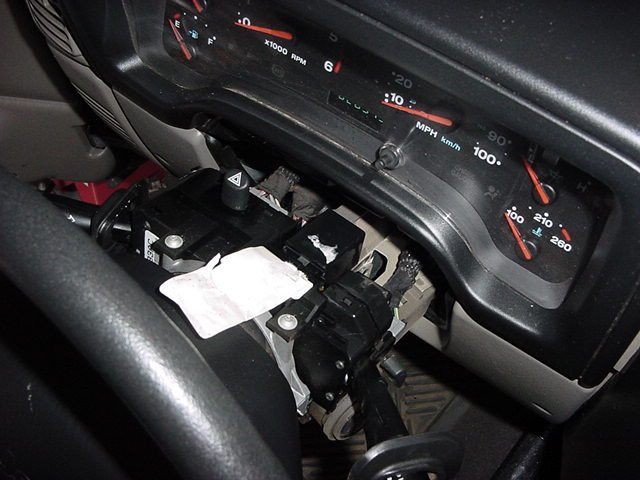
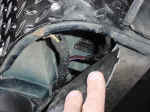
| 3. My flasher
was covered by a white label. I just peeled back the label and
removed the flasher. |
 |
 |
| 4. There
is an aftermarket flasher that you can buy that will slow down the
flash of the LED's but if you were to hit the emergency flashers it
will blow a fuse under the hood immediately. The flasher is
#EP-27. I decided to wait until Off Road Only succeeds in having
a flasher made that doesn't blow fuses. The fuse that it blows is
#27 MFSW in the box. |
|
| 5. The alternative
is to modify your Flasher with the directions found on the Mesa4x4
Site. |
Flasher
Mod |