I needed some form of trail communications once again for the new Jeep. So once again a CB has found it's way into the Jeep. One day I will get my HAM license and then have another radio to install. Not many people run HAM in my area, but CB's are plentyfull.
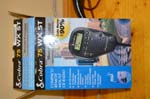
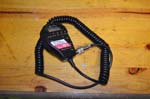
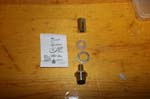
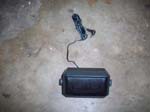
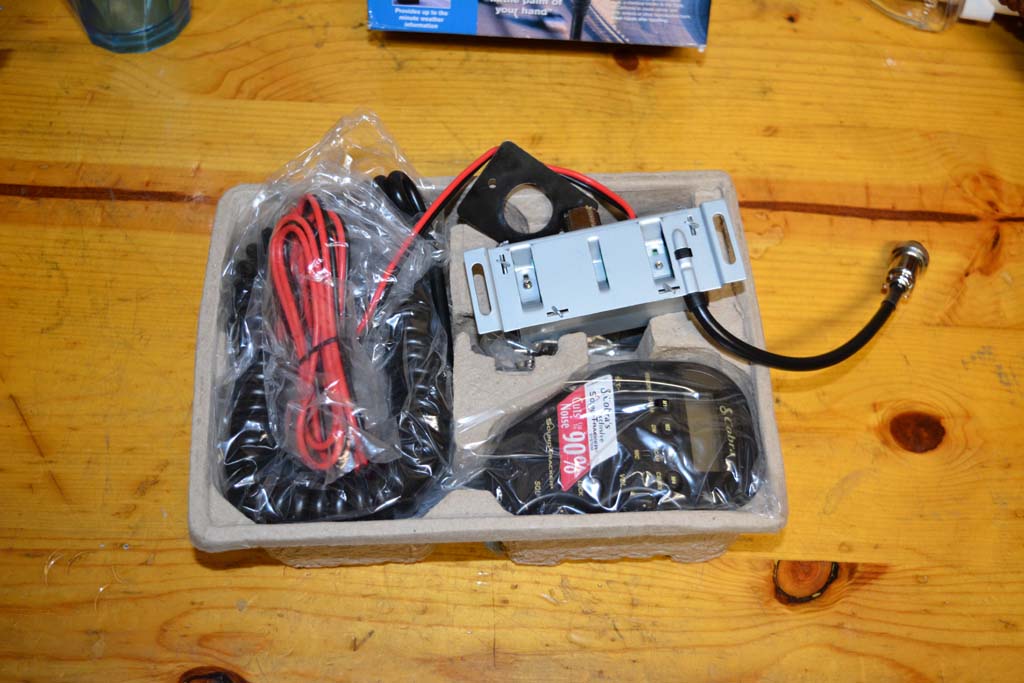
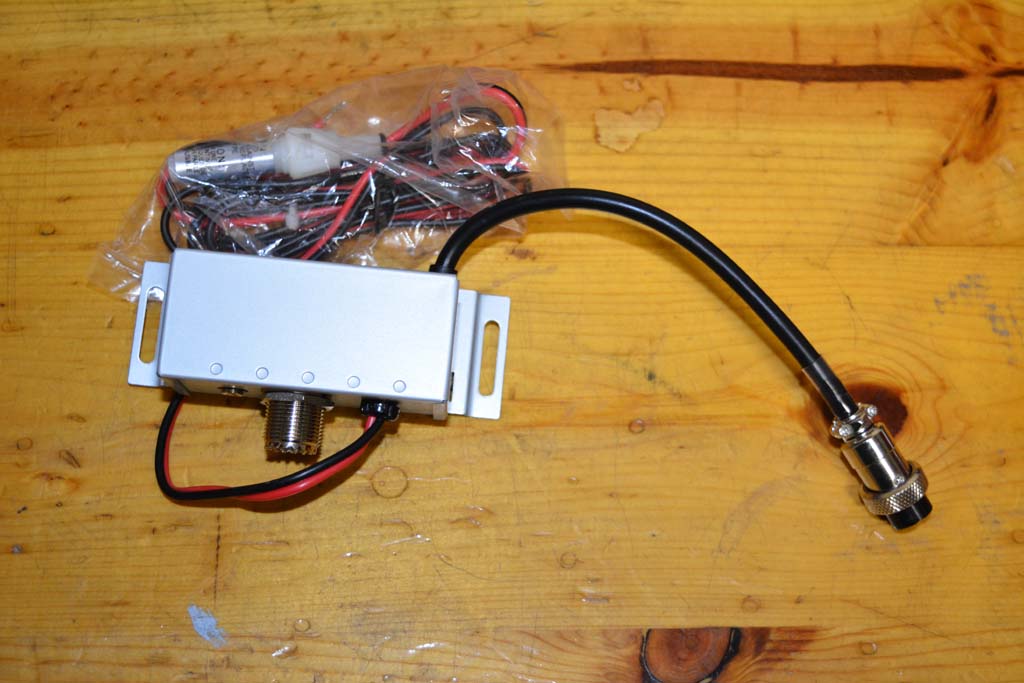
| Cobra 75wx Radio: |
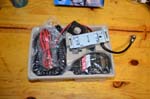
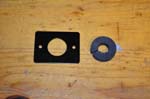
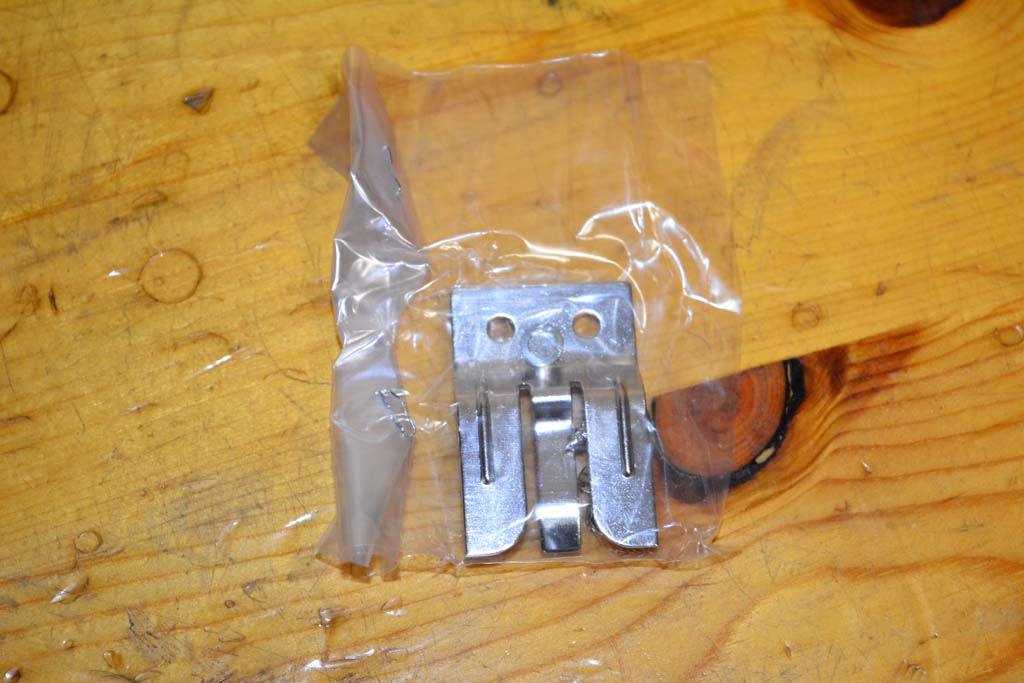
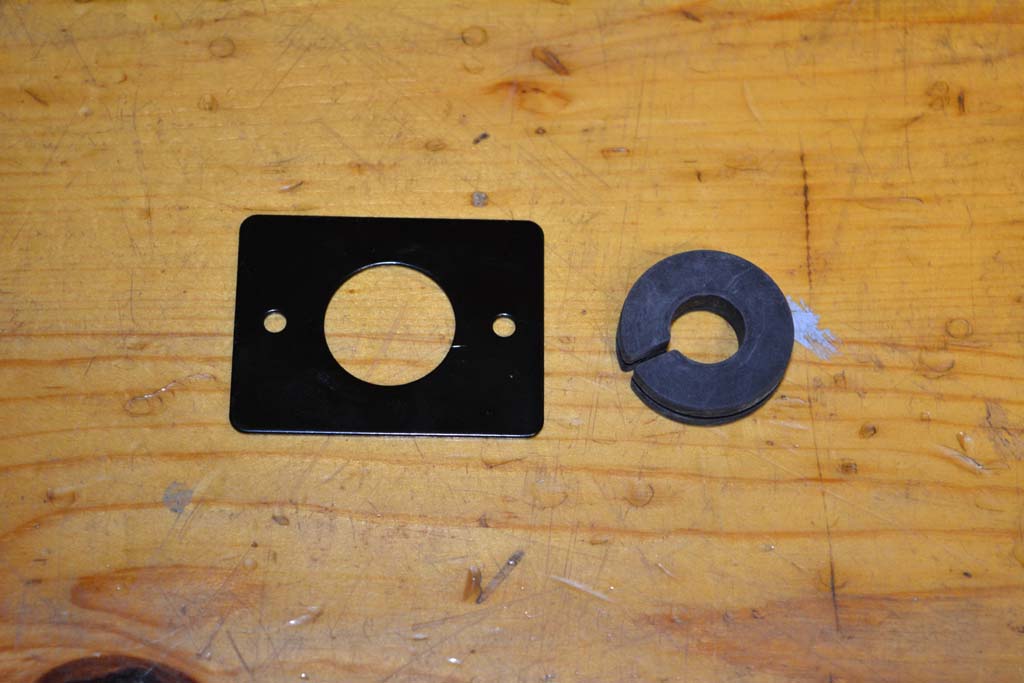
| Here's what you get in the box. The mic, connection box, mounting plate, and mic holder. |
 |
 |
 |
 |
 |
 |
| |
| Installation: |
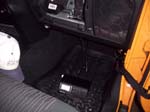
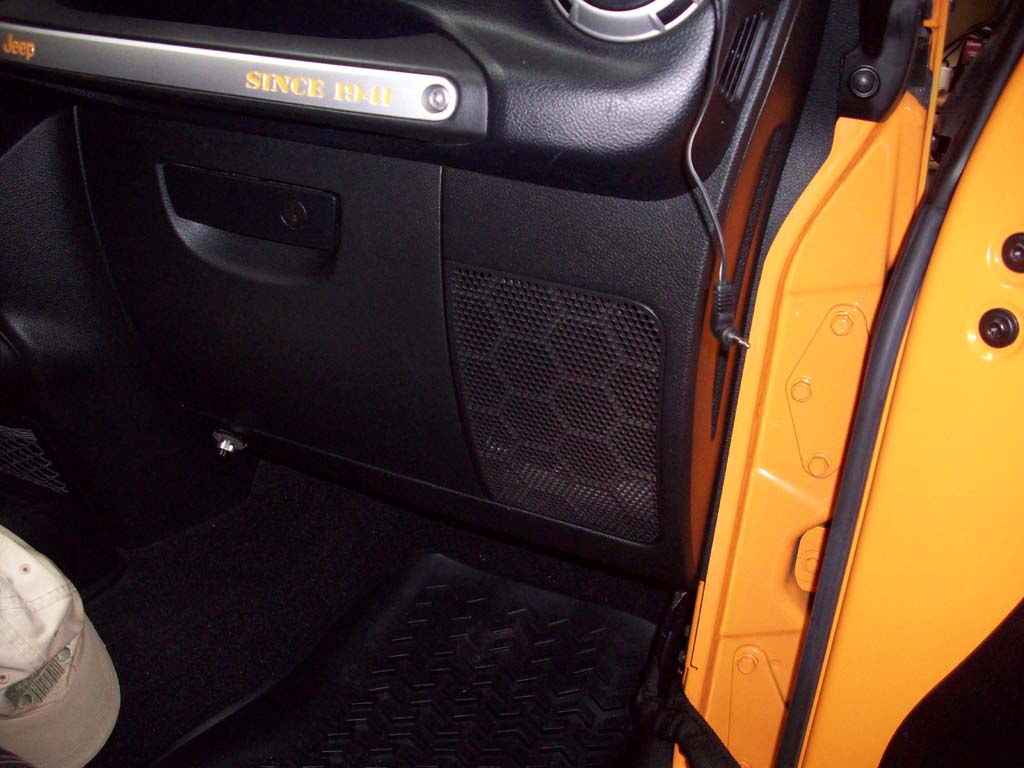
| Where you install it is up to you, I've seen under the center console, inside the center console, behind the drivers knee panel, behind the passenger knee panel, under the seats, etc... I decided to put it over on the passenger side to keep the cords out of the drivers way, and because it was easy to get to without trying to contort my body into a pretzel to install it. |
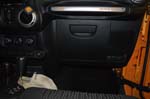 |
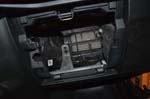
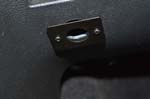
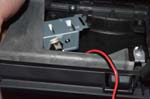
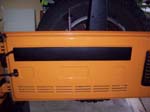
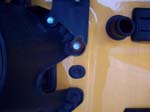
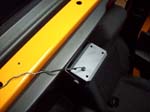
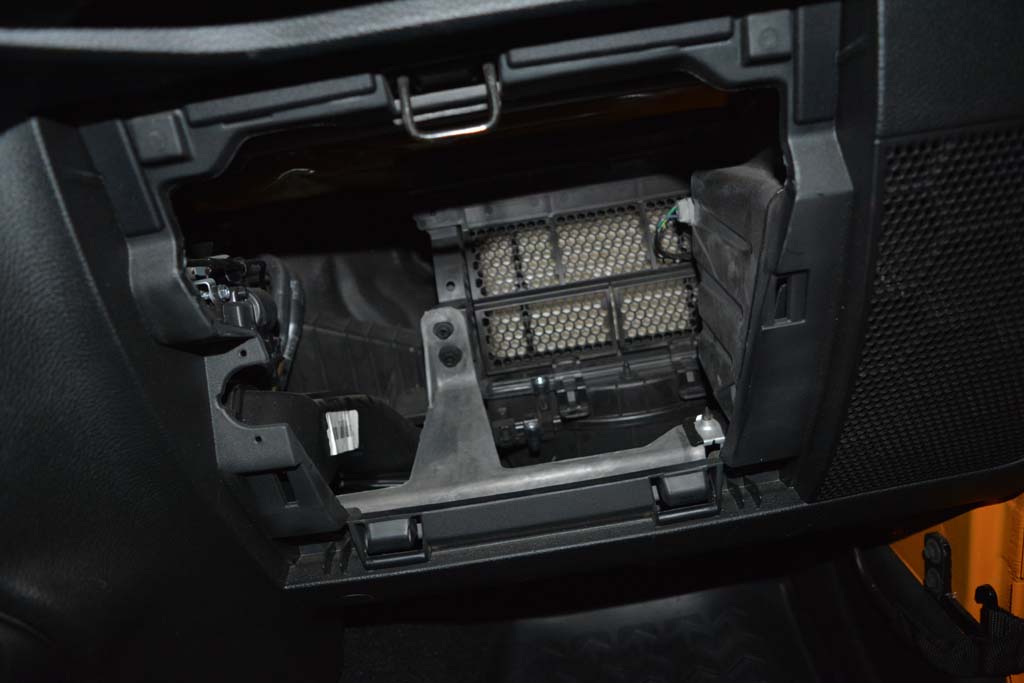
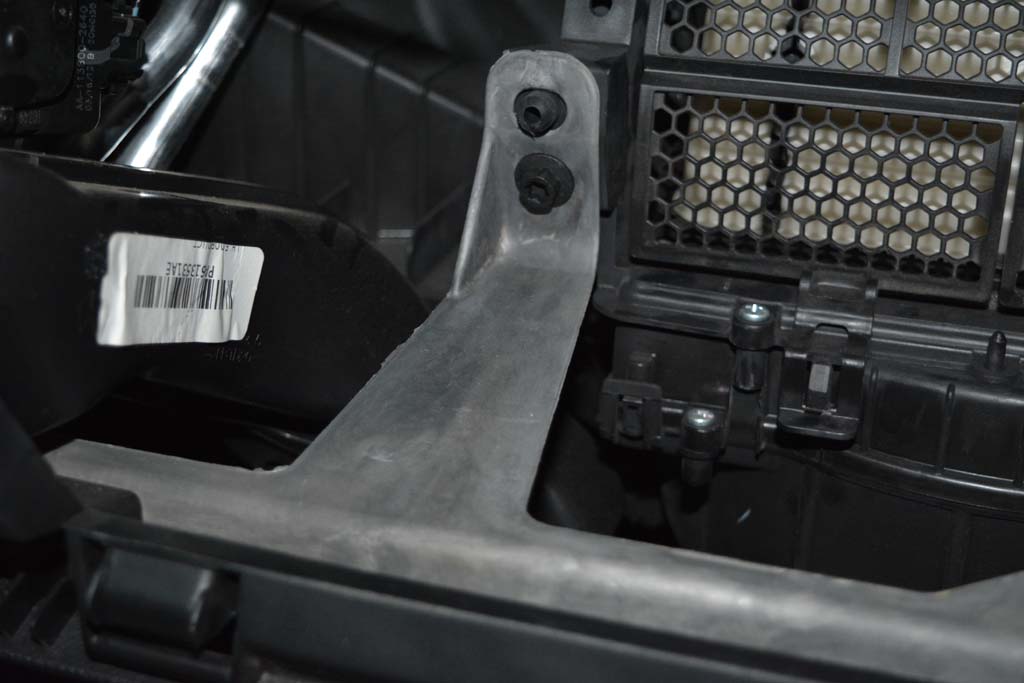
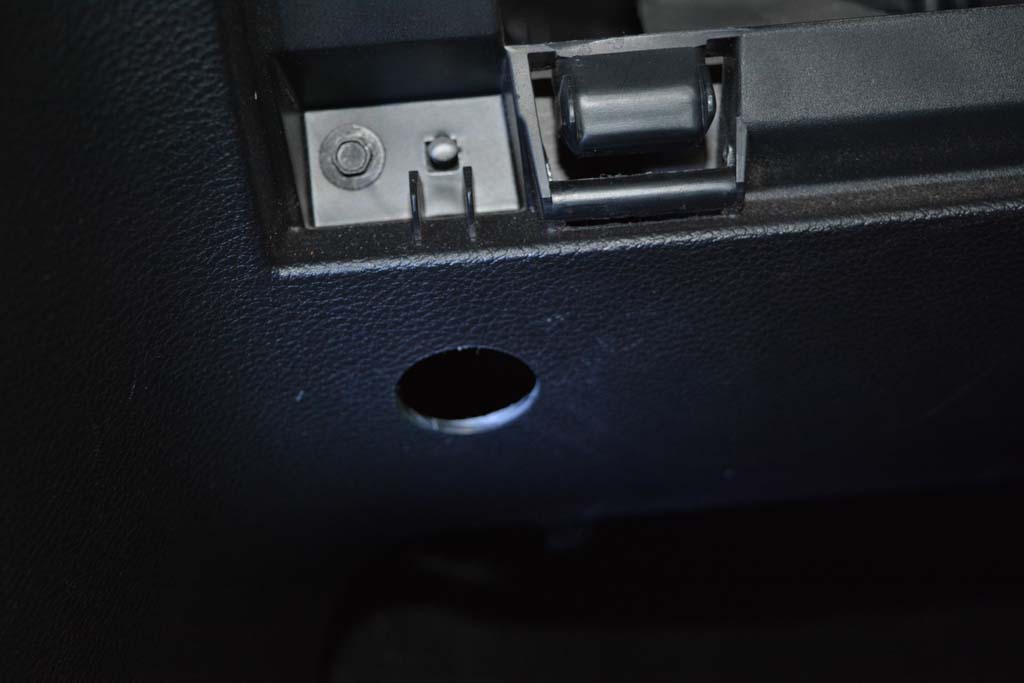
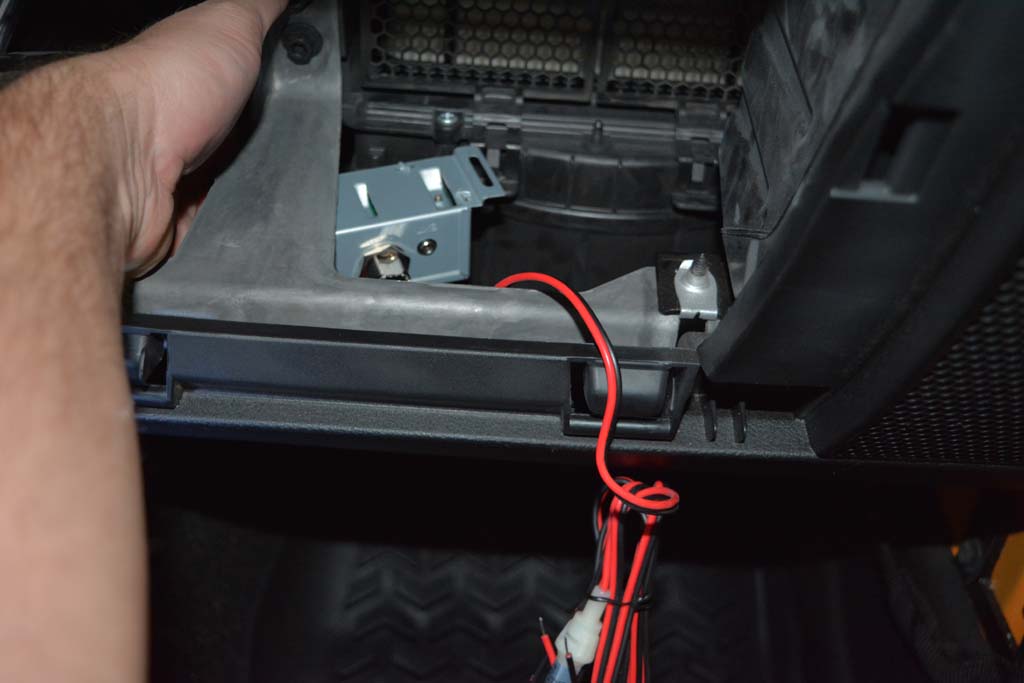
| Remove the glove box, by pressing in on the tabs on each side and rotating it down and out. There is a dash support underneath the glovebox that makes a convient spot to hang the connection box from. The plastic piece under the glove box can easily be drilled to accept the mounting plate for the mic cord. |
 |
 |
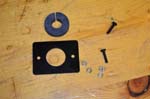
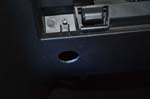
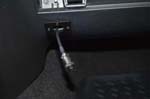
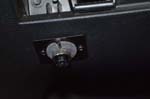
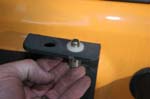
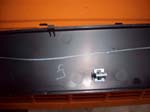
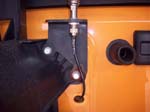
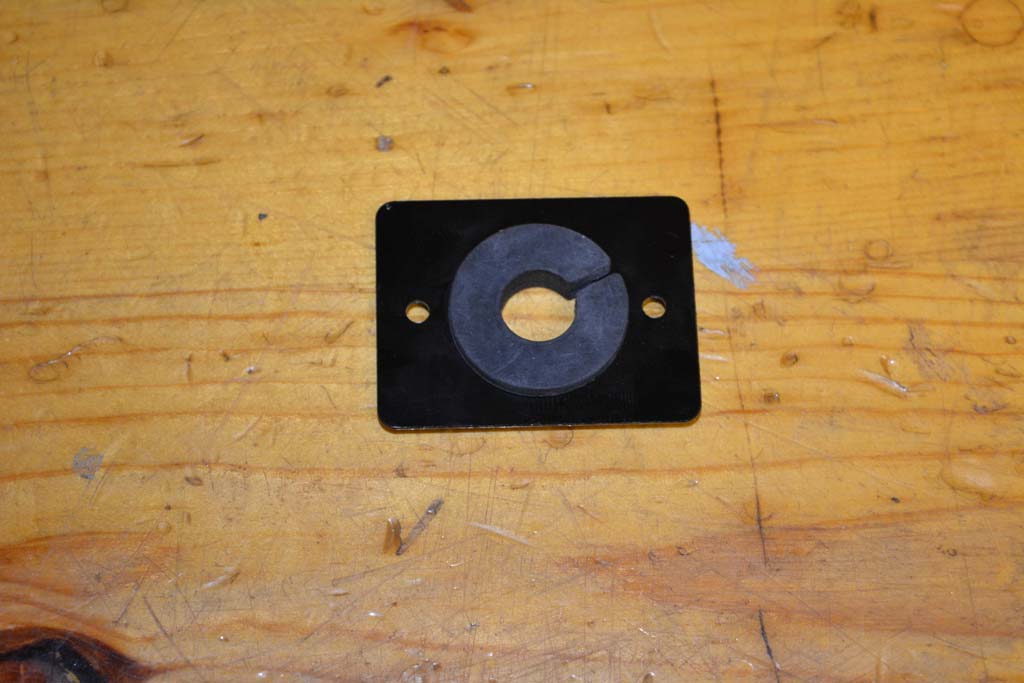
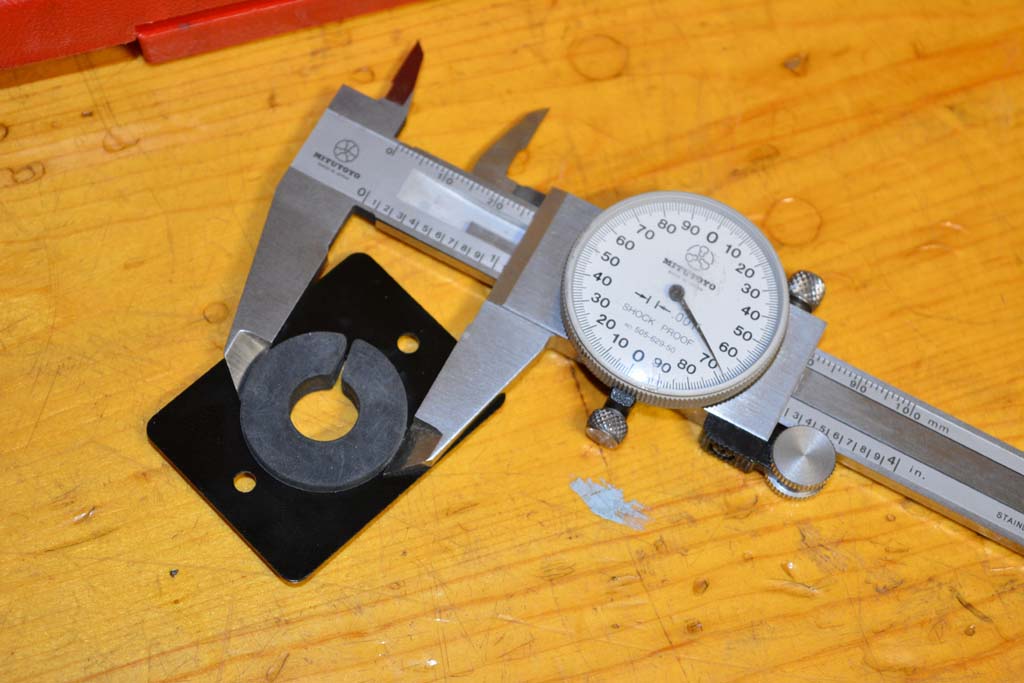
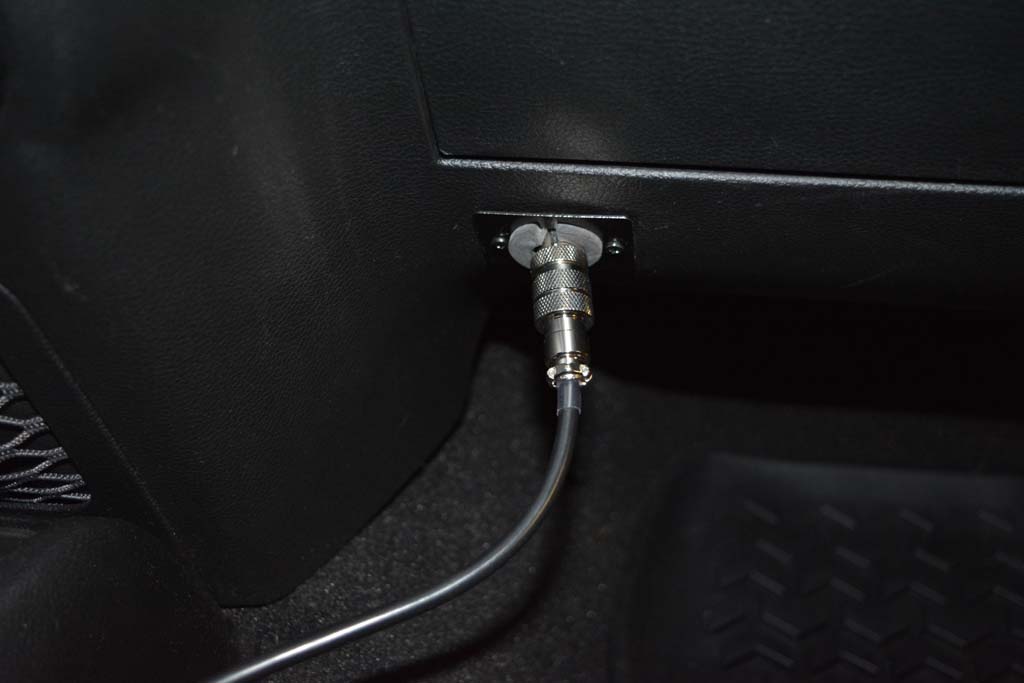
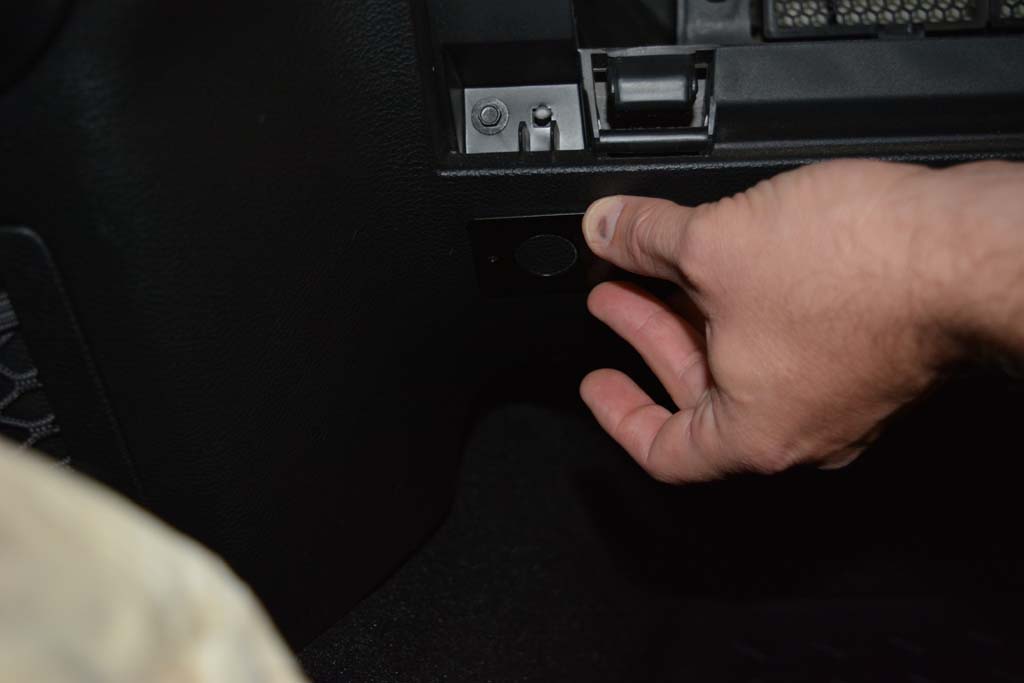
| I temporarily installed the rubber grommet into the mounting plate to figure out how big of a hole I needed to drill into the dash. It's about 1 1/8" |
 |
 |
 |
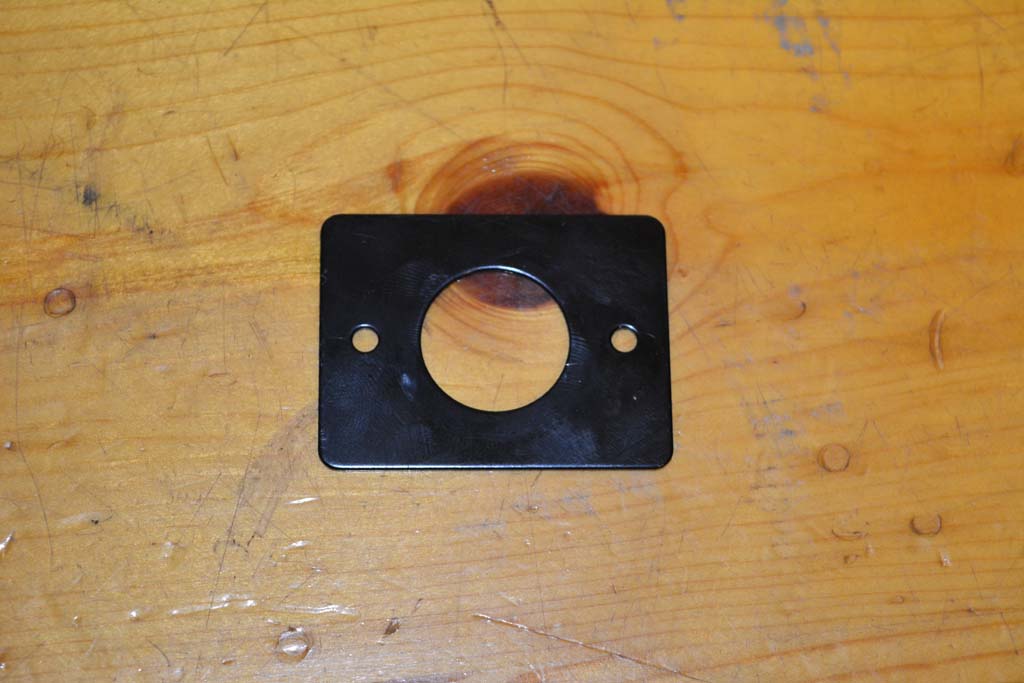
Remove the rubber grommet and find a good place on the dash to mount it. Check behind the area to make sure your not hitting anything and that you have enough room to get the tiny lockwashers and nuts on to the mounting screws.
NOTE: The dash is probably thin enough to just drill the hole and use the rubber grommet vice installing the mounting plate. I thought about this after wards and didn't feel like taking everything apart to check. |
 |
 |
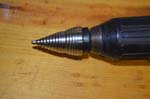
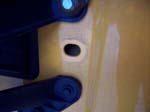
| Drill the hole with a 1 1/8" step drill. This makes a really nice smooth hole. |
 |
 |
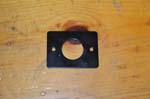
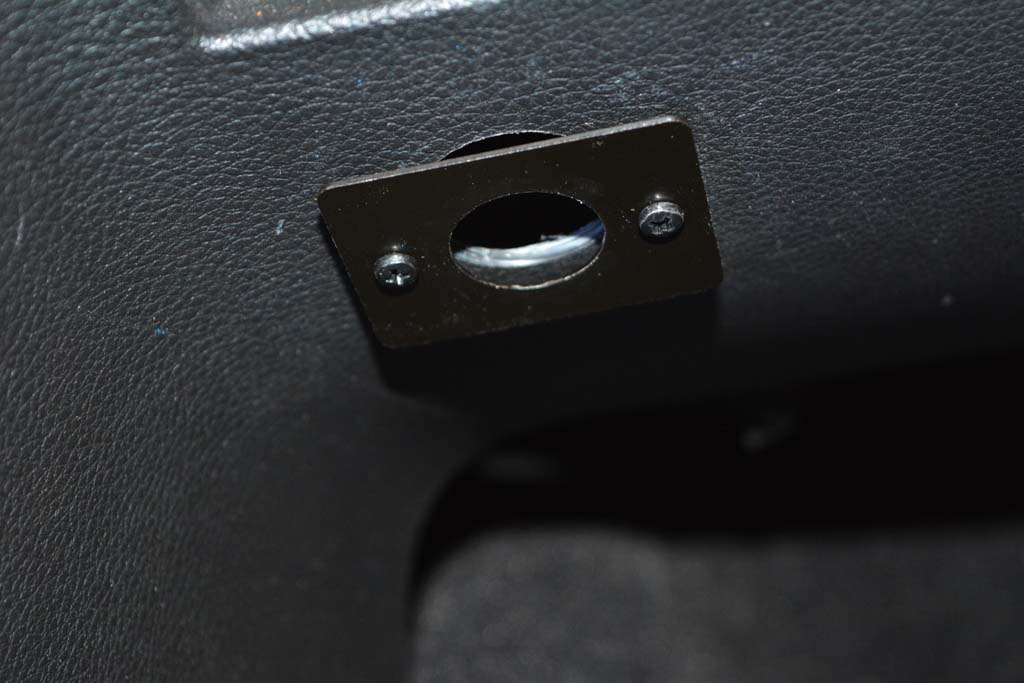
| Reinstall the rubber grommet and test fit the mounting plate. Mark the two mounting holes for the screws and drill with a 1/8" drill bit. |
 |
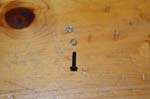
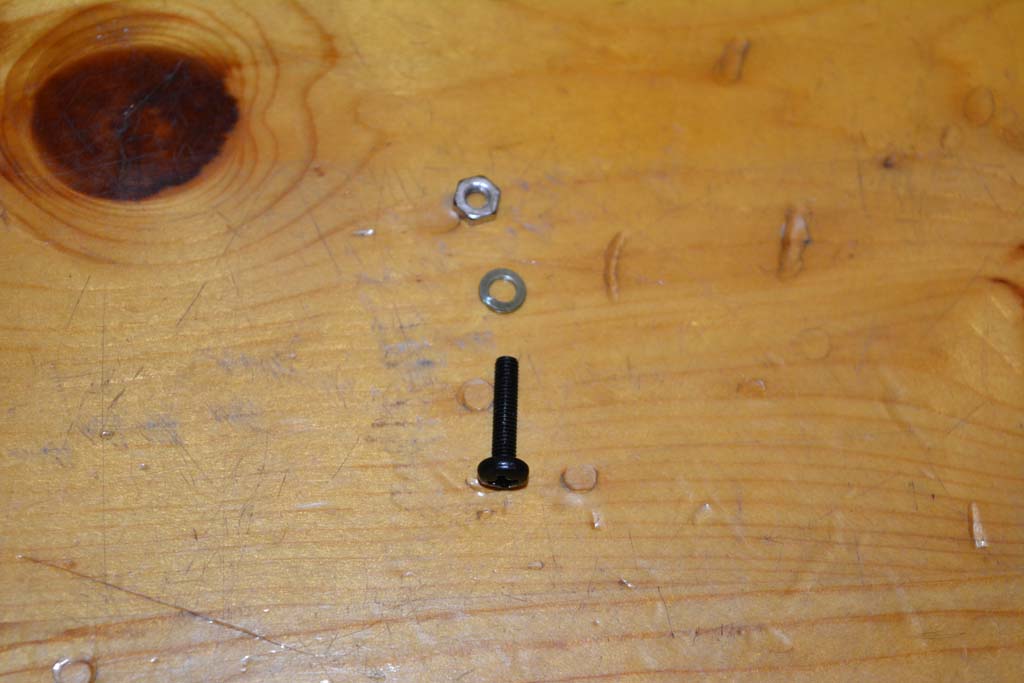
| Now the fun part, getting the tiny lockwasher and nut onto the screws to hold the mounting plate on. I used a forceps (tweezers will work) to get the lockwasher and nut onto the screw. Don't try this with the grommet intalled since it's easier to get your fingers into the screw area without it. Leave the screws loose, so you can get the rubber grommet installed. |
 |
 |
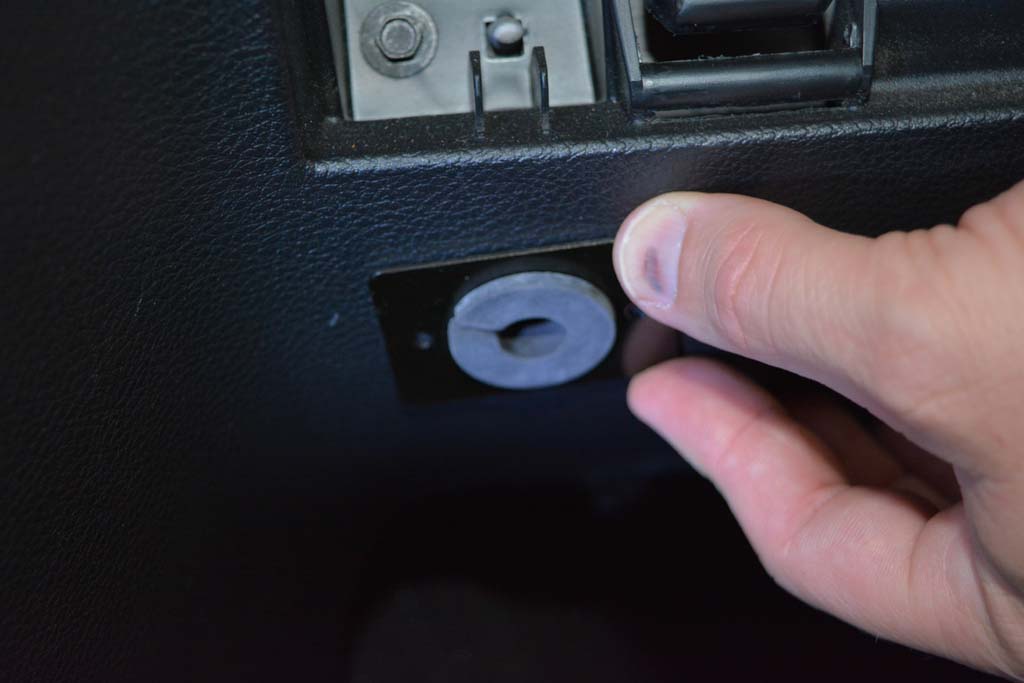
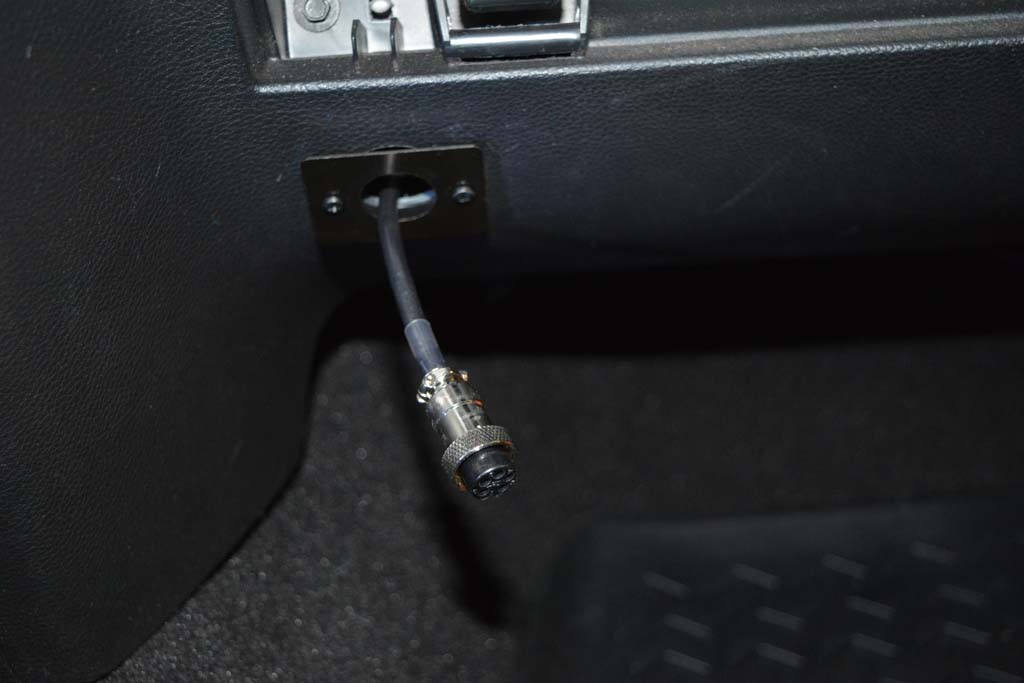
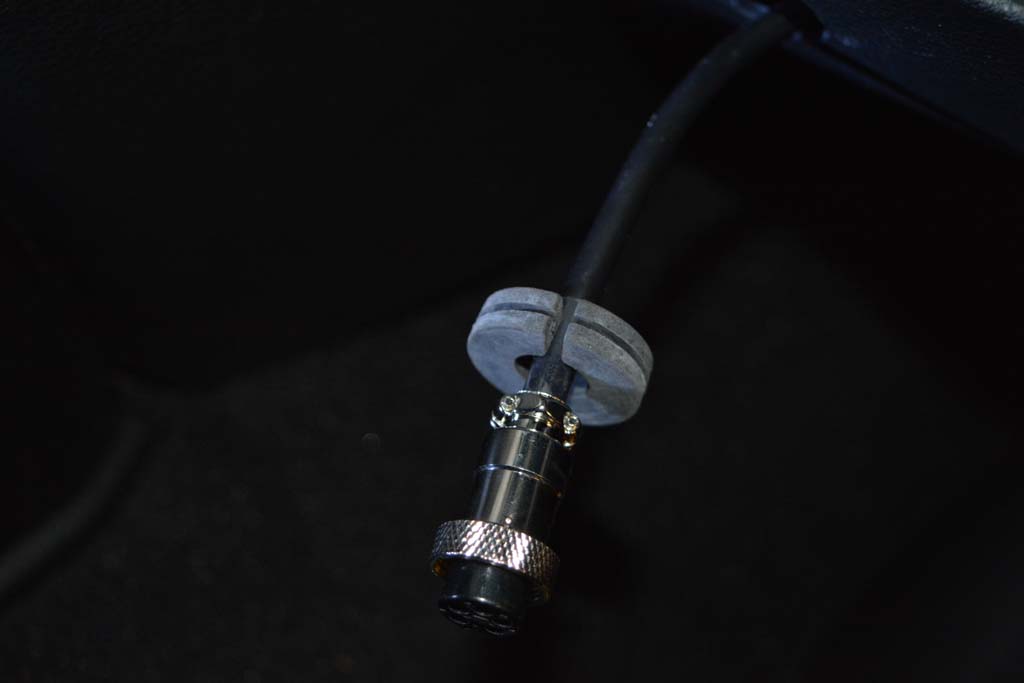
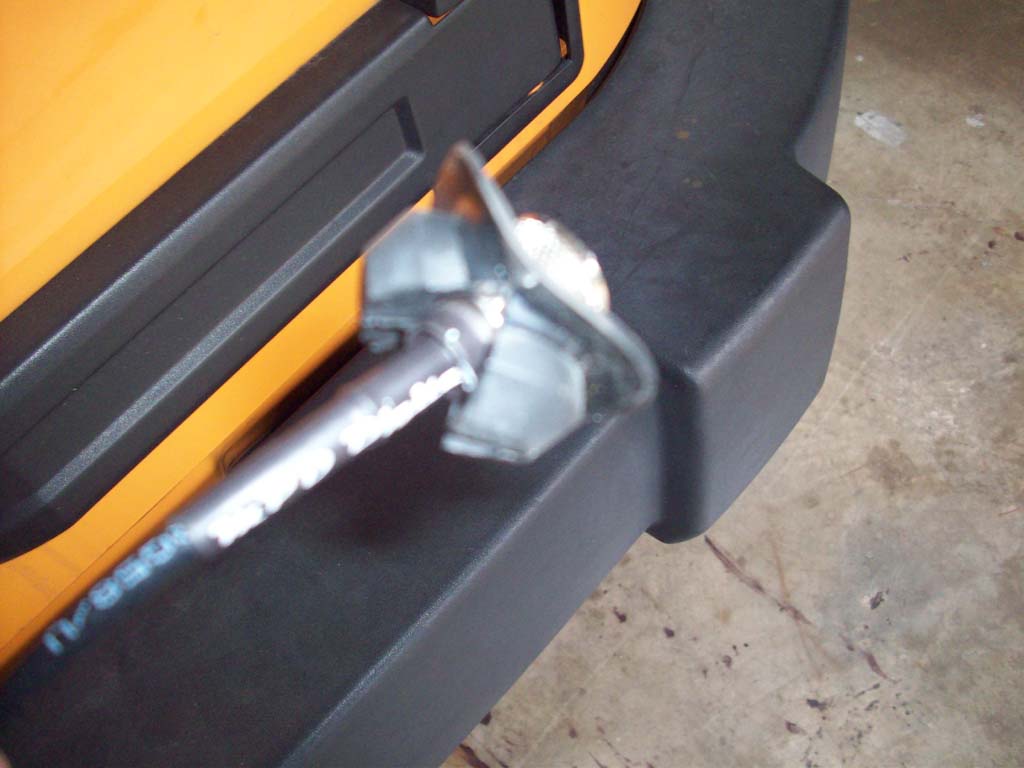
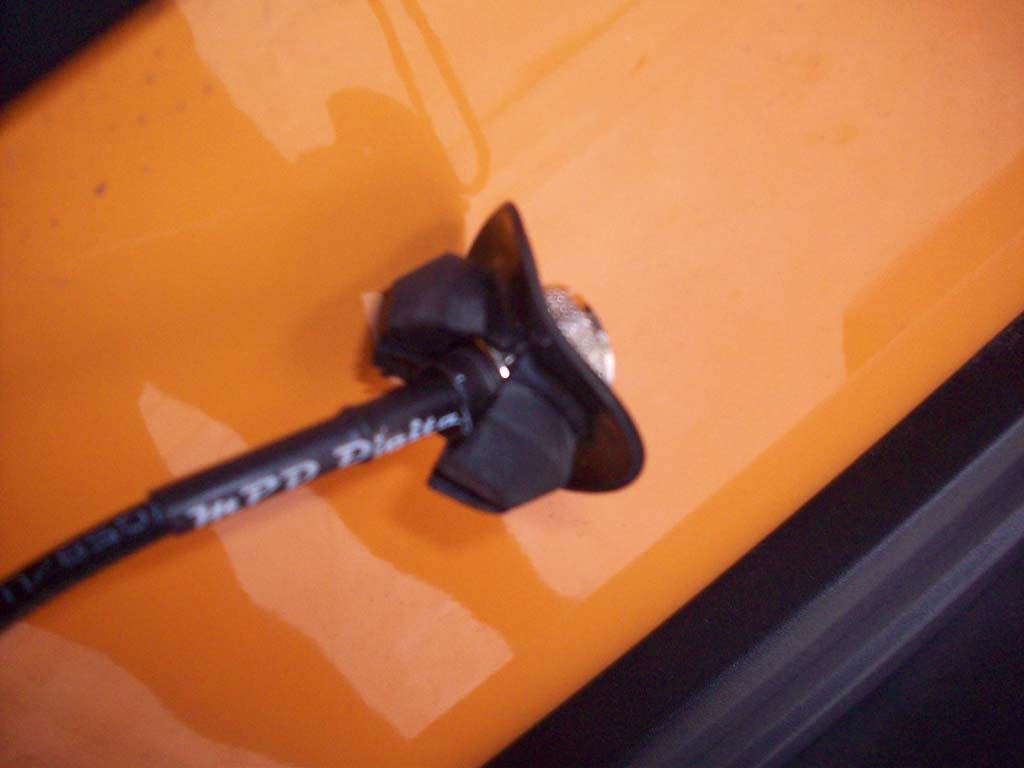
| Feed the mic connector cable through the hole and place the rubber grommet over the cable. |
 |
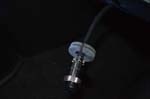 |
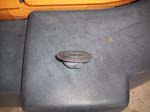
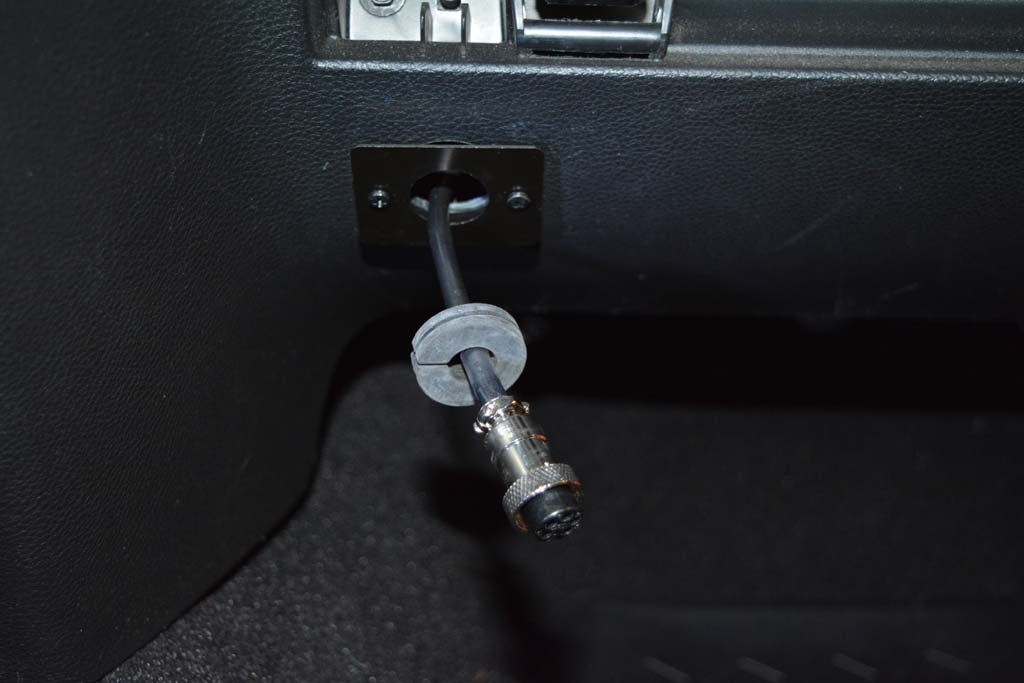
| Install the rubber grommet into the mounting plate. |
 |
 |
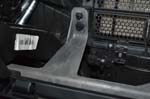
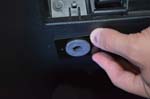
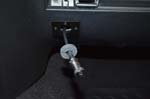
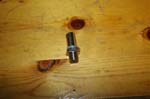
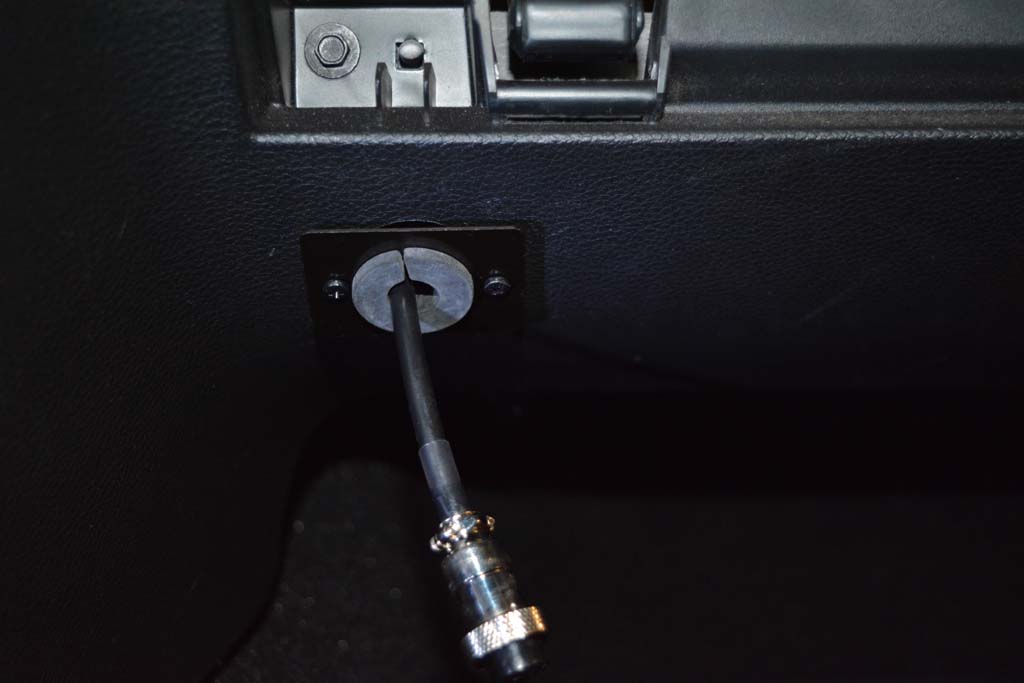
| Work the grommet into the hole that you drilled and tighten the mounting screws. It's a tight fit with the grommet and plug. |
 |
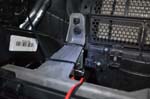
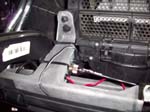
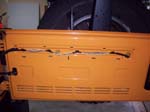
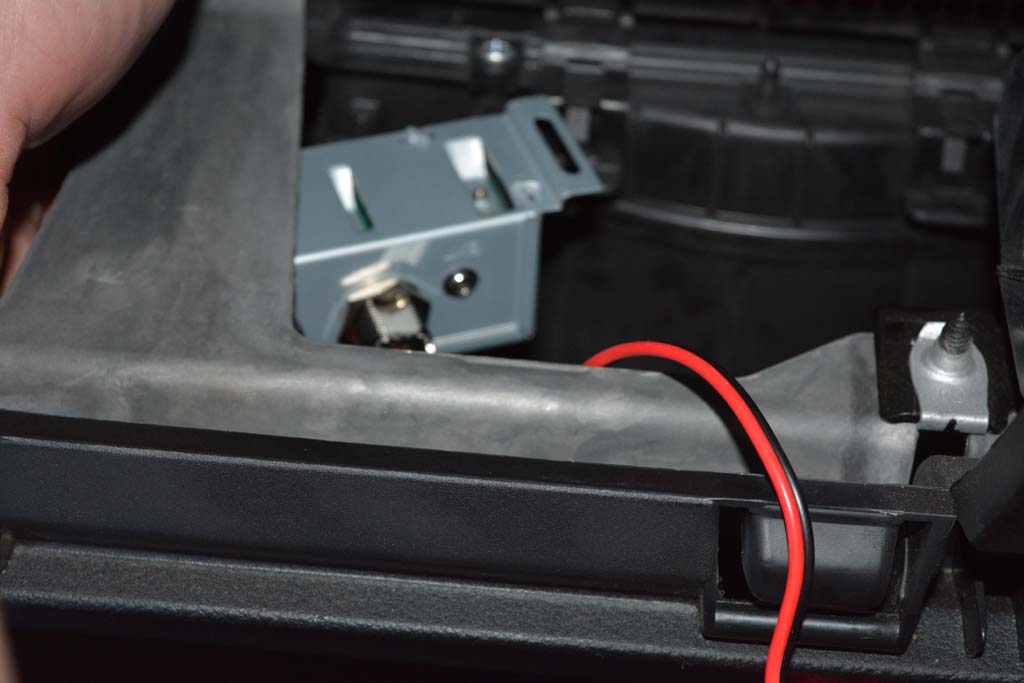
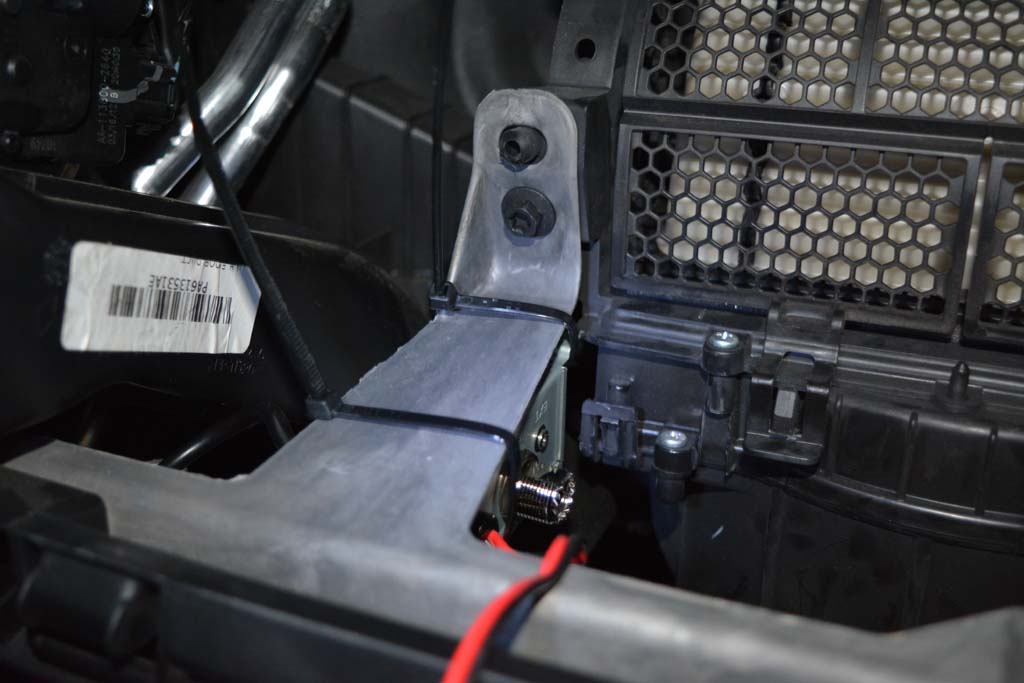
| I temporarily mounted the box to the dash support with a couple of zip ties. I wasn't certain as to which way I needed to angle to box to get all the cables installed. So at this point zip ties were good. |
 |
 |
 |
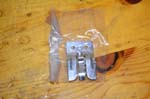
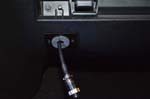
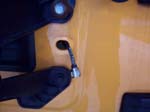
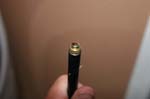
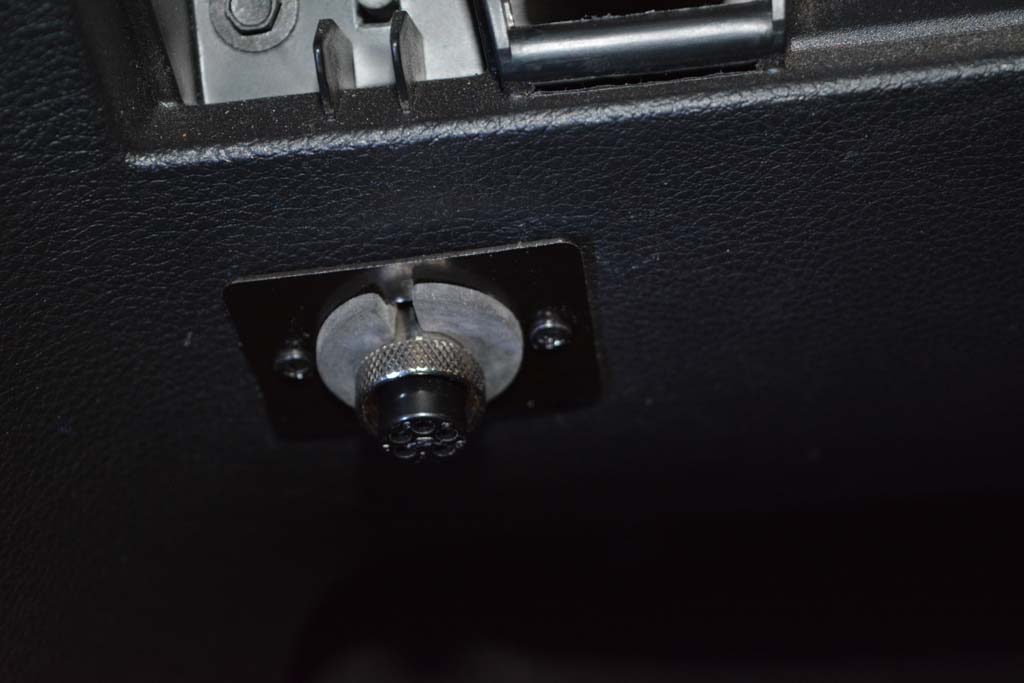
| Quick shot of checking the the connector with the mic. |
 |
| |
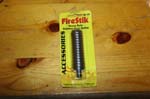
| Antenna and Antenna Mount: |
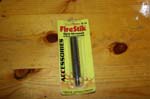
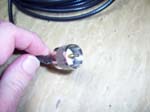
| I have always had good results using items from Firestik, so I picked up a few of their items along with a cable to antenna connector. |
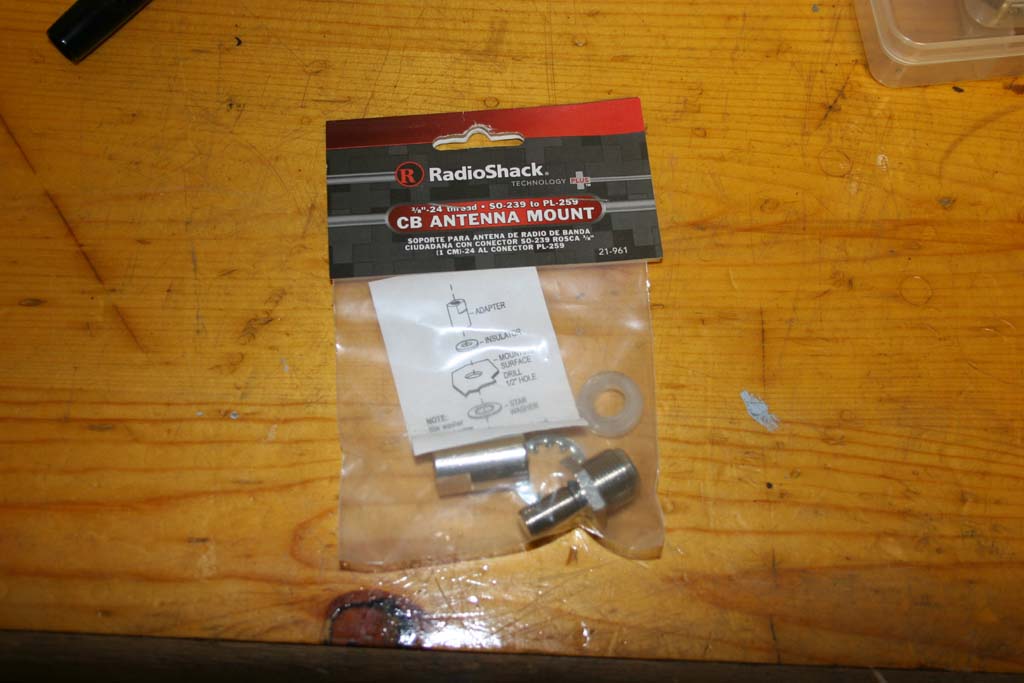
| The connector is your regular SQ239 to PL259 style connector that I picked up at my local Radio Shack before they closed. |

|
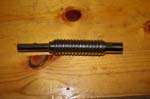
| Like a lot of people I have a garage door that barely clears my soft top, so anything sticking up above the top gets destroyed. I looked at a few different quick disconnects before deciding on this one. Many had internal pins that could cause the quick disconnect to get jammed on if they broke. This one has external pins so even if they break, you can pull the antenna off of it. |
 |
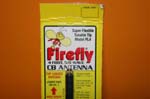
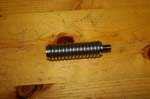
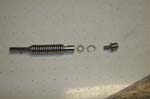
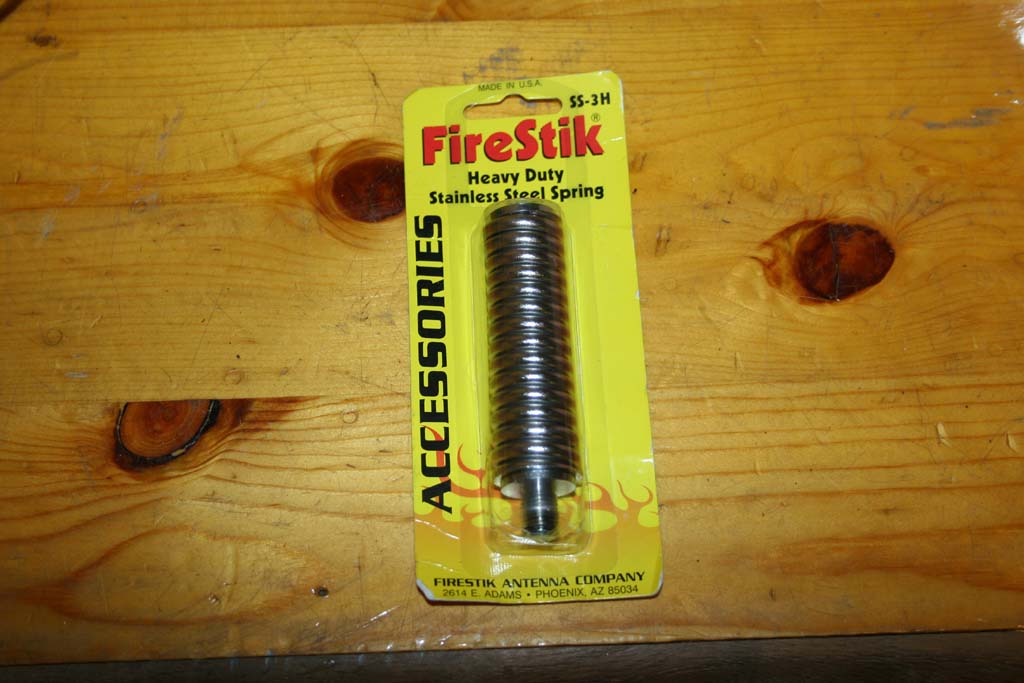
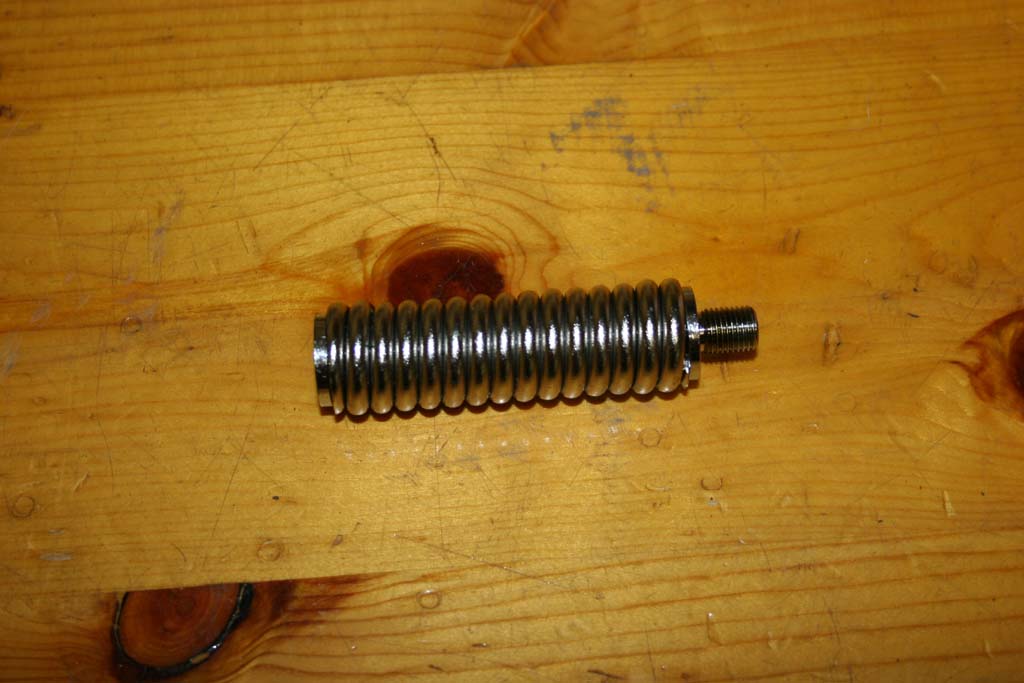
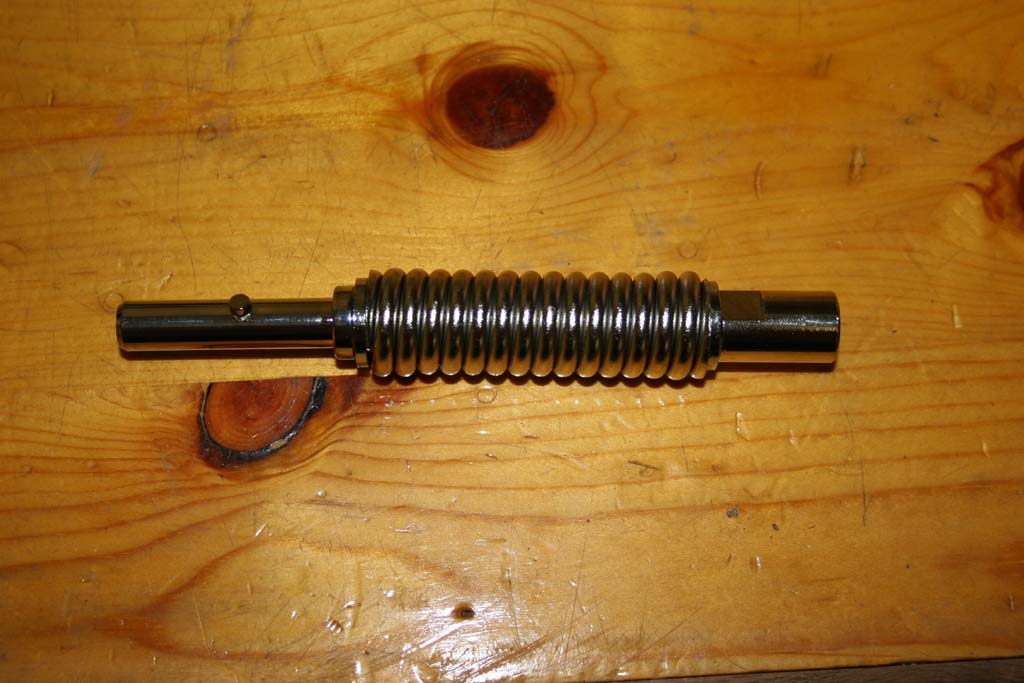
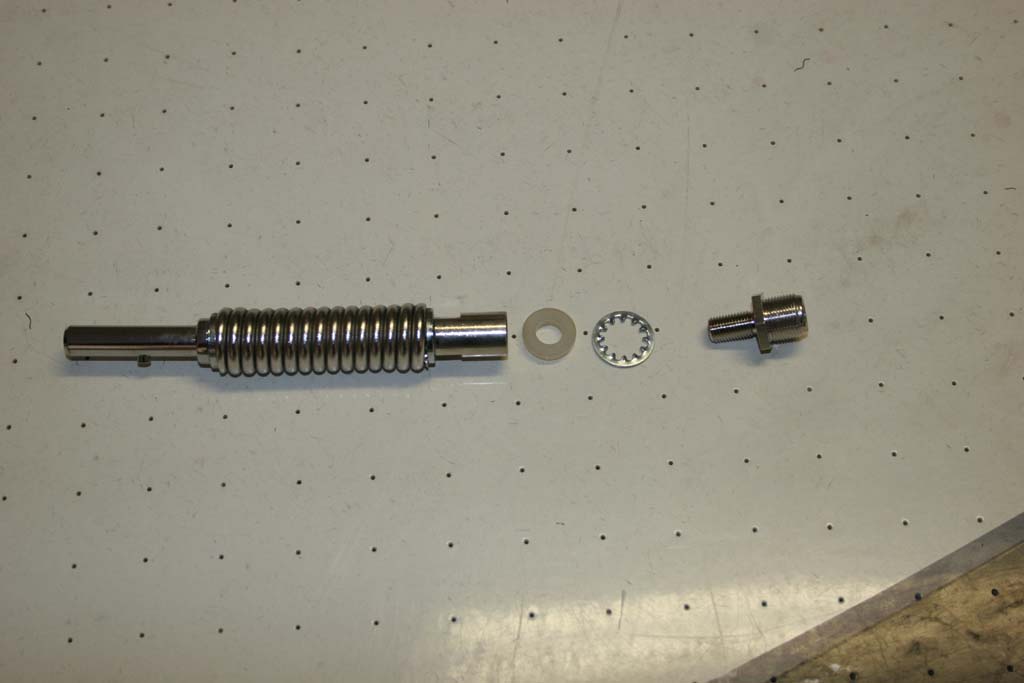
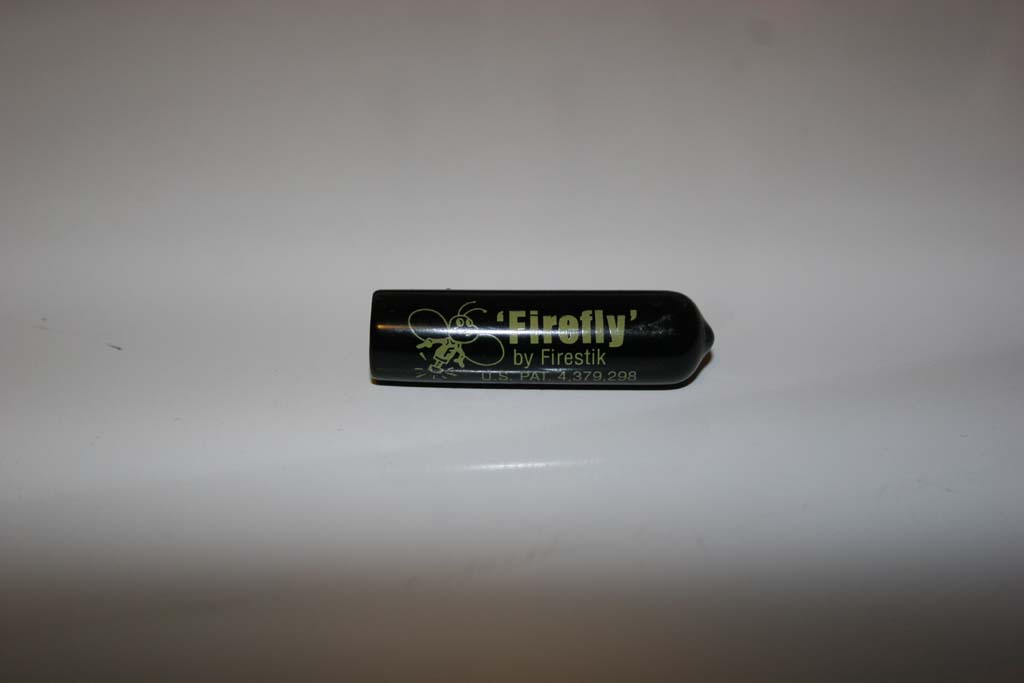
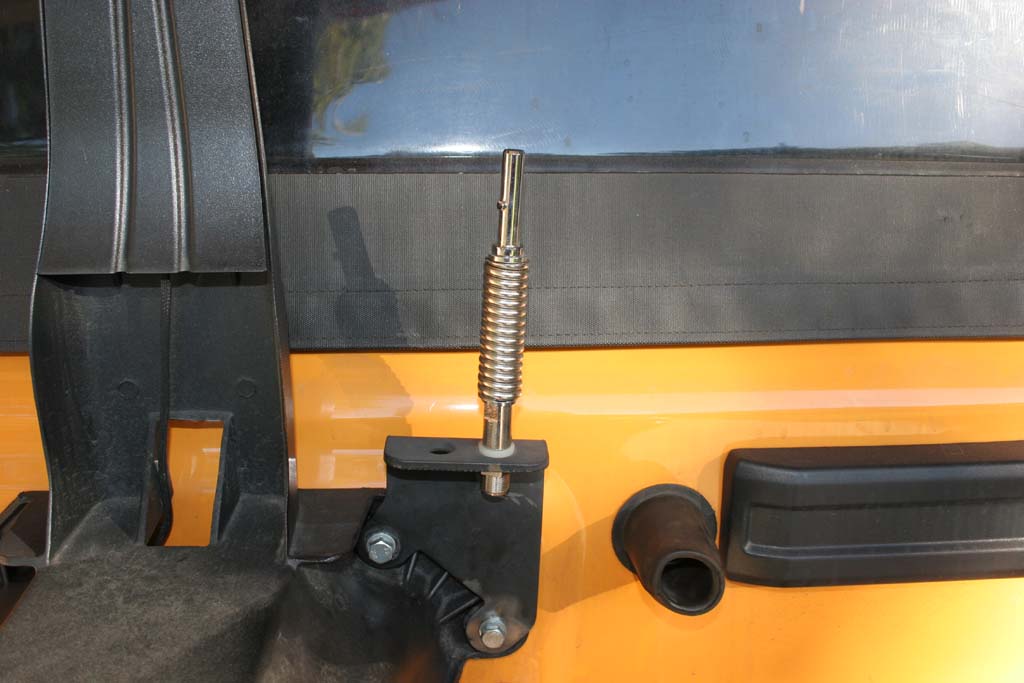
| While the Firefly antenna that I purchased is really flexible, some of the branches around here like to grab ahold of antennas and bend them as much as they can. I decided for a little extra assistance in keeping my antenna in one piece. Firestik has a nice stainless steel heavy duty spring, I would rather not have a large rust stain on the back of my Jeep from a cheaper spring. It is solid enough that the antenna doesn't move any more than if it didn't have the spring installed. |
 |
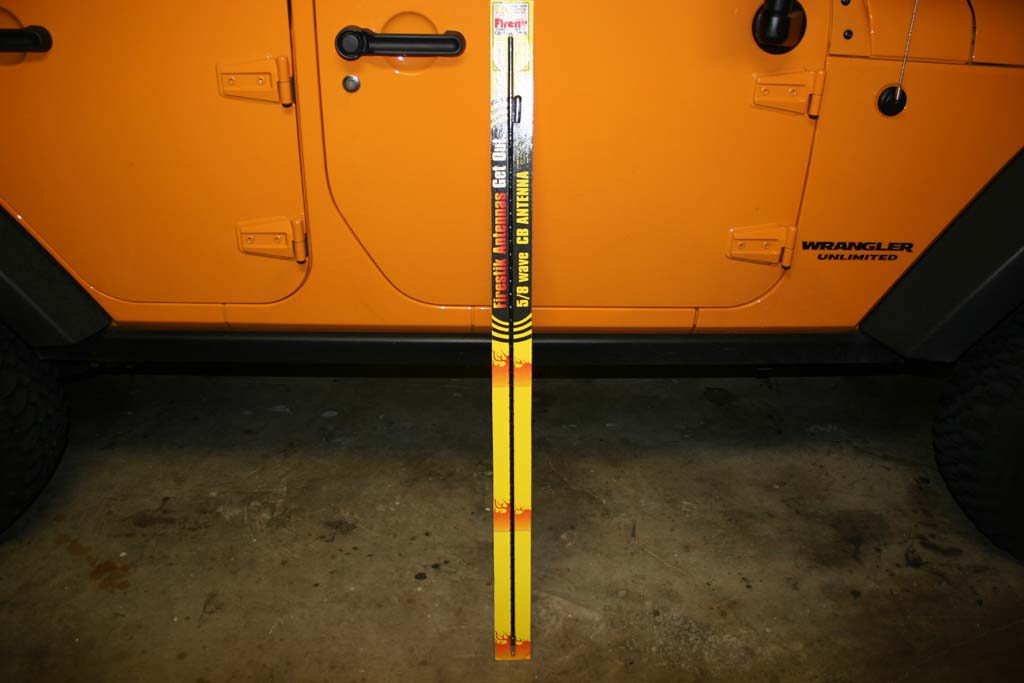
| I was originally looking for a 3 foot Firefly, but chanced upon this 4 foot still in its original package at a yard sale. I can deal with the extra length, but don't look forward to having to climb up to tune it. |
 |
 |
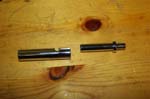
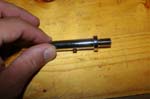
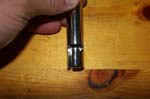
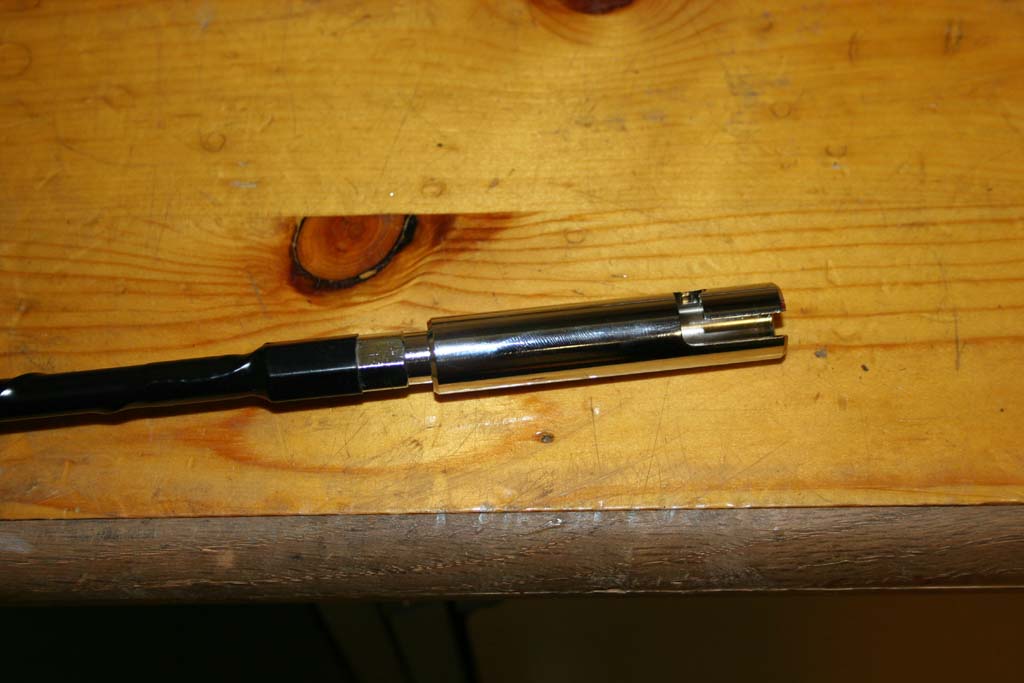
| Remove the quick disconnect from the package and disconnect it. You can see how the pins are on the internal piece and the slots on the external. If the pins break you can still disconnect. |
 |
 |
 |
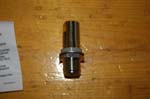
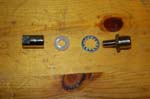
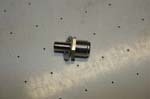
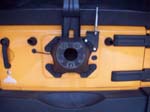
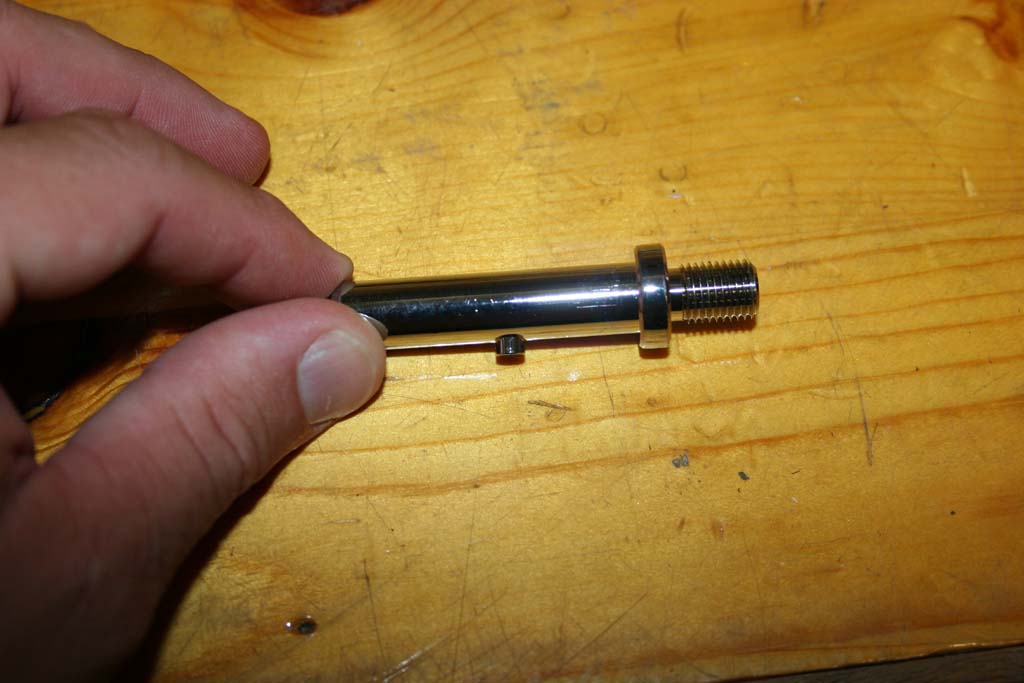
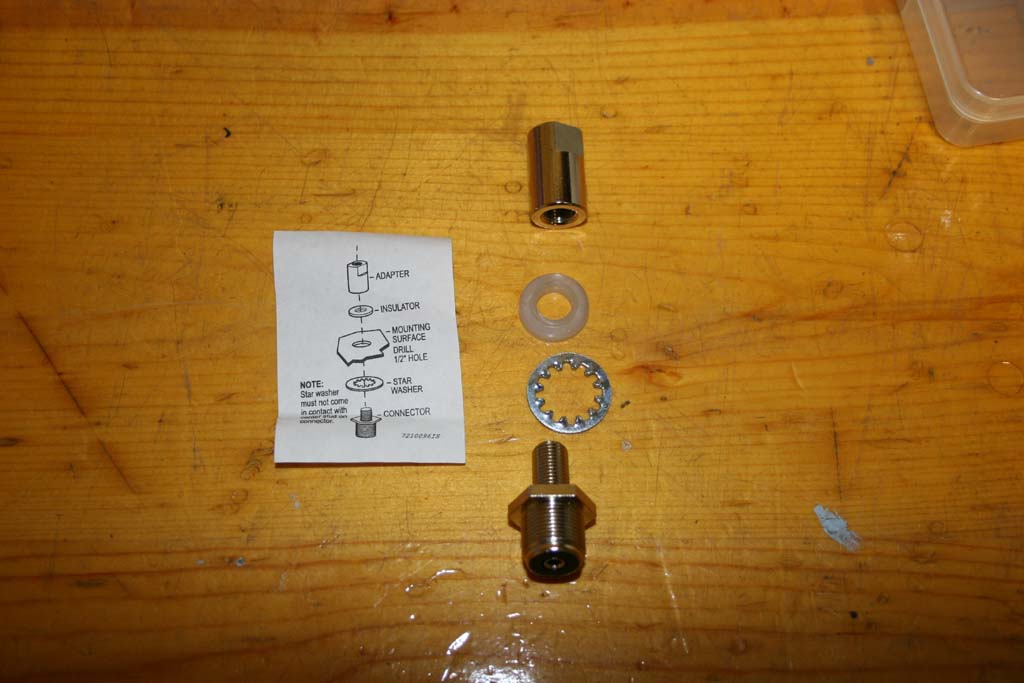
| Take the CB Antenna mount apart. I did this so I would damage the plastic washer that is part of the mount. |
 |
 |
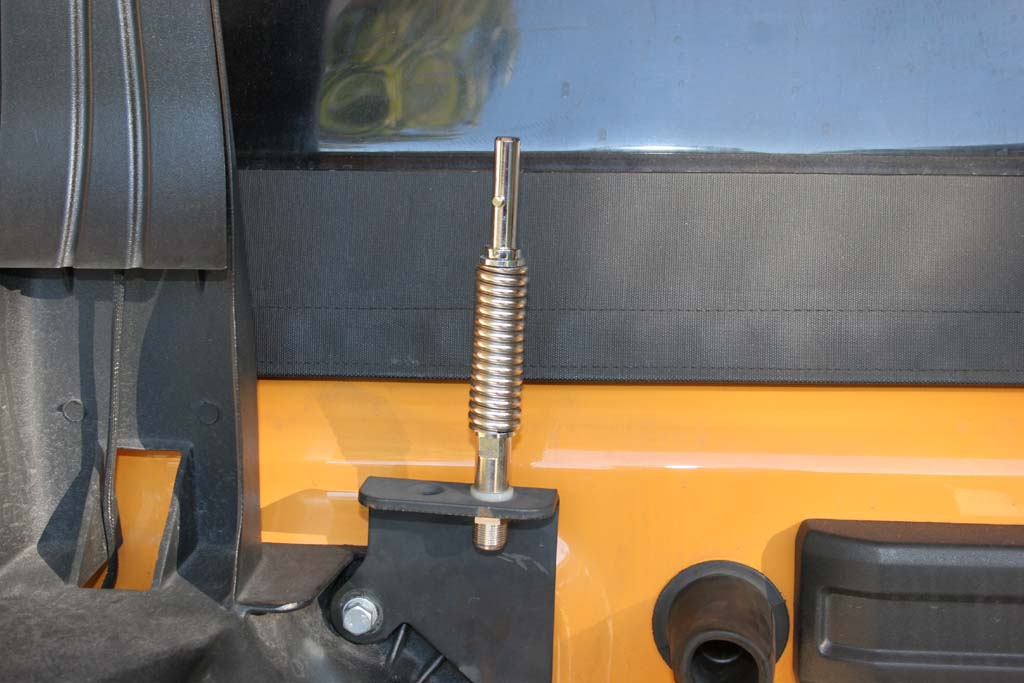
| Screw the top part of the mount into the bottom of the spring and the bottom of the quick disconnect into the top of the spring. I tightened these down the best I could. |
 |
 |
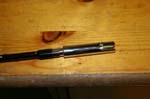
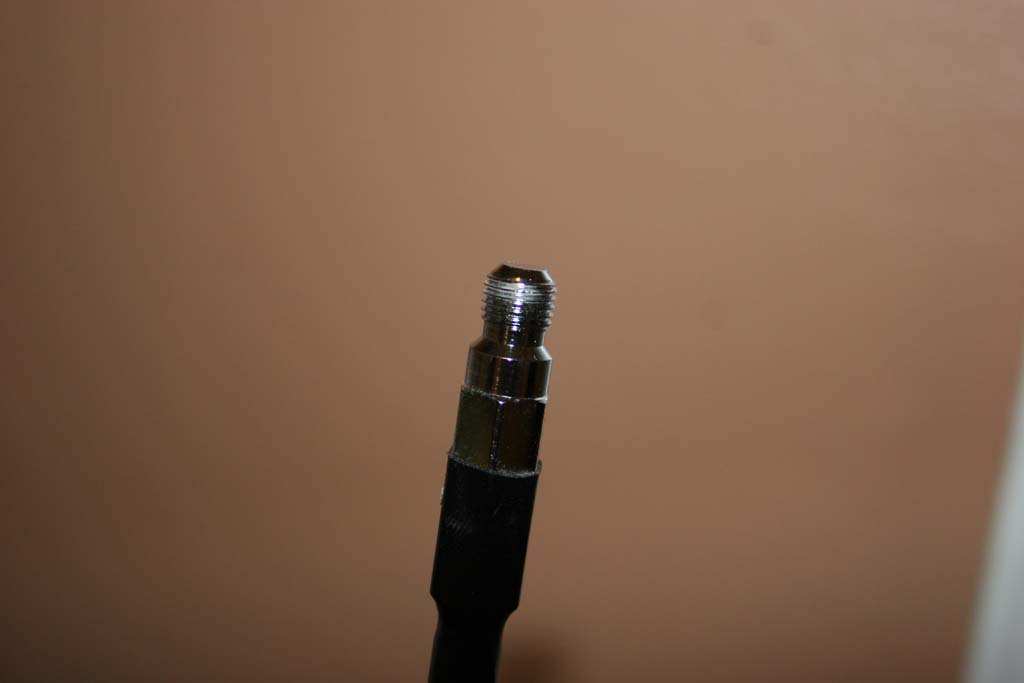
| Screw the top of the quick disconnect onto the bottom of the antenna. I tightened this the best I could. |
 |
 |
| |
| Mounting the Antenna to the Teraflex Bracket: |
| Teraflex Bracket Install Link |
| Quick reminder on how the CB Antenna Mount is assembled. |
 |
 |
| Remove the spare tire and install the Teraflex Bracket. |
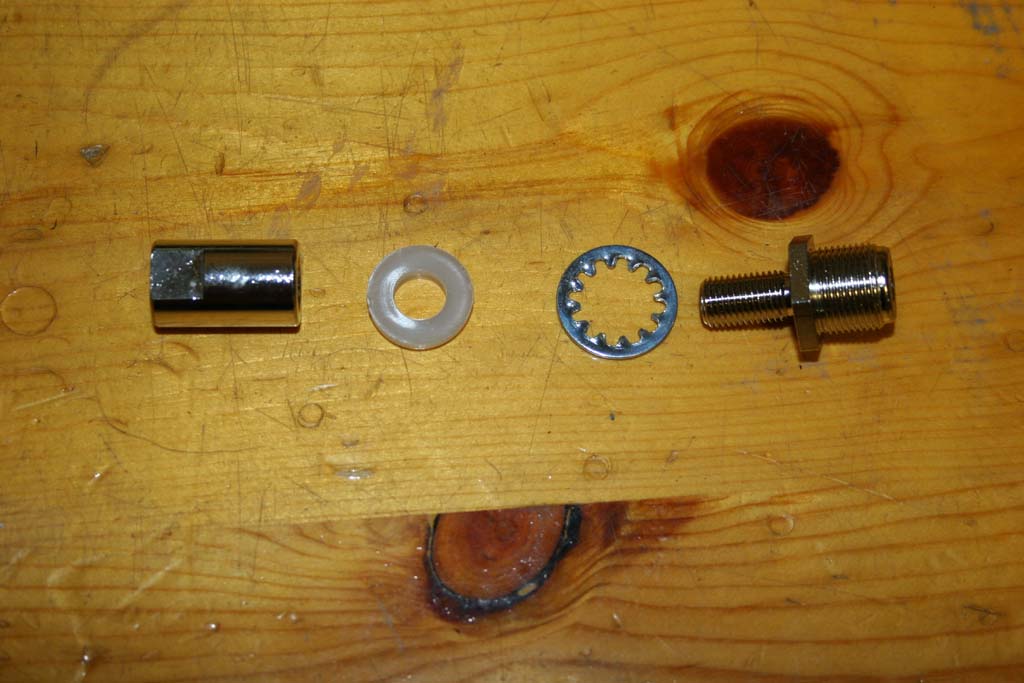
| Disassemble if required the base mount. |
 |
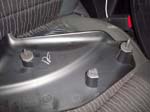
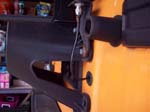
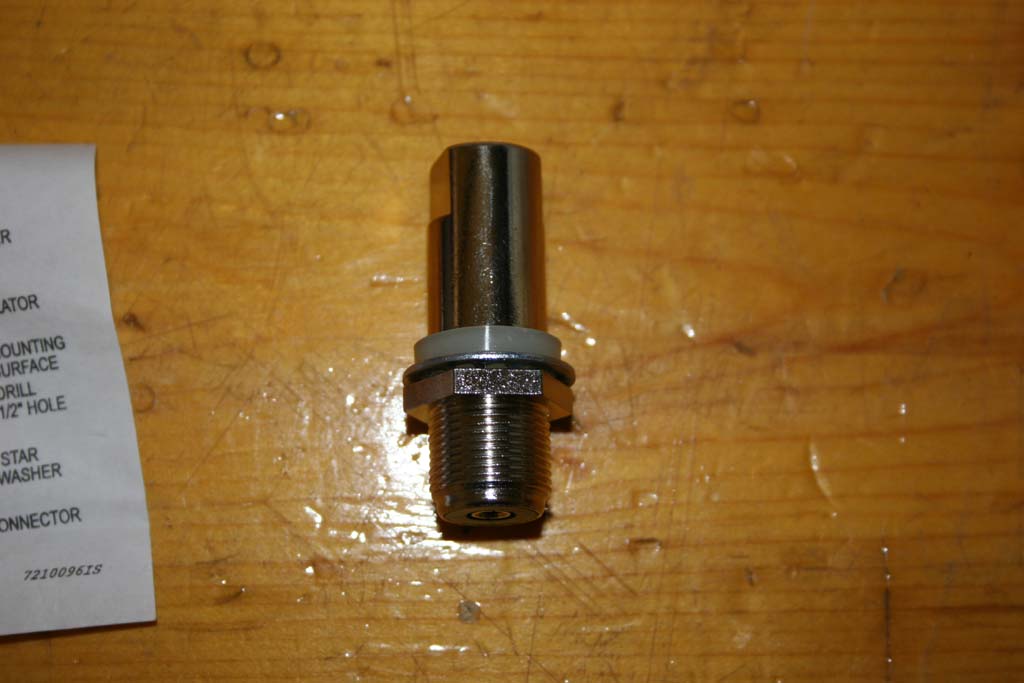
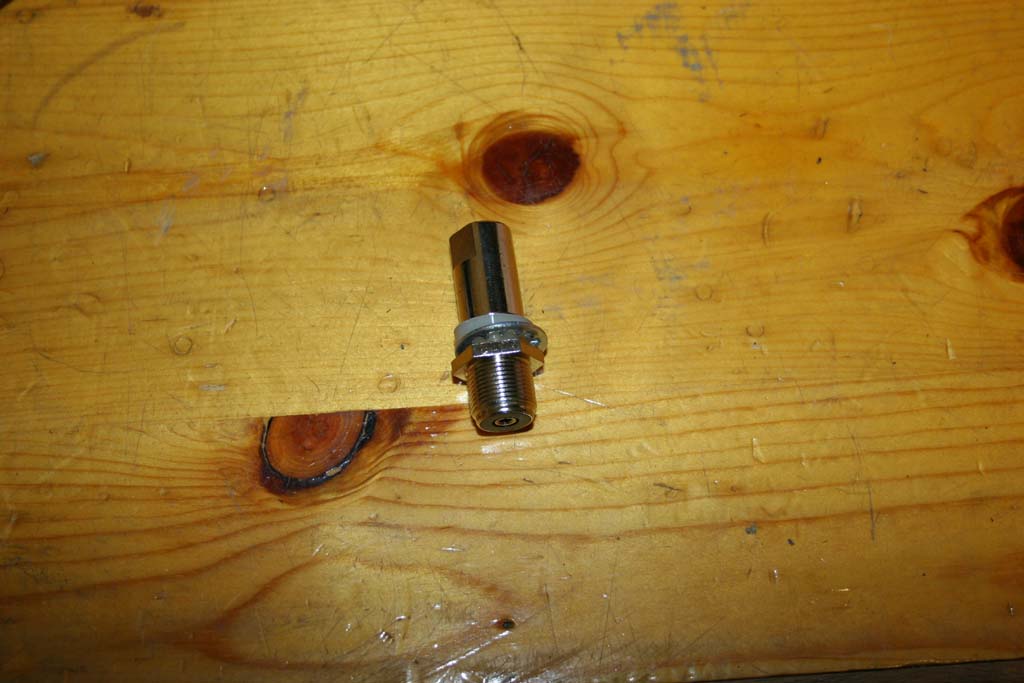
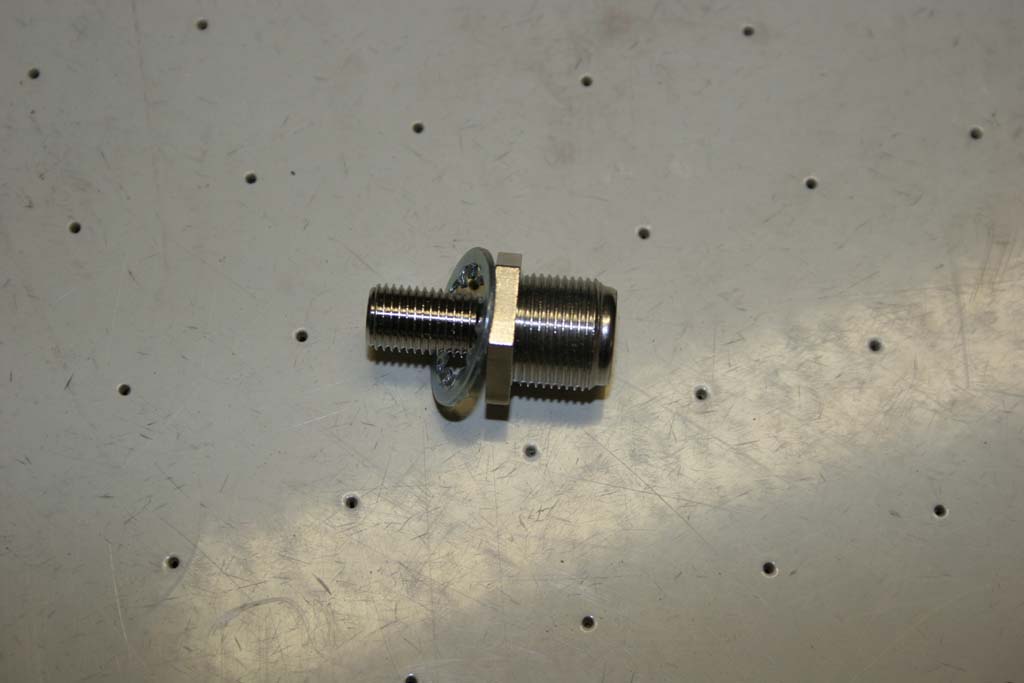
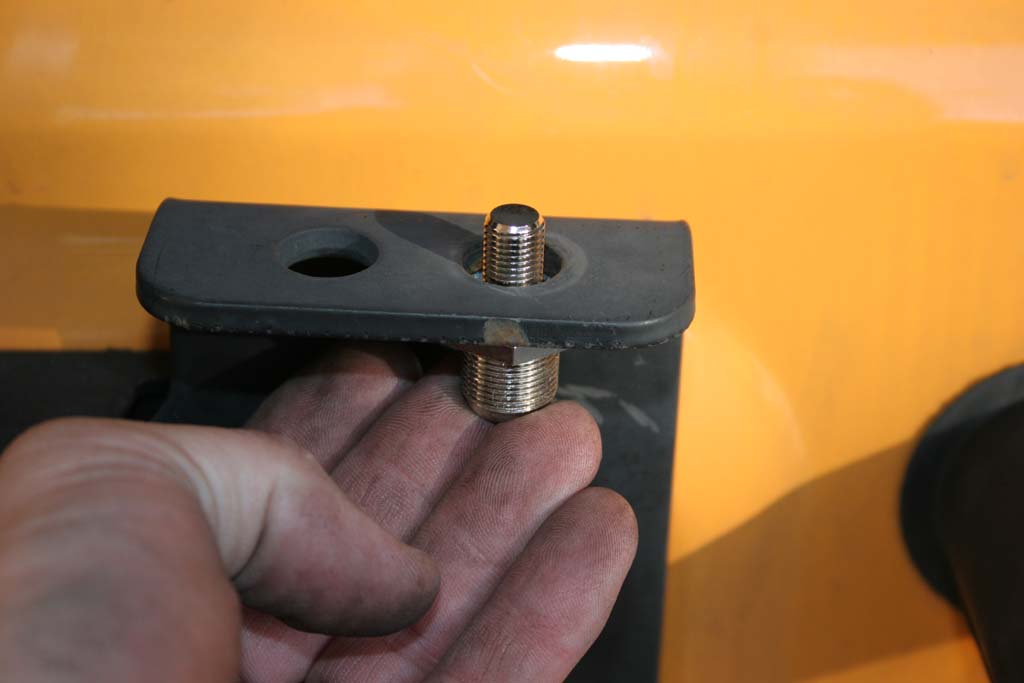
| Install the base with the serrated washer up through the bottom of the mount. |
 |
 |
Place the plastic isolator over the top of the base and screw the antenna down onto the base. I used a 3/4" and 1/2" combo wrench to tighten the mount. Becareful you do not crush the isolator.
Note: Make sure your bracket is straight. I had to realigne mine. |
 |
 |
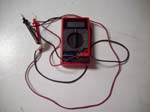
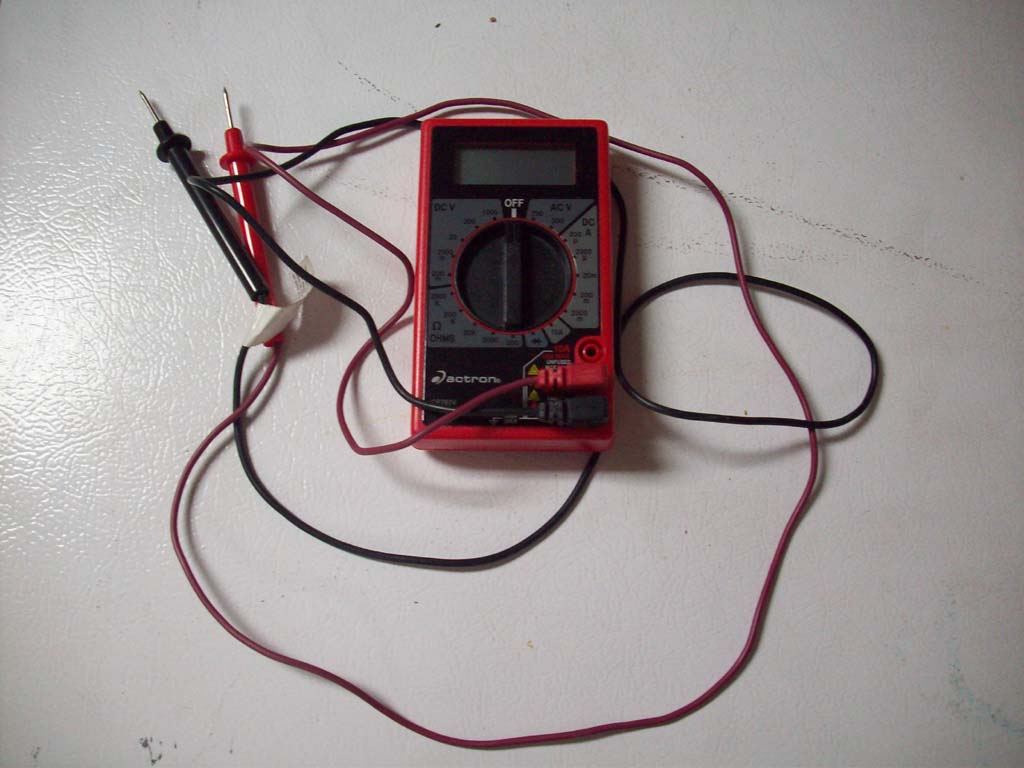
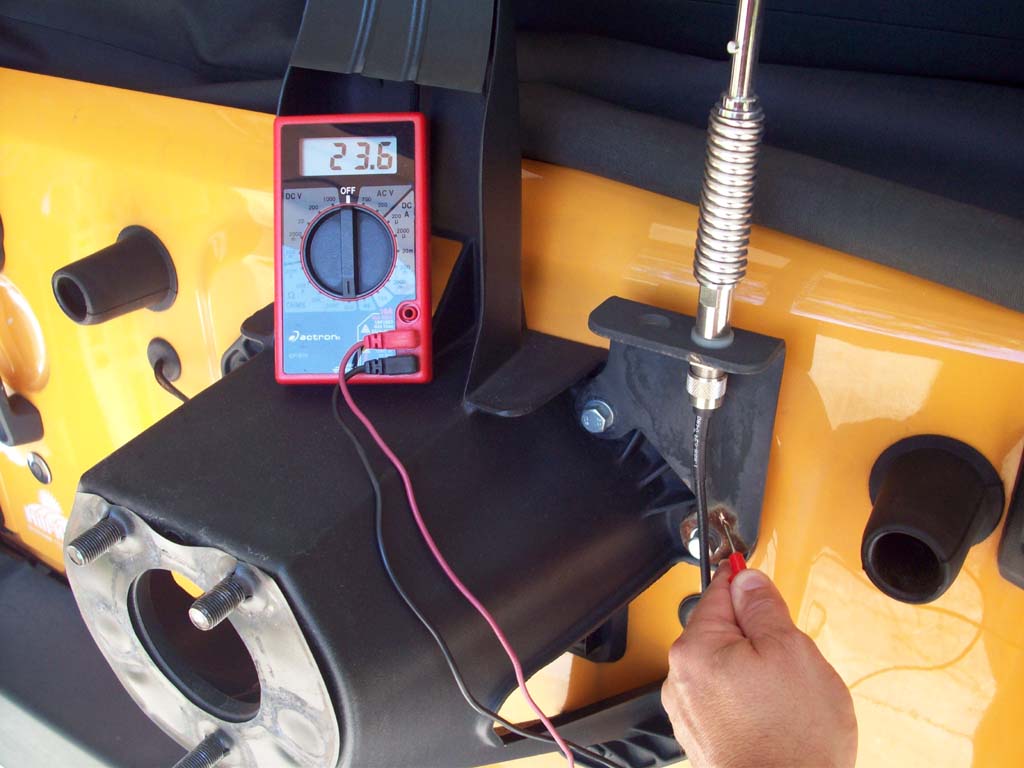
| Check for a good ground. You will need to use the multimeter to check and see if your mount is properly grounded to the vehicle. Simple as checking between the bracket and a vehicle ground. Set the multimeter to Ohm's and test between the bracket and a known good vehicle ground (best point is vehicles negative battery terminal, but you will probably need a jumper wire to reach since most multimeter leads are not long enough.) |
 |
 |
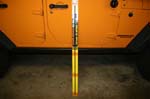
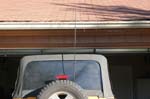
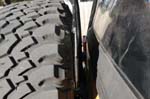
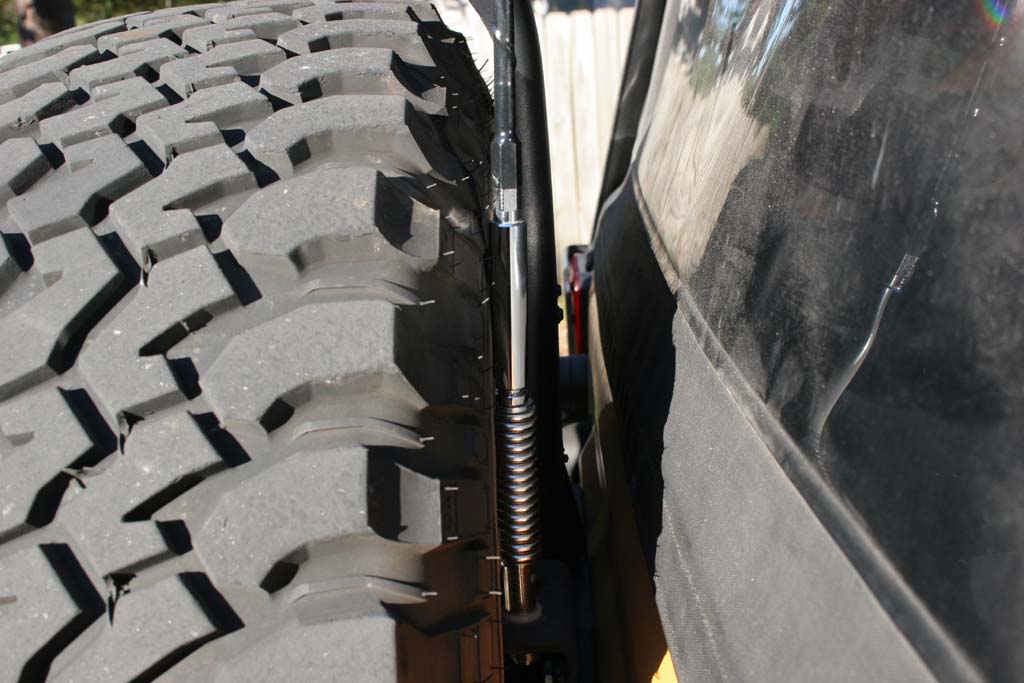
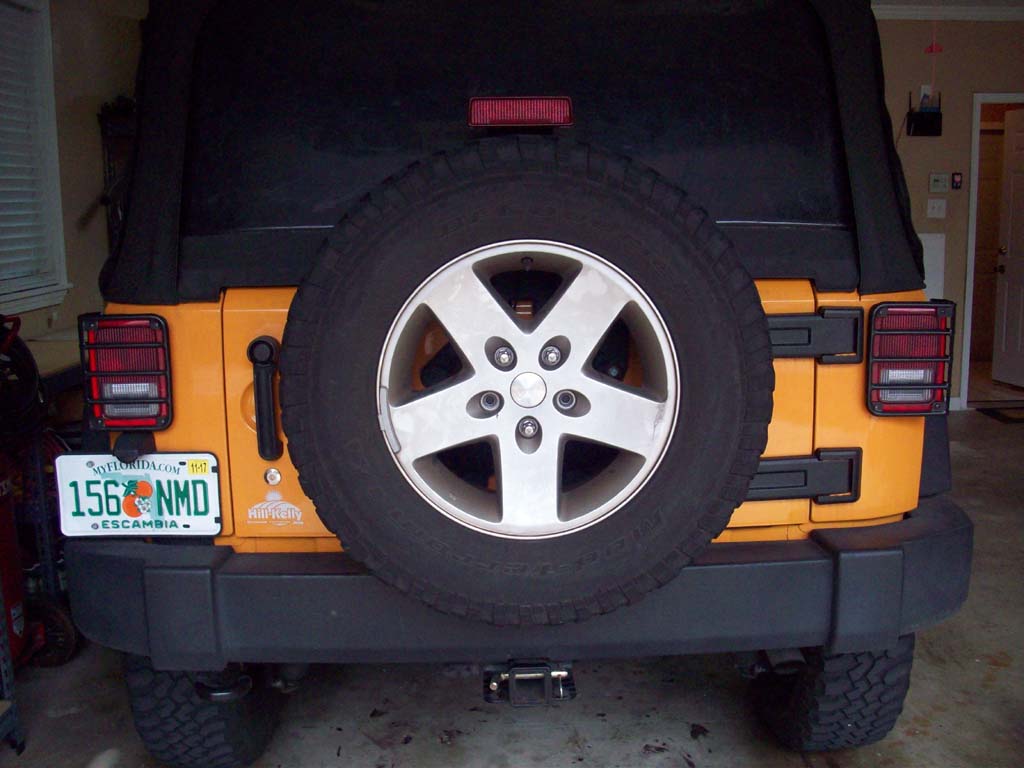
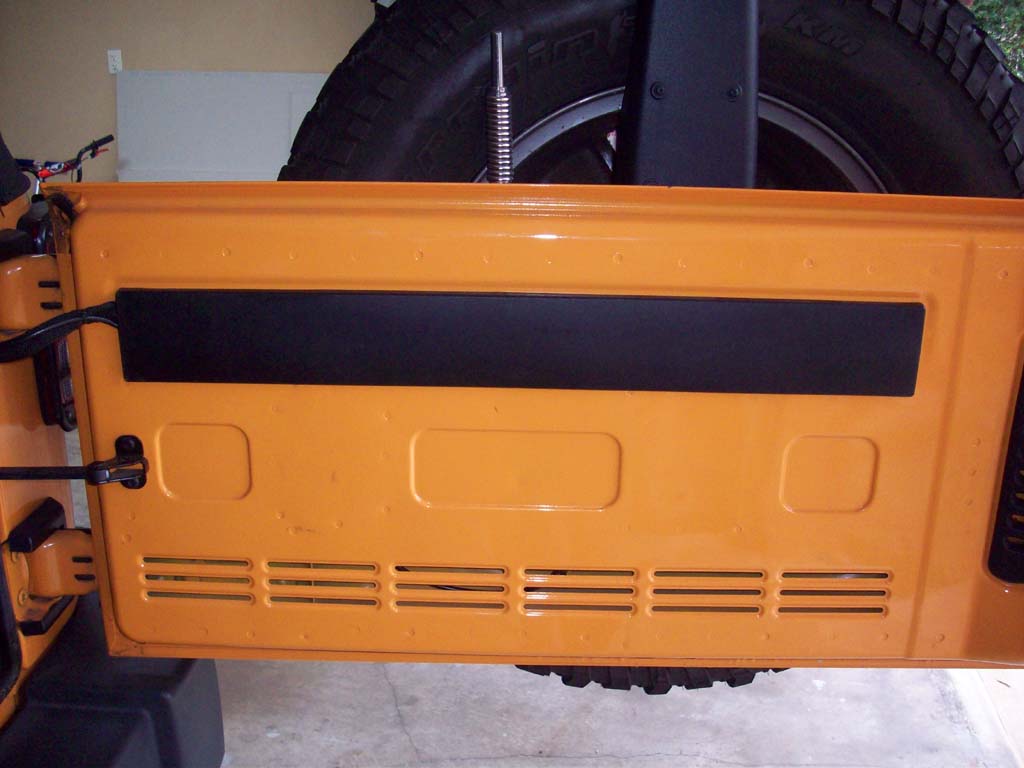
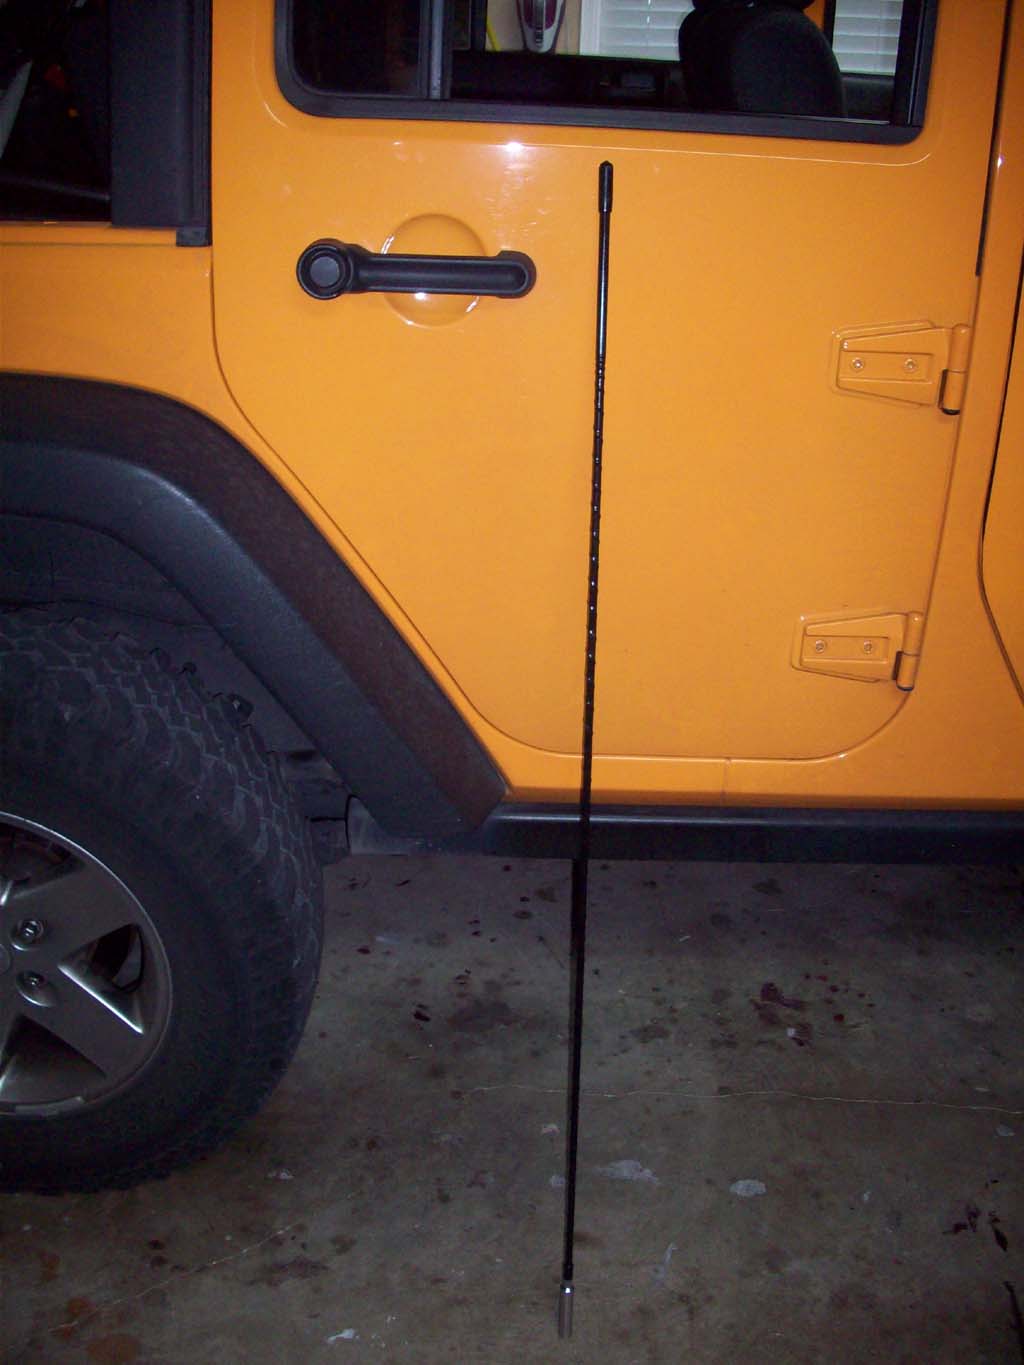
| I reinstalled the tire and tested to see how the antenna fits. I have the 4' antenna so it sticks up a good distance above the top of the Jeep. I am definatelly not driving into the garage, but hopefully with the fact that its bendable to a degree and has a spring attached I won't mangle it on to many branches. The spring and antenna press against the stock tire when it is mounted on the carrier. |
 |
 |
| |
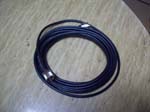
| Running the Cable: |
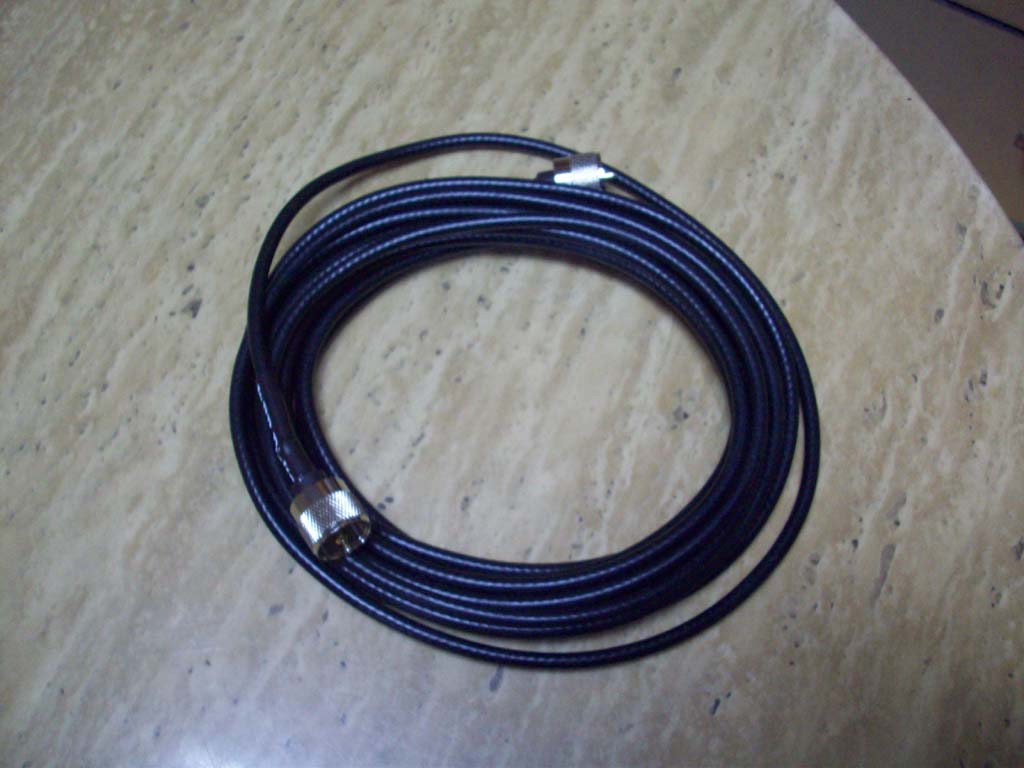
| Time to run the cable from the box to the antenna mount in the back of the Jeep. I used an 18 foot cable that at first I thought was going to be way to long. It ended up being just the right length to reach. If the antenna would have been in a different location I might not have had enough length to reach it. |
 |
 |
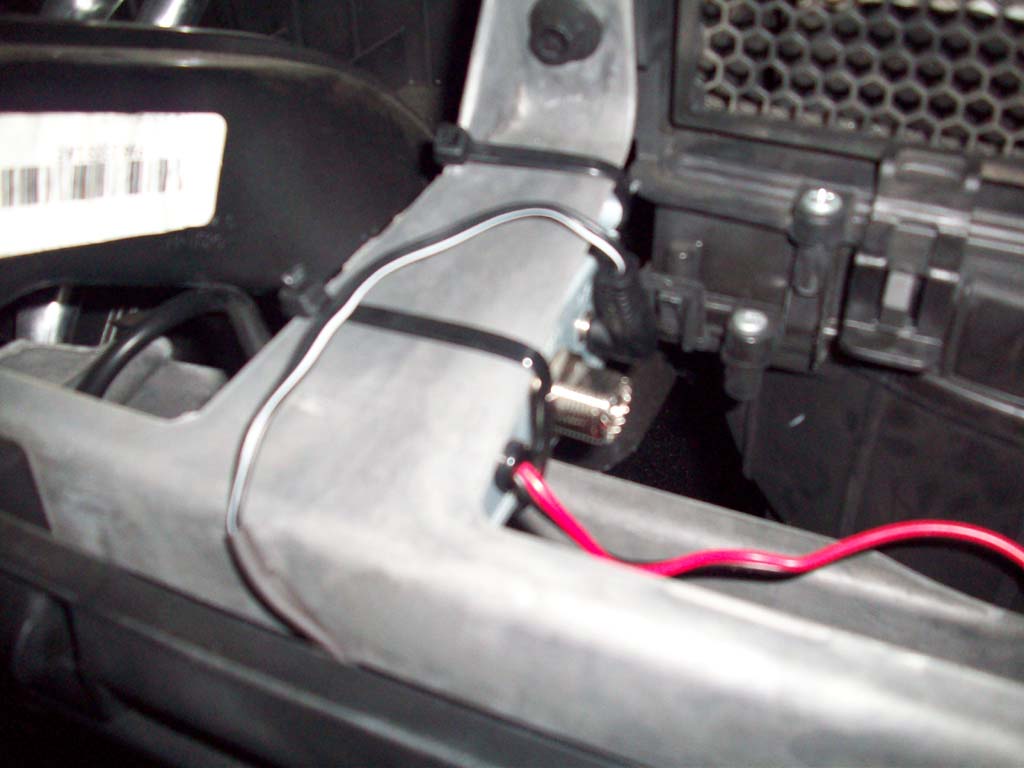
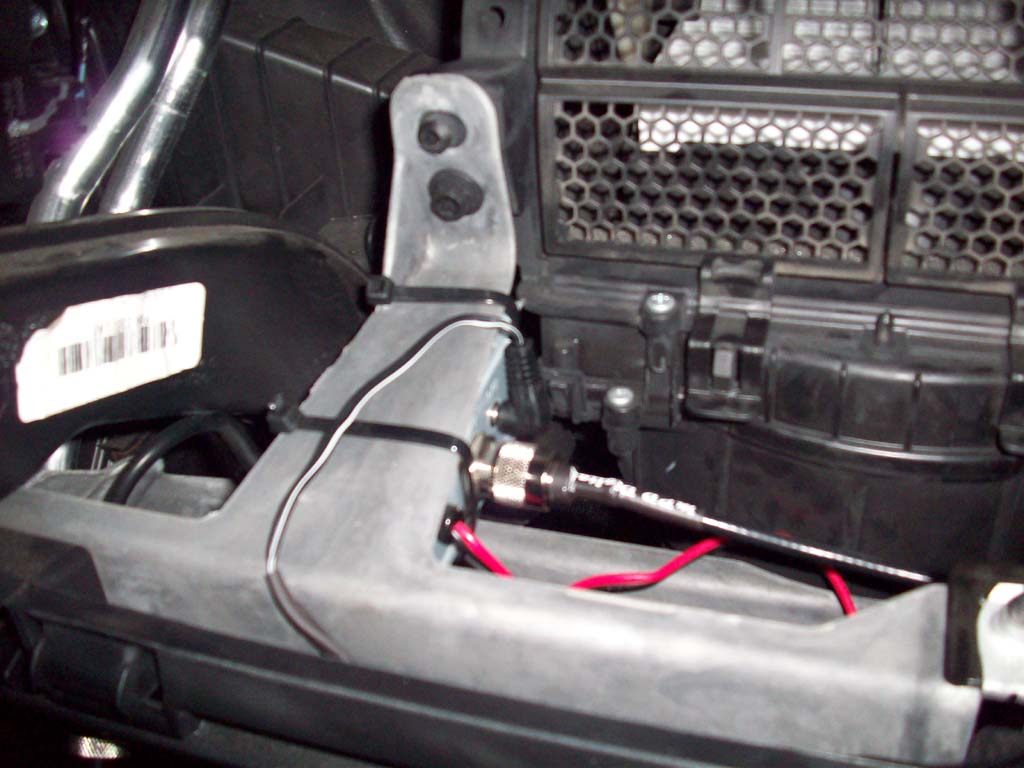
1. Connect the cable to the control box. This way you have the end already connected and you don't come up short when your done. |
|
 |
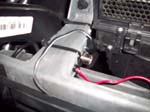
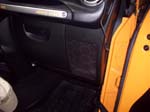
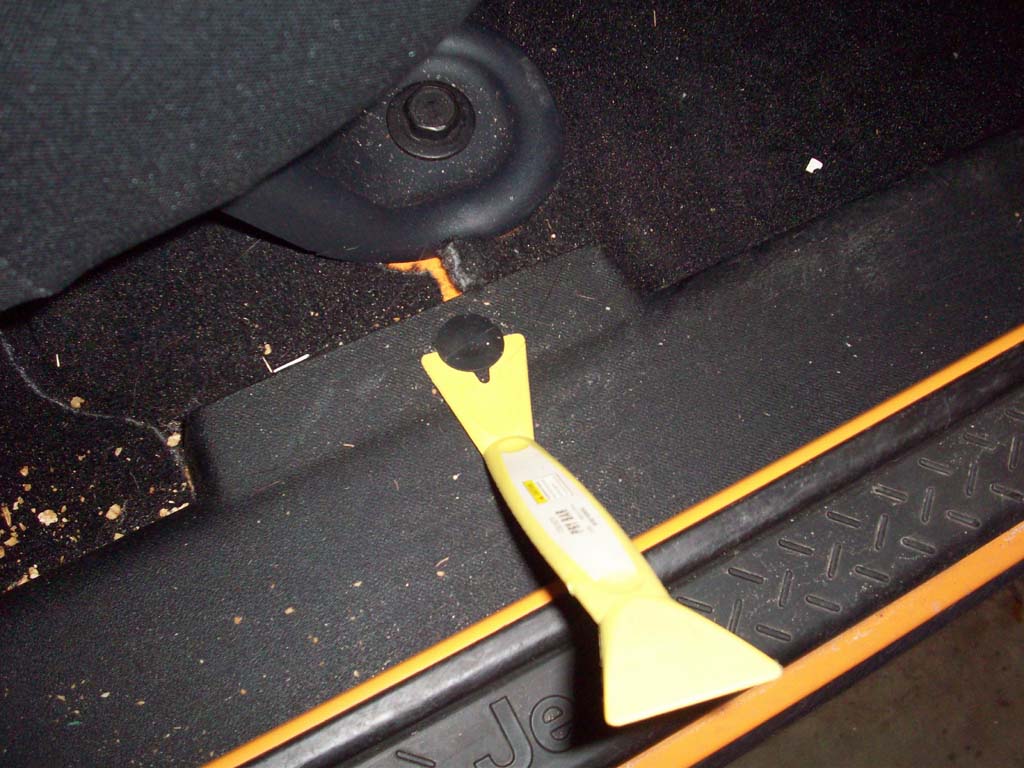
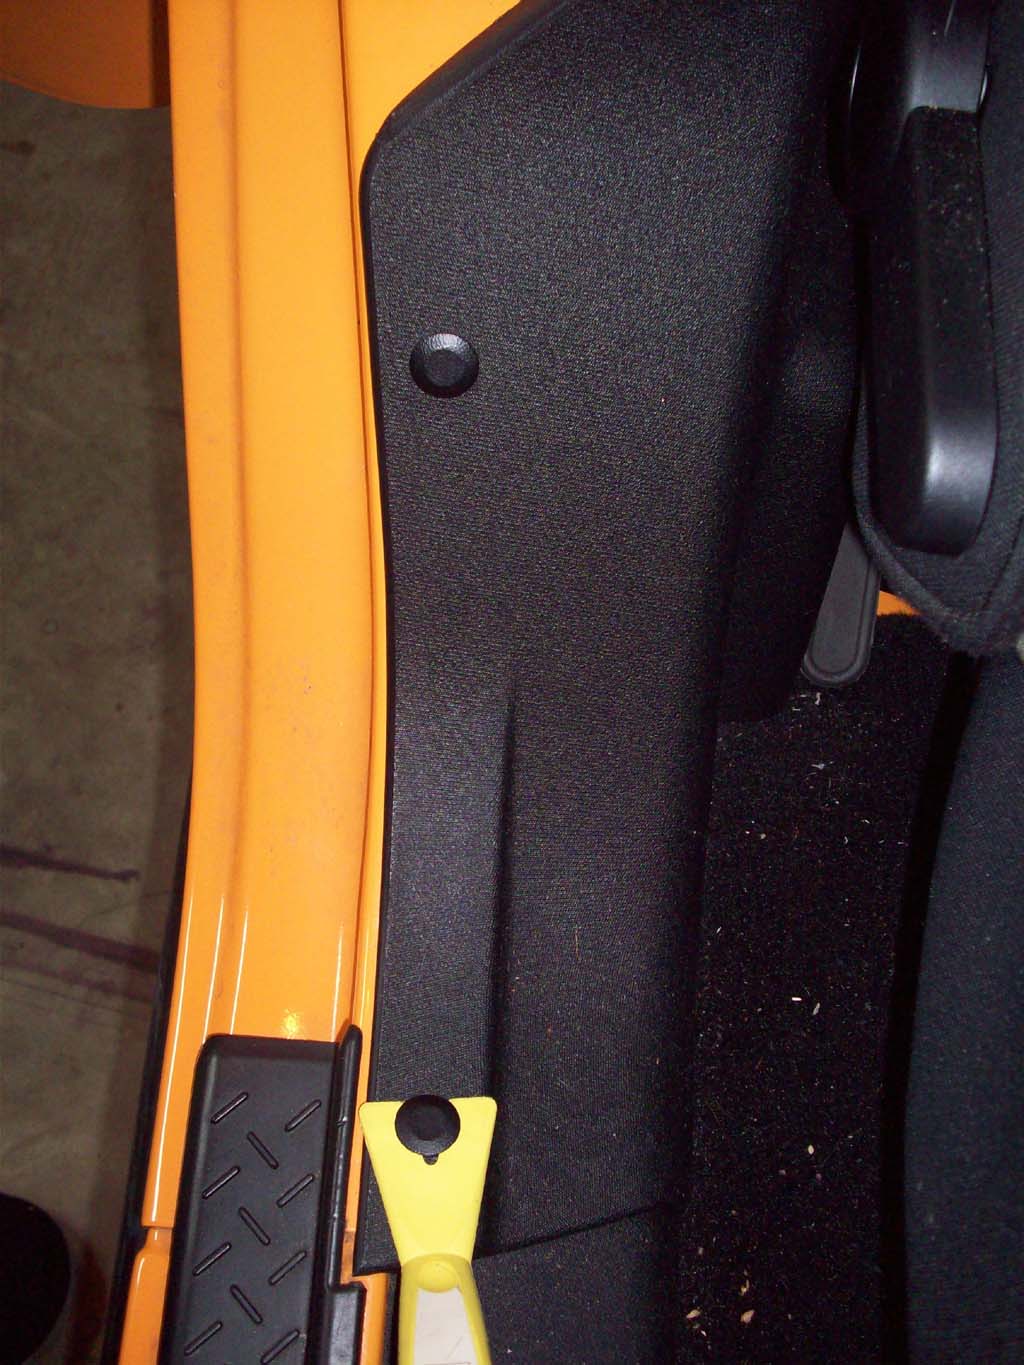
| 2. Remove the side panels on the passenger front side with a trim tool. |
 |
 |
 |
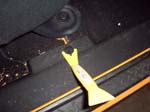
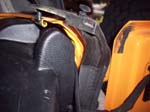
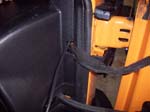
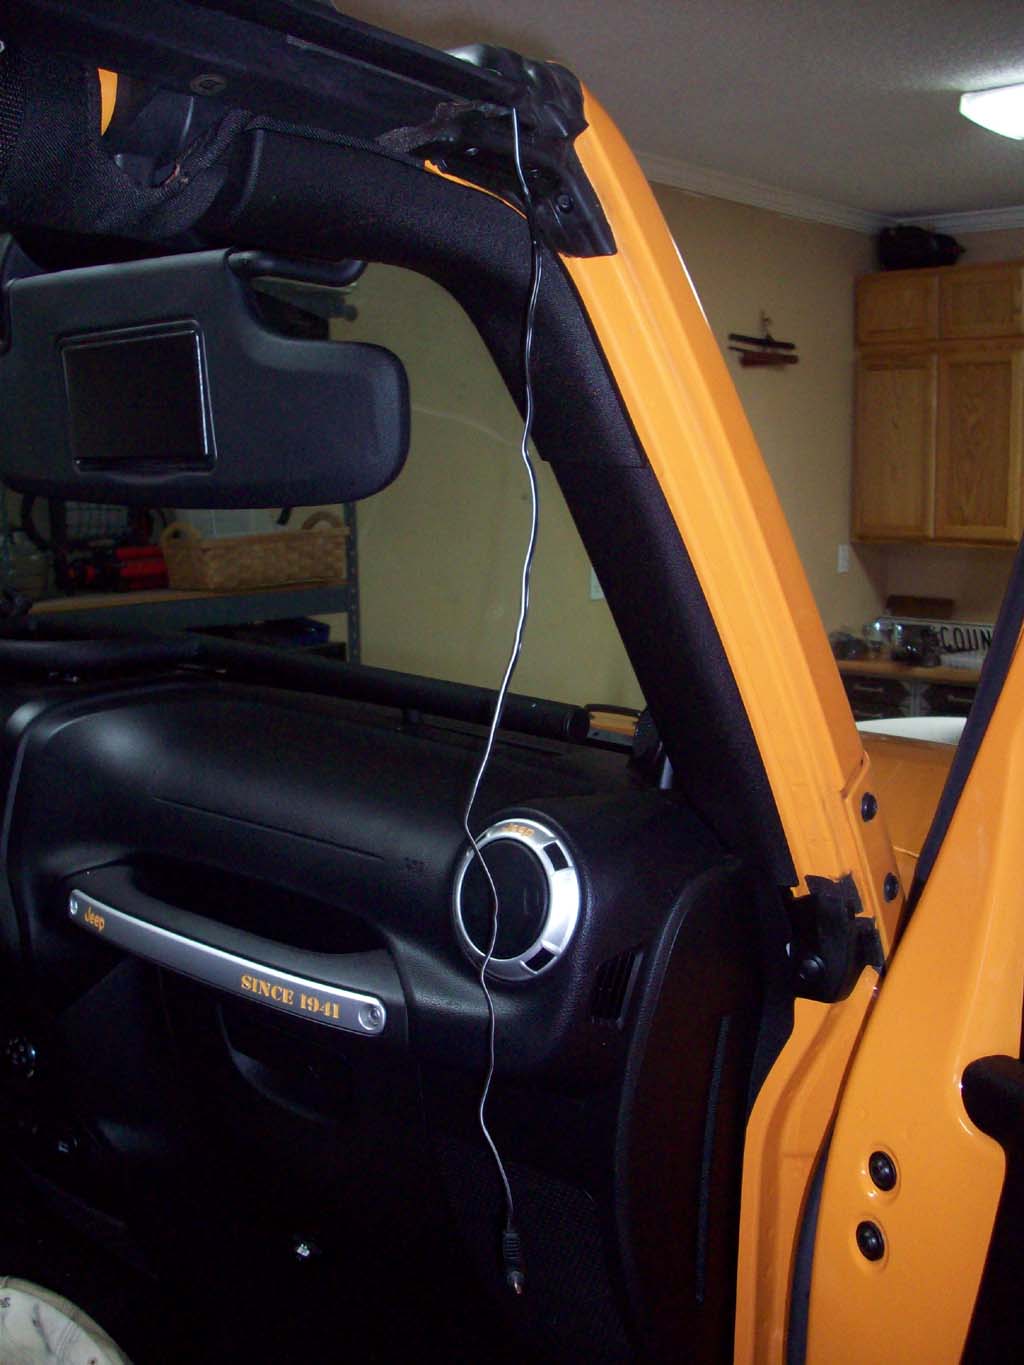
| 3. Run the cable down along the wiring bundle and the edge of the front passenger door. Zip tie as you go along, but leave them loose until you have the cable run all the way. |
 |
 |
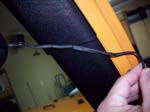
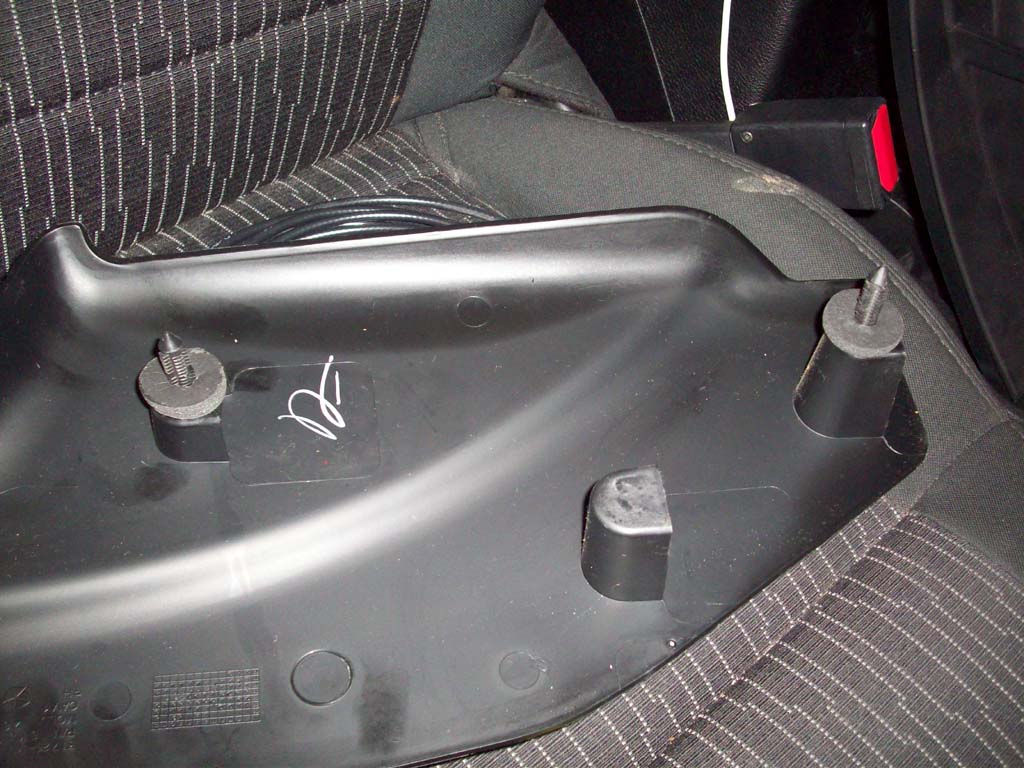
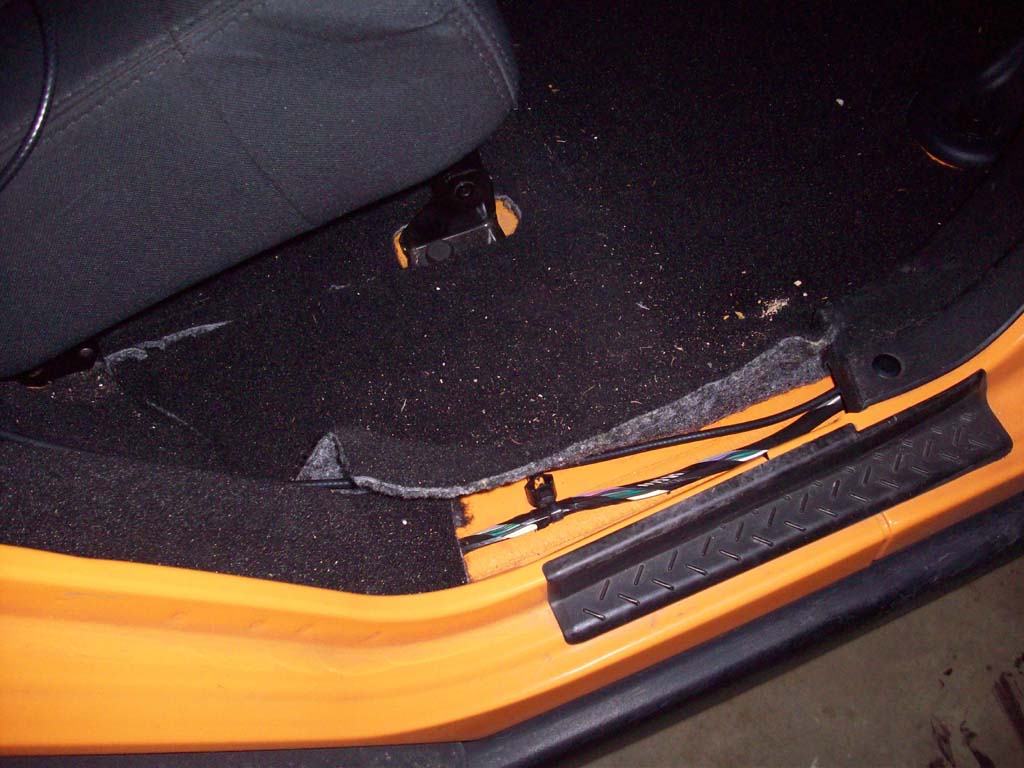
| 4. Slowly work it under the cover for the B-pillar. This is tight, but it does go under. |
 |
 |
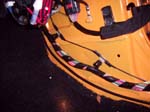
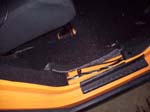
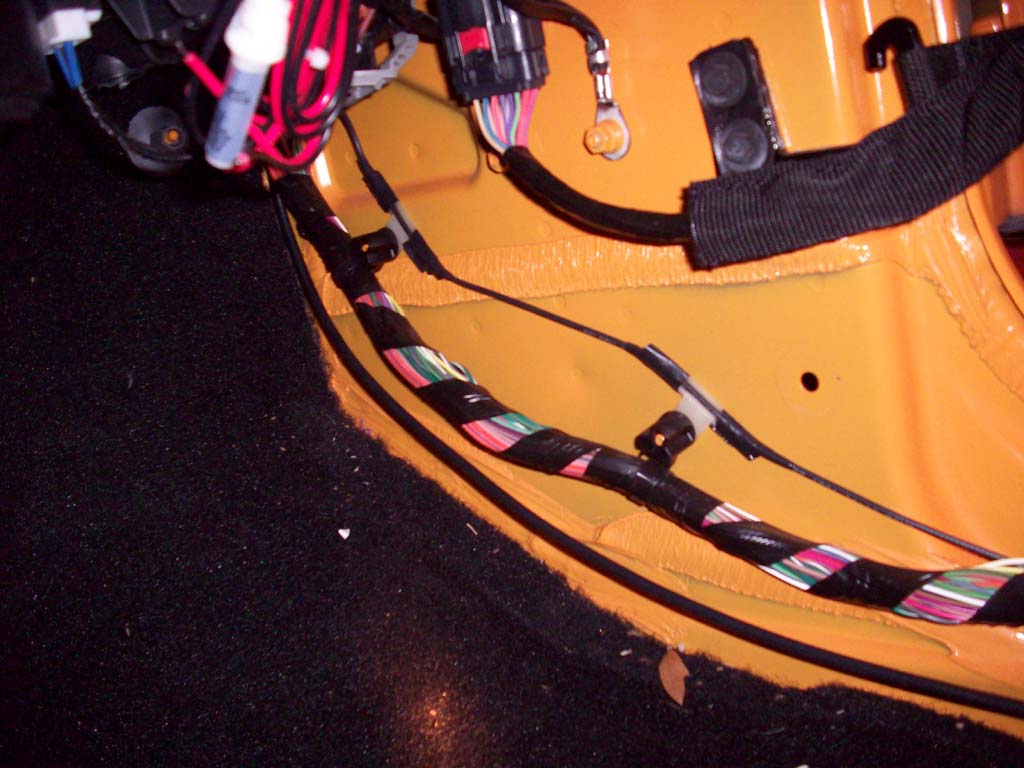
| 5. Run it under the carpeting below the rear passenger door and up along the rear of the tub. Just follow the wireing bundle that is already there. |
 |
 |
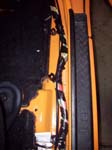
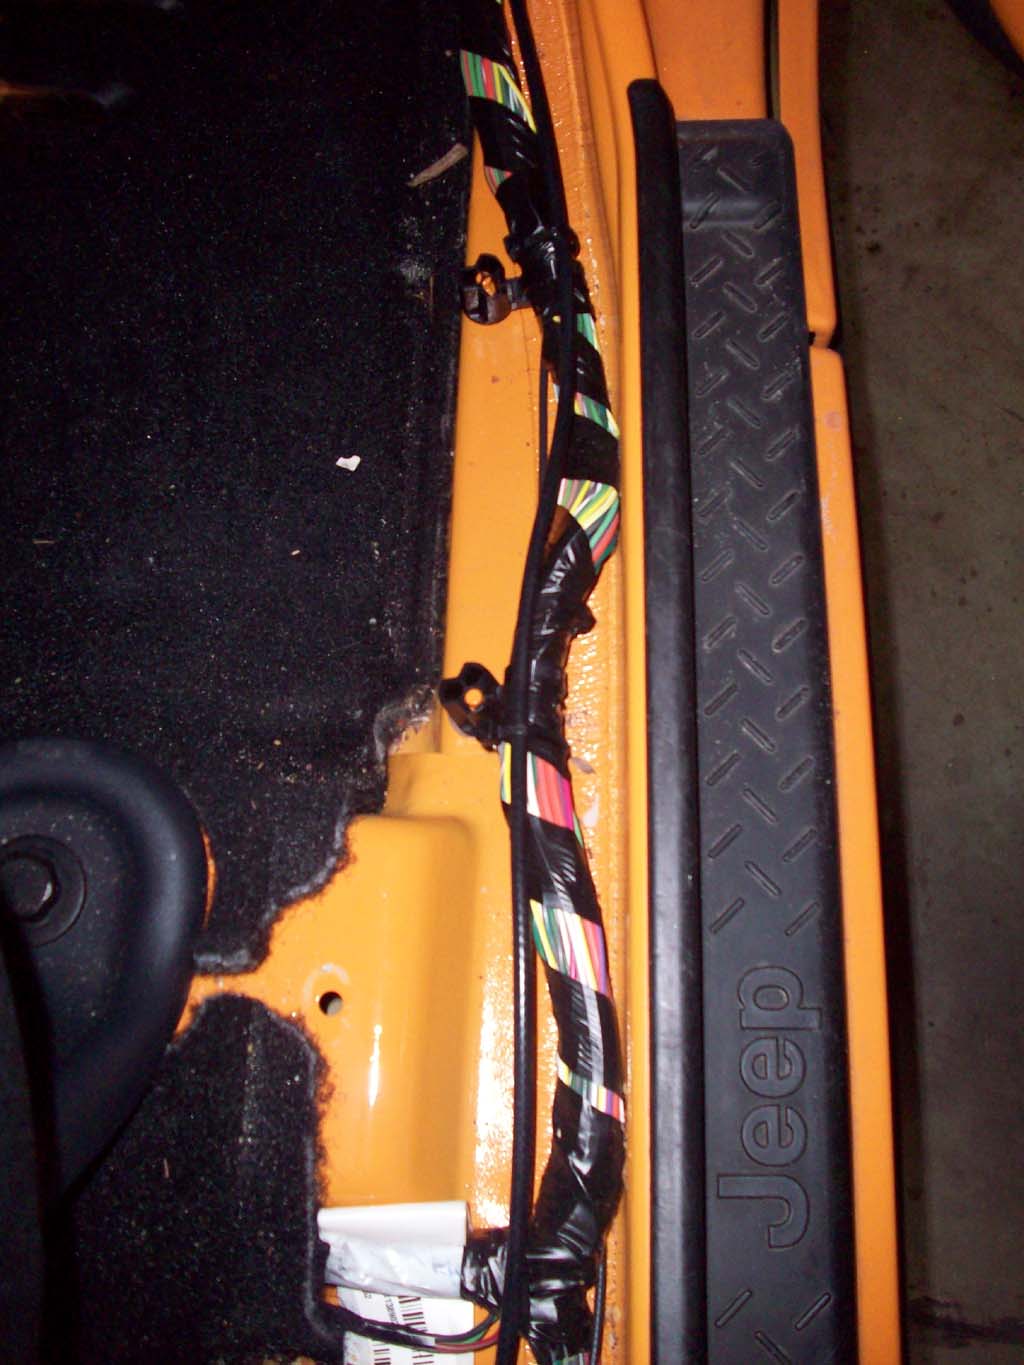
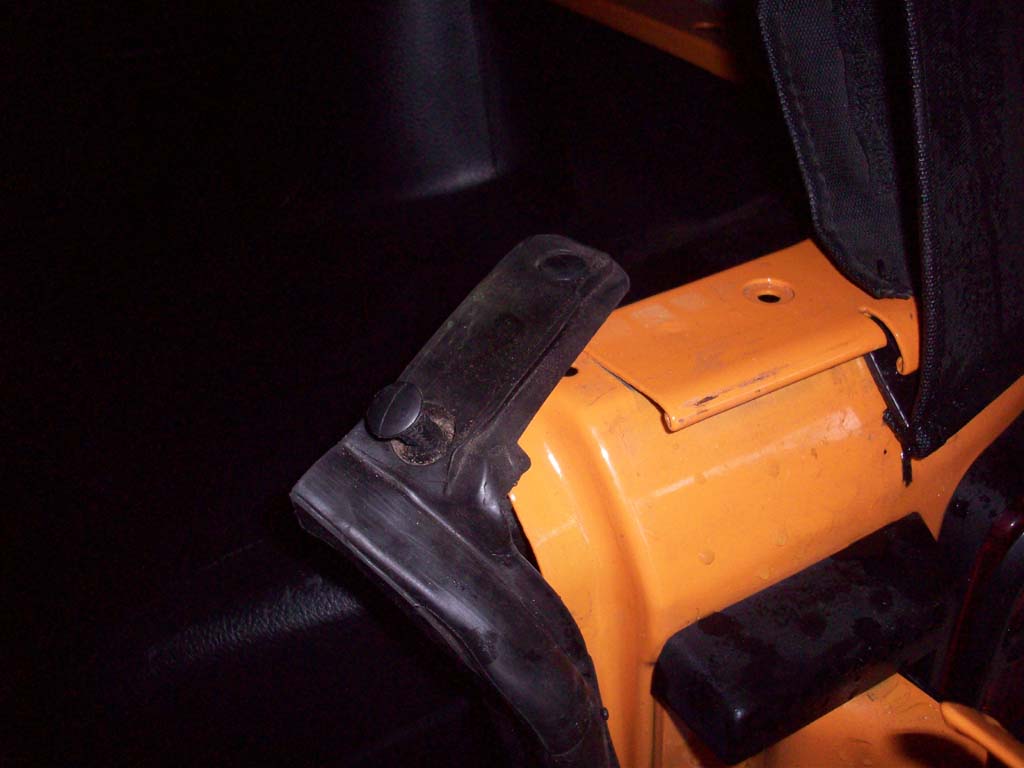
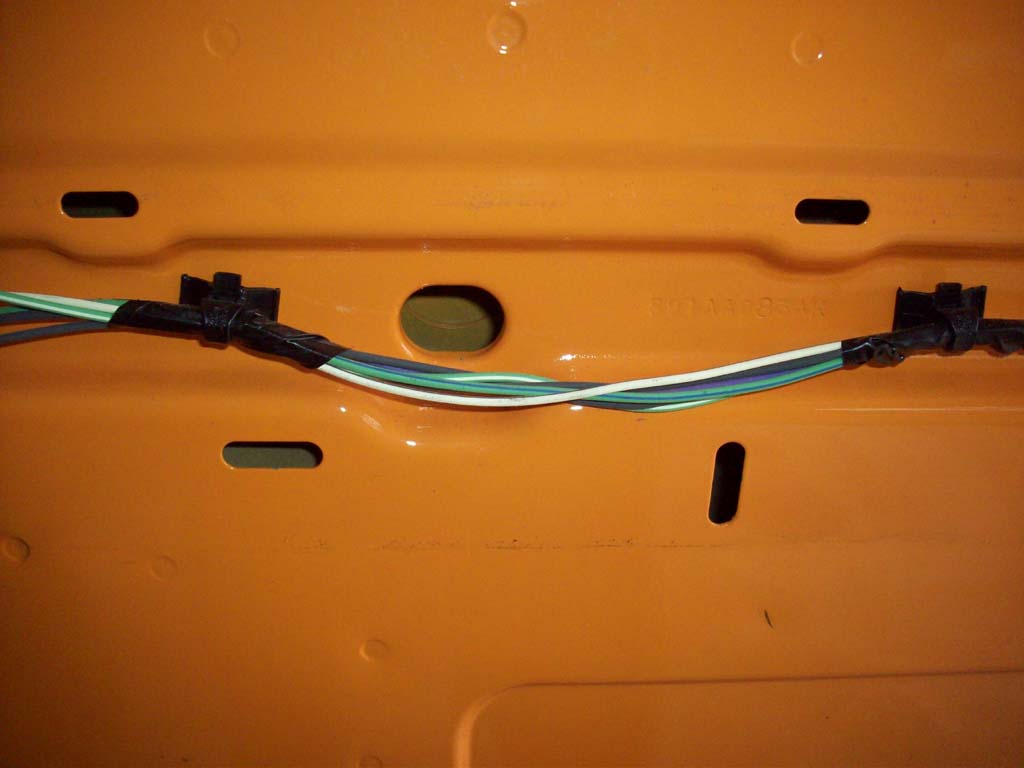
| 6. Once you get to rear of the tub by the tail gate getting the wire down to where the slot that the wiring bundle comes out of the plastic and travels over to the tailgate is a real pain. You could remove all the screws from the plastic, or just carefully pry the plastic back and work the cable down a little at a time until you get it into the slot.. |
 |
 |
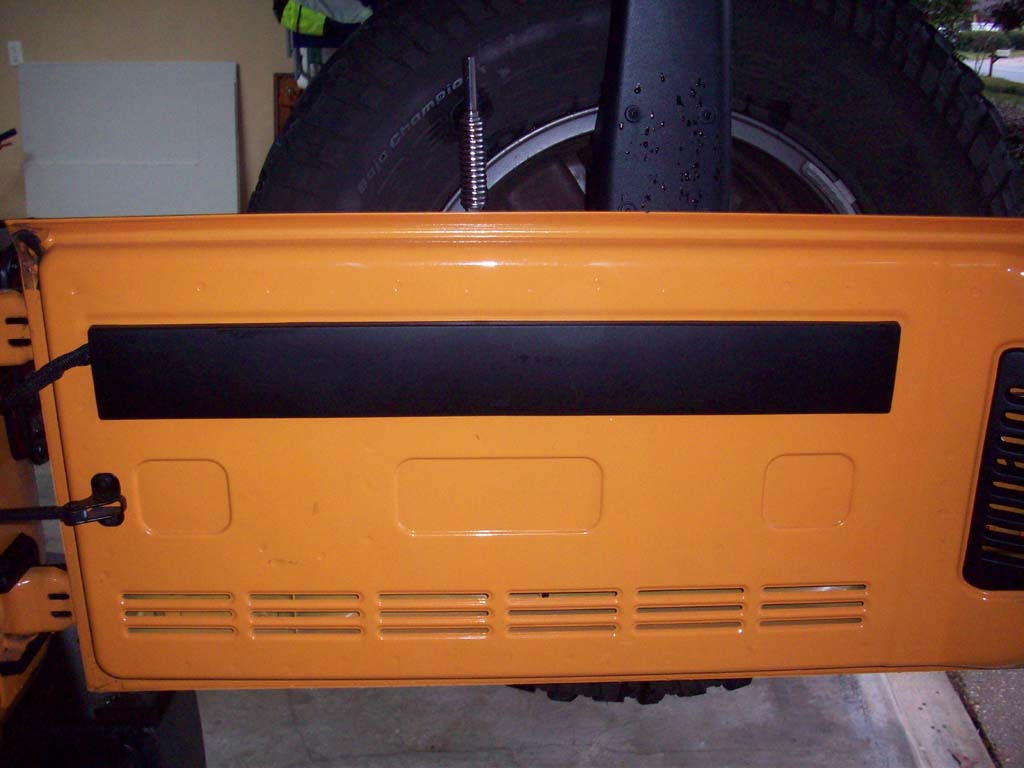
| 7. Remove the plastic cover from the tailgate. It pulls out from the bottom. You may need to use the trim removal tool to get underneath and get it started. |
 |
 |
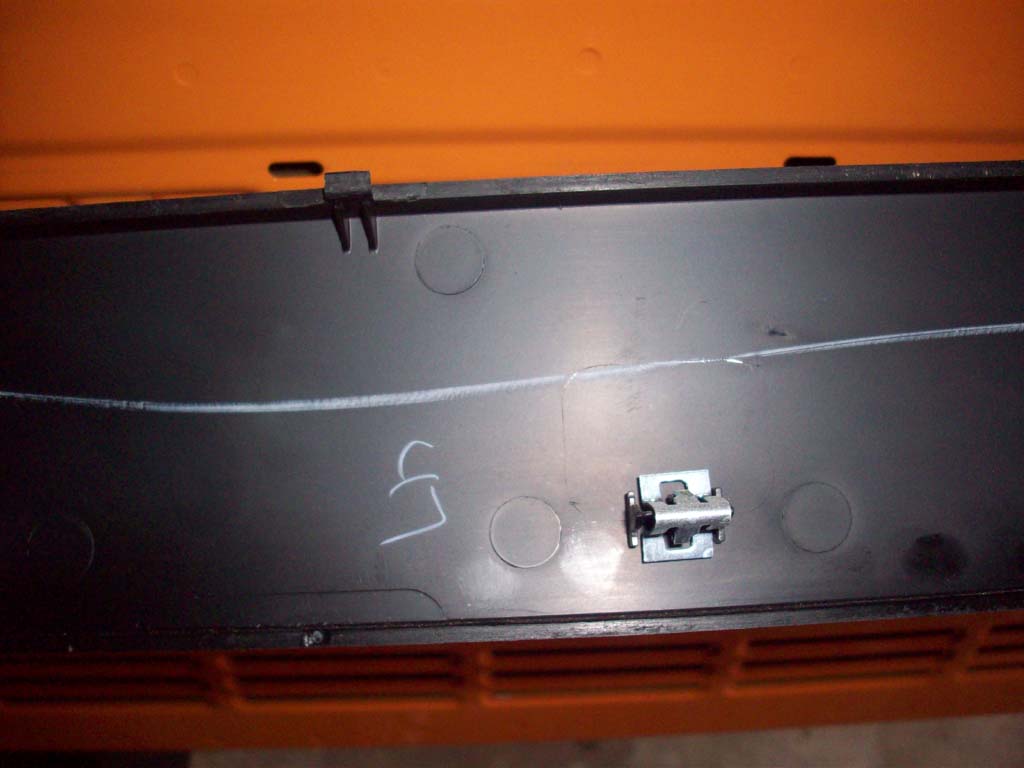
| There is an access hole behind the cover that will allow you to get the cable to the penetration on the other side. |
 |
 |
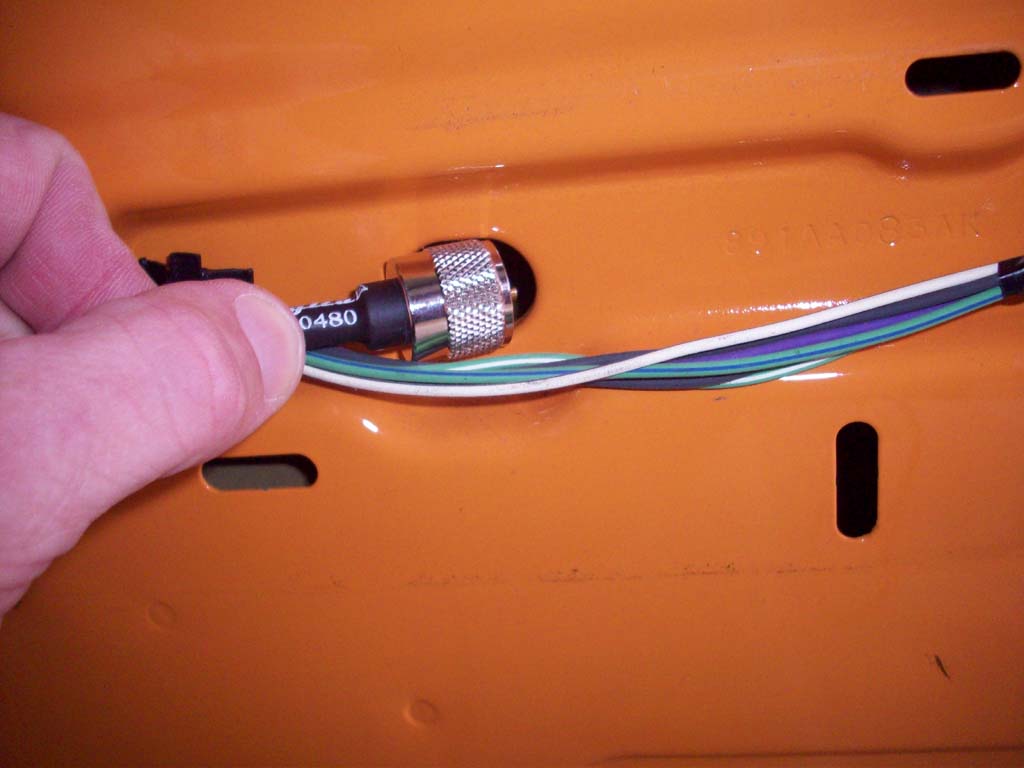
| 8. As you can see the cable end will not fit through the opening. I applied a little persuasion to the hole with an extension for a ratchet. Just enough to widen the hole to allow the cable end to slid in. I could have gotten the ring style cable end through the opening. |
 |
 |
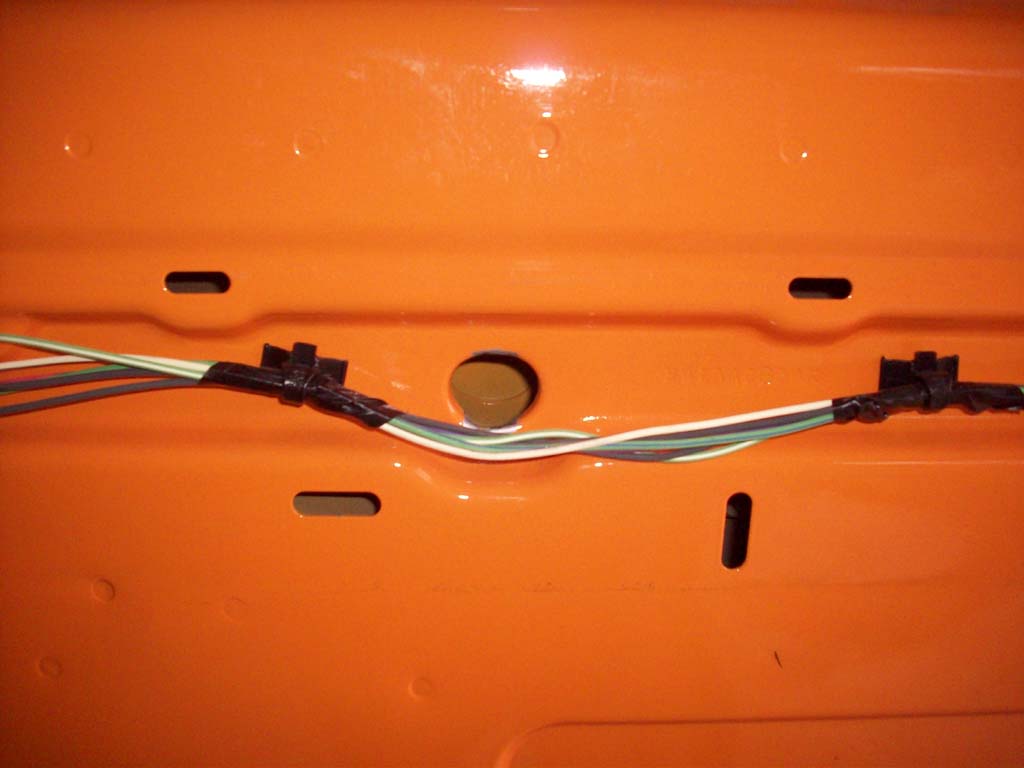
| 9. Insert the cable end into the hole. It's still a really tight fit. |
 |
 |
| 10. Okay now that you have realized that in the process of putting all this stuff on and together you managed to put the spare tire back on also... Remove the spare tire. |
 |
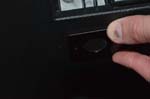
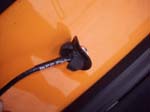
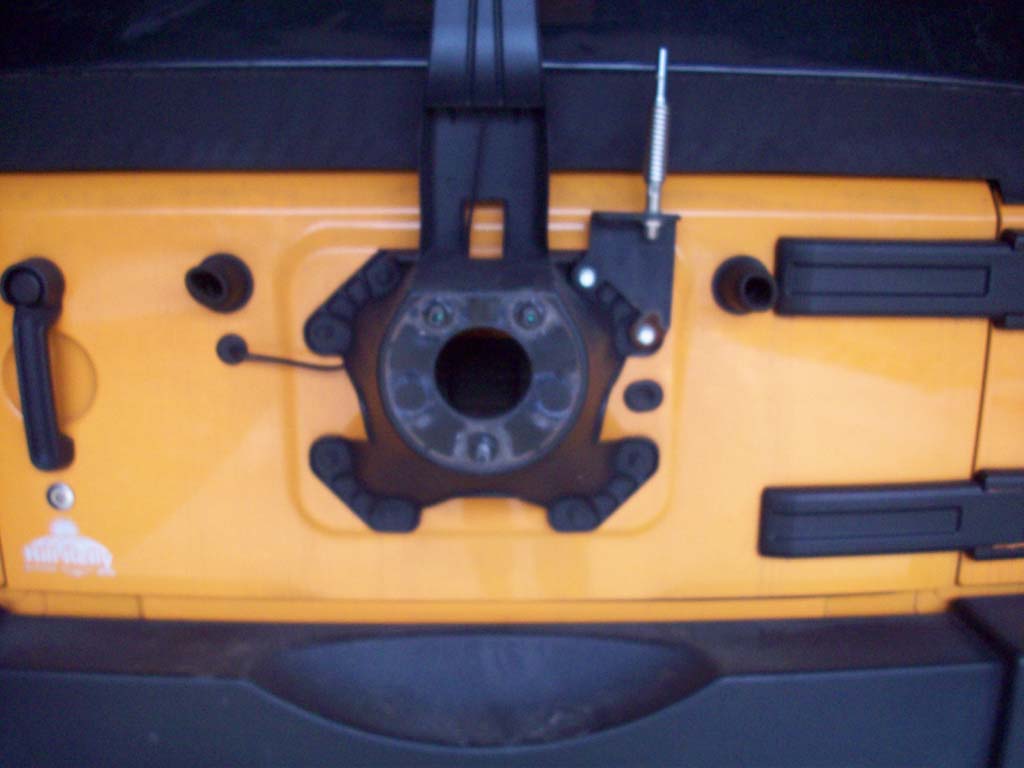
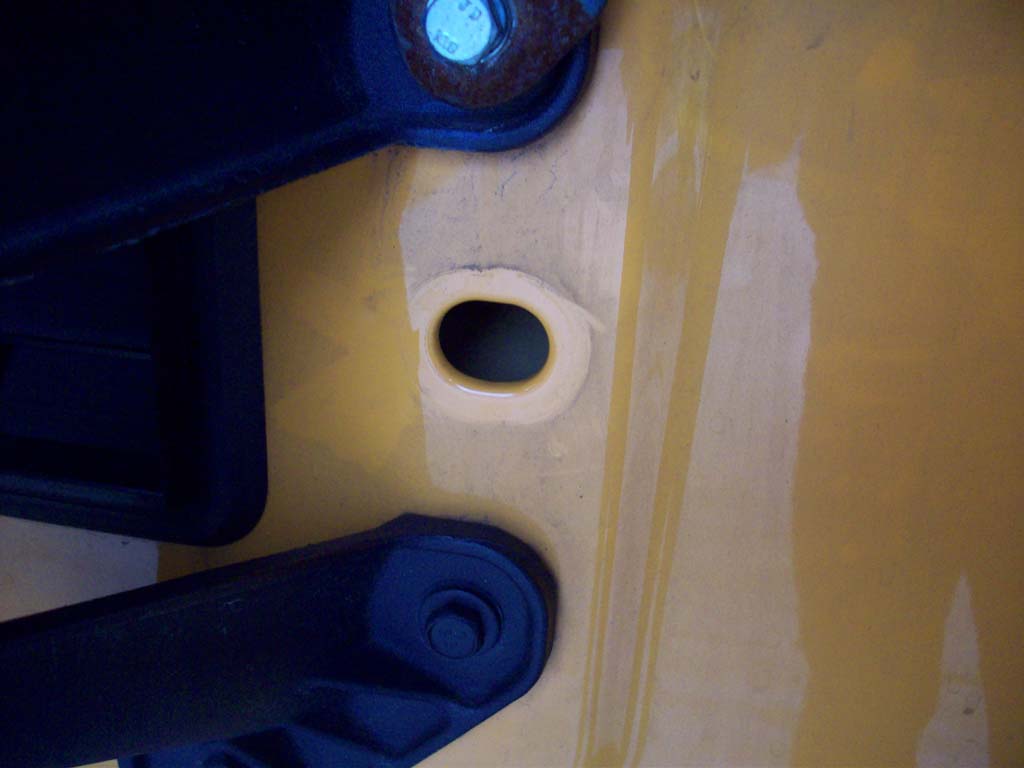
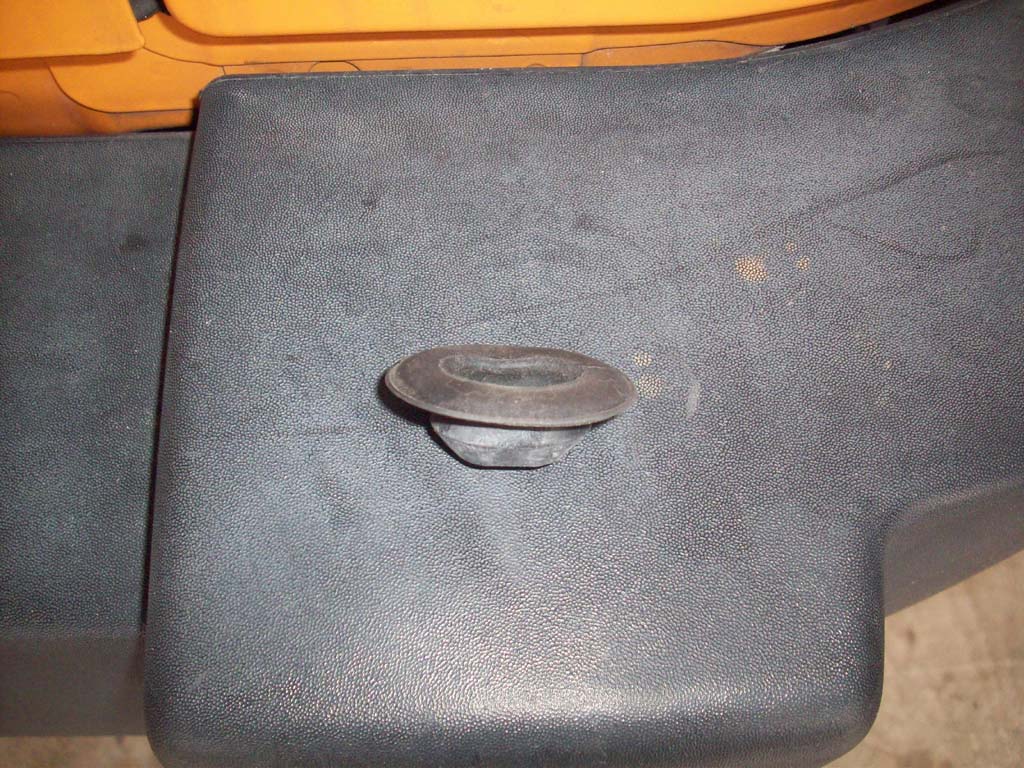
| 11. Remove the rubber plug from the tailgate below where we installed the antenna bracket. I think I need to clean the back of the Jeep. |
 |
 |
 |
 |
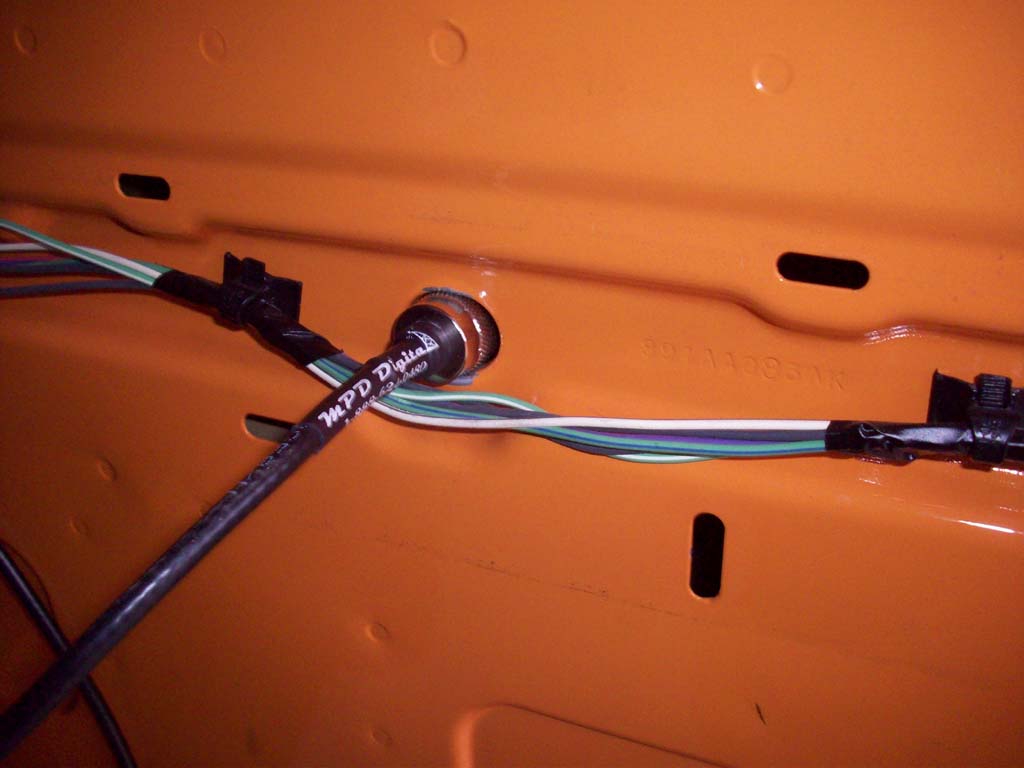
| 12. Reach over the tailgate and move the cable around until you can see the connector. I reached threw the hole with a needle nose pliers and pulled it out. I checked to make sure that I had enough length by momentairly connecting the cable end to the antenna mount. |
 |
 |
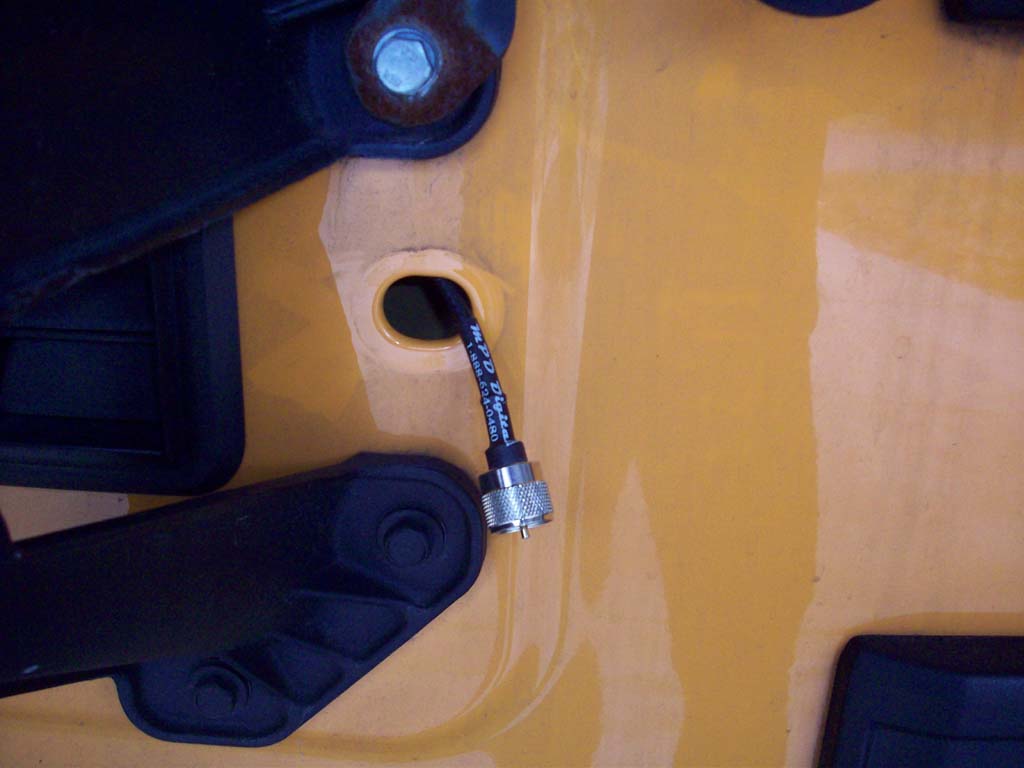
| 13. Use a razor knife to make a cut across the inside of the rubber plug (short side). This plug is fairly thick. I made another small cut along the long side of the plug. Slide the end of the connector through the plug. |
 |
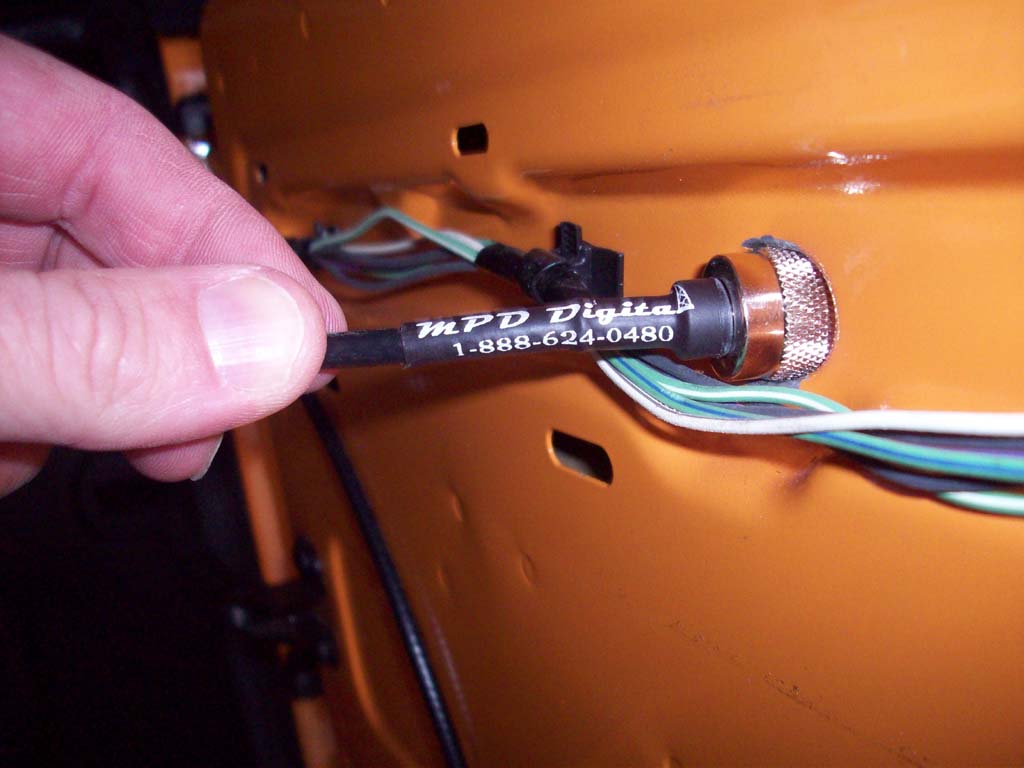
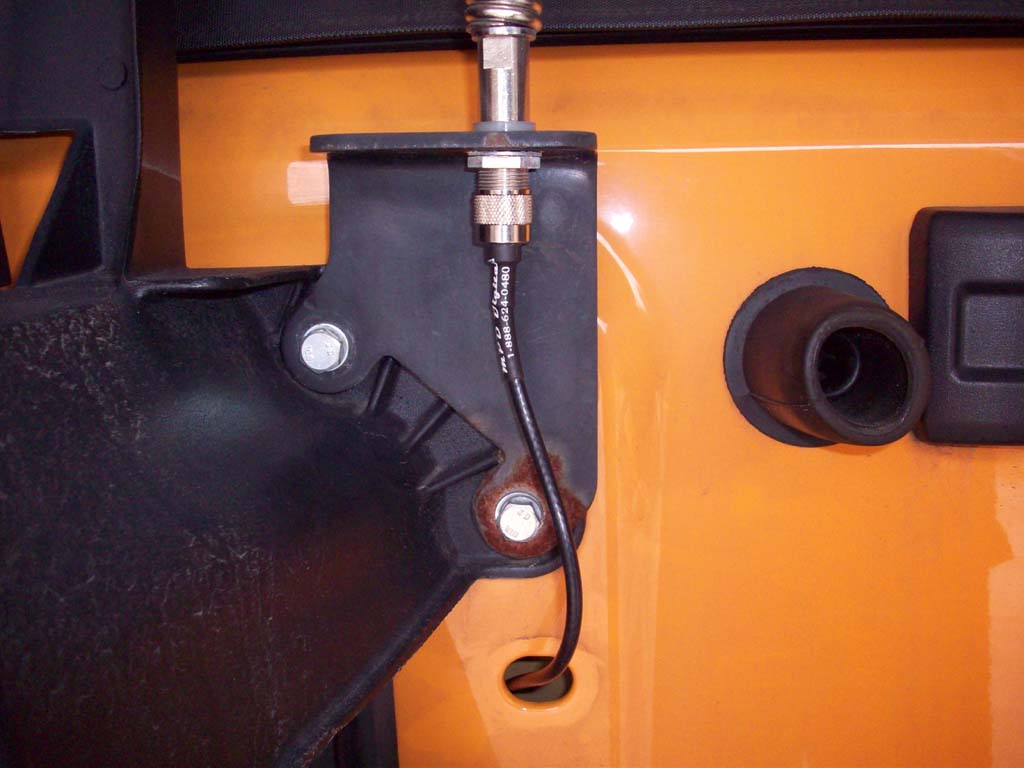
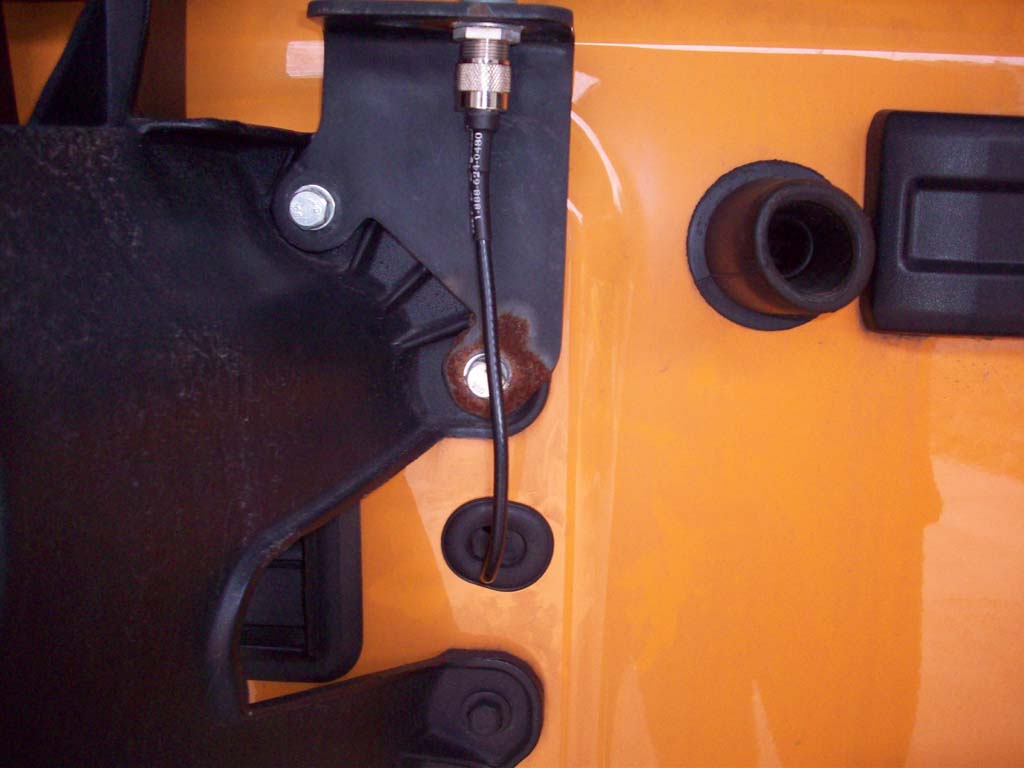
| 14. Connect the end of the cable to the antenna mount and push the plug back into its hole in the tailgate. You can use a little black silicone sealant to seal the end of the cable to the plug. |
 |
 |
| 15. Put the cover back on the back of the tailgate. |
 |
| |
| Tuning the Antenna: |
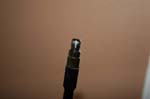
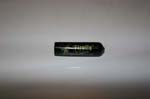
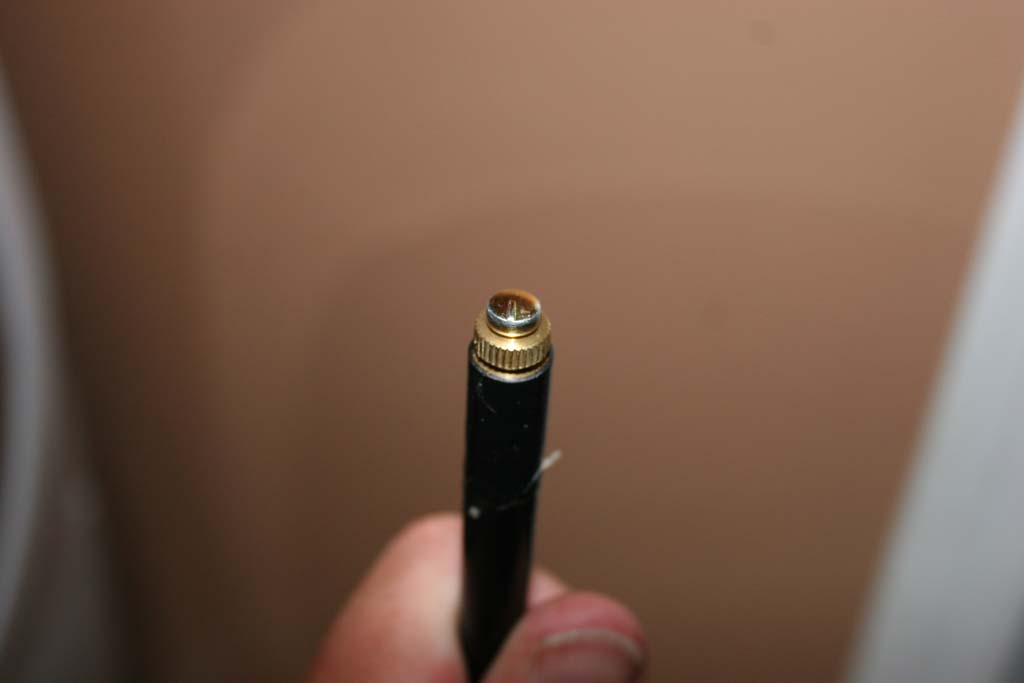
| Remove the rubber cap and expose the tuning screw. |
 |
 |
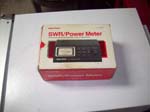
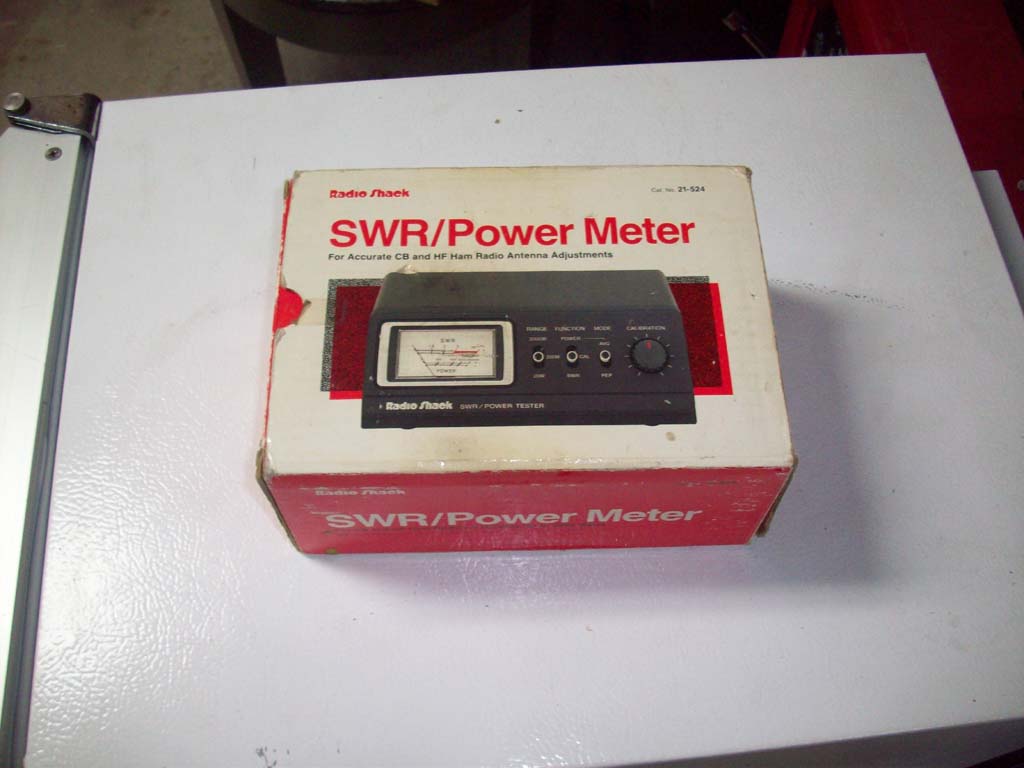
| Hook up the SWR meter and |
|
 |
 |
| |
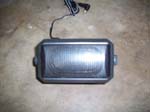
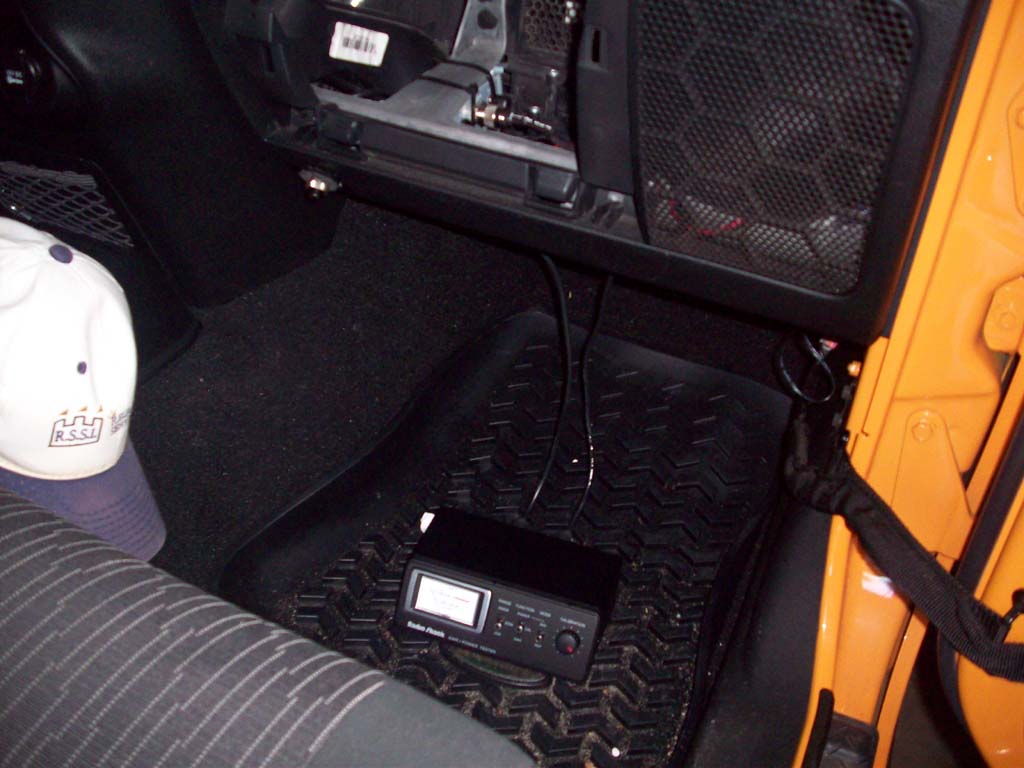
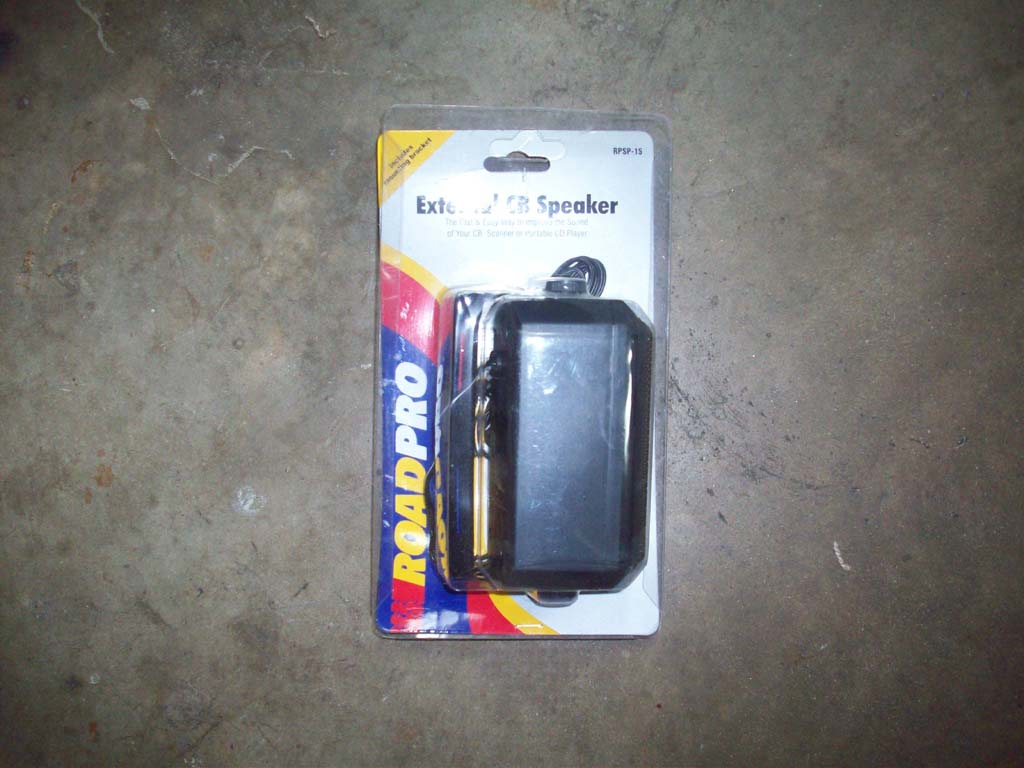
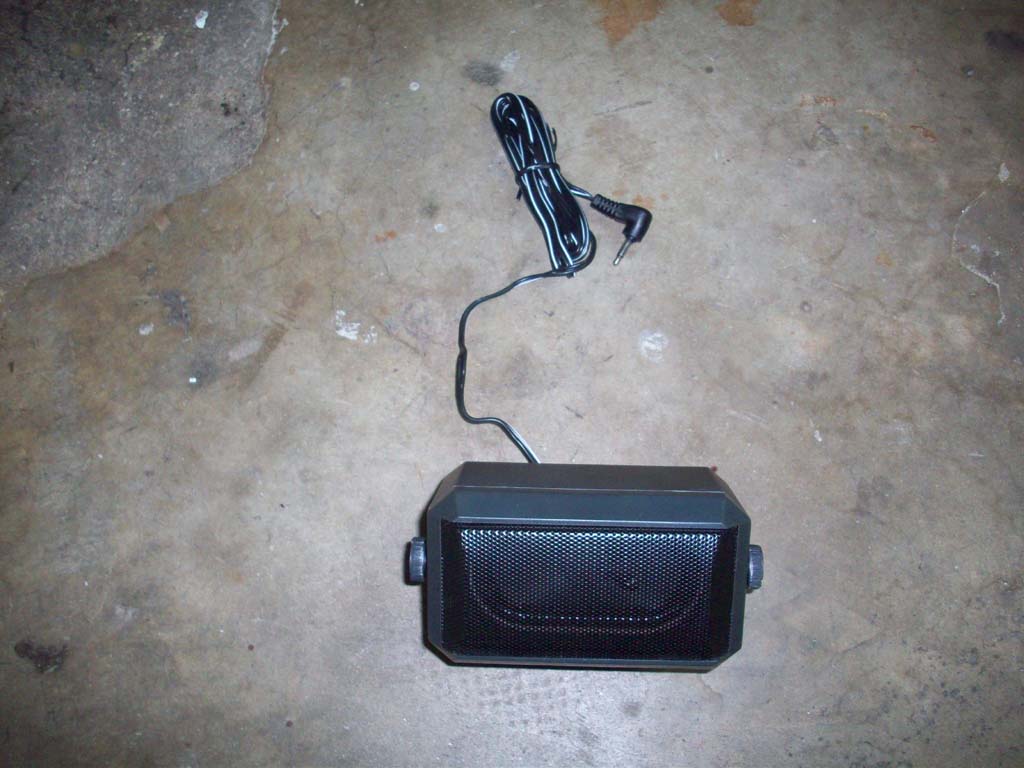
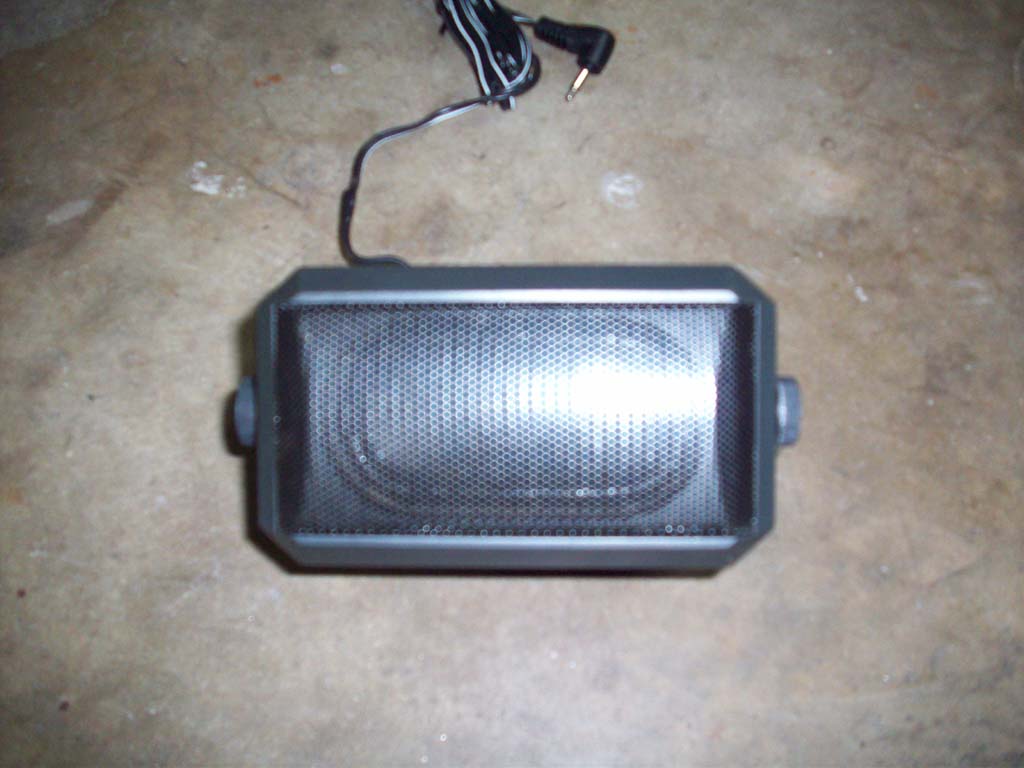
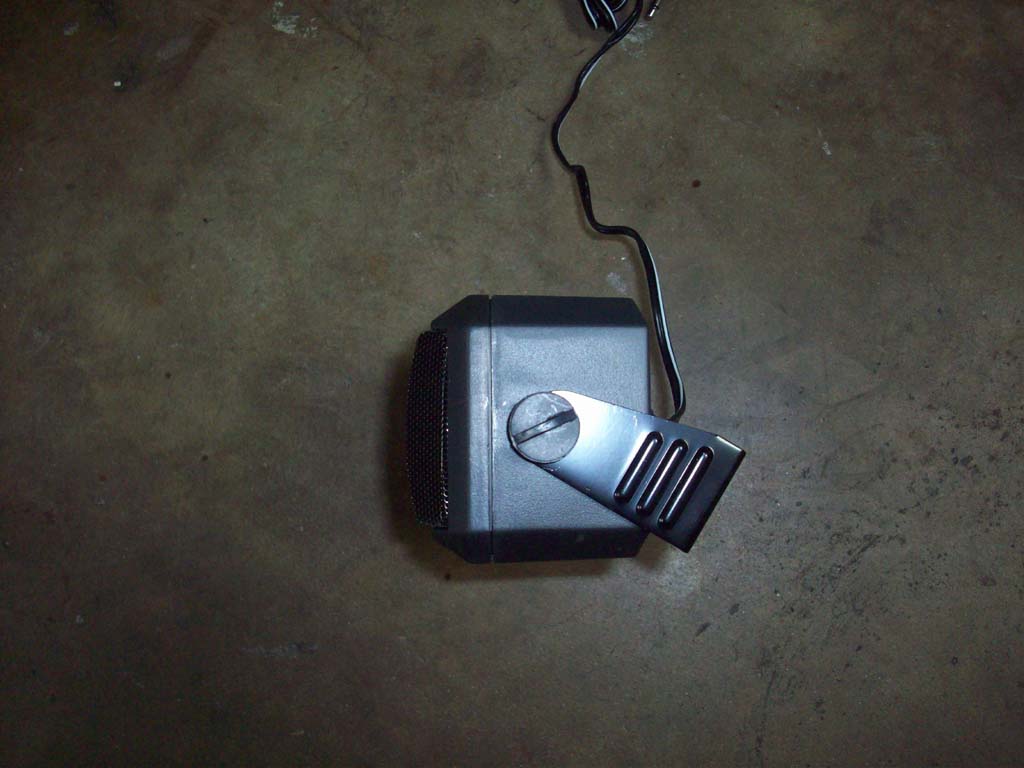
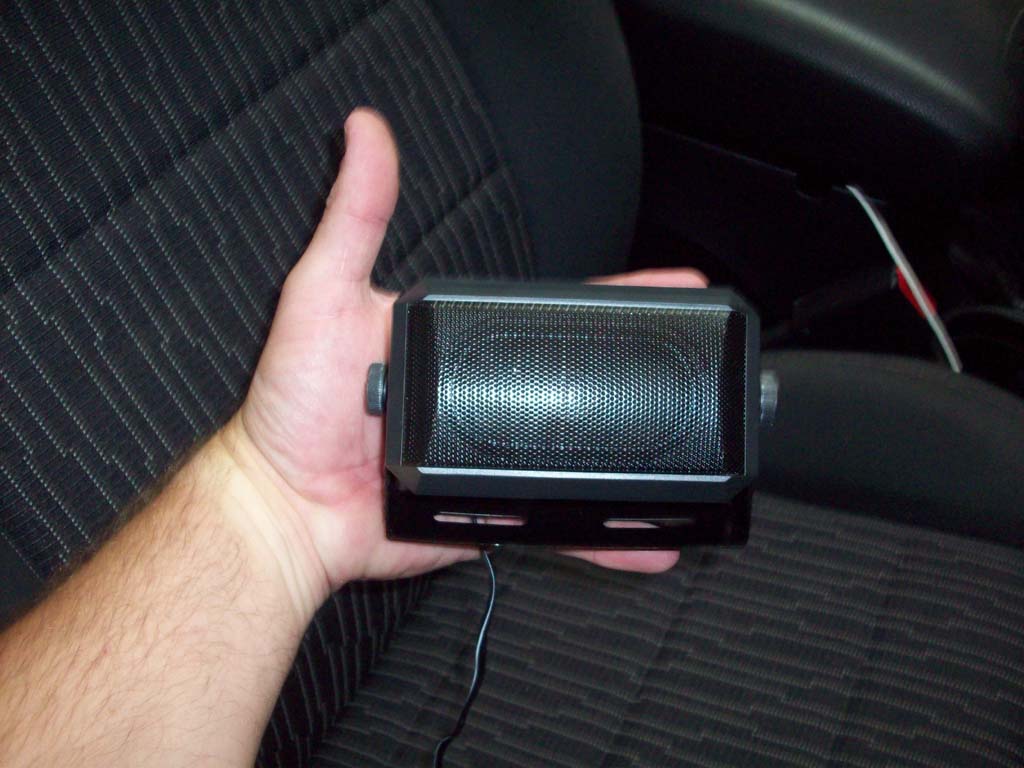
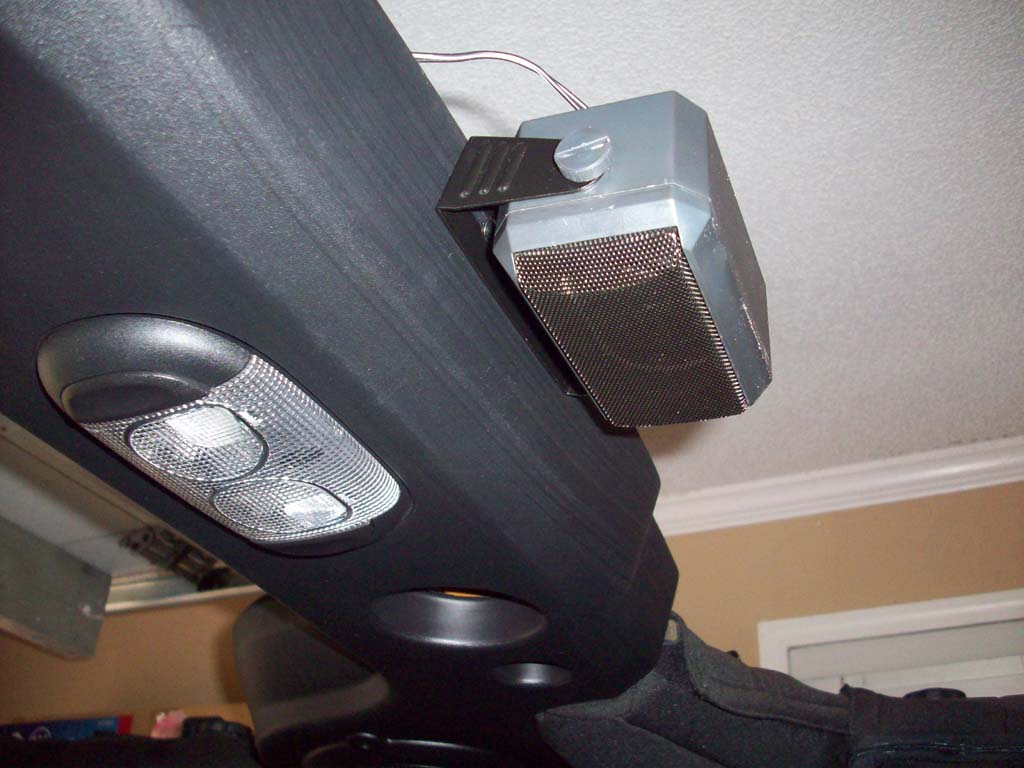
| External Speaker: |
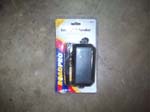
| While the speaker on the CB is adequate on the trail, going down the road with the top off is another story. A trucker friend of mine had this speaker laying in his garage unused so I put it to good use. |
 |
 |
 |
 |
 |
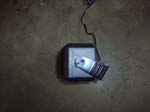
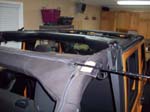
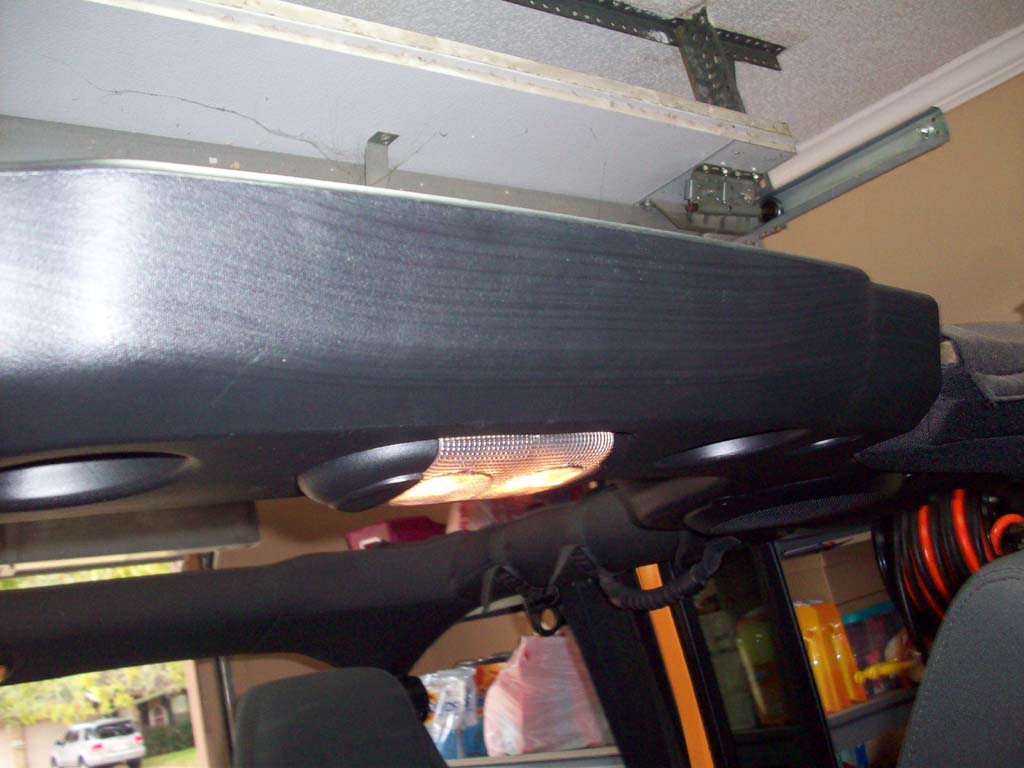
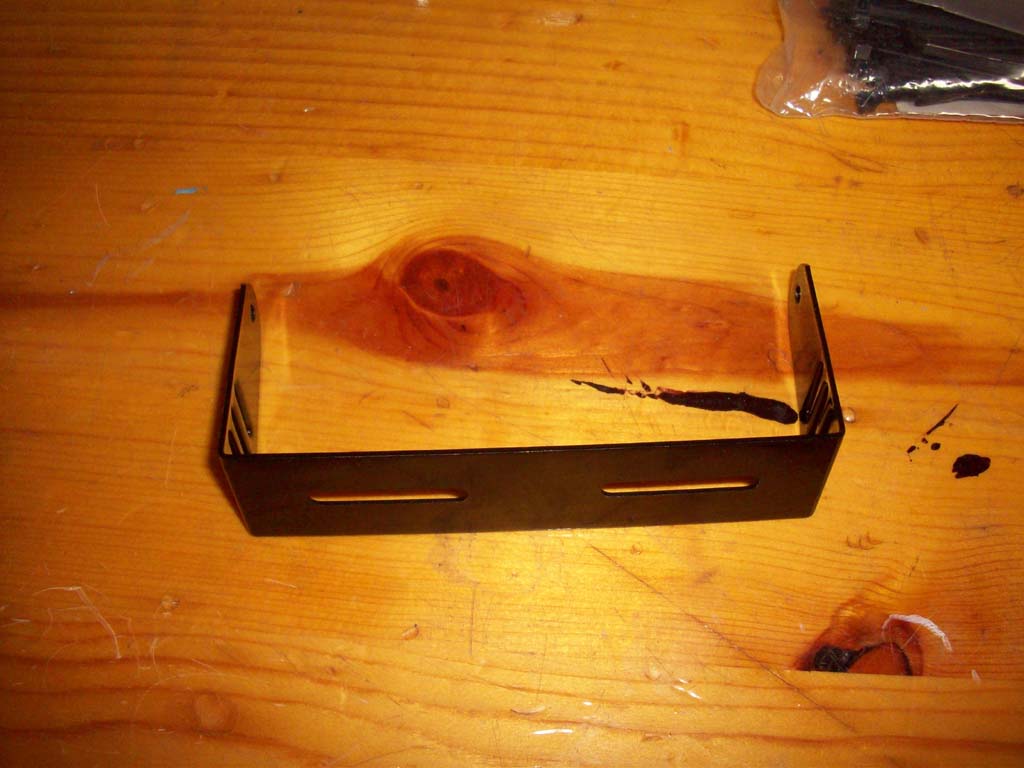
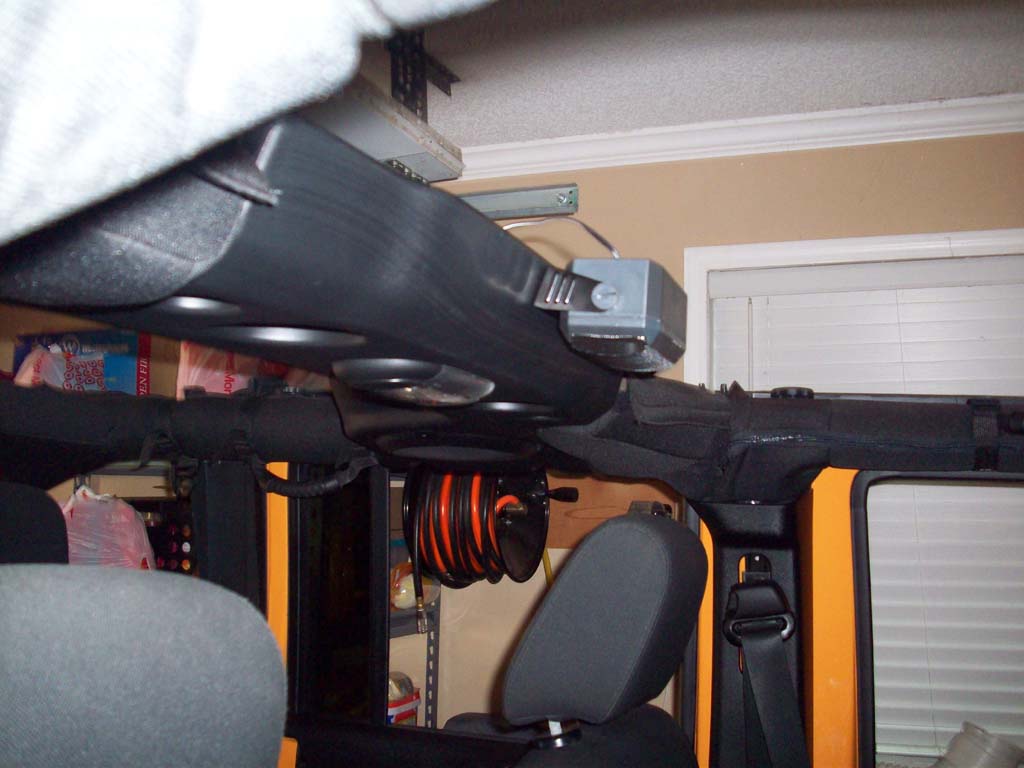
| 1. Finding a good place to put this speaker was a little difficult due to it's size, but the center speaker bar is plastic and high enough that it works fine. I will eventually move when I install the cage in the vehicle. |
 |
 |
 |
 |
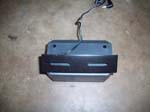
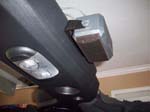
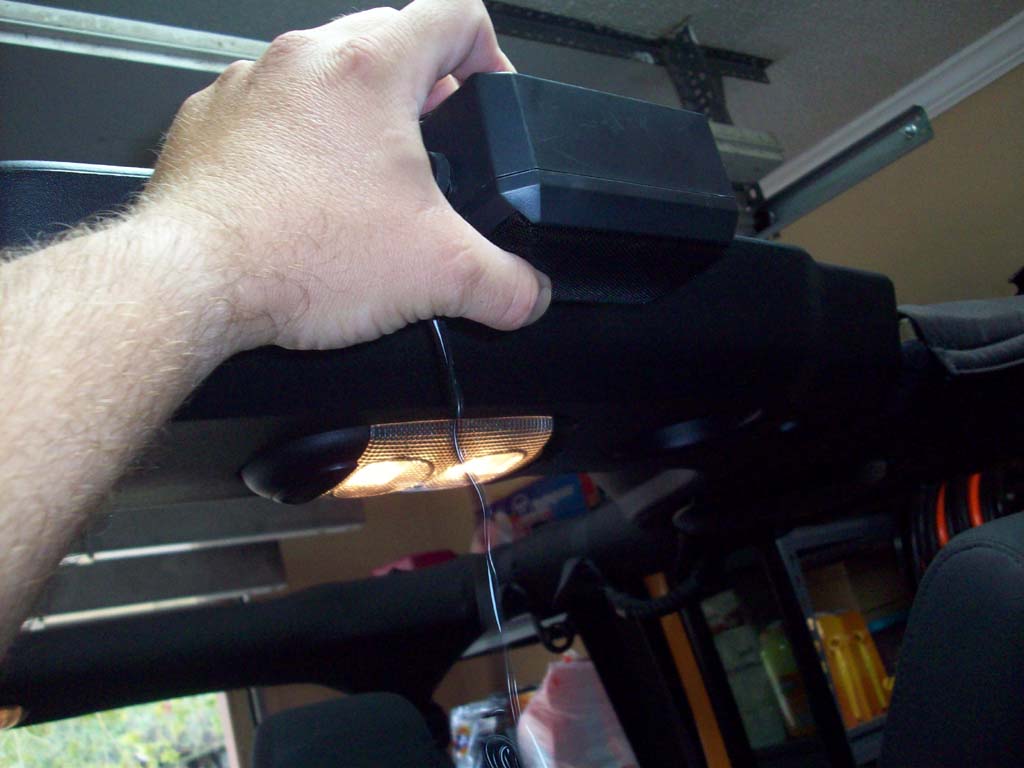
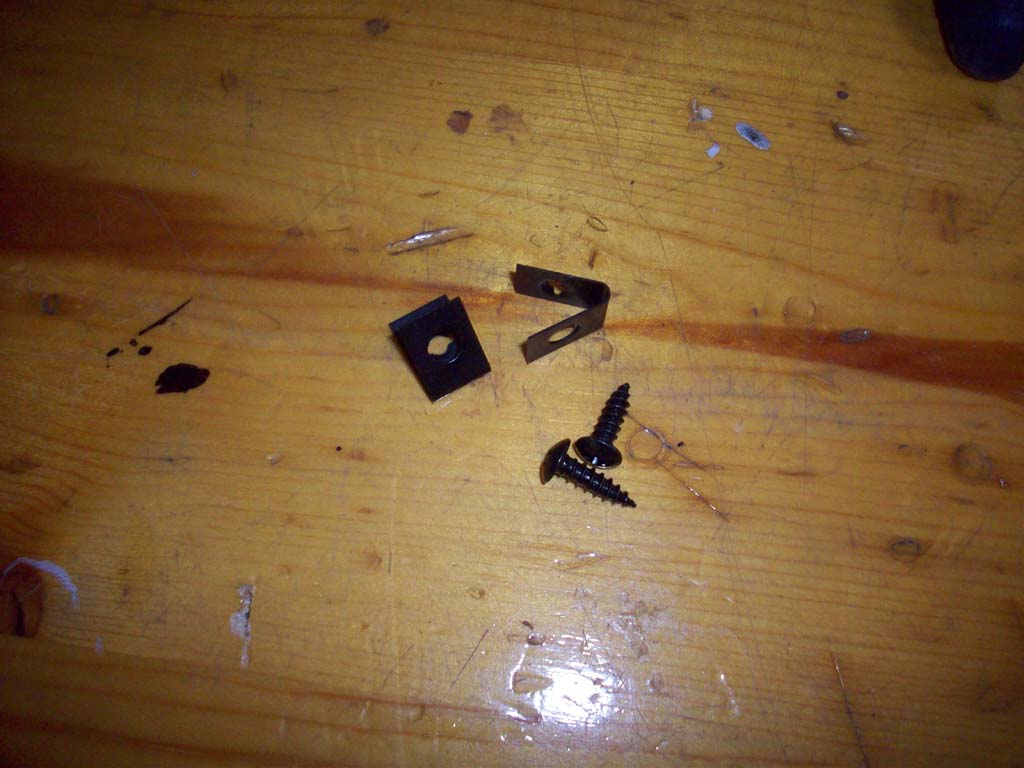
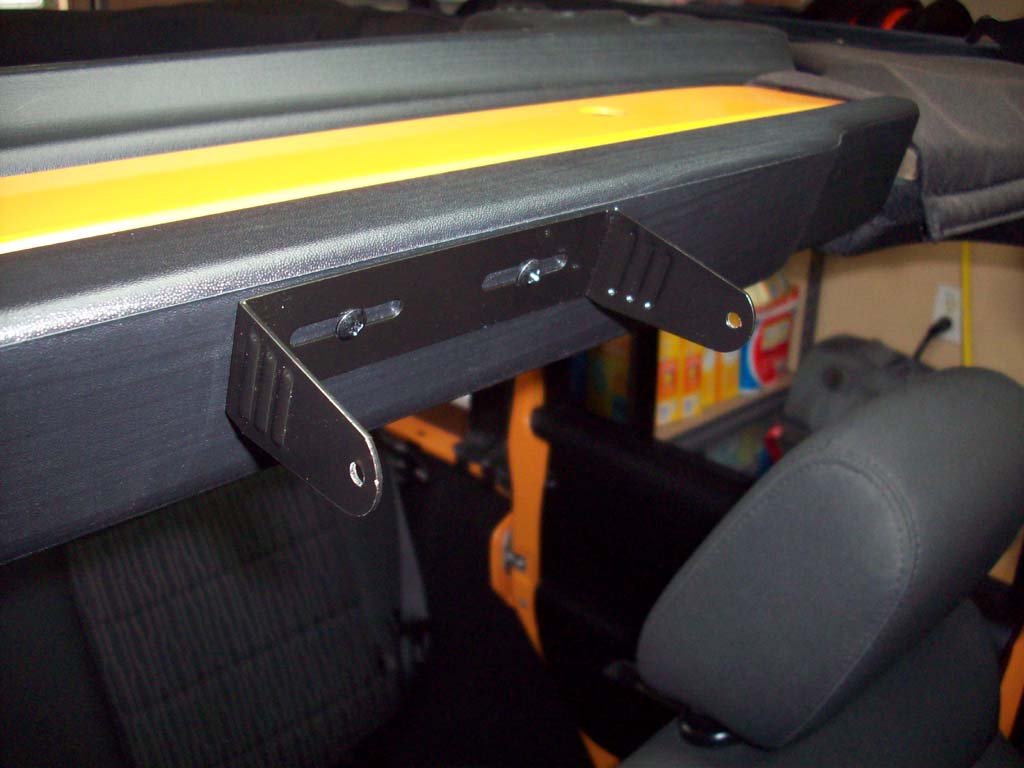
| 2. Remove the bracket from the speaker and screw it into the sound bar. The bar is plastic so a #2 phillips screw driver drove the screws right in. |
 |
 |
 |
| 3. Reinstall the speaker in the bracket. |
 |
 |
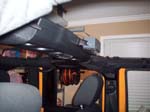 |
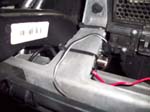
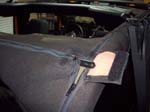
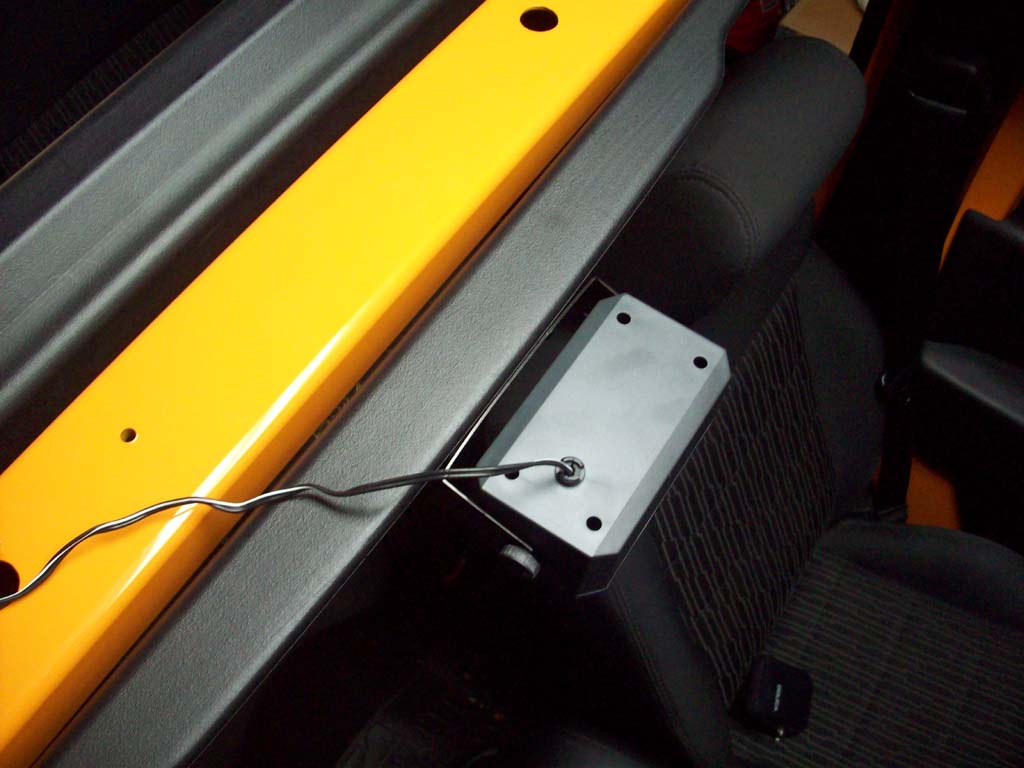
| 4. Run the speaker wire along the top of the center bar and underneath the passenger side bar covering. As you can see I couldn't quite make it to the control box under the dash. |
 |
 |
 |
| 5. Splice in some additional length of wire so that the speaker wire will reach the location of the control box. I just used some small solder connectors and heat shrink tubing that I had in the drawer. |
 |
| 6. Run it along the other wiring under the dash and knee bar. I later ran some wire loom over all the wires and zip tied them in place to keep them secure. |
 |
| |
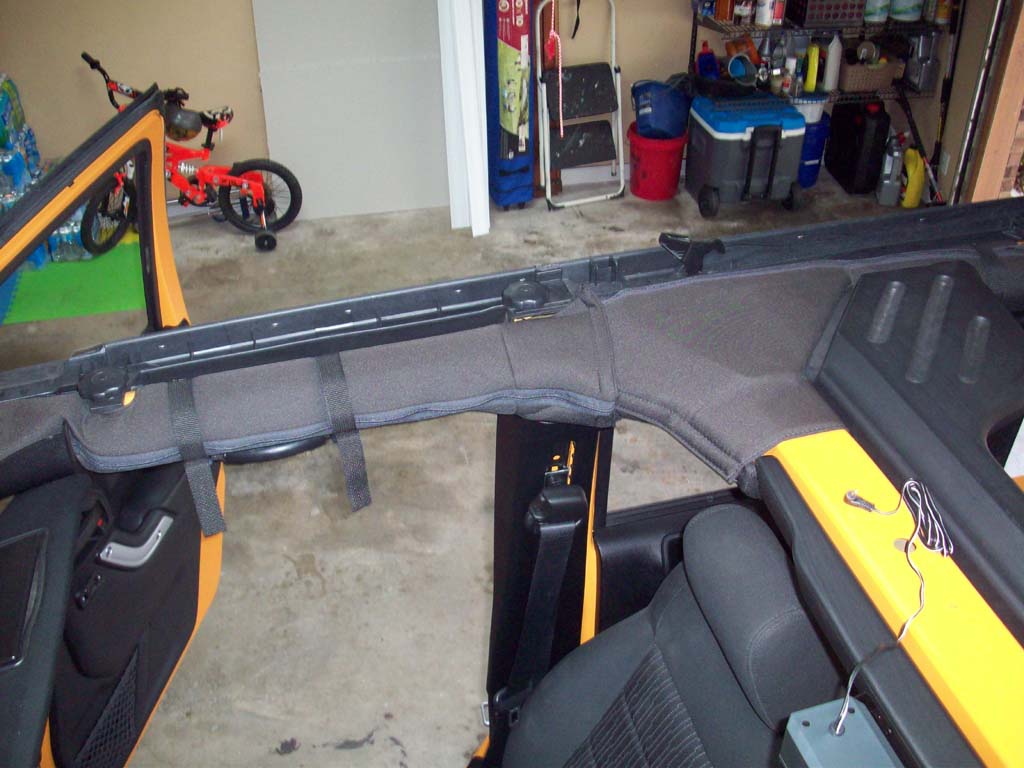
| Hidding the Antenna: |
| 1. Now since I can't really keep the antenna on at all times because of my garage, I needed a place to put it in the vehicle, or leave it at home. I didn't really want to keep it at home, but finding a place in the Jeep where it was out of site and still accessible was a little hard. I could have put it under the back seats, but I'm constantly having to lay them down and didn't feel like breaking the antenna by forgetting. I could leave it out in the open, but it probably would have walked off when I have the top down. The dilemma. |
 |
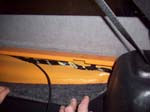
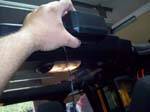
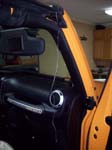
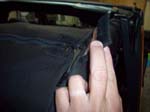
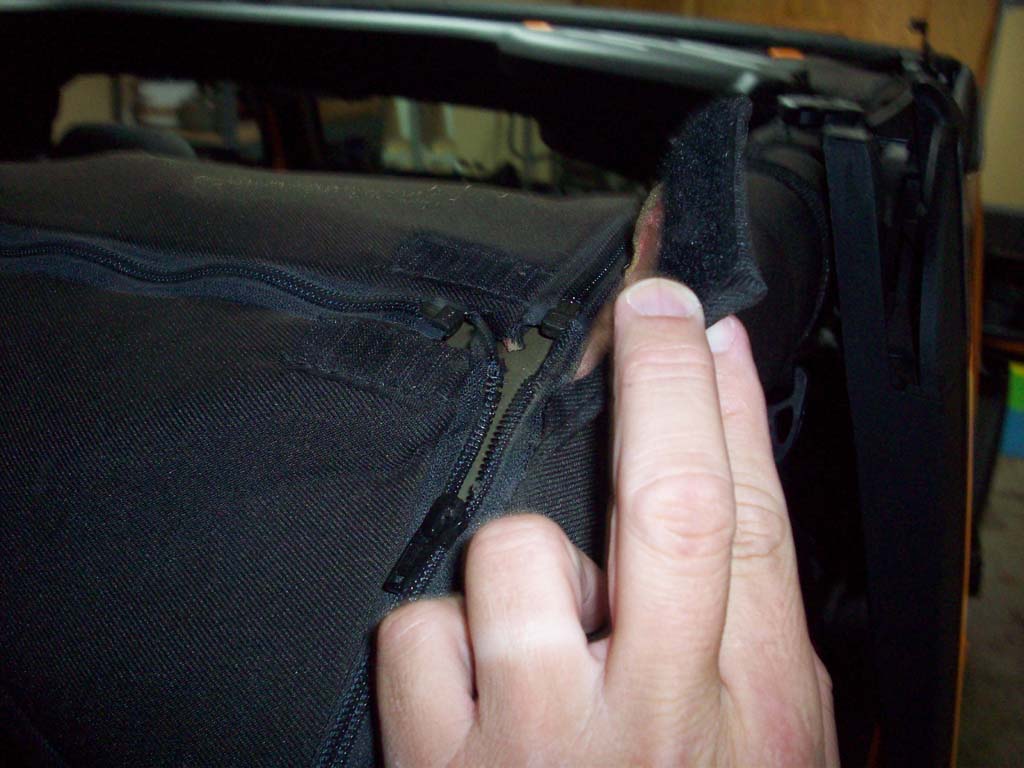
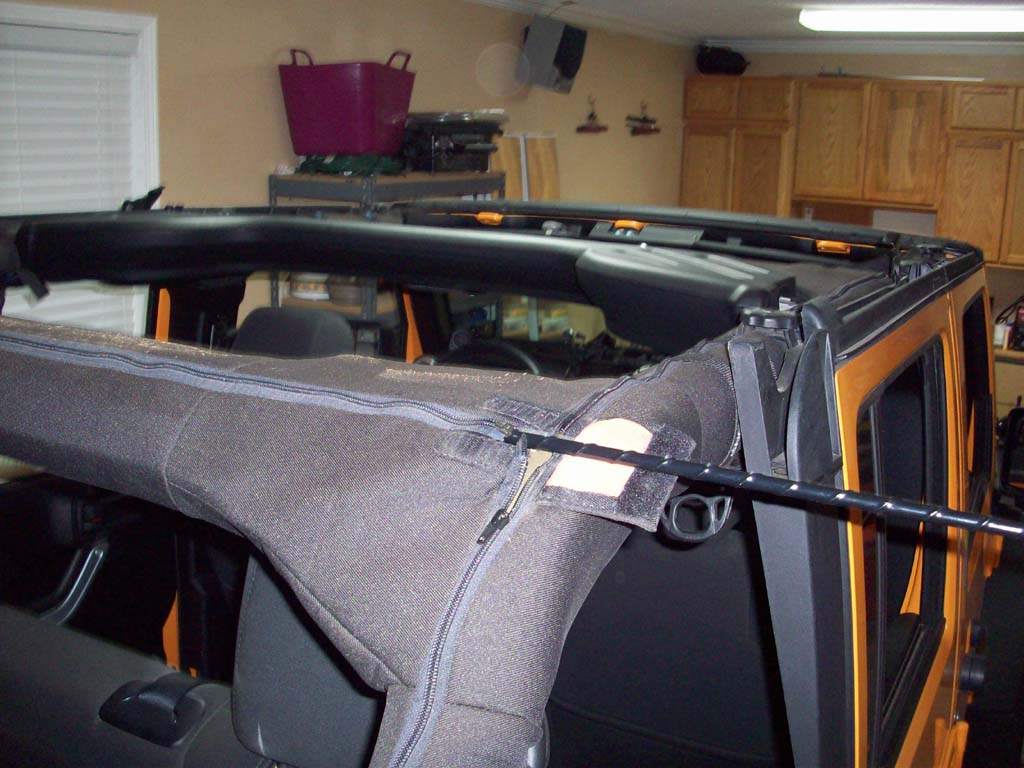
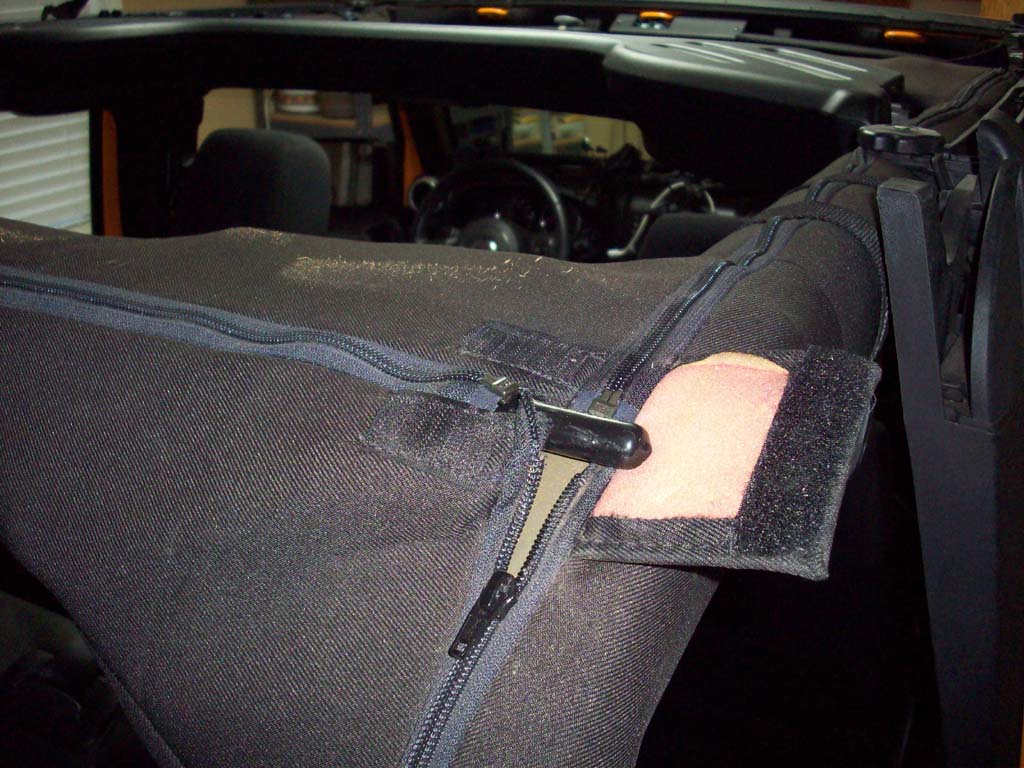
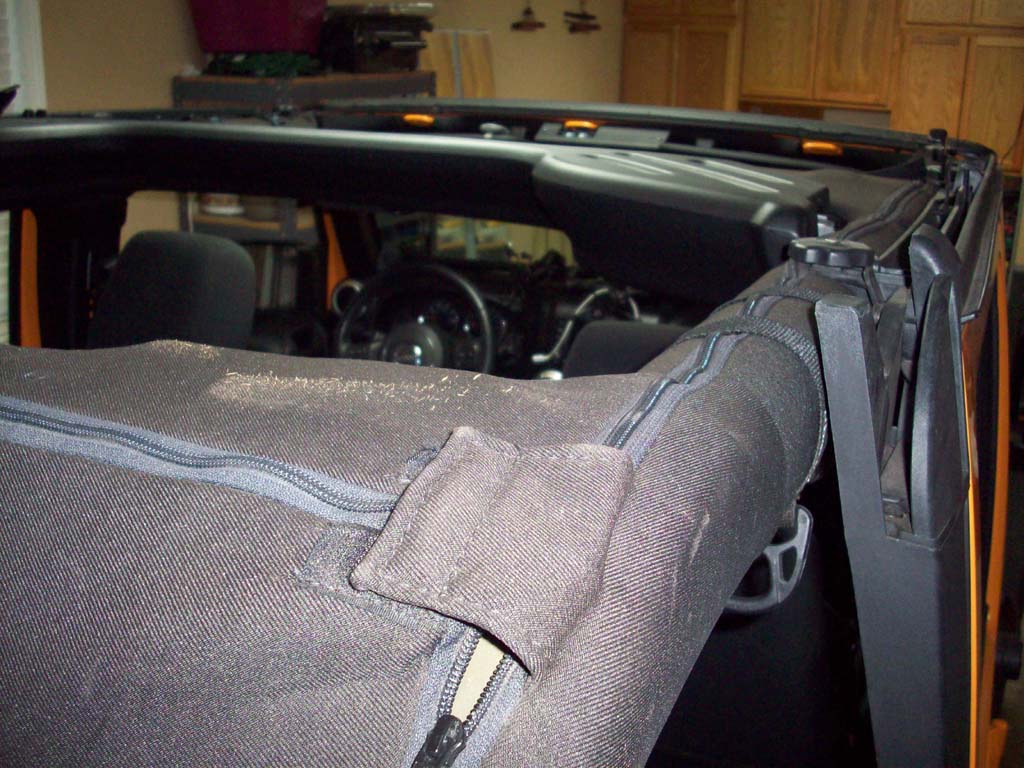
| 2. So one day with the top down I thought I wonder if it would fit under the fabric of the rear roll bar... The answer is Yes it does. Just pull the flap back, slide it all the way in and close the flap. I can even get to it with the soft top up. Now you hard top owners are out of luck with this one. |
 |
 |
 |
 |


