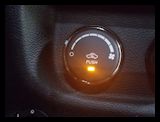
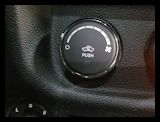
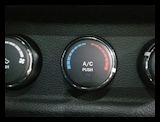
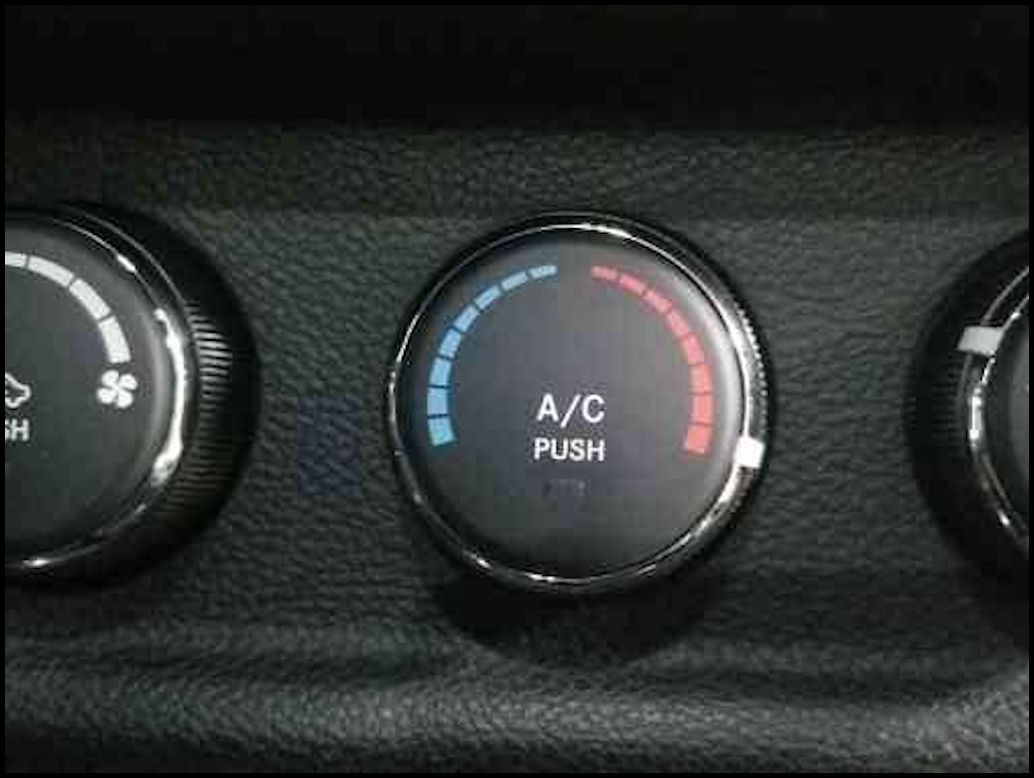
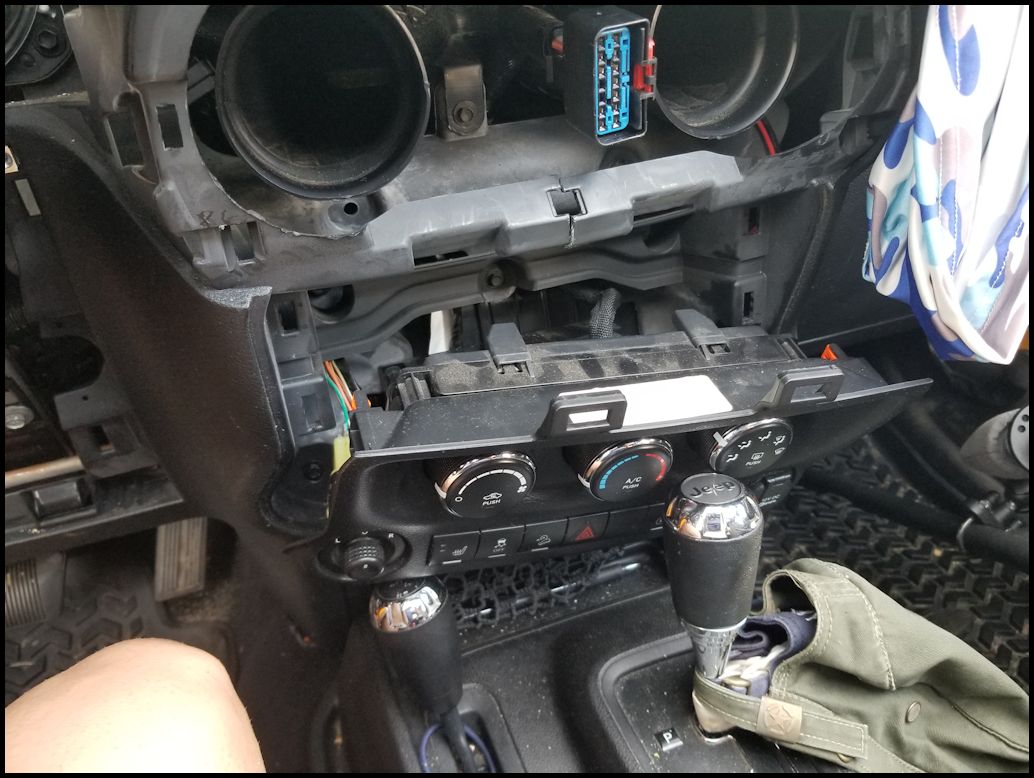
One day I jumped in the Jeep to drive to work and the A/C didn't come on right away like it normally does. While you don't normally get nice cold air right away, the fan does at least kick on and blow musty warm air in your face. I could here the actuators moving behind the dash and looked down at the HVAC controls in time to see that the defroster light was blinking, but no other lights (A/C and Recirc) were on. Once the light stopped blinking the A/C kicked right on and everything worked fine. This started happening every time I shut down the vehicle. I knew that some of the older HVAC controllers could develope a memory problem where the memory in the controller wouldn't store the last position of the actuators and controll, so every time it started up it would need to cycle the actuators to learn their range and repostion them to where the dials said they should be. This could be irritating when your waiting for them to finish up their sync. The simple fix is to replace the controller, but before you do that you need to check to see if all the actuators are actually working. If your HVAC controller is doing this you need to check a few things first before replacing the controller.
| Parts: |
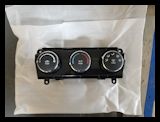
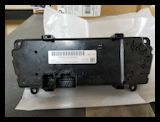
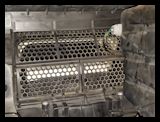
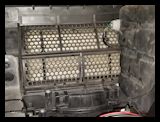
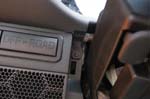
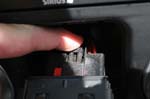
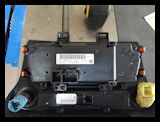
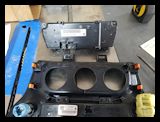
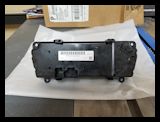
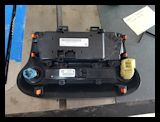
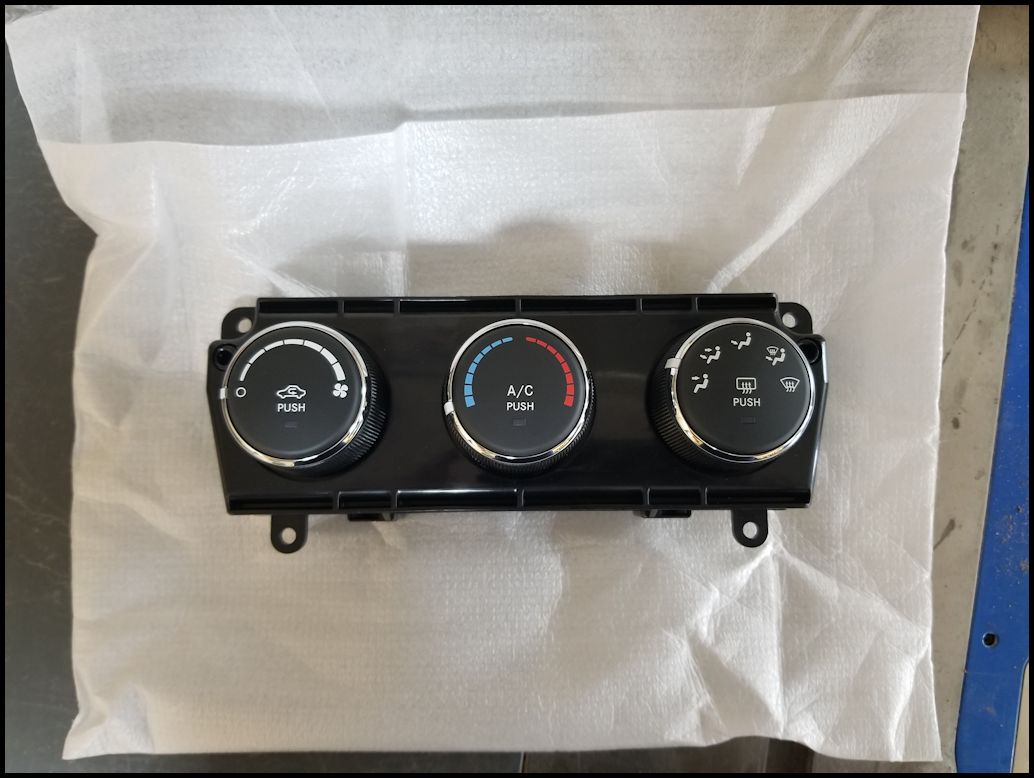
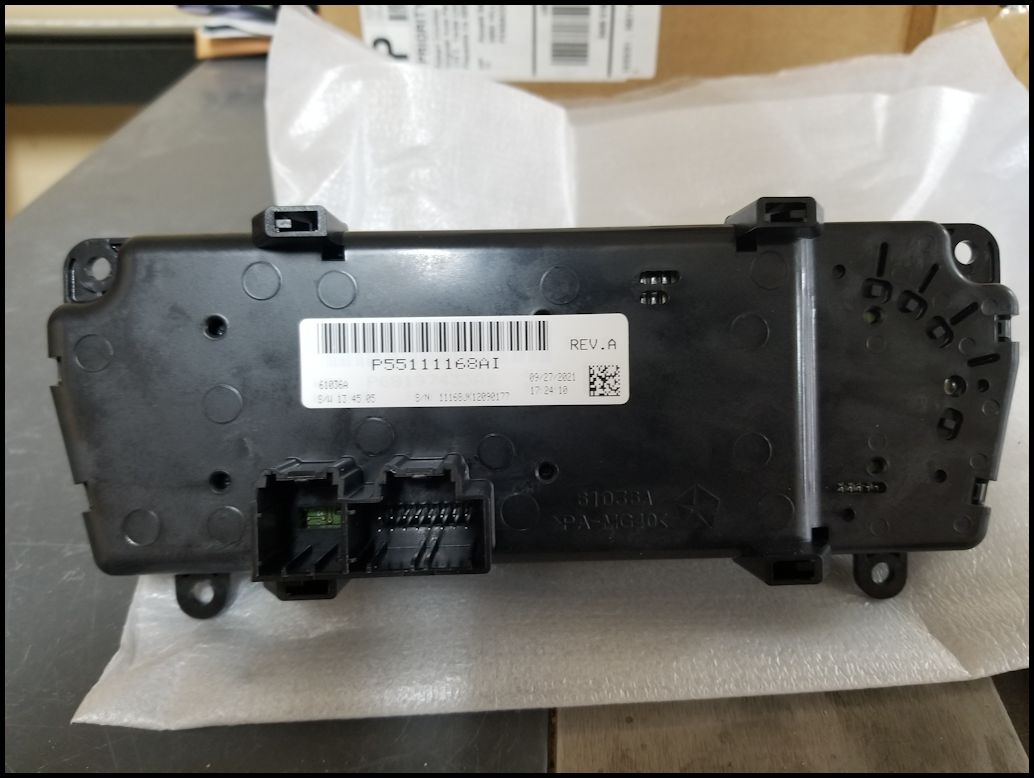
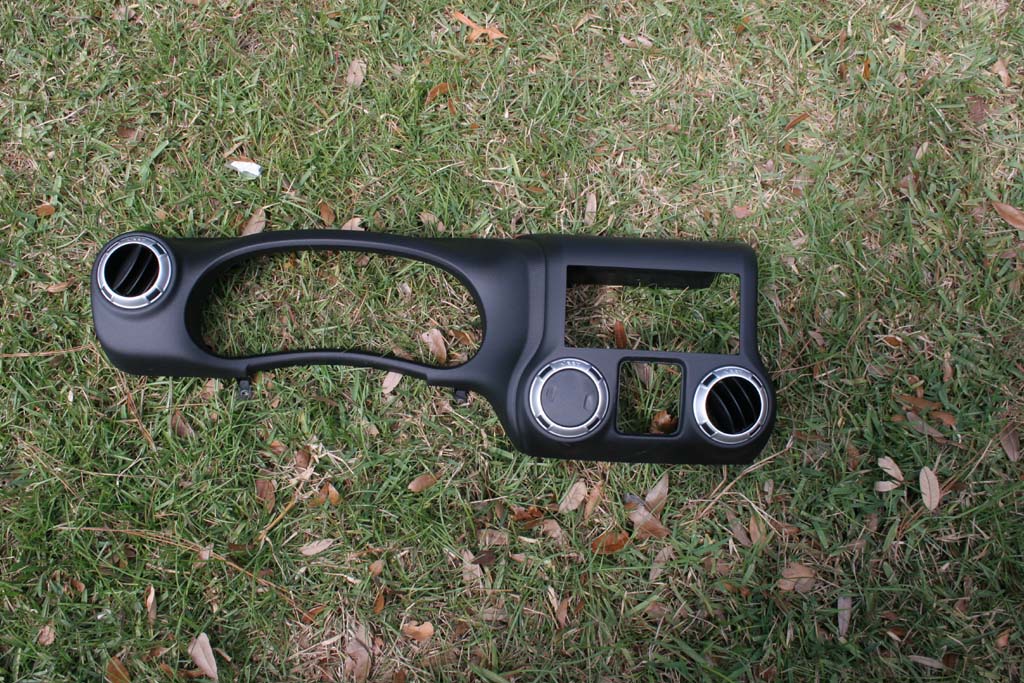
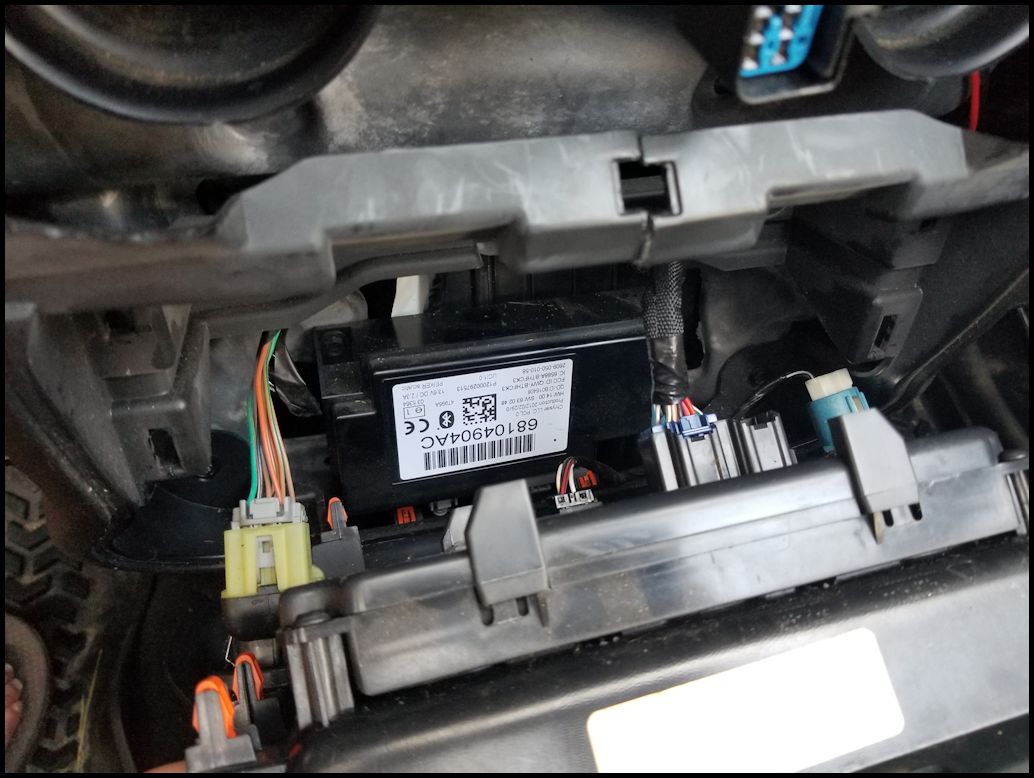
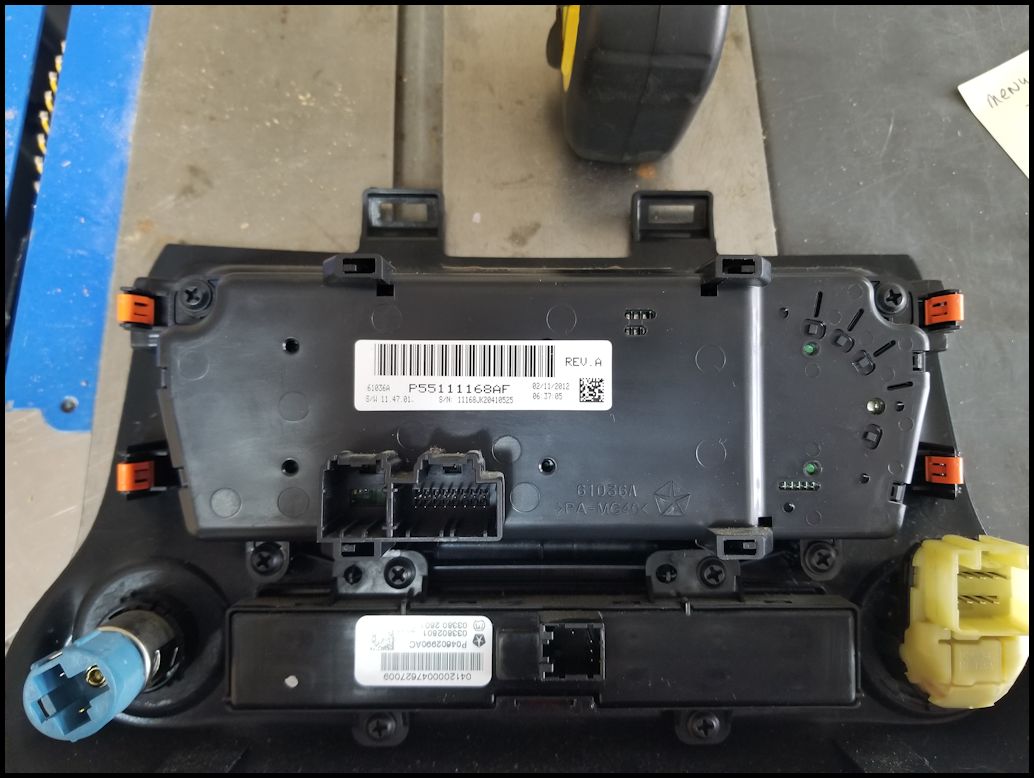
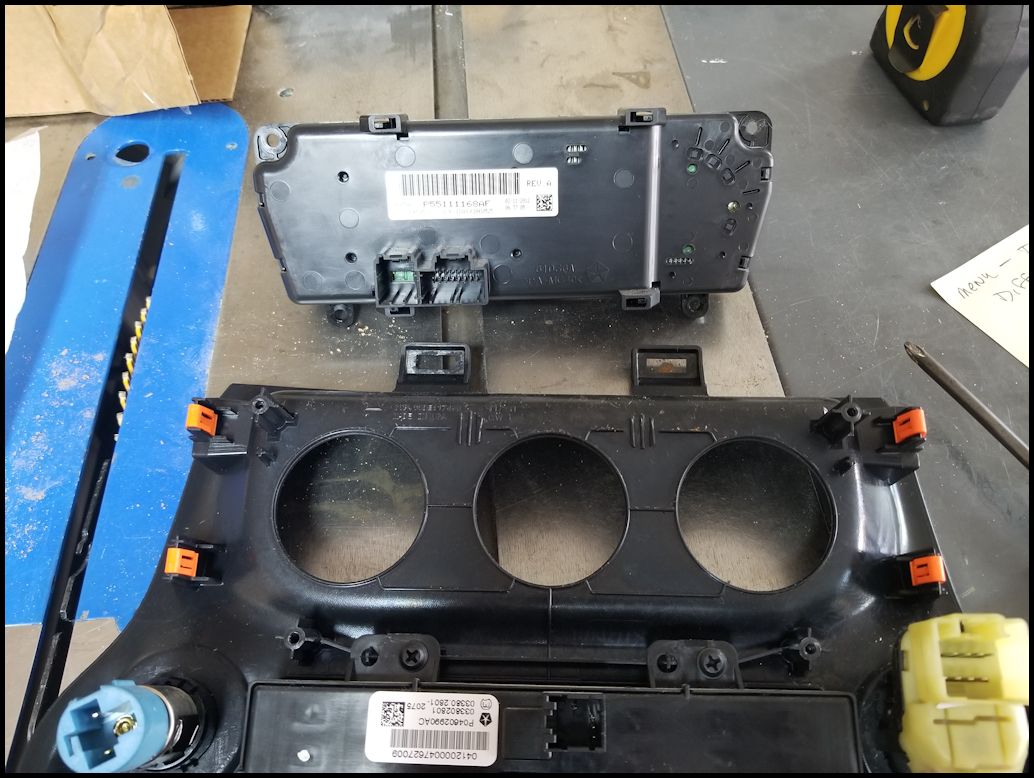
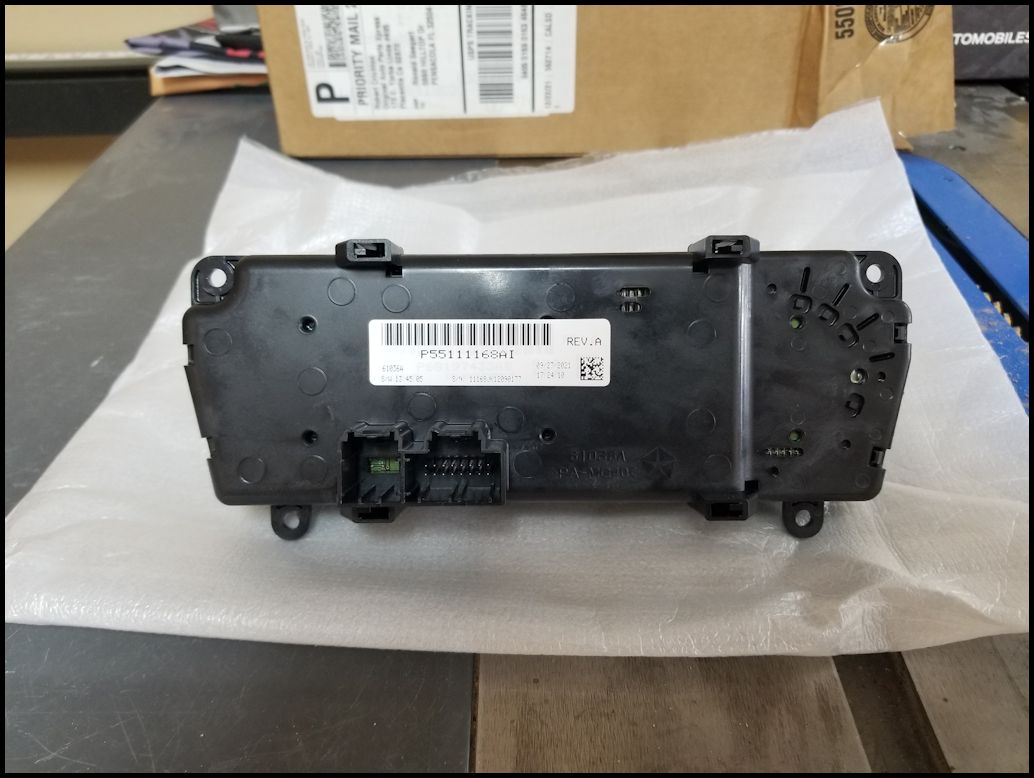
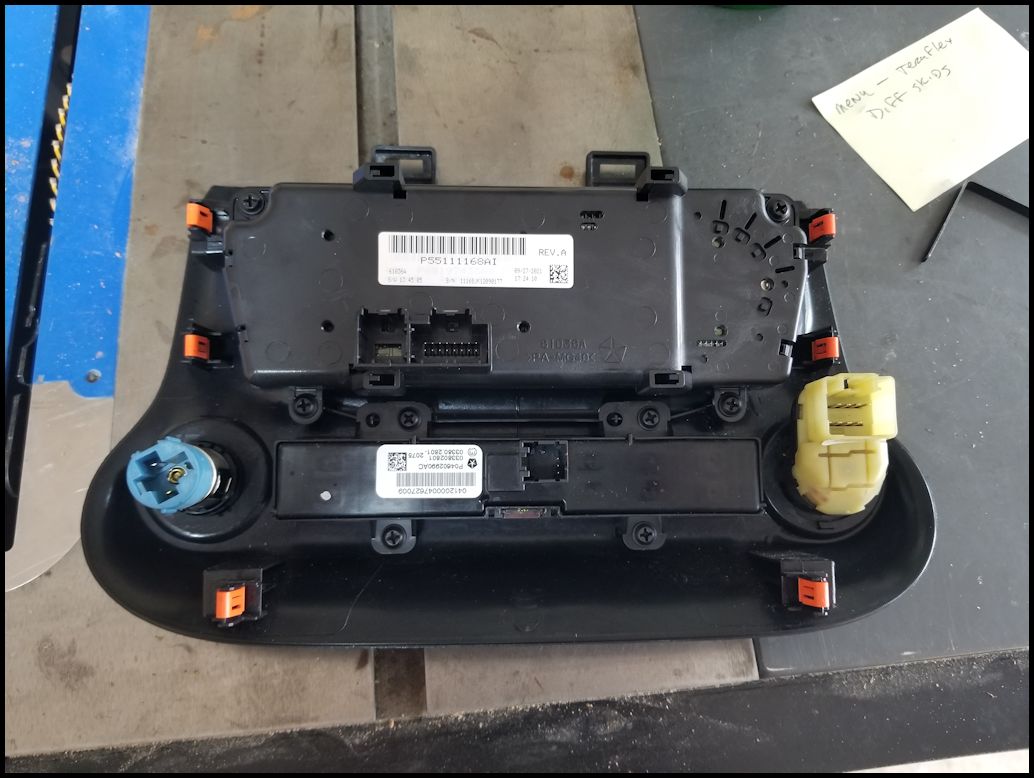
| This is the new controller that I needed for my Jeep. Yours may be different, so double check the part number on the back of your controller before ordering. My original part number ended in AF so the new part AI is 3 generations newer. |
 |
 |
| |
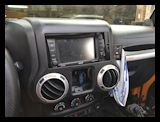
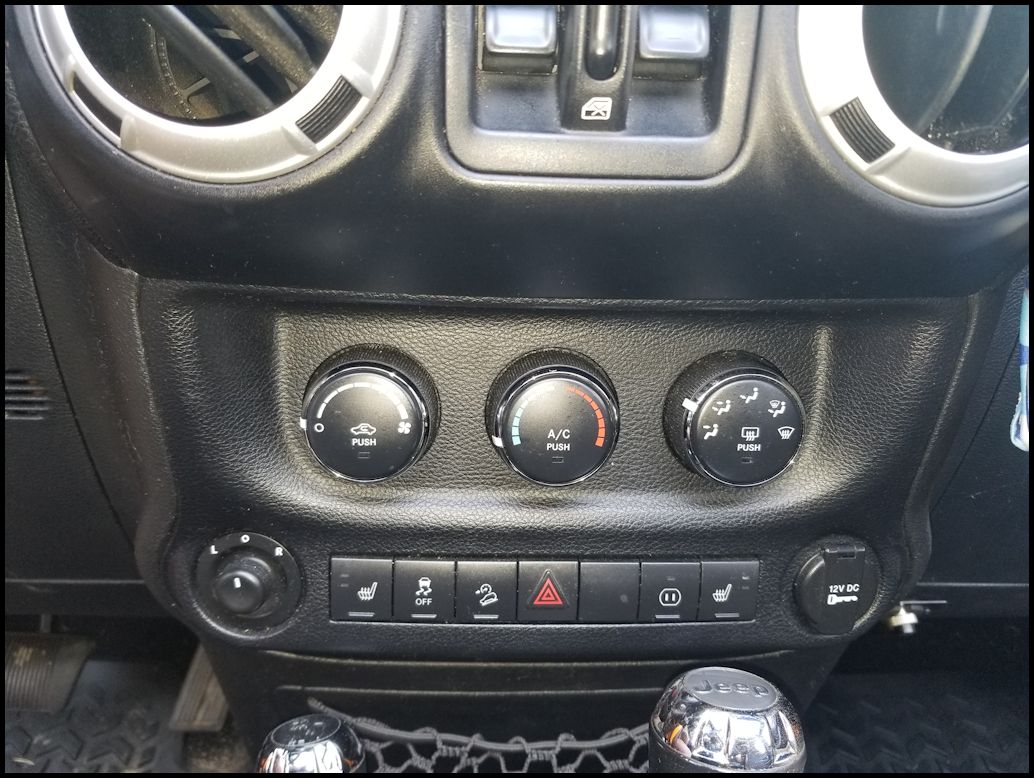
| Testing the system: |
| Once the HVAC controller syncs up you will need to test the controls. I recommend getting the engine warm first before you check things. Before each test make sure nothing is blocking the actuator. This should eliminate a bad actuator that could give you the same indication as a bad HVAC controller. Typically if everything works it's probably the controller, if one of the actuators doesn't work it may be the actuator causing the problem. This is kind of hit or miss. I have seen a blend door actuator that wasn't working cause this indicator to show up. |
 |
 |
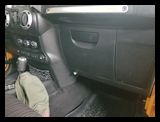
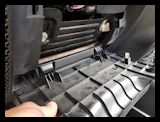
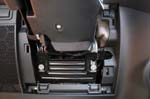
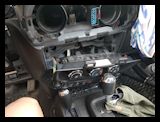
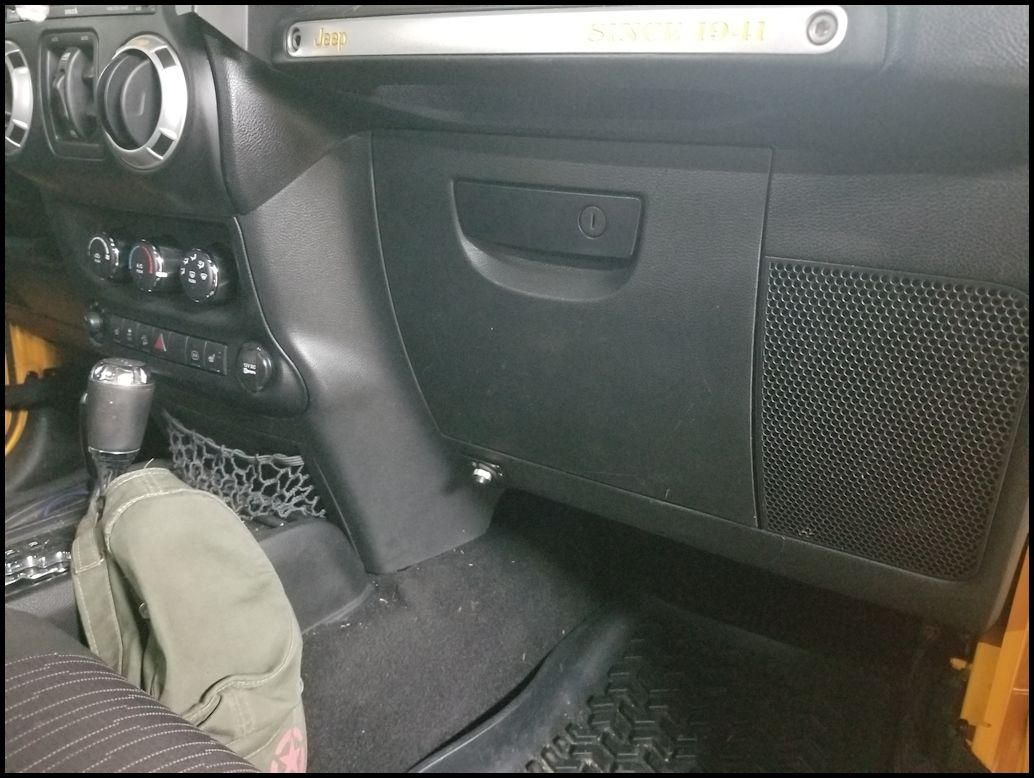
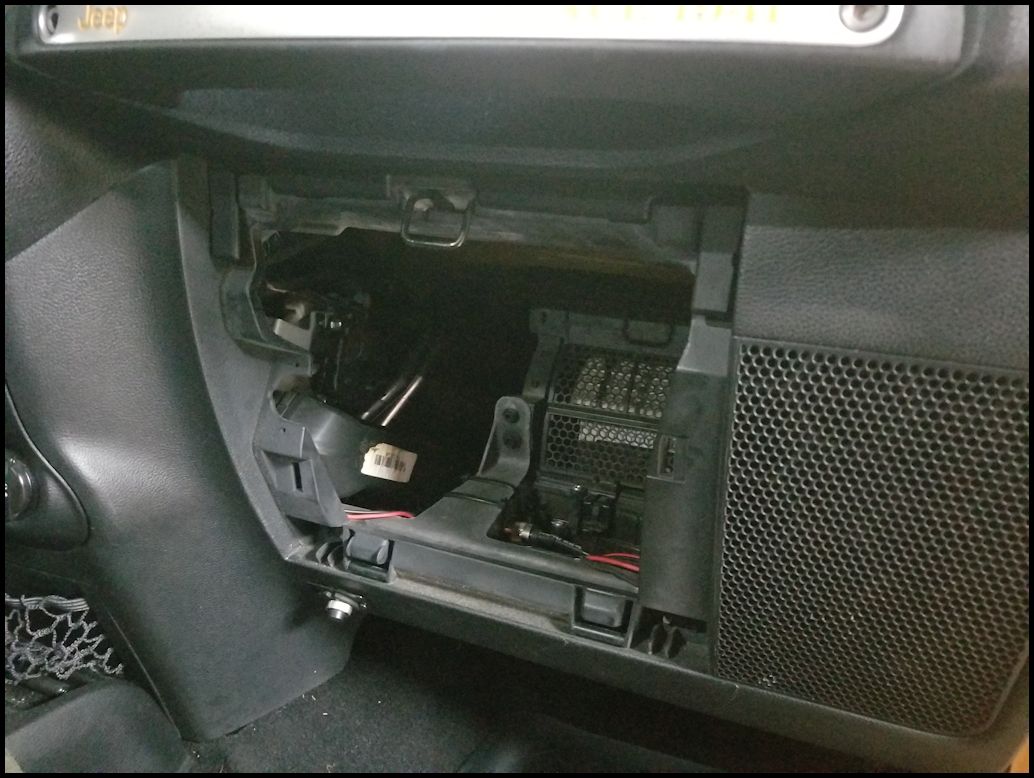
| Remove the glove box so you can see the HVAC position actuator (you will see it to your left) . |
 |
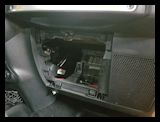 |
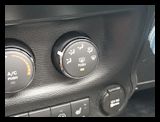
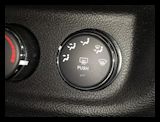
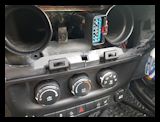
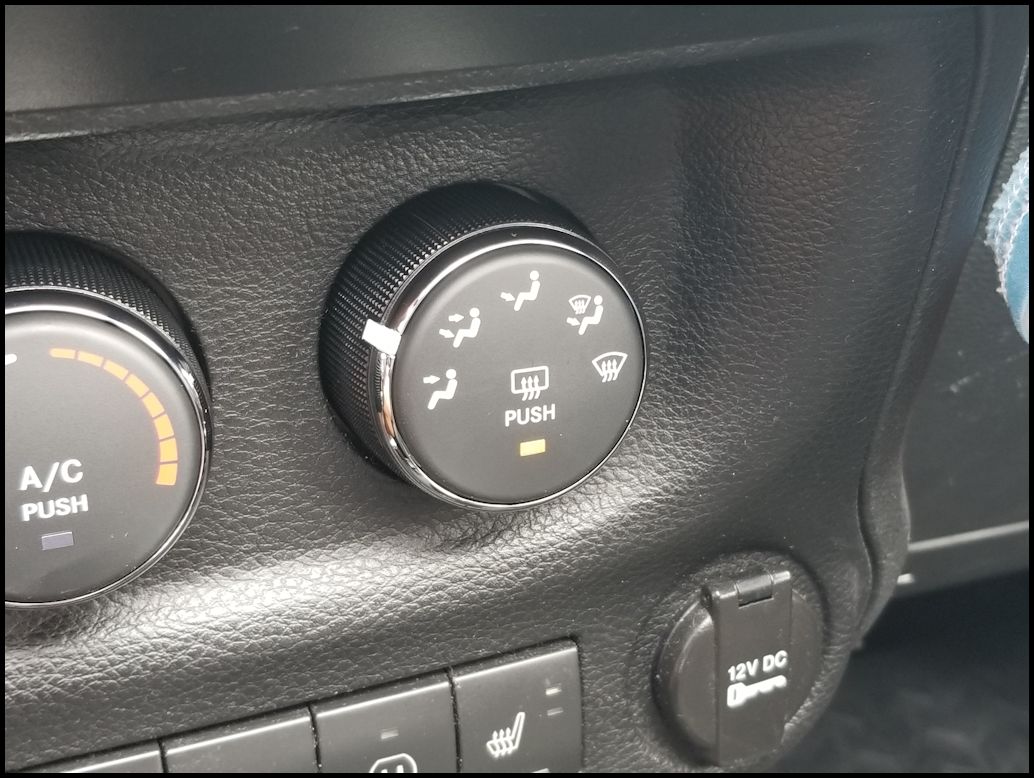
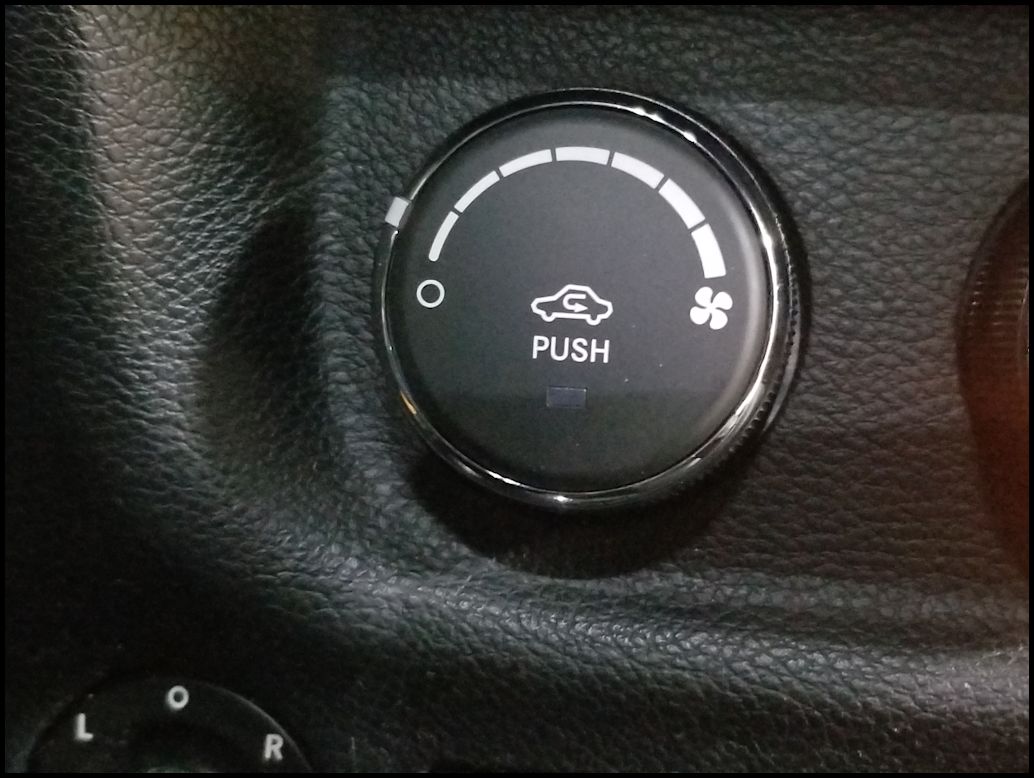
| Rotate the position selector switch to the various locations, you should see the actuator move to the different positions. Listen for any noises that sound like grinding gears, or scrapping. |
 |
 |
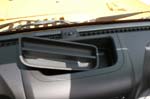
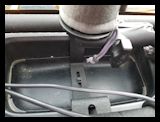
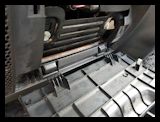
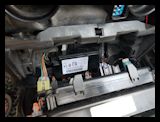
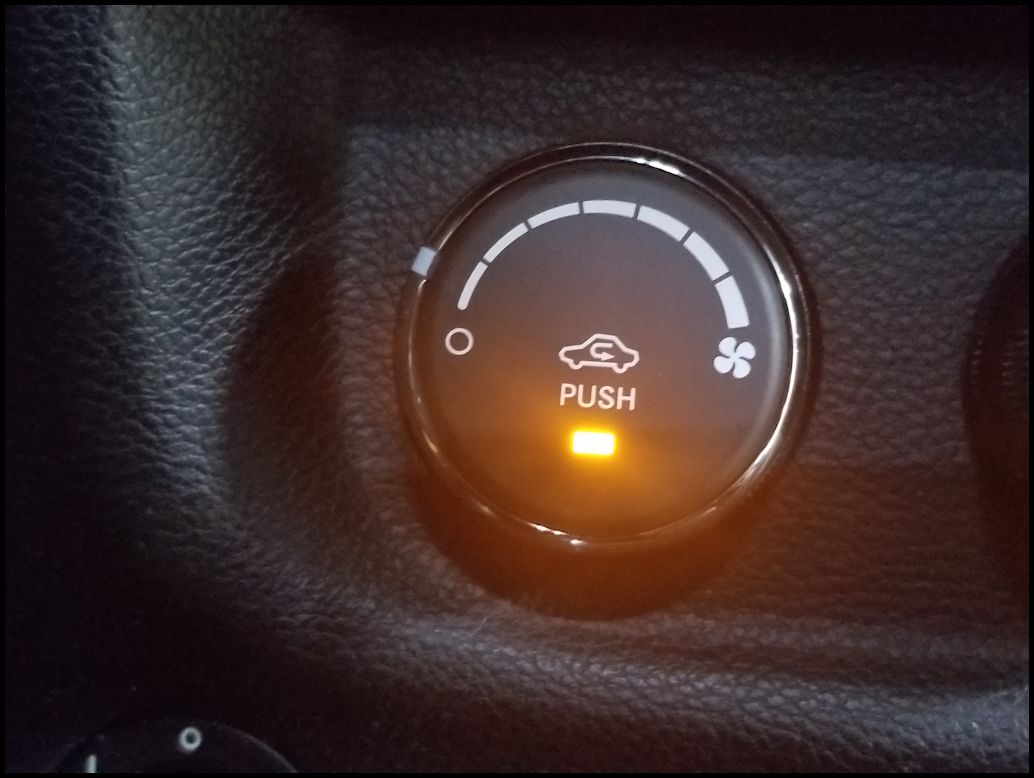
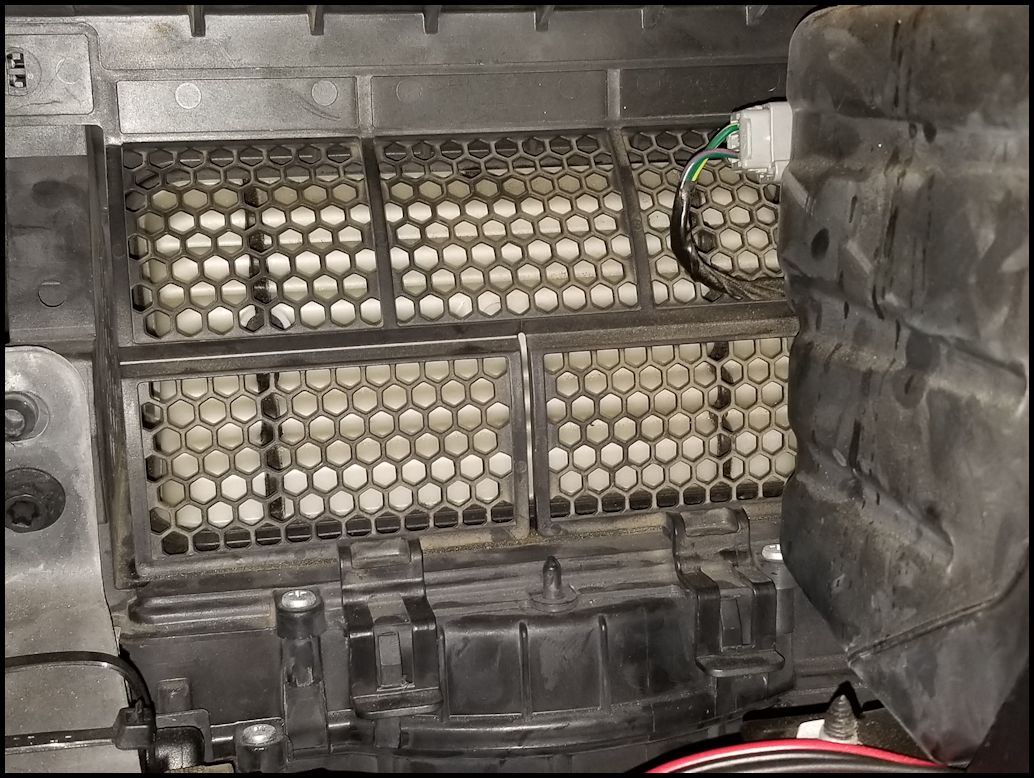
| With the glove box still removed, press the recirc button and watch the door on the air box open and close. |
 |
 |
 |
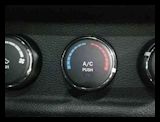
| Rotate the fan controller to make sure that the speed on the fan changes. |
 |
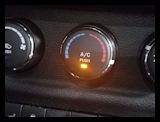
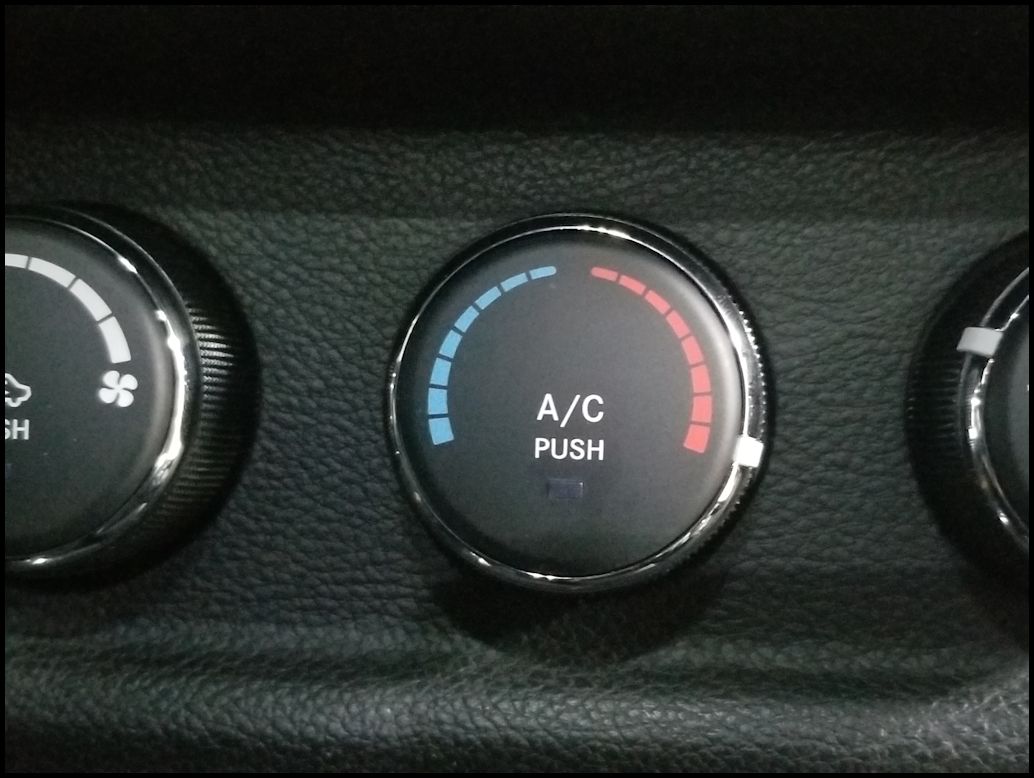
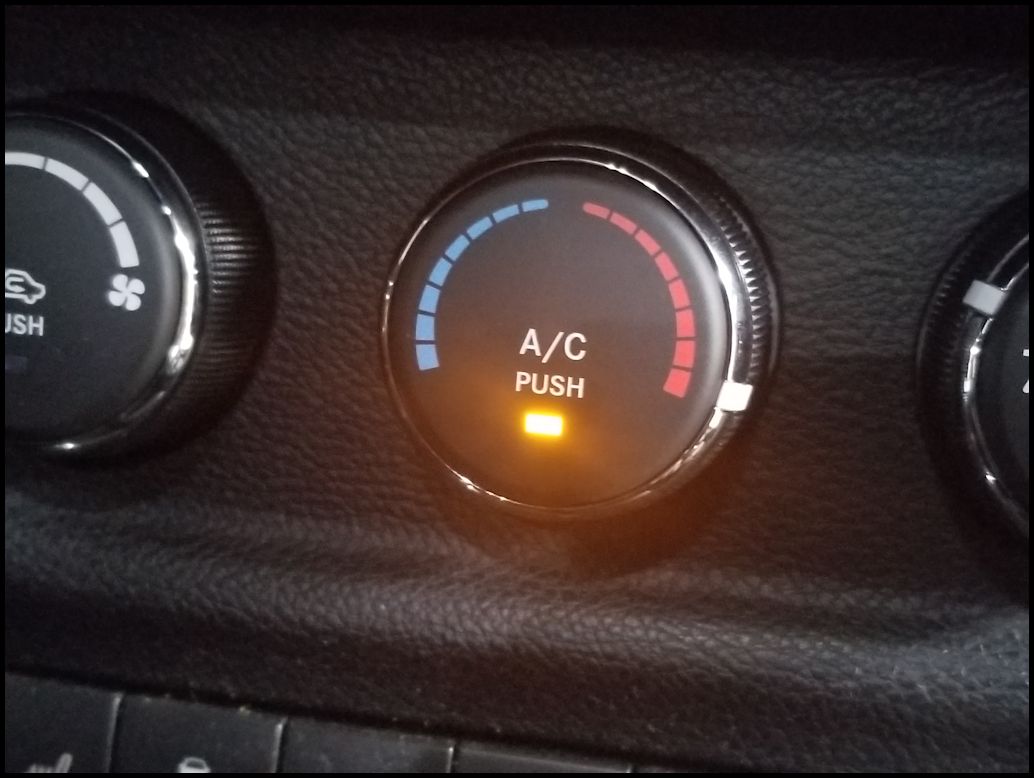
| Press the A/C button so see if the A/C goes on or off. You will feel the air change temperature. |
 |
 |
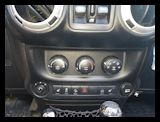
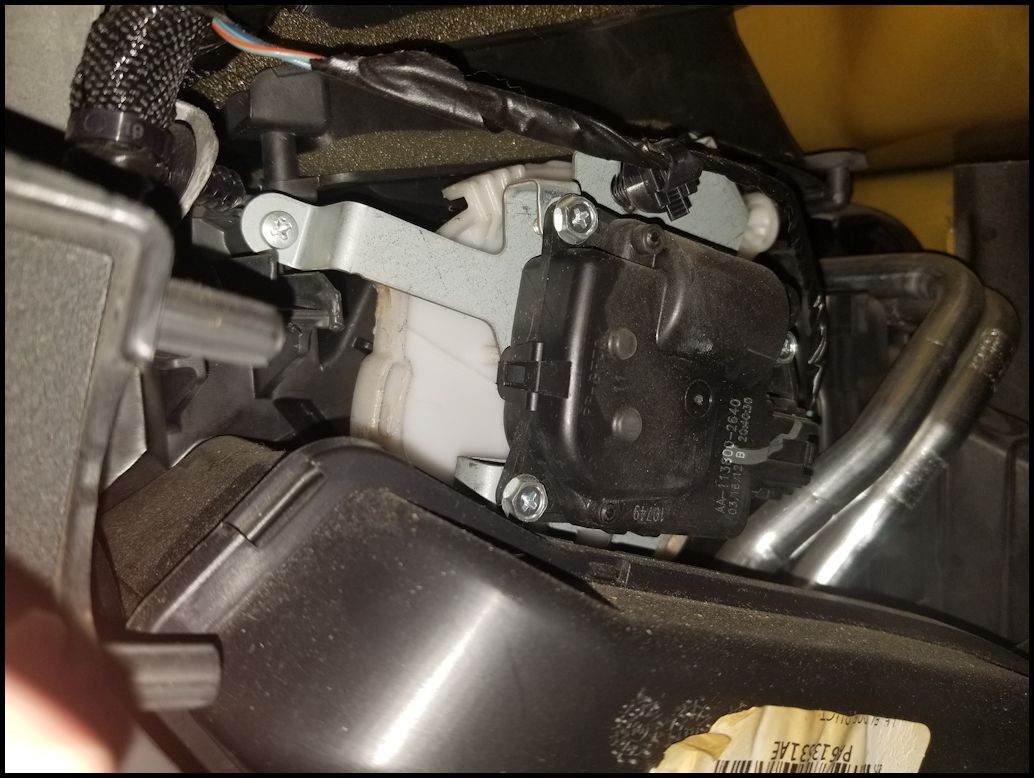
| Now rotate the temperature control selector from cold to hot or hot to cold. Wait for the temperature to change. You should feel the temperature change and hear the blend door actuator move.. If not you will need to check to see if the blend door actuator is moving. |
 |
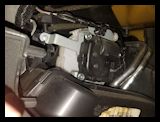
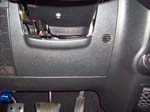
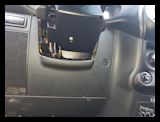
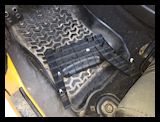
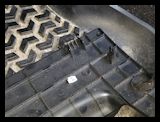
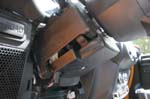
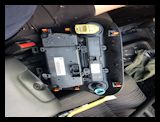
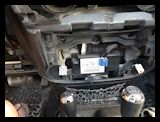
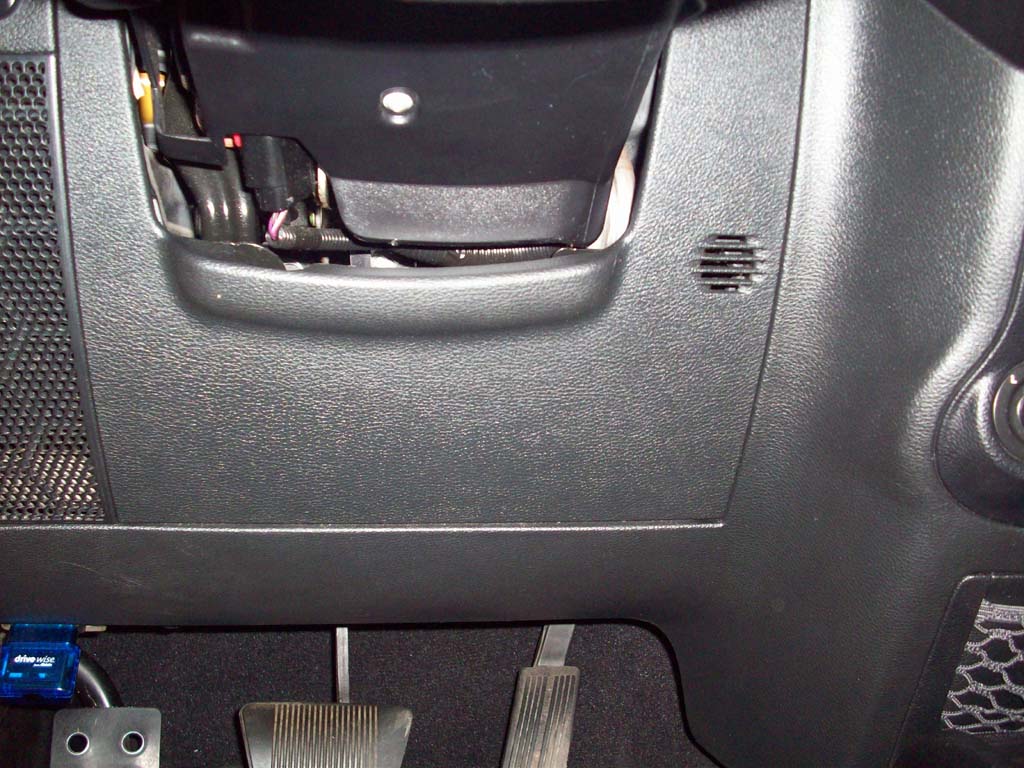
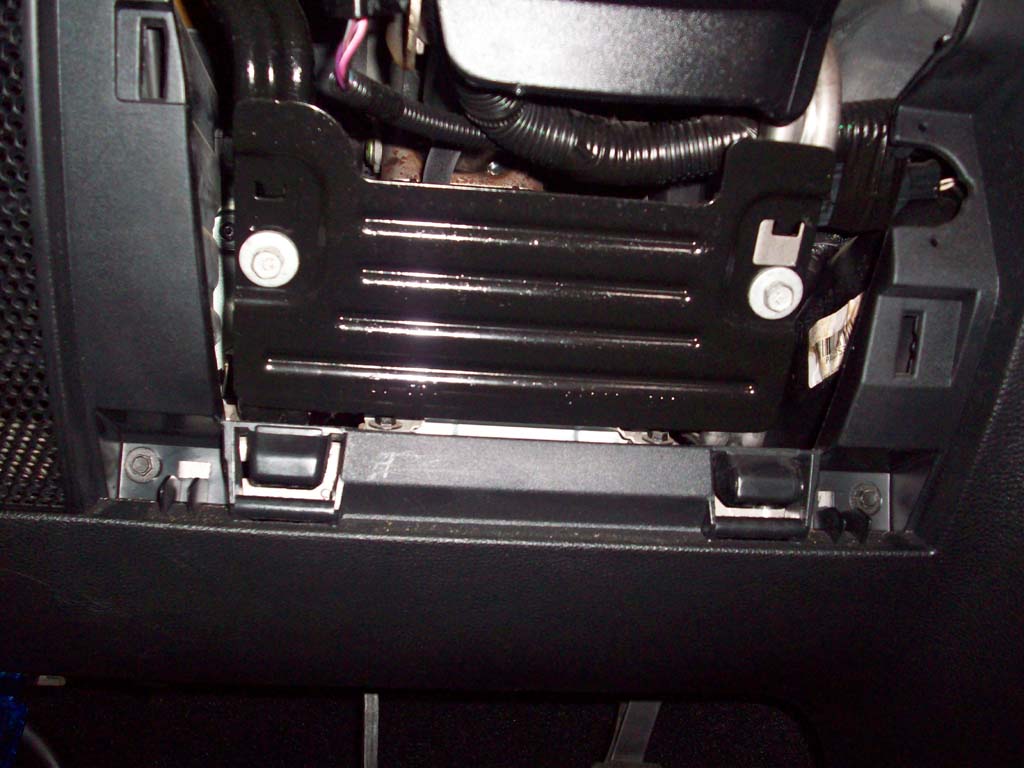
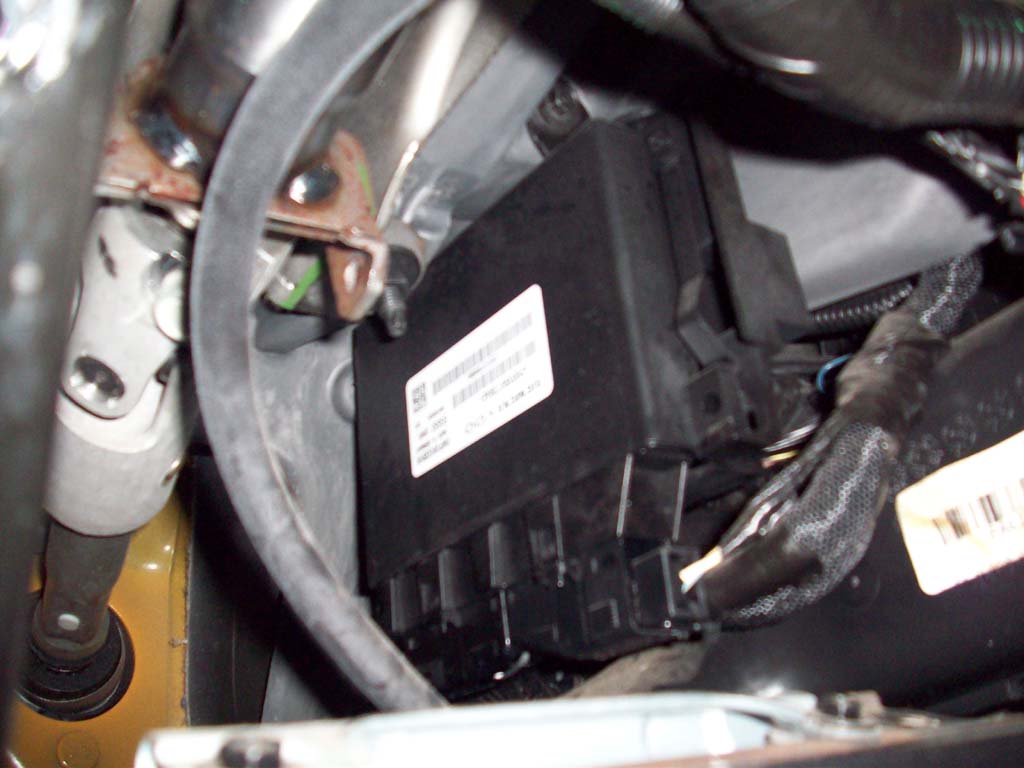
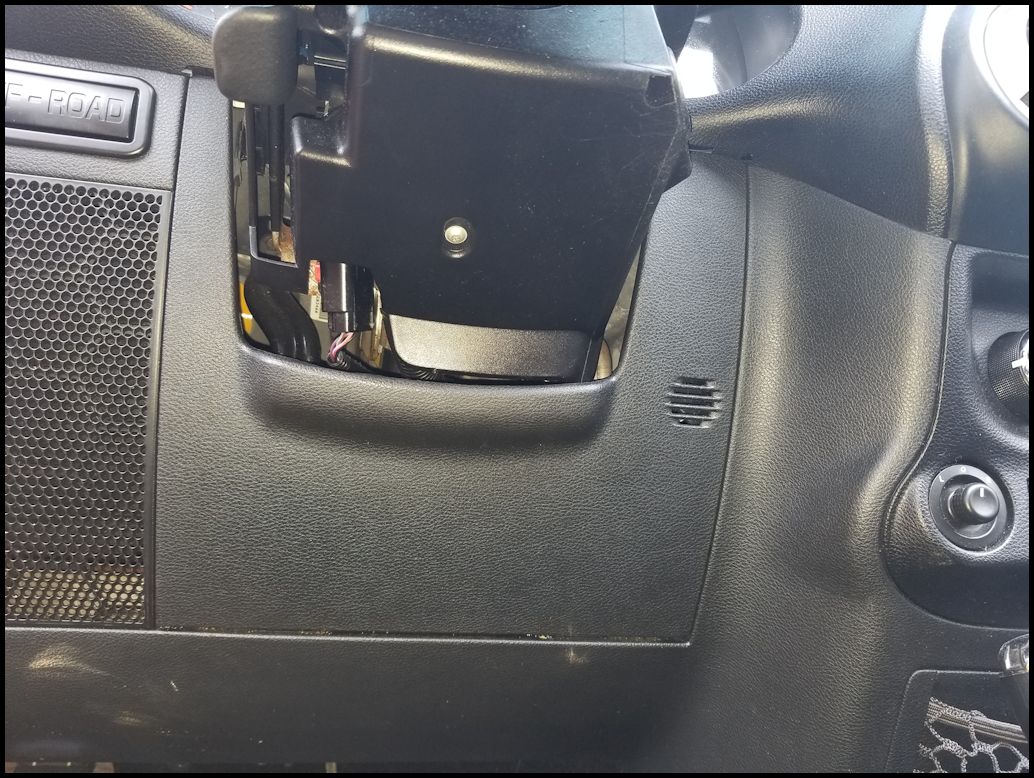
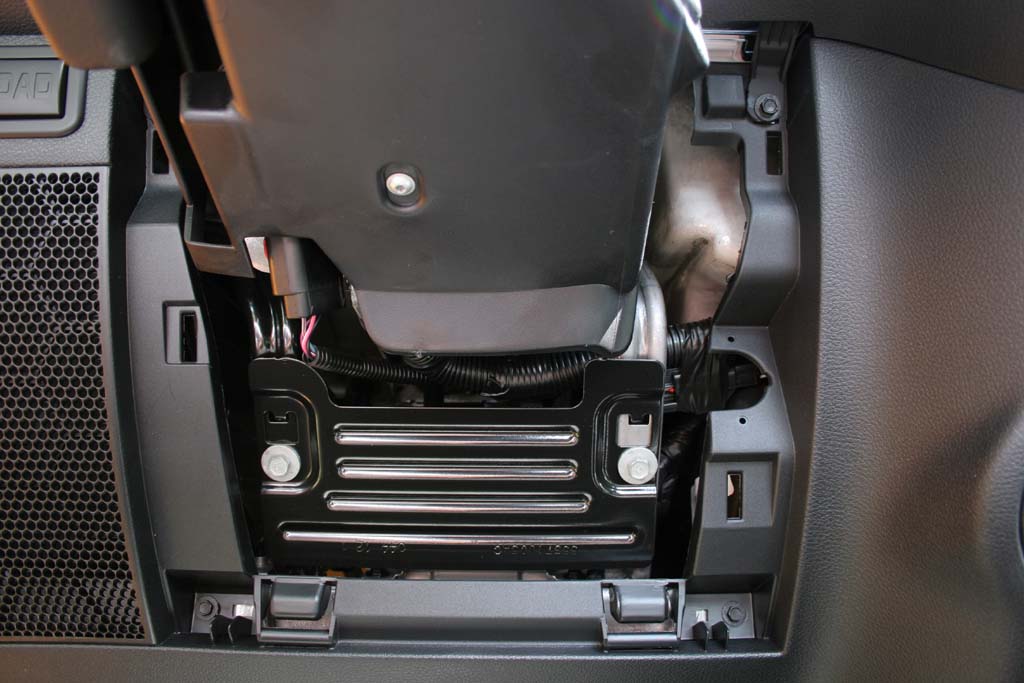
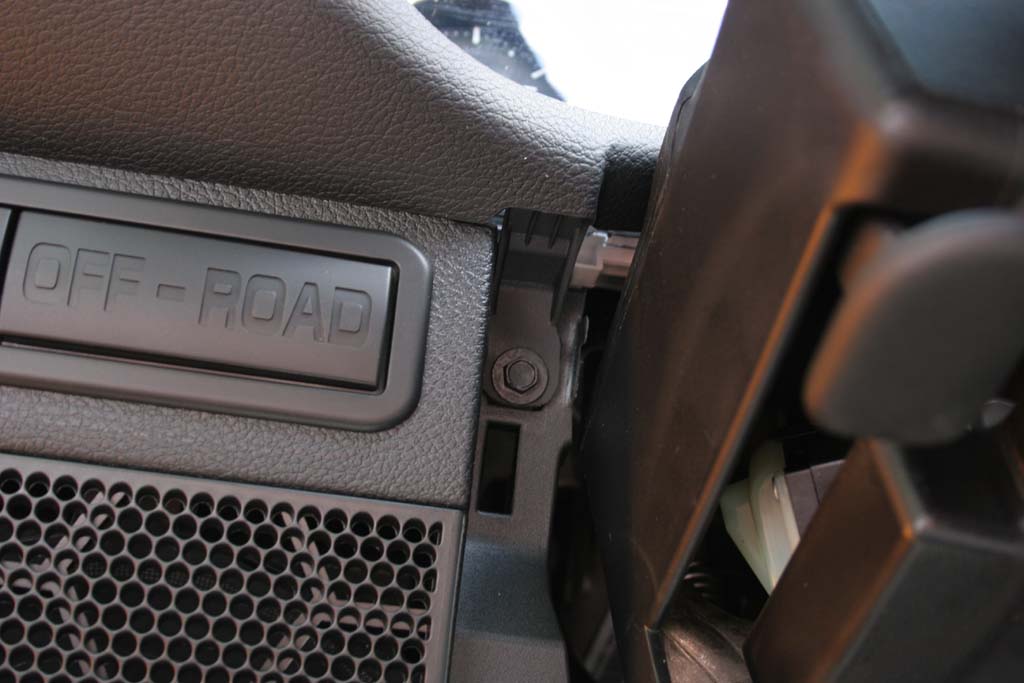
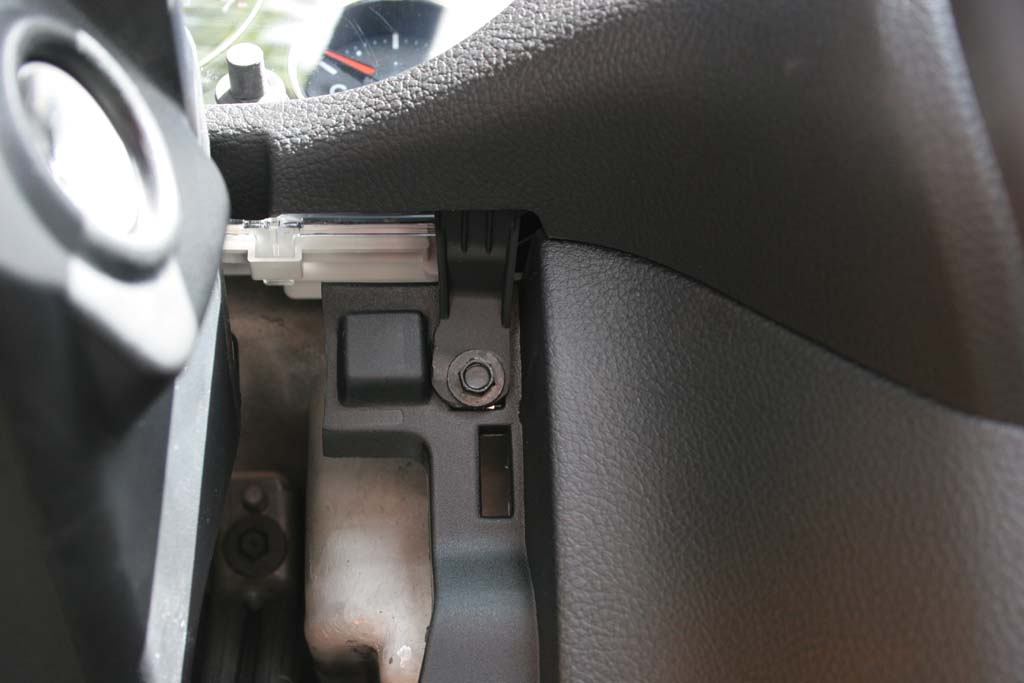
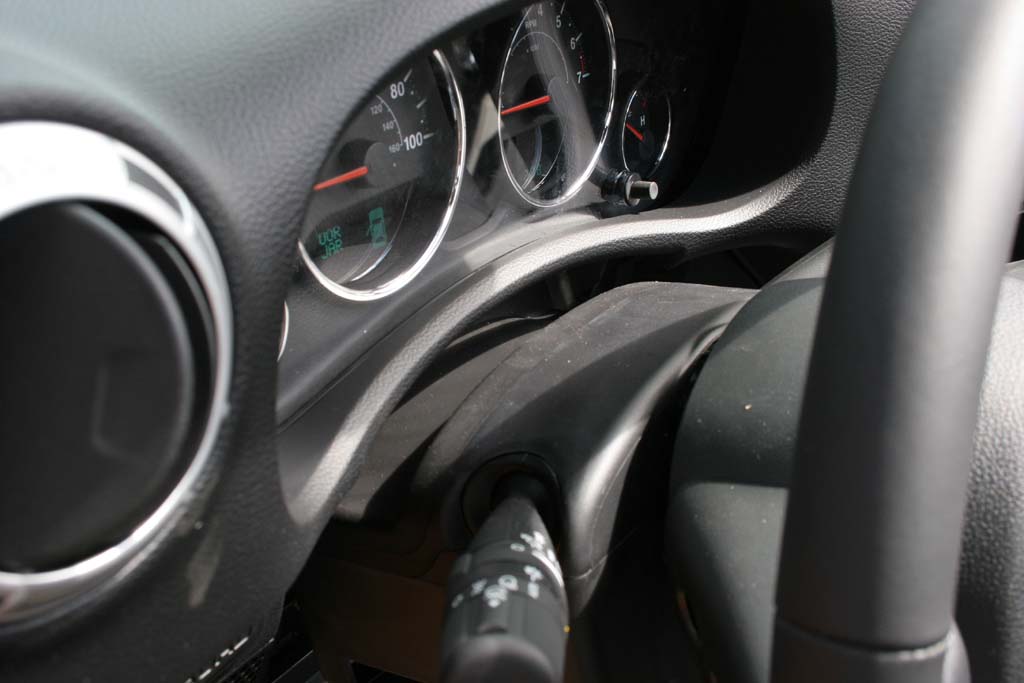
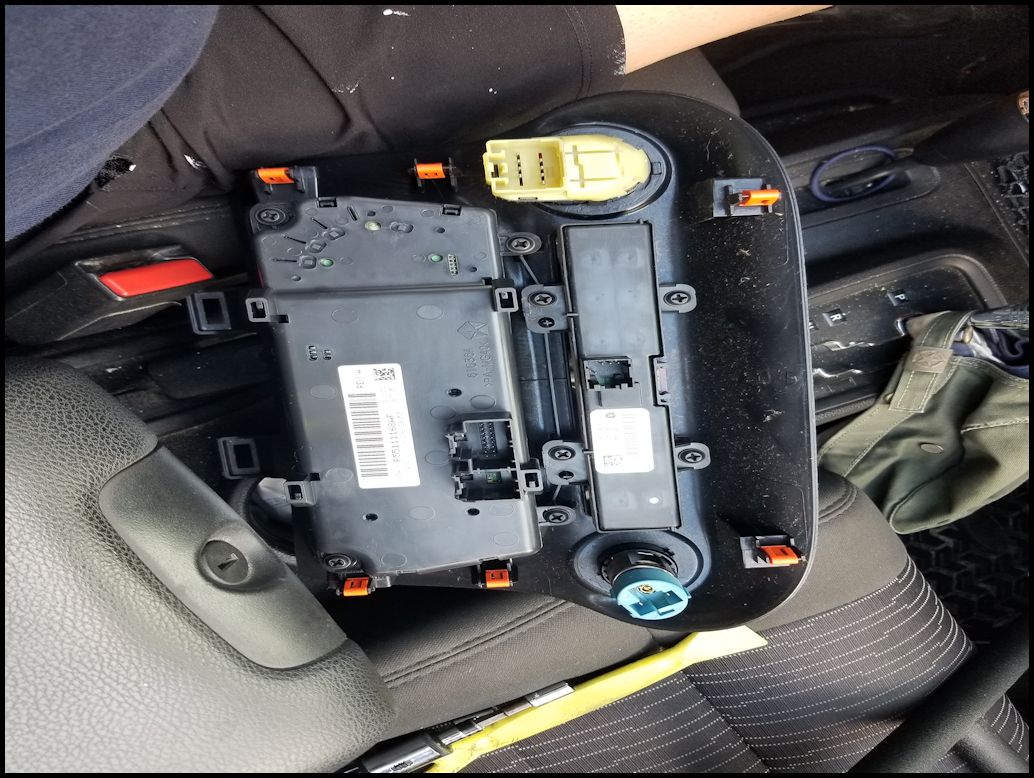
| Remove the dash panel underneath the steering wheel and then remove the panel behind it with a 10mm socket. You should be able to see the white arm of the blend door actuator. If you have an automatic, it will just be visible behind the Auto transmission module. |
 |
 |
 |
| If all of these controls work, then you probably just have bad memory on your HVAC controller, if one of them (most likely your blend door) doesn't work, then it's most likely just that acutator that is giving you a headache. I have had a blend door actuator cause the problem, even though I could bench test the actuator and it moved fine back and forth. |
| |
| Remove the Dash: |
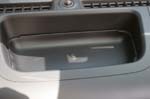
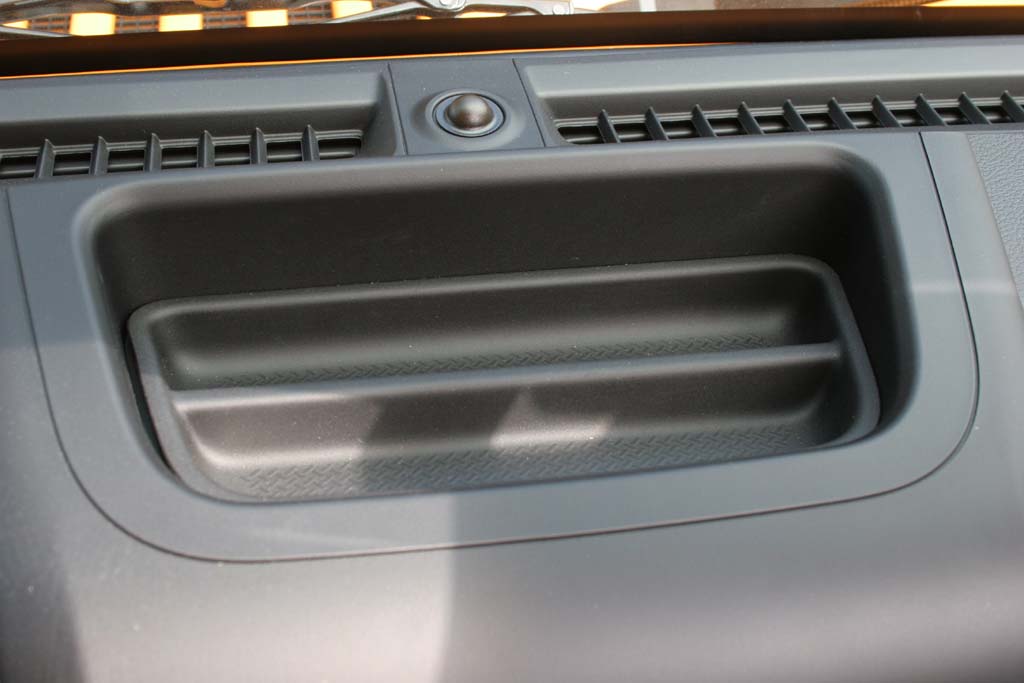
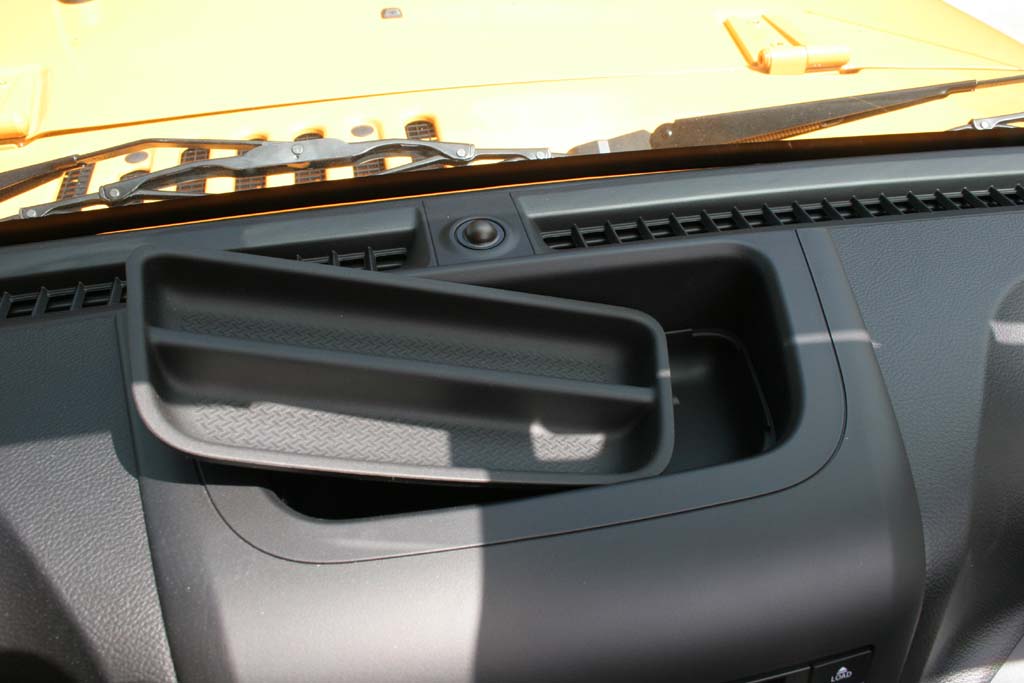
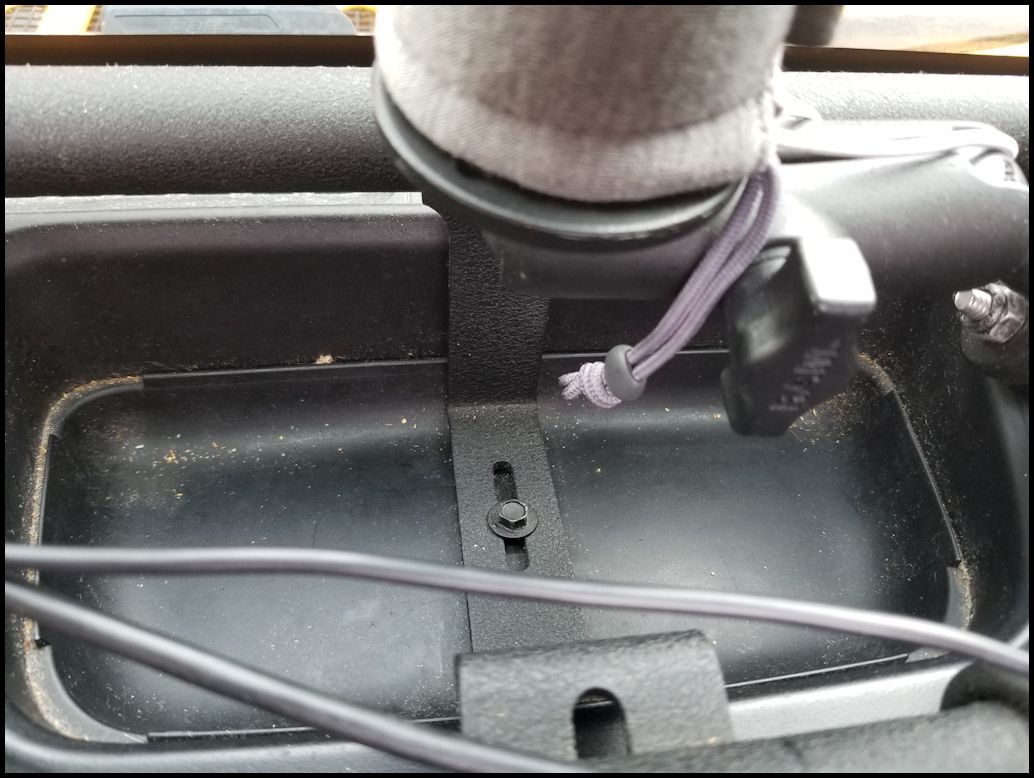
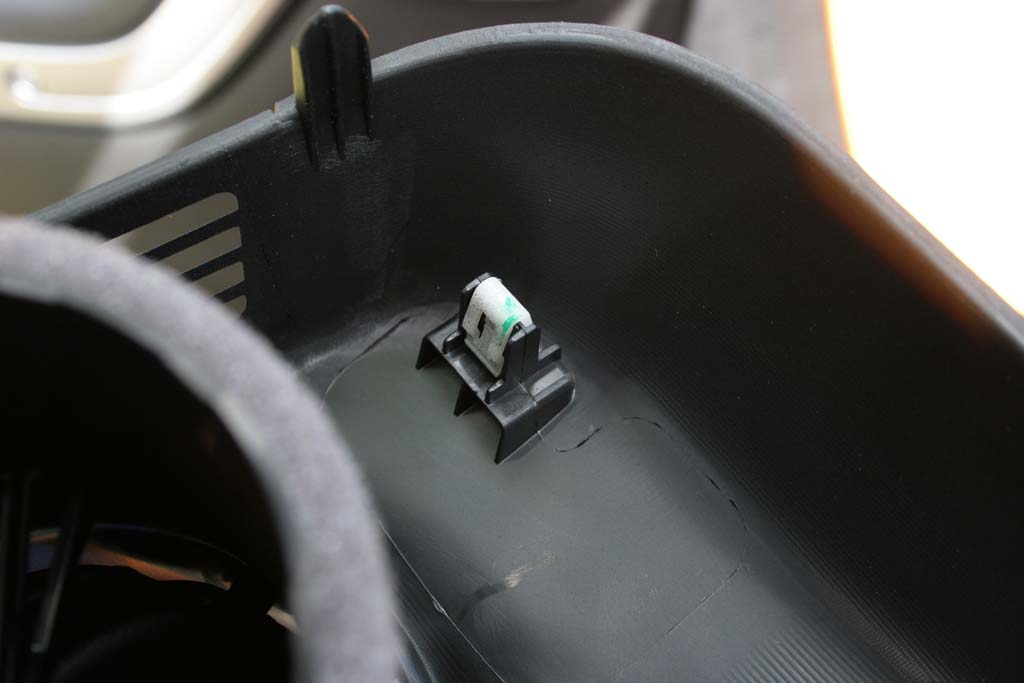
| 1. Remove the rubber insert from the top tray by pulling it up. This will expose the top screw. In my case I needed to remove a few more items before I could get to the screw. |
 |
 |
 |
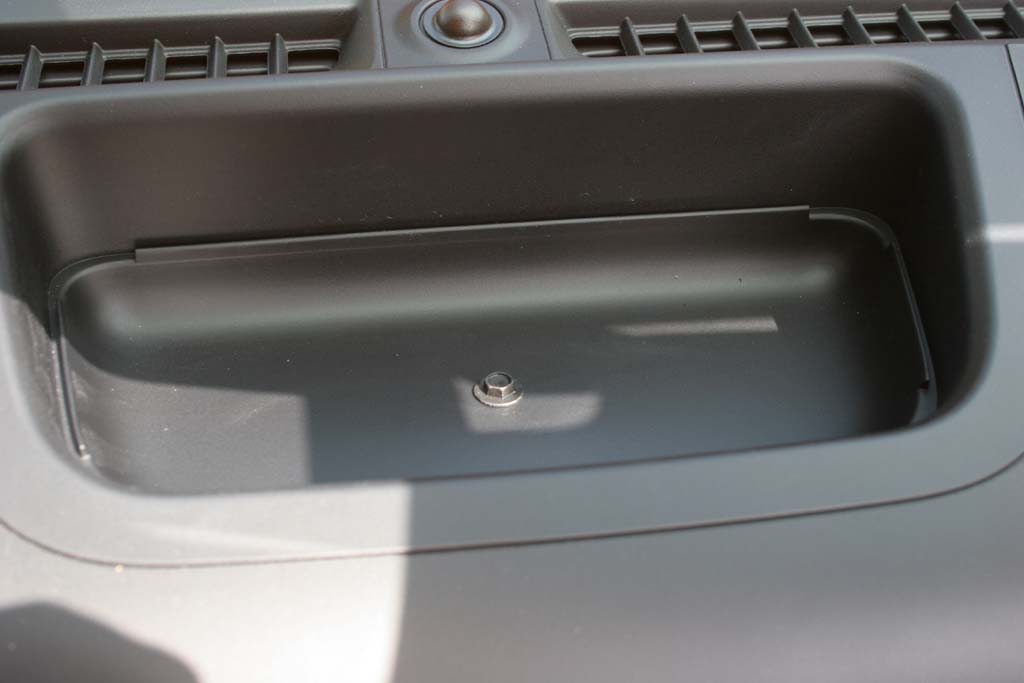
| 2. Remove the screw from the top of the dash with a 7mm socket |
 |
 |
| 3. Remove the center section from under the steering column. Just grab the inside top edges and pull out. This will release the tabs at the top and it will swing down and come out. The bottom is hinged just like the glove box, so once it swings open to about horizontal, just pull it out from the dash. |
 |
 |
 |
 |
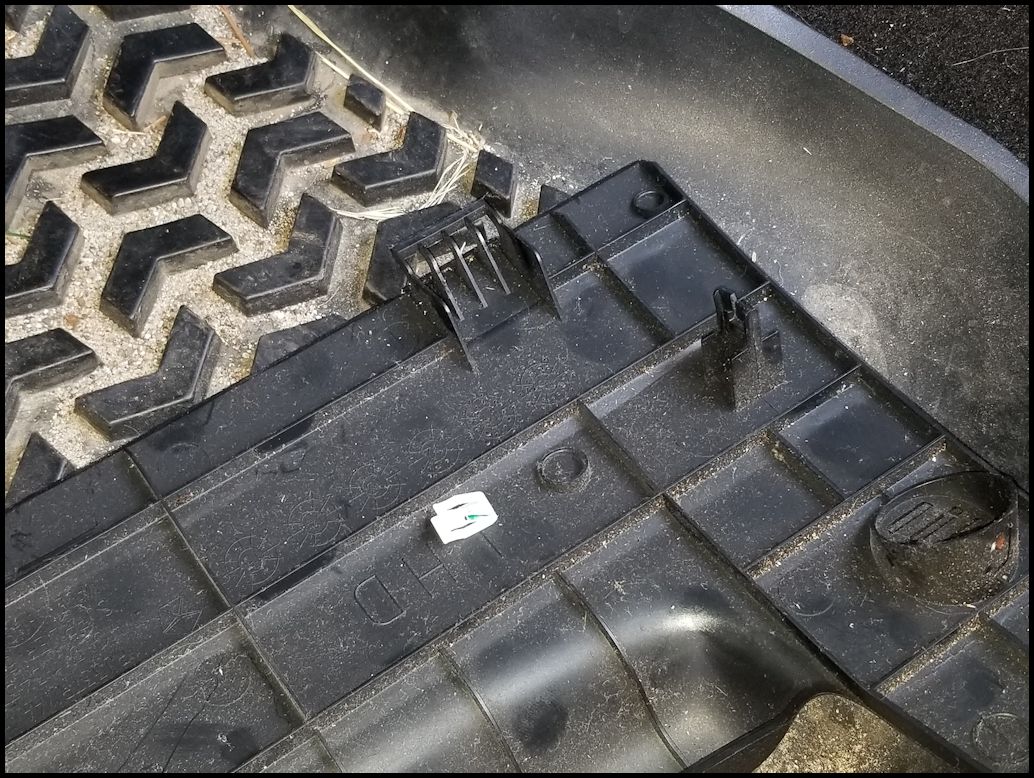
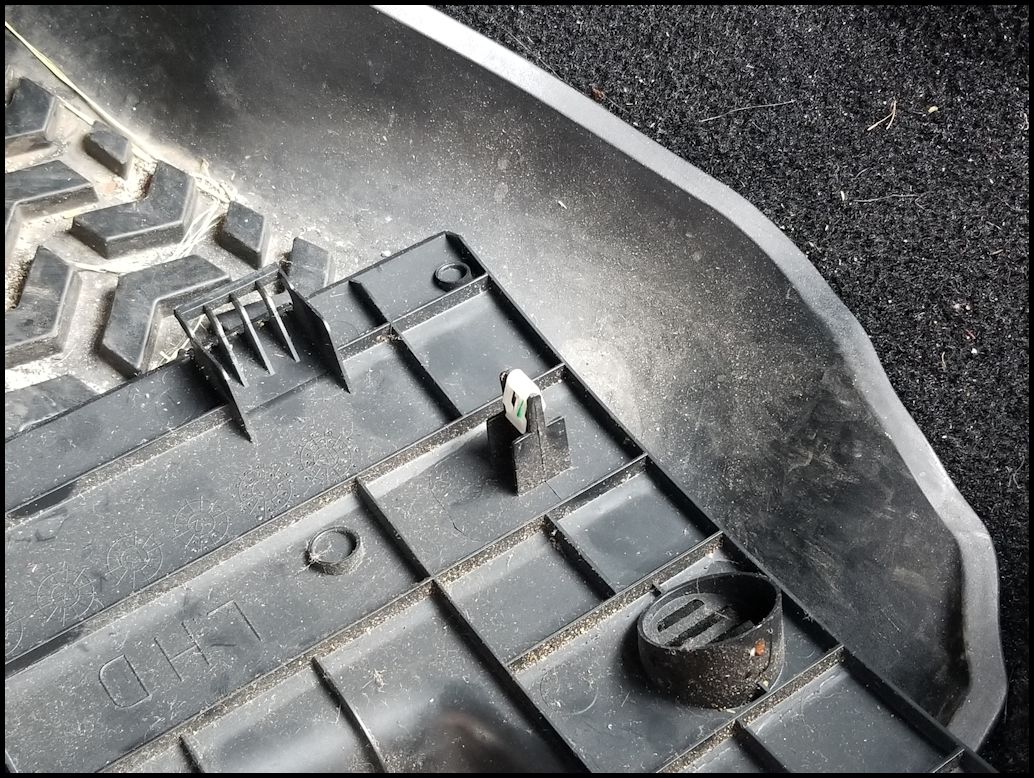
| Note: There is a chance that one or more of the (white) plastic clips will come off of the panel, make sure you pick them up and reinstall them on the panel right away. Don't put them off to the side and forget about them. |
 |
 |
 |
| 4. Remove the two (2) screws from either side of the steering column with a 7mm socket. |
 |
 |
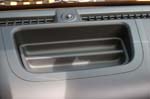
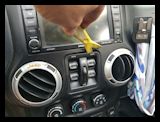
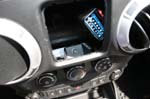
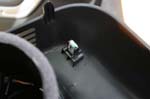
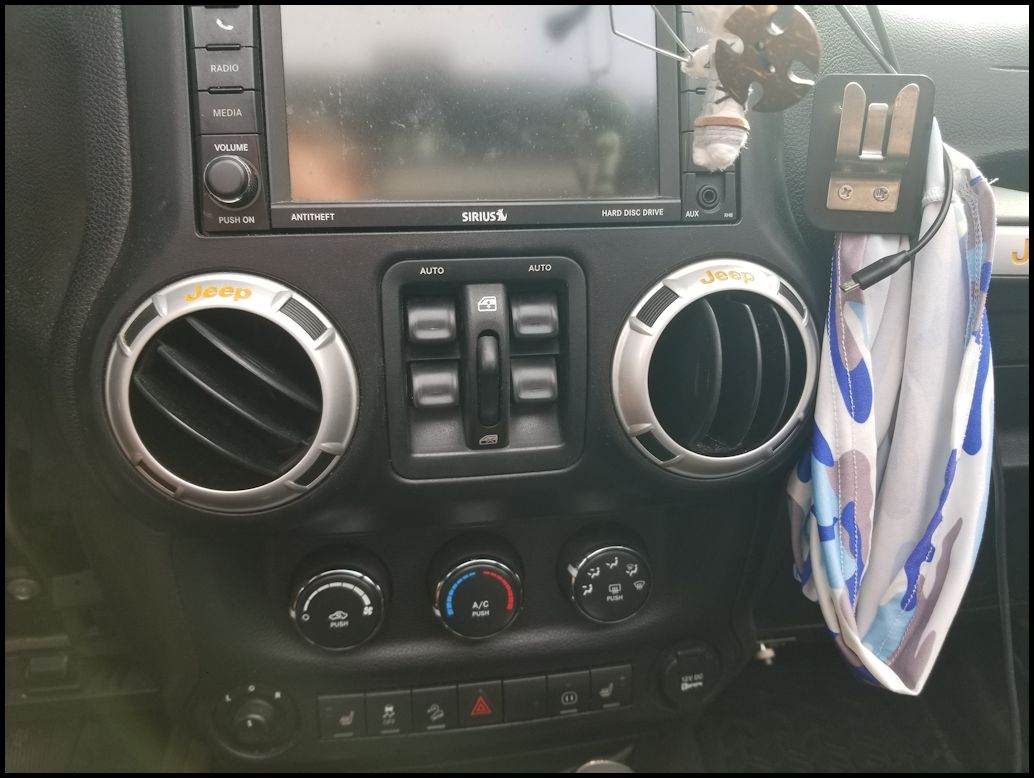
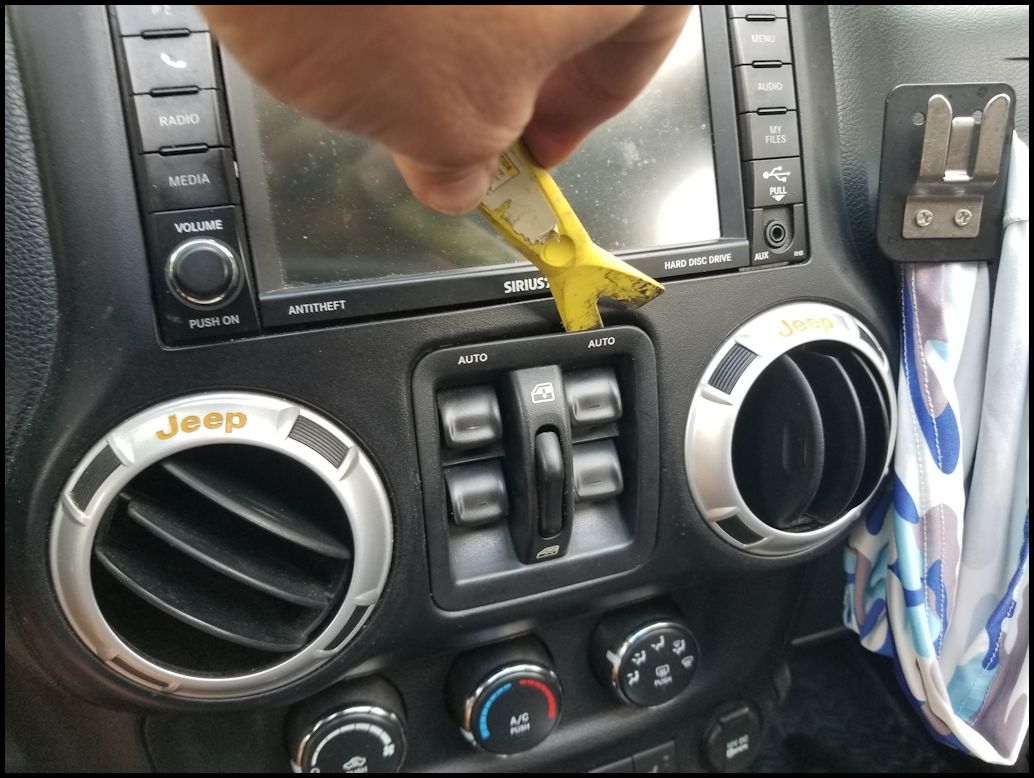
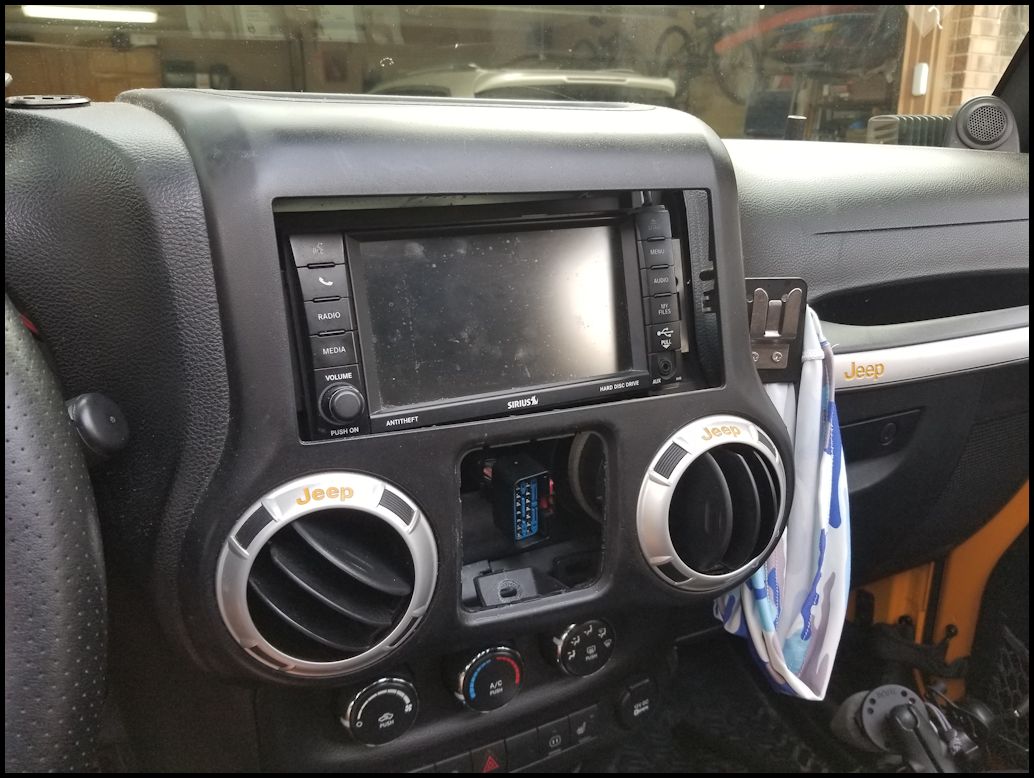
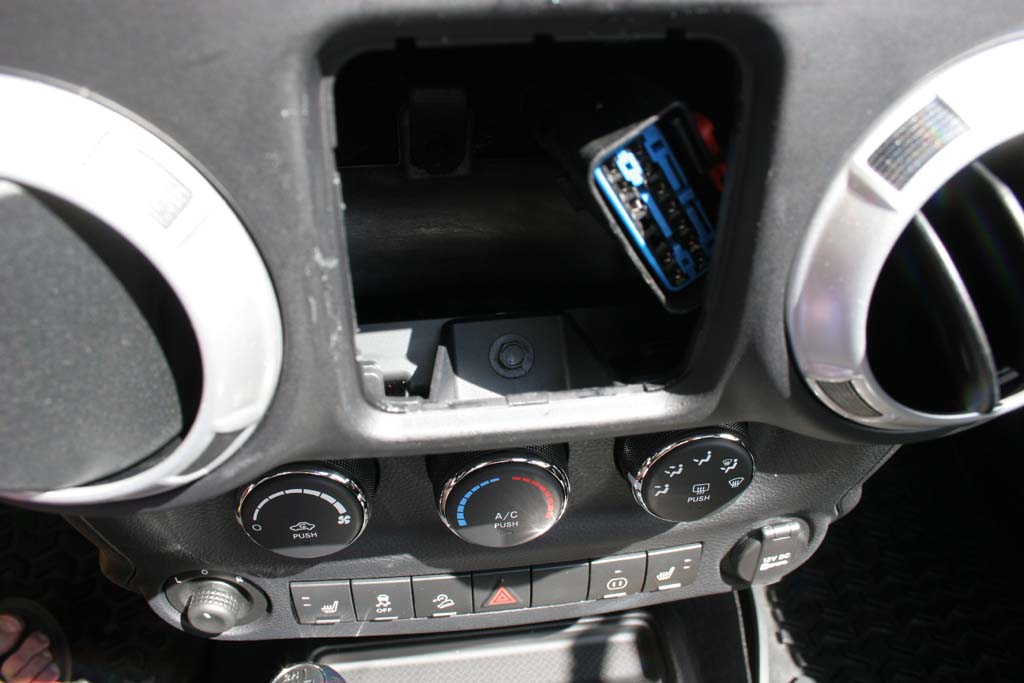
| 5. Use the trim removal tool to pop out the power window switch panel or the cubby hole from the center of the dash. This is held in by tabs on the top and bottom side. The power window switch panel has a connector behind it that can be difficult to get to, so you may need to remove the vent on the right side of the switch panel. |
 |
 |
| |
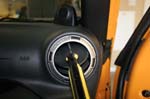
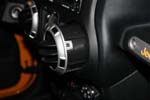
| Remove the vent: |
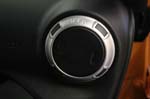
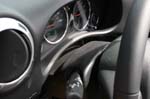
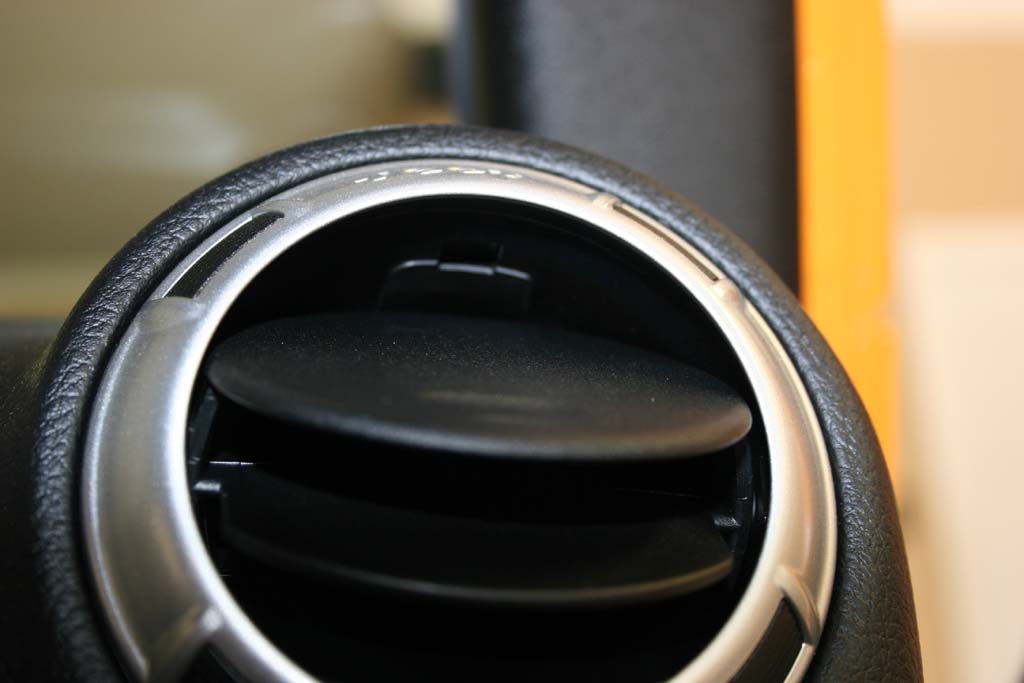
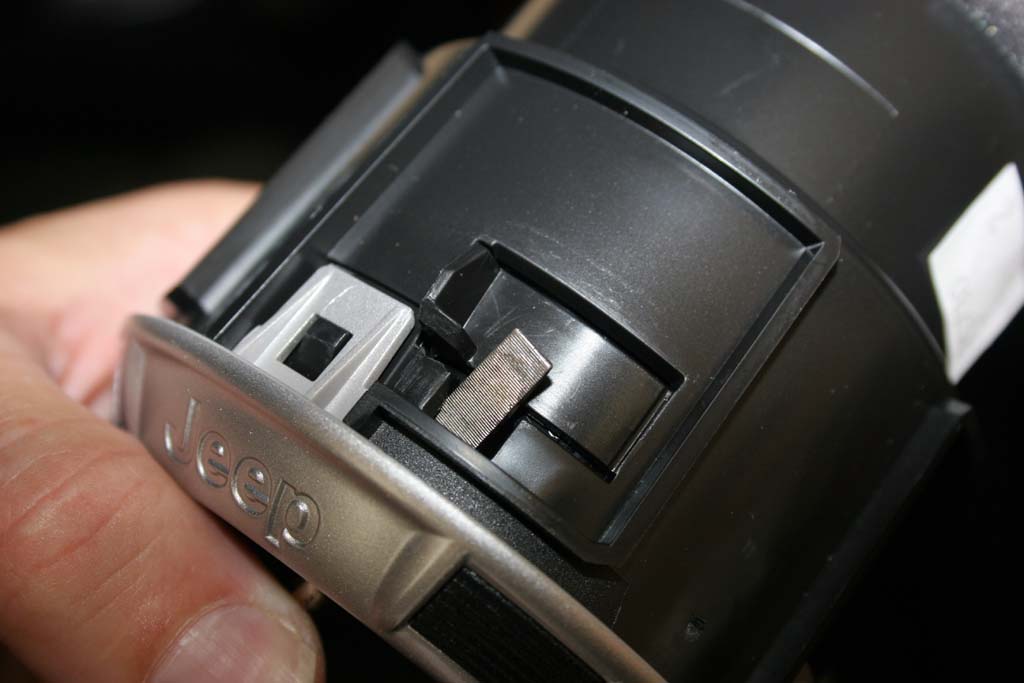
1. Remove the center right side vent. Feel inside the vent for a small square hole. The hole will rotate with the vent diffuser. Position the small hole at about the 1 o'clock position in the vent. It will line up with a similar hole in the housing.
Note: The pictures are of the far right vent since it provided better pictures, but the proceedure is the same for all of the vents. |
 |
 |
 |
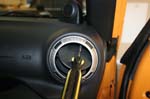
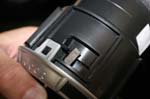
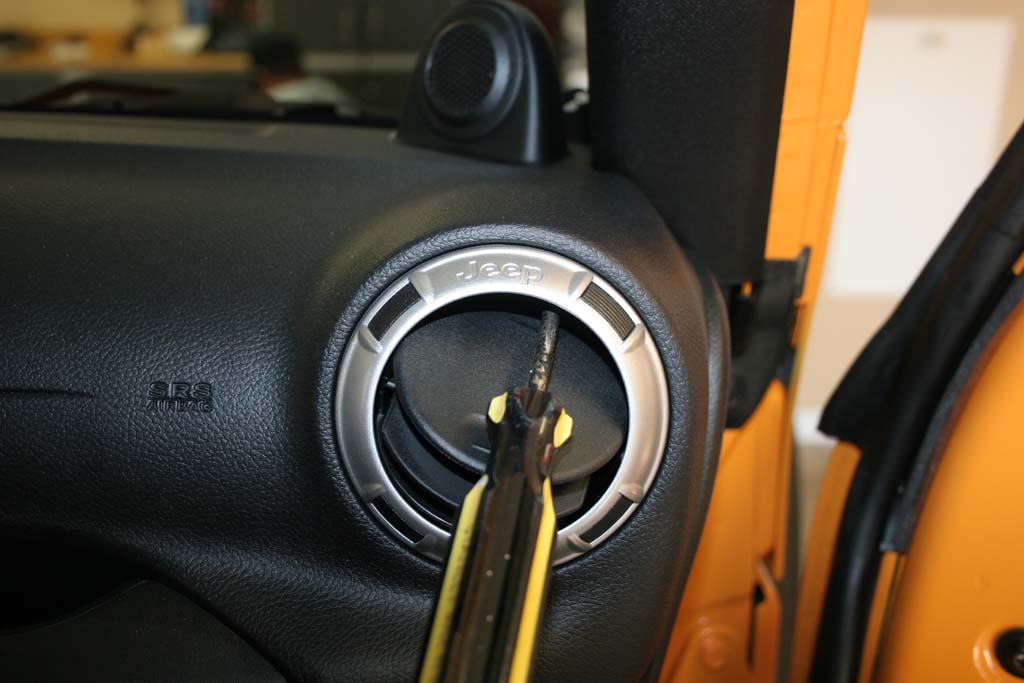
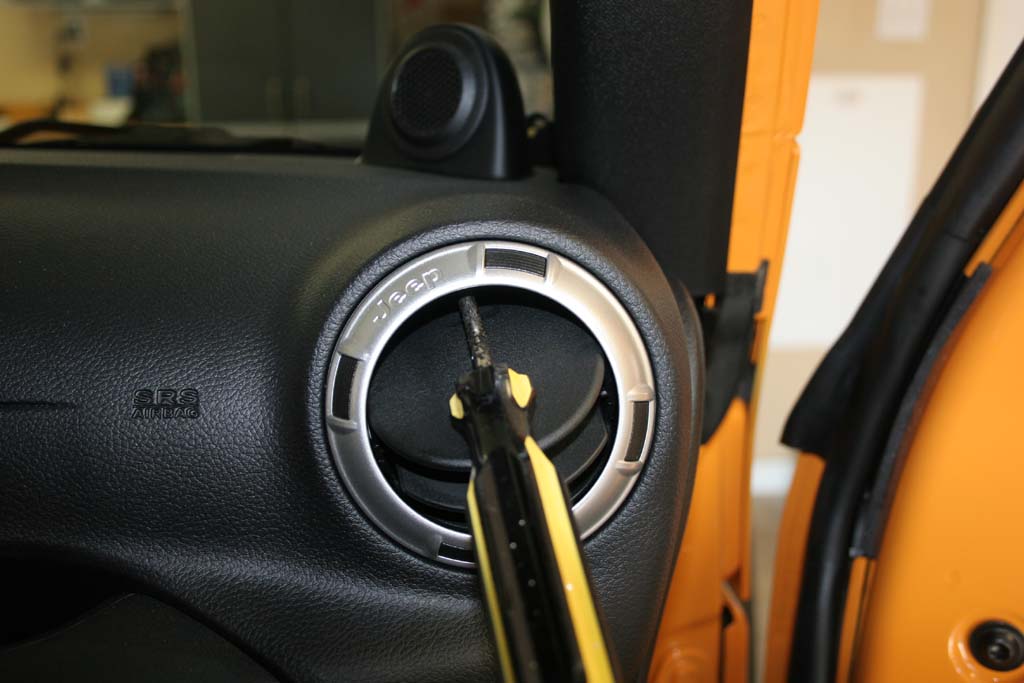
| 2. Insert a small flat tip screwdriver up into the hole at an angle. Pull up on the end of the screwdriver so that the tip press the release on the locking tab for the vent. While holding the screwdriver, rotate the vent counter clockwise (to the left). |
 |
 |
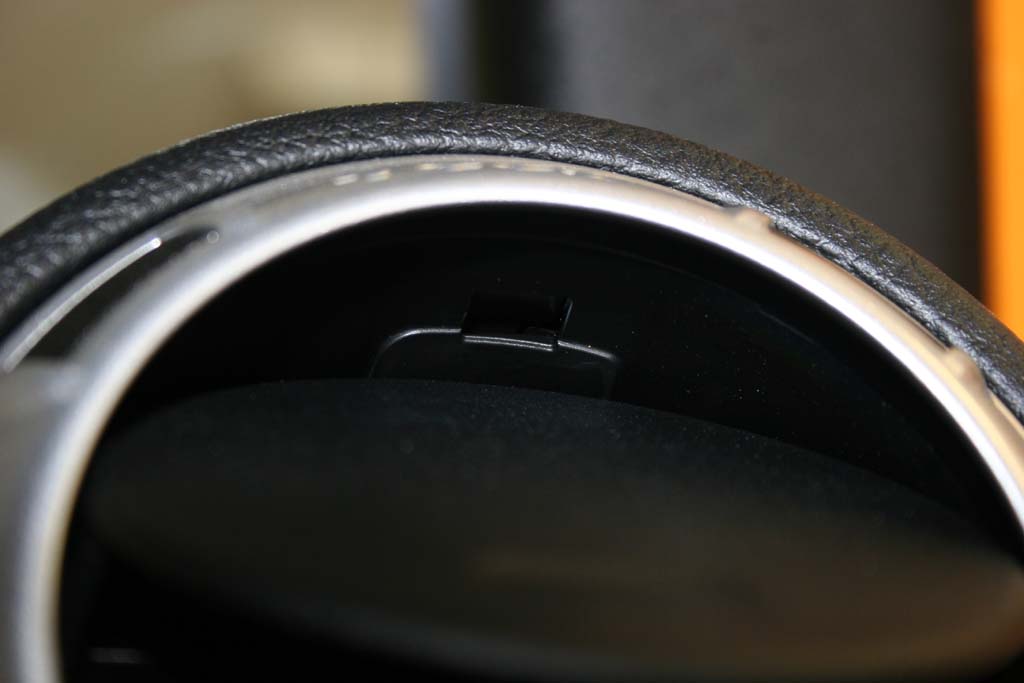
| 3. Pull the vent out. Here is a better view of the locking tab and screwdriver. |
 |
 |
| |
| Remove the Dash (cont): |
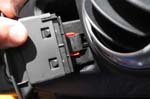
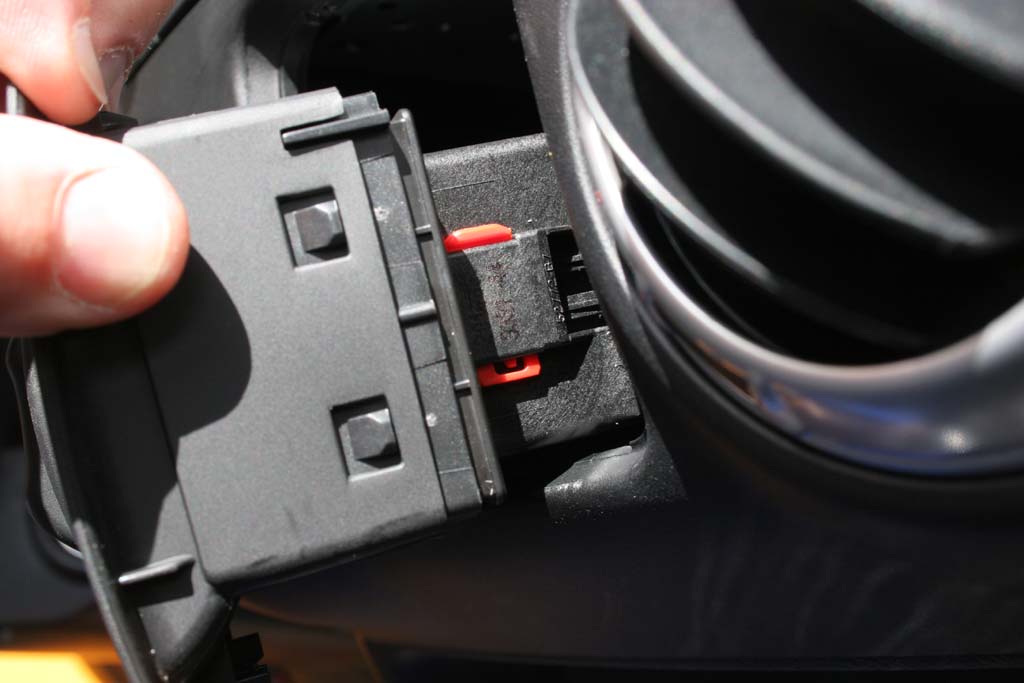
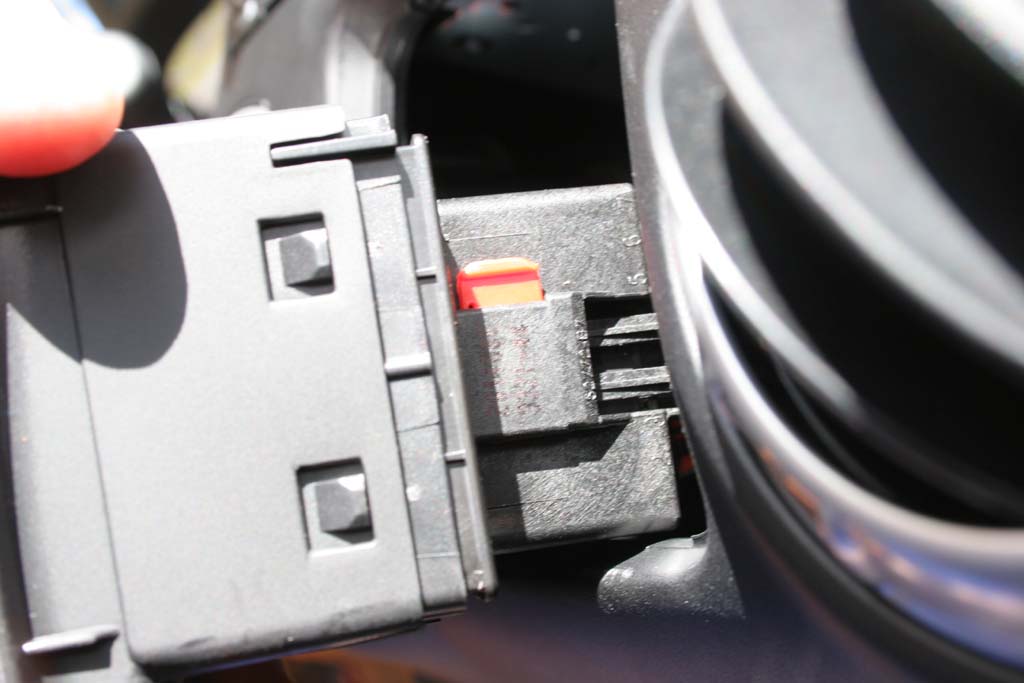
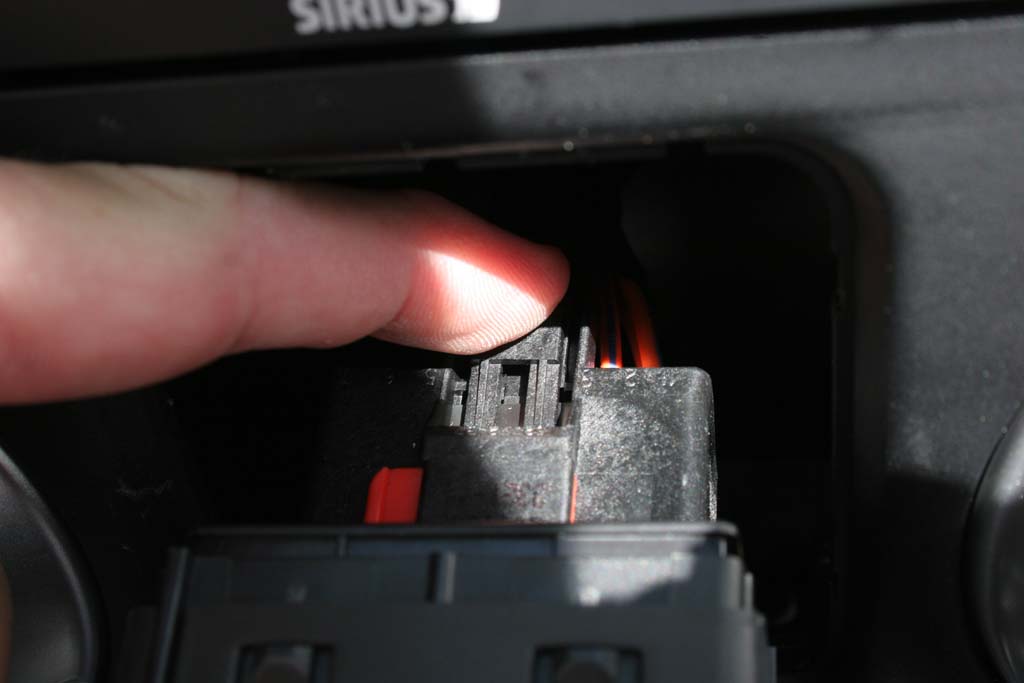
| 6. Push the red locking tab on the power window connector up to release it. Press the tab on the connector and disconnect the power window switch panel. |
 |
 |
 |
| 7. Remove the screw that is hidden behind the power window switch panel or cubby hole with a 7mm socket. Be very careful you do not drop this down into the dash, it's not fun to try and find where it went. |
 |
| 8. Lower the tilt steering column all the way. |
 |
 |
| 9. Grab the top back of the dash panel and pull towards you. The panel will pop free. |
 |
 |
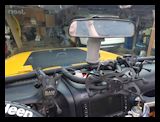
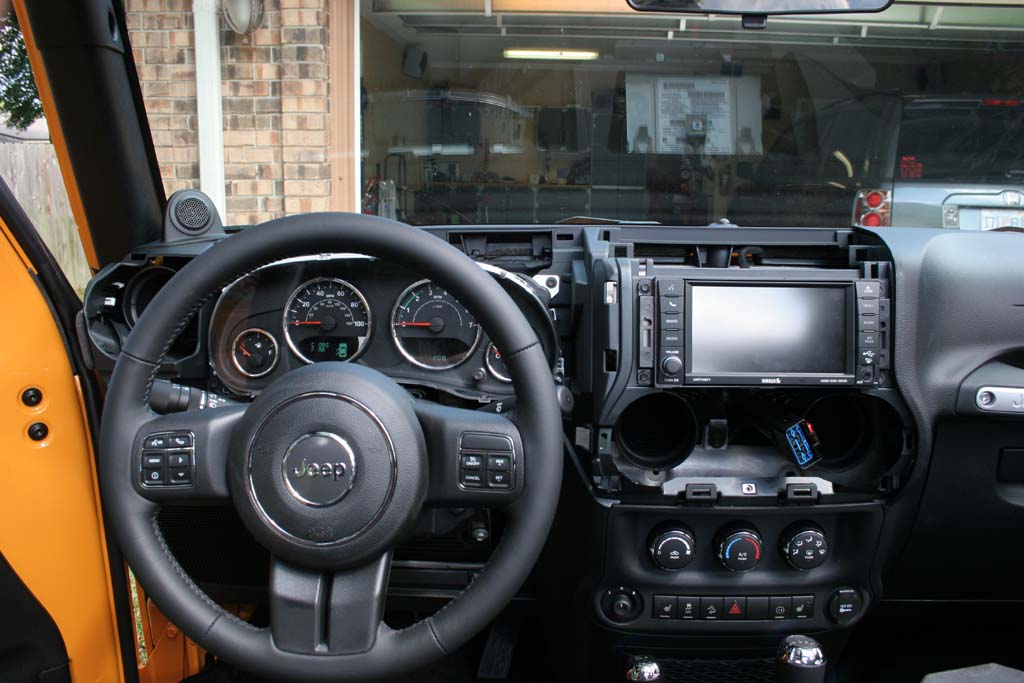
| 10. Dash Removed. |
 |
 |
| |
| Lower Dash Panel: |
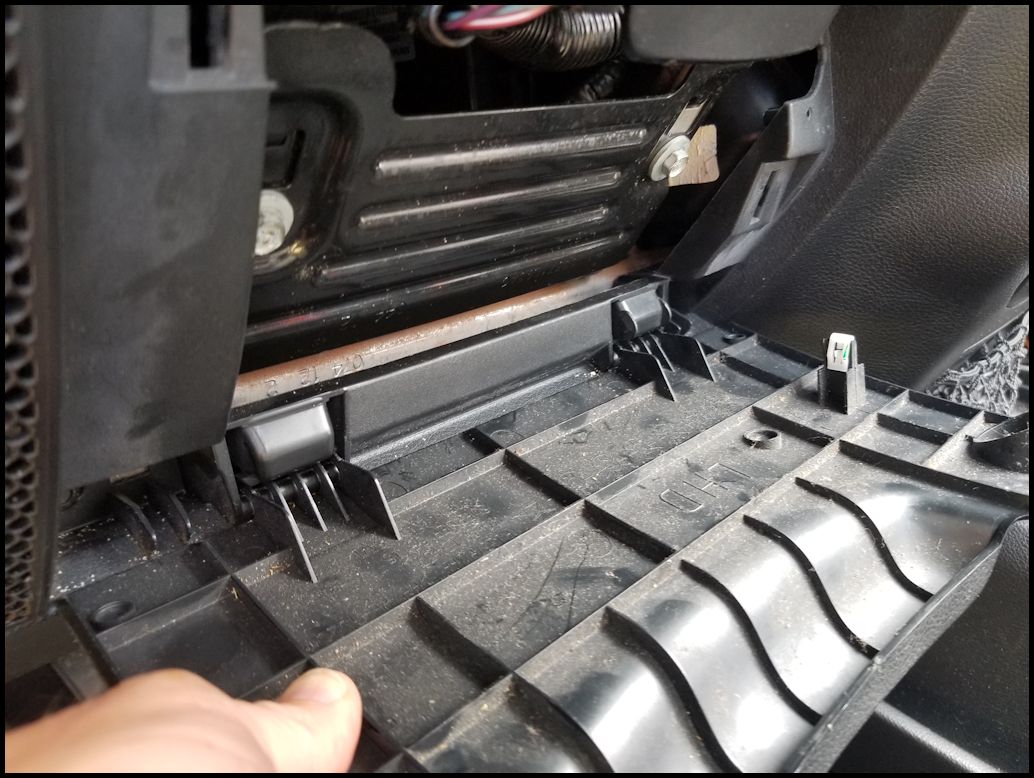
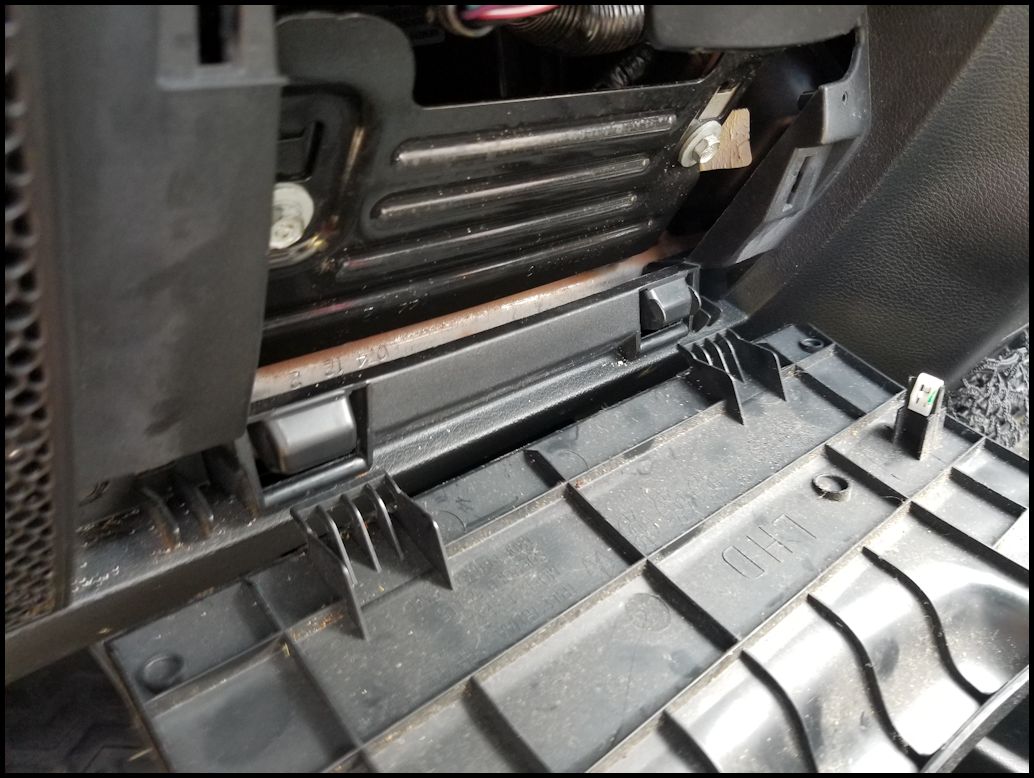
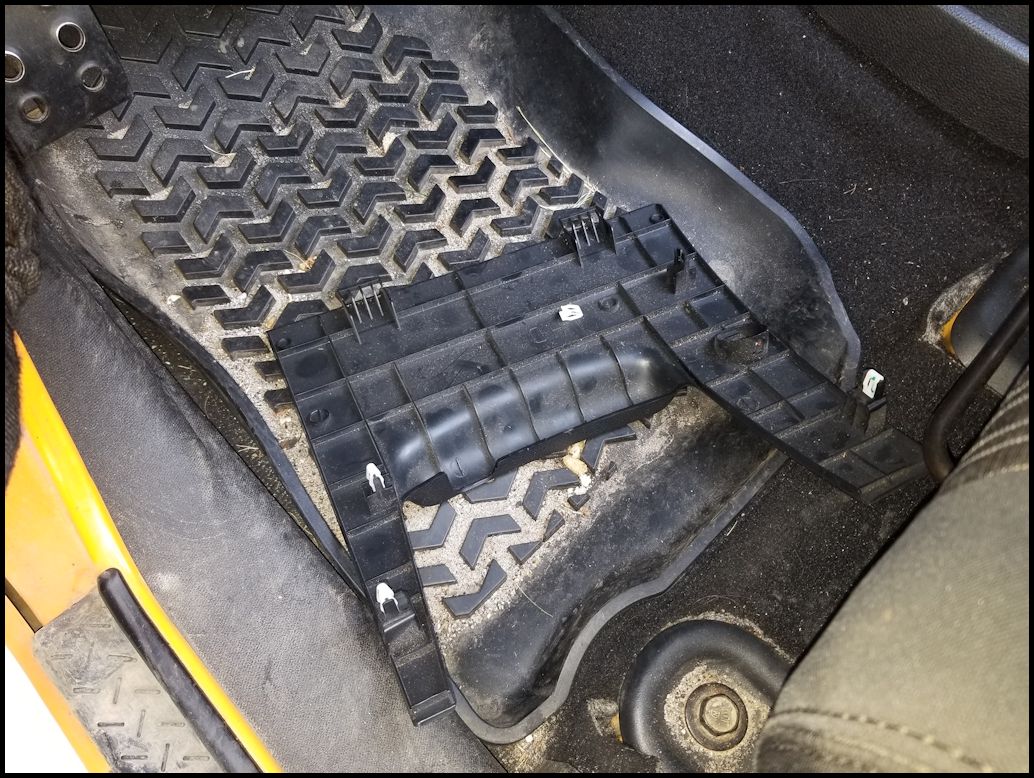
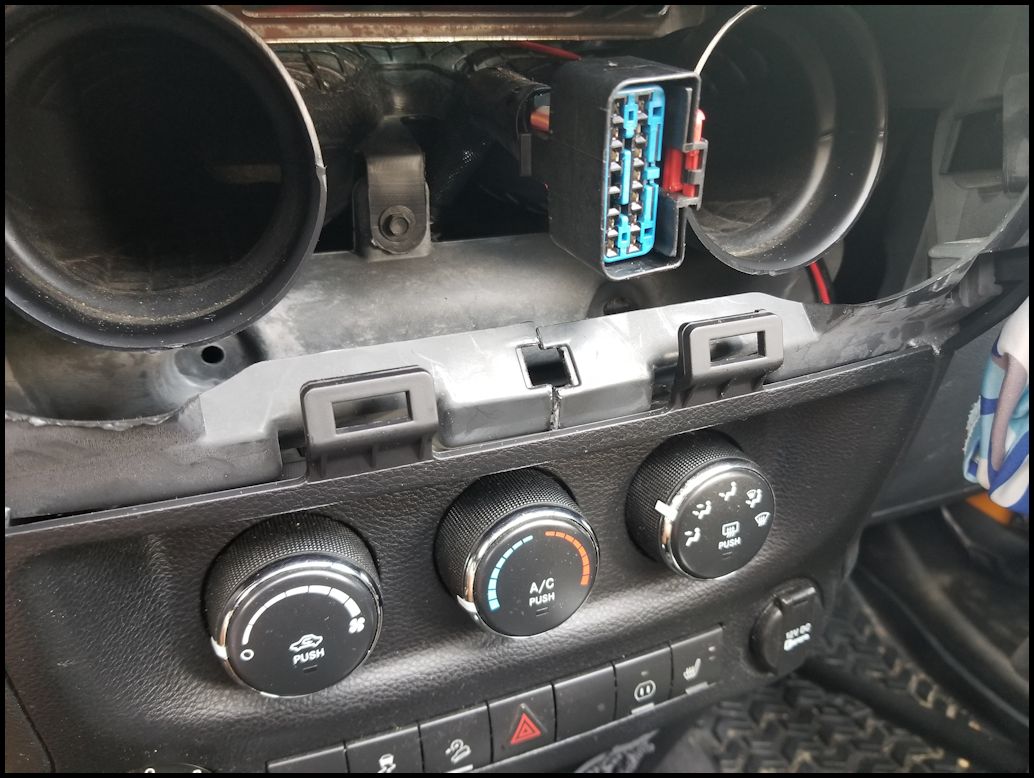
| 1. The two tabs at the top of the lower panel are held by the section we just removed. I was tempted to just cut them off, but I didn't think I would need to remove this again anytime soon. Pull the panel out from the top, there are three clips on either side holding it in. Don't pull to far, because you have a few connectors in behind it that will need to be undone. |
 |
 |
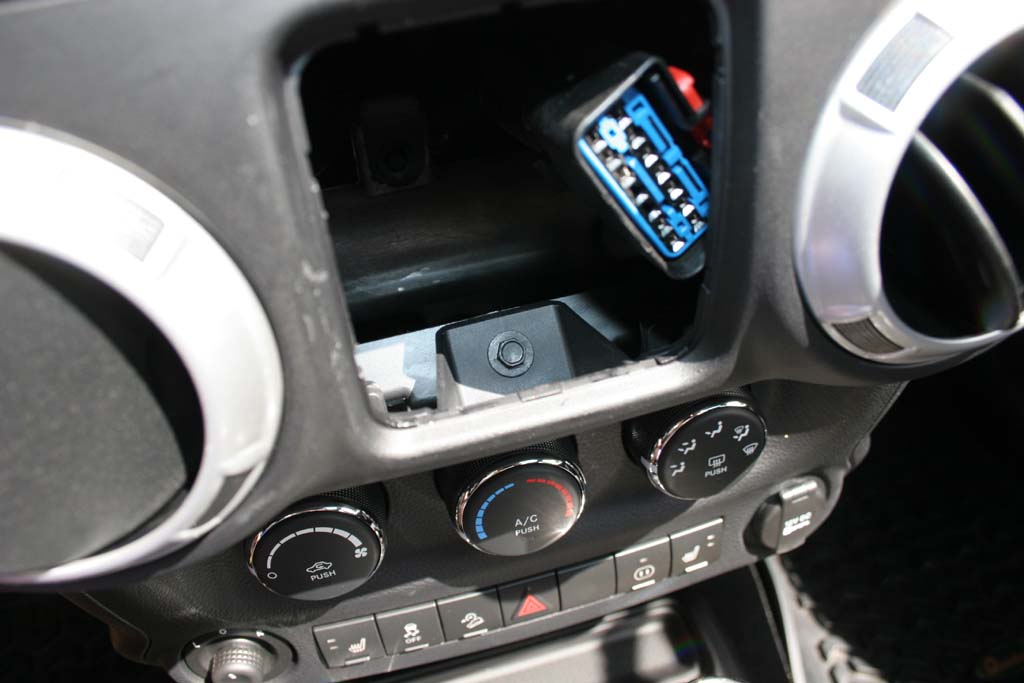
| 2. Press the tabs on the connectors and unplug them. You can have up to 5 connectors depending upon if you have the fancy temperature sensing HVAC controller. One plug for the power mirrors, one for the power outlet, one for the lower switch panel, and one or two for the HVAC controller. |
 |
 |
 |
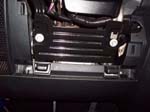
| 3. Unscrew the four (4) phillips head screws that hold the old HVAC controller in place and remove the controller. |
 |
 |
| 4. Install the new HVAC controller and reinstall the four (4) phillips head screws into the panel. |
 |
 |
| 5. Reconnect and install the lower dash panel. Reinstall everything in reverse order. Turn the vehicle on and let the new controller go through it's cycle. Mine took vehicle starts before it quit going through the cycle every time, so give it a couple times. I didn't pay attention to how many times it did it, but I noticed a couple days later that it had stopped. |
| |


