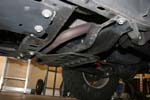
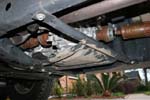
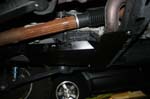
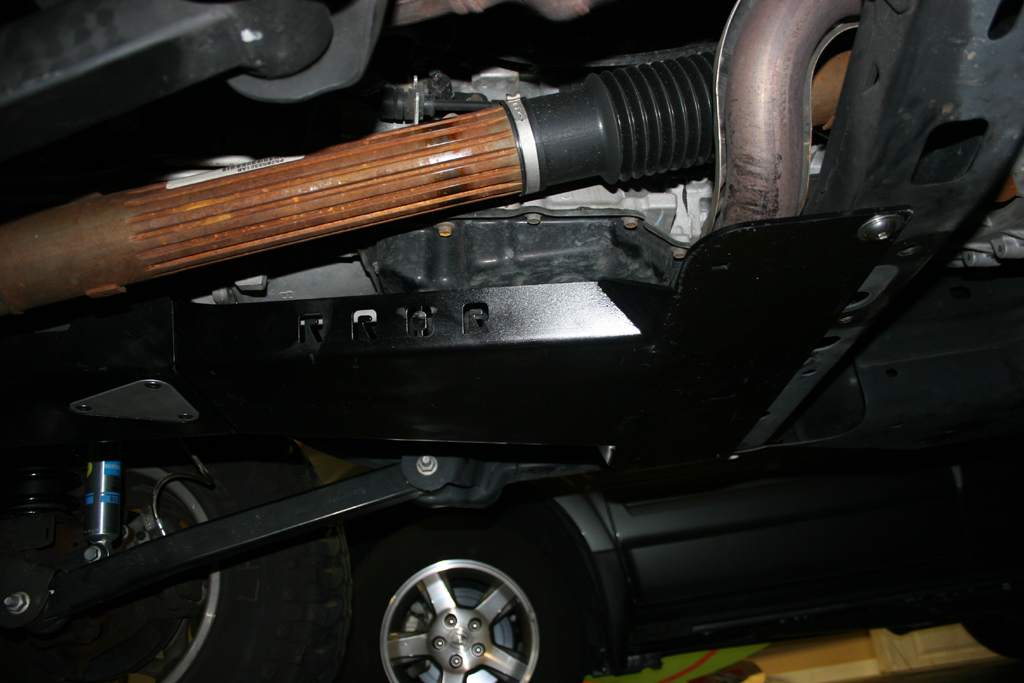
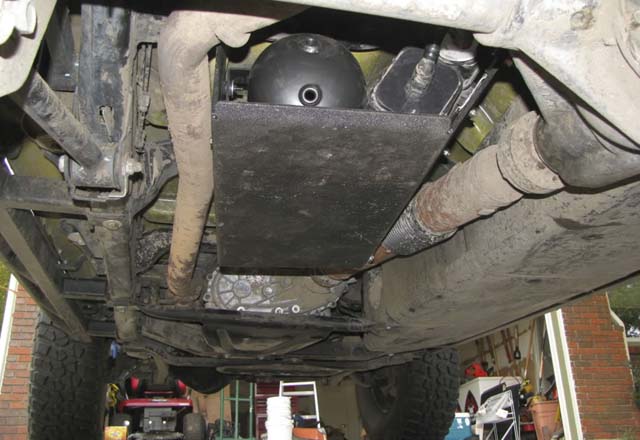
If you plan to go out and play on the rocks, you need some serious underbody protection. Nothing like having a rock take out your evap canister, oil pan or your transmission pan. At least Jeep gave us a little something to protect the Gas tank and something they call a skid plate for the transmission and transfer case. The new 2012's even come with a skidplate over the evap canister. I looked around and decided that River Raider had the best setup at the time (only other one was Rockhard). There are a few more out there now to choose from. Installation is pretty much in order from the front of your Jeep to the back, everything fits together like a big puzzle and accessing a few parts require that order, so Engine skid, transmission skid, transfer case skid, then gas tank skid. The only one you can get away with is the evap canister skid, though waiting until after you install the gas tank skid makes it a little easier to get to a few bolts on the gas tank. I did somehow miss a few pictures, so luckily I found them on JKO (My thanks to the original poster over there.).
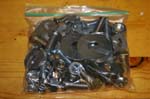
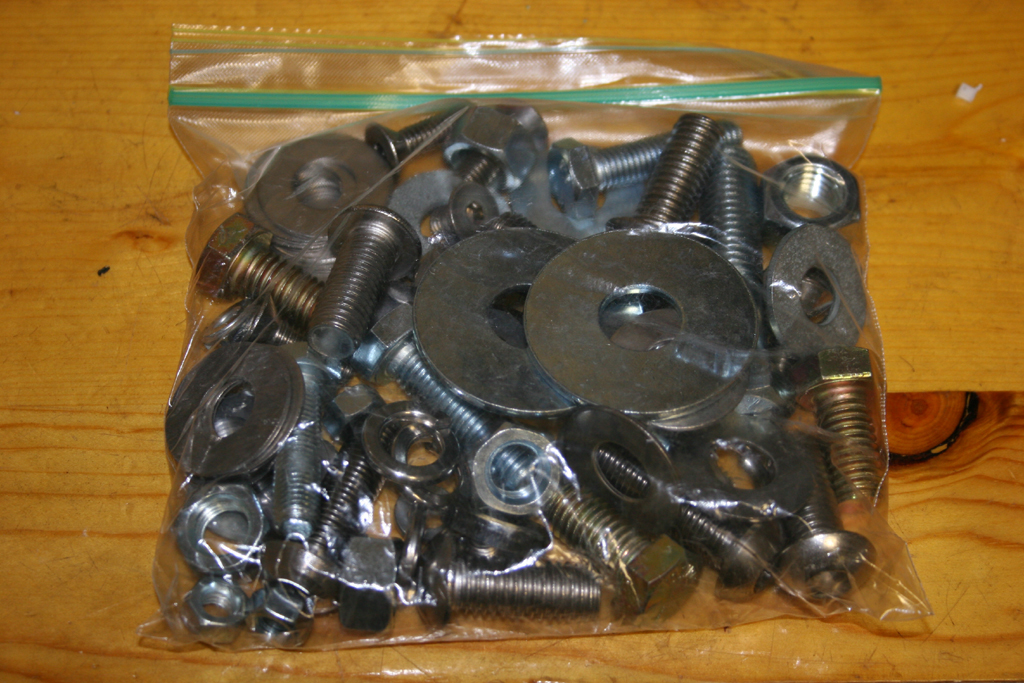
| I bought all the skids: Oil Pan, Transmission, Transfer Case, Gas Tank and Evap with air tank skid. Don't have a picture of the gas tank skid. They came bare metal, but you can get them powdercoated. I just primed them and painted them with black enamel paint. I figured it would be easier to repaint after scraping them across the rocks. |
 |
 |
 |
 |
 |
 |
 |
 |
 |
 |
| |
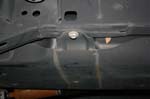
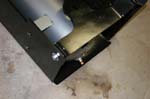
| Factory Skid Removal: |
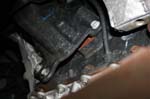
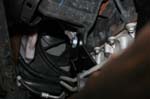
| 1. Remove the Transmission Skid (Automatic's). |
 |
| 1a. Support the skid with a floor Jack. Remove the three (3) bolts holding the transmission skid in place. You will need an 18mm Socket. |
 |
 |
 |
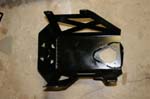
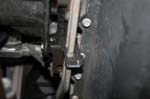
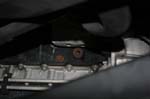
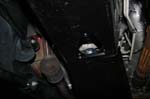
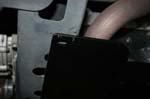
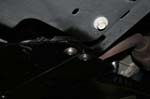
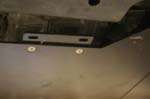
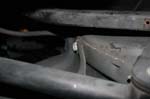
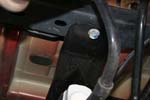
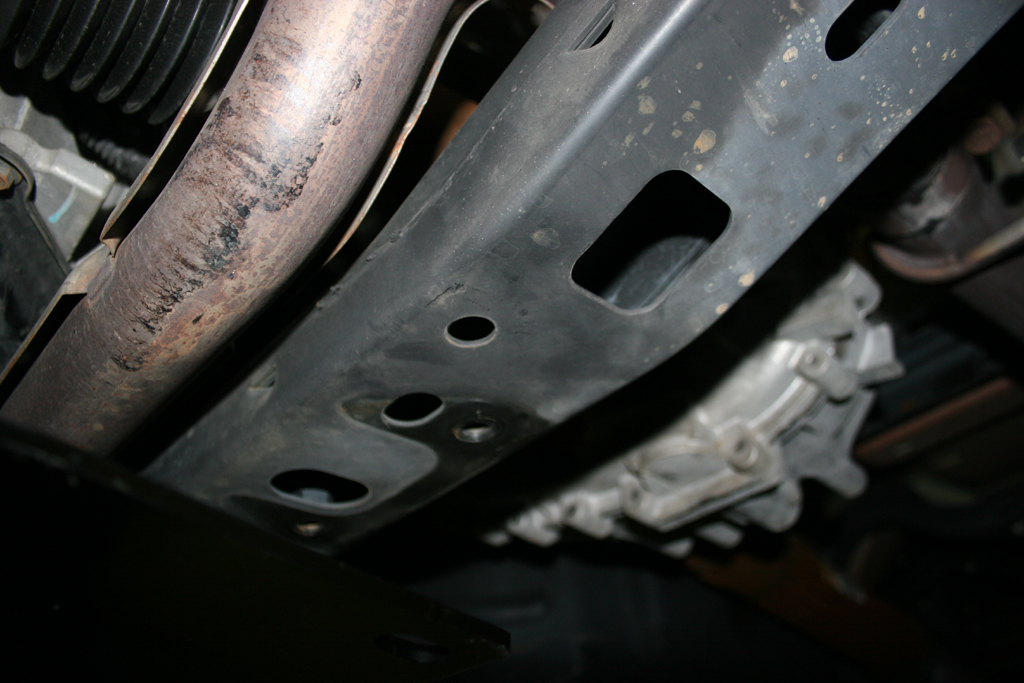
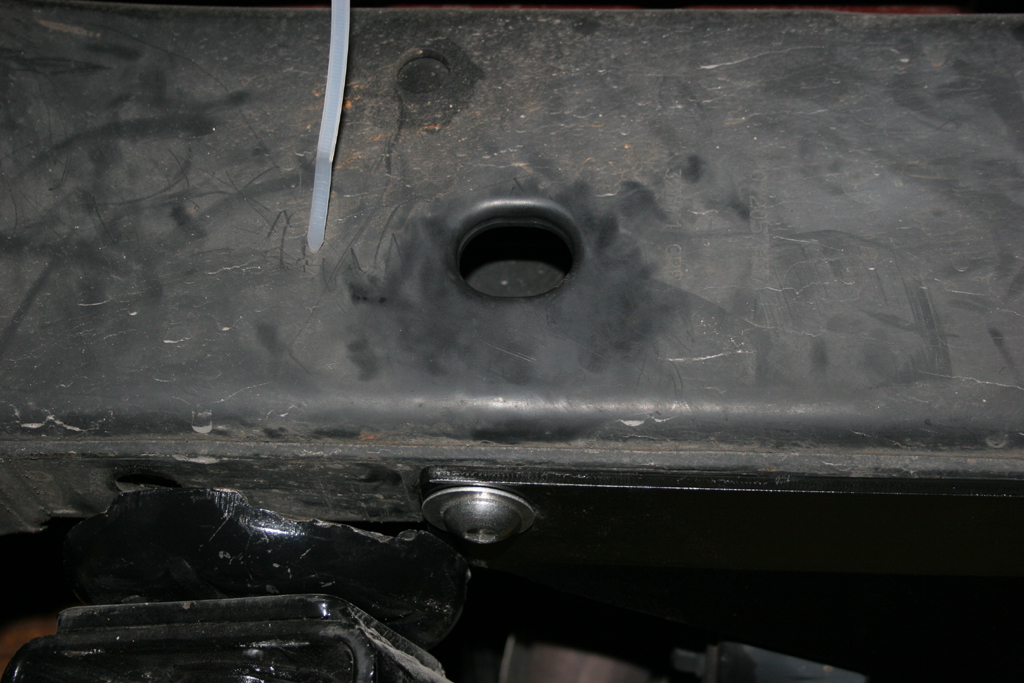
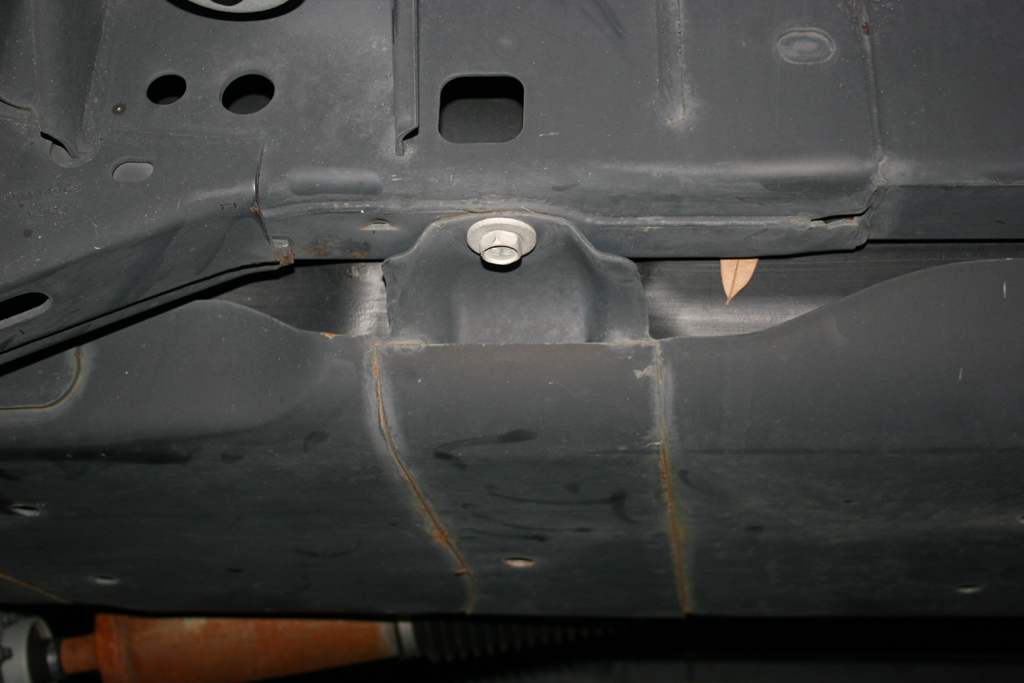
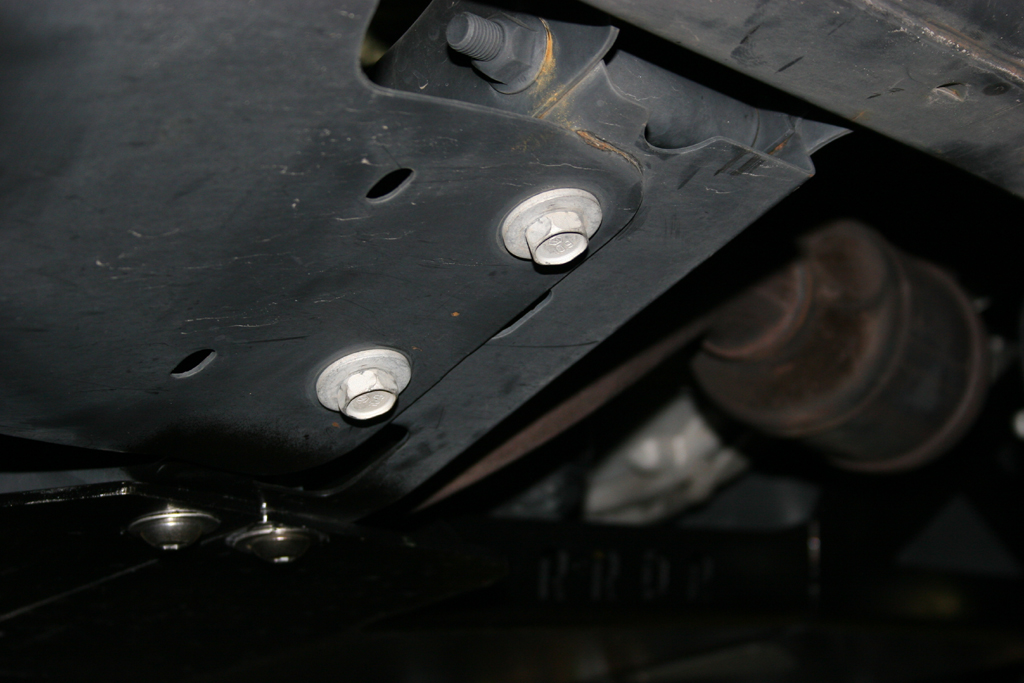
| 2. Remove the Transfer case skid. |
 |
| 2a. Support the skid with a floor Jack. Remove the four (4) bolts holding the Transfer case skid in place. You will need an 18mm Socket. |
 |
 |
 |
| |
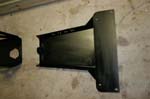
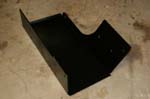
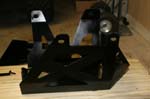
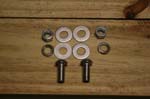
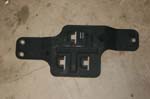
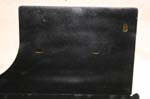
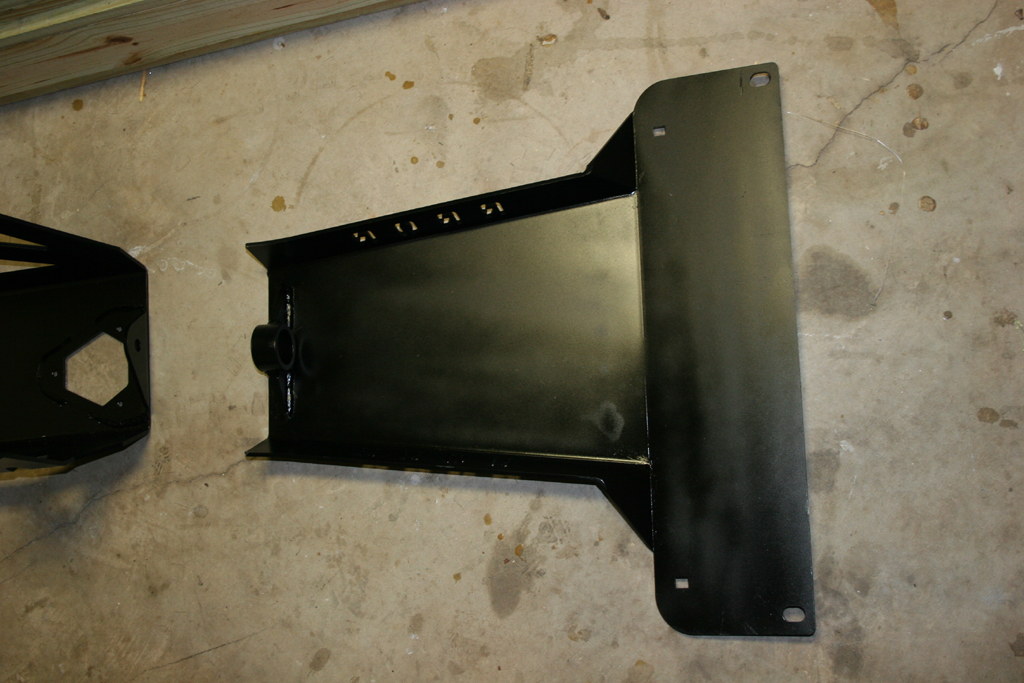
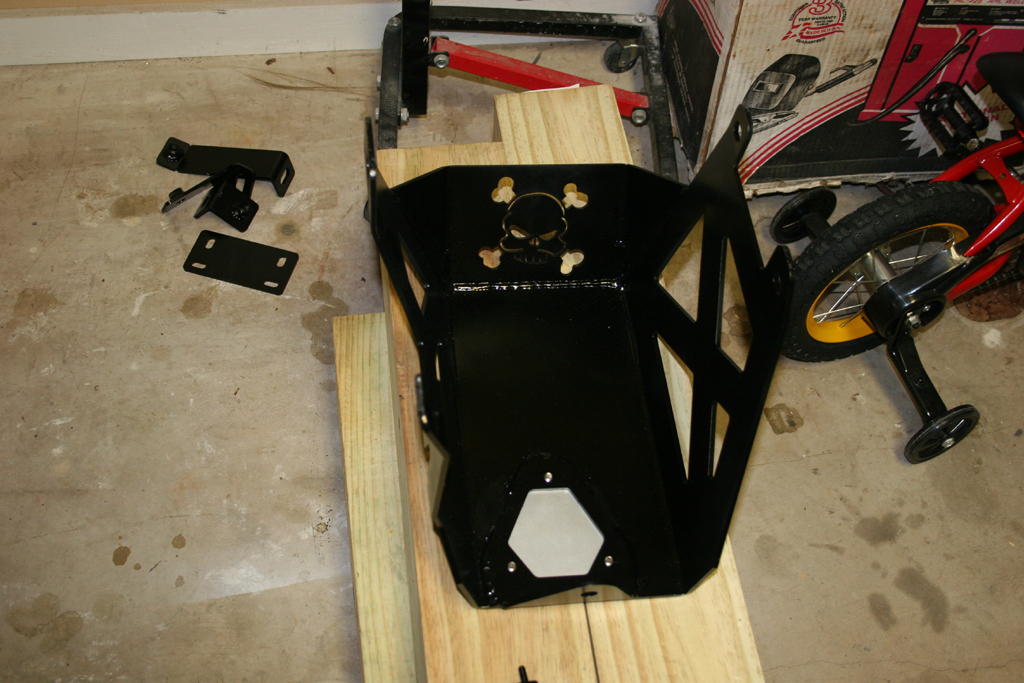
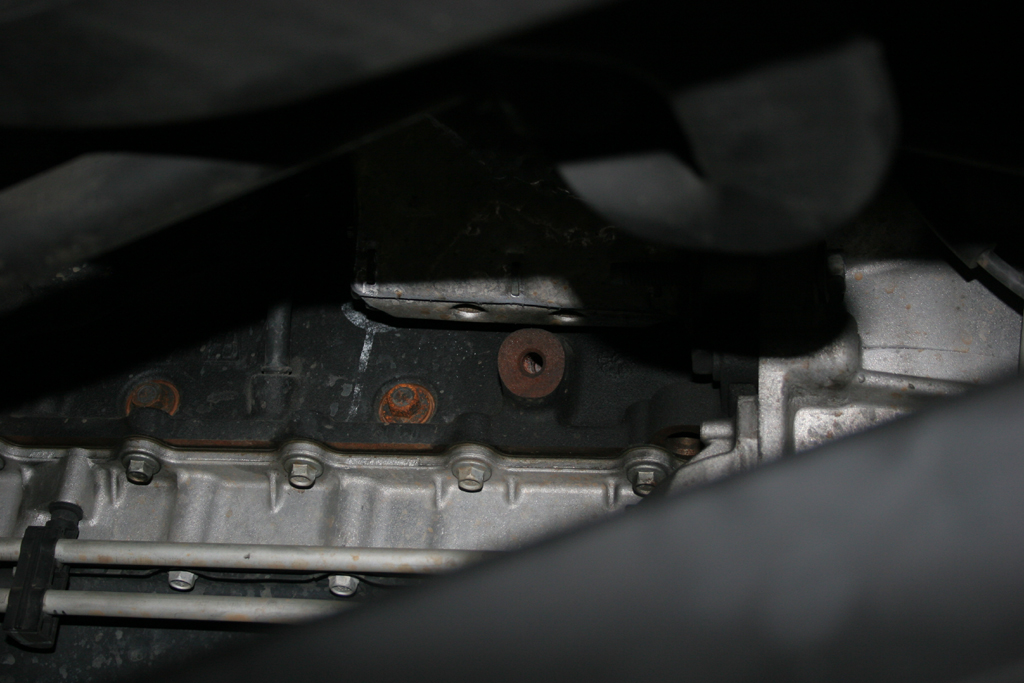
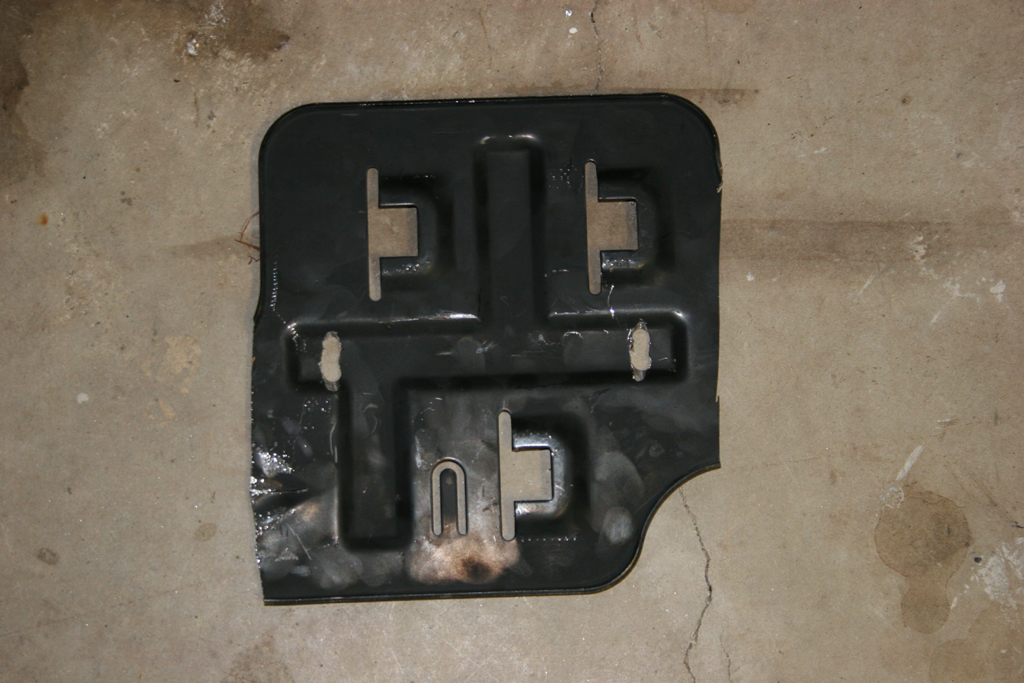
| Engine Oil Pan Installation: |
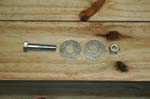
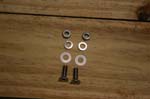
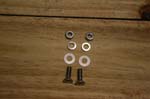
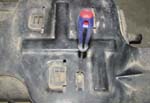
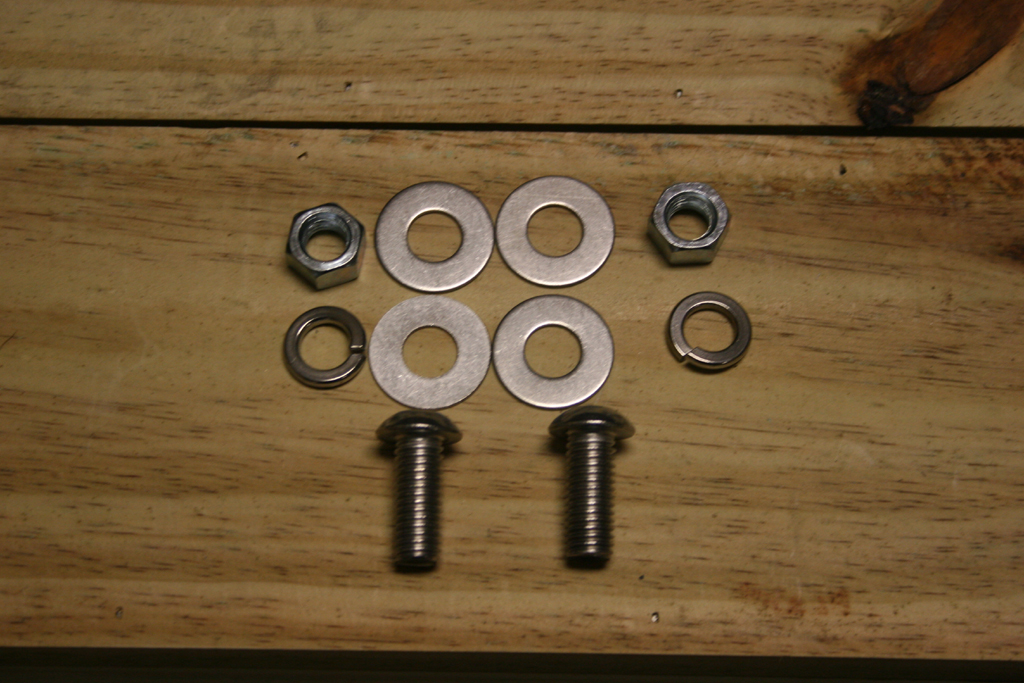
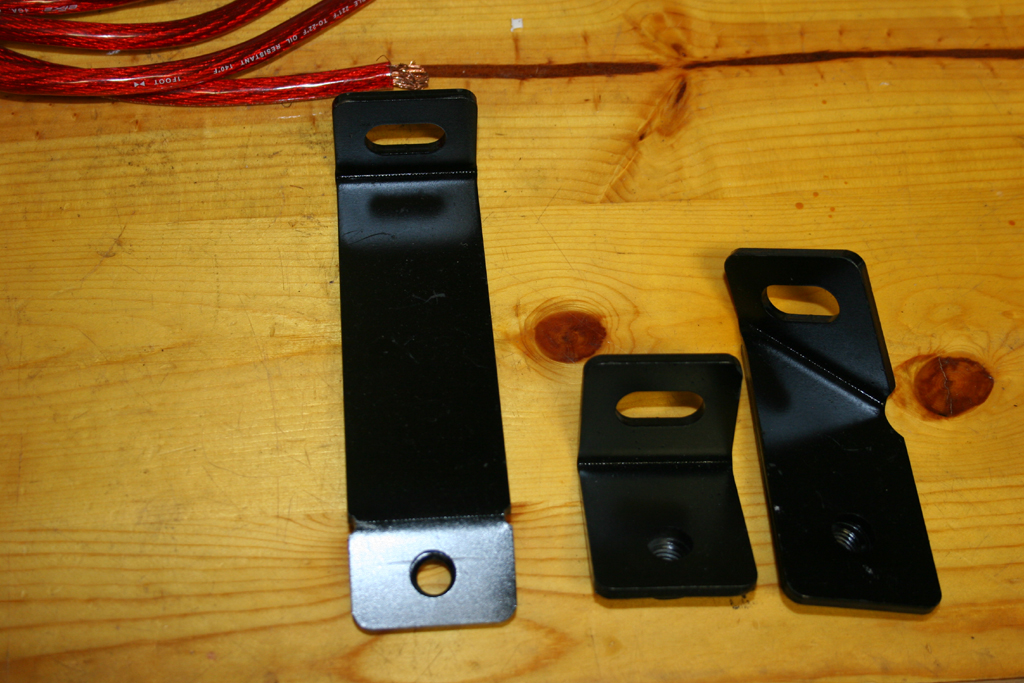
| The parts to the Oil Pan Skid. |
 |
 |
 |
 |
 |
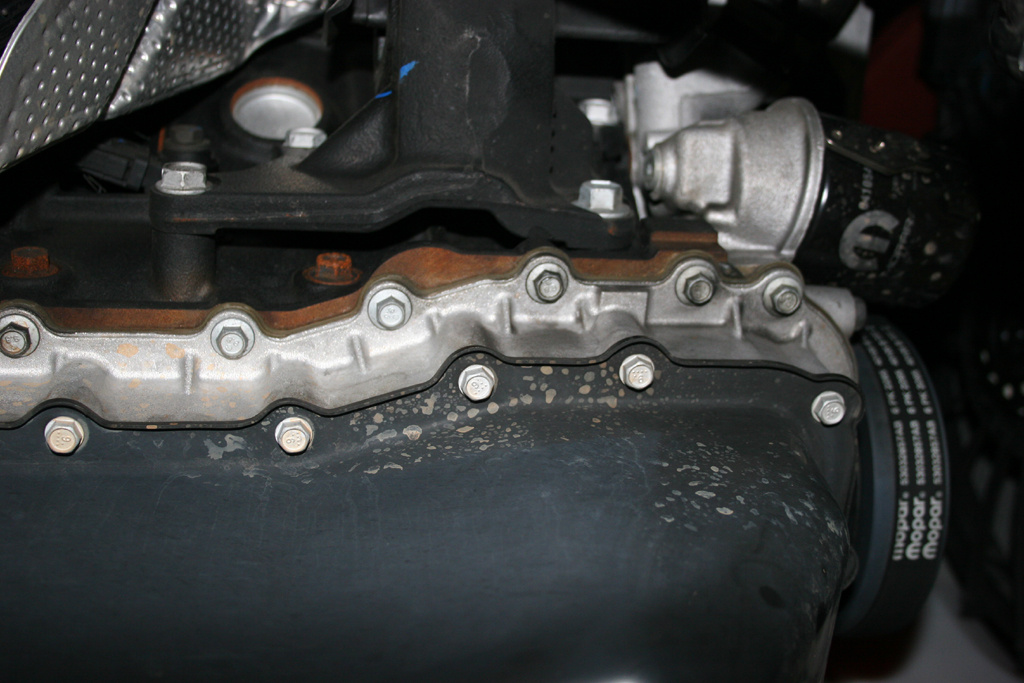
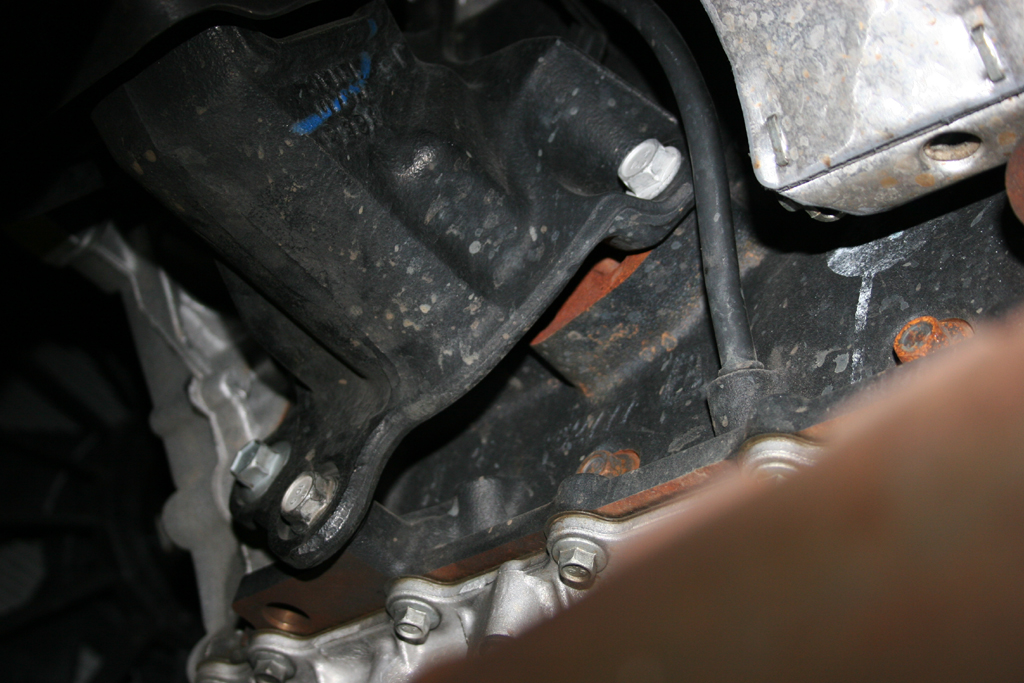
| 1. Remove the Two (2) lower engine mount to engine bolts from the passenger side of the engine, and the one lower bolt from the driverside of the engine. You will need a 15mm, 16mm and a 17mm Socket for this. I wouldn't doubt that this is someones idea of being funny. Put these bolts away and mark what they go to. That way your not searching for them if you ever sell the Jeep later. |
 |
 |
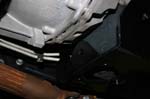
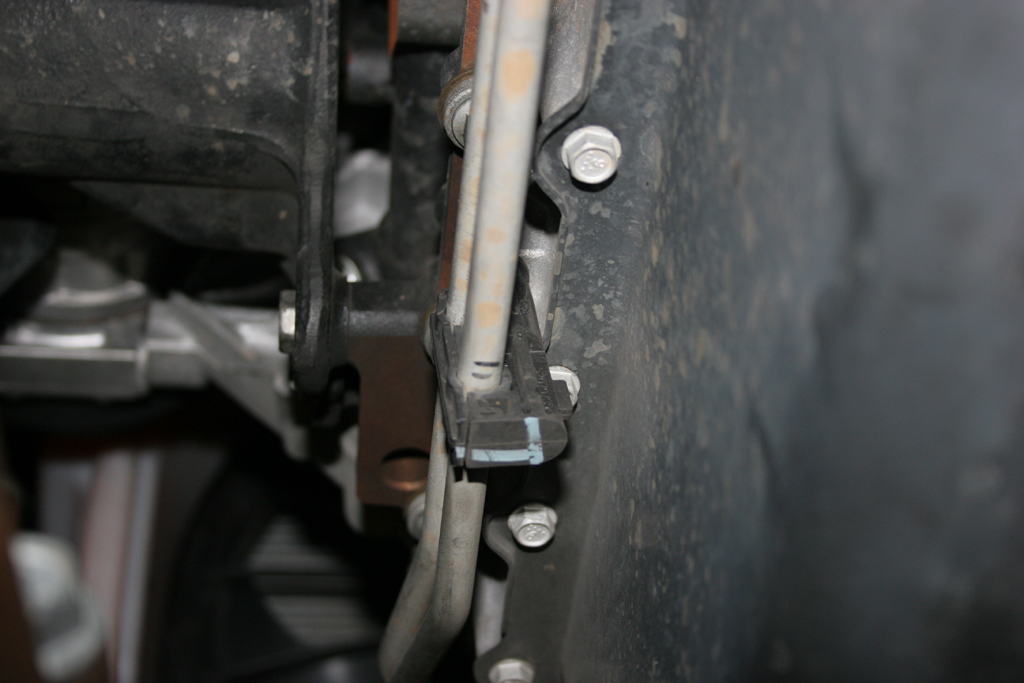
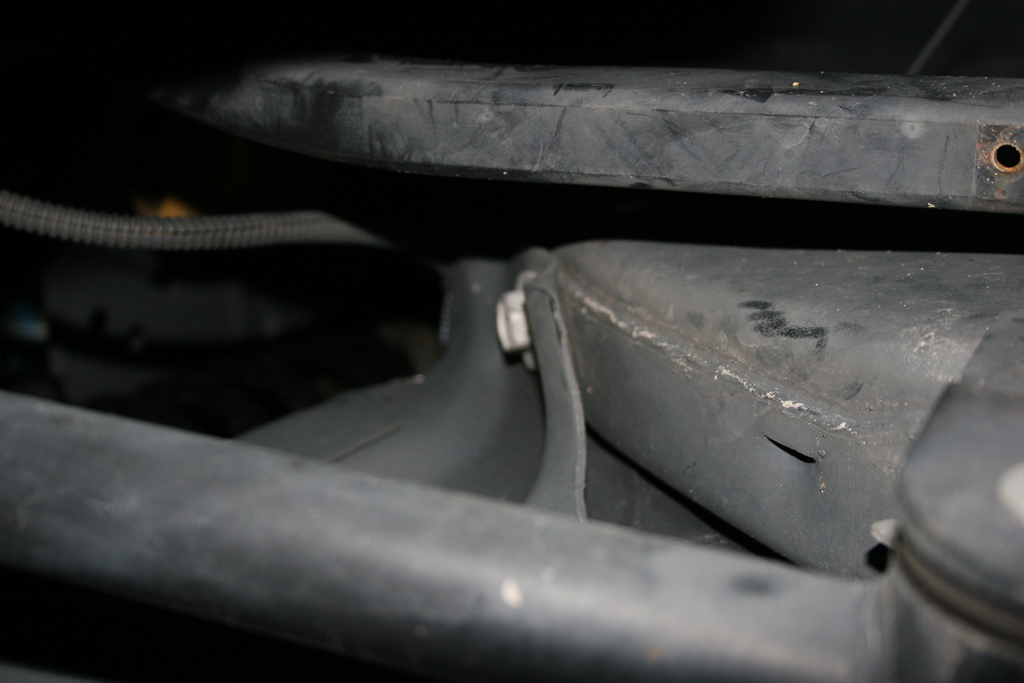
| 1a. If you have an Automatic transmission remove the cooler line support from the driver side of the transmission. This will get remounted on the provided bracket, the skid goes between these and the oil pan. |
 |
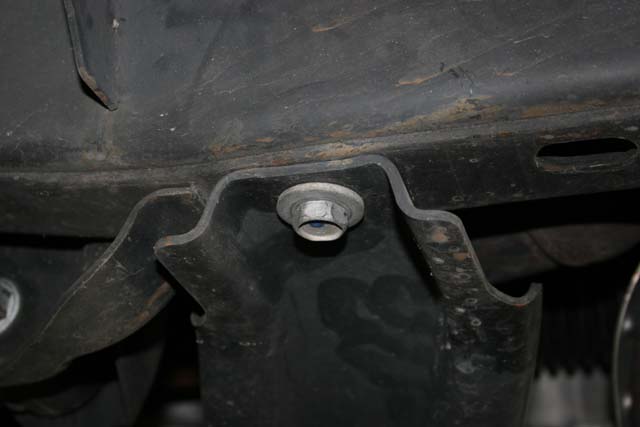
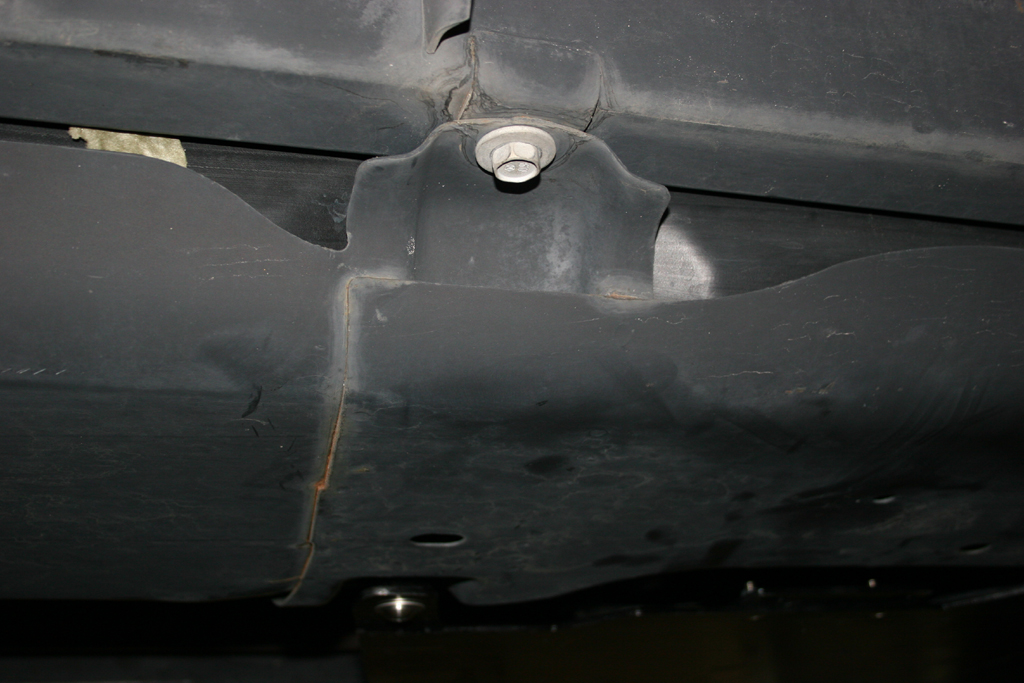
| 2. On the driverside you will utilize an unused hole towards the back of the engine. It is a good thing to double check this hole with a bolt now. |
 |
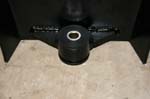
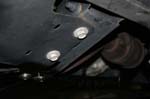
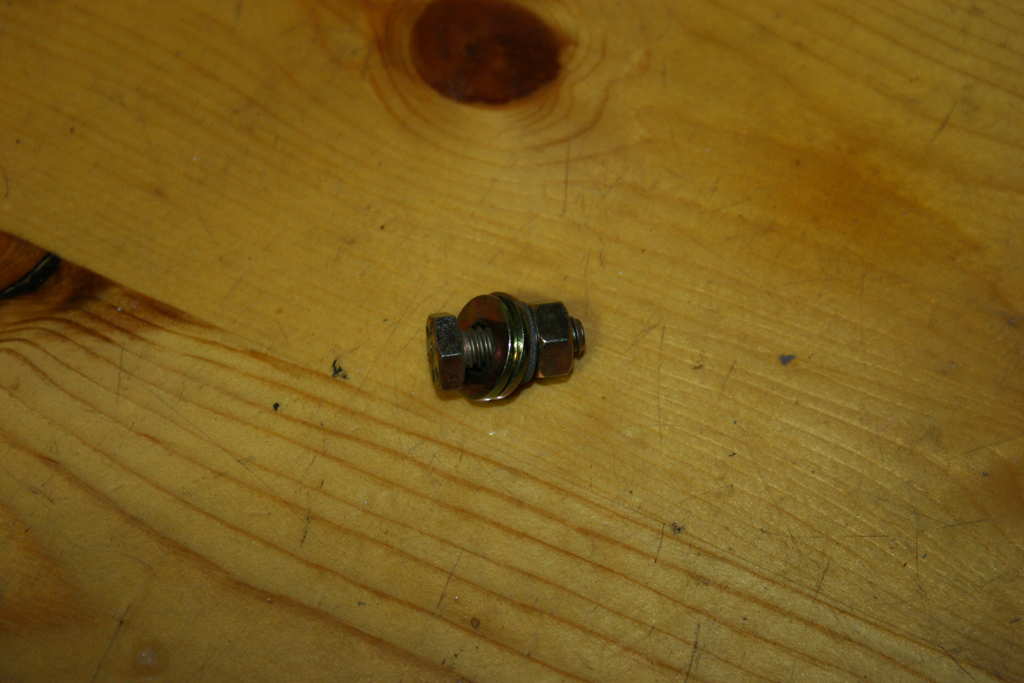
| 3. Lift and support the Oil Pan Skid. Loosely install the 4 provided bolts, washers through the skid and spacers into the engine block. The spacers go on the engine mount brackets. I dab of silicone, or grease works well to hold them in place while you position the skid. |
 |
 |
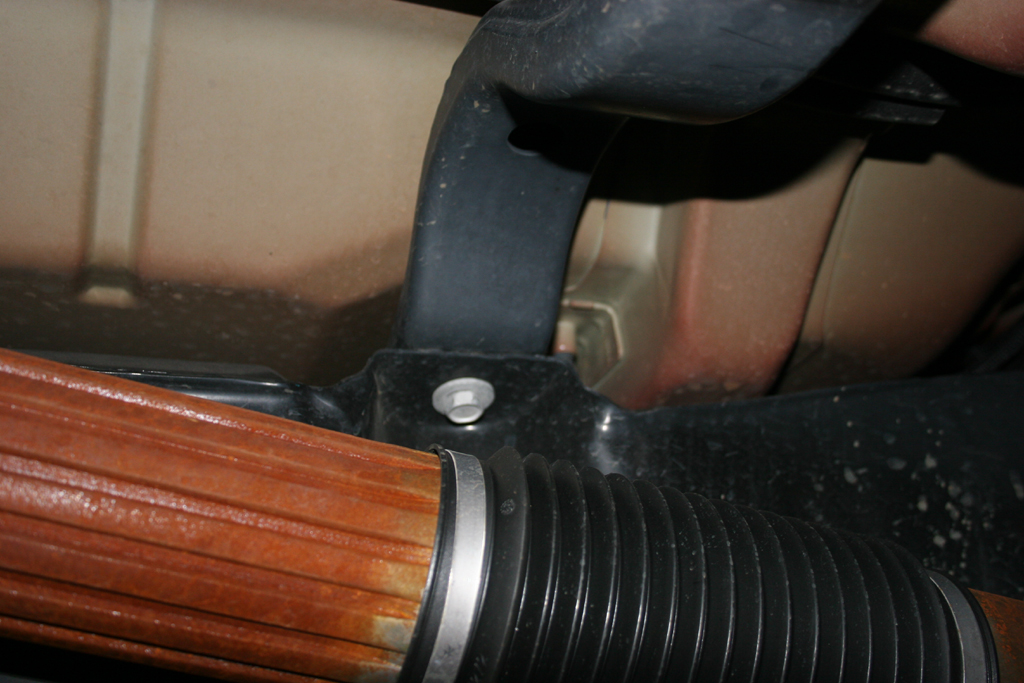
| 3a. If you have an Automatic, on the front driver side mount, install the screw through the oil line bracket and then the skid. |
 |
| 4. You can snug the bolts, but do not torque them down untill you get the transmission skid in place. |
| 5. If you have an automatic, reinstall the cooler line support onto the bracket provided with the skid. |
|
| |
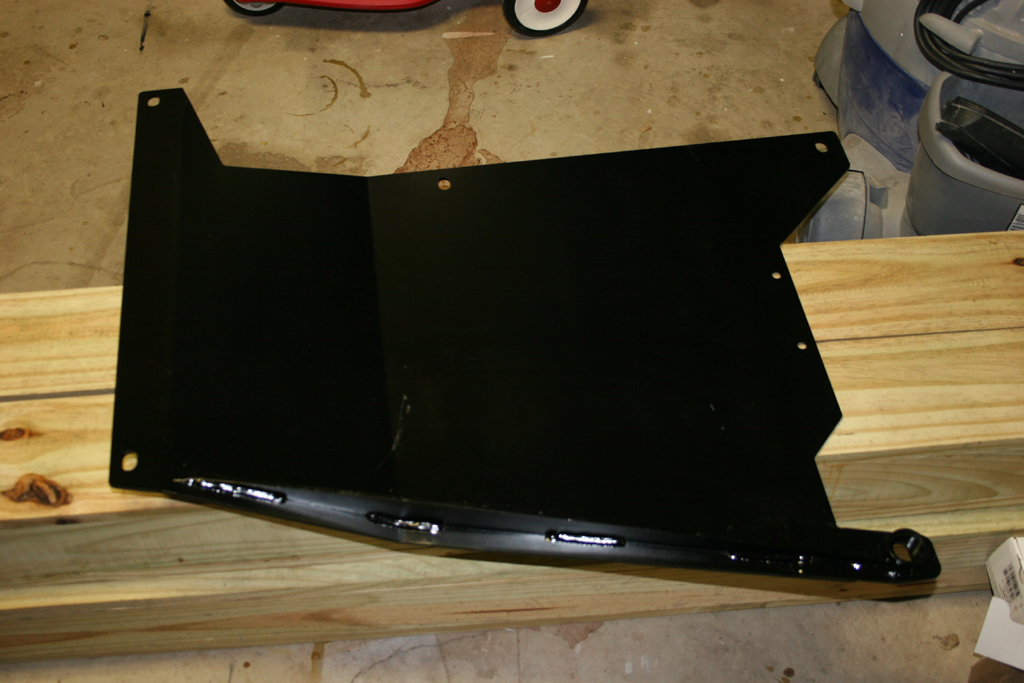
| Transmission Skid Installation: |
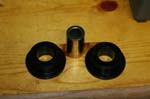
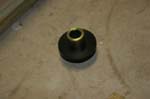
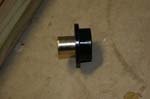
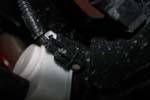
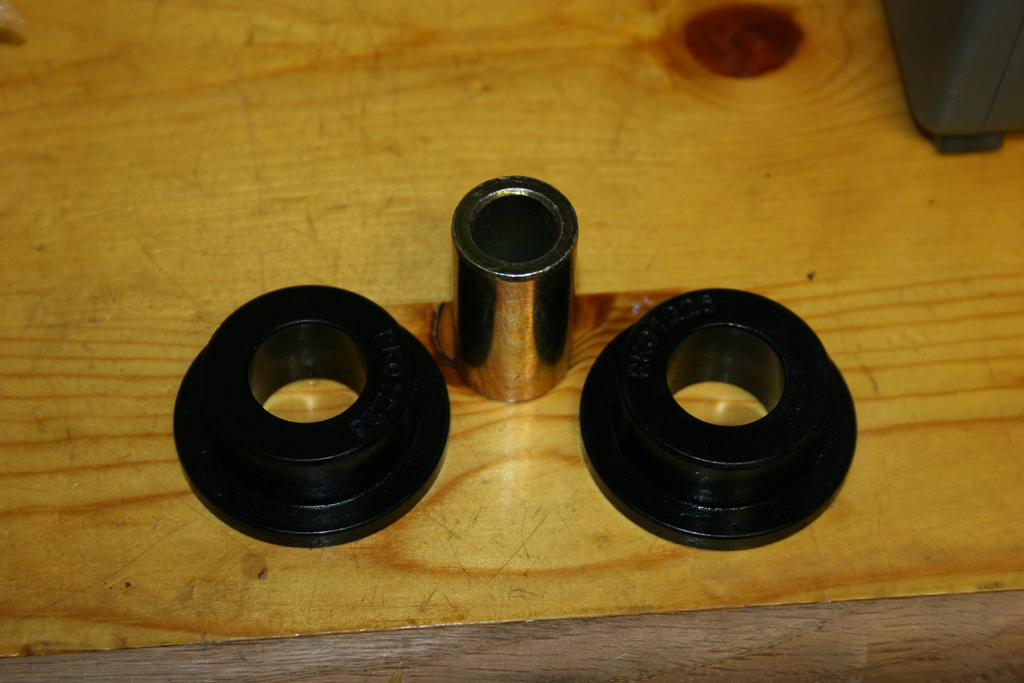
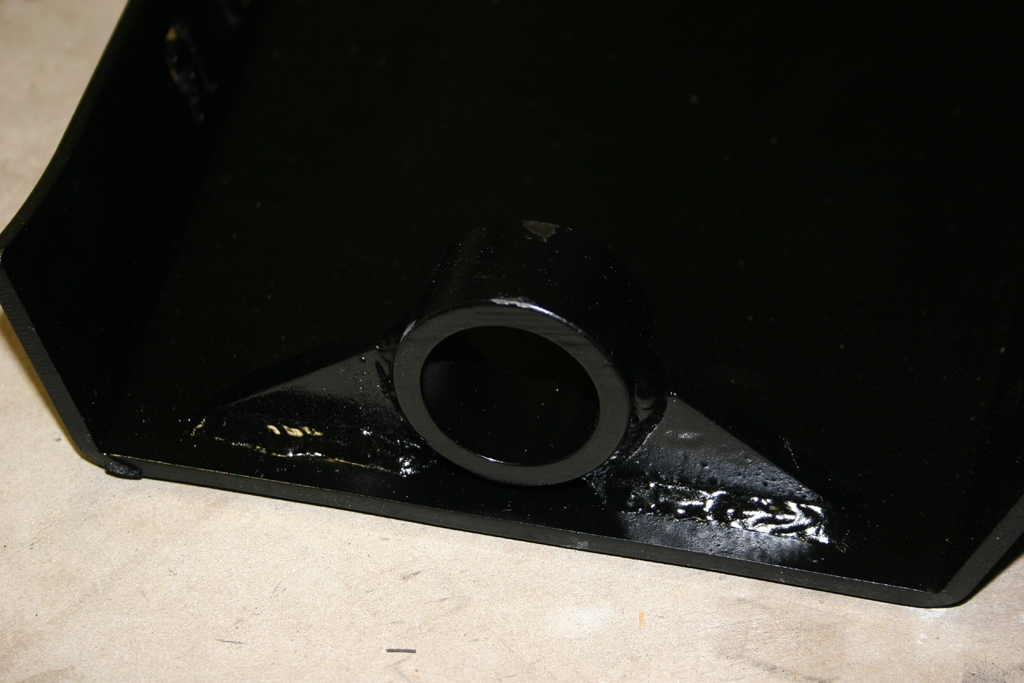
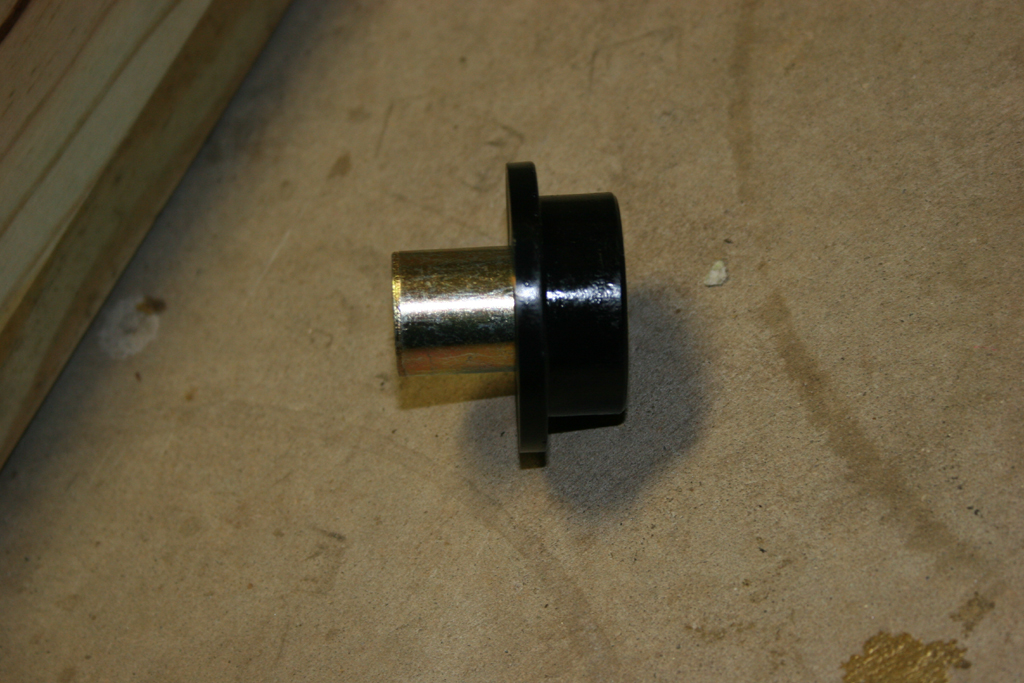
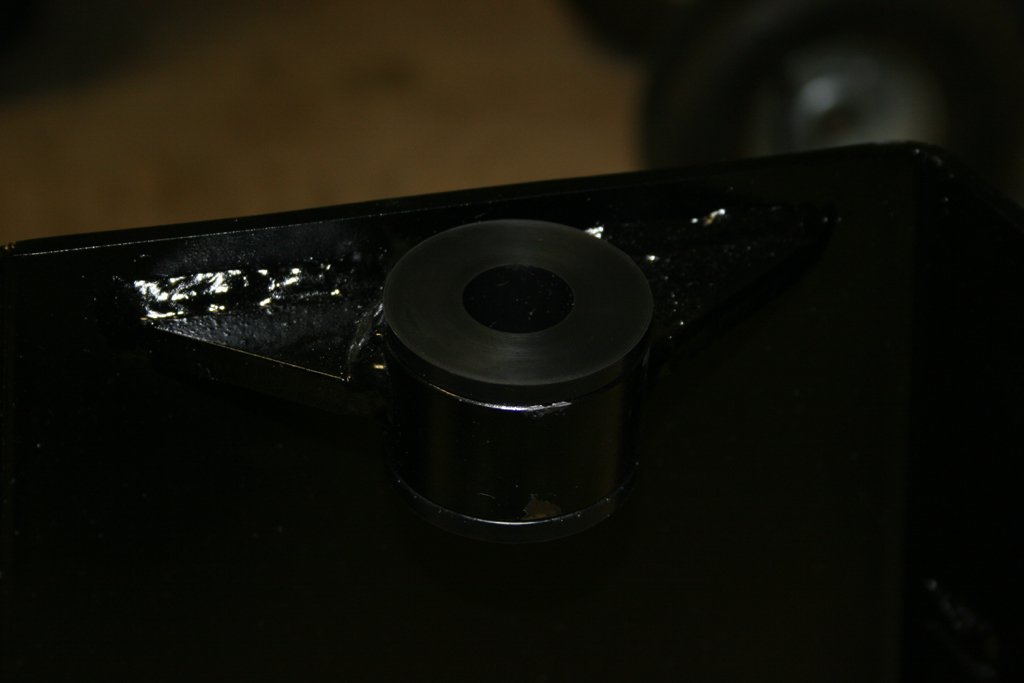
| 1. Install the bushing in the holder for the skid. This can be a real pain.I used some mineral oil to lubricate the brass insert and the inside of the polyurethane bushings. |
|
 |
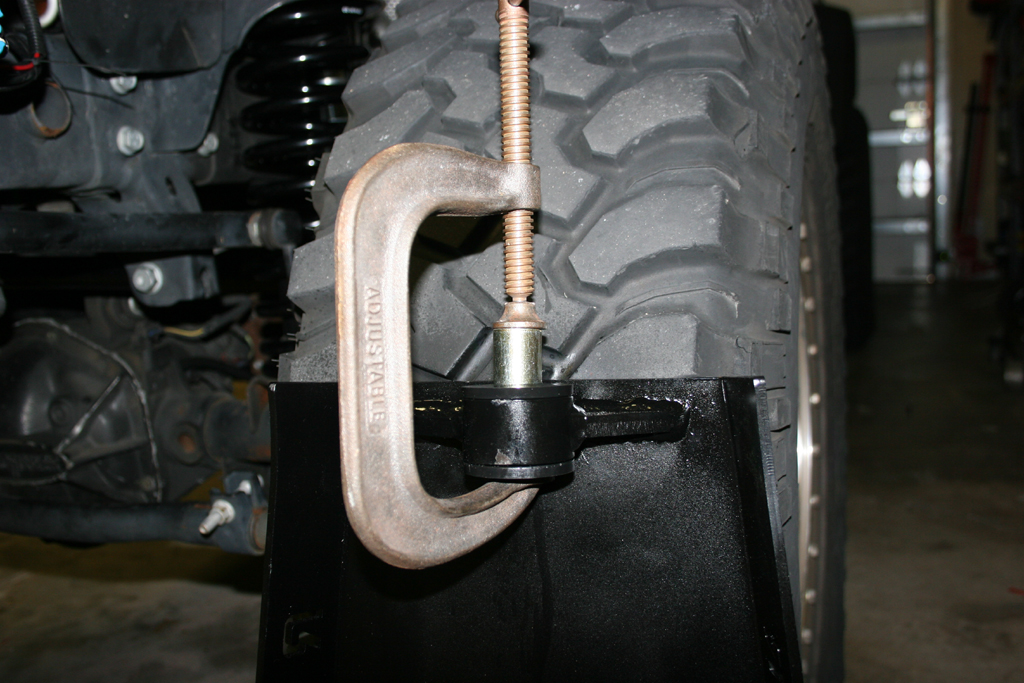
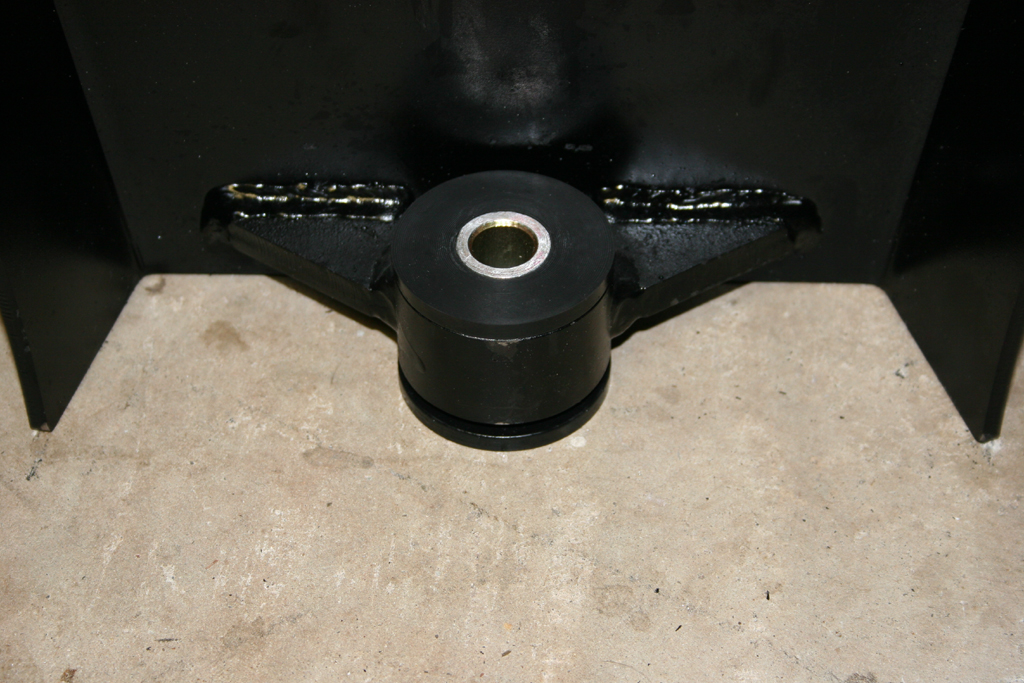
| 2. Press the brass insert into the polyurethane bushing with a C-clamp. I used a small piece of wood on the other side to spread the force on the bushing. This is probably the second hardest part of the whole install. It can be a real challenge to get it in. I found that if you get it started in one piece of the bushing and then install it in the skid it goes a little easier when you try to press it into the other half of the bushing. |
 |
 |
 |
 |
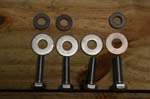
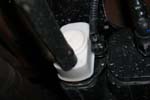
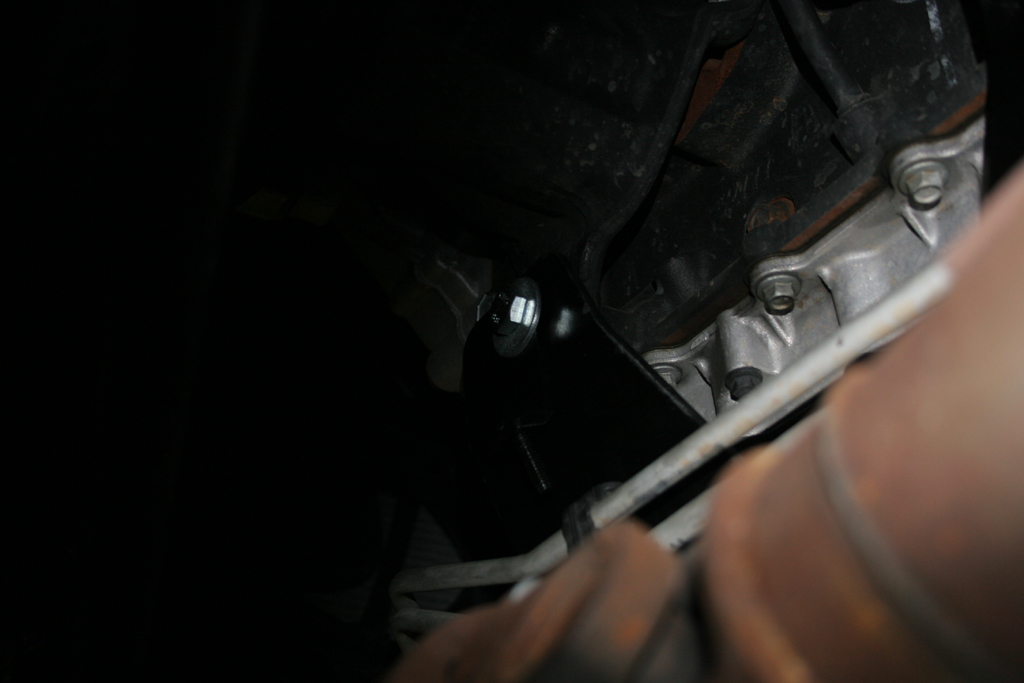
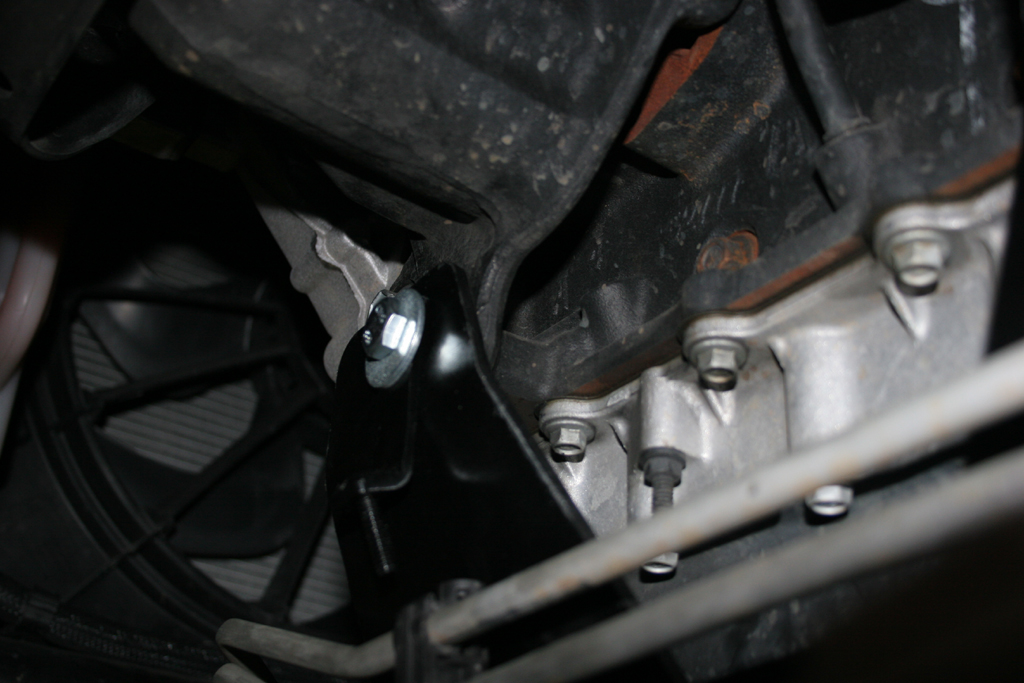
| 3. Lift the skid with a floor jack and align the bushing that you just installed with the tab at the end of the oil pan skid. Install the bolt, washers and nylock nut through the holes. Do not tighten down yet. |
 |
 |
 |
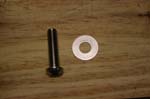
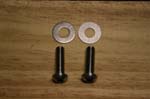
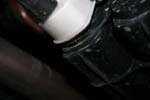
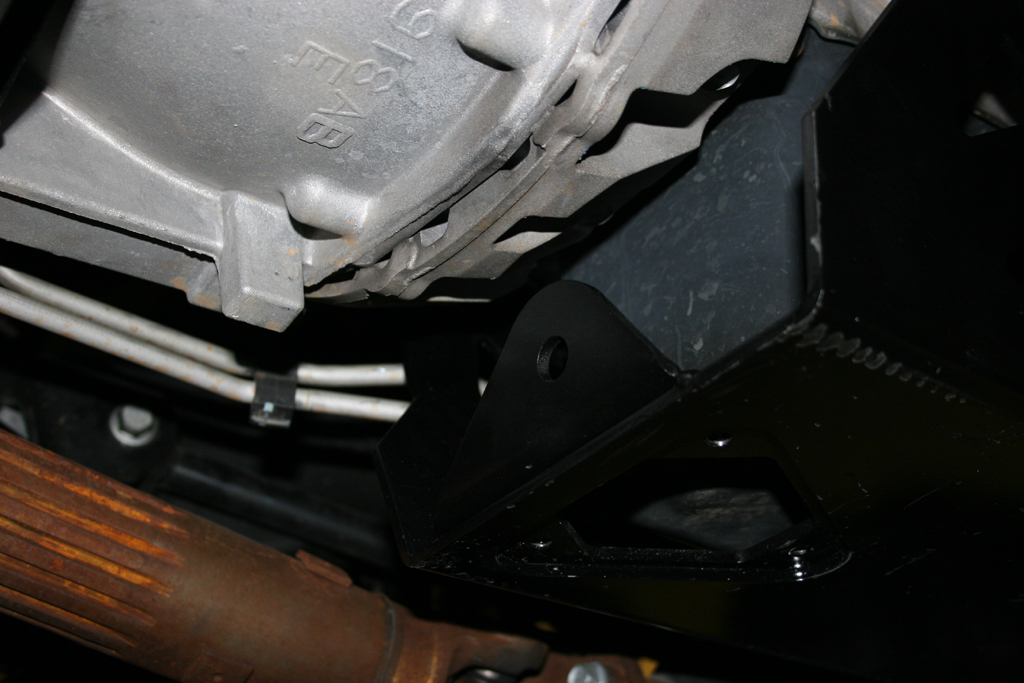
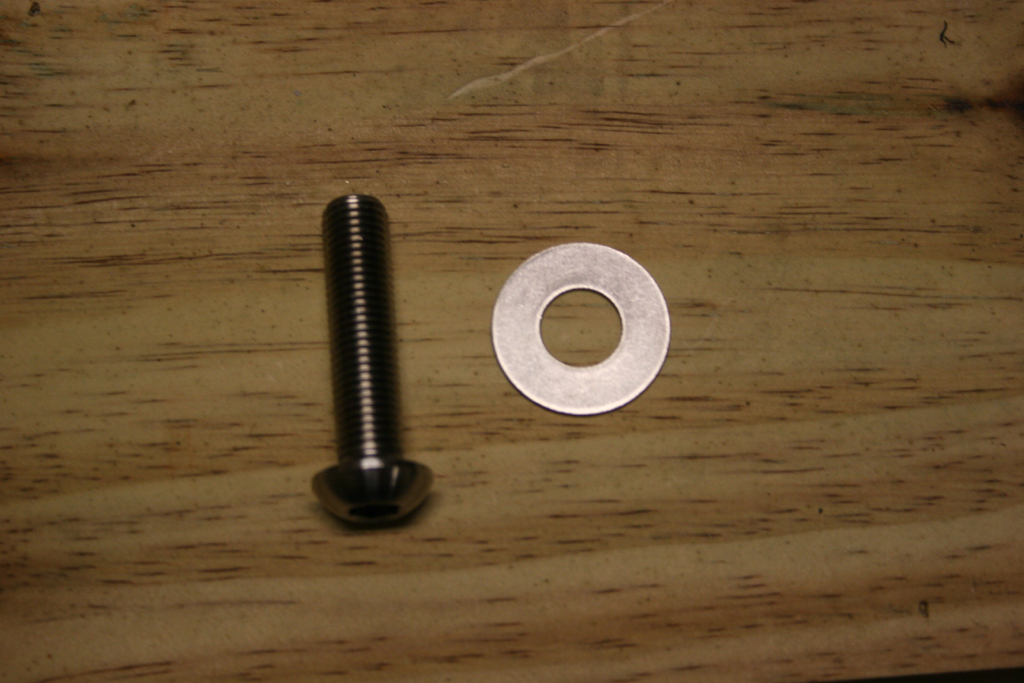
| 4. Install one provided allen head bolt and washer through the skid and into the factory hole on the driver side. |
 |
 |
| 5. Position the skid and drill a 1/2" hole for the provided bolt. Remove the allen head bolt from the driver side, lower the skid apply some paint to the hole you drilled. Don't forget to spray the inside through the little hole. |
 |
 |
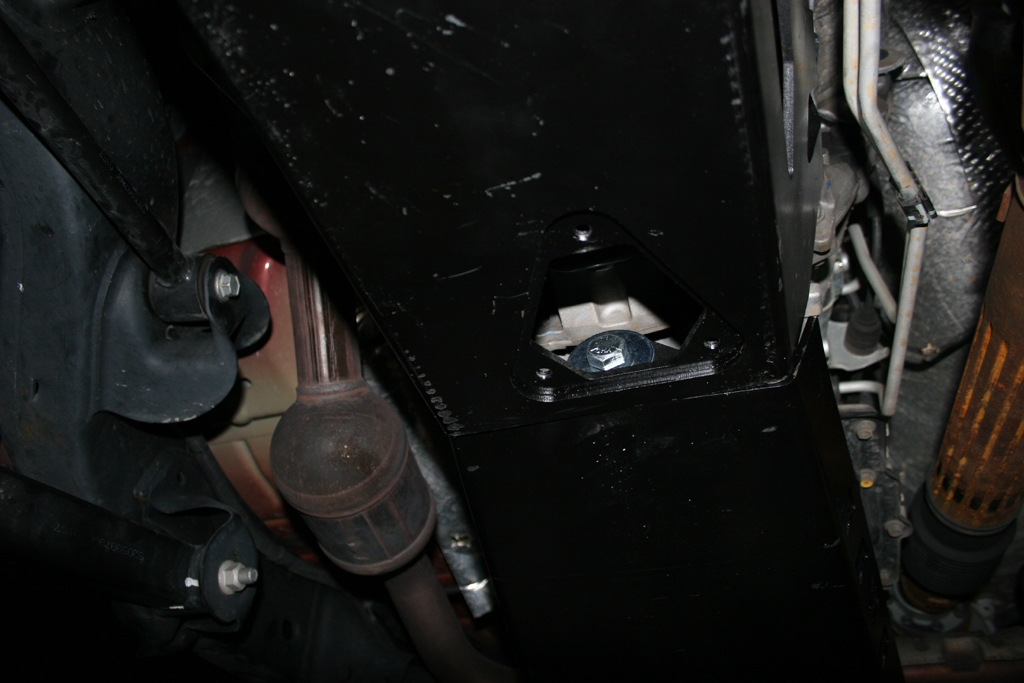
| 6. Insert one bolt and washer up through the skid and hole, place a washer, lockwasher and nut over the top. It's tricky working inside the little hole. Snug up all the bolts, but do not torque yet, you may need to shift the skid a little when you install the Transfer case skid. |
 |
 |
| |
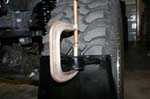
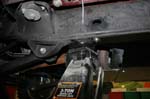
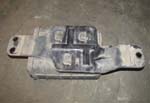
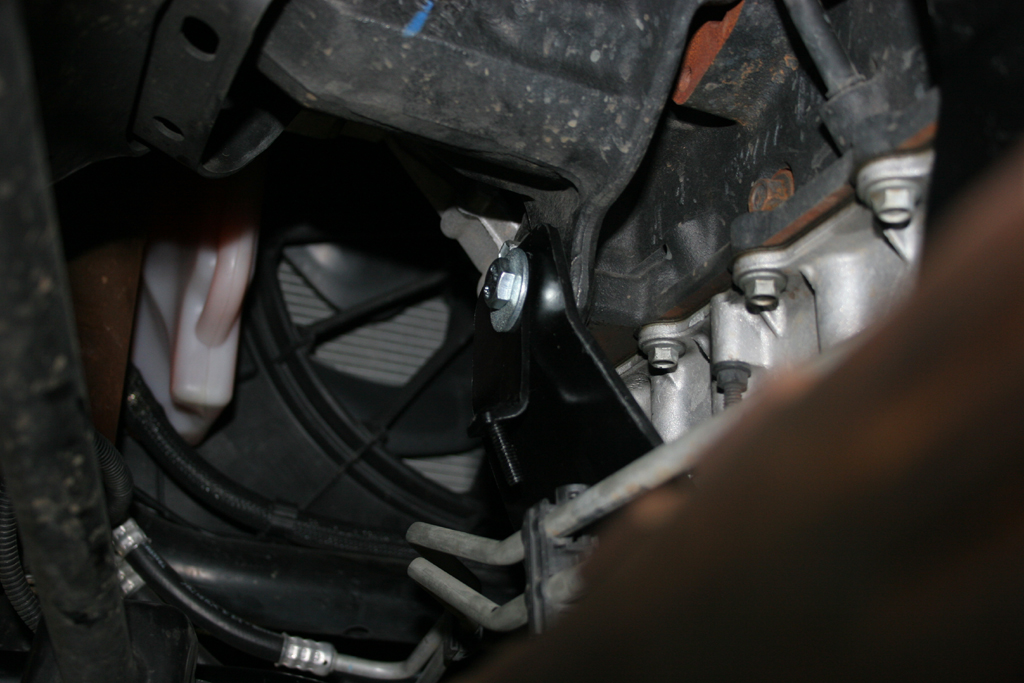
| Transfer Case Skid Installation: |
| 1. Lift the Transfer Case Skid into position and install the provided allen head bolts and washers into the stock locations. One about center on the front. |
|
 |
| 1a. Two in the rear. These will hold and position the skid in place. |
 |
 |
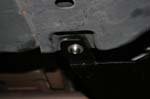 |
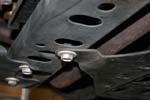
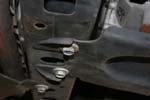
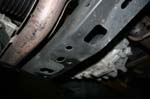
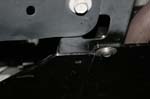
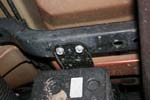
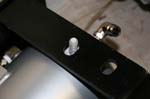
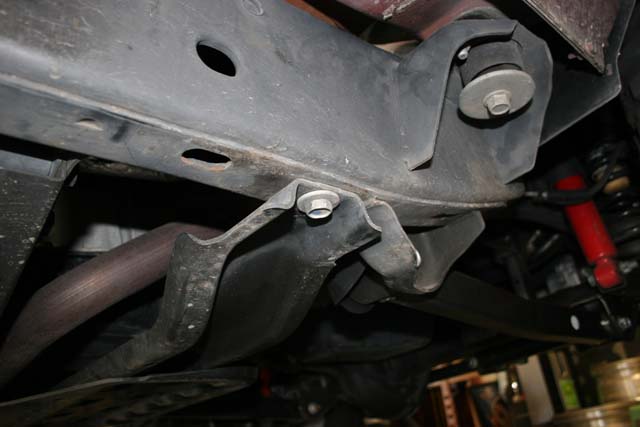
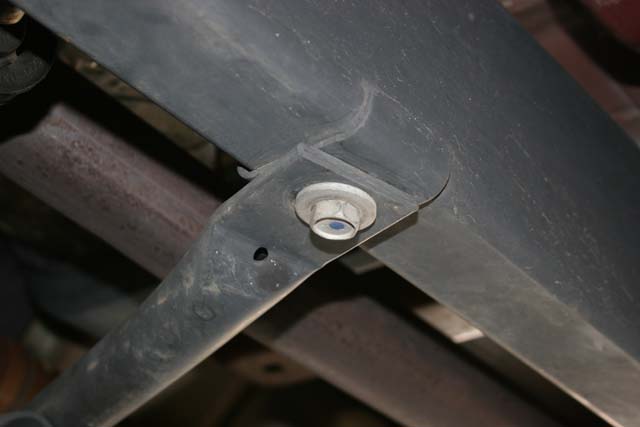
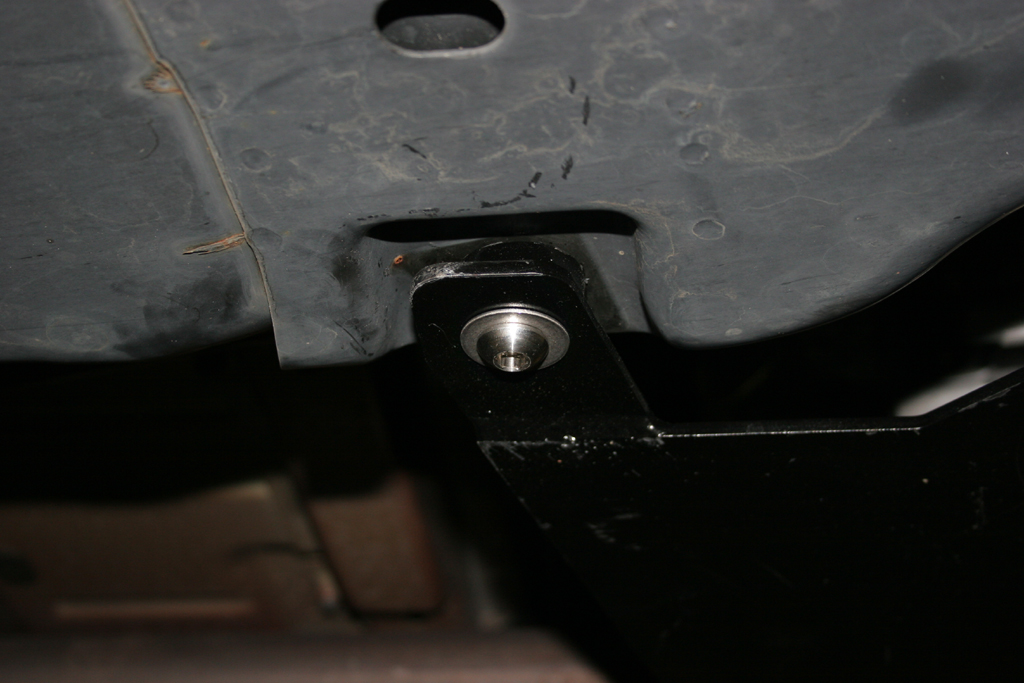
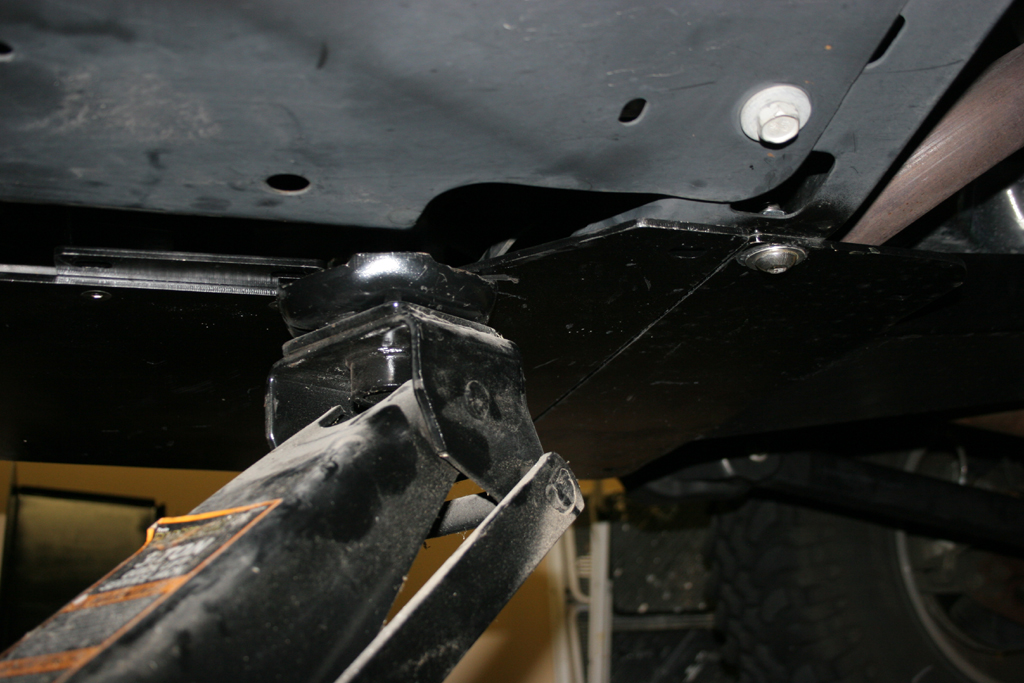
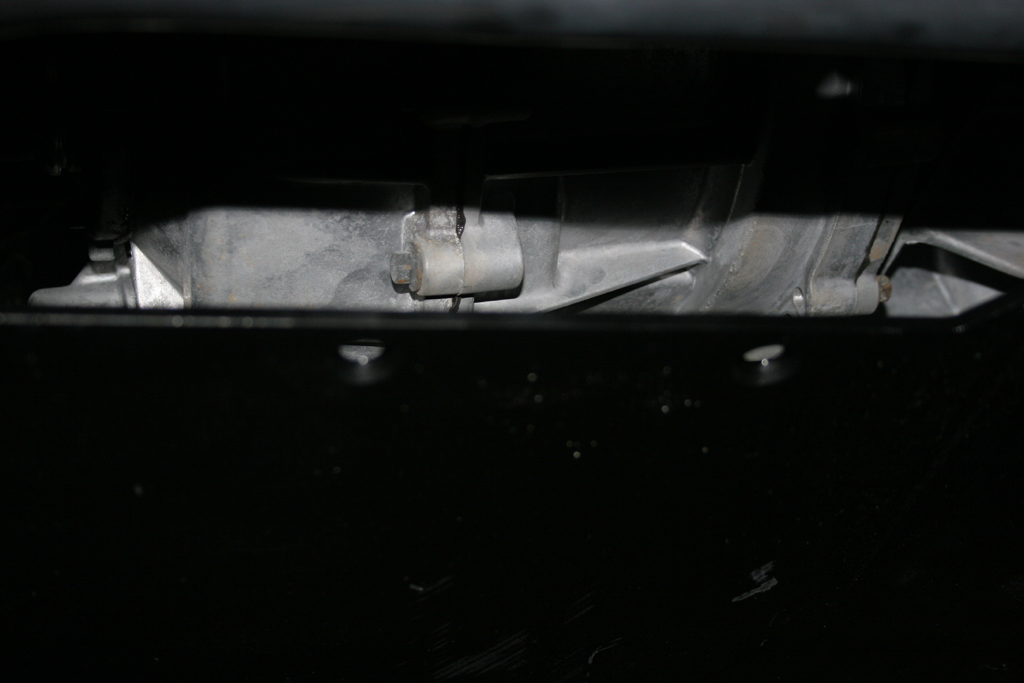
| 2. Check the driverside front hole on the skid, it should line up with the hole in the frame rail. |
 |
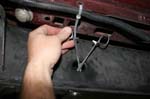
| 3. I used a floor jack to hold the skid up and in position. Insert one bolt and washer up through the skid, install a washer, lockwasher and nut over the top. This can be a real pain. This is probably the hardest part to do on the skid install.I used a pair of hemostats to hold the nut in place while I tightened up the bolt. I played fish the nut, out of the frame a few times. If I did this again I would tack weld a piece of thin metal to the nut or to the top of the bolt so I could slide everything down to get it started and not lose stuff. |
 |
 |
 |
 |
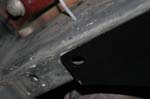
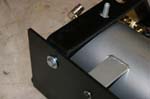
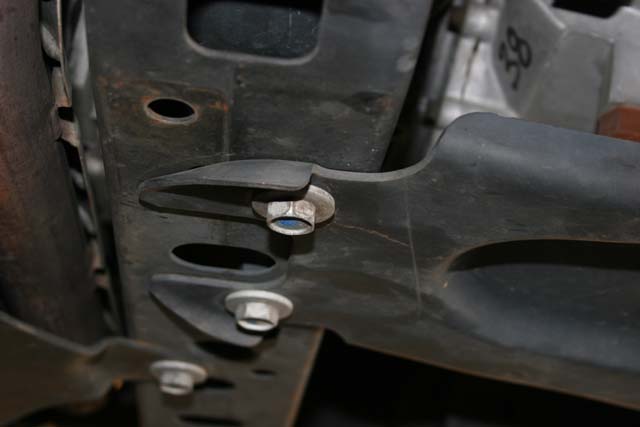
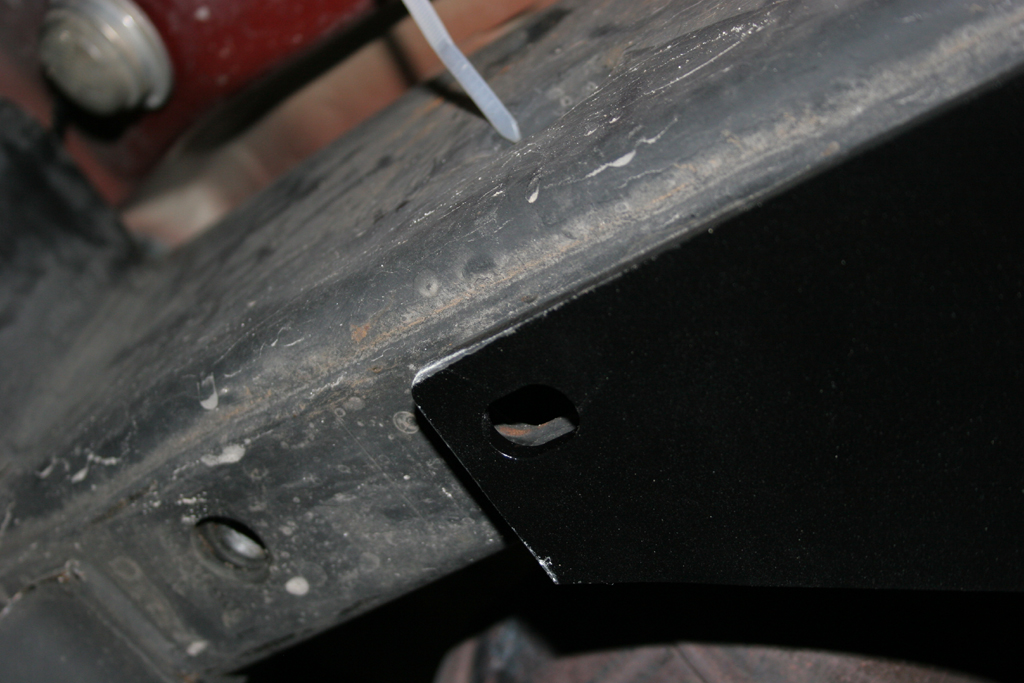
| 4. On the Passenger side I used a floor jack to hold the skid up and in position. Drill a 1/2" hole for the provided bolt. Remove the allen head bolt from the center front and passenger rear, lower the skid apply some paint to the hole you drilled. Don't forget to spray the inside through the little hole. As you can see not much room to get your fingers or tools inside. |
 |
 |
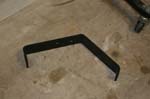
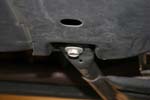
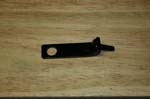
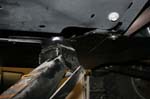
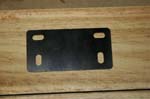
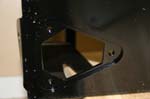
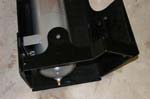
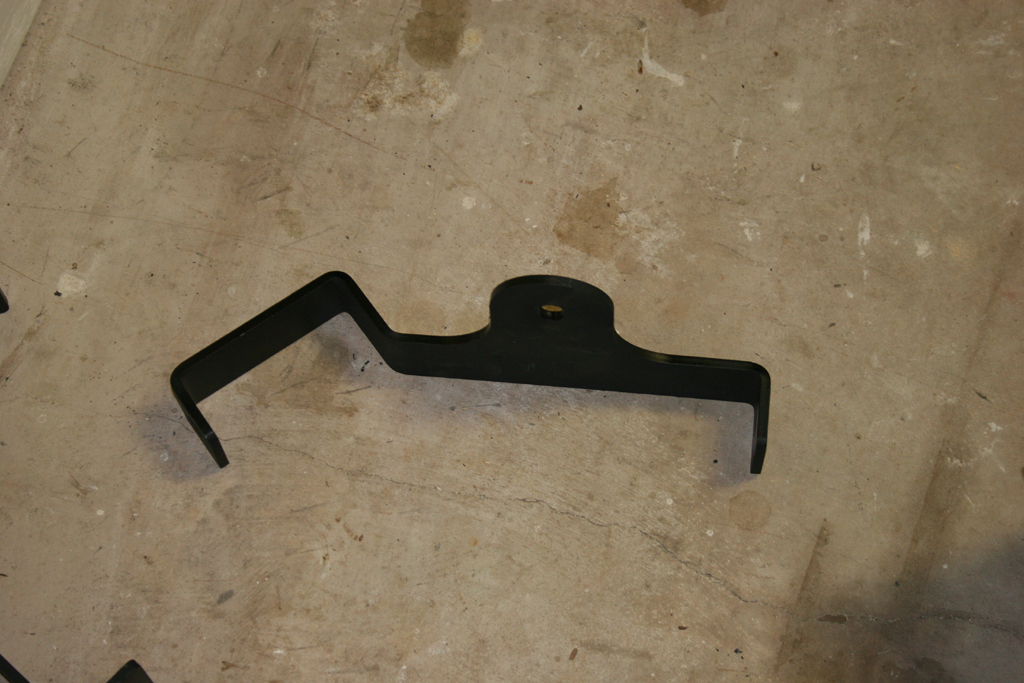
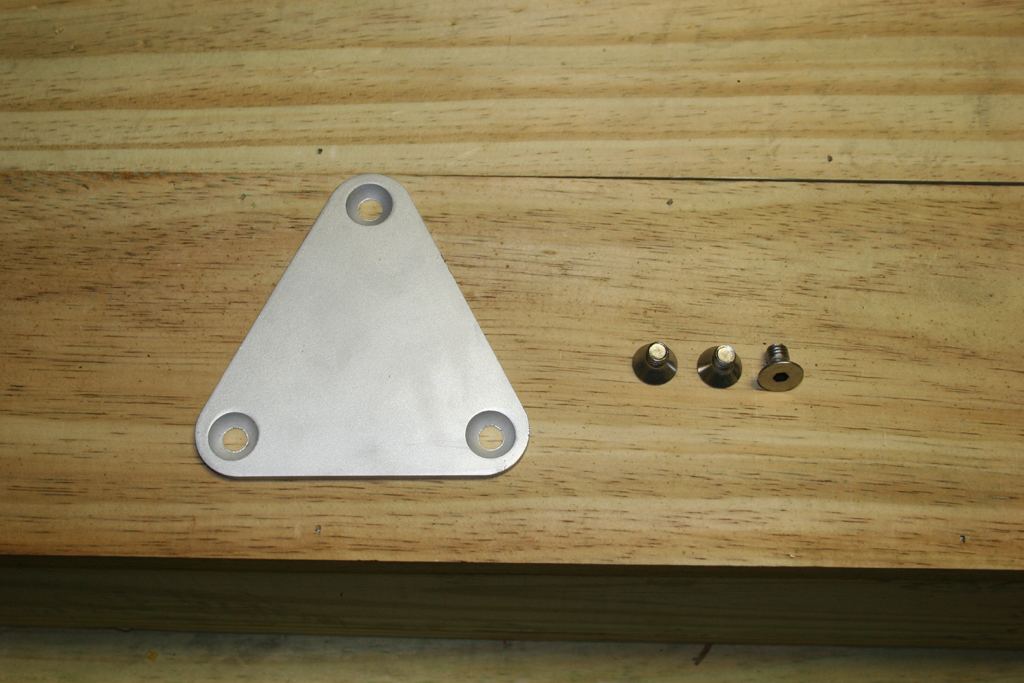
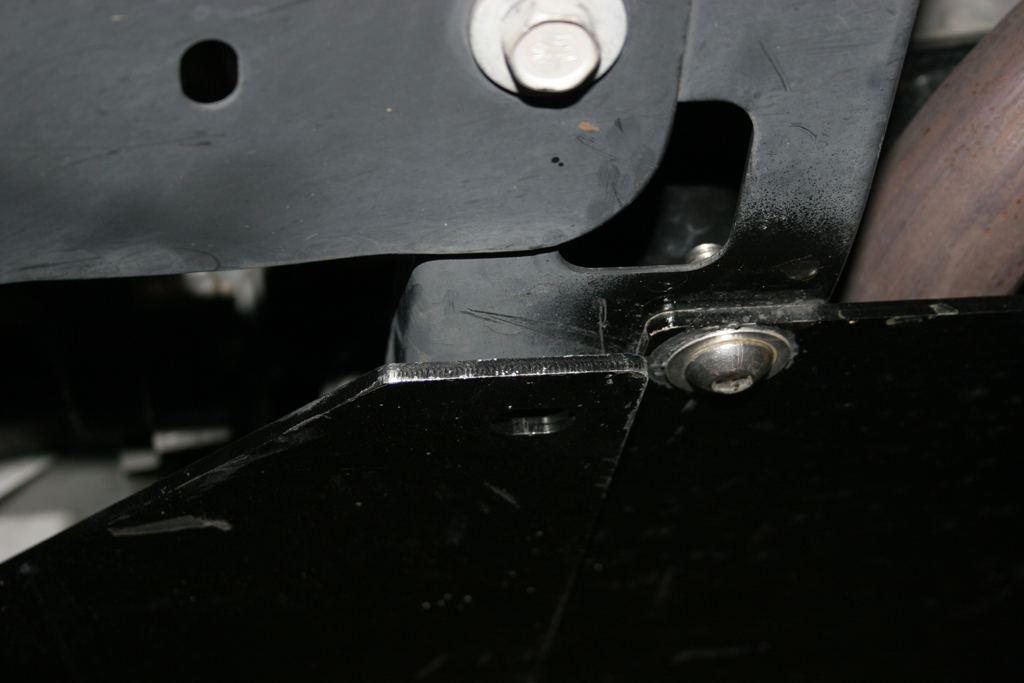
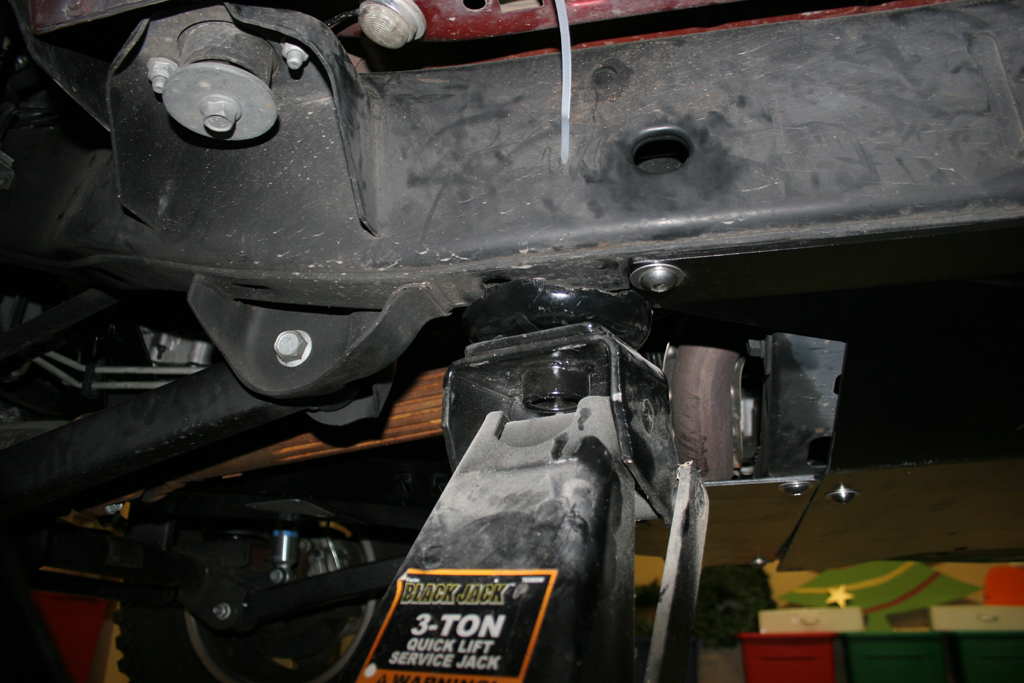
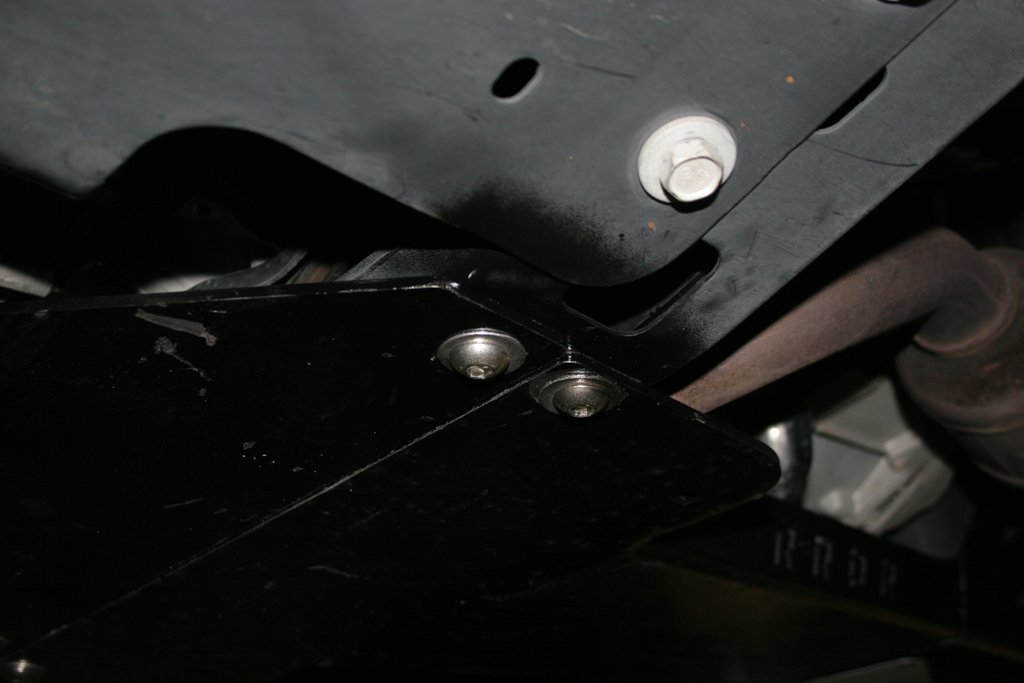
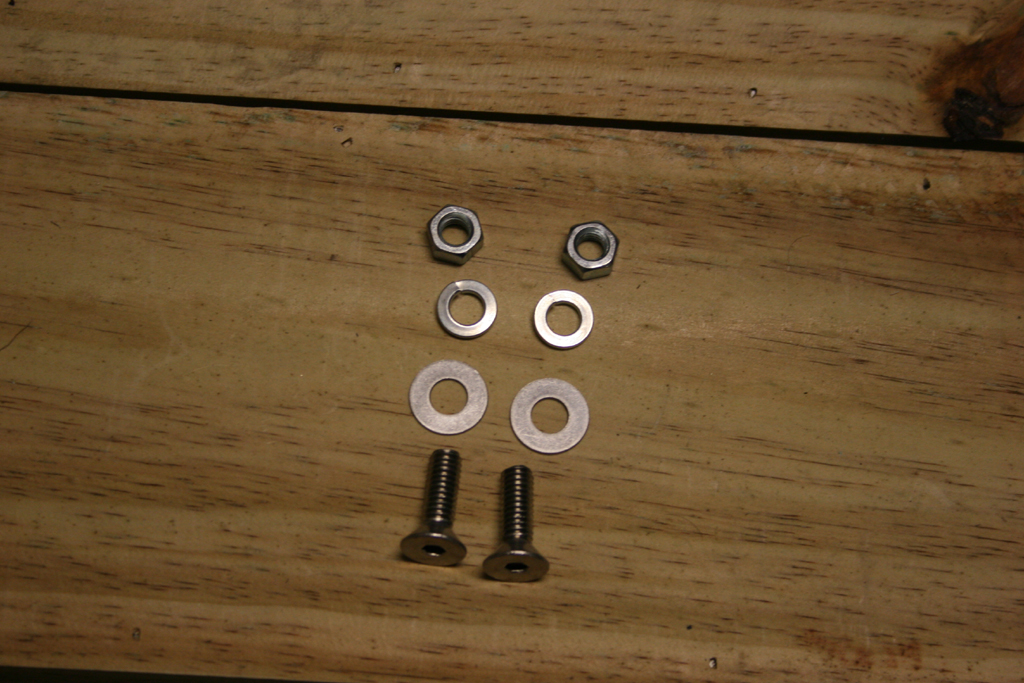
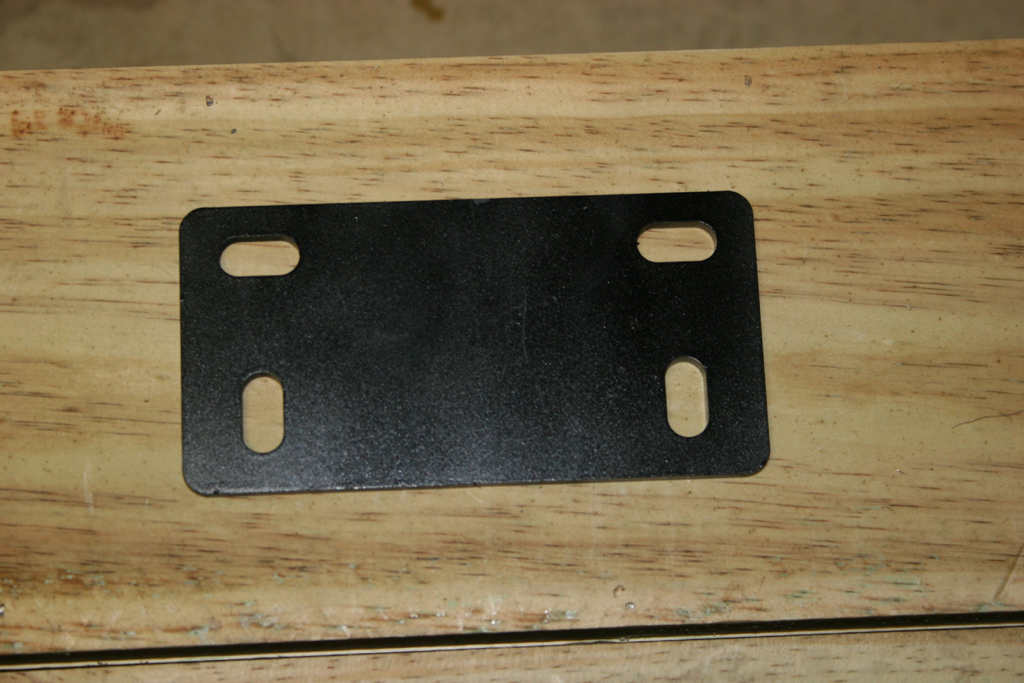
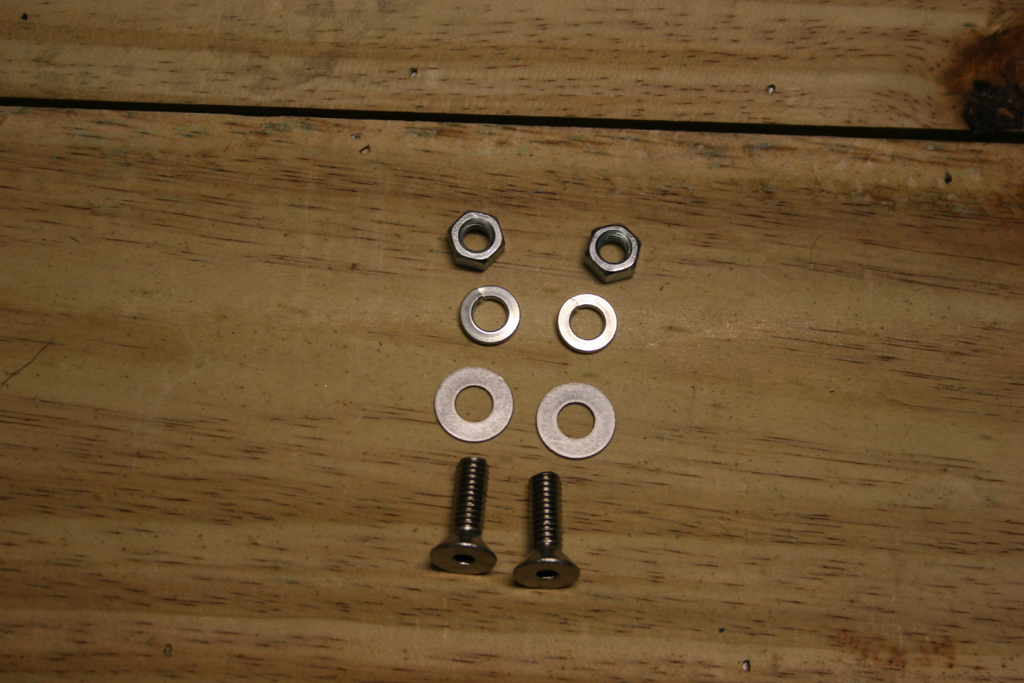
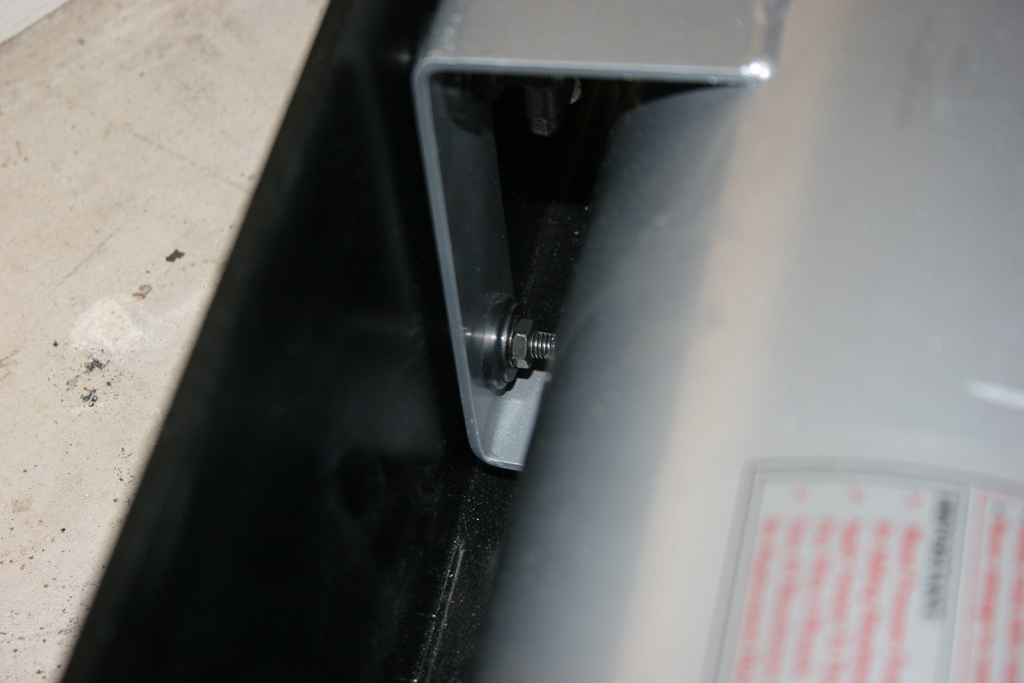
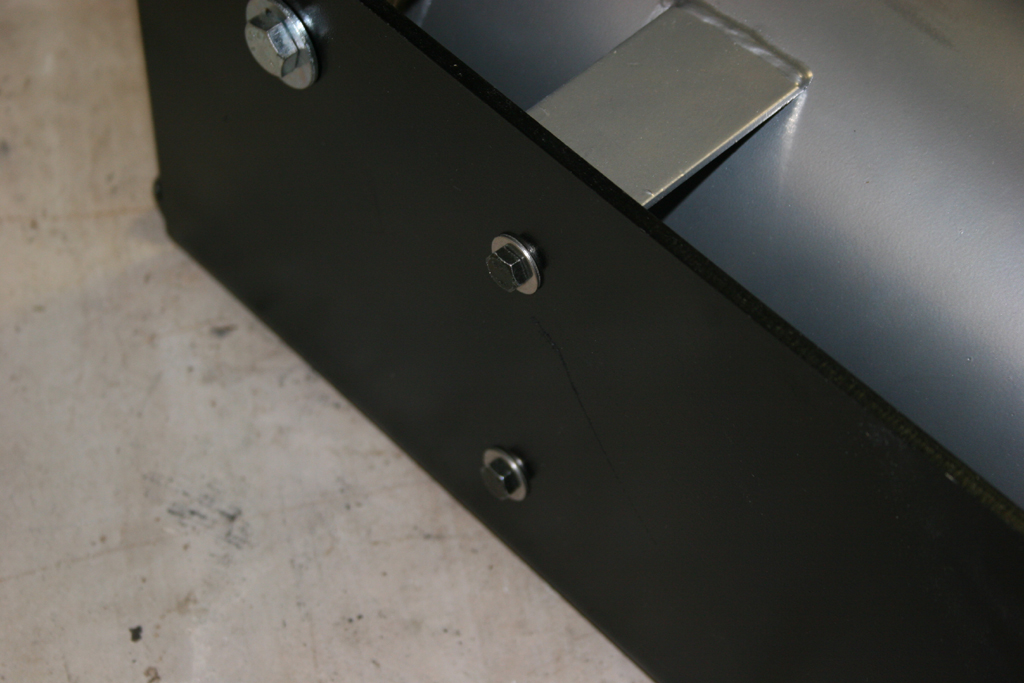
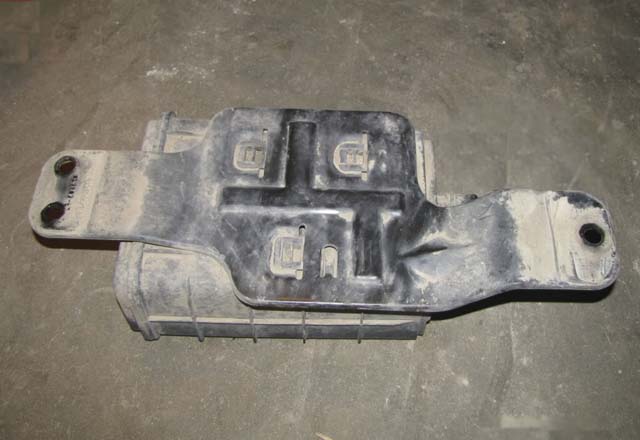
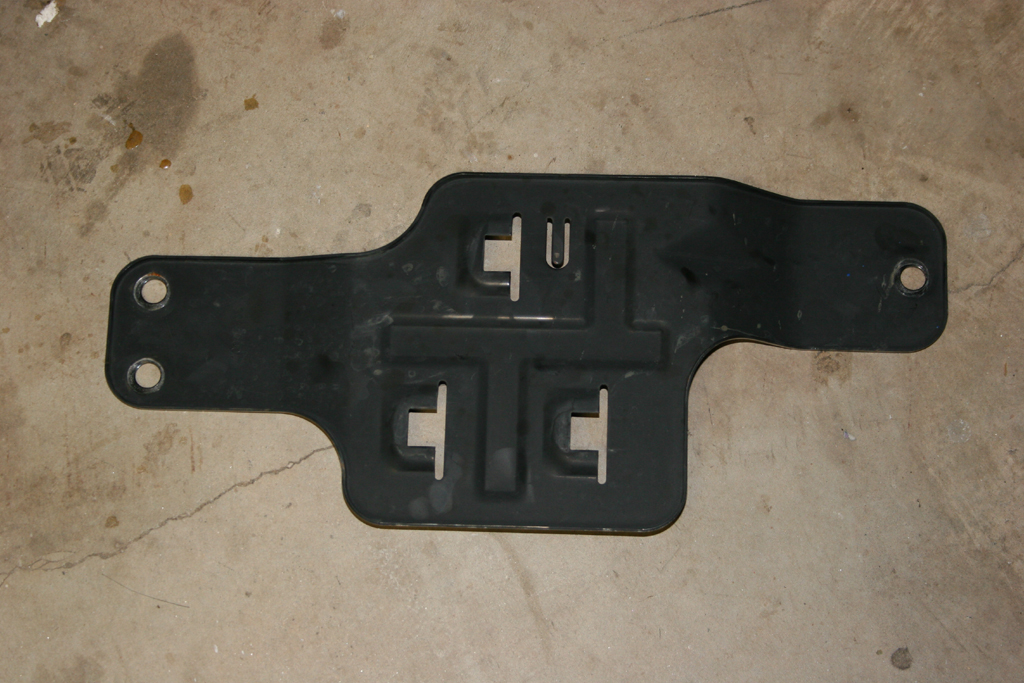
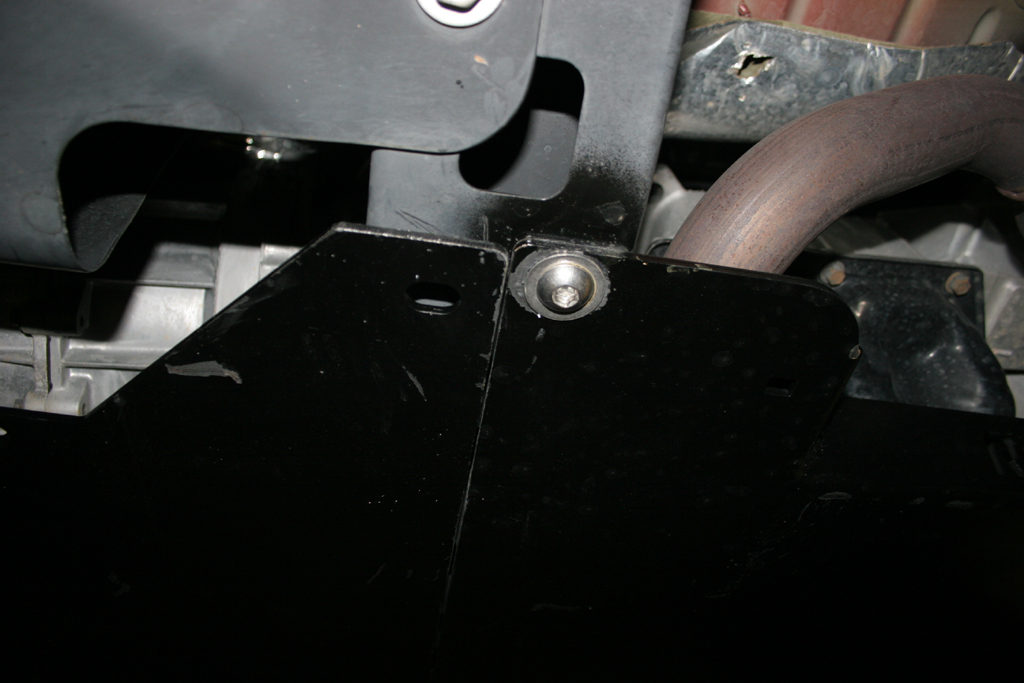
5. Install the Transfer Case Skid to Gas Tank Skid bracket.
Note: It doesn't matter which way you install the bracket. Place the bracket above the Transfer case skid plate and install the two screws, washers, lockwashers and nuts. Snug them up since you will need at align the other slots in the bracket with the gas tank skid later. |
 |
 |
 |
 |
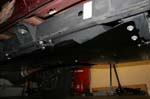
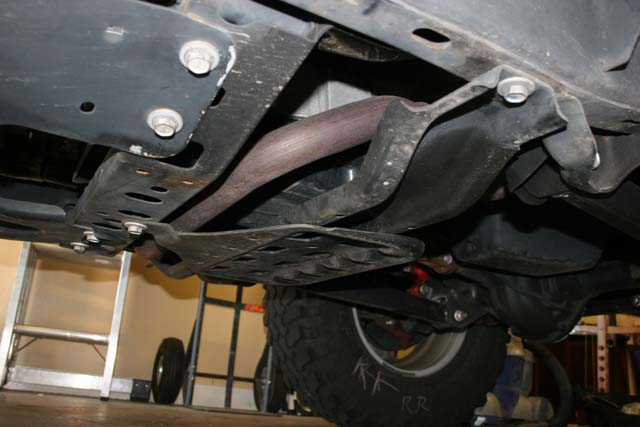
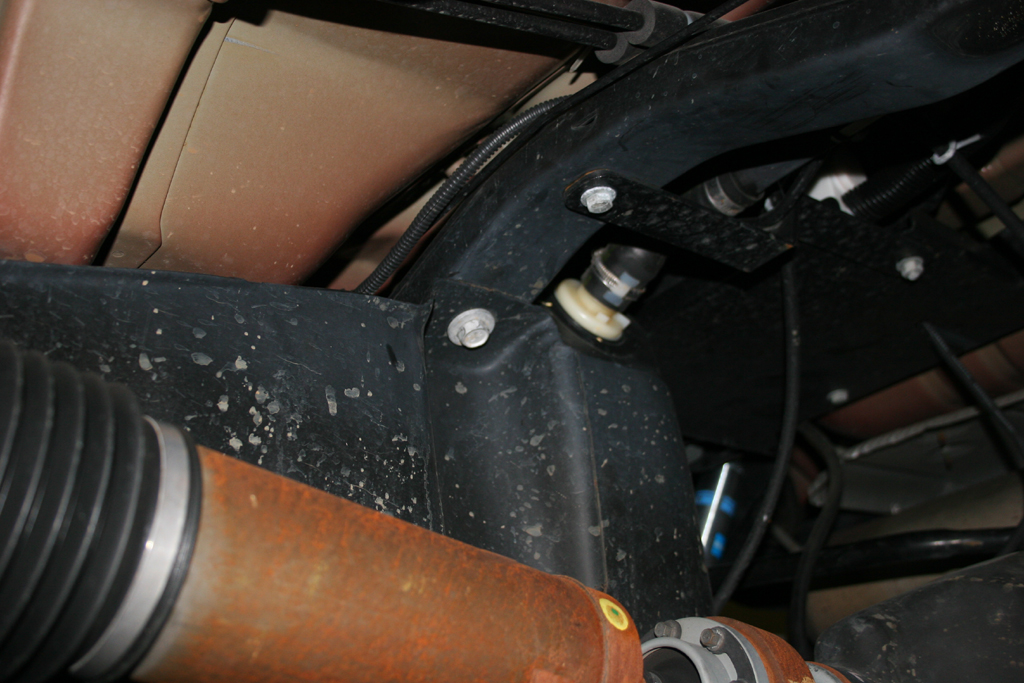
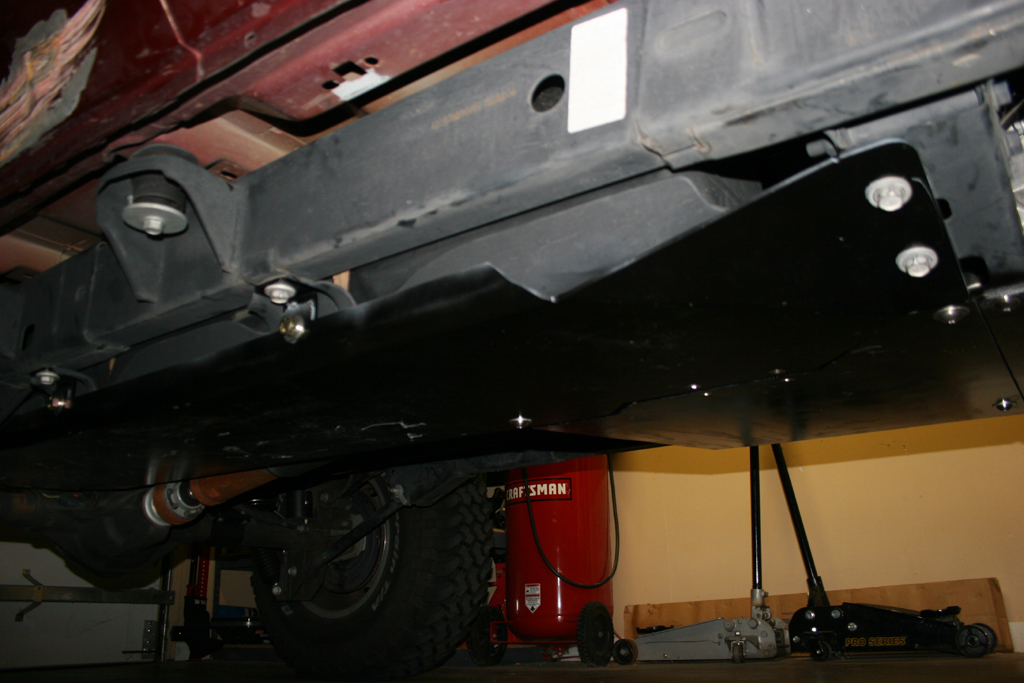
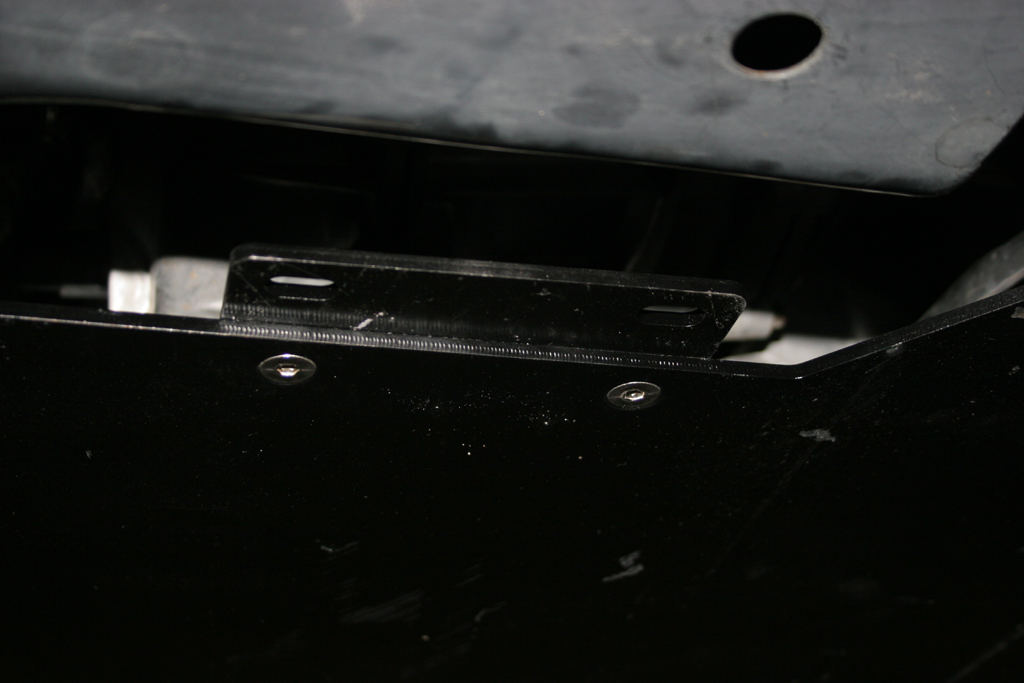
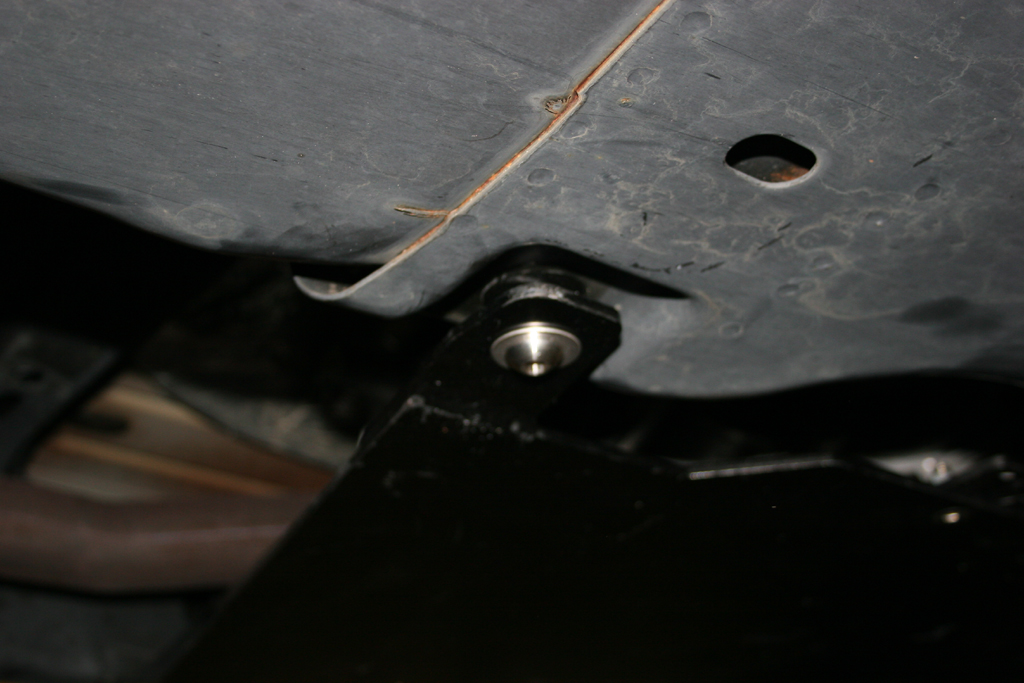
| 6. Now go back and tighten up all the bolts on the Oil Pan skid, Transmission skid and Transfer Case skid. Make sure you get the bolt joining the Oil Pan skid to the Transmission skid tight. My nut came off and I lost part of the bushing and all the hardware. Not fun to try and reinstall with the skid plate hanging under the Jeep. |
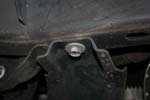
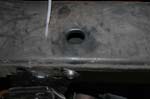
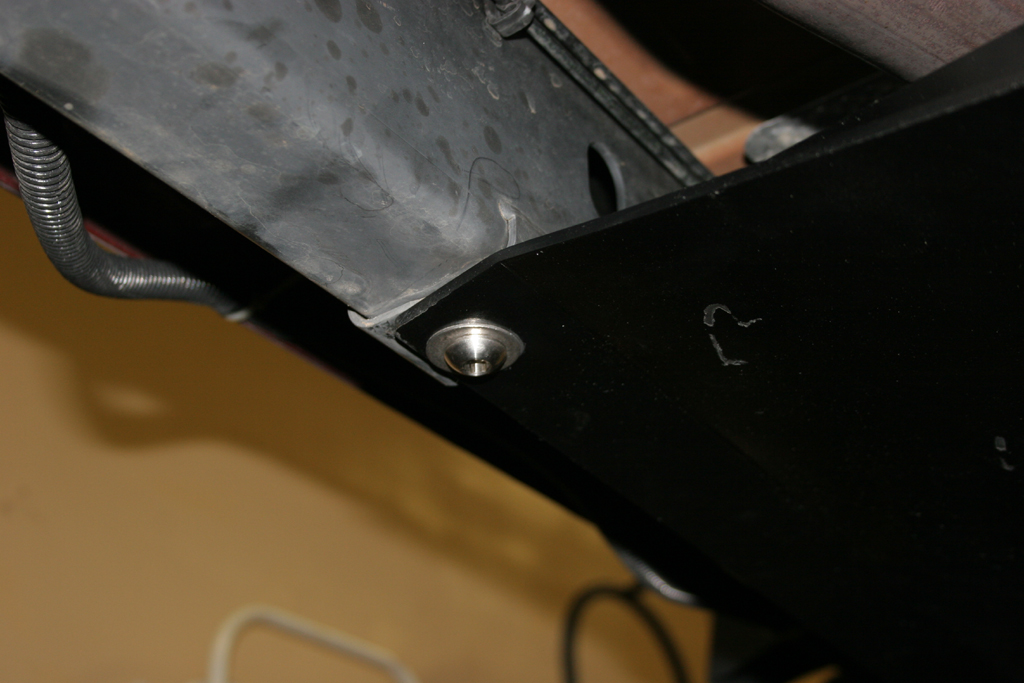
| 7. Install the oil drain cover. Align the plate and screw in the 3 flush mount screws. |
|
 |
| |
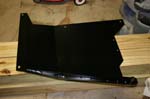
| Gas Tank Skid Installation: |
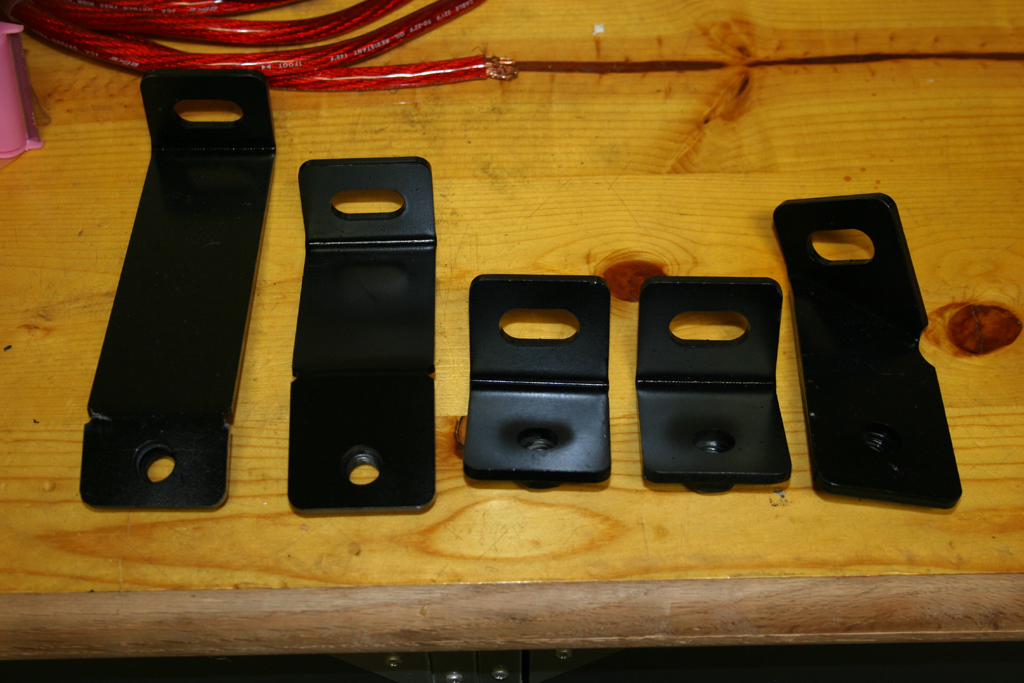
| Difference between the 2 door and the 4 door gas tank brackets. |
2 Door |
4 Door |
| Note: You may need to trim out small notches in the factory gas tank skid below the two (2) outside middle gas tank bolts. Test fit the skid to see if you need to do that. I had one set of skids that I did, and one that I didn't. |
Outside Middle Front |
Outside Middle Rear |
| 1. Remove the gas tank bolts and install the drop down brackets one at a time on the gas tank. For the 4 door the two short brackets go (pointed inwards) on the outer middle mount points. The bent brackets goes in on the rear outside mount point and the two longer brackets on on the inner side of the gas tank (shorter one to the front). Do not retorque the bolts, just snug them up, you will need to position the brackets when you mount the skid. |
Outside Middle Front |
Outside Middle Rear |
Outside Rear |

Inner Front |

Inner Rear |
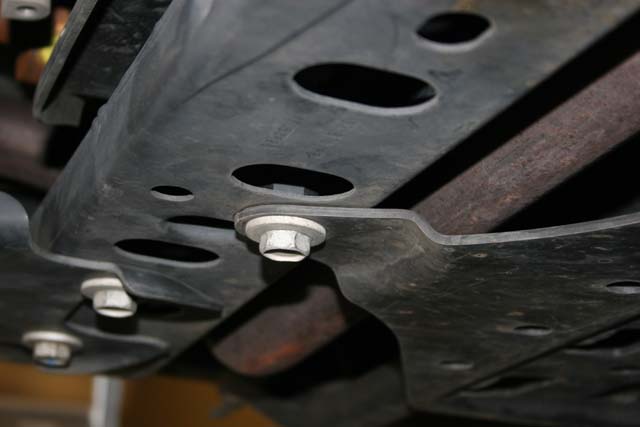
| 2. Remove the two (2) front bolts holding the stock skid on. |
 |
| 3. Lift the Gas Tank Skid with a floor jack and position it over the brackets. Install the bolts connecting the skid plate to the installed brackets. I found that if you start at the outside rear bracket, then reinstall the two (2) factory bolts in the front before you do the rest of the brackets gives you a little more support and the ability to get the floor jack out of your way. Snug up the bolts. |
 |
| 4. Install the bolts in the Transfer Case Skid to Gas Tank Skid bracket. |
 |
| 5. Now tighten up all the bolts from front to rear.. |
| |
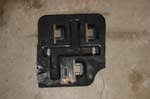
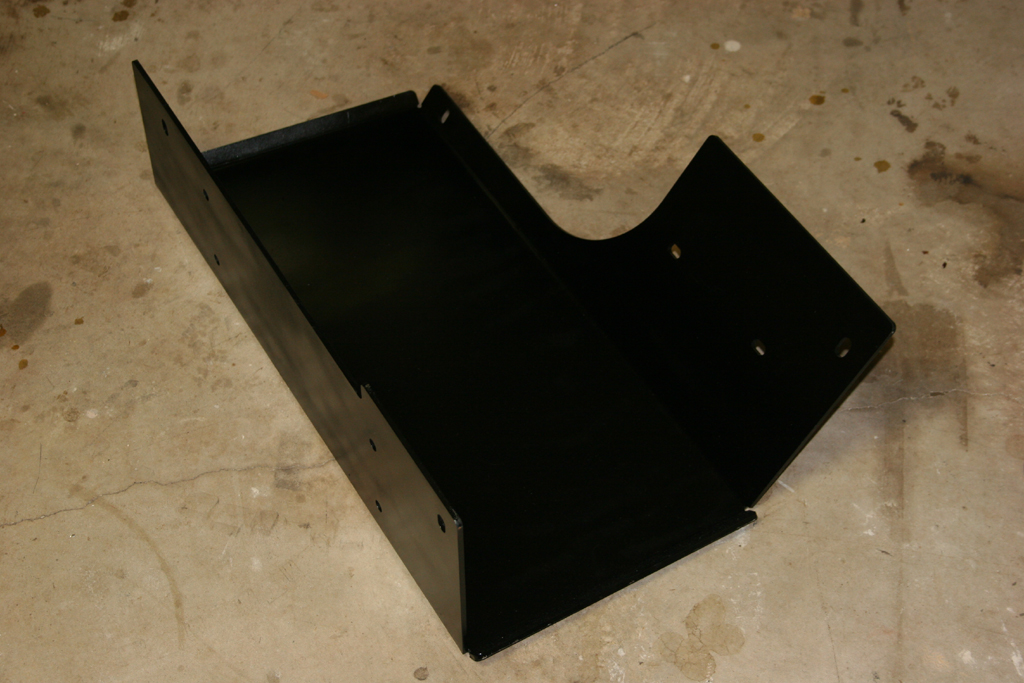
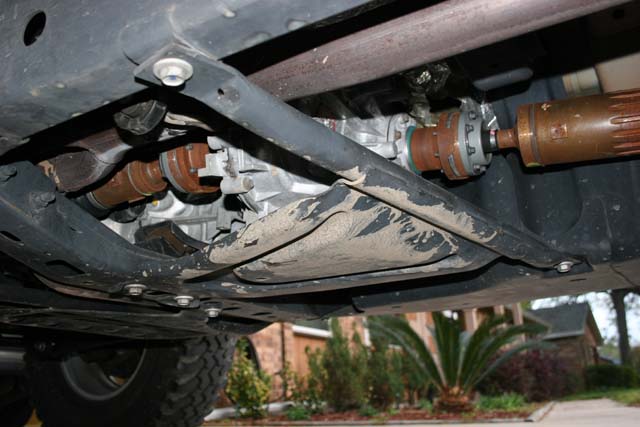
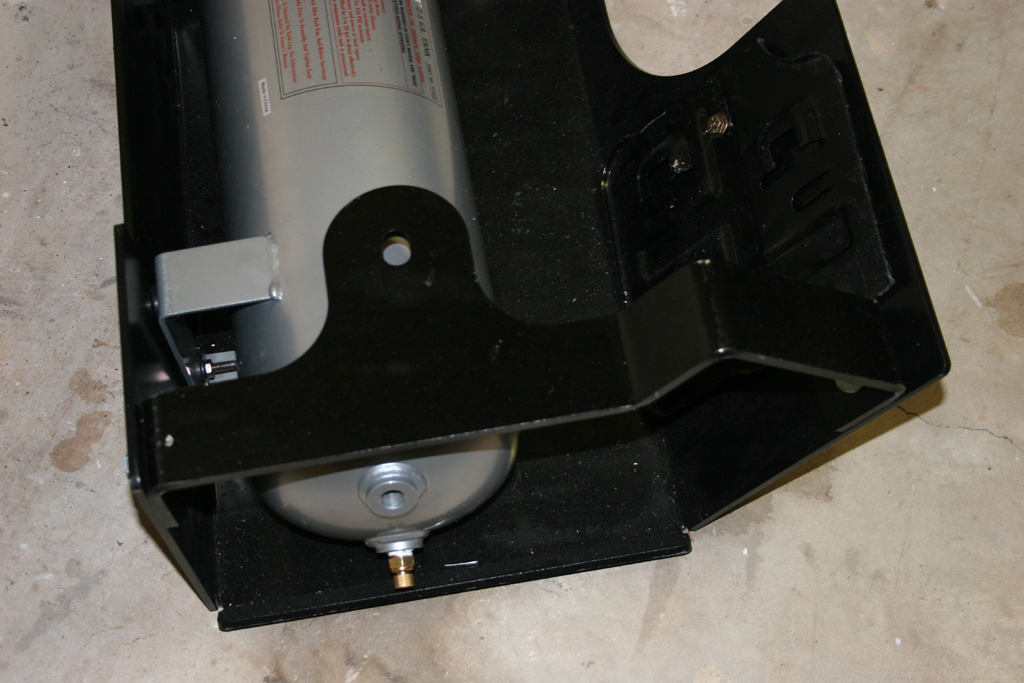
| Evap and Air Tank Skid Installation: (You need a 2" lift or greater to install this, otherwise your driveshaft will be damaged by the skid.) |
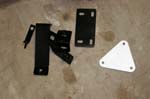
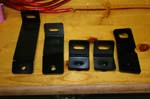
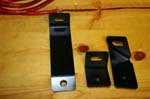
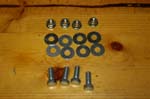
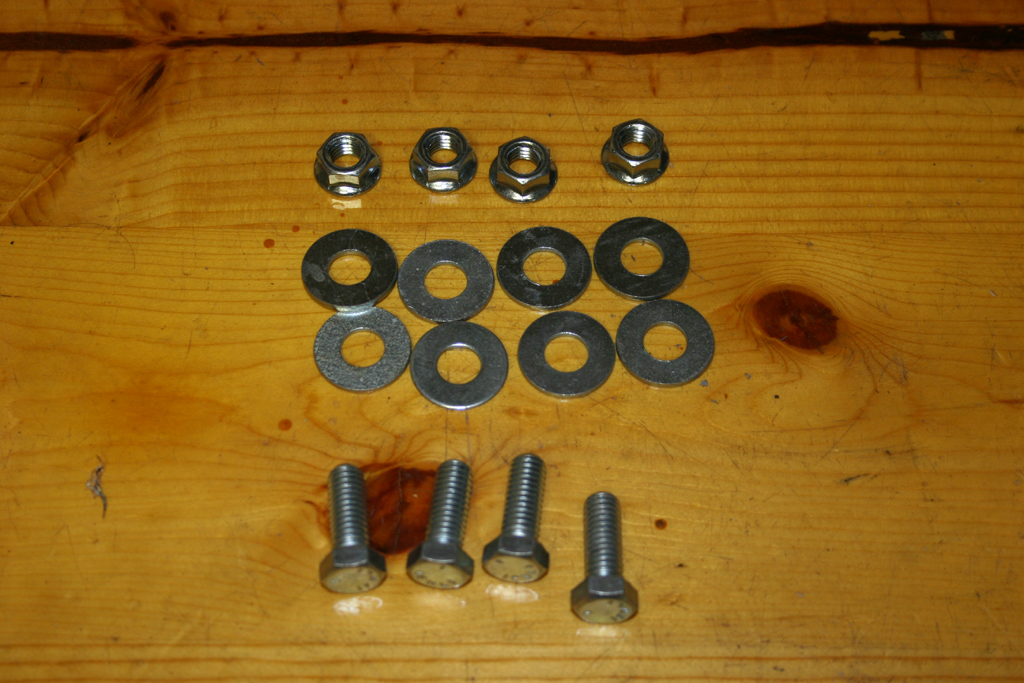
| The Parts: |
 |
|
|
|
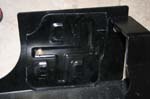
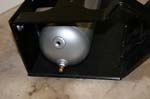
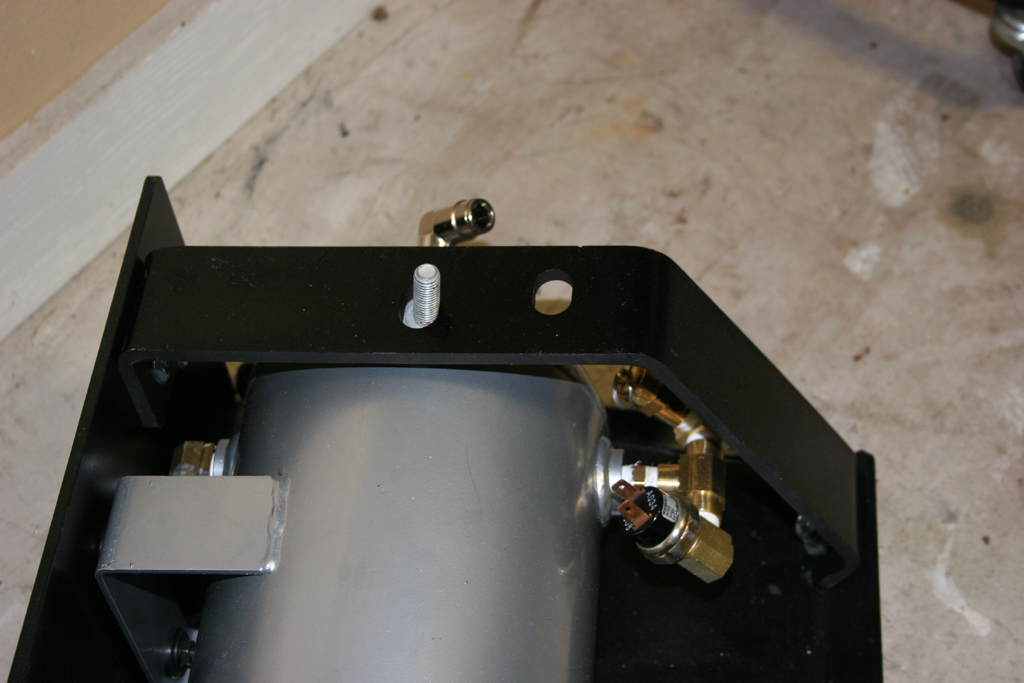
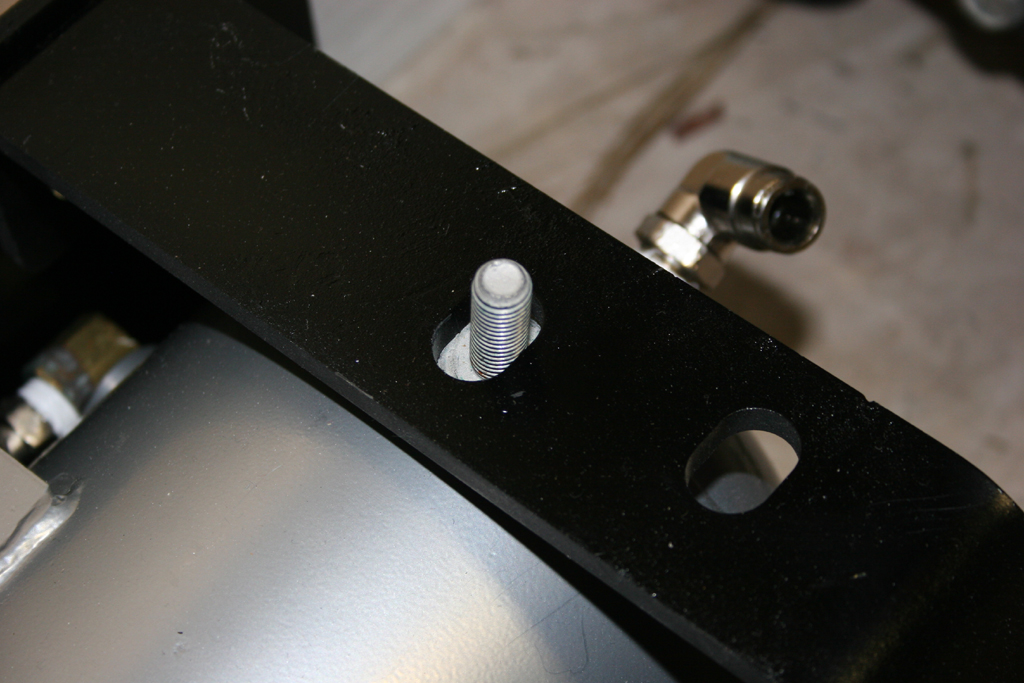
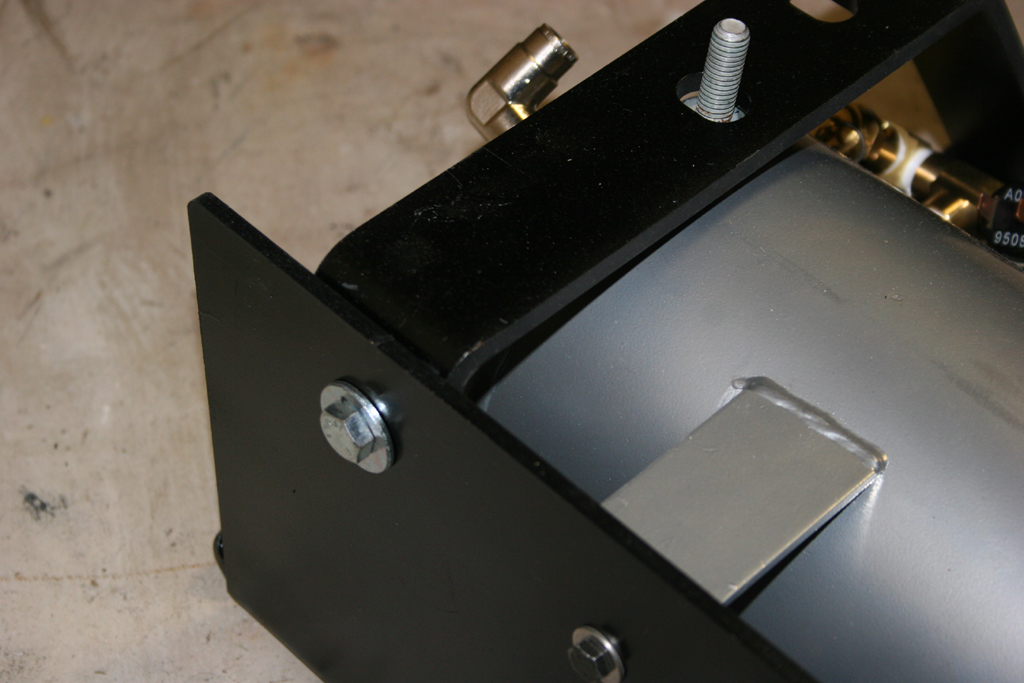
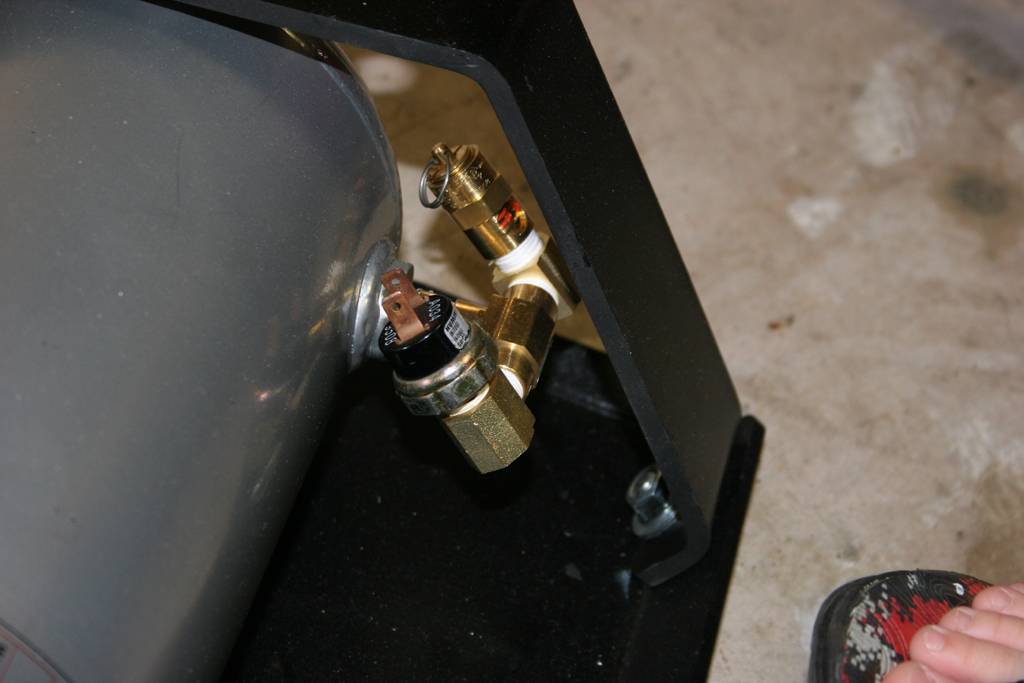
| 1. Install your Air Tank. Your installation my vary from mine. River Raider does not provide any bolts to install your air tank, they should have come with your tank. The four (4) holes in the side center of the skid plate is for your air tank feet. I fit a VIAIR 2.5 gallon tank in here perfectly. Other tanks will fit, but I have not checked them personally. |
 |
| 1a. I installed the rubber feet on my VIAIR and used the bolts that came with it. This gave me just enough room to use the air bungs on the bottom of the tank. Alternately I could have just bolted it to the side of the skid without the rubber feet. |
 |
 |
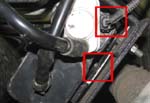
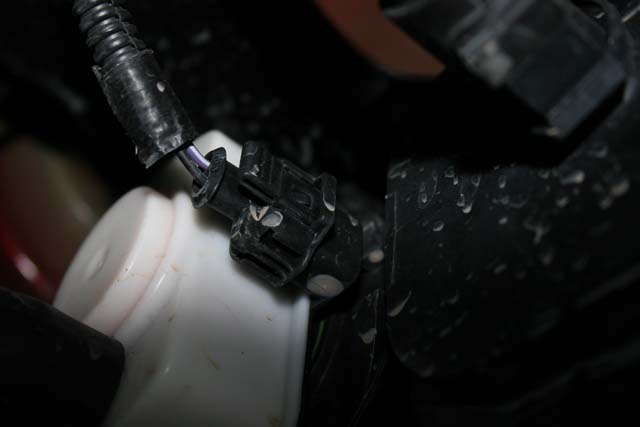
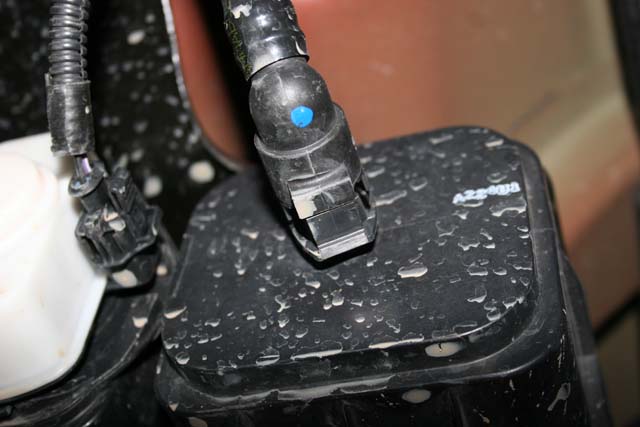
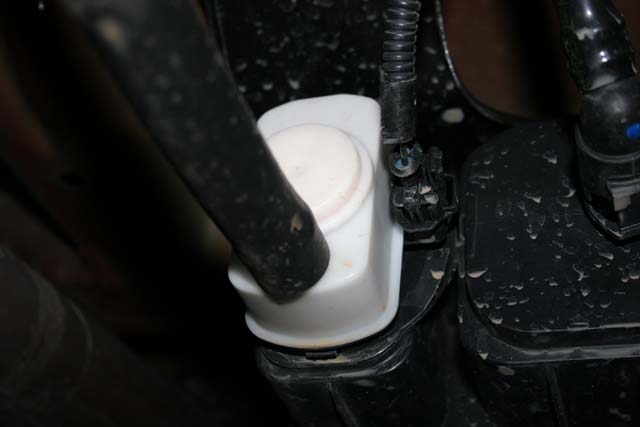
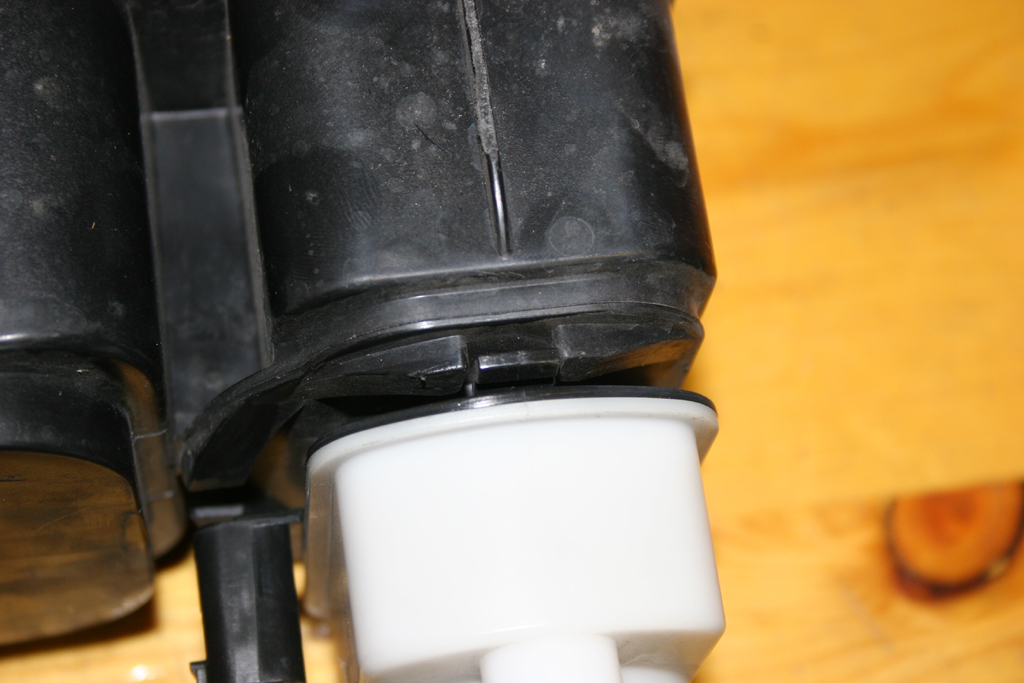
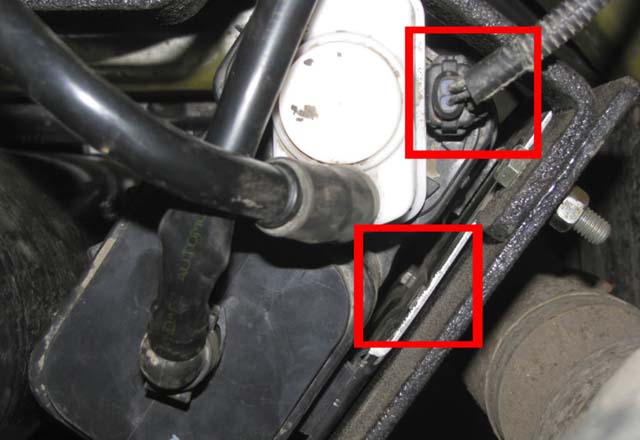
| 2. Disconnect your evap canister. Press the tab on the electrical connector and disconnect. |
 |
| 2a. Remove the hose going into the canister box, press in on the tabs and remove the connector. |
 |
2b. Remove the hose going to the roll over check valve (whiteish box). Twist the hose to break the seal and pull off.
Note: Do not twist to hard, you can break the nipple off. Mine came off easily, but the second one I did I cut off the rubber hose. In hindsight I should have just disconnected the rollover check valve and left it hanging under the Jeep. See Step 8. |
 |
 |
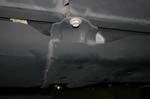
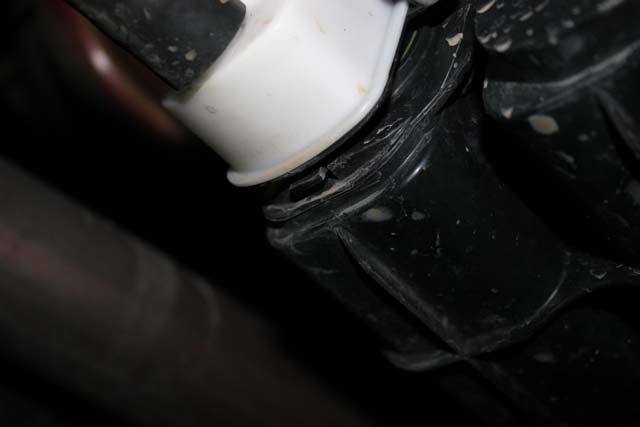
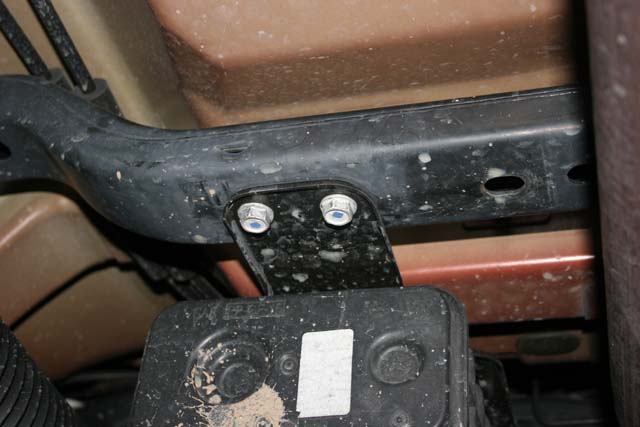
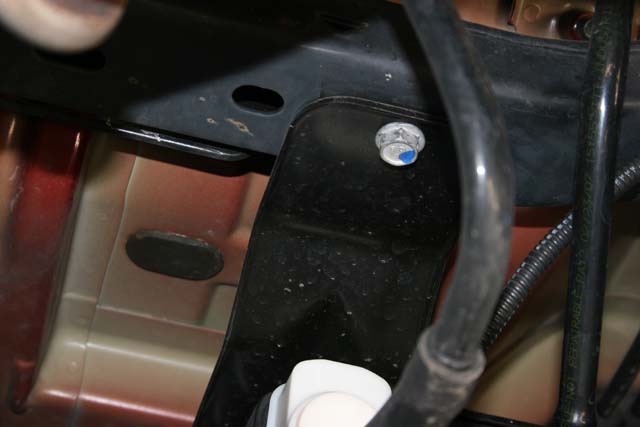
| 3. Remove the three bolts holding the evap canister bracket to the frame with a 16mm socket. |
 |
 |
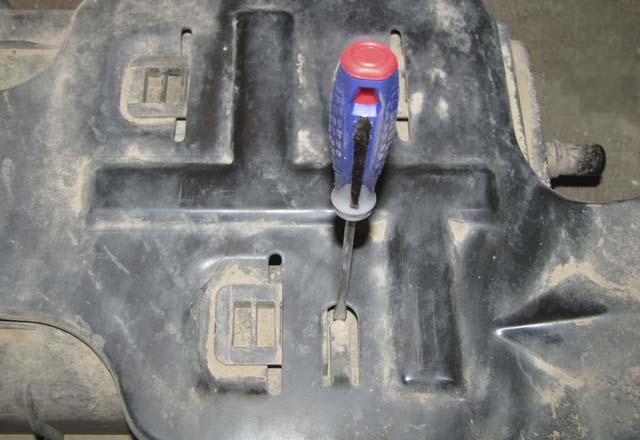
| 4. Lift up the locking tang with a flat tip screwdriver and remove the bracket from the canister. |
 |
 |
| 5. Mark and cut the ears off of the evap canister mounting bracket. Measure the holes on skid plate and drill two 1/4" slots in the evap skid. Mine measured at 5" apart. |
 |
 |
 |
| 6. Paint the cut and drilled sections of the evap canister bracket. |
| 7. Loosely mount the cut evap bracket into the skid. I used some 1/4"-20 bolts that I had in my drawer. I didn't receive any bolts from River Raider. |
 |
 |
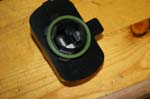
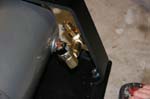
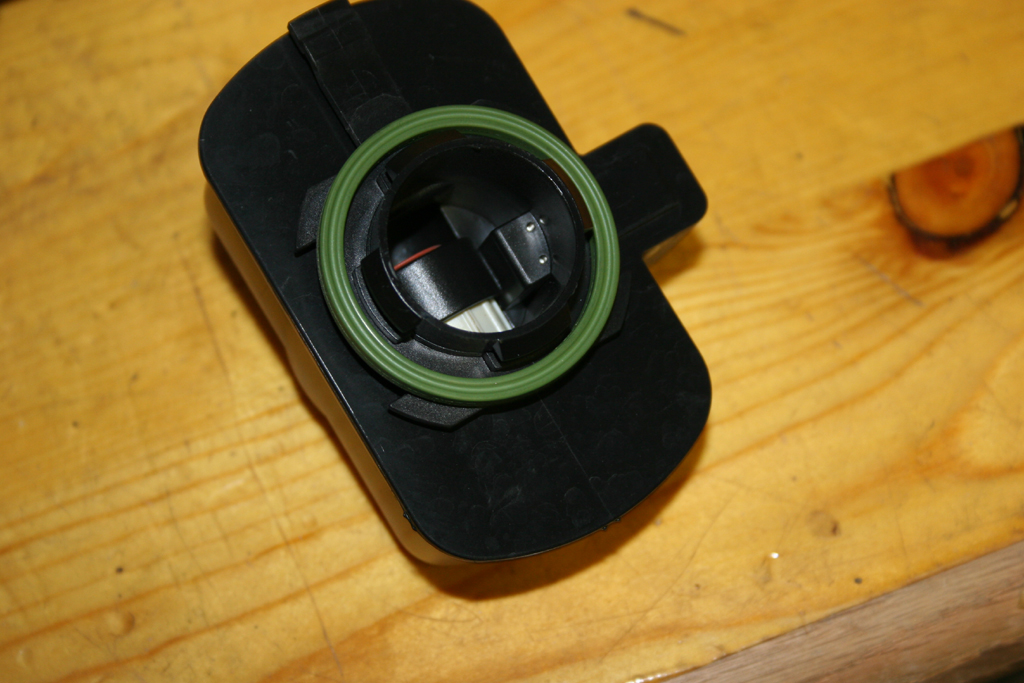
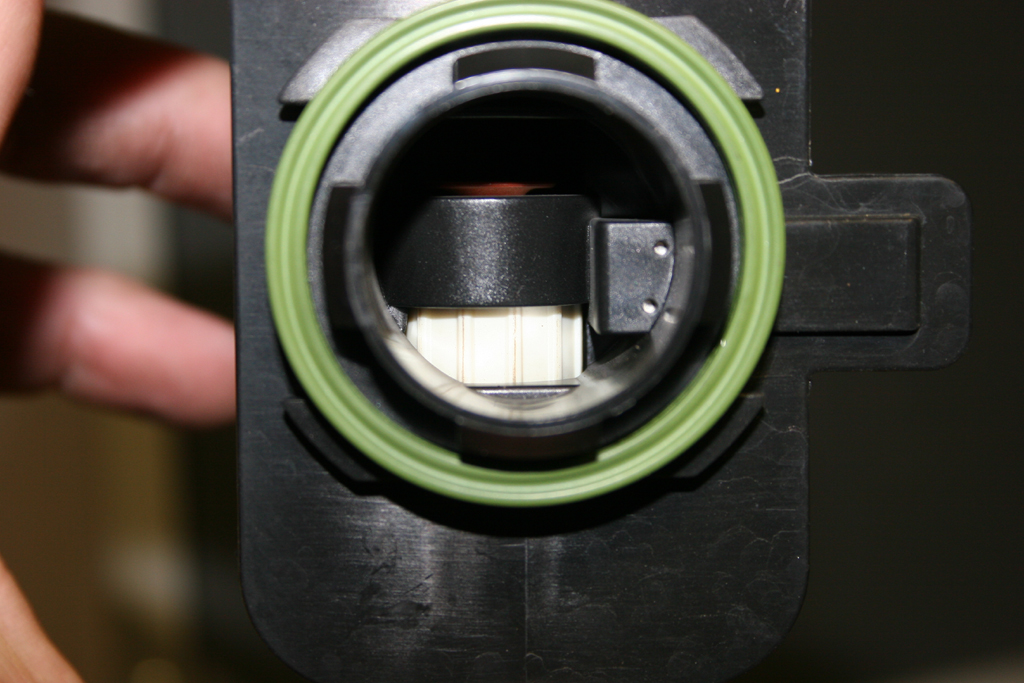
| 8. If you did not remove this earlier. Remove the rollover check valve from the end of the evap canister. Flip the canister over so the mounting feet are down, look for the small tap on the canister, press it in and rotate the with check valve, it will come off. |
 |
 |
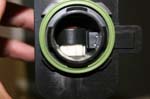
| 8a. The check valve is the black cylinder inside. When we reinstall this you want to make sure that you have the gasket (tan or green, I've seen two different colors used) in place and that the nipple is in the down position. |
 |
 |
| 9. Slide the evap canister onto the evap canister bracket and position it as far down as you can. Snug up the bolts. |
|
|
| 9a. Don't worry about stuff getting into the evap canister, there is a filter inside where the check valve came off. |
 |
| 10. Insert the factory bolt from the evap skid into the front bracket and place over your air tank. You won't be able to get this in later. |
 |
 |
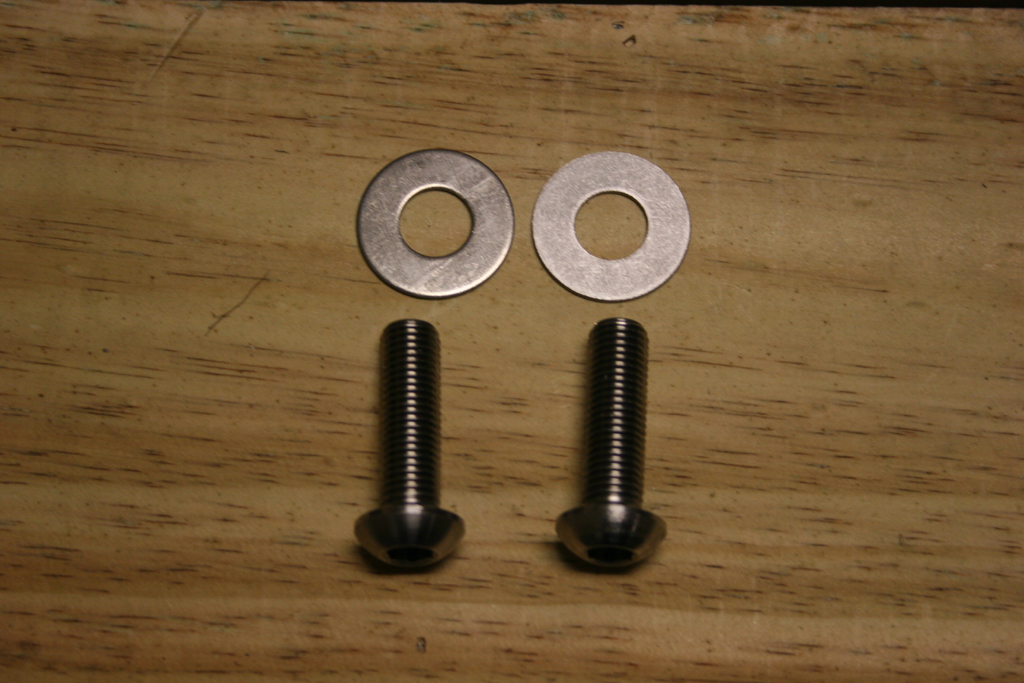
| 11. Bolt the front bracket in place with two bolts, four washers and two nuts. |
 |
 |
| 12. Bolt the rear bracket in place with two bolts, four washers and two nuts. |
 |
 |
 |
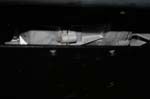
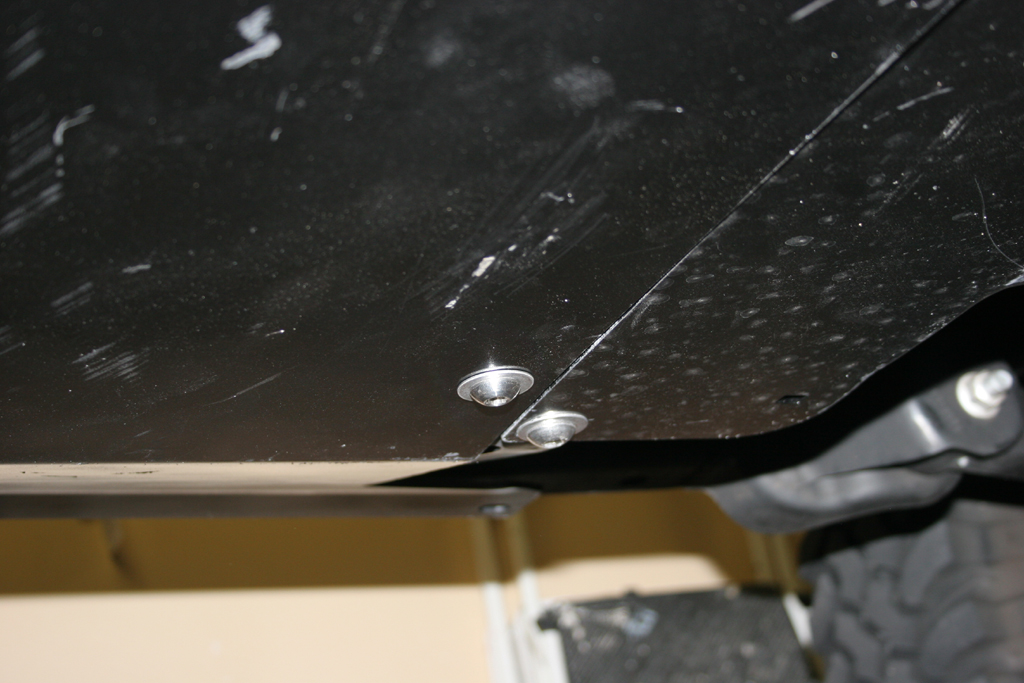
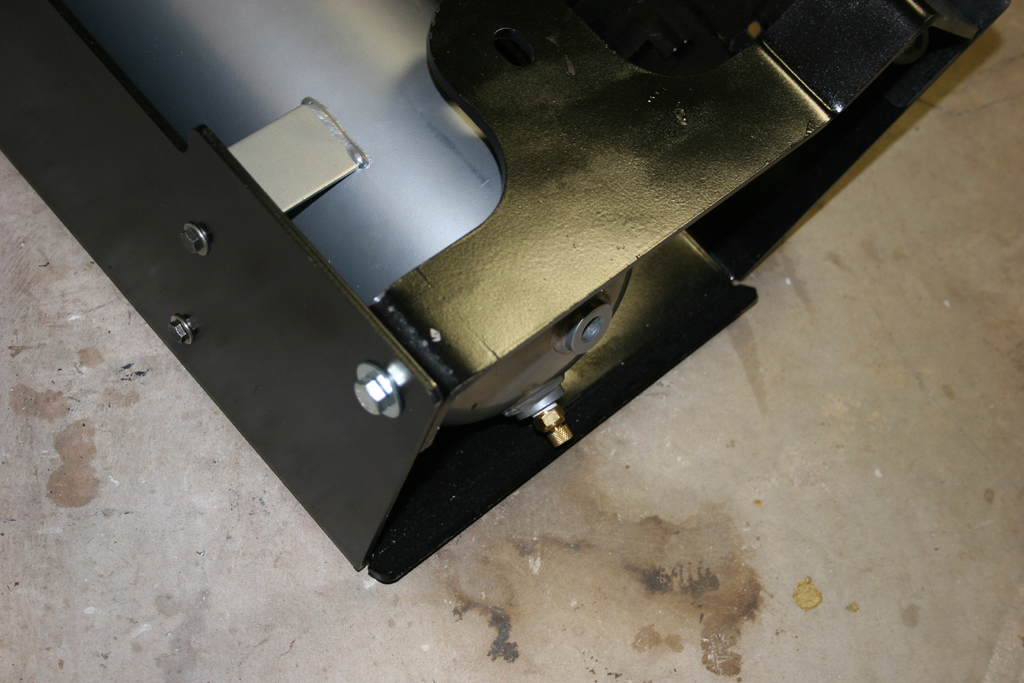
| 13. Lift and install the skid plate assembly into place. Use the original factory bolts to remount to the original evap bracket mounting holes. I used a floor Jack to hold it up while I installed the bolts. It's fairly heavy at this point. |
|
| 14. Reinstall the hose to the canister, and reconnect the electrical connector. Reinstall the check valve. Make sure you have the nipple on the bottom. This will now sit at an angle to the canister and will not latch inplace. Mine has not come off, but other one did come loose, luckily we didn't lose the gasket. Reconnect the hose to the check valve. |
 |
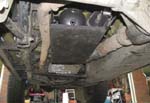
| 15. Installed. |
 |


