Well I finally
decided it was time to put some armor on the gas tank. I had yet
to really do anything but scratch the paint on the current skid, so
I'm very pleased with how strong the new factory skid is. The
Toys by Troy skid is a brute. Shipped at 69lbs. Weighs in
at 61lbs. Real nice. This is the same weight as the Kilby's
skid. We used the FSM to take this thing apart and install the
new skid. Some people have managed to do this mod without dropping
the tank, just unbolting the straps and skid. We choose to do
it the other way. Drop the tank. You will need to make certain
that you get as much gas out as possible from the tank otherwise it
will be really heavy and hard to move around. Since this install
was almost exactly like the Kilby's install I was lazy and reused some
pics from that install, so you'll notice a white Rubi in a couple pics.
Additional
Parts: (Possibly)
Zip Tie
Tools
Needed:
13mm Socket
Scribe
Small Screwdriver
Diagonal Cutters
T-25 Torque
Phillips Screwdriver
Pliers
Floor Jack
Installation:
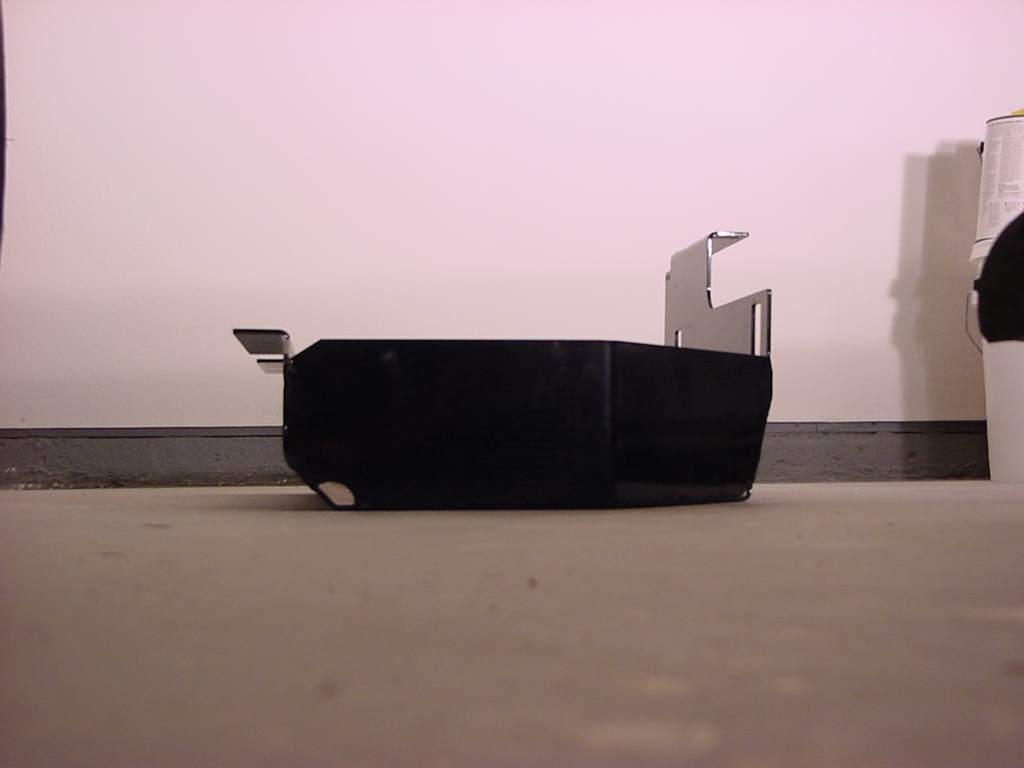
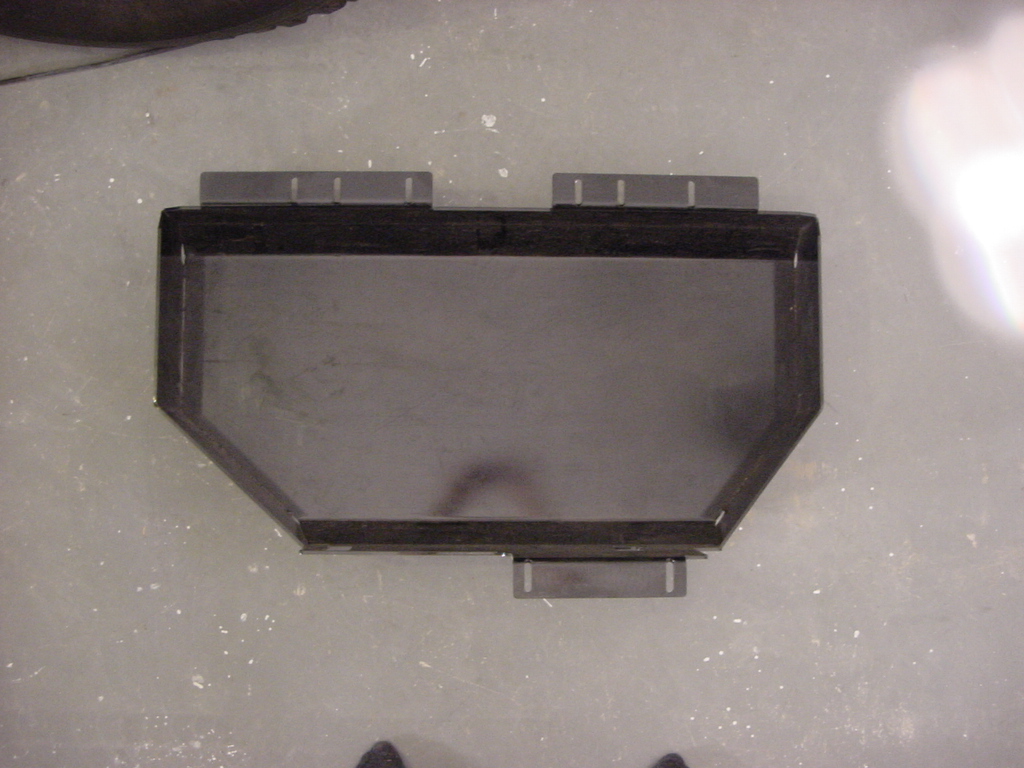
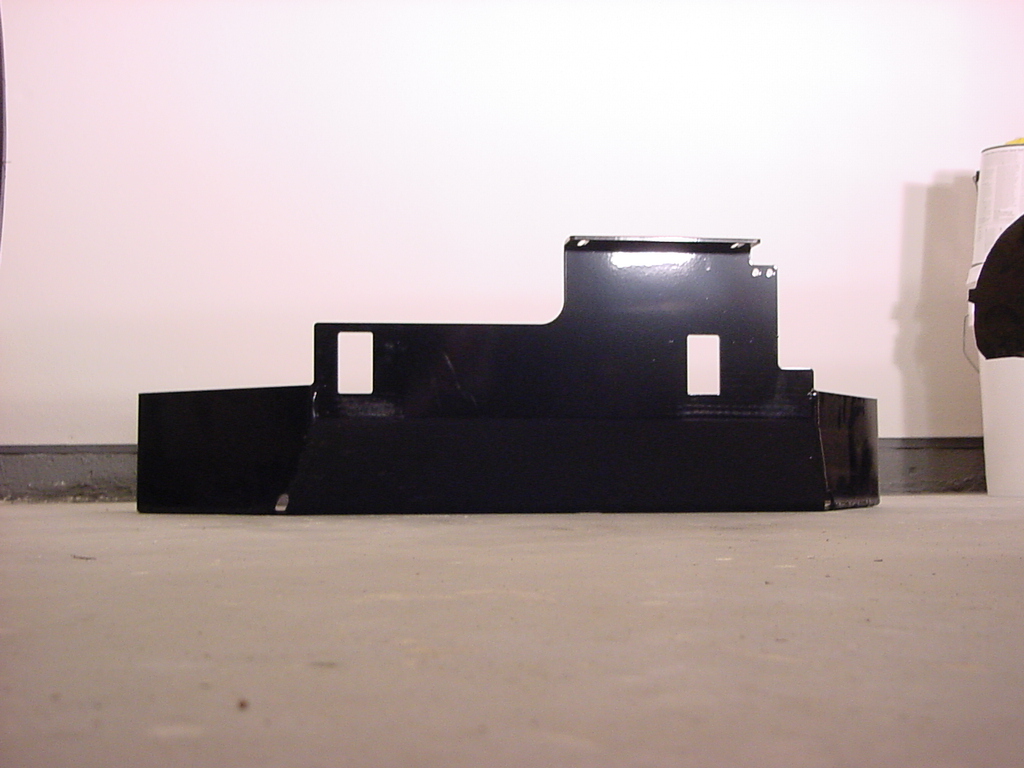
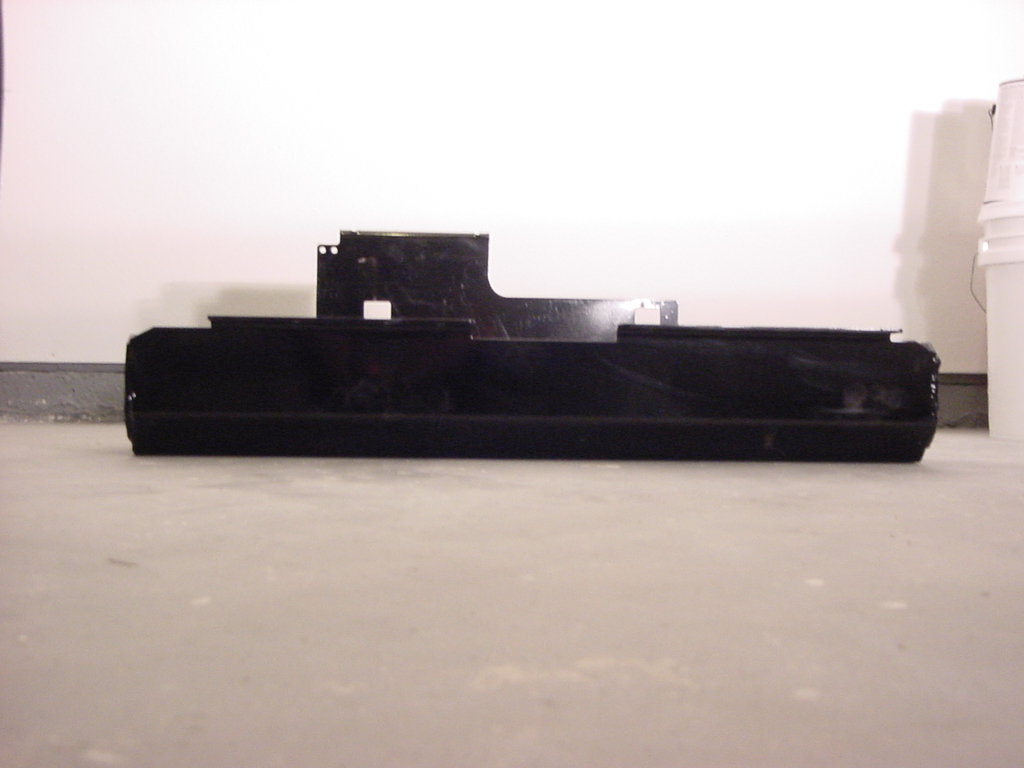
Here
are a few pics of the Toys by Troy skid.
1. Release some of the pressure from the fuel system. I took
the below from the FSM, but didn't follow the whole procedure
to the end. Just took the high pressure off the lines coming
from the Fuel Pump.
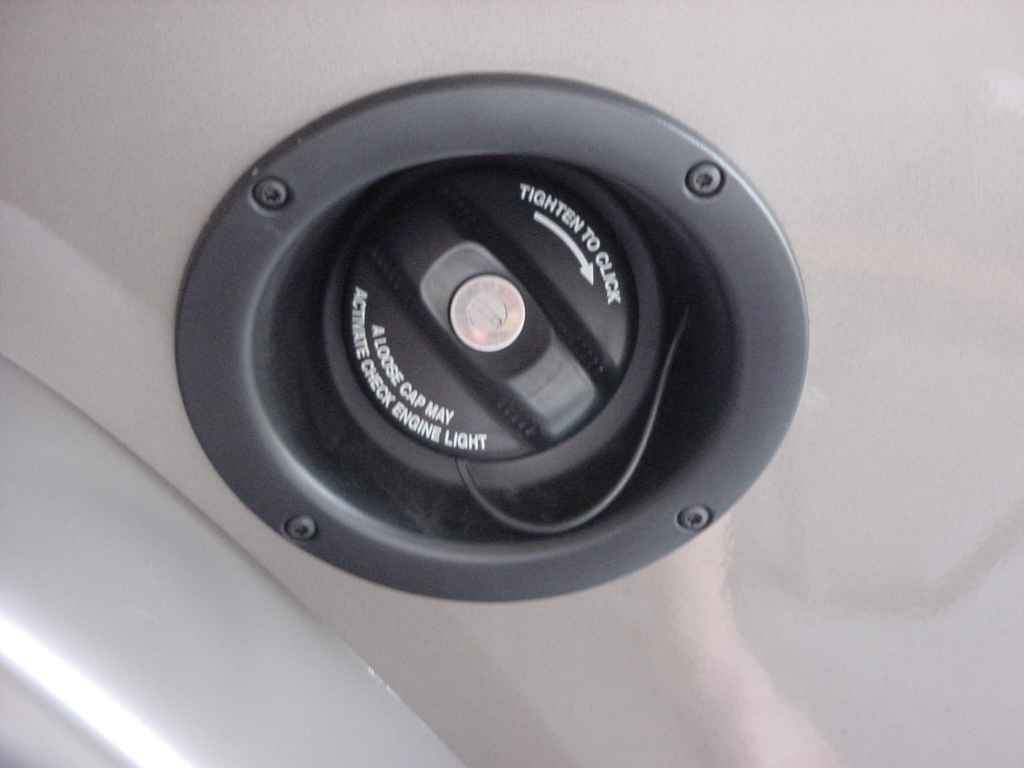
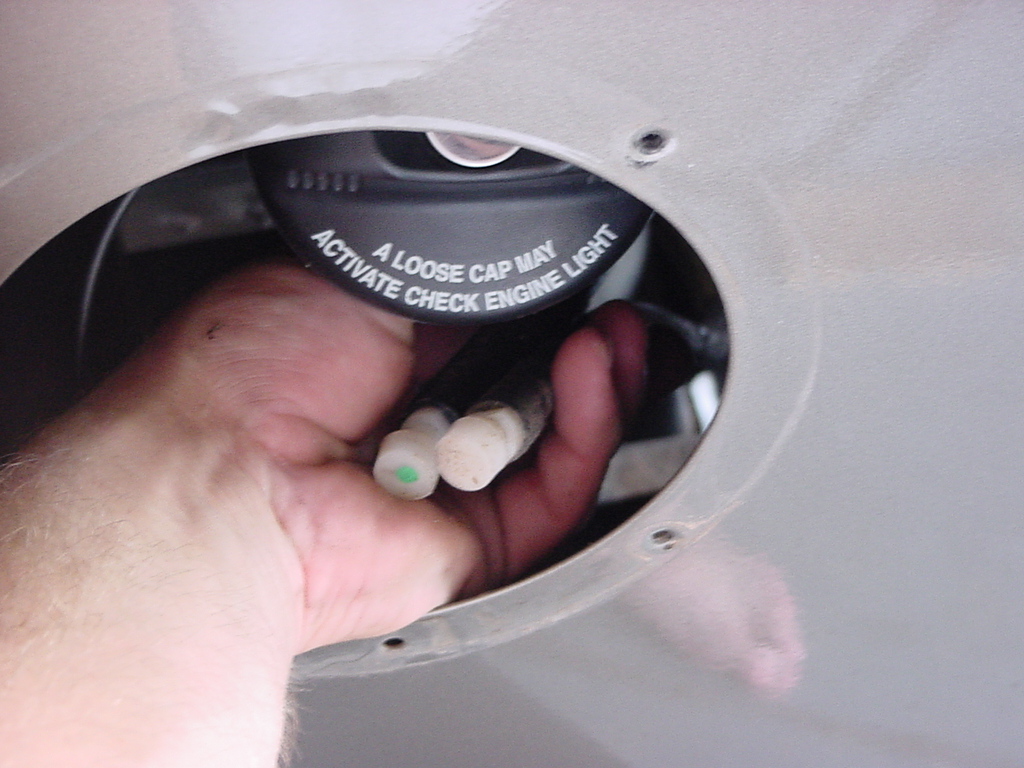
2. Remove fuel fill cap. You will need to take the tether out
of the plastic bezel also. It just pulls out. If it
doesn't, wait till you remove the bezel later then take it out.
3. Remove fuel pump relay from Power Distribution Center (PDC). For
location of relay, refer to label on underside of PDC cover.
4.Start
and run engine until it stalls. Attempt restarting engine until
it will no longer run. Turn ignition key to OFF position.
Reinstall fuel pump relay. Some Jeeps may have a schrader
valve on the fuel rail underneath the hood that will allow you
to depressurize the line also.
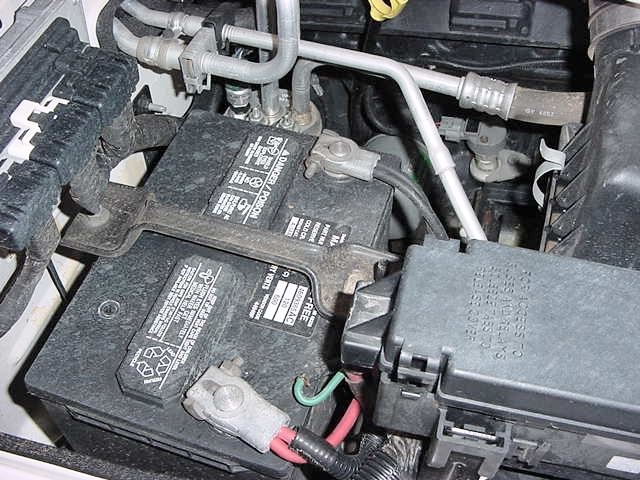
5. Disconnect negative battery cable.
6. Using an approved portable gasoline siphon/ storage tank, drain
fuel from tank through filler cap opening. If required.
Note: Be careful of the spring loaded cover inside the filler
hose. It will pinch the siphon line, so you will need a
long screwdriver to hold it open when you pull out the hose.
7. Remove 8 screws retaining plastic fuel filler bezel to body.
Remove plastic fuel filler bezel. This may either be a T-25
Trox or a Phillips screwdriver.
8. To prevent contaminants from entering tank, temporarily install
fuel cap to fill hoses.
9. Now Jack up the rear axle just high enough to get the tires off
the ground. Remove both rear tires. The FSM says only
the Right, but trust me. If you have really big tires, on,
I would suggest lowering the vehicle down after you get those
tires off, so that you can actually reach the gas tank with a
floor or transmission jack. If you got a couple buddies
then they can lift the tank for you.
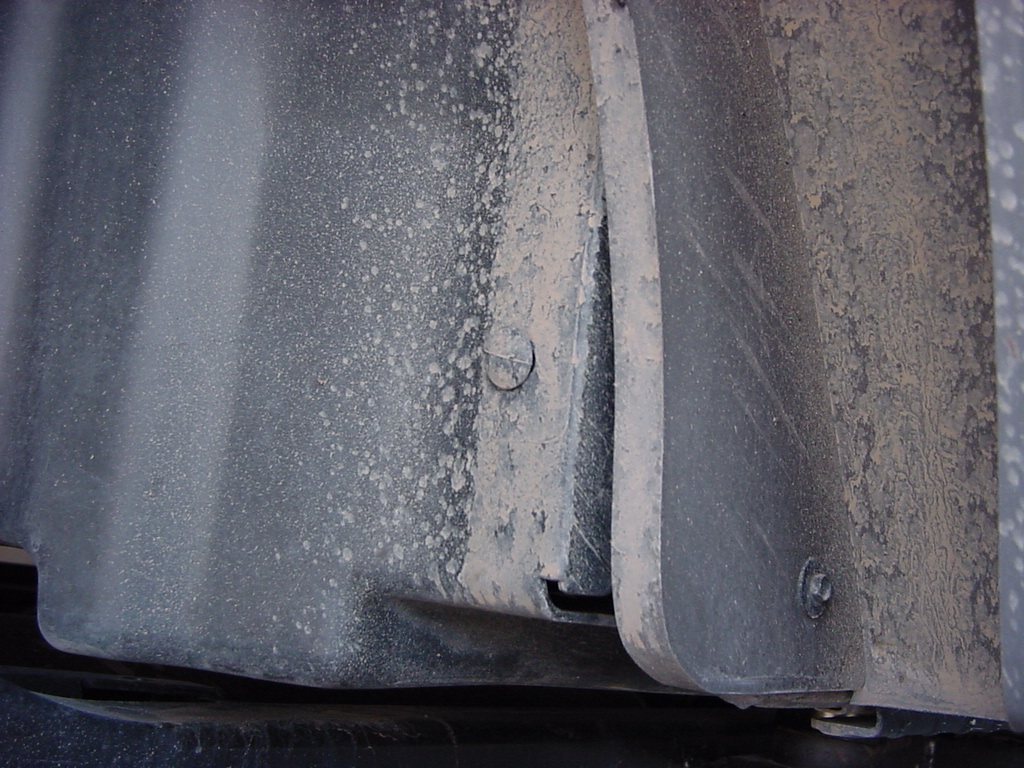
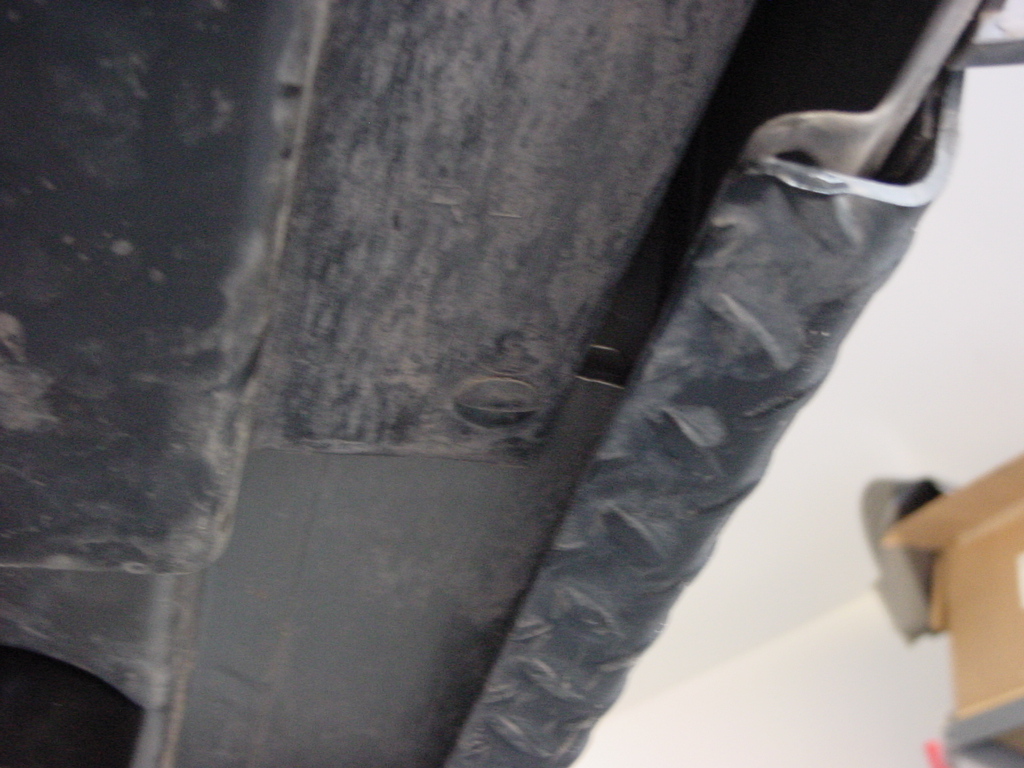
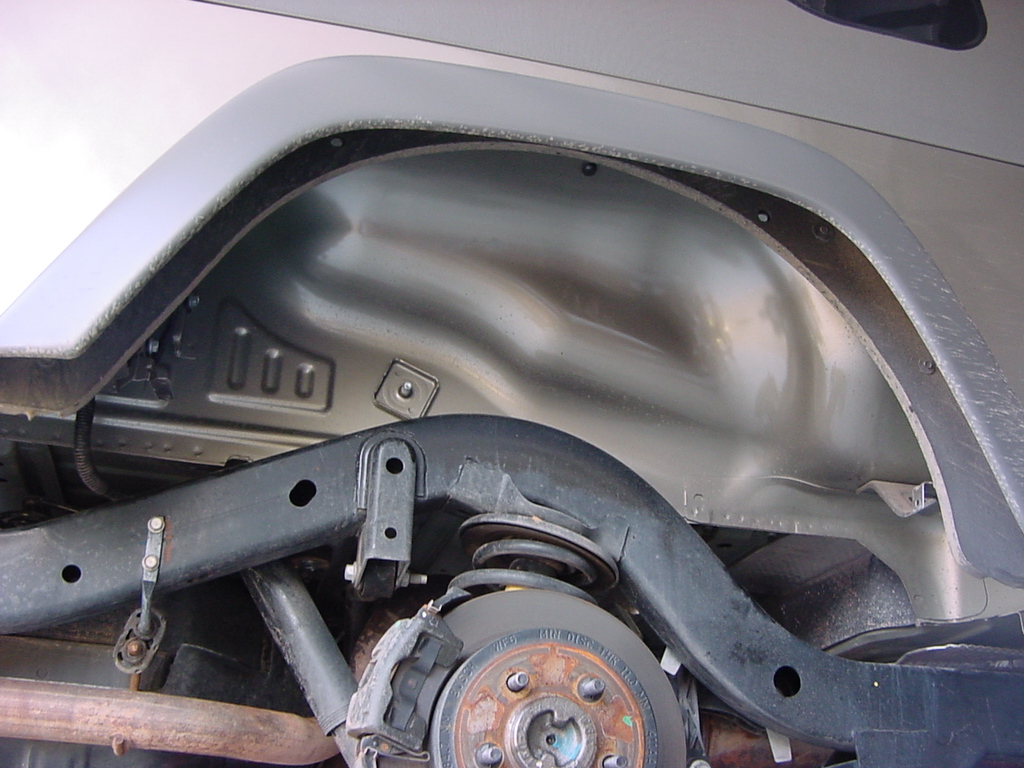
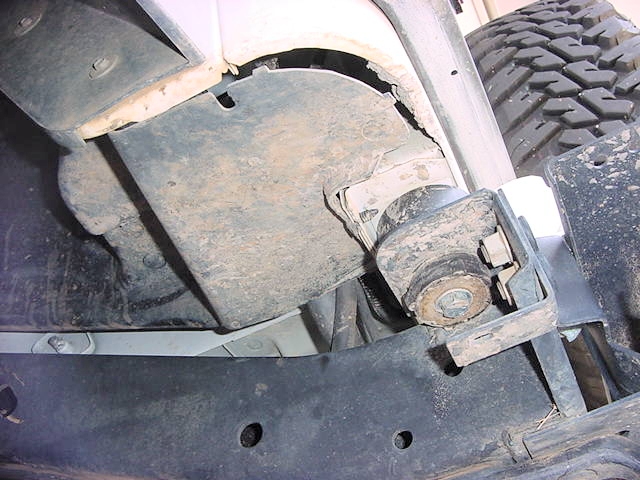
10. Remove wheelhouse liner at right/rear wheel. This requires
you to pull about 7 small plastic trees out of the wheel well liner.
Then work it out from the bottom edge near the frame. It's
a little bit of a pain, but it will come. The top outer edge
needs to move in about an inch to disengage 2 prongs up there.
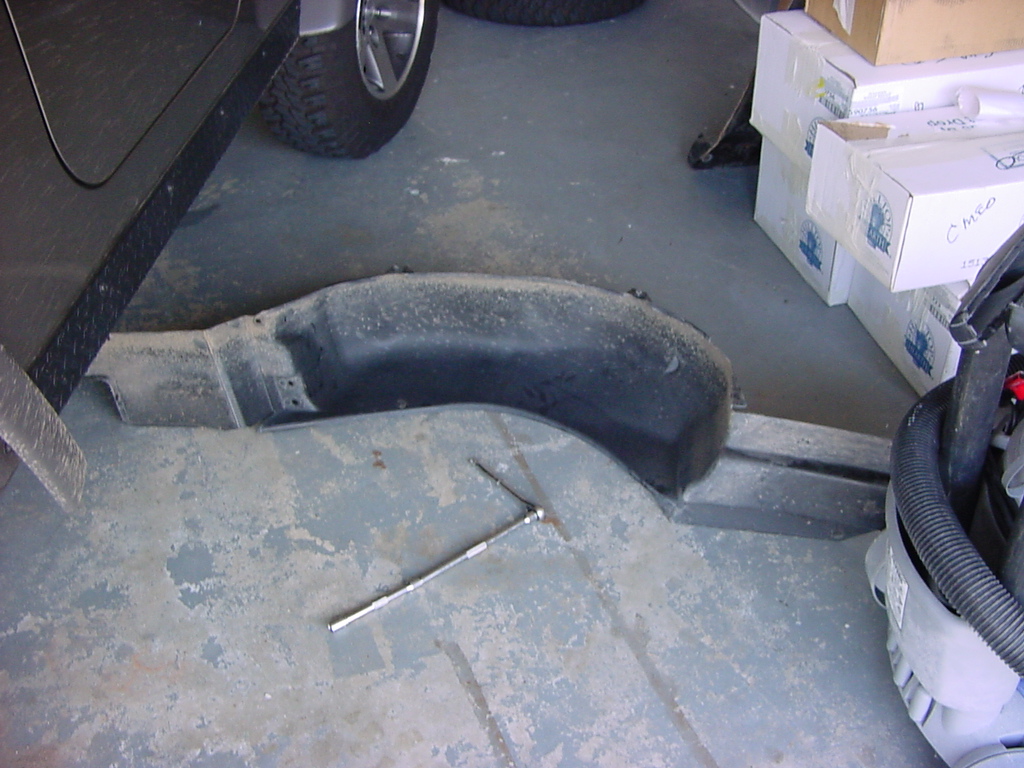
11. Remove
the wheel well liner and put it off to the side.
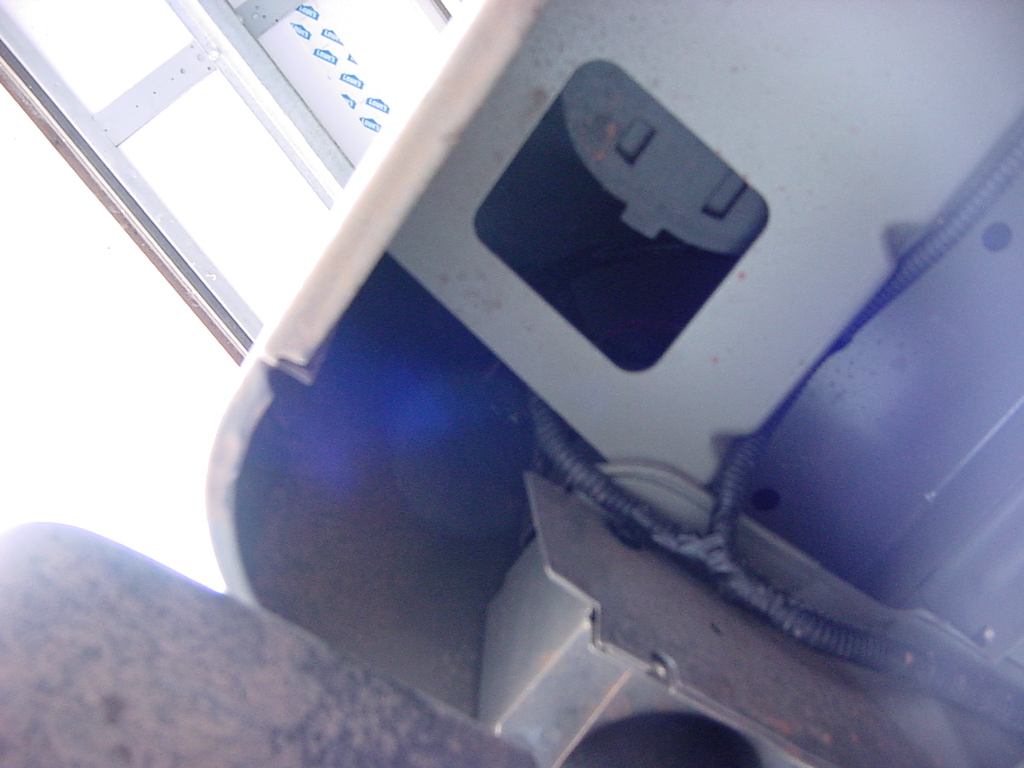
As you can see there is plenty of room
under the LJ.
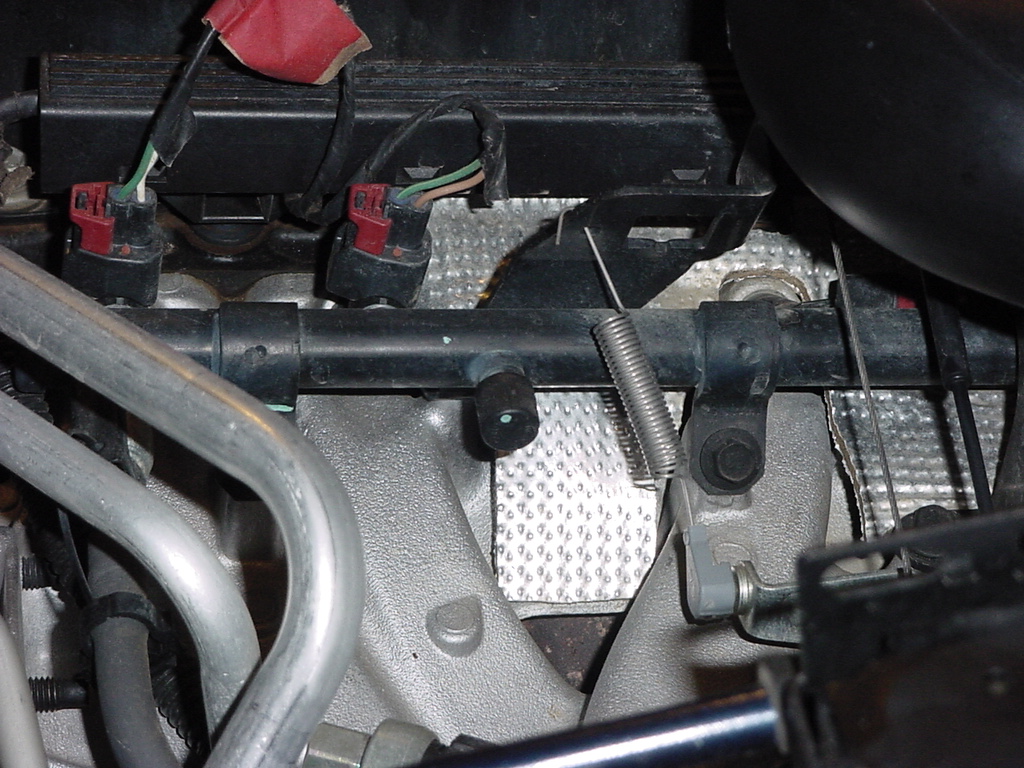
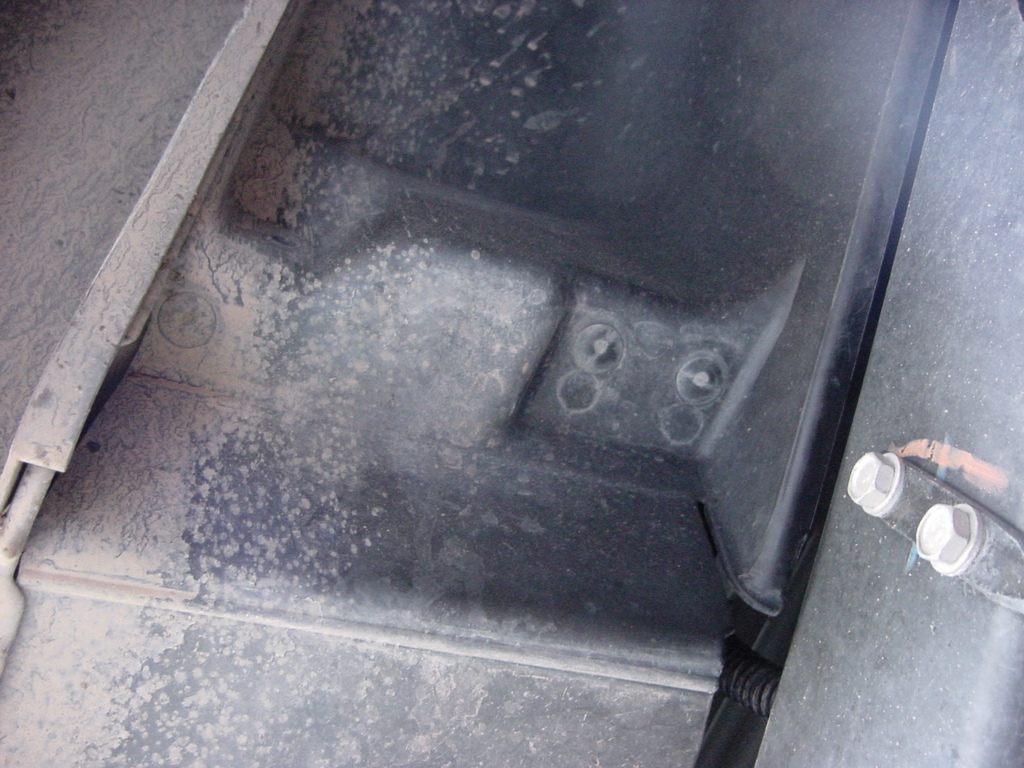
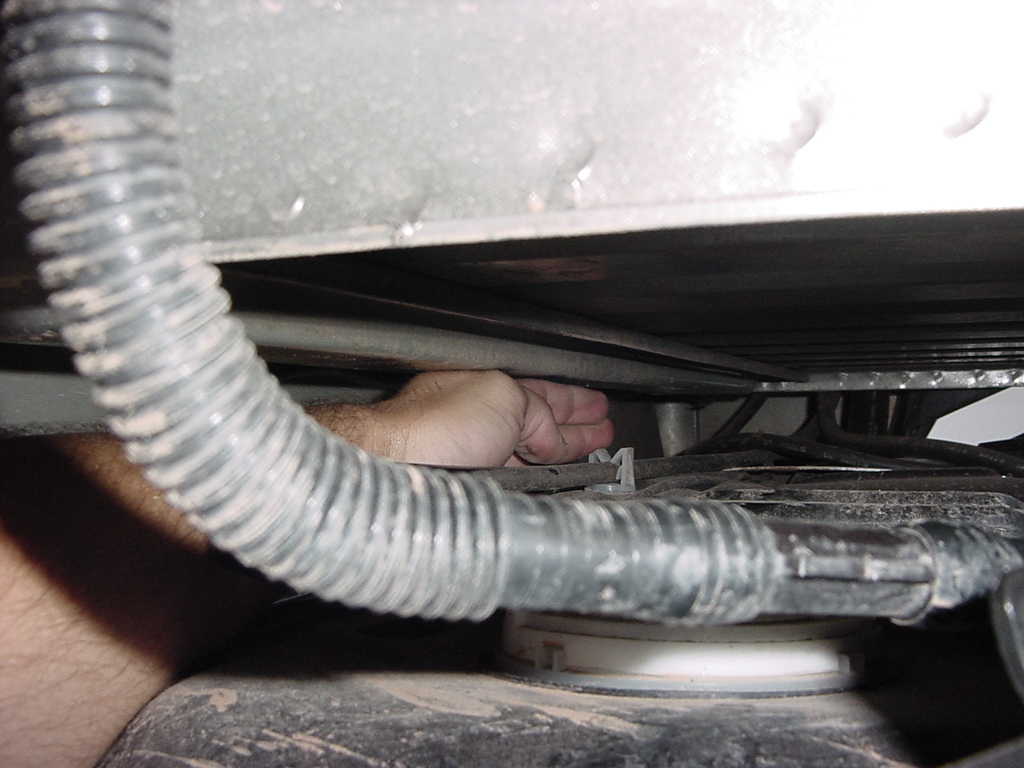
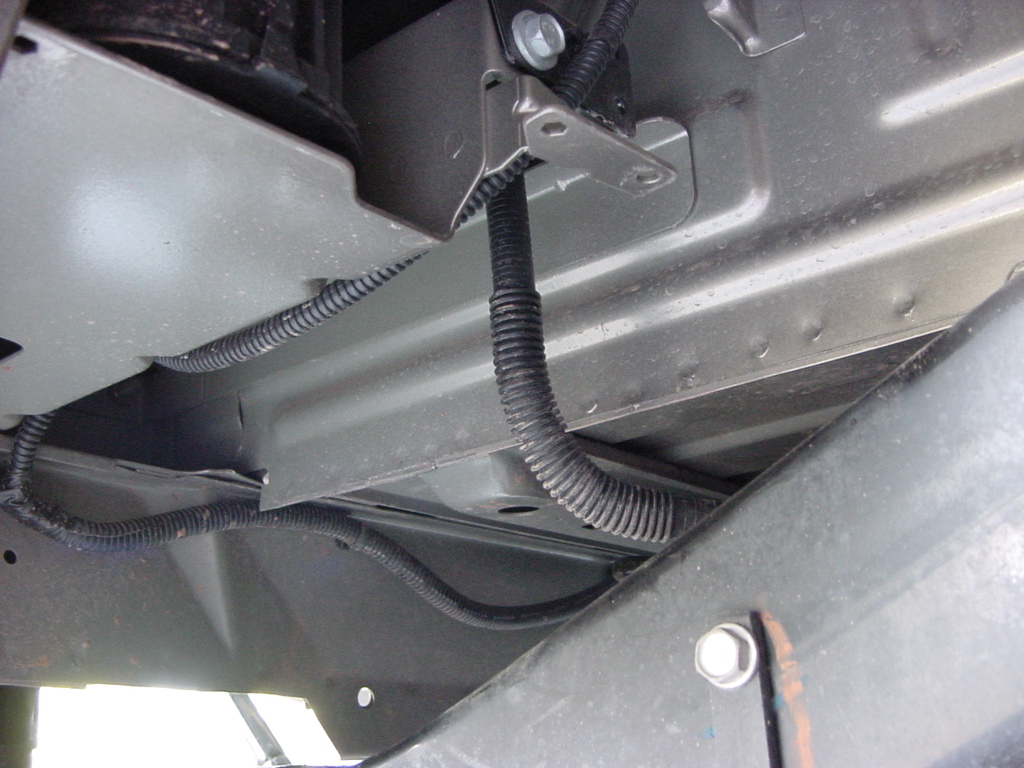
12. Now look towards the back of the opening you will see the Evap
canister and a bunch of hoses.
Fuel
Line Clips
Before
we start taking fuel lines apart I figured it would be best to talk
about these. They will break if you are not gentle with them.
The ones we discovered on this TJ were fairly easy to get out.
The clip is shaped like a U with 2 hooks on the ends. This
goes through the fitting and clamps around the line. We used
a small screwdriver and or our fingers to get these clips to spread
as we slowly worked the clip out.
Another
way to get these lines apart is to push in on the end of the clip
so that it will spread open inside and just pull the line out.
From experience this works for the majority of the time, but I did
find that I still needed to sometimes spread the clip and pull it
out.
This
is a fairly good picture of the clips. We found that once
they are loose, if you pull one side out of the holder carefully,
the hose comes out real easy. You do not want to break one
of these since you can't buy it as an individual part.
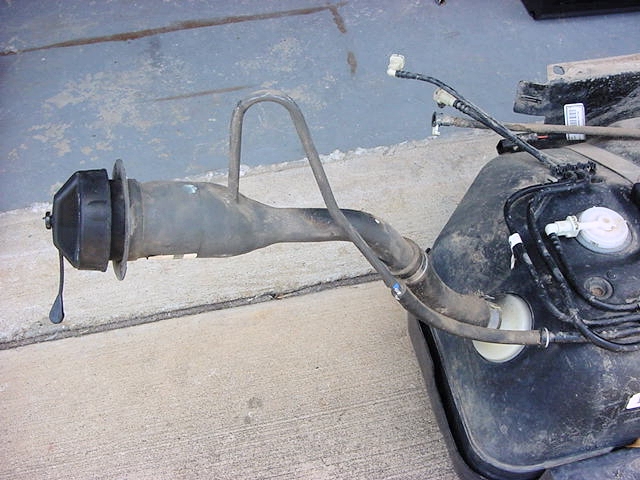
13. There is only 1 vapor line on the LJ that connect the fuel tank
to the EVAP canister and Leak Detection Pump (LDP). This connection
is made near the right/rear corner of the fuel tank. Carefully
disconnect this vapor line near top of flow management valve.
Be very careful not to bend or kink the vapor lines. If lines
leak, a Diagnostic Trouble Code (DTC) will be set.
14. Cut plastic tie wrap securing rear axle vent and locker suction
hose to fuel fill hose.
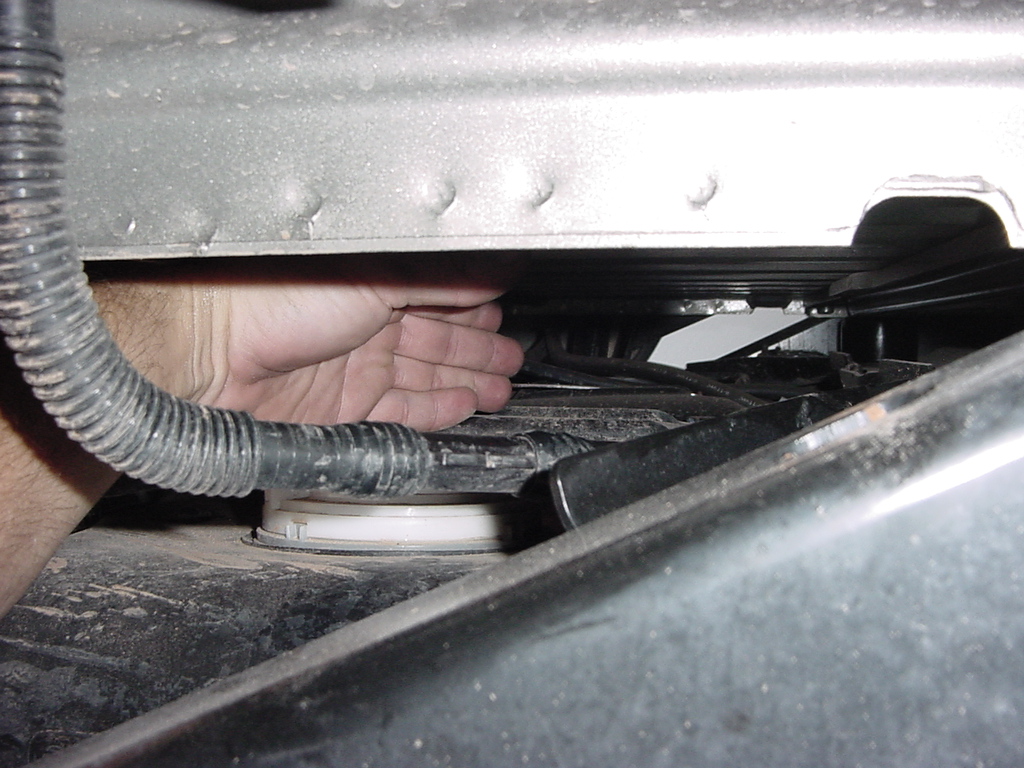
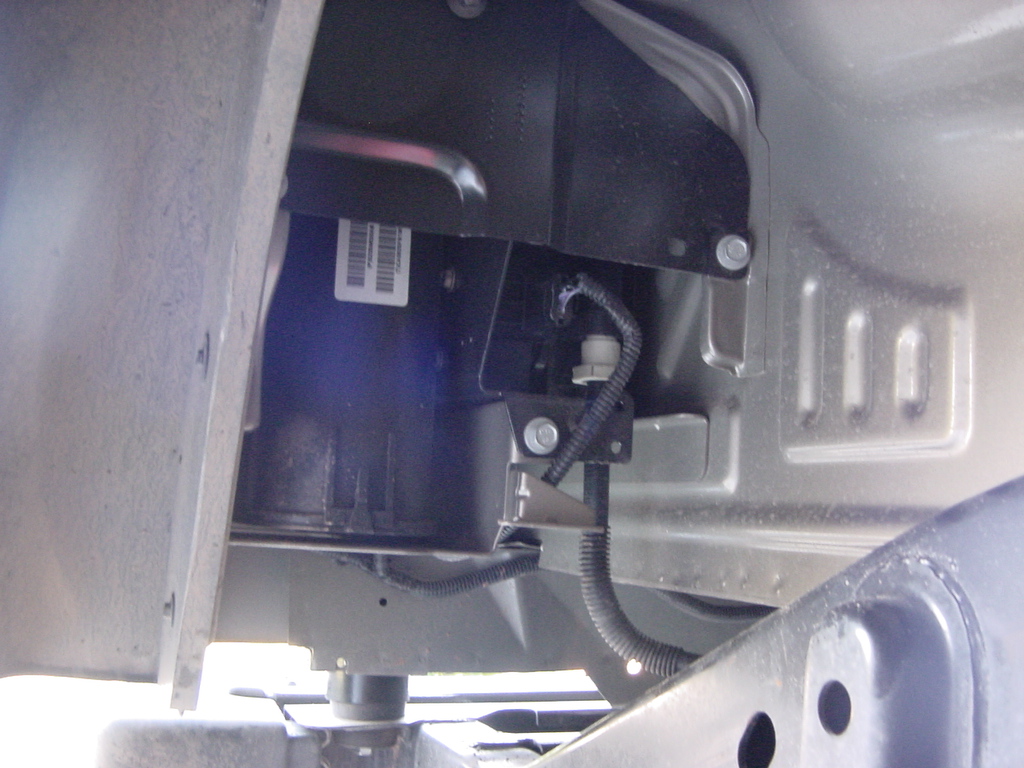
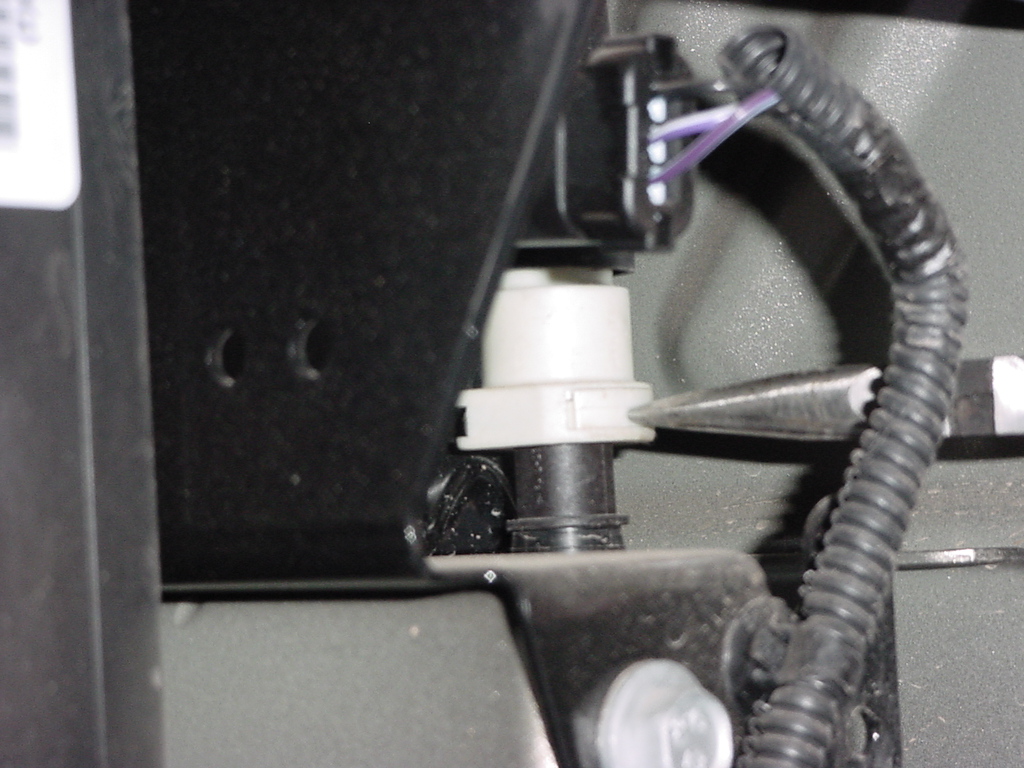
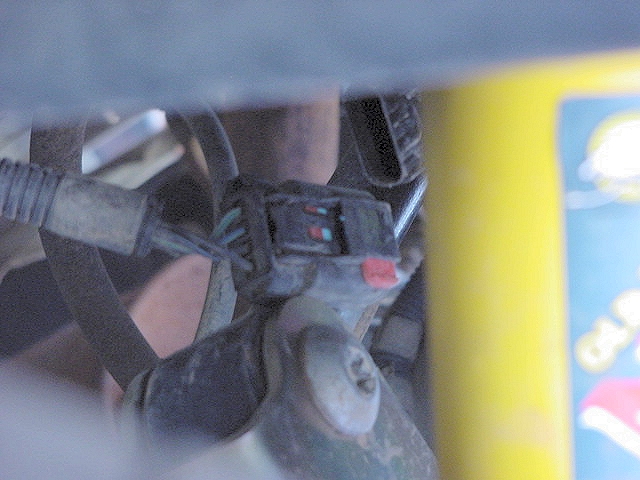
15. Disconnect fuel tank electrical connector at left/front of fuel
tank. It has a small plastic red tab that needs to be pulled
out on it. It is really hard to get to because of where
it's located.
16. Disconnect the 2 fuel lines at left/front of fuel tank.
The
hard pipe is the fuel supply from the pump so be careful it may
have some pressure in it. Push in on th clips and pull the hose
out of the connector. You may need to push in a little before
you can pull it out.
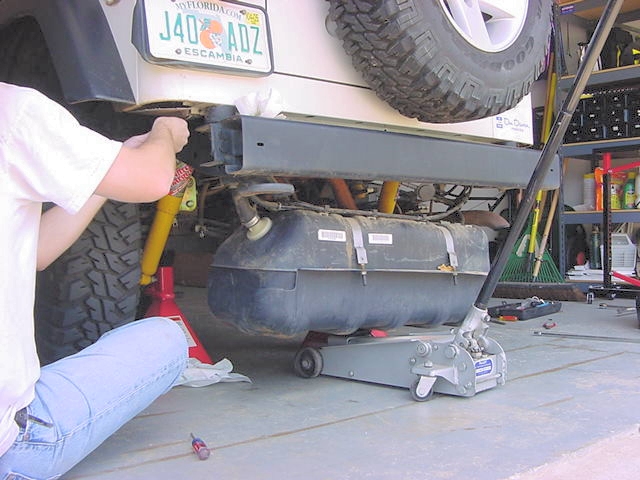
17. The fuel tank and skid plate are removed as an assembly. Centrally
position a transmission jack (or equivalent lifting device) under
skid plate/fuel tank assembly. Secure tank assembly to jack.
Note: There is still a electrical connector attached
to the top of this tank that you can't get to until you partially
drop the tank.
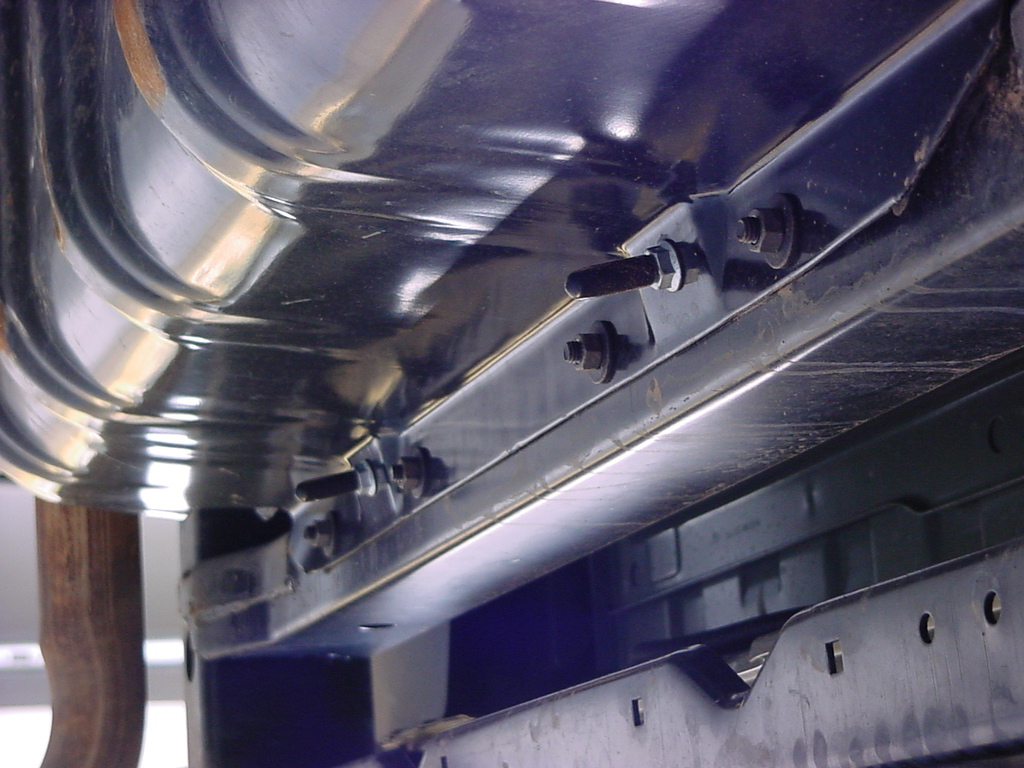
18. Remove three skid plate-to-body nuts at front of tank. Remove one
of the nuts through access hole on skid plate. Of course 13mm
socket and extensions
19. Remove four skid plate-to-body nuts at rear of tank. Do not
loosen tank strap nuts those are the long ones between the
bolts. They should have covers on them. Of course 13mm
socket and extensions
20. Lower the tank assembly very carefully. You will need to
snake the filler hose down and through the body. Or you
can Disconnect fuel filler hose at tank. Before disconnecting,
mark and note the hose rotational position in relation to tank
fitting. Pull back the flap on the driver side to get your
hands up in there. Here we are snaking that fill hose through,
having the tire off would have been easier.
You will need to give this a little twist to get it out as you
can see by that bent vent line.
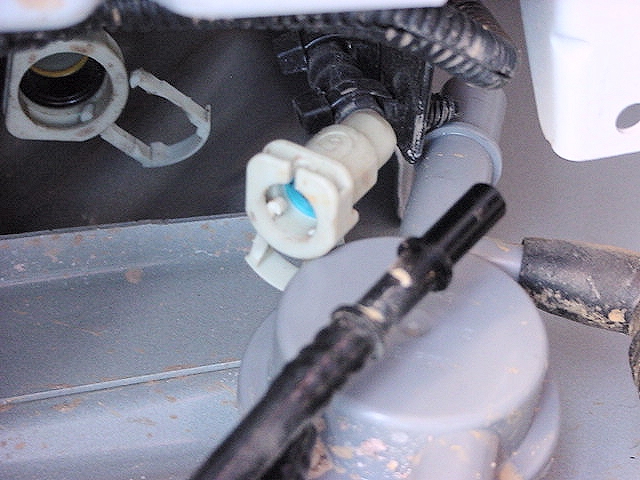
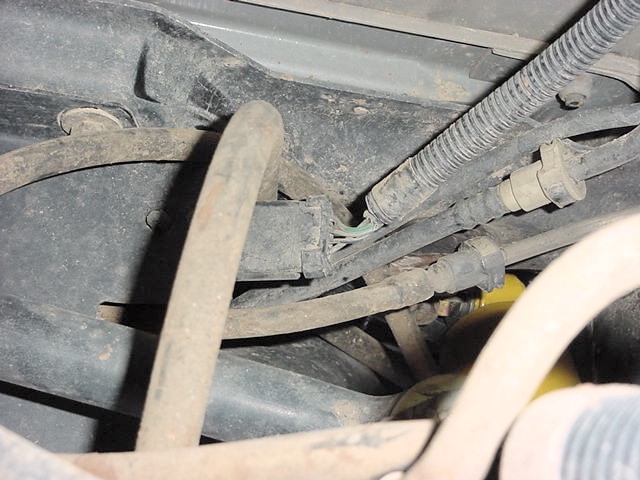
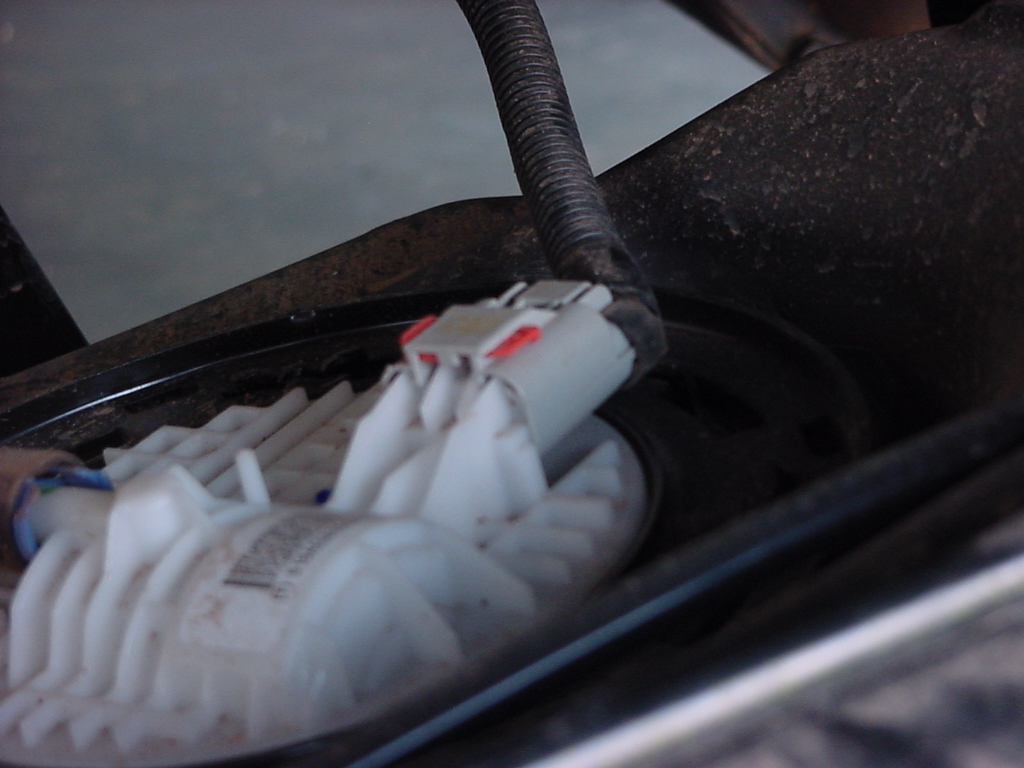
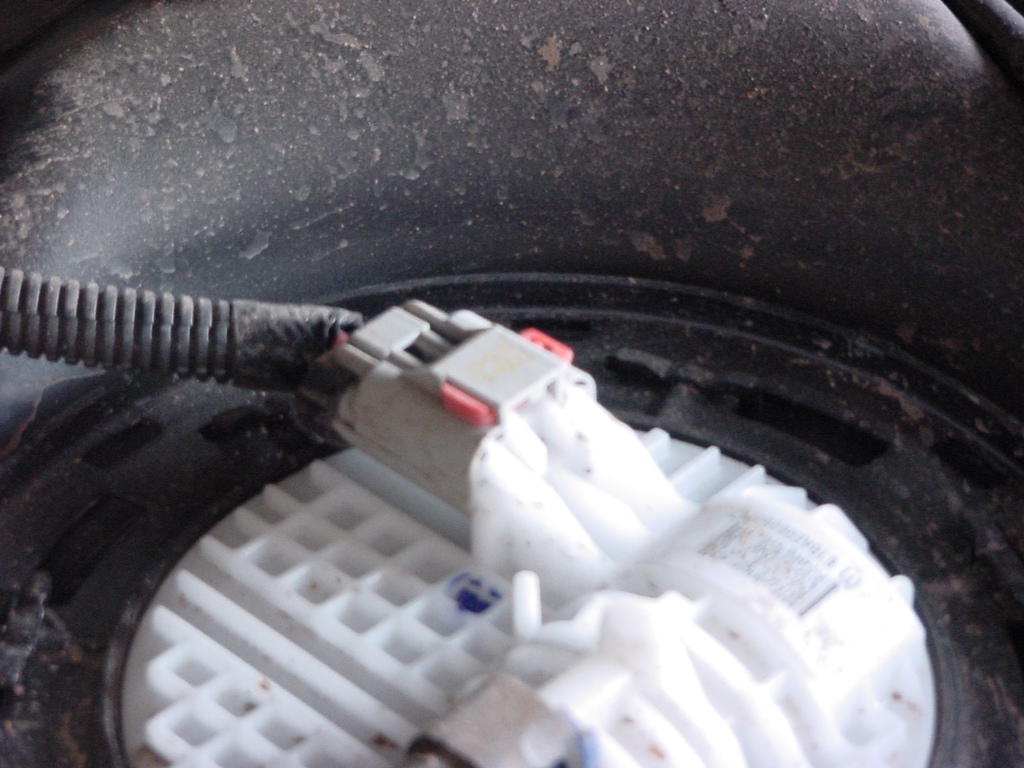
21. As you lower the tank
you will be able to get access to the top of the tank. Here you
can see the connector. It has a small red tab on it that needs
to be pulled out before you can press the button and pull it apart.
Older Tank
New Tank (big difference)
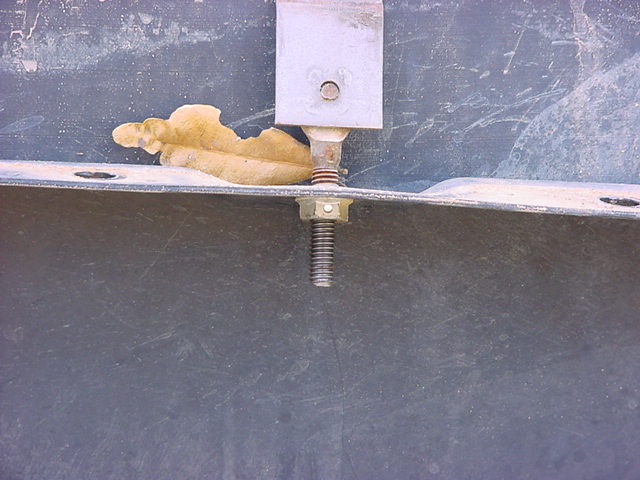
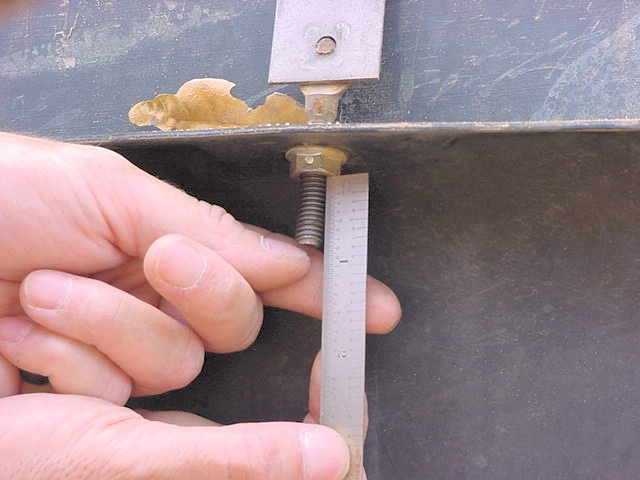
22. To separate tank from skid plate, remove two protective caps at
tank strap studs and remove tank strap nuts. Of course 13mm
socket.
Measure how much of the thread is sticking
out beyond the nut.
You will not be tightening the
nut as far with the new skid. Just a good reference measurement.
22. Remove both straps and remove tank from skid plate. You may
need to loosen the hose assembly from the top of the tank.
This is a simple clip that you just need to push in with a screwdriver
and it pulls up like shown.
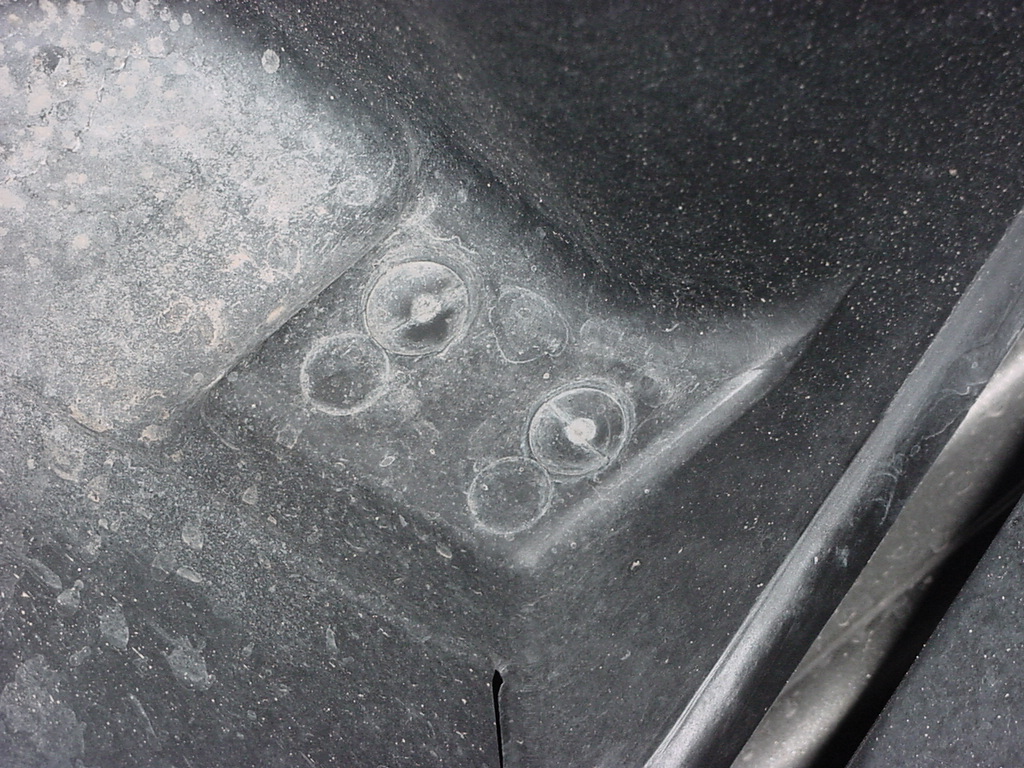
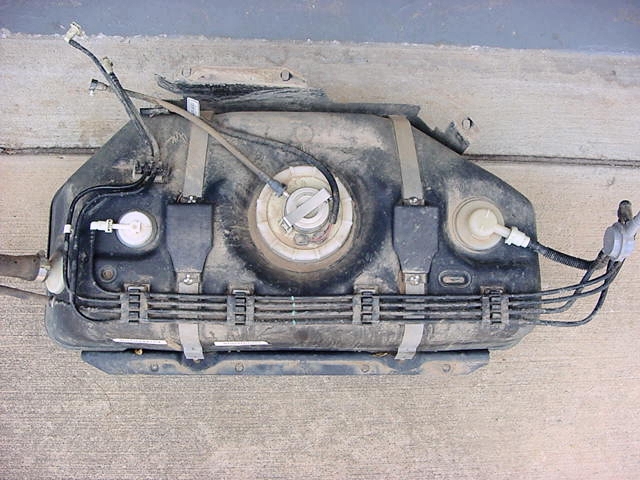
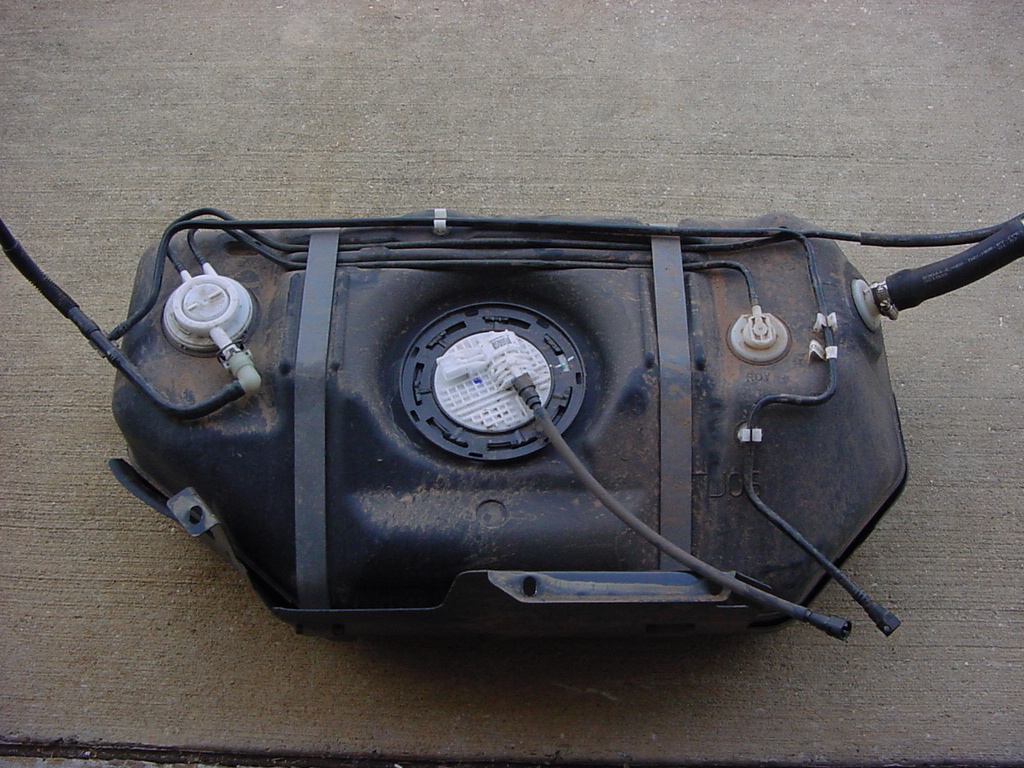
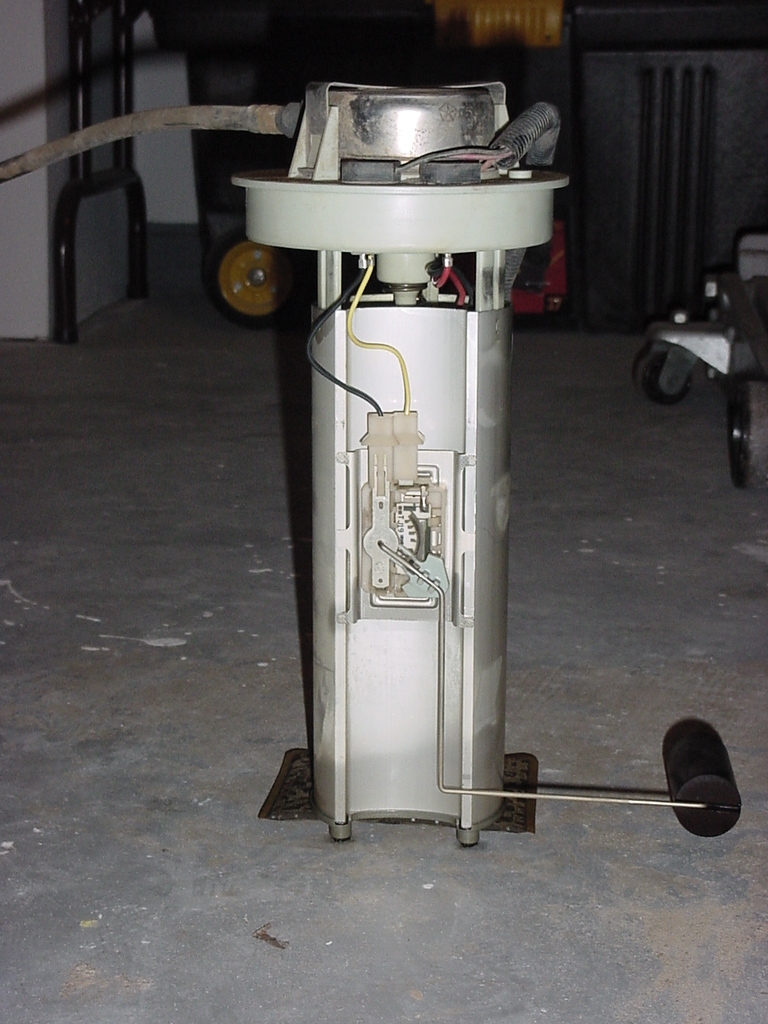
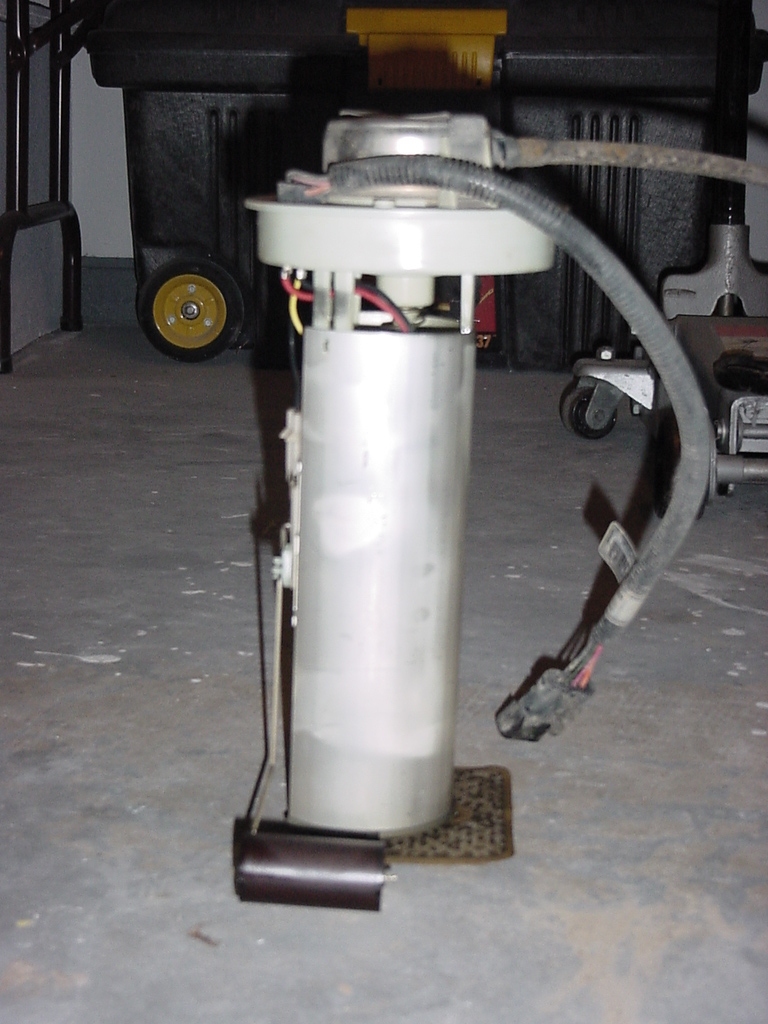
Here
is what the tank looks like. You can see the dimple on the
bottom where the fuel float sits. With just the
weight of the plastic tank you can see that the dimple can be compressed.
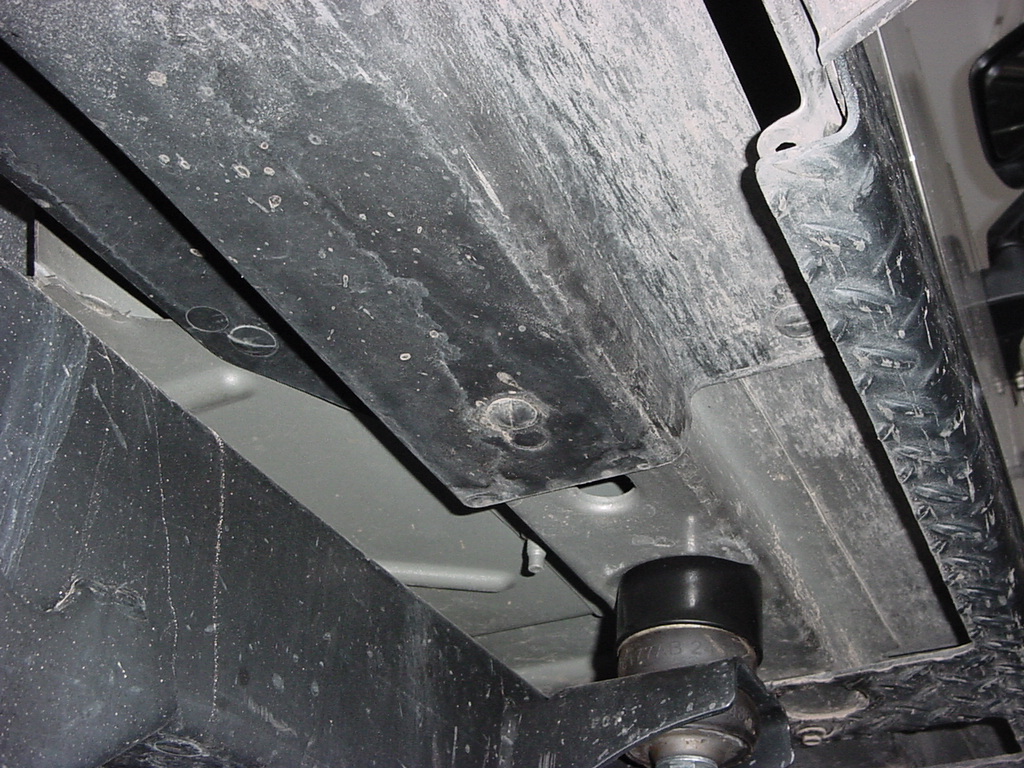
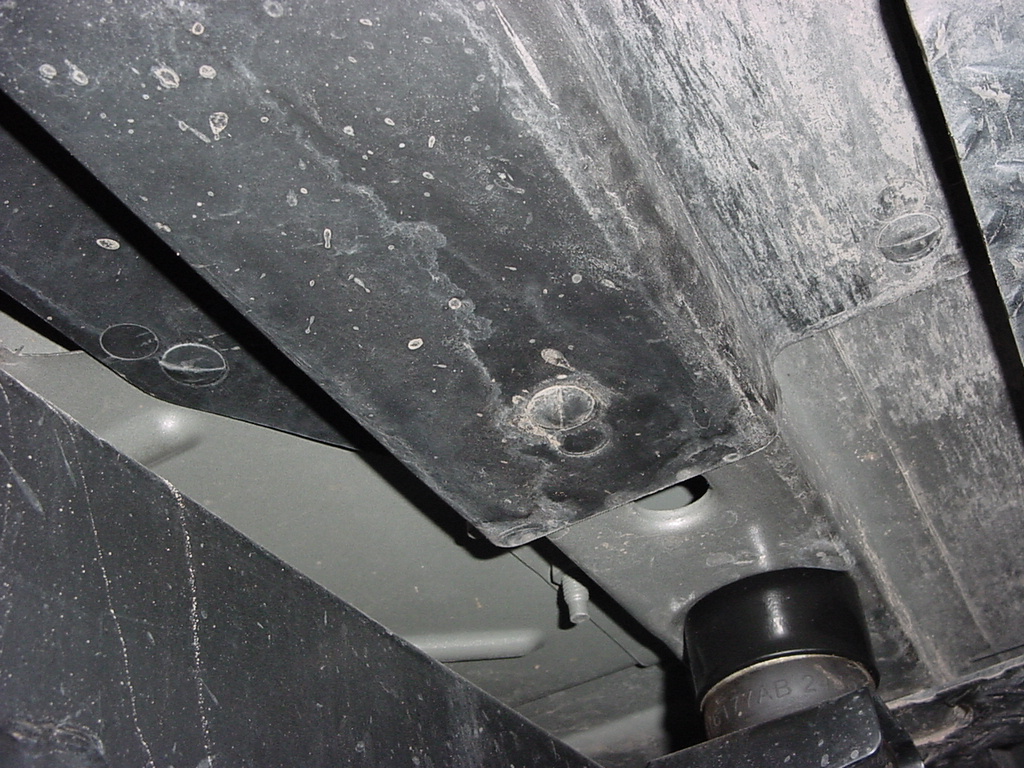
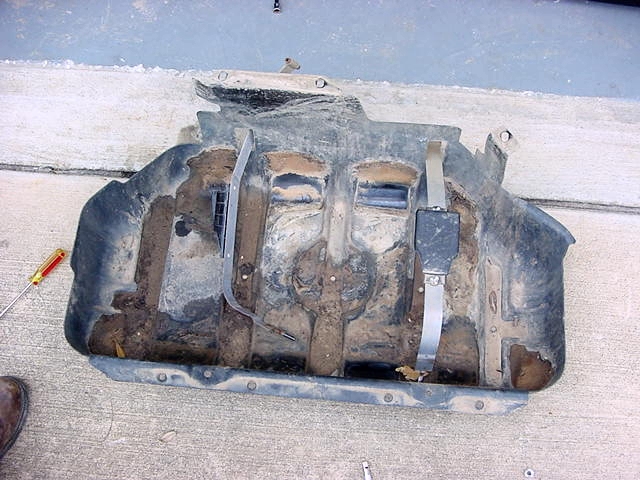
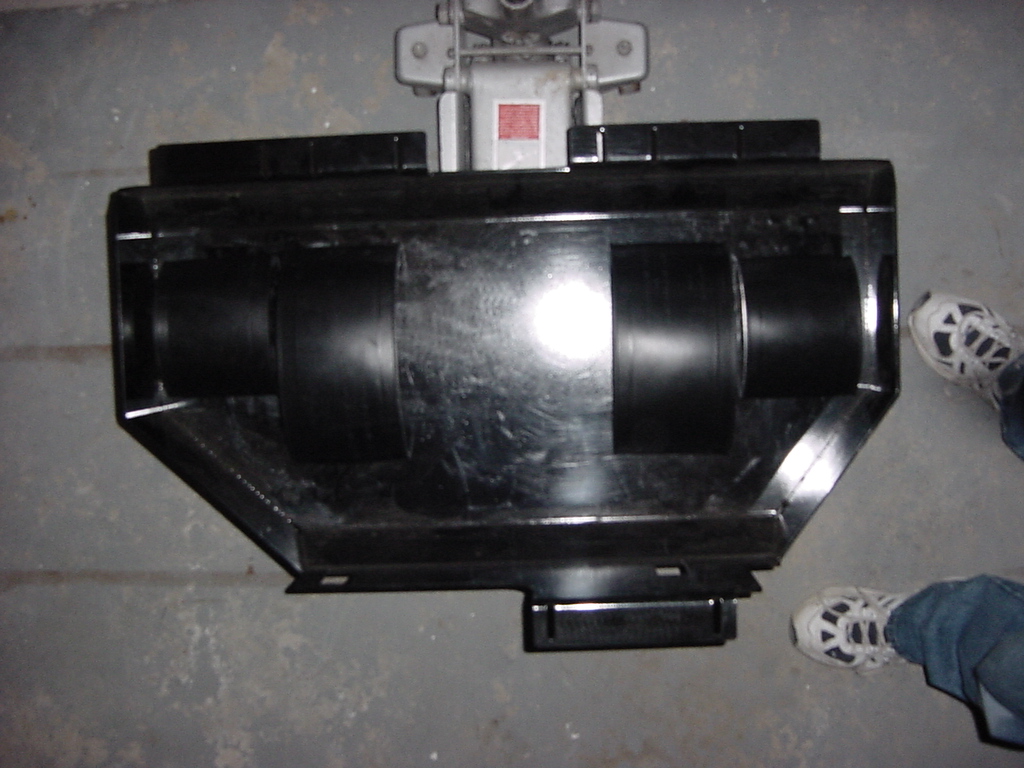
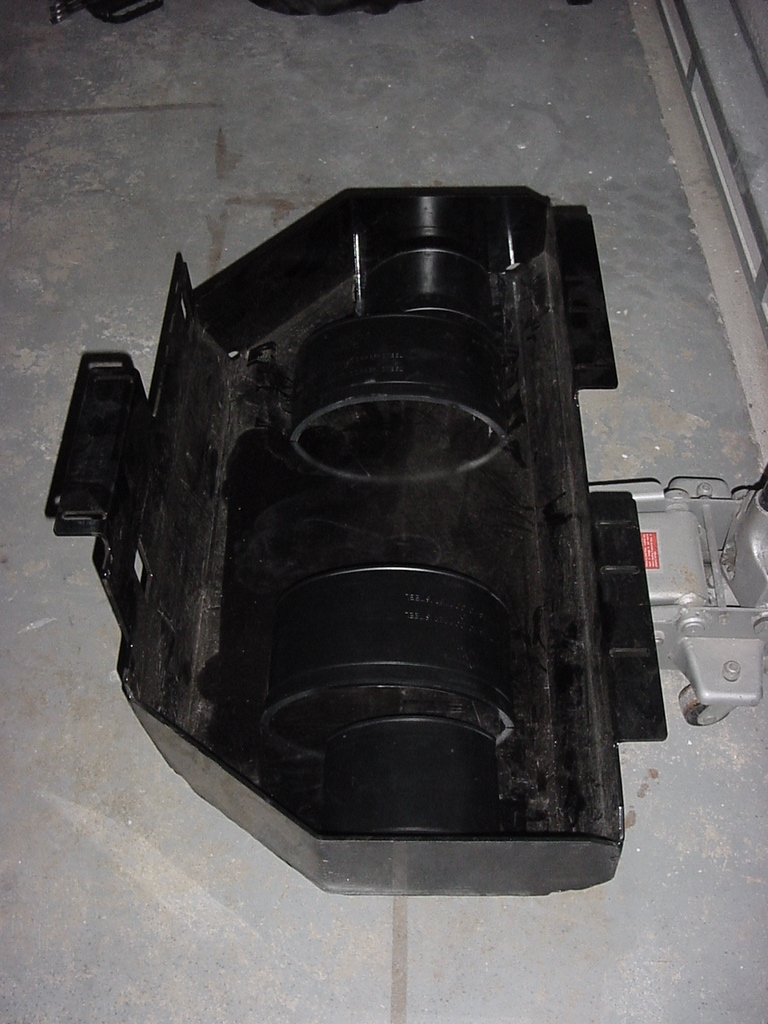
You
can also see how much junk has accumulated in this skid already.
Now is a good time to take a good luck up where the skid was to
clean out any accumulations of trail stuff. This isn't mine,
but it was almost as full of stuff from the trails here in Florida.
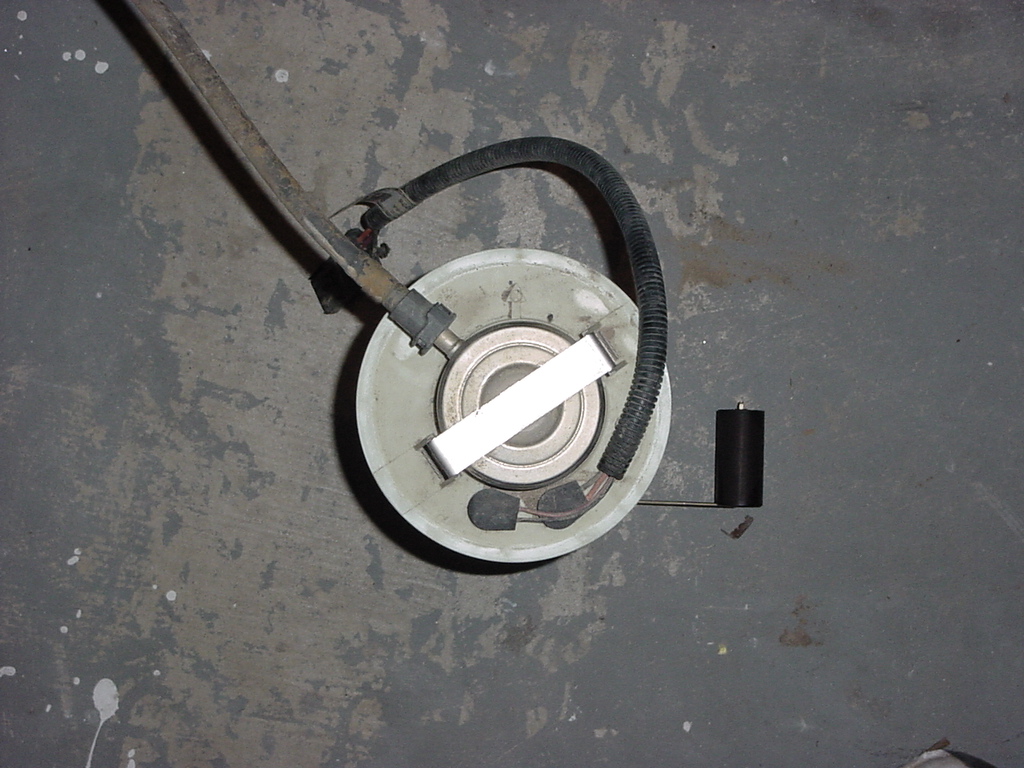
Now I had
heard a lot of talk about fuel pumps failing after installing raised
gas tank skids without the dimple in them. So I figured I would
do a little investigations to see if I could come up with some ideas
about why they could fail. I decided to go ahead and remove the
fuel pump and do some measurements. I already had a good theory
running in my head since I had pulled the fuel pump on my ZJ a while
back. The TJ pump turns out be almost identical (bottom filter
is different). I managed to lose my notes on this one so I don't
have actual measurements, but I do remember the important ones.
I checked the measurements a few different ways to see how much the
dimple would actually compress inside of the tank. I first just
put my body weight on it but felt that the numbers might be a little
skewed due to weight on top of the tank, so next I filled the tank with
19gallons of water (yes, I measured). Now this weight was a little
bit more than what the fuel would actually weight, but specific gravity
is a lesson for another day. The final math worked out to the
below.
Dimple
Depth
3/8"
Fuel Pump
Assembly Compression
1/4"
Obvious Math
-1/8"
1.
2.
3.
As you can see the measurements show that if you crush
the dimple you are putting about 1/8" of compression force on the
top of the tank. In 1. and 2. you can see the gap between the
plastic top housing and the metal cylinder. The top is spring
loaded to ensure that the filter sits at the very bottom of the tank.
When it was installed in my tank there was only 1/4" of gap remaining.
Now if I had compressed the dimple all the way that cylinder would have
wanted to push the plastic housing up. That filter that is on
the bottom also has a plastic foot on it that is just a small ring.
You can break and crush it easily (I experimented with the old filter
from the ZJ, it squashed easily). Oh if your wondering what that
silverish cylinder is on the top of the assembly, that's your fuel filter/
pressure regulator for the Jeep.
In reality could we probably get away with this like it
is. I won't say yes. So it all falls back to your preference.
Kilby states that you need a BL for his, but Troy says you don't.
Funny that the skids measured out exactly the same as far as lift.
When I did the Kilby's on Rubicon with a 1.25" BL we didn't have
much room left after the install. When I installed the TBT on
mine with the 1.25" BL I was even closer. Mine did have a
mod installed just to handle the dimple which you'll see.
As you can see by the pic's there is very little clearance
between the bottom of the tub and the top of the straps. It was
about 3/8". So if I didn't have a BL in my case I would have
been crushing the top of the tank down. Where was the force going
to go. FUEL PUMP. So my current stand on this will be for
the Short Wheelbase 2003 and 2004 you need at least a 1" BL to
install either of the skids. Now I do know that the 2005 Rubicon
Unlimited has a different tank and layout underneath, but you'll have
to go look at the write up when it's out. I will also recommend
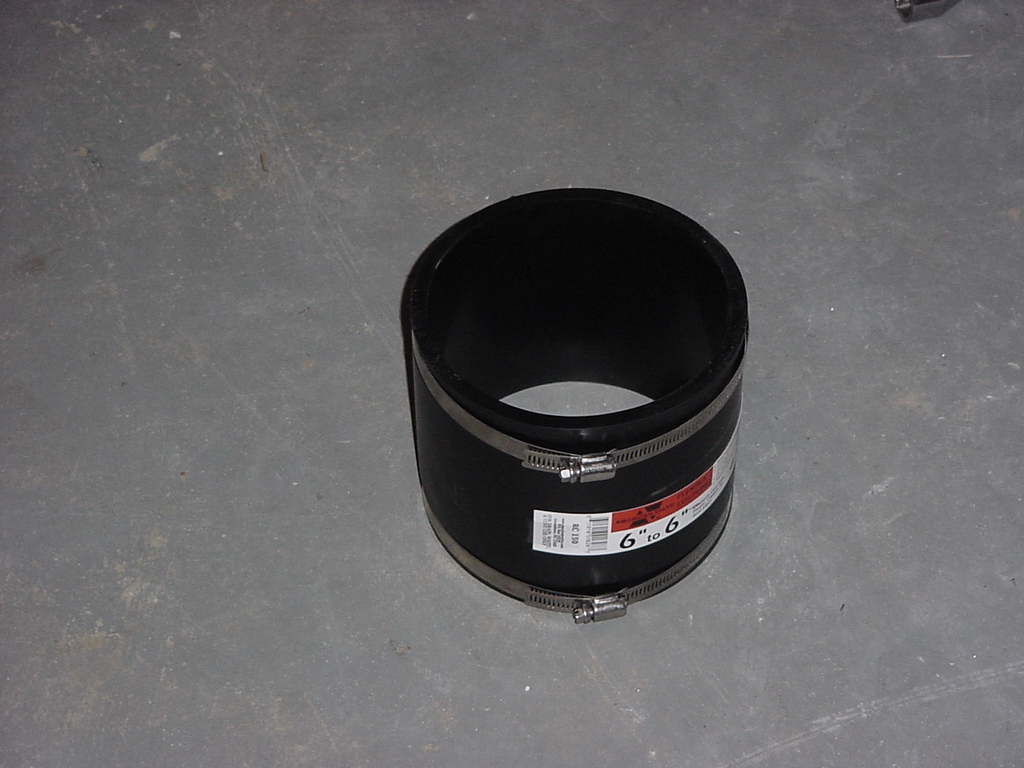
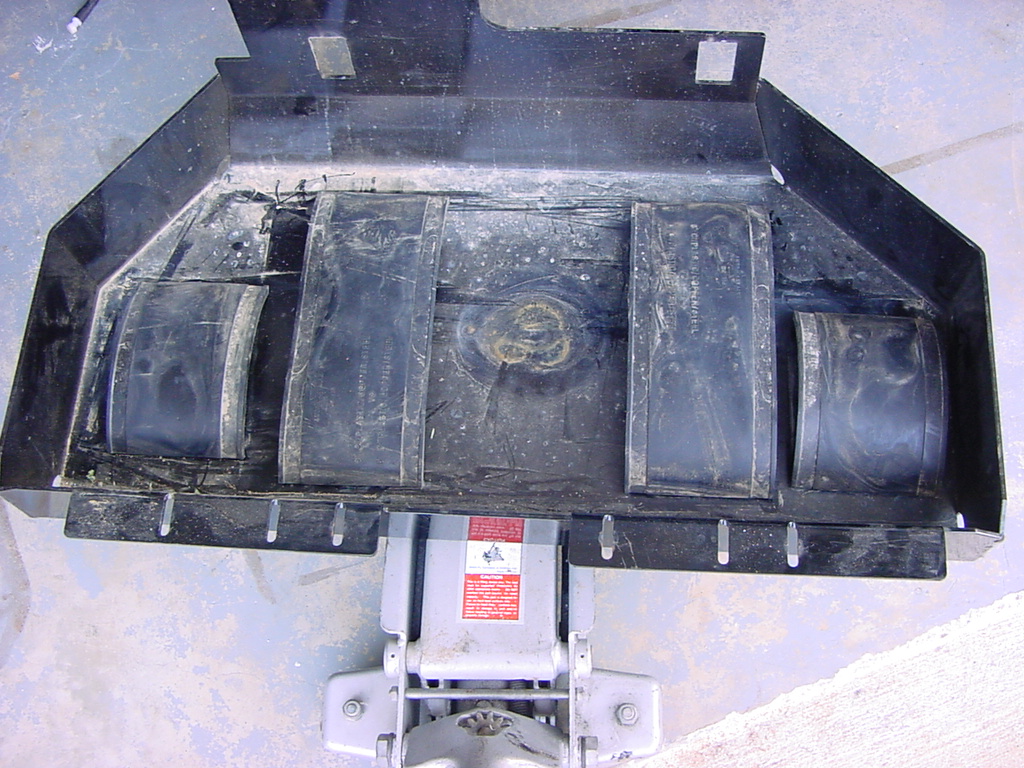
the following cheap mod to protect the dimple in the tank for all skids.
Gas Tank
Mod:
Pic
up two 6" rubber pipe coupler from the local hardware store
(Lowe's, Home Depot). The rubber on this 3/8" deep, so
it's perfect for spacing the dimple out. You may find these
in the aisle with sewer or drainage pipe.
1. Cut the coupler
down along the side so that you have a long strip. You
will be making 2 long strips and 2 short strips out of this.
2. Measure and cut
the long strip first. These will be the 2 supports along either
side of the dimple. My measurements were 13". This
will leave 2 small strips that we will use in the corners of the
skid to support the tank.
3.
Lay the strips into the tank, long ones on either side of where
the dimple will be, and the short ones in the corners.
4.
Test fit the tank to make certain everything lines up.
Reinstallation:
1. Place fuel tank into skid plate. Wrap straps around tank with
strap studs inserted through holes in skid plate. Tighten strap
nuts to attain 30 mm (�2 mm) between bottom of nut to end of strap
stud using a 13mm deep well socket. Do not over tighten nuts.
This wasn't anywhere close to what it was from
the factory so I choose to ignore this measurement. I tightened
down the straps until I couldn't move them anymore, then went
1 turn more.
2. Install two protective caps to tank strap studs.
3. Connect fuel fill hose at tank if you removed it earlier. Tighten
hose clamp.
4. Raise skid plate/fuel tank assembly into position on body while
carefully guiding plastic vapor lines and fill hose. A floor
jack works well for this.
Make certain you don't get any
lines pinched between the skid and the frame as you lift it.
5. Connect electrical connector at the top of the fuel tank.
Don't forget to push in the red clip to hold it.
6. Install 7 skid plate mounting nuts. Tighten to 16 N�m (141 in.
lbs.) torque. You will need a 13mm socket and a couple extensions
to reach the ones in the front.
7. Remove tank jacking device.
8.Carefully
connect the vapor line near top of flow management valve. Be very
careful not to bend or kink the vapor lines. If lines leak, a
Diagnostic Trouble Code (DTC) will be set. The hose should
just press in and the clip should give a slight click. Give a
light pull on the line to make certain it's in.
9. Install wheelhouse liner at right/rear wheel. Don't
forget to put all the trees back in.
10. Connect 2 fuel lines at left/front of fuel tank.
11. Use a new plastic tie wrap to secure rear axle vent hose to fuel
fill hose.
12. Remove gas cap and position fuel fill bezel to body. Install 8
screws and tighten.You
may need a T-25 Torx or a Phillips screwdriver, be careful you
don’t send anything down the tube.
13. Install filler cap.
14. Install Rear wheels.
15. Put required amount of fuel in tank, a couple gallons should be
good if you emptied it.


