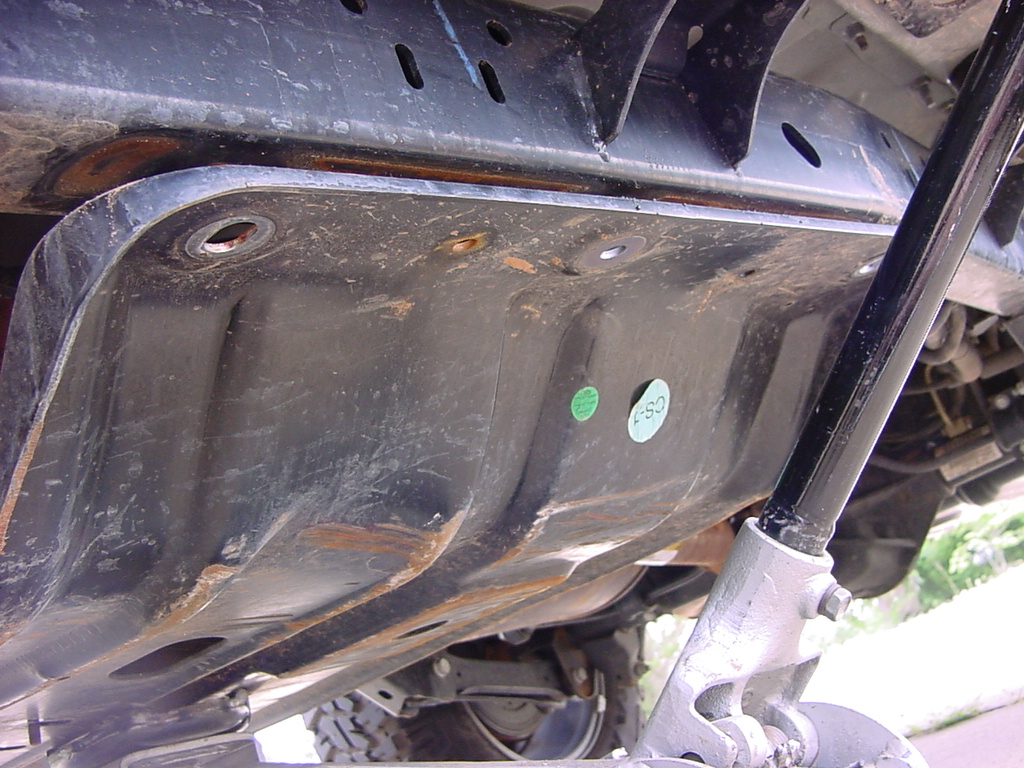
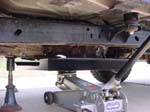
One of the biggest issues that has come up about the newer
2003 and up TJ's is the fact that the new transfer case skid plate hands
much lower than the previous years. Those obstacles that the older TJ's
could get over now become an problem. The new skid plates have affectionately,
to use the term loosely, "the Shovel." One of the first persons
to come up with a really nice skid plate to correct this was Jerry at Jeep
medic fabrications. His new skid plate, not only raises the skid approximately
1 3/4", but it also has a nice flat surface to help with sliding
over obstacles. Oh and not to forget the fact that the front edge is not
turned down like a plow blade. This "Belly up" skid also has
a partner engine skid that mounts up to it so that you can have lots of
protection underneath.
Installation: |
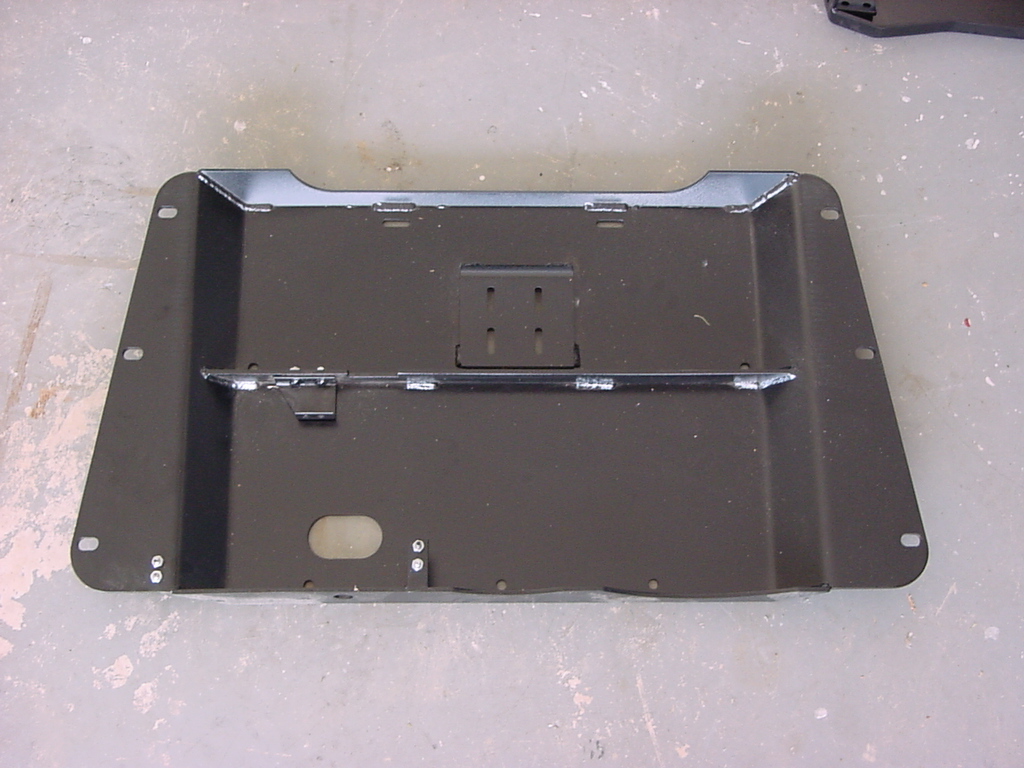
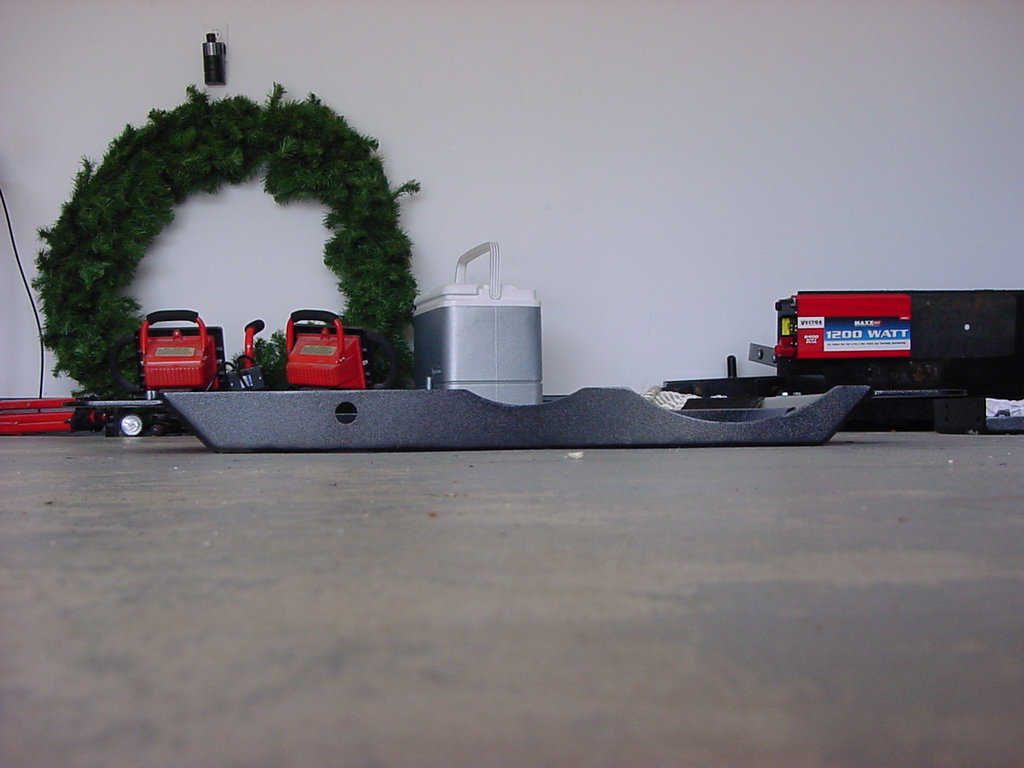
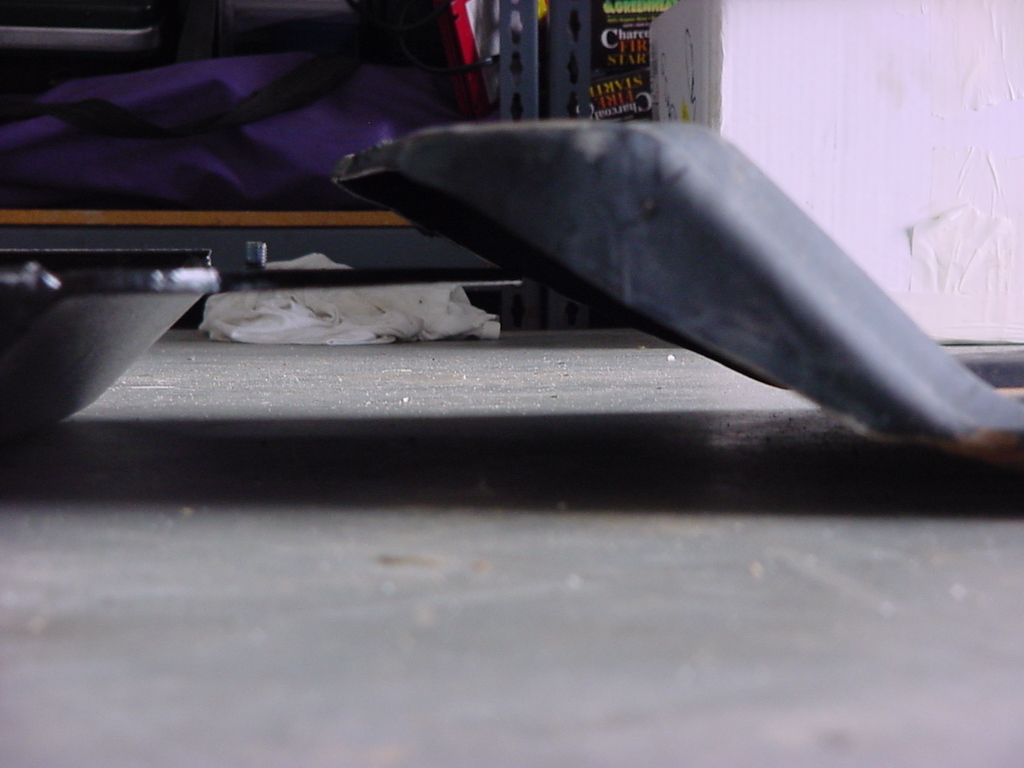
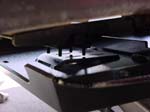
Here
is what you get with the belly up skid. Everything it bolted in
on the plate, so it's pretty hard to lose anything in shipping.
Besides it's always fun to take things apart that are still clean
before you get under the jeep to what awaits there. |
|
|
|
|
|
|
|
|
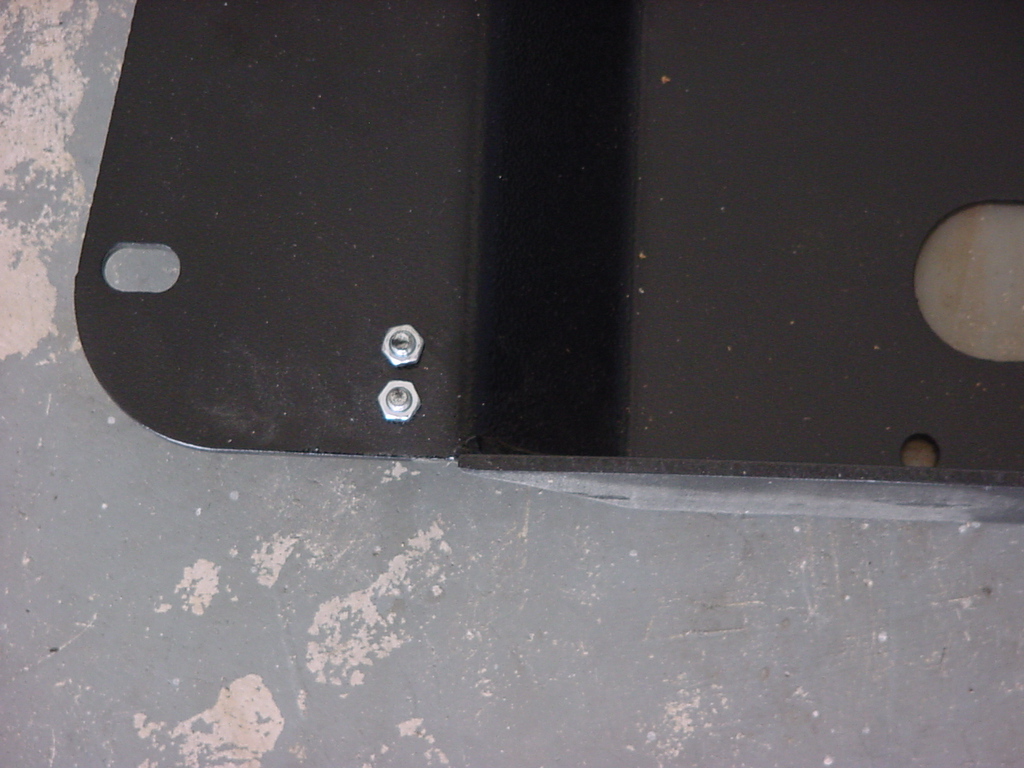
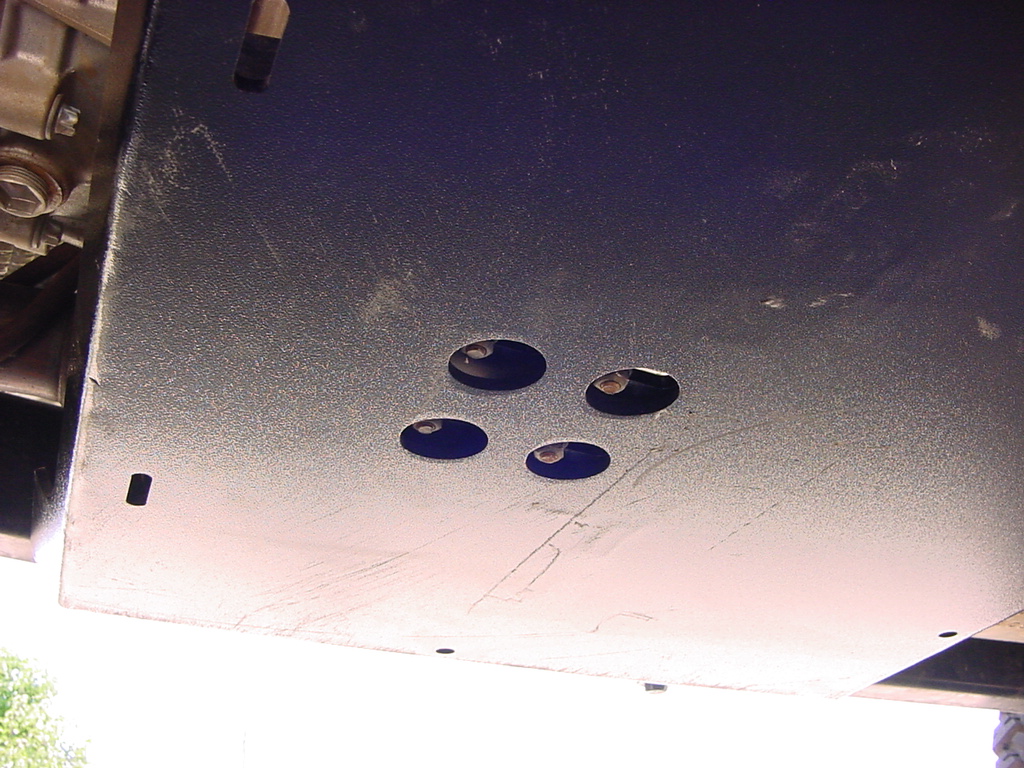
| 1. Unpackage your new skid.
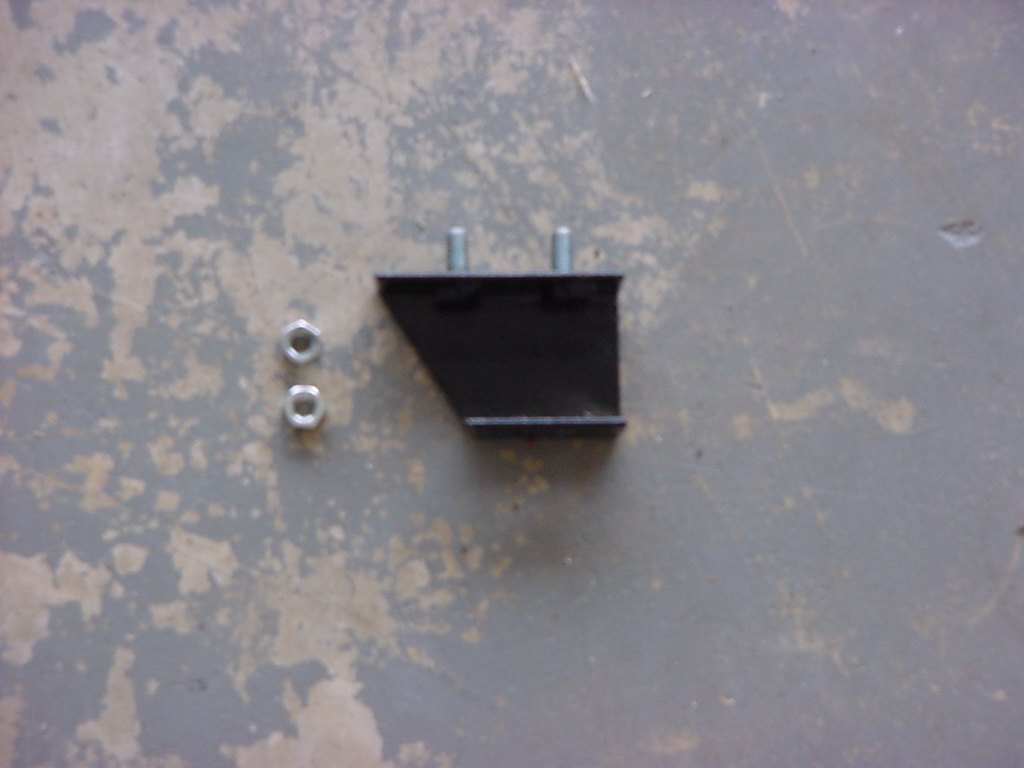
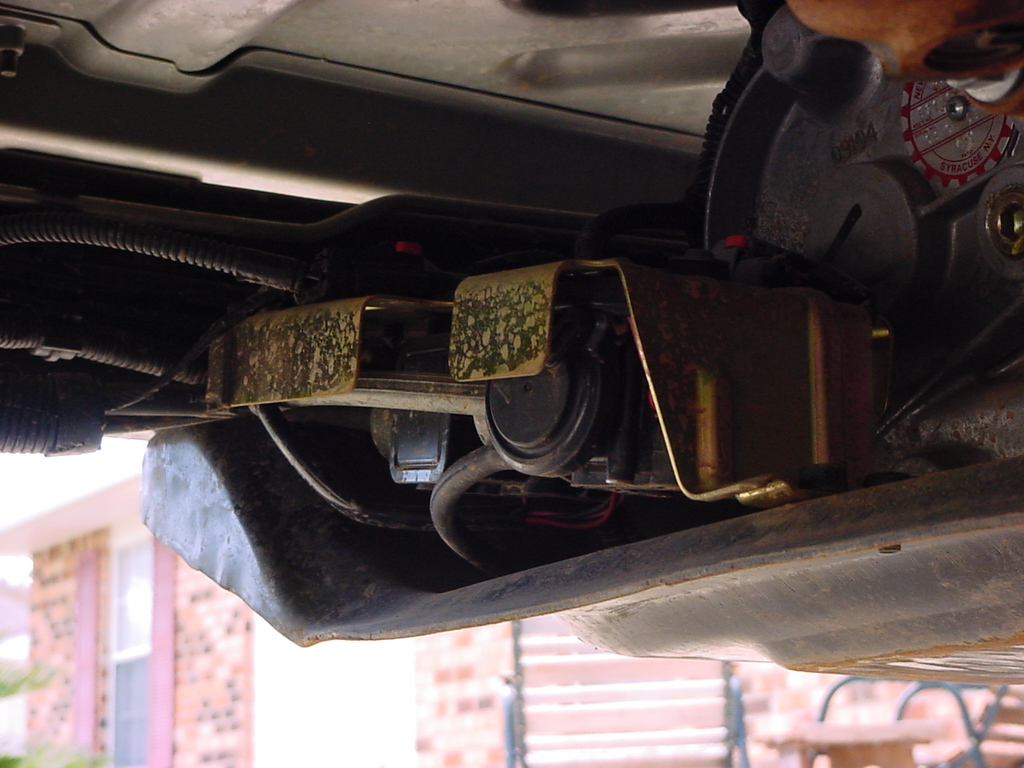
You will need to unbolt the nut that is holding your compressor bracket
in place and place it on the to 5/16” studs all the way to the
right of the skid, the slant goes to the back. Take all the nuts off
the studs, and place them under your jeep for further use. You will
need a 1/2" Combo wrench to tighten up these nuts. |
|
|
|
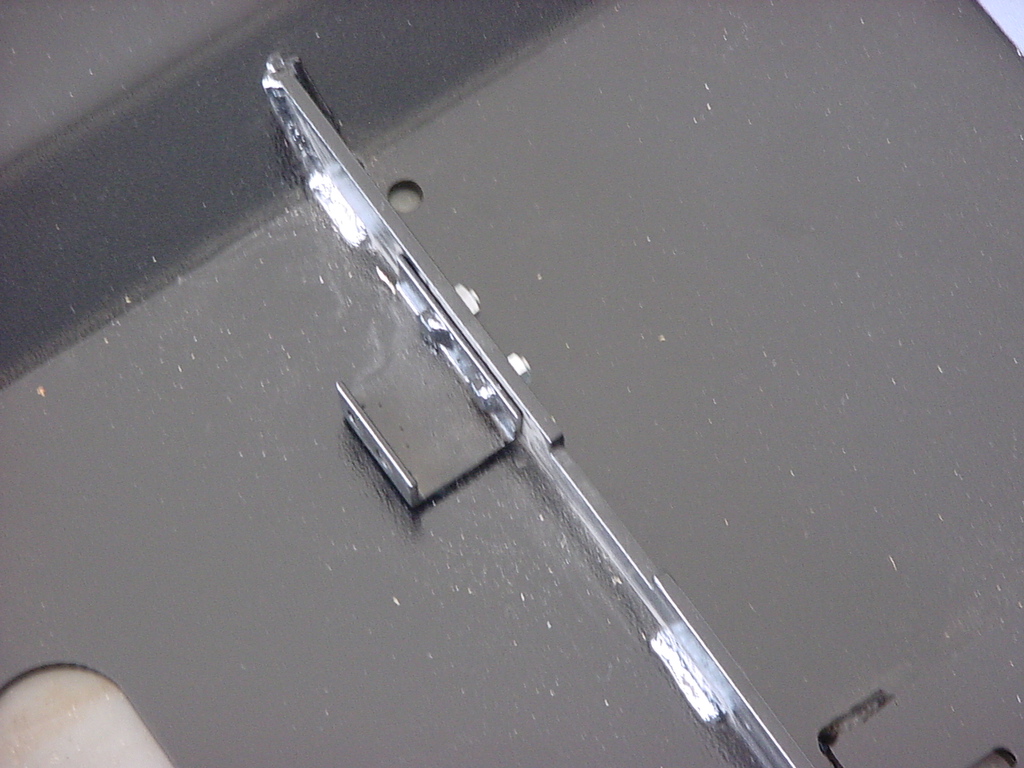
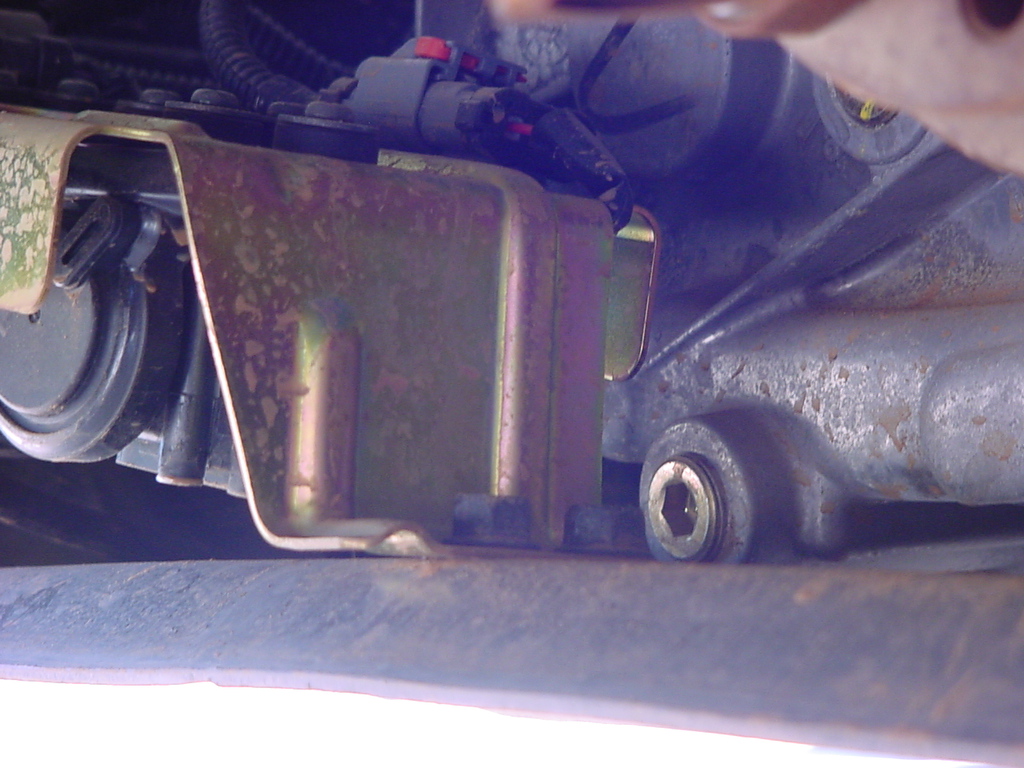
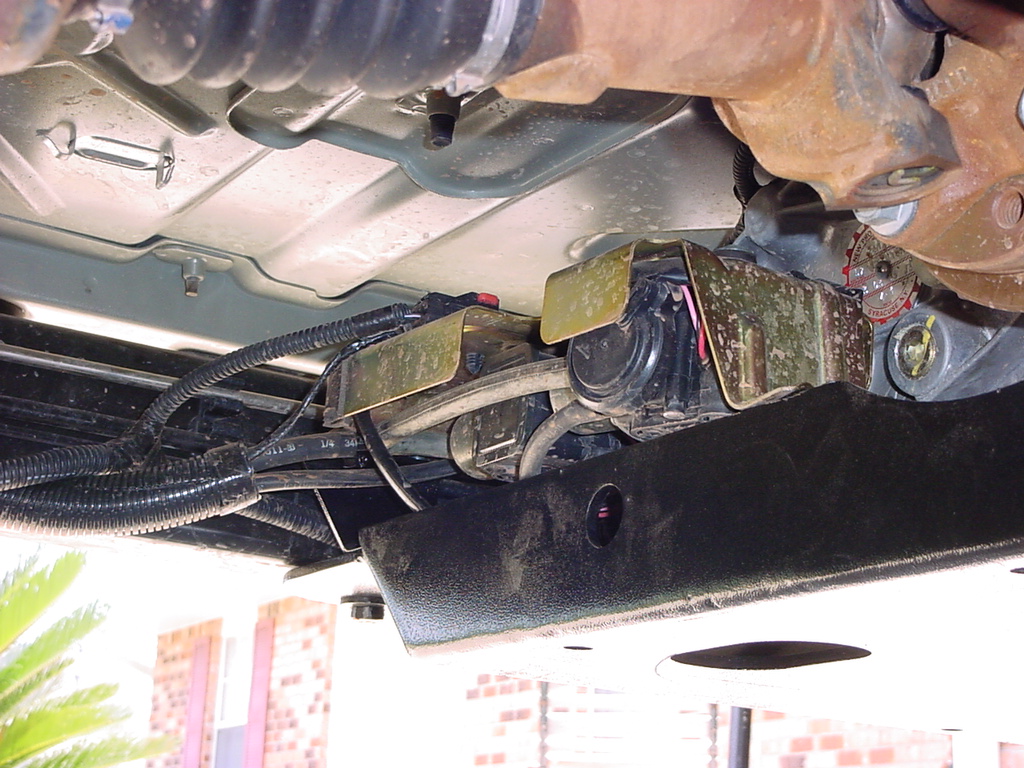
2. With a 13mm socket take
off the 4 bolts holding the transmission bracket to the skid and save
for later.
|
 |
3. With the same socket, take
the 4 bolts to the compressor bracket off. You will not be reusing
these. Let the bracket just sit there.
|
|
|
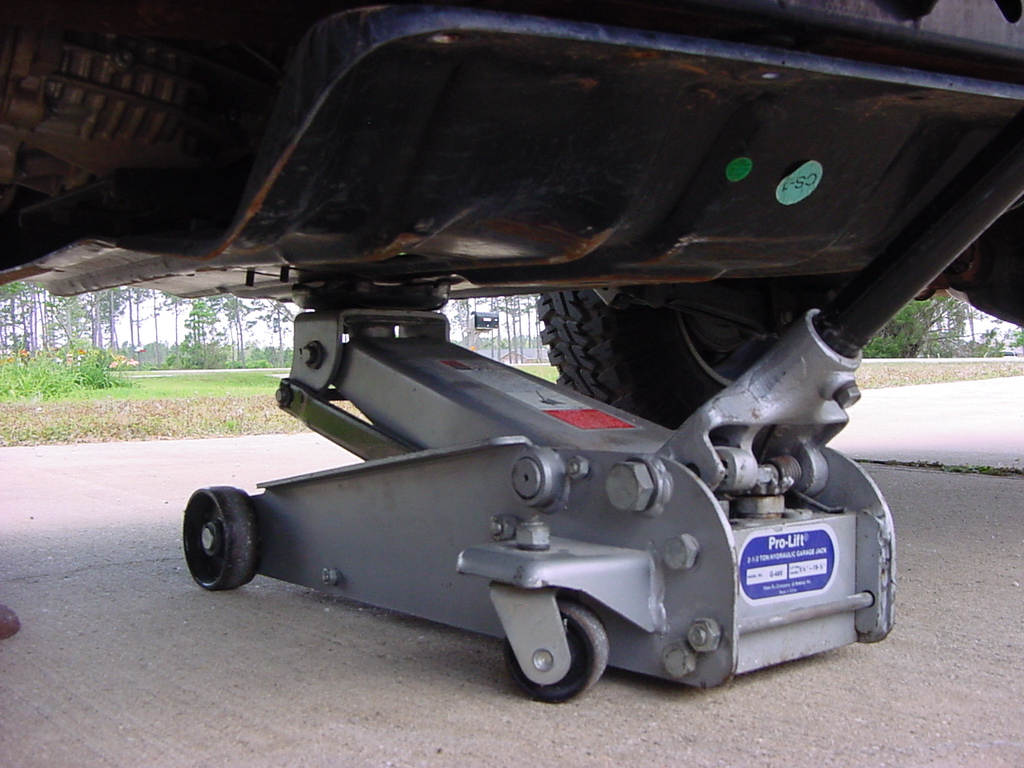
4. Now, you will need to find
a block of wood and a jack. On the 5-speed you will be able to place
the block of wood just in front of the skid onto the tranny and raise
it up as far as you can. On the auto’s you will need to place
the block of wood on the bell housing. Another option is to place
the block of wood on the upper fold of the rear drive shaft. A word
of advice is to use a small block of wood to hold the jack in place,
it can roll quite easily.
|
 |
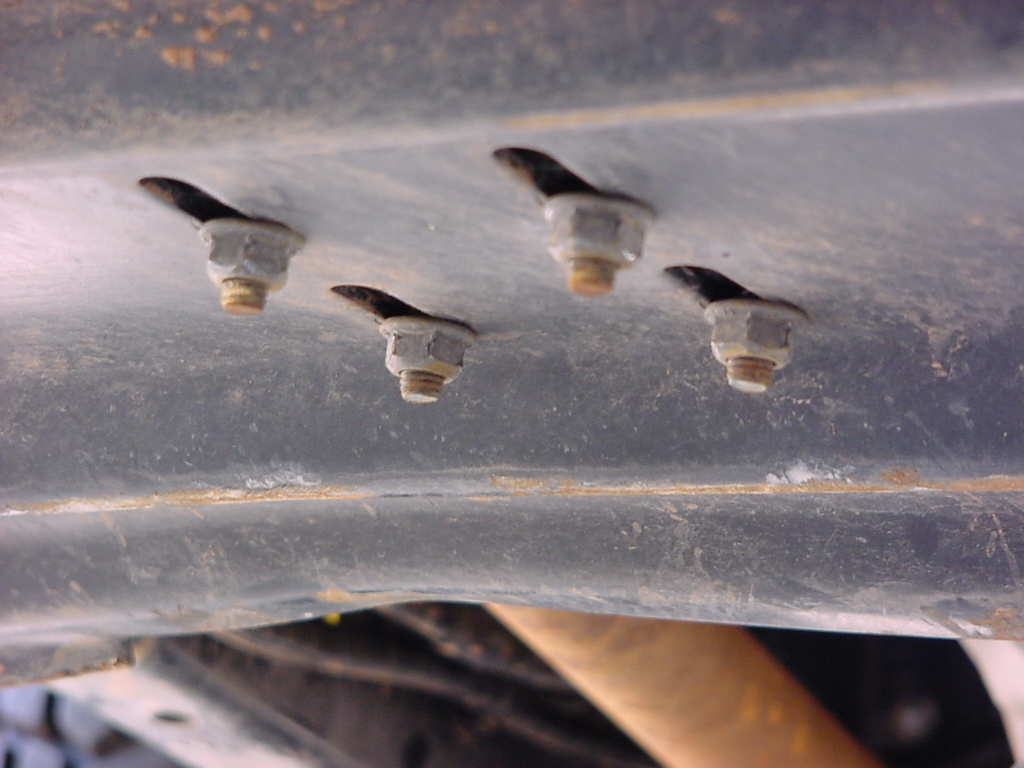
| 5.
Take the 6 18mm bolts
off that hold the tranny skid in place, save these you will need them.
Make sure to hold on to the skid. A word of advice is to unbolt one
side at a time. I used a floor jack to hold the skid in place. It
makes for lowering and pulling it out pretty easy. |
|
|
|
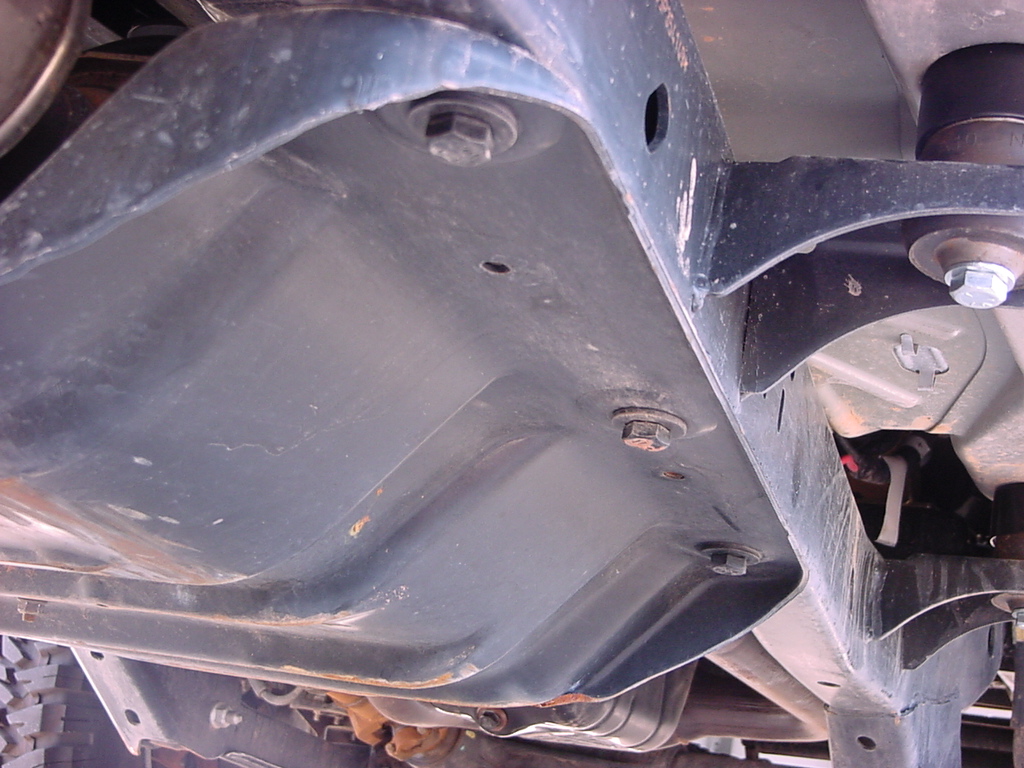
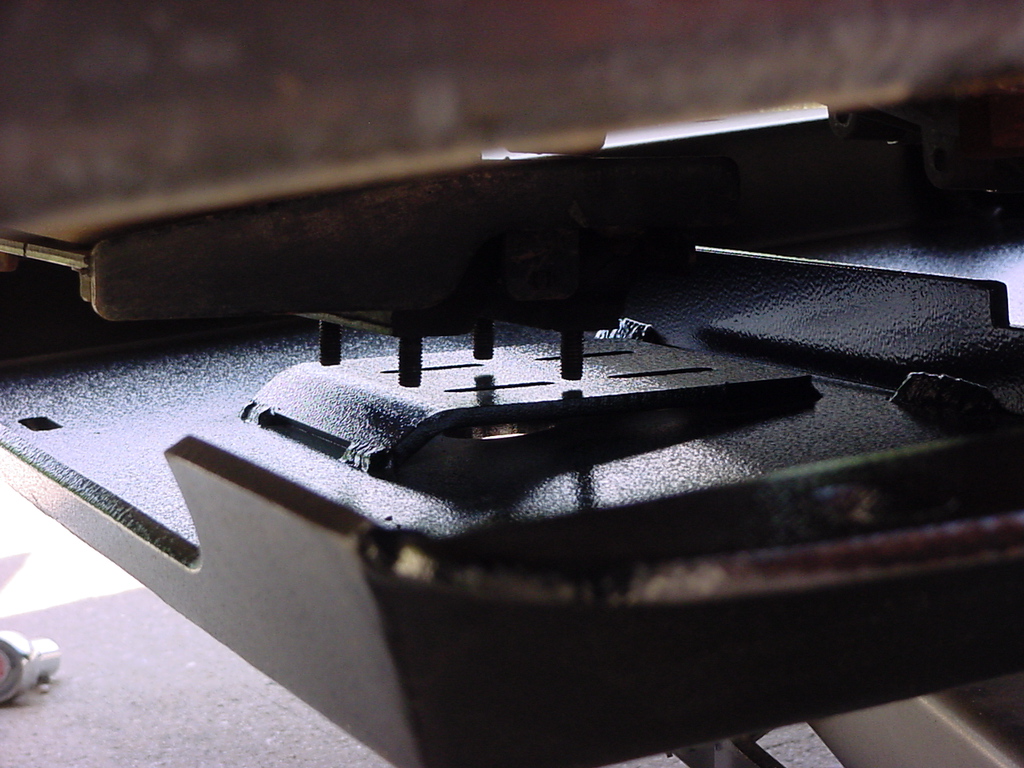
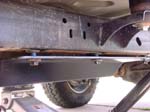
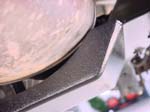
| As you can see the medic skid
is pretty nice compared to the old stock skid. |
|
|
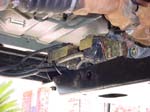
6. After removal of your stock
skid, slide the new skid under the jeep, lift the skid to fit over
your tranny mount, you may have to push the compressor bracket towards
the back to lift the skid all the way up. Loosely place all bolts
onto the tranny mount to hold the skid into place.
|
 |
| 7. Make certain you get the
4 transmission bolts lined up with the holes in the skid. |
 |
8. Loosely place all the 18mm
head bolts back into the frame. Then tighten them to factory specs.
Make sure not to cross thread, which is done very easily.
|
 |
| 9. Lower your transmission. |
10. Tighten the 4 nuts to the
tranny. With a 13mm Socket. This may be a tight fit
|
|
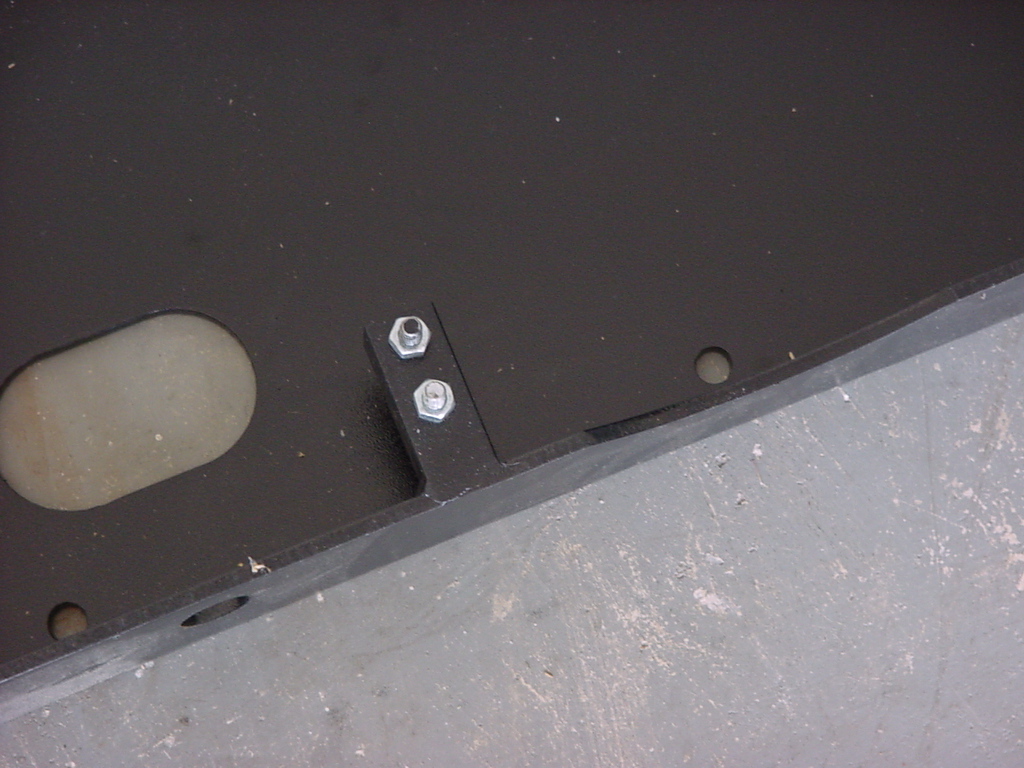
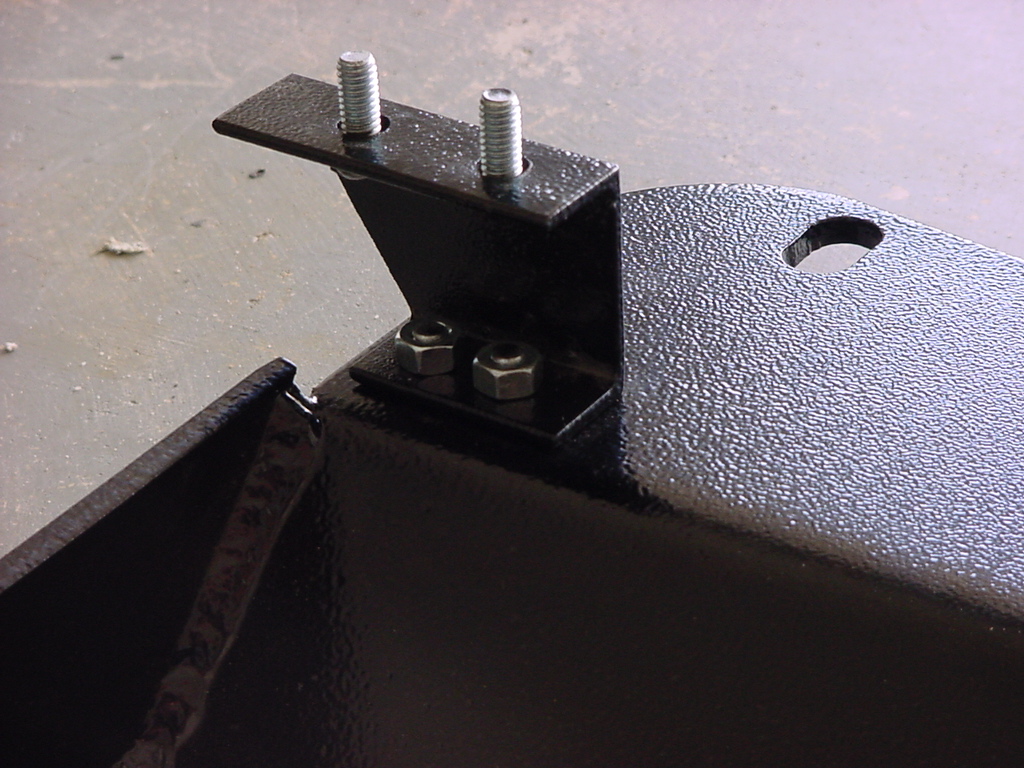
11. Place your compressor bracket
on the mounting point and tighten firmly. You can use either a 1/2"
socket or a 1/2" Combo wrench to tighten up these nuts.
|
 |
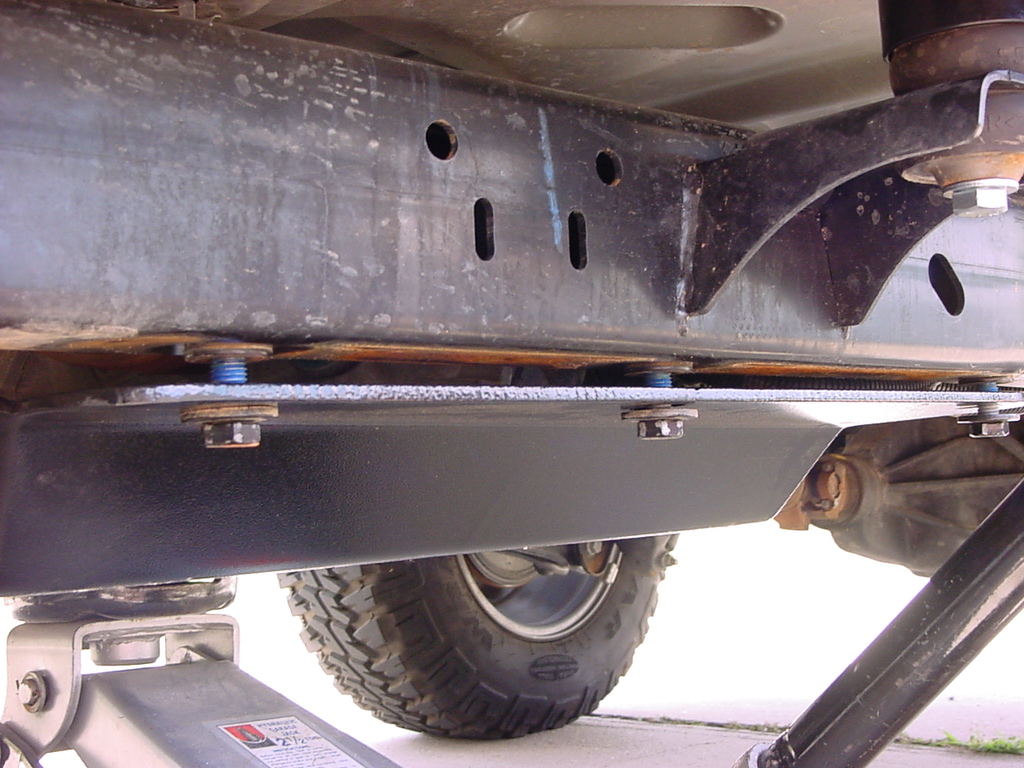
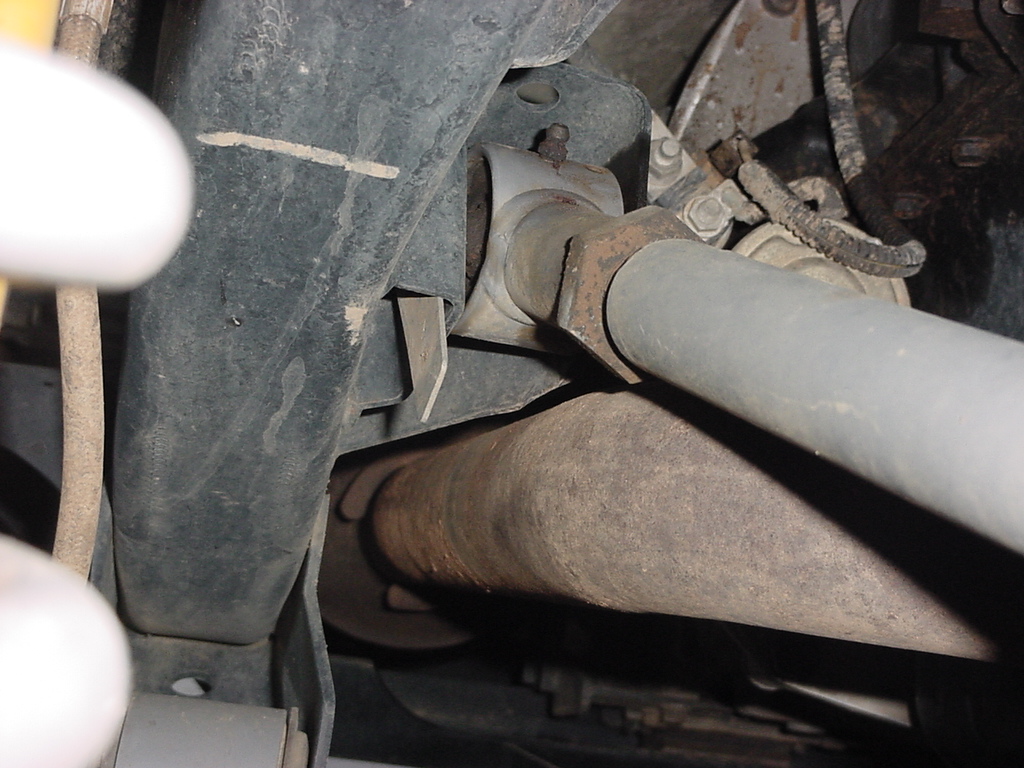
12. Check for clearances. Some
tight area’s is the passenger front upper control area. You
might need to pull your exhaust down. My muffler sat pretty close
to the edge of the skid. Jerry has modified the skid slightly to open
this area up.
|
|
 |
13. Once every thing is tightened
down it is time to check if you need to adjust your shifter linkage
to the 4wd selector.
|
14. If you are having problems
with shifting into 4wd high, low, neutral or 2wd you need to adjust
your linkage.
|
15. Again with a friend place
the transfer case into 4wd low, take a 13mm socket, loosen the bolt
on the shifter linkage on the driver’s side of the transfer
case. Place some lubricant onto the shaft (wd40, liquid wrench, pb
blaster), and make the adjustments accordingly. Then retighten the
13mm bolt’s.
|
| Tip for install: Feed back
from Medic customers, is to loosely put all bolts into the frame,
half way, set the tranny down on the skid, fire up the engine, let
it run for one minute, shut it down then bolt all bolts to spec…. |