I have been looking for an engine skid to protect the vulnerable
oil pan and form a better transition into the transfer case skid. Now
there are a couple out there, but only 2 that I know of that will fit the long
arm kits. Tri-County Gear makes one, but after watching my friend wait 6
months to get his, I decided that maybe that wasn't a good way to go. Well
luckily for me Jerry at Jeep
Medic Fabrications designed an engine skid to work with any lift, long arm
or short arm. You just need to order the appropriate skid. Now this
skid is very well built and is priced very affordable for what is offered.
The additional neat thing is that it mates perfectly to his belly up
transmission skid. The directions sent with the skid work perfectly, of
course I did a one thing differently, just to see. I won't comment on the
phonetic spelling of a few words in the directions.
| Installation: |
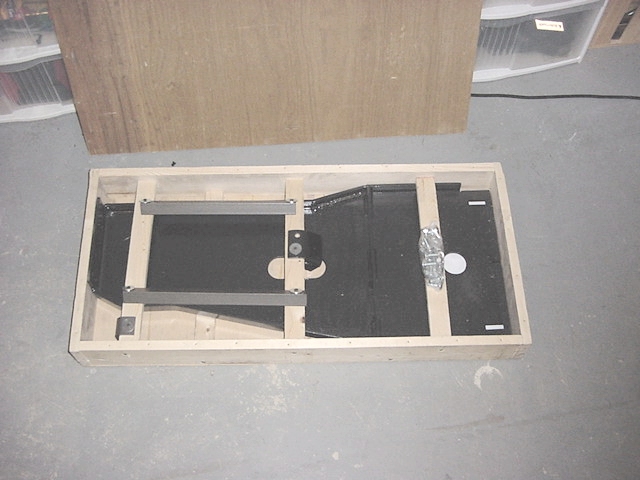
| First
open up the packing crate. This thing was probably crated better
than anything I have seen in the past, and that includes some pretty
expensive aircraft parts. I was impressed to say the least.
Additional bonus is all the new drywall screws that I gained for my
collection. Thanks. Quick Update on this part, I later used
some of the wood to frame in an additional air intake for my A/C and
some of the screws to install new drywall in a bedroom. |
|
| Okay
after spending a little while taking out all the screws and the bracing
I finally got it out of the crate. |
|
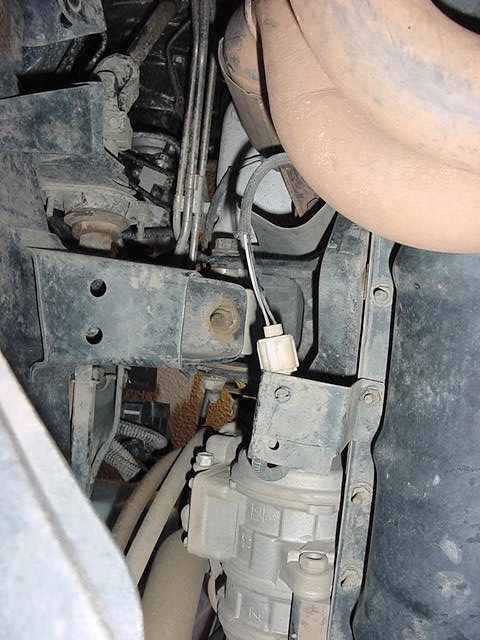
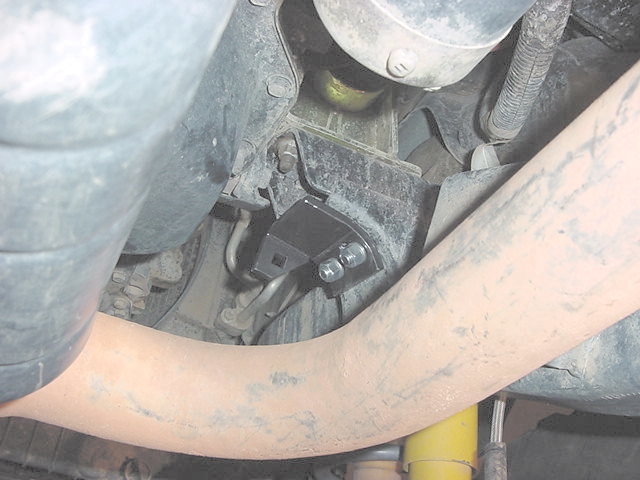
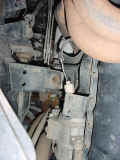
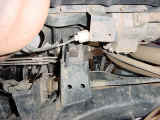
| 1. Start over on the drivers side, remove the nut holding the motor mount
on. This requires a 15mm socket and a long extension to get
to it. |
 |
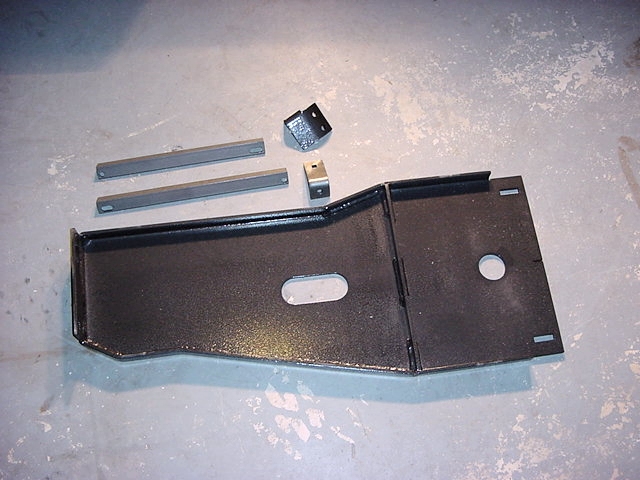
| 2. Then install the first brace. This is a L shaped bracket.
The long part goes towards the rear of the vehicle. Reinstall
the nut. |
 |
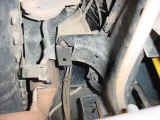 |
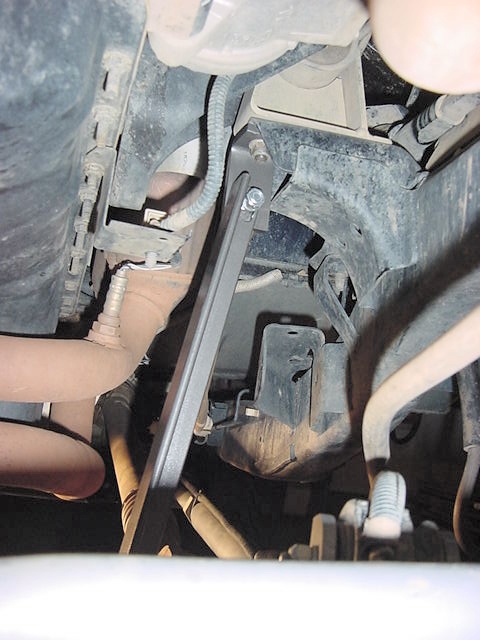
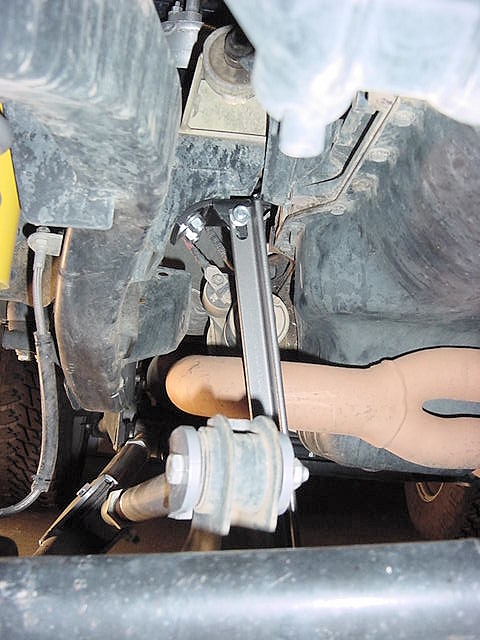
| 3. Now hang the longest of the 2 angle iron pieces. Slot side up.
Just insert the carriage bolt through, insert lock washer and spin
the nut on, do not tighten just yet. The brace goes on the front
side of the bracket. |
 |
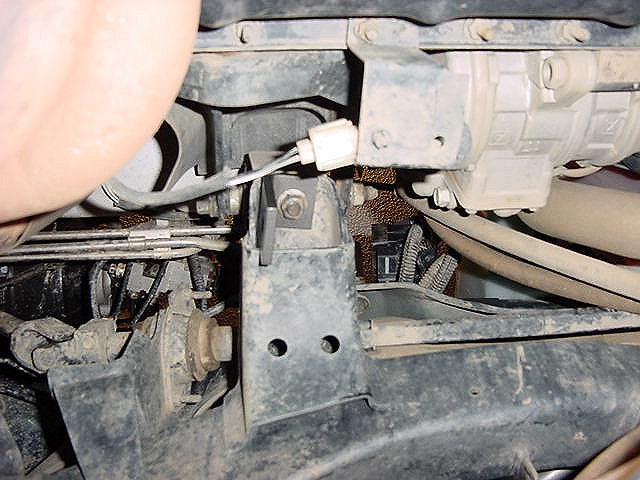
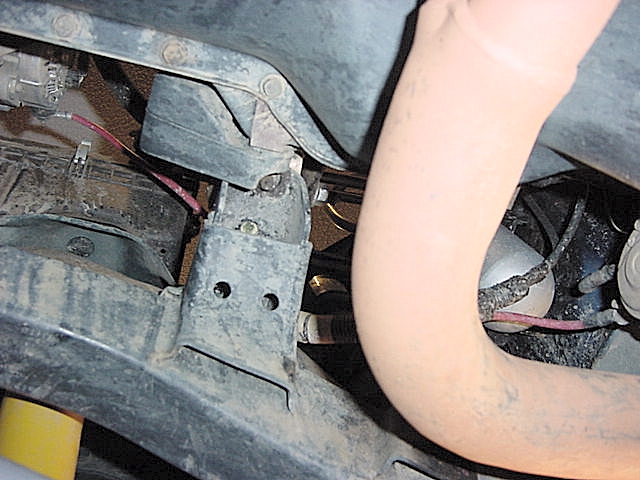
| 4. Now off to the passenger side. You will need to insert two bolts
into the motor mount and stick them through the holes. |
|
|
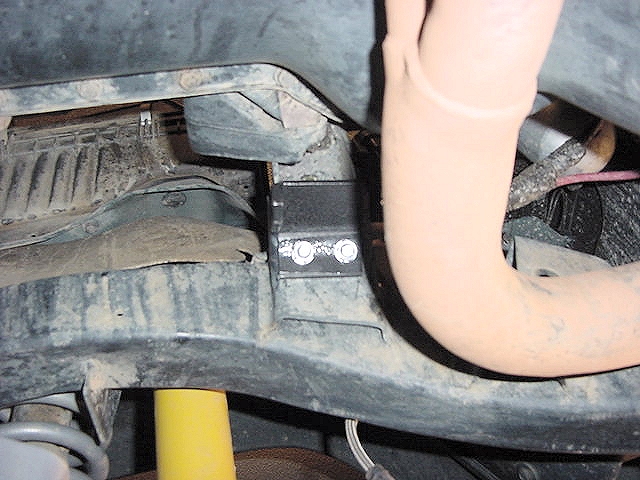
| 5. Now install the second bracket, this time it installs facing towards
the front. It is really fun holding the bolts in and inserting
a lock washer and nut on each one. Tighten these down with a
9/16" socket. |
|
|
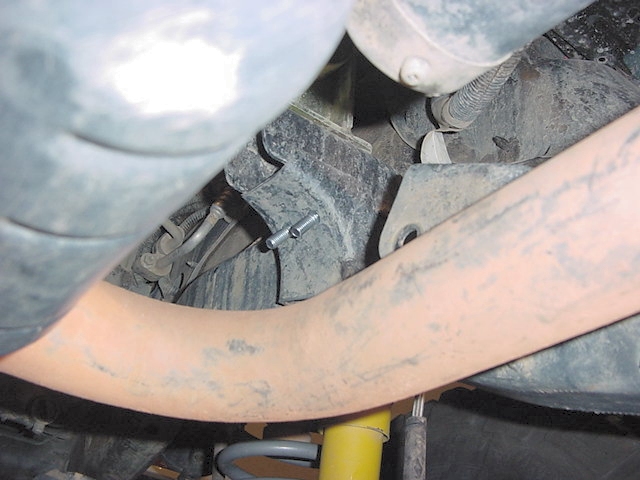
| 6. Now install the short piece of angle iron, slot side up. Once
again just install the bolt, lock washer and nut loosely. We
will tighten theses later. |
 |
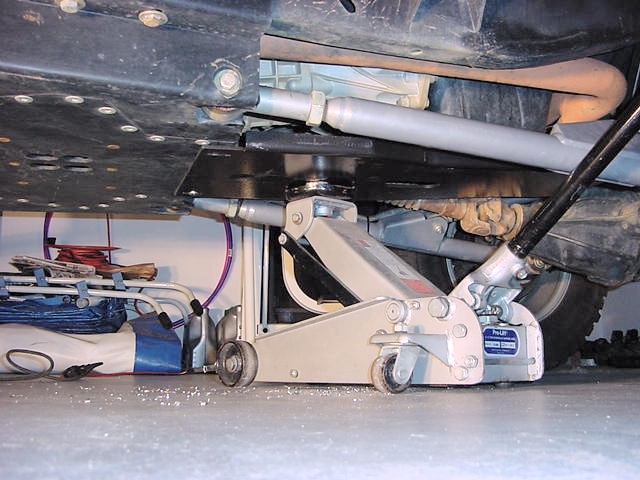
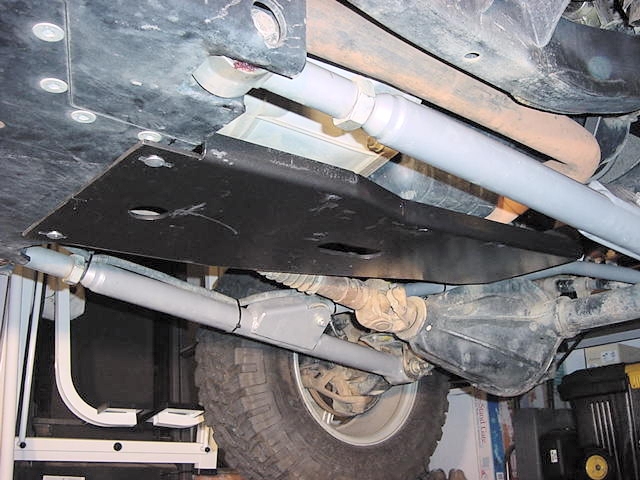
| 7. Now
since I didn't really do step one of the directions, I lifted the
skid with a floor jack and bolted up the front supports. Now
the medic skid comes with 2 sets of holes drilled in it. The
top set is for not Body Lifted Jeeps, and the bottom set for a 1"
body lift. I installed mine there. Once again it's carriage
bolt, lock washer, nut, loosely installed. |
|
|
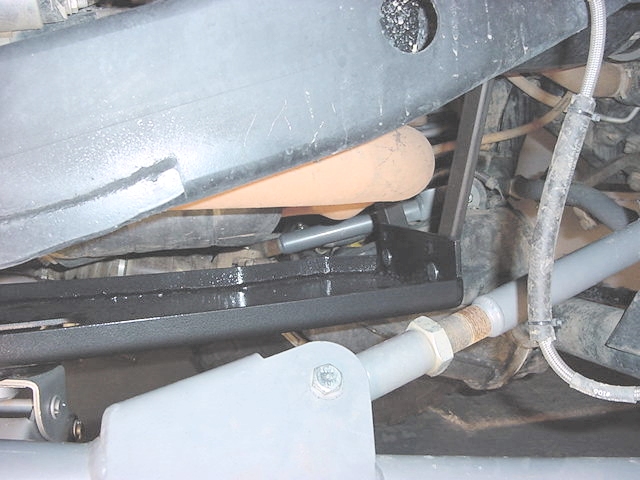
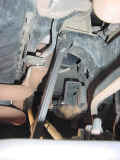
| 8. Now I positioned the end of the skid on the Transfer case to
see how it lined up and where I would need to drill the holes.
The directions stated use a 7/16" drill bit, but I was able to
use a 3/8" drill bit. Good possibility since I used the
skid as a template for drilling. |
|
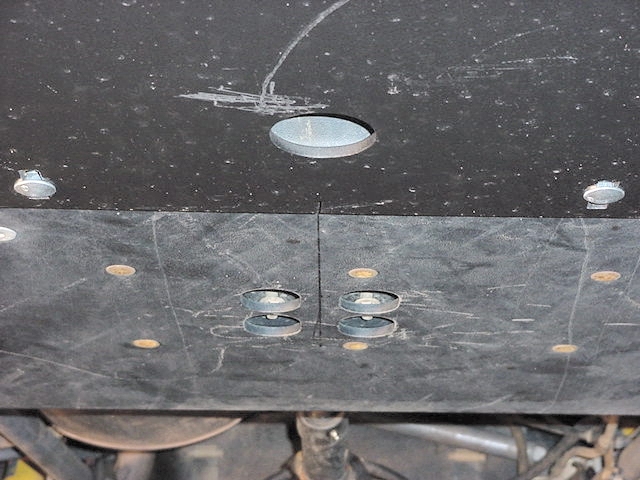
| 9. I followed the directions at this point and marked a line centered
between the transmission mount bolts. I noticed that the engine
skid had a notch cut into it that lined up perfectly with this line.
Once I got this line and the notch lined up I did a quick check to
see if the oil drain and transmission drain were centered. They
were, so another step of the directions was done. I marked the
openings in the skid onto the RE skid plate. I then dropped
the skid and marked a line 1 1/4" in from the front edge of the
skid and drew a line across and through the openings I had marked. |
 |
|
| 10. I then lifted the skid back into position and drilled the first hole.
Once this was done, I inserted a carriage bolt, washer, lock washer
and nut. I snugged this one up before I drilled the second hole.
I double checked the line up on the skid and drilled the second hole.
Once you get this hole drilled go ahead and insert the last bolt,
washer, lock washer, and nut. |
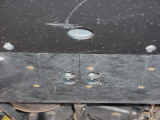
| 11. Now all you need to do make certain the skid is positioned and tighten
up all the bolts. I tightened the skid plate to skid plate bolts
first, then the rest. |
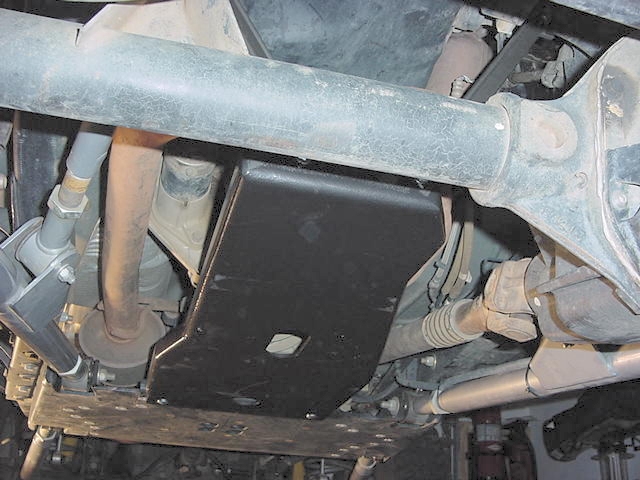
| 12.
The final product. |
|
|