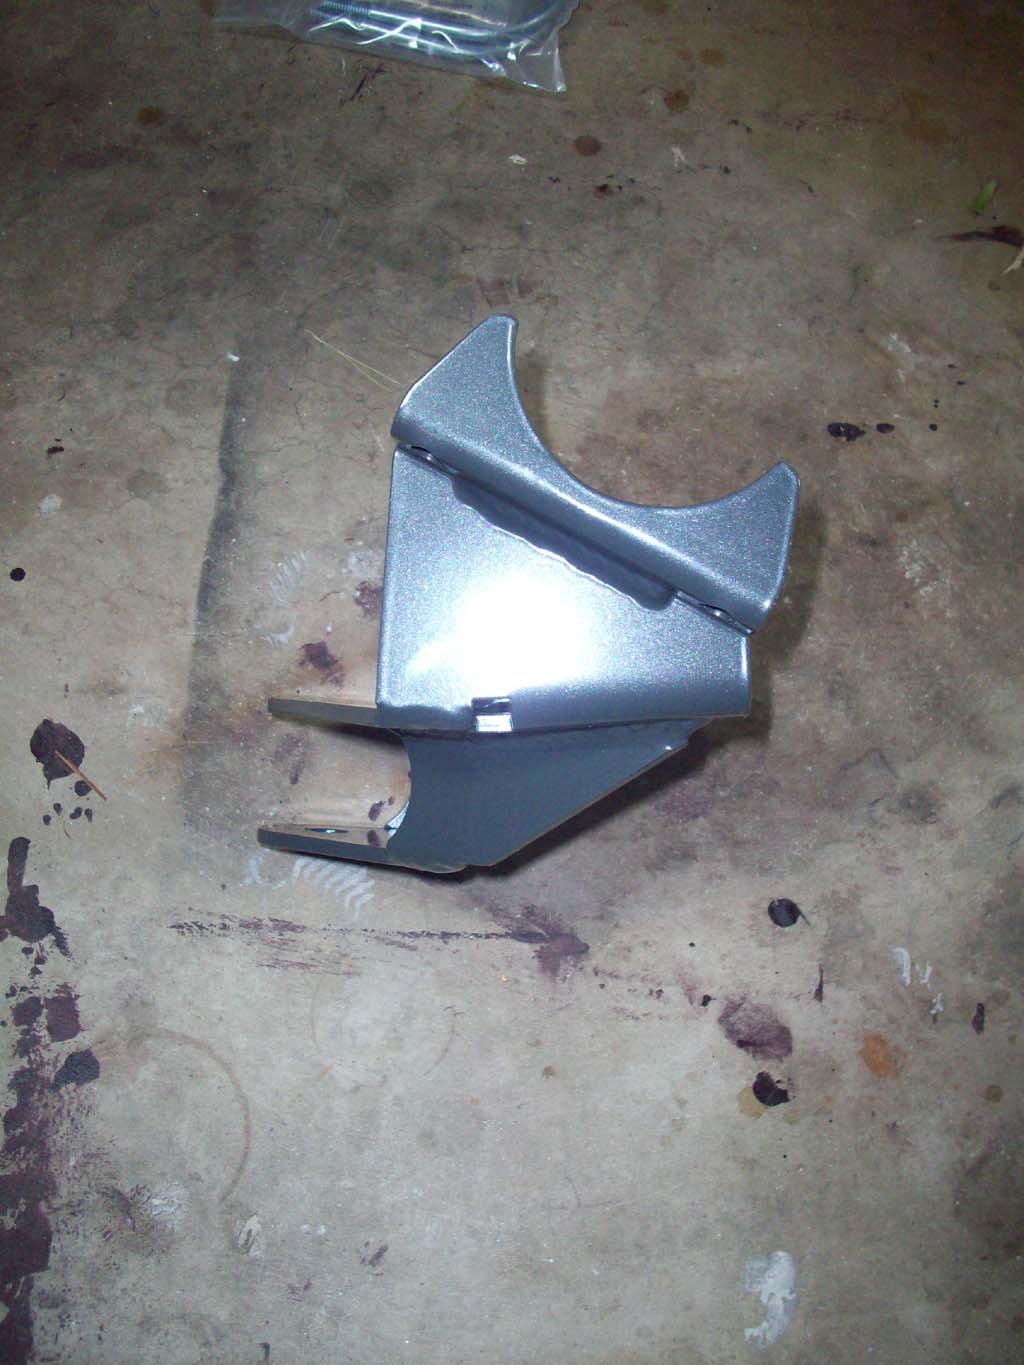
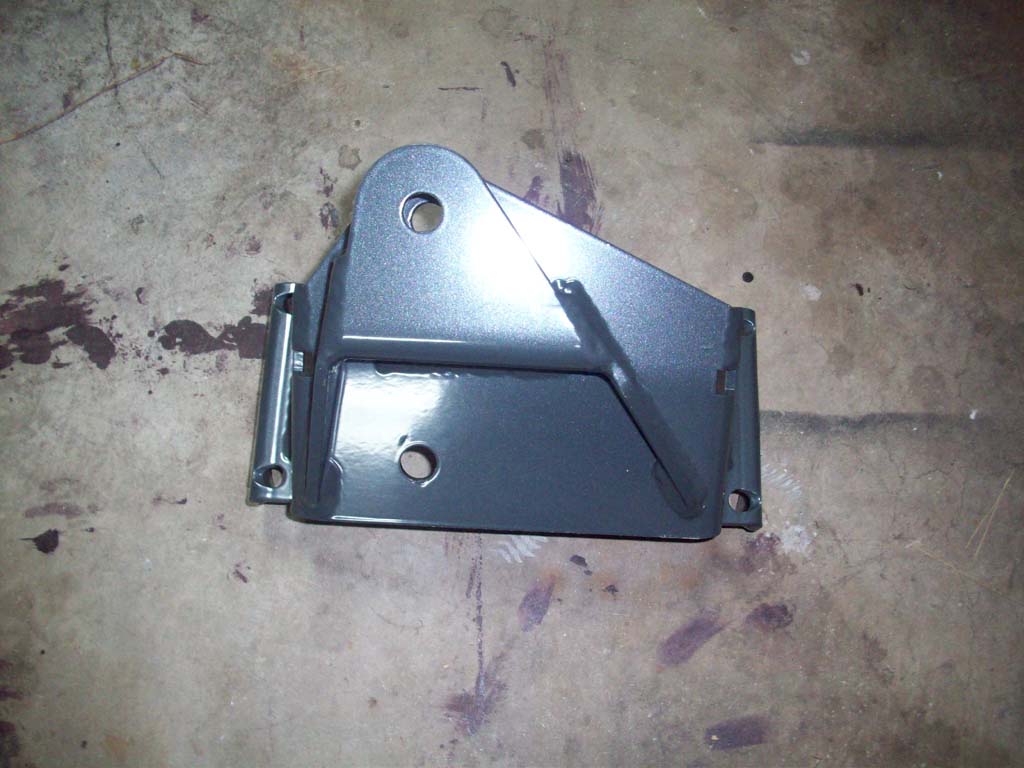
I finally decided to install the Synergy rear track bar brace and adjustable track bar that has been laying on a shelf in my garage for some time. I never did weld the Rockkrawler track bar bracket in place and amazingly I didn't have any issues with it. I figured I would, so I guess I was just lucky. Synergy (Poly Performance) has built a lot of quality stuff over the years. I've seen some of their stuff take some real abuse and survive. I had decided a long time ago that I was going to install some 3.5" springs on the Jeep to replace the Rockkrawler springs when they wore out (that was 5 years ago). They haven't changed much, still look good under the Jeep, so I will probably pass them onto someone else to run for a while. I did need center the rear axle just a little, about 1/4" on the adjustment, so you can see why I just left it sitting on the shelf. You can either install both, or just one of the other of these parts as you need to. I installed both, but I will make note of any differences in the steps.
| Installing the Rear Adjustable Track Bar |
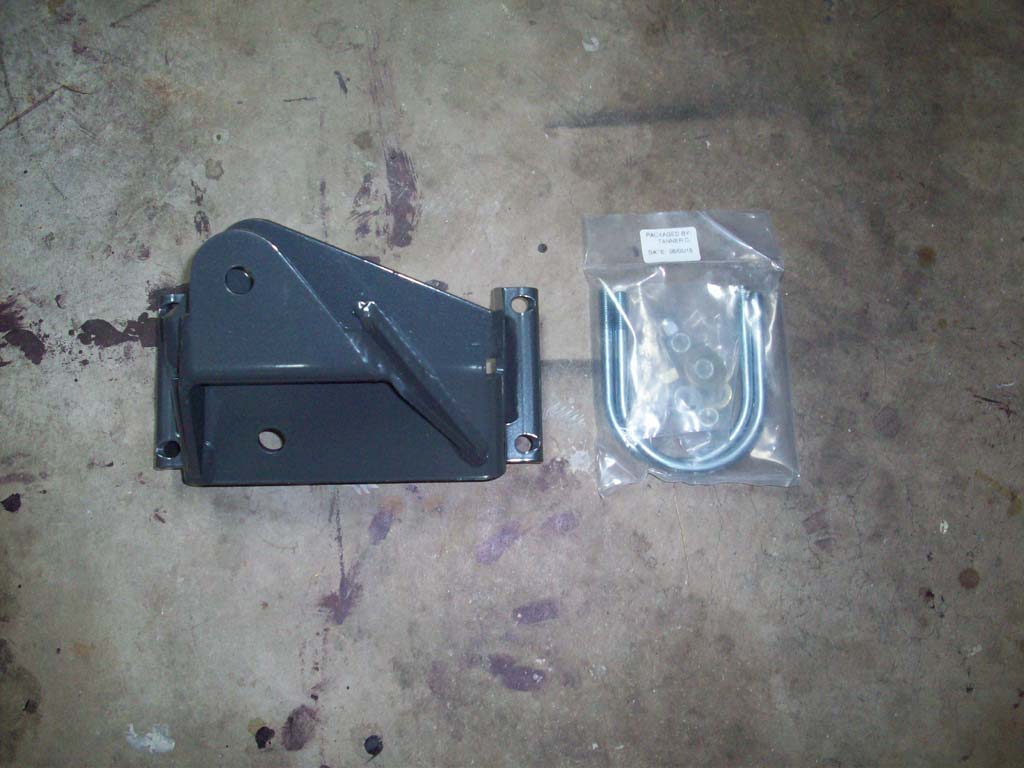
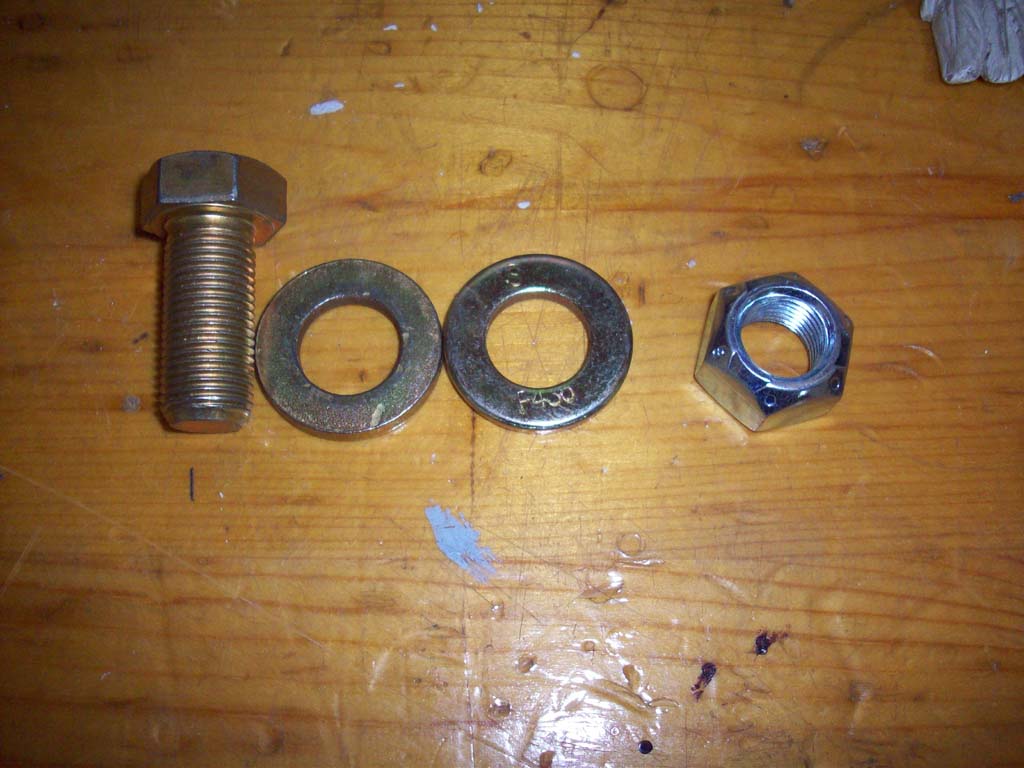
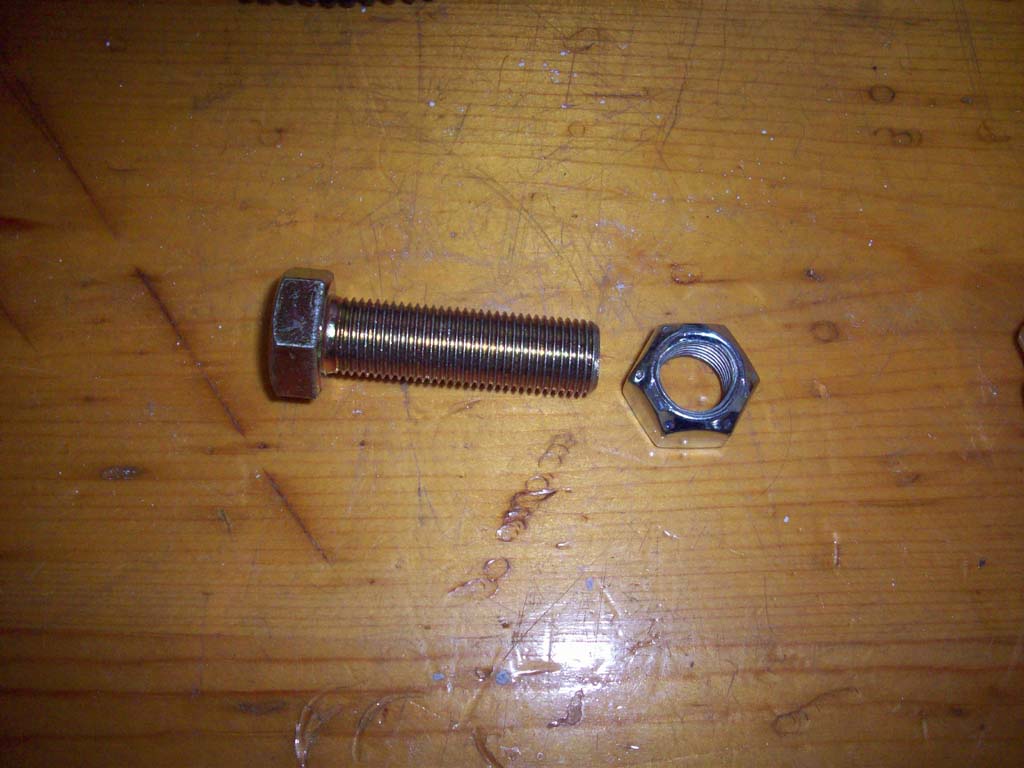
| The Parts: |
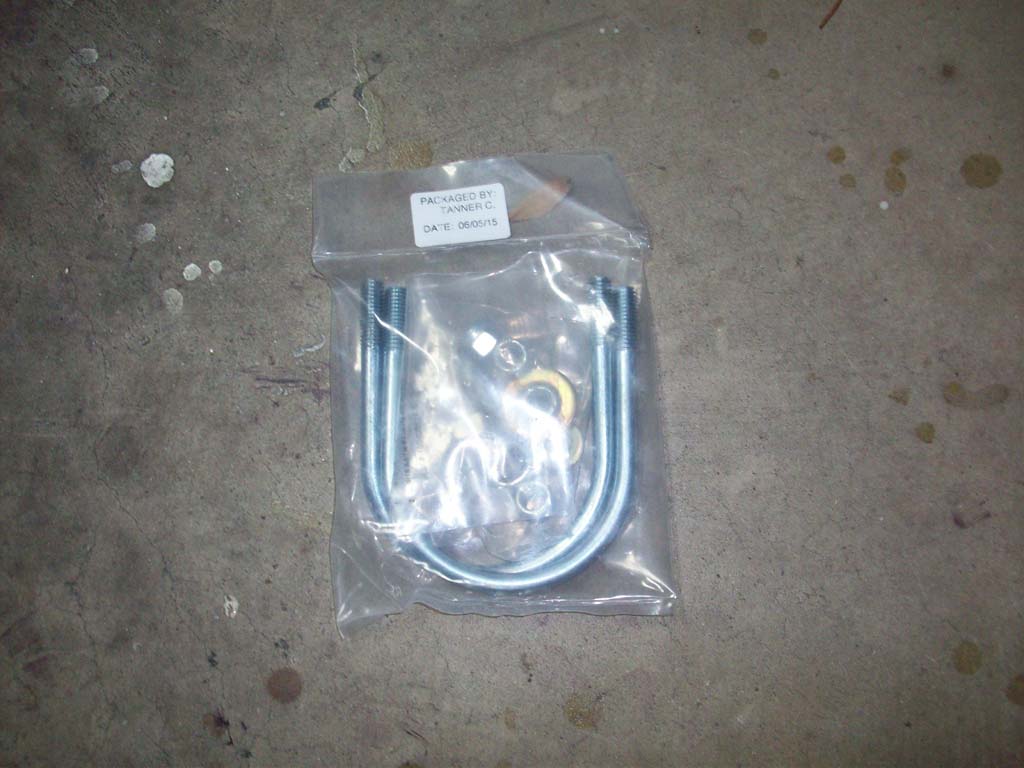
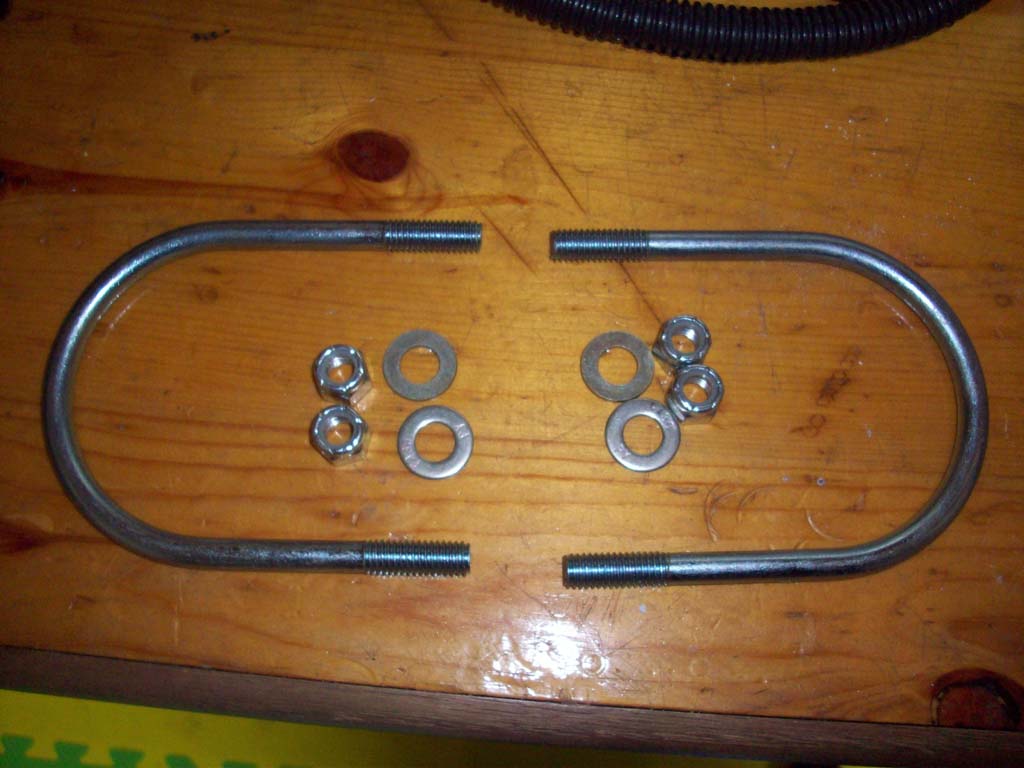
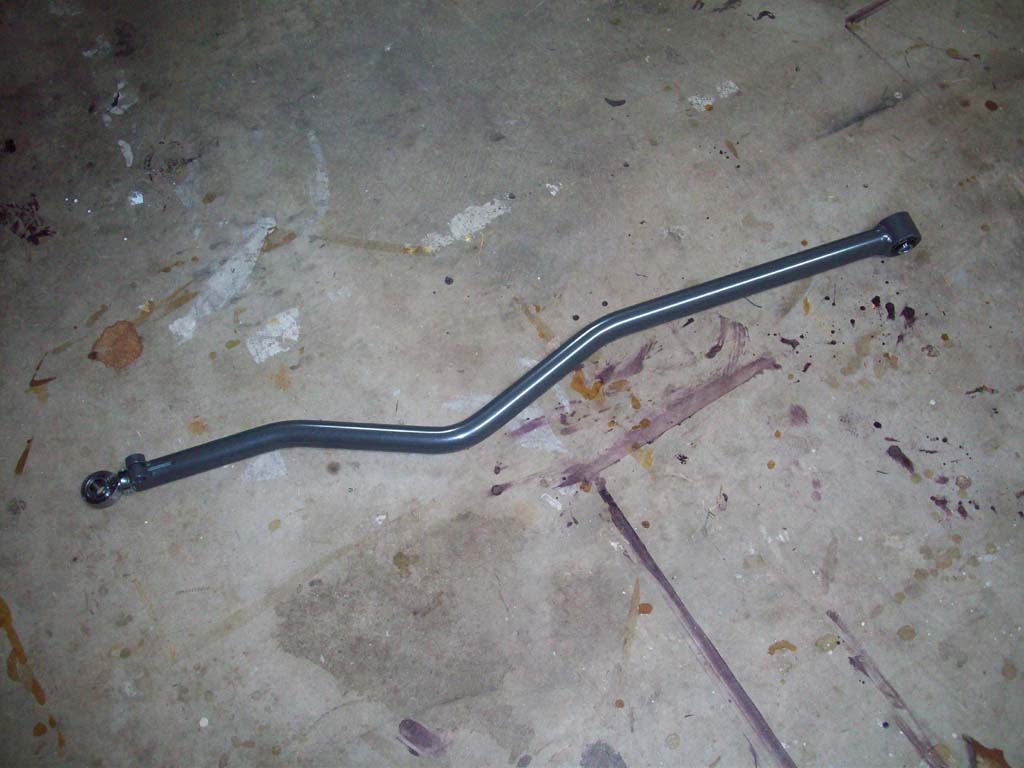
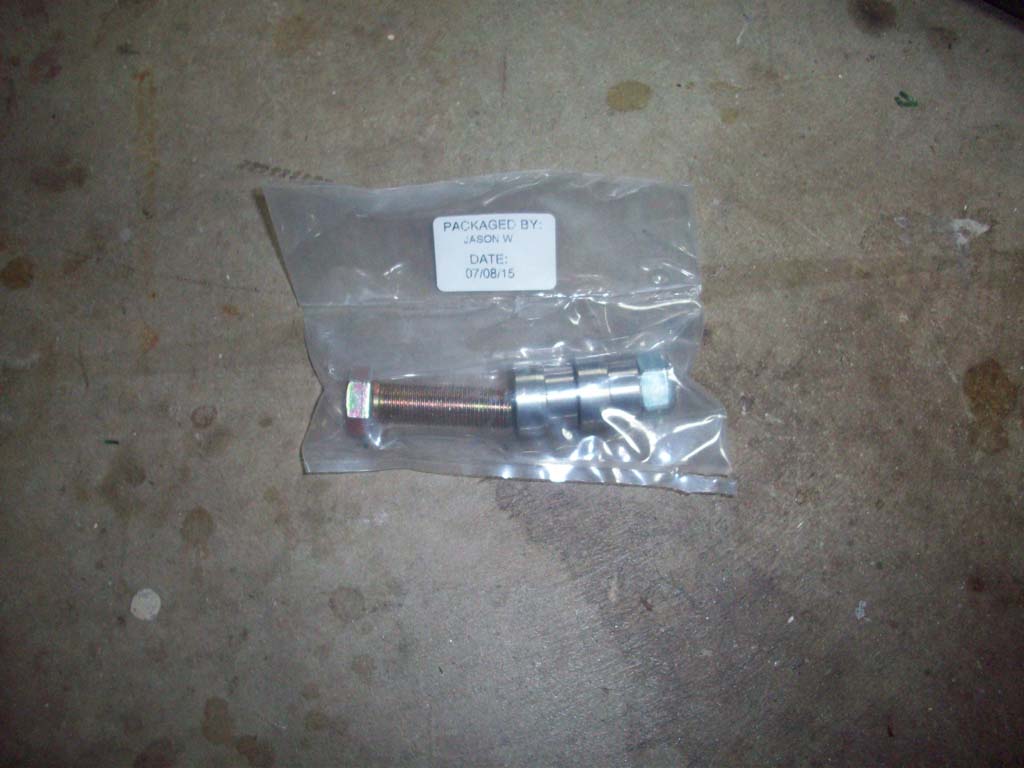
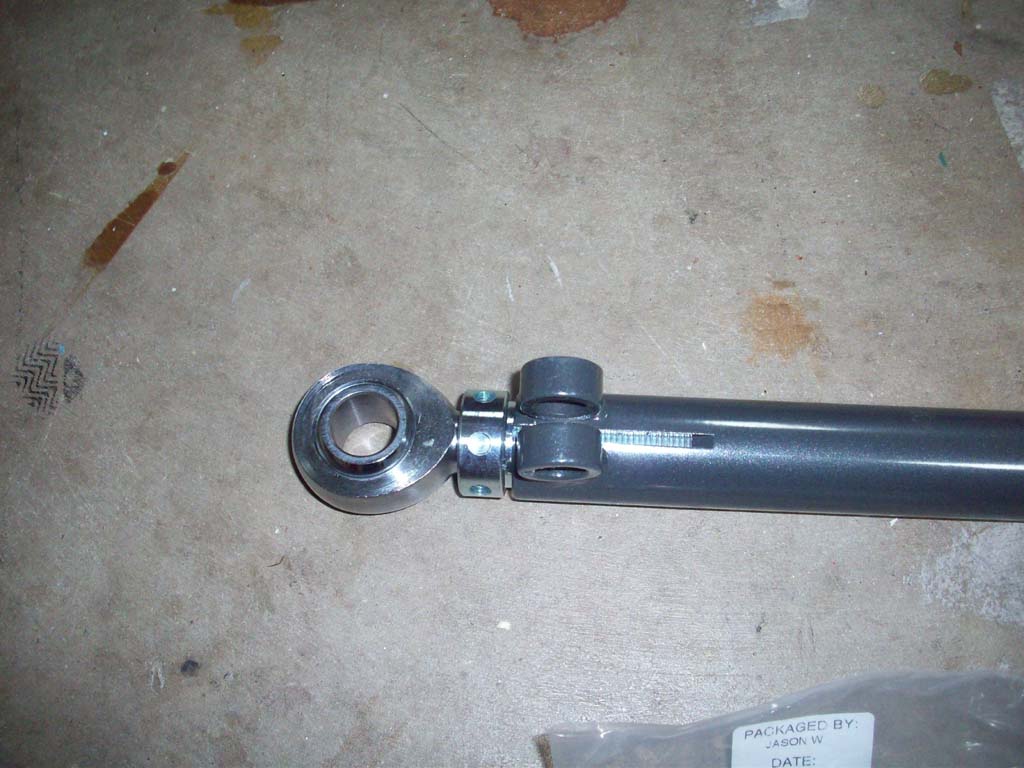
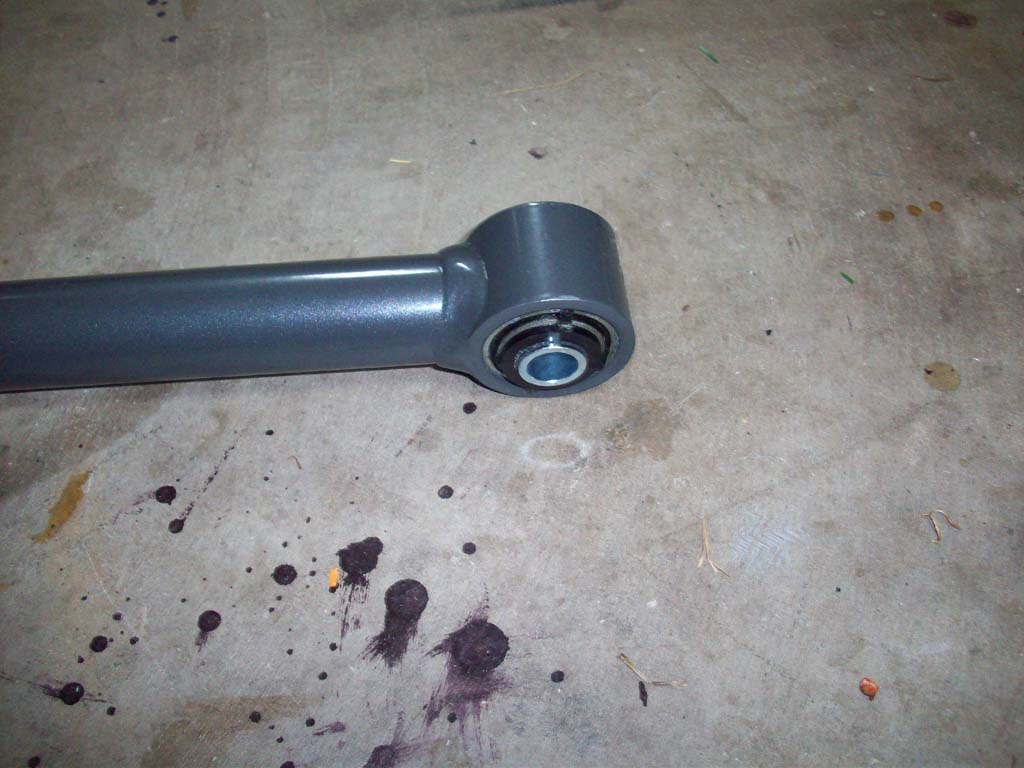
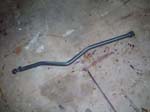
| The Adjustable Trackbar |
 |
 |
 |
 |
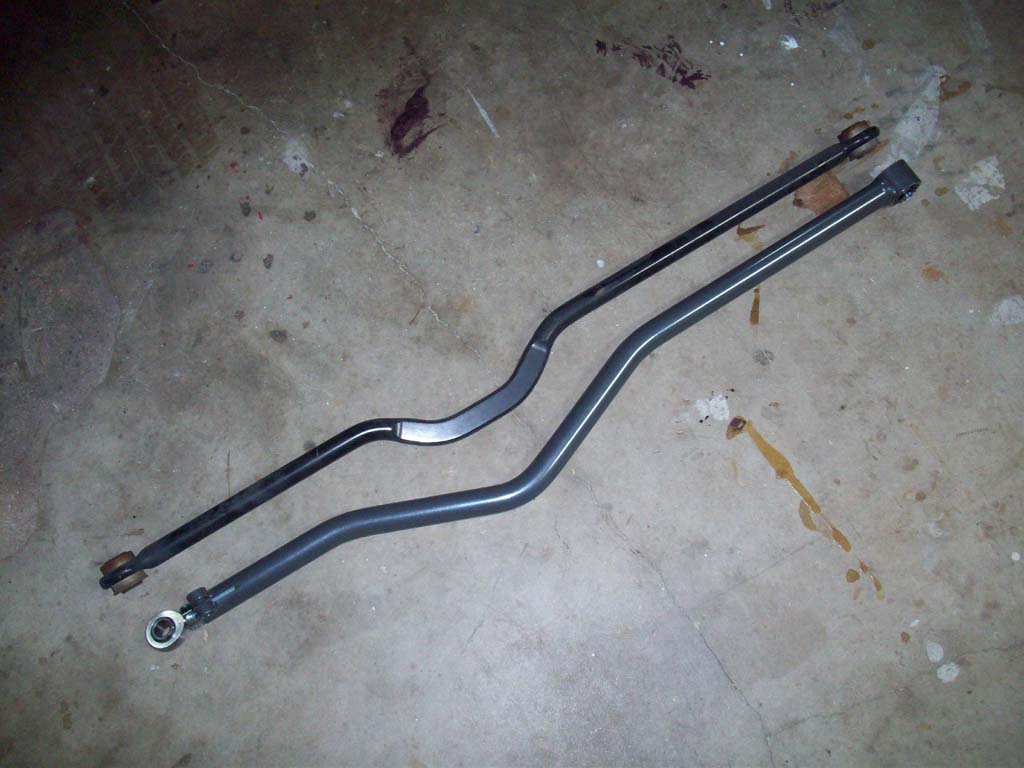
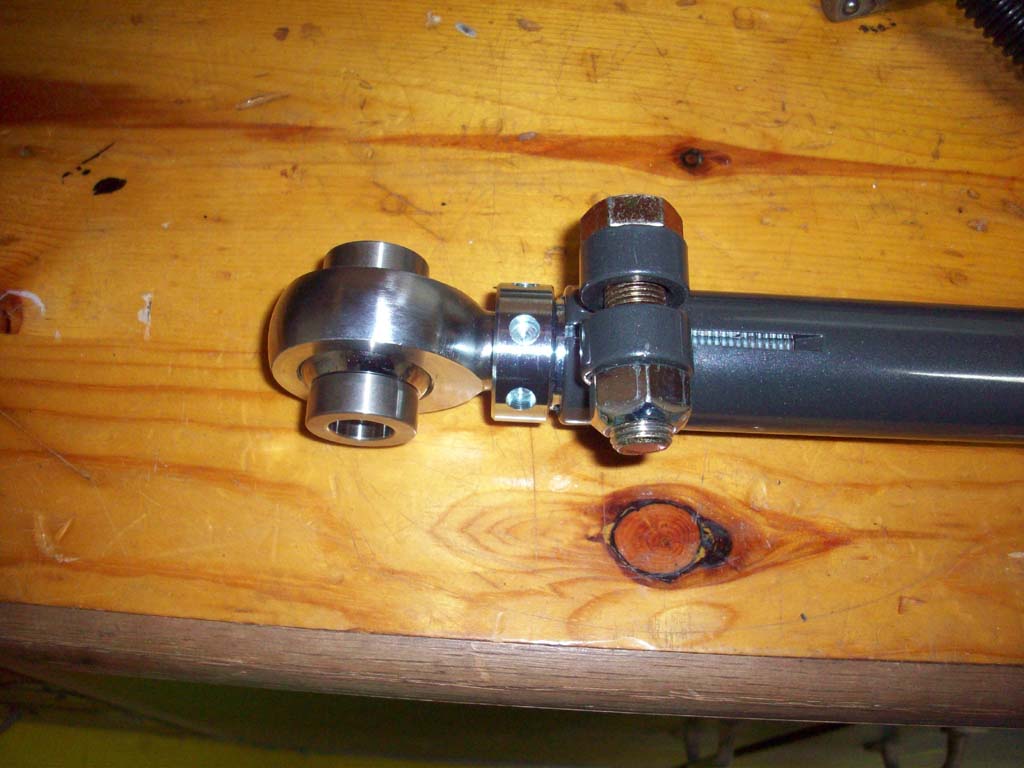
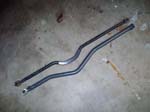
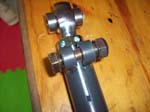
| Comparison between the factory and Synergy's adjustable trackbar. The track bar is pre assembled with all the necessary components, except the pinch bolt and spacer sleeves. |
 |
| |
| Installing the Adjustable Trackbar: |
| You can skip the first three steps if you are installing this along with the Track Bar Relocation Bracket from above. |
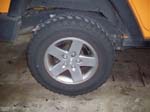
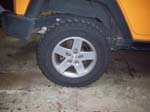
| 1. Chock the front tires and jack up the rear axle. Support it with Jack Stands. Remove the passenger rear tire to gain access to the frame side trackbar bracket. You will need a 19mm or 3/4" socket, lug nut key, or whatever size your lug nuts are. Put these somewhere safe, because on the floor will end up kicked under every object elsewhere in the garage. Though hide and go seek the lug nut can be a fun time waster if you have nothing better to do. Done this more than once... It is possible to do this without removing the tire, but it's just easier to get to that bolt on the frame for the trackbar. |
 |
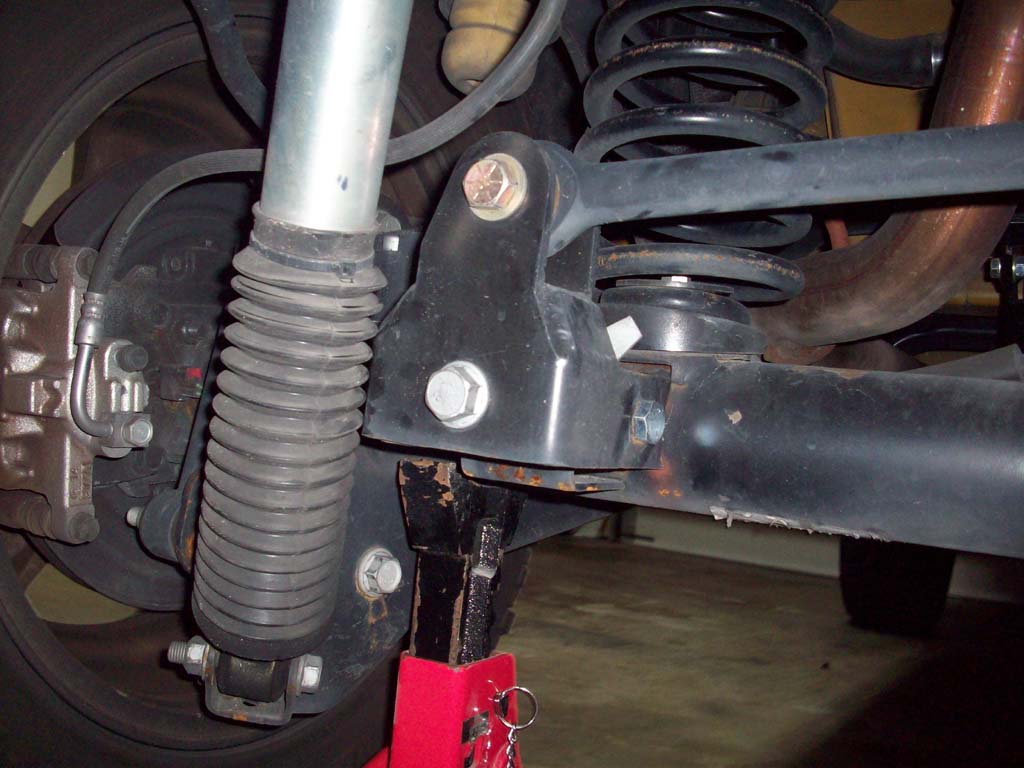
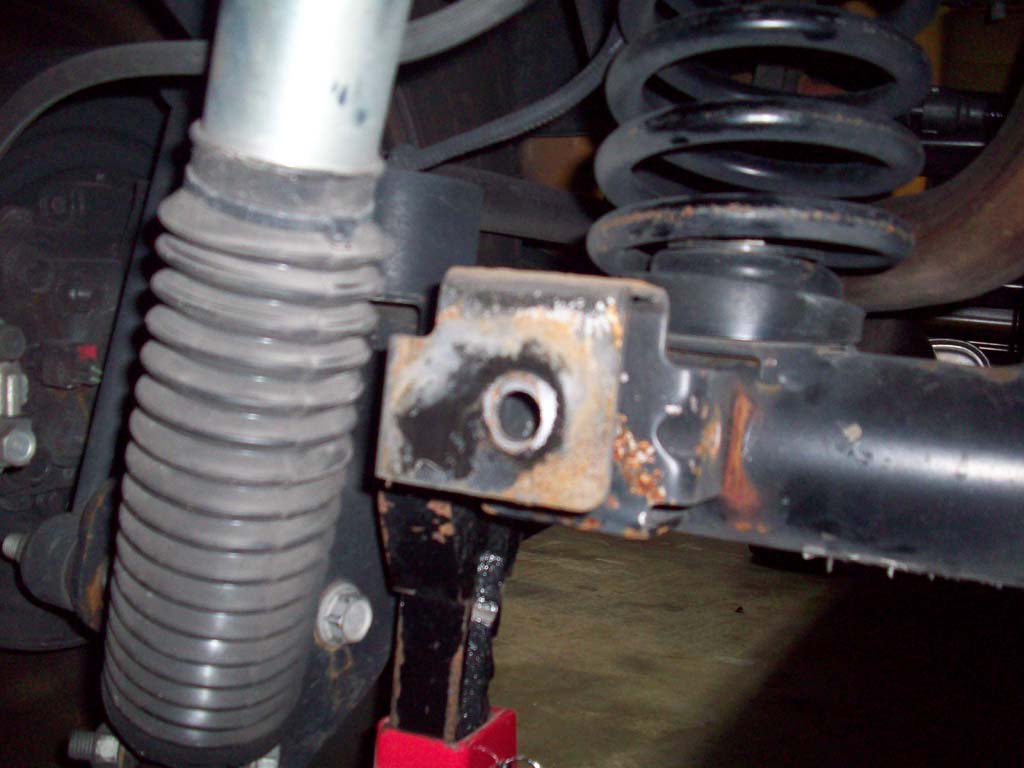
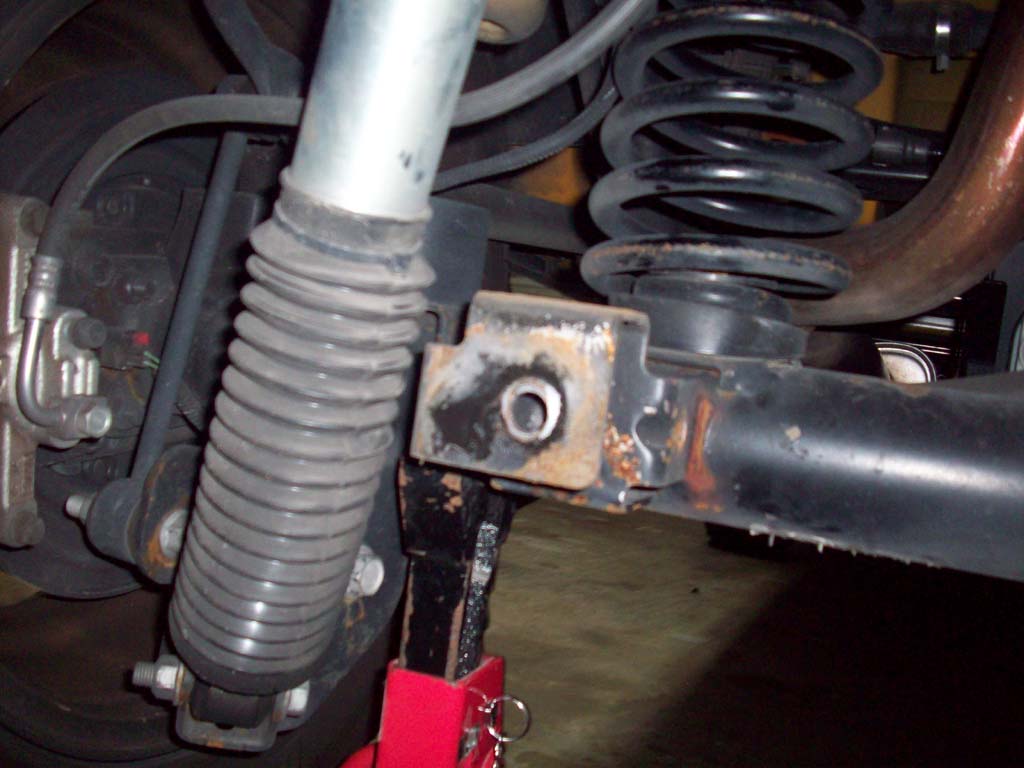
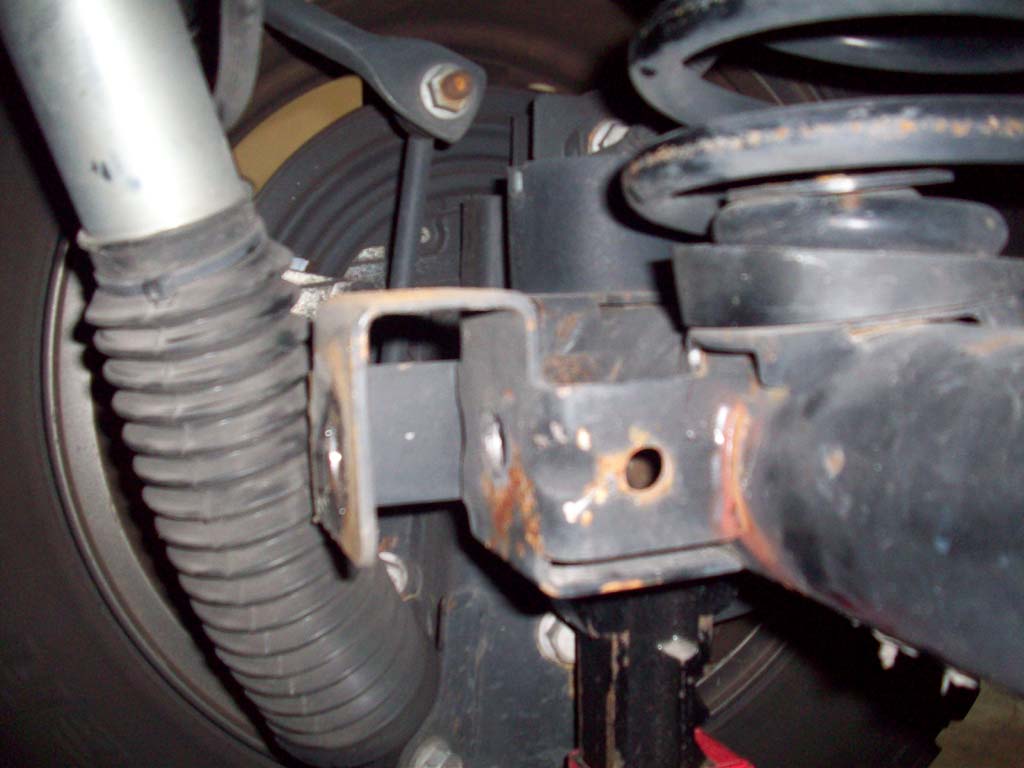
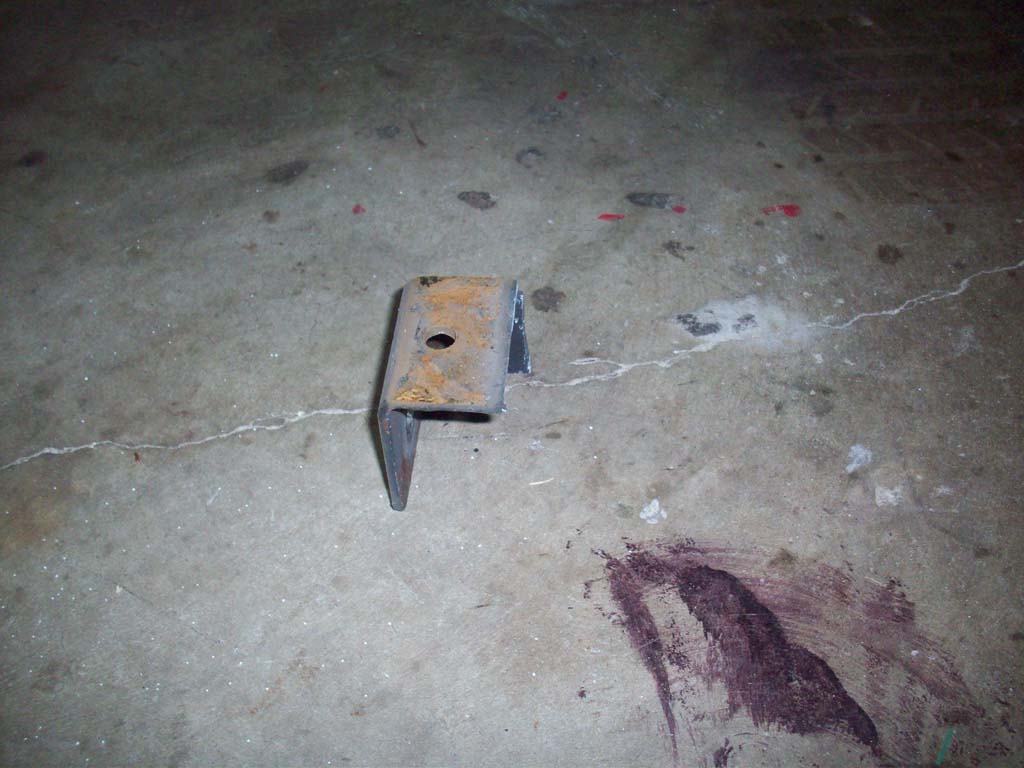
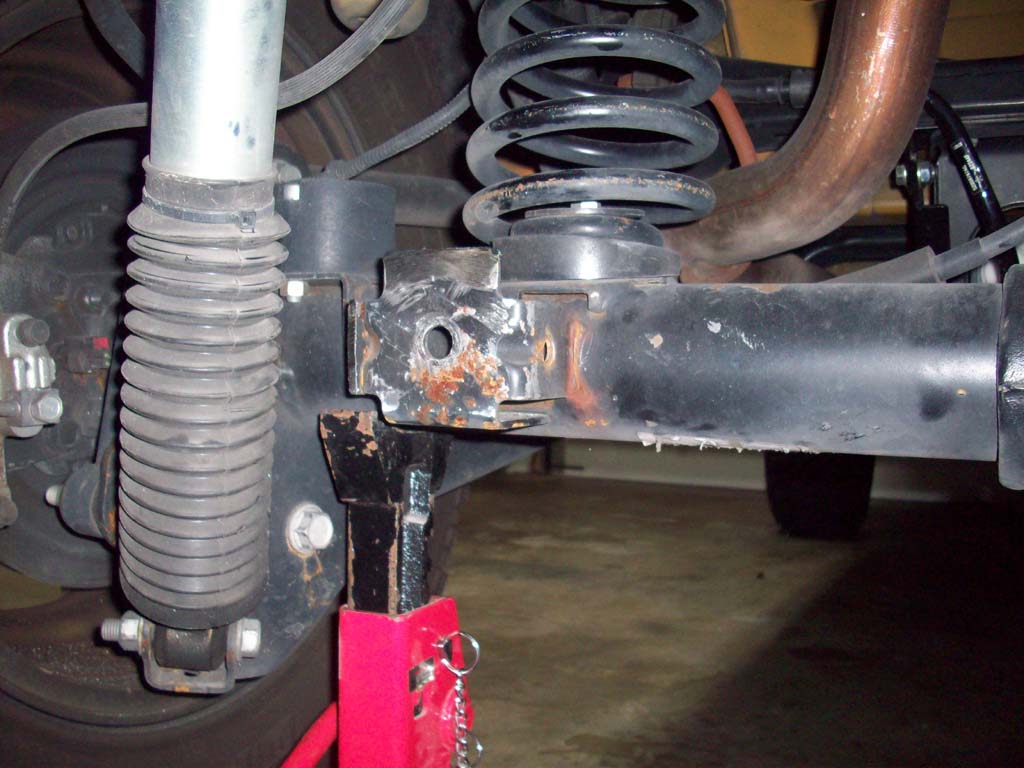
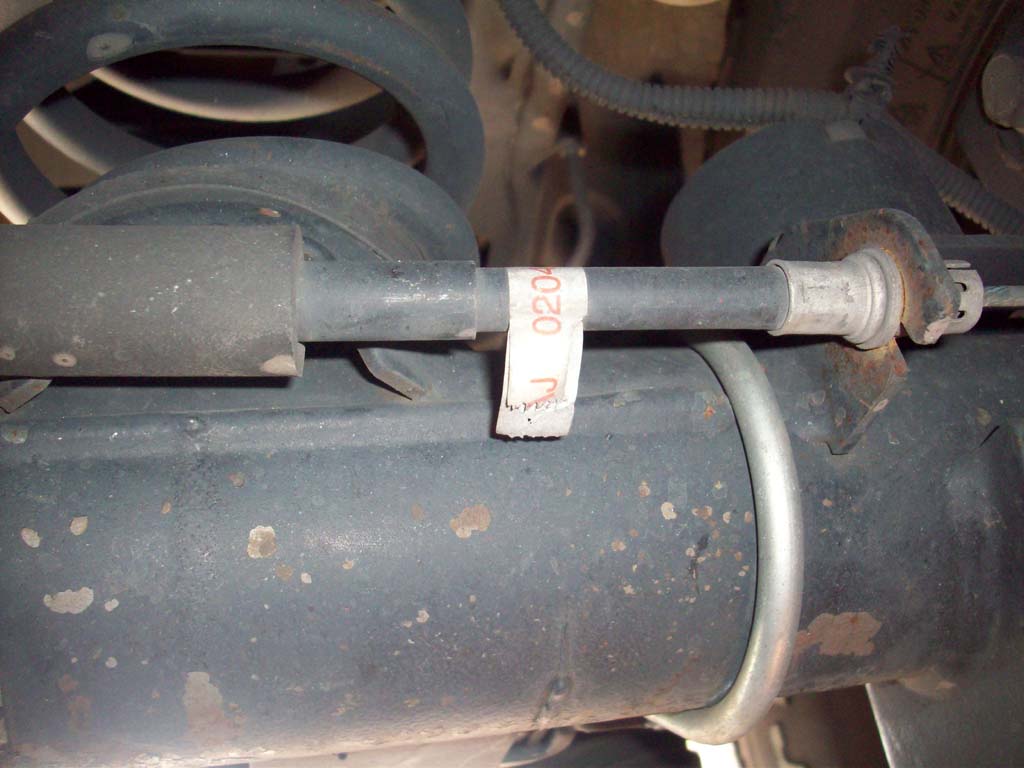
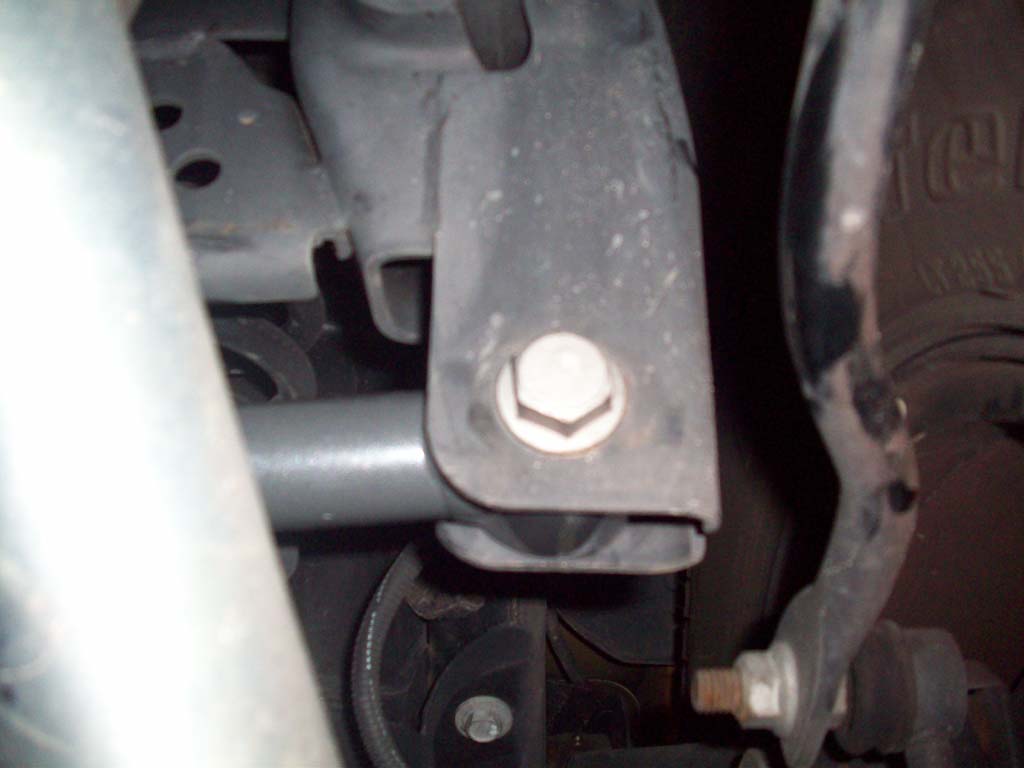
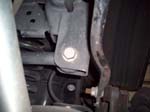
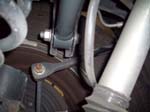
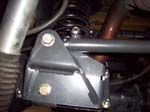
| 2. Remove the bolt holding the factory rear track bar to the axle bracket. You will need a 21mm socket and ratchet. In my case I needed to remove the existing track bar bracket also. |
 |
 |
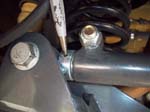
| 3. Loosen the trackbar frame bracket bolt with a 21mm socket, ratchet and combo wrench. If you are installing the Adjustable Trackbar you will need to remove the bolt. |
 |
 |
 |
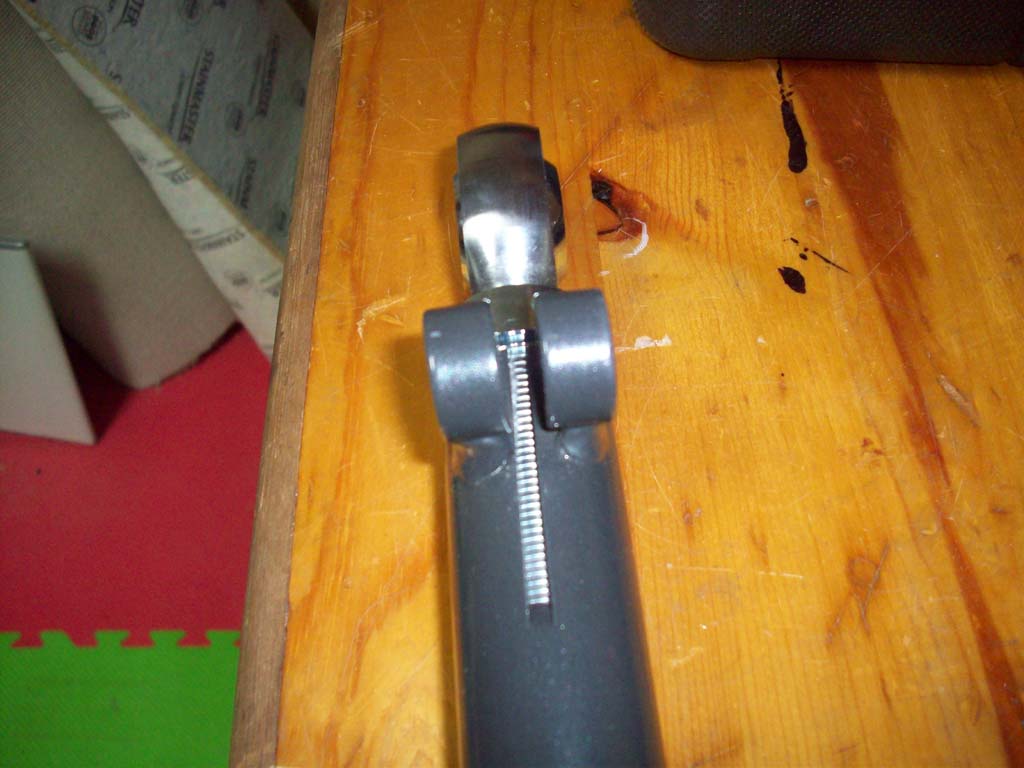
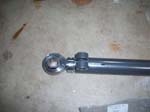
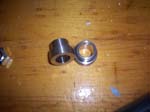
| 4. Test fit the spacers in the Heim joint on the adjustable track bar. These were machine very nicely and didn't have any burr's on them that needed to be filed down to allow them to slide in. I actually just left them sitting in the end, they were nice and snug so I figured they wouldn't fall out when I installed the bar. |
 |
 |
 |
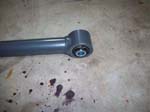
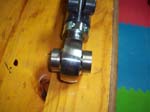
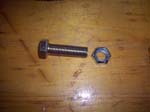
| 5. Install the pinch bolt into the adjustable track bar. I recommend installing it so that the nut is facing towards the back of the vehicle. Much easier to tighten down the nut that way. The picture shows it in the other direction. I flipped it before installing it. |
 |
 |
 |
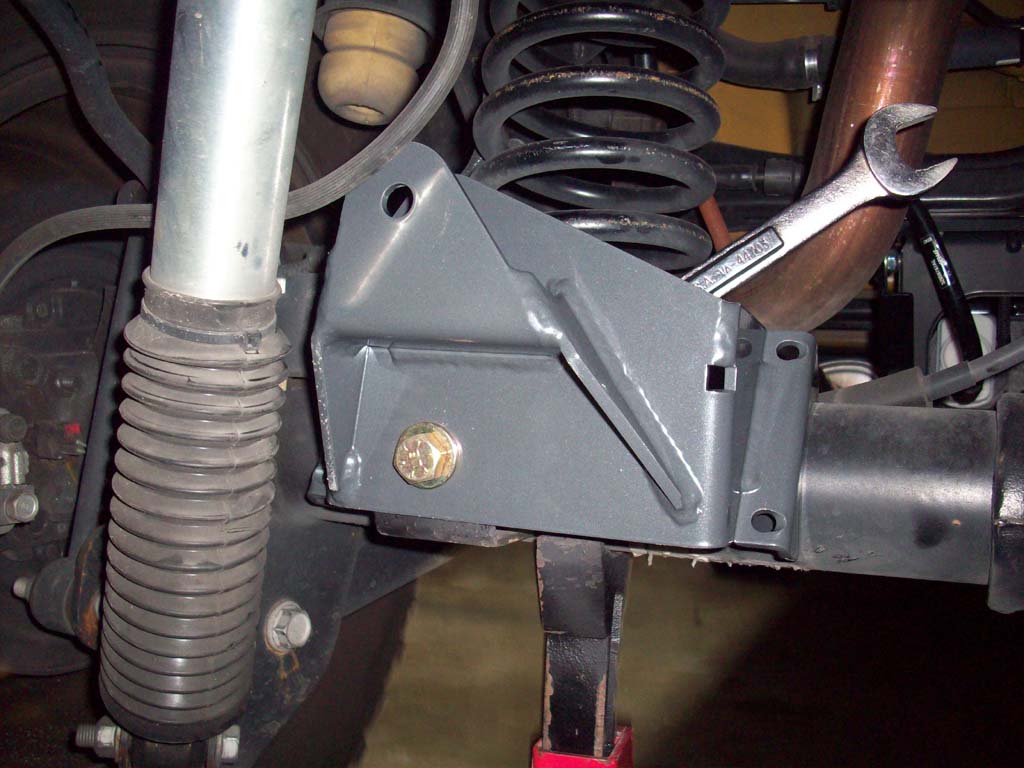
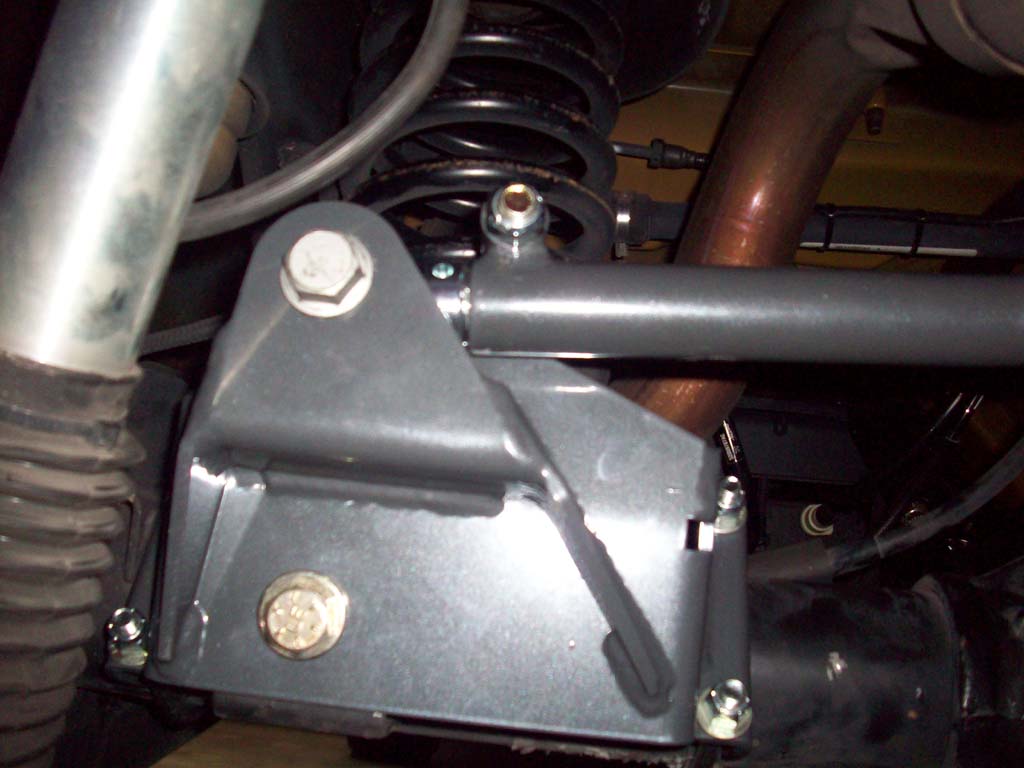
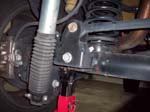
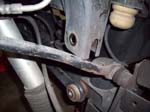
| 6. Install the adjustable track bar with the bend toward the back so it clears the differential cover. |
|
 |
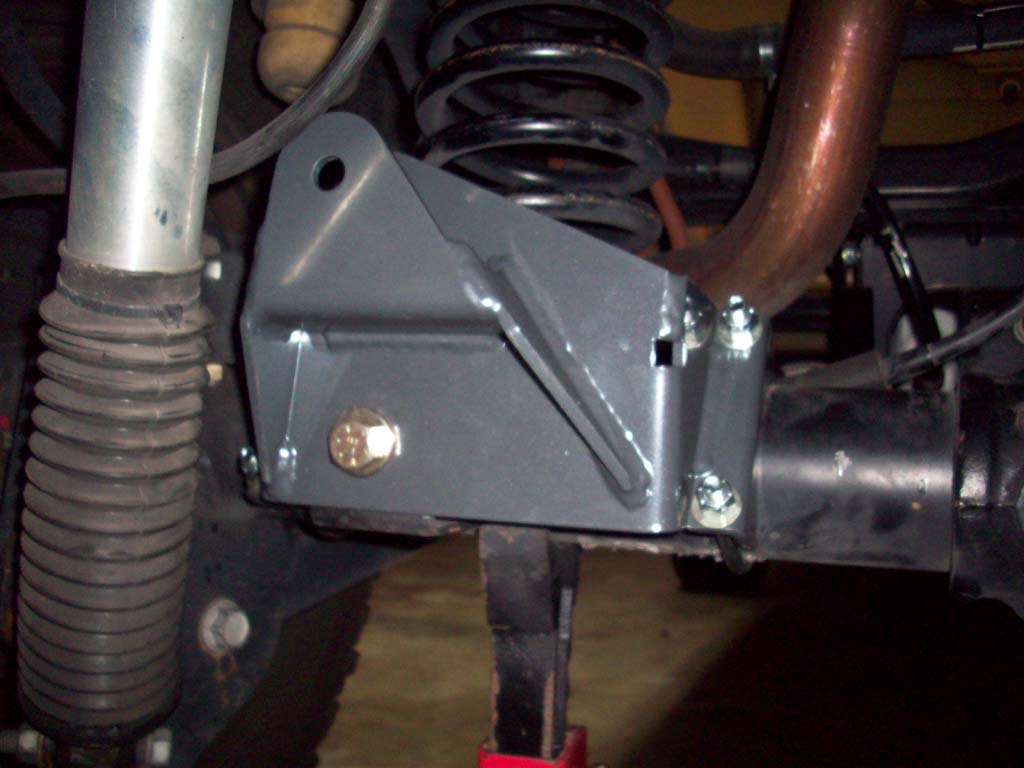
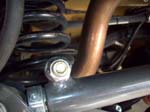
| 7. Position the bushing at the frame end and install the factory track bar mounting bolt. You don't need to torque this yet, just snug it up. Synergy recommends that you install the frame bolt from front to rear. I installed mine the way it was from the factory, but I have spring correction wedges installed so I don't have the clearance issue with the spring. |
 |
 |
| 8. If you removed your tire, reinstall it, and lower the Jeep to the ground. Do not push on the Jeep with it sitting on the Jack Stands. You are laying underneath it..... |
 |
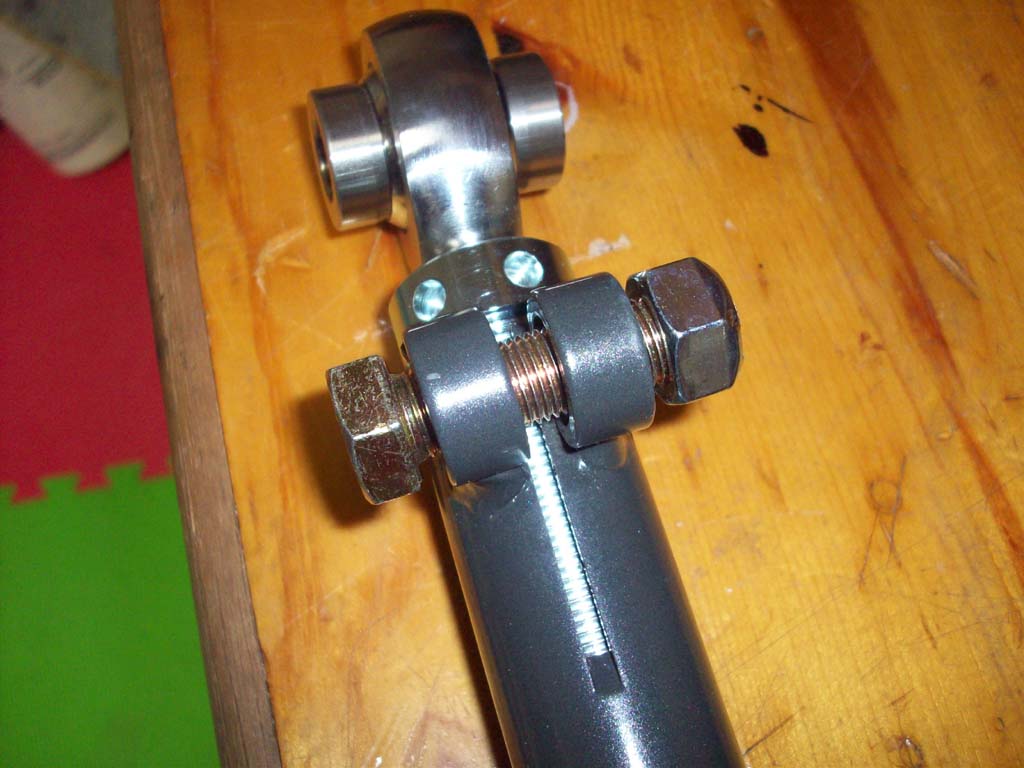
| 9. Install the adjustable rod end at the axle end with the factory track bar mounting bolt. It helps to have someone push the chassis side to side to help align the bushing to the bracket hole when inserting the bolt. |
 |
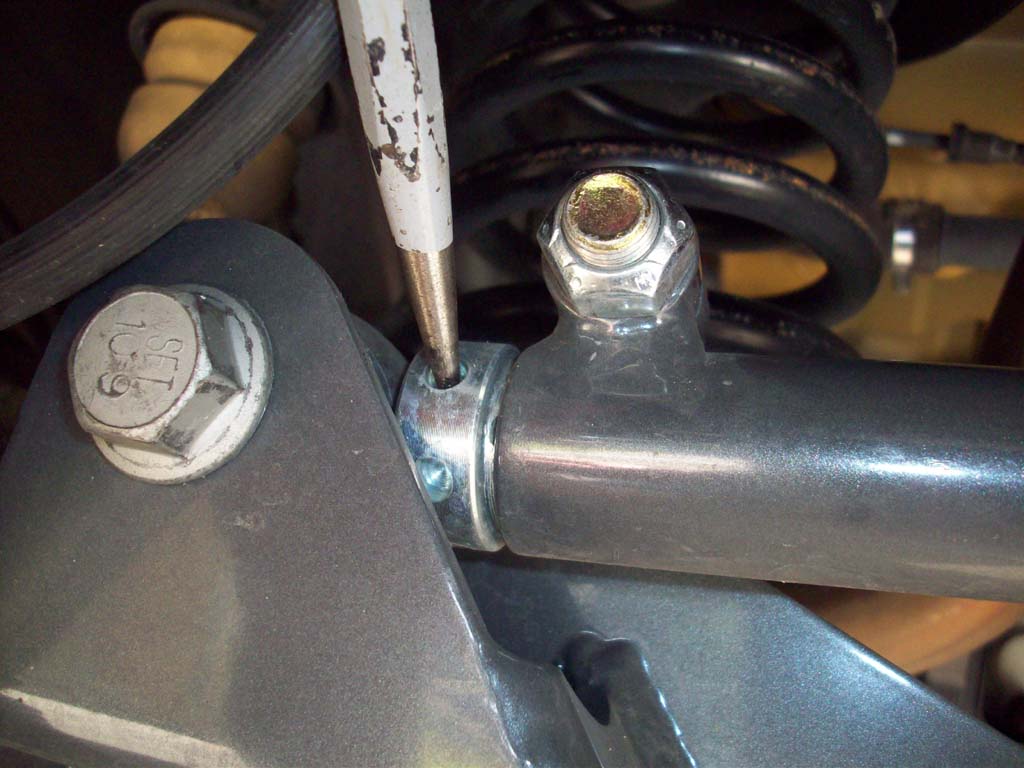
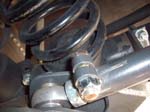
10. Center the axle by turning the adjuster sleeve, counterclockwise will extend the track bar. Use a ¼” punch or similar tool to turn the adjuster sleeve. |
 |
|
11. Once you have the axle centered tighten the pinch bolt to 80 ft-lbs. You will need a 3/4" socket and Combo wrench.
Note: After tightening the pinch bolt, try to spin the adjuster sleeve. Make sure the pinch bolt has adequately clamped onto the rod end shank so that the adjuster is not movable. If movable, increase torque on pinch bolt but do not exceed 90 ft-lbs. |
 |
|
| |
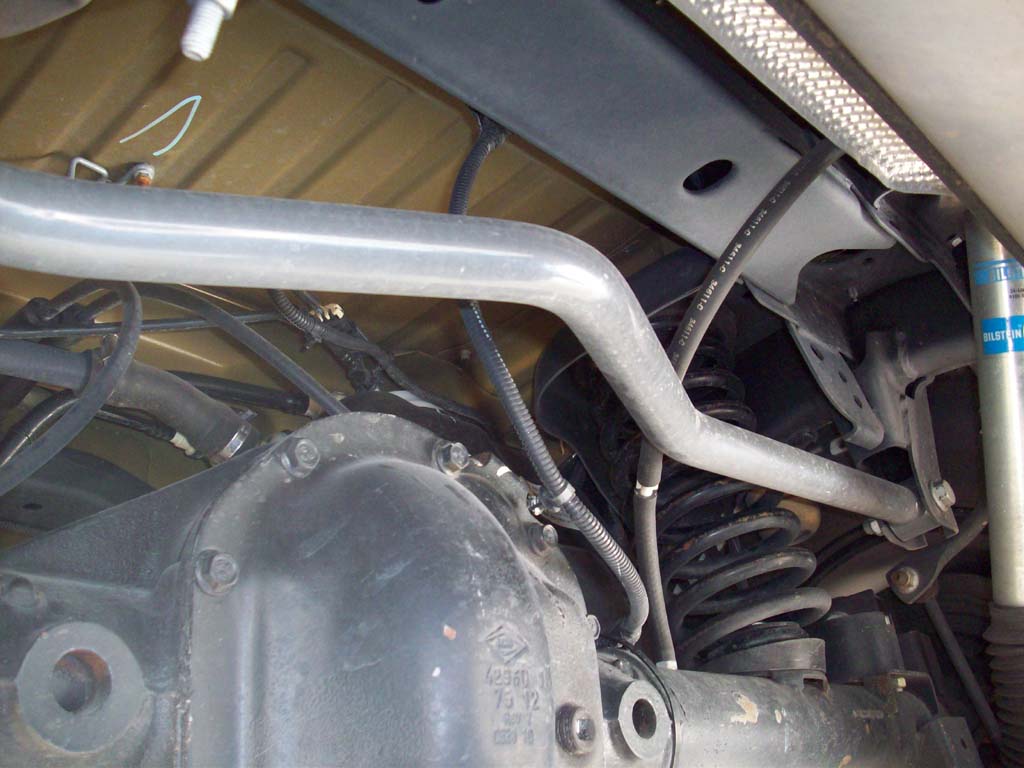
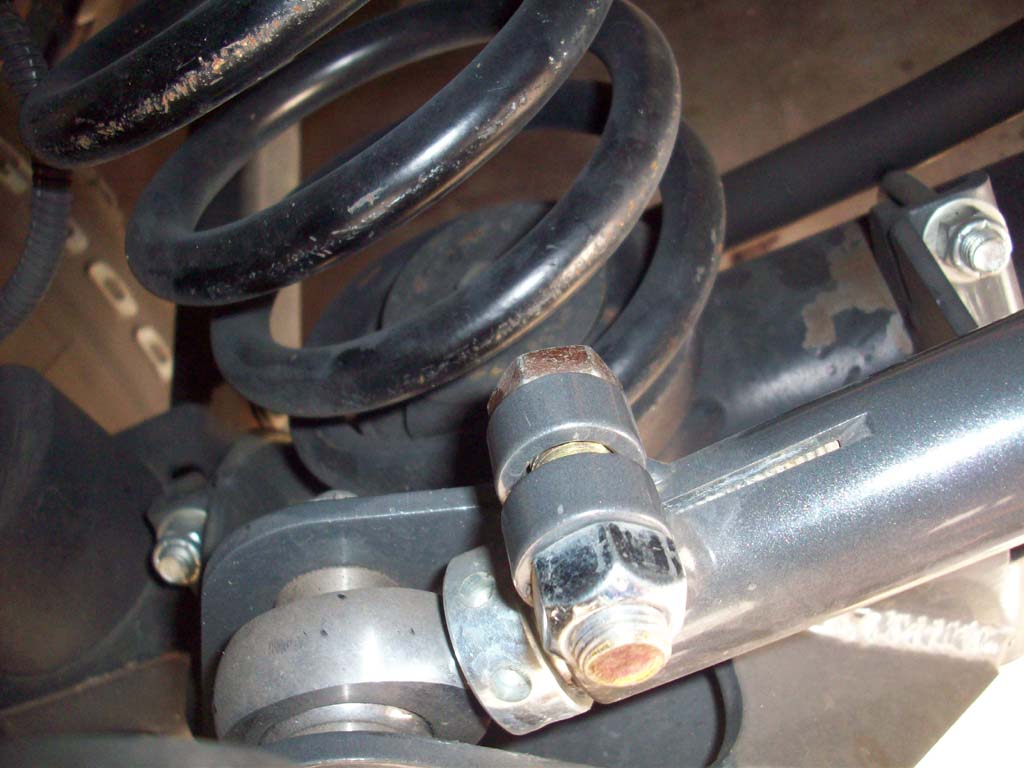
The track bar bolt my rub the coil spring on some applications. This is often due to spring bowing because the pinion angle has incresed. Some solutions are:
1. Trim the end of the bolt sticking out through the nut.
2. Flip the bolt around so the head in adjacent to the spring.
3. Rotate the spring so the bolt is inbetween the coils.
4. Cut and rotate the lower spring mounts
5. Install lower coil wedges. |