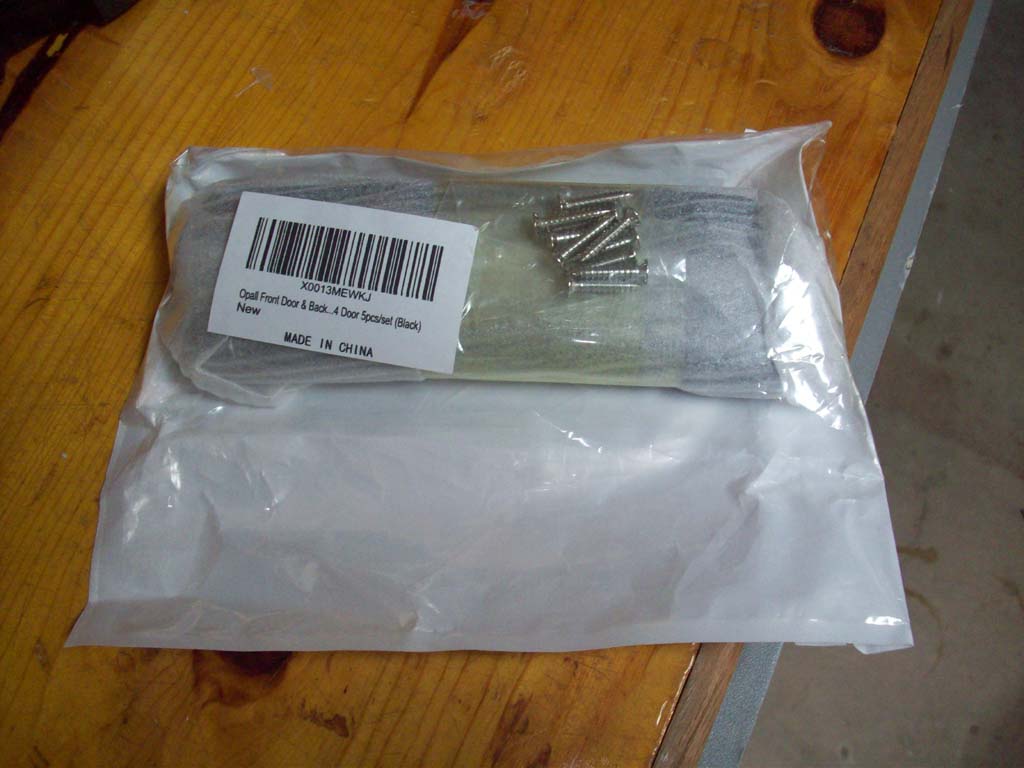
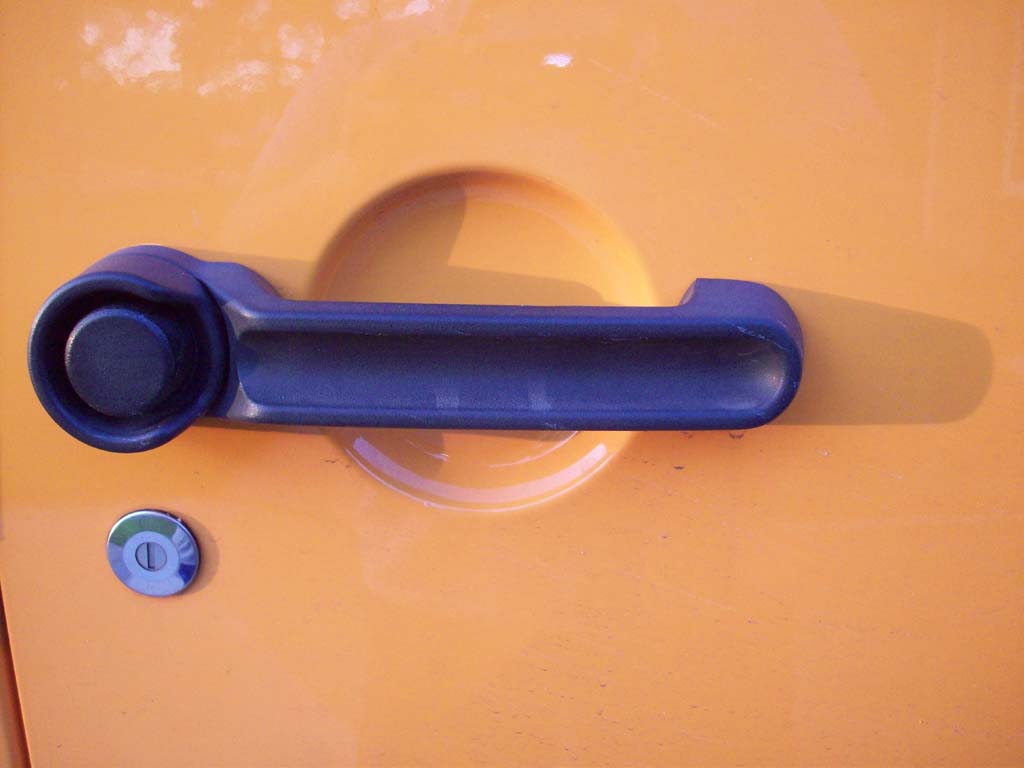
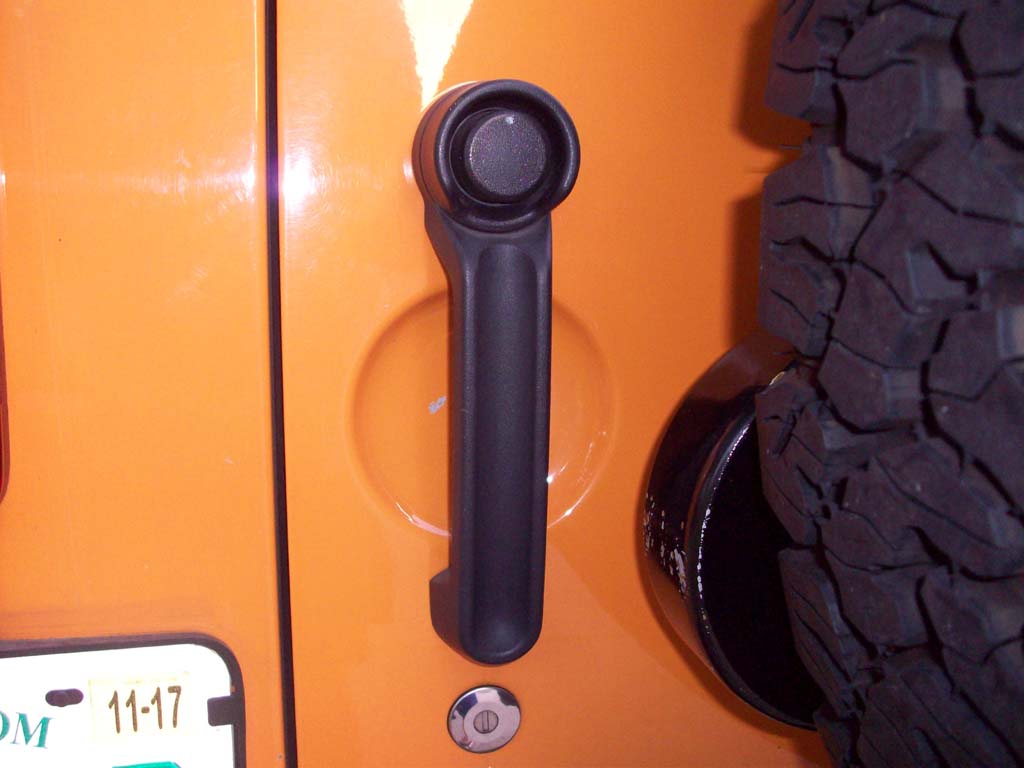
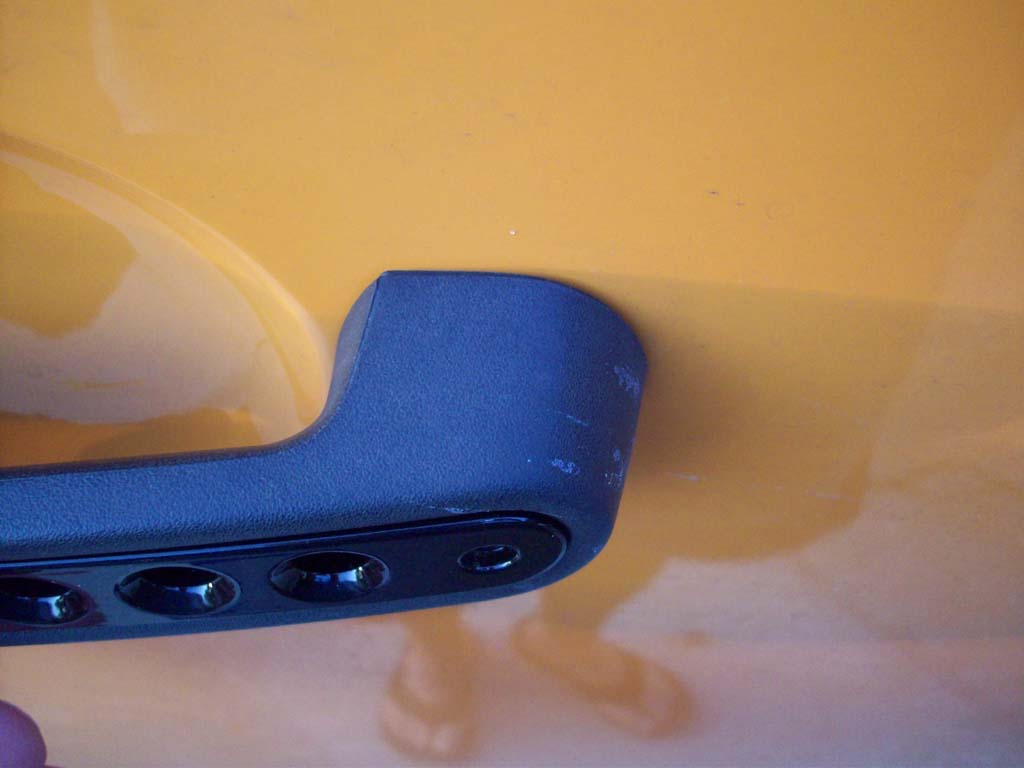
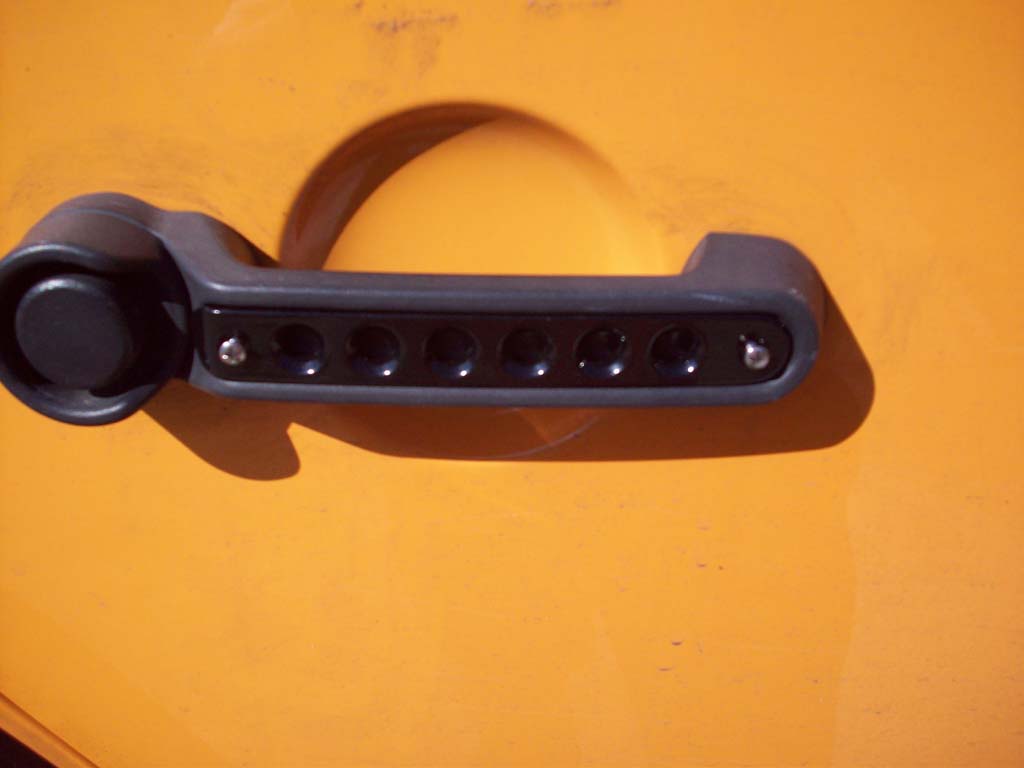
I don't normally put things on the Jeep just to add bling without functionallity, but I had seen these on Amazon and decided since I needed just a little more to get free shipping I threw these in the Cart. I didn't expect much since they were so cheap, but I was pleasently surprised when they showed up. Powdercoat was nice and even all around, even inside the holes. The screws were questionable, so I swapped them out for some Stainless steel ones during one of my trips to Lowes's.
Additional
Parts:
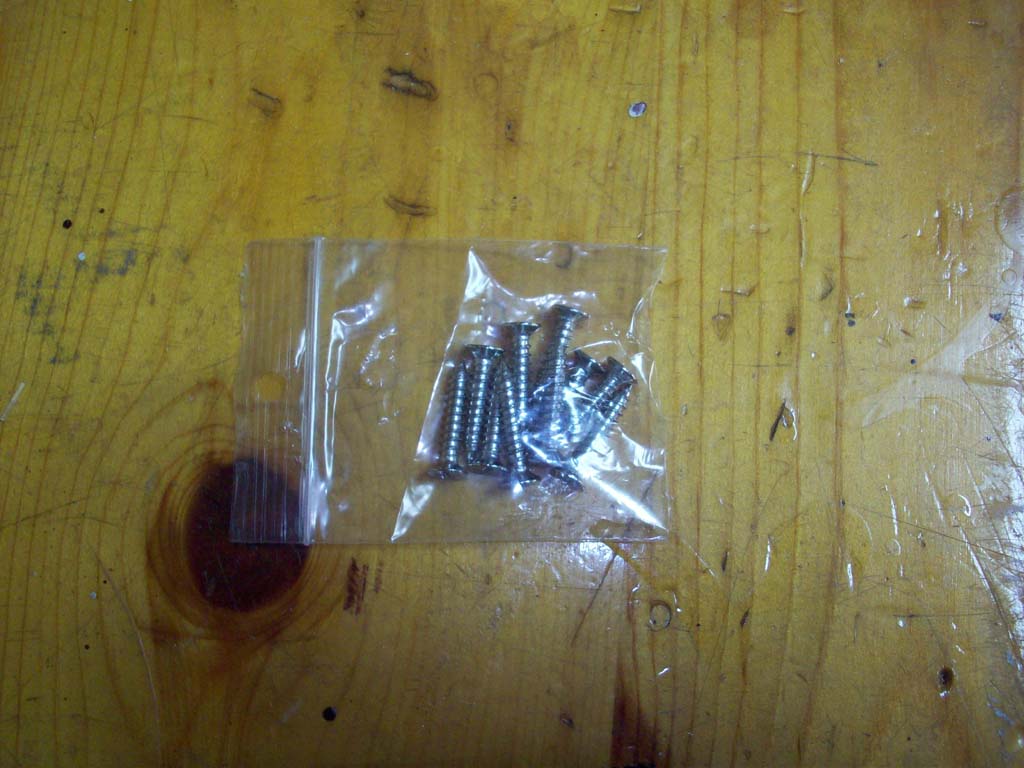
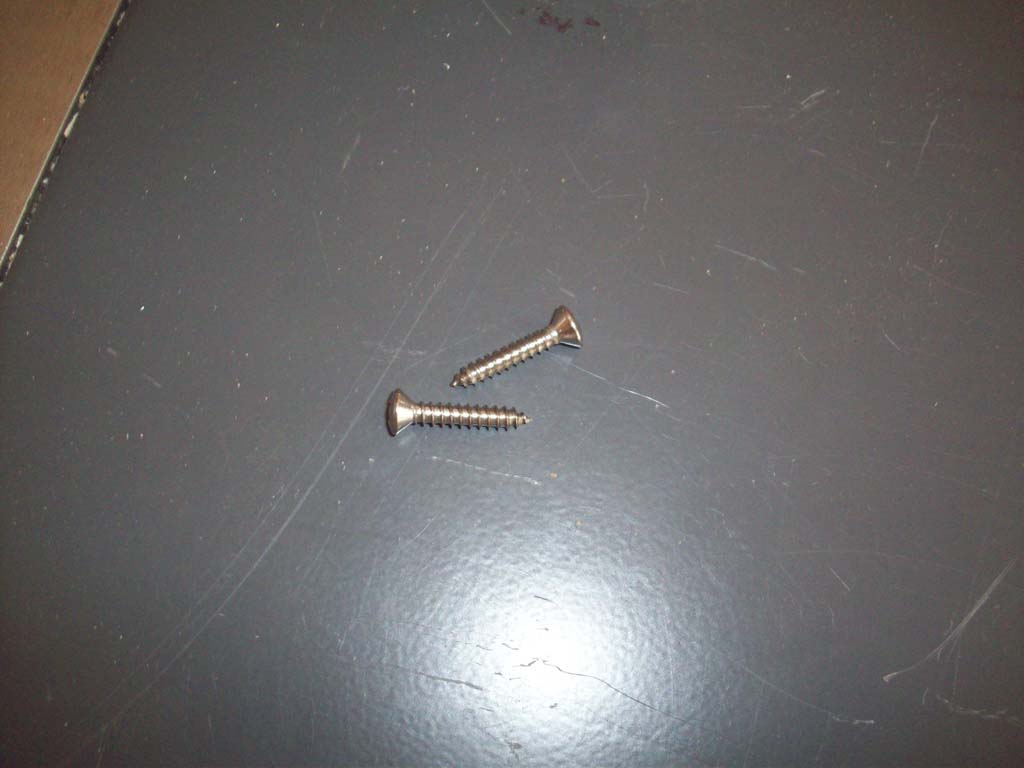
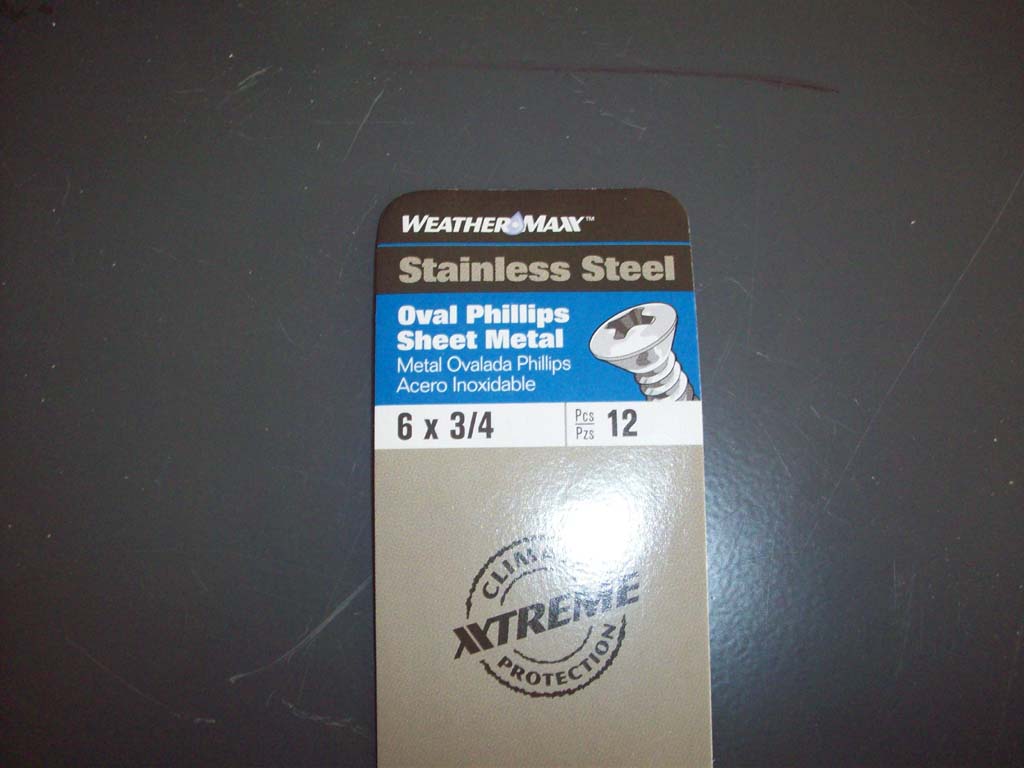
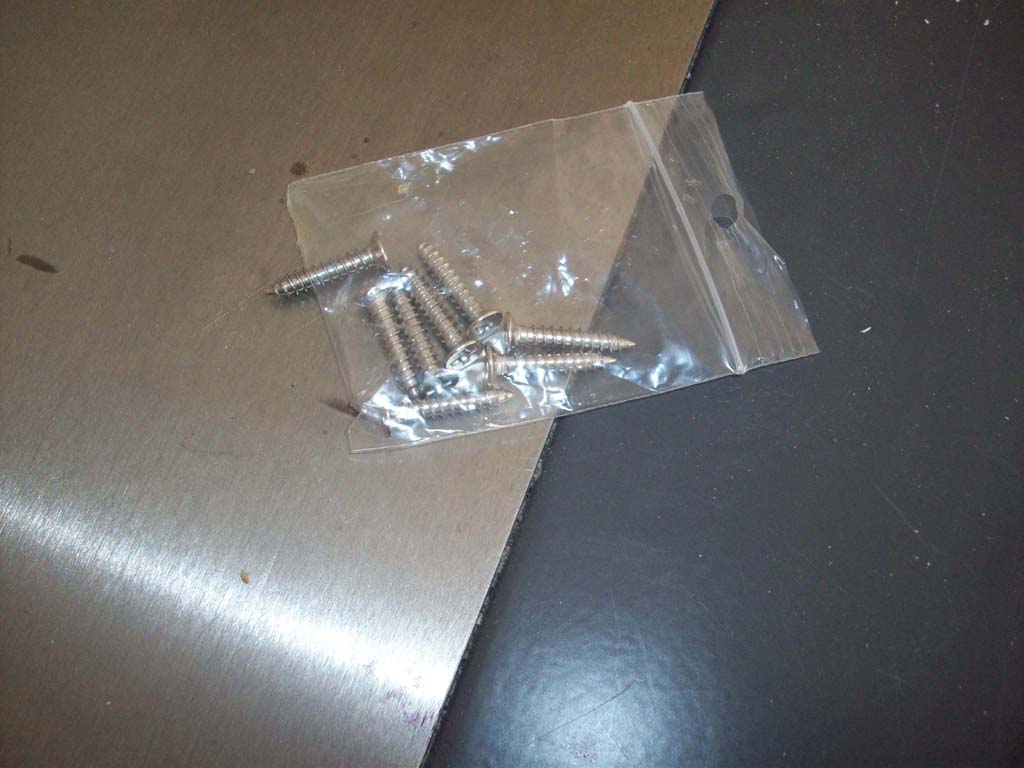
#8 Stainless Steel Screws 3/4"L
Tools
Needed:
Drill
5/32" drill bit
Center Punch
#2 Phillips Screwdriver
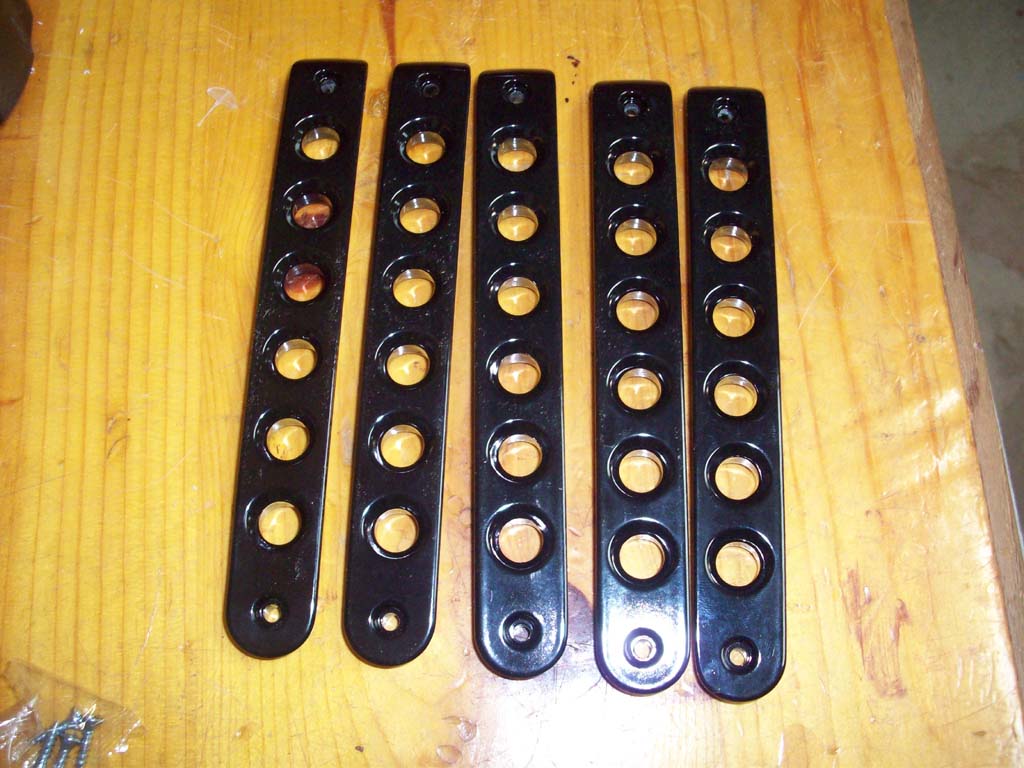
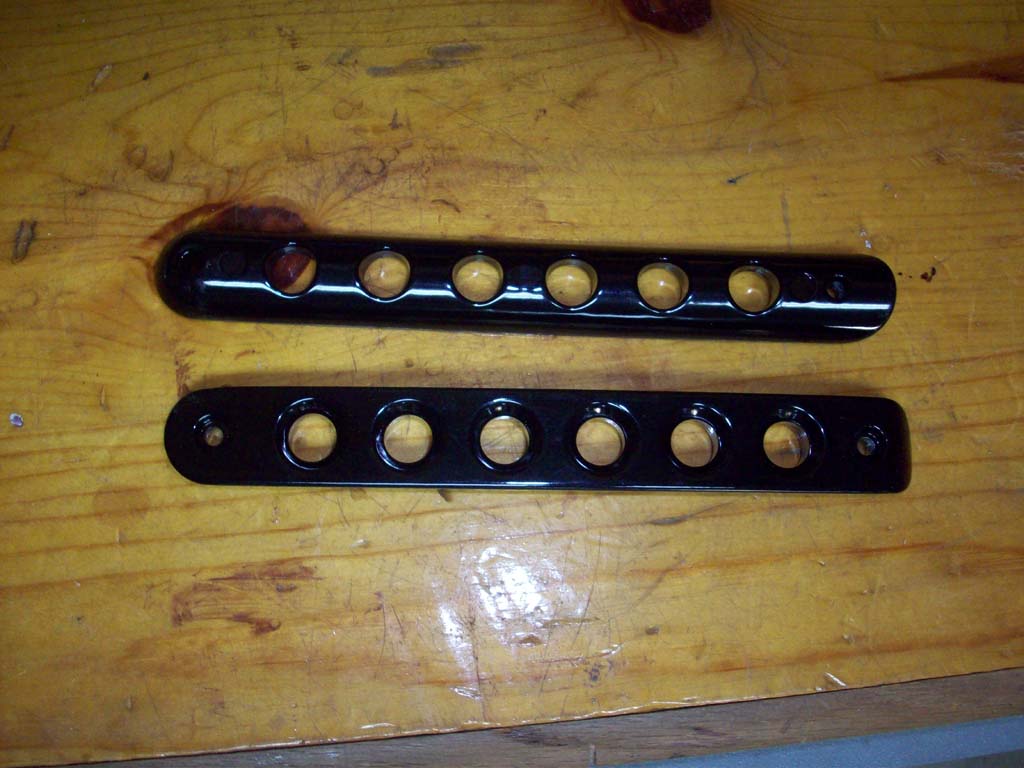
The parts:
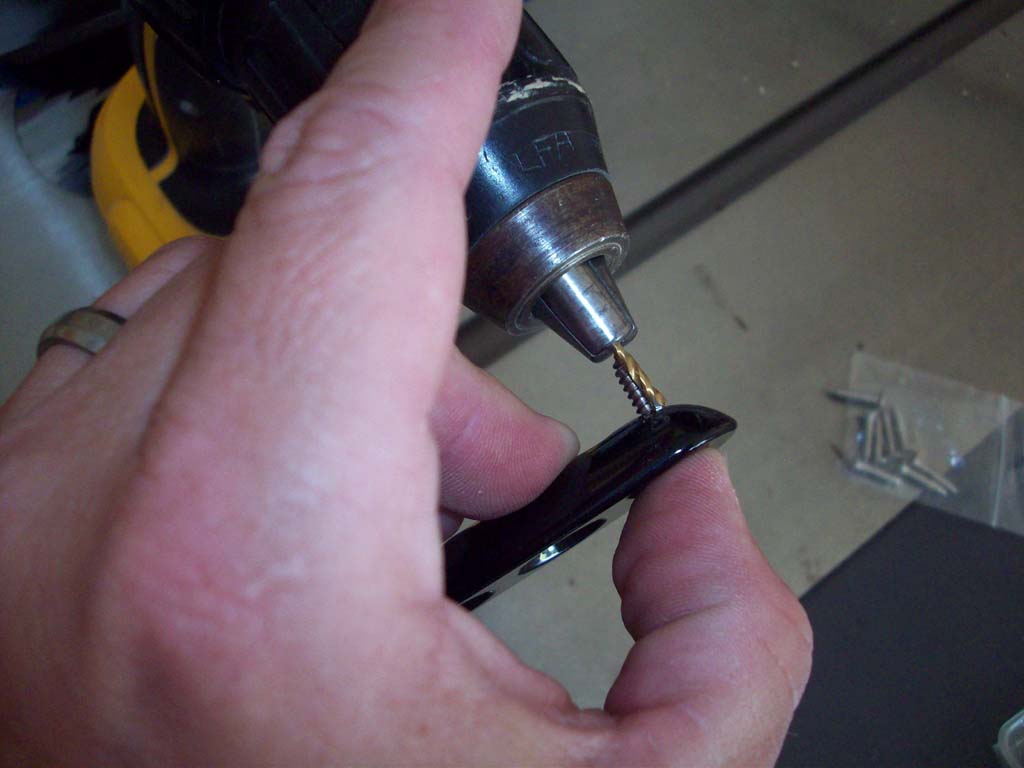
I did replace the screws that came with these just because I wasn't certain of the quality. I quick trip to Lowes picked me up some stainless #8 x 3/4" screws. You will need 10 screws total. As for the ones that came with the handles, I tossed them.
Installation:
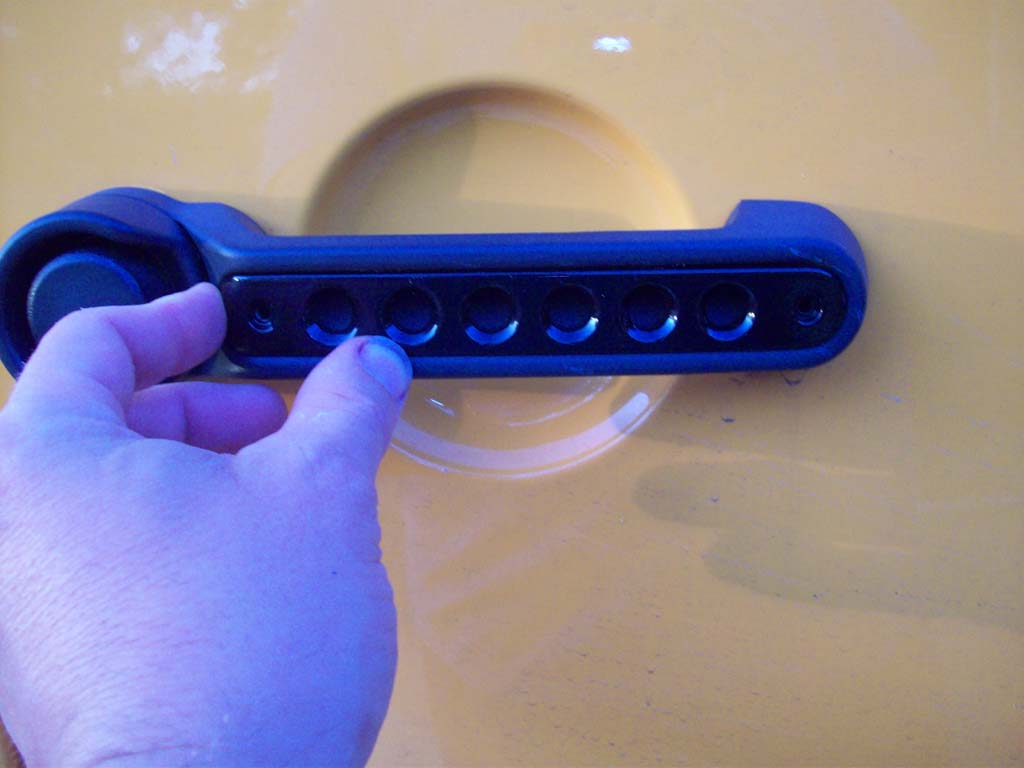
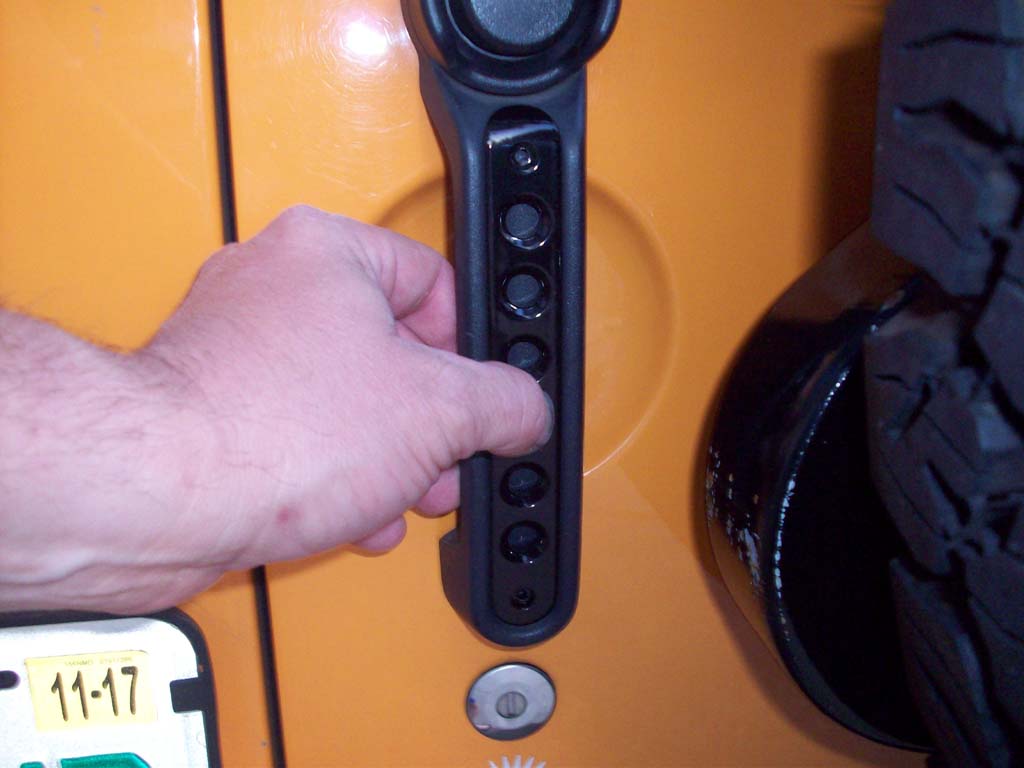
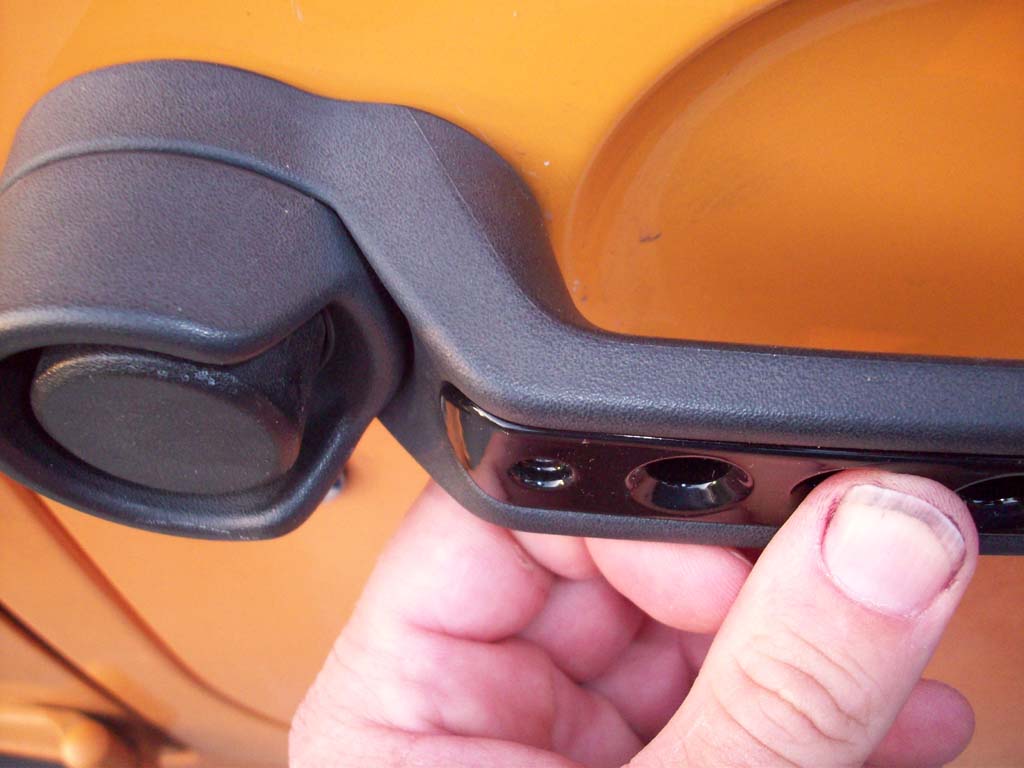
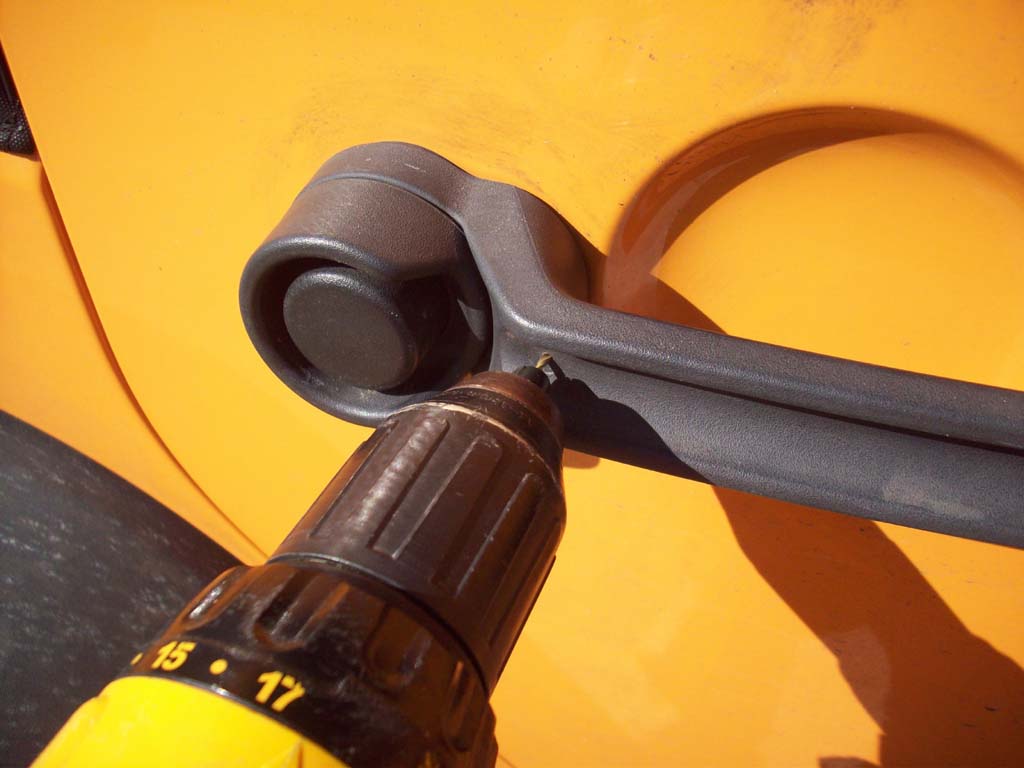
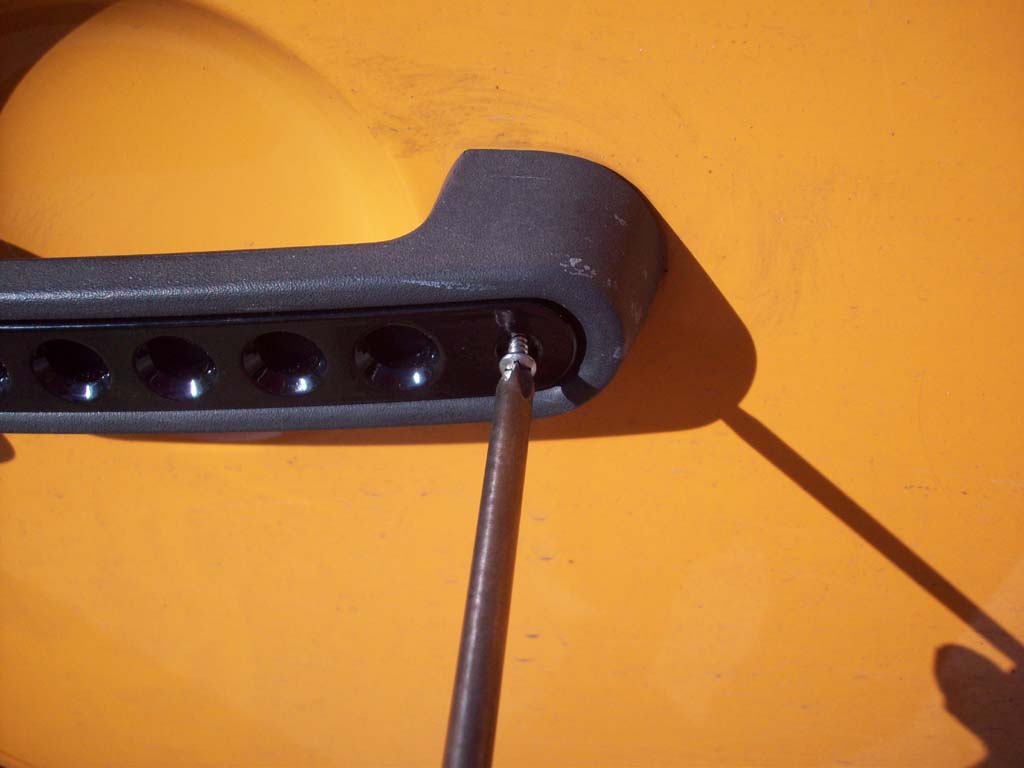
1. Place and hold the insert in the depression in the door handle. Line it up so it sits flush in the handle.
They don't quite line up perfectly, but it's probably an issue with the amount of powdercoat that is on these.
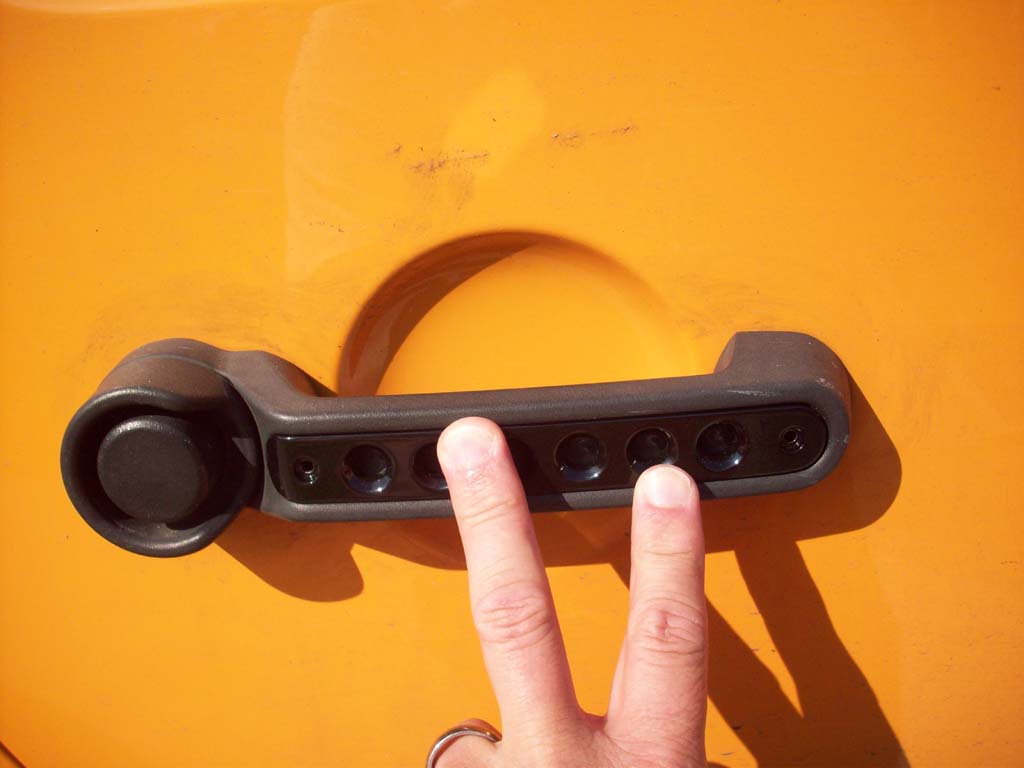
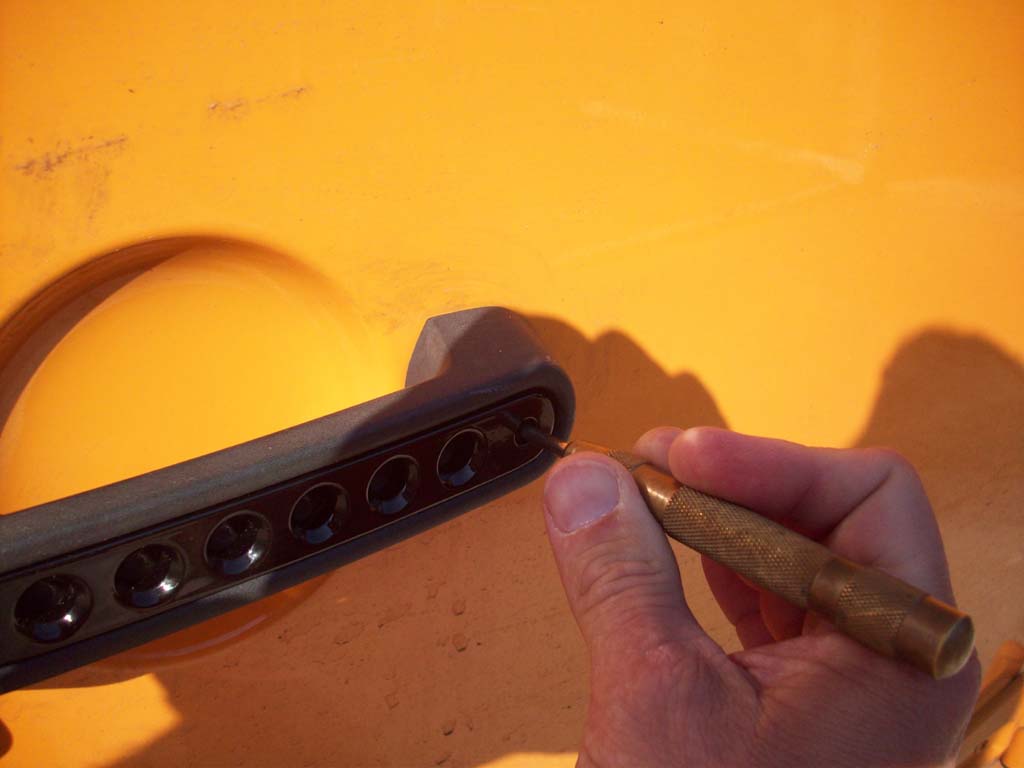
2. Using the center punch mark a hole for the drill in the center of each screw hole. Remove the insert.
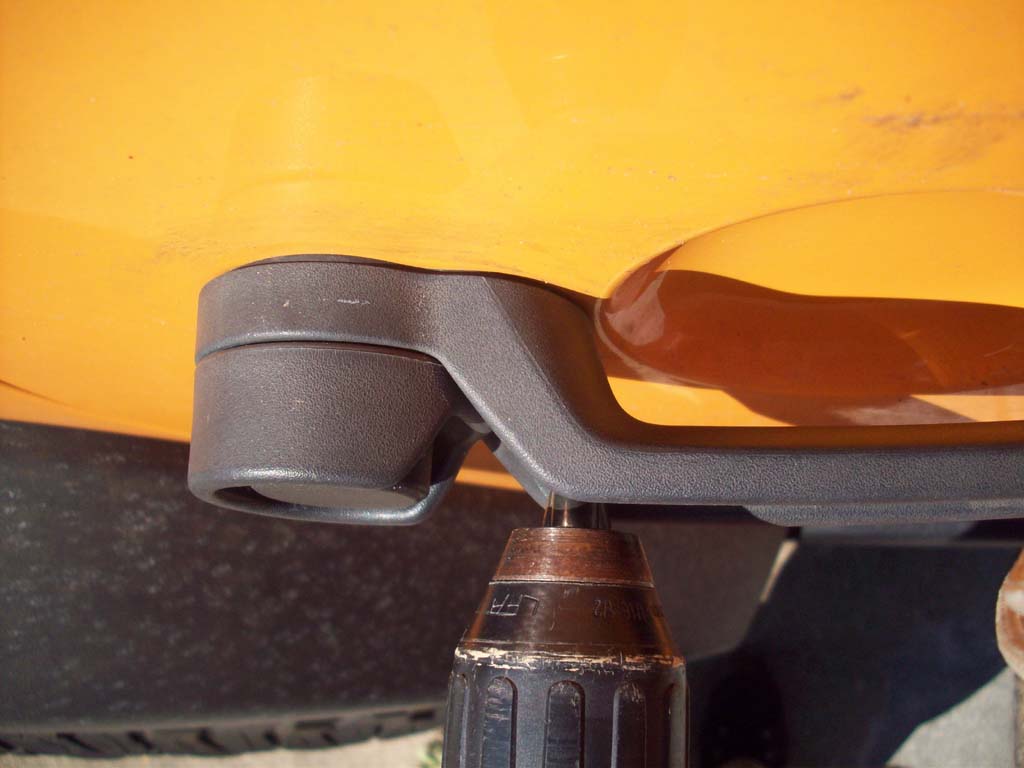
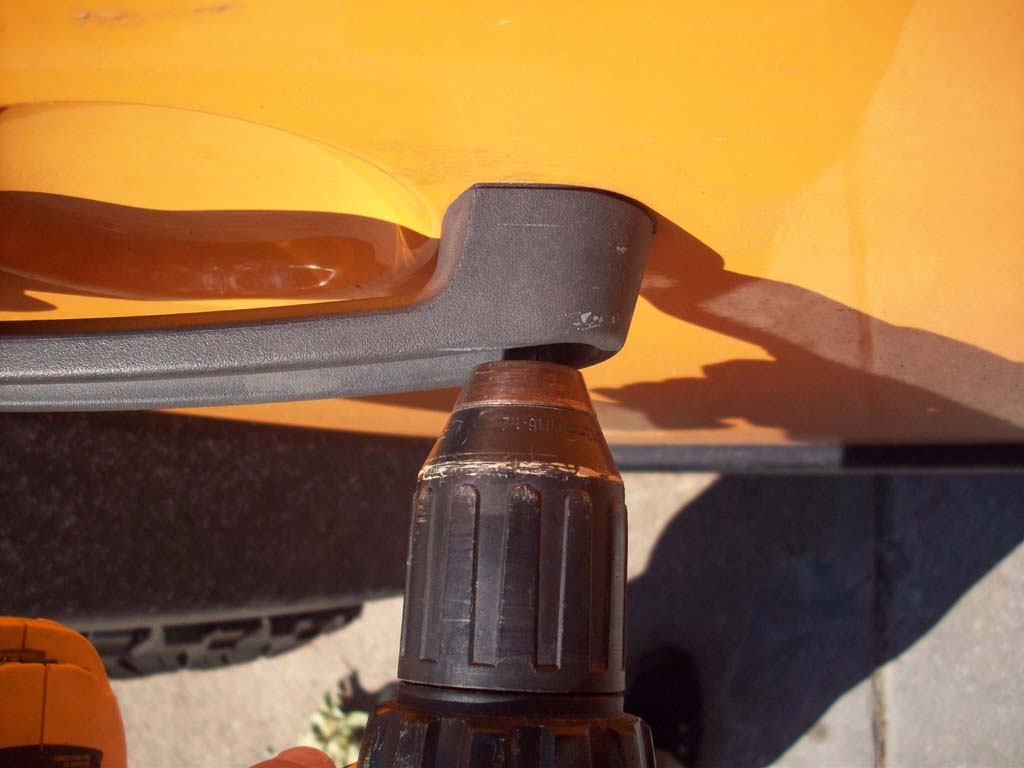
3. Set the depth of your drill to how far the screw sticks out beyond the insert. You don't want to drill out the back side of the door handle.
4. Drill a 5/32" hole about 1/2" deep in the door handle. The end away from the button is hollow. Watch where you are drilling near the button, the handle is angled behind your drill hole.
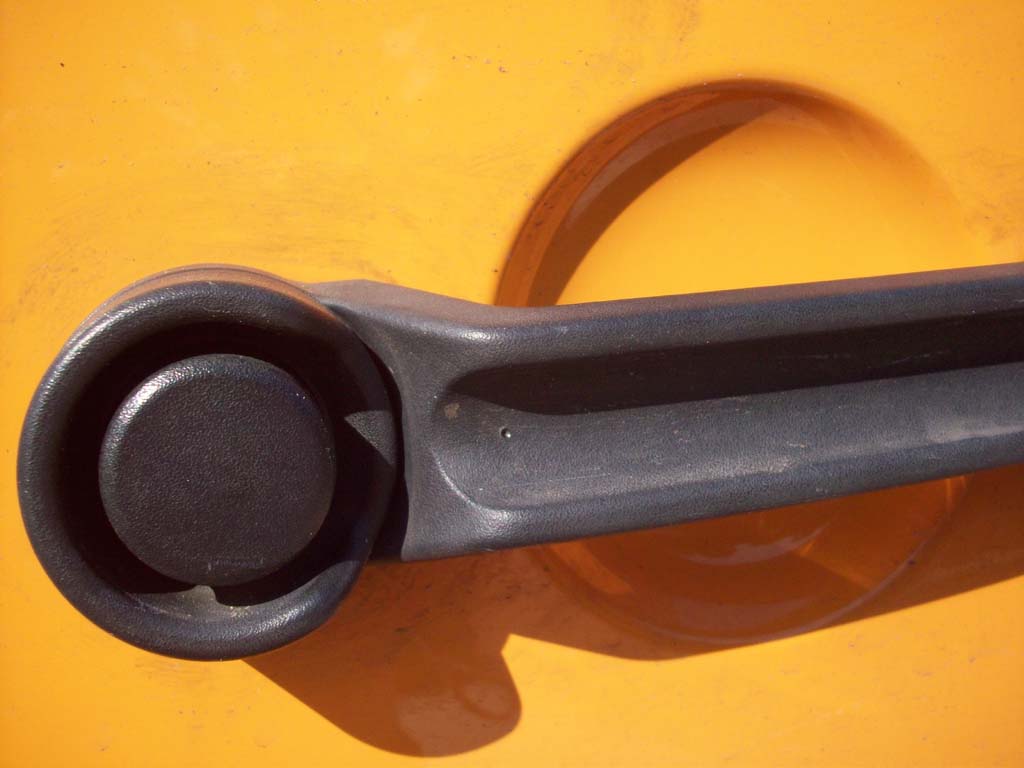
5. Reinstall the insert and install the screws. Tighten until snug, remember it's just plastic.
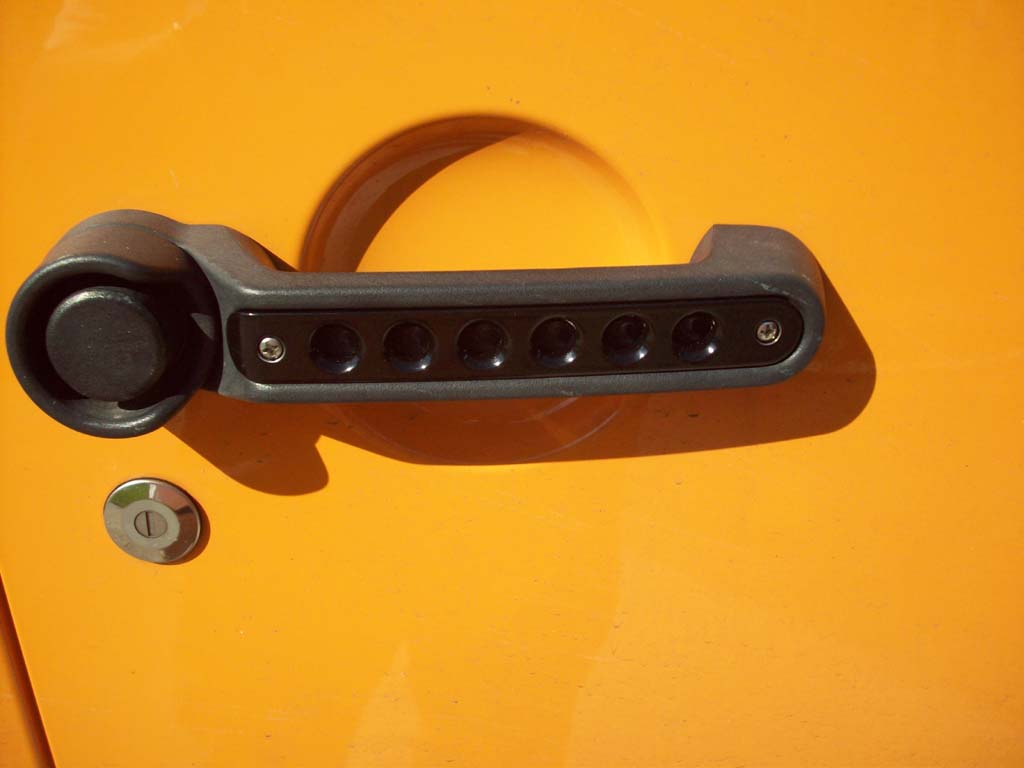
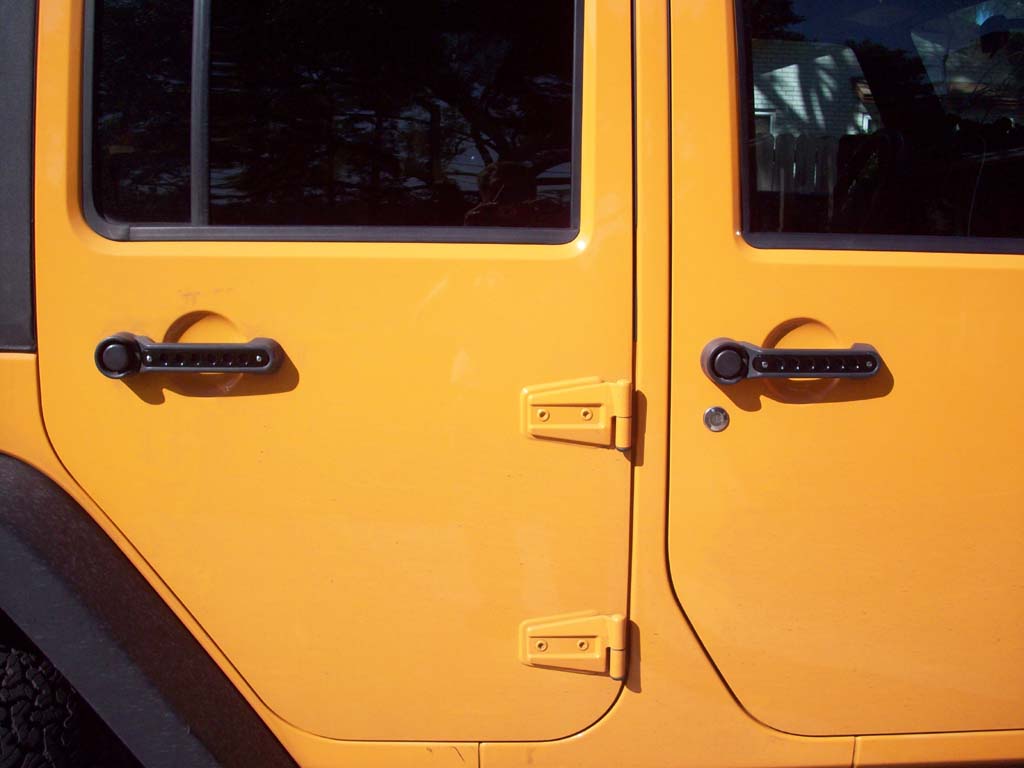
6. Done, stand back and marvel at your abilities..