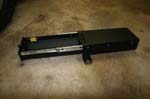
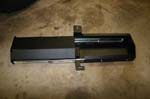
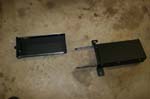
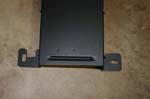
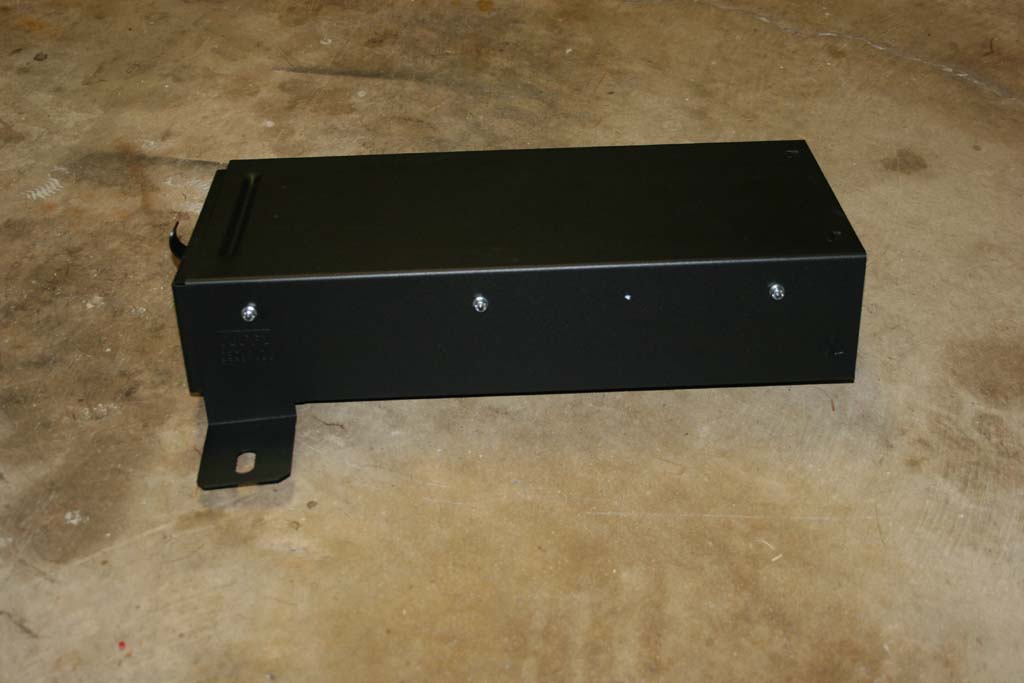
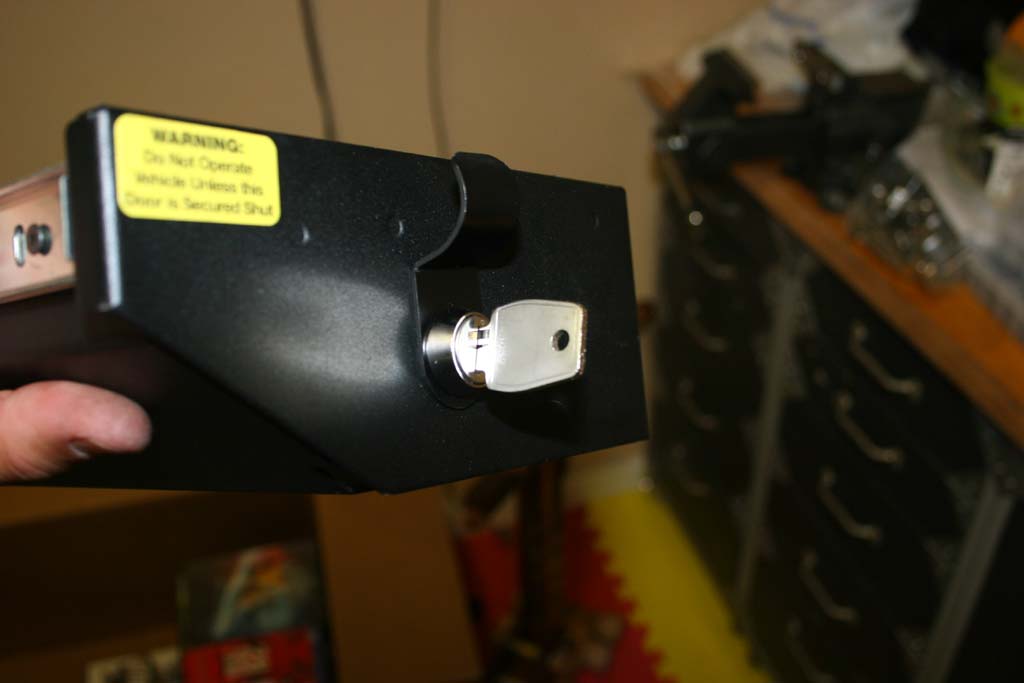
Jeeps have never had a good way to lock up valuables inside of them. The combination of having a soft top, or even no top really add to the problem of just cheap locks in plastic. Tuffy has had an excellent reputation of building boxes that are extremely hard to get into with normal tools. Tuffy has quite a few products for Jeeps and I have used a few of them in the past with great success. The new 2011 and up JK's have a different center console. Tuffy did come up with a new insert for the console, but I found it to be a little small when I saw it. I was interested in the Concealed Carry Drawer for a while, so I decided to pick one up and see how it worked. The Dawer is really well built. Bestop makes a similar drawer and while they look the same in shape, I didn't like the quality of the Bestop one, but I can only comment from an outside view, I didn't get to see how the lock worked, or how the slides were. The slides on the Tuffy box are tight, it doesn't just slide out, you have to pull it.
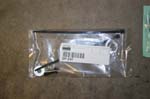
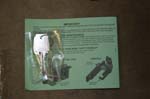
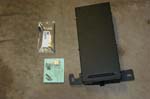
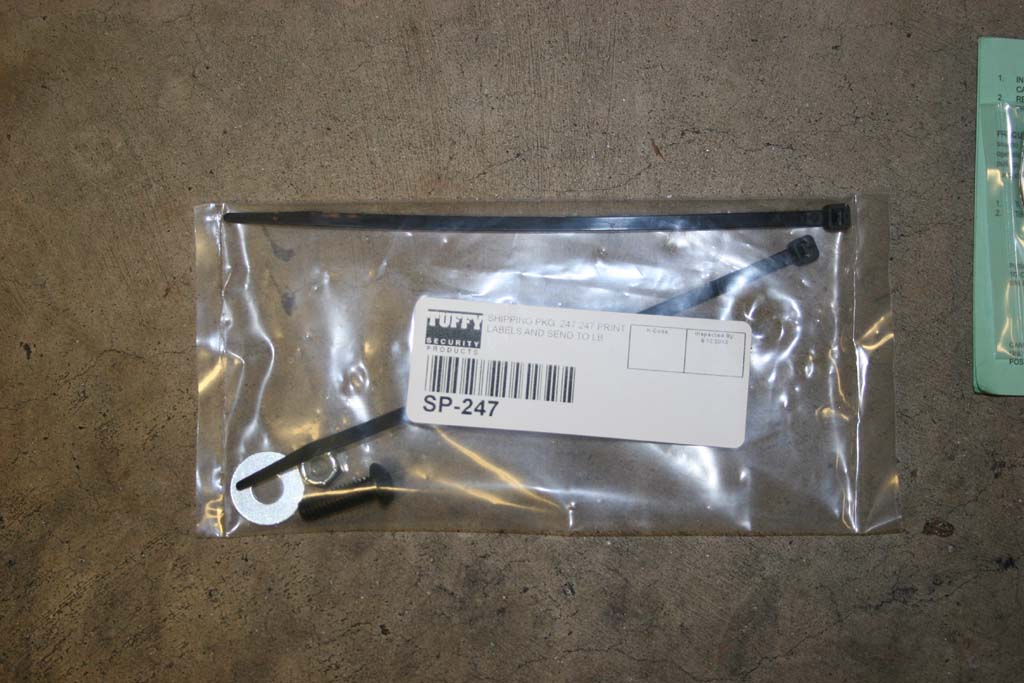
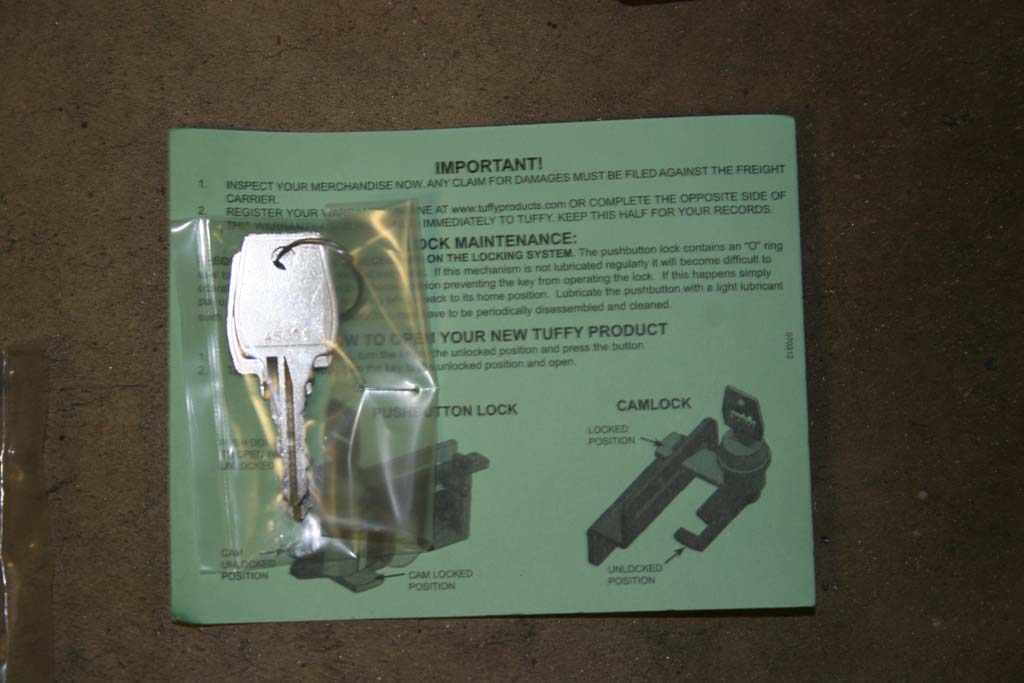
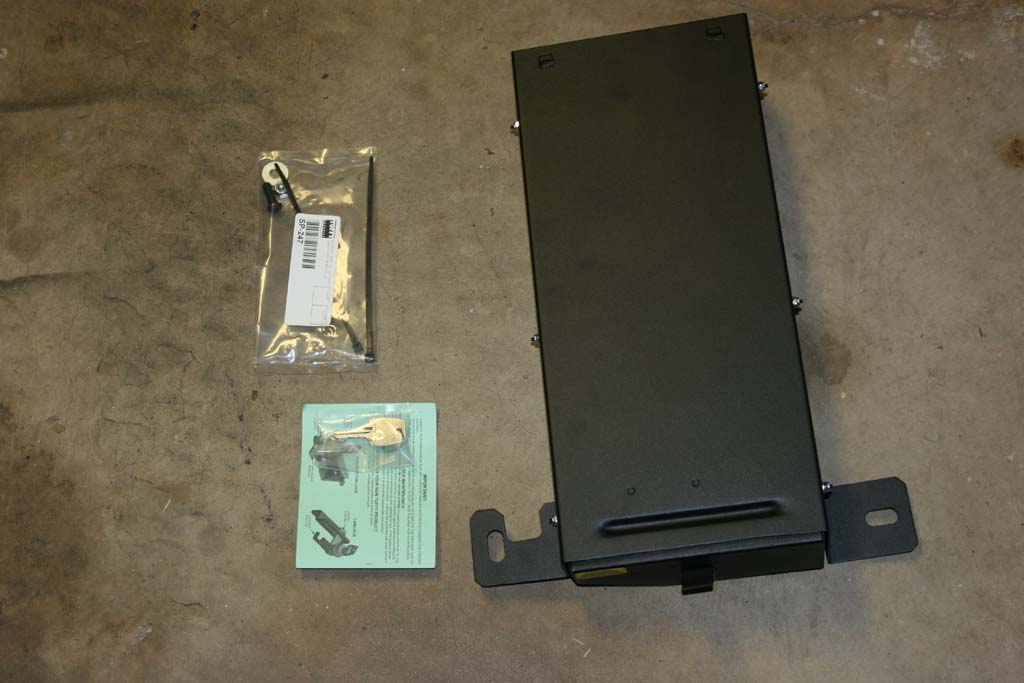
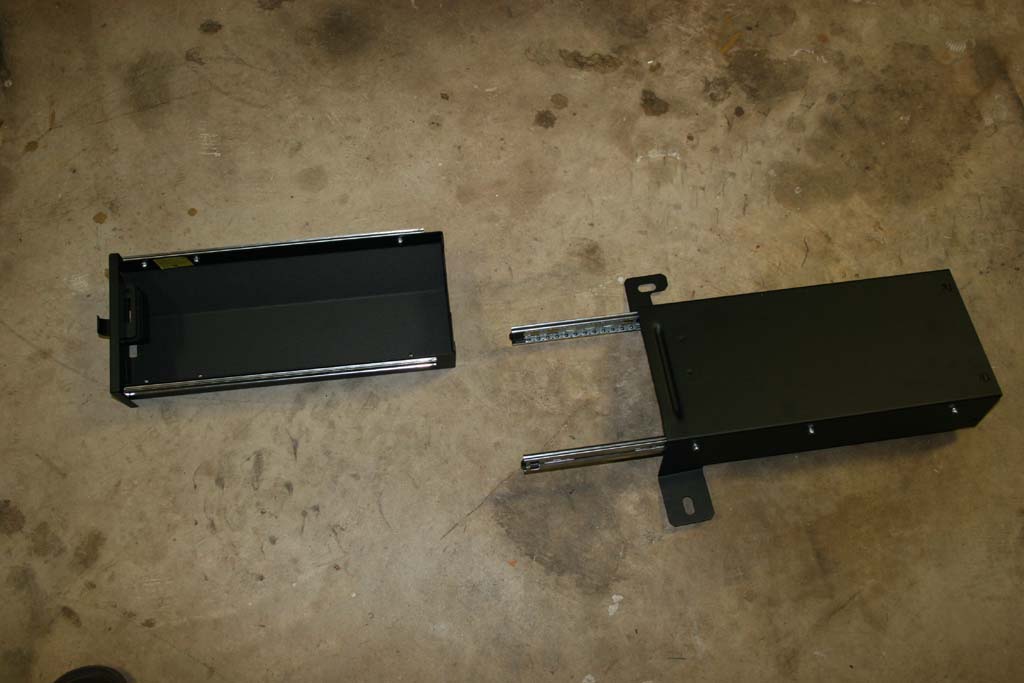
| What you get: |
 |
 |
 |
 |
 |
 |
 |
| Installation: |
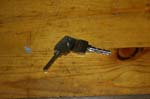
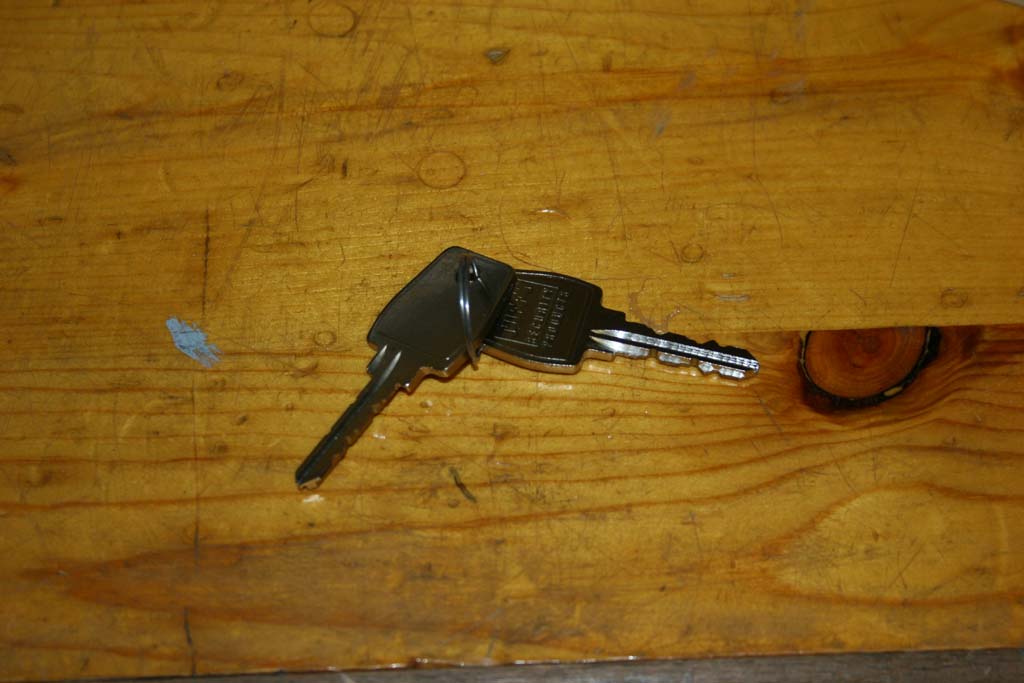
| Before you begin anything, break out the keys and make sure they both fit the lock and that the lock works. |
 |
 |
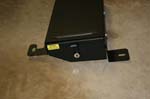
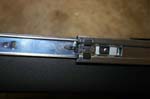
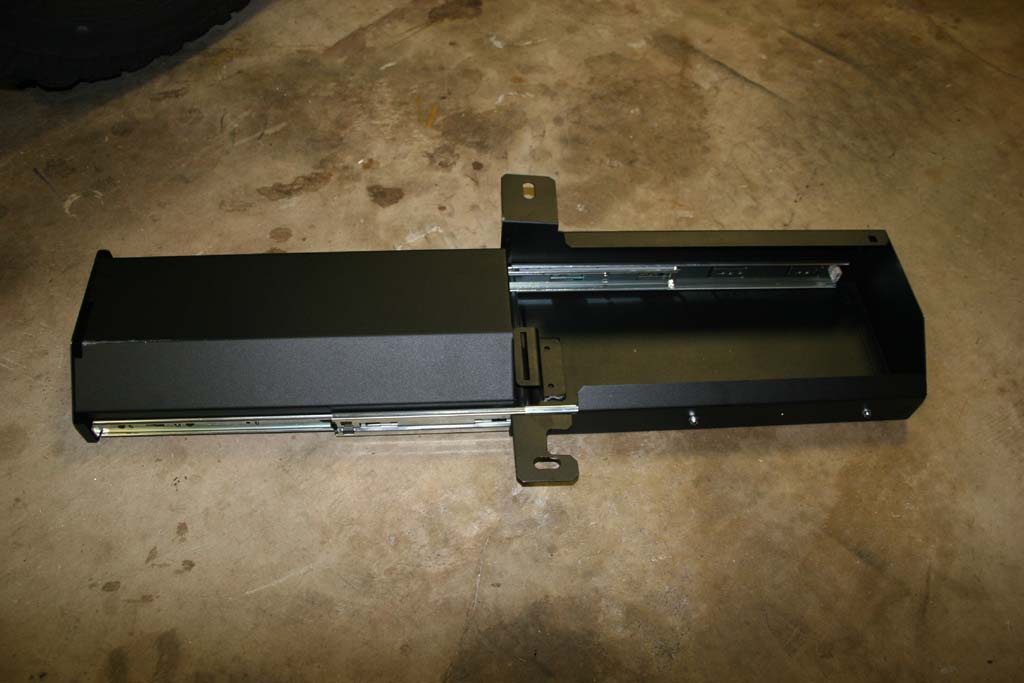
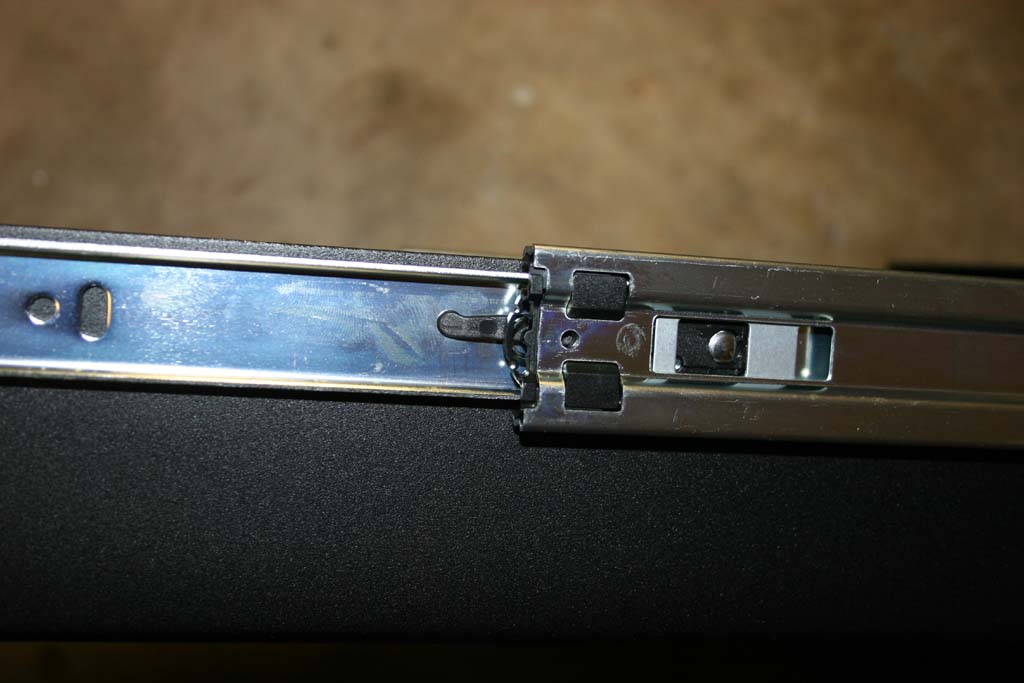
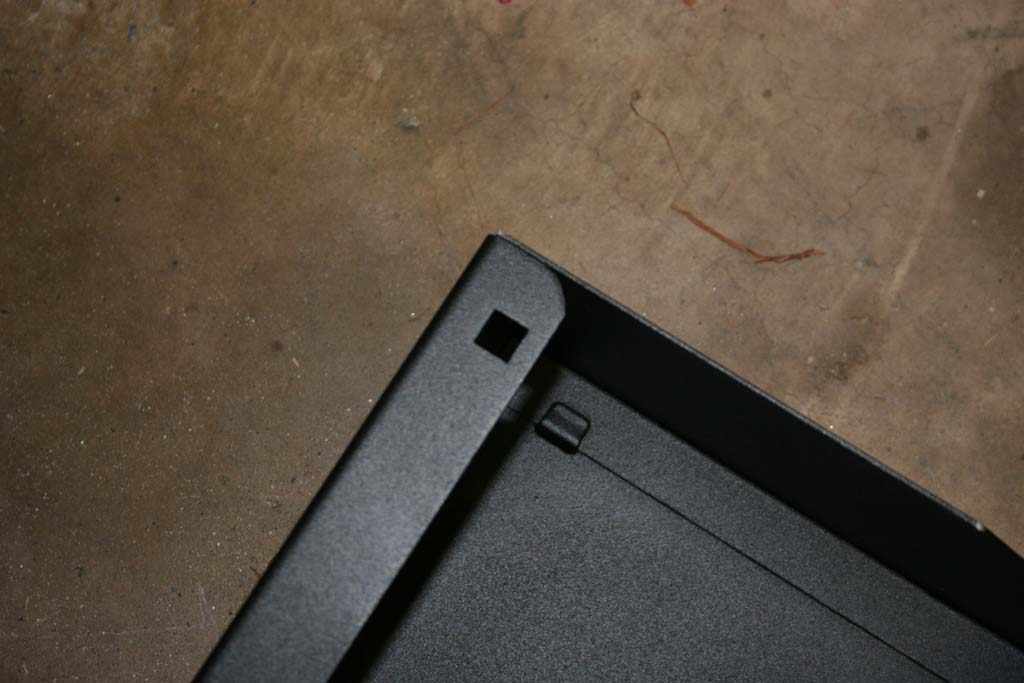
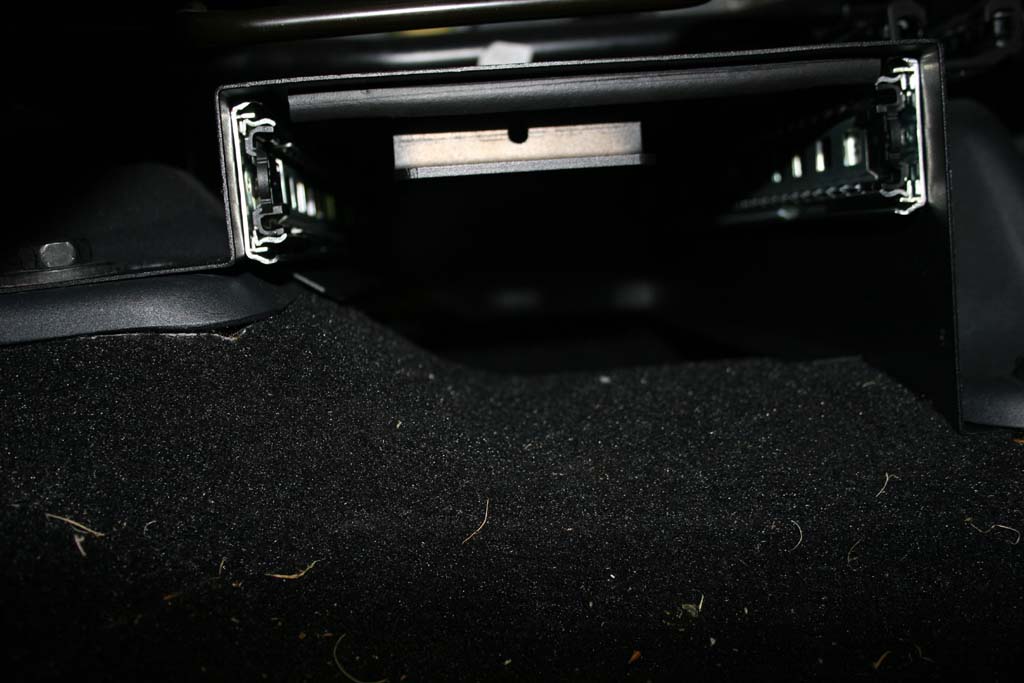
| 1. Remove the drawer from the enclosure. Pull the drawer out as far as it goes. Locate the two locking tabs (one on each side). Push the tabs either up or down depending on the side and push the slide off of the drawer. I did find it easier to just pull the drawer off of the slides. |
 |
 |
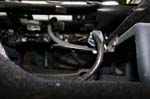
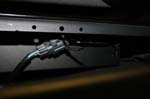
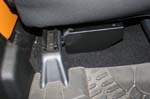
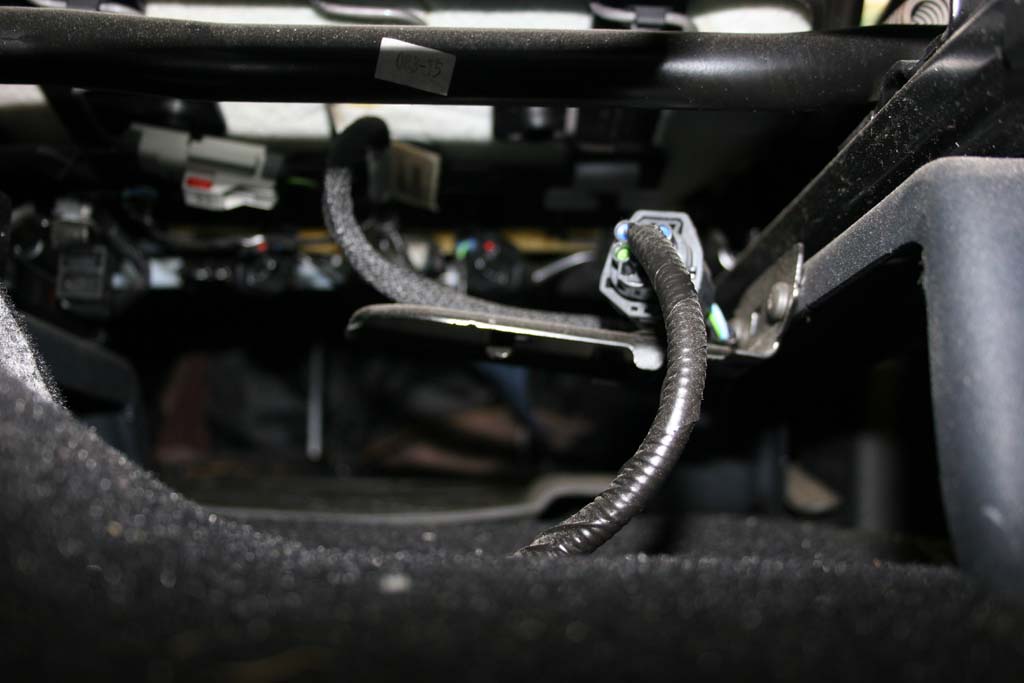
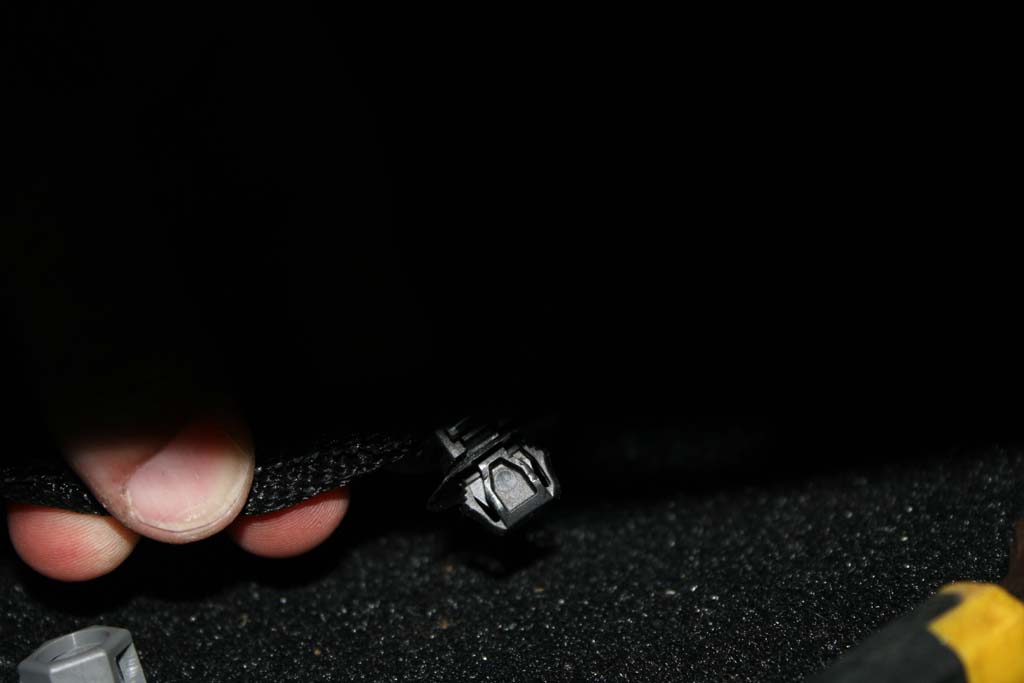
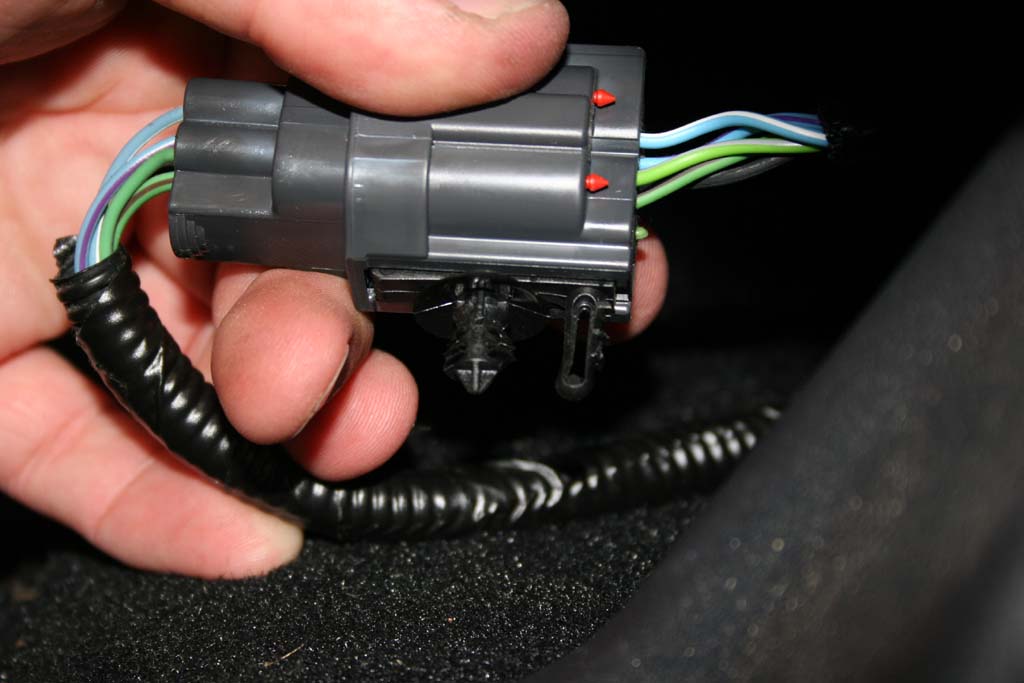
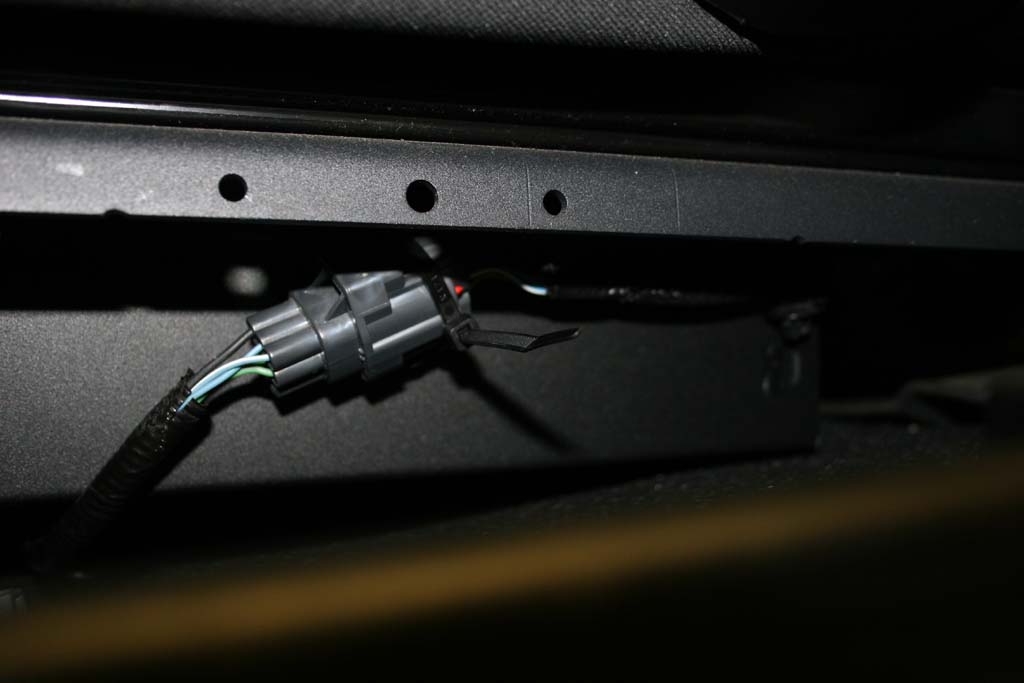
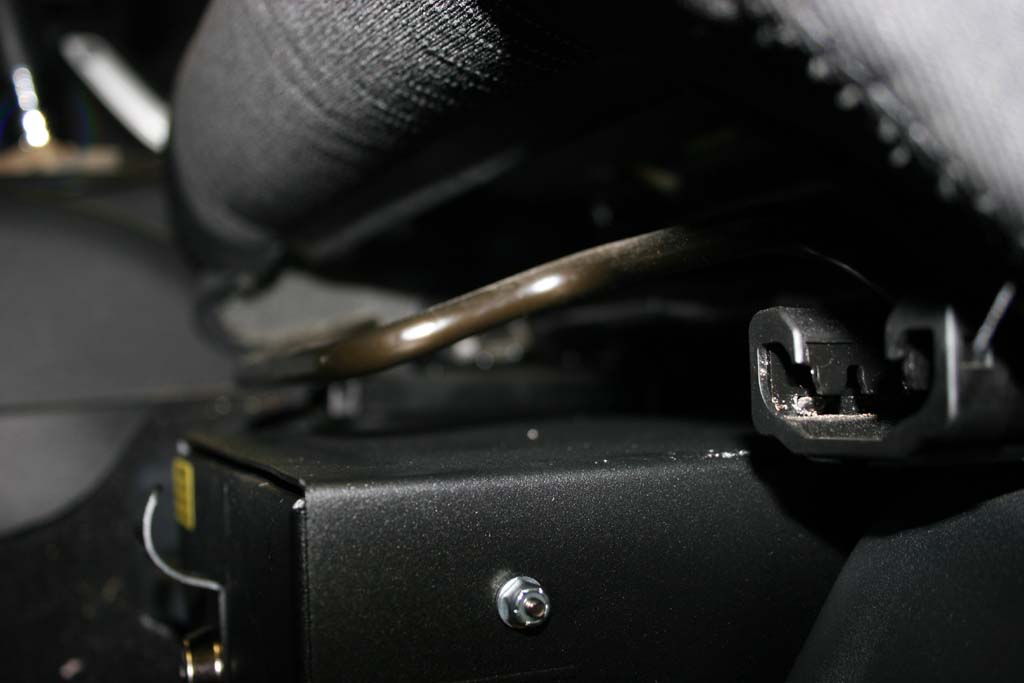
| 2. Skip this step if you have a 2010 or older. On the 2011's and up they put a harness mounting plate under the seat that needs to be removed. The connector and wire are held in by two clips. One on the wire, the other on the connector itself. |
 |
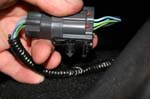
| 2a. Feel underneath the plate, you will find two barbs sticking through for the connector and what feels like a retangular tab for the wire. Use the needle nose pliers to press the ends of the long side together and pull up to remove the wire connector from the mounting plate. Use the flat tip screwdriver underneath the connector and the needle nose pliers on the barb to push up and free the connector from the mounting base. |
 |
 |
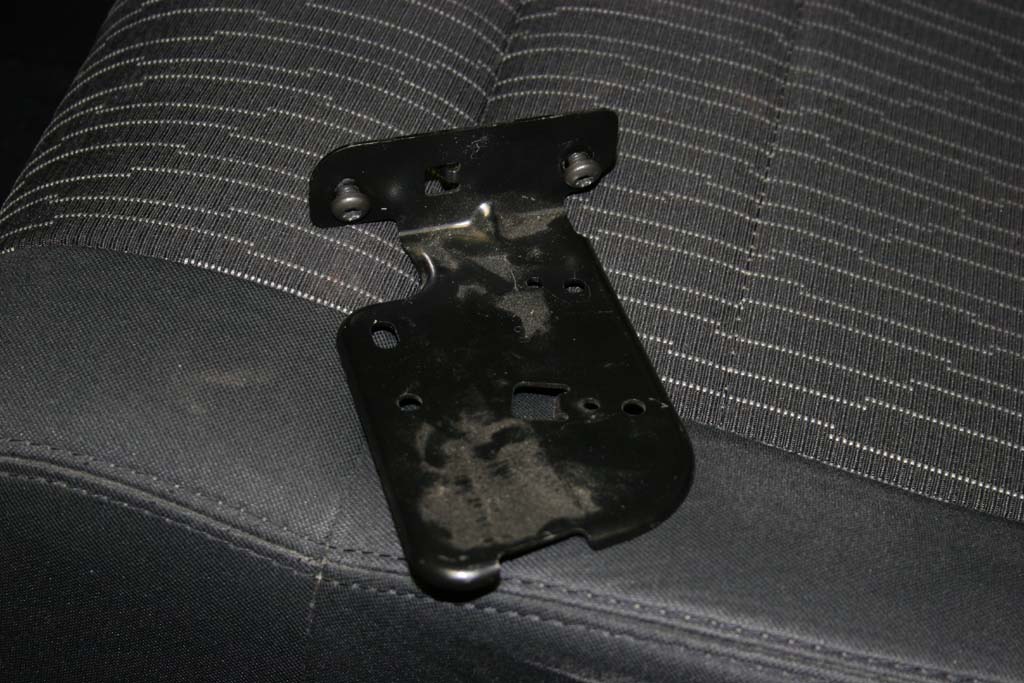
2b. Use a 1/4" ratchet and T30 Torx socket and remove the two screws holding the mounting plate in position. I did try this with a Torx screwdrive, but could not get enough force to turn the screws.
Note: The next step in the instructions tells you to zip tie this harness in position, but I found that what I thought was the right position was not quite right. I recommend installing the drawer and then getting the wires and harness to sit right before you zip tie. |
 |
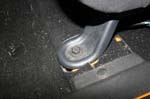
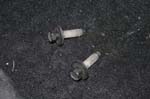
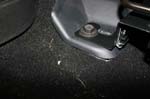
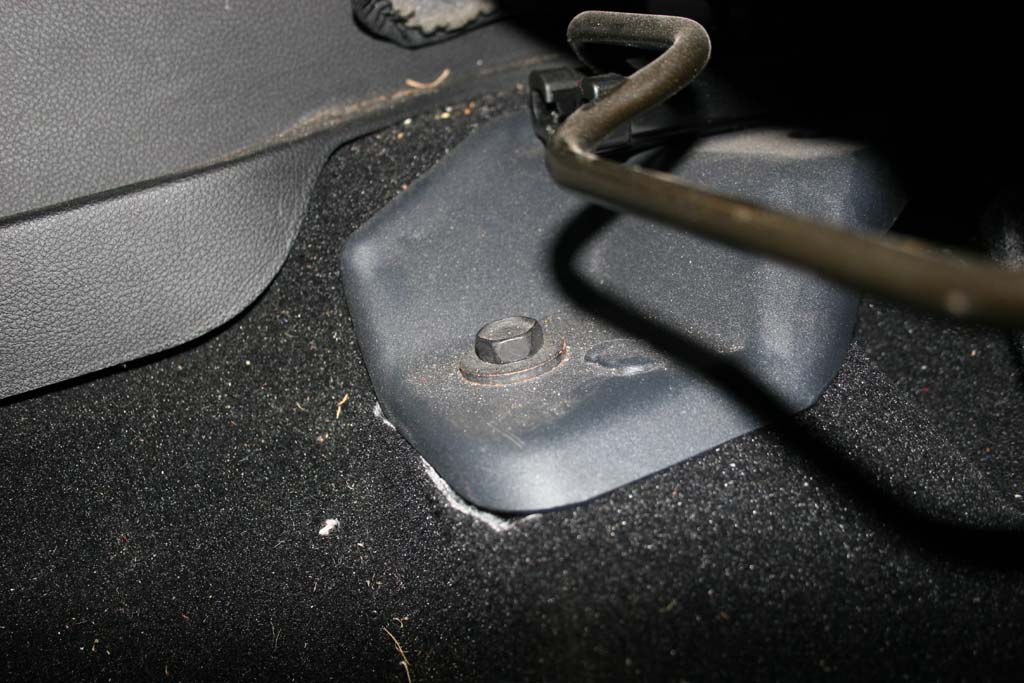
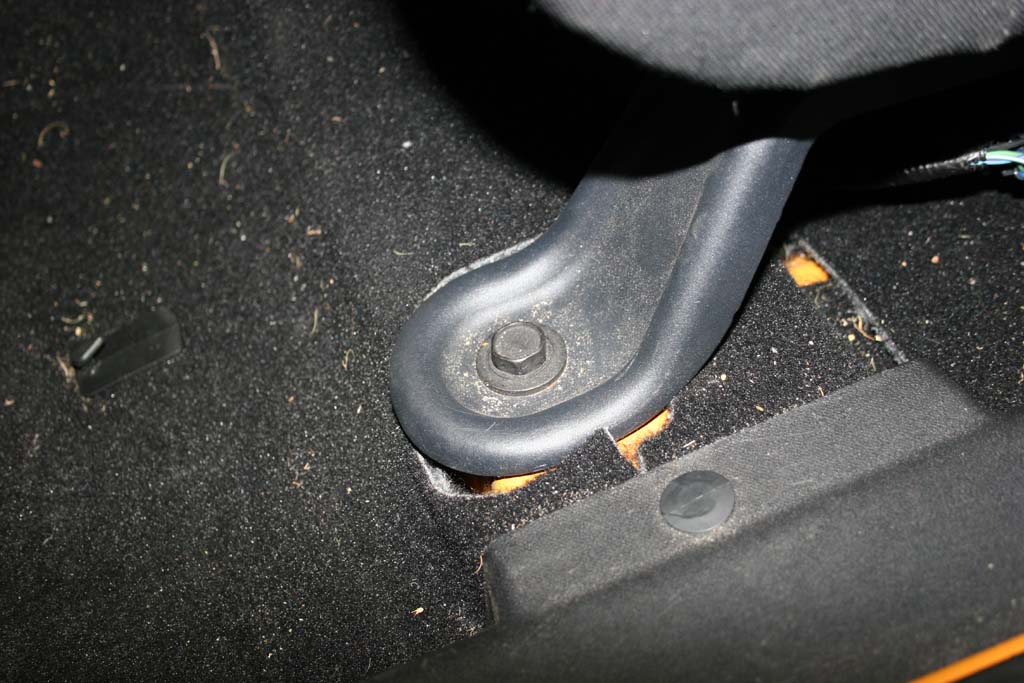
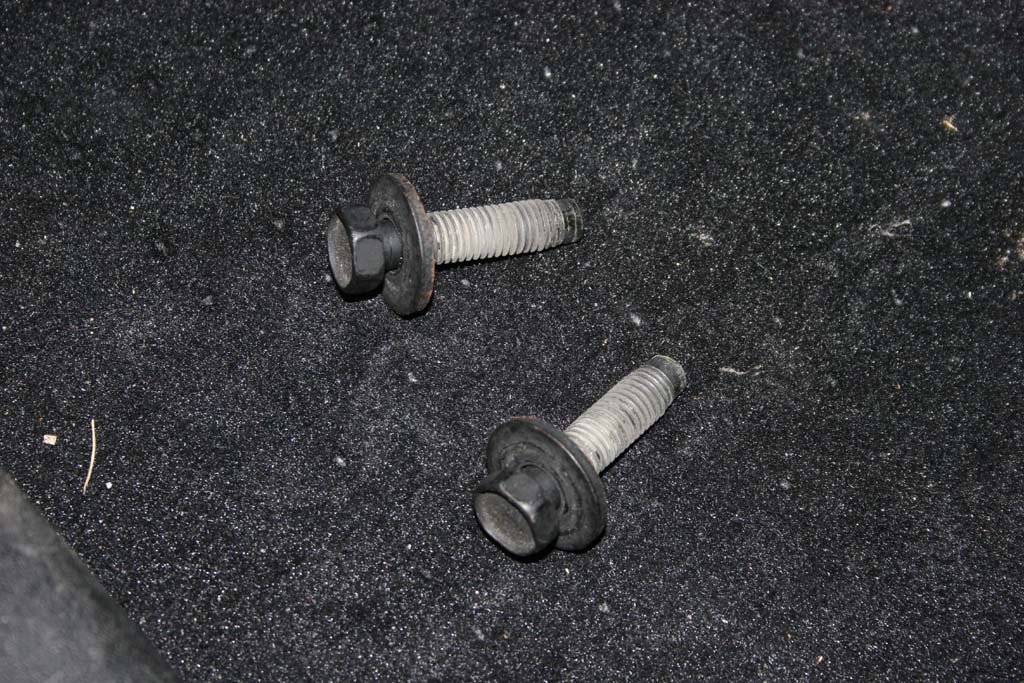
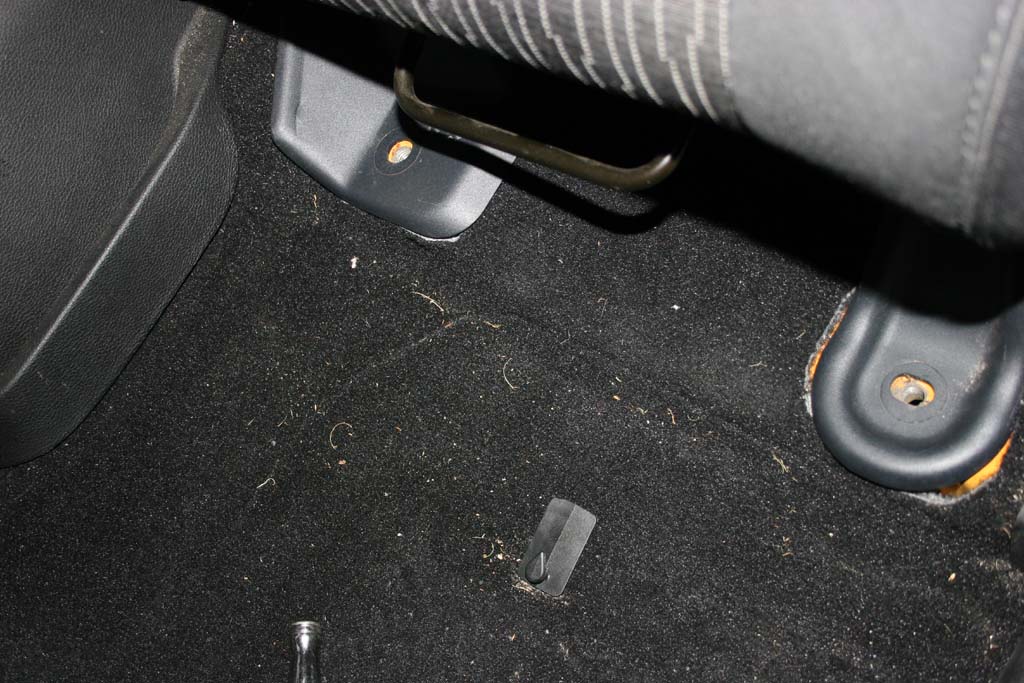
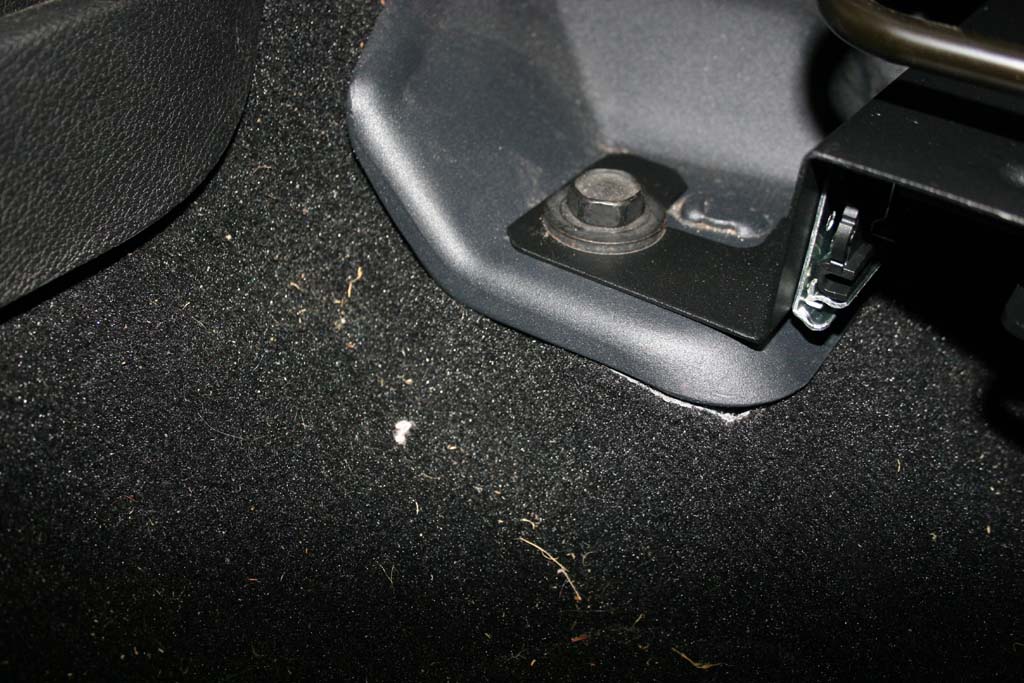
| 3. Remove the two front seat bolts with an 18mm socket and 1/2" ratchet. These bolts are in tight. |
 |
 |
 |
| NOTE: Before you install the box, you need to decide wether or not you are going to be installing the optional security step. If you are you will need to pull the carpet back from underneath the back side of the seat. There is a bolt hole in the back corner of the Tuffy enclosure that you will need to mark it's location on your floor. |
 |
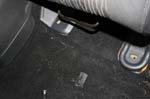
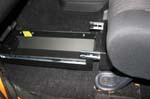
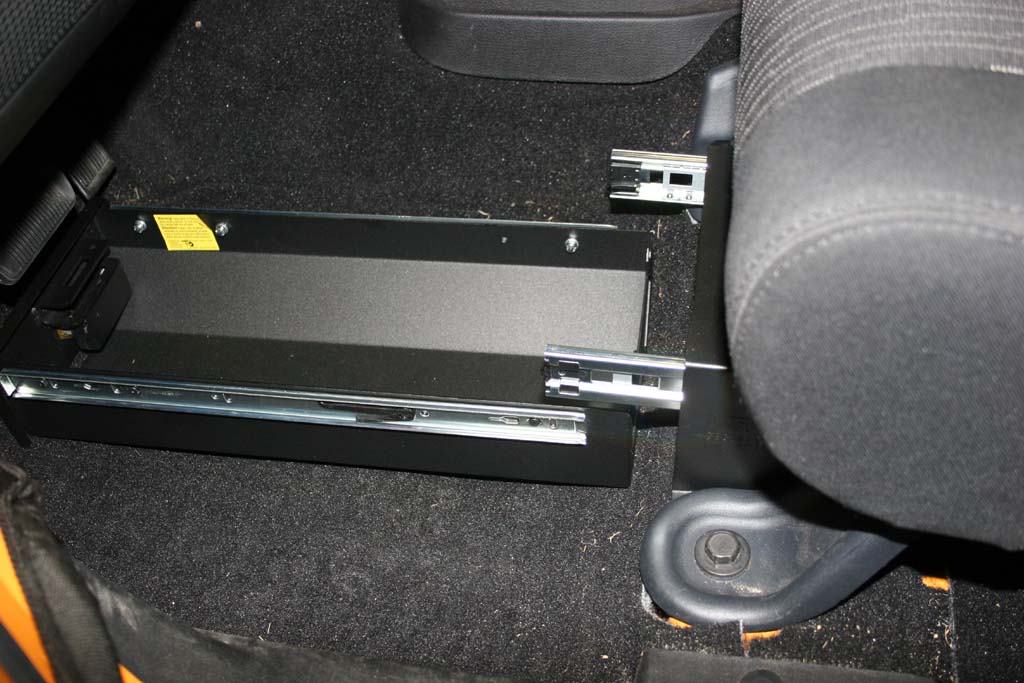
| 4. Slide the Tuffy box underneath the seat. The inside leg goes on top of the seat bracket and the outside leg goes underneath. If you have a 2011 and up, you will need to guide the wires around the enclosure as you slide it uder the seat. Reinstall the seat bolts. Note: If you are installing the Optional Security step, then you just need them in for alignment at this point. |
 |
 |
 |
 |
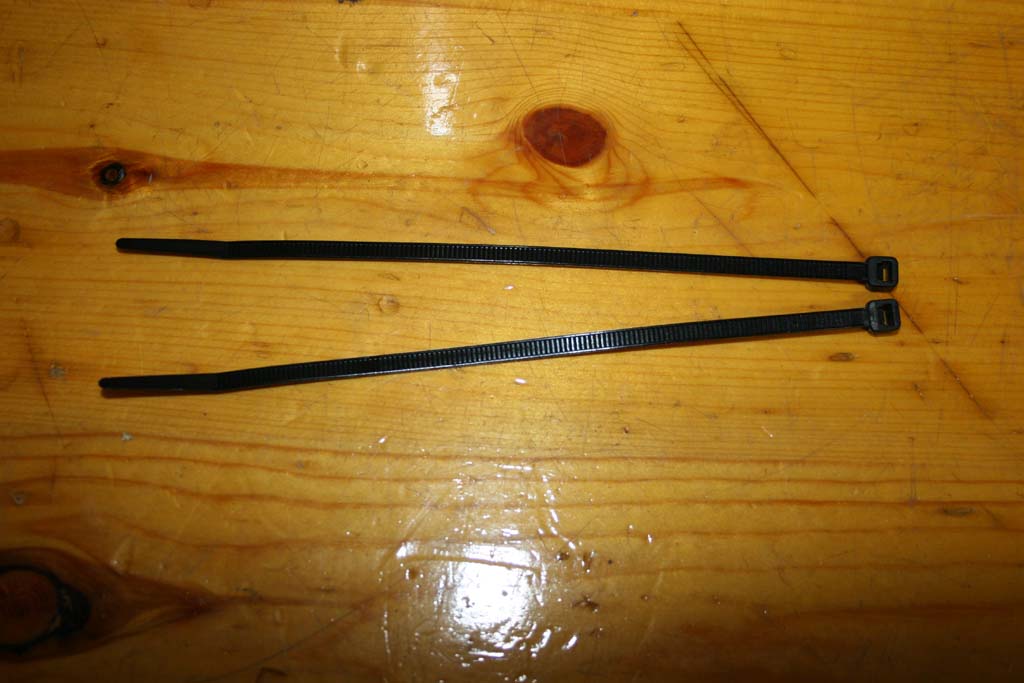
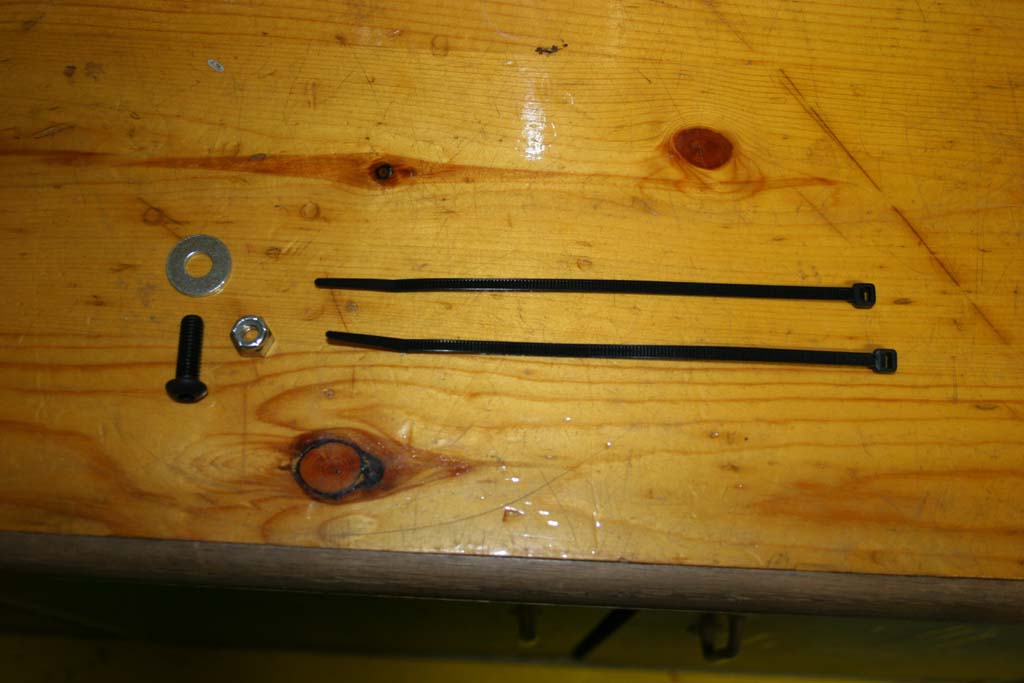
| 5. Open up the parts bag and remove the two zip ties. Zip tie the harness to one of the holes left behind when you removed the mounting bracket from under the seat. |
 |
 |
| 6. Skip this step if you are not installing the optional security step. Reach in the black hole of a box and find where the mounting hole is in the back corner. Mark the floorboard for where you need to drill with a marker. |
 |
| 6a. Remove the Tuffy enclosure and push the seat all the way forward. I have not installed the optional security step yet, but I did find that I will need a right angle drill to get to the location that I need to drill. |
 |
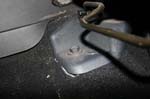
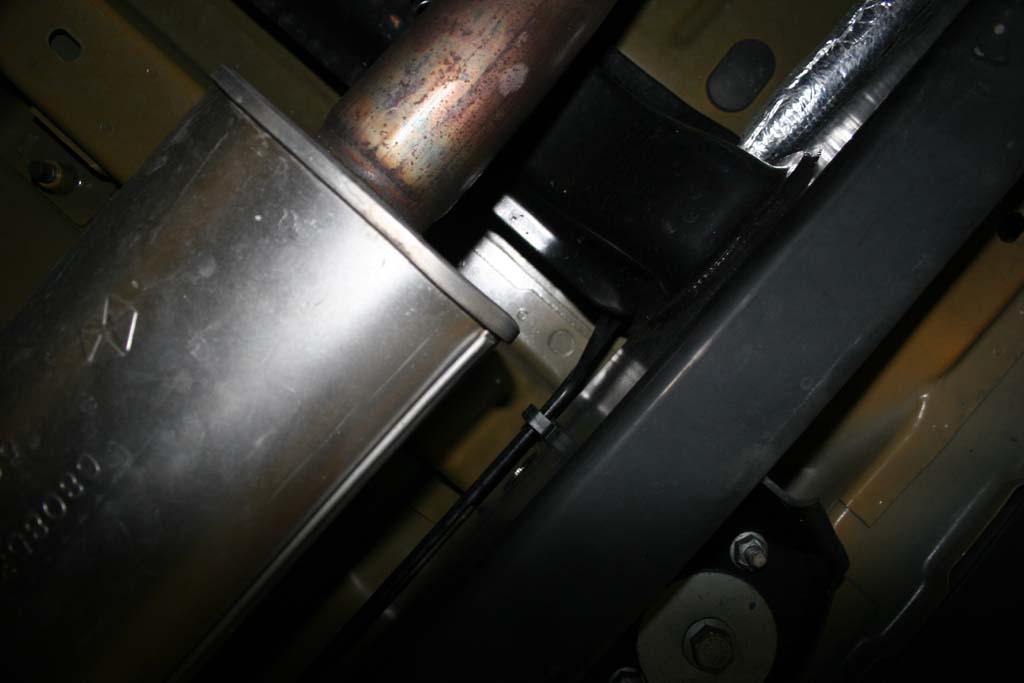
| 6b. Drill a 3/8" hole in the floor with an angle drill. Be careful you do not drill to far, the exhaust, some brake lines and a crossmember are below this hole. You only need to go through a thin piece of metal. Clean up the hole and apply a little paint to seal the drilled edges. You can use silicone sealant when you install the bolt to help with the rust resistance. |
 |
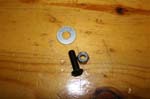
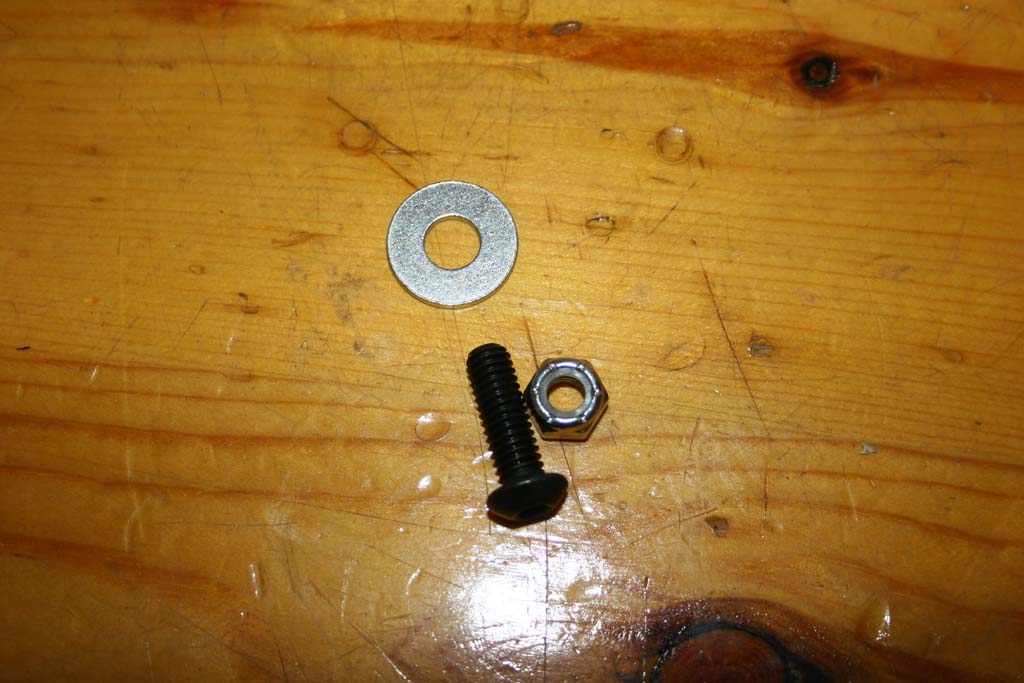
6c. Reinstall the enclosure and insert the bolt through the hole in the rear of the enclosure and the hole in the floor. Install the washer and nut on the otherside. Tighten down using the 3/16" Allen wrench and 1/2" combo wrench.
Note: You really do need a second person with this unless your are Mr. Fantastic. |
 |
|
| 7. Line up the slide sections and push the drawer in gently, do not force it or it can be damaged. It does take a little to push it in, but you shouldn't be having to muscle it very hard. |
 |
 |
 |
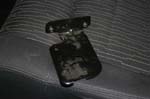
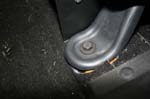
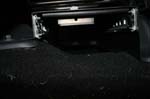
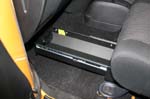
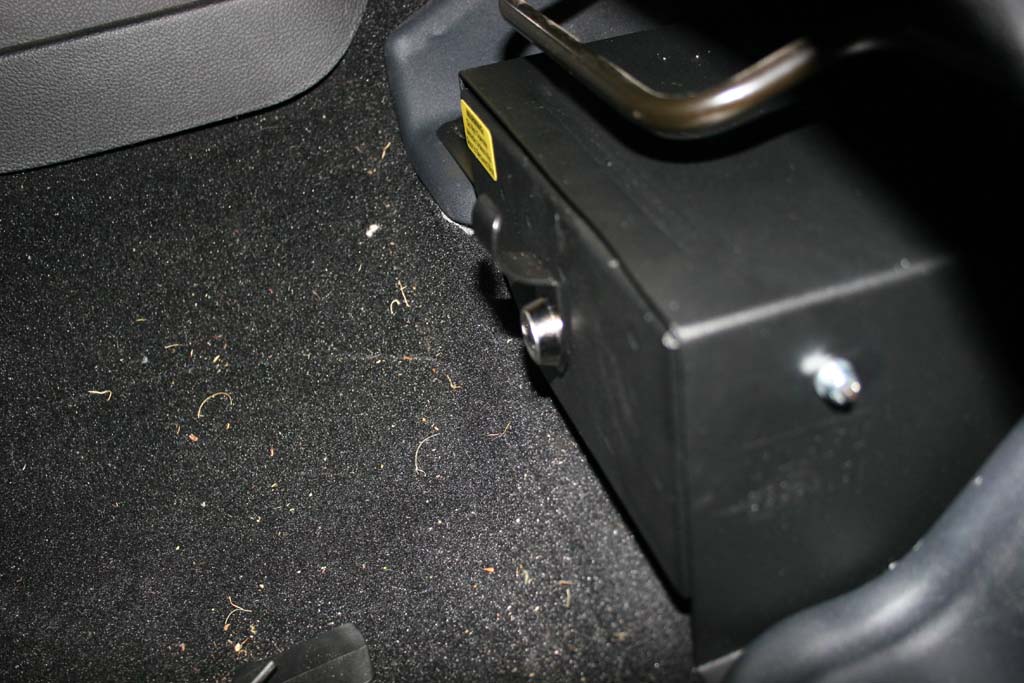
| The clearance between the seat adjustment handle and the top of the enclosure is close, but I can get my hand in underneath with no problem. I would see it as more of a concern for those that ride with the seat up close to the steering wheel. |
 |


