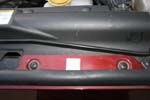
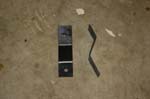
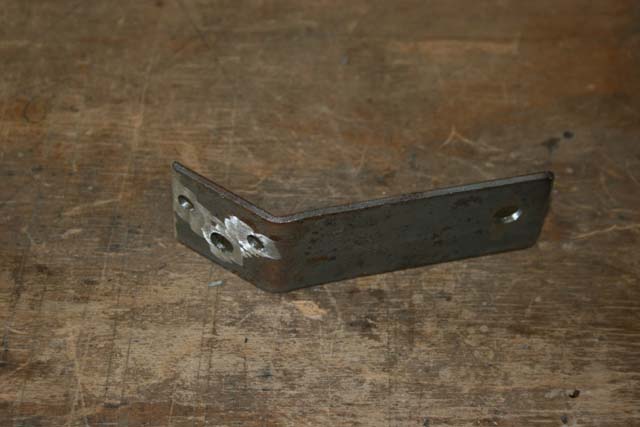
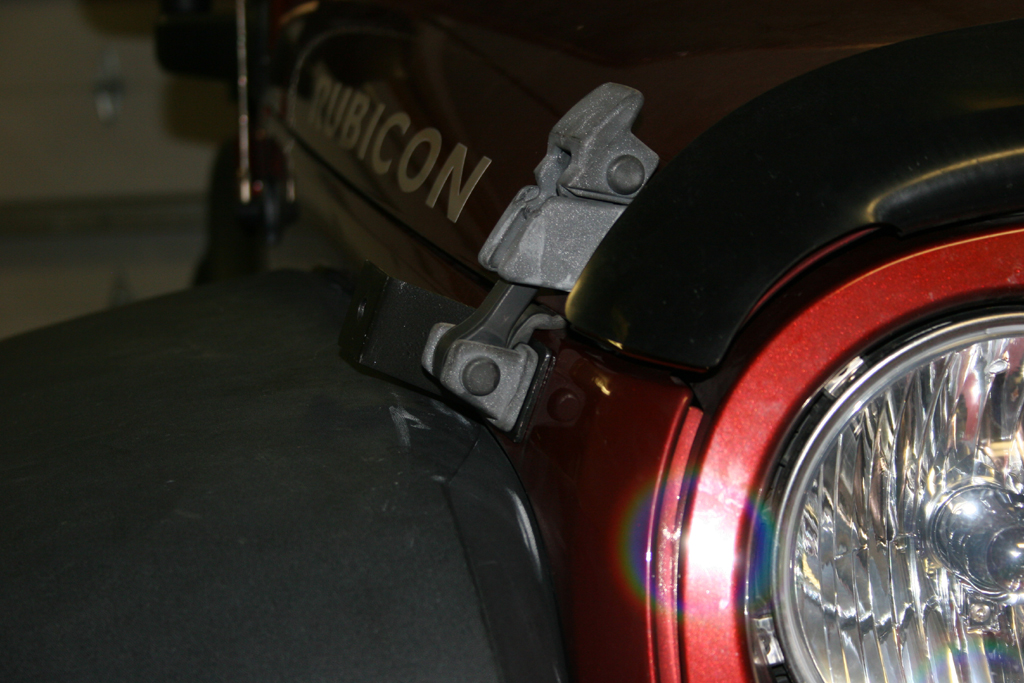
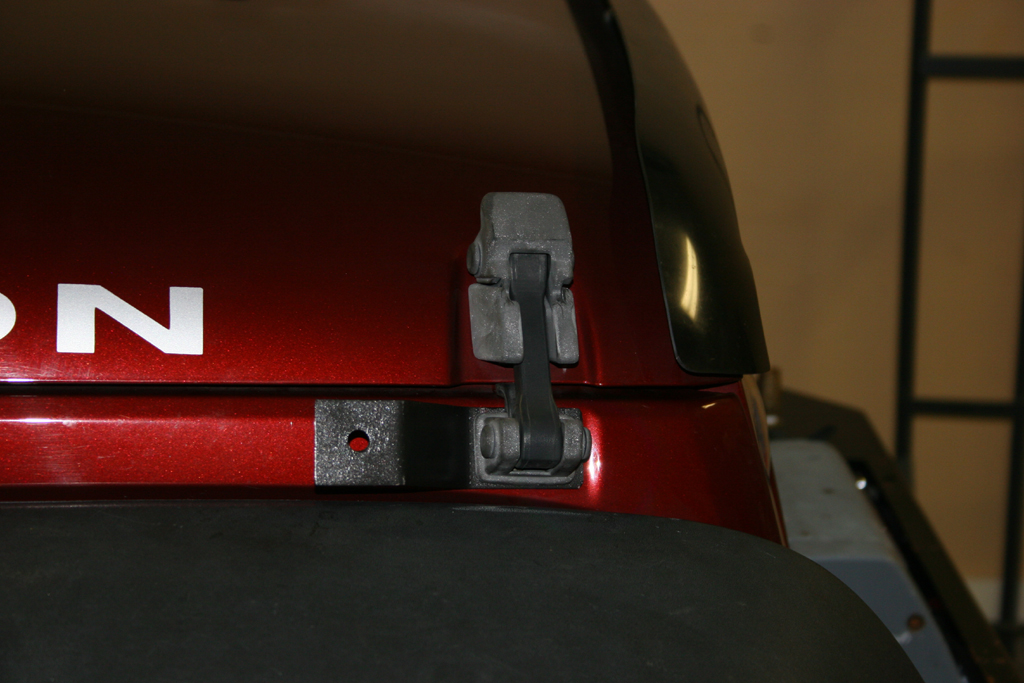
I saw these in a magazine, believe they are made by Rugged Ridge. I thought that was a neat idea, putting them out there vice right on the windshield to glare off the hood. I already had some spare lights laying around in the drawer, so a phone call to see if I could get just the brackets met with a very snotty discussion with some lady that worked there. So fine if you don't want to sell me the brackets, I'll make them myself. The pics here are the prototype before I cleaned up the corners and smoothed it all out.
| First remove or tilt forward the grill by removing the six (6) hood retainers with a phillips screwdriver. You may need a pair of needle nose pliers to help in removing the inserts. |
 |
 |
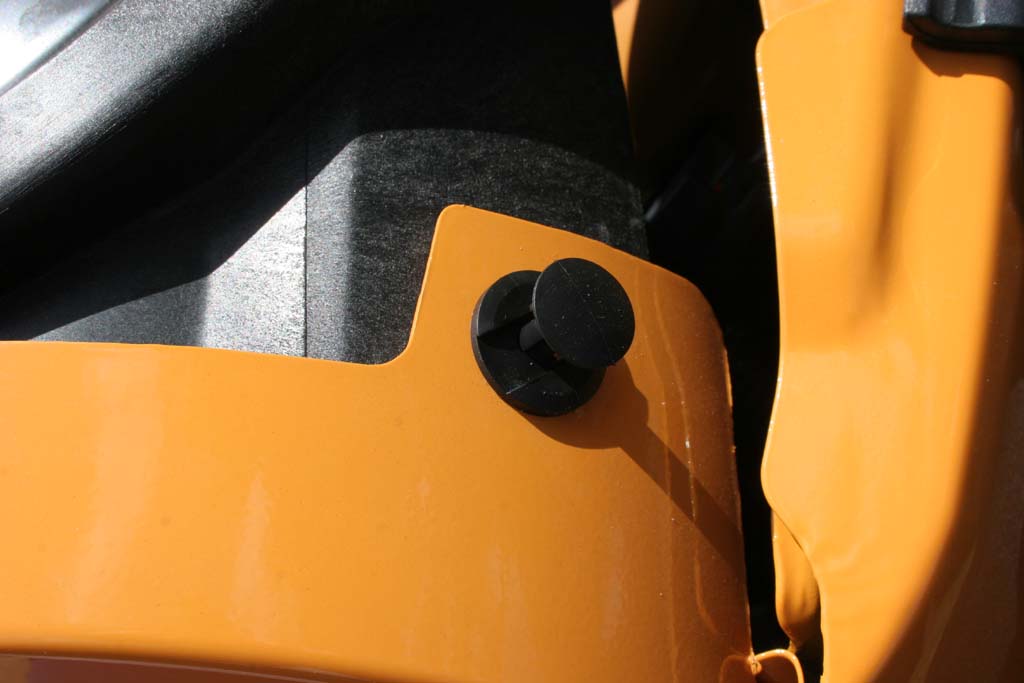
| On the 2012 they changed this to a push style pin. Just pry up the center point and pry out the retainer. |
 |
 |
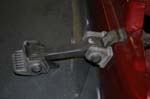
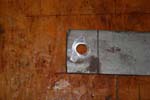
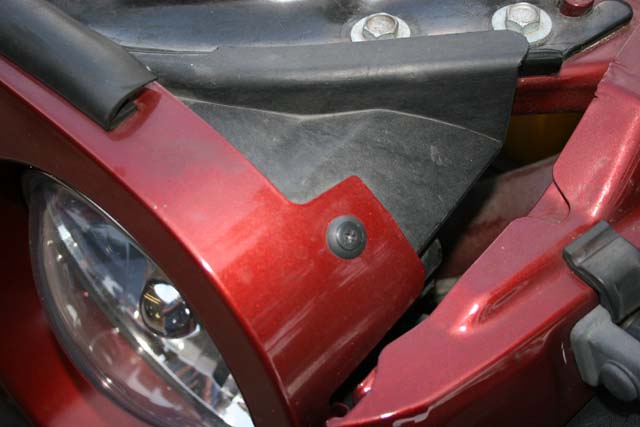
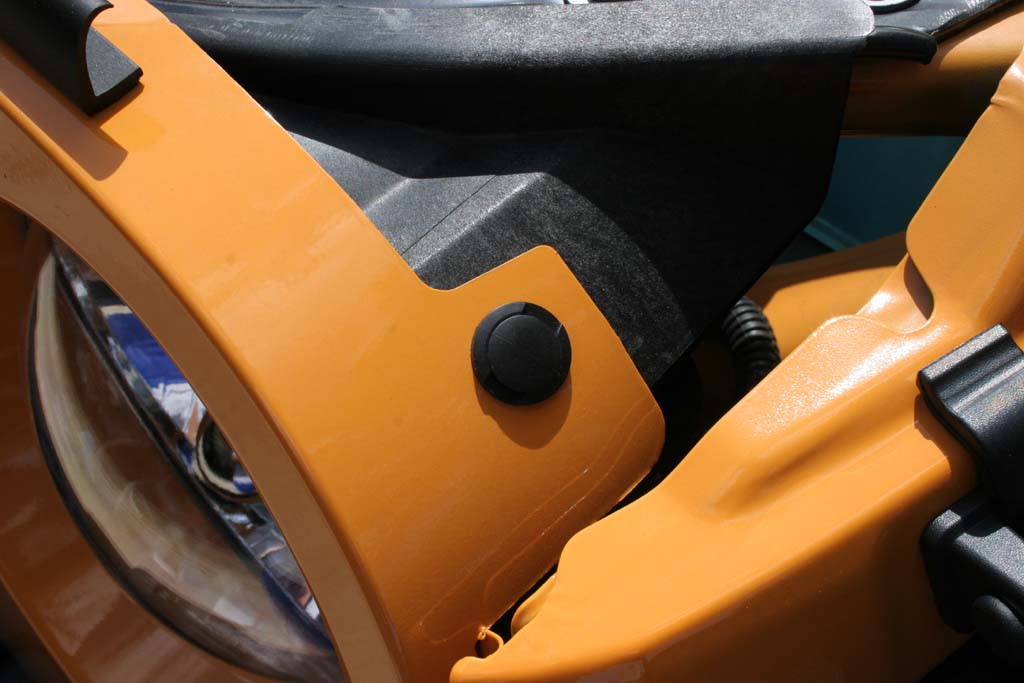
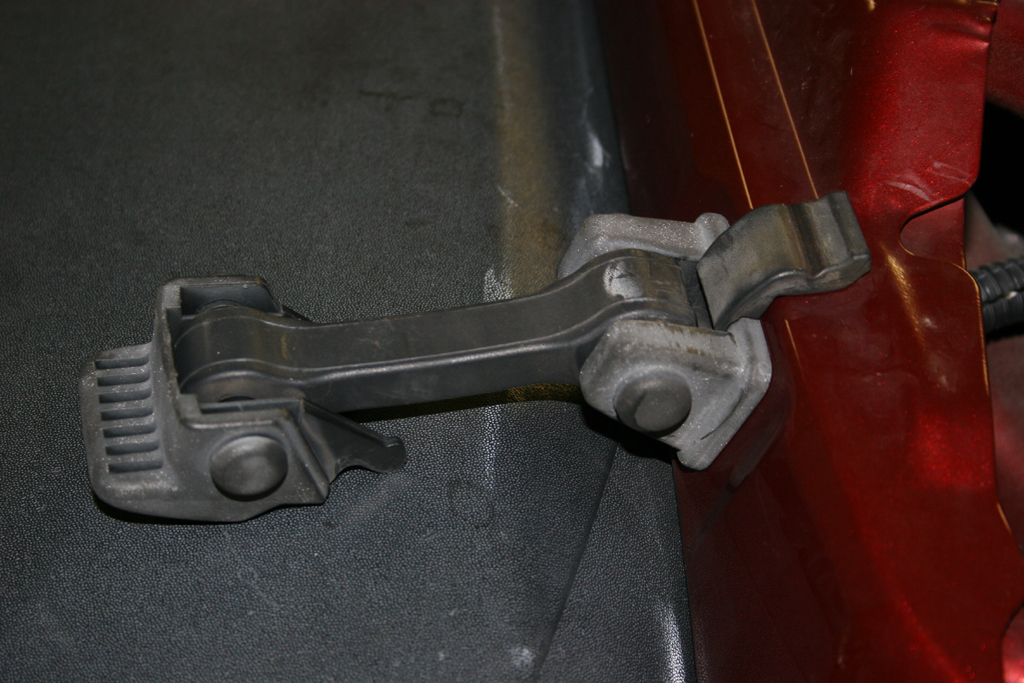
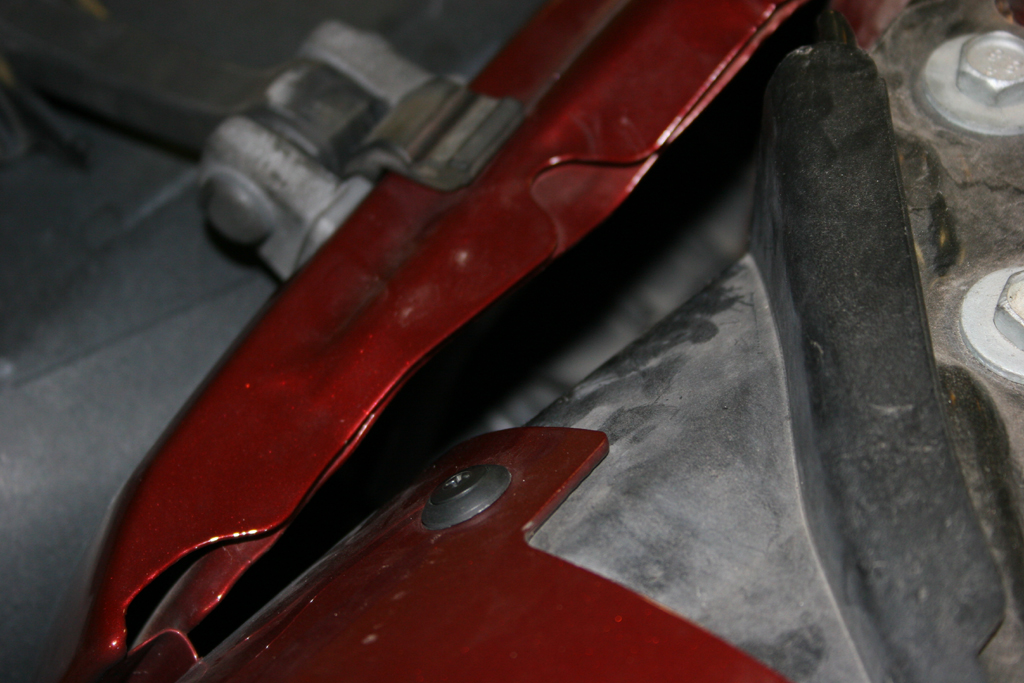
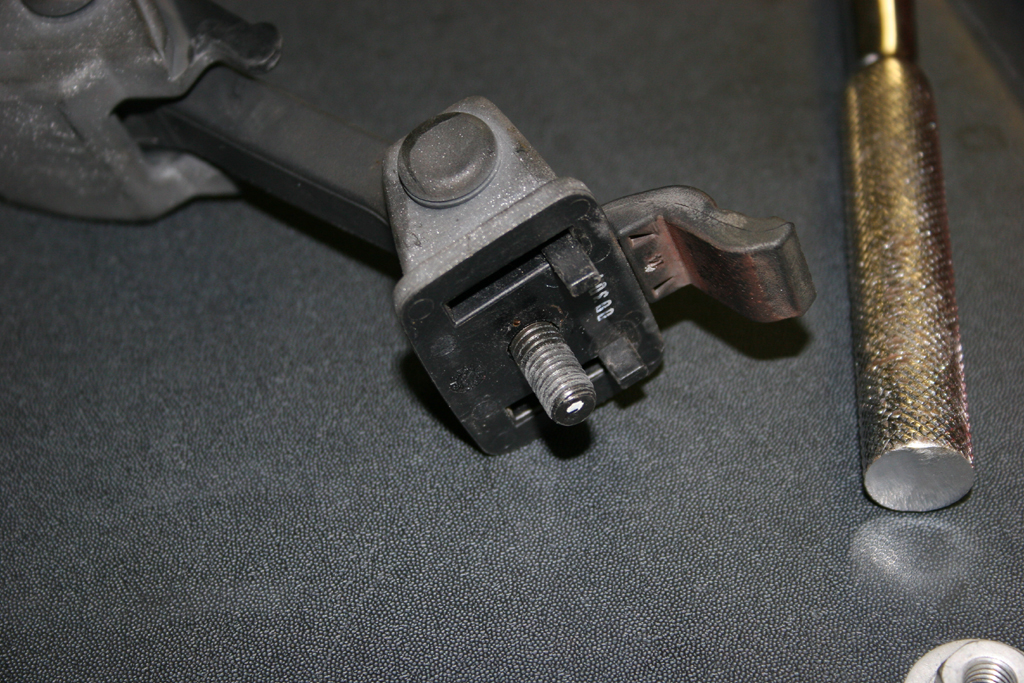
| Remove the hood latch from the fender. You will need to slide a 13mm combo wrench down inside the fender to loosen up the nut. It spins off easily once you get it loose. I recommend tying a loop of string around the end of the wrench, so if you drop it, you don't spend time getting it out of the fender. |
 |
 |
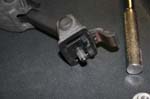
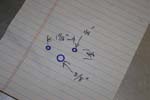
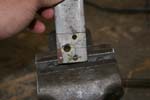
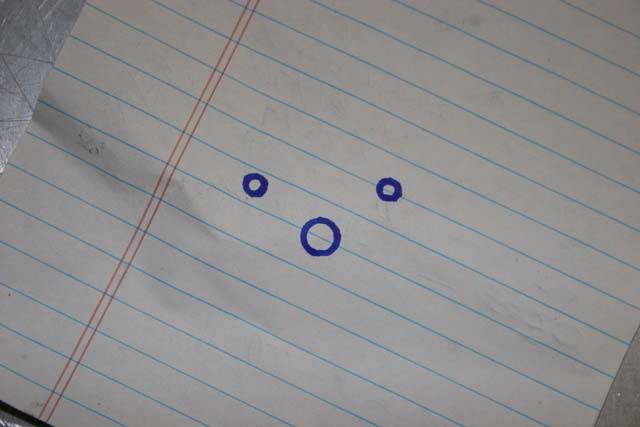
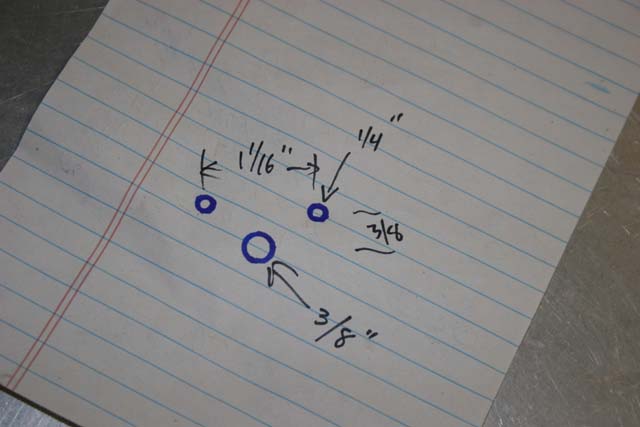
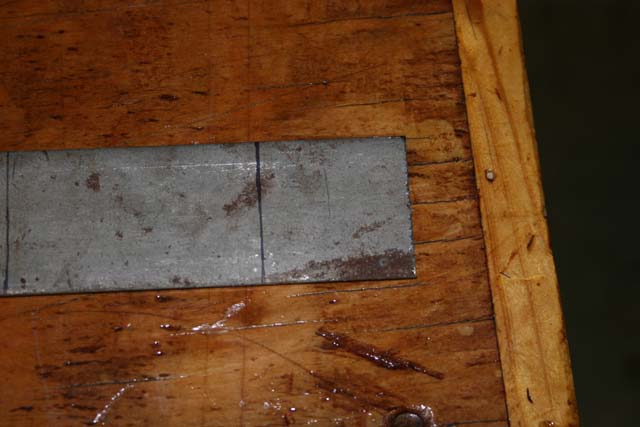
| Now that you have the latch off, you can lay out the holes that you will need to drill in the plate. I pushed a piece of cardboard over the end and made a template. |
 |
 |
 |
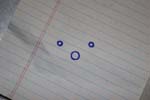
| Here is a quick paper drawing with measurements. |
 |
 |
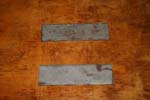
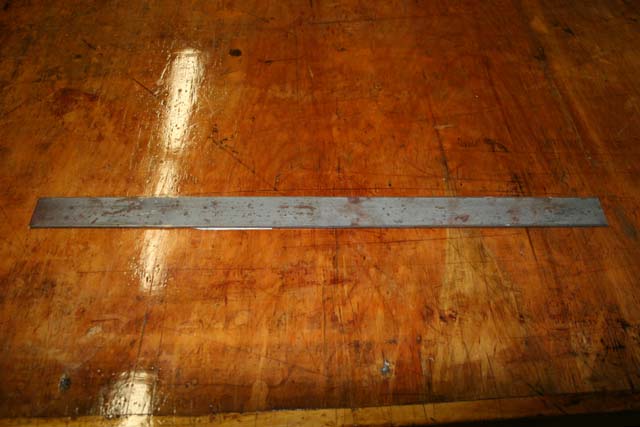
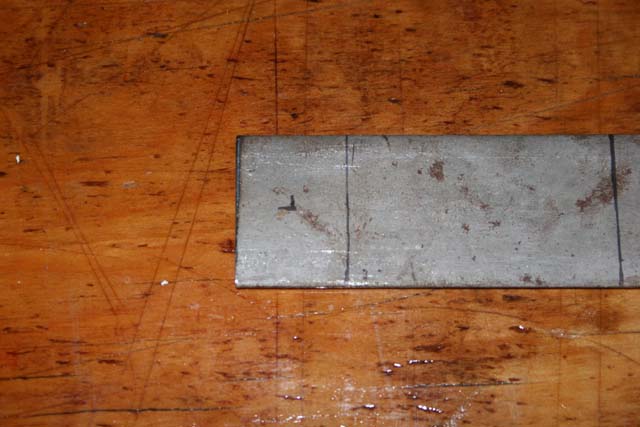
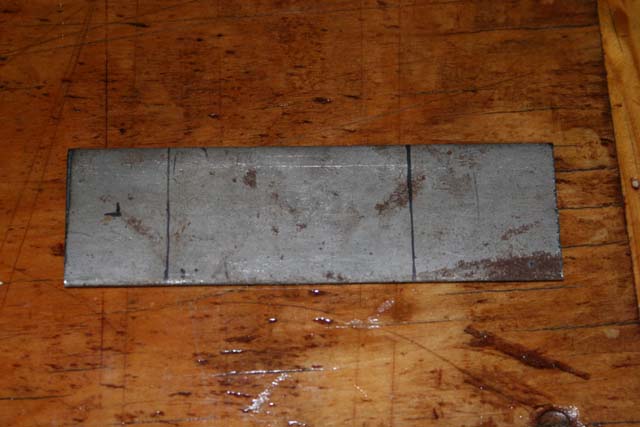
| I took the 1/8"x1"x12" steel bar and cut it into two (2) equal lengths of about 6". The second set I made I only used 5", the bends were still in the same spot, just that the light was a little closer to the hood line. |
 |
 |
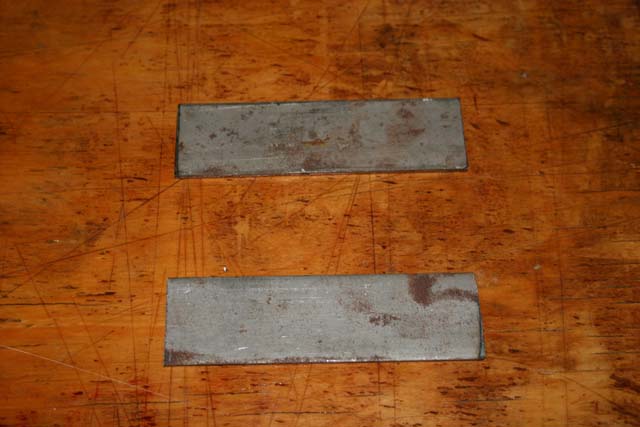
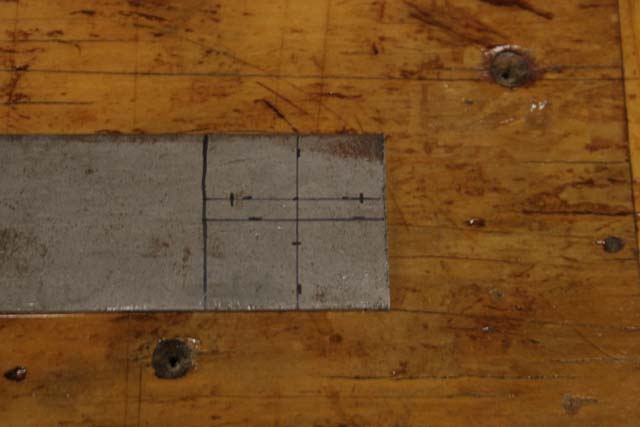
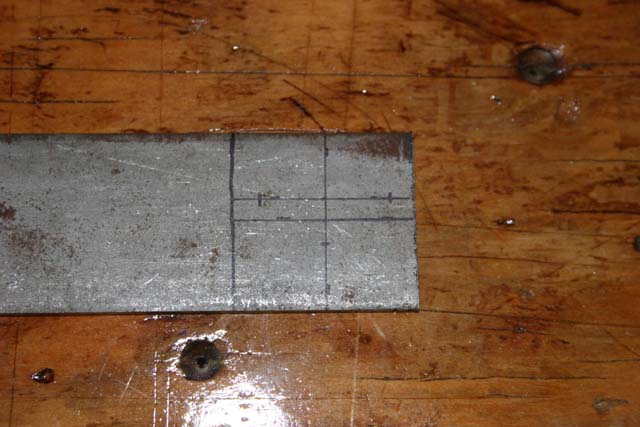
| Mark a line 2" in from one end of the cut bar. |
 |
| Lay out your template centered up and down, left to right in this area. |
 |
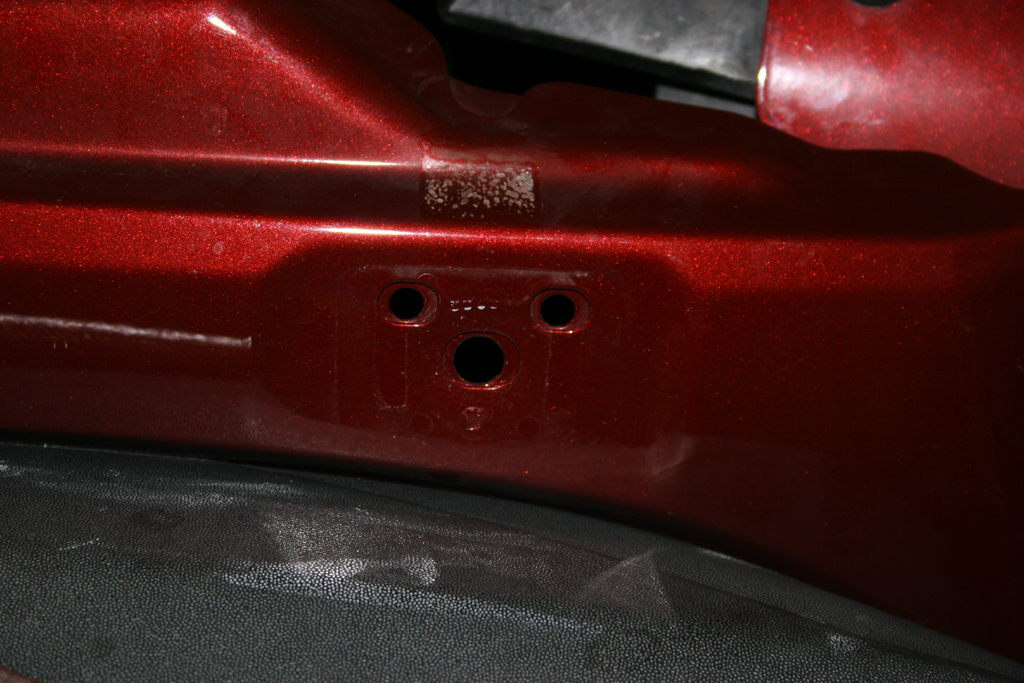
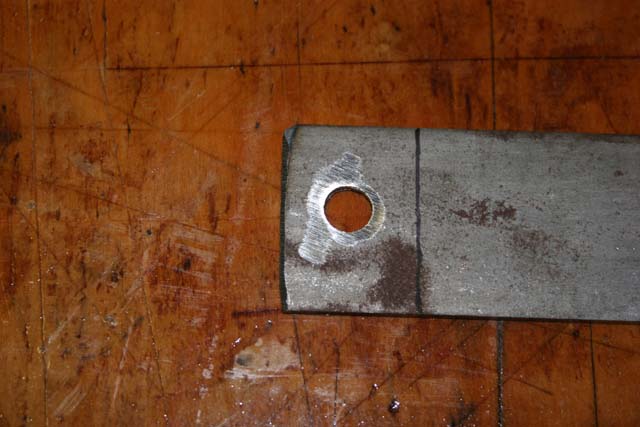
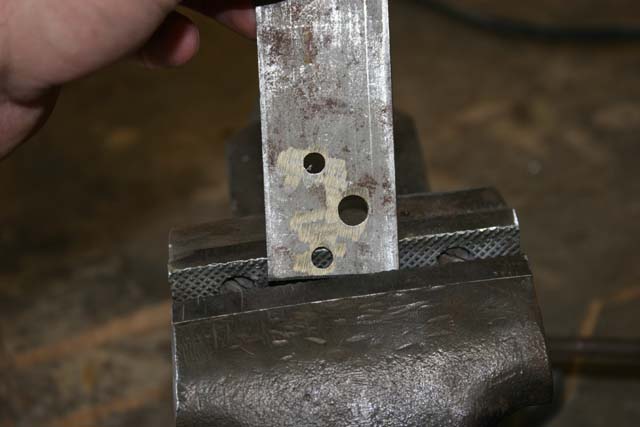
| Check your drill bit sizes against the holes in the Jeep, and drill out the holes for the hood latch. 1/4" for the two (2) small holes and 3/8" for the large center hole. |
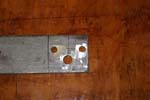 |
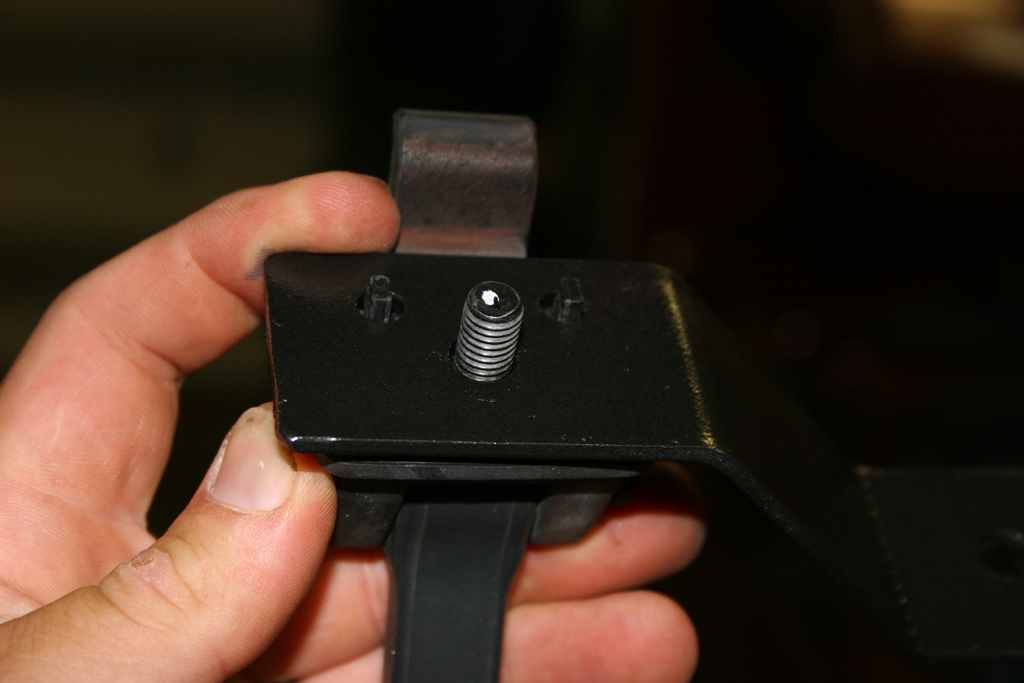
| Now mark a line 1 1/2" in from the other end and drill a hole in the center for your lights. The drill size will be dependent upon what size mounting bolt your lights have. |
 |
 |
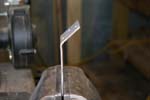
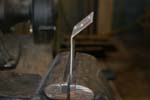
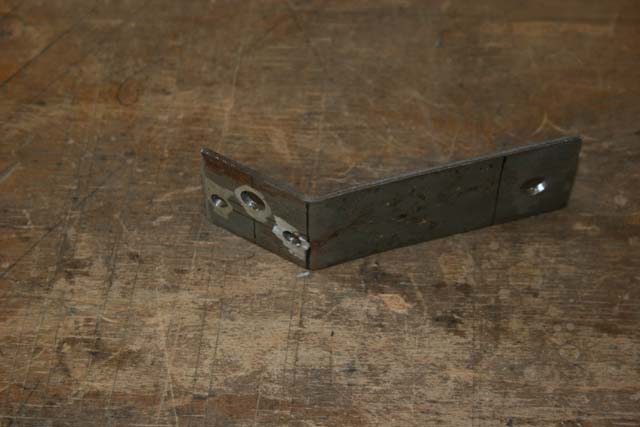
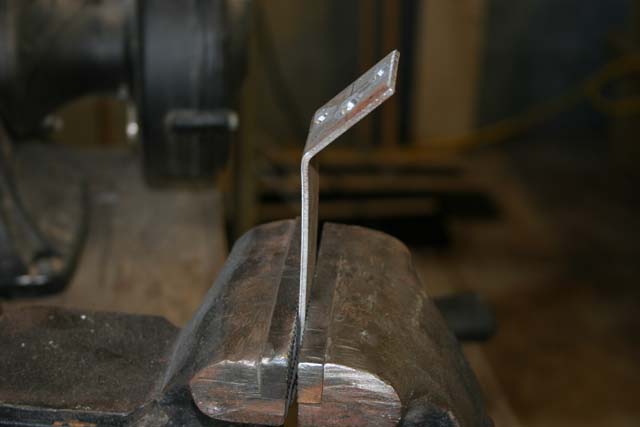
| Now comes the tricky part, bending the brackets the right direction. |
| Passenger (right side) of Jeep Bending: |
Place the side with the 3 holes for the hood latch in a vise, bar should be pointing straight up.. Ensure that the
two small holes are to the left. Now line up the line you drew earlier with the top edge of the vise and clamp it down. |
 |
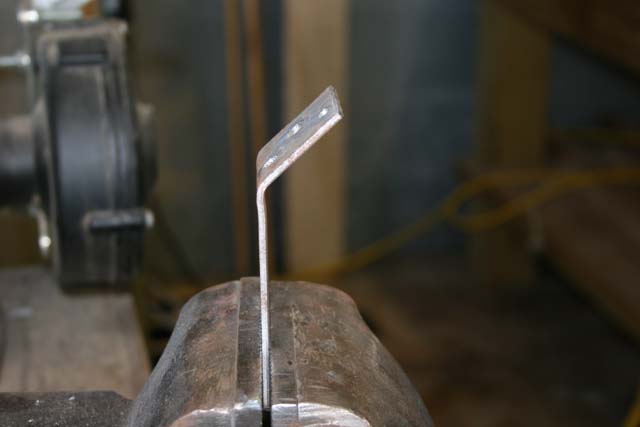
| Now take that trusty hammer and with a couple good blows bend the bar back at a 45degree angle. |
 |
| Remove the bar from the vise, turn it around and insert the other end into the vise up to the line that you drew earlier and clamp it down. The piece that you just bent will be pointed towards you. |
 |
| Now take that trusty hammer and with a couple good blows bend the bar back at a 45degree angle. |
 |
| Driver (left side) of Jeep Bending: |
| Place the side with the 3 holes for the hood latch in a vise, bar should be pointing straight up.. Ensure that the
two small holes are to the right. Now line up the line you drew earlier with the top edge of the vise and clamp it down. |
 |
| Now take that trusty hammer and with a couple good blows bend the bar back at a 45degree angle. |
 |
| Remove the bar from the vise, turn it around and insert the other end into the vise up to the line that you drew earlier and clamp it down. The piece that you just bent will be pointed towards you. |
 |
| Now take that trusty hammer and with a couple good blows bend the bar back at a 45degree angle. |
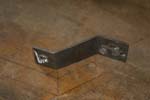 |
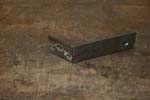
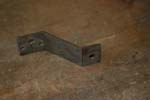
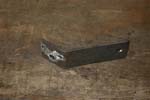
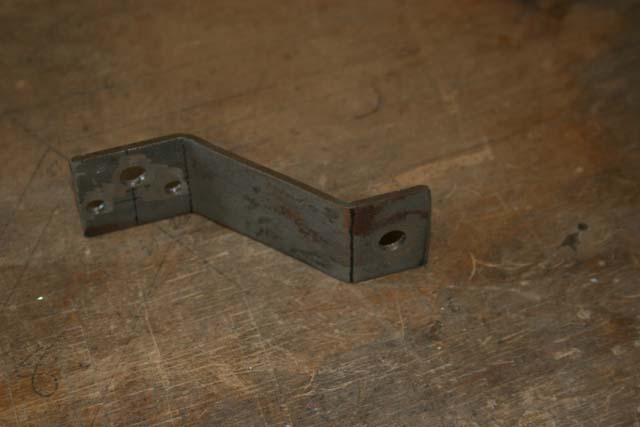
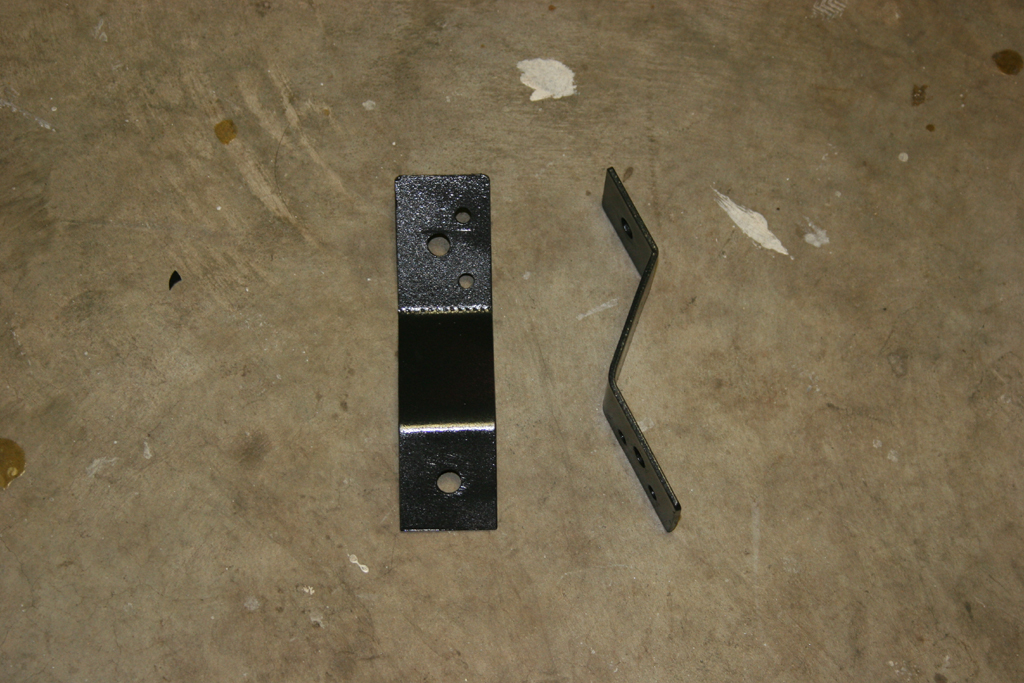
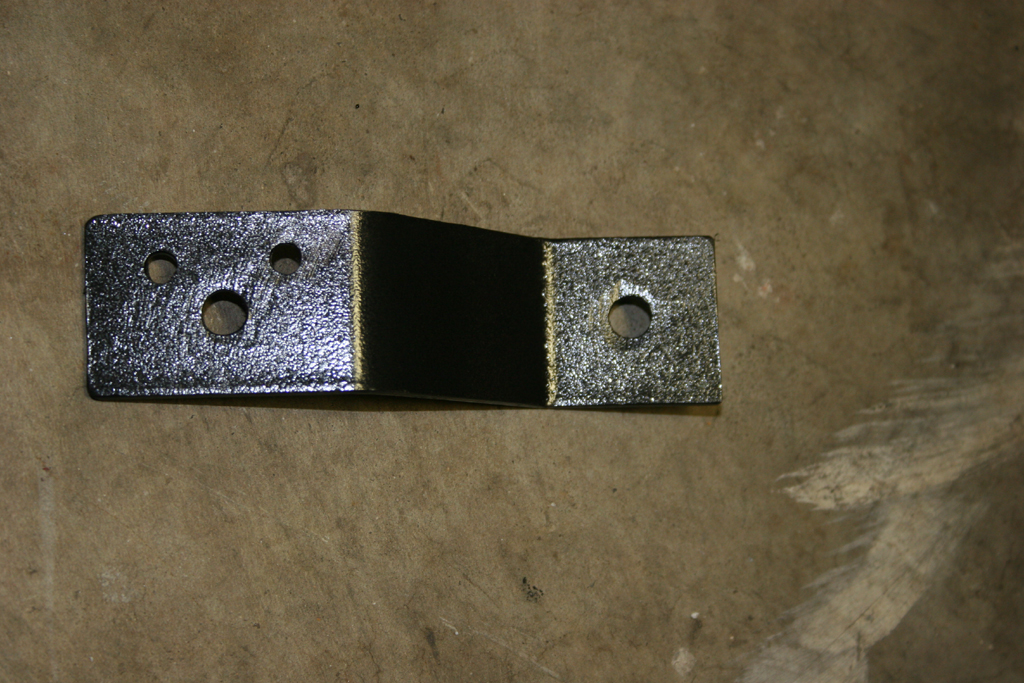
| This is what they will look like when done, the bends should be opposite of each other. |
 |
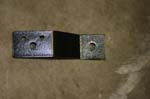 |
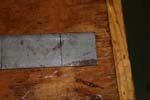
| Now debur the edges, give them a good sanding, some primer and paint color of choice. |
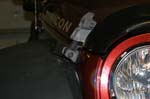
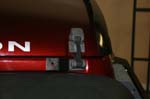
| Installation is just the reverse of removal of the hood latch. Just be careful with that nut. |
 |
 |
 |


