I had been looking for a rear bumper for a while for the JK. There were lots of options out there for bumpers and a few of them were at the top of my list for what I wanted, but they were all lacking in a few of the points I wanted. I had run GenRights bumpers on my old TJ and liked the minimalistic tube design for a bumper, but sadly when I was looking GenRight still hadn't produced anything for the JK's. I orginally saw Jeeperman's rear bumper and really liked the design, it featured pretty much what I wanted and even had the capabilities of a rear winch (with the relocation of the muffler). Sadly, once again a company folded and disappeared. I had almost settled for a boxy bumper. Don't get me wrong, the majority of these are awesome and heavy. Shrockworks to name one is a massive bumper, I'd almost feel sorry for the Tank that hits it. I chanced upon Finish Line West one day and looked at their bumpers. They have now moved thier JK stuff over to Stonehengeseries.com. They had just put the information up on their new rear bumper and it was pretty much what I was looking for. A few months later I ran into a for sale add on JKOwners.com selling one of these rear bumpers. I snatched it up for the price, then asked the wife for forgiveness, since I didn't ask for permission. Note: I do not advocate this approach, sucking up can be expensive.
One nice thing that Andy does over at Stonehenge Series is offer a 15% military discount. It was still active as of 4/13/11.
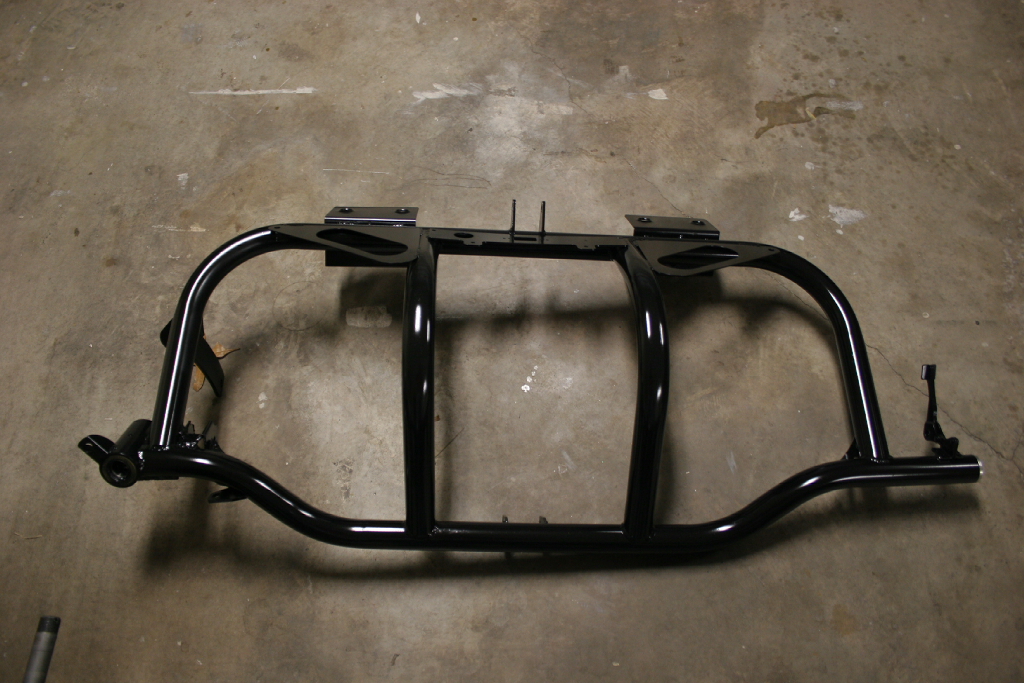
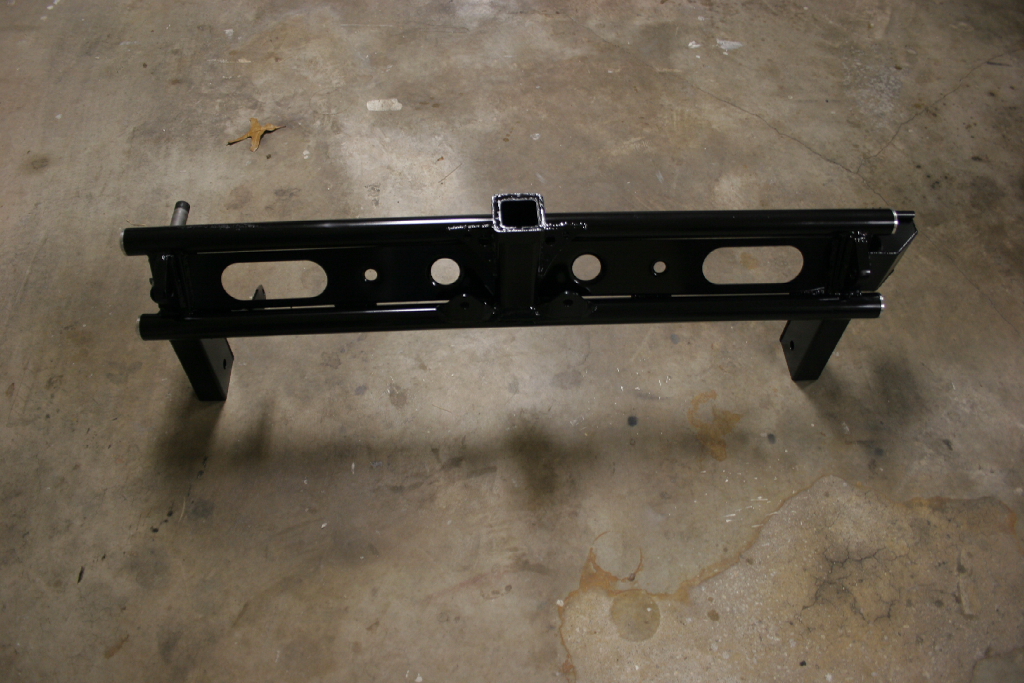
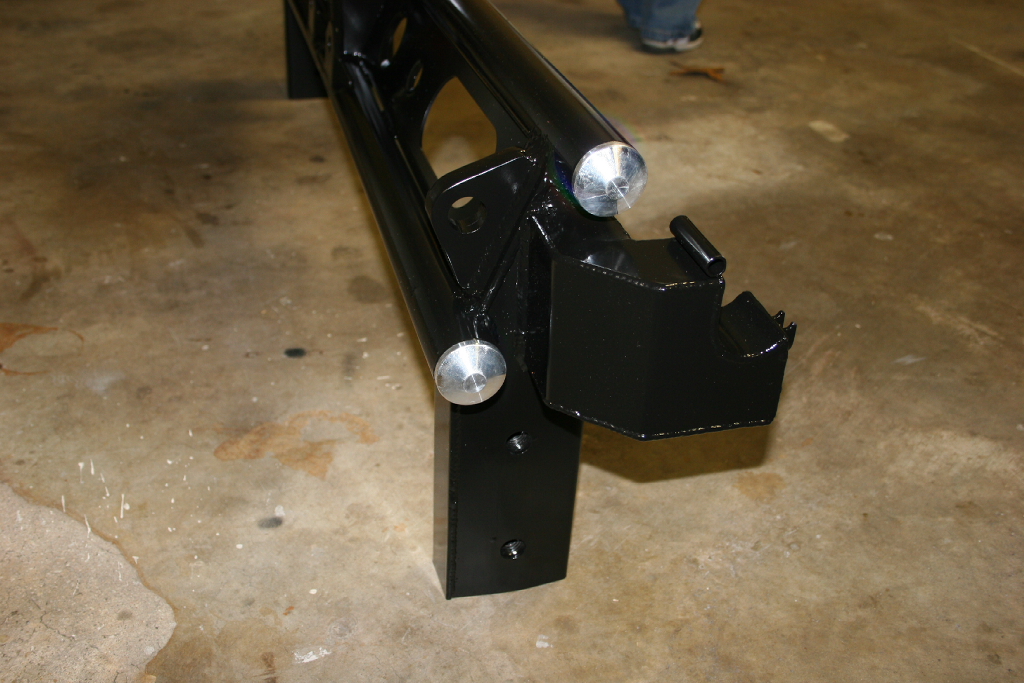
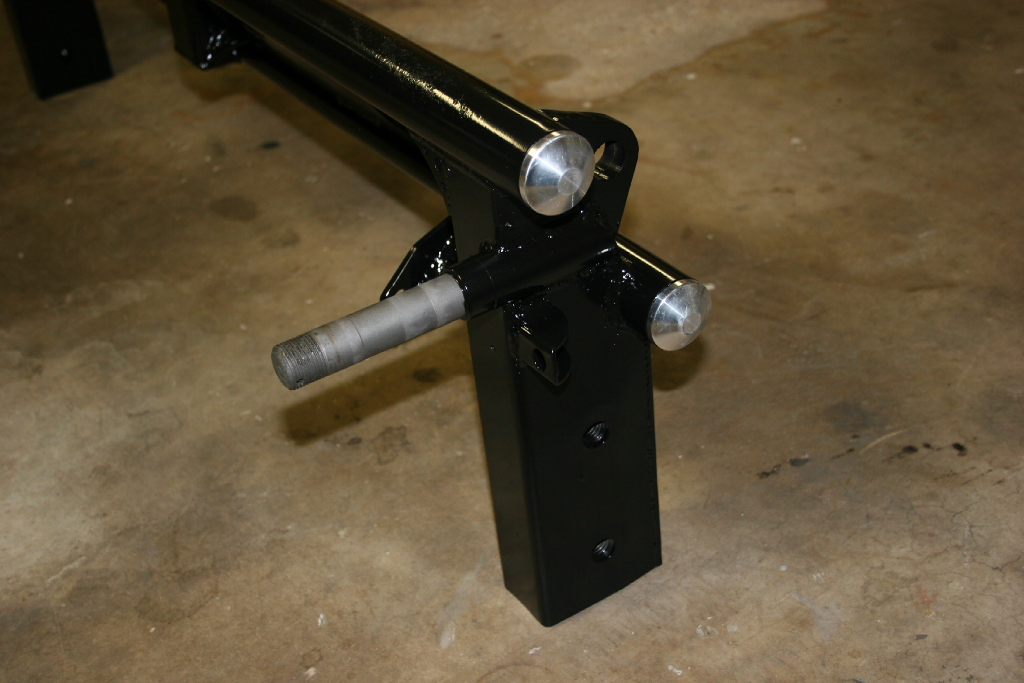
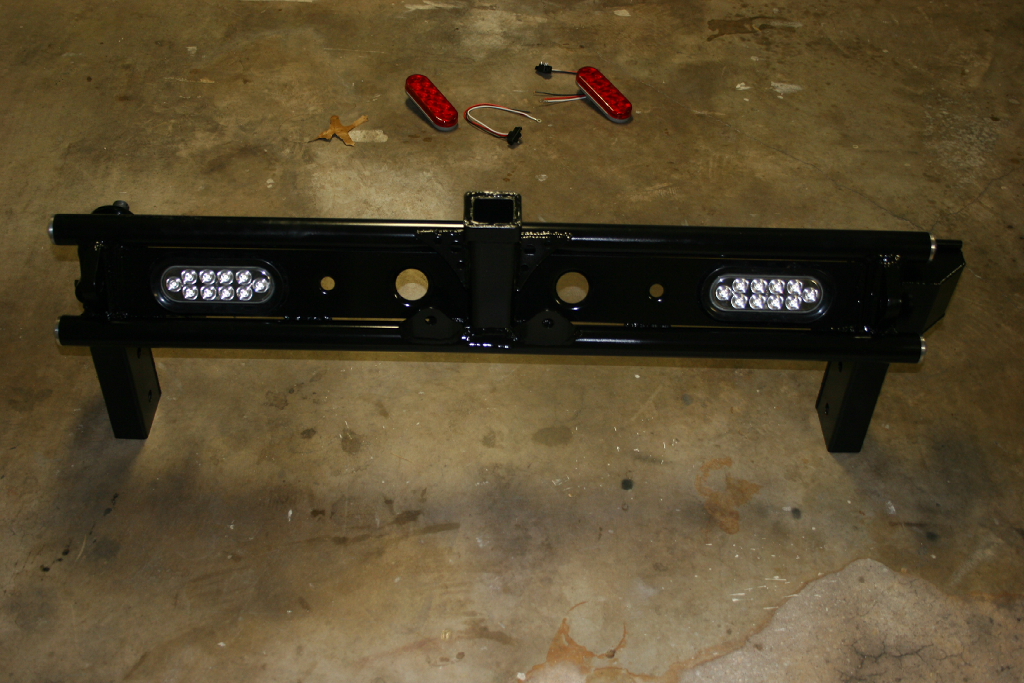
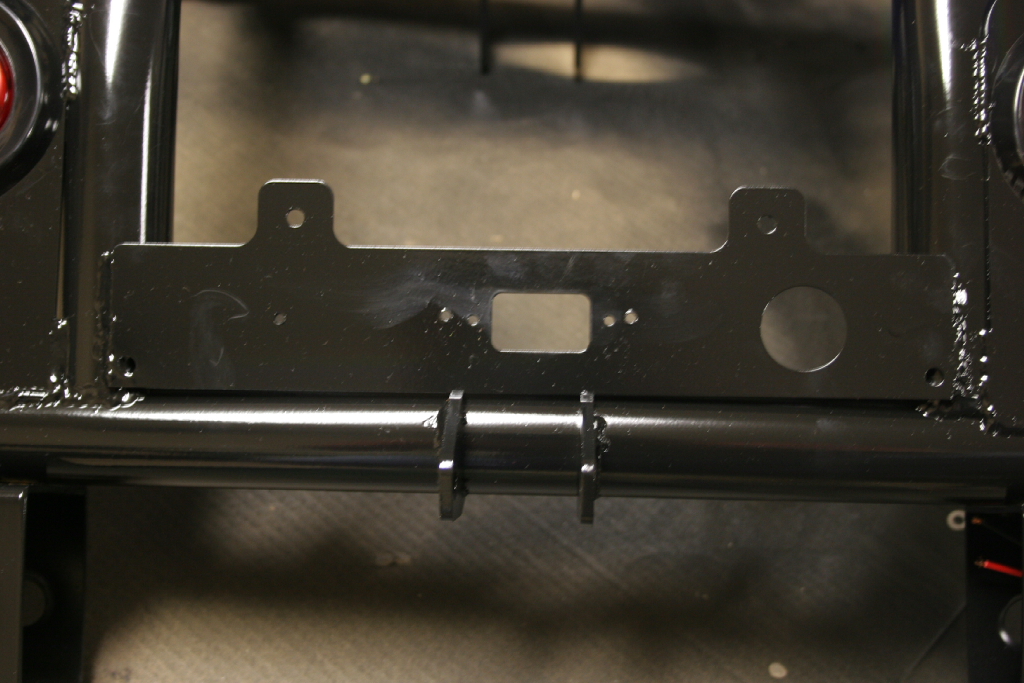
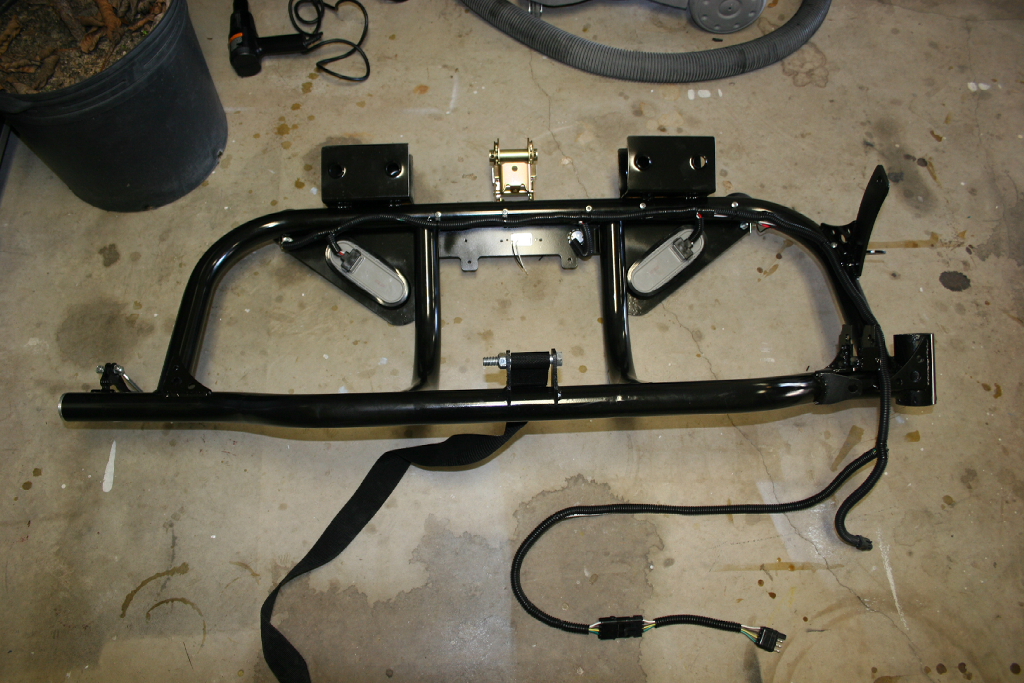
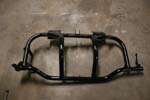
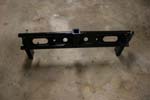
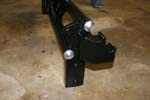
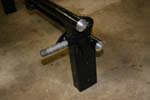
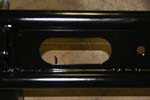
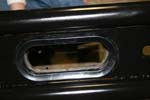
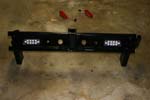
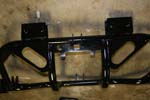
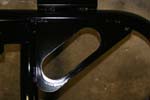
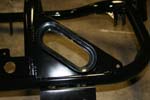
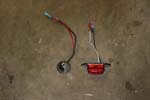
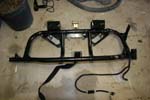
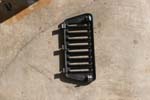
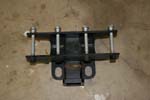
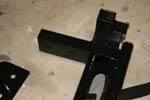
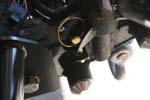
| I bought this bumper second hand, but after talking to Andy at Finish Line West, it appears that this is one that came off of his Jeep. This makes me even more impressed at the quality of the prototype. This tire carrier came with everything, but is available with less stuff on it. Here some basic pics of the bumper and tire carrier. |
 |
 |
 |
 |
| |
| Assembly: |
| I decided to get all the electrical parts installed before I installed the bumper on the Jeep, but you can install the bumper first and then do the electrical. Unlike the front where it is hard to get the electrical connectors into the plugs behind the bumper. |
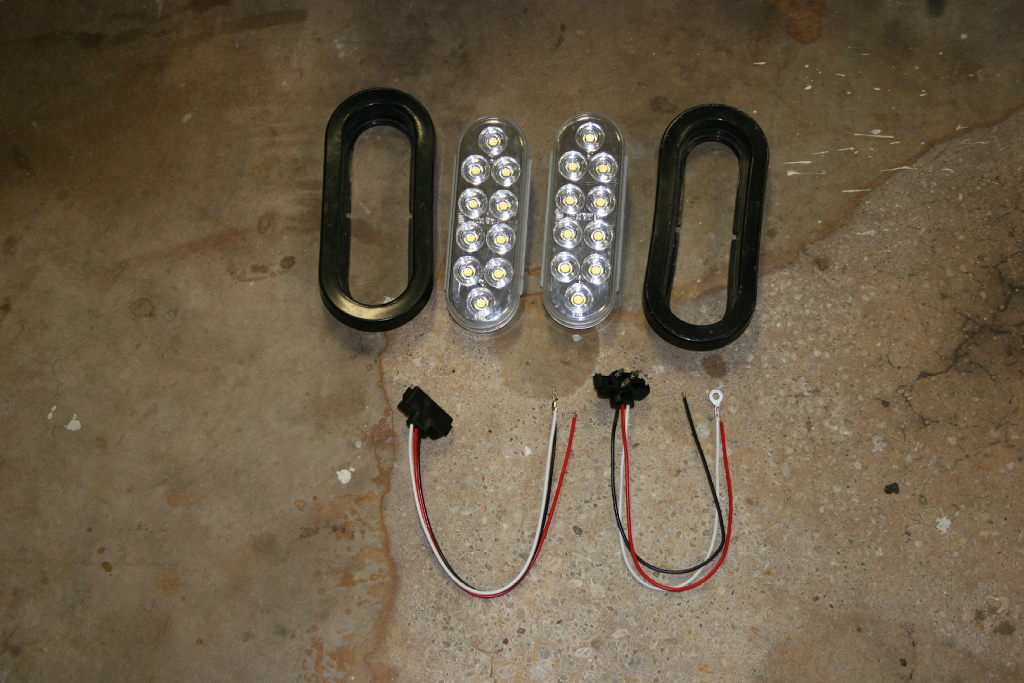
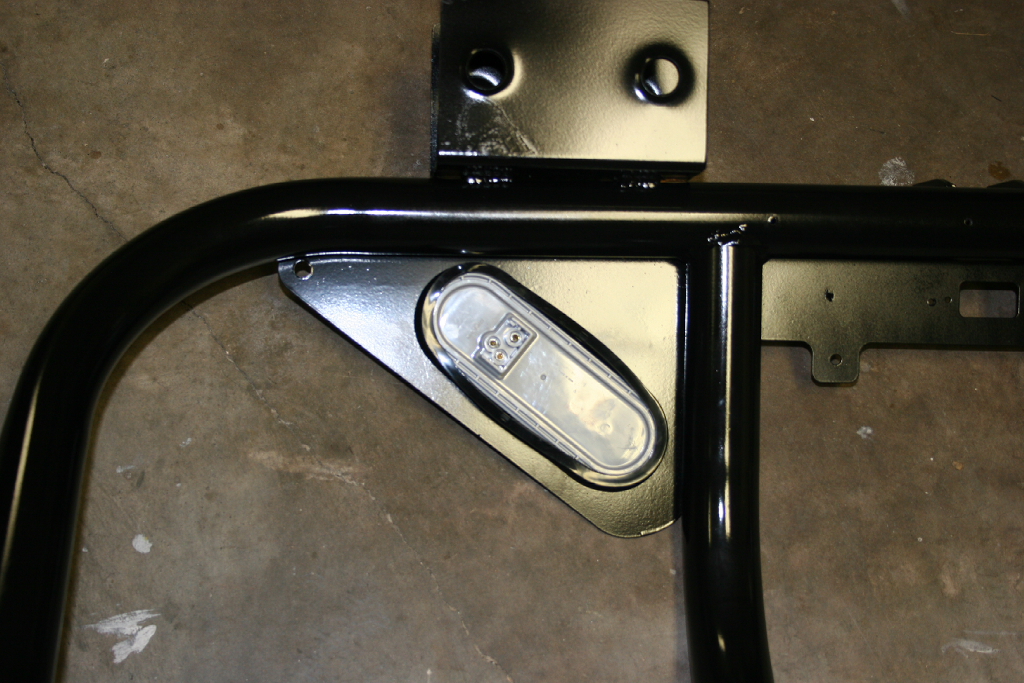
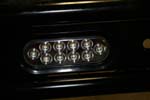
| If you have the white LED lights, install them into the rear bumper. |
 |
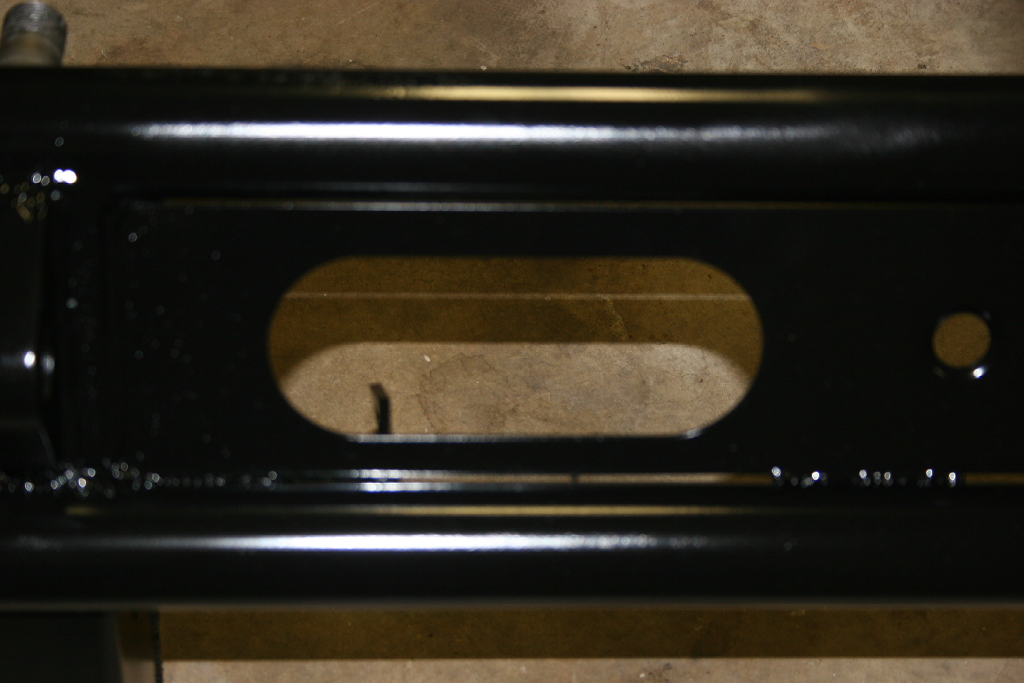
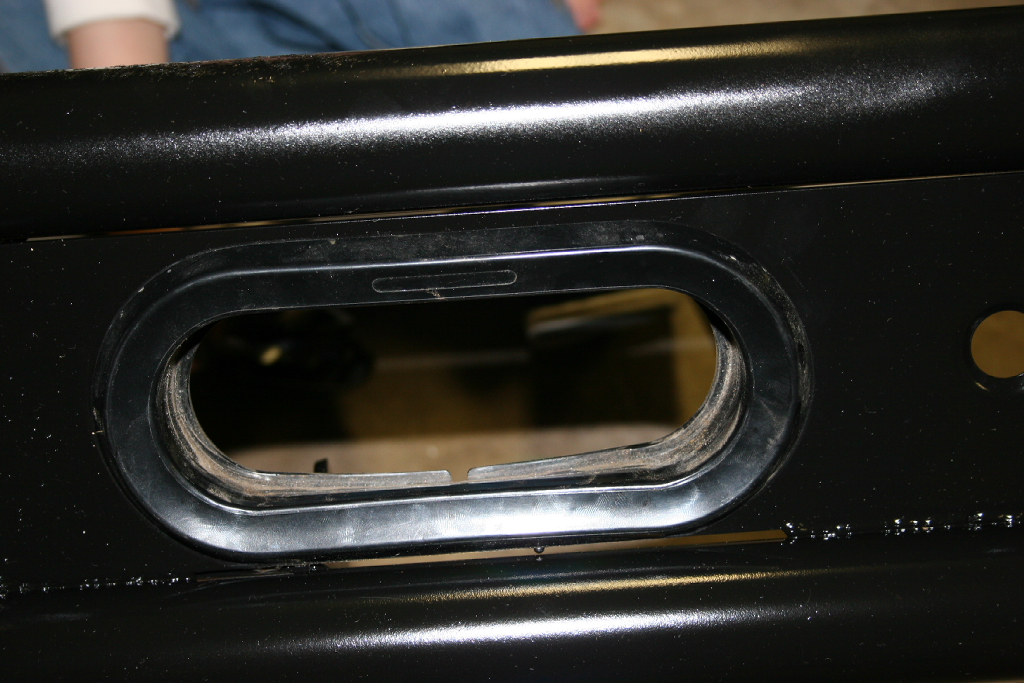
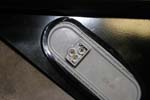
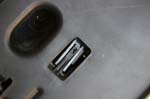
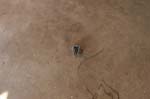
| Insert the rubber grommet into the two holes in the bottom of the bumper. |
 |
 |
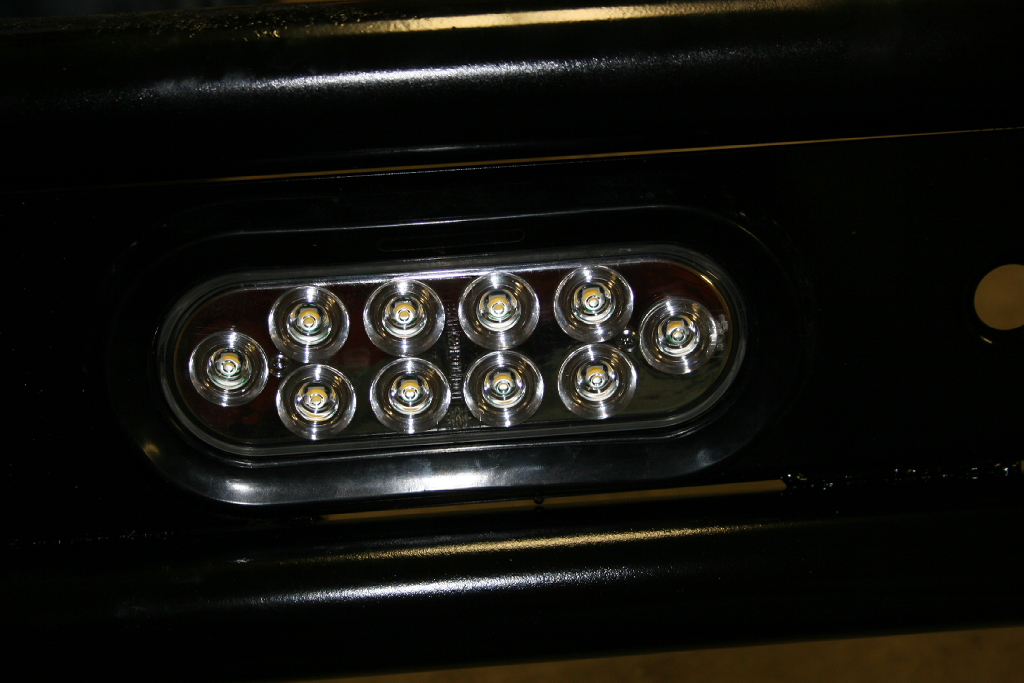
| Push the white LED light into the bumper. These are truck reverse lights, so they can be most likely found at the truck stops. I didn't find them at any of the auto parts stores here in town. |
 |
 |
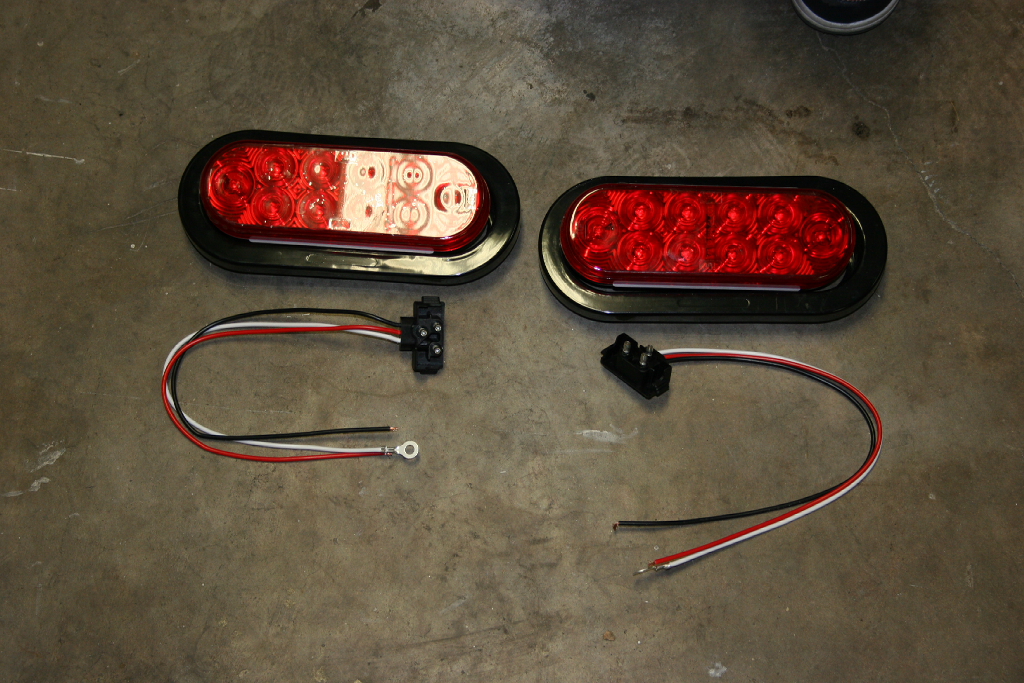
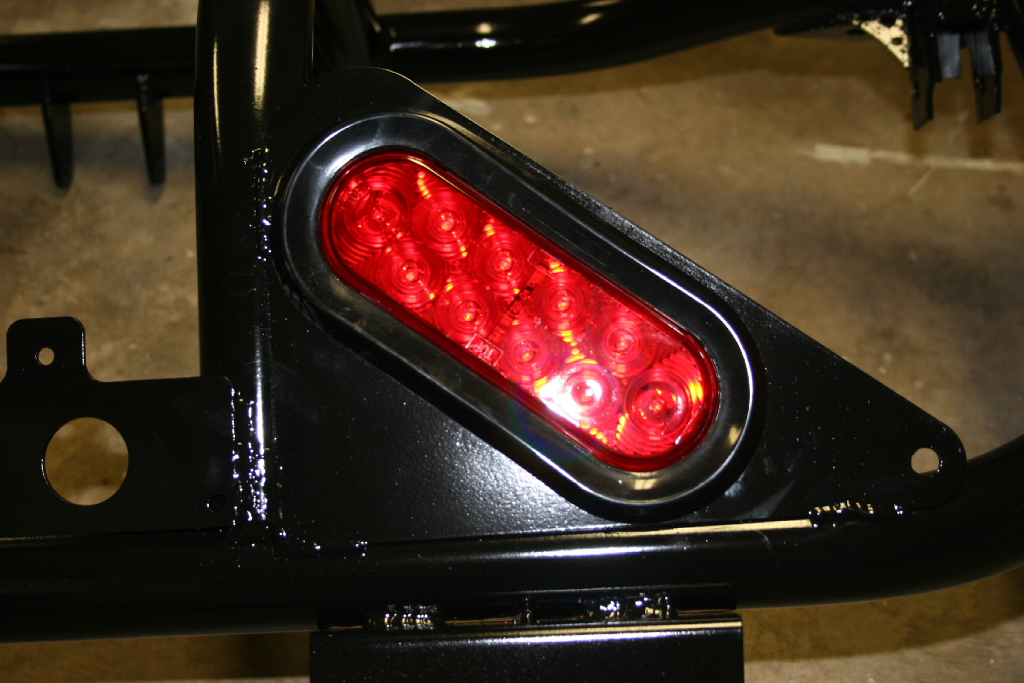
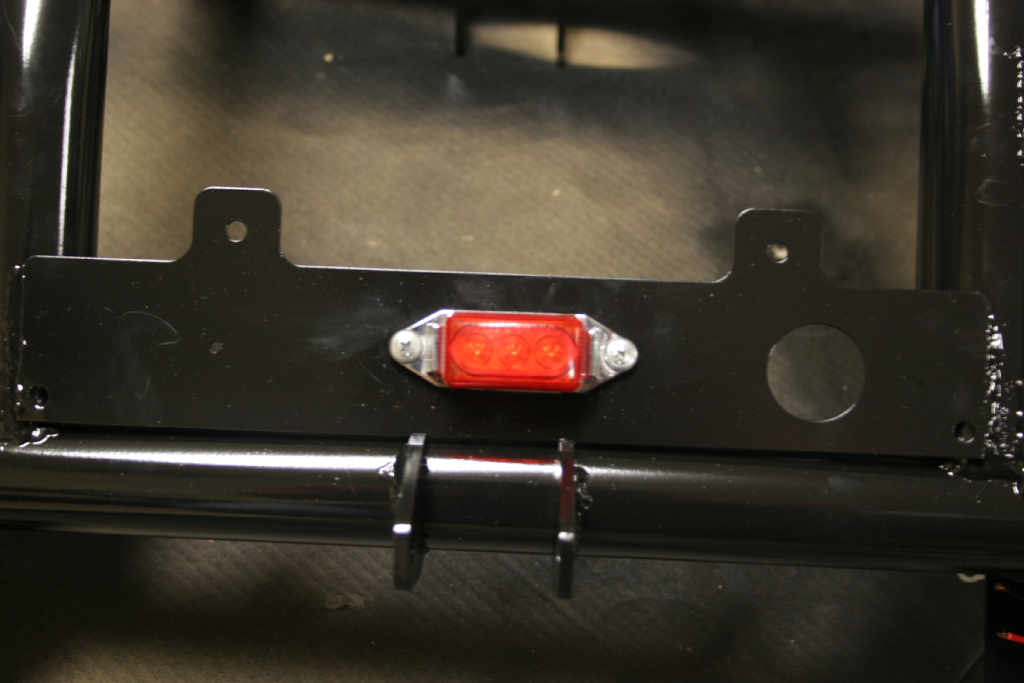
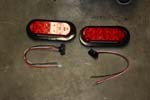
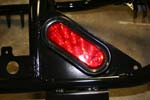
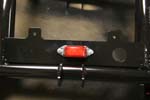
| If you have the red LED lights, install them into the tire carrier. |
 |
 |
| Push the rubber grommet into the two holes in the tire carrier. |
 |
 |
| Push the red LED light into the tire carrier. These are truck stop and turn lights. I actually picked a couple up at Wal-mart and are available at pretty much every auto parts store in town. You can even get them with the clear lense and red bulbs. |
 |
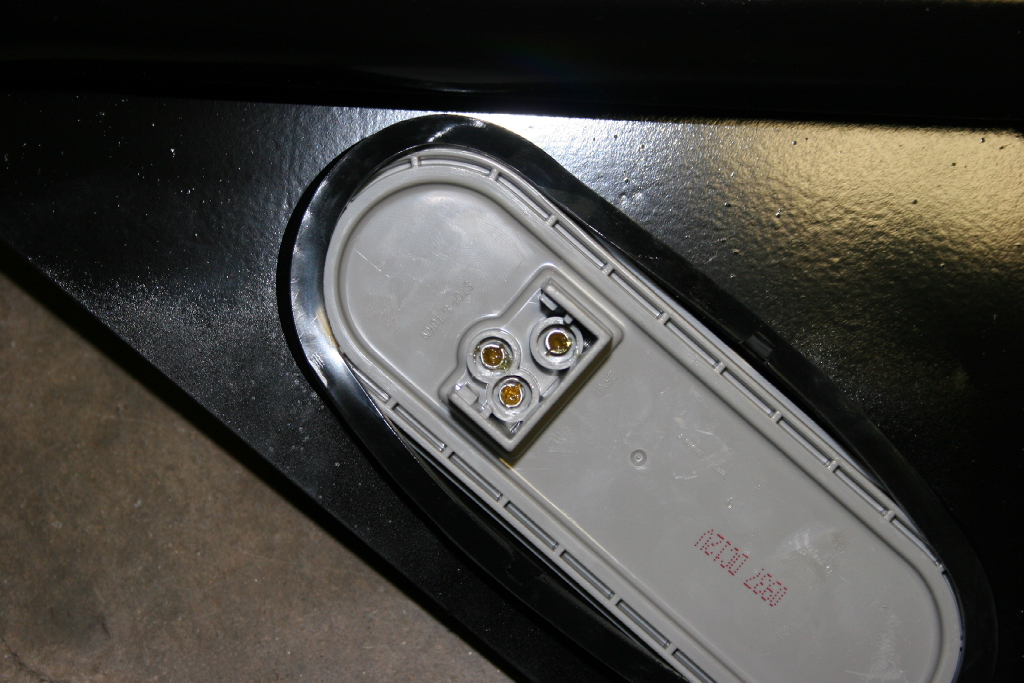
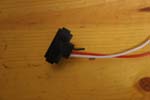
| Make sure that the lights are in the grommets good, they are designed to get popped out incase of an impact, but it does seem to take a bit to get them out intentionally. The connectors are labeled as to what light circuit is powered by which wire on the associated pigtail. |
 |
 |
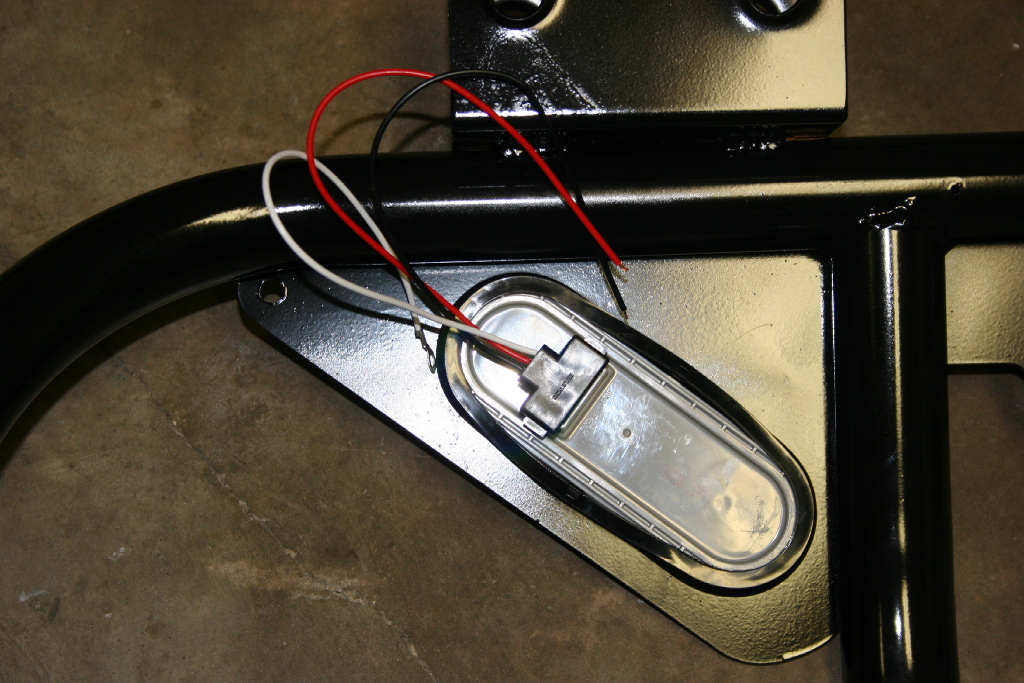
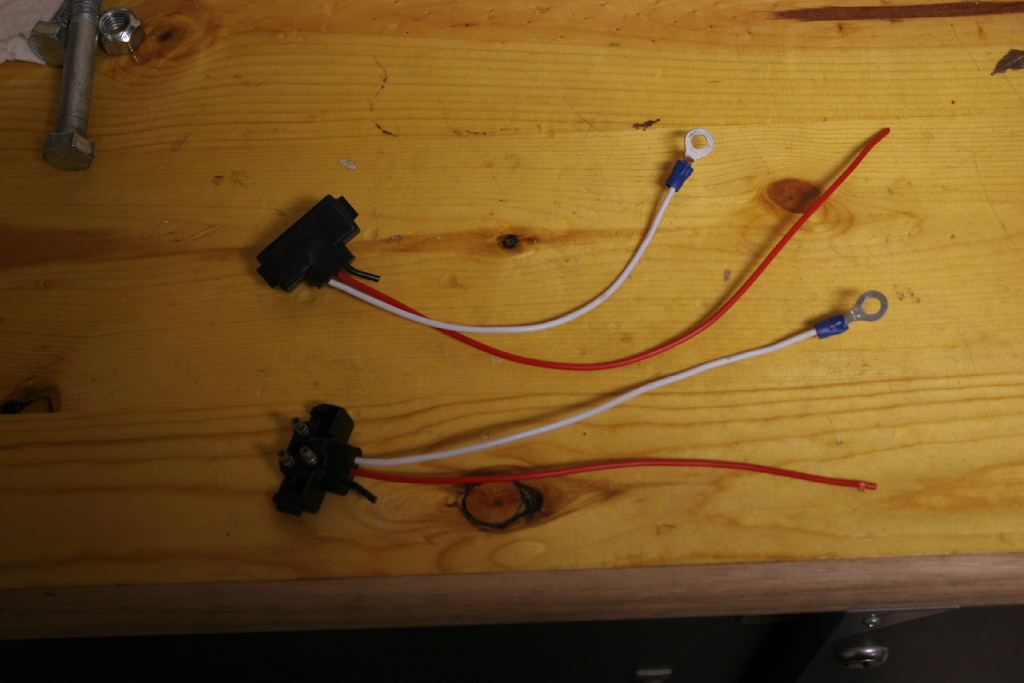
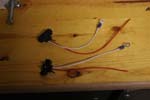
| Install the pig tails on the lights so you don't end up losing them somewhere in the garage. If you lose the pigtail, you can use the male end of a bullet connector to plug into the individual sockets on the back of the light. |
 |
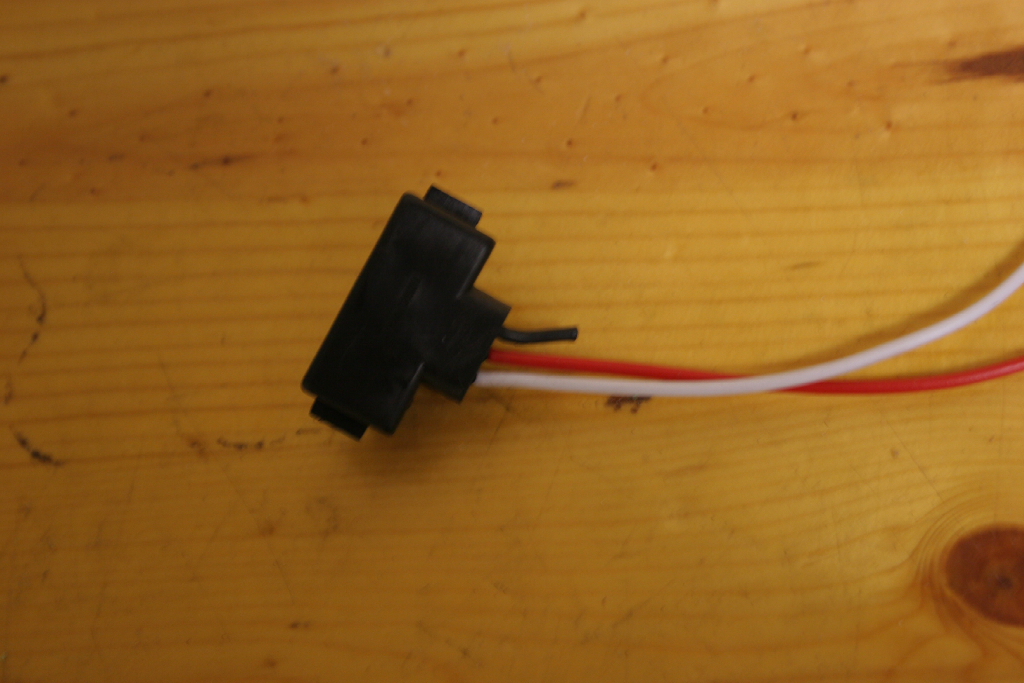
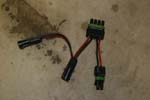
| Heres a close up of the pigtail. It normally has 3 wires, but I had cut one when I wired in the white LED lights. |
 |
 |
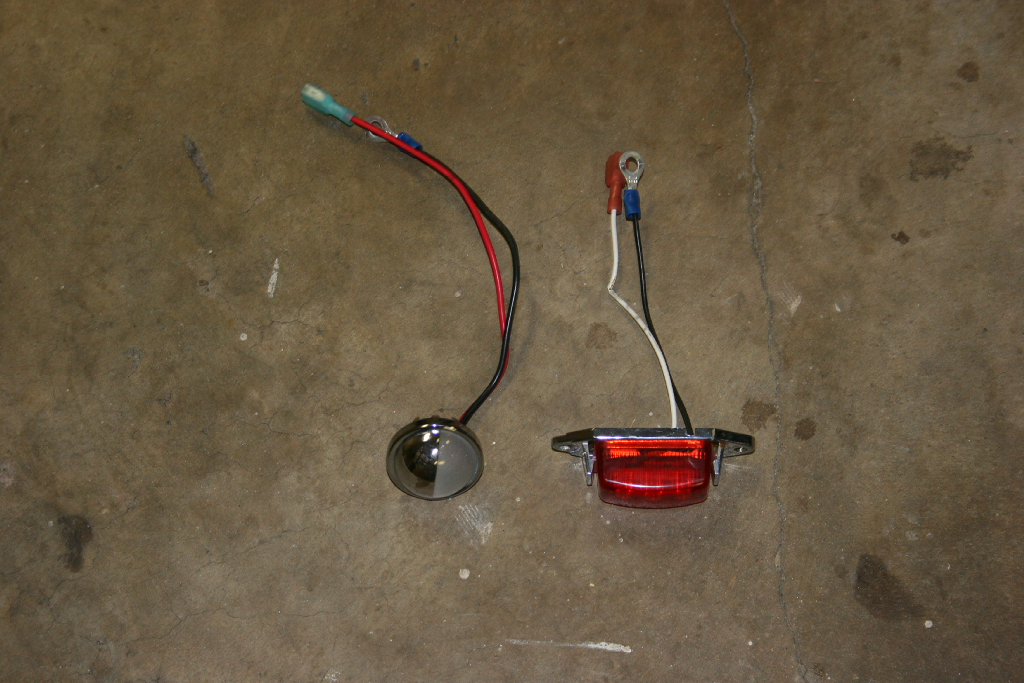
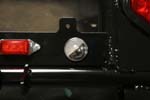
| Find the third brake light and the license plate light. Now I've seen this configured a few different ways. Most common was a license plate light where the third brake light would be. I don't know how legal this would be, I haven't been running my third brake light, but the addition of the two other brake lights, makes as a friend of mine put it "holy crap those things are bright!" |
 |
 |
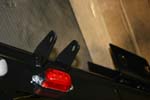
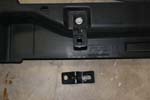
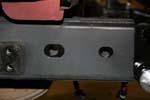
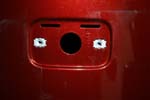
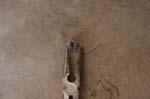
| Locate the two holes in the back center plate. Sorry the picture is upside down. |
 |
| Screw the third brake light in and insert the license plate light into the holder. |
 |
 |
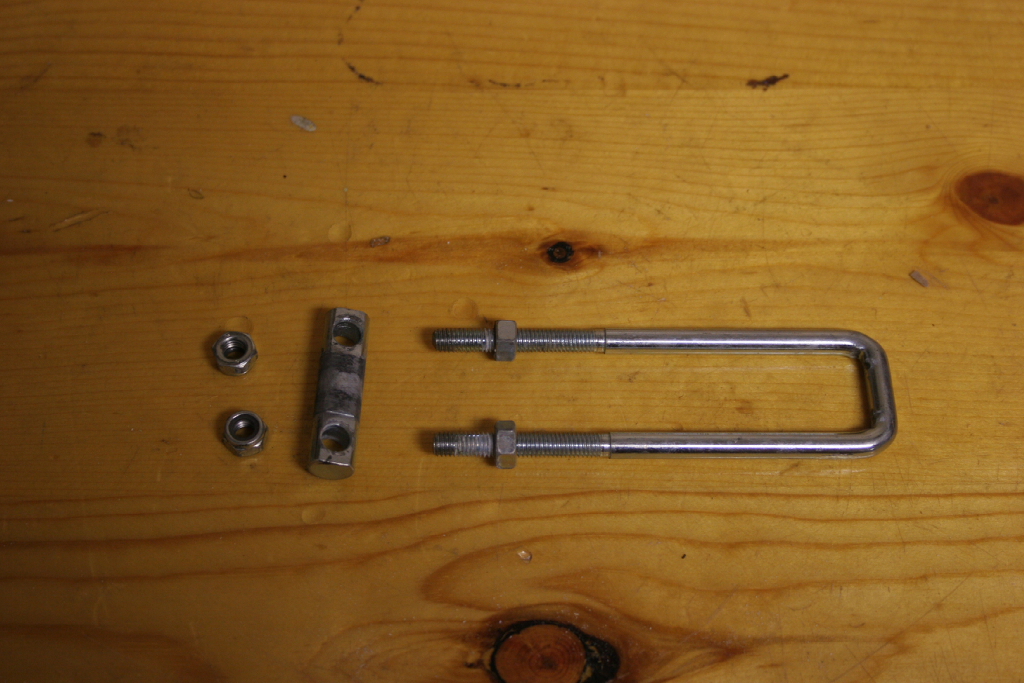
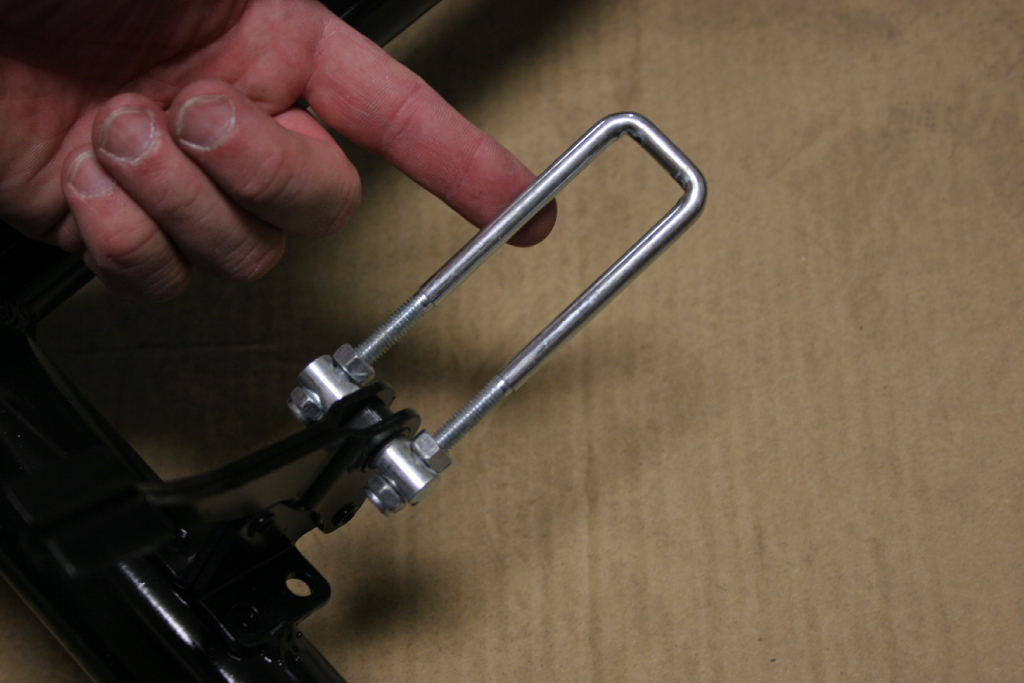
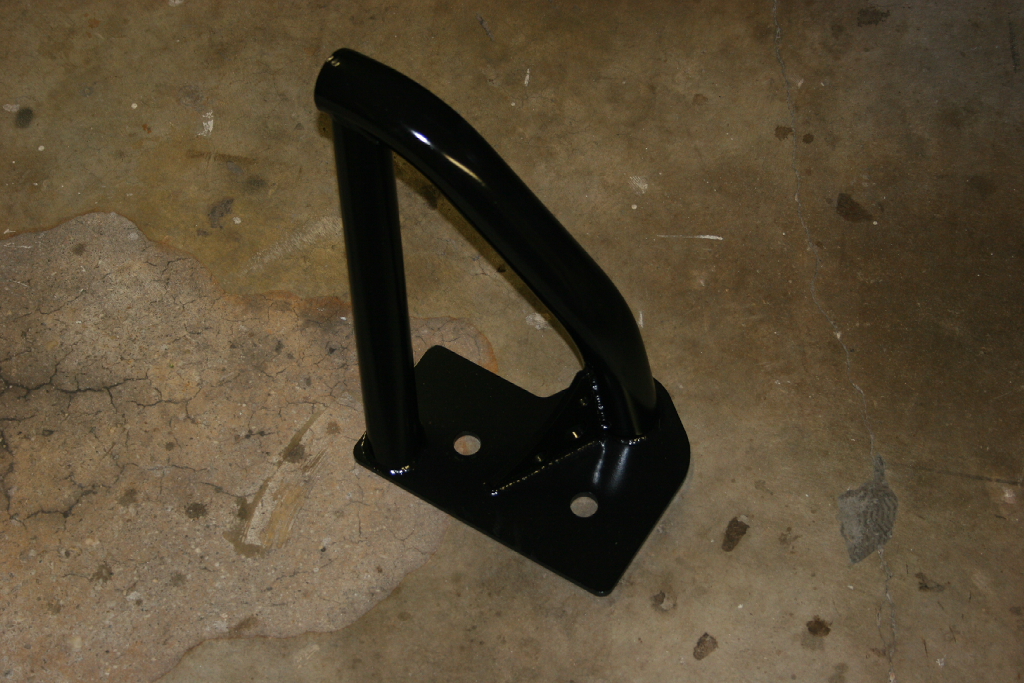
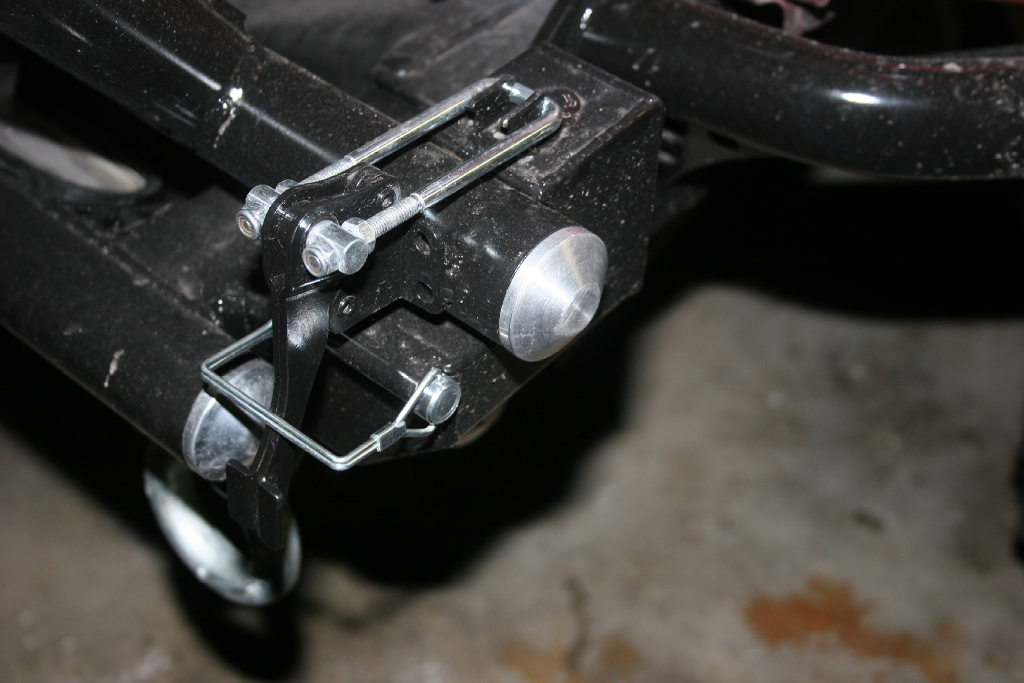
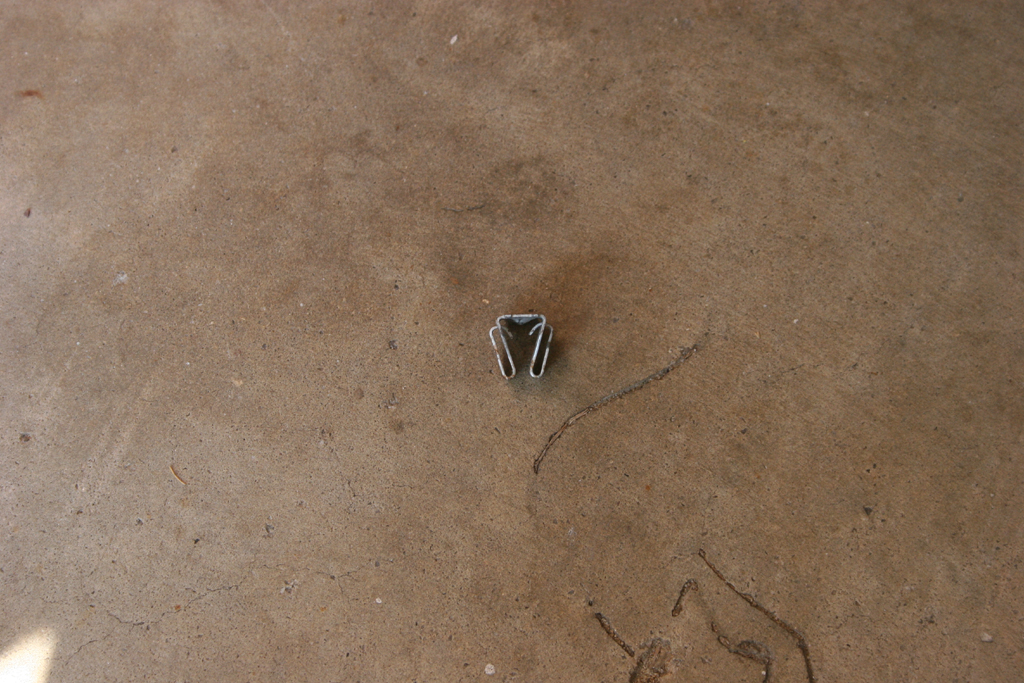
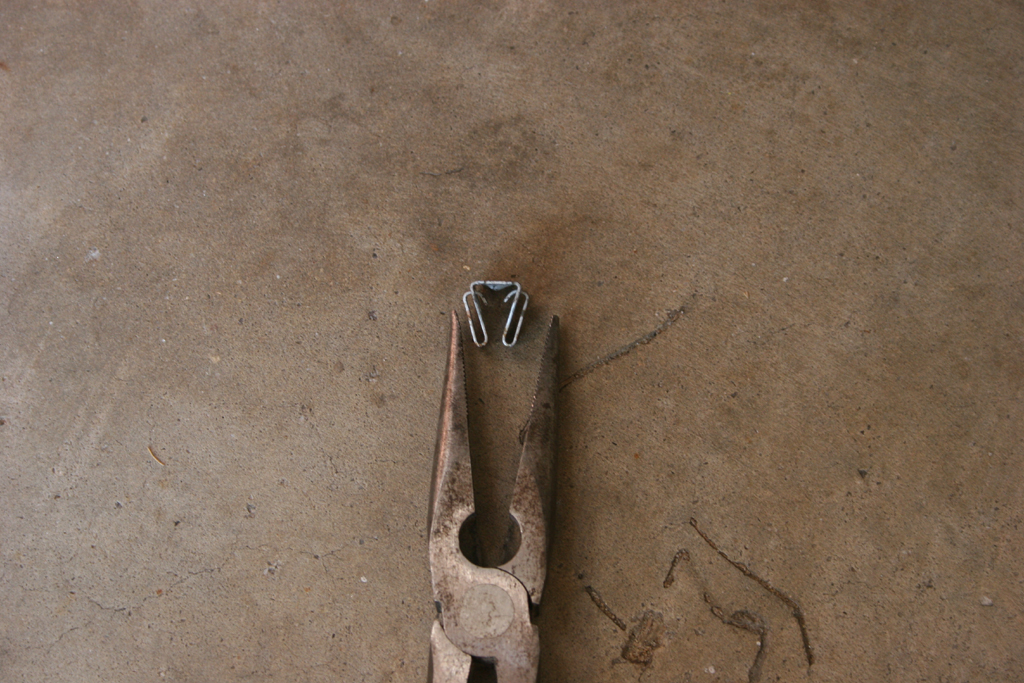
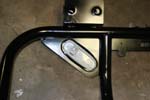
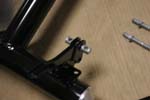
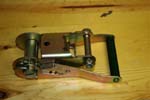
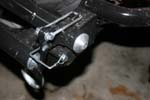
| Now find the parts for the swing out tire carrier latch. |
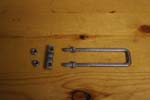 |
| Insert the pin through the hole in the lever, screw two (2) nuts onto the u-bolt, insert the u-bolt through the two (2) holes in the pin and screw on the two (2) nuts onto the exposed ends of the u-bolt. You will adjust this latter when you get the bumper assembled. You will need a 10mm socket and 10mm combo wrench. |
 |
 |
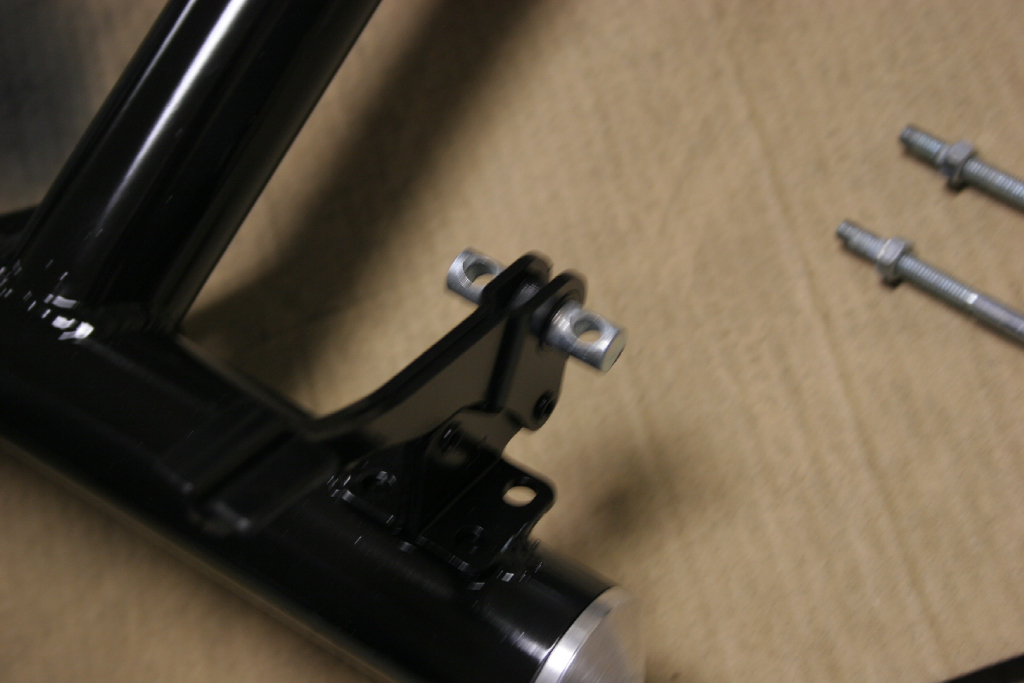
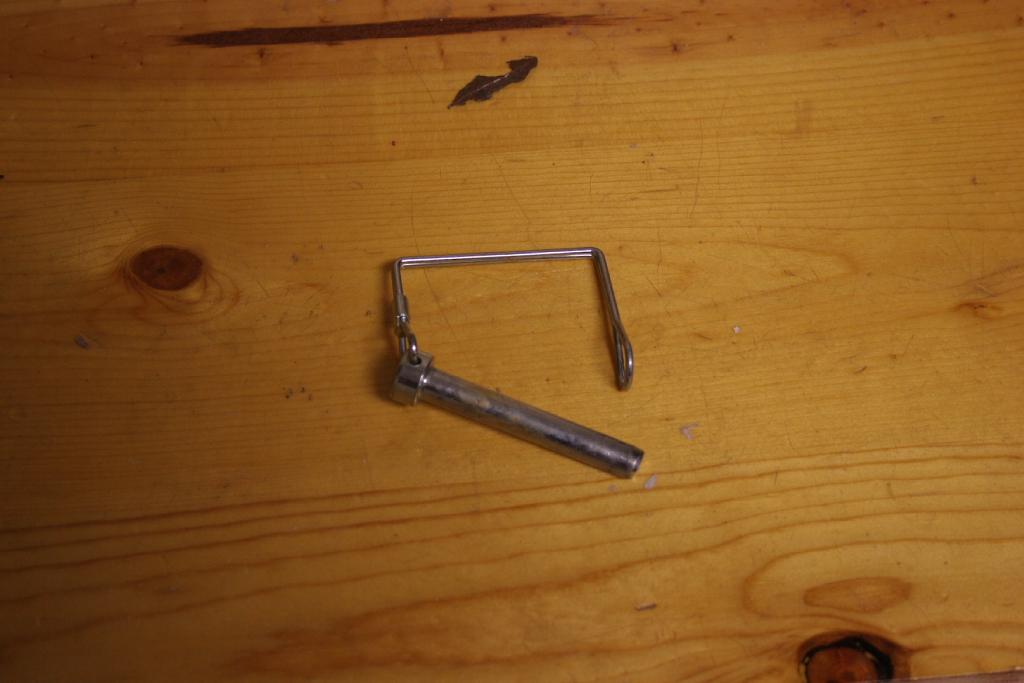
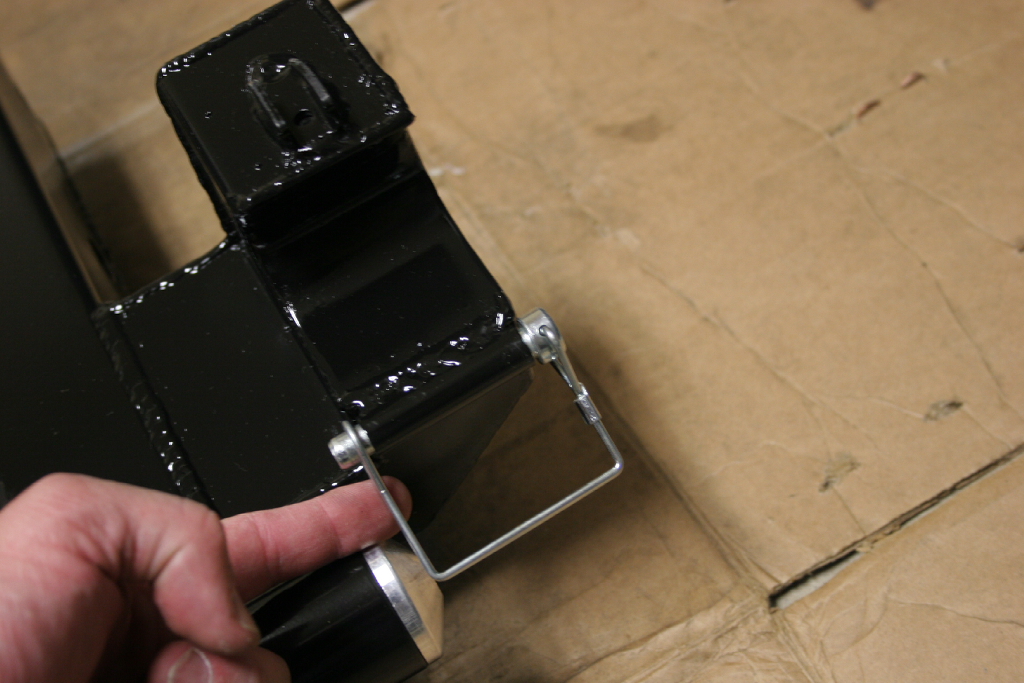
| Find the latch pin and insert it into the hole on the bumper, and clip it in place. While this seems odd, I managed to lose mine somewhere in the garage. I did find it a few months later. This is designed to add a layer of protection to holding the tire carrier latch lever in place, I've never had mine come loose, but I have seen tire carrier swing open on the freeway, and a little extra is always good. |
 |
 |
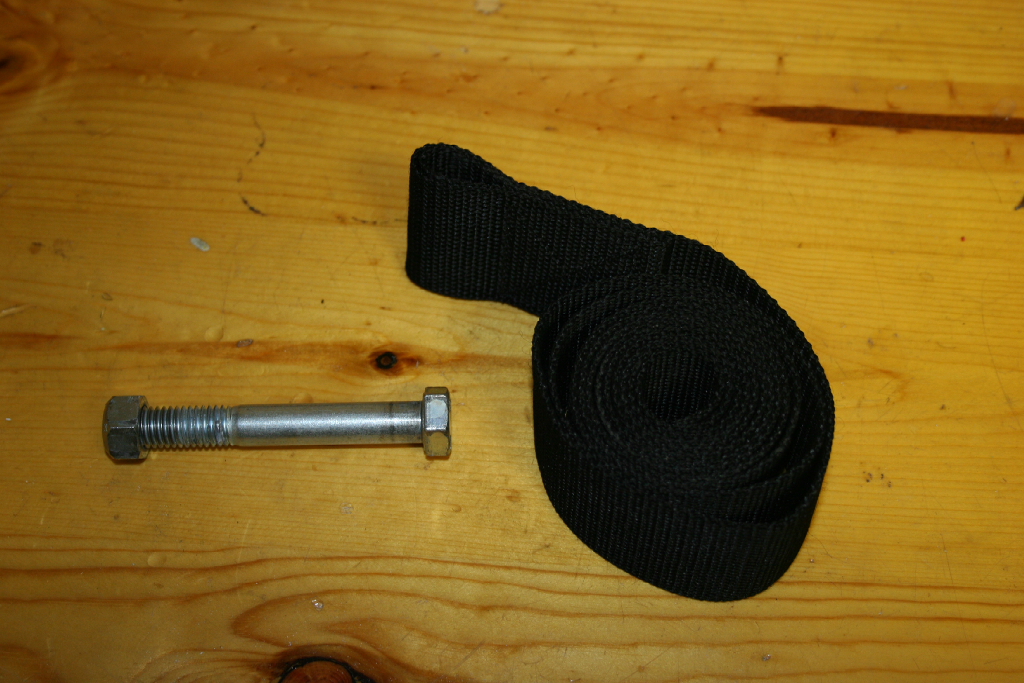
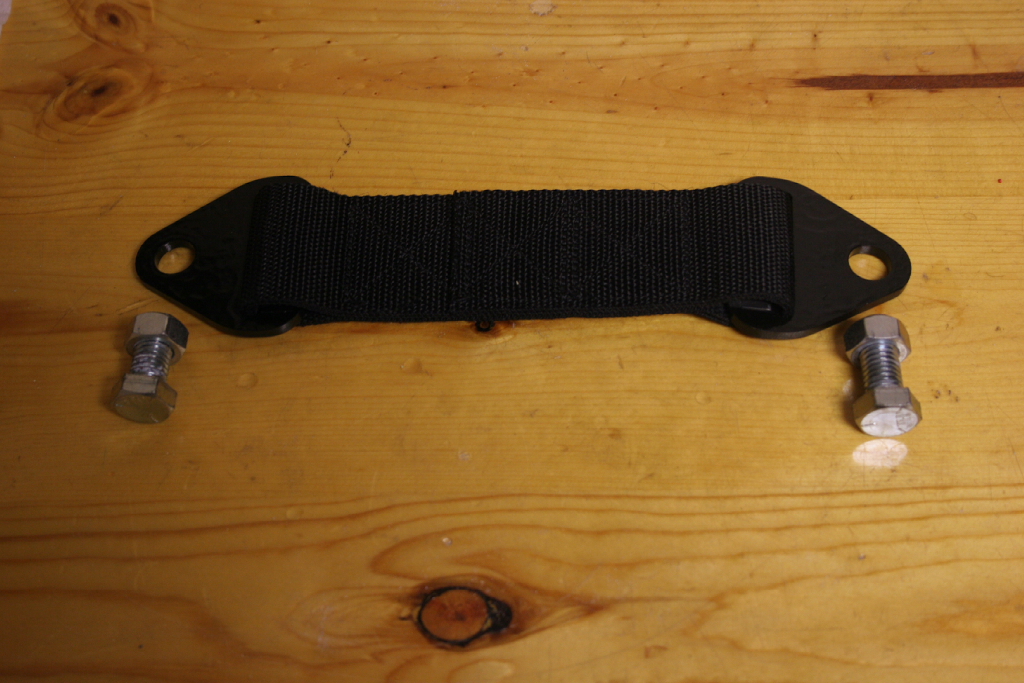
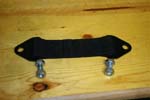
| Find the bolt and the tire strap. |
 |
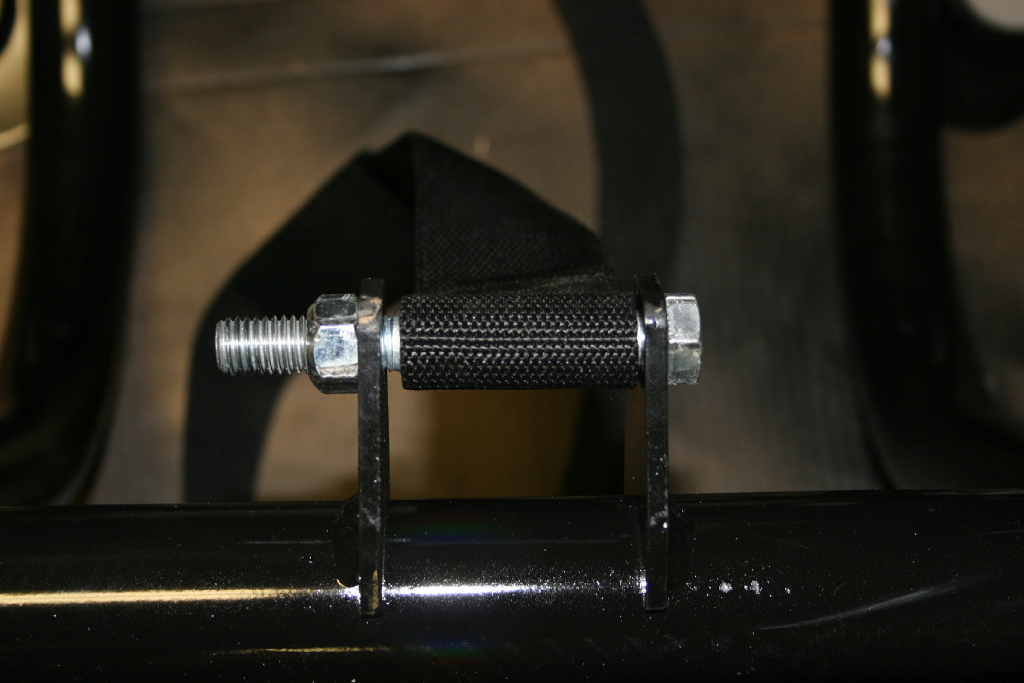
| Insert the bolt through one side of the bottom center mount on the tire carrier, then the strap and finally the other side of the mount. Screw on the nut and tighten down. You do not need to go so tight that you start bending the mount, just enough to hold the bolt in place. You will need a 3/4" socket and 3/4" combo wrench. |
 |
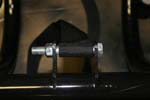 |
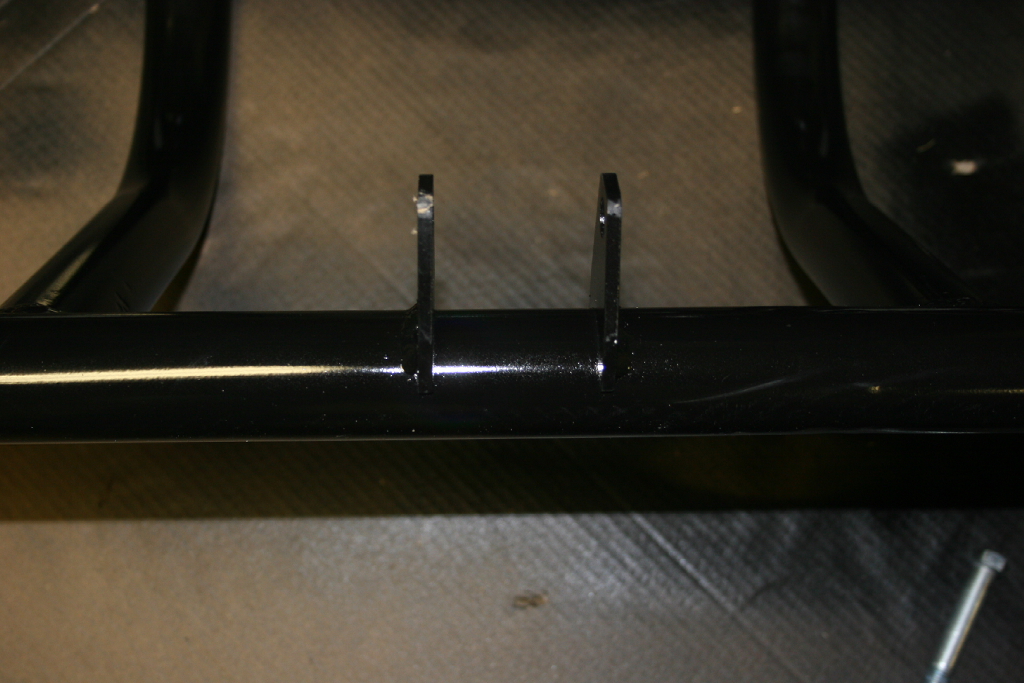
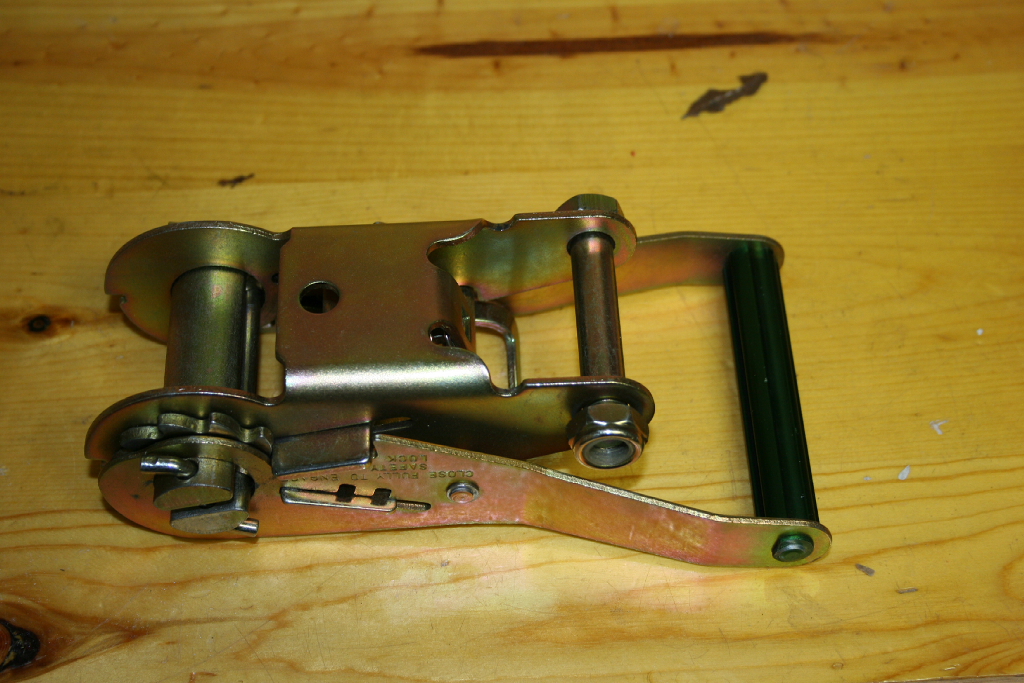
| Now install the ratchet assembly on the top center mount on the tire carrier. Make sure the handle is on the outside. Do not tighten down the nut so far that you bend the mount or crush the ratchet assembly. Mine will stand up on it's own and needs a little strength to move it. You will need a 3/4" socket and 3/4" combo wrench. |
 |
 |
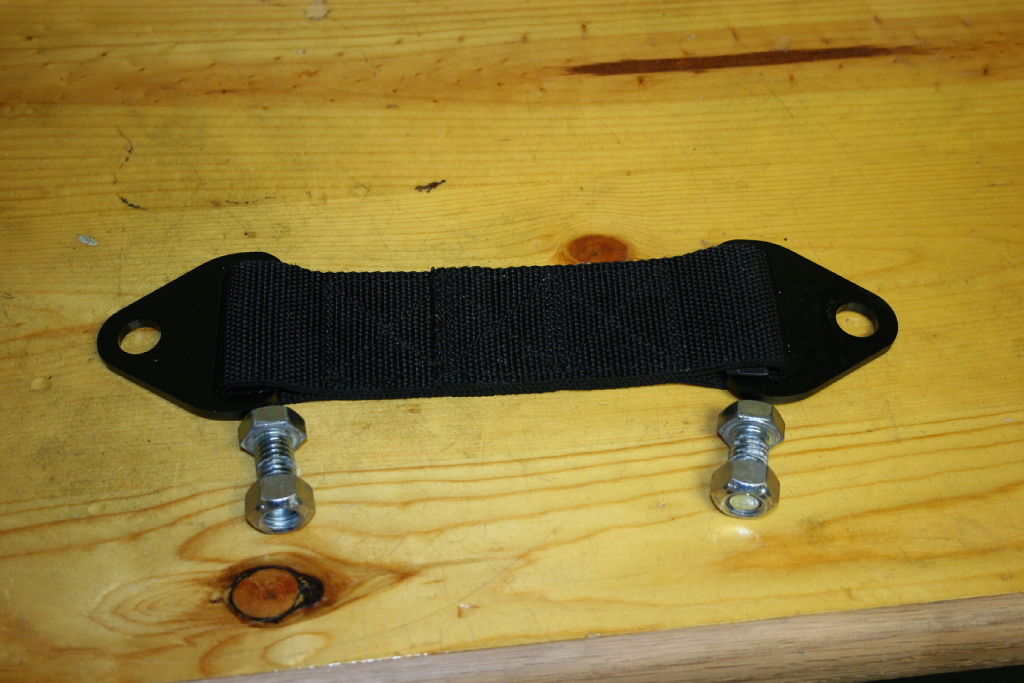
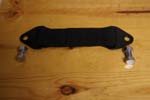
| Gather up the parts for the retaining strap. Bolt one side to the tire carrier. I put the bolt through the other eye and screwed on the nut so I didn't loose it. You will need a 3/4" socket and 3/4" combo wrench. |
 |
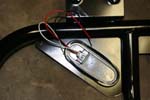
| I took the time to wire up everything on the tire carrier. I terminated the wires with some weather proof connectors so that I could easily disconnect the tire carrier from the vehicle if I needed to. |
 |
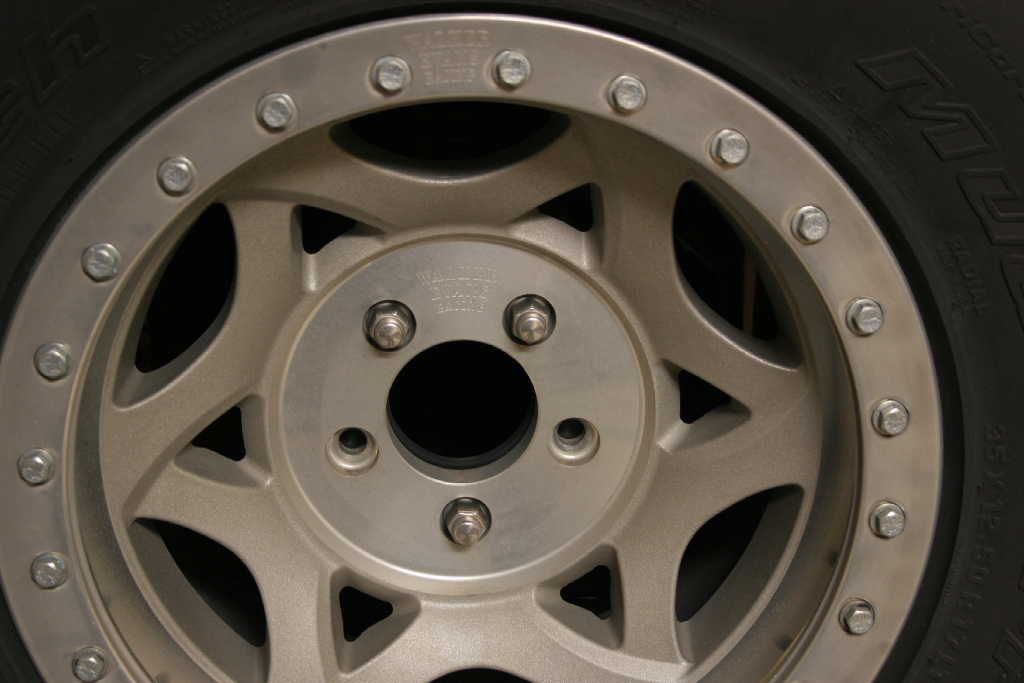
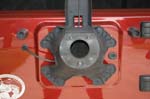
| Remove the rear tire by removing the three (3) lug nuts with a 3/4" socket or 19mm socket. |
 |
 |
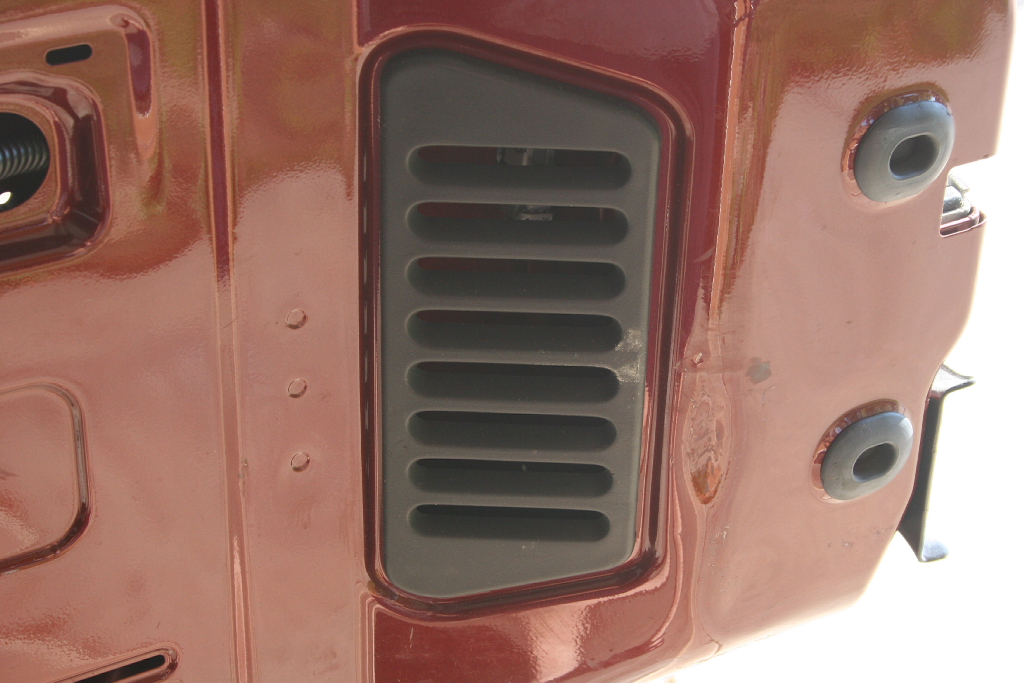
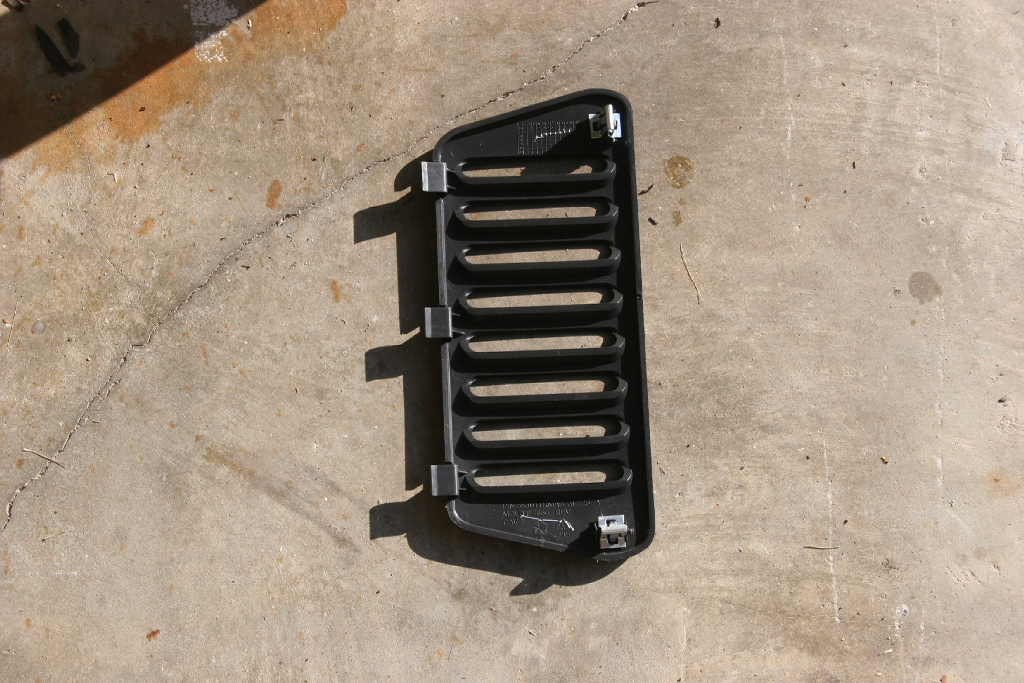
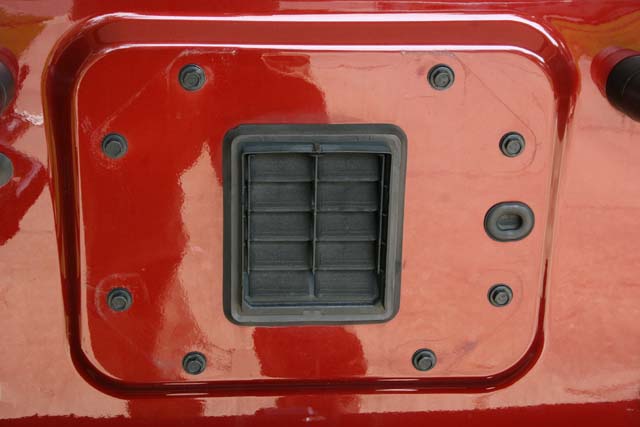
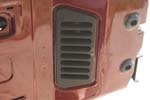
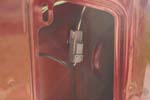
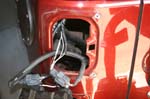
| Open the tailgate and remove the vent opening from the side. It is held in by a couple tabs and some push clips. Mine pried up on the left corners and then pulled out. |
 |
 |
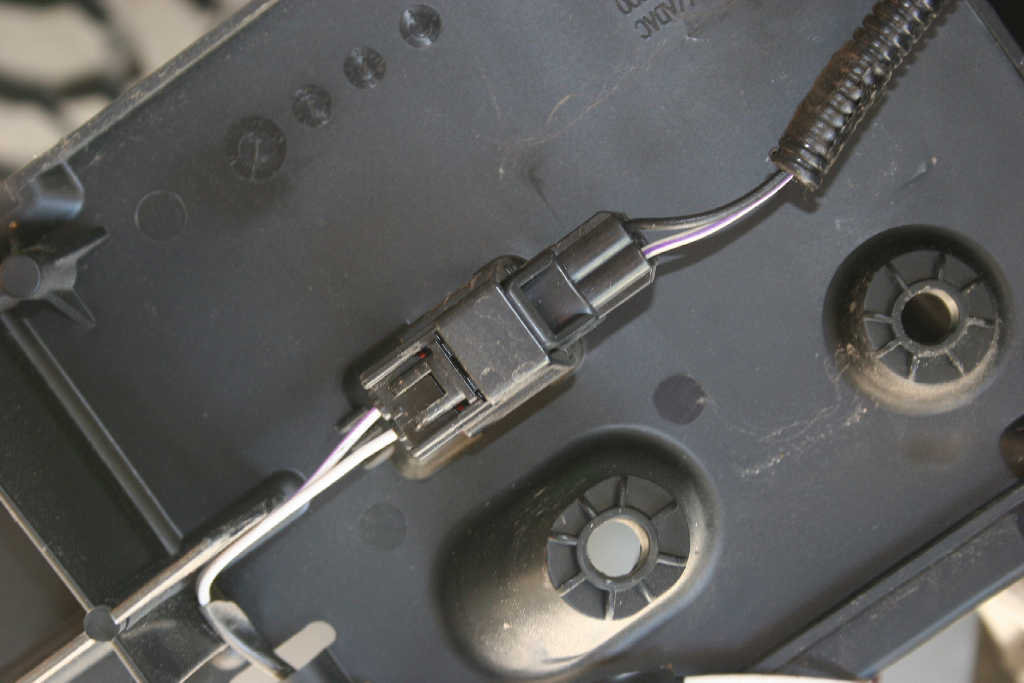
| Inside the tailgate you will see the other end of the connector. Disconnect the wire harness and pull out the rubber grommet and wire.Reinstall the cover on the inside of the tailgate. |
 |
 |
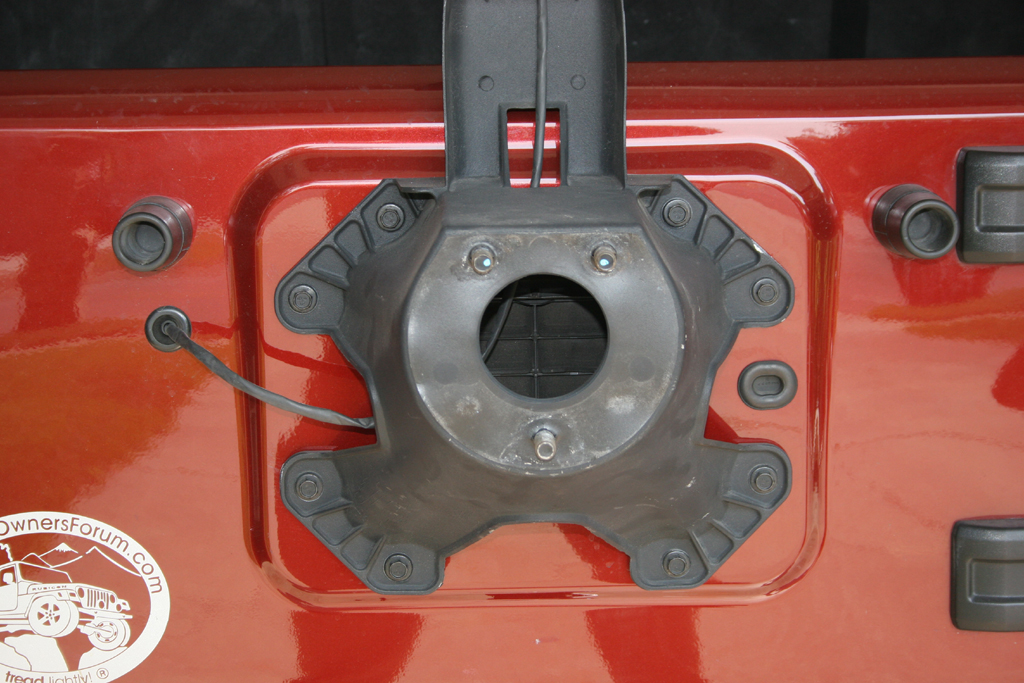
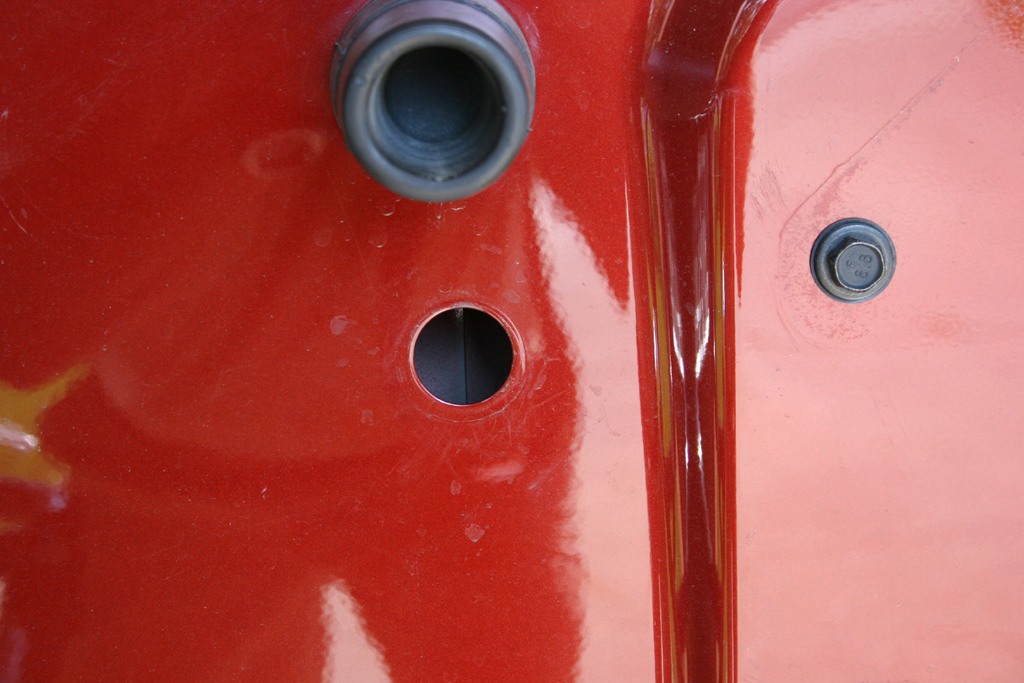
| Remove the eight (8) bolts holding the spare tire carrier to the tailgate with a 13mm socket. Once you have the spare tire carrier removed, reinstall the eight (8) bolts that you removed from the tire carrier back into the tailgate. This will seal up the 8 holes so that water dosn't get into the tailgate. |
 |
 |
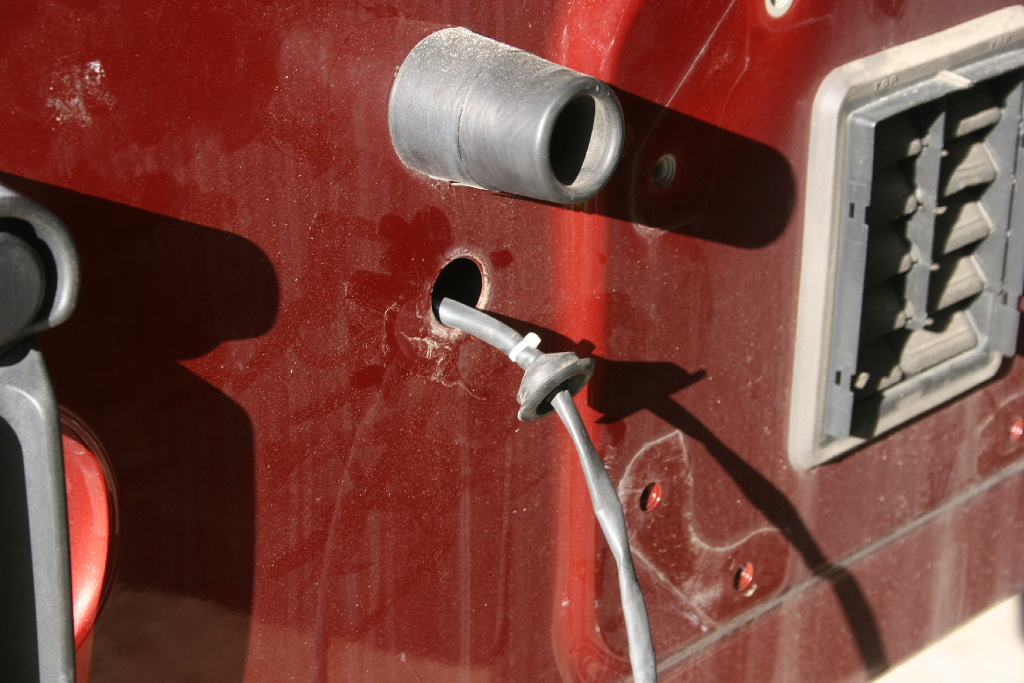
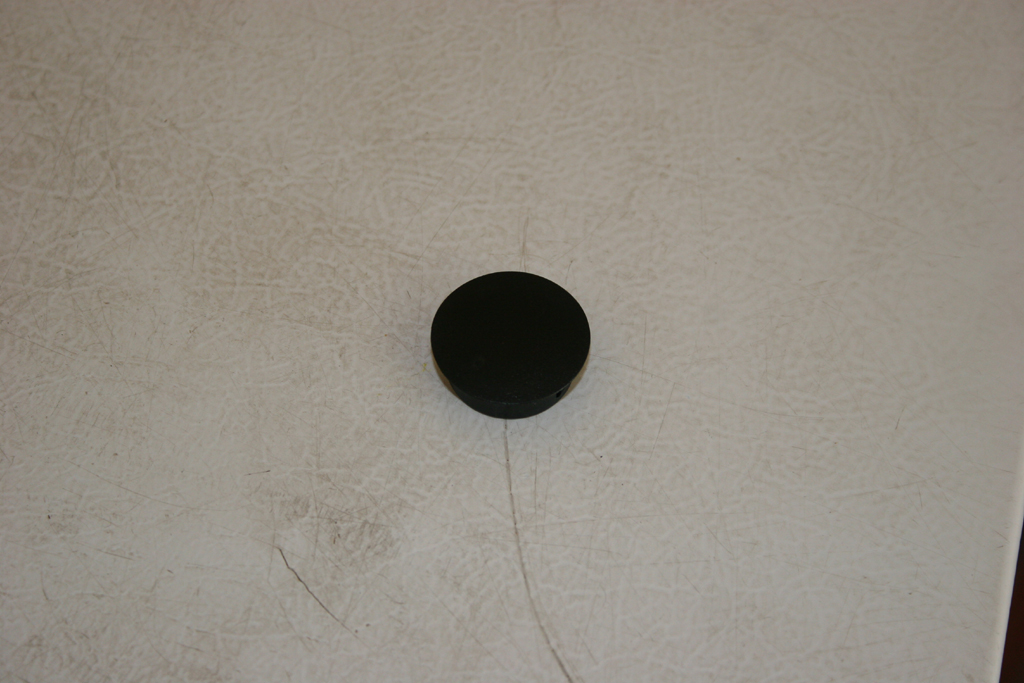
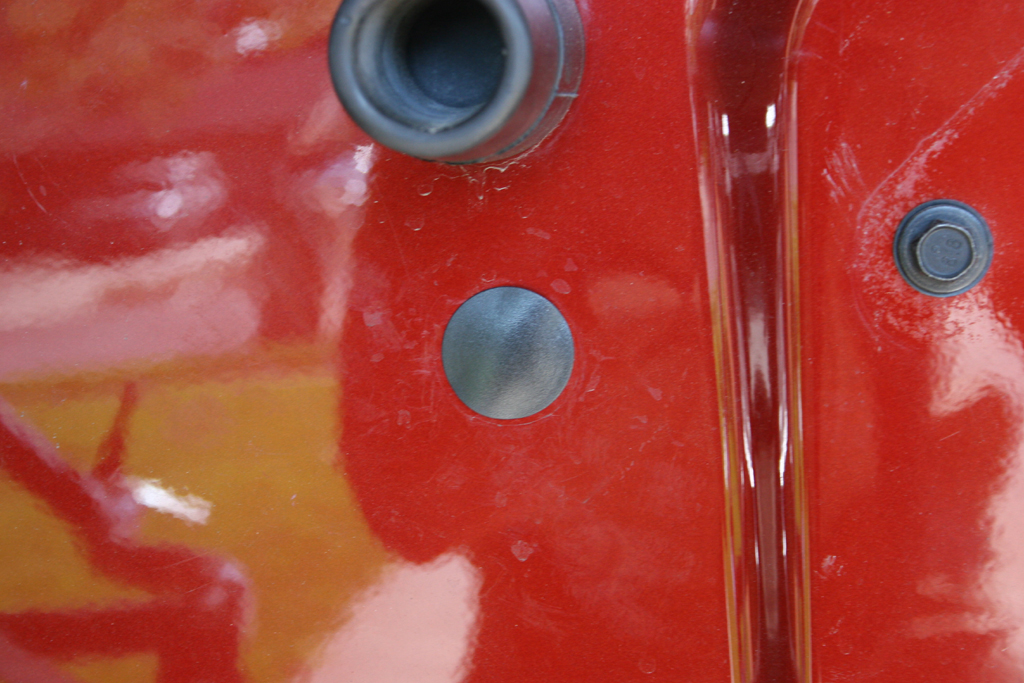
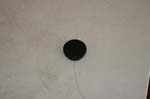
| Use a one inch plug to seal the opening in the tailgate to prevent water from coming in. |
 |
 |
 |
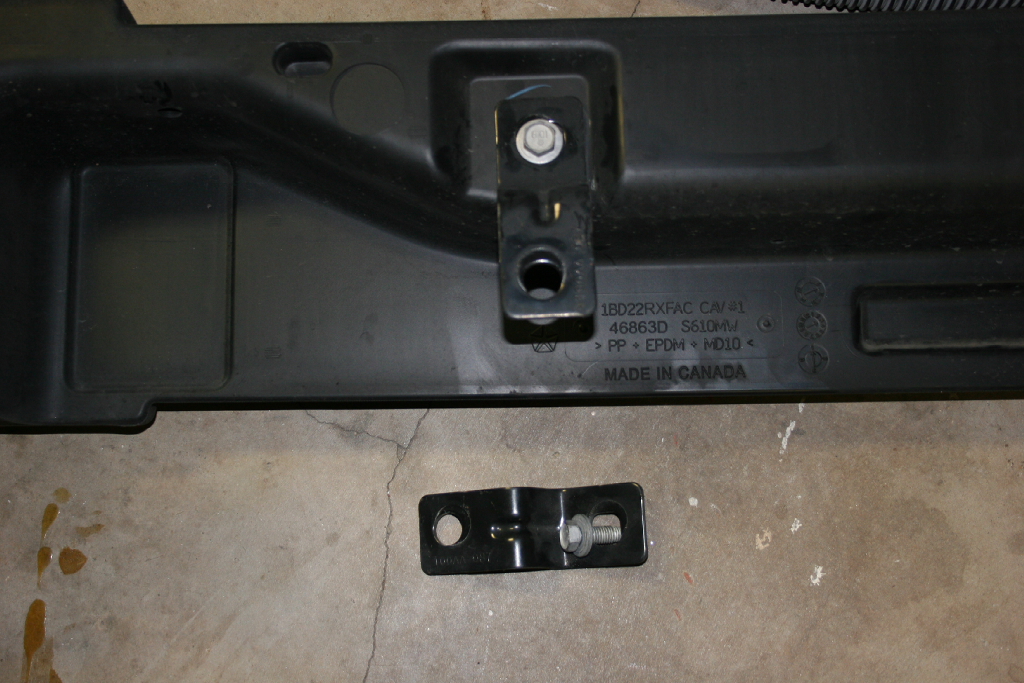
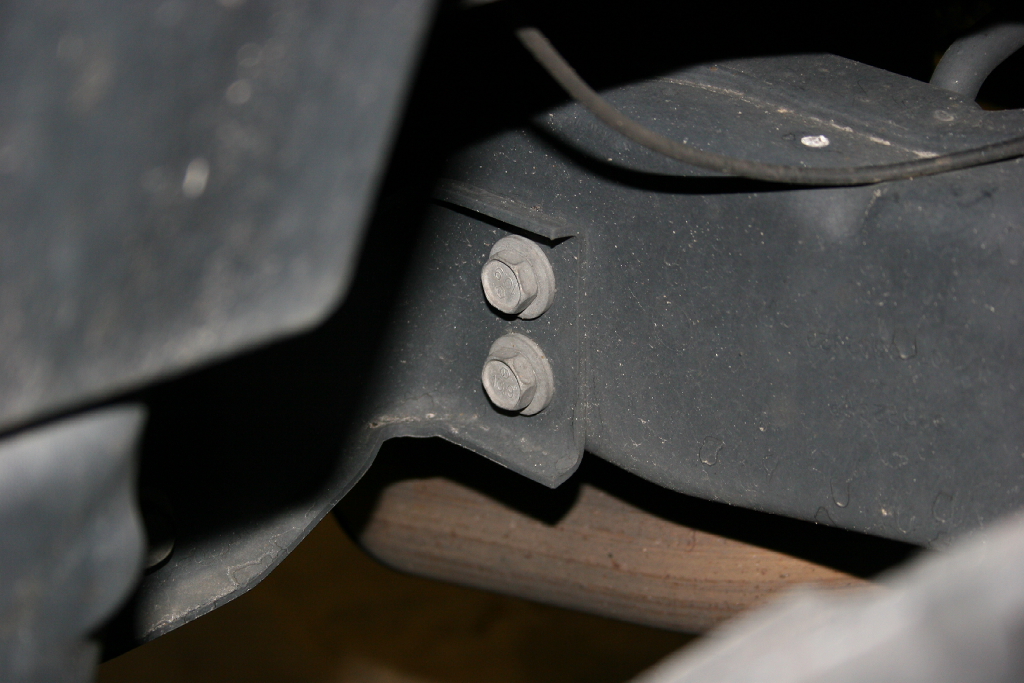
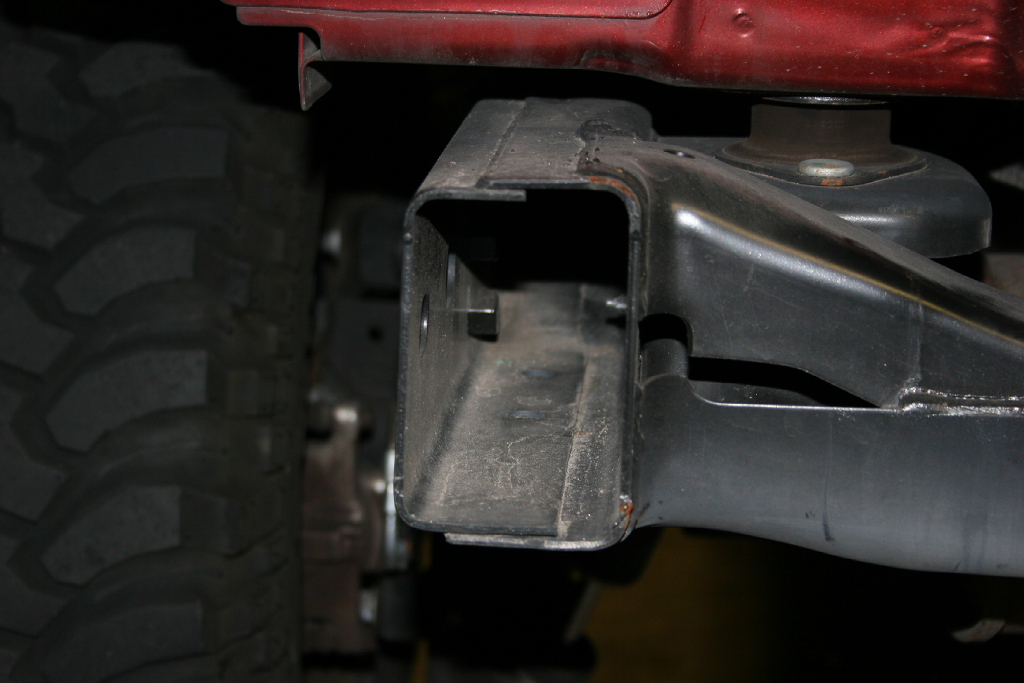
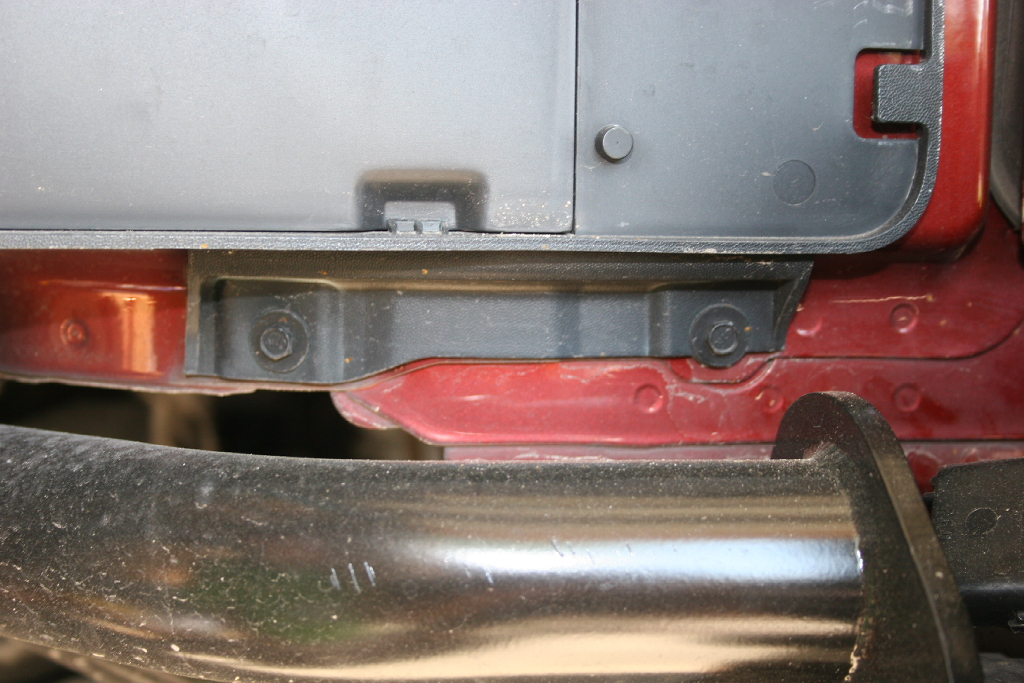
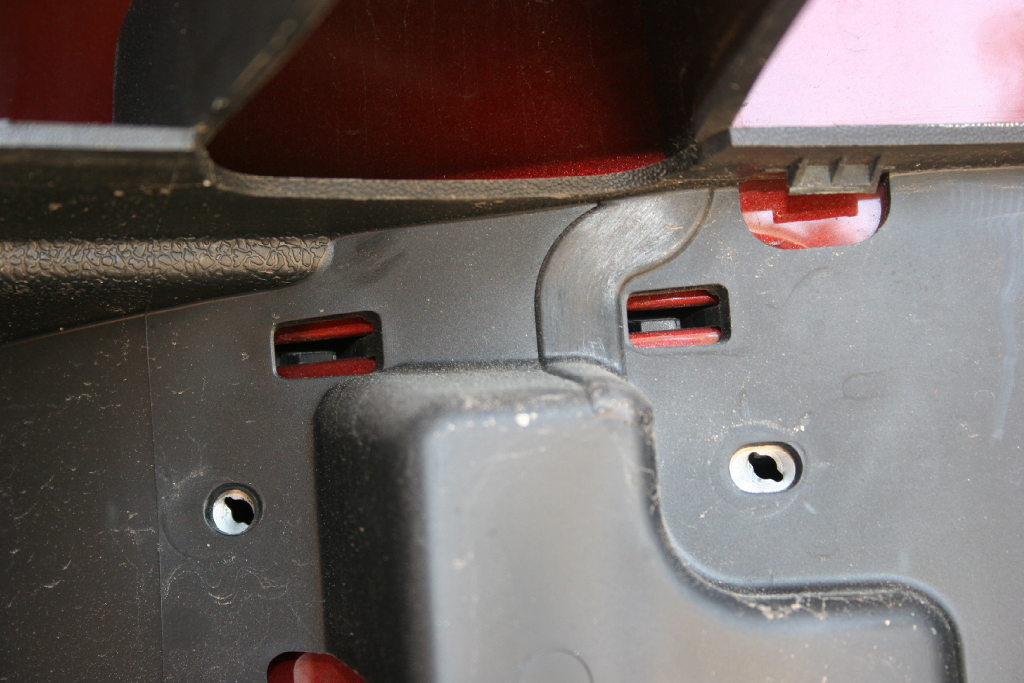
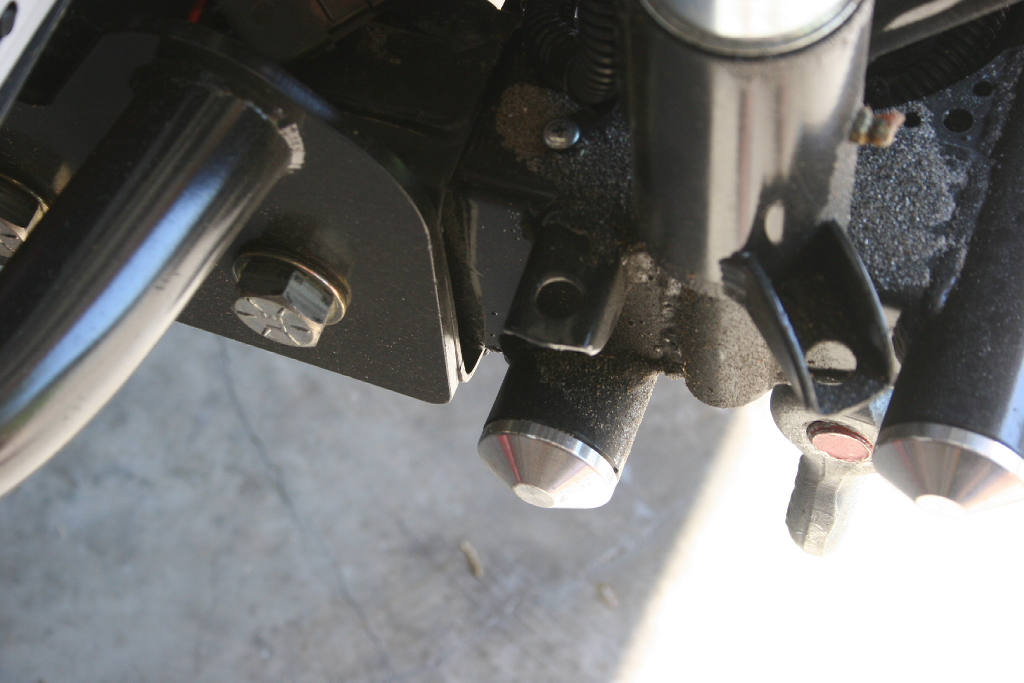
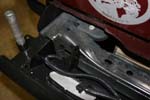
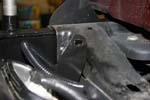
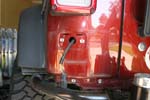
| Remove the rear bumper by first removing the four (4) bolts holding the bracket between the bumper and rear frame member. You will need a 16mm combo wrench to remove these. You can't see the upper bolt in the first picture. |
 |
 |
| Now remove the four (4) bolts holding the bumper onto the side of the frame rails. You will be amazed at how light this bumper is once you get it off. Make sure you screw the brackets back onto the bumper with the bolts so that you don't lose them. |
 |
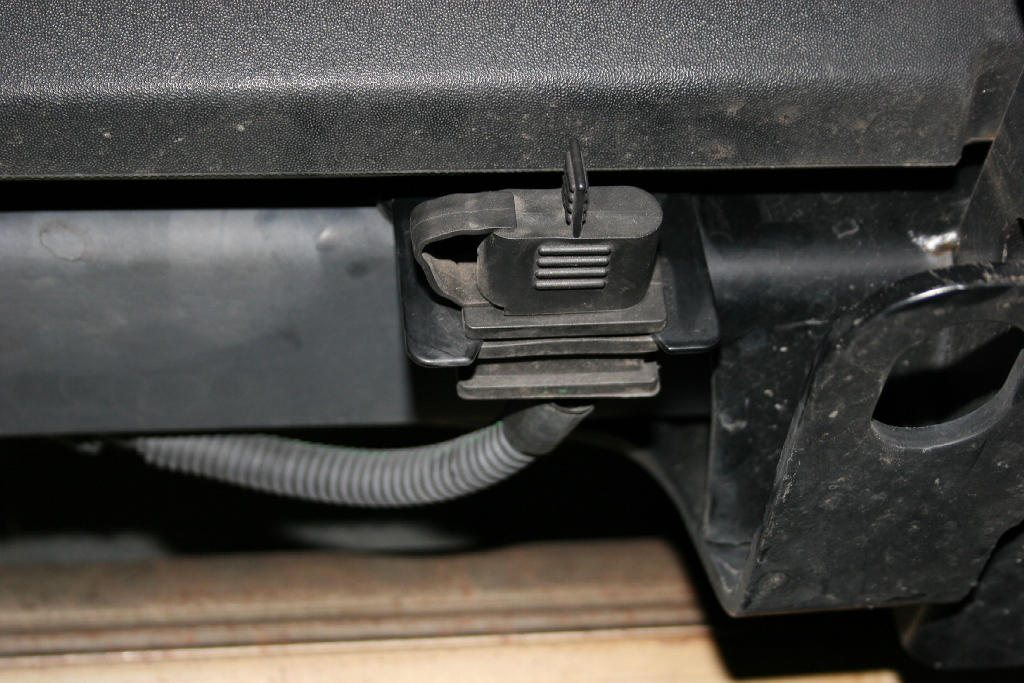
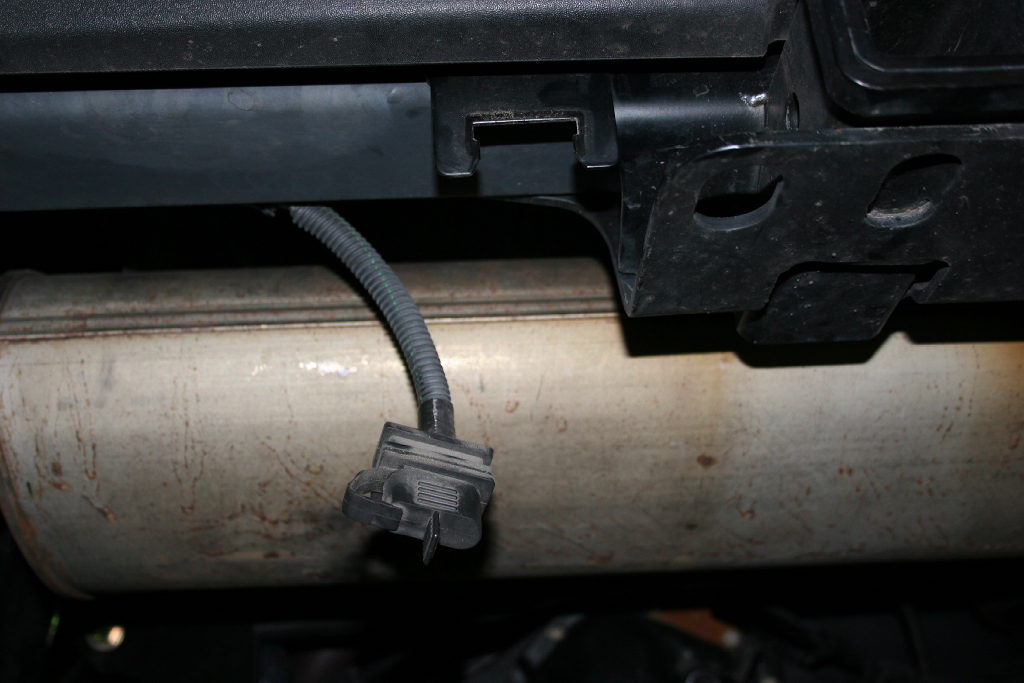
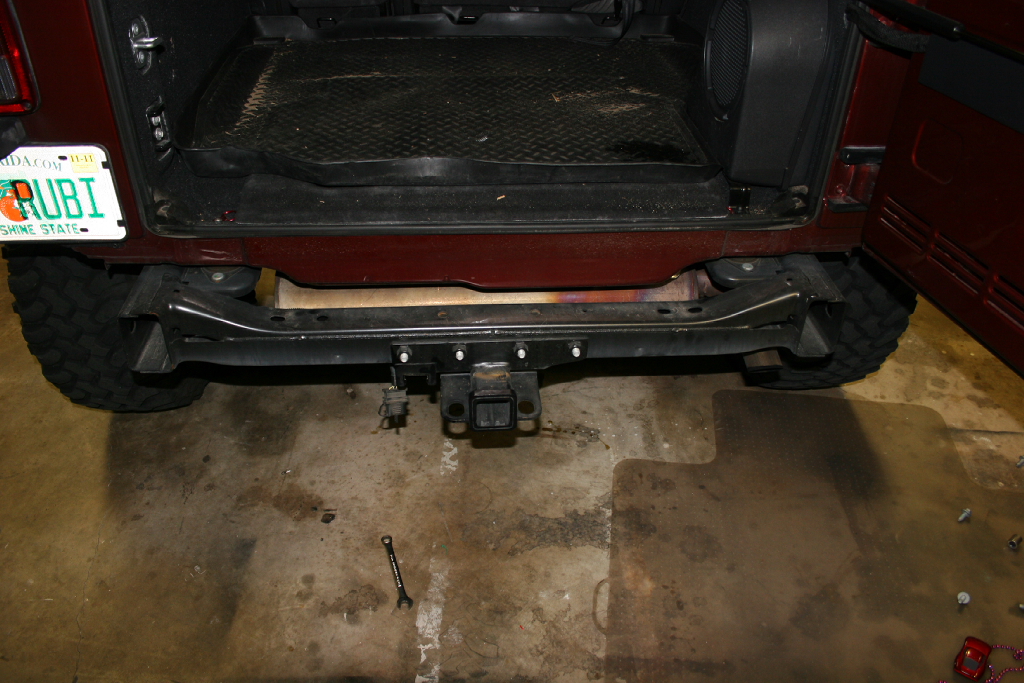
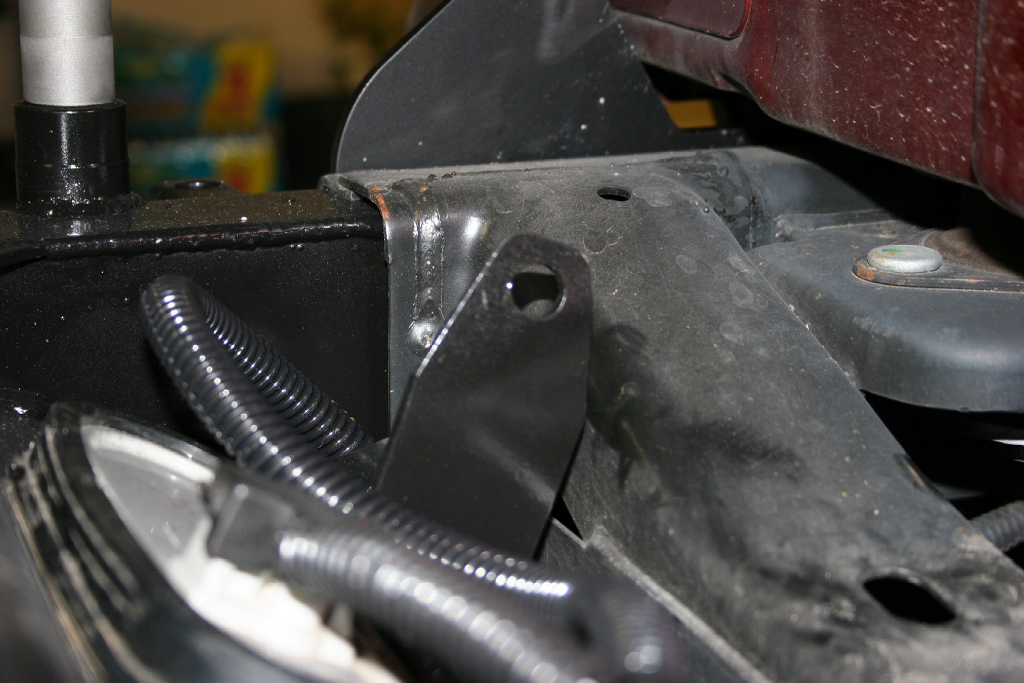
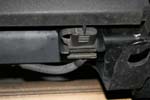
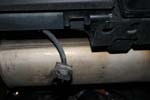
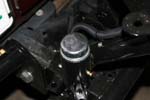
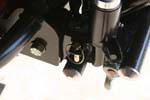
| If you have the tow package, remove the trailer connector from its mount. Tuck this up above the rear cross member |
 |
 |
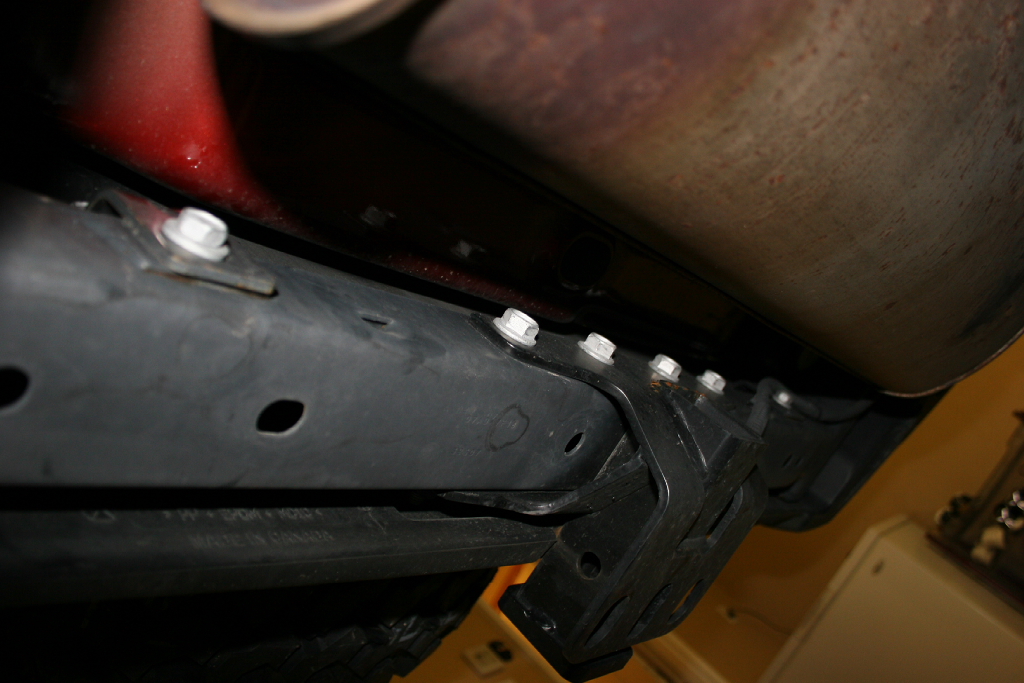
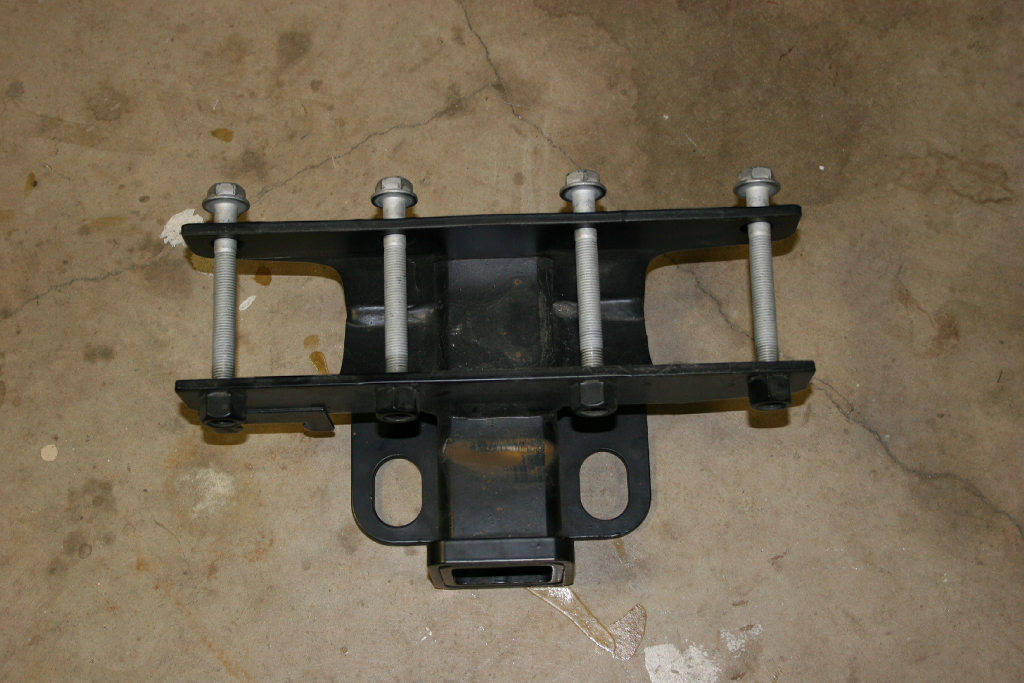
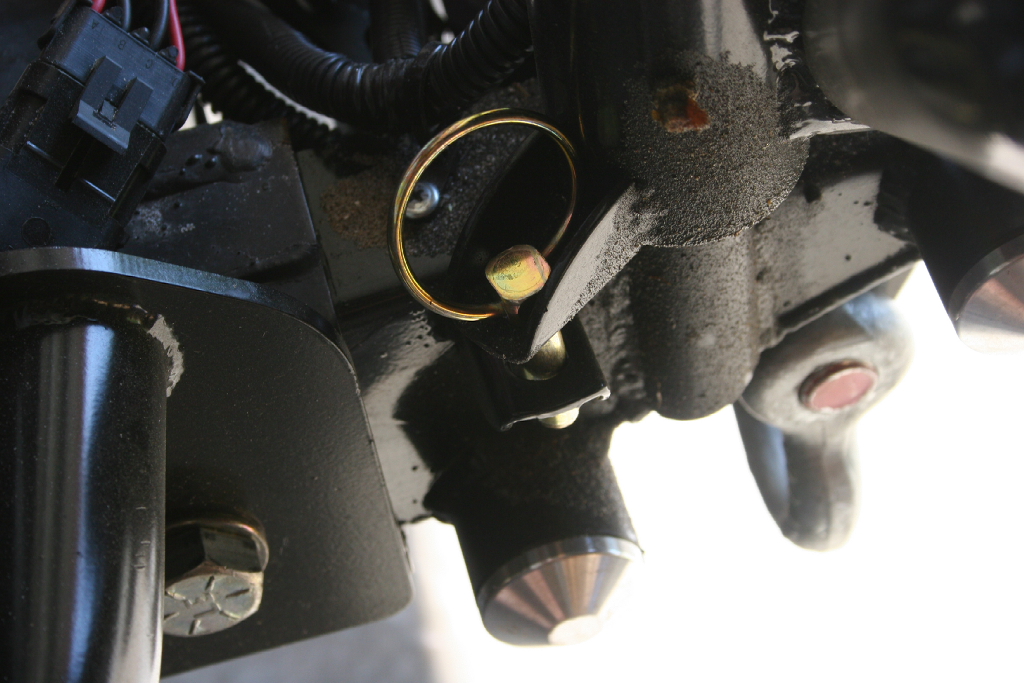
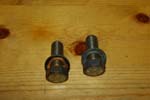
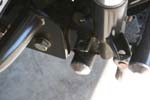
| Remove the four (4) bolts holding the trailer hitch to the rear frame member. This is something you want to do when the muffler is cold since the bolts pull out all the way to the muffler to be removed. You will need a 18mm combo wrench or 18mm socket. |
 |
 |
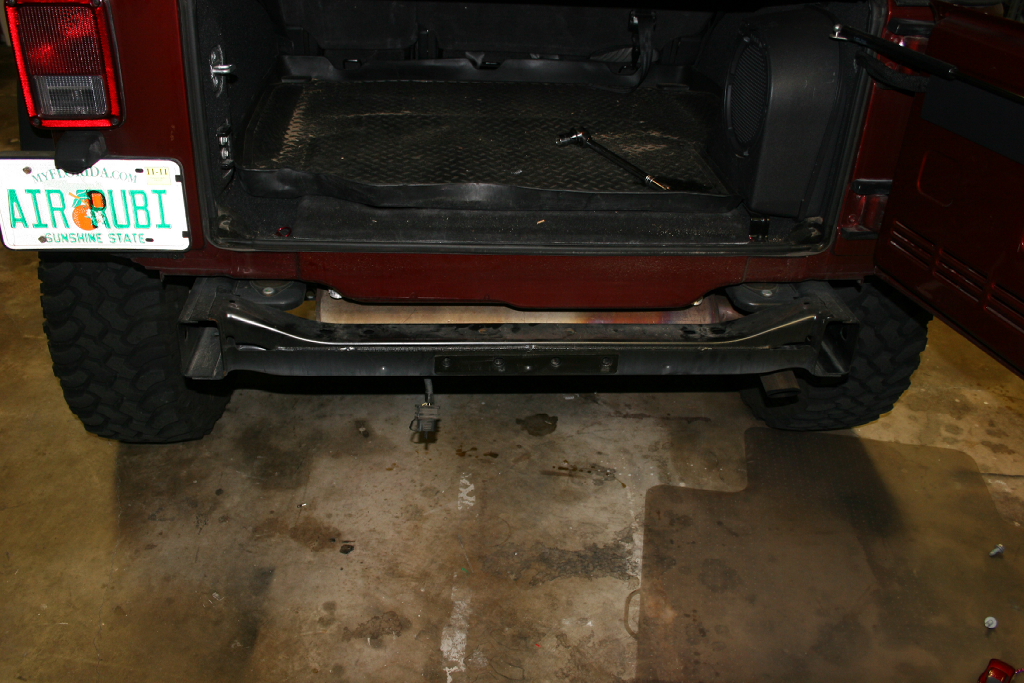
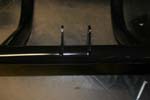
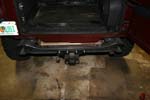
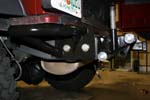
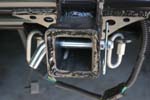
| The completely stripped rear frame. Time to install the new rear bumper. |
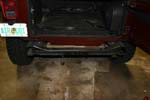 |
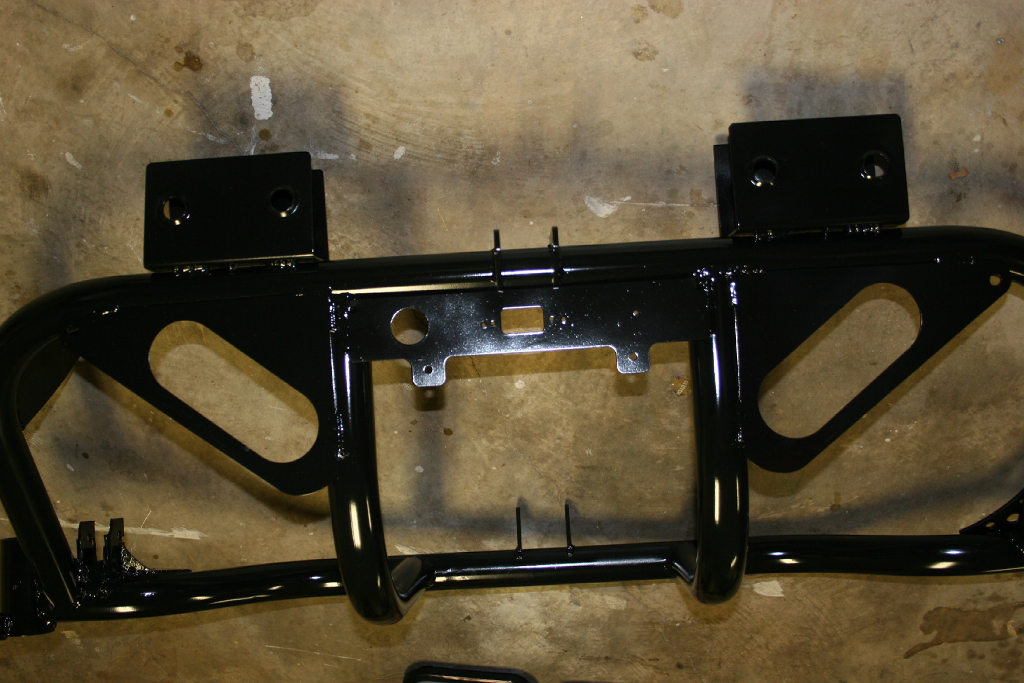
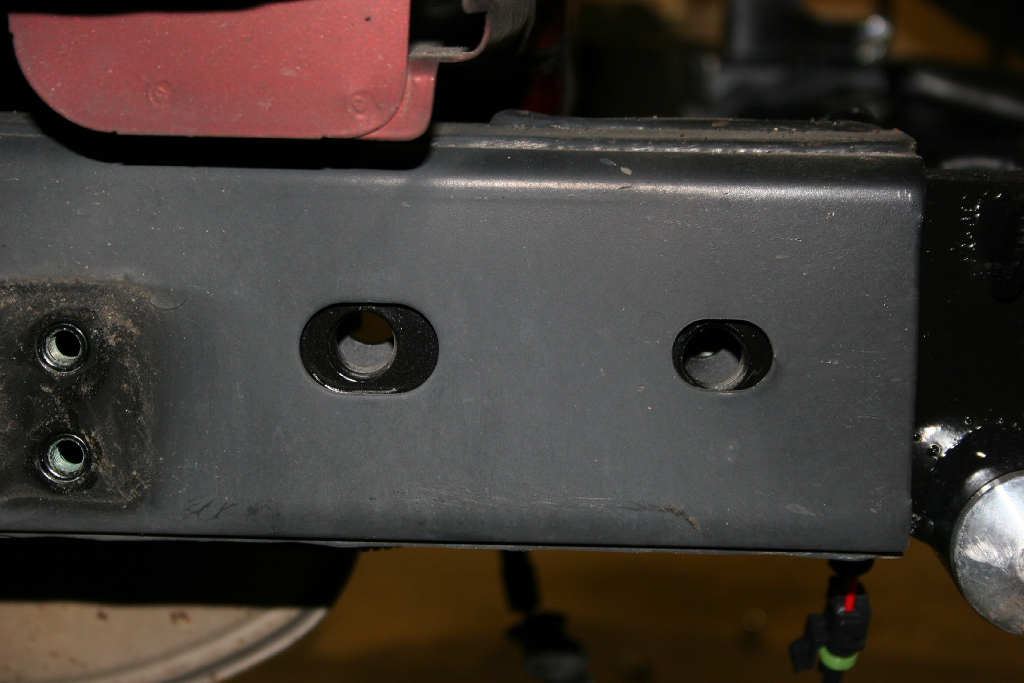
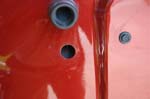
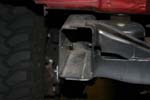
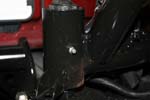
| The Stonehenge series rear bumper slides into the frame rail and uses the two (2) large holes on either side to bolt to the frame. |
 |
 |
 |
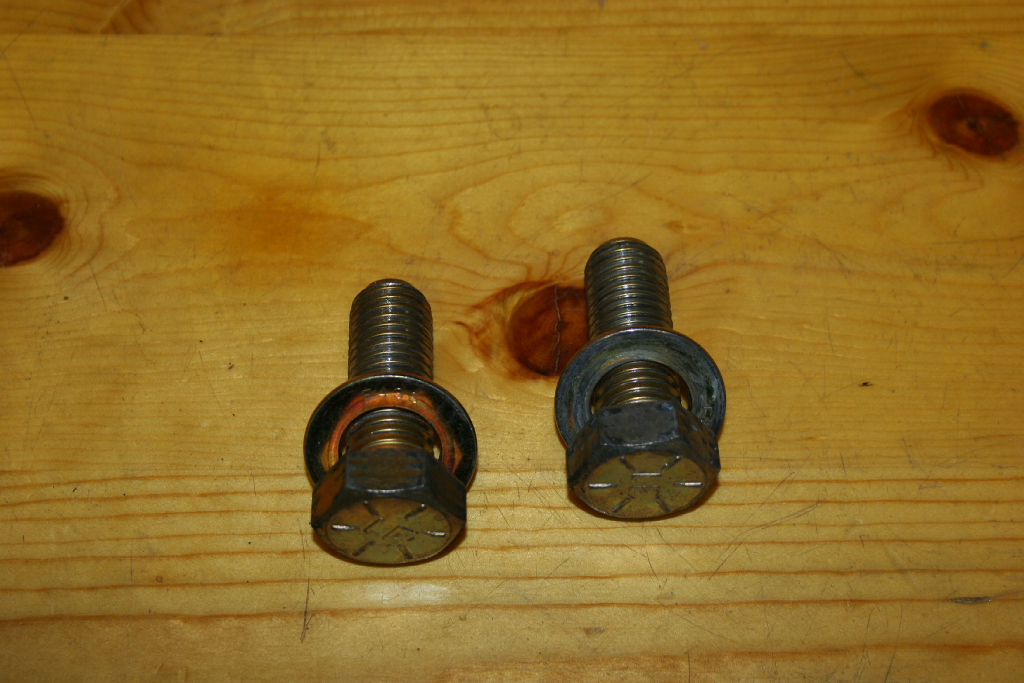
| Find the four (4) large bolts and lock washers that are in the package. If you have the corner guards, you will need them also. |
 |
 |
| Line up the corner guard, (brace points down), insert the large bolt and lock washer through the corner guard and screw into the bumper inside the frame. Do this with all four (4) of the bolts. Now check to see if the bumper is centered in the frame rails on both sides, snug up the bolts to center it. Now use a 1 1/8" socket to tighten down the bolts. You will need to go back and forth between sides, don't just tighten down one side. Jeep's quality control on rear frame size can be up to 1" difference between Jeeps. This bumper fit perfect on Andy's Jeep, but on mine it was almost 3/4"" off. Our frames were different widths. |
 |
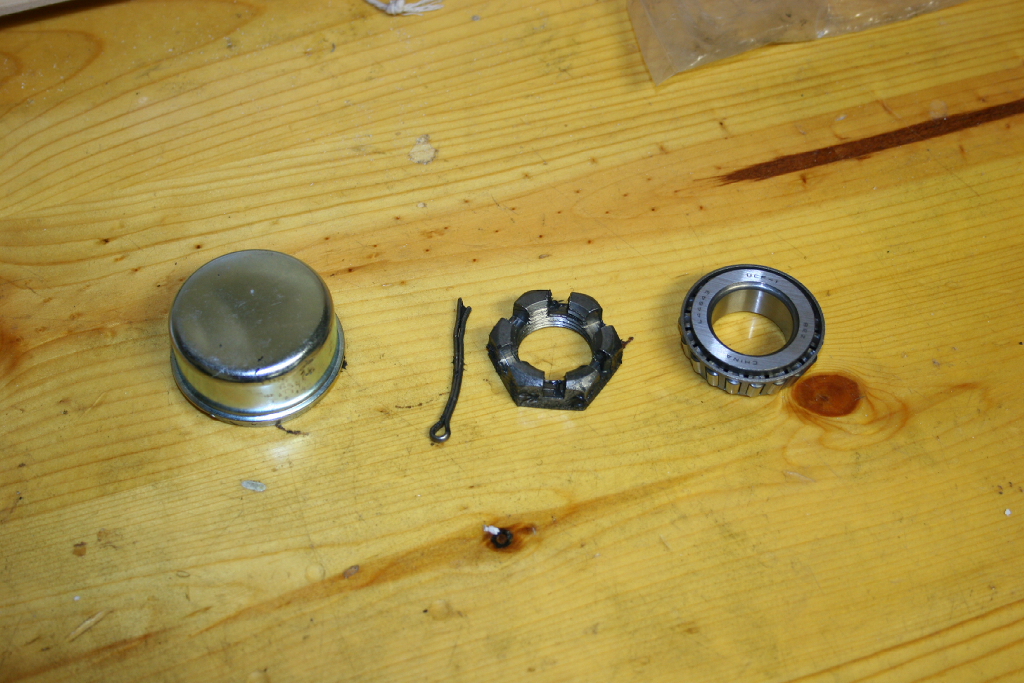
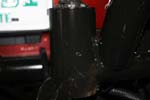
| The tire carrier fits over the shaft on the left side of the bumper. This is a typical 1" trailer shaft, so you can pick up a trailer bearing kit from most places (Wal-Mart had them when I looked). |
 |
| Install the lower seal and bearing on the shaft. |
|
|
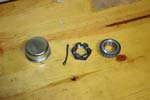
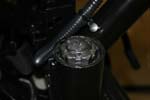
| Pack a bunch of wheel bearing grease into the cavity before you install the upper bearing and castle nut. |
 |
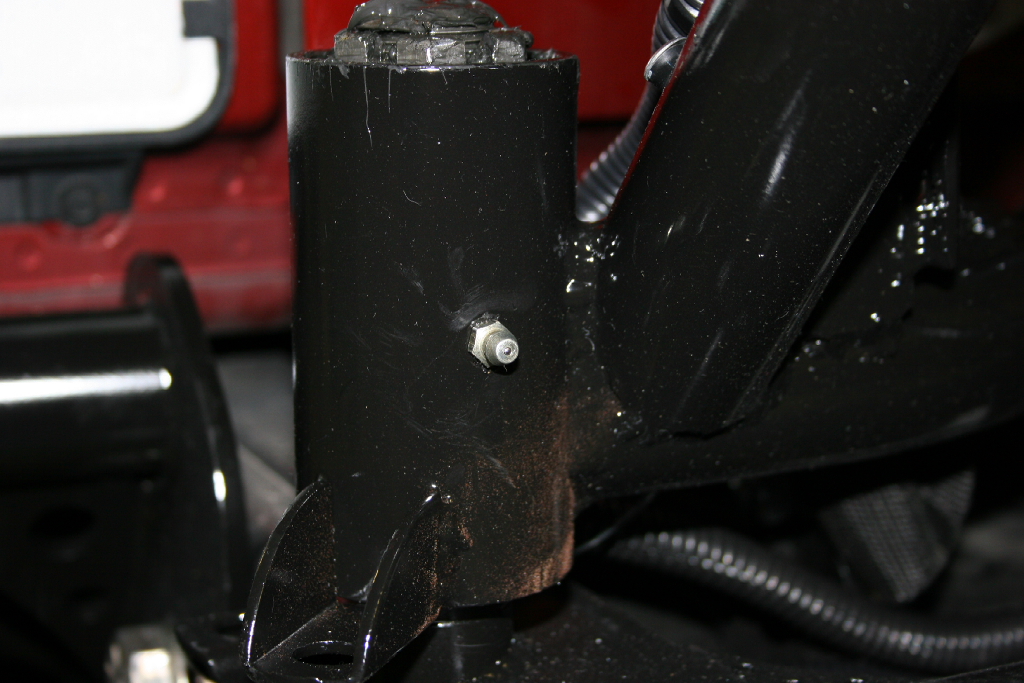
| Install the upper bearing, and screw the castle nut down on top of it. Tighten it up, checking the swing of the carrier. Line up the hole in the shaft with the spaces in the castle nut. Insert the cotter pin and bend over the tab that sticks out the other side. |
 |
 |
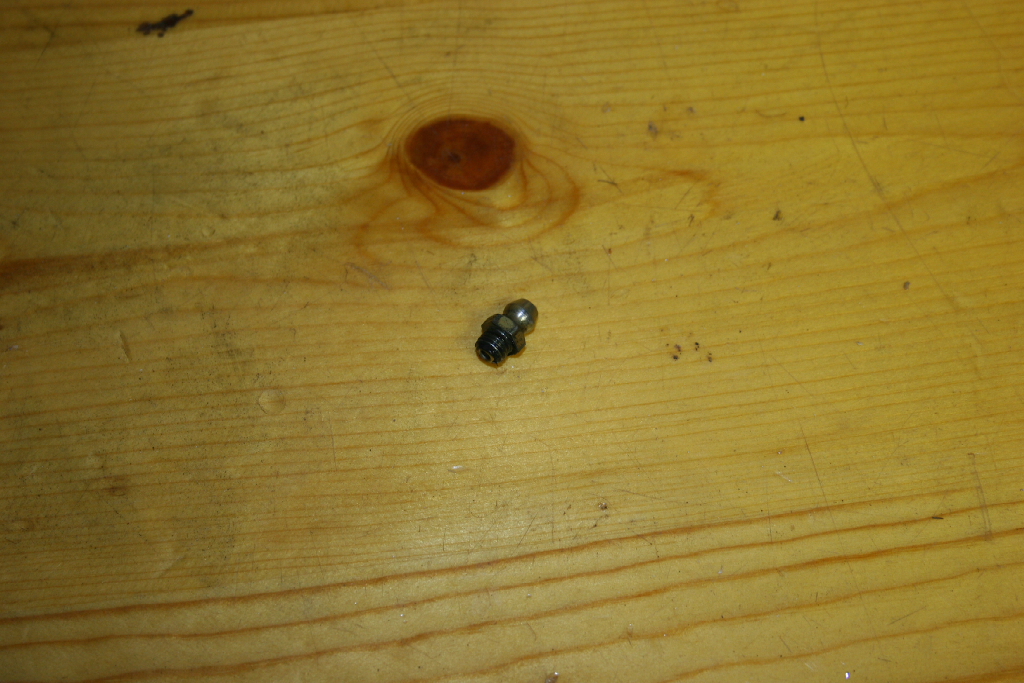
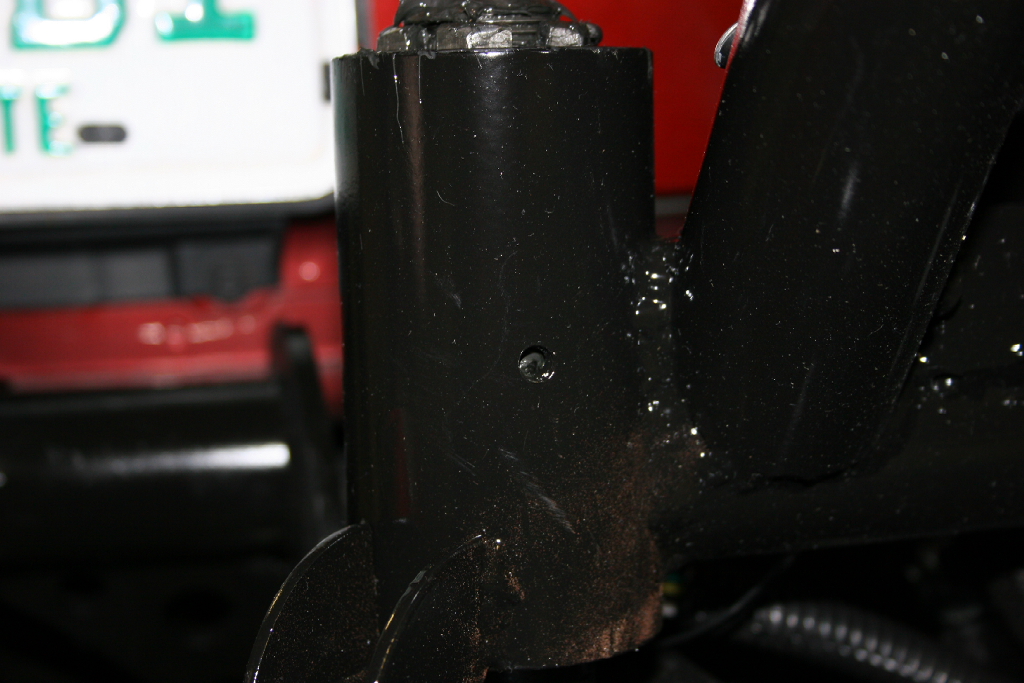
| Install the zerk fitting into the tire carrier. You will need a 5/16" combo wrench. |
 |
 |
 |
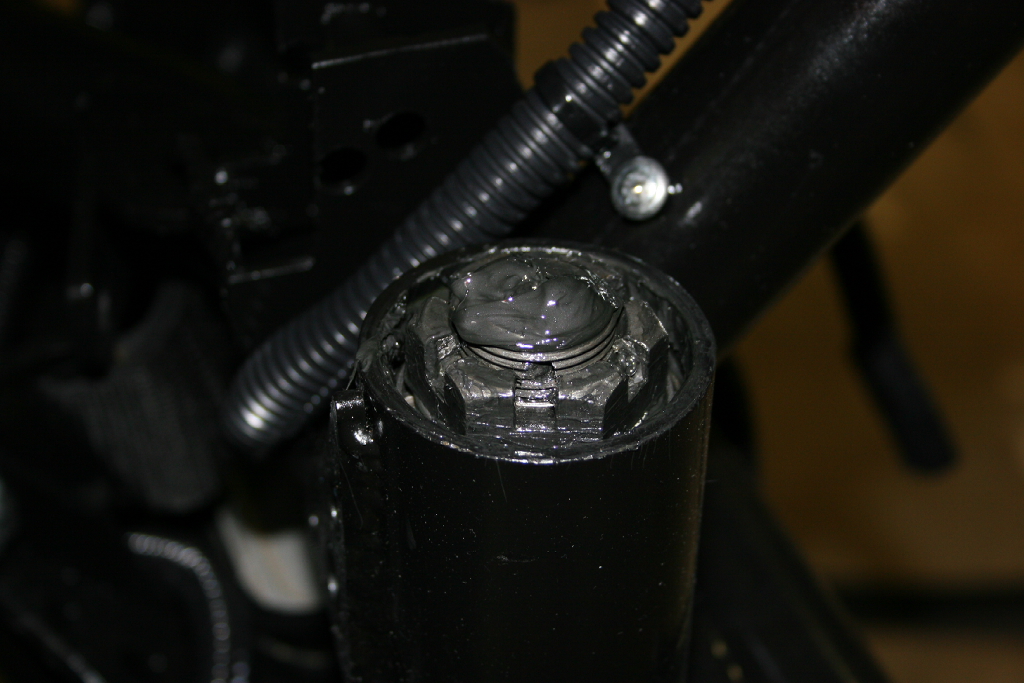
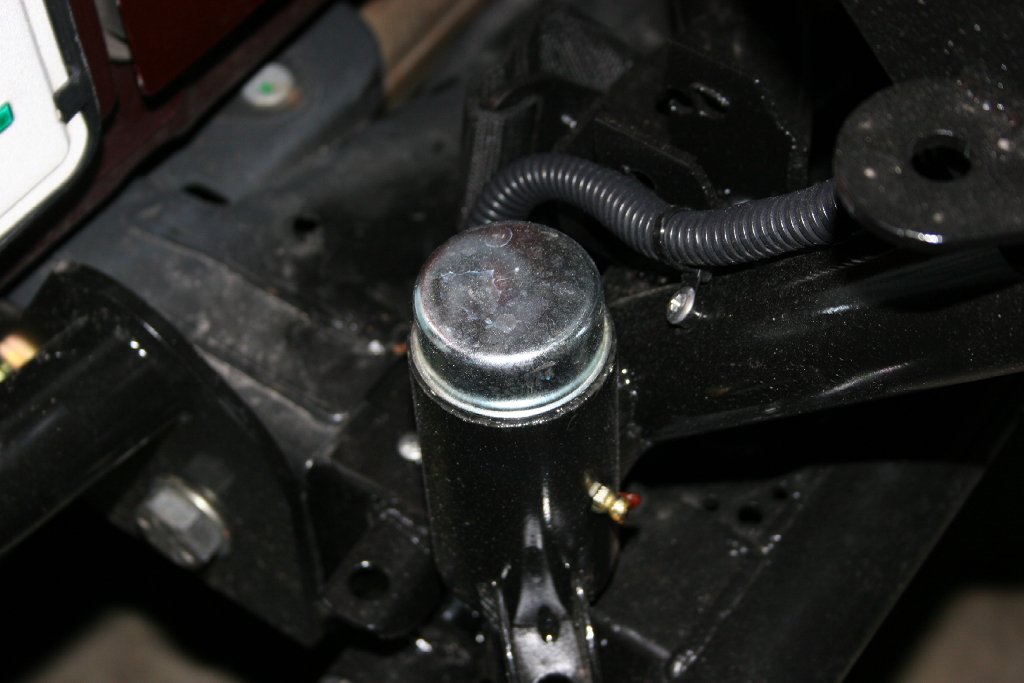
| Use a grease gun and pump the bearing assembly full of grease, you should start to see it coming out the top of the bearing. Once you get to that point, just smear a little grease around the top of the castle nut and install the bearing cap. Just tap this on with a rubber mallet. You don't need to beat on it, just a few taps and it should go on. |
 |
| Remember the retaining strap from earlier that you bolted to the tire carrier, now connect the other end to the mount on the bumper. You will need a 3/4" socket and 3/4" combo wrench. |
 |
 |
| Close the tire carrier and check the latch assembly. You may need to loosen or tighten it depending on how it sits. Mine closes really tight. No rattles and I have never found it loose. |
 |
| |
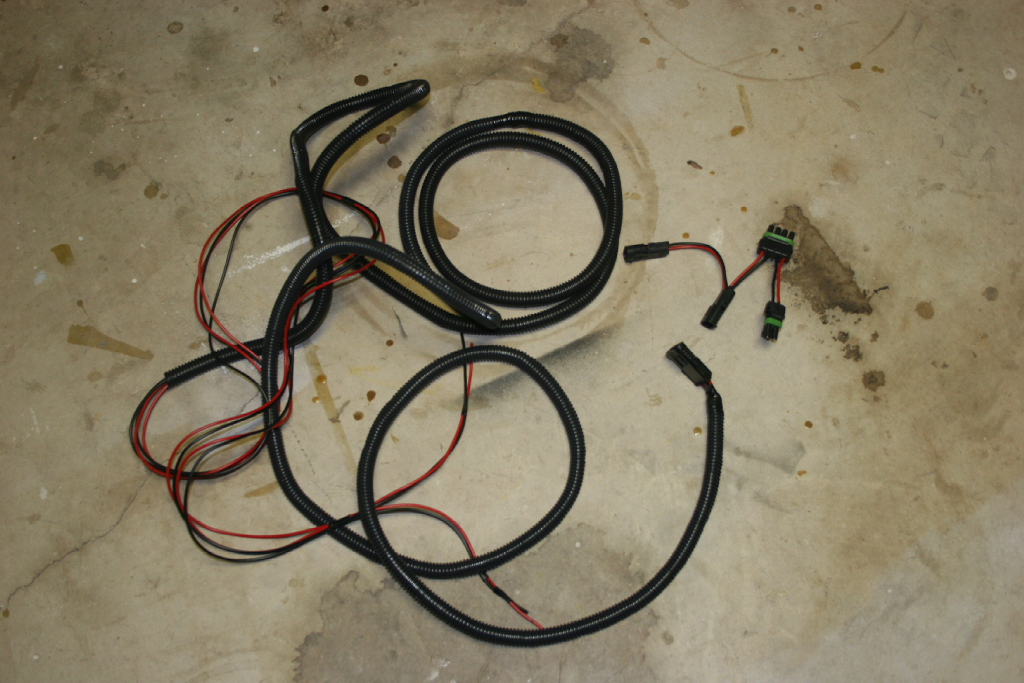
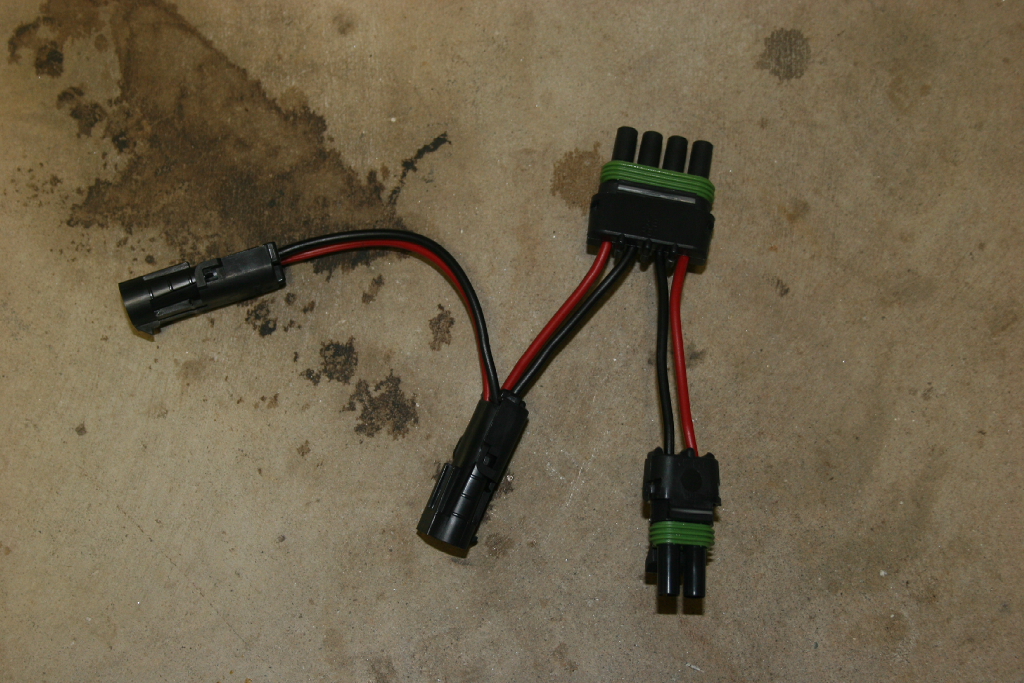
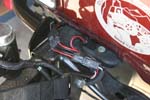
| Just some pictures of the wiring harness I made to bring power back from the sPOD for my rear lights, and rear rock lights on the body and bumper. The weatherpac connectors keep the connections nice and clean. |
 |
 |
 |
| |
| License plate holder removal: |
| After I relocated the license plate to the center of the spare tire carrier, I decided to remove the often mangled or forcibly removed thing that Jeep decided to mount as a license plate holder. This is my third one so far and I figured that I better get it off before I destroy it. |
 |
| Remove the license plate by removing the two bolts holding it on. Mine needed a 10mm socket, or combo wrench. |
| Remove the four (4) bolts holding the license plate bracket on with a 7mm socket. |
 |
 |
| The license plate bracket it held on by two clips, so you will need to pull it off, just make sure you get the metal pieces out of the body, if they come off of the prongs on the back side of the license plate bracket. |
 |
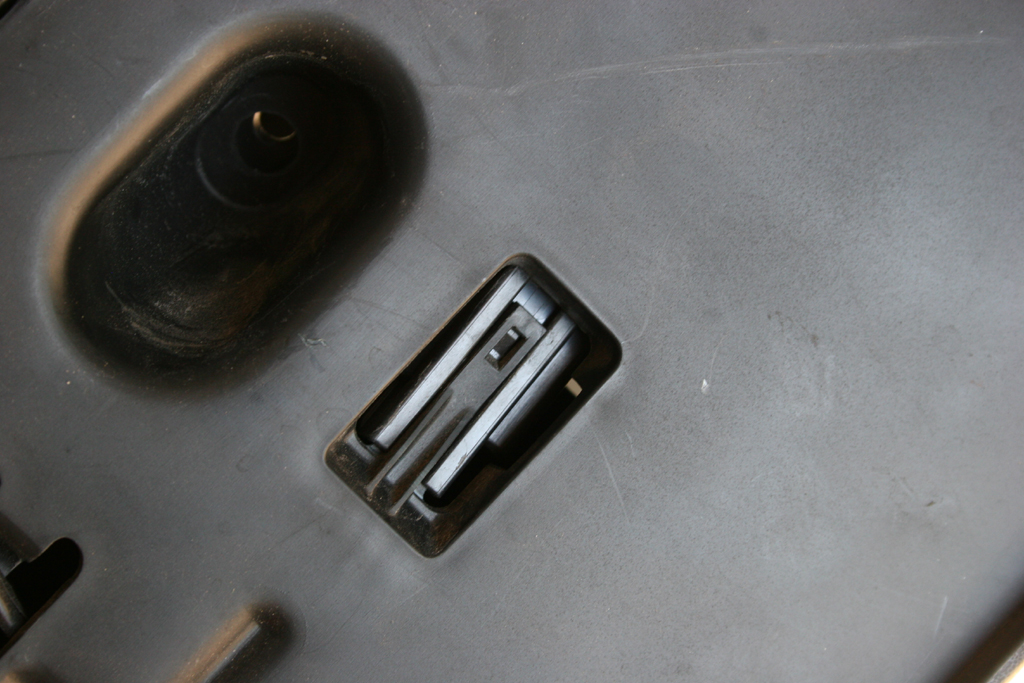
| Disconnect the wire connector from the back side of the license plate bracket. You will need to take a small screwdriver and press the release from the front side of the plate and pull the connector apart from the back. The screwdriver goes in the little slot in the front side of the clip. |
 |
 |
| Tuck the wire back through the opening in the body. You can easily retrieve it later if you decide to remount the license plate bracket. |
 |
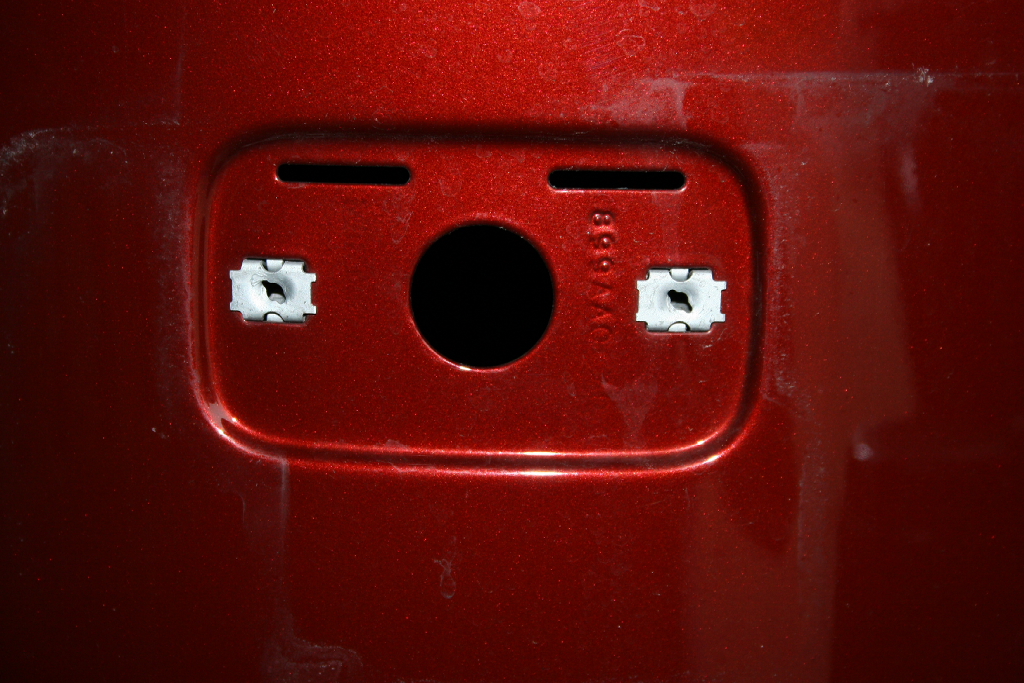
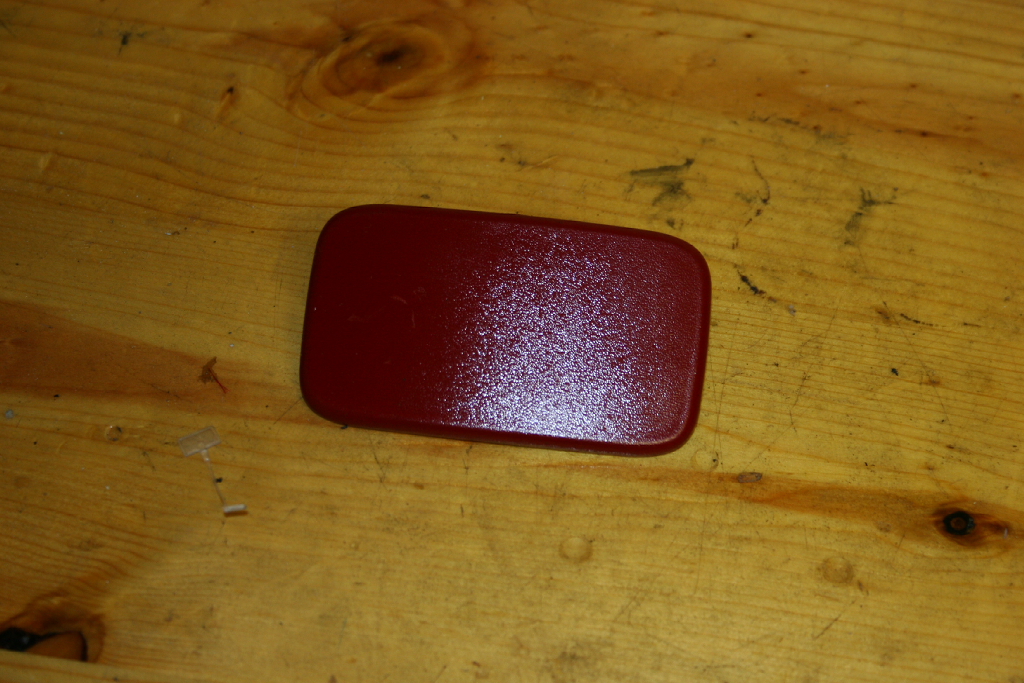
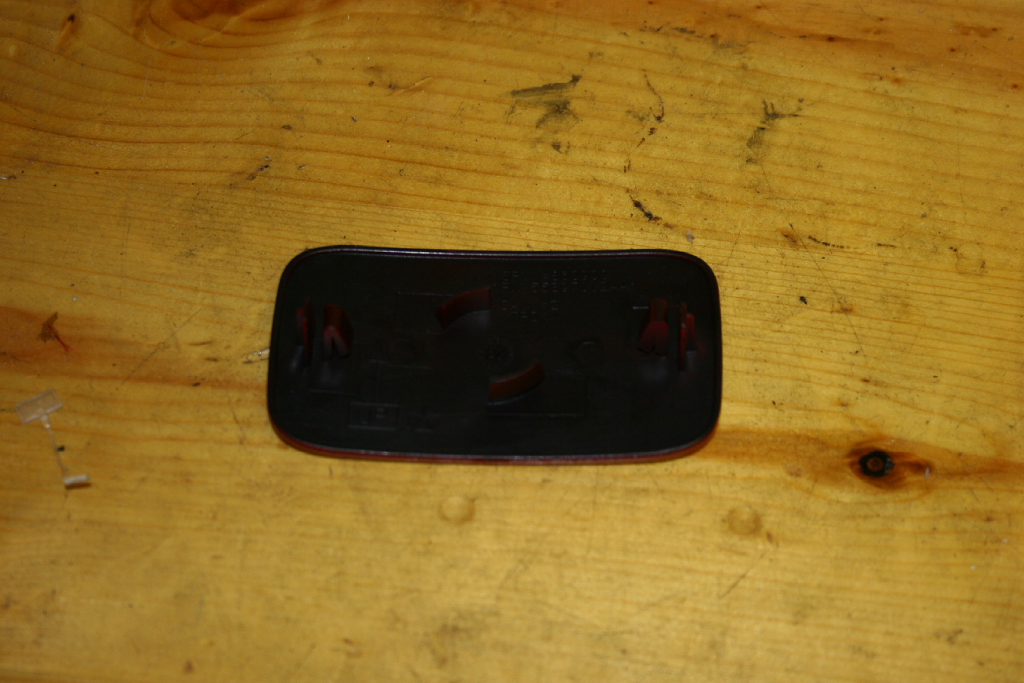
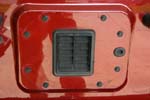
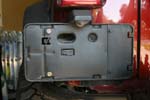
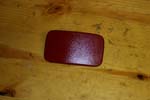
| This leaves you with a opening in your body. Luckily our european counterparts have a nice little plate that fits over this. It's called a license plate delete cap. Though I have found it listed as a plate, and cover. Pretty cheap even from my dealership. You will need to remove the two screw inserts from the body. |
 |
| Remove the rear taillight and reach into the back side of them with a pair of pliers. They will pop out once you squeeze the tabs in on the back side of the mounts. Good idea to keep them in a bag with all the other screws for the license plate holder.. |
 |
 |
 |
| I gave it a quick, non-matching coat of paint. I was being cheap at the moment. |
 |
 |
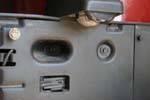
| Push the cover in and heres what it looks like. Shows up pretty good with the wrong color paint. |
 |
| |
| Additions: |
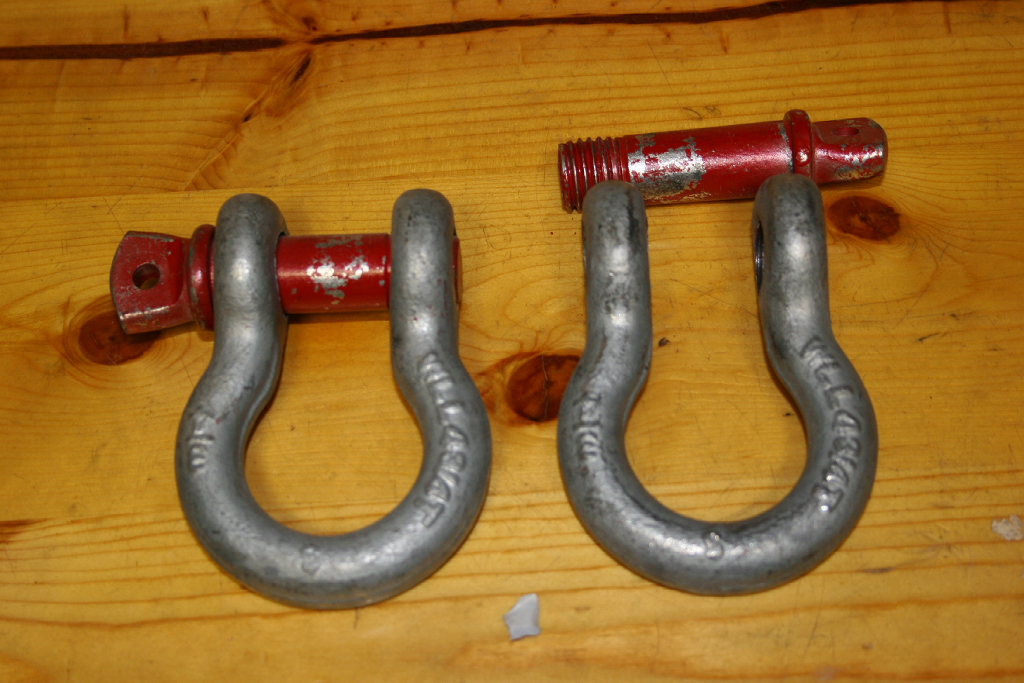
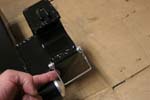
| Shackles: |
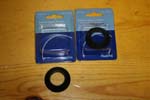
| Luckily I have a Tractor Supply Co. store in town so picking up a set of 3/4" shackles was no problem. |
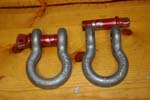 |
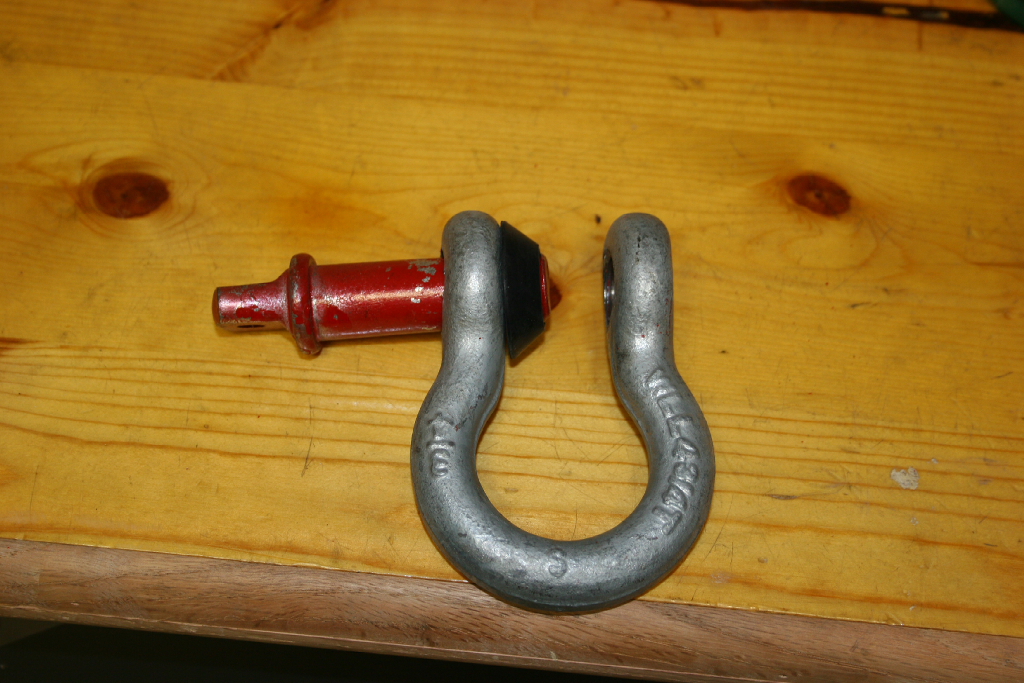
| One of the things I hate about shackles is that they have a tendency to be loose, and swing around. I saw a quick fix for this a while back and decided to use it again here. Hit the hardware store and pick up some ballcock shank washers. The girl in the plumbing eye didn't even batt an eye when I told her what I was looking for, just pointed them out. Though she did ask me what I was using them for and my statement about using them for a set of shackles did raise an eyebrow. |
 |
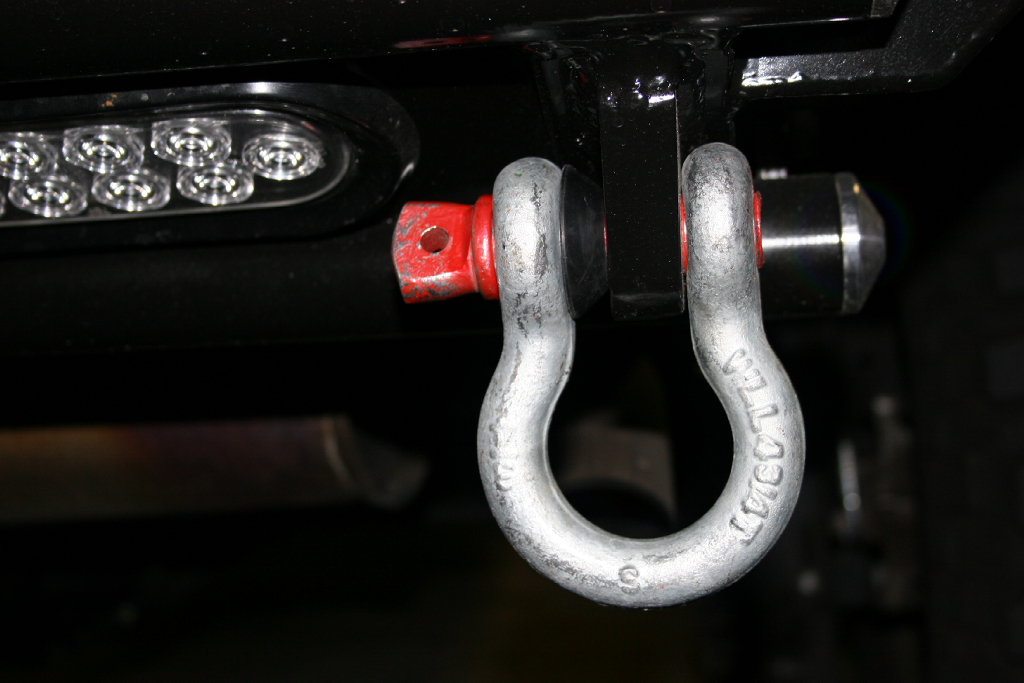
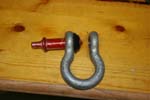
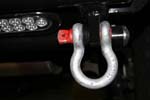
| Slide one of the ballcock shank washers over the end of the pin and install the shackle onto the provided mounting points on the bumper. These mounts are fairly thick, so I only needed one washer. They still move around a little, but not enough to rattle and make lots of noise. |
 |
 |
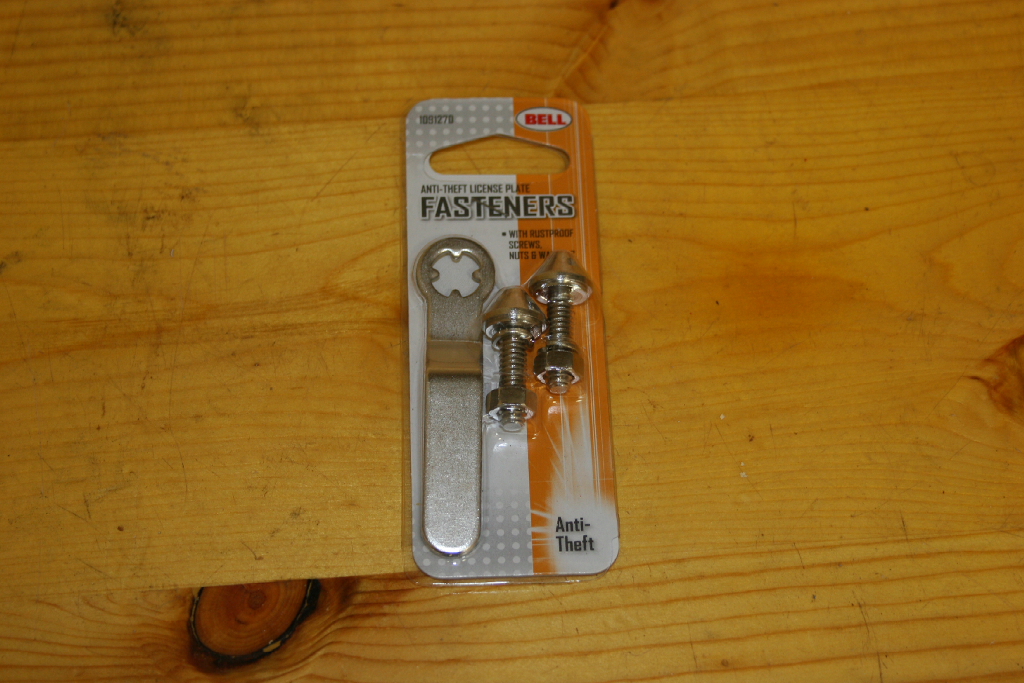
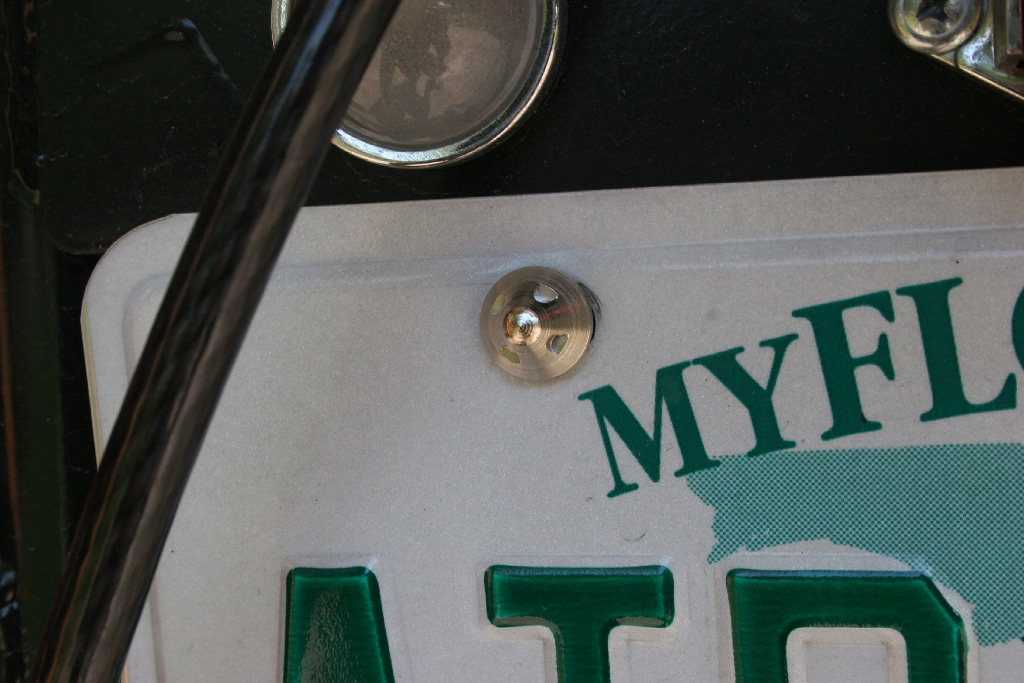
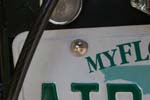
| License Plate Security Bolts: |
| Okay, waste of money. I later lost the key, and took these right off with my fingers and a wrench. |
 |
 |
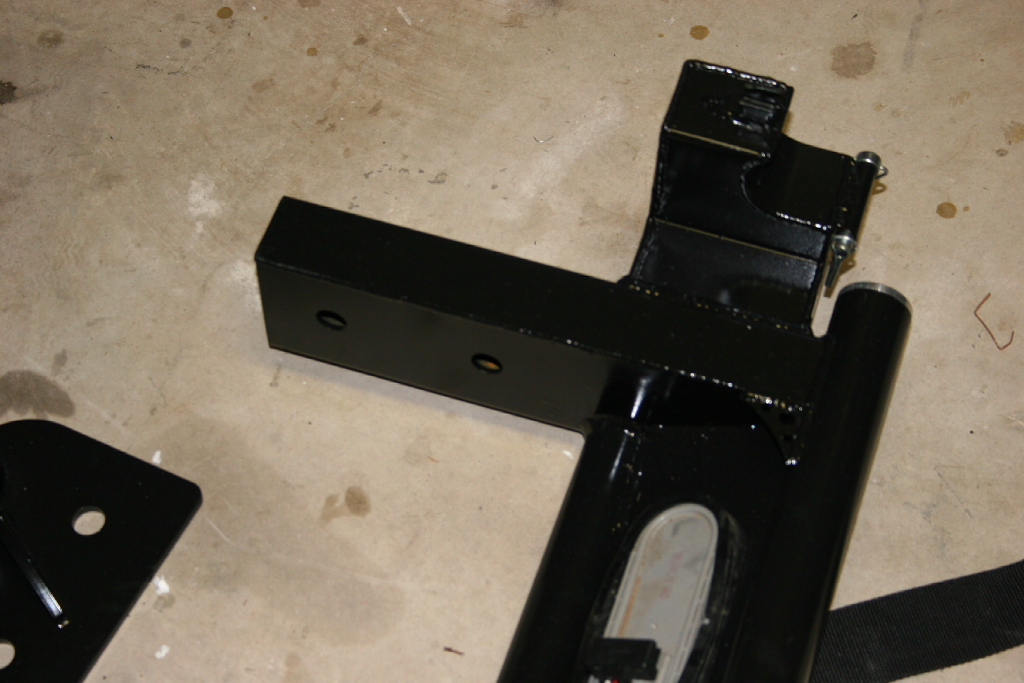
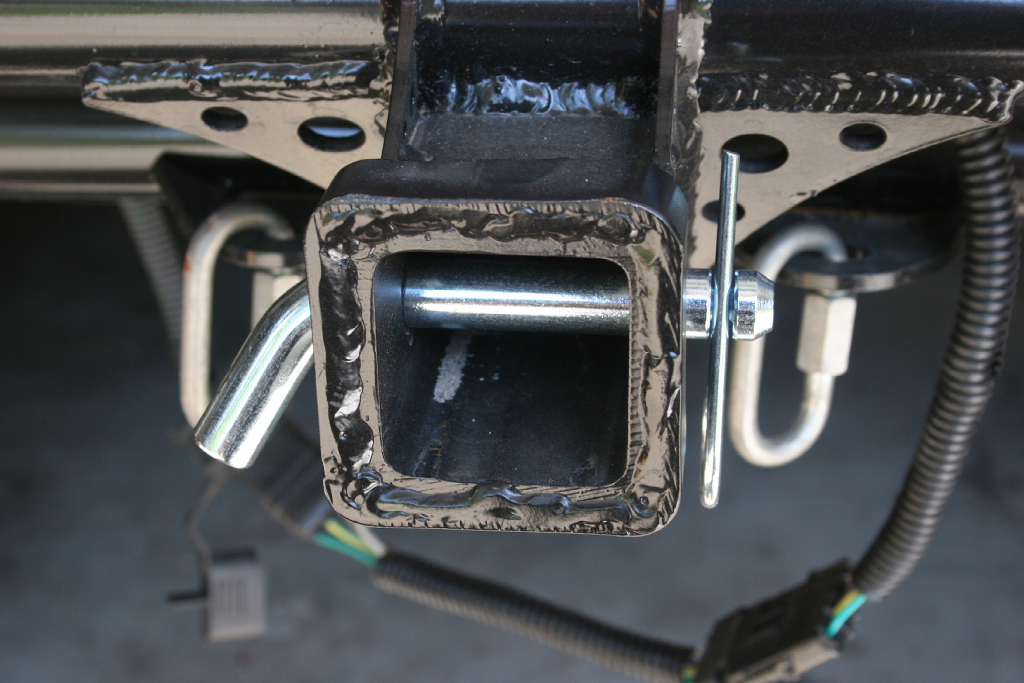
| Trailer Hitch Pin: |
| I had a spare pin in the drawer, so I decided to go ahead and put it in the Jeep. I installed it just for the pictures, but it usually sits inside the rear storage bin. I have gone to pull someone out backwards only to find out that they didn't have any rear attachment point for a strap, but they did have a trailer hitch, but no pin. In a pinch you can insert the end of the strap, put the pin in and pull them out. Not ideal, but workable. |
 |
 |
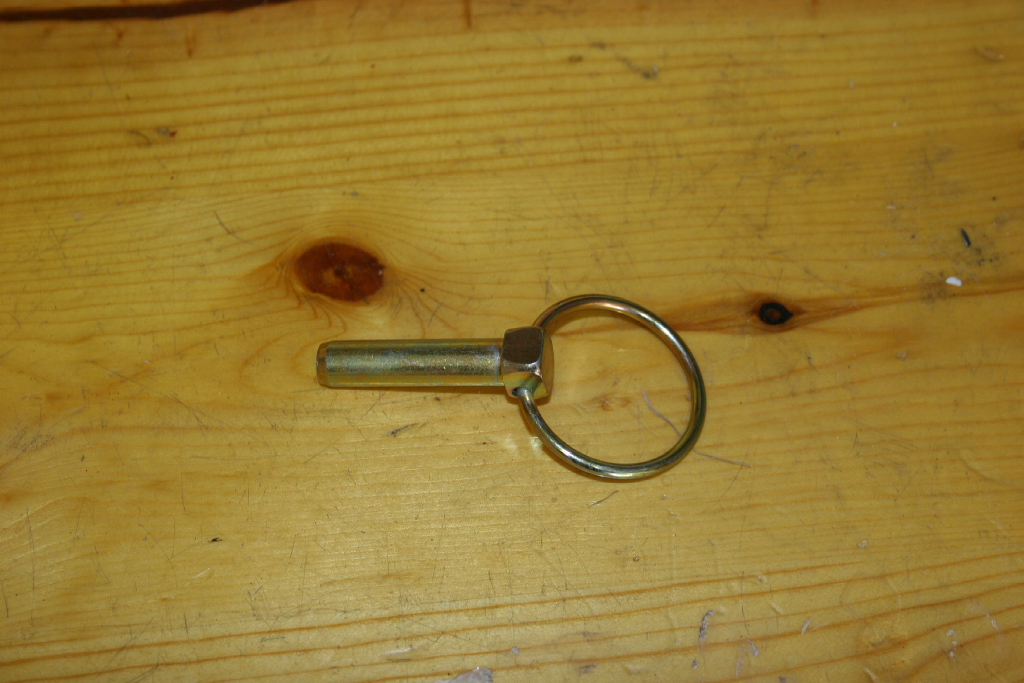
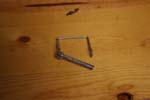
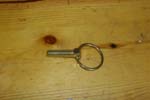
| Swing Open Latch Pin: |
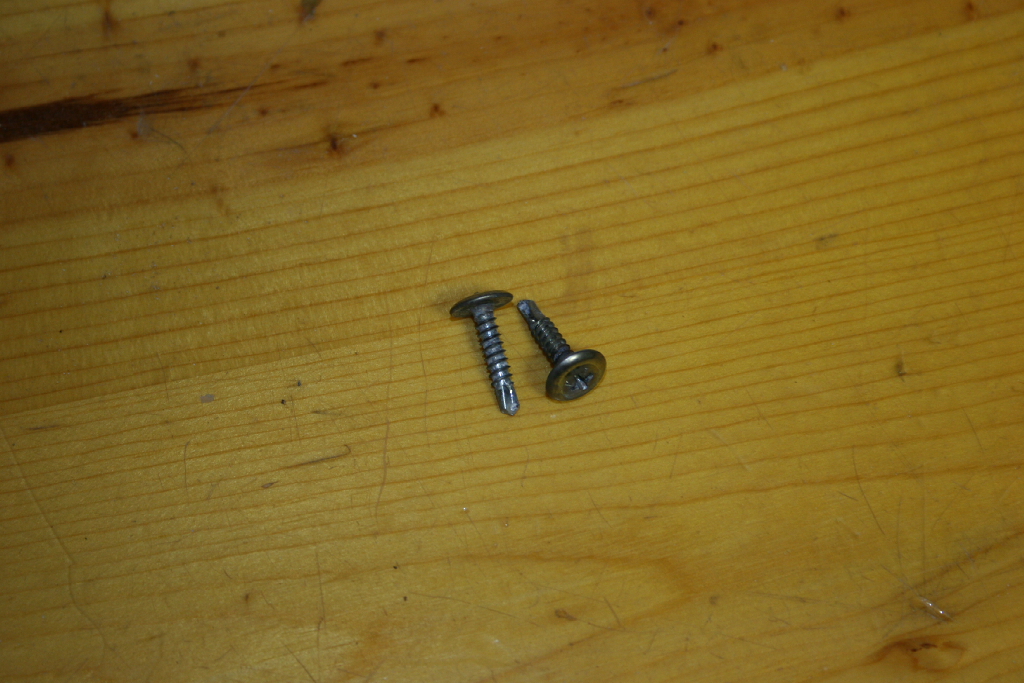
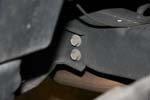
| I wanted to try a larger latch pin to hold the tire carrier in the open position, so I picked up one that nearly fit the hole at Lowes. |
 |
 |
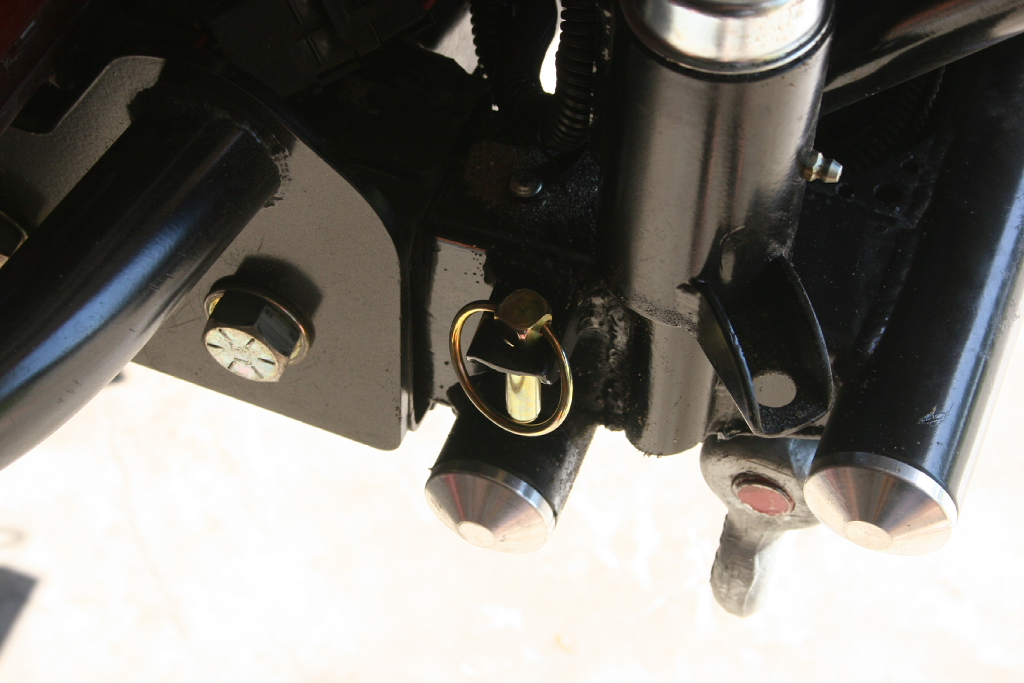
| It kind of does it's job, but isn't long enough to stay in the hole securely. I'm still looking for a slightly longer one that may work. |
 |
 |