I wanted to be able to carry a few extra gallons of fuel and water while I was off road. I don't typically do a lot of overlanding trips with the Jeep, but I do occasionally spend a night out in the woods and don't really feel like packing up all the camping gear to do it. More of a throw a sleeping bag in the back with a pad, some basic supplies and food. Having the extra gas is nice just because there is always that one person who runs their's out of gas. We all have that one friend... Jeeps are notrious for not having much room for storage, but with roof racks, tire carriers and other locations we can come up with some ingenious mounting solutions, but we still need to have something to carry the liquid. RotopaX has some great solutions for just this.
From the RotopaX website: RotopaX is a revolutionary new type of Gas Pack, Fuel Cans, Gasoline Containers engineered and developed for the outdoor enthusiast in mind.
Mounting Hardware
Rotopax containers are designed to be mounted on any flat surface. This can be achieved in several ways: Many customers prefer to design and fabricate their mounting brackets. This option is best for custom applications and aftermarket setups. The other option is to purchase a Rotopax bracket. We have various mounting brackets for most applications. All of the Pack Mounts and Mounting Plates are sold separately..
The ingenious pax mount design enables you to use any pax mount with any of our containers. The pax mounts are all made of hardened anodized aluminum and B7 all thread for maximum strength. Here are the options for PAX MOUNTS. (Note be sure not to overtighten the pax mount there is no need to crush the container, tighten the mount until the container is snug.)
Extensions
Extensions are used when you want to stack containers on top of each other. When purchasing an extension, keep in mind that your extension size correlates with the container you will have on the base of your setup. The extensions are made of hardened anodized aluminum with B7 all thread for maximum strength. (Note locking pack mounts are not recommended for use with extensions.)
Emergency / Storage Packs
These come in Black or Red and you fill them with your own supplies, wether it be first aid equipment, food for the wilderness, or the parts receipt that your hiding from your wife.
Water Packs
Like the gas containers, our water containers are rotationally molded and great for storing any potable liquids as well as being frozen for nice cold water all day long. However, the plastic compound is a food grade plastic so it is safe for drinking. Not recommended for gasoline. The Rotopax potable water containers are available in three sizes: 1 gallon, 1.75 gallon, and 2 gallon. Frozen for ice cold water all day long.
RotoPaX Fuel Containers
Although they are tested and conforming containers, due to a CARB technicality,RotopaX Fuel Containers will not currently be available for sale in the state of California. Any orders placed for RotopaX will be backordered until we can fully meet California's increasingly strict regulations.
All of the gas containers Rotopax manufactures for the United States are molded using our patented three layer design. This state of the art molding technique exceeds the EPA (Environmental Protection Agency) and CARB (California Air and Research Board) requirements. Making Rotopax the only Rotational molded EPA and CARB compliant container on the market. The Rotopax Gas containers are offered in various sizes depending on your needs. 1, 1.75, 2, 3, and 4 gallon. Remember to vent the pax regularly.
Additional
Parts:
Tools
Needed:
/ " combo wrench
/ " combo wrench
Mounting Hardware:
The basic kit contains a mounting plate, a RotopaX mount/ with handle (this can be one of three types: Locking, deluxe or basic) and a some nuts and bolts. Depending upon your mounting position, equipment, or location you may or may not need to use the mounting plate.
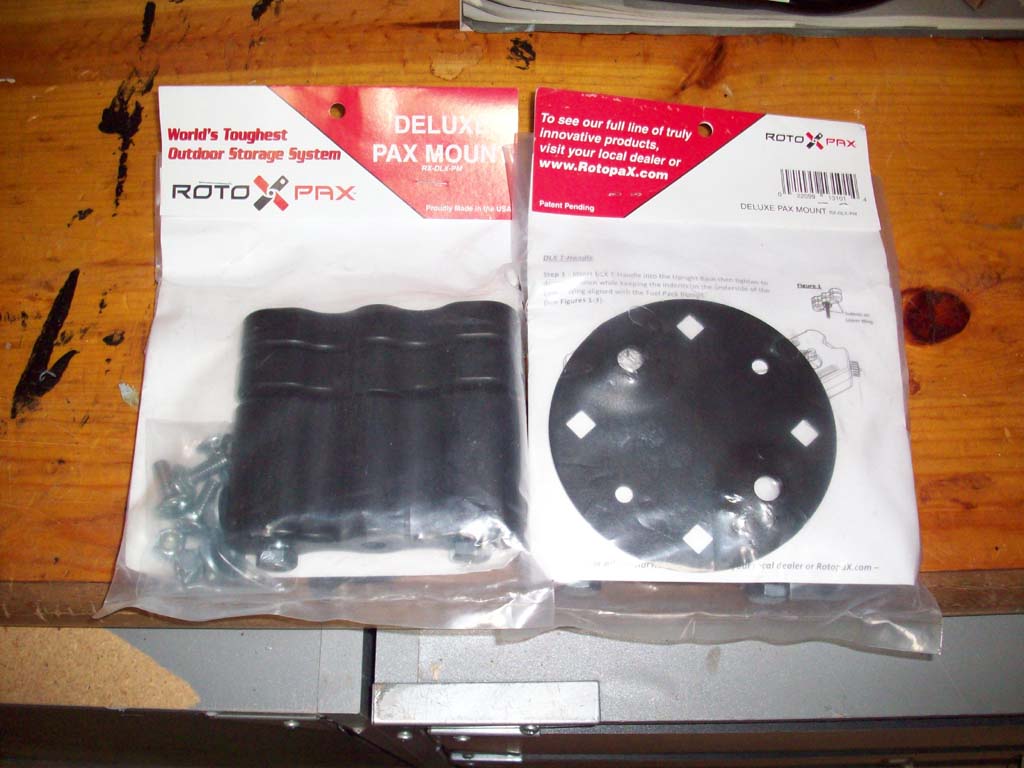
What's in the package for the DLX version (only difference is the handle)
Basic instruction (I know blurry picture)
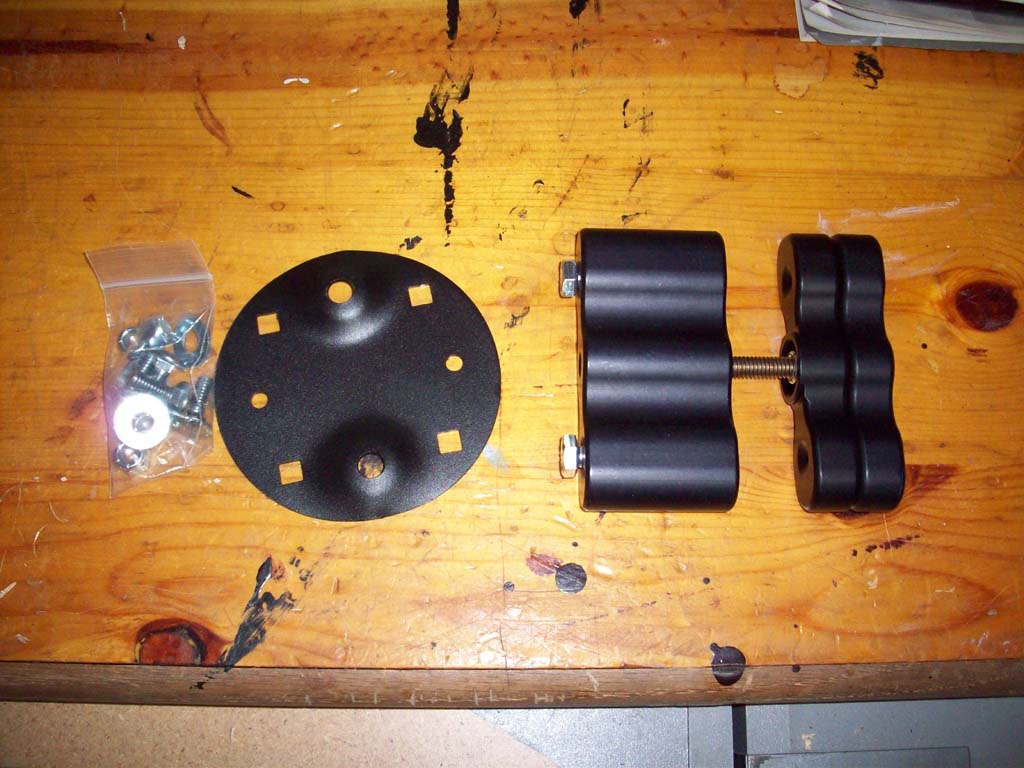
What's in the bag.
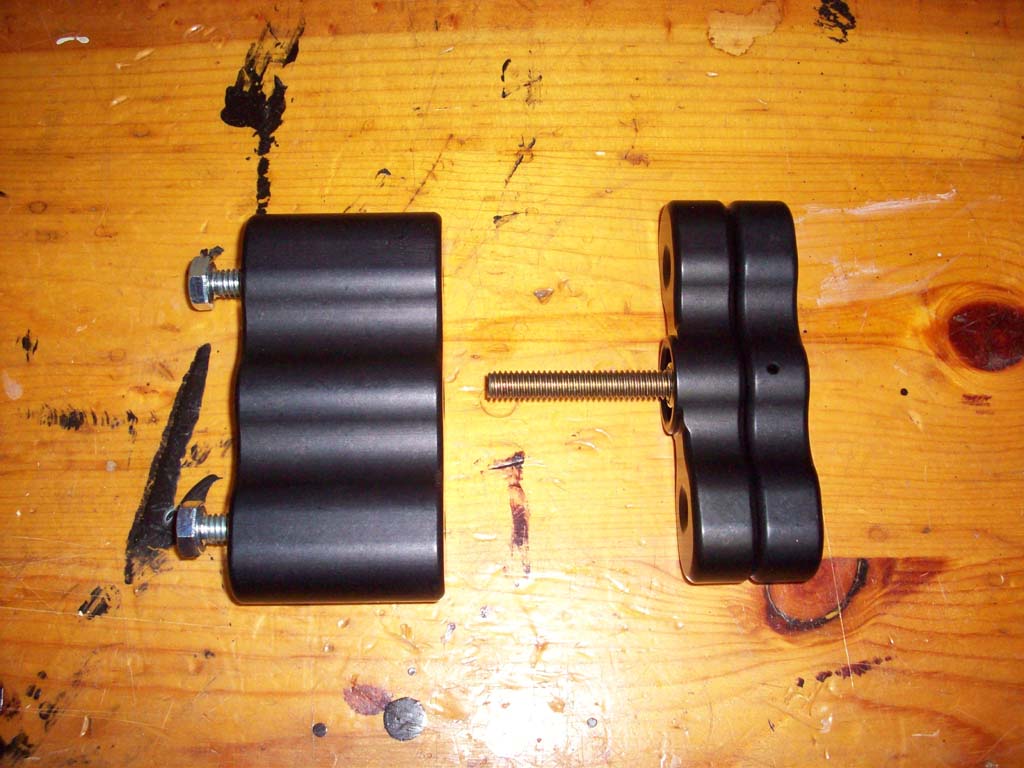
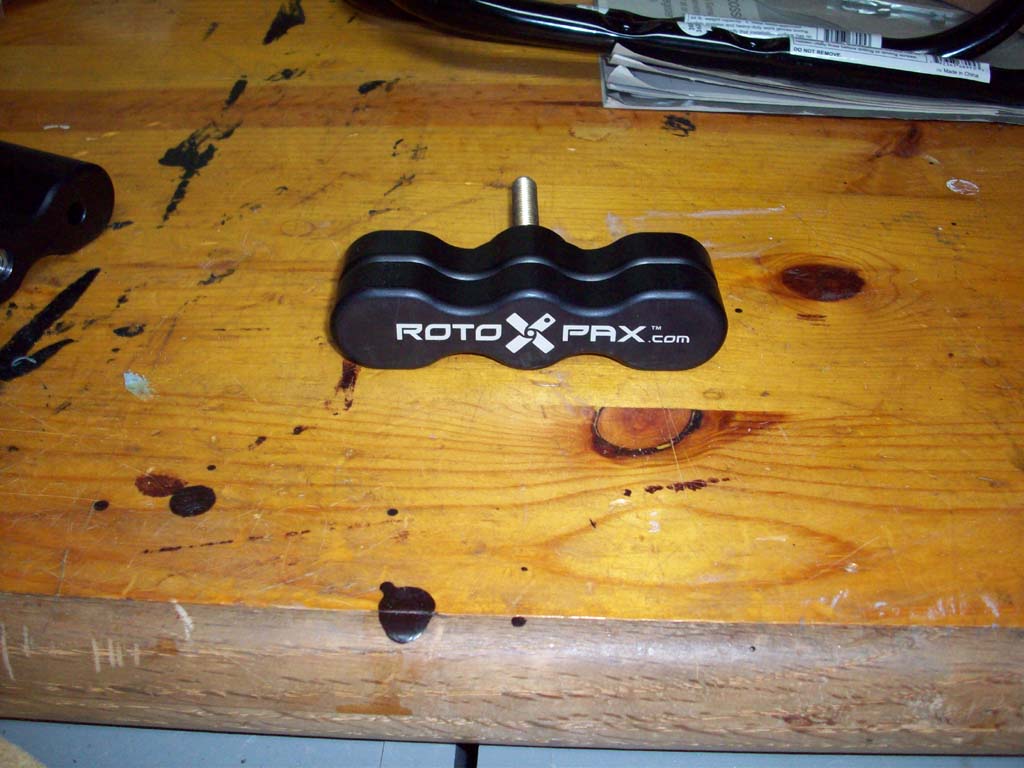
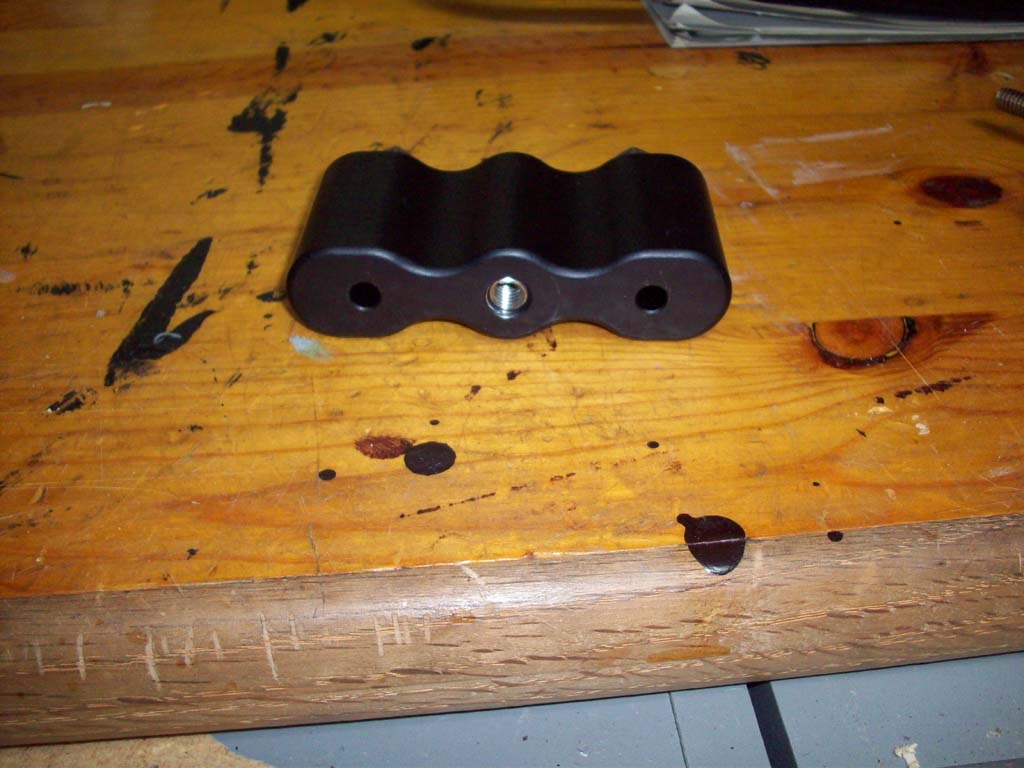
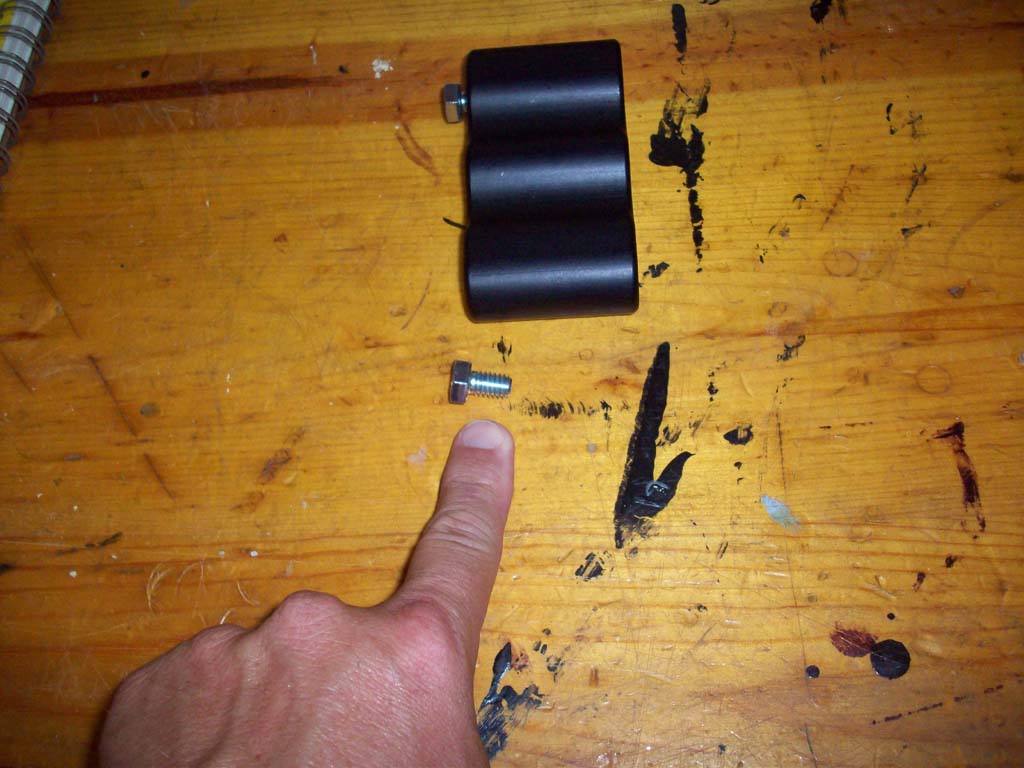
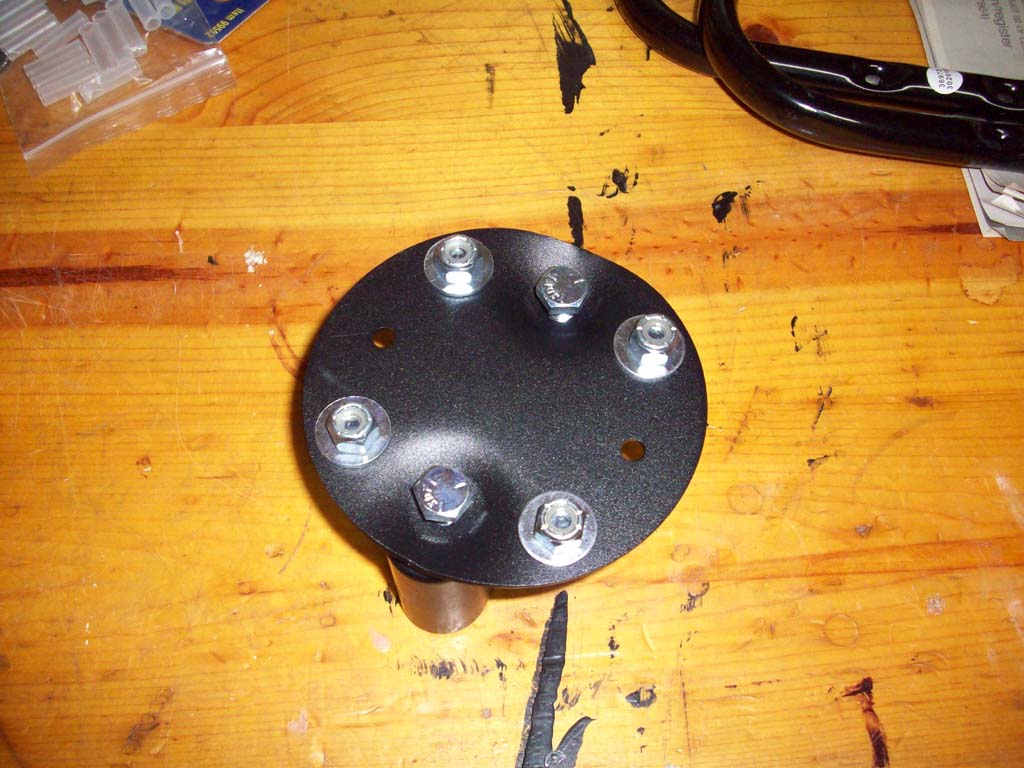
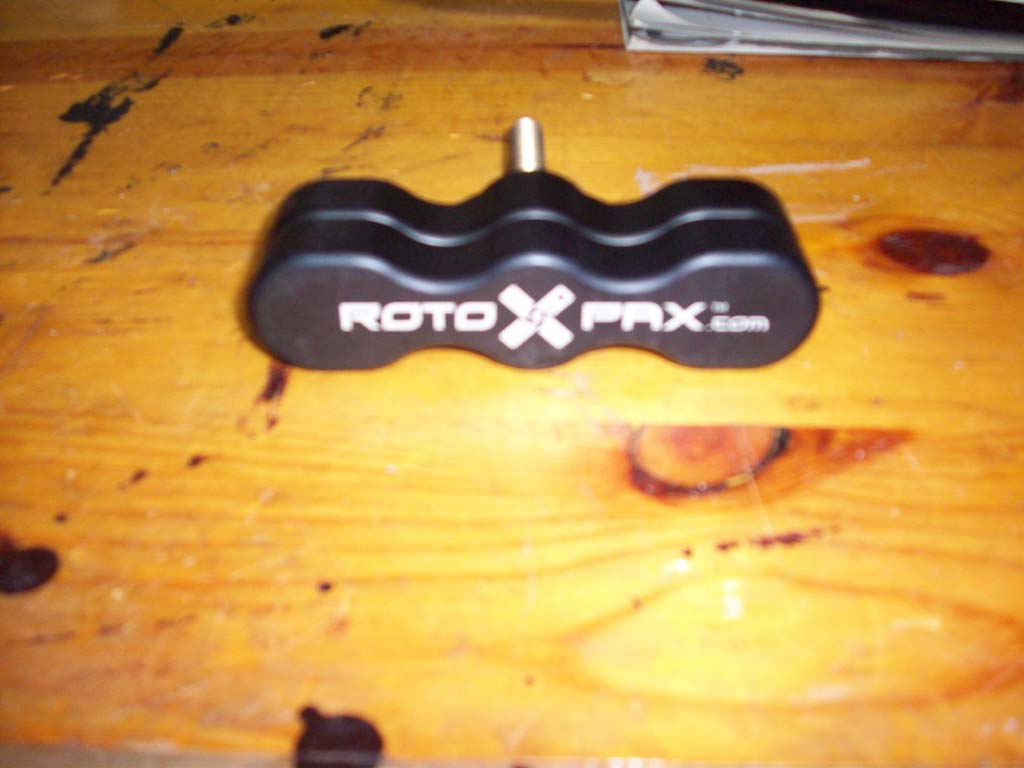
RotopaX mount and Deluxe handle. The screws on the bottom of the mount will allow you to bolt this to either an attachment plate or to the mount plate. The handle threads into the mount. On the deluxe mount the section closest to the mount free spins while the top section actually screws in the threads.
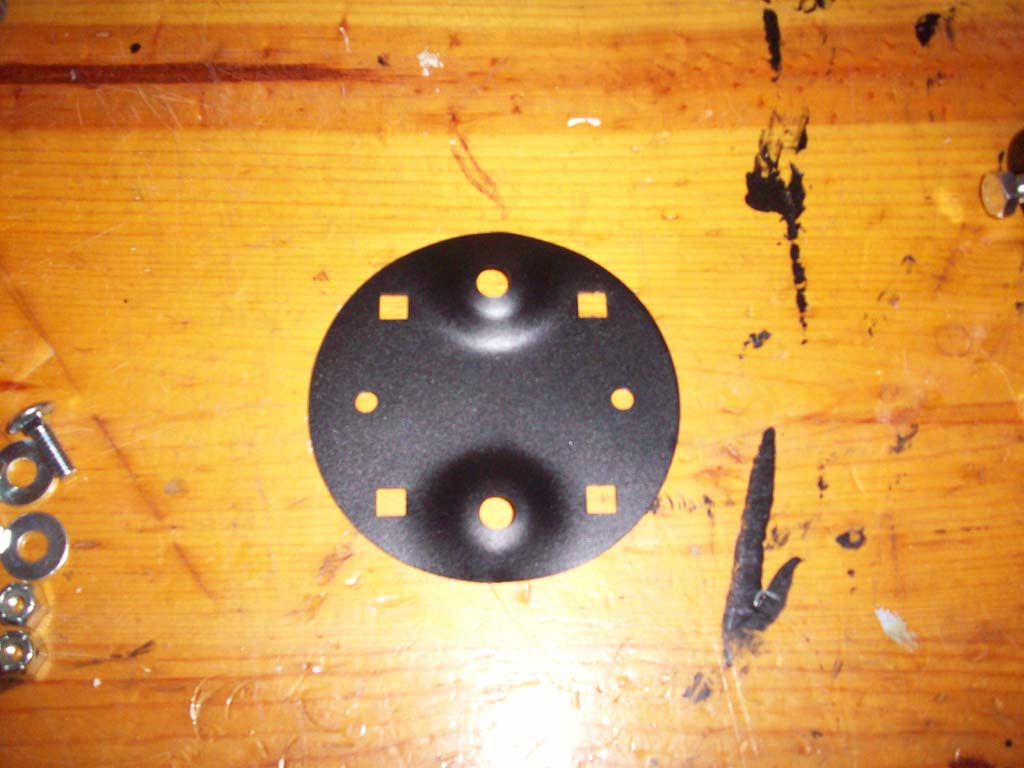
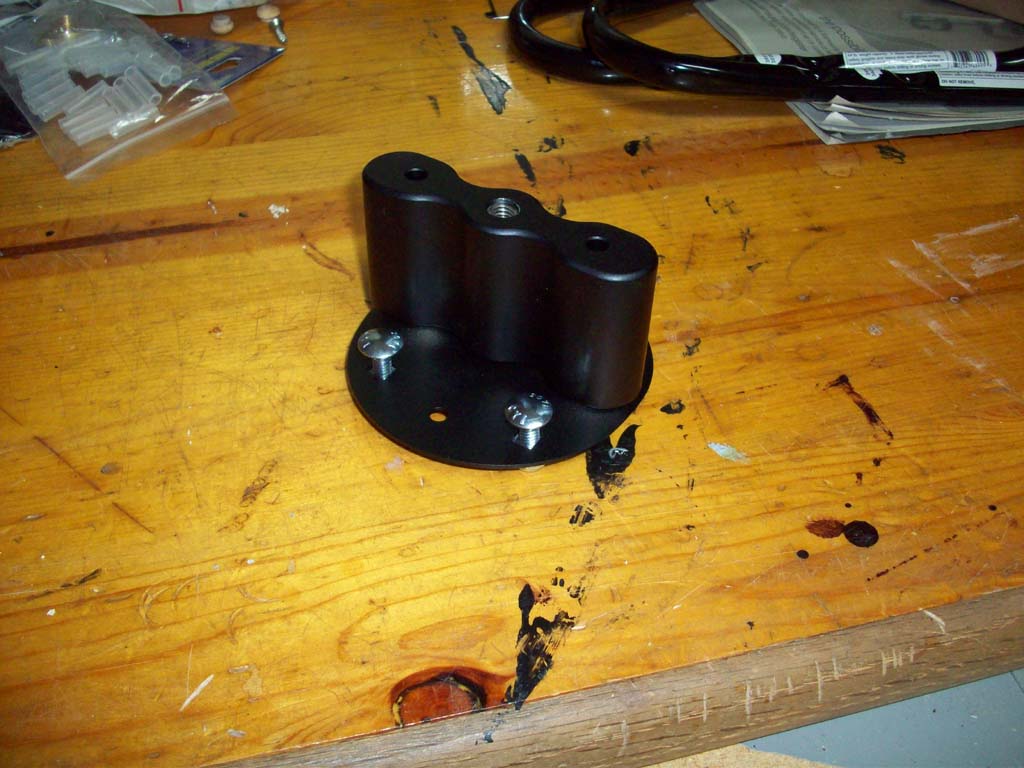
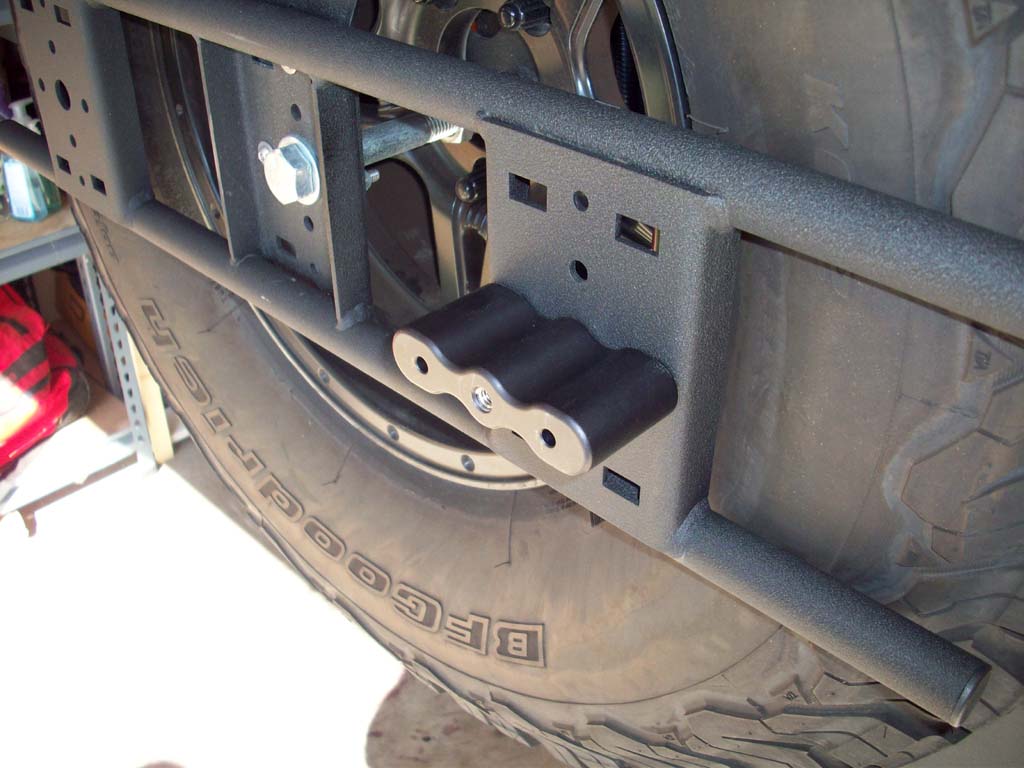
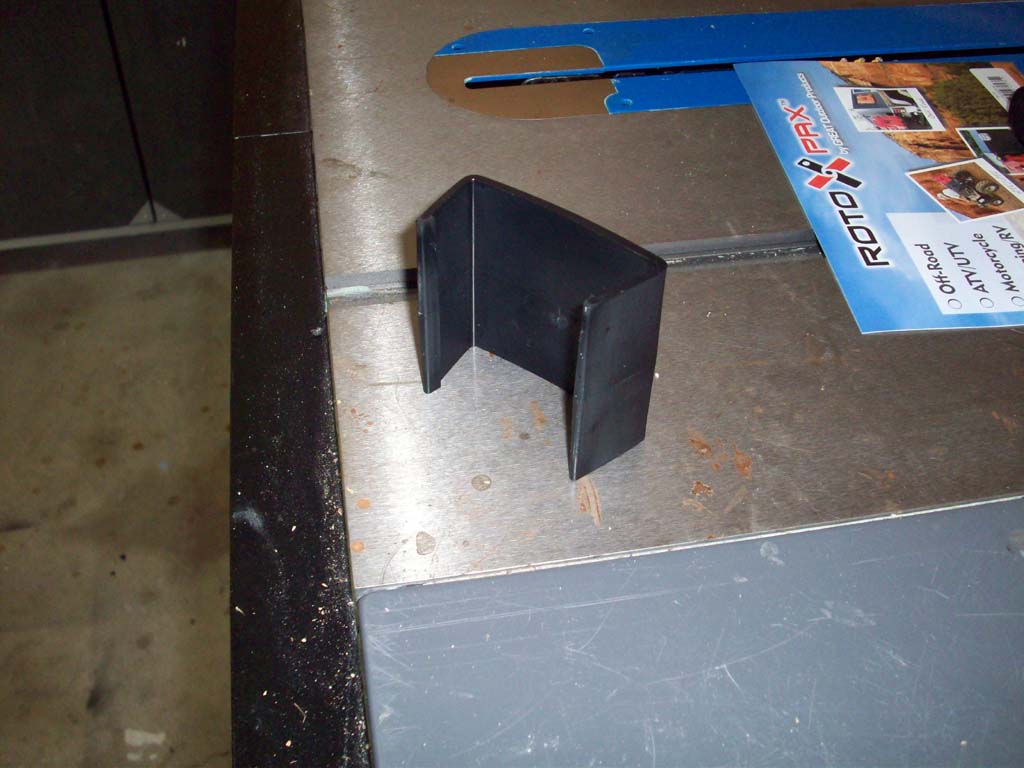
The mounting plate has two raised dimples so that you can install the RotopaX mount to it and have the bolt heads raised above the mounting surface.
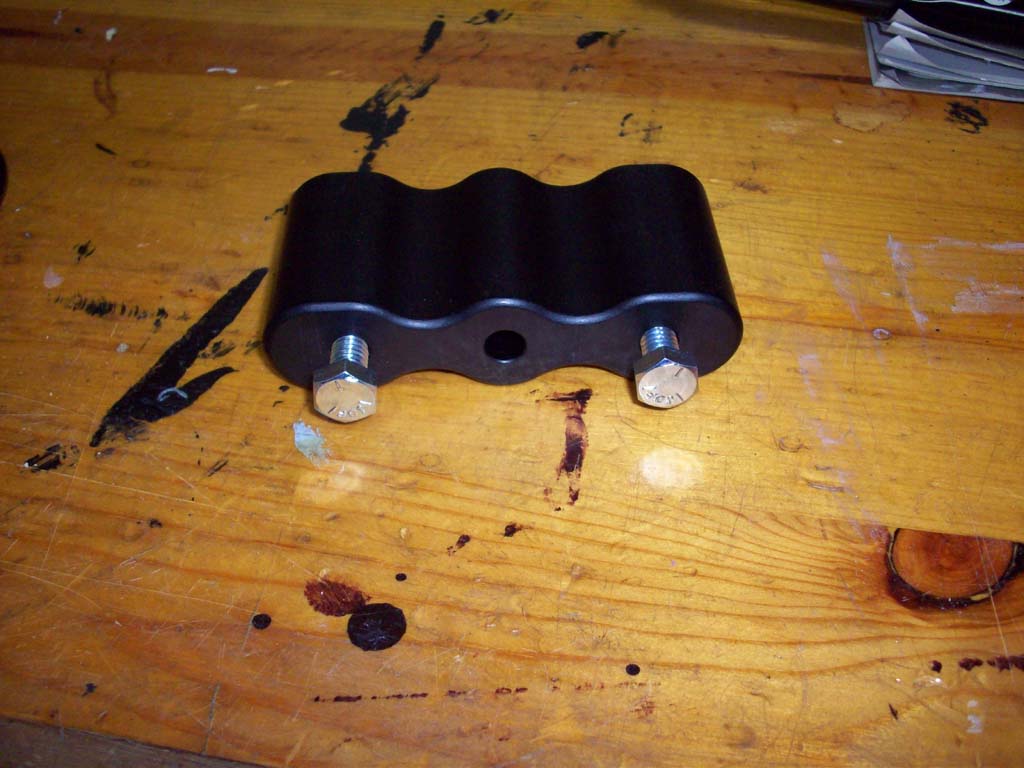
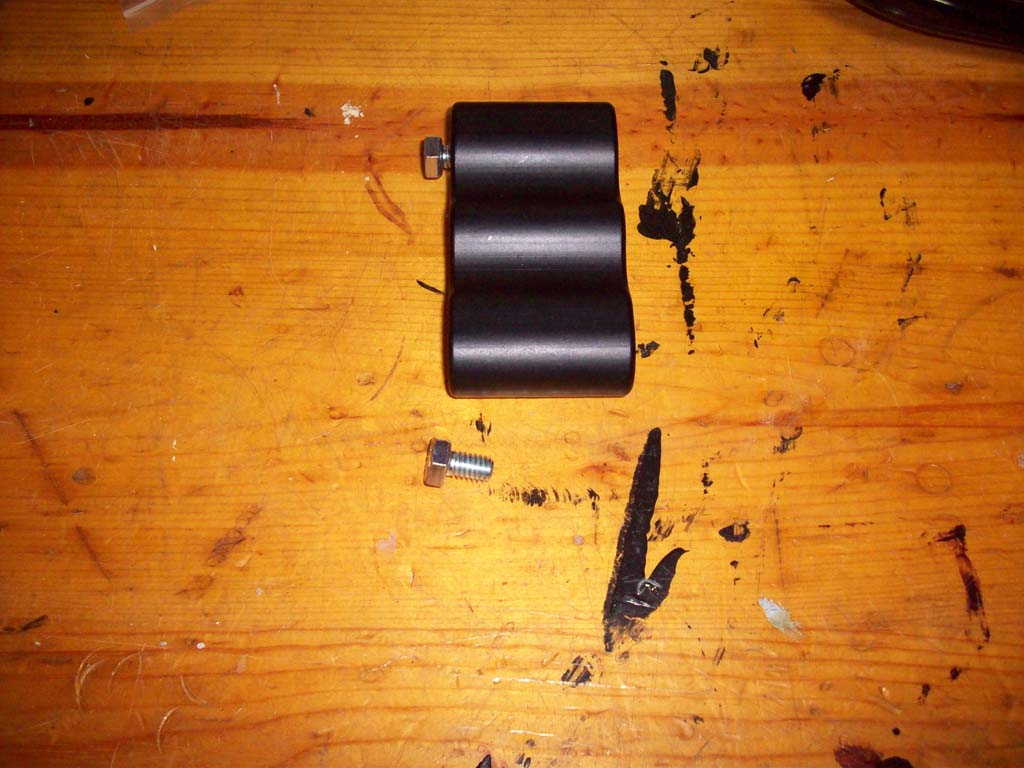
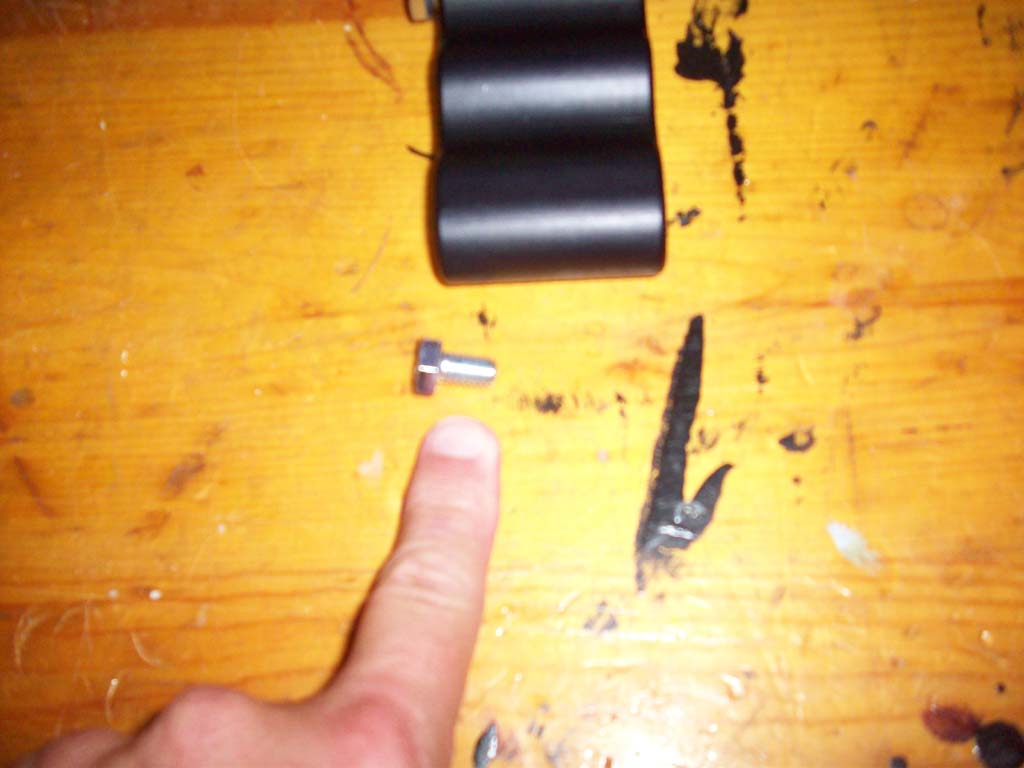
The screws for the mount are fairly short, so if you have a very thick mounting surface you may need to pick up some longer bolts.
Note: The RotopaX mount is not threaded all the way, so you will need to be careful
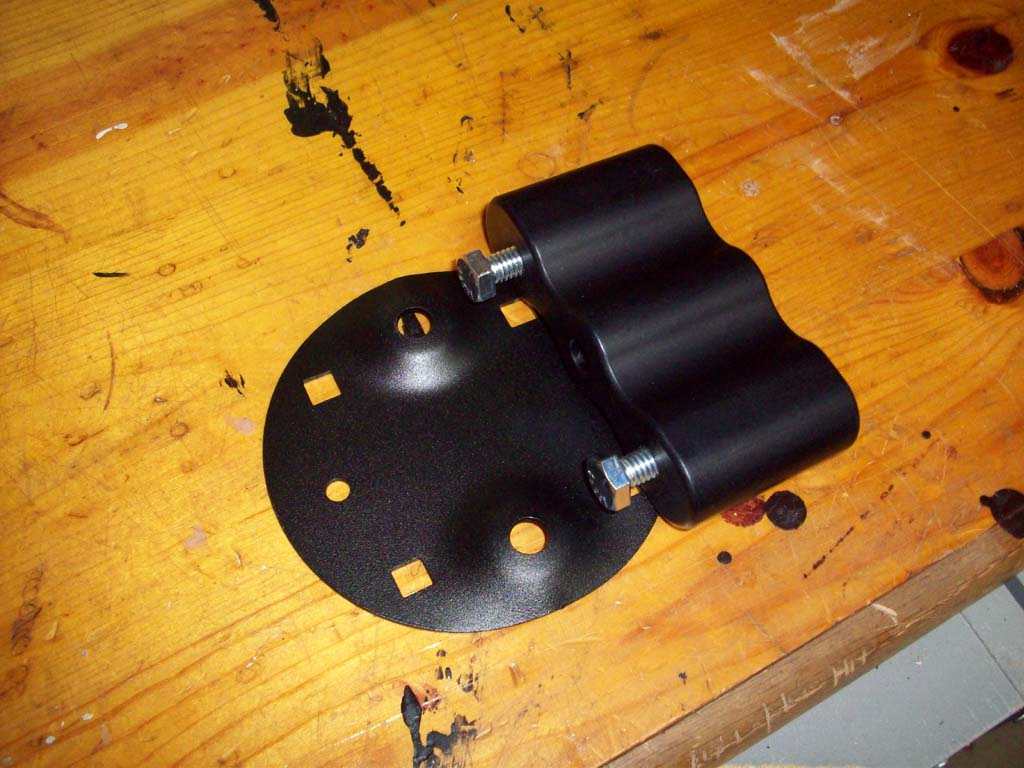
If you need to use the mounting plate, just bolt the RotopaX mount to the mounting plate with the two (2) bolts.
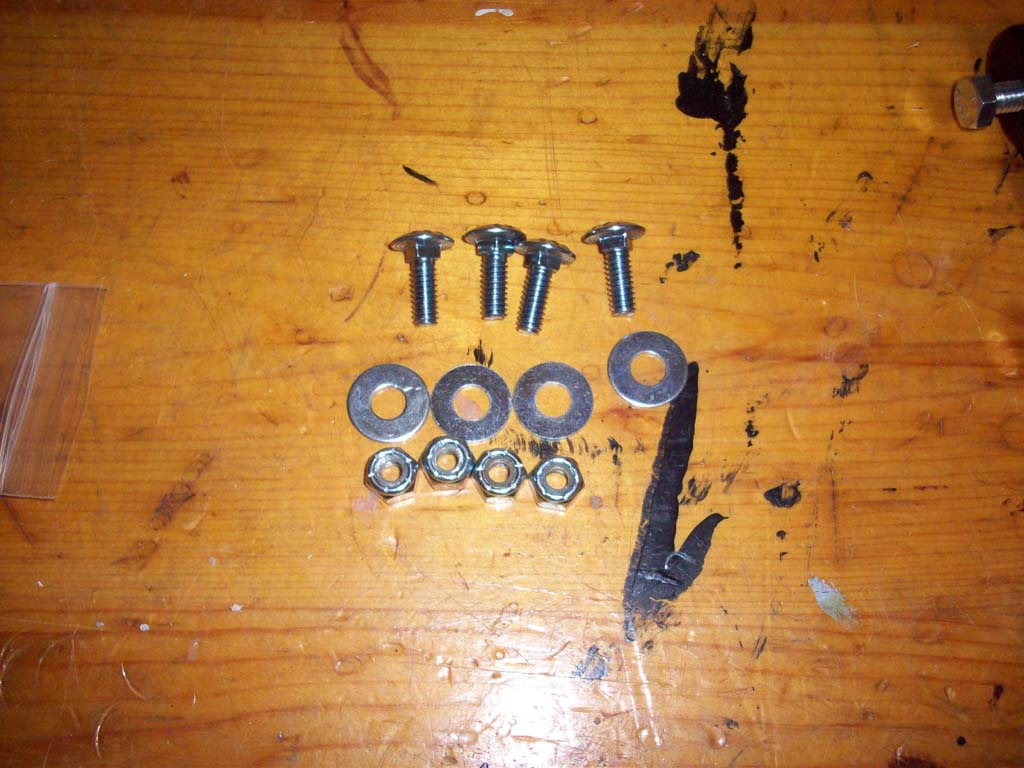
The mounting plate comes with (4) carriage bolts, washers and nuts. The only problem I found was that the mounting plate is thinner than the square on the carriage bolt, so you need a square hole in your mounting location also, or a hole larger than the carriage bolt square.
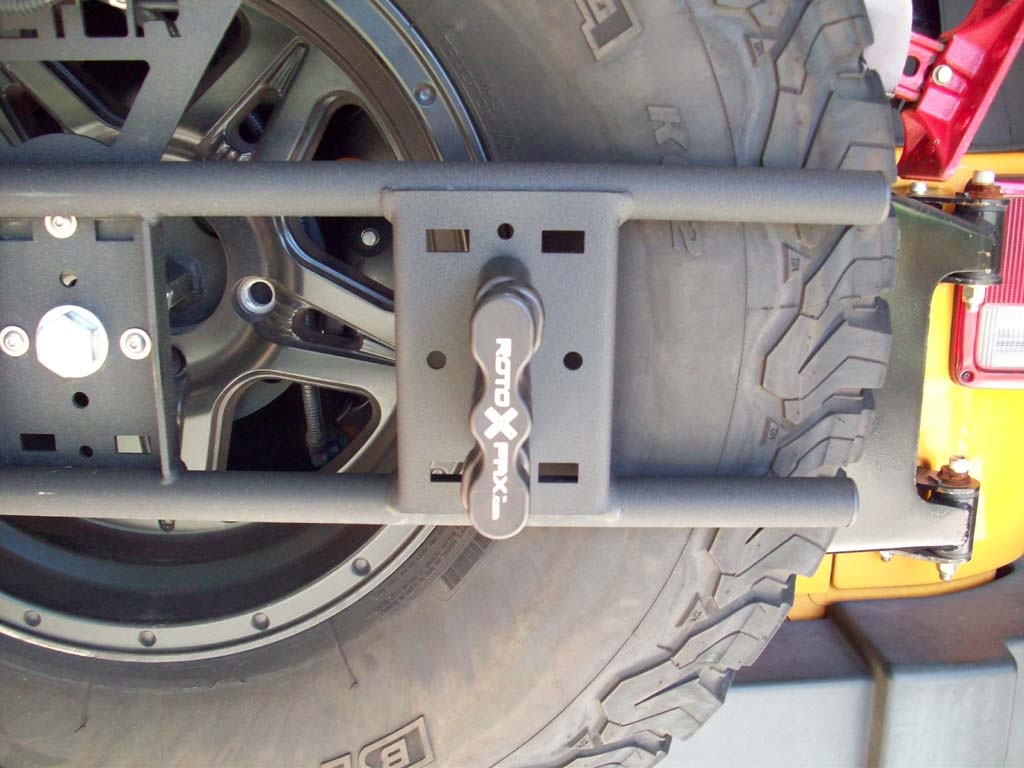
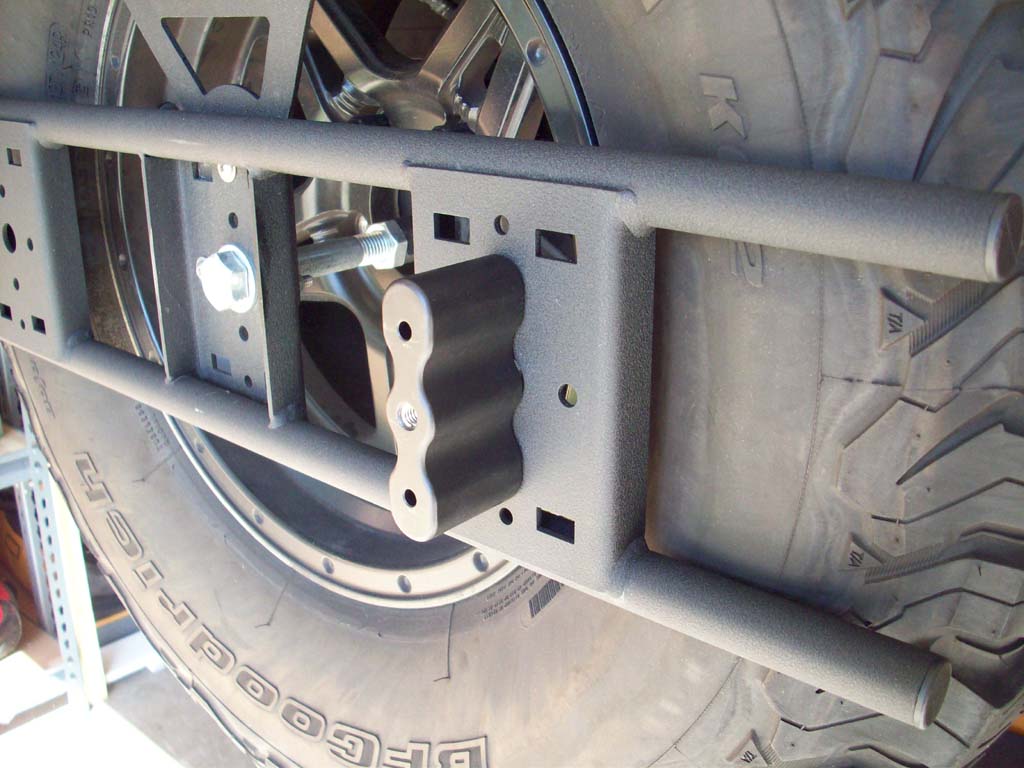
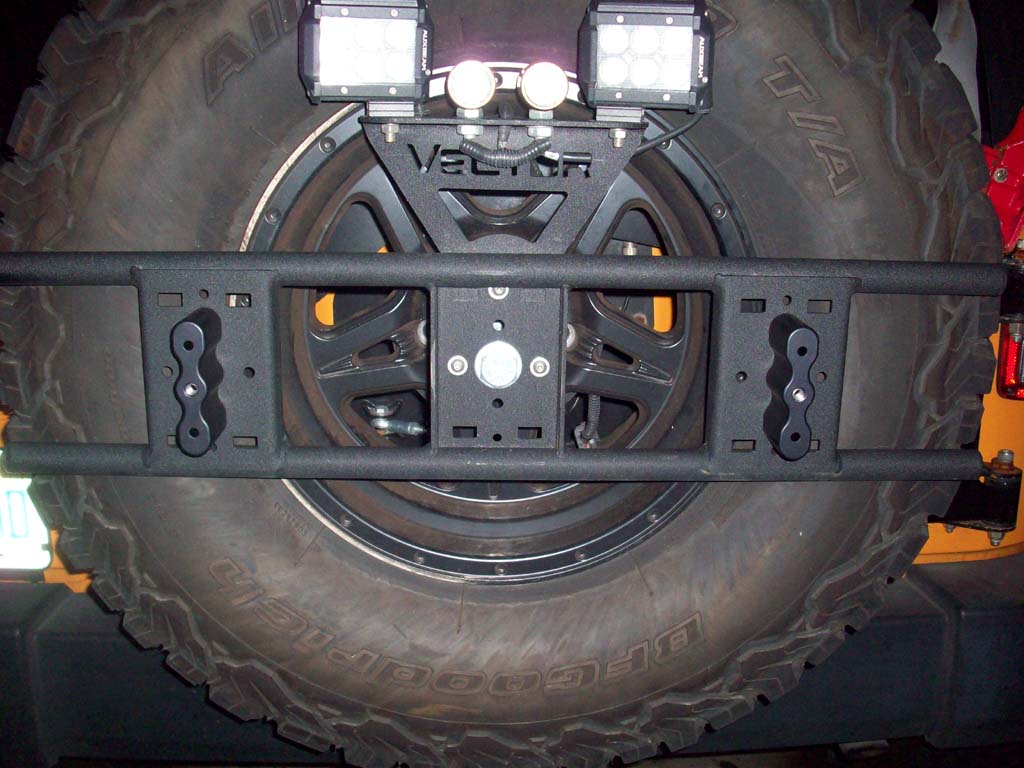
Mounting to the Vector Exo-Rack:
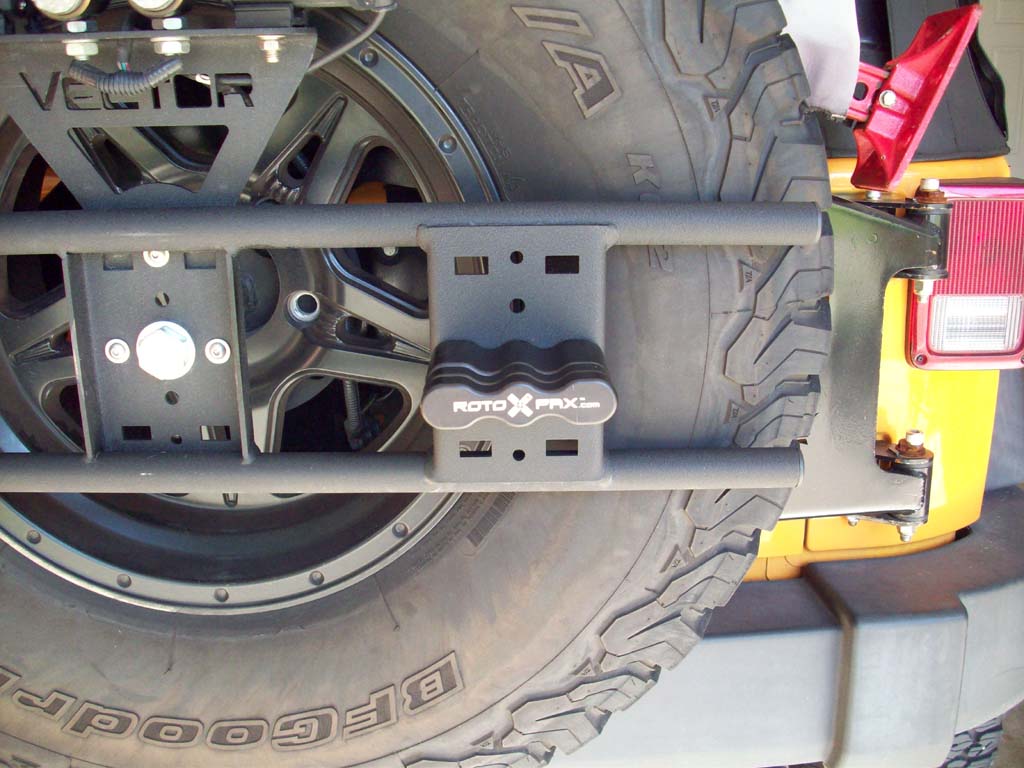
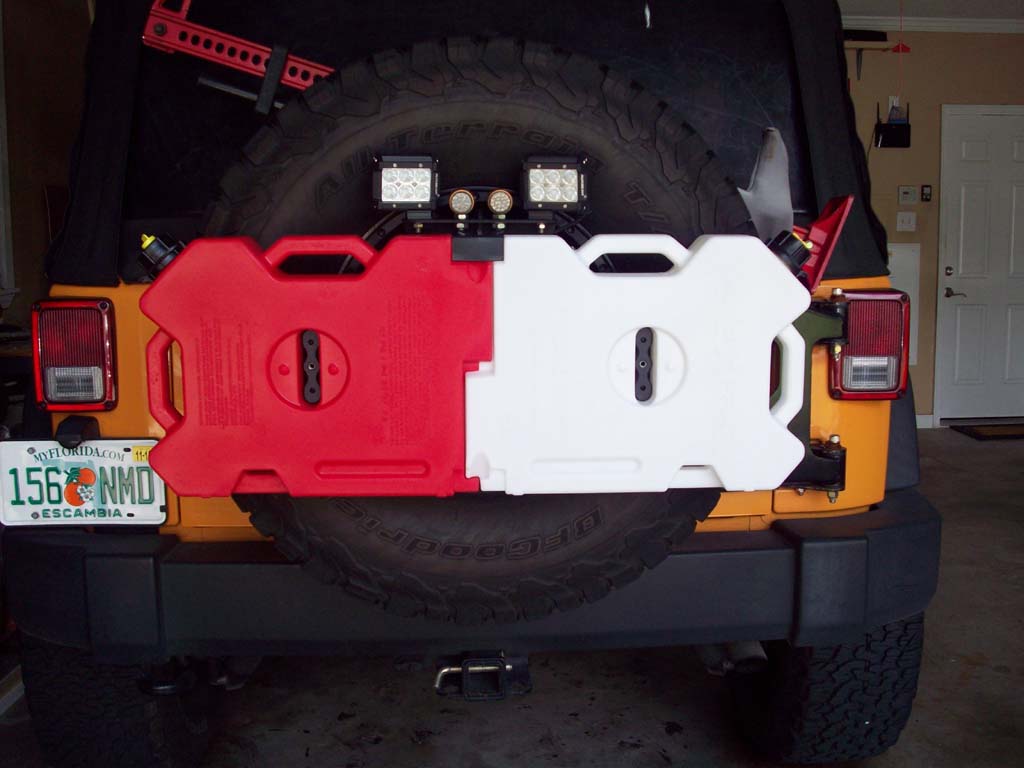
Vector has drilled plenty of holes in their Exo-Rack to mount things to it. 4 of the holes are set for the RotopaX mount. You can install the mount in two positions (horizontal and verticle) depending on how you want to carry your RotopaX's. Mounting preference is up to you and how you need to configure your RotopaX. I set mine both in the verticle position so I could lock my RotopaX's together and use the 4 gallon RotopaX.
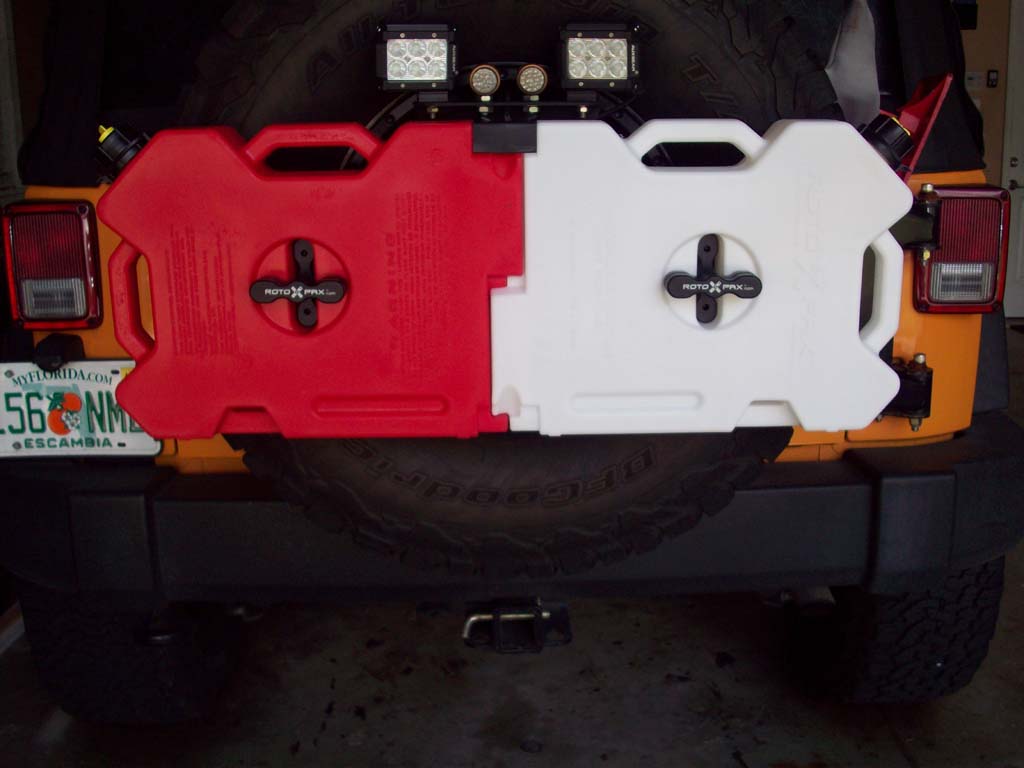
Installed on the Exo-Rack.
RotopaX Containers:
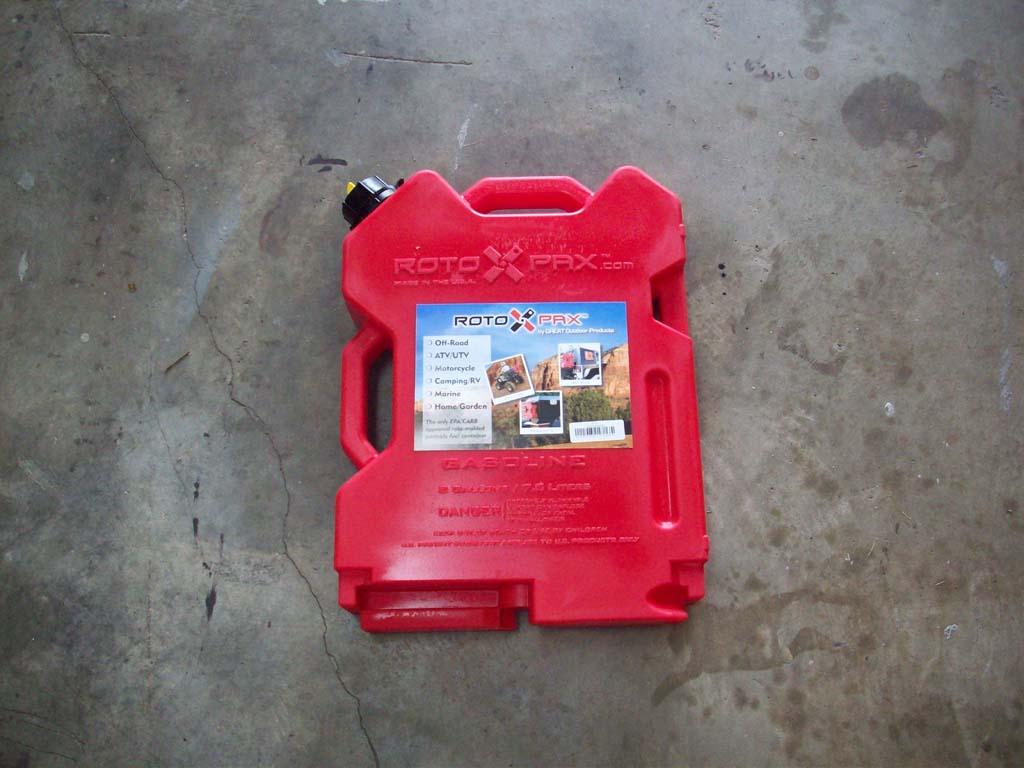
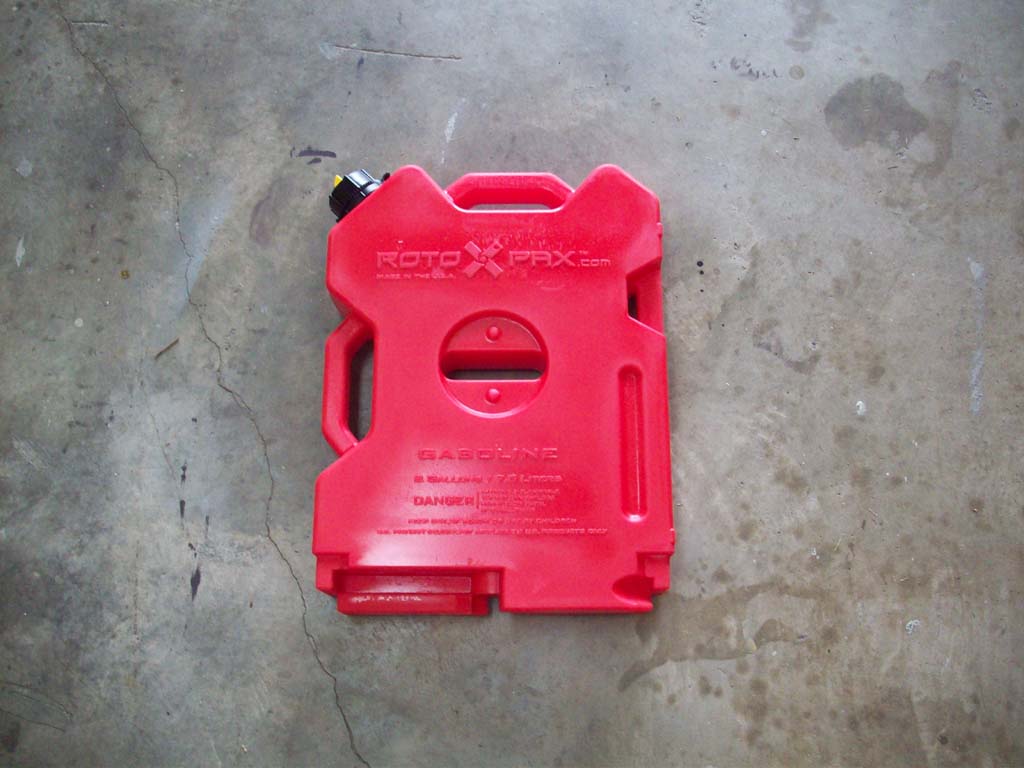
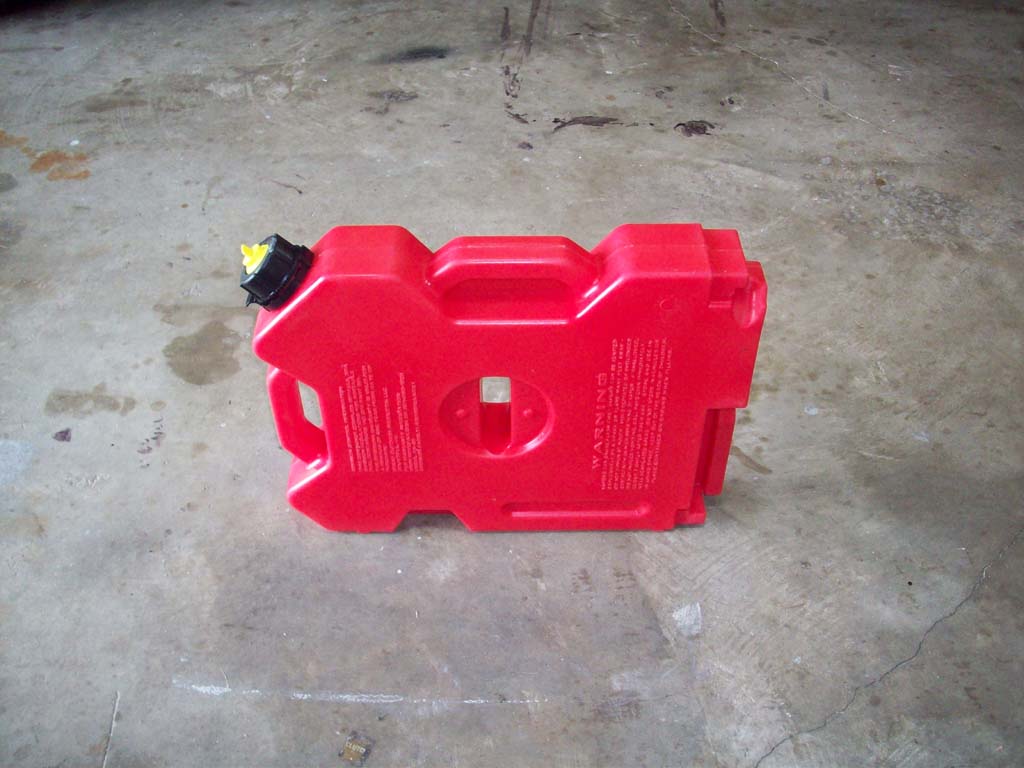
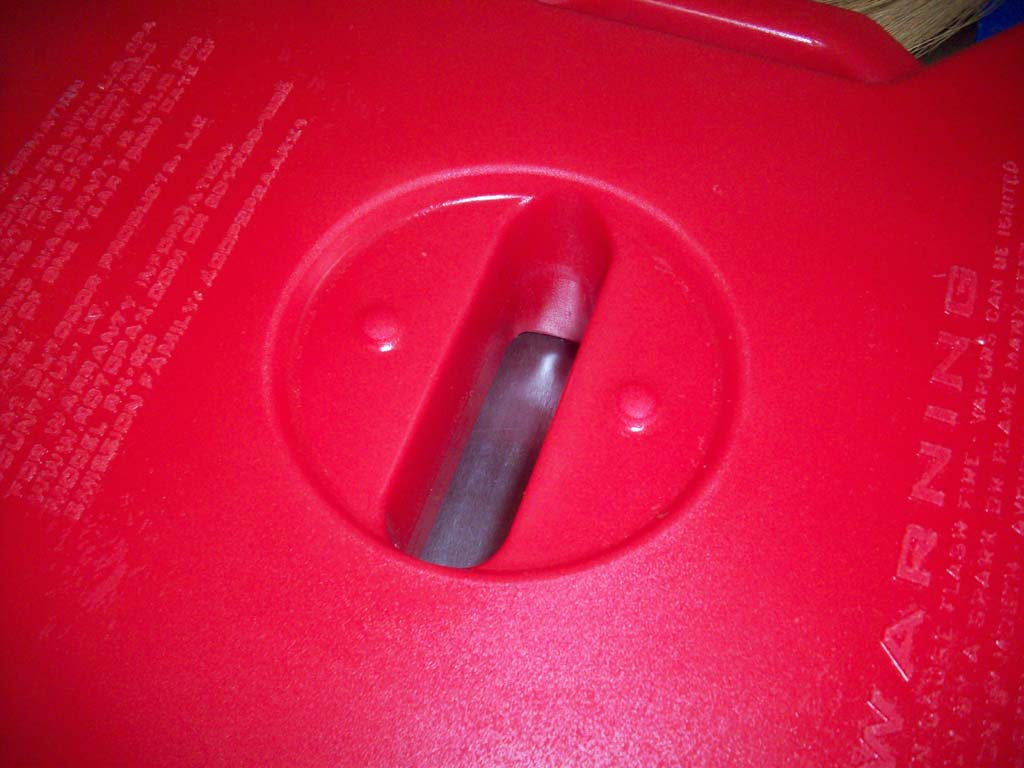
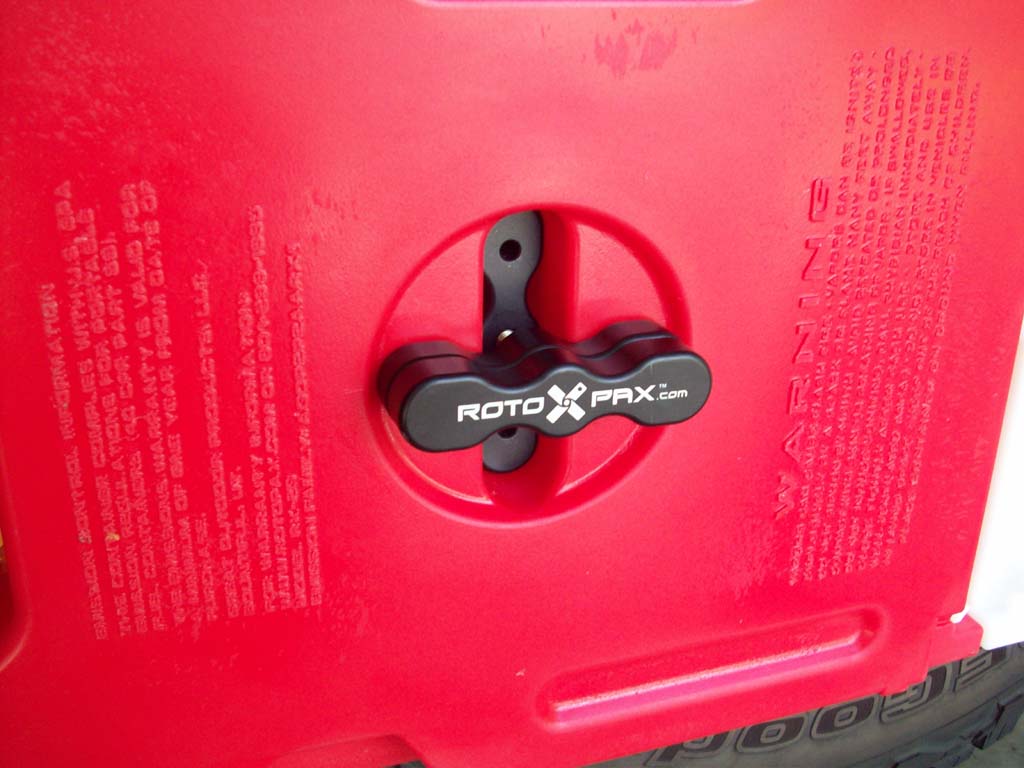
2 gallon RotopaX fuel container. The container has two handles on it so you can carry it either way you want to and the fill will always be up. The opposite side of the fill has a molded notch that you could run a cable through to secure your container from theft. These are red.
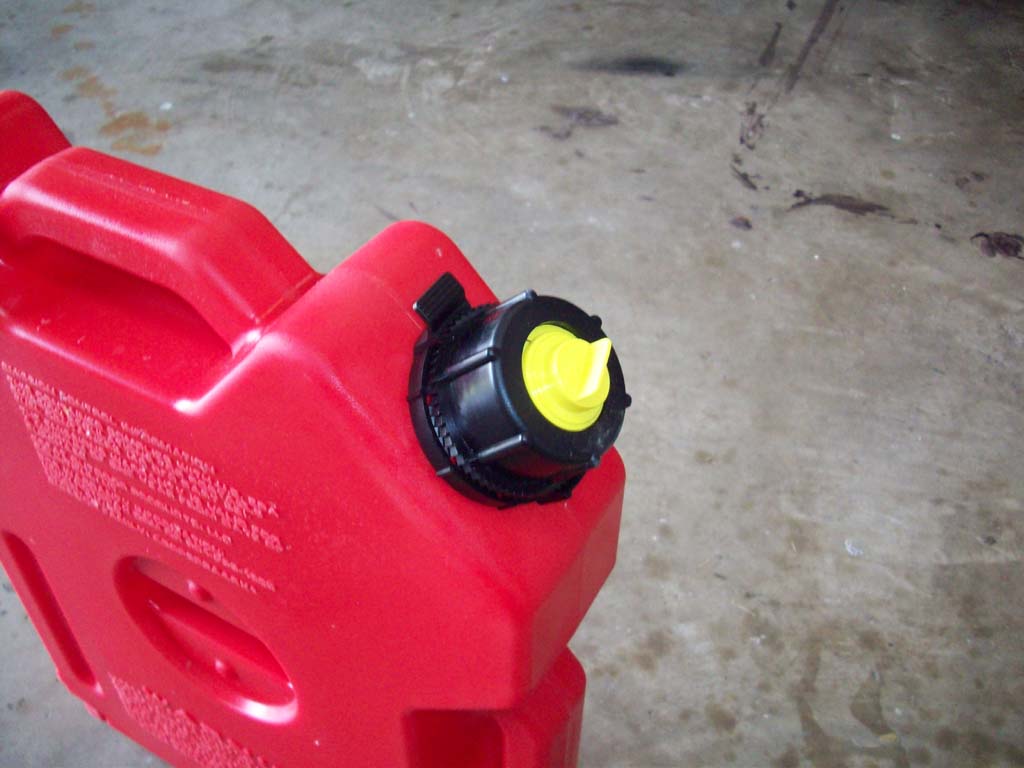
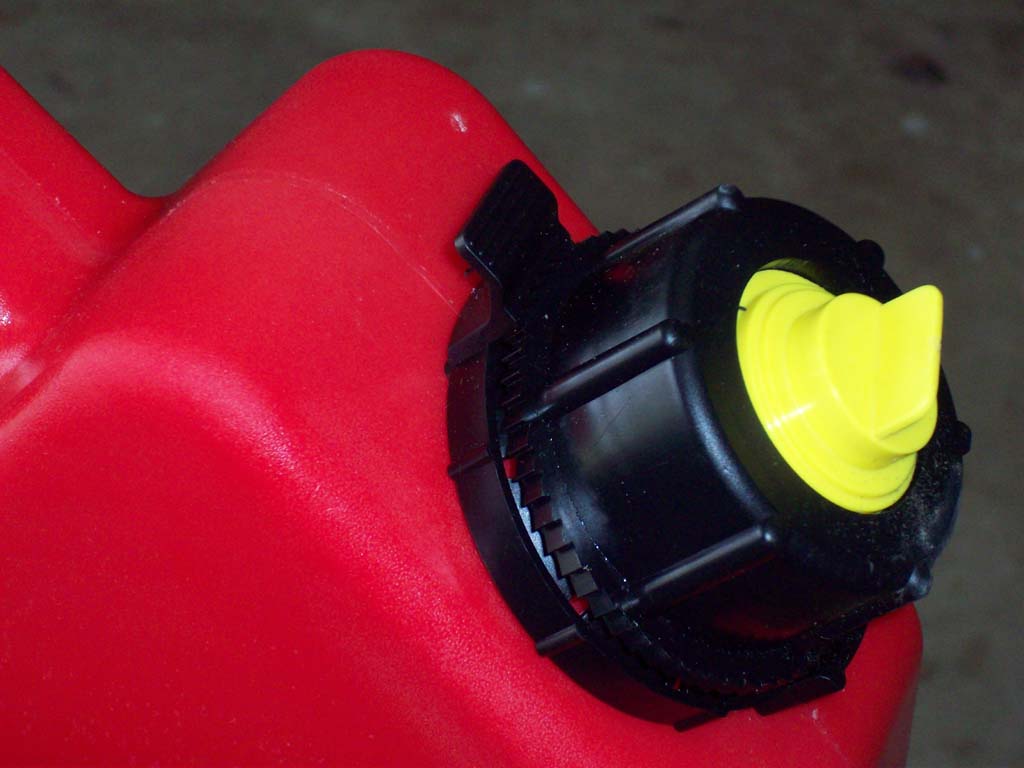
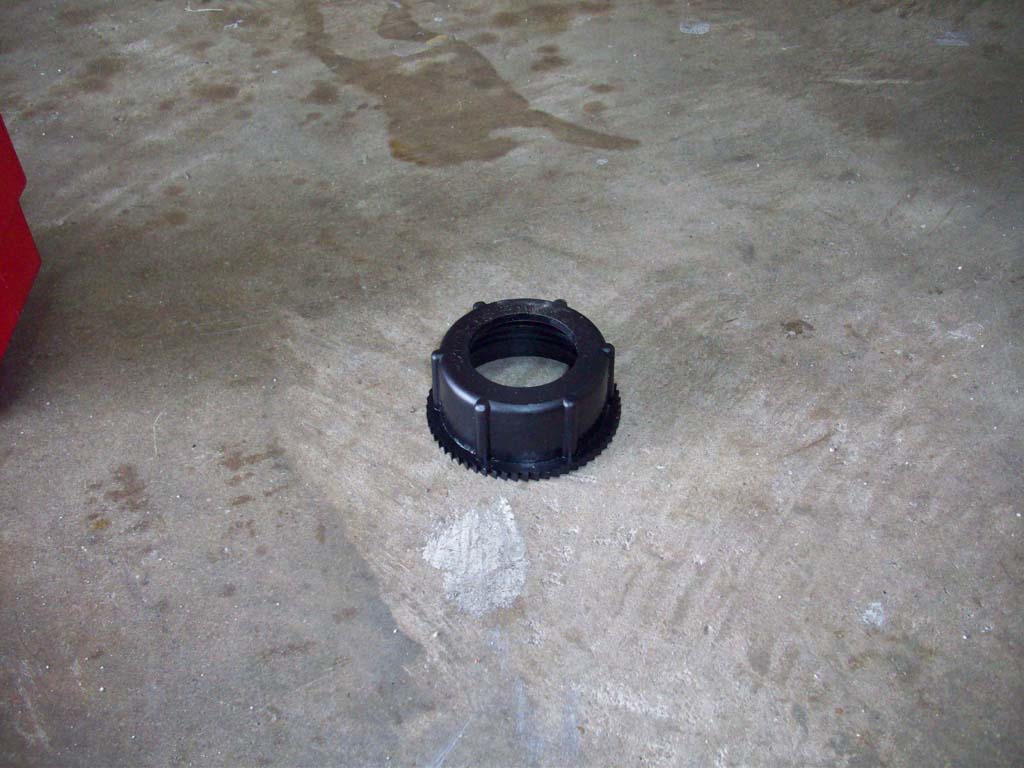
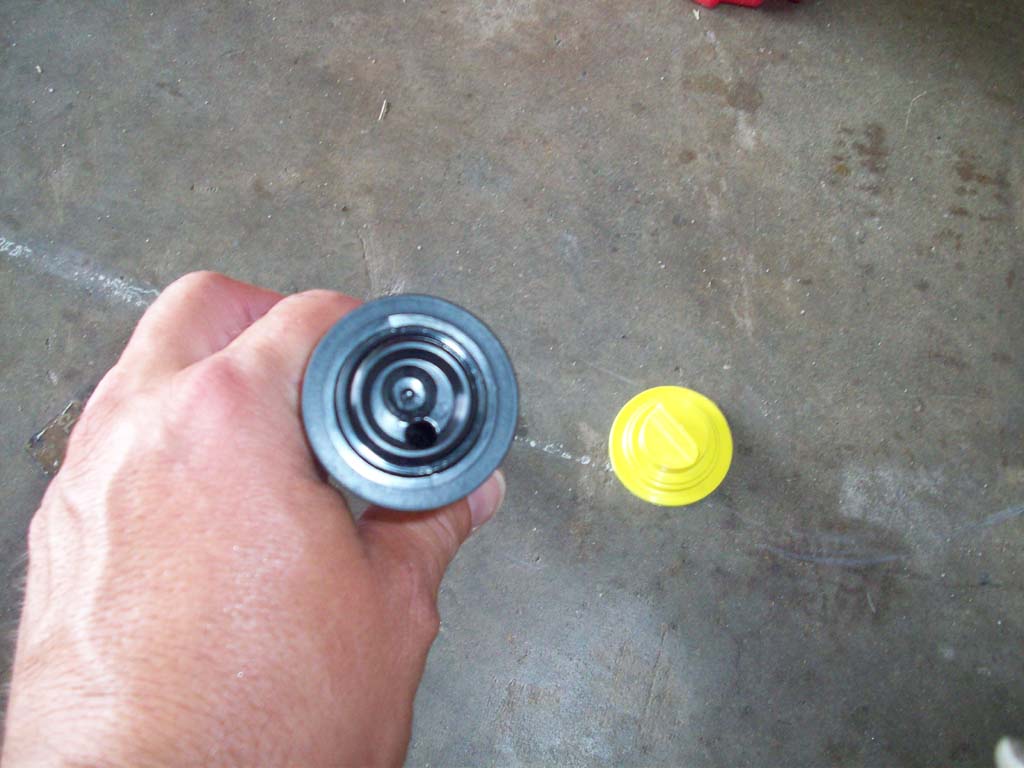
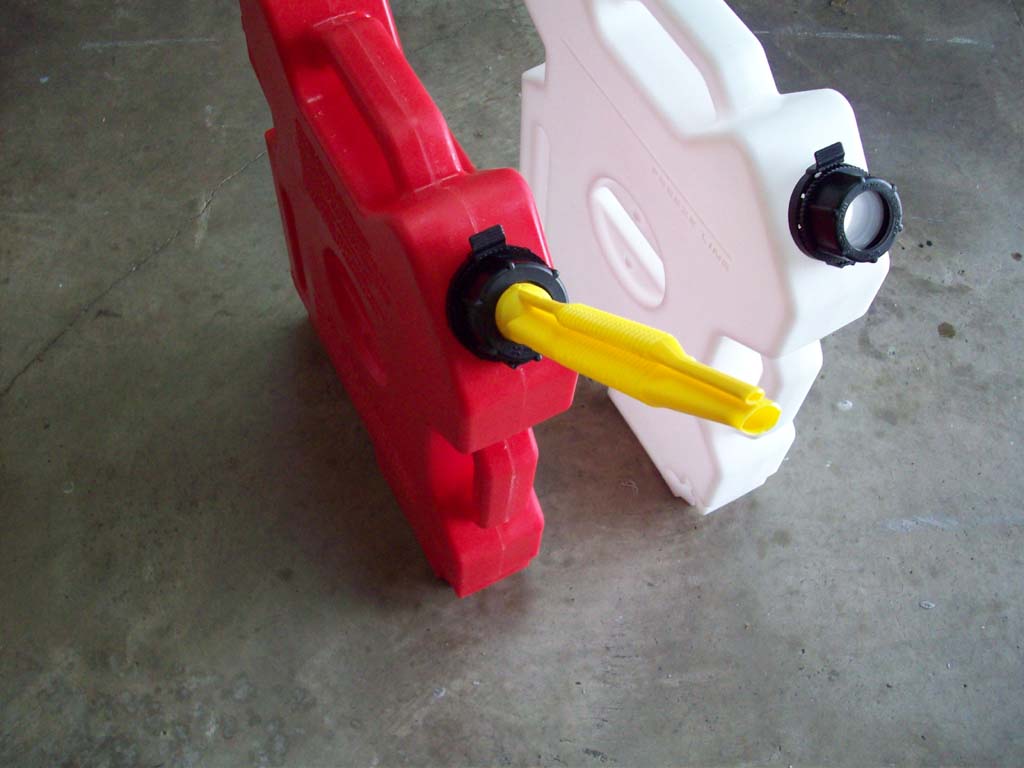
To remove the nozzle you press on the locking tab and turn the screw down cap until it comes off.
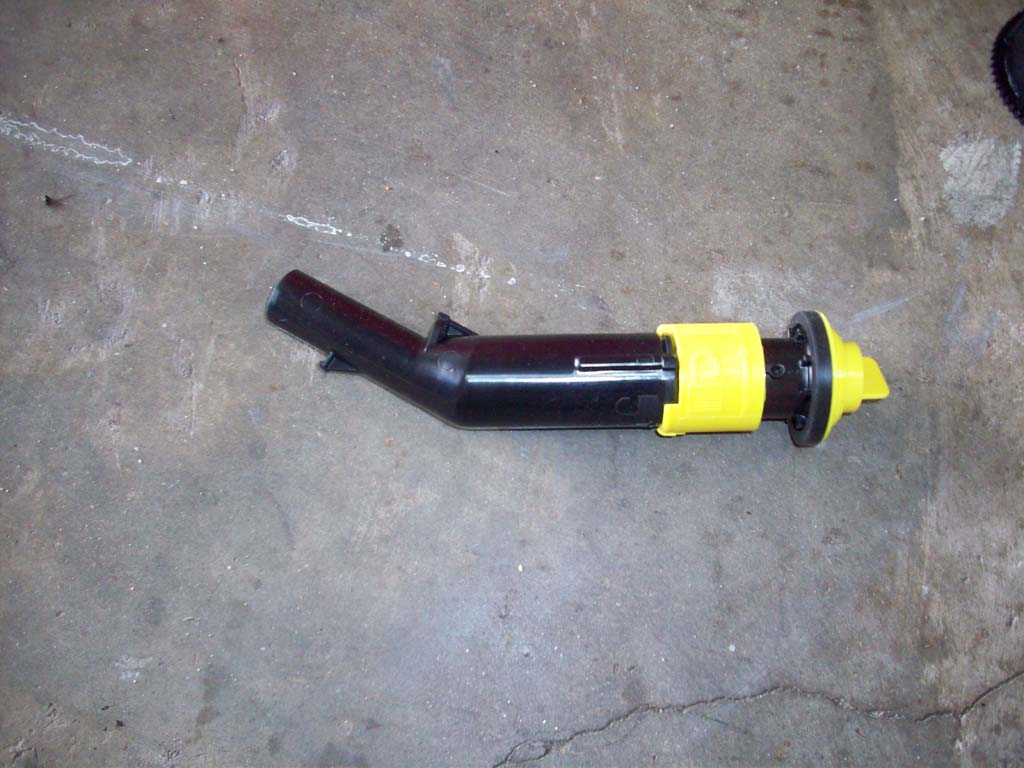
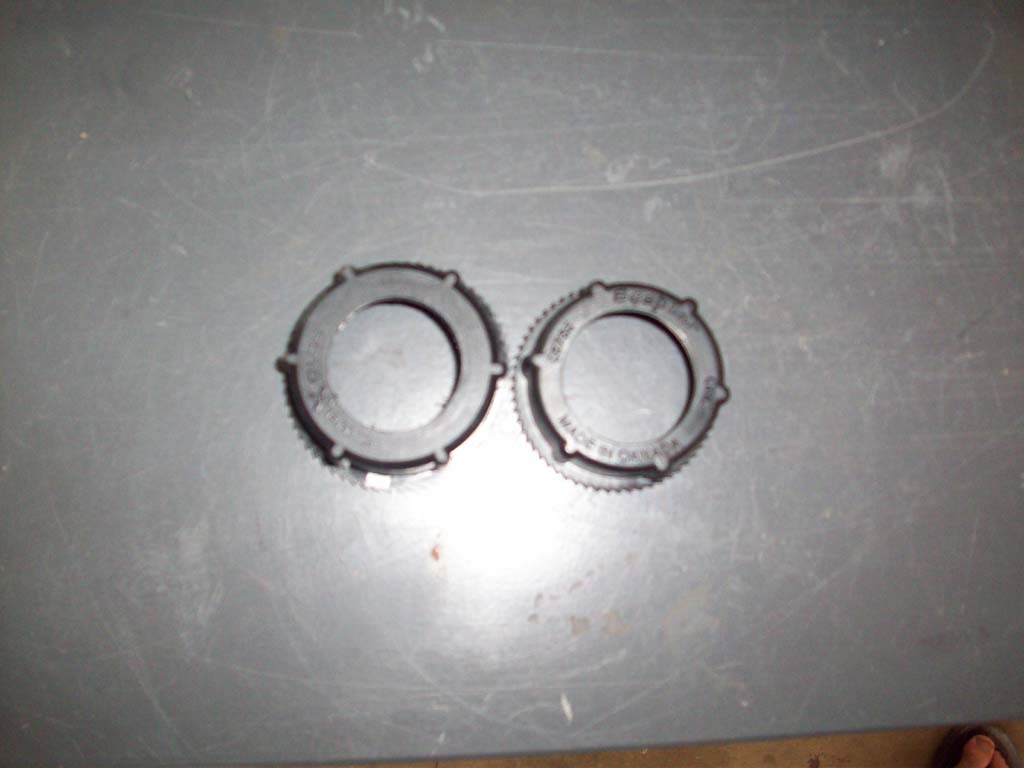
Then remove the nozzle from the container. Remove the cap from the end of the container by pulling it off, you may need to rock it a little side to side to get it to release.
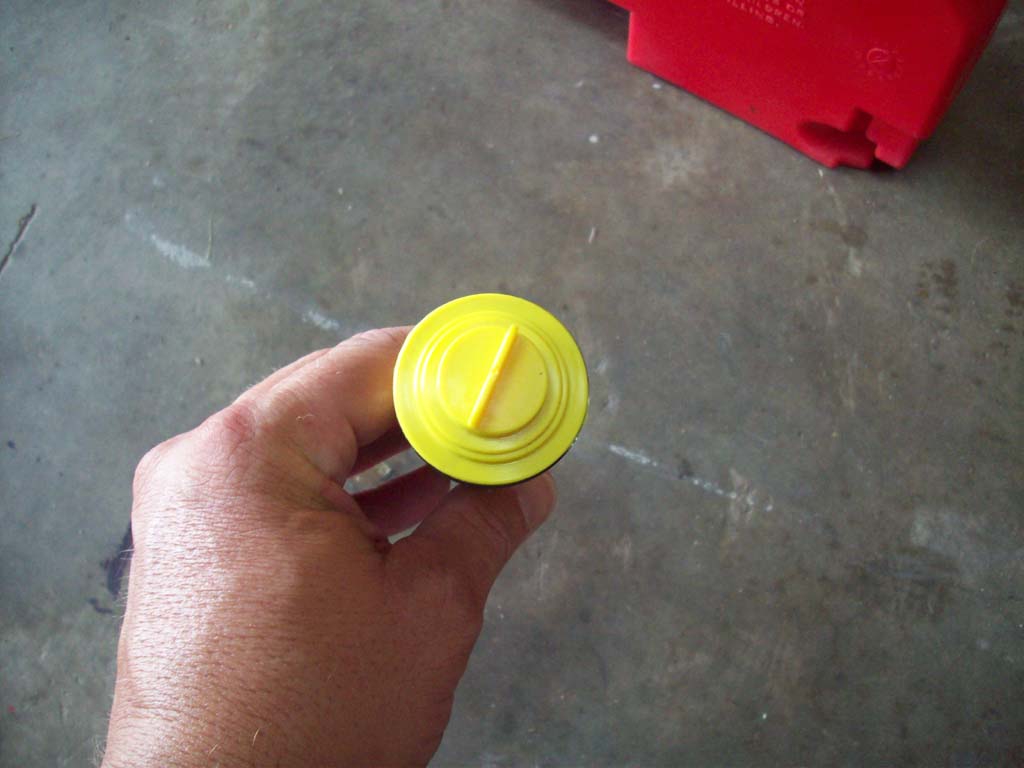
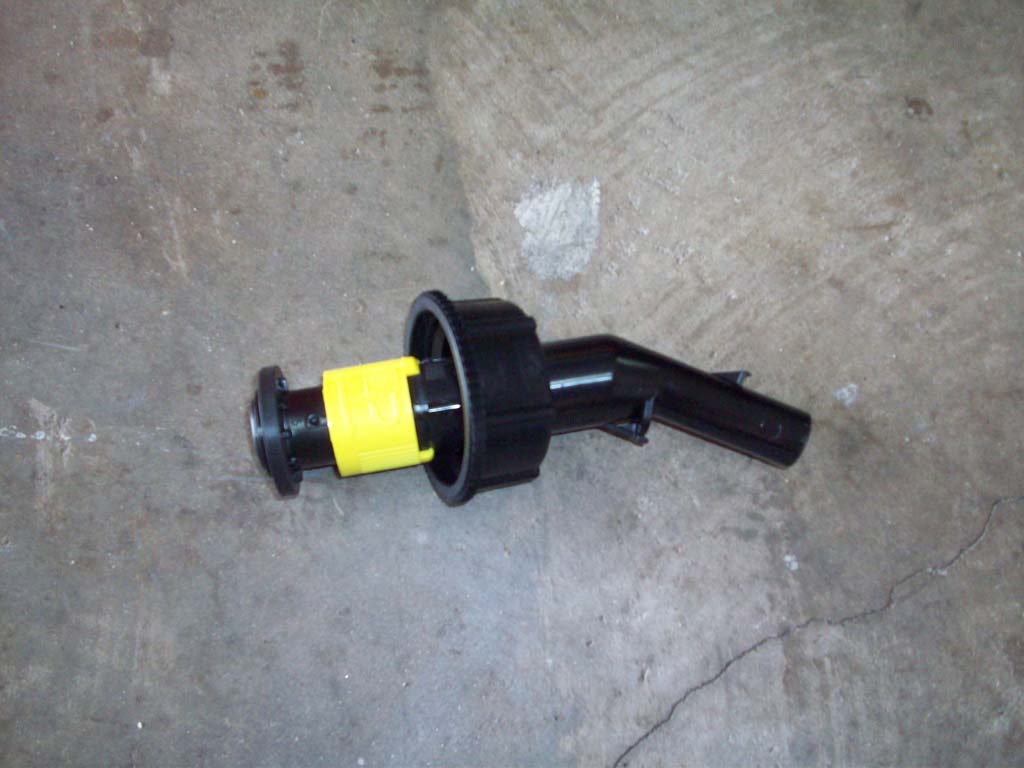
Then just reinstall the screw down cap over the nozzle and screw it back onto the container.
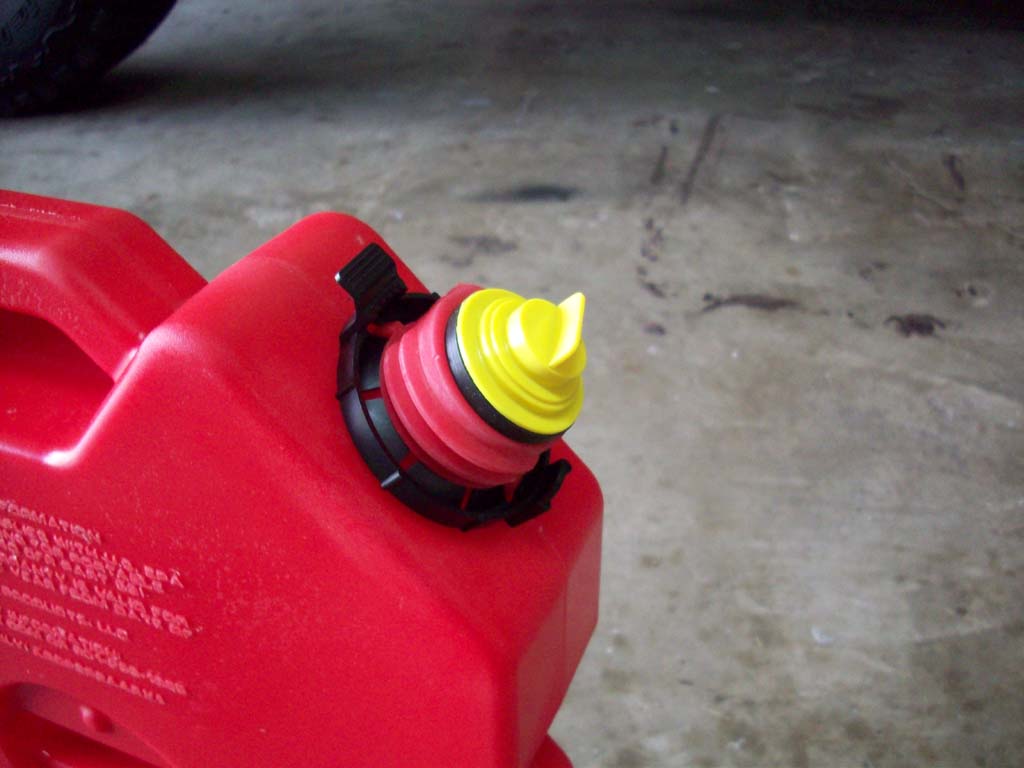
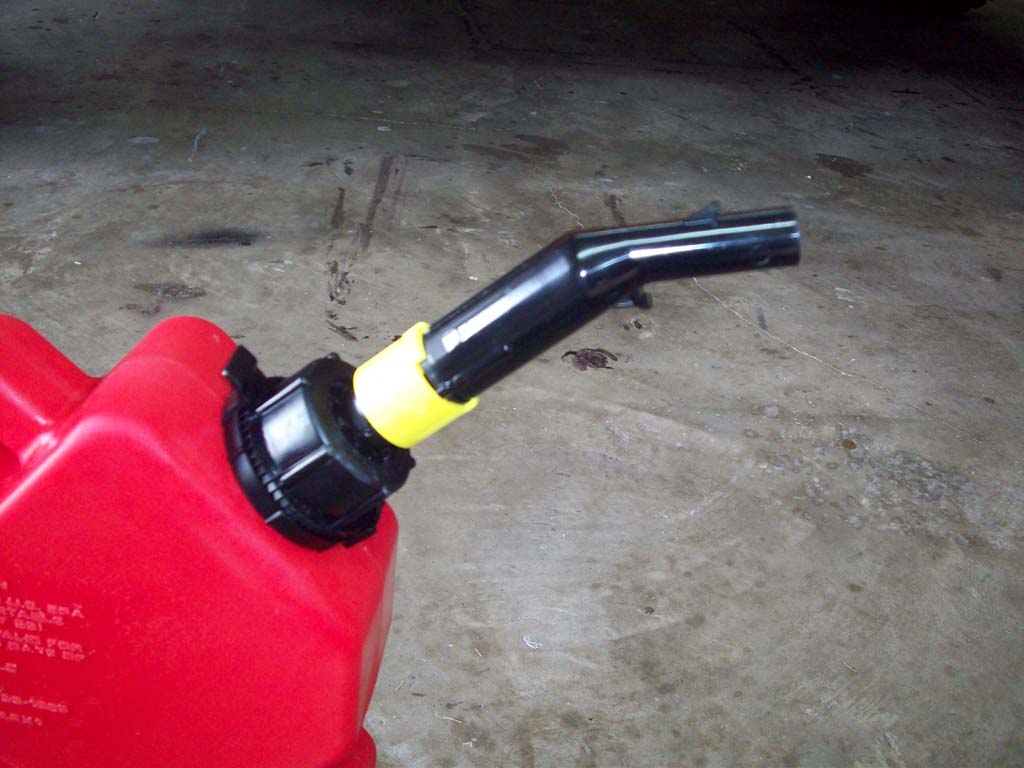
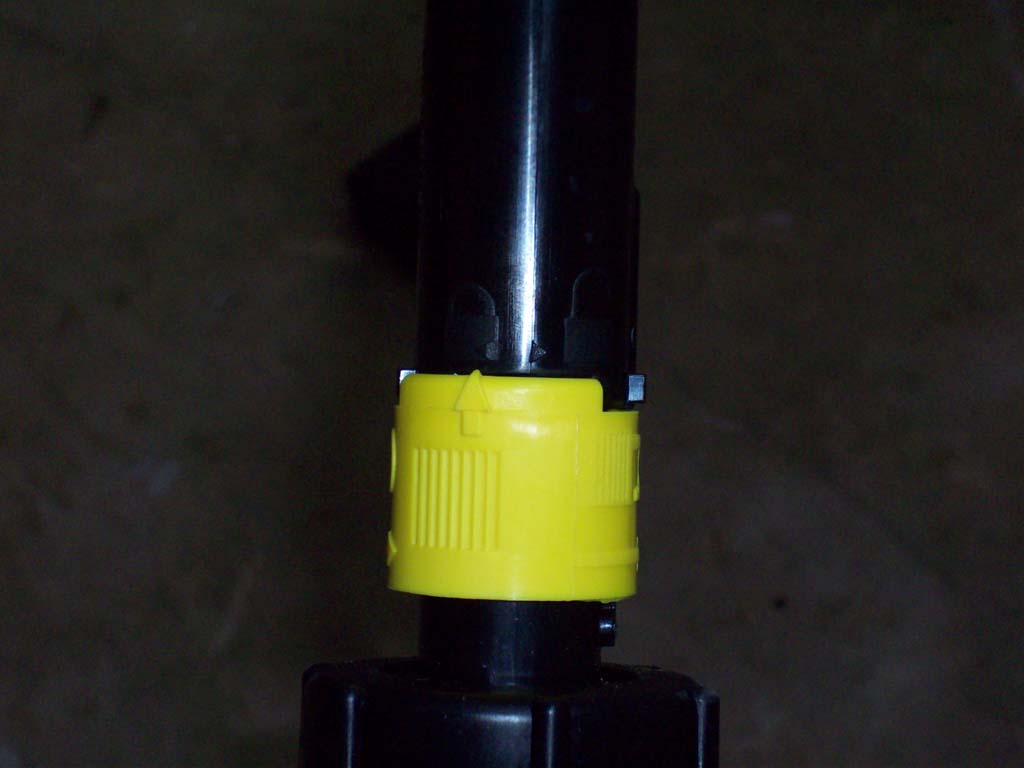
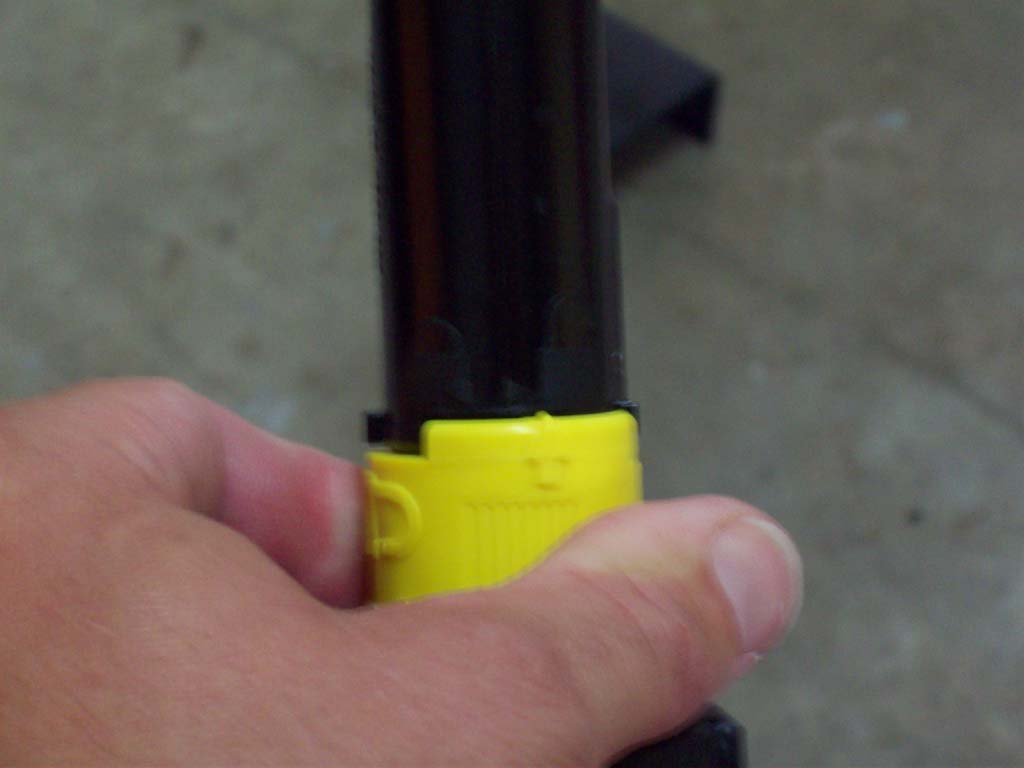
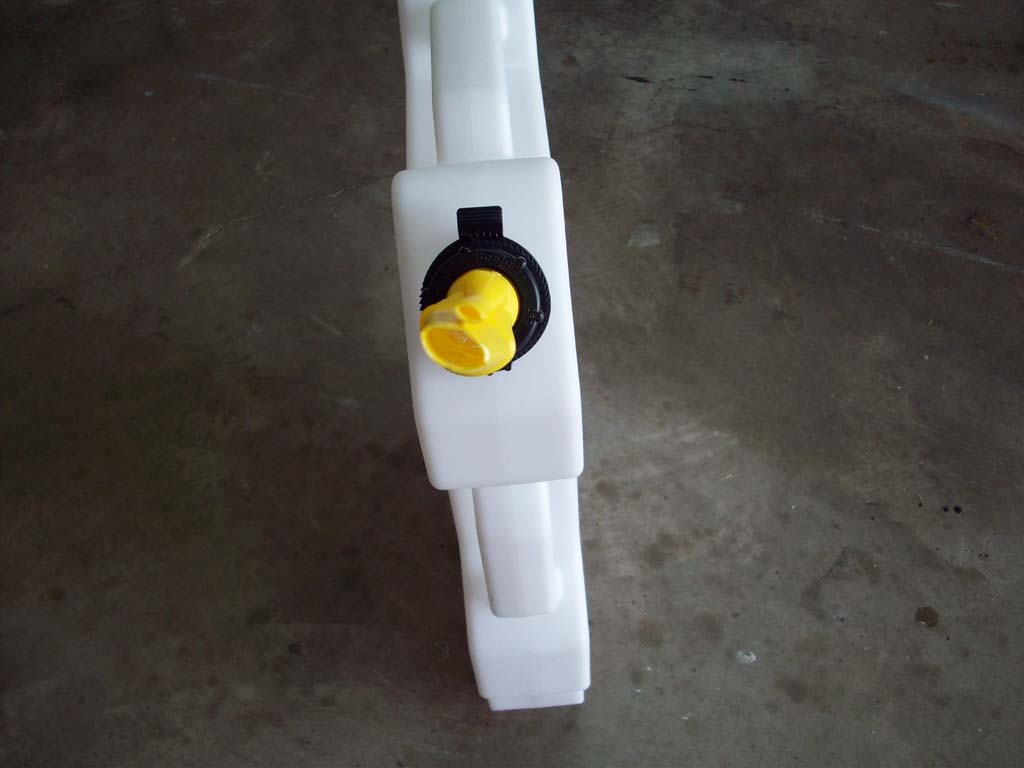
To operate you need to turn the yellow locking ring to the unlock position and then press the nozzle down into whatever you are trying to fill. This is a pretty complicated maneuver because you need to hold the ring in the unlock position and then press the nozzle down while holding the fuel container in the other hand. This is a real pain to accomplish and works well on bigger items that you are filling that don't move.
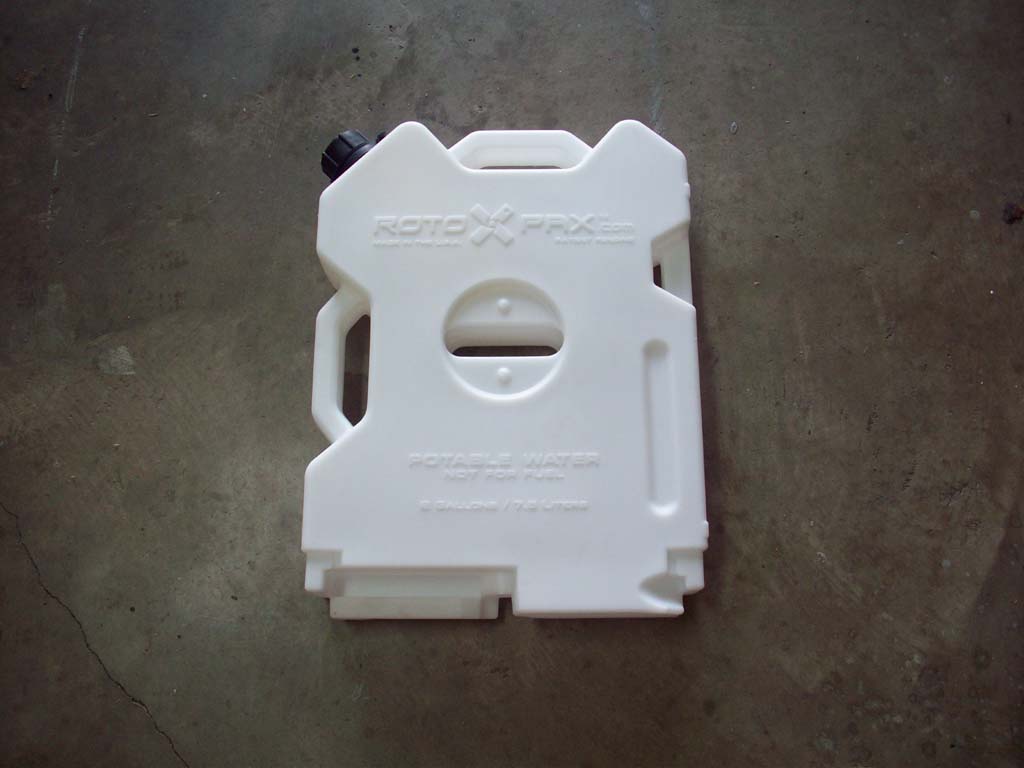
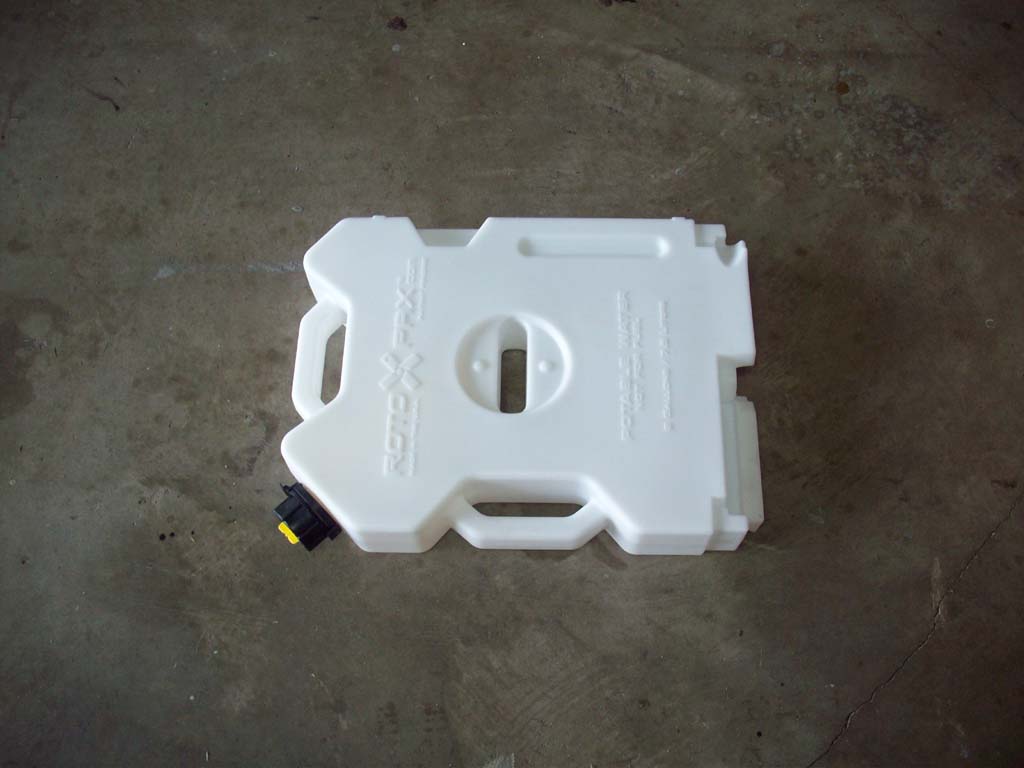
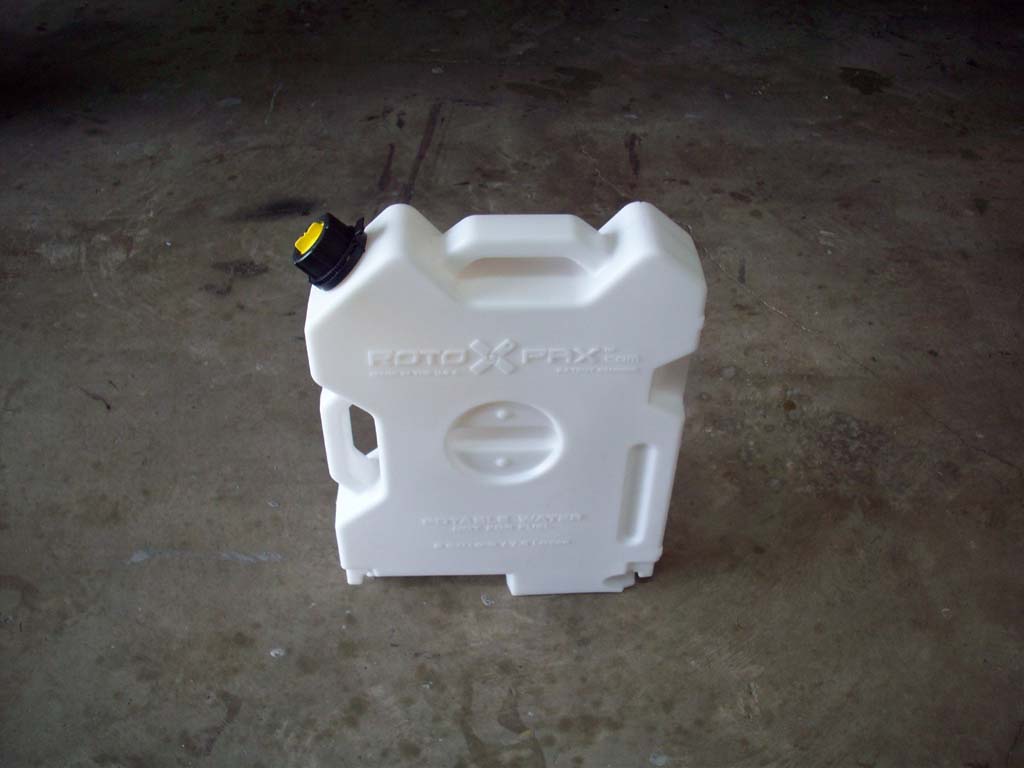
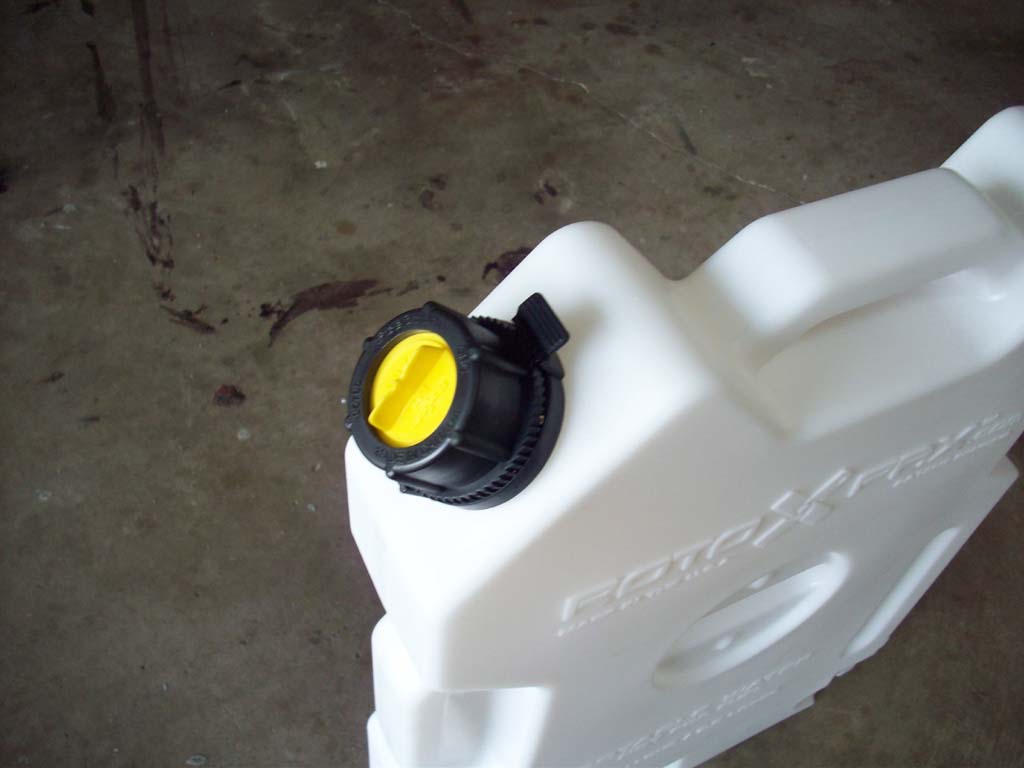
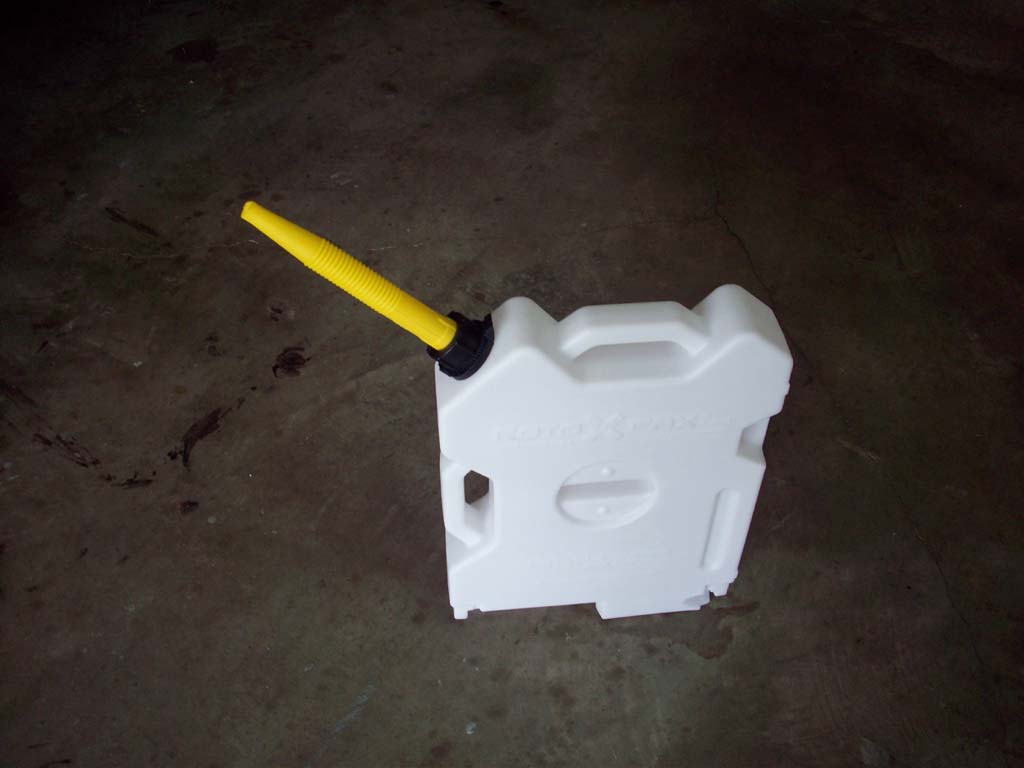
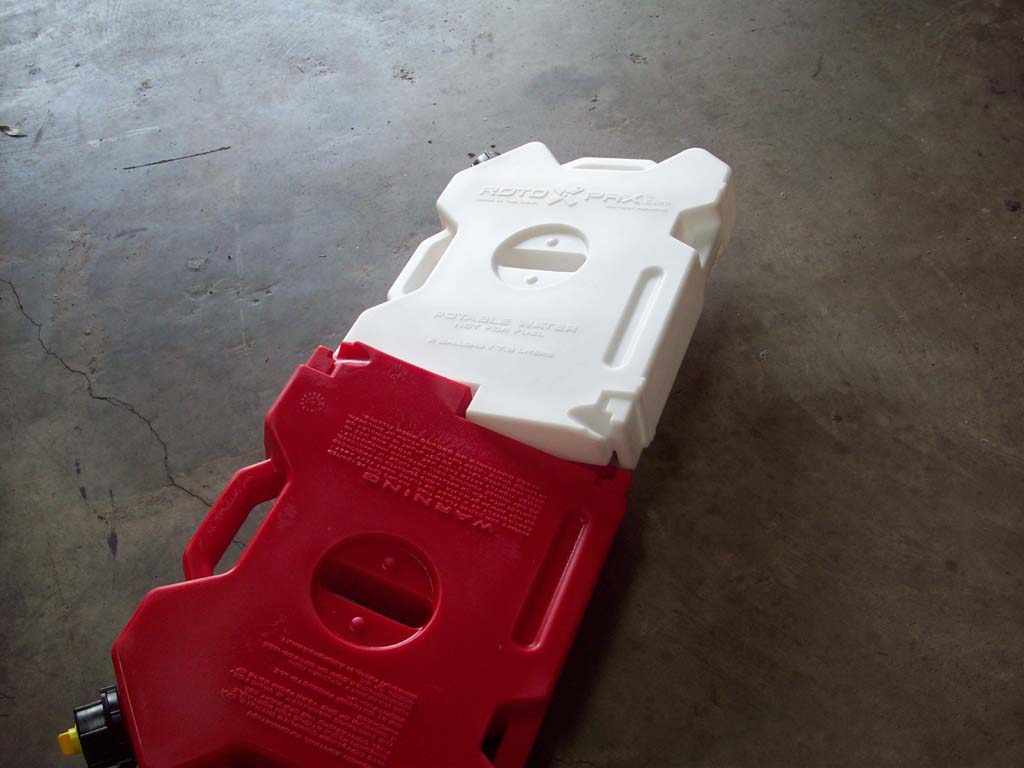
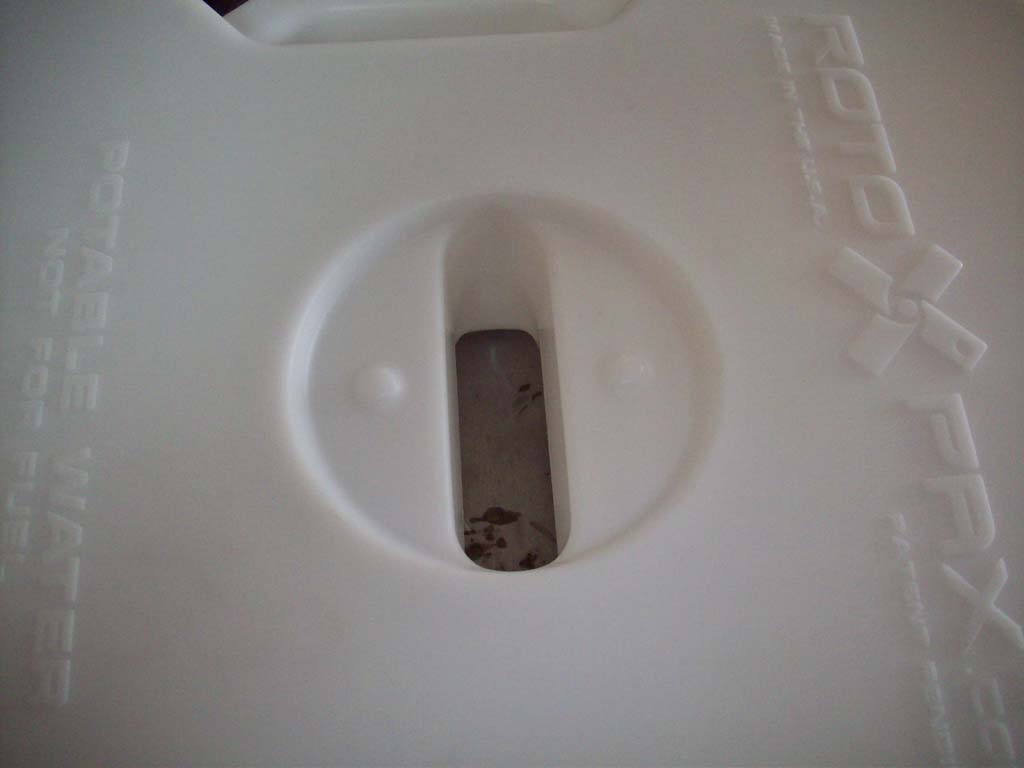
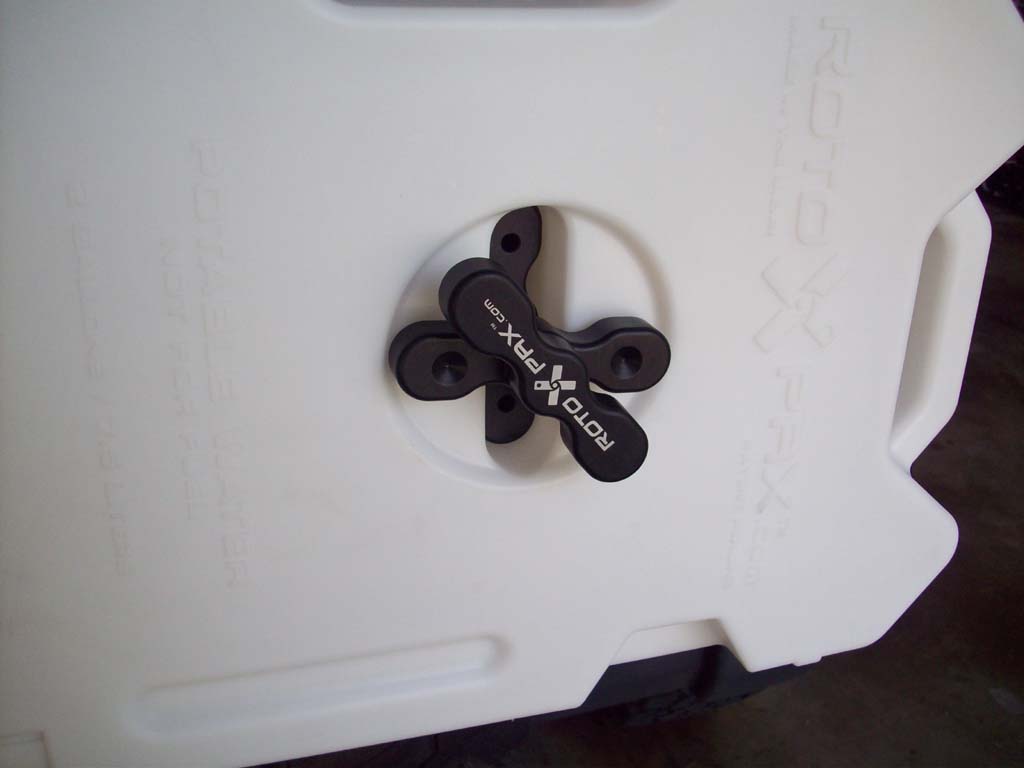
2 gallon RotopaX water container. The container has two handles on it so you can carry it either way you want to and the fill will always be up. The opposite side of the fill has a molded notch that you could run a cable through to secure your container from theft. These are white and are safe to use for potable/drinking water.
To remove the nozzle you press on the locking tab and turn the screw down cap until it comes off.
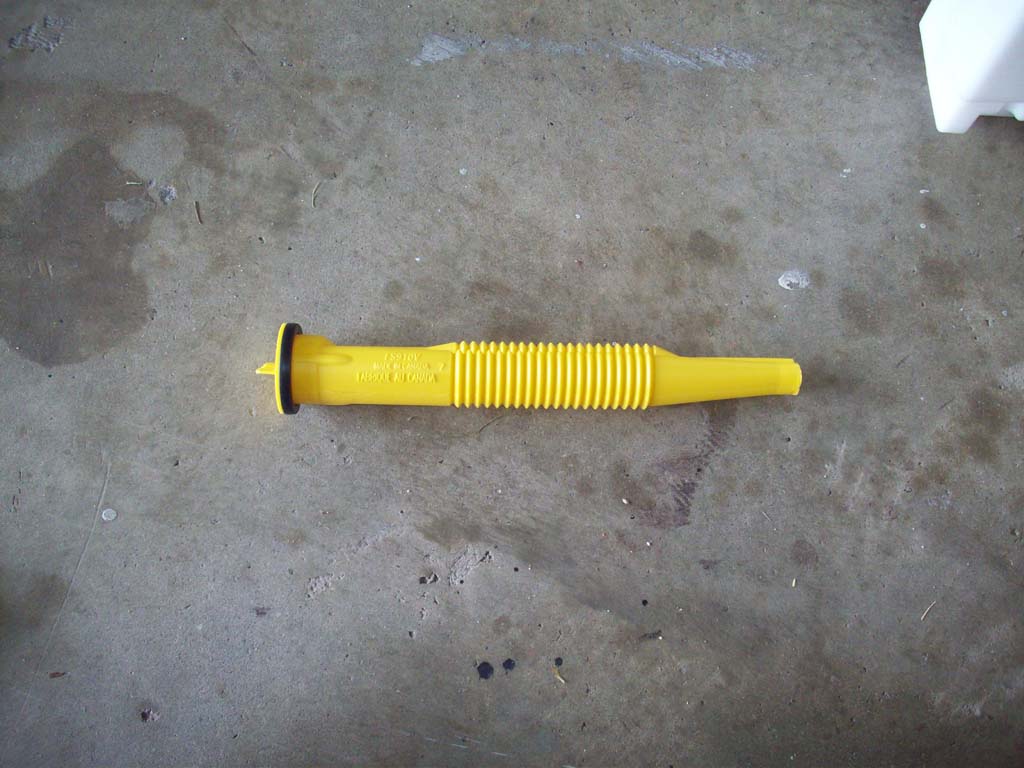
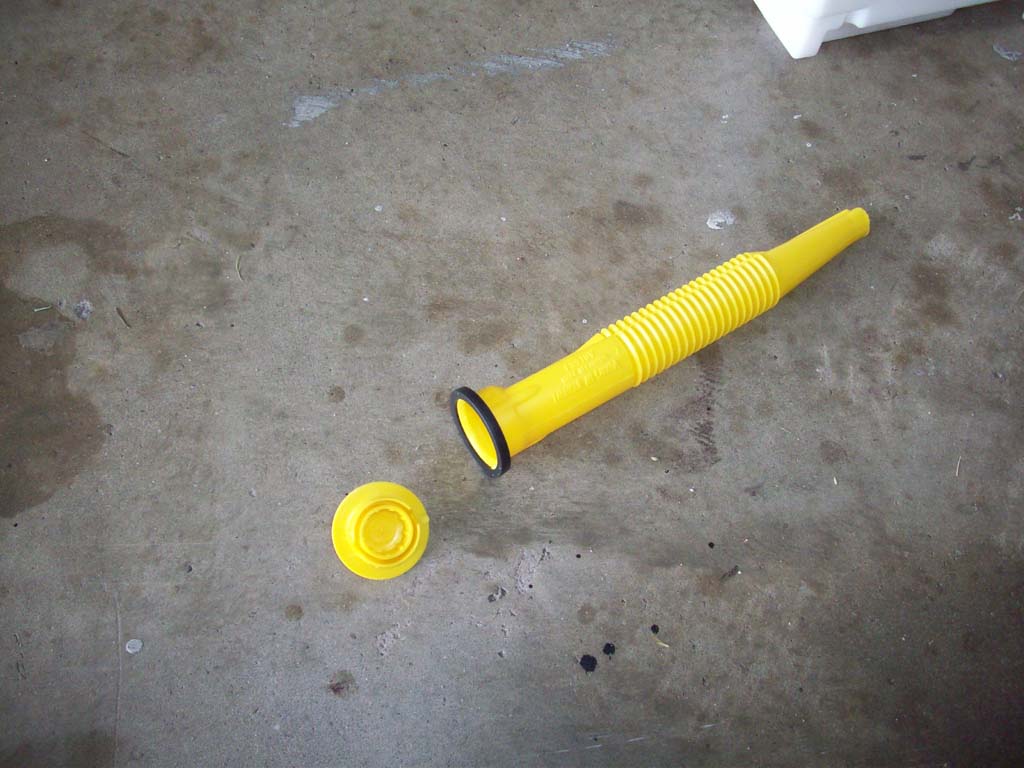
Then remove the nozzle from the container. Remove the cap from the end of the container by pulling it off, you may need to rock it a little side to side to get it to release.
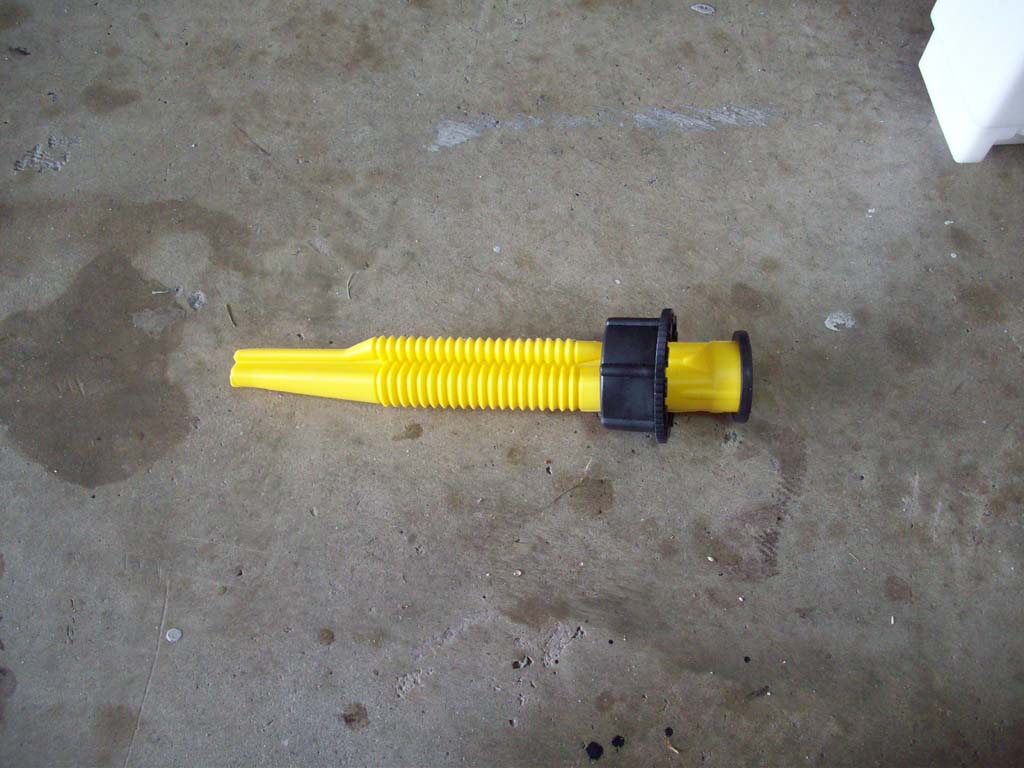
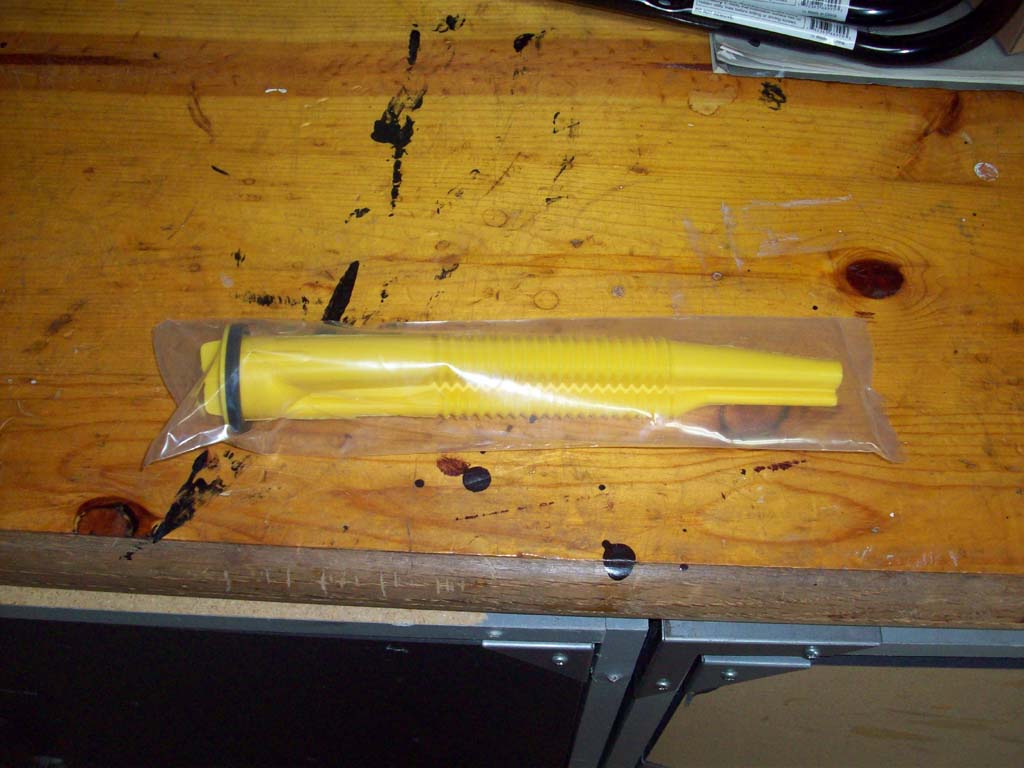
Then just reinstall the screw down cap over the nozzle and screw it back onto the container. This nozzle is the more typical tube in a tube so that you can have air getting back into the container as the liquid is poured out.
For those of you wondering. The nozzle from the water can will fit on the fuel container. You will need to use the fuel containers cap because the two containers use different size threaded sections. I do have a spare nozzle justs in case the one on the water container breaks due to use.
Locking them together and mounting them:
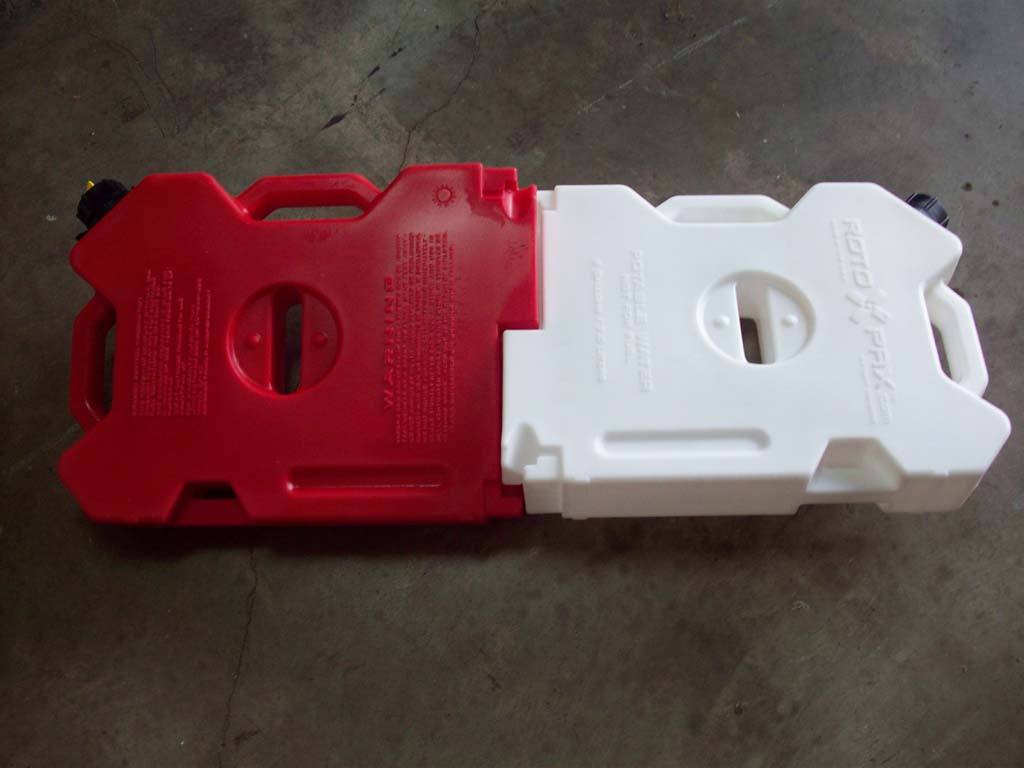
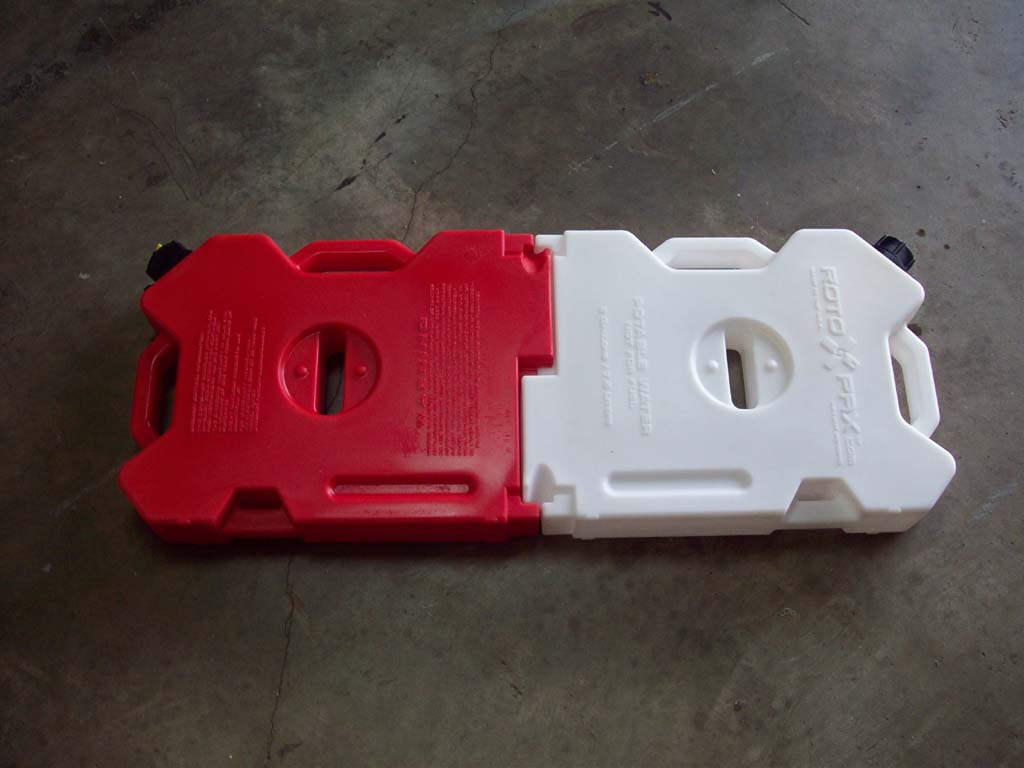
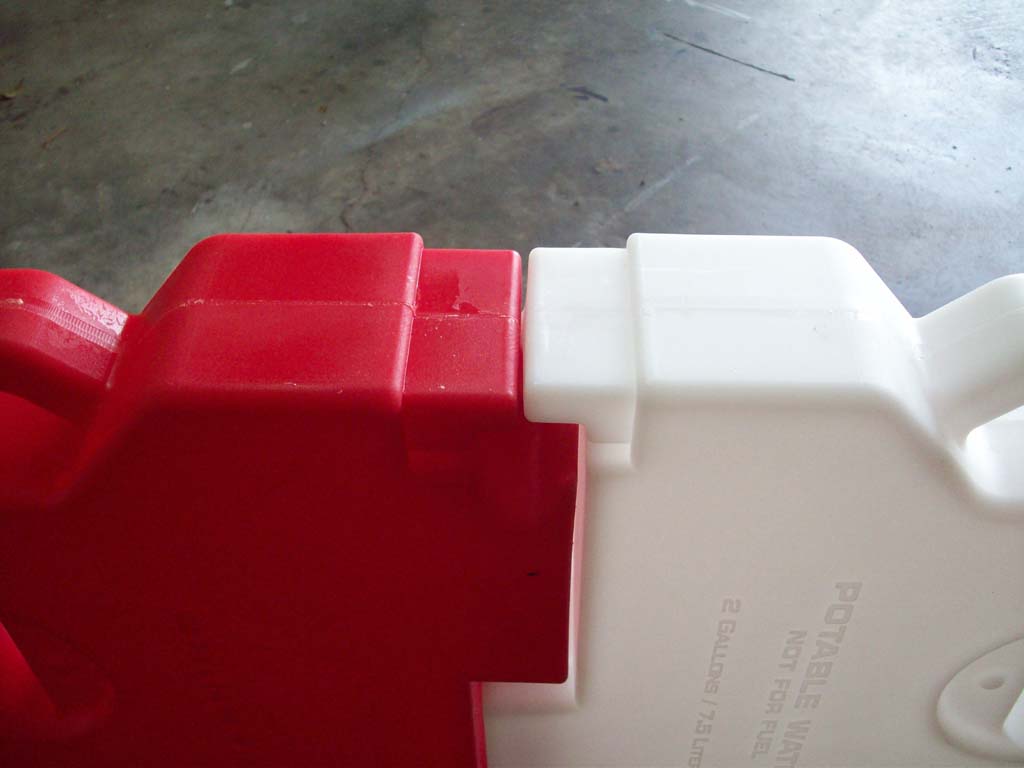
The bottoms of the RotopaX containers are designed so that you can nest them together into one longer unit. This makes them the same size as a 4 gallon container. You simply form a slight "X" with the bottoms and them press them flat. Push the opposite direction and they twist and come apart.
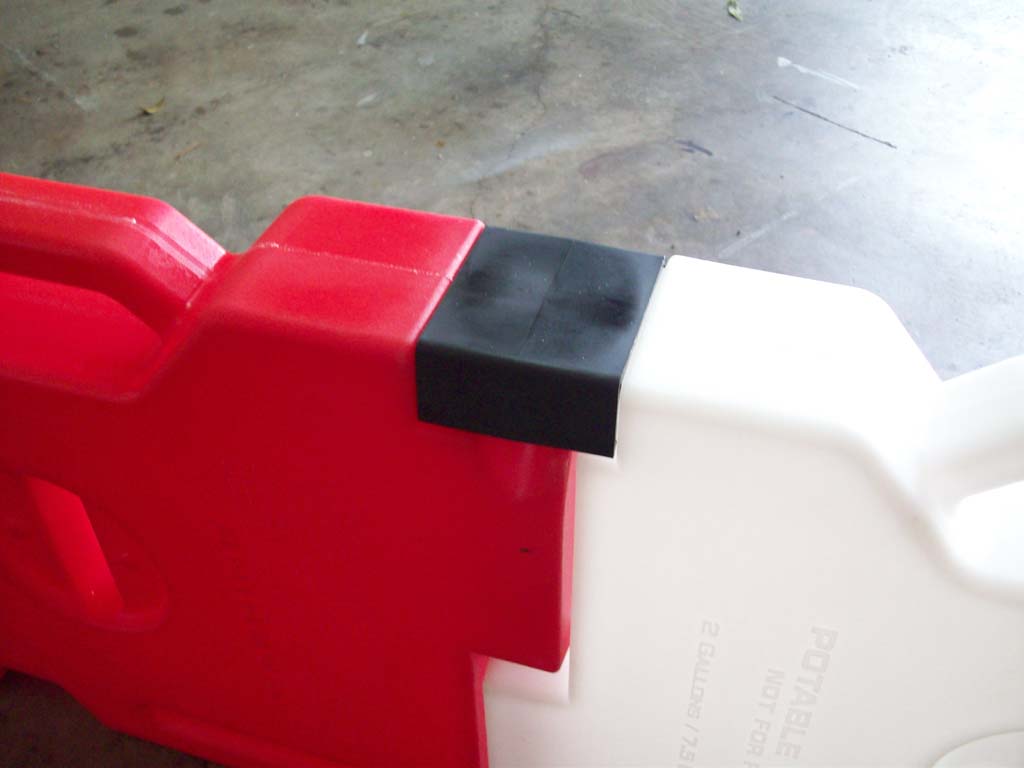
RotopaX has a clip that is used to secure the two containers together. My Fuel container came with one, but my water didn't. You can pick up extra clips from RotopaX if you need them.
To install the clip you simply clip it over the section where the two containers and joined. Just hook one side in the little slot and then press the clip down until it locks into the slot on the opposite side. To remove just pull up where the little thumb recess is in the plastic container below the clip.
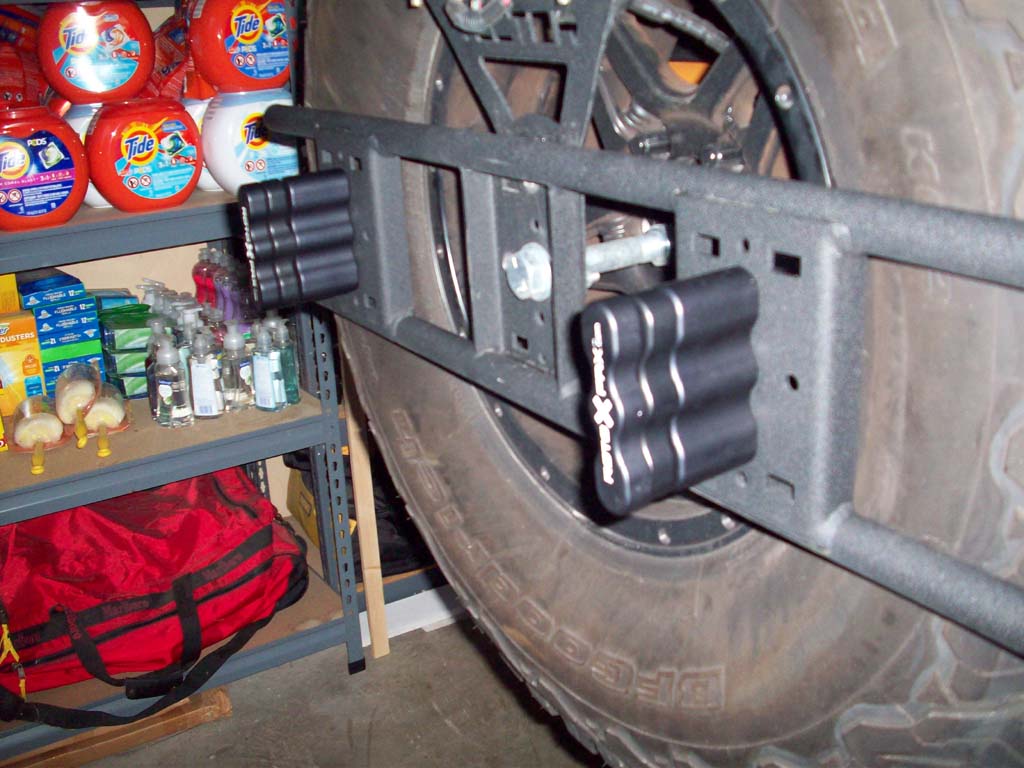
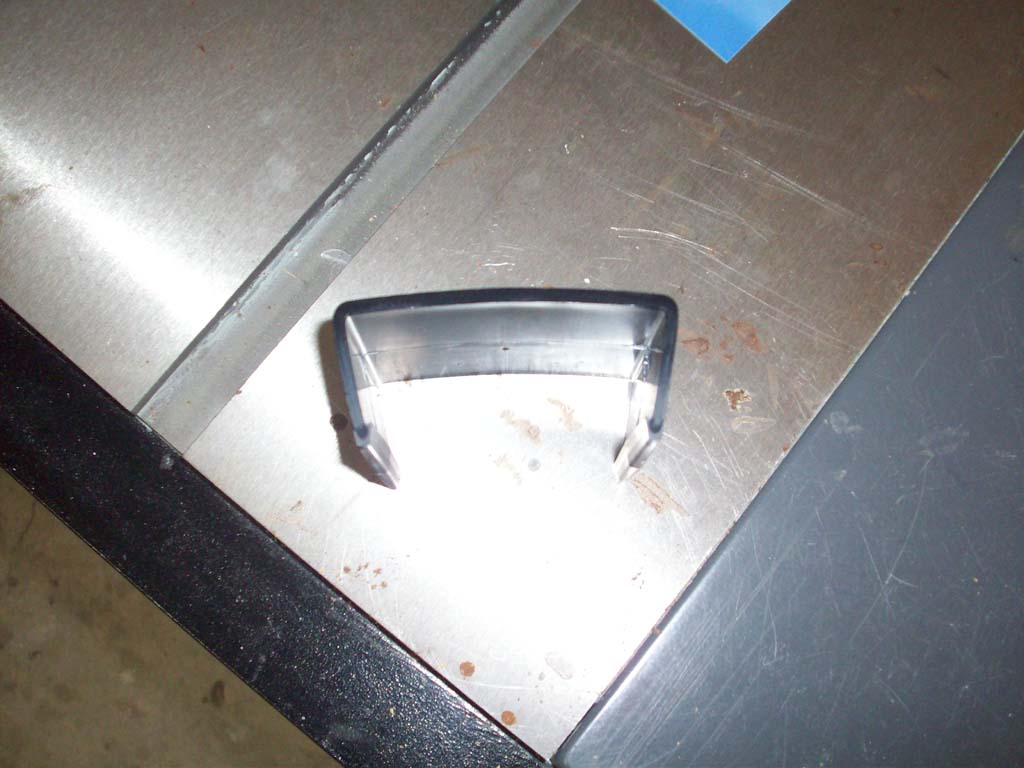
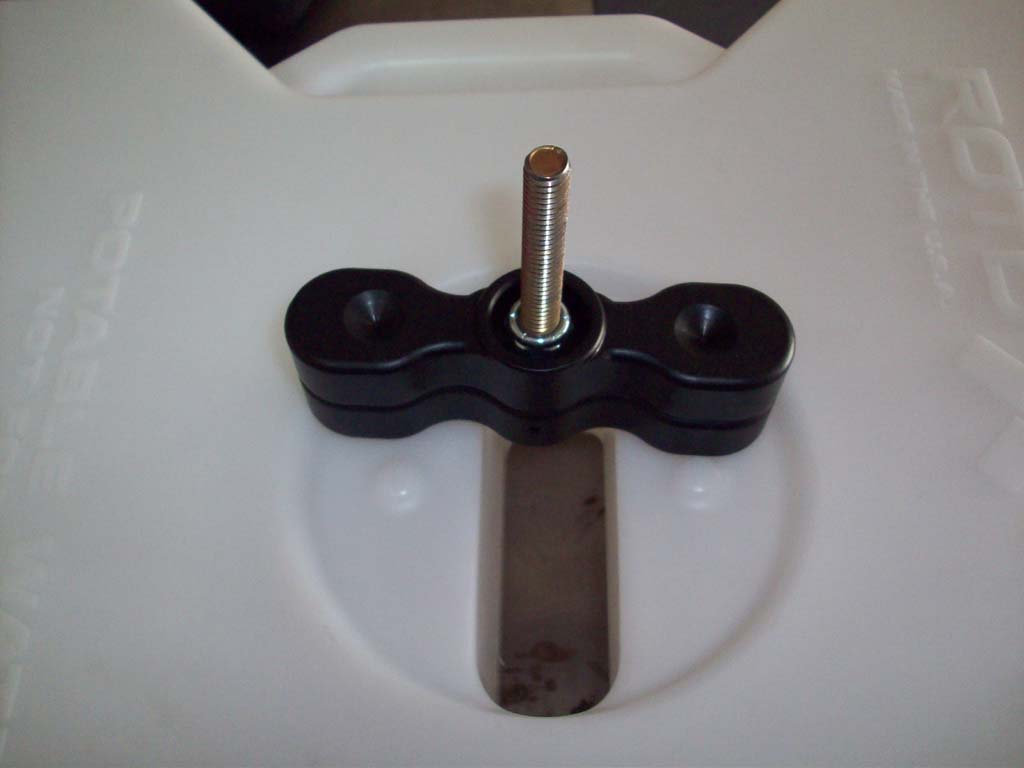
On the containers you will note two bumps on either side of the mounting slot. These bumps will seat into the corresponding dimple on the mount handle.
Slid the containers over the RotopaX mount.
Install the handles and tighten down until the container is secure.
I have driven with these containers full a few times to test them out in various configurations. They didn't leak even when I had them mounted with the openings in the down position. Not exactly recommended to do with the fuel containers, but it didn't leak. The fuel container does need to be vented if it is sitting out in the sun, so use caution when slowly opening the cap to vent. The one thing I did notice is that on the Vector Exo-Rack is that if I only have one container mounted the rack will slowly rotate due to the weight on the one side. I did tighten the Exo-Rack again, but it must have something to do with the flexing against the tire that causes it to slowly rotate. The rack rotates on the screw, so I don't feel that it could actually come off, just end up at a weird angle. It doesn't do it if the weight is equal, just when it is on one side.


