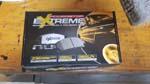
At nearly 80,000 miles on the Jeep it was once again time to change out the brake pads. The Jeep sees a lot of city driving, so I'm on the brakes alot everyday and the pads wear fairly quickly. The rear brakes are the ones that typically wear out the fastest and I have actually changed them one more time than the fronts. This time I had also picked up a bad shimmy when I braked, so I knew it was also time to turn the rotors. Combine all this with having installed larger tires, I wanted a little more stopping power without changing out the master cylinder and brake booster. I really wanted to do the Teraflex big brake kit, but I knew that I needed to change out the master cylinder and brake booster to truely provide enough pressure for that system. The real stopper was that I currently run 16" wheels and the new calipers wouldn't clear. So I looked around for replacement rotors and brake pads. Getting high quality brake pads weren't an issue and the price was pretty much the same across the board until you moved into some of the race applications. New rotors were pretty much the same price. So I added up the cost of all the parts and was actually more expensive than picking up the Power Stop brake kit at full price. I could have gone cheaper with just turning the rotors, but that would have left me with just about the same stopping power. So, I kept my eye out and when it went on sale I picked up the Power Stop kit.
| Parts: |
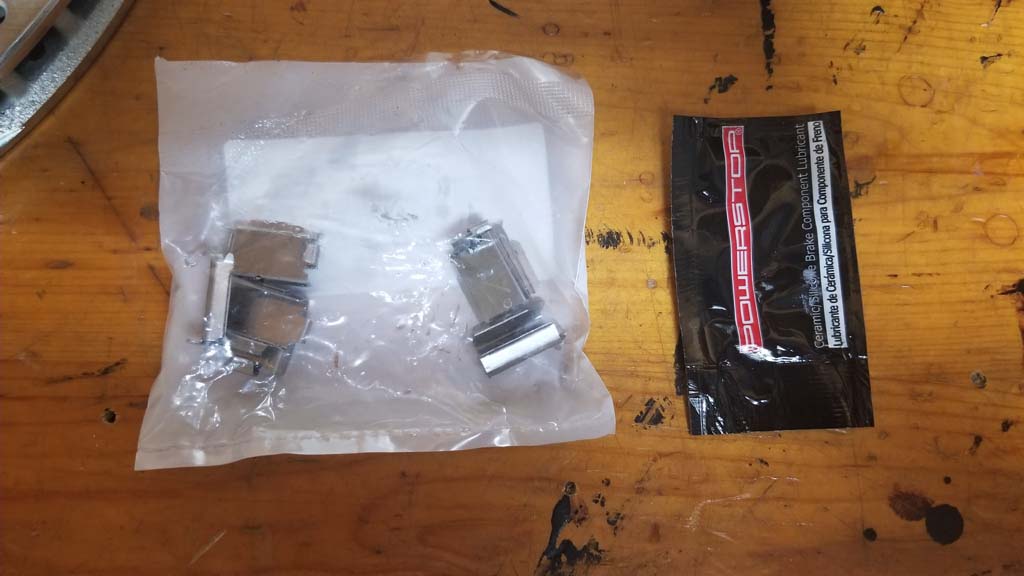
The Fronts's and Rear's come with the same basically the same parts: Rotors, brake pads, slide pin boots, pad clips and grease.
- (2) 11.98-Inch Front Rotors
- (2) 12.44-Inch Rear Rotors
- (2) Front Driver Side Brake Pads
- (2) Front Passenger Side Brake Pads
- (2) Rear Driver Side Brake Pads
- (2) Rear Passenger Side Brake Pads
|
 |
 |
 |
 |
| |
| Front PowerStop Installation: |
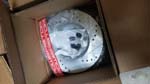
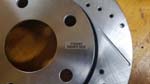
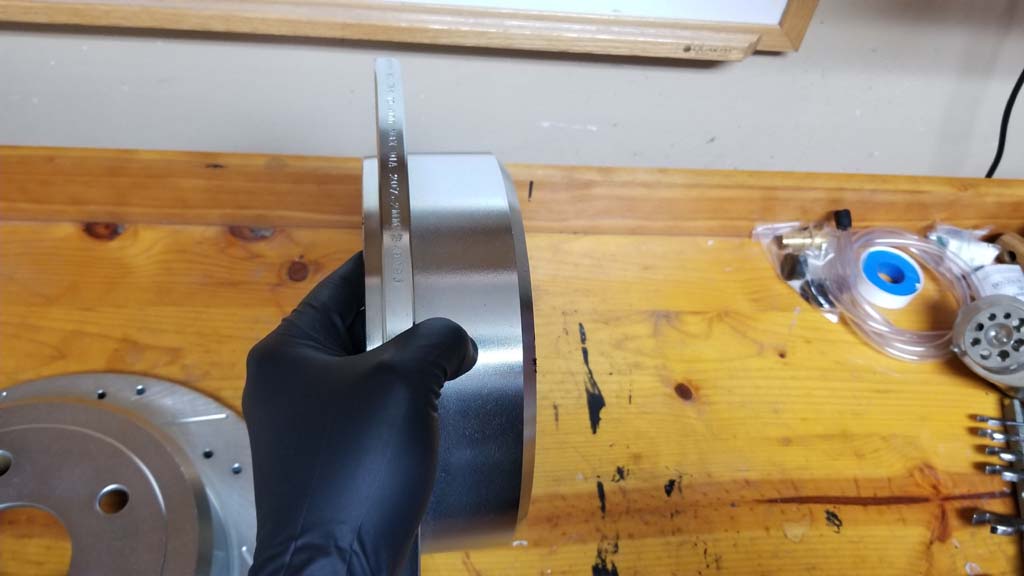
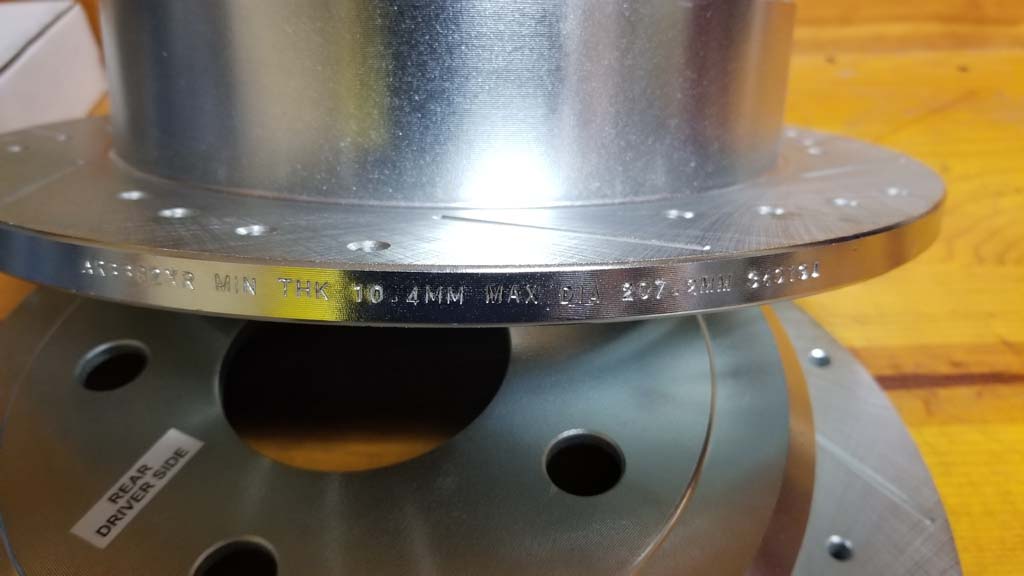
| Front Rotors, these are marked with passenger and drivers side. Make sure you install the correct on on the correct side. |
 |
 |
 |
 |
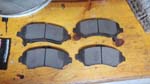
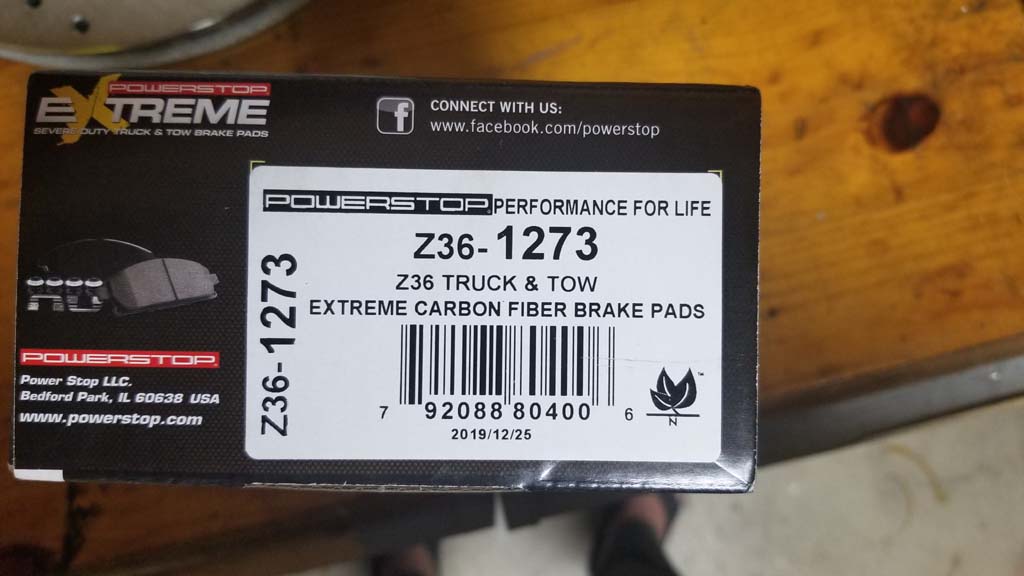
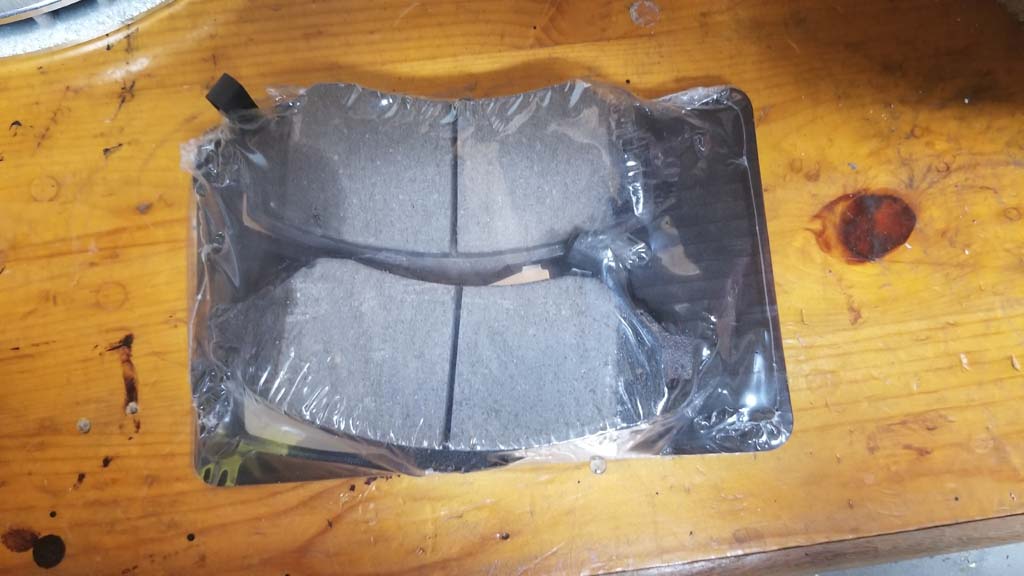
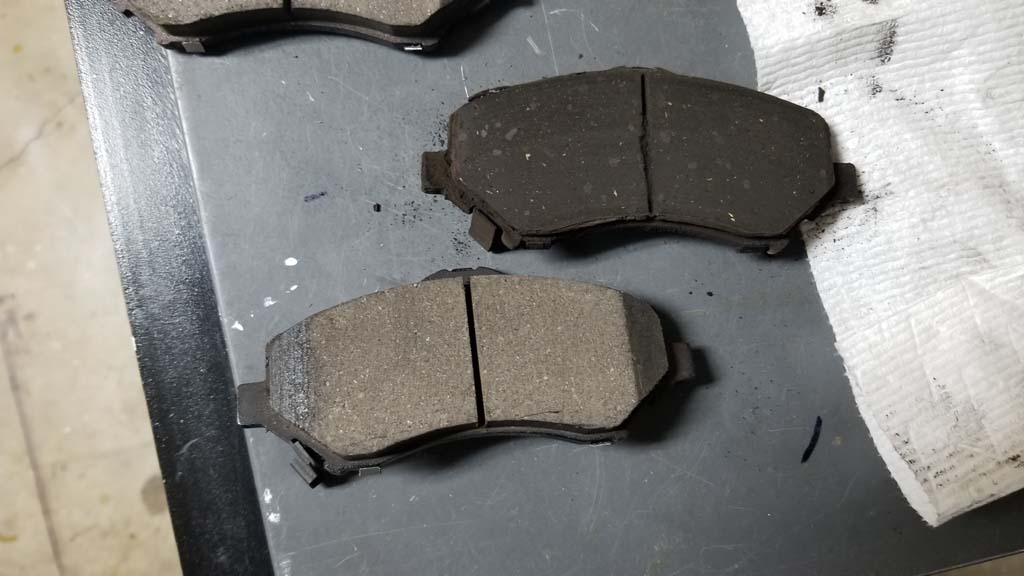
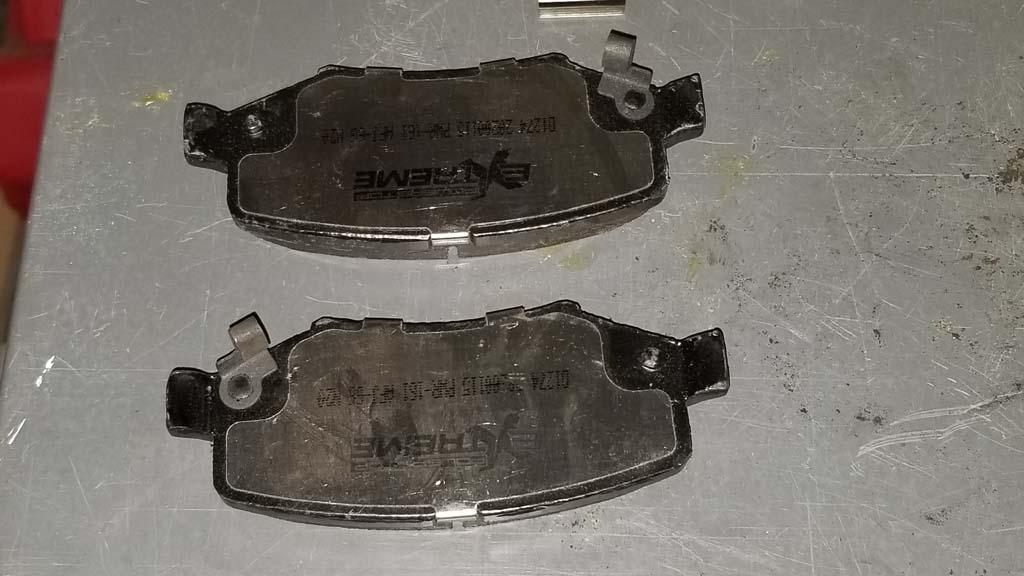
| Front Pads Z36-1273 These are larger than the rear pads. |
 |
 |
 |
 |
 |
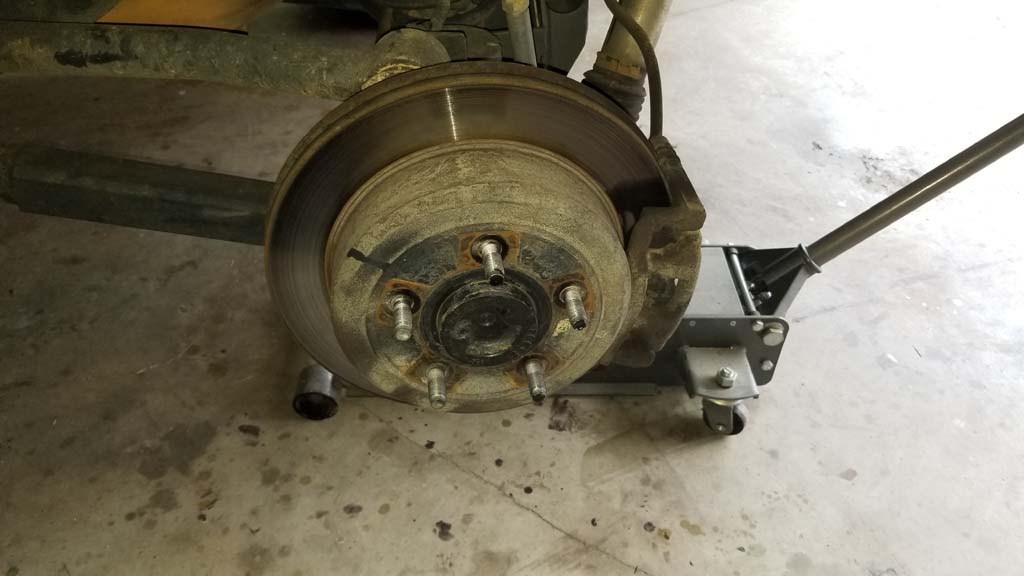
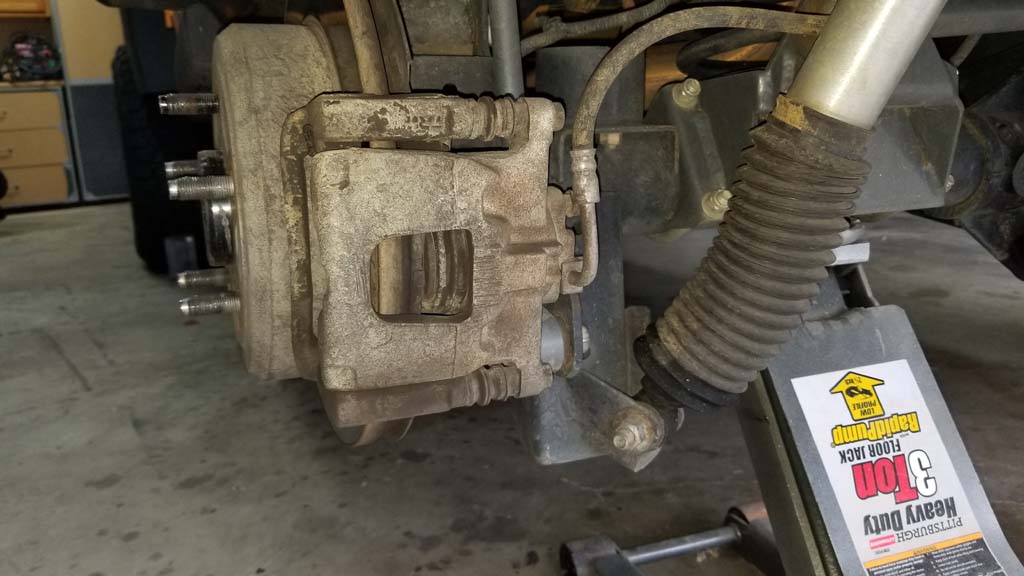
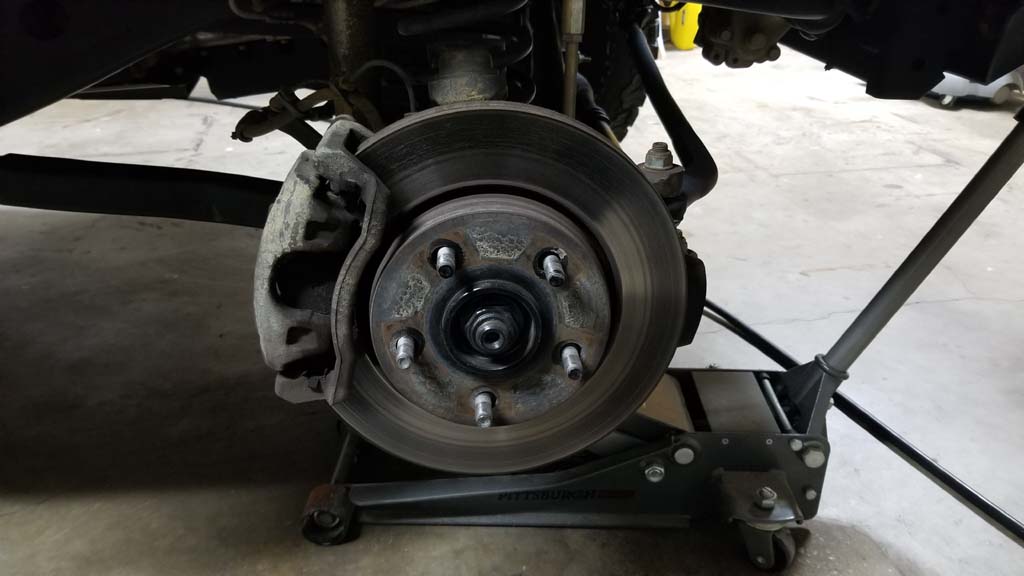
| 1. Set the parking brake, and chock the rear tires. Use a floor jack and jack stands to lift the front axle. Remove the tire or tires using a lug wrench and security key for the locking lugs if required. I did one side at a time, but you can do both. |
 |
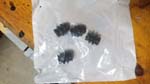
| 2. You may still have retainer clips on the lugs holding the rotors in place. You can remove these with a flat tip screwdriver and needle nose pliers. There seems to be no rhyme or reason to the amount that they place on the lugs. I've had everywhere from 1 to 5 over the years. |
 |
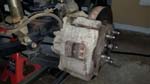
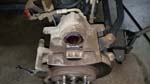
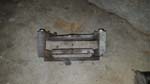
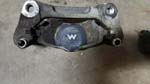
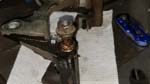
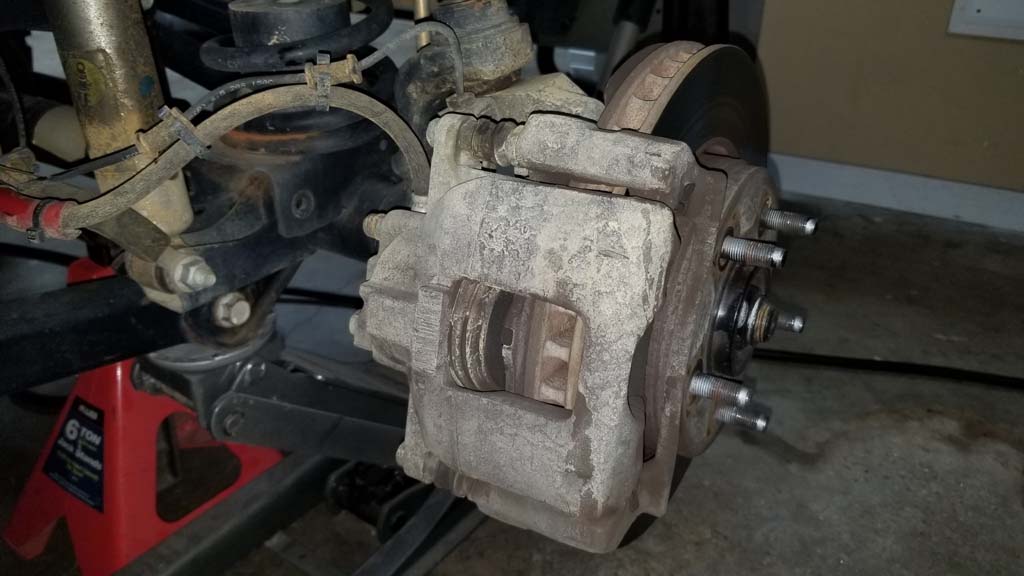
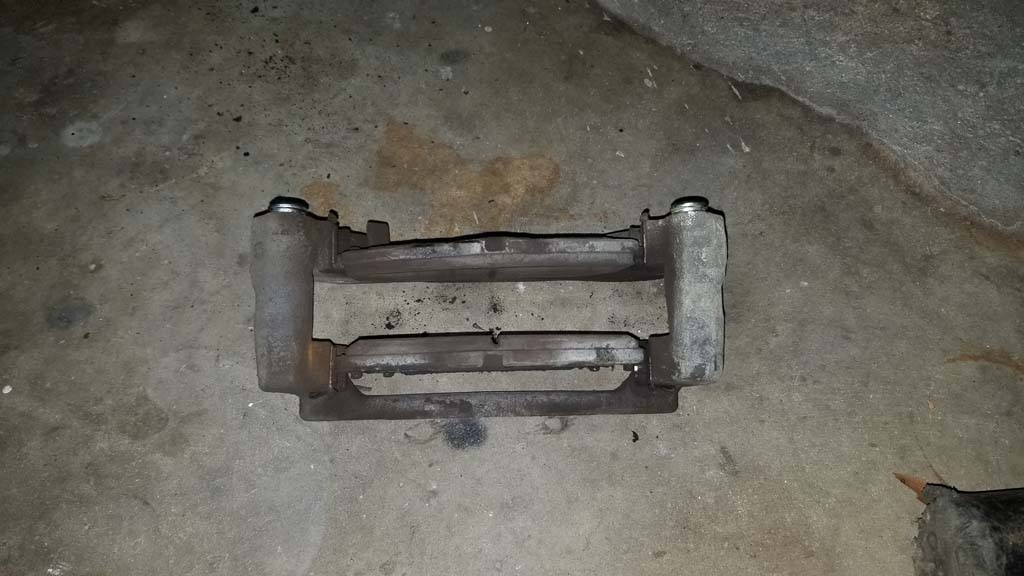
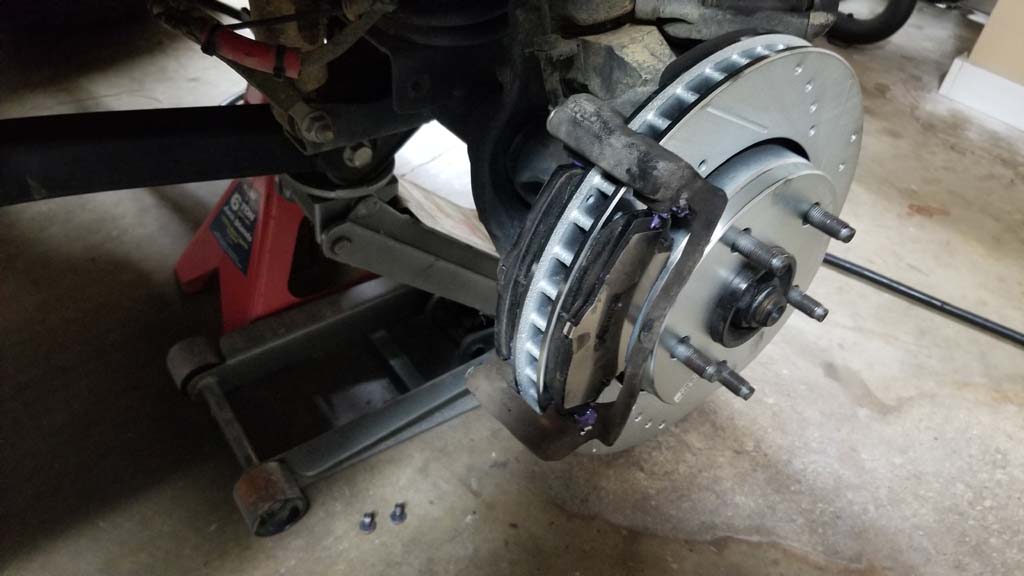
| 3. Remove the caliper piston from the caliper bracket. Locate the two bolts holding the caliper piston to the slide pins. The slide pins will have the rubber boots on them. |
 |
 |
 |
| 4. Use a 13mm combo wrench or socket and 15mm combo wrench to remove the slide pin retaining bolts from the slide pins. |
 |
 |
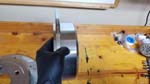
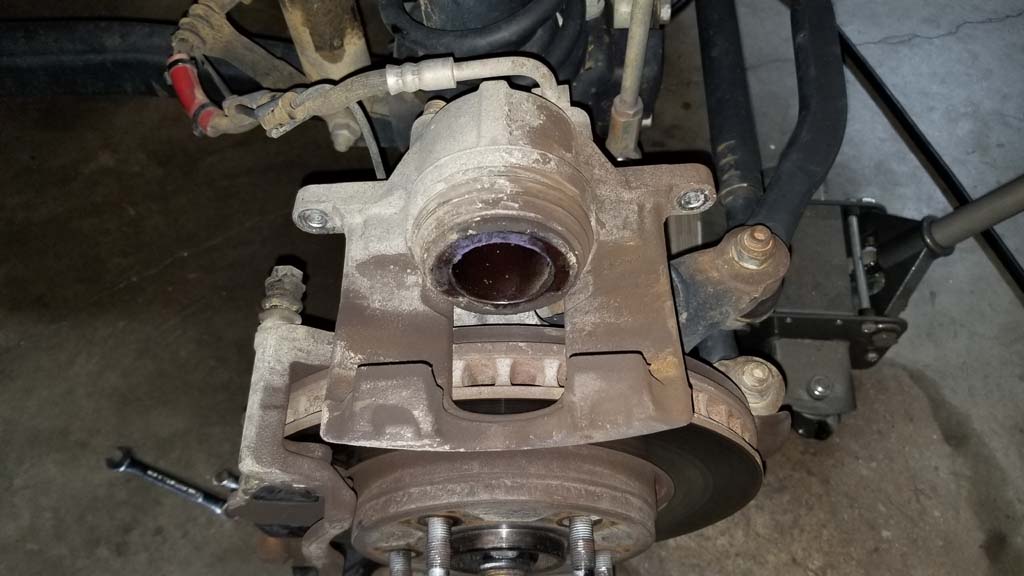
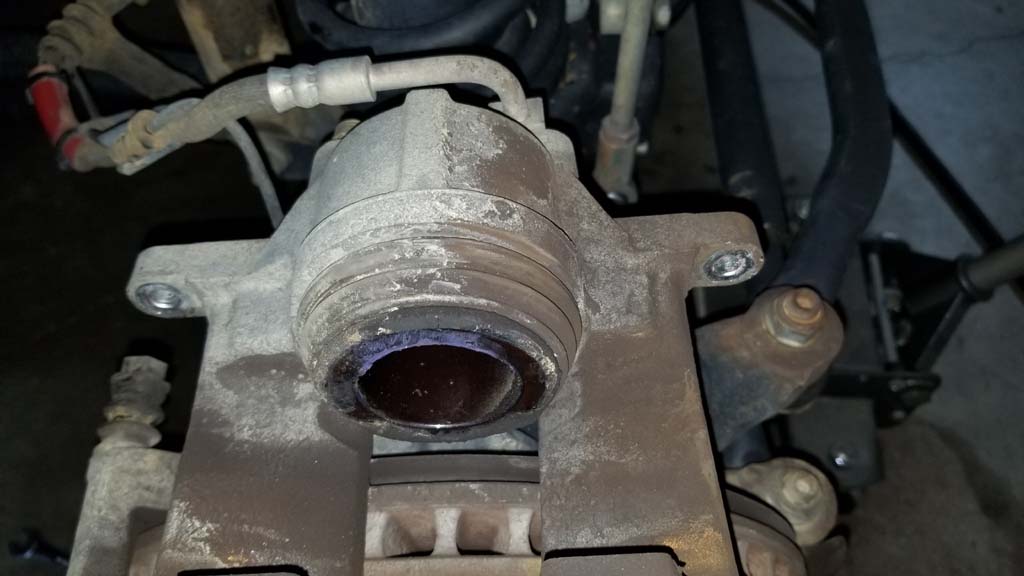
| 5. Lift the caliper piston off of the caliper bracket. This is a good time to clean off all the dirt and debris from the caliper piston. Inspect the caliper piston boot for cracks, tears, dry rot and damage. If they are damaged this is a good time to replace the boot, or even the entire caliper assembly. You will need to press the piston in a little to clear the new pads. I used a c-clamp and an old pad to press these in, but the better way is to acutally use a caliper tool. Don't press them in all the way, you can overflow the brake reservoir and possible damage the ABS system. |
 |
 |
| Note: The slide pins and brake shoes will remain in the caliper bracket. |
 |
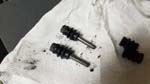
| 6. Remove the slide pins by carefully pulling them out of the caliper bracket. You may need to use a small flat tip screw driver under the lip of the boot by the bracket to get it to release. Mine just pulled off. The fronts were fine, but I had a jammed pin in the rear. |
 |
 |
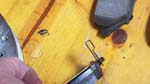
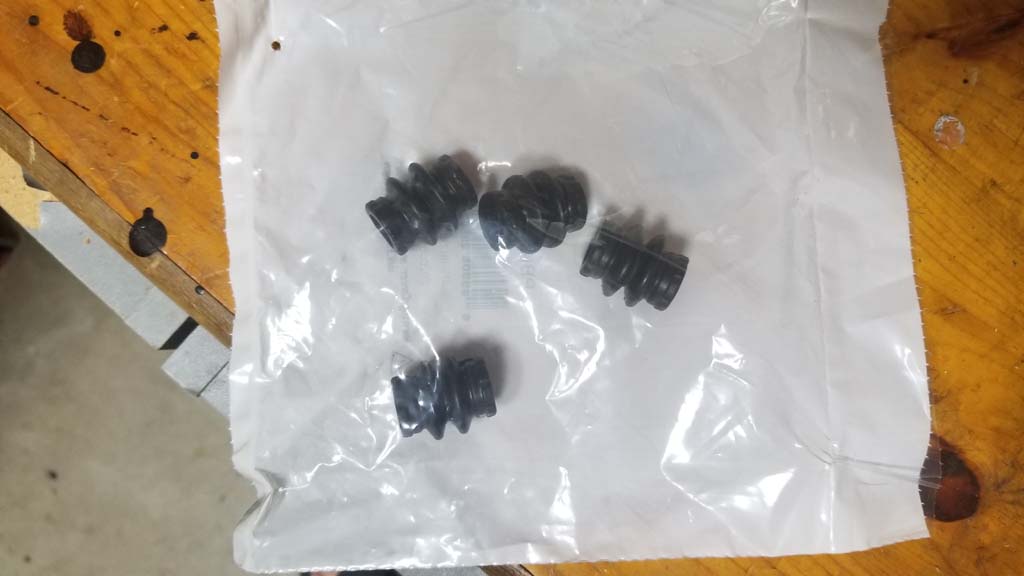
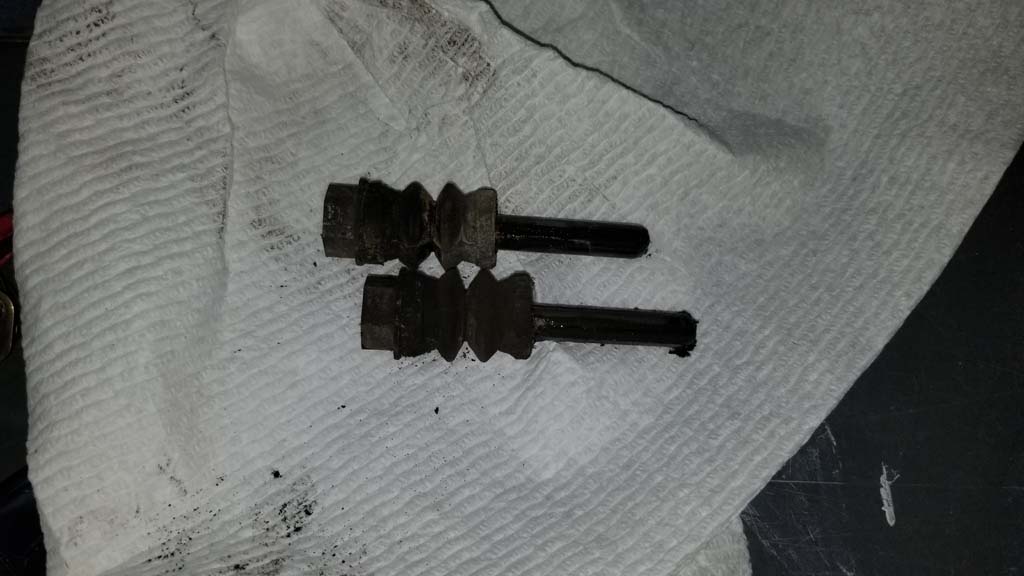
| 7. Remove the old boots from the slide pins. They should just pull off. I did notice that they all showed signs of dry rotting. These are the originals after 8 years, so I probably should have changed them when I did the brakes last time. While I didn't have any cracked boots on the front and all the pins were in good condition, I still have the rears to do. |
 |
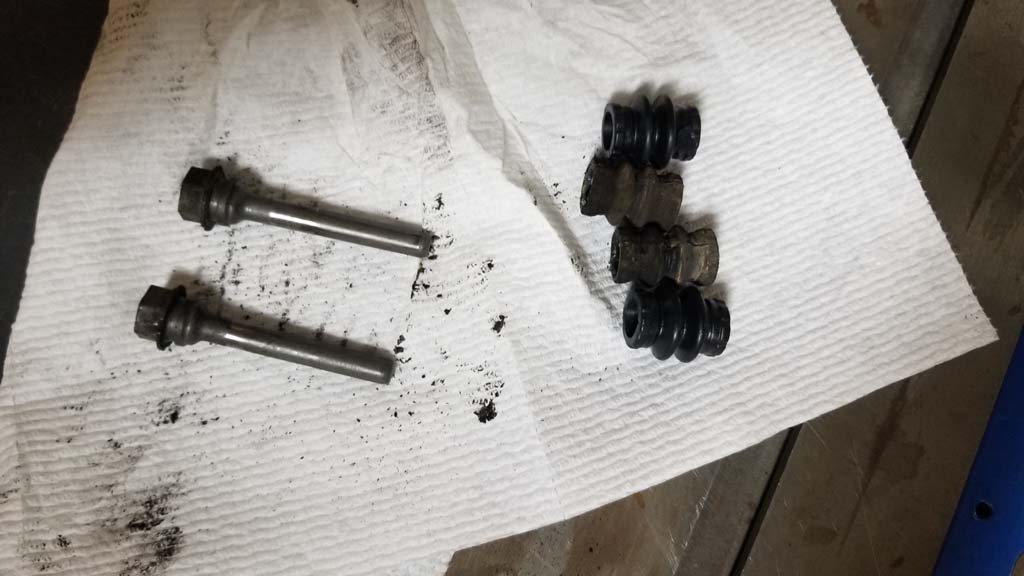
| 8. Clean the dirt, grease and debris off of the slide pins. This is a good time to look at the condition of the pins. Check to see that they are straight, no cracks, burrs, or rust. I cleaned the pins with some 320 grit and 2000 grit sand paper to remove surface rust and small burrs. I probably didn't need the 2000 grit, but I liked the nice polish on the pins. Make sure you wipe off the pins after you clean them up. |
 |
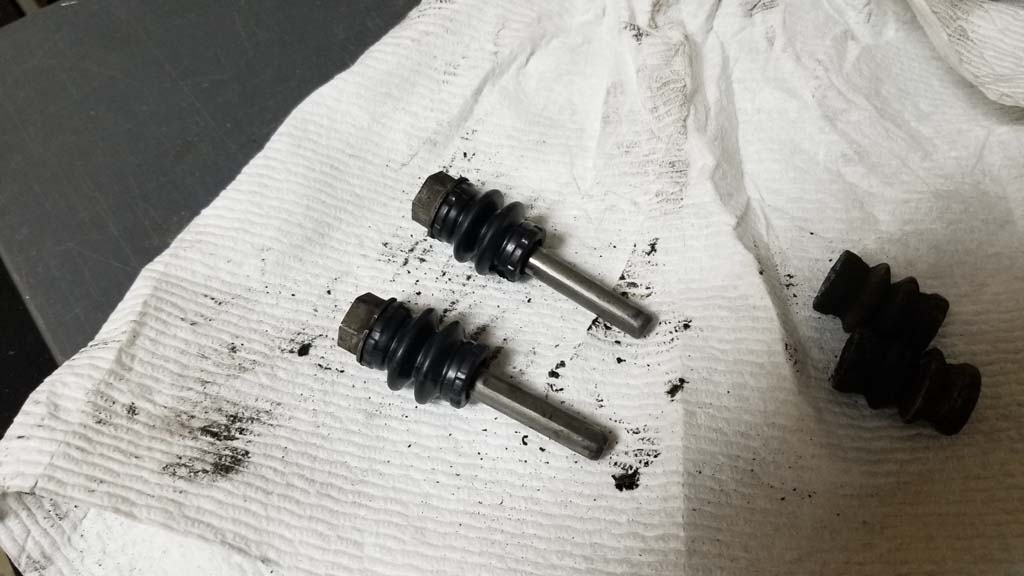
| 9. Install the new slide pin boots. They should slide up onto the top lip of the pin. Put these aside for now. |
 |
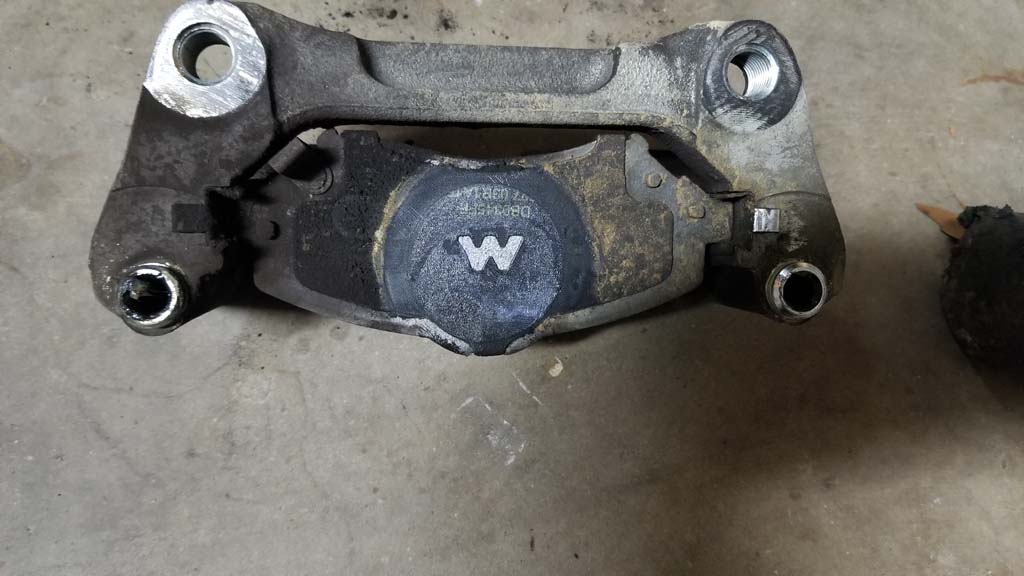
10. Remove the two bolts holding the caliper bracket to the steering knuckle. These are the larger two bolts and not the steering stop, or hub bolts. You will need a 21mm combo wrench, or socket and breaker bar. These can be on very tight, so may need a little persuasion with a dead blow hammer on the wrench to get them to loosen up.
Note: You may need to remove the ABS line from the bracket to get the top bolt out. |
 |
 |
 |
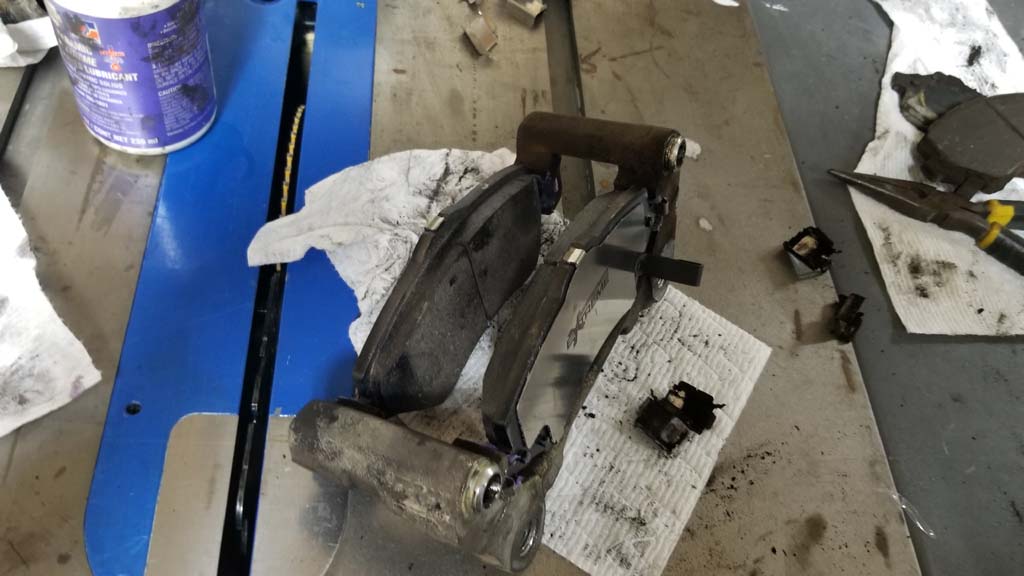
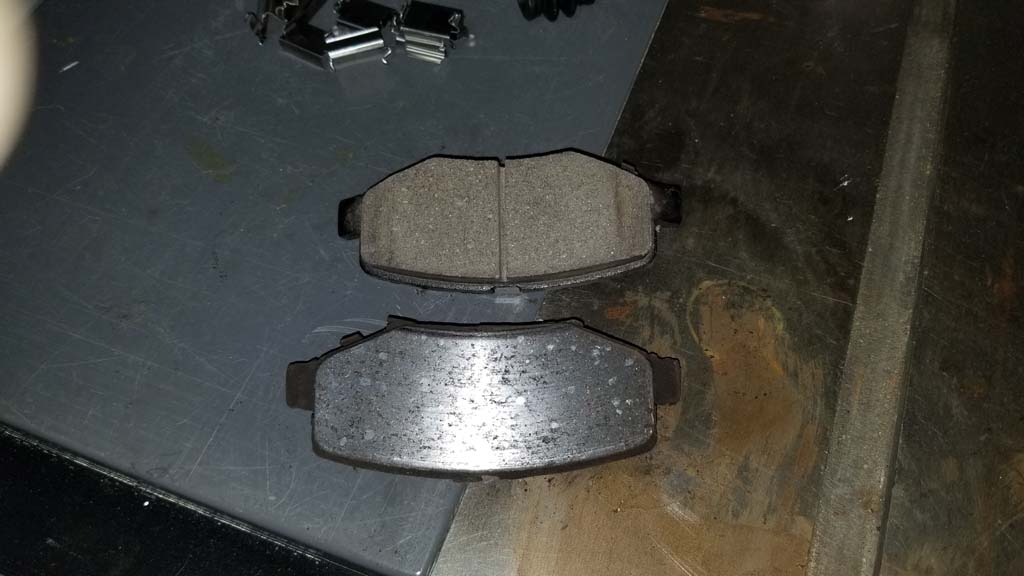
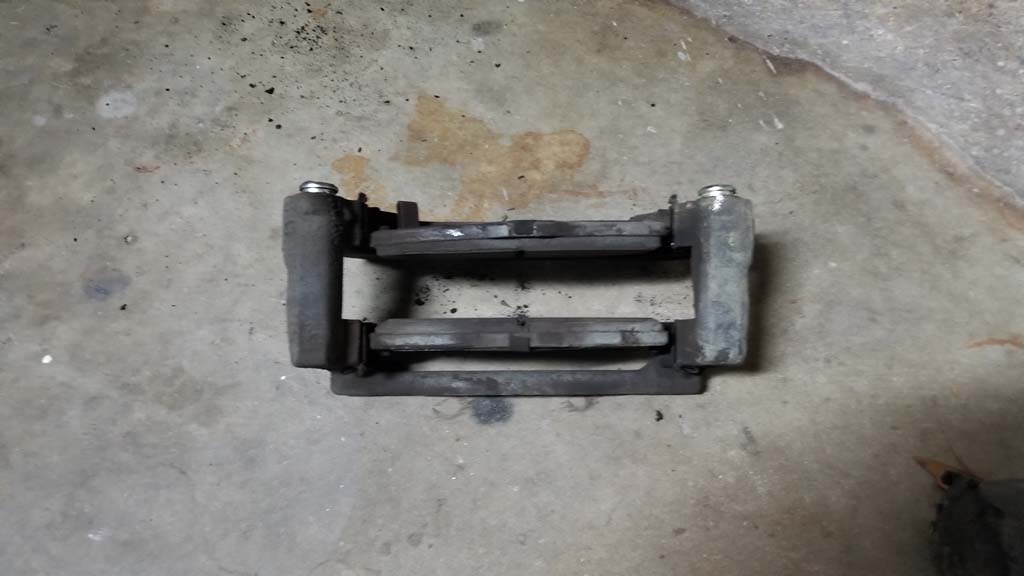
| 11. Remove the old pads from the caliper bracket. I definitely recommend putting on some vinyl or mechanic gloves just because mine were full of old grease, dirt, and other stuff picked up from a few years of wheeling. I typically use the 9mil vinyl gloves when I'm working on stuff. |
 |
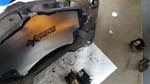
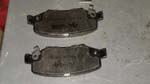
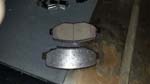
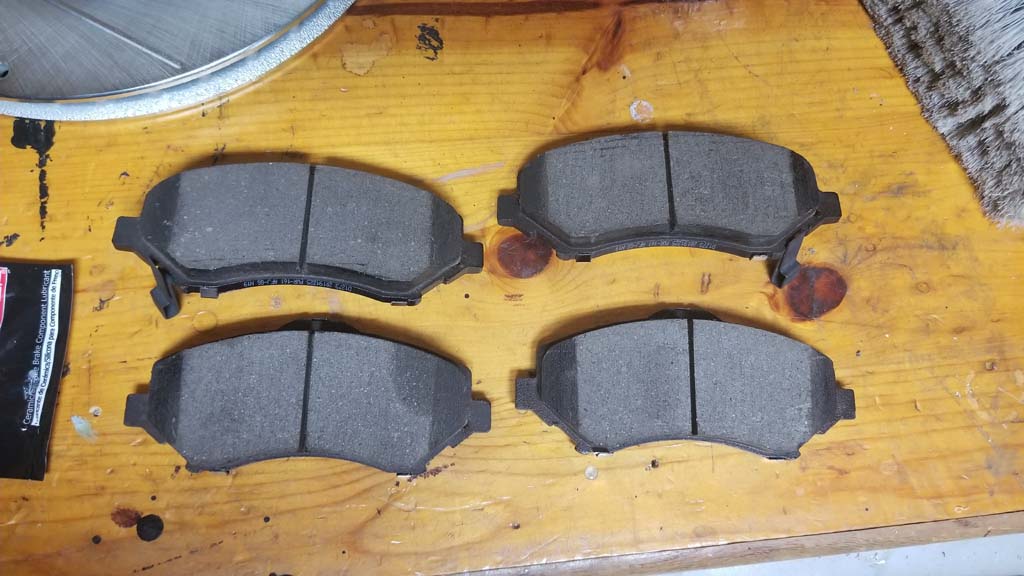
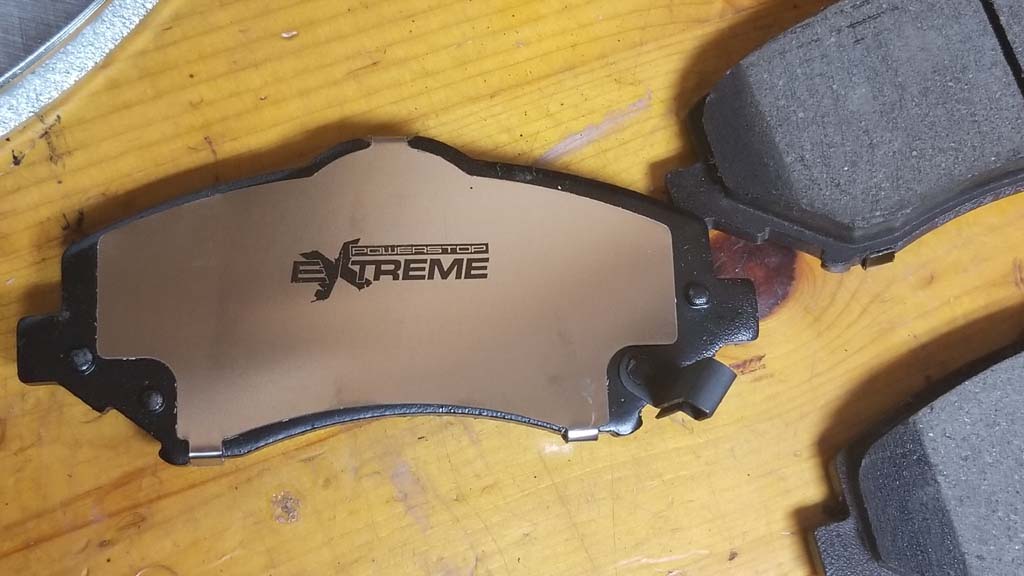
| Comparison of the old and new pads. |
 |
 |
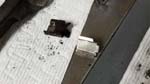
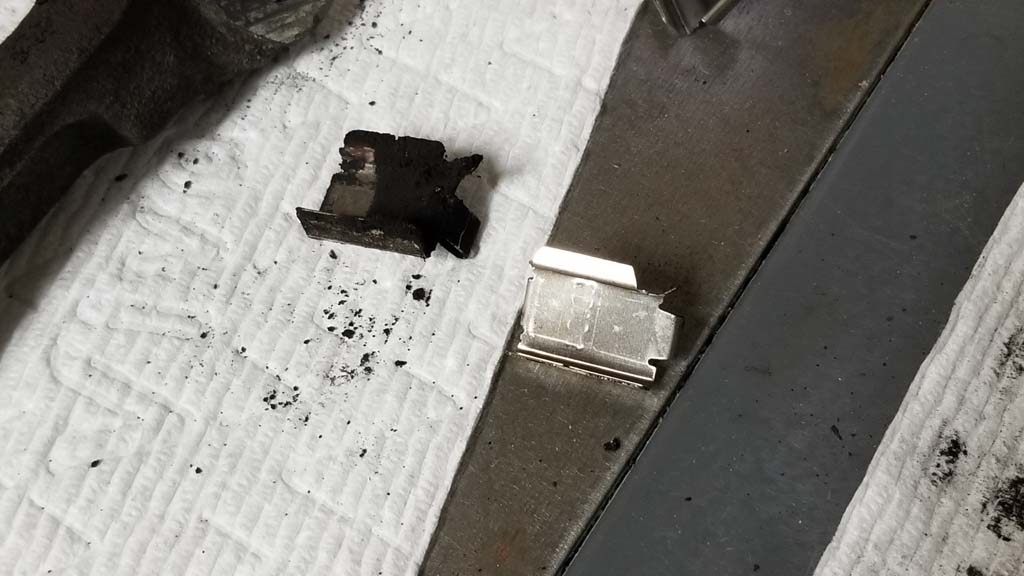
| 12. Remove the old brake pad slide clips from the caliper bracket. You may need a small flat tip screwdriver to pry them out. Note the orientation of the clips in the caliper bracket. |
 |
| There is a left and right side clip. The clips have a short lip and a long lip side just like the position on the caliper bracket. They also have a spring clip on one side. This spring clip goes to the outside of the caliper bracket. |
 |
 |
 |
| 13. Clean off the caliper bracket before you install the new slide clips into the bracket. |
 |
| 14. The clips can be a real pain to get in and do have sharp edges. I found that installing the clip is really dependent upon the clip itself. Sometimes I put the clip in at an angle hooking the solid clip first and then pressing it in, other time just pressing the clip straight in works. |
 |
| 15. Apply brake grease to the installed clips. I typically use a ceramic grease on the slides, just because I have it. I have seen brake grease come in different colors. PowerStop does include brake grease with their kit. |
 |
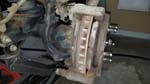
| 16. Install the brake shoes into the caliper bracket. One of the brake shoes has a squealer attached to it. This is to let you know if your brakes need to be changed. Install the pad with the squealer on the inside of the caliper bracket. This is the side that they slide pins install on.The skinny side of the brake pad goes towards the back of the caliper bracket. |
 |
 |
 |
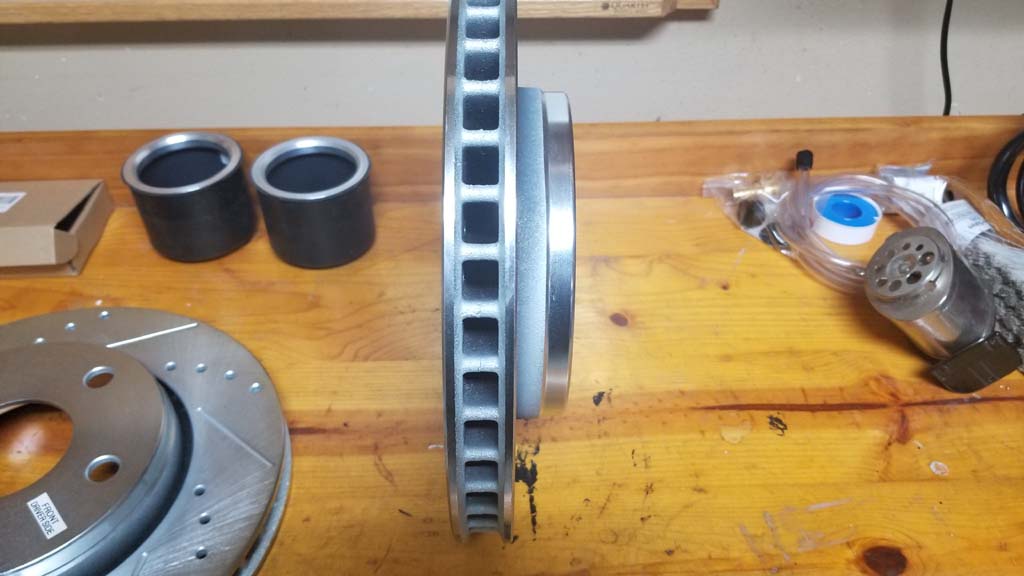
| Note: Before you do step 17 make sure you clean off the new rotor with some brake clean. The rotors come with a light coating on them to protect them from rusting while they are in storage. |
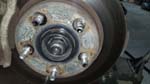
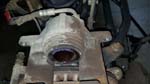
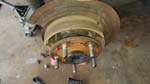
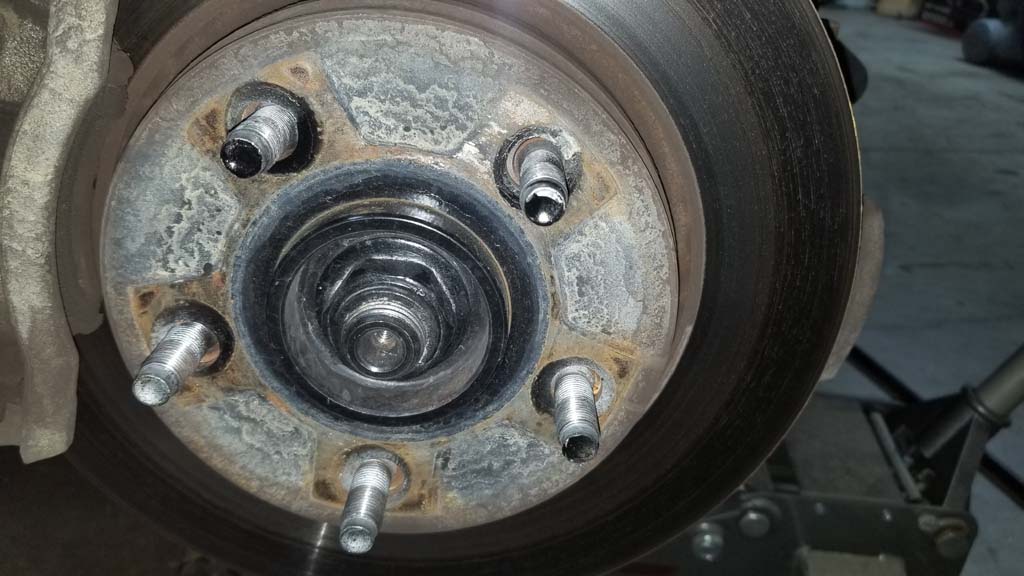
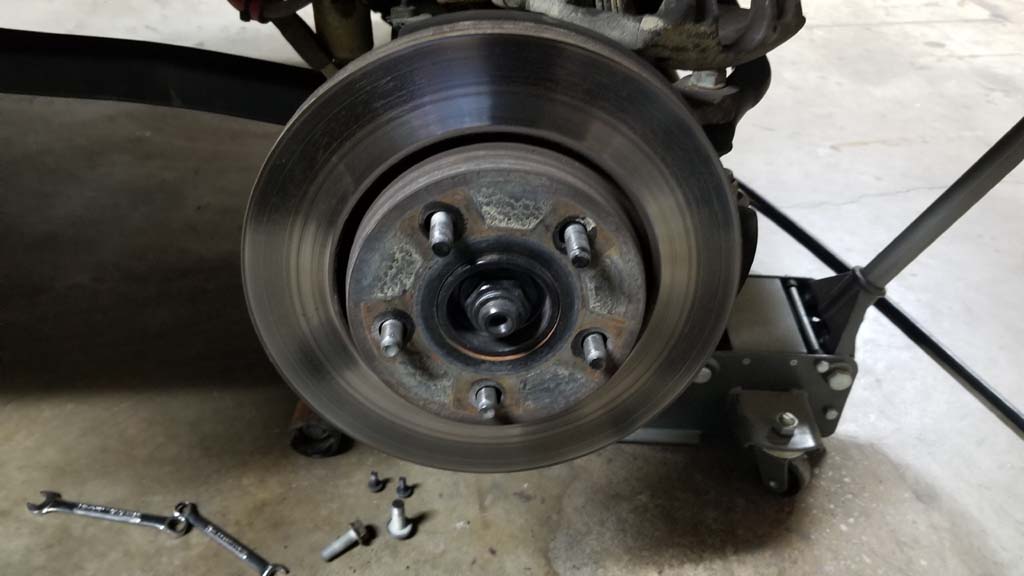
| 17. Remove the rotor from the hub. This should just slide off, but if it is stuck. Install two lug nuts opposite of each other on the lugs. You don't need to tighten them down, just spin them on a few threads. Take a dead blow hammer and tap the back side of the rotor as best you can. You can also tap along the edge to get it to loosen up. After the old rotor is removed, clean off the mounting surface to remove any rust and debris. Find the rotor marked with the correct side and install it over the lugs. I recommend installing a lug nut on the top lug just to make sure your nice new rotor doesn't slip off and land on the floor. |
 |
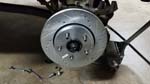 |
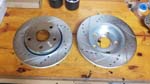
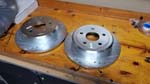
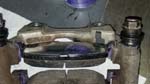
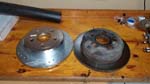
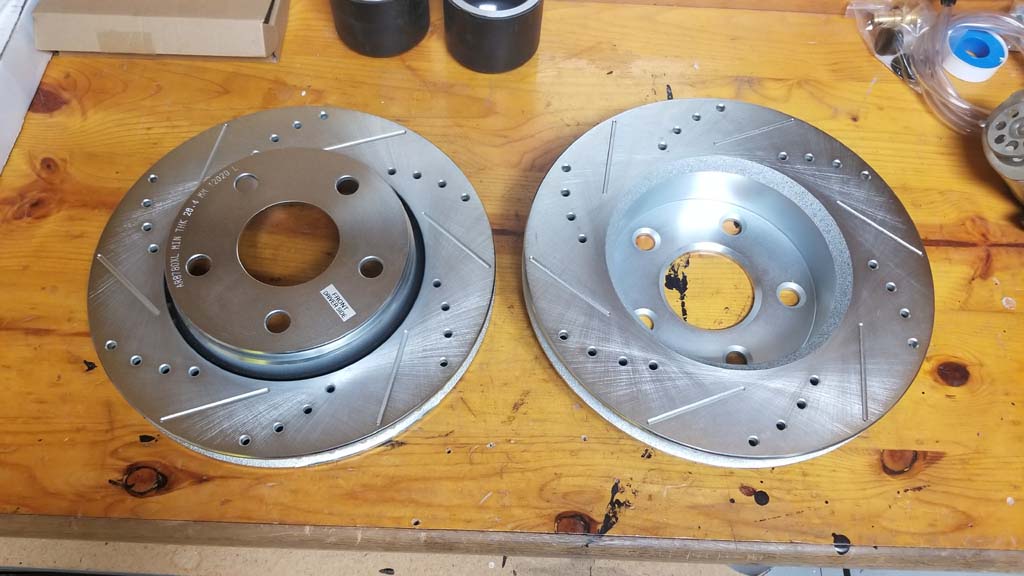
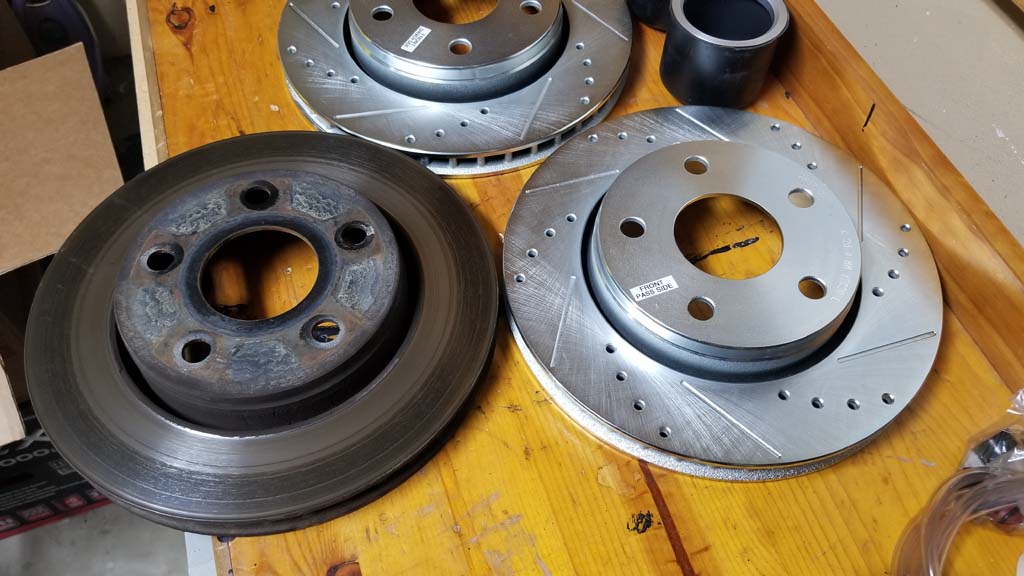
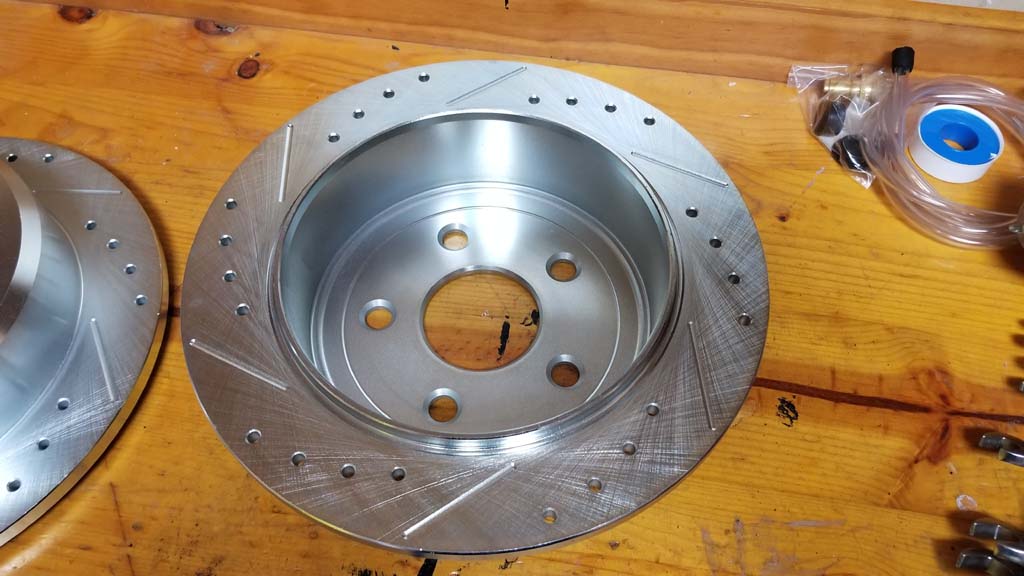
| Comparison of the old and new rotors. |
 |
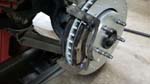
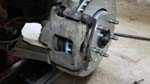
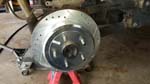
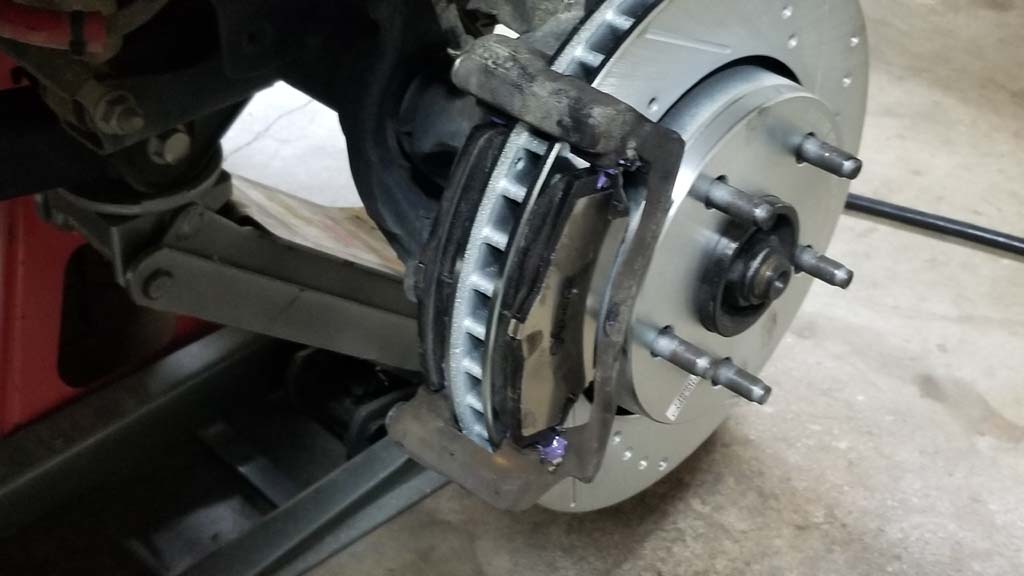
| 18. Slide the caliper bracket and new pads over the rotor and line the caliper bracket up with the bolt holes on the steering knuckle. |
|
 |
 |
19. Reinstall the caliper bracket bolts. You will need a 21mm combo wrench or socket. Torque to 120 ft/lbs.
Note: The rears will require only 55 ft/lbs.
|
|
| 20. Apply some brake grease to the slide pins and slide them into the caliper bracket. Make sure the boots slide over the lip on the caliper bracket. |
 |
| 21. Slide the caliper over the brake shoes and caliper bracket. Install the slide pin bolts into the slide pins. You will need a 13mm combo wrench or socket and 15mm combo wrench. Torque to 26 ft/lbs. |
 |
|
| 22. Reinstall the ABS line in it's bracket if you removed it earlier. |
| 23. Reinstall the tire and lug nuts. |
| |
| Rear PowerStop Installation: |
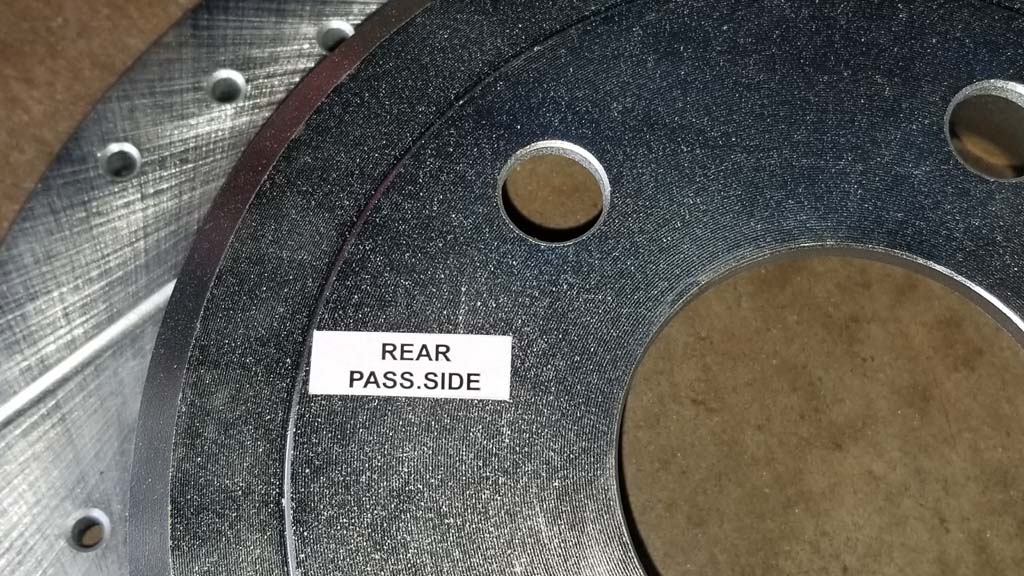
| Rear Rotors, these are marked with passenger and drivers side. Make sure you install the correct on on the correct side. |
 |
 |
 |
 |
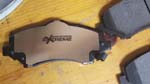
| Rear Pads Z36-1274 These are smaller than the front pads. |
|
 |
| Most of the rear installation is exactly the same as the front, so I won't add a duplicate of taking them apart below. I will add a few notes of things I ran into along the way, but otherwise follow the front installation instruction. |
| 1. Chock the rear tires. Use a floor jack and jack stands to lift the rear axle. Remove the tire or tires using a lug wrench and security key for the locking lugs if required. I did one side at a time, but you can do both. You will need to release the parking brake once you have the rear axle raised and have ensured that the Jeep will not move. If you don't release the parking brake it will be extremely difficult to remove the rear rotors and almost impossible to get the new ones back on. |
 |
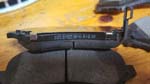
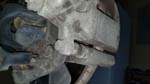
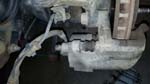
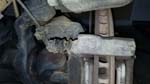
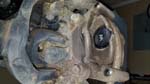
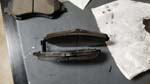
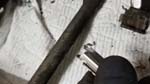
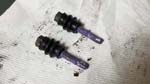
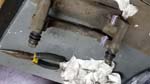
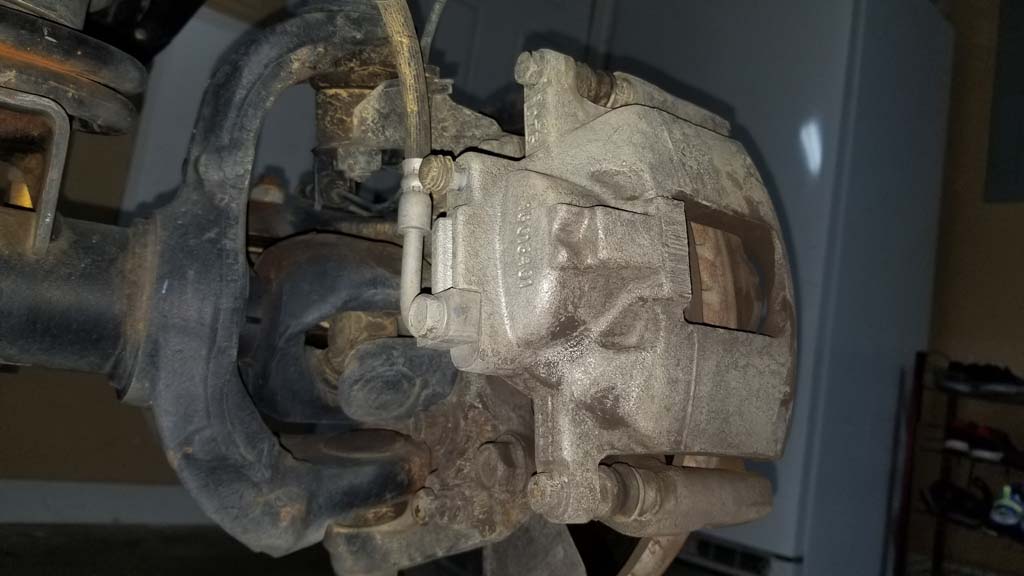
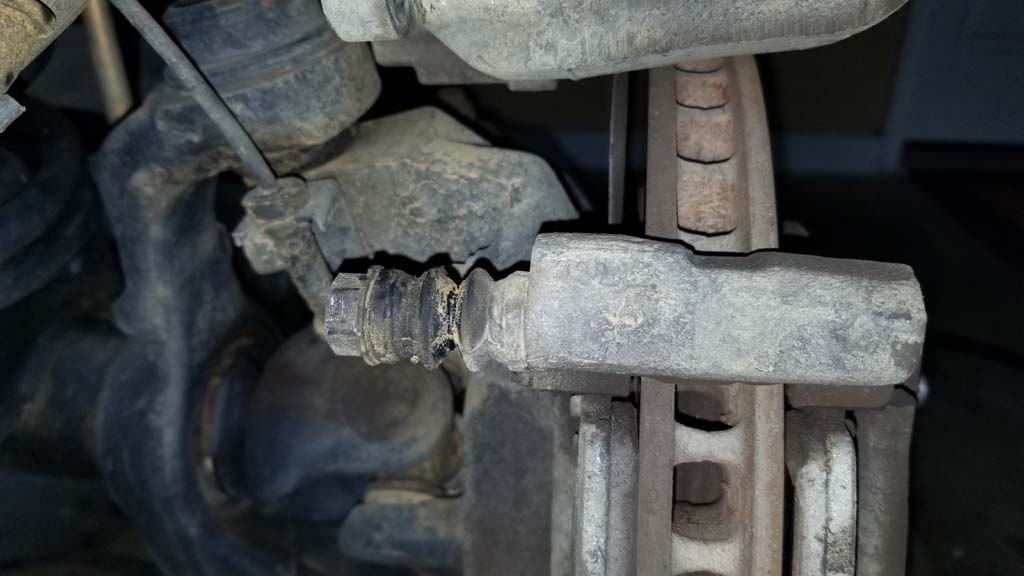
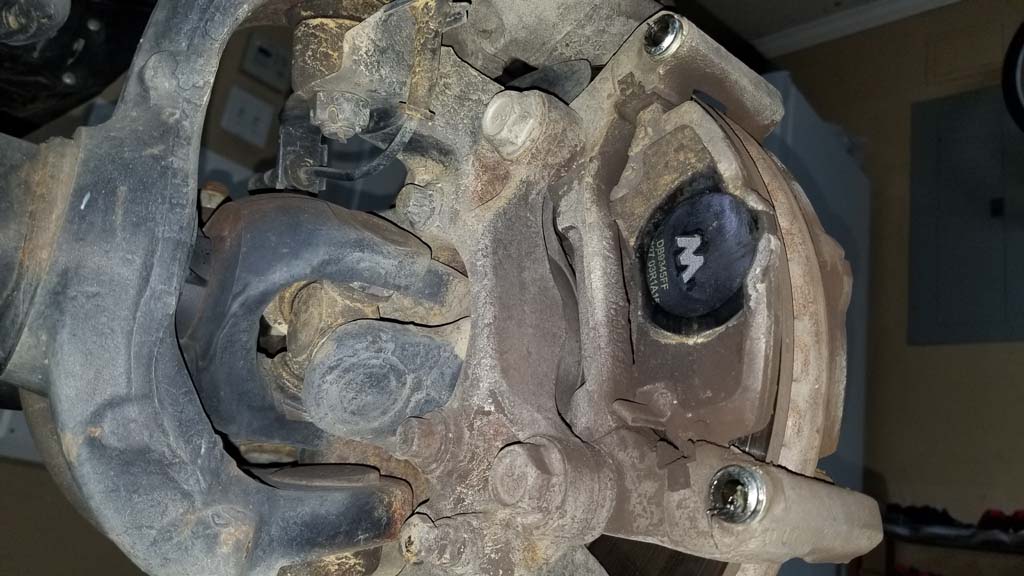
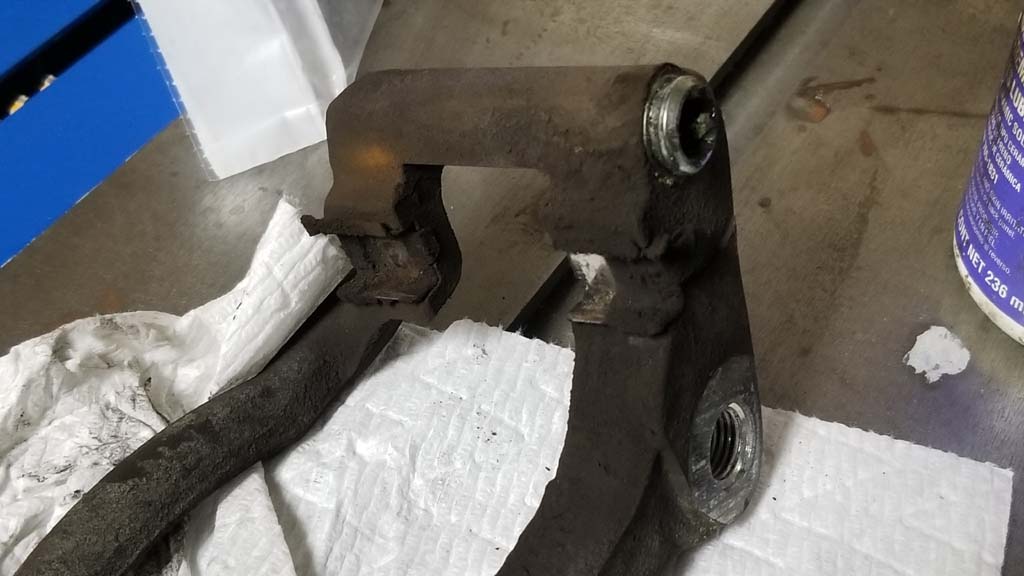
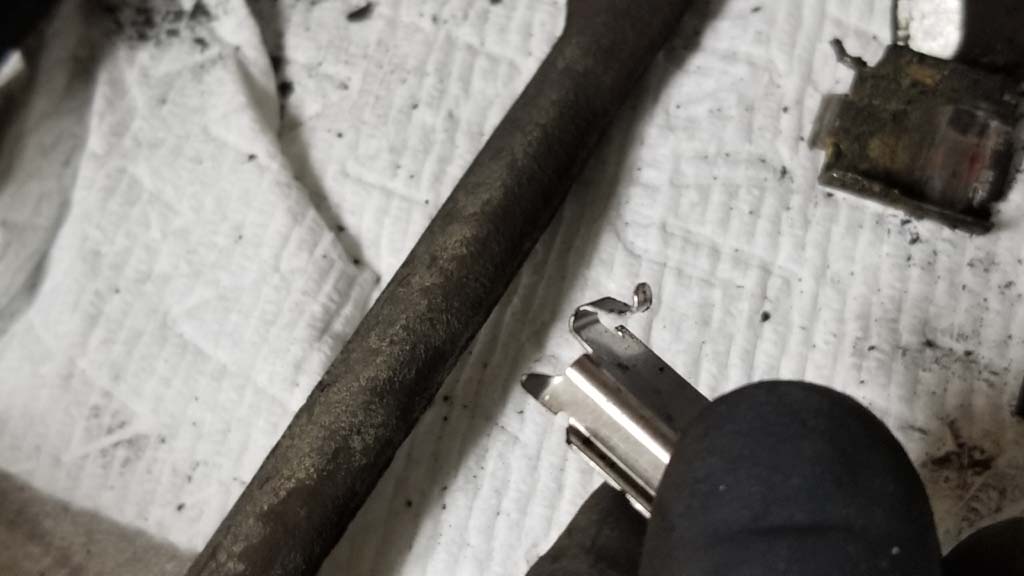
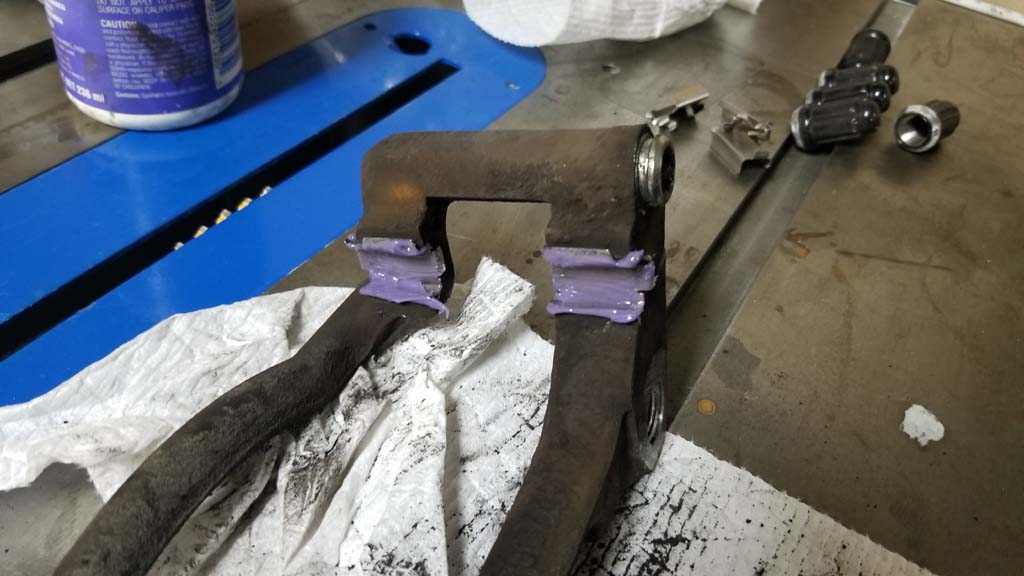
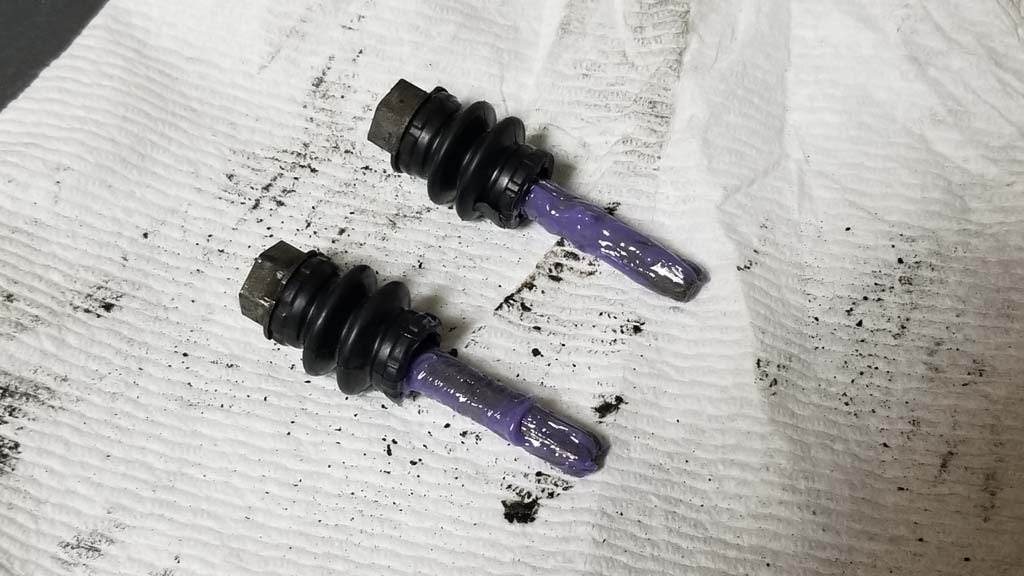
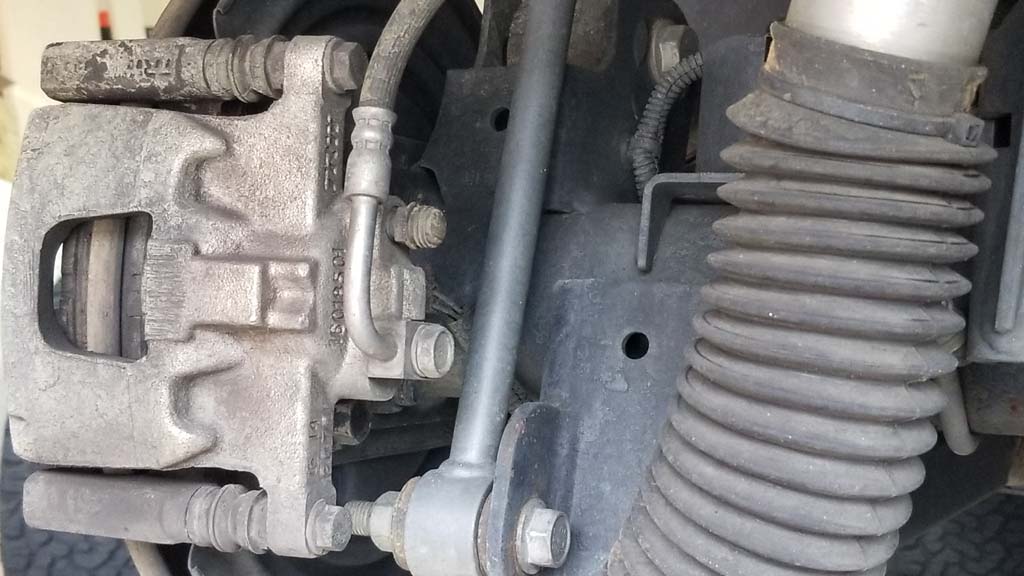
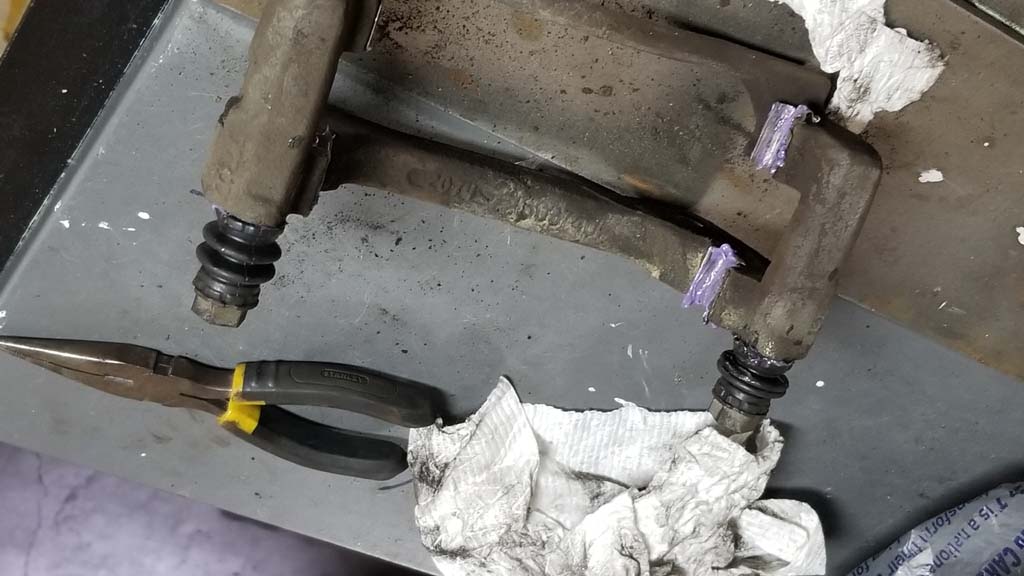
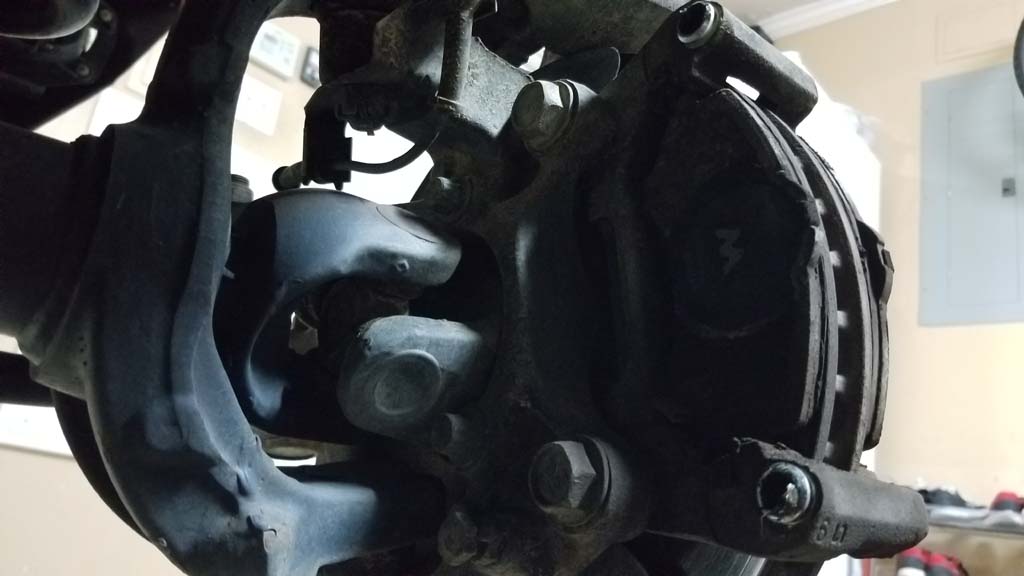
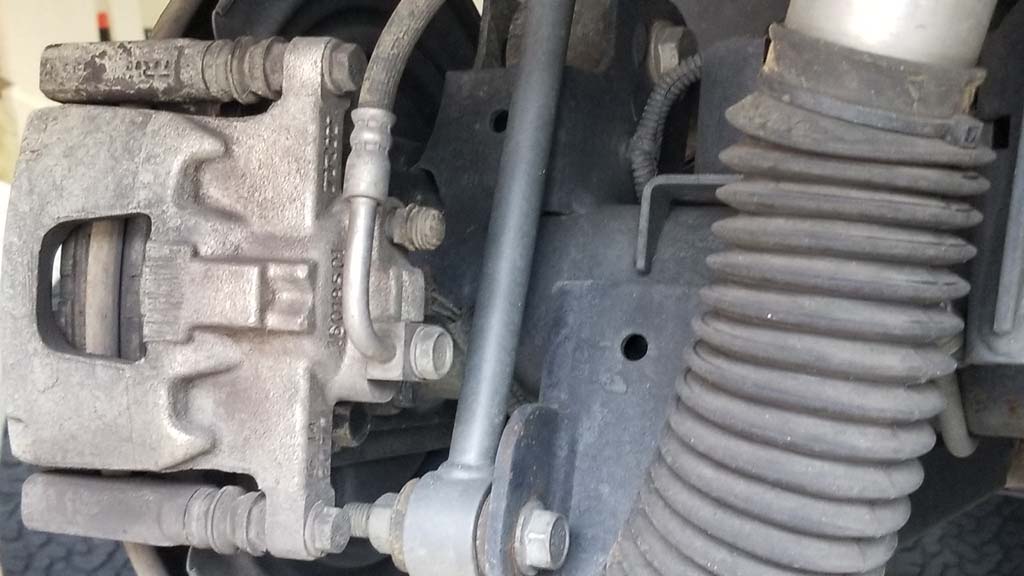
| I did discover a cracked slide pin boot on the rear brake caliper. This did cause a problem when I remove the caliper bracket. It is the top boot in the picture. |
 |
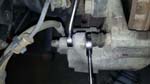
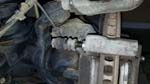
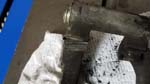
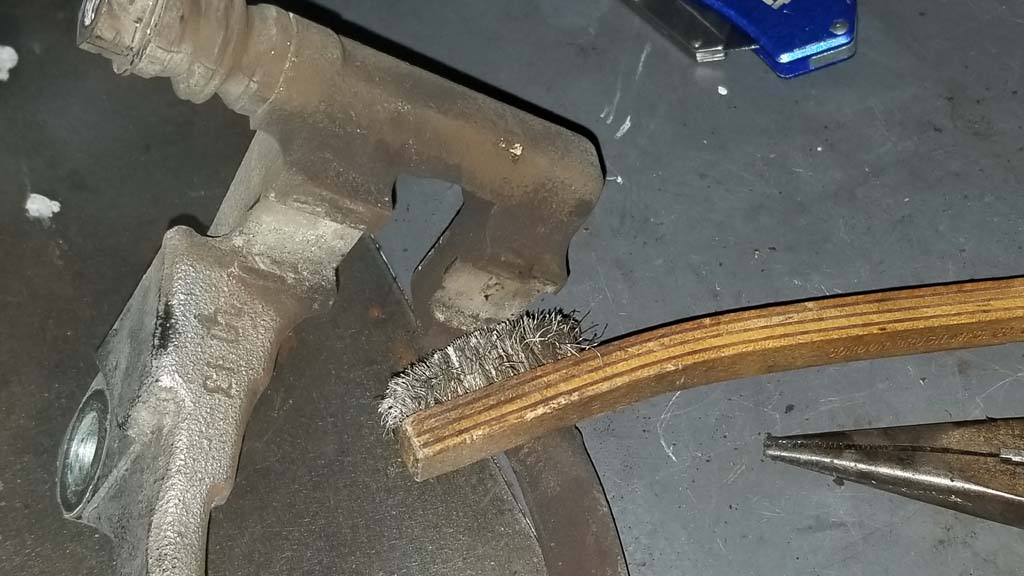
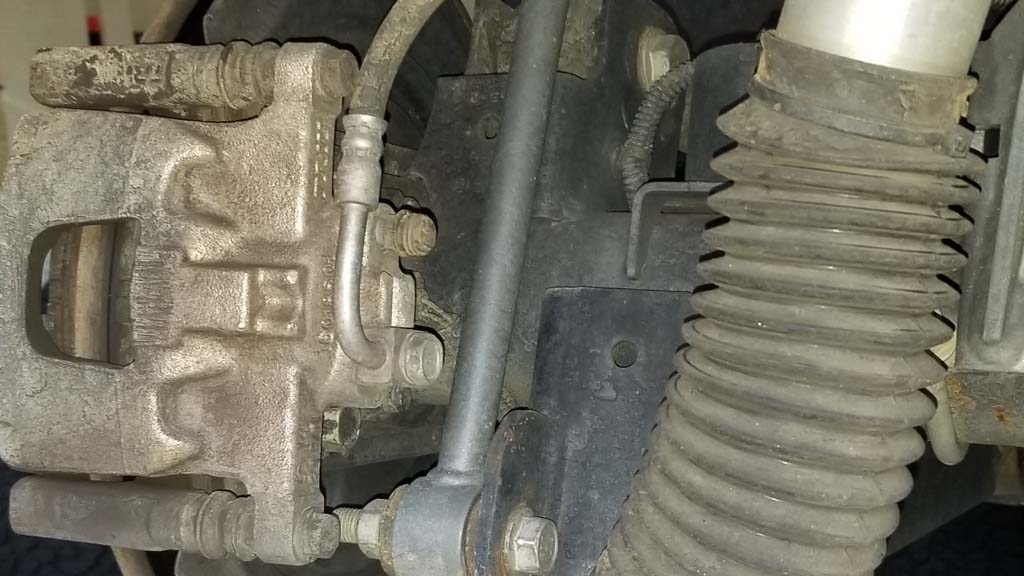
| My rear brake line ran across the top slide pin bolt, so I needed to bend it out of the way slightly. I moved it just enough to clear the bolt. |
 |
Remove the two bolts holding the caliper bracket to the steering knuckle. You will need a 18mm combo wrench, or socket and breaker bar. These can be on very tight, so may need a little persuasion with a dead blow hammer on the wrench to get them to loosen up.
Note: The fronts are a 21mm while the smaller rears are a 18mm. |
|
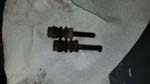
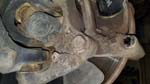
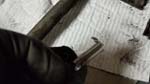
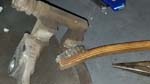
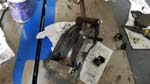
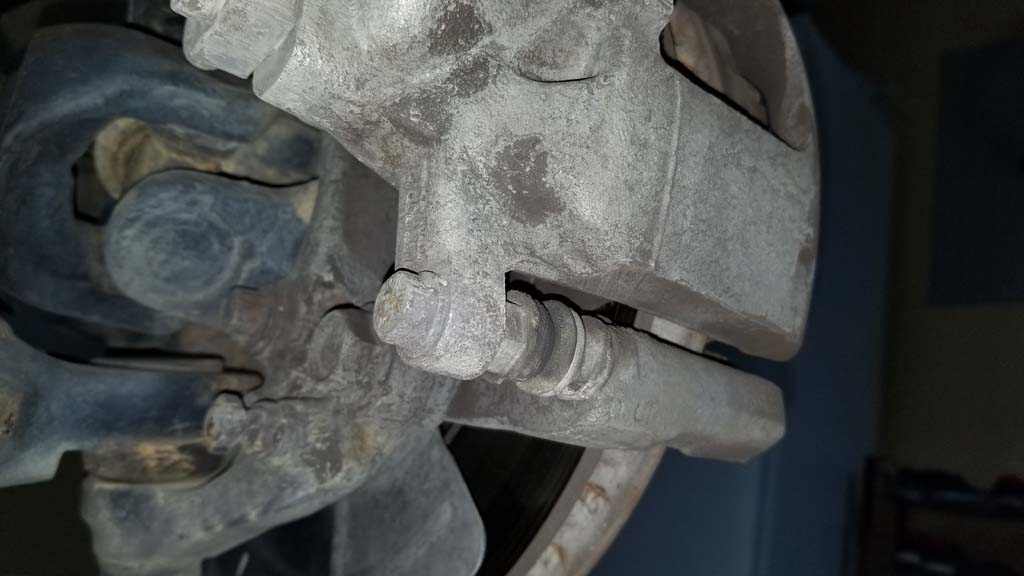
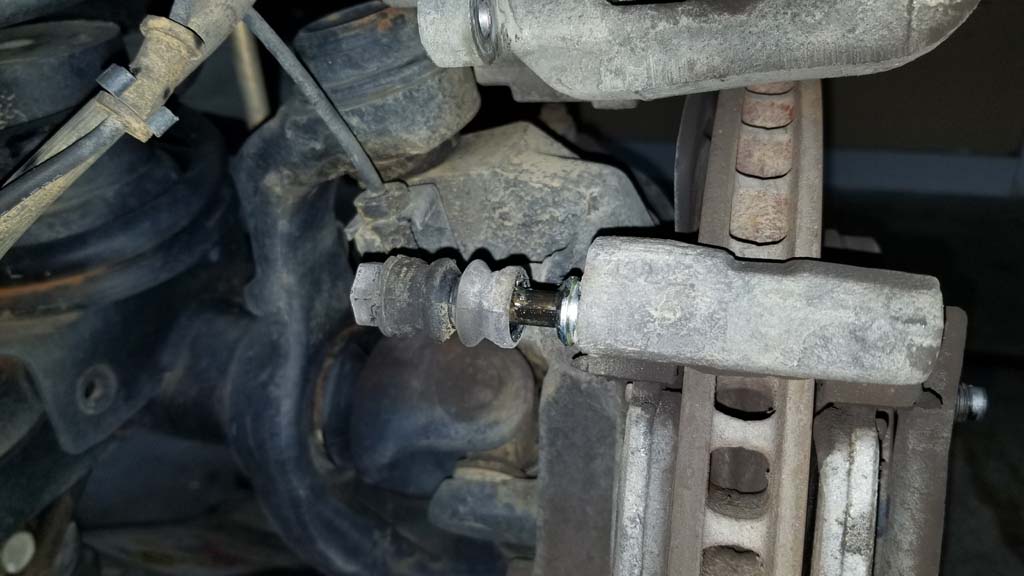
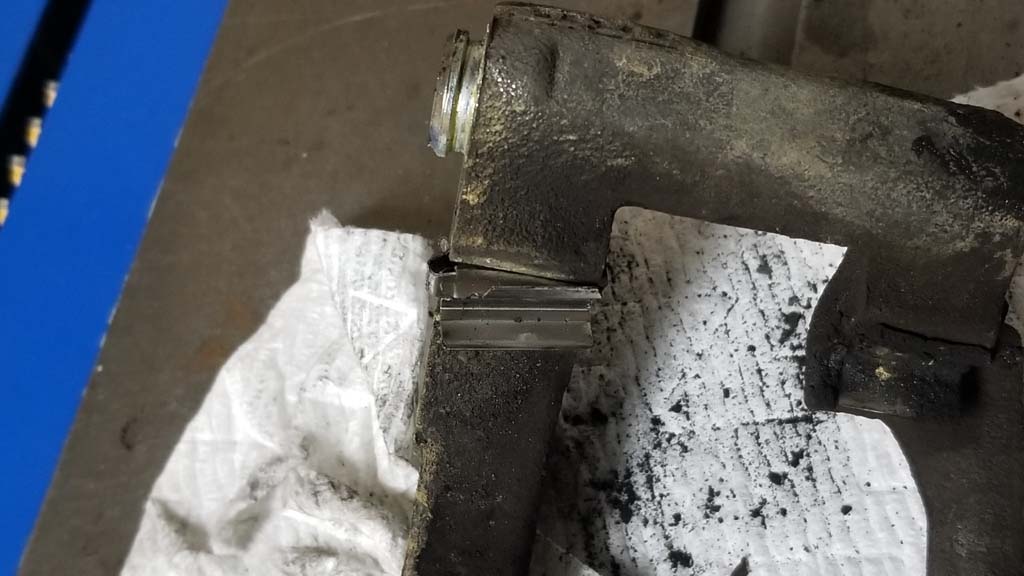
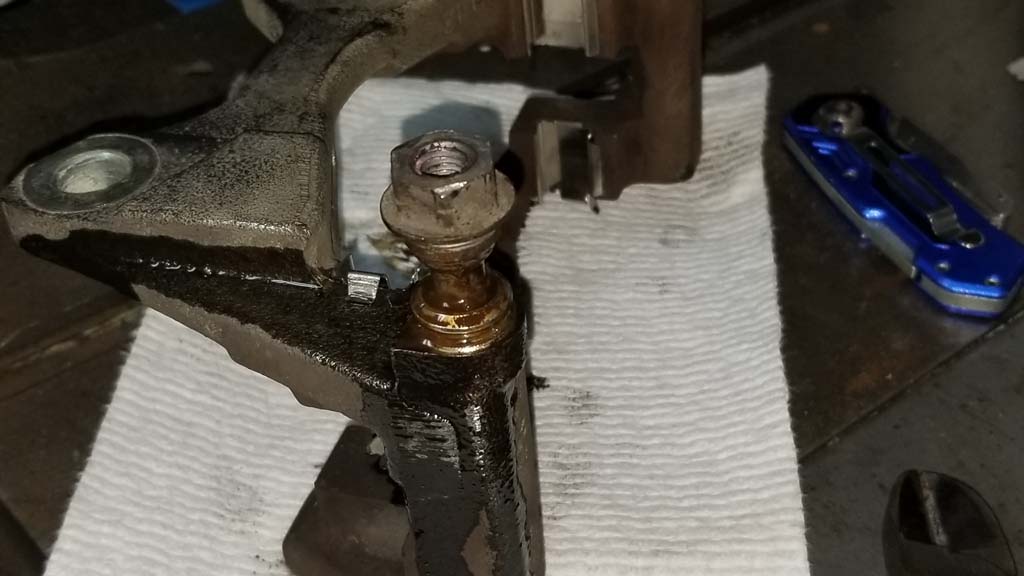
| I had one slide pin that was seized in the caliper bracket. This ended up takeing a couple hours of careful work to get the slide pin free from the caliper bracket. I cut the boot off of the pin with a knife. I then used a liberal amount of WD40 and PB Blast to loosen the rust around the slide pin. Then it was a combination of gentle tapping and turning with the a wrench, picking out the debris with a o-ring pick finally worked it loose. I didin't want to place anything between the slide pin and the caliper bracket due to the groves for the slide pin boots. Damaging them would have required more work to repair. Once the pin was removed I cleaned out all the debris from the caliper bracket hole and removed the rust from the slide pin. The pin had some divots in it, but other wise was in good condition and straight. |
 |
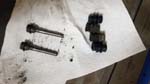
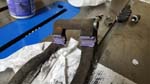
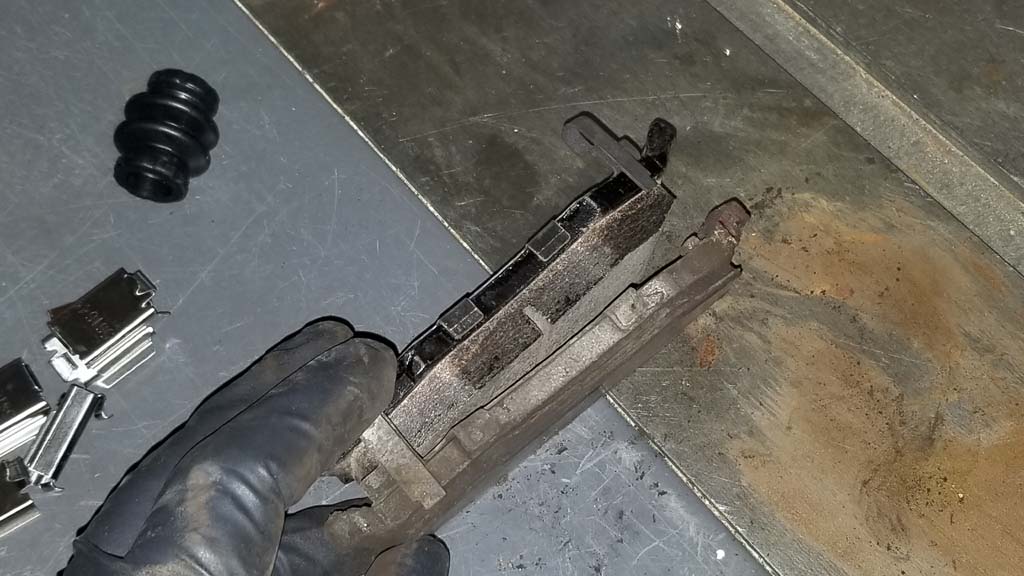
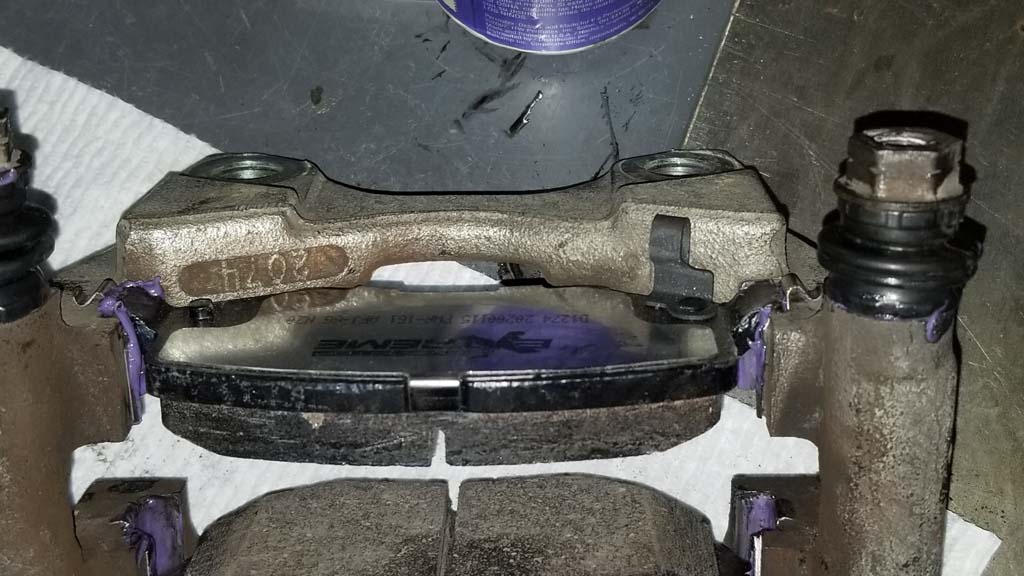
| Comparison of the old and new pads. The one picture is deceiving, but the pads are the same size. |
 |
 |
| I installed the slide pins in the caliper bracket before I installed the brake shoes and before I installed the caliper bracket back on the rear axle. I really didn't make much of a difference with the slide pins. |
 |
 |
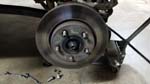
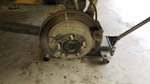
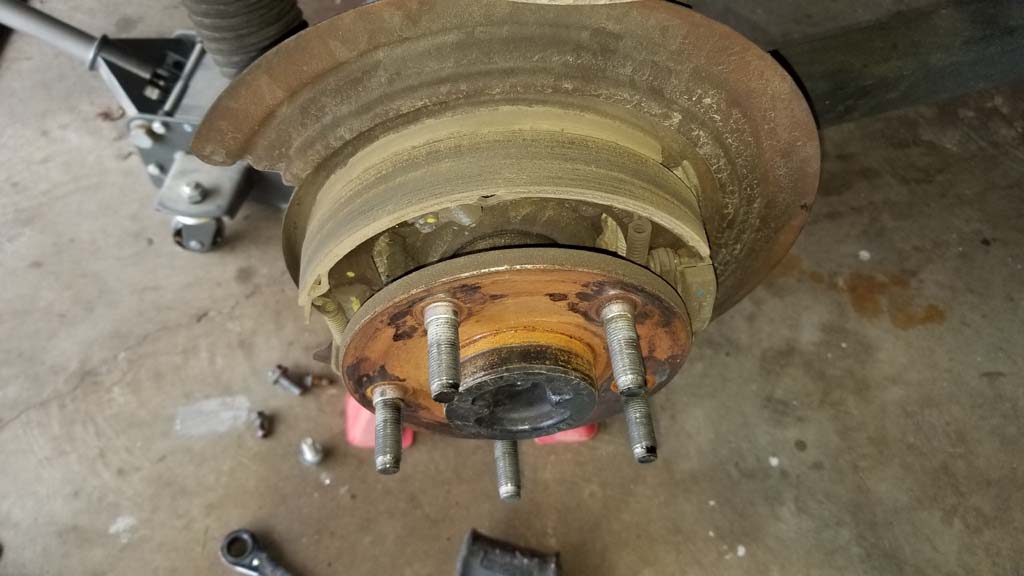
| Remove the rotor from the hub. This should just slide off, but if it is stuck. Install two lug nuts opposite of each other on the lugs. You don't need to tighten them down, just spin them on a few threads. Take a dead blow hammer and tap the back side of the rotor as best you can. You can also tap along the edge to get it to loosen up. After the old rotor is removed, clean off the mounting surface to remove any rust and debris. Inspect the parking brake springs and pads to make sure they are in good condition. Mine were still fine after 80,000 miles. I placed a pan under the brake and sprayed it down with some brake clean to get rid of any dirt and debris on the inside. |
 |
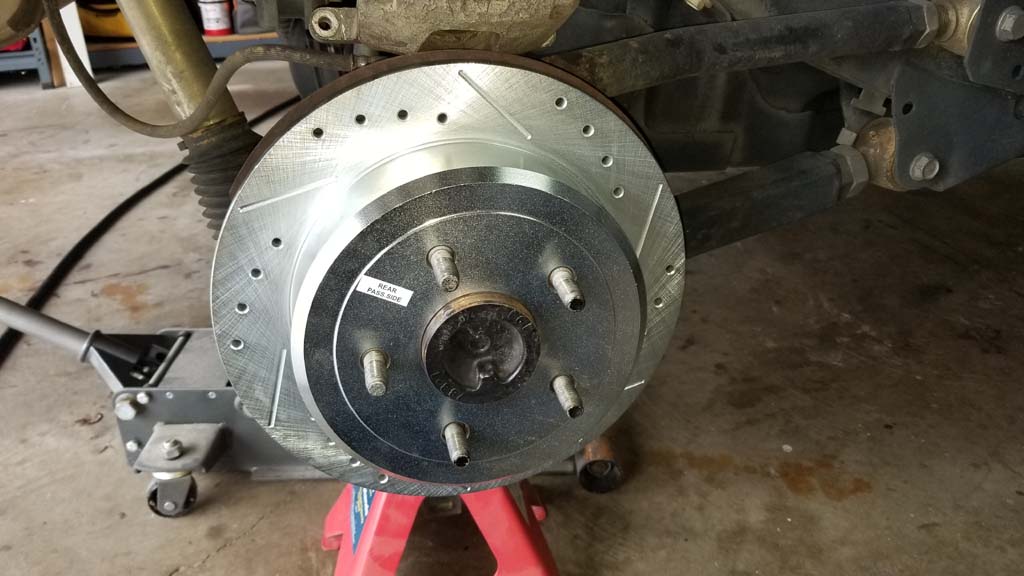
| Find the rotor marked with the correct side and install it over the lugs. |
 |
 |
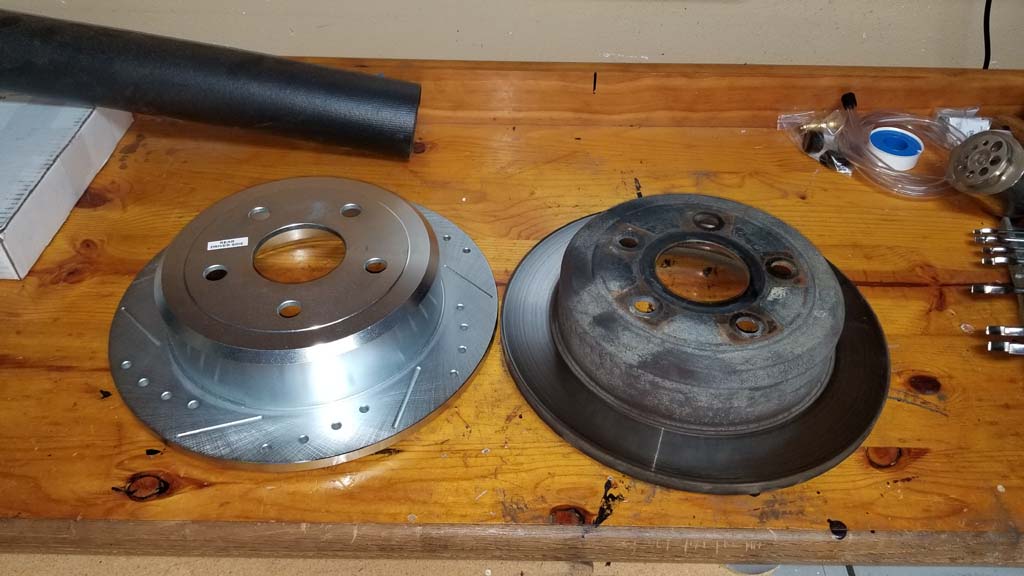
| Comparison of the old and new rotors. |
 |
| |
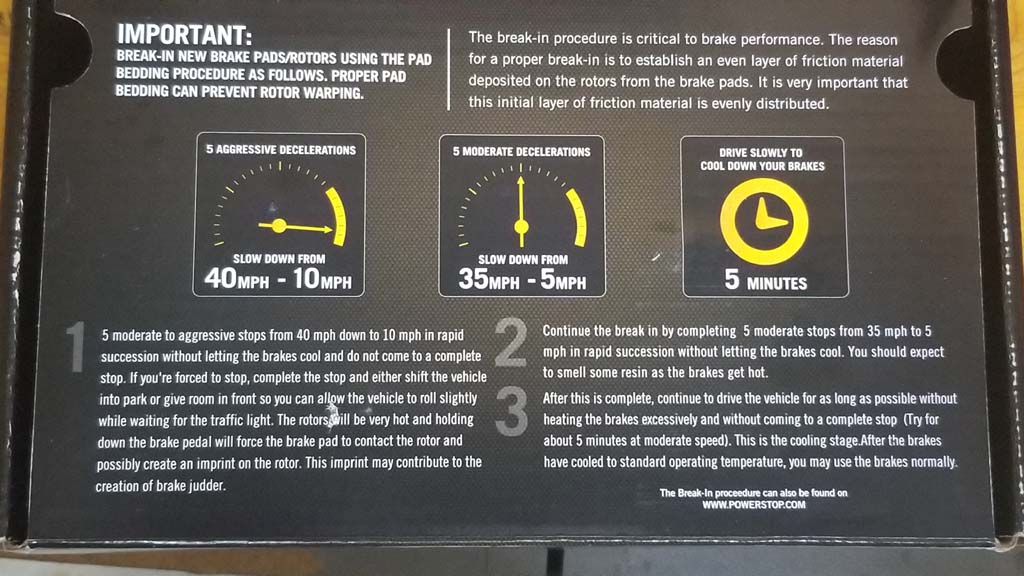
| Break in your PowerStop Brakes as follows: |
| 1. Complete 5 moderate to aggressive stops from 40 mph down to 10 mph in rapid succession without letting the brakes cool and do not come to a complete stop. If you're forced to stop, complete the stop and either shift the vehicle into park or give room in front so you can allow the vehicle to roll slightly while waiting for the track light. The rotors will be very hot and holding down the brake pedal will force the brake pad to contact the rotor and possibly create an imprint on the rotor. This imprint may contribute to the creation of brake judder. |
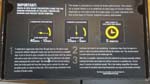 |
| 2. Continue the break in by completing 5 moderate stops from 35 mph to 5 mph in rapid succession without letting the brakes cool. You should expect to smell some resin as the brakes get hot. After this is complete, continue to drive the vehicle for as long as possible without heating the brakes excessively and without coming to a complete stop (Try for about 5 minutes at moderate speed). This is the cooling stage. |
3. Once this is completed and the brakes have cooled to standard operating temperature, you may use the brakes normally. Never cool your brakes with water, as this can damage them. |
| |


