Since I had decided to replace my years old steel cable
with a synthetic line from Geurock courtesy of Macs4x4products I needed
to change out my very old roller fairlead. The steel roller fairlead is
not synthetic friendly so I didn’t want to tear up my new rope. I’ve always
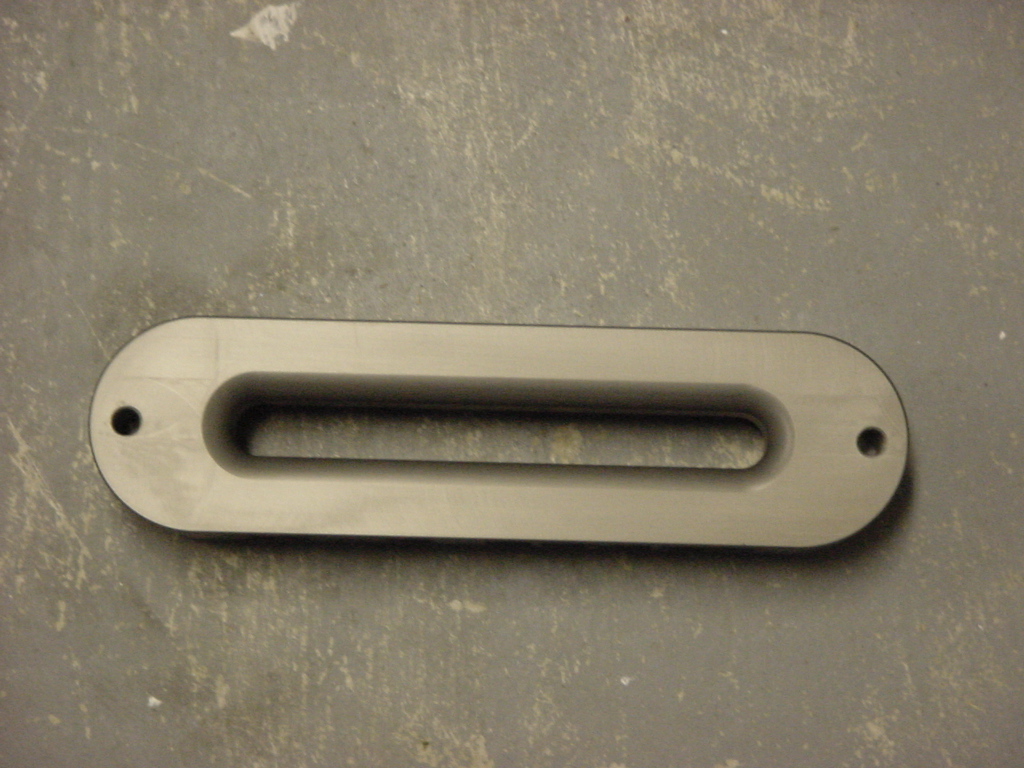
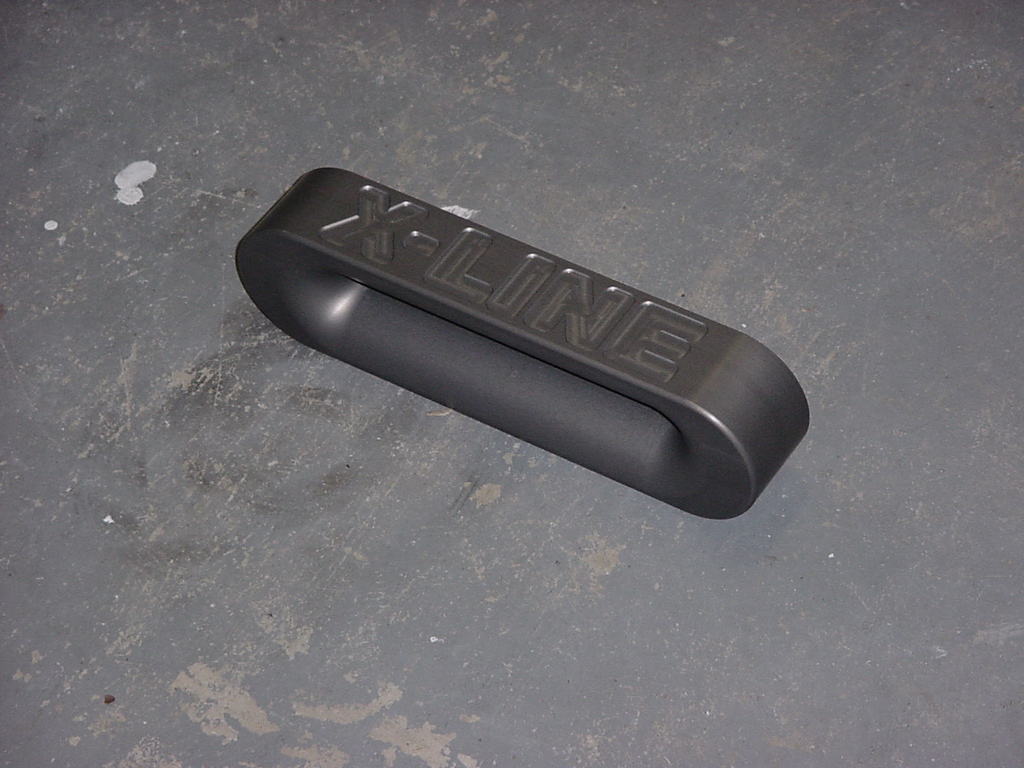
liked the X-Line fairlead from Off Road Only. It is larger than the other
fairlead's that I have seen so pushes the exit point of the rope further
out from the winch plate. For me this is a good thing since it helps to
clear the TBT stinger bumper that I have installed already. This is a
little pricey for a fairlead, but it’s been described as a work of art
and I know a few people that left it sit on their desks for a little while
to admire every day.
1.
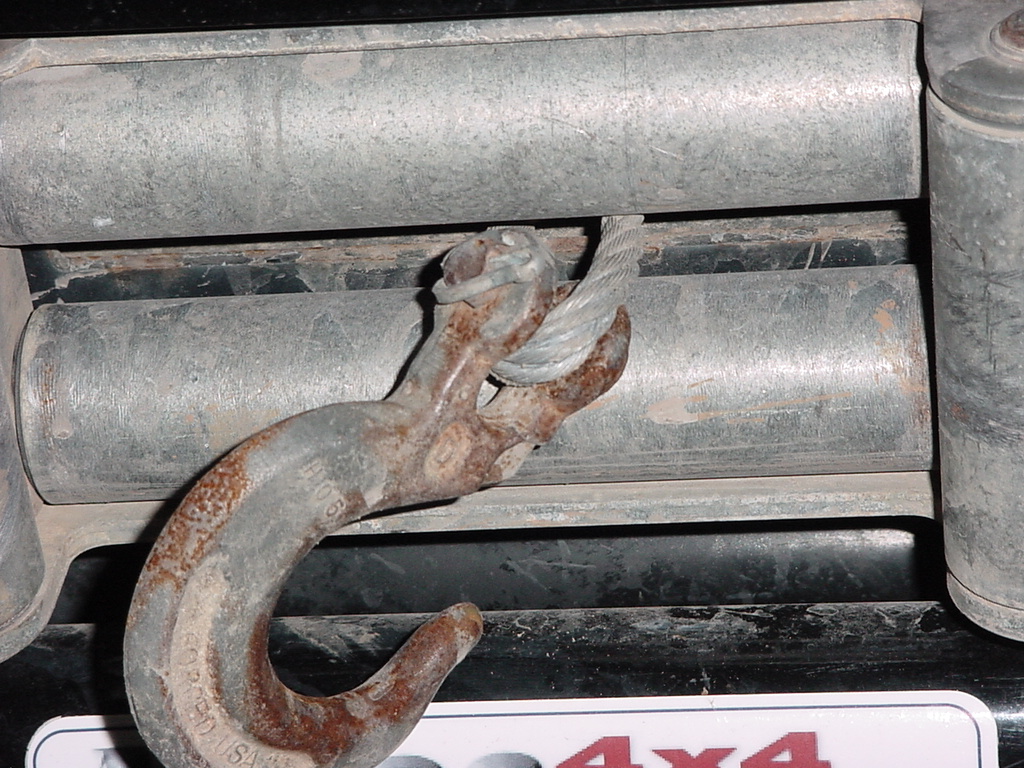
Pull out steel cable from winch. Caution wear a pair of gloves when
doing this, the cable may have broken strands and kinks in it that
can cause you pain.
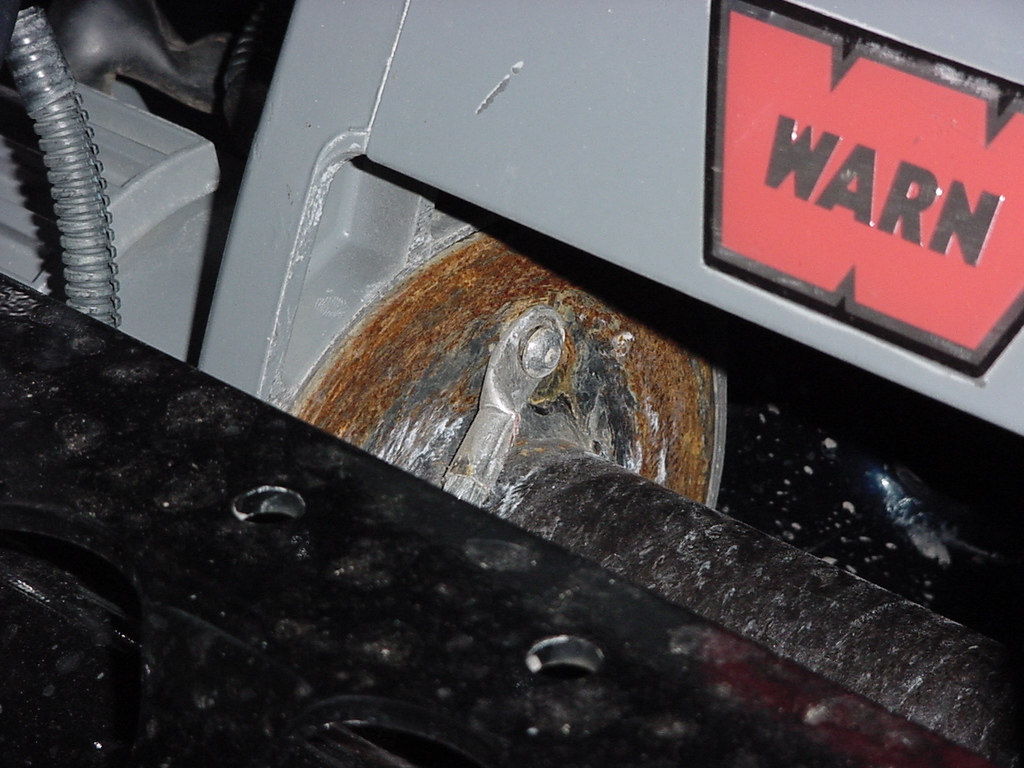
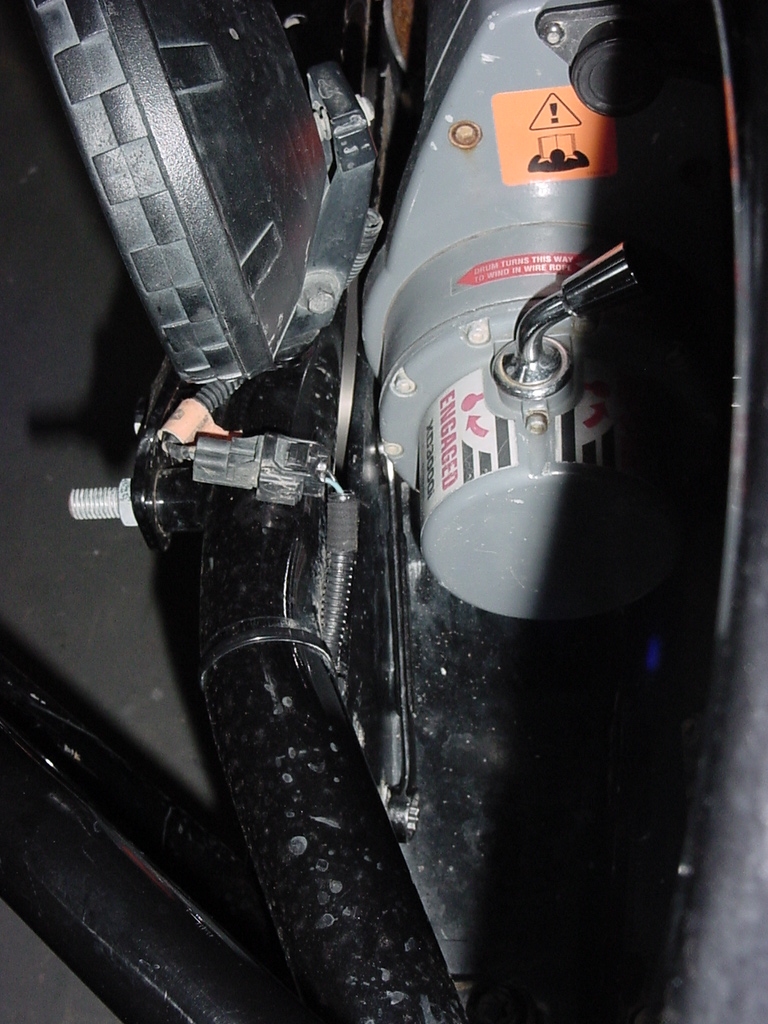
2.
Use an 4mm Allen wrench to remove the cable retaining bolt form
the winch drum. Yours may be different. Set the cable aside.
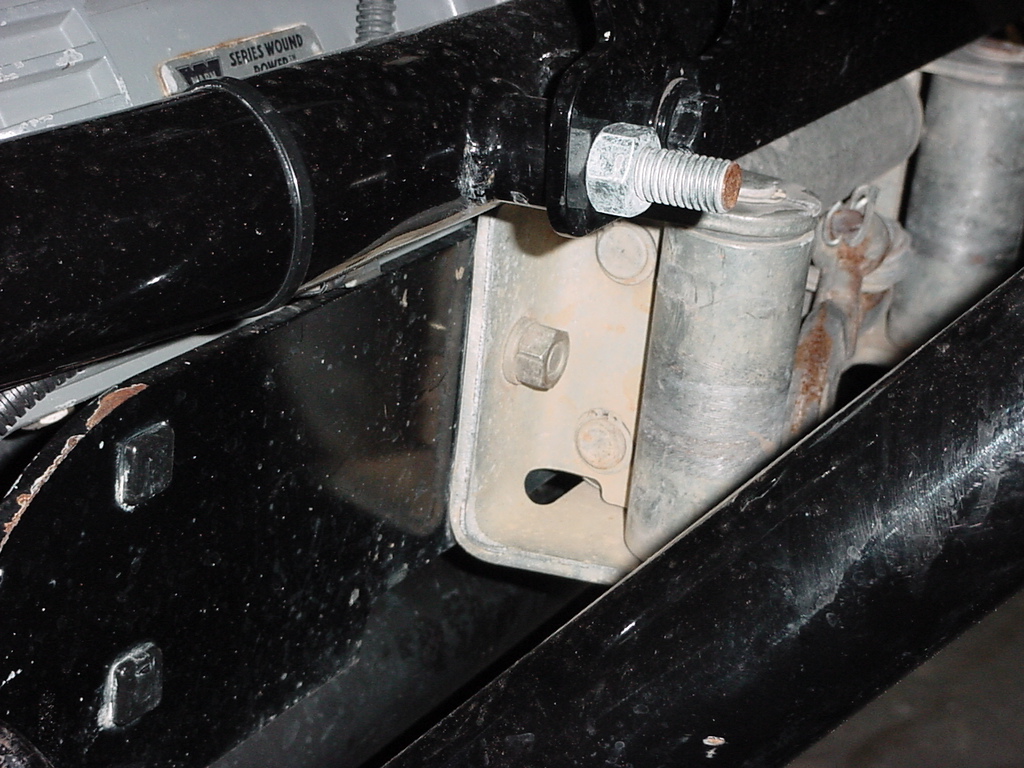
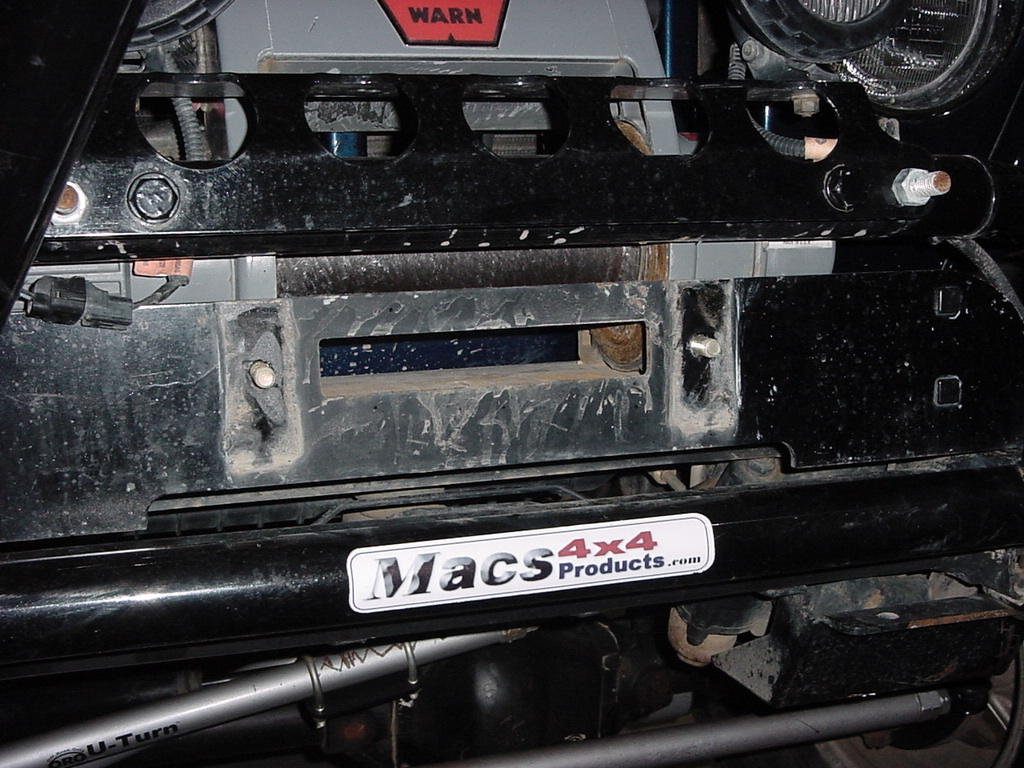
3.
Remove the Roller Fairlead from the winch mounting plate. Mine had
a different size bolt head and nut. Normally the bolt is inserted
from the backside of the winch plate through the plate and into
the fairlead. If this is not your set up you will need to pull the
winch if you can’t get a bolt through from the backside. Note: The
ORO fairlead is bolted in from behind.
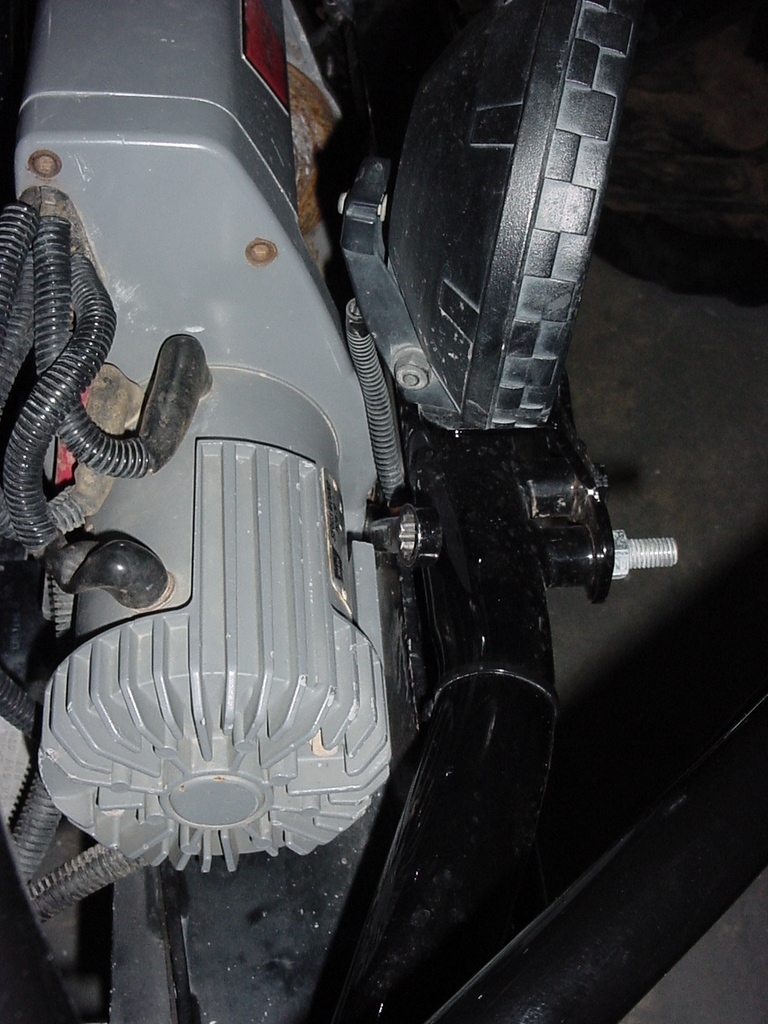
4.
You will need to slide a Combo Wrench down between the winch and
the winch plate to hold the bolt head, and then use another Combo
Wrench to remove the nut from the outside.
5.
Remove the fairlead and clean the area behind it.
6.
Check the threads on the bolts to see if they match the threads on
the new ORO fairlead. The Fairlead is a coarse thread, so if you have
fine threaded bolts, you may need to replace the bolts. Note: The
ORO fairlead does not come with bolts.
7.
Coat the bolts with anti-seize to allow ease of installation and to
help with any possible corrosion.
8.
Now slowly thread one of the bolts into the back of the fairlead.
I was able to get to the driver side fairlead with a couple of fingers
and got it to start into the hole. This requires lots of patients.
I noticed after I got it started that the fairlead had the engraved
X-line pointed down.
9. Now
start the other side. I needed to do this one with a wrench since
I could get a finger to it. 1/4 turn at a time. Like I said patients.
10.
Once you get both of the started you can tighten down the bolts, keeping
the fairlead equal all the way.