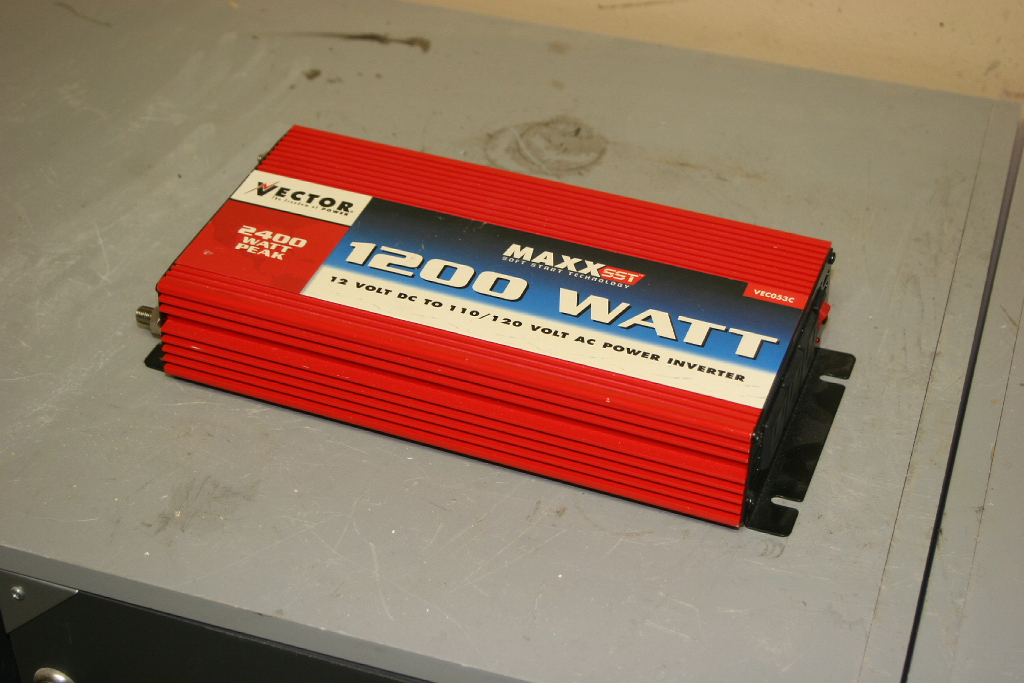
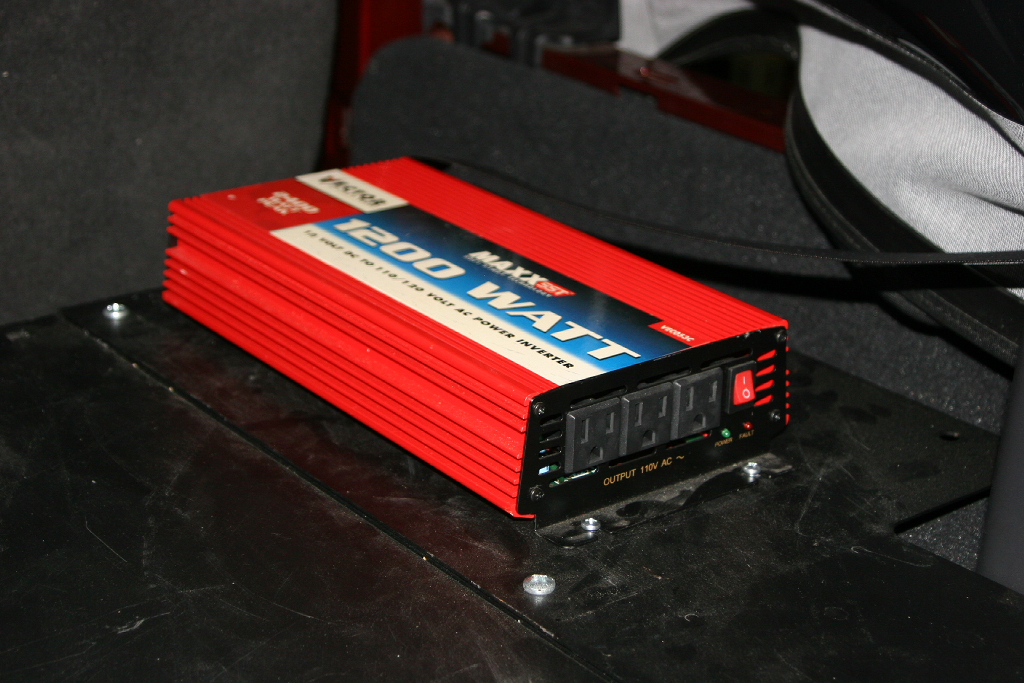
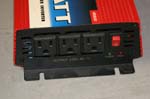
Many times I needed to have normal power out on the trail, camping, working in the backyard, or even at the house when the power has gone out. I used to carry around a small 400watt power inverter that I just plugged into the lighter outlet and then plugged in whatever I needed to. A few times I needed more power than the small inverter was capable of. I wanted to be more than capable of running things when I was out camping, or on the trails. It is amazing what some people have in their Jeeps so having a power inverter can be really nice, expecially to power the halogen work lights when you are broke down on the trail in the middle of the night. Besides all the advantages of trail repairs, sitting around the campsite watching TV and popping popcorn all provided from your power inverter can be really nice. I have seen a few installation where people have disassembled the power inverter, stuffed it up behind the steering column, behind the glove box, under seats and ran the outlets and power switch to the front console. I didn't want to do this since I would mostly be using the power inverter for people in the back seats or items placed on top of the Tuffy box in the back. I would run a outlet in the front and have it actually plugged into the power inverter in the back. That way if I ever needed to use all 3 plugs in the back I could just unplug the front connection and be done. I don't know if I will modify the case to run an additional switch up to the front console to allow me to remotely start that power inverter in the back. This would be convient, since I currently have to open up the back to switch it on. I picked up a Vector 1200 watt power inverter on sale at PEP Boys. I did think about the big 3000 watt power inverters but didn’t figure I would ever need that much power, I’ll borrow my brother-in-law’s little Honda generator.
| Here is what I used. |
 |
 |
 |
 |
 |
 |
 |
| |
| Installation: |
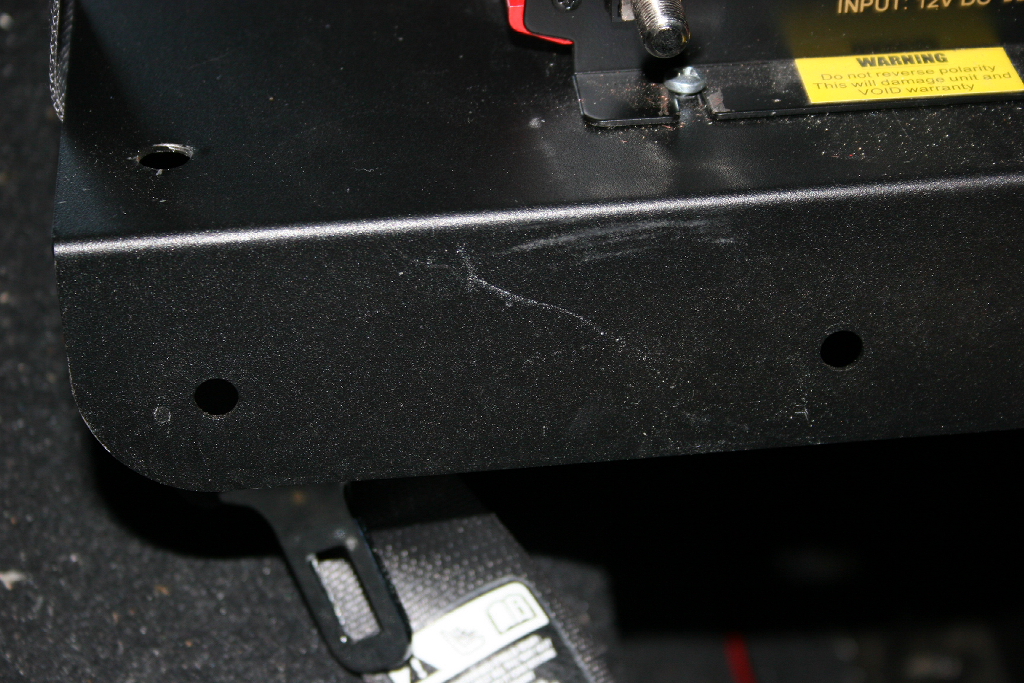
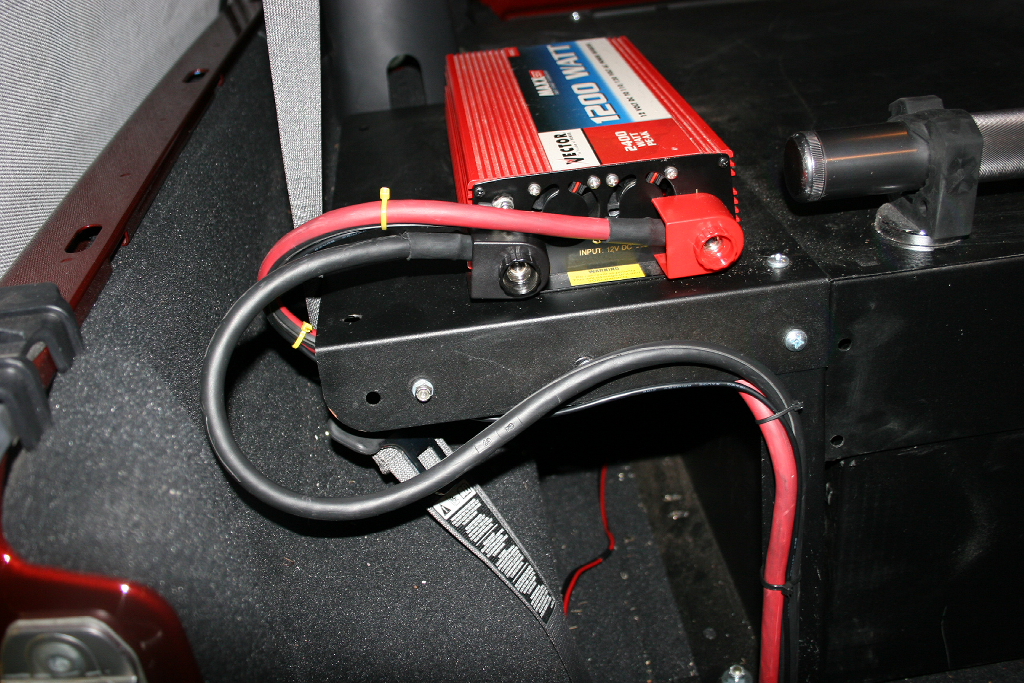
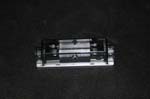
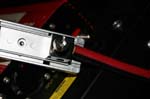
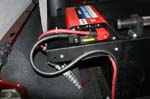
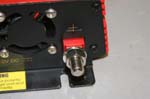
| 1. Pick a good mounting location for your power inverter. I had the Tuffy Security Trunk installed, so I used one side of the top to mount the inverter on. |
 |
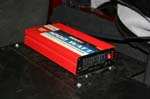 |
| You will need easy access to the plugs and power switch along with enough room to install the heavy gauge cables in the rear. |
 |
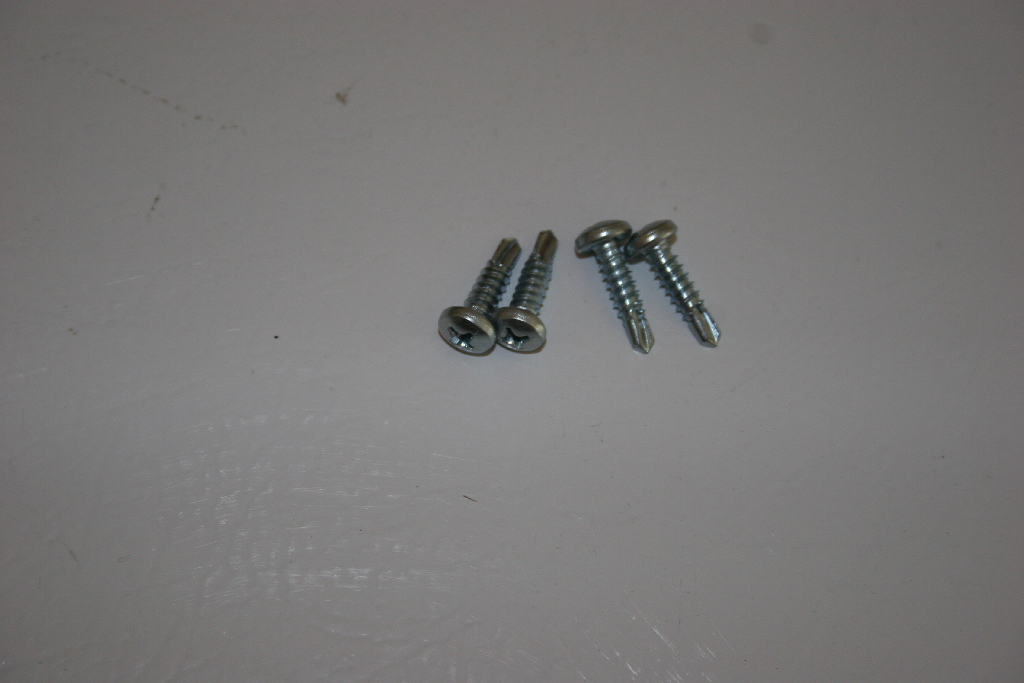
| 2. Mount the power inverter. I used some self tapping screws to hold it down. This eliminated having to drill and bolt it in. |
 |
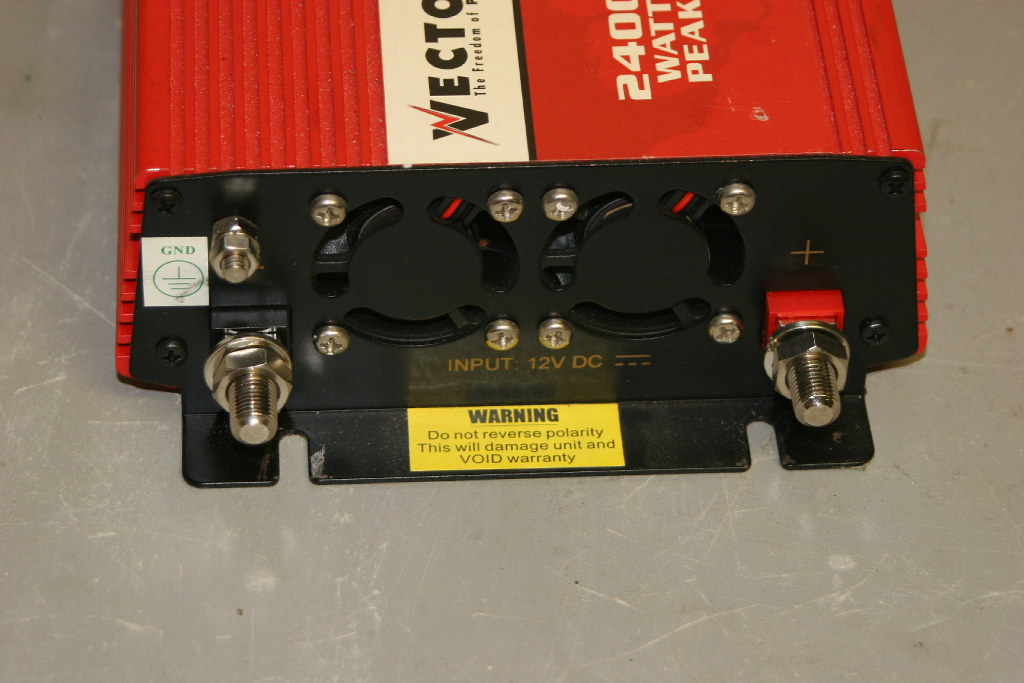
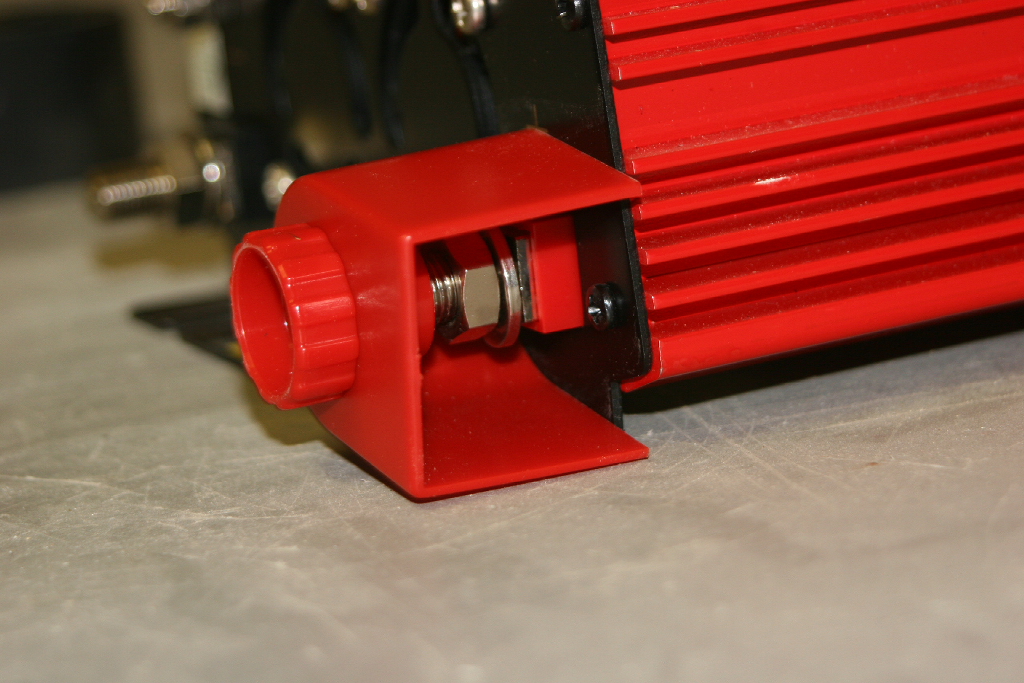
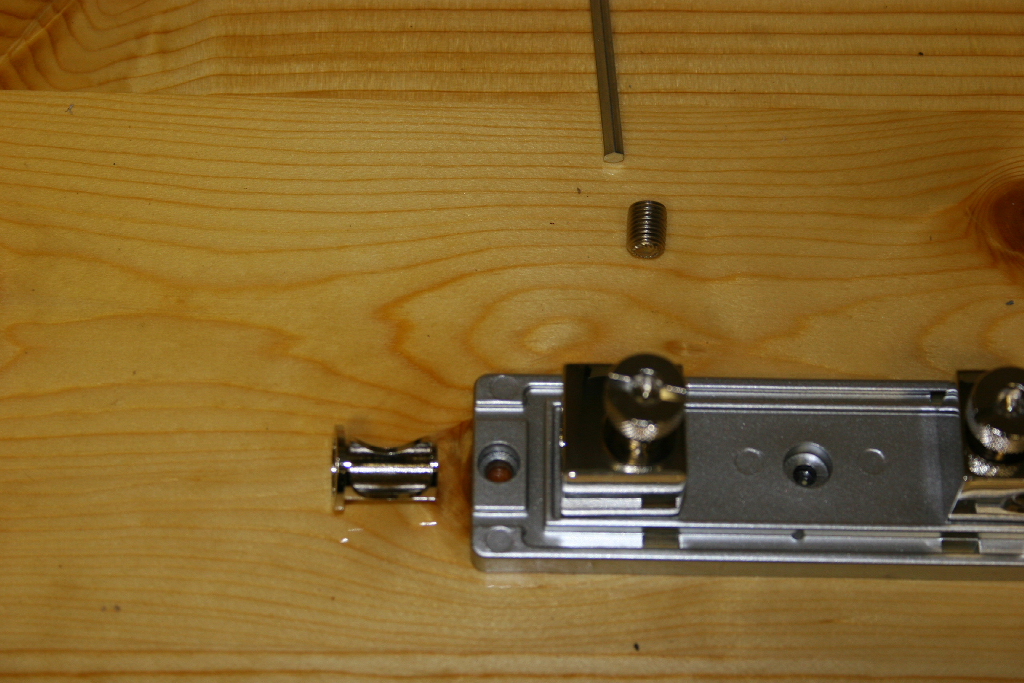
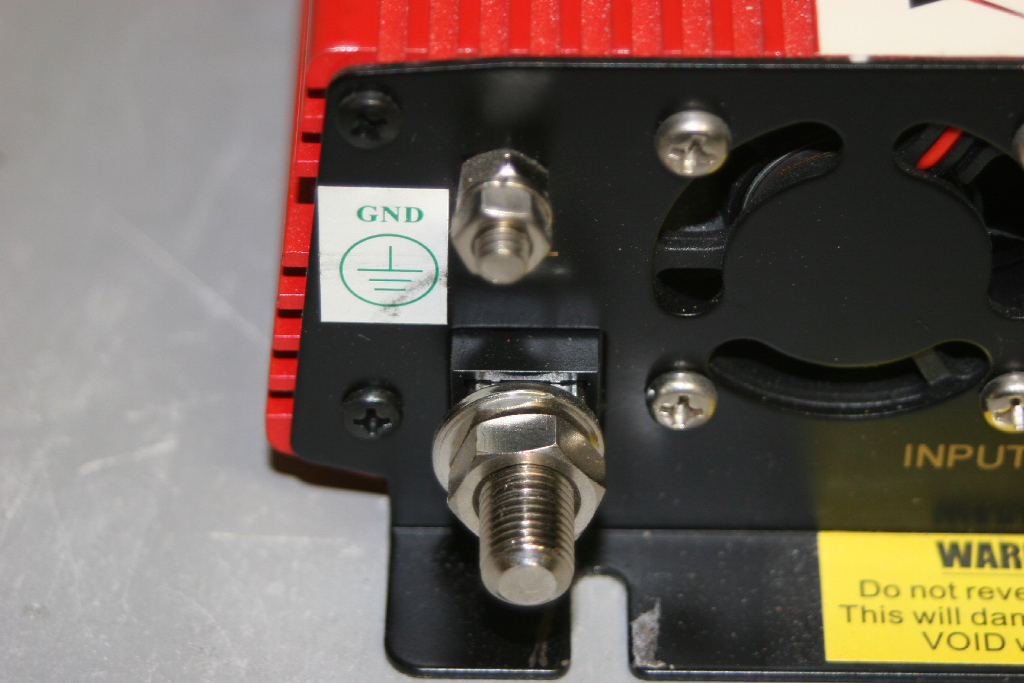
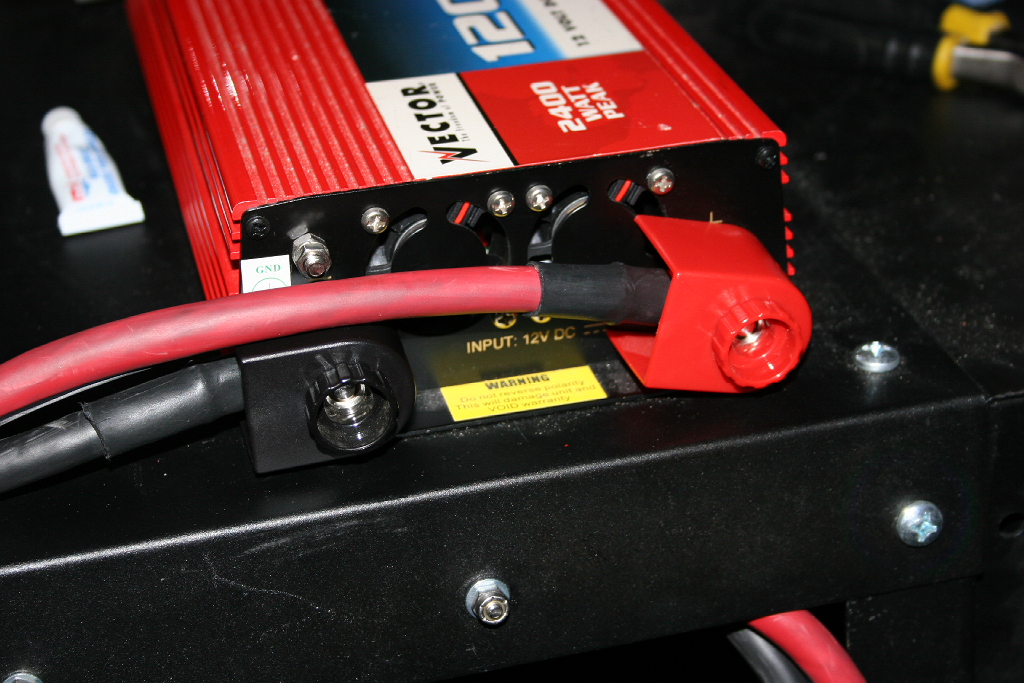
| If you didn't already, remove the protective caps from the power inverter power lugs |
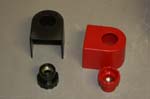 |
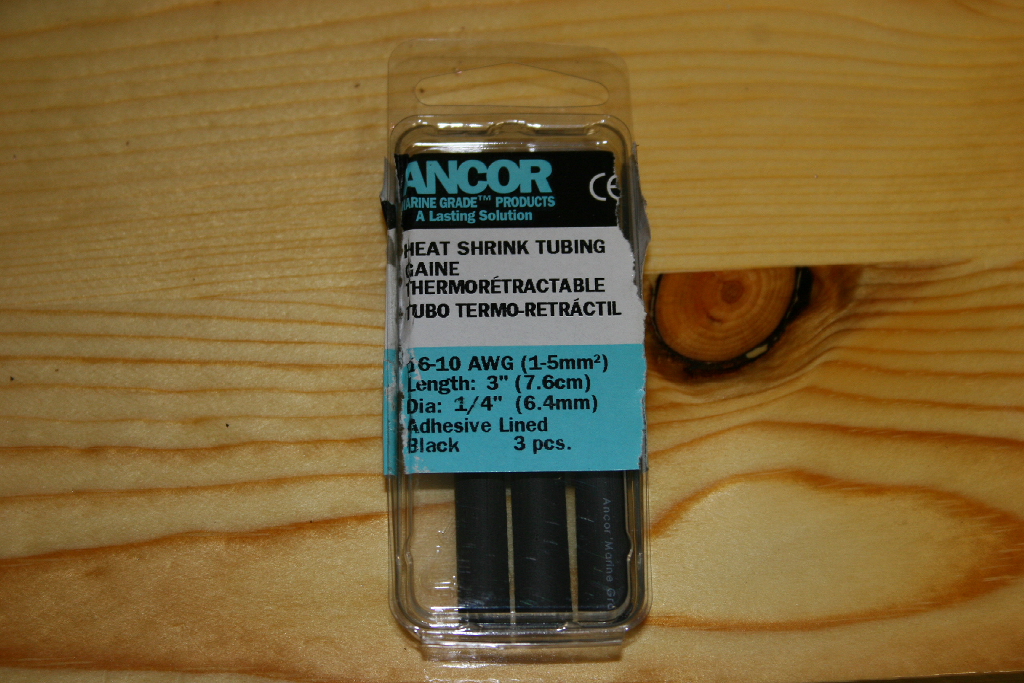
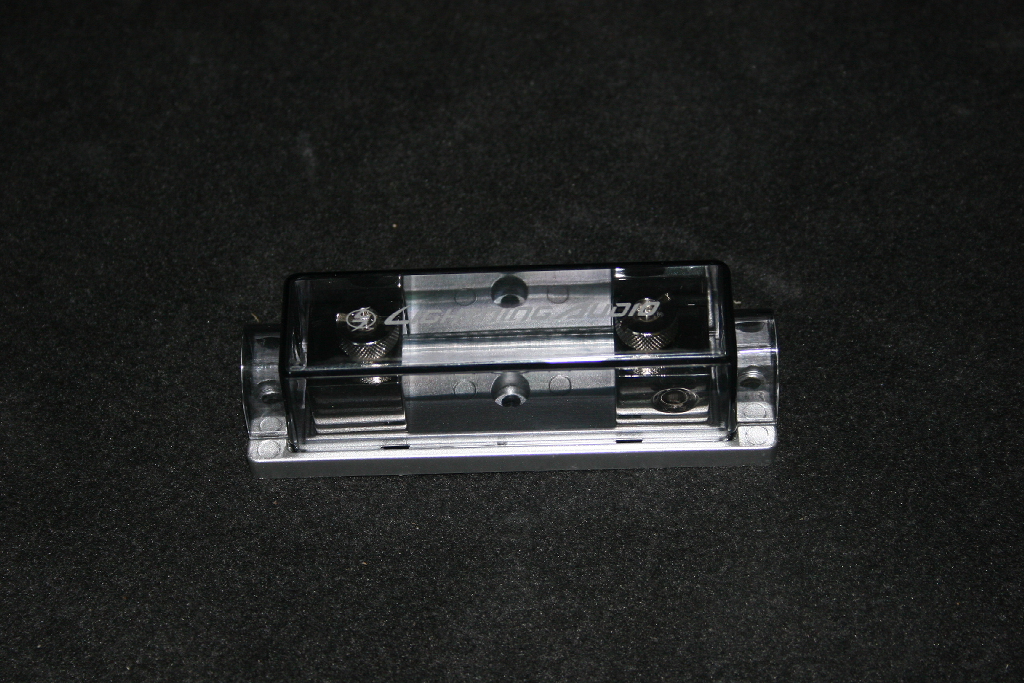
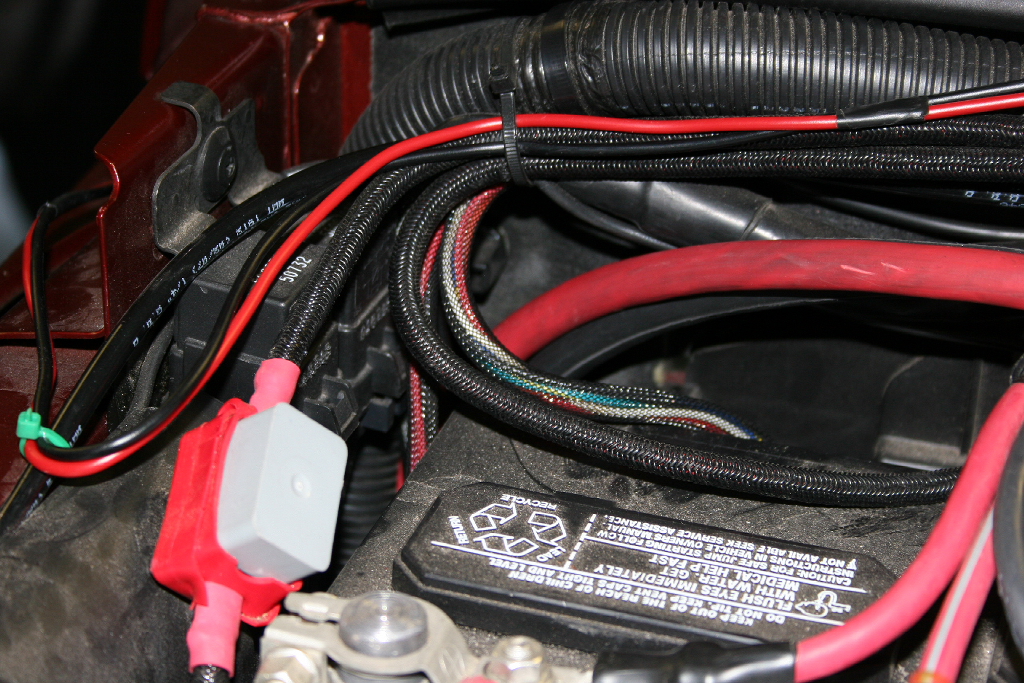
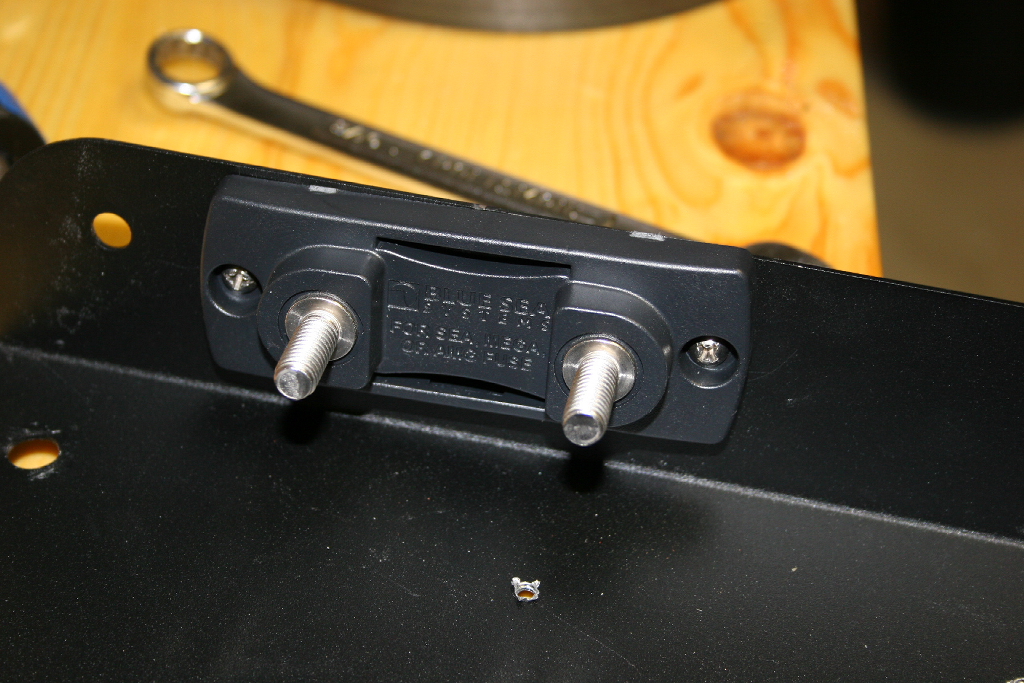
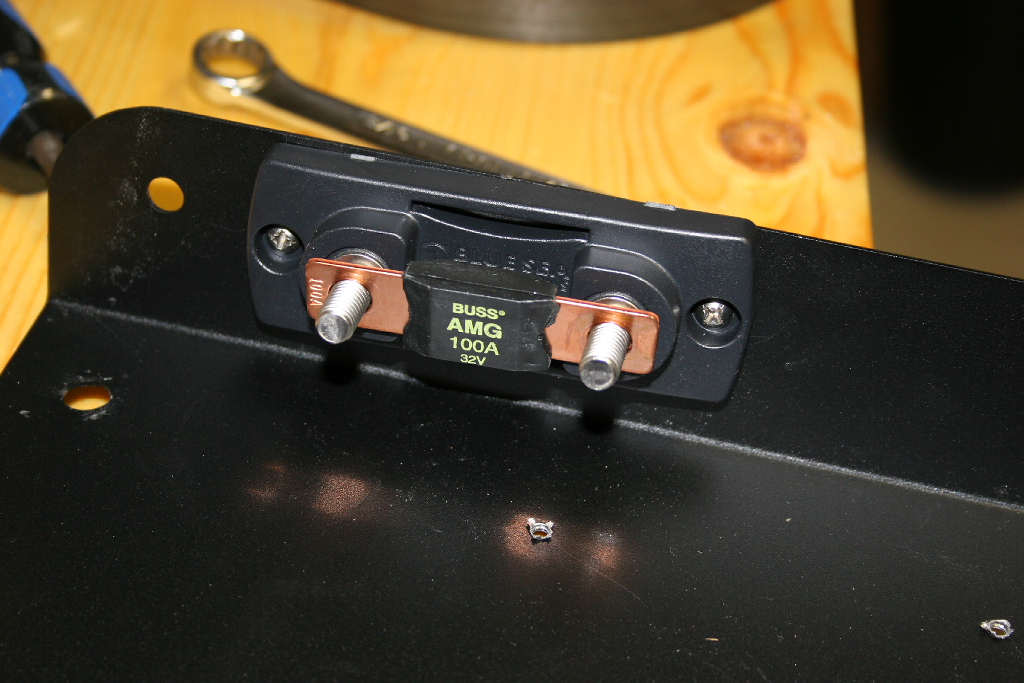
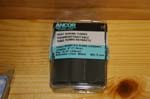
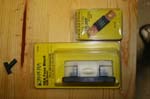
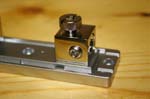
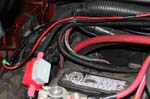
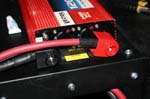
| I used a Marine ANL fuse holder. These are designed to be rugged in design to withstand the Marine environment, so should last longer in the Jeep. |
 |
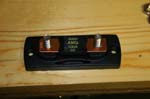 |
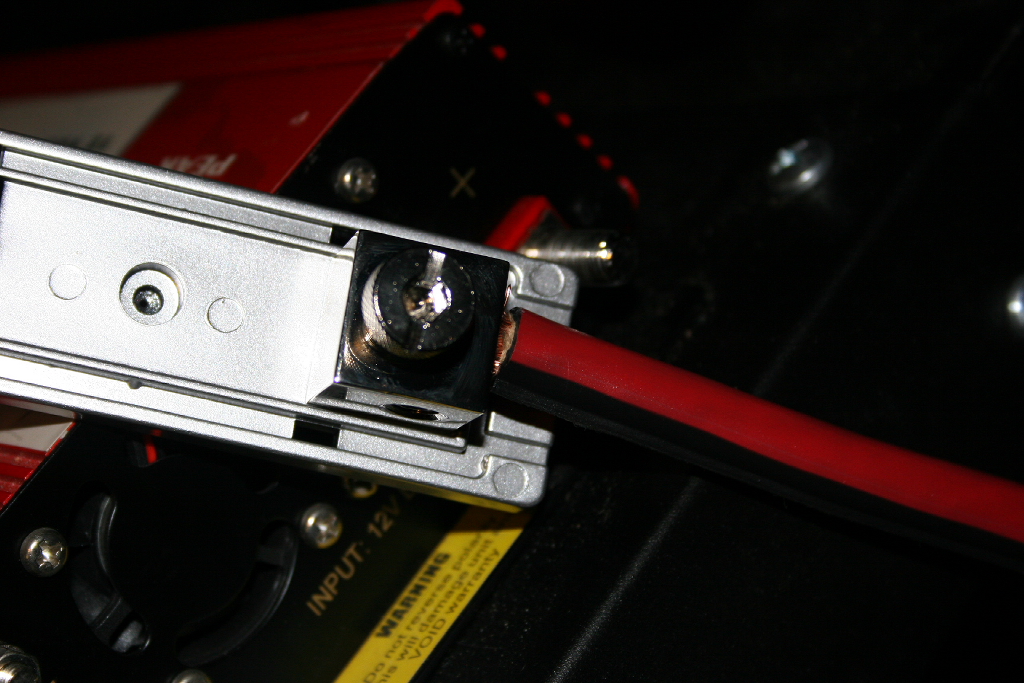
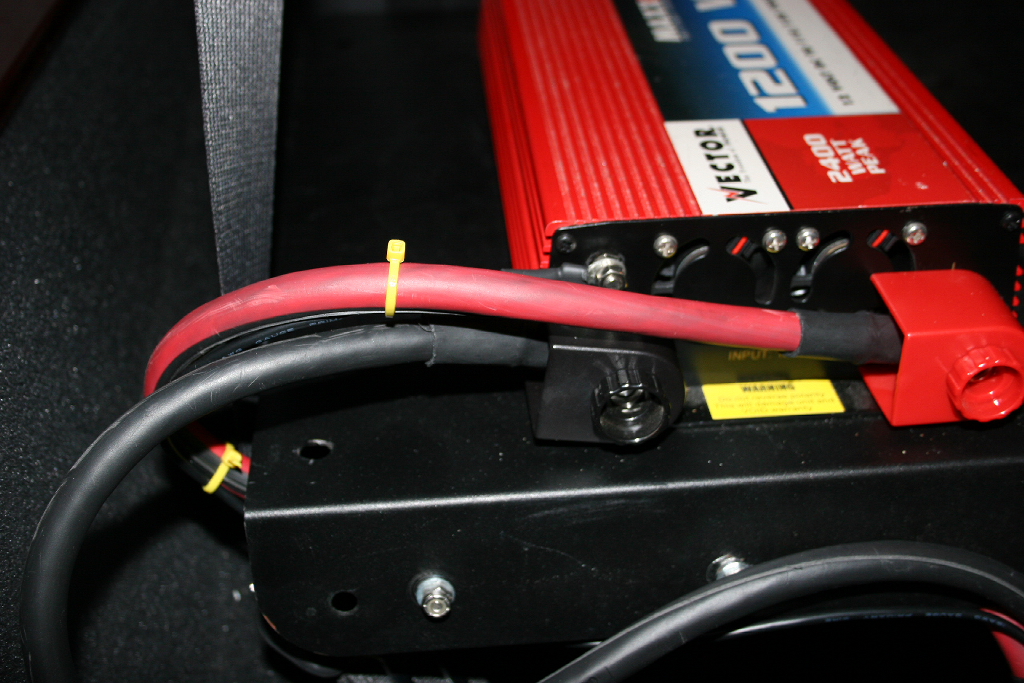
| 3. Mount the marine ANL fuse holder in position. I positioned mine close to the power inverter since this was a more convienent location. I had a lip on the front side of the Tuffy Security Drawer housing so I mounted the fuse holder behind it. It makes it a little hard to change out the fuse, but the fuse is protected from the elements when the top is down. |
 |
 |
| I originally tried an automotive ANL fuse holder but found them to be to cheap in quality for what I wanted, I broke one almost immediately installing the cable, and the fuse never sat in the holder tightly. |
 |
 |
 |
 |
 |
 |
| I used a 1200watt power inverter, but toned down the power cables and installed a smaller amp fuse in the system. I don't envision exceeding these power requirements. Check your power inverter and intended load for recommendations on cabling and fuse. |
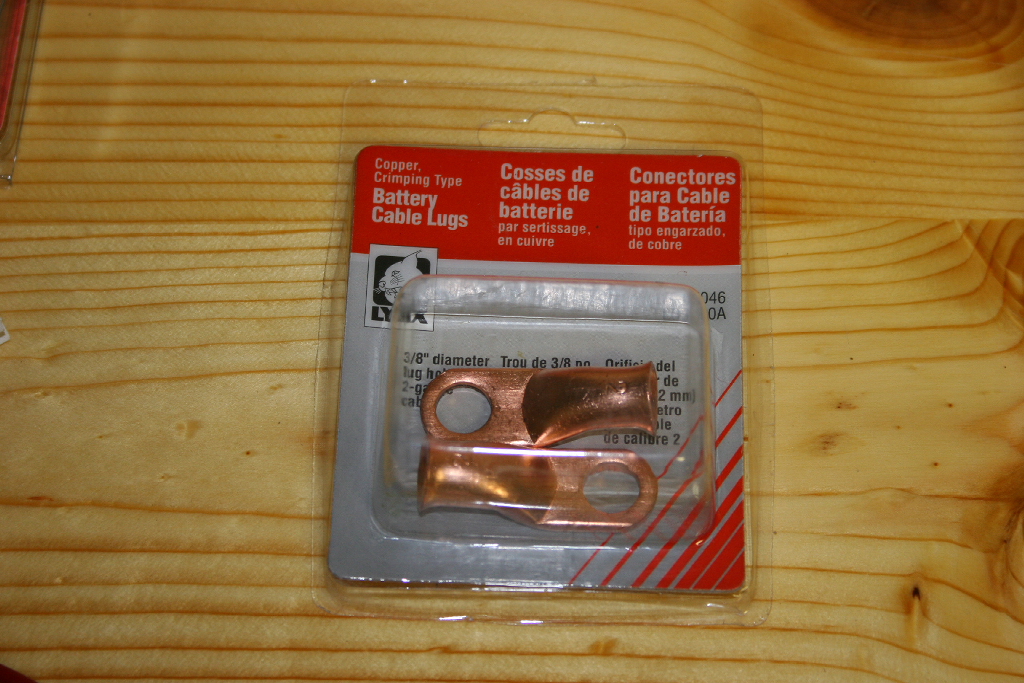
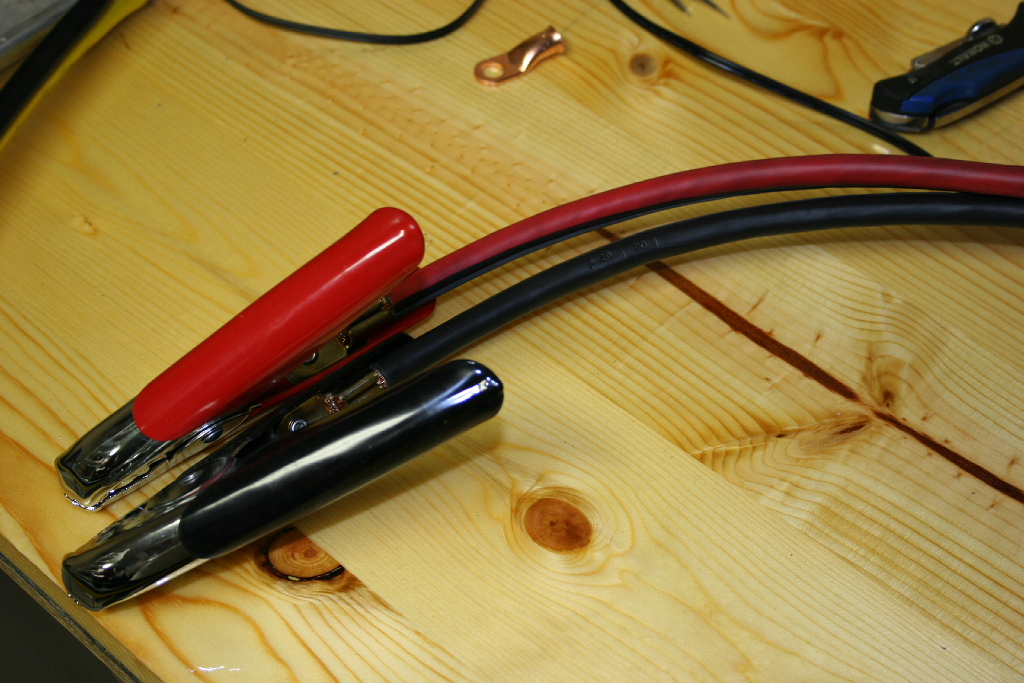
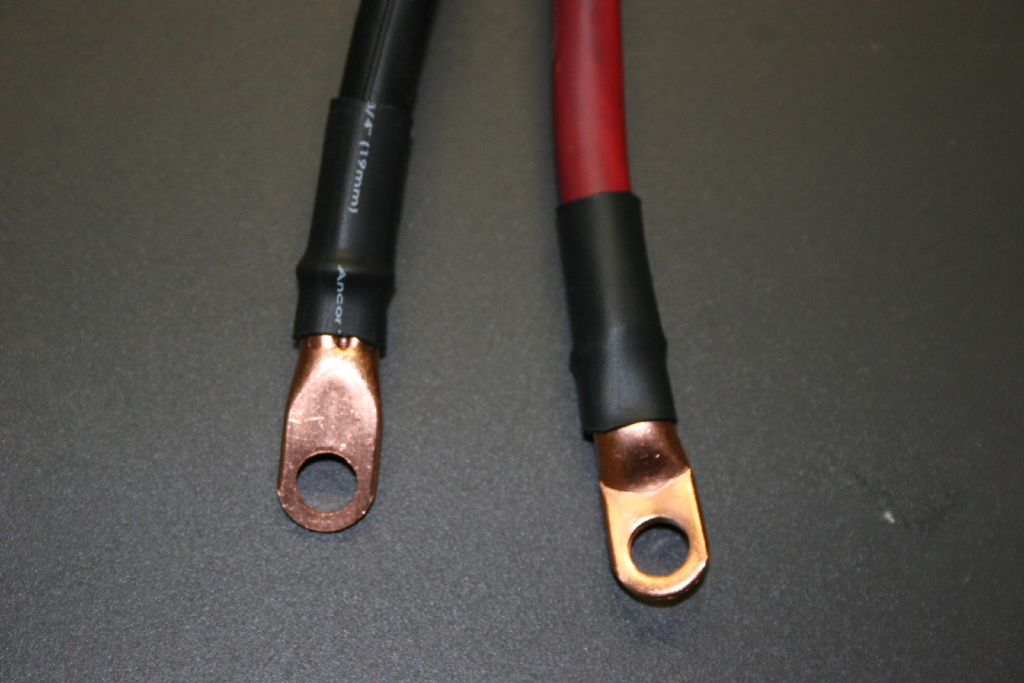
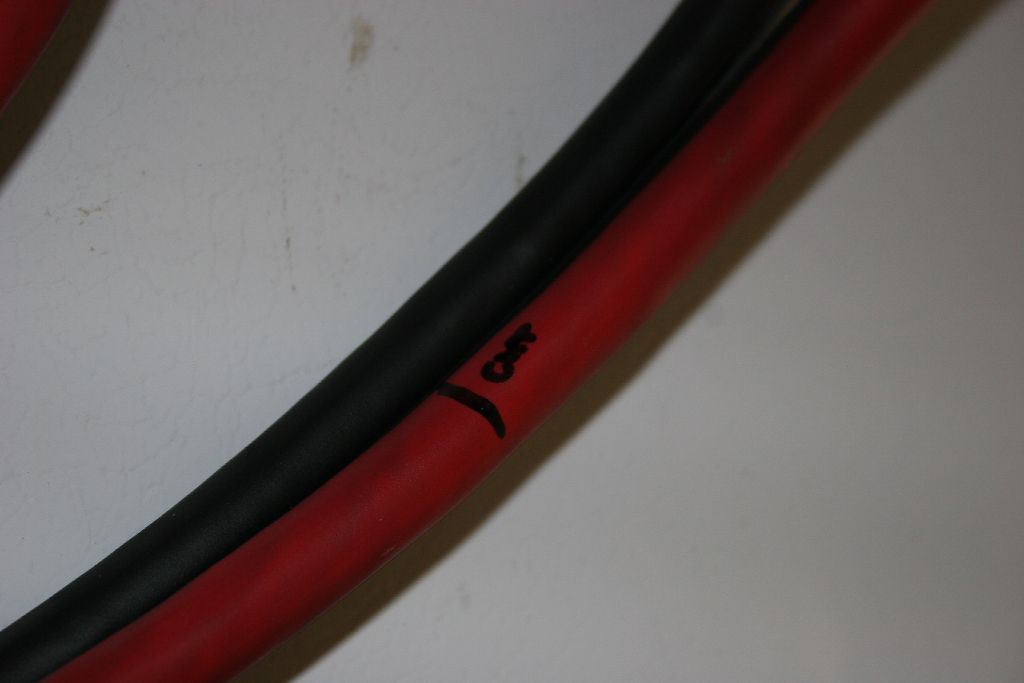
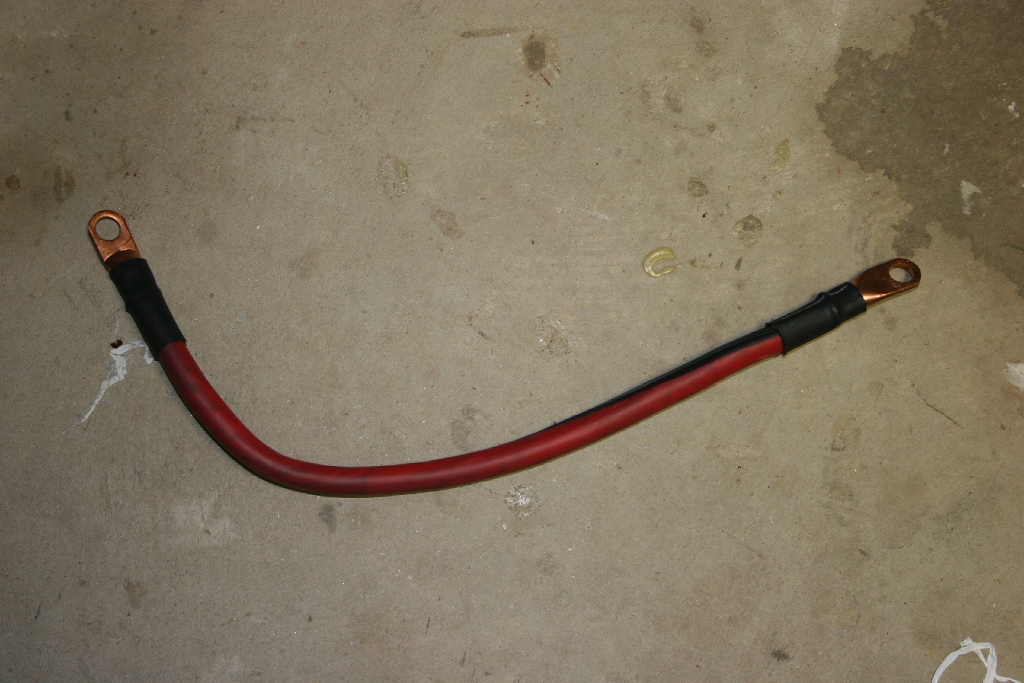
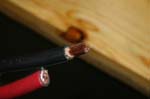
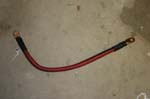
| 4. Cut the end off of one side of the 2 gauge jumper cables. |
 |
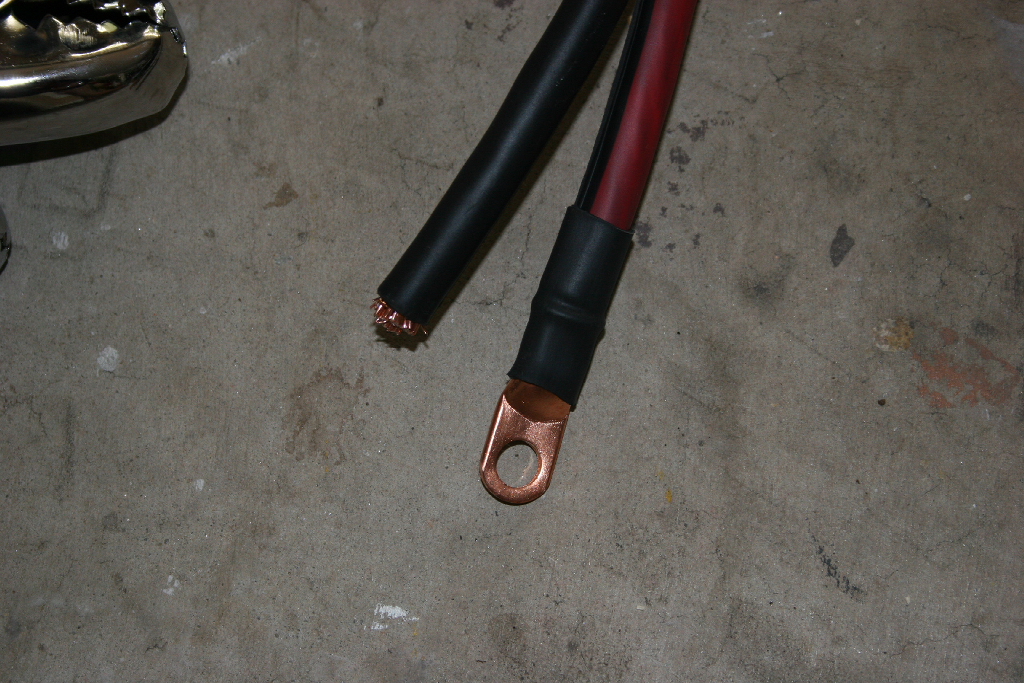
| 5. Strip the cable back. |
 |
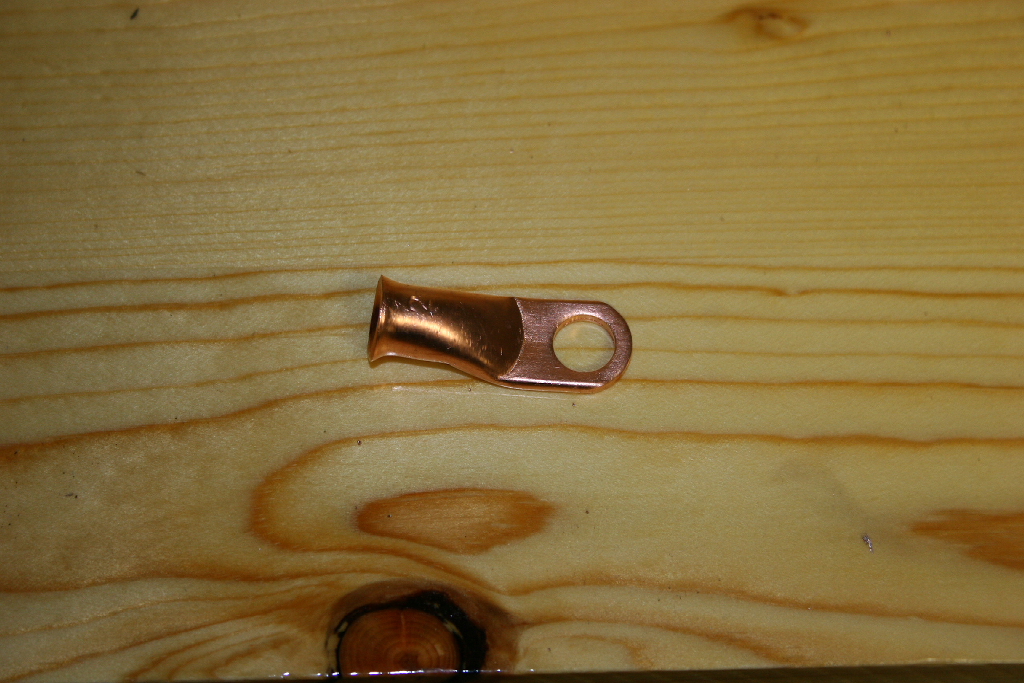
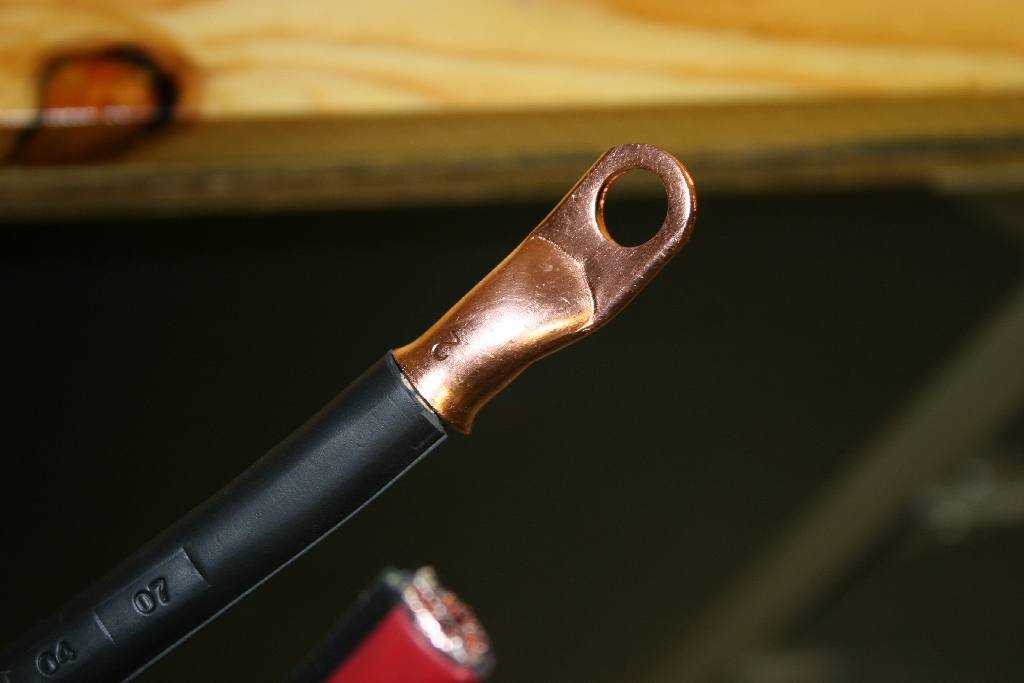
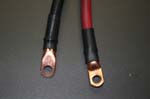
6. Install a lug on each side of the cable using the lug tool. |
 |
 |
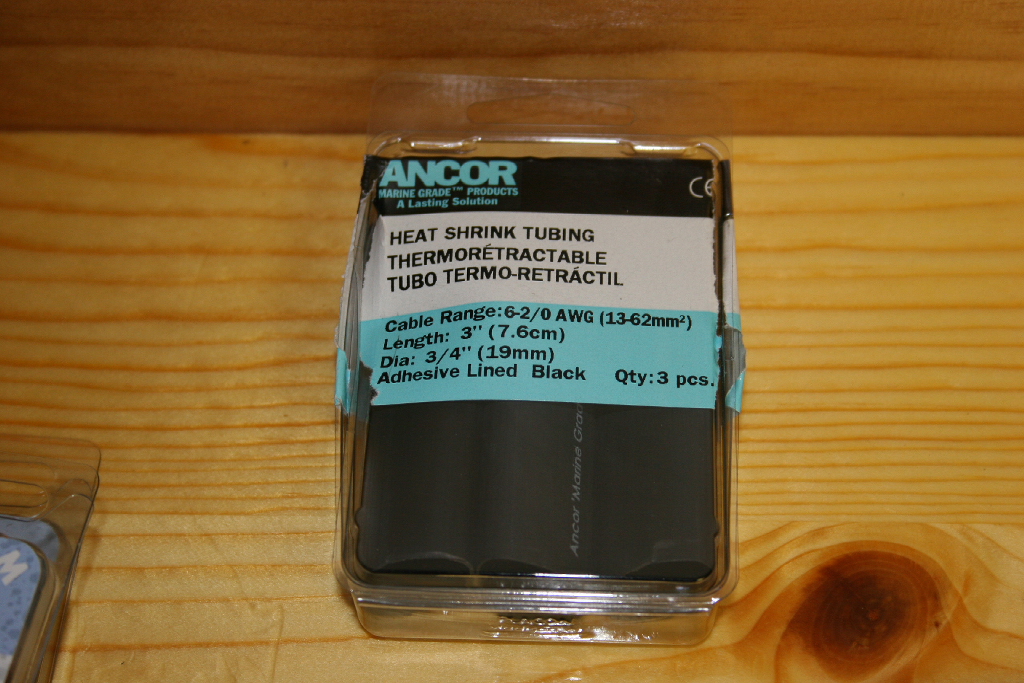
| 7. Slide the heat shrink tubing over the end and seal with the heat gun. |
 |
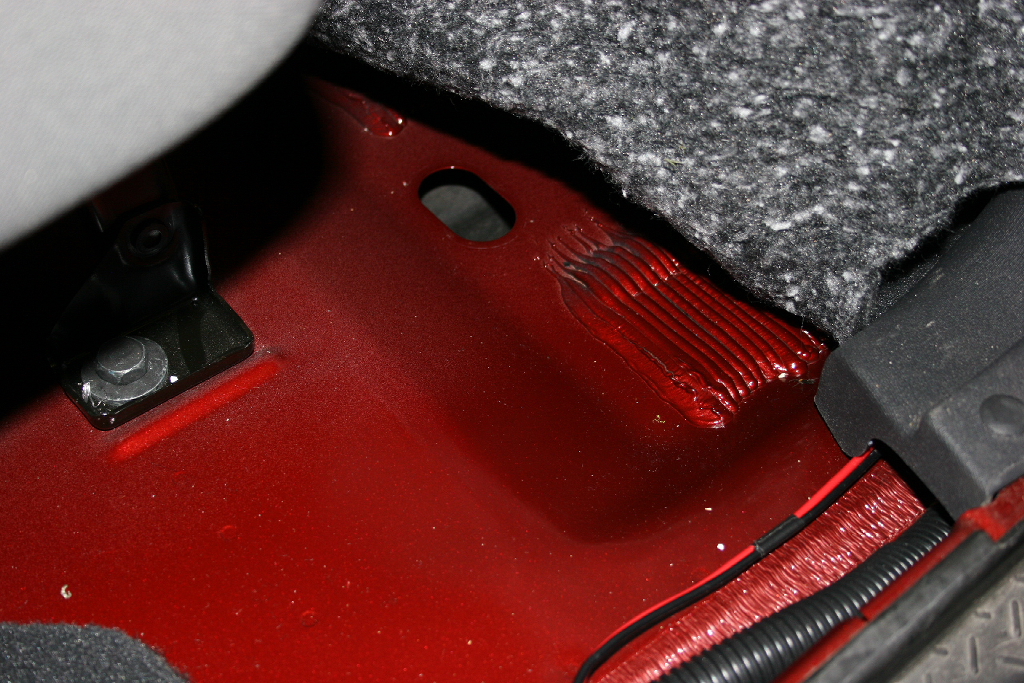
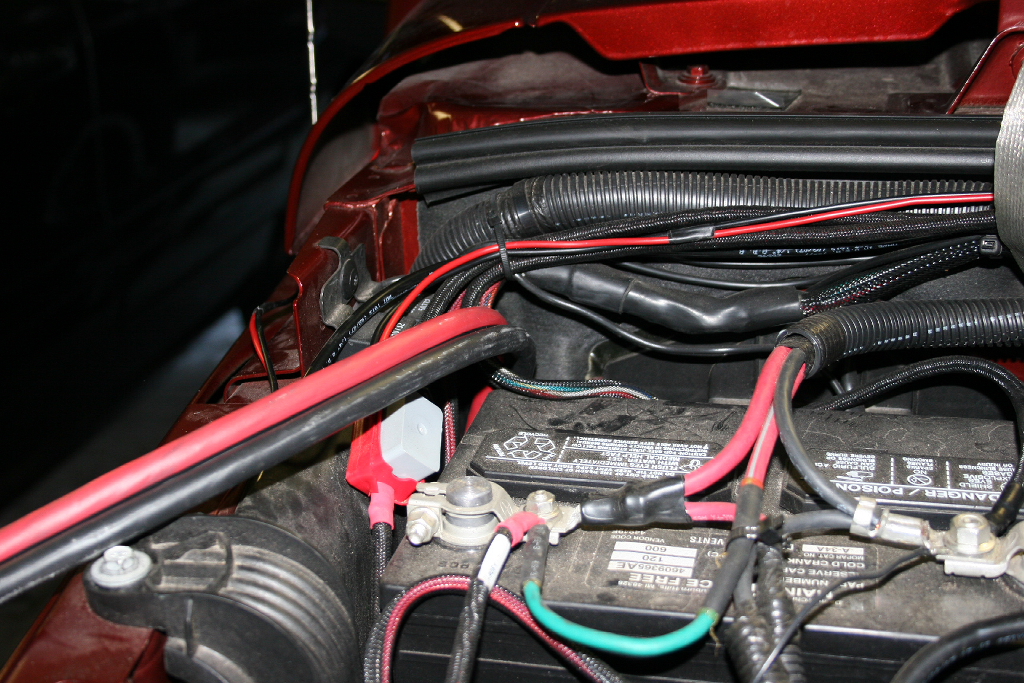
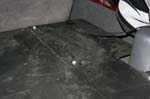
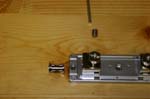
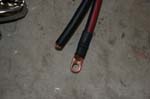
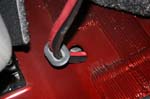
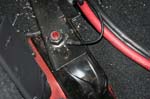
| There was a convienent drain plug under the rear seat that I used to run the cable out of the interior and up to the battery. |
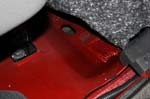 |
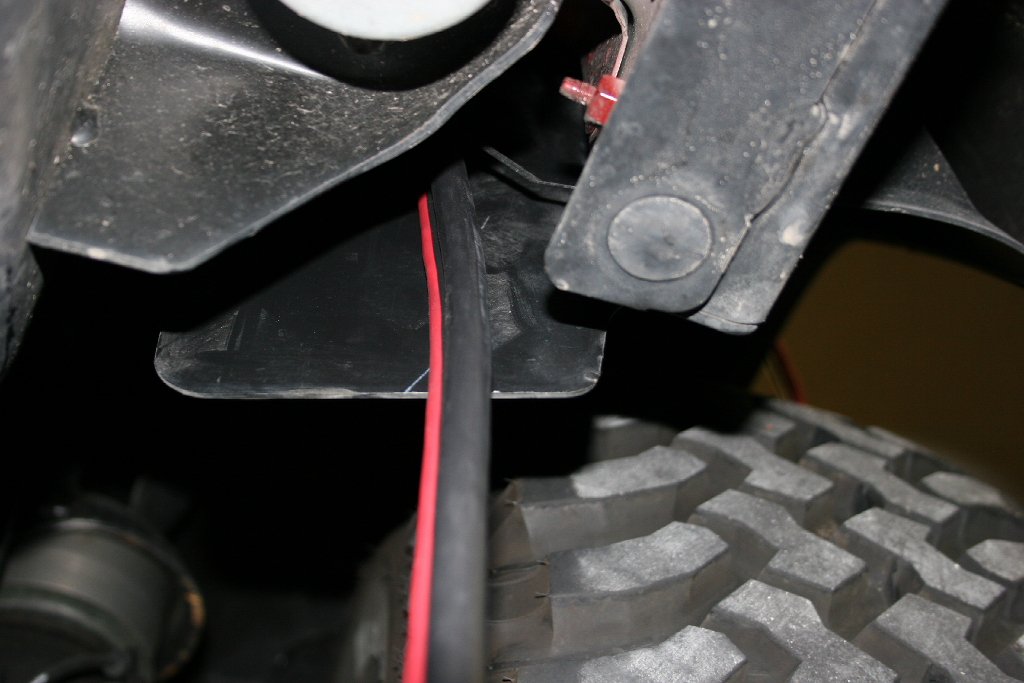
| The first run is a test fit to get the correct length to cut the cable at. Run the cable through the drain hole and underneath the body. I slide the cables up along the inside of the fender and along side the battery. |
 |
 |
 |
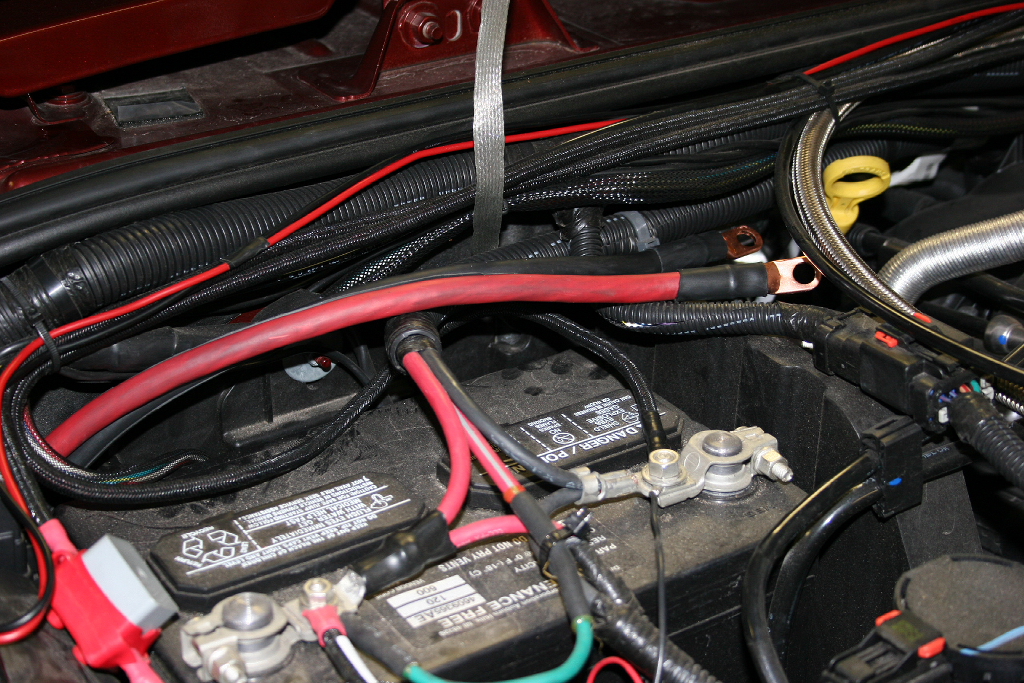
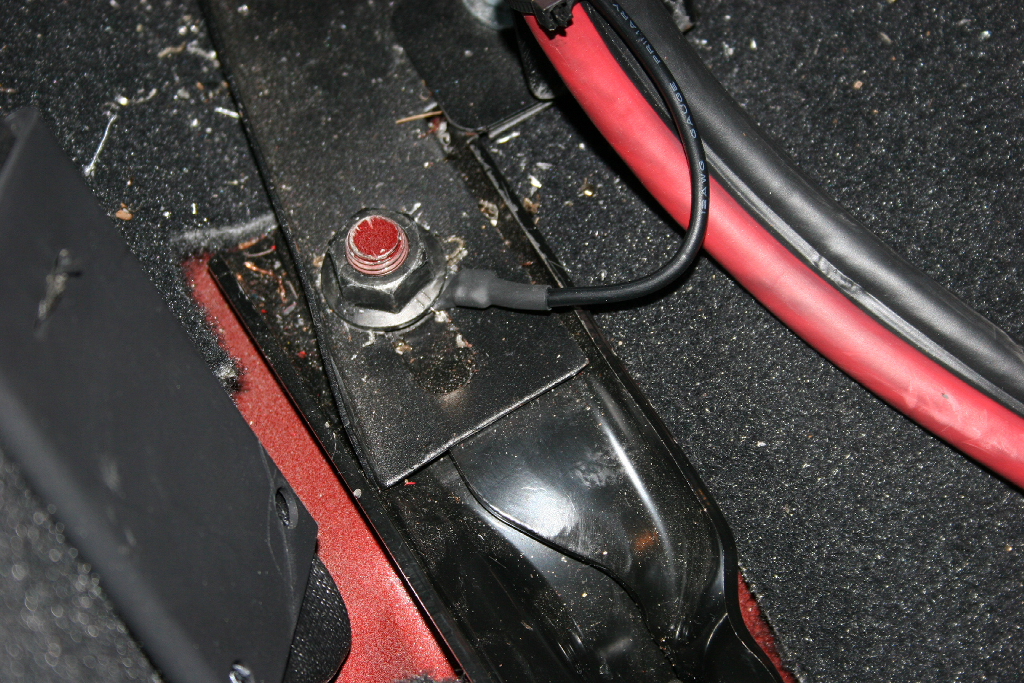
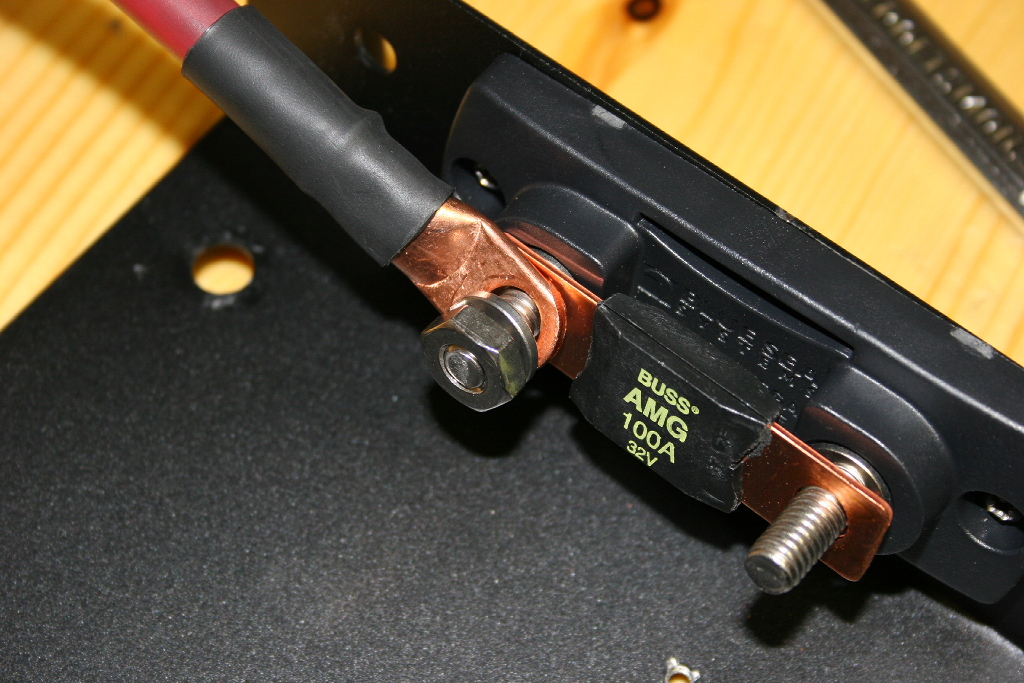
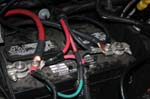
| Position the lug ends of the cable near the posts on the battery. Ensure that you don't have any cable just hanging underneath. Note: You might want to electrical tape the lugs to prevent them from forming a circuit with the battery accidentally. |
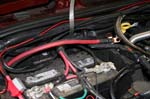 |
| Now I positioned the cable up underneath the rear seat and up to the power inverter. I marked the black - cable where it would connect with the - terminal on the power inverter and the red + power cable to where it will connect with the ANL fuse holder. |
 |
| Remove the cable from the vehicle and repeat steps 4 - 7. |
| Cut out an oblong hole in the drain plug just the size of the cables. I tried to drill two holes through the plug with a drill. Yes, this didn't exactly succeed, though it did give me 2 marks where I would cut later. |
 |
| Slide the plug over the cables and reinstall in the floor of the Jeep. |
 |
| Now reinstall the cable. Do not connect it to the battery, but connect it to the - terminal on the power inverter and ANL fuse holder. |
 |
 |
| Measure and Cut another piece of the Red + power cable from the ANL fuse holder to the power inverter. Repeat steps 4-7 on one end only. |
 |
| Now test fit the cable in position. Attach the lug to the ANL fuse holder and check the length of the cable to the power inverter. No need to waste a lug by installing one if it is to long, or to short. |
 |
| Remove the cable and trim to length as required. Repeat steps 4-7 on the remaining end. |
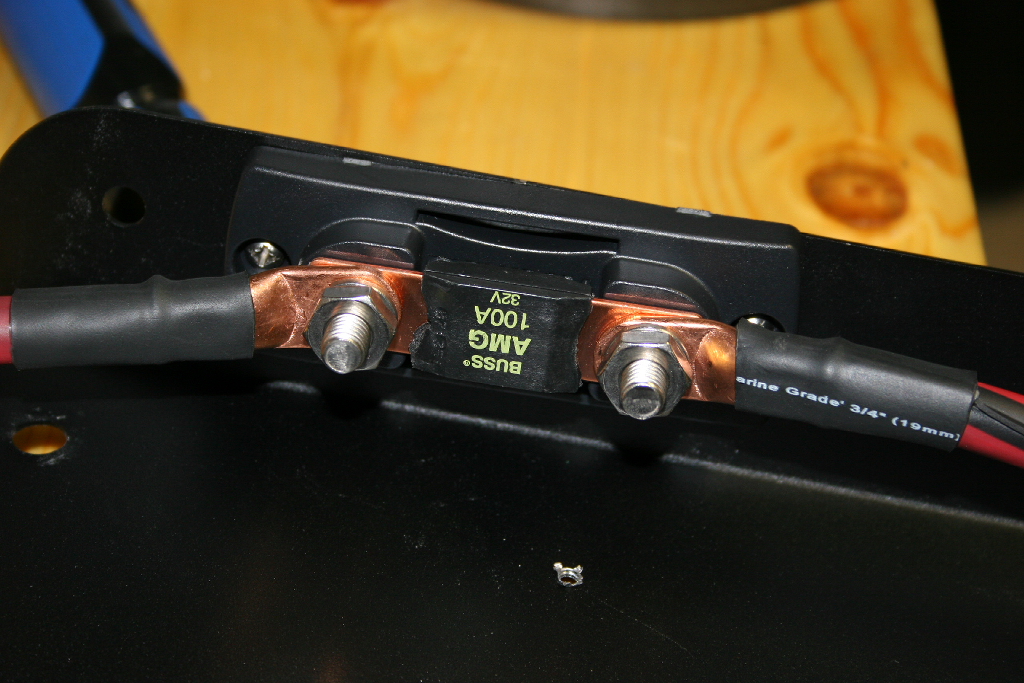
| Reinstall the cable from the Power inverter to the ANL fuse holder. |
 |
 |
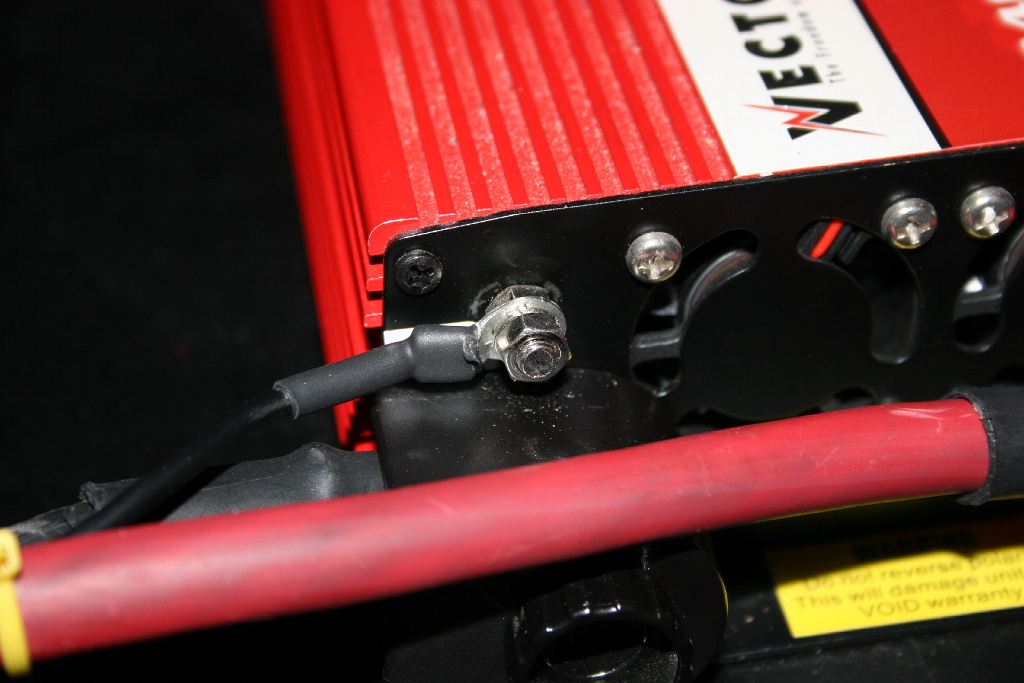
| Cut a length of 12 gauge black wire to run from the ground on the power inverter, to a body ground. Install a ring terminal on one end and a spade terminal on the other end. Seal the heat shrink with a heat gun. Install the wire from the ground terminal on the power inverter to the body ground point. |
 |
 |
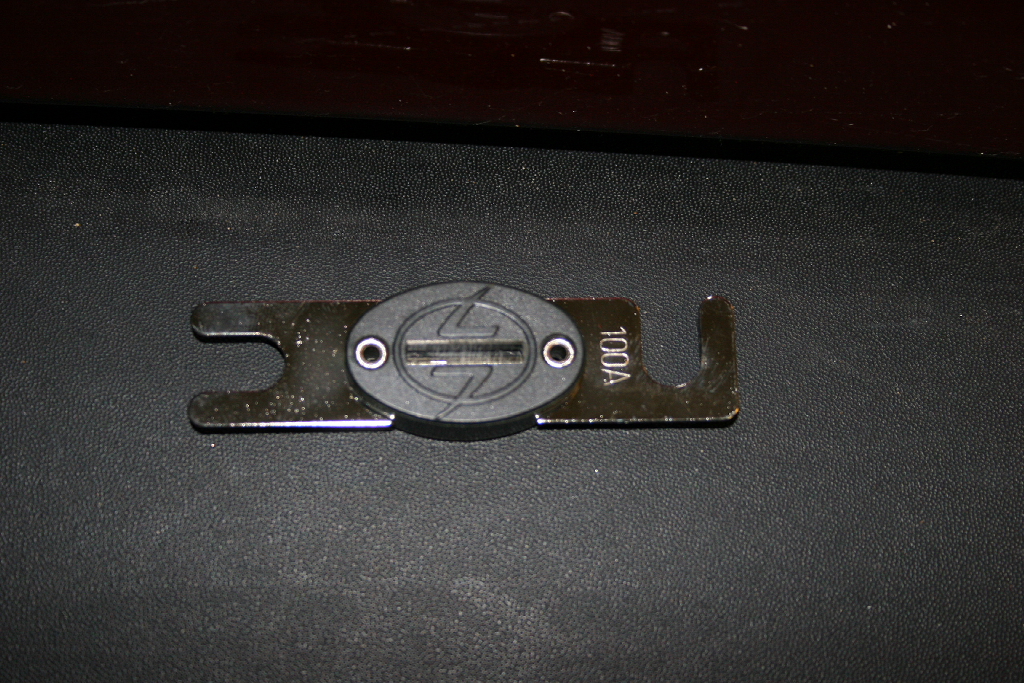
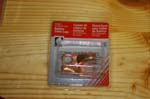
| Install the fuse in the ANL fuse holder and install the cover over the fuse to protect the terminals from shorting. |
 |
 |
 |
 |
 |
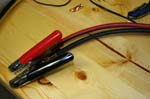
| Connect the cables to the battery terminals. |
 |