I was constantly digging the mud, clay and sand out from around the gas cap on my TJ's. It also would find it's way into the locking gas caps that I had. I finally decided to go ahead and pick up a door for the gas cap. I did look around at a few of them, and the MOPAR or Bestop ones were the closest to what I really wanted. The MOPAR one was cheap at the dealership, so I picked up that one.
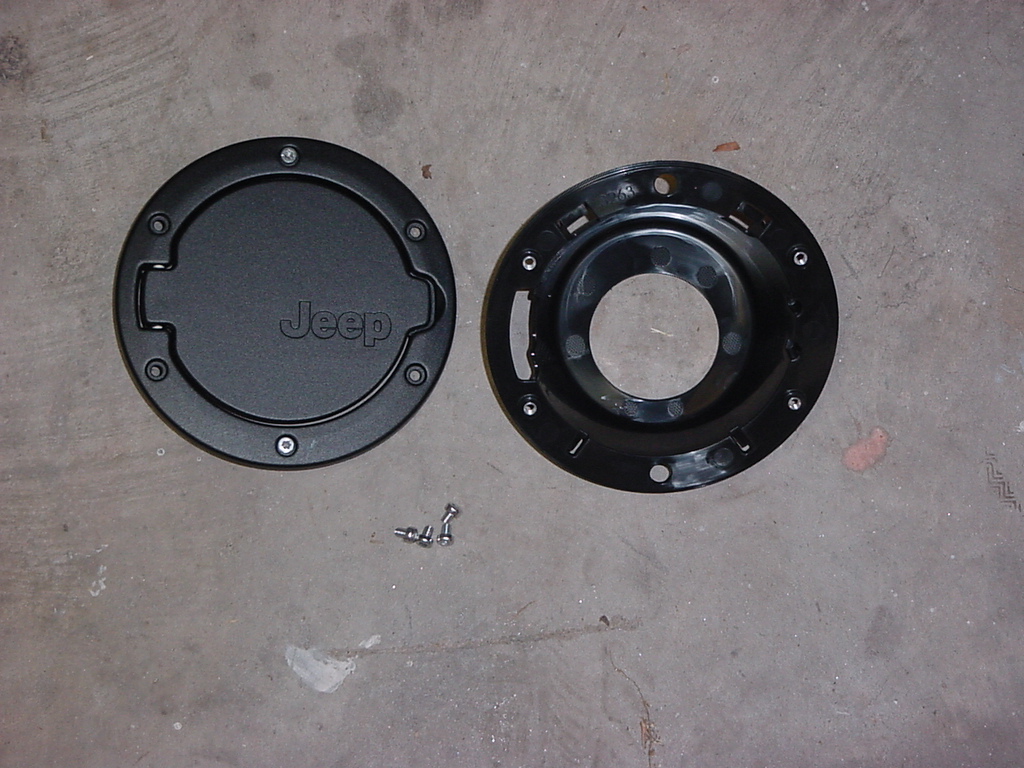
Here is what comes in the kit. Not a lot of parts. The instructions are actually just pictures. They start off with a picture of a fire with a line through it. Hmm I guess they don't want you to stick a lighter through the back taillight to see what is inside it. |
 |
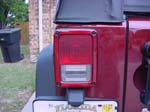
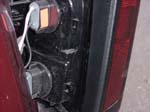
Remove the driver side read taillight with a phillips screwdriver. You will only need to remove the top and bottom inner screws (the ones closest to the tailgate). The other side is just held in by tabs to the body. |
 |
 |
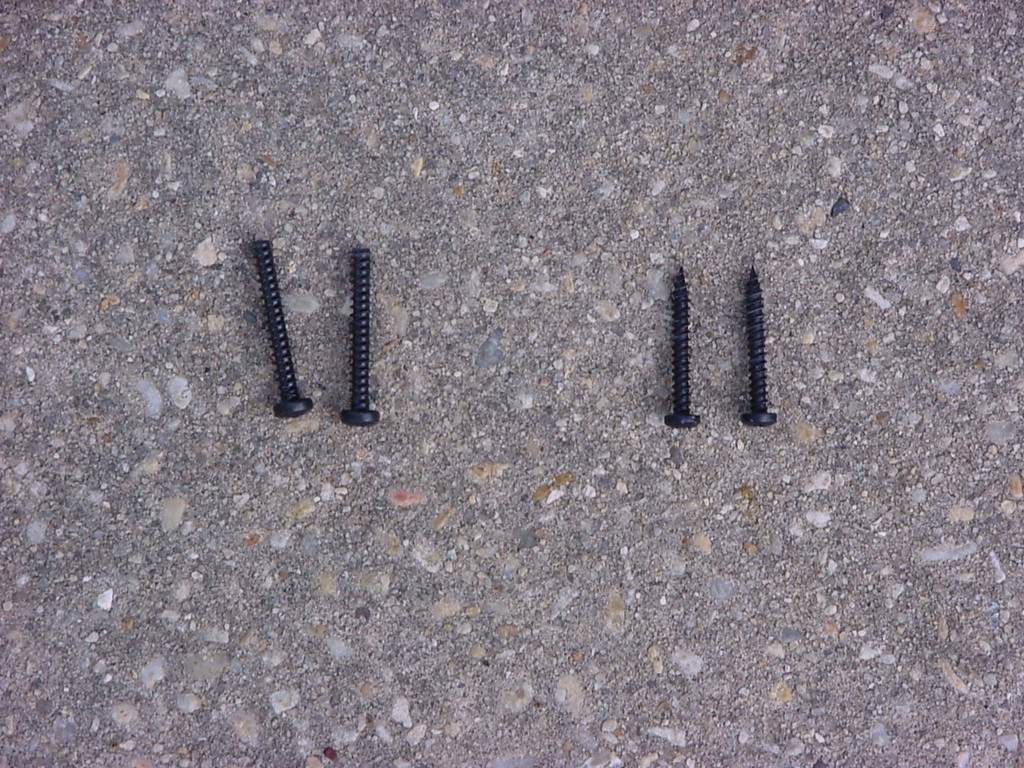
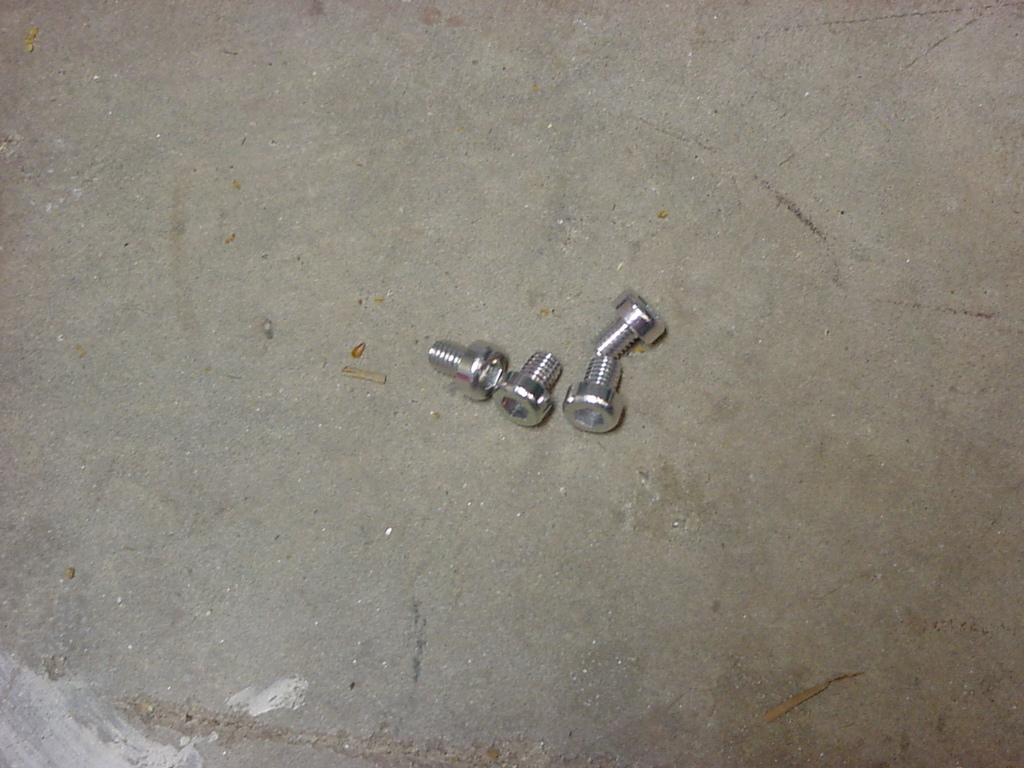
| There is a difference between the 2 sets of screws.
The ones on the right go into the slips on the body, the left only screw into a plastic filler piece. |
|
|
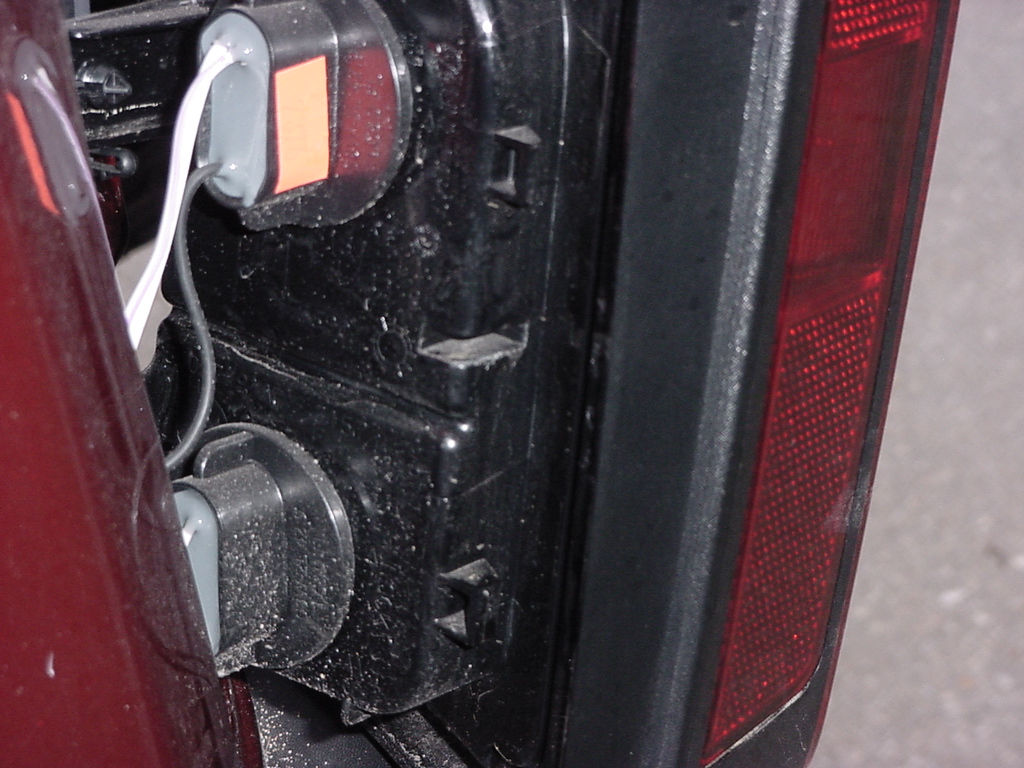
| Here is the plastic filler piece on the side of the taillight. If you removed the screws for this, don't over tighten them when you reinstall them, you will crack something that is plastic. These taillights are not cheap. |
 |
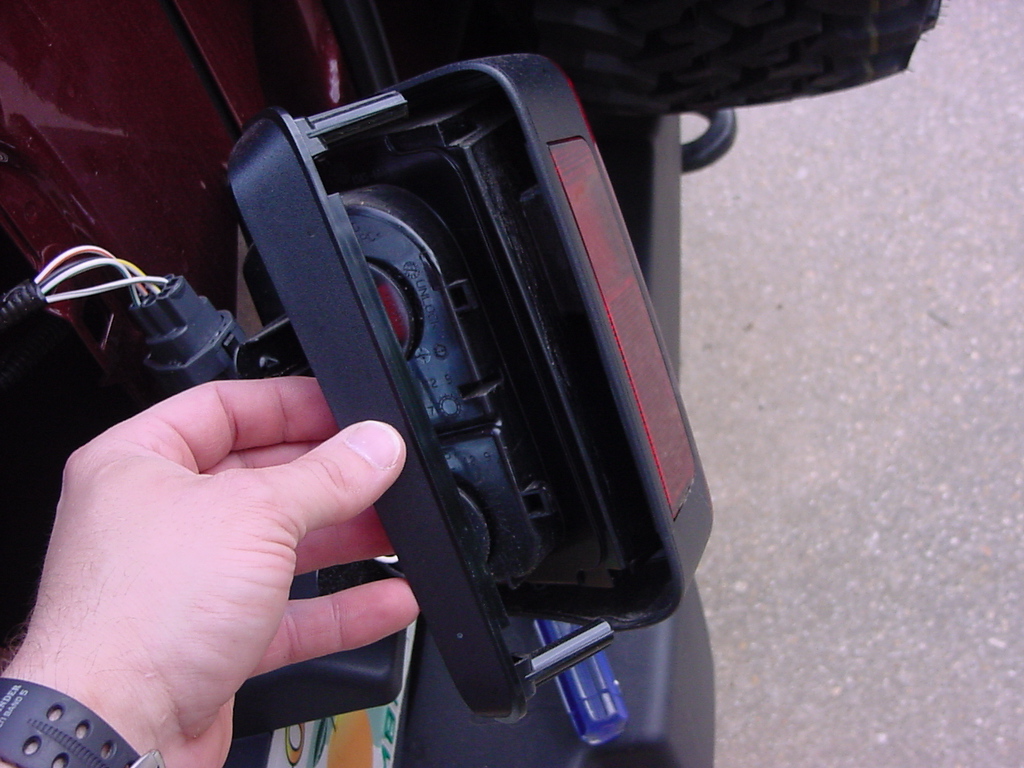
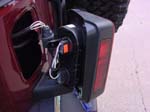
Unplug the taillight from the harness. Push down on the tab and pull apart. Be careful the connector is mounted on a plastic tab off of the light. |
 |
| If you have the tow package you will have two connectors on the taillight. You will need to unclip the top one and remove the lower one from the taillight. |
 |
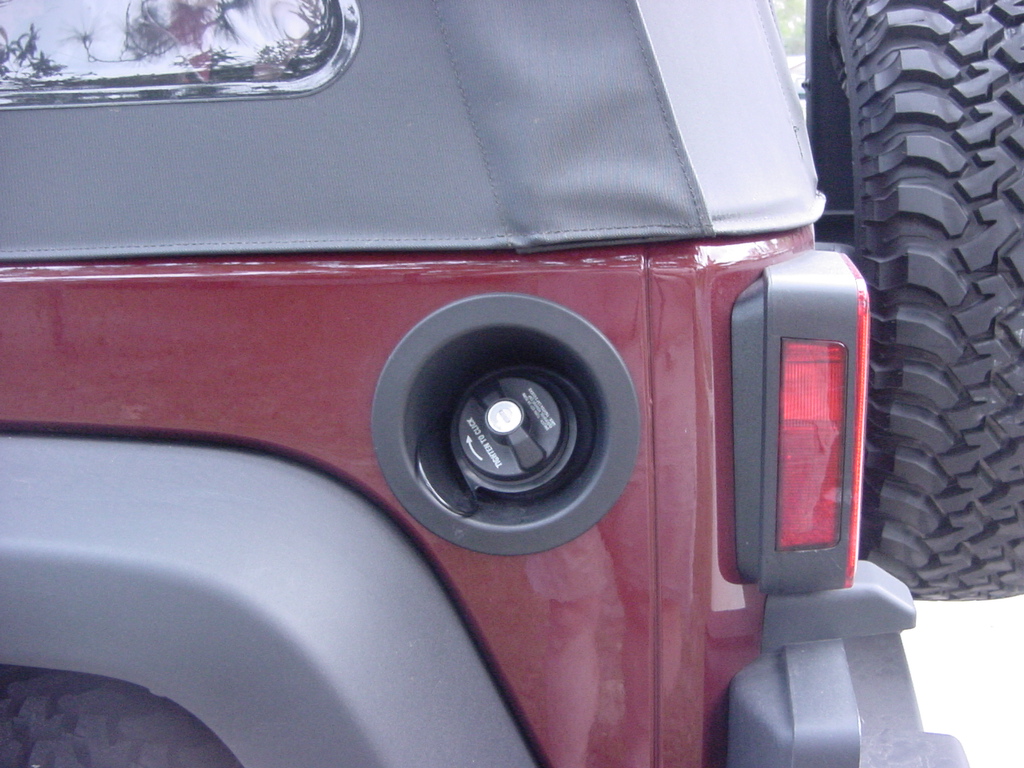
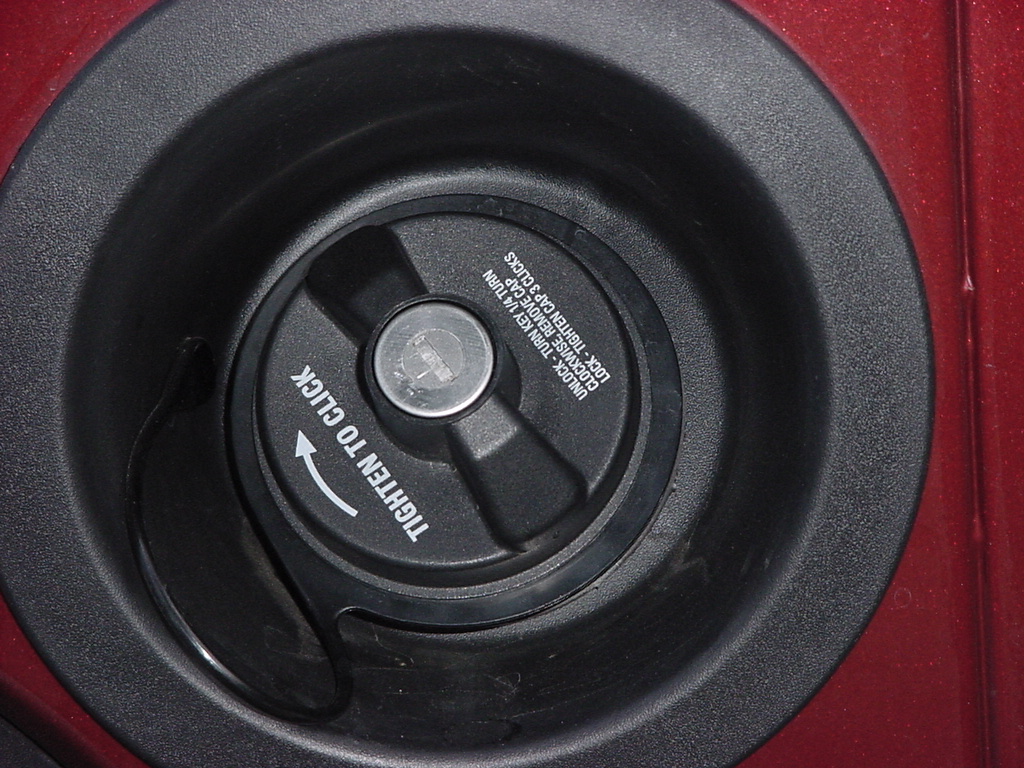
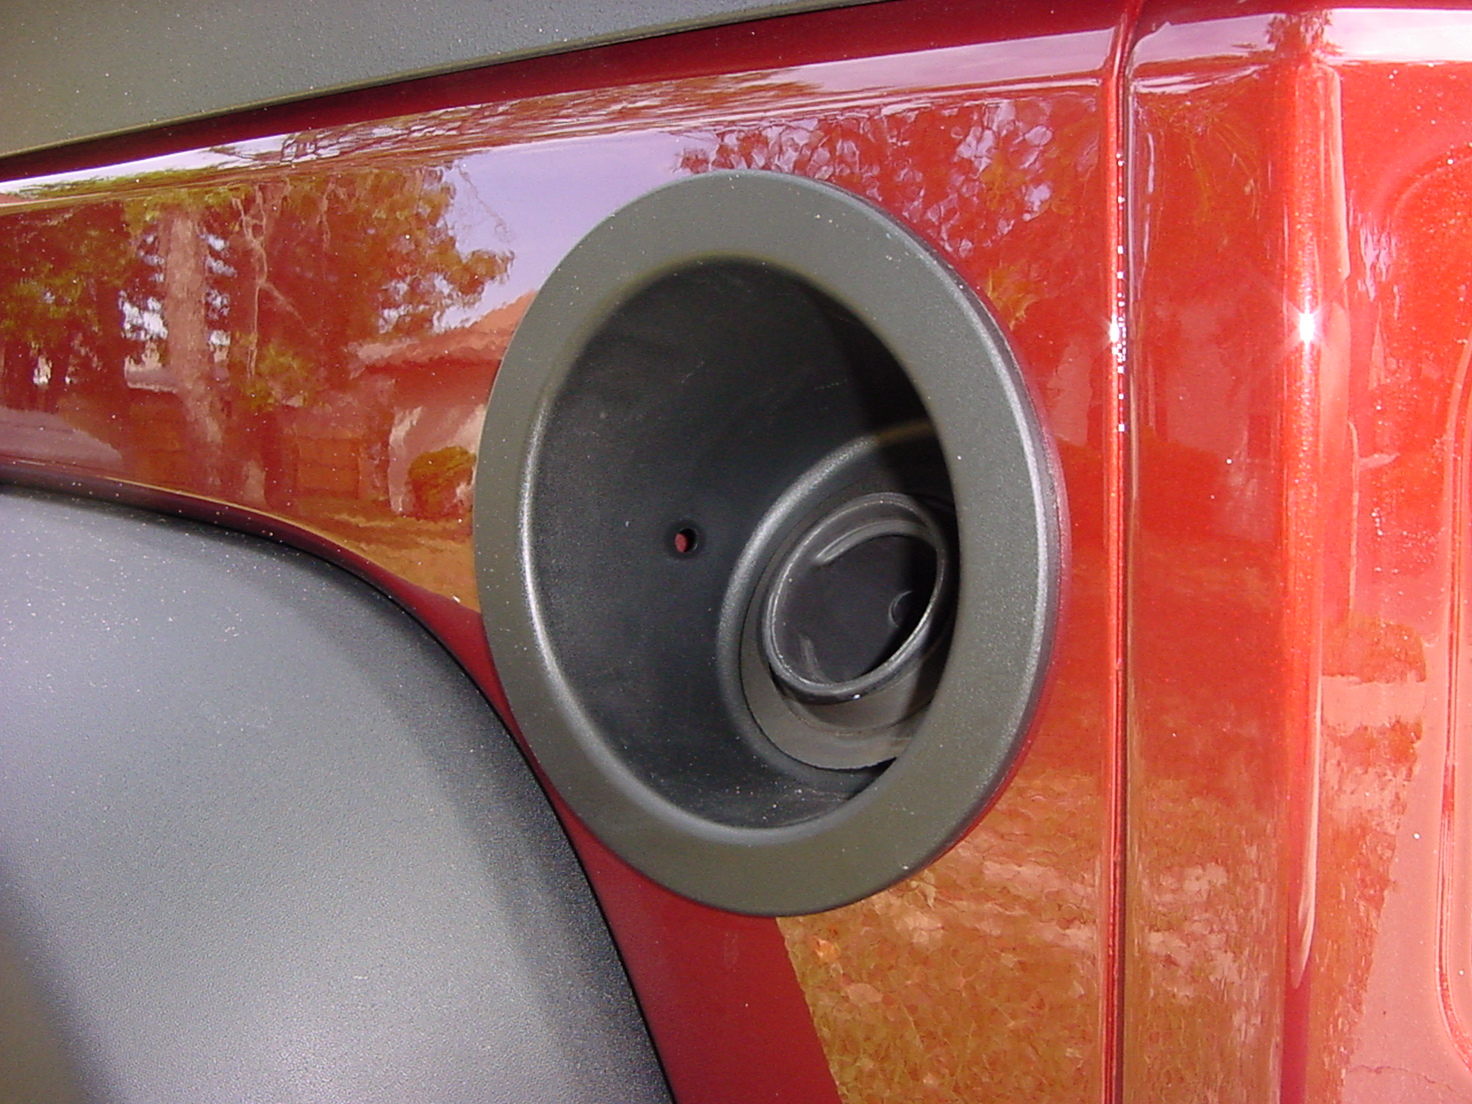
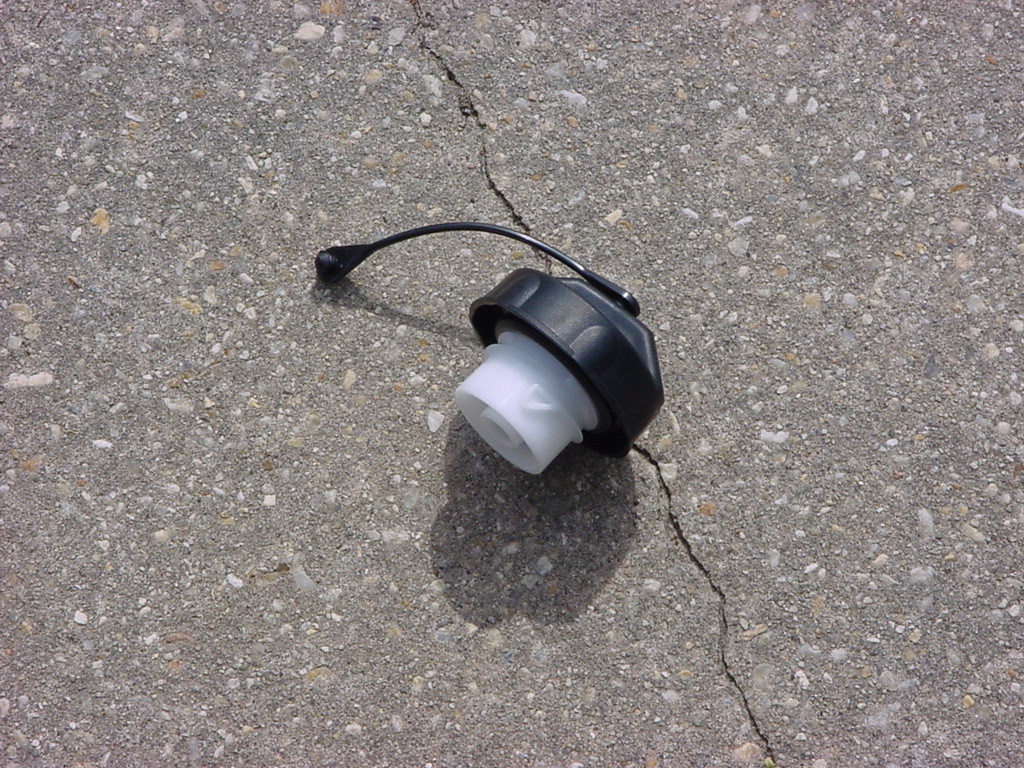
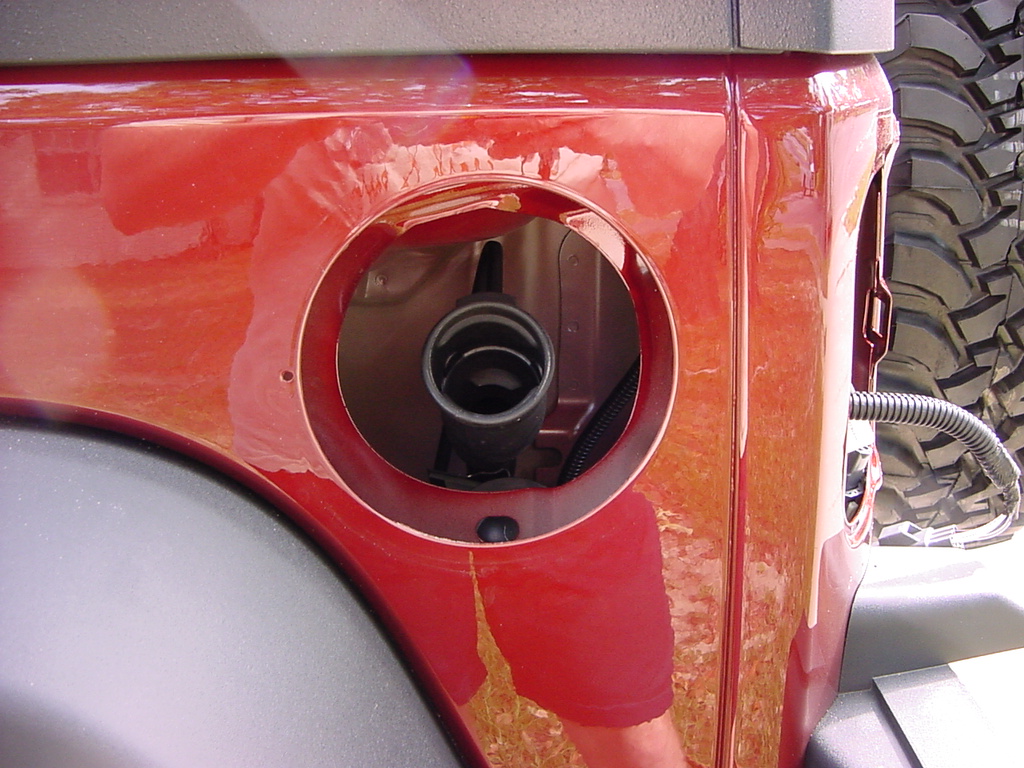
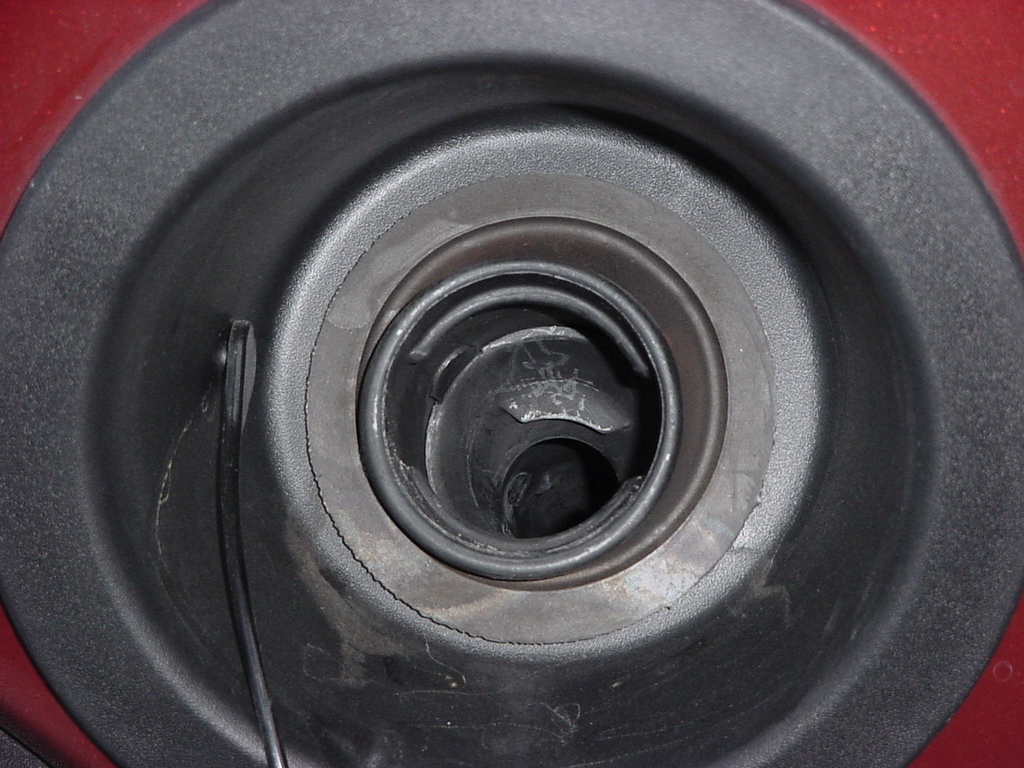
Clean out the filler housing and remove the gas cap. |
|
|
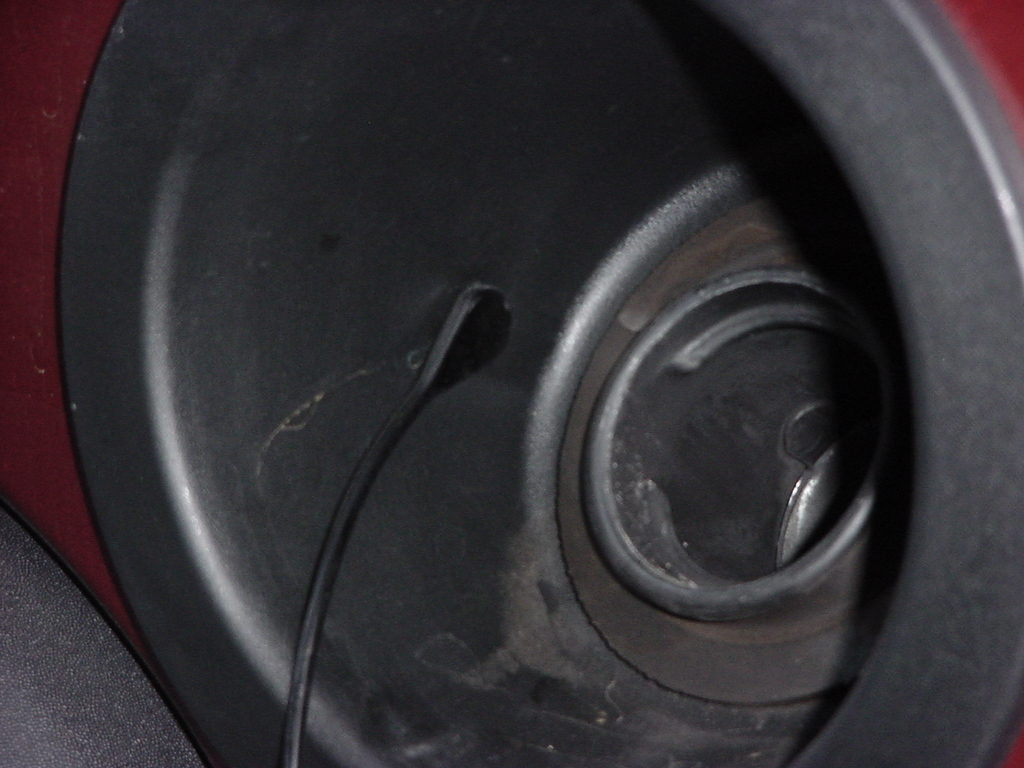
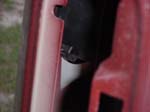
| Pull out the retainer lanyard from the housing. This may be easier after to remove the housing. |
|
|
|
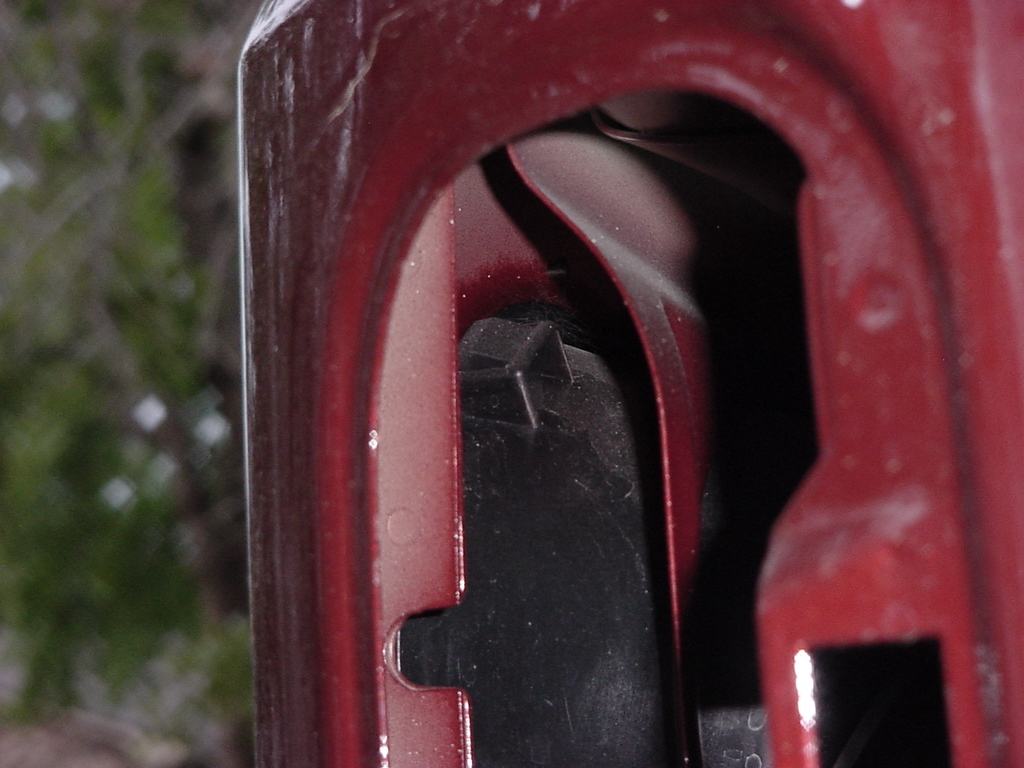
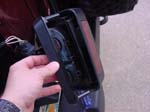
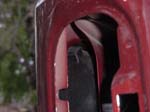
The housing has 2 clips on the top and bottom that will need to be pressed down as the housing is pulled out. You will have to reach through the rear taillight opening to get to the once closest. The two on the opposite side are unreachable. |
 |
 |
| Once you have the taps pressed down and the filler housing push out a little, just wiggle it back and forth until you can get the other clips to come out. |
|
|
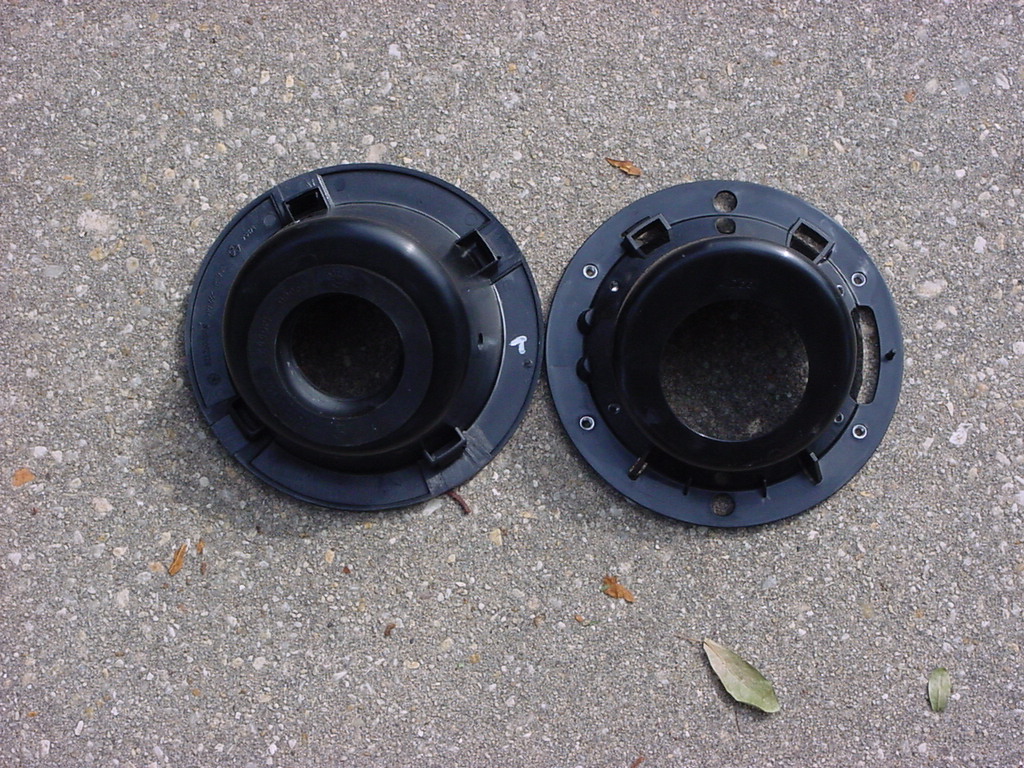
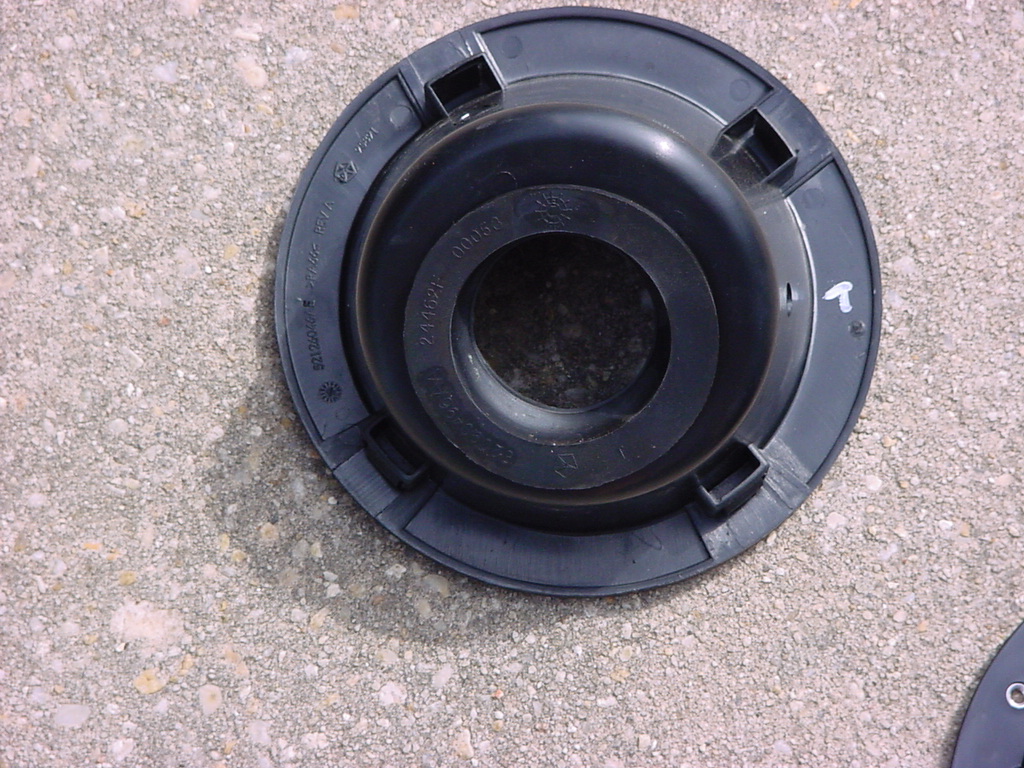
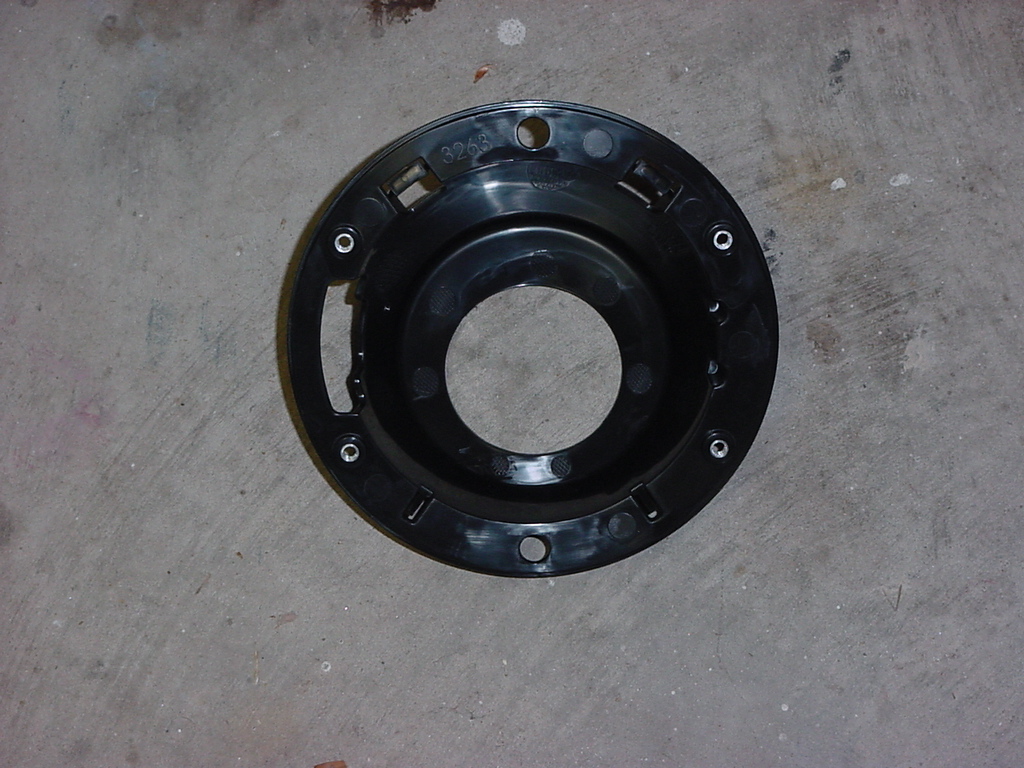
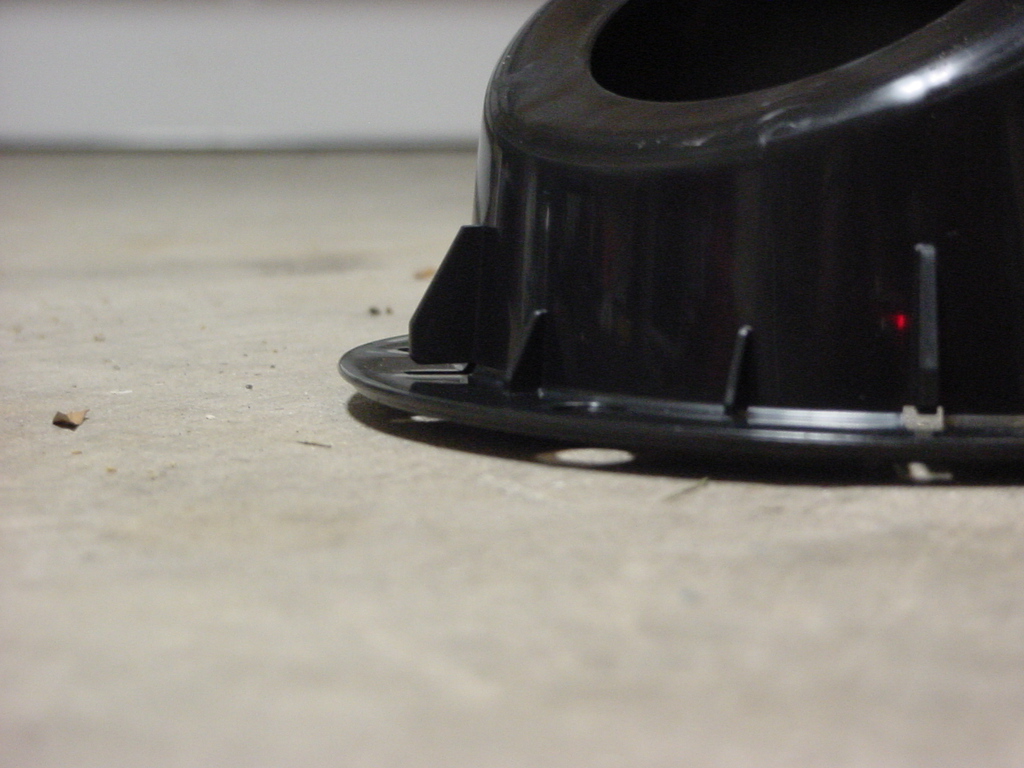
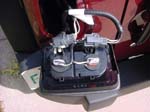
| Here is the old and new side by side. The new housing just has to clips on the bottom, while the old used four push tabs. |
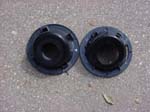 |
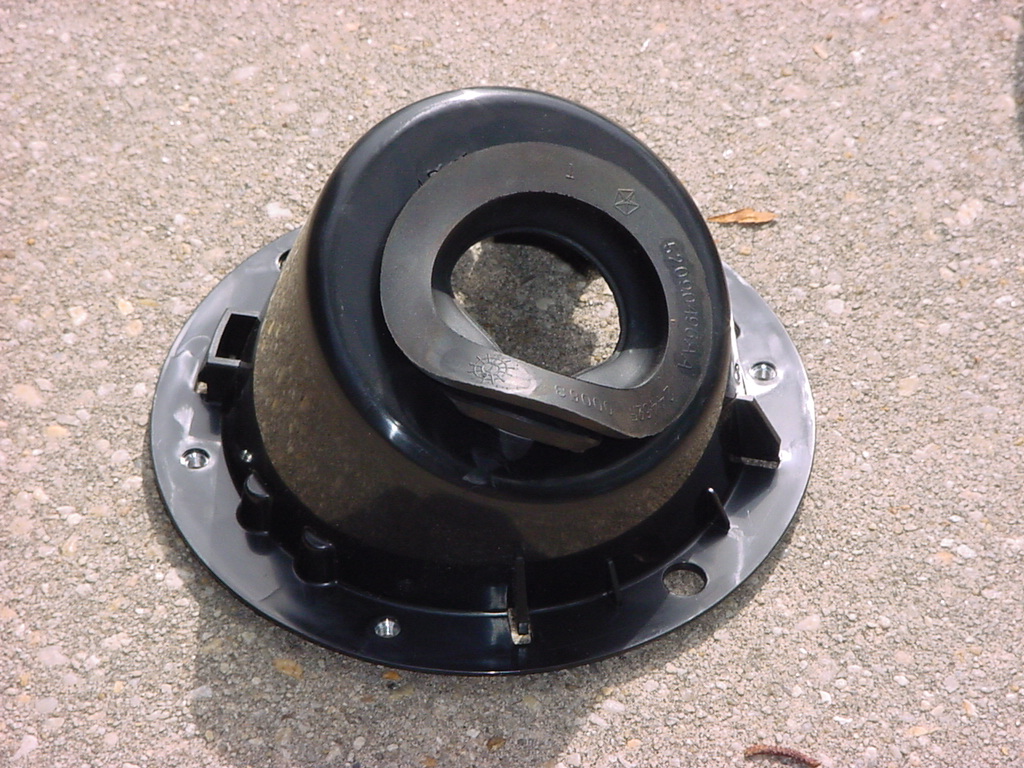
Remove the rubber seal from the old housing and install it on the new housing. The older TJ's used to screw the housing to the filler hose. |
|
|
|
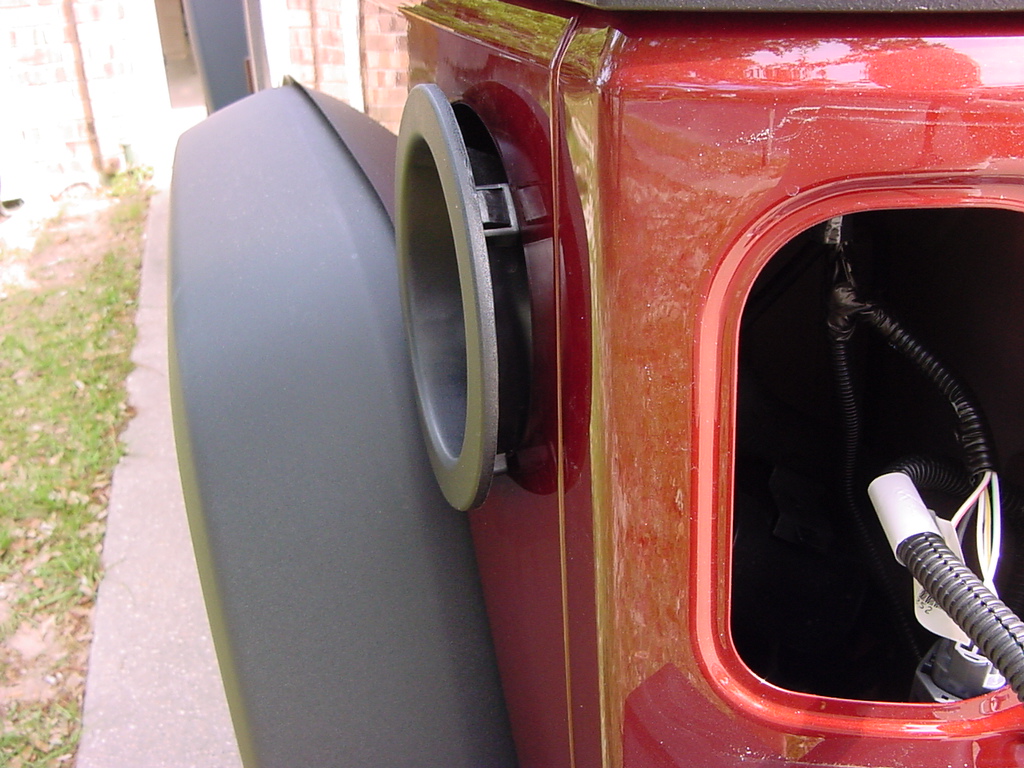
Install the new housing by sliding the two bottom clips over the bottom. Make certain it is lined up and then press the top in. |
|
|
|

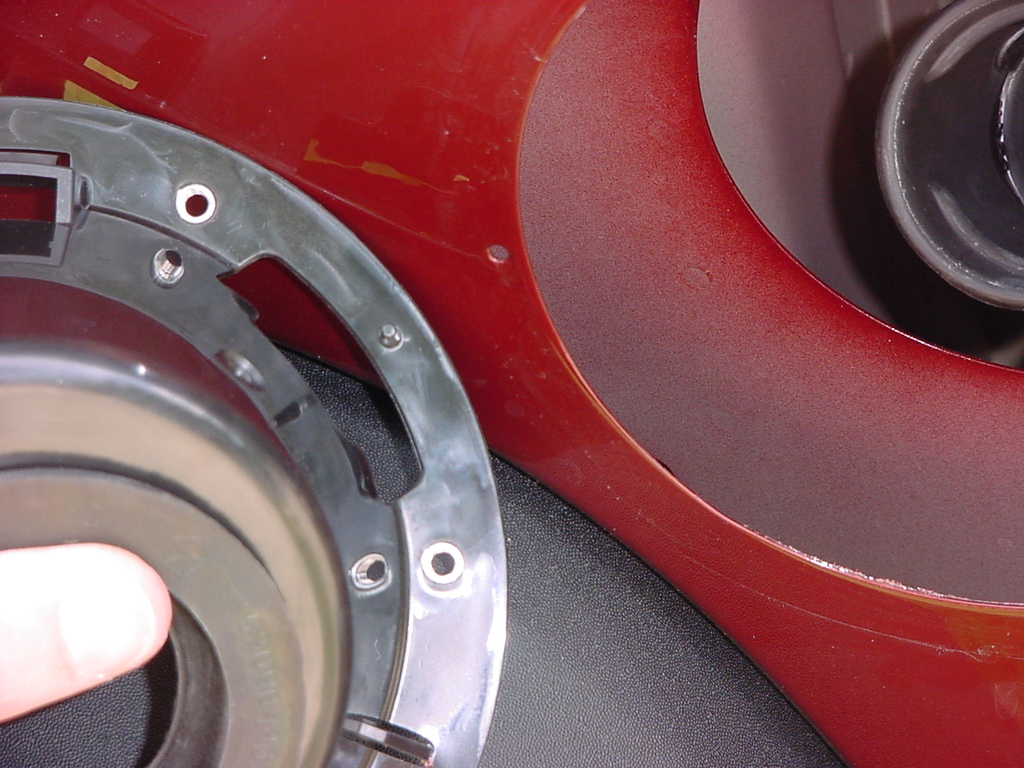
Alignment pin and hole |
15-Apr-2008g src="thumbnails/DSC04735.jpg" width="150" height="112" border="0"> |
| Since you are going to be playing with small screws, reattach the lanyard and screw on the gas cap. |
 |
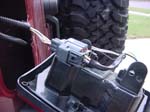
Bolt the door to the housing using the 4 supplied allen head screws. Do not over tighten these, you can snap the screws off. Torque to 15 in/lb's |
|
|
Reinstall the rear taillight assembly. (The instructions don't tell you to do this, but I think it's kind of important since the local law enforcement frowns on not having taillights.) Reconnect with wiring harness. |
|
Slide the taillight clips over the sheet metal on the outer edge of the opening. |
 |
| Screw the light housing on. |
|
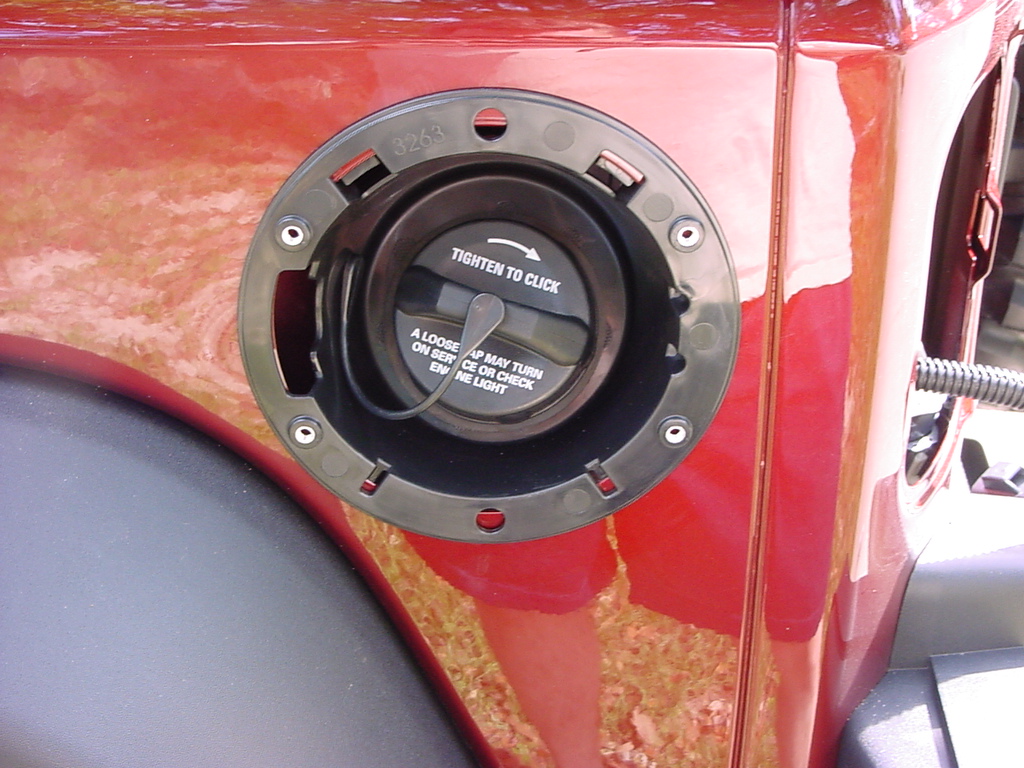
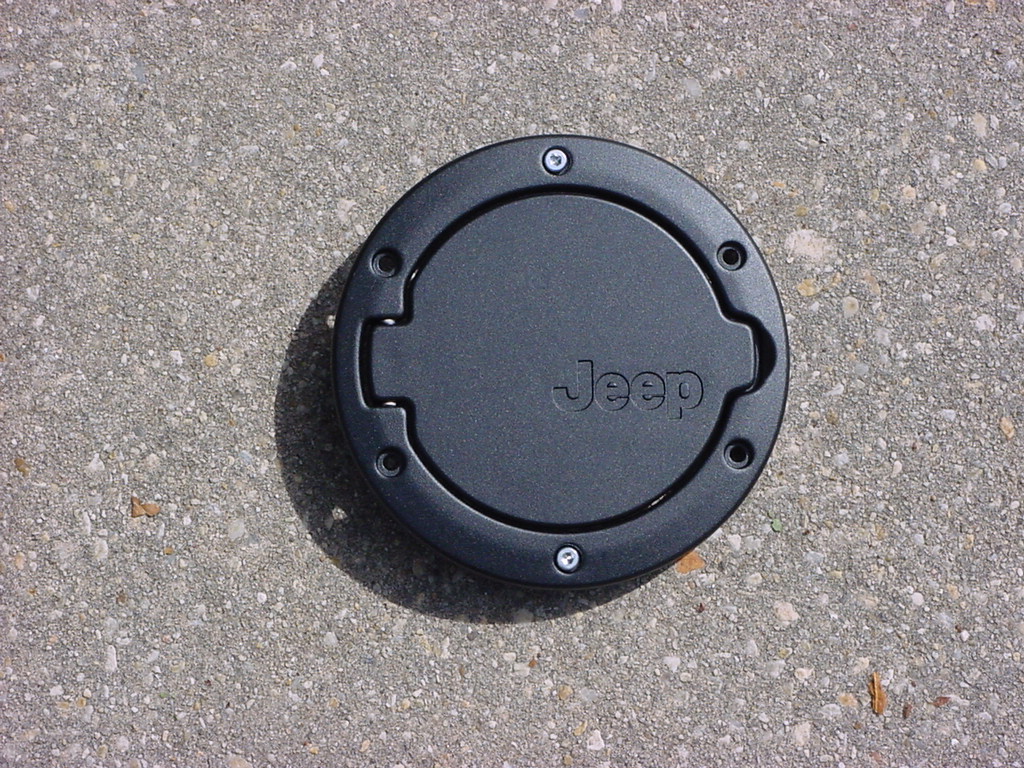
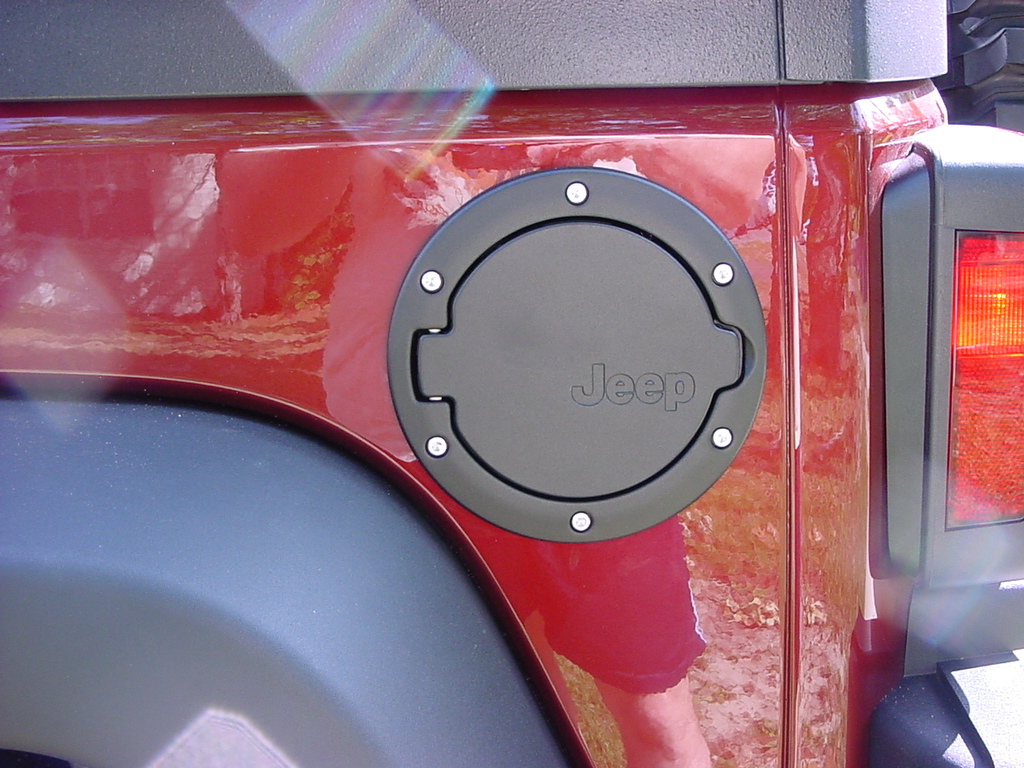
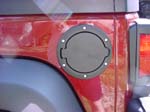
| The finished product. Definitely a little harder to get dirt into the housing. |
|