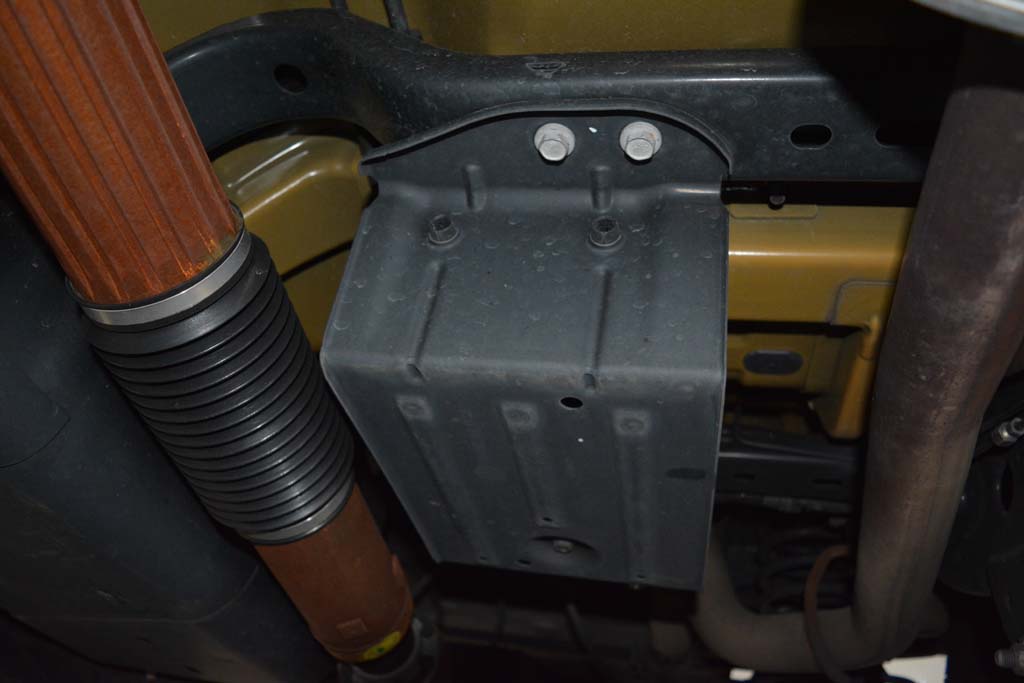
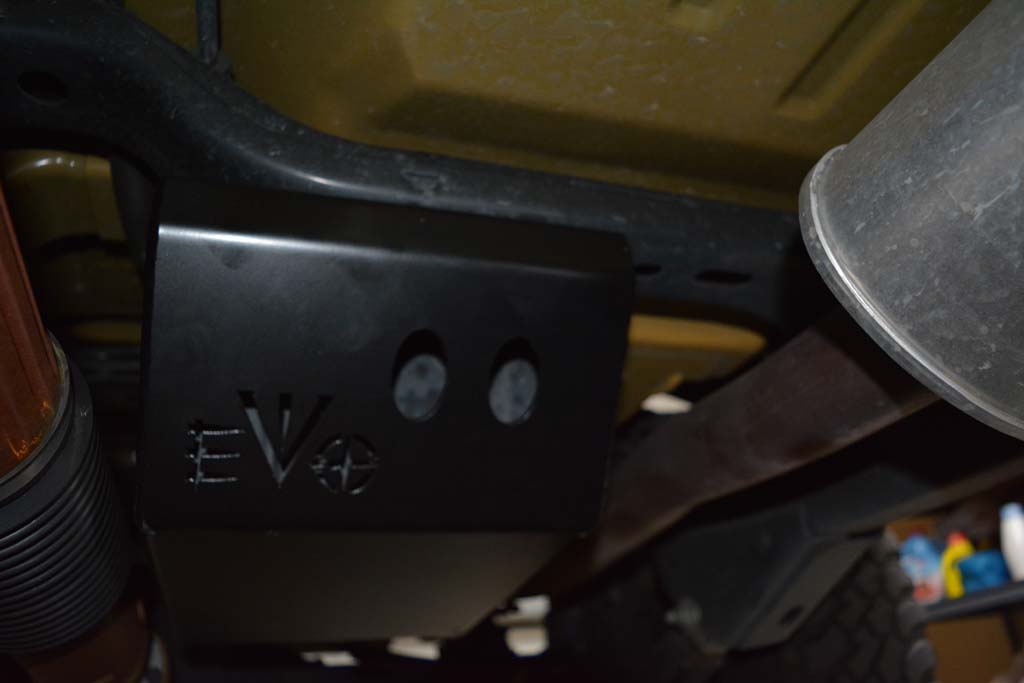
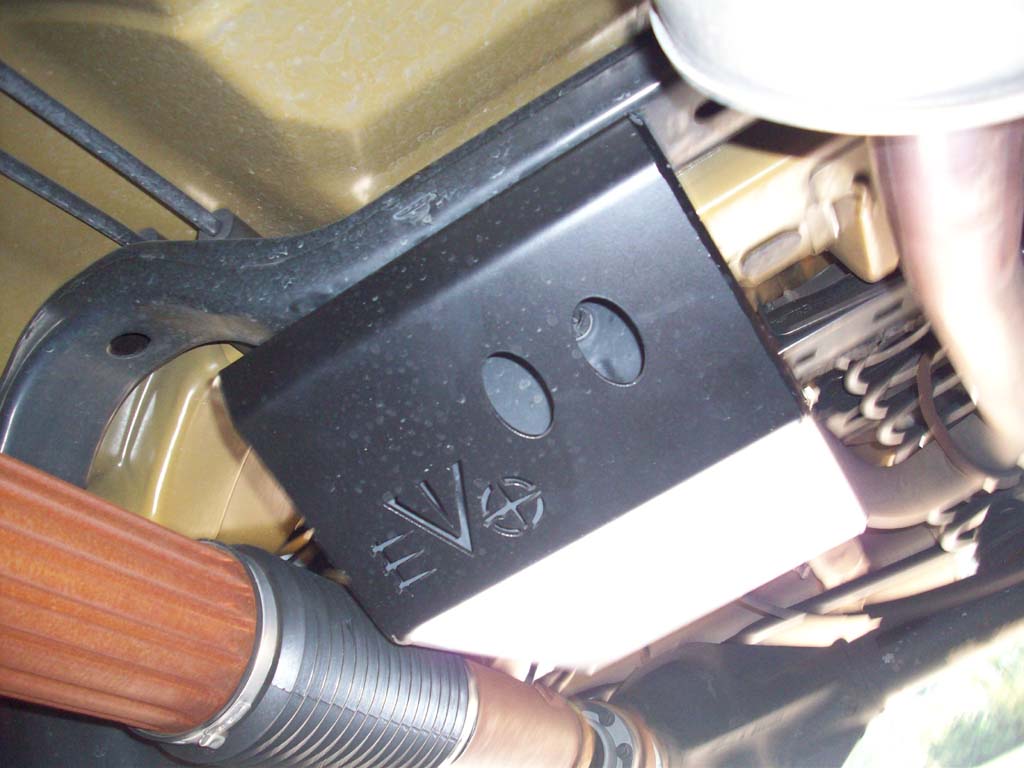
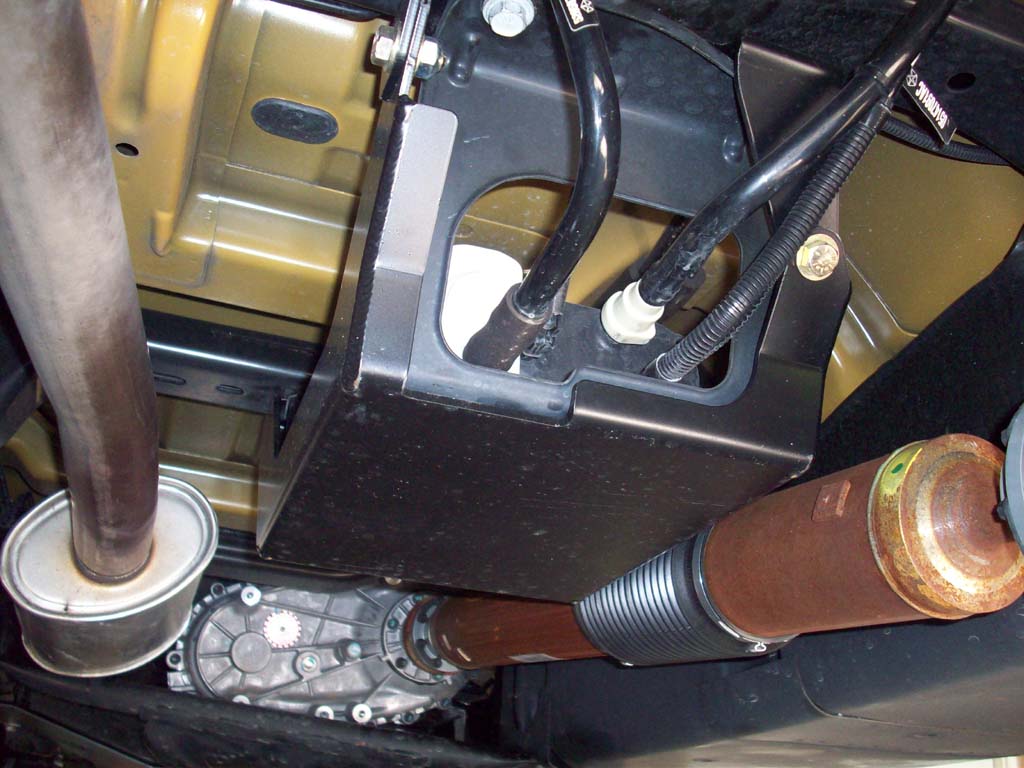
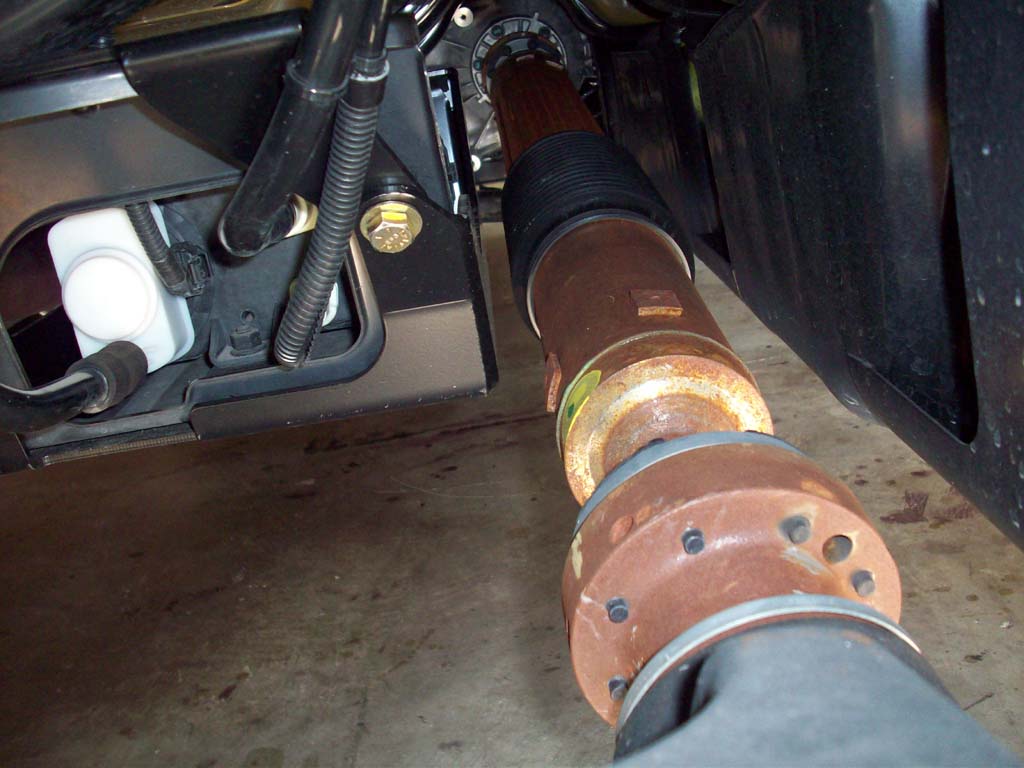
Jeep for some odd reason figured that putting a plastic box underneath the Jeep and running plastic lines to it would be a really good idea for those of us that actually use these vehicle off road and in harsh conditions. It's probably perfectly fine if your going to the mall all the time. In 2012, maybe 2011 Jeep decided to put some type of skid plate around the evap canister. This is an improvement of having nothing, but still needs a little extra protection. I had previously relocated the evap canister to above the rear axle, but have had lines come loose, the check valve not reseat properly and just didn't like cutting factory lines to relocate the box. I did use River Raiders evap and air tank skid in the past, but this does not work unless your Jeep has a suspension lift. The driveshaft will hit the skid. This time around I decided to go with EVO manufacturing and their skids for underneath the vehicle. Their skid bolts around the stock evap skid and adds a serious layer of protection to the box. The lines in the back are still a little exposed, but if you get to the point where your going to rip them off, you already have bigger problems with driveshafts and the rear axle. This is actually a fast install, it took me about 30 minutes, and part of that time I was talking to a friend on the phone.
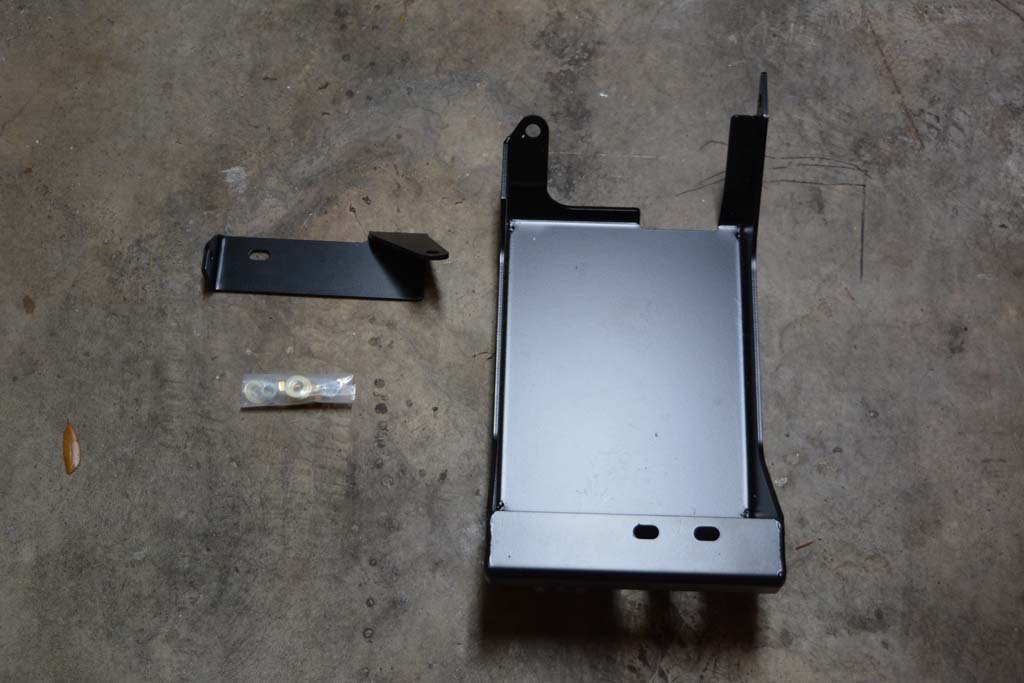
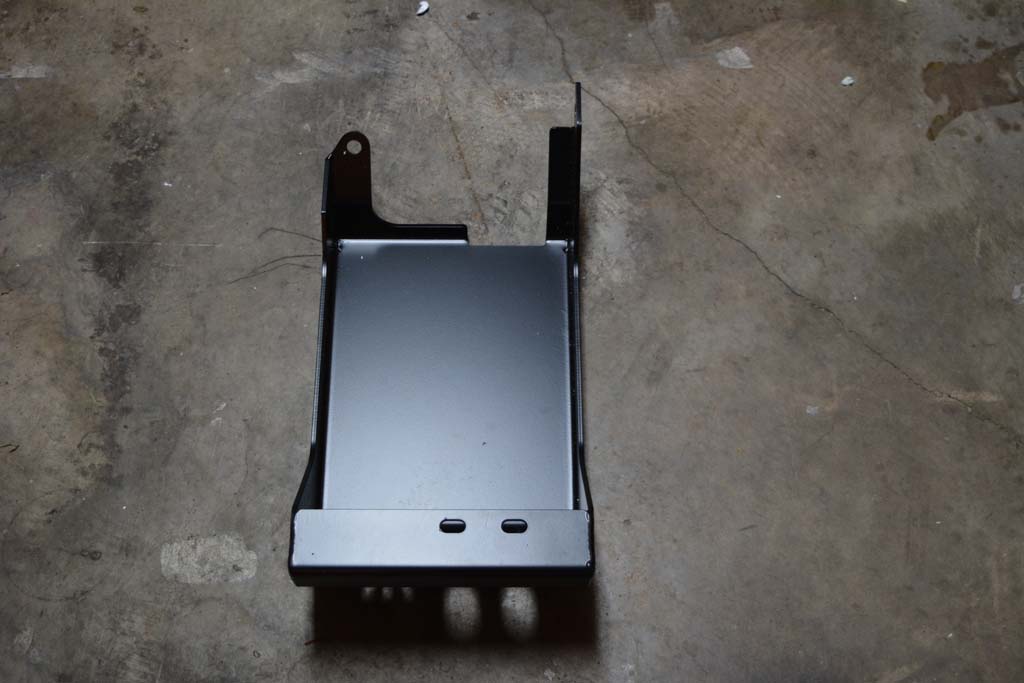
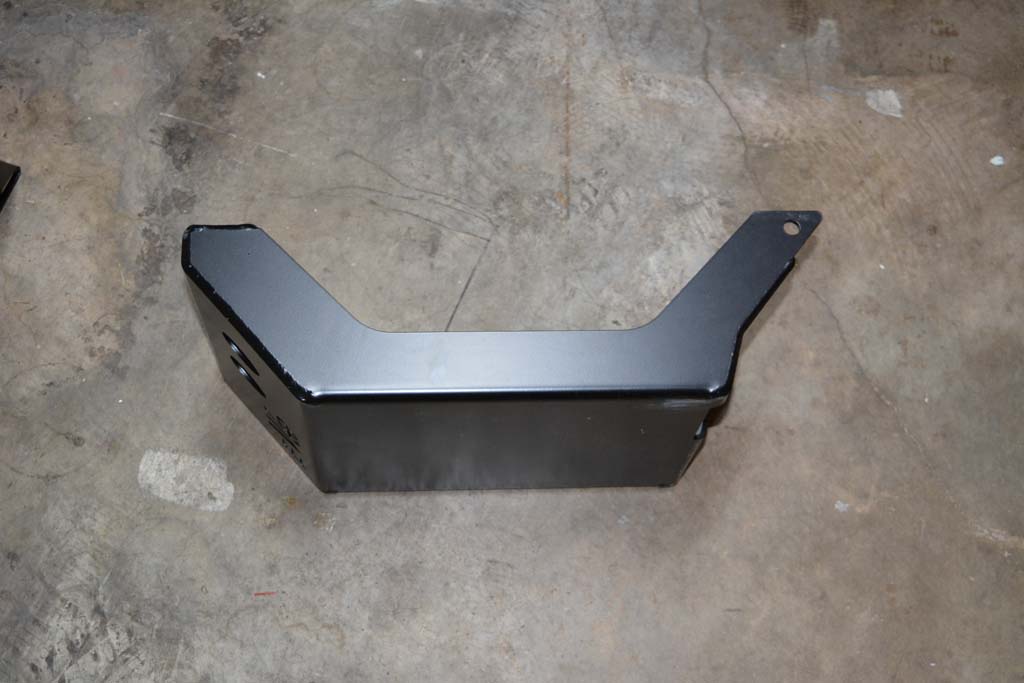
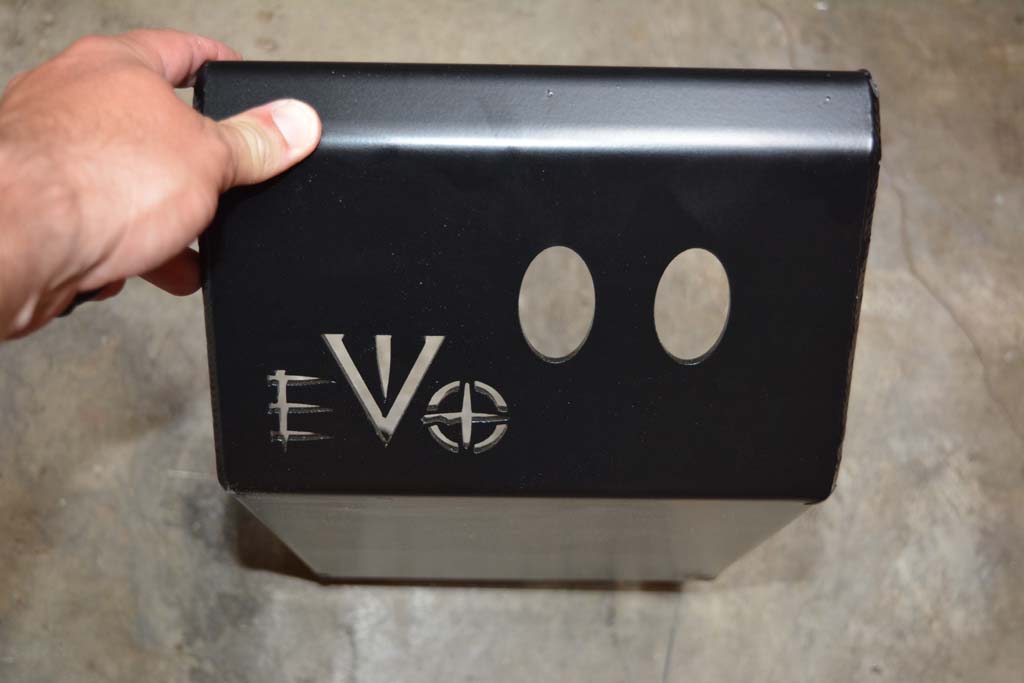
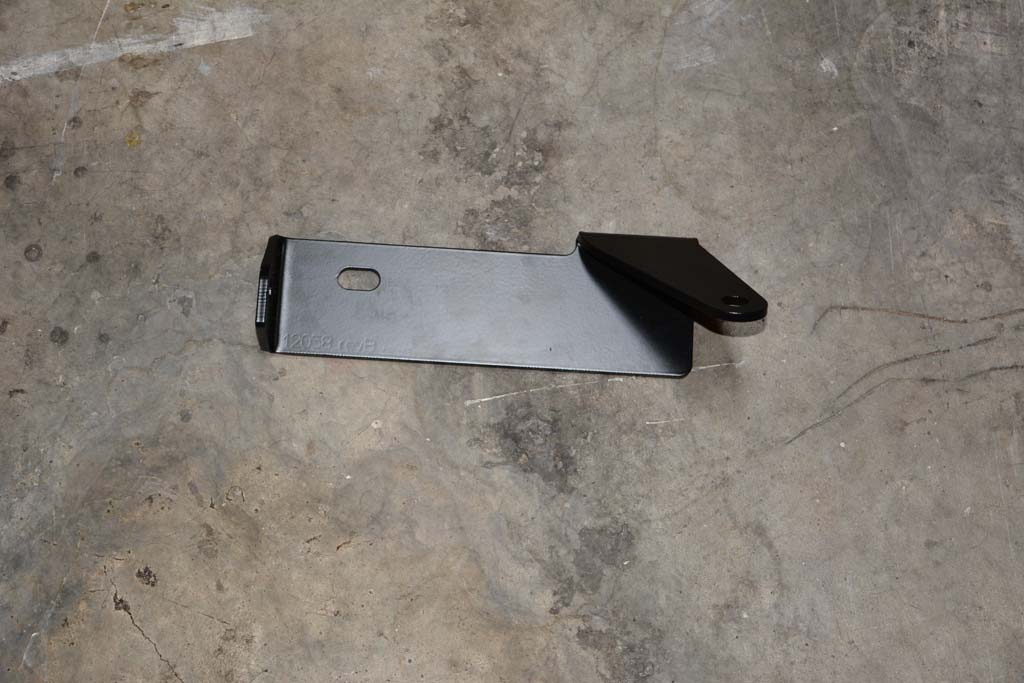
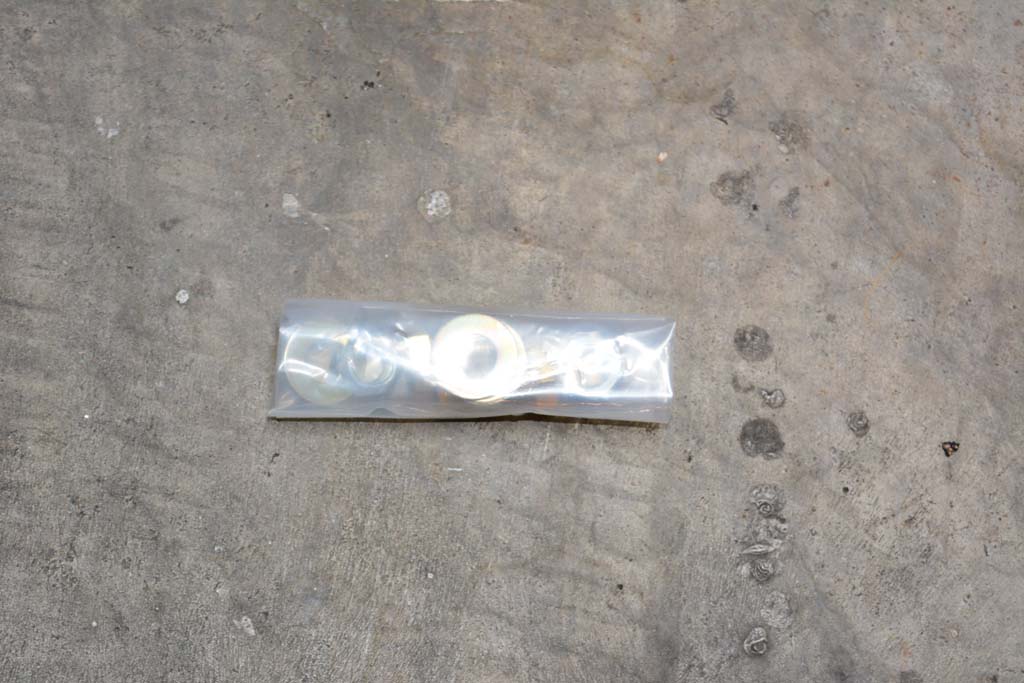
You should have a skid, a bracket and a packet of nuts, washers and bolts. I needed a razor knife to get the package of bolts open, it was well wrapped with tape. The skid is extremely strong and heavy. The angled front will do a much better job of sliding over the rocks than the factory flat front faced skid.
Installation:
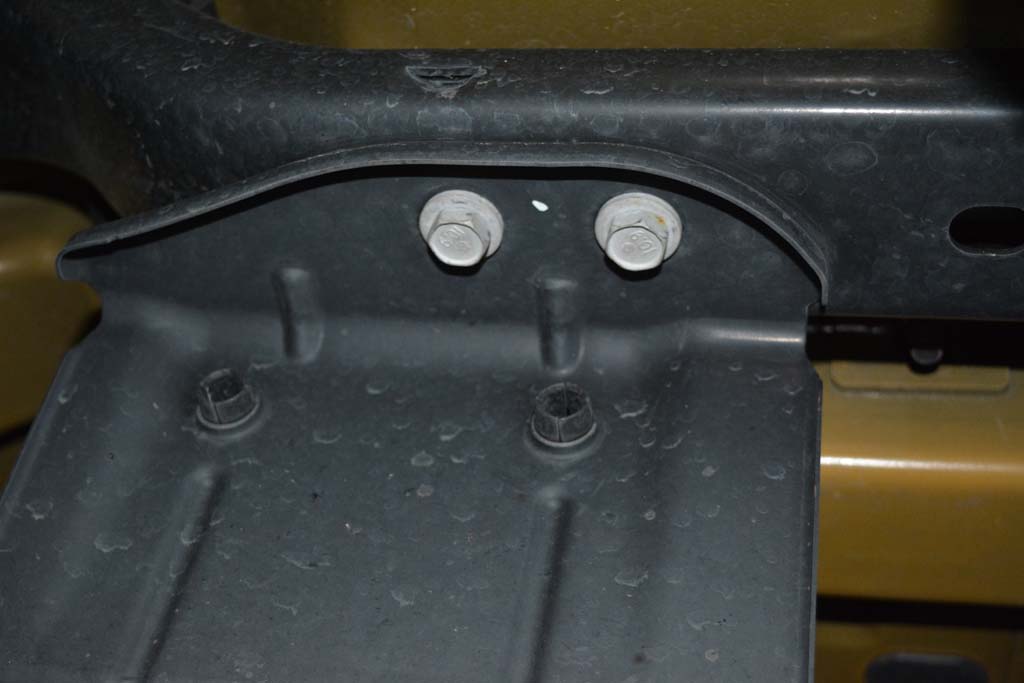
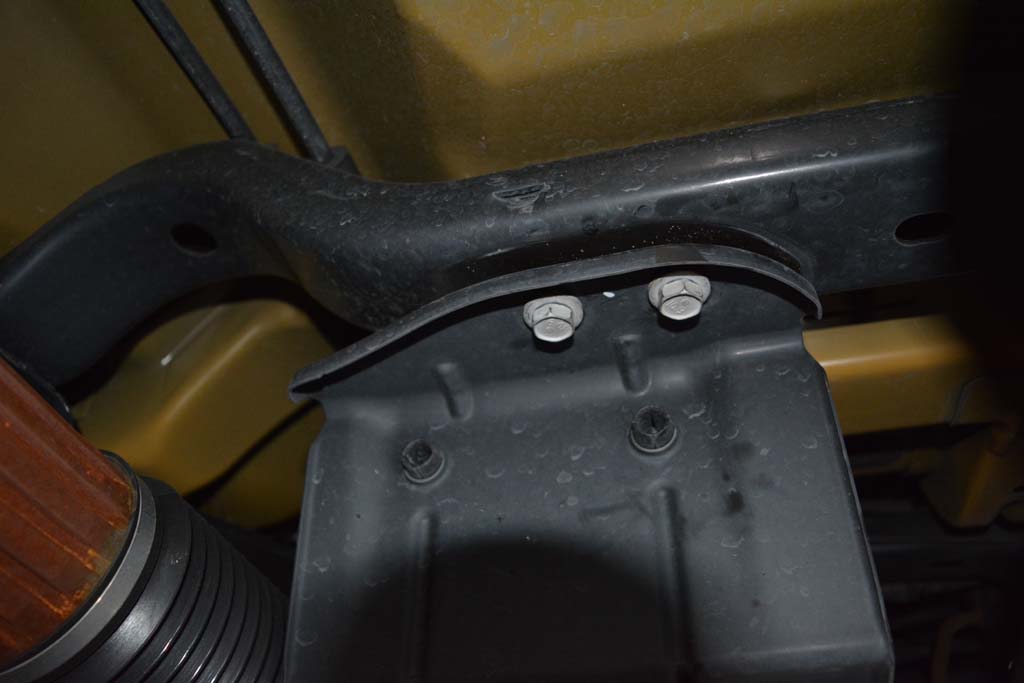
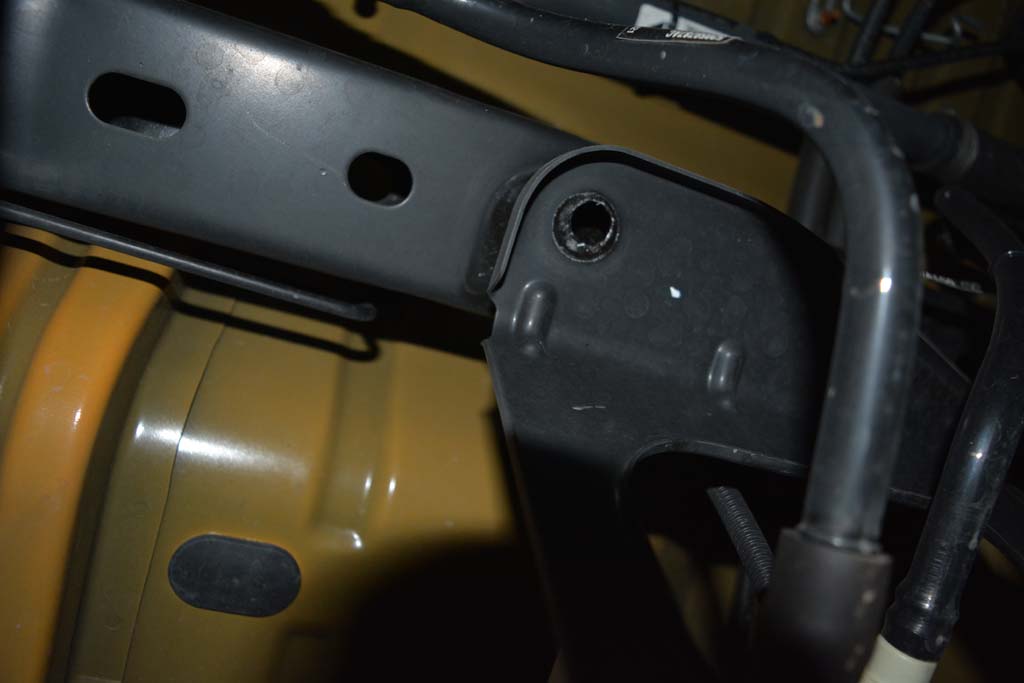
1. Loosen the two factory bolts from the front of the evap skid plate or bracket. Loosen these about 1/4". Do not remove them yet. You will need a 16mm socket and extension
2. Remove the factory bolt from the rear of the evap skid plate or bracket. You will need a 16mm socket and extension
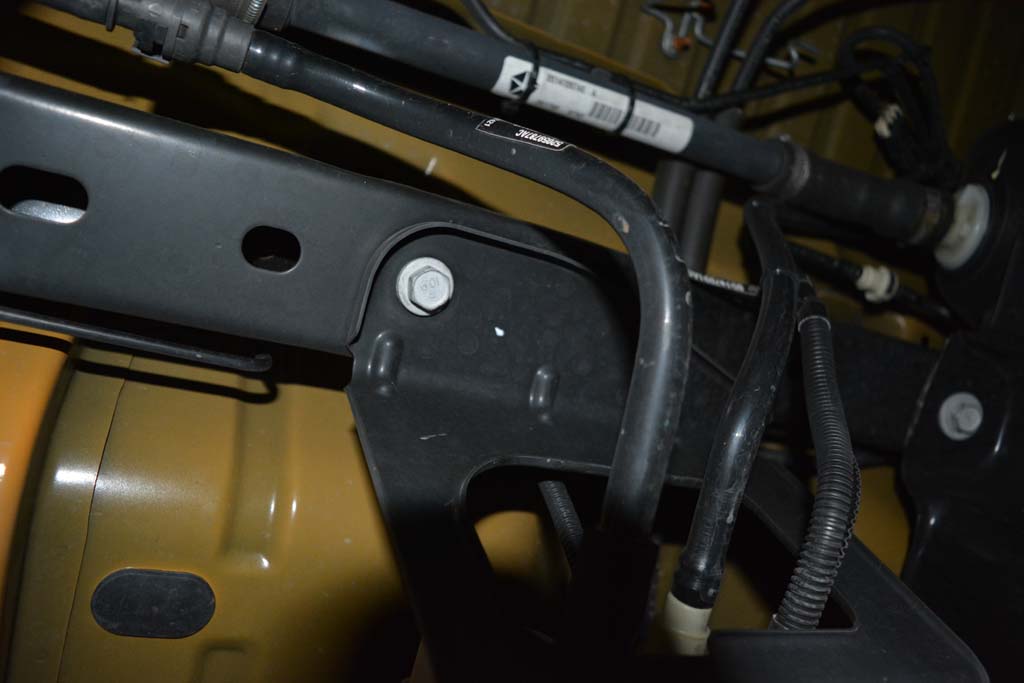
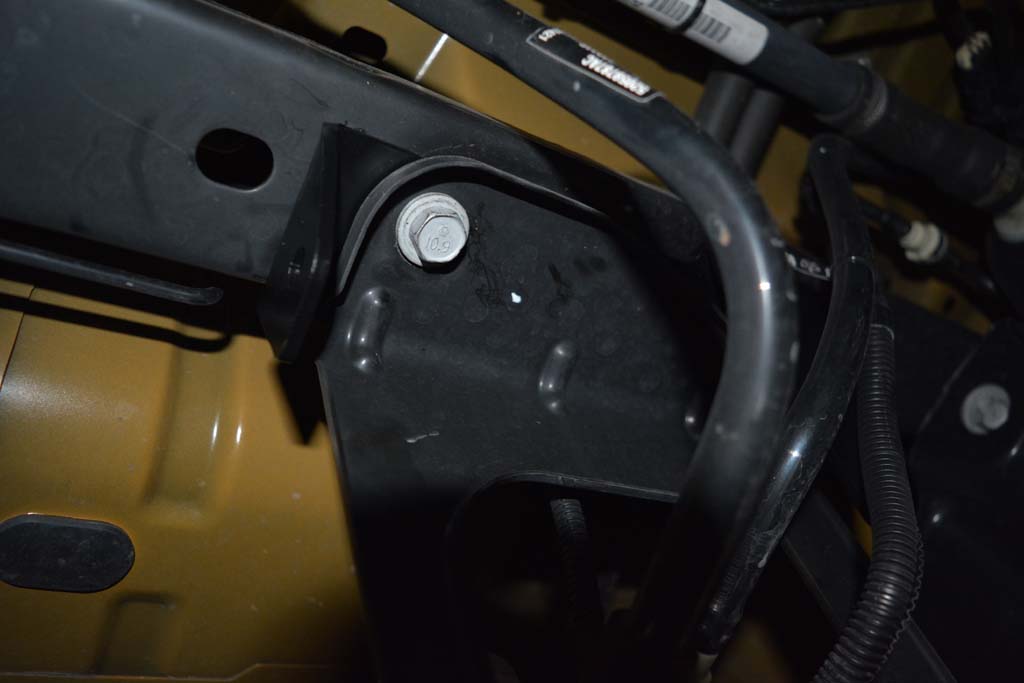
3. Place the EVO skid rear mounting plate between the factory skid or bracket and the frame. The long tab will on the inside and angled towards the front of the Jeep. Install, but do not tighten the factory bolt. Your will need to move the bracket around getting everything lined up.
4. Now remove the two front bolts. The evap canister will be supported only by the rear bolt, so don't hang off of it. You will need a 16mm socket and extension
5. Slide the front lip of the EVO skid between the fractory evap skid or bracket and the frame.
Note: Have your socket, extension and factory bolts ready.
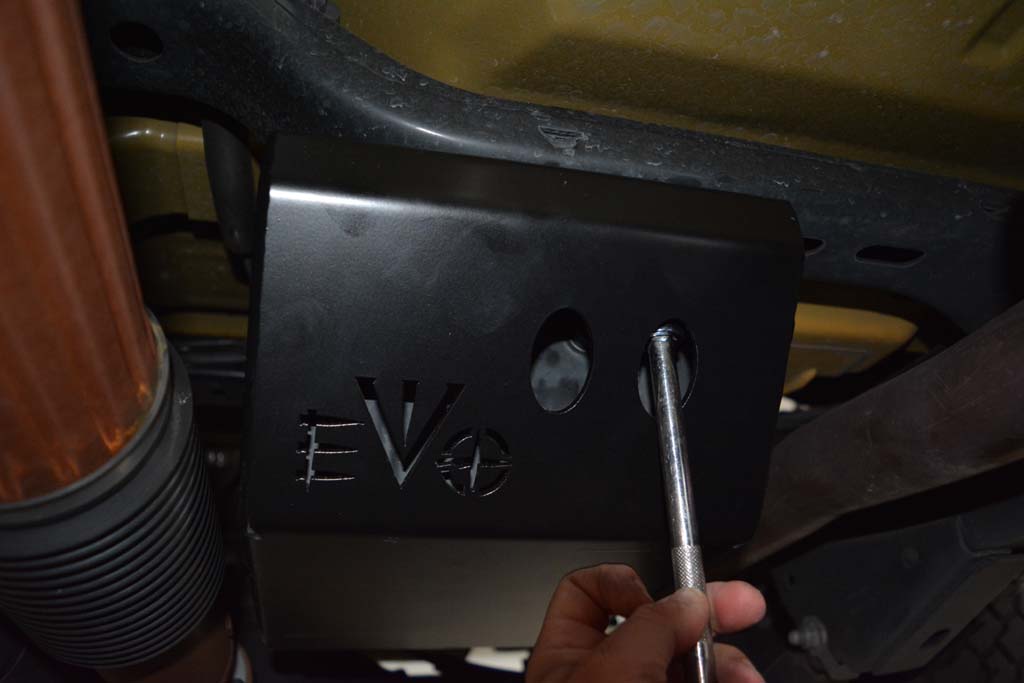
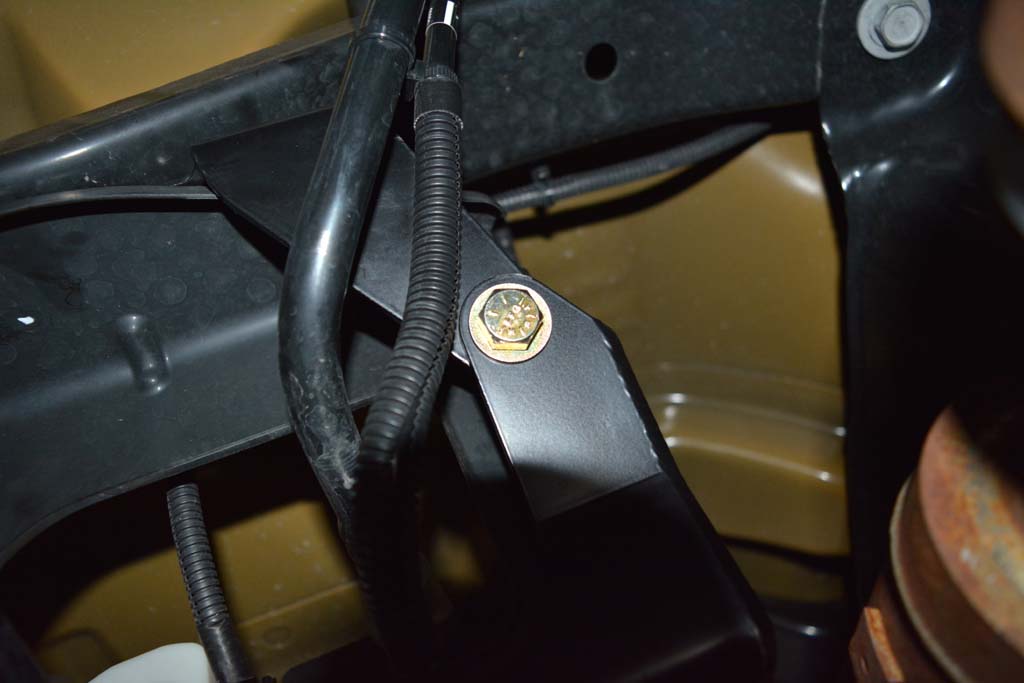
6. Carefully insert a bolt up through one of the two holes provided in the EVO skid, you will go through the factory skid/bracket, EVO skid and then into the screw holes in the frame. Consider this a test of holding the skid with one hand and doing everything else with the other. Bonus points for closing your eyes. Do not tighten these bolt, just leave them loose until you get everything aligned.
7. Find the package of bolts from EVO.
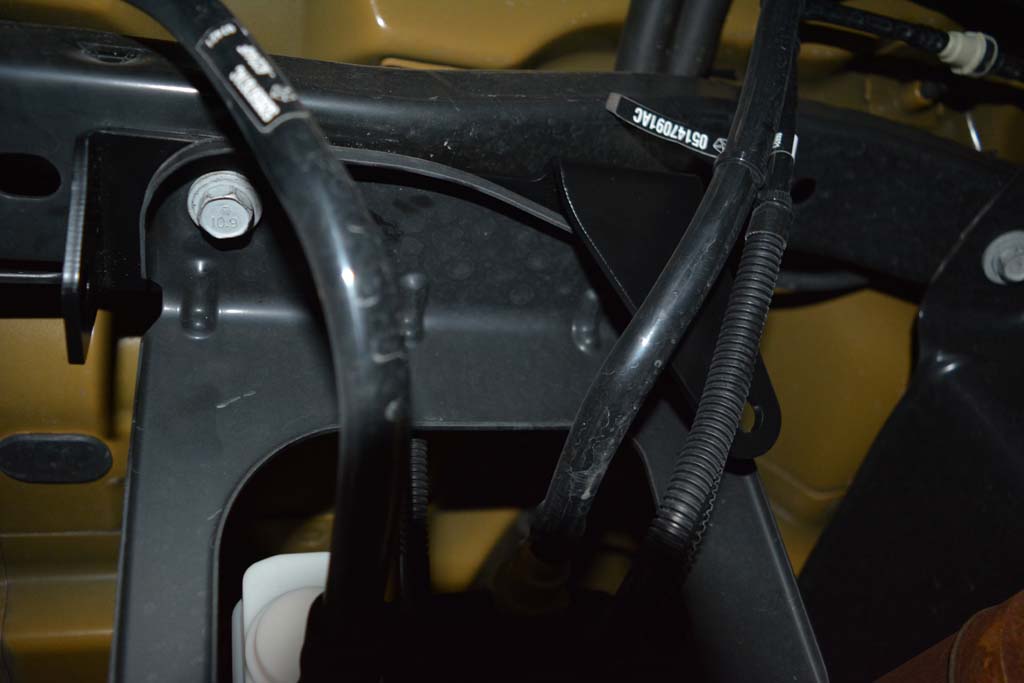
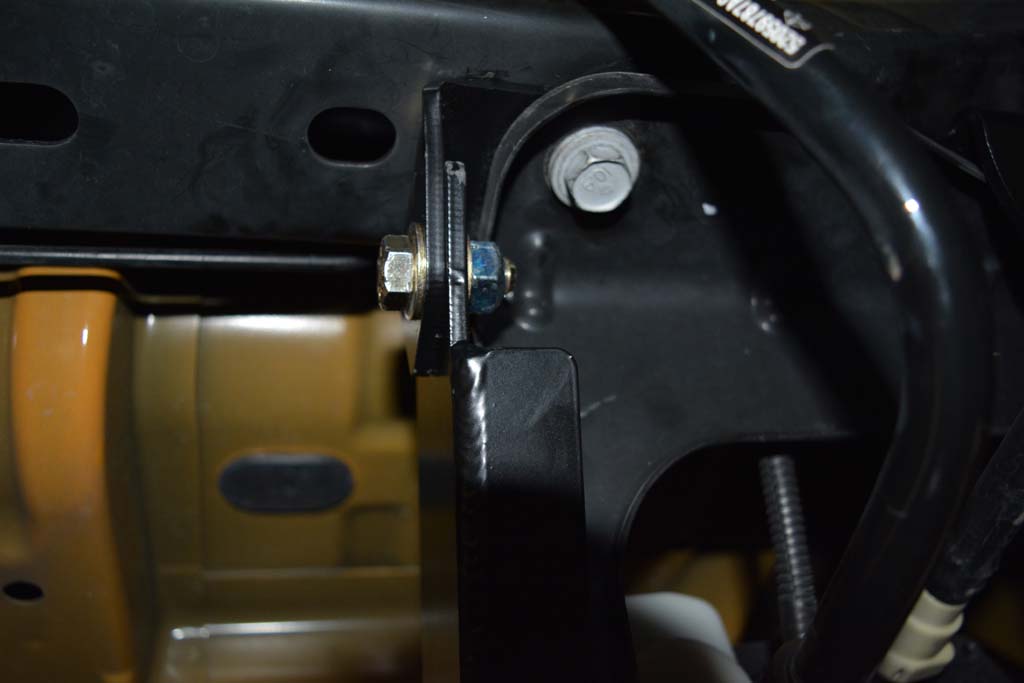
8. Rotate the EVO skid up and align it with the bolt holes on the EVO bracket. I had to wiggle my skid around alittle to finally get it to line up with the holes in the bracket. This is probably easier with the older Jeep models. The pictures show that the skid goes to the inside of the outer tab on the bracket and behind the longer inside tab. I could not get mine to line up like the EVO picture with the longer tab, but it fit fine with the tab behind the skid. Install the bolts, washers and nuts from the outside in on the plates.
9. Tighten the bolts on holding the EVO skid to the EVO bracket with a 5/8" socket and 11/16" combo wrench.
10. Tighten the 3 factory bolts holding the Evap canister to the frame with a 16mm socket and long extension.