Main Menu Vehicle Trails Mechanicals TJ/LJ Mods JK Mods Gallery
Insta-Trunk

Insta-Trunk

Part #:

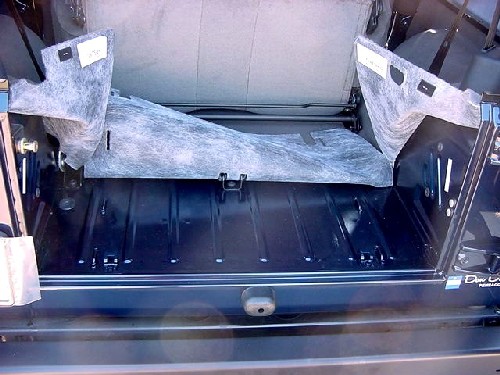
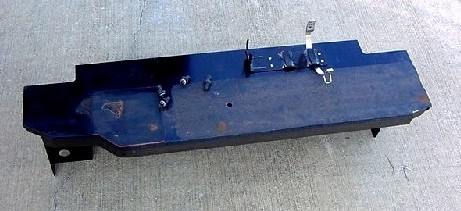
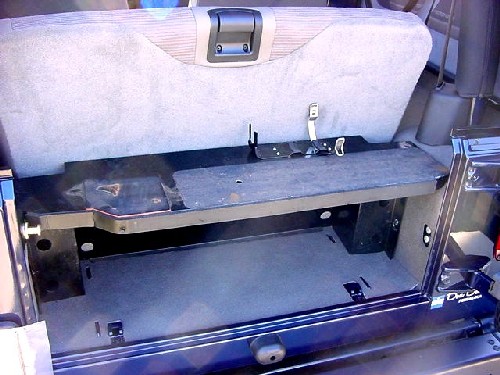
The dealer trunks are all plastic, or if you have an old factory one the hinges wouldn't support the weight of the Hi-Lift and won't fit into my plans.  Since I had an old steel Insta-Trunk lying around the garage I decided to see if it would fit.  It was already drilled for the Hi-lift jack and Fire extinguisher, and I had no place to store my recovery gear besides laying it out in the open.  Luckily this one fit the 2003 models.  The only bad thing about it is that I no longer need the cutouts on each side since they did away with hinges on the back seats.  I will probably end up designing something as soon as I can find someone with a good welder and bender I can borrow. 

Additional Parts:
None
Tools Needed:
Pliers
Scribe


Installation:
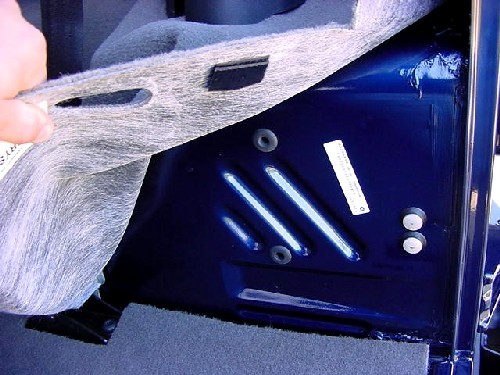
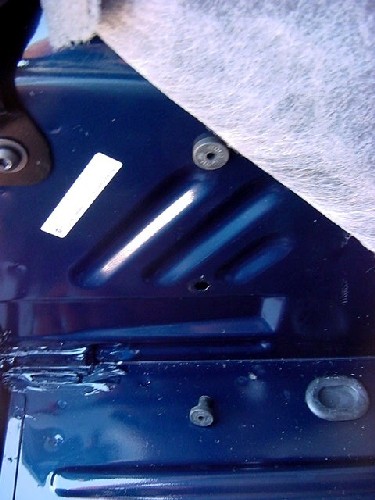
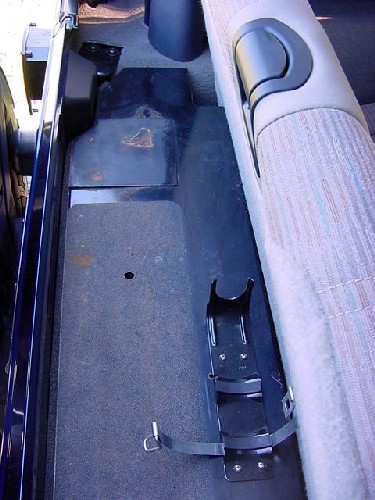
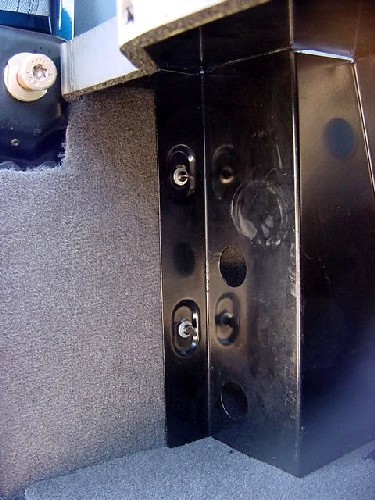
1. Pull back the carpet on both sides of the wheel wells you will see 4 rubber plugs in the body.  Pull these out and insert the rubber well nuts in their place.
Pull back carpet
remove plugs from side
plugs vs pliers
insert well nuts
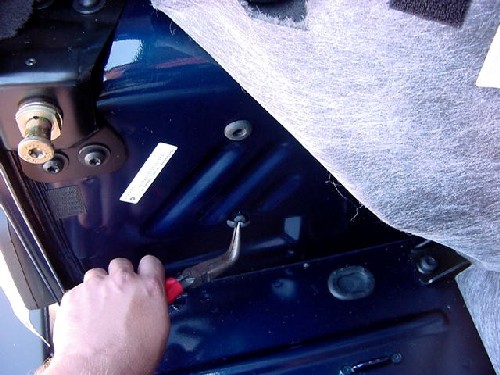
2.  Put the carpet back, insert the insta-trunk and carefully line up the holes with the slight bulge in the carpet.  Closing the tailgate will help in the positioning.  I then took a scribe and found the center of the well nut.  Poked a hole through the carpet and then pushed the screw through.  This gives a nice tight fit and doesn't do a lot of damage to the carpet.
insta trunk install and mark carpet screw in bolts
3.  Now if you bought one of these new you will need to put the rubber foam tape on the edge, and install the carpet kit for it (additional purchase).
installed

This page last updated: 16-Apr-2008

Content and Design © 2002-present WanderingTrail,  Ronald Seegert
Common Sense and Safety should always be observed when working on your vehicle or doing modifications. Jackstands, wheel blocks, disconnecting the battery are a few of the basic safety precautions that should be used and may not be mentioned in the write ups on this site. You are responsible for your own installation, these write ups are a helpful guideline and should not be taken as an official installation instruction. My write up may be different from the kits currently out there, so alwasy double check the manufacturers installation instructions when installing anything. I try to keep the site up to date with changes that have occured as I discover them, but may not have the latest unless someone lets me know. If you feel that an install is above your capabilities after reading my write ups, I recommend getting together with a club and getting some help. Only a few times have I needed to employe some actual help from a shop to get something done. Usually welding or A/C work. While I have spent many years working on mechanical systems, I am not an expert, nor do I pretend to be one. I hope these write ups have been useful to you.
All trademarked names & logos are property of their respective owners
This site is in no way associated with Stellantis.
Jeep is a registered trademark of Stellantis.