Having grown up with typically only having 4 tires on a vehicle that match we get used to only rotating 4 tires around, unfortunately that has carried over to the Jeeps with 5 full size tires. We should really include the spare in this tire rotation. I do know some Jeep owners that leave their spare out of the rotation due to the miss belief that it will save the spare tire from wear (they still suffer damage from the weather and sun just like the others), or still not having a spare that actually matches the tires they have on the Jeep (you've seen the stock spare tire on a Jeep with 37's), or a more valid reason running the same diameter tire, just a narrower tread. I left the spare out of my last rotation and had to change it at the same time I changed the others out due to it getting some dry rot on it. Amazingly I actually got over 50k miles on a set of BFG's without tearing a sidewall out... I won't mention the plugs in the tires from screws, nails and even a big 1/2"x6" lag bolt.
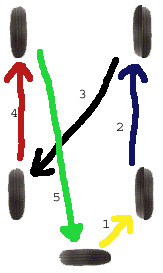
A 5 tire rotation will actually save wear since one tire sits out for the length of the rotation cycle. I figured that since I do a bunch of maintenance and checking at 3000 miles I will use this as my rotation period. 5000 miles is another good length. Length is important so that you will always rotate them at that point, don't rotate at 3000 one time, 7000 the next and then 5000 after that.. You should keep them all the same, this way you get even wear on all of them.
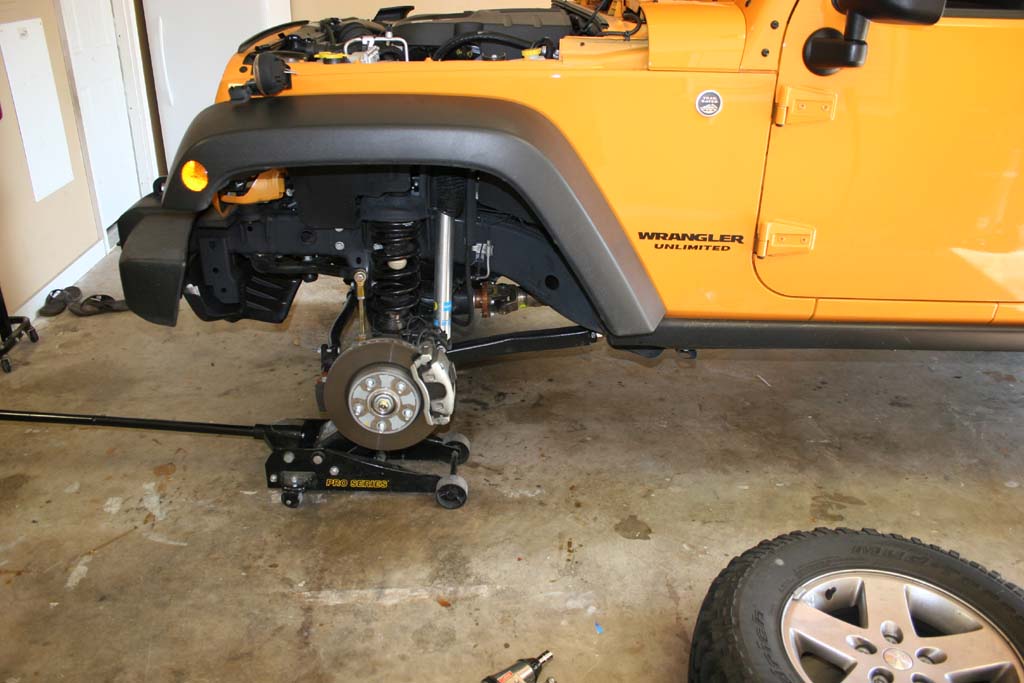
1. Make sure the Jeep is on a level surface and that you block a couple of the tires. You will be moving the blocks around as you go. I recommend blocking the drivers side since you will work on them last. The axle will only be supported by the Floor Jack, so be careful to not get any body parts underneath the tire, brake, axle or any other part of the vehicle.
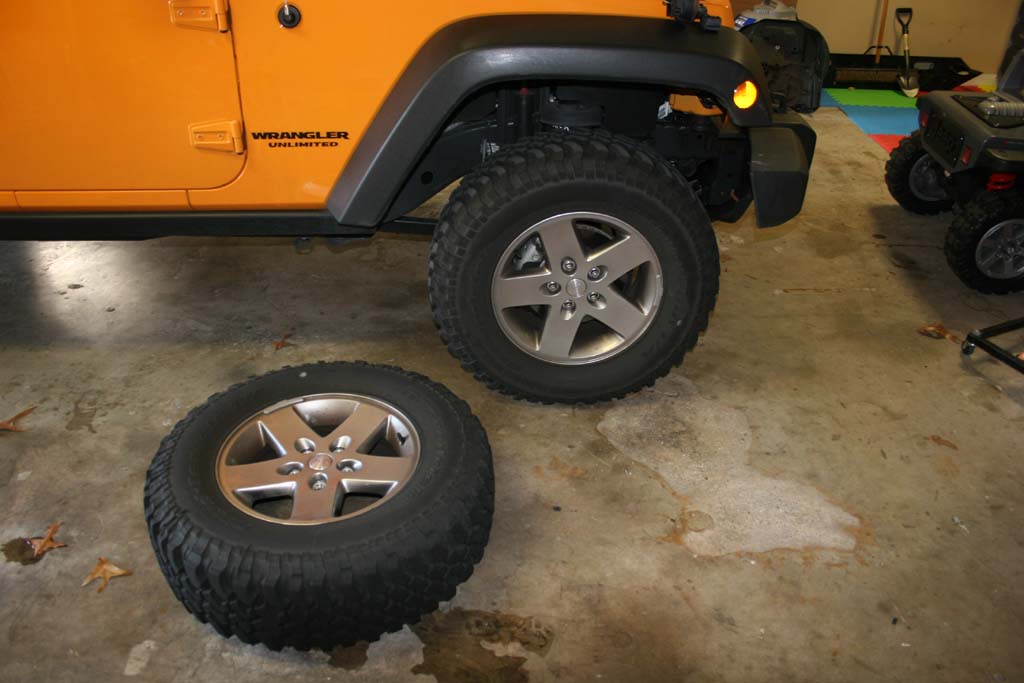
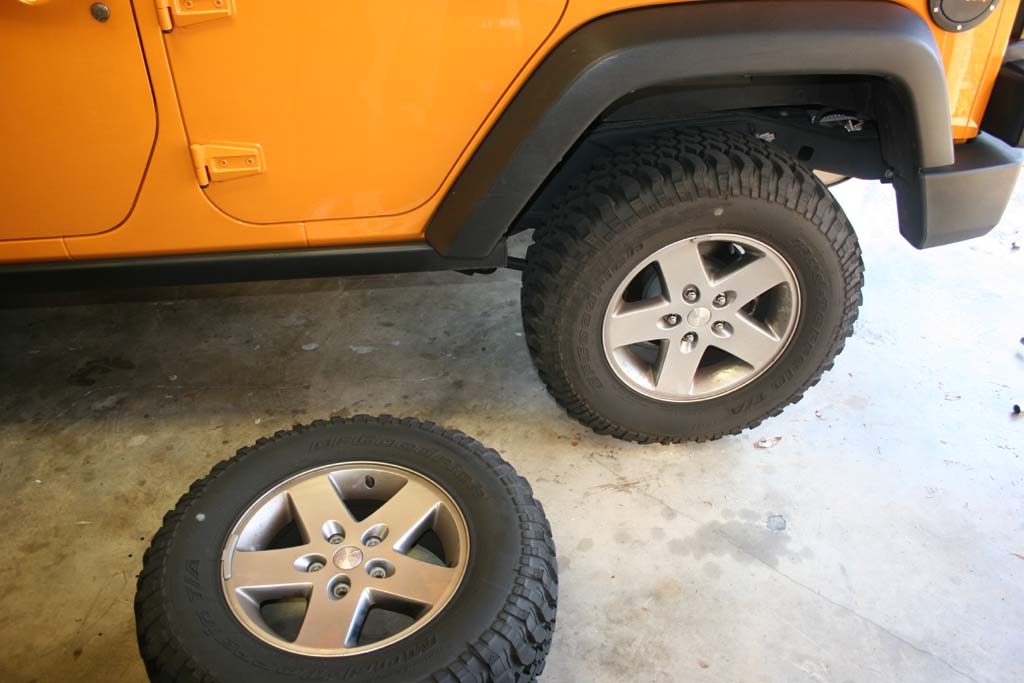
2. Remove the spare tire.
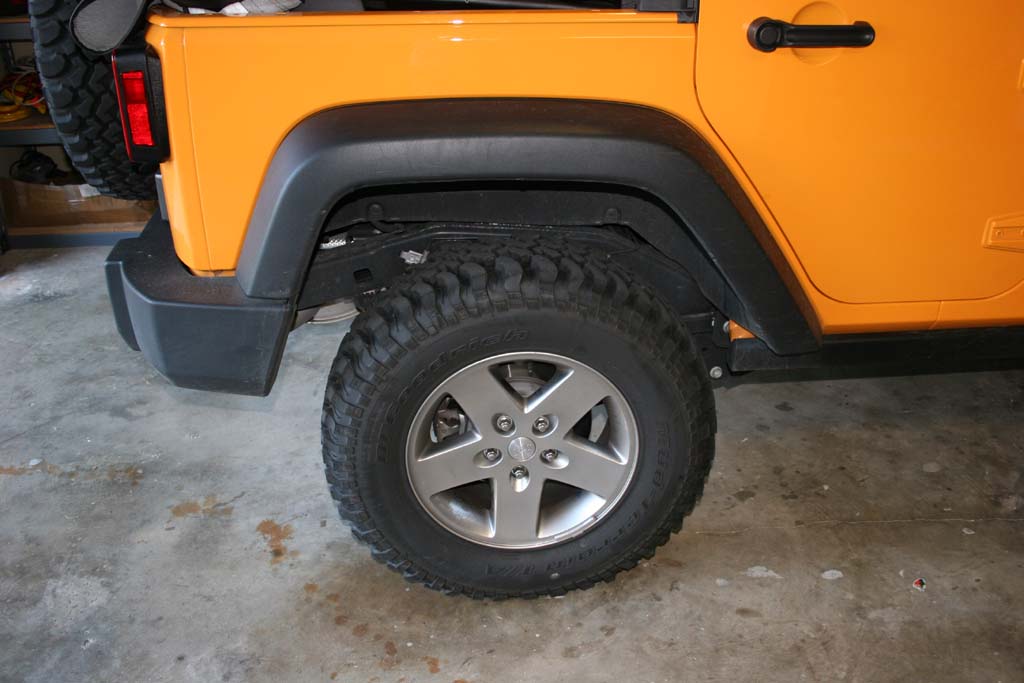
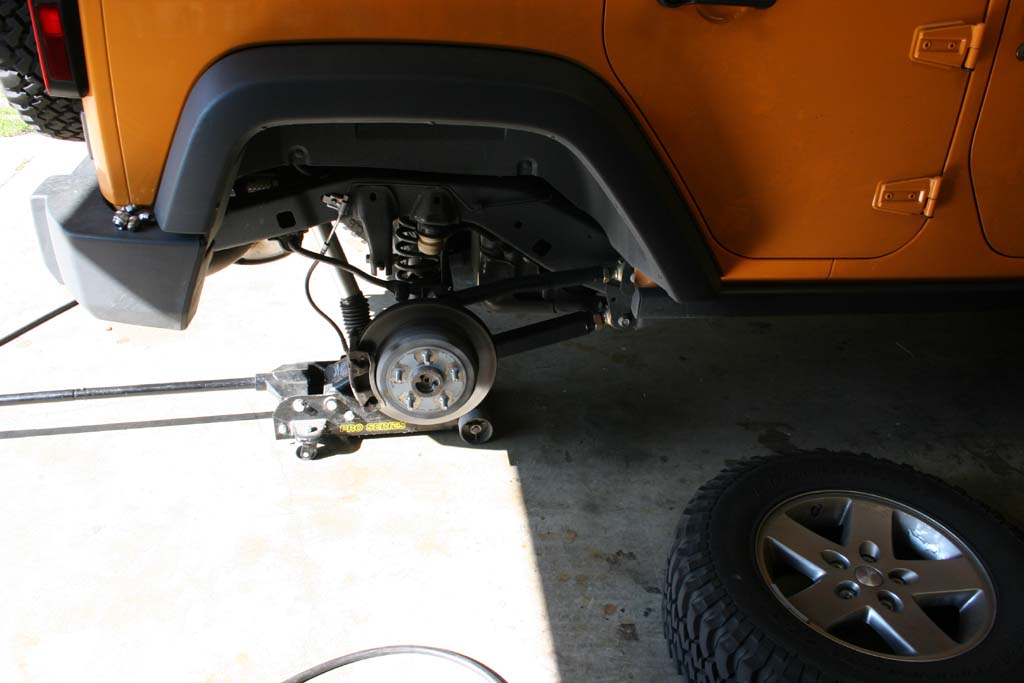
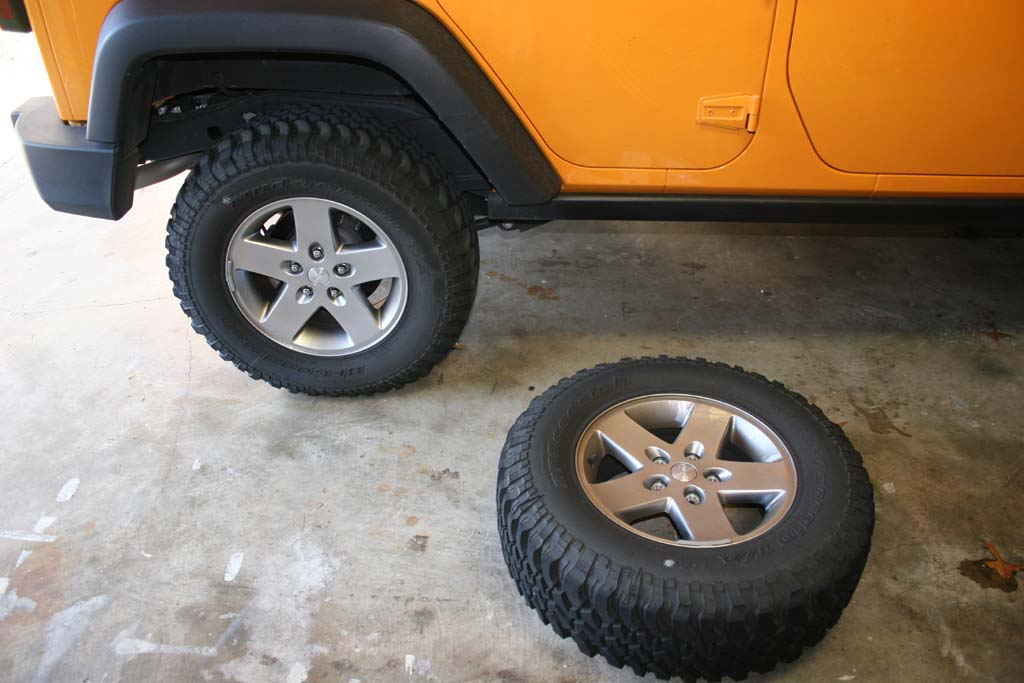
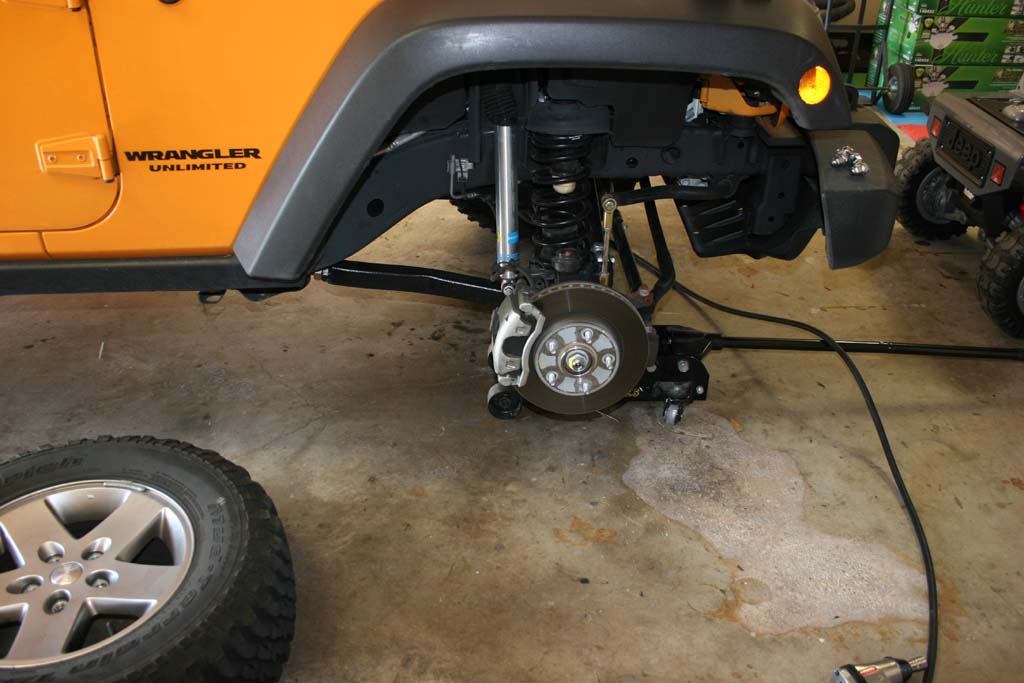
3. Jack up and remove the passenger side rear tire.
3a. Install the spare tire in it's place and tighten the lug nuts. Lower the tire to the ground and set the torque with the torque wrench.
4. Jack up and remove the passenger side front tire.
4a. Install the passenger rear tire in it's place and tighten the lug nuts. Lower the tire to the ground and set the torque with the torque wrench.
5. Jack up and remove the driver side rear tire.
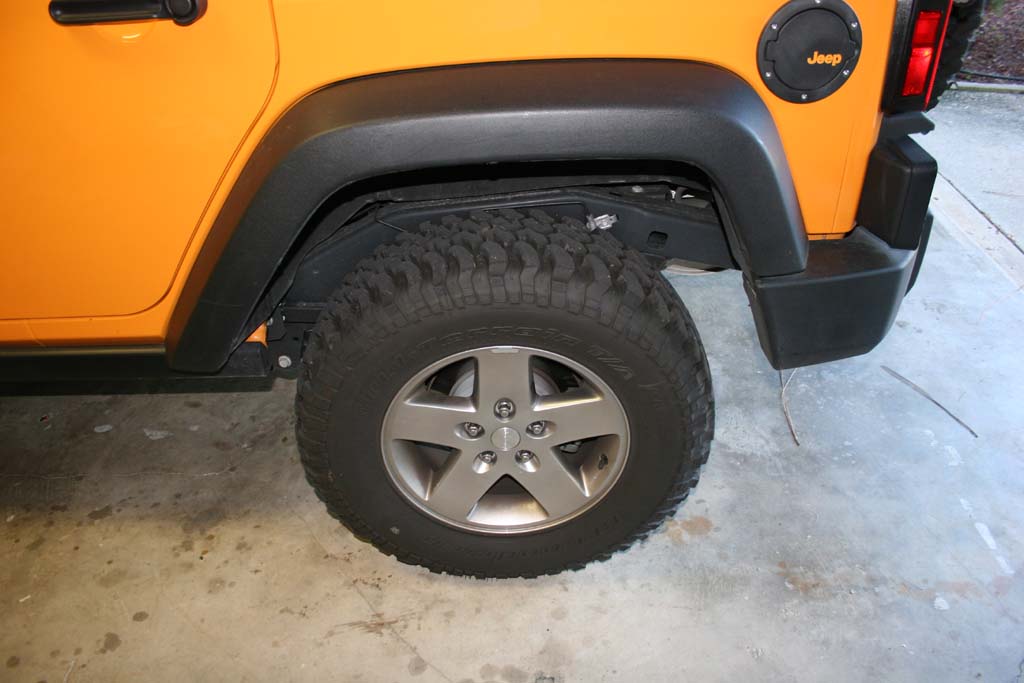
5a. Install the passenger front tire in it's place and tighten the lug nuts. Lower the tire to the ground and set the torque with the torque wrench.
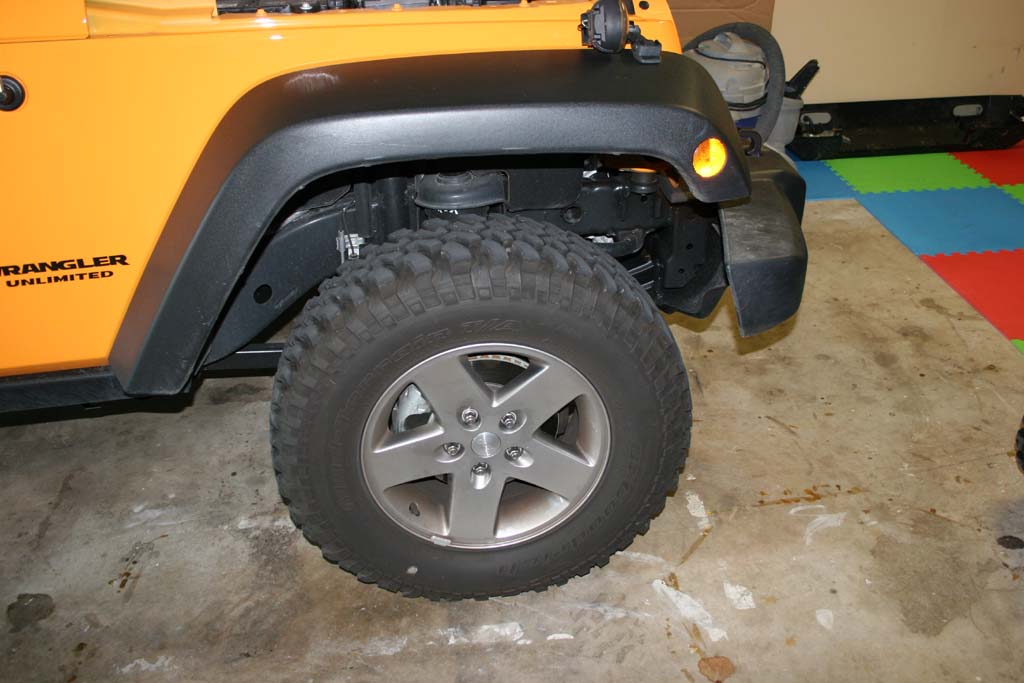
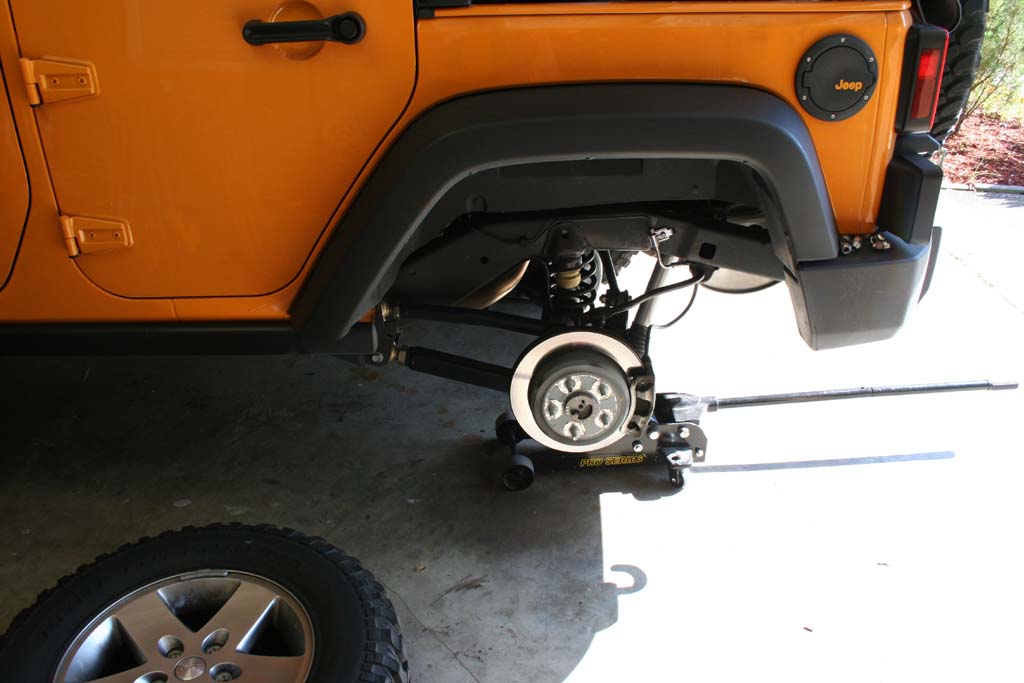
6. Jack up and remove the driver side front tire.
6a. Install the driver side rear tire in it's place and tighten the lug nuts. Lower the tire to the ground and set the torque with the torque wrench.
7. Install the drivers side front tire onto the spare tire carrier and tighten the lug nuts.