I looked for a long time to find a front bumper that I liked. I wanted one that incorporated the stock factory fog lights, some tow points and an inset winch mount. Not really difficult to come by. I also didn't want to spend a fortune on a front bumper. Now there are a few out there that are just incredibly pricey, others with such a long lead time that I didn't feel like ordering it this year and getting it next year. I also didn't want it to way a ton. Now I had already mounted one of Finish Line West's rear Stonehenge series bumpers so when they released their new front bumper I decided to buy it. This bumper incorporates a low profile winch mount, 2 welded tow points, predrilled holes for two light mounts near the winch, factory or aftermarket fog light holes, and even mounting for some led rock lights in the front. I'll talk about all of this as I go through the install. In did the install with the winch on, then took it apart and redid it without the winch so I could show a few pictures to save someone a little time on not having to take things back apart.
One nice thing that Andy does over at Stonehenge Series is offer a 15% military discount. It was still active as of 4/13/11.
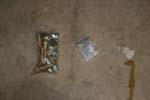
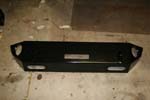
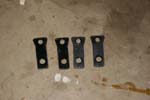
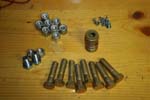
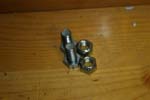
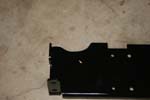
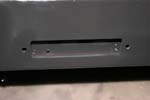
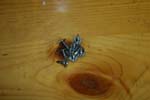
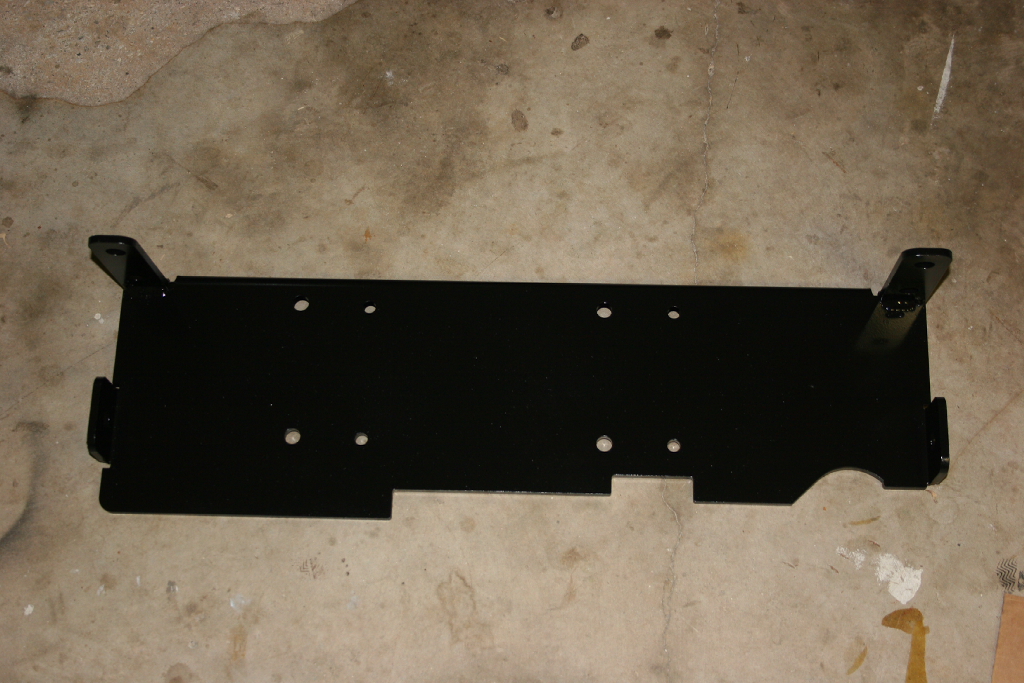
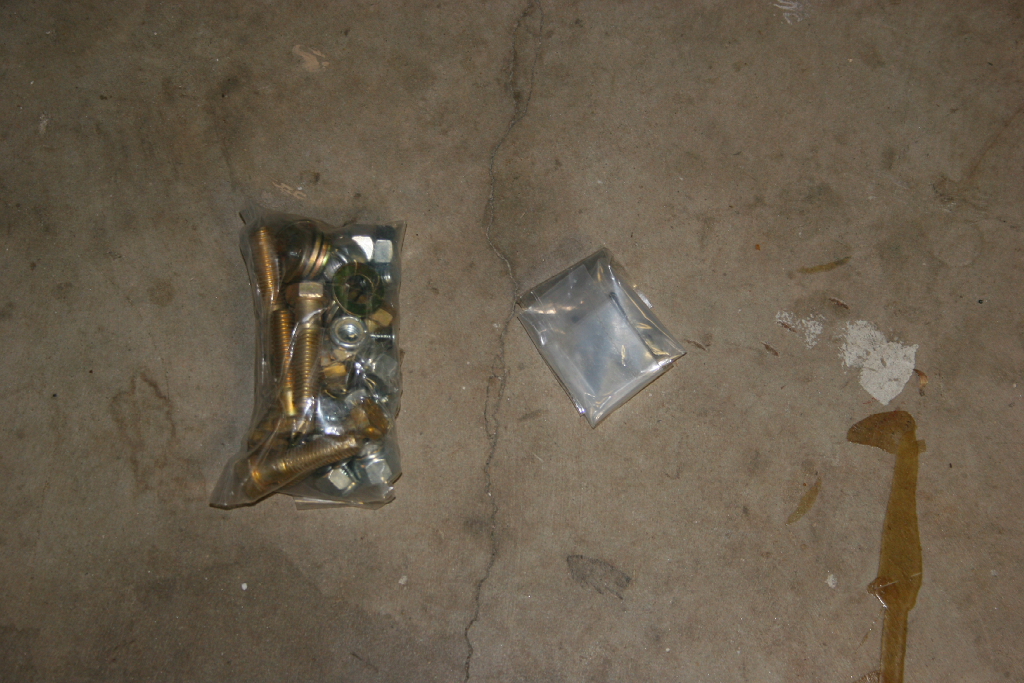
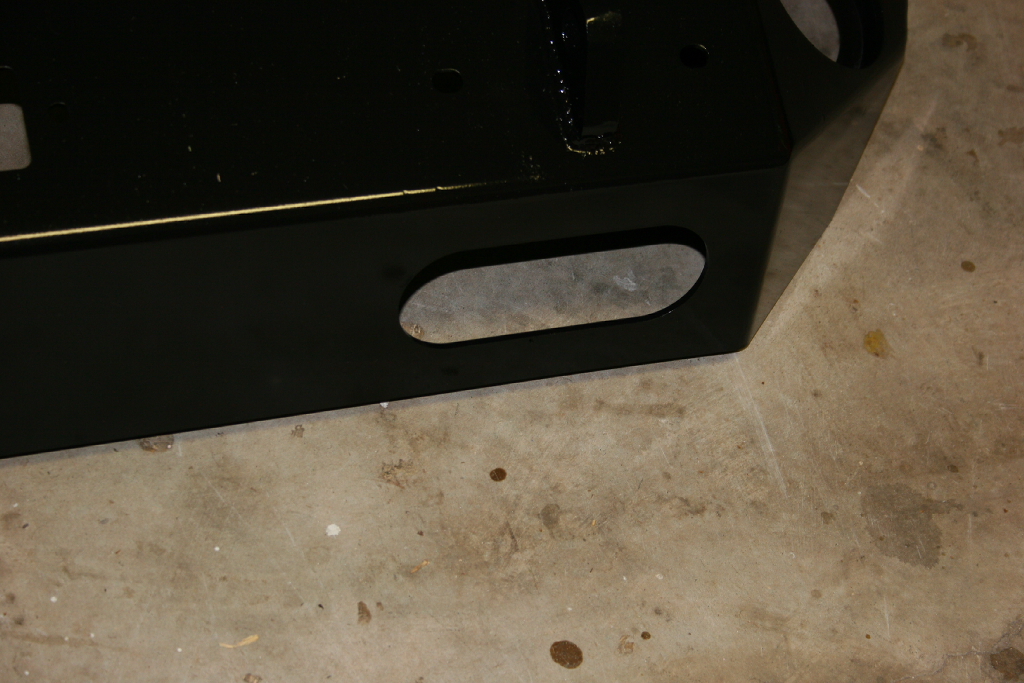
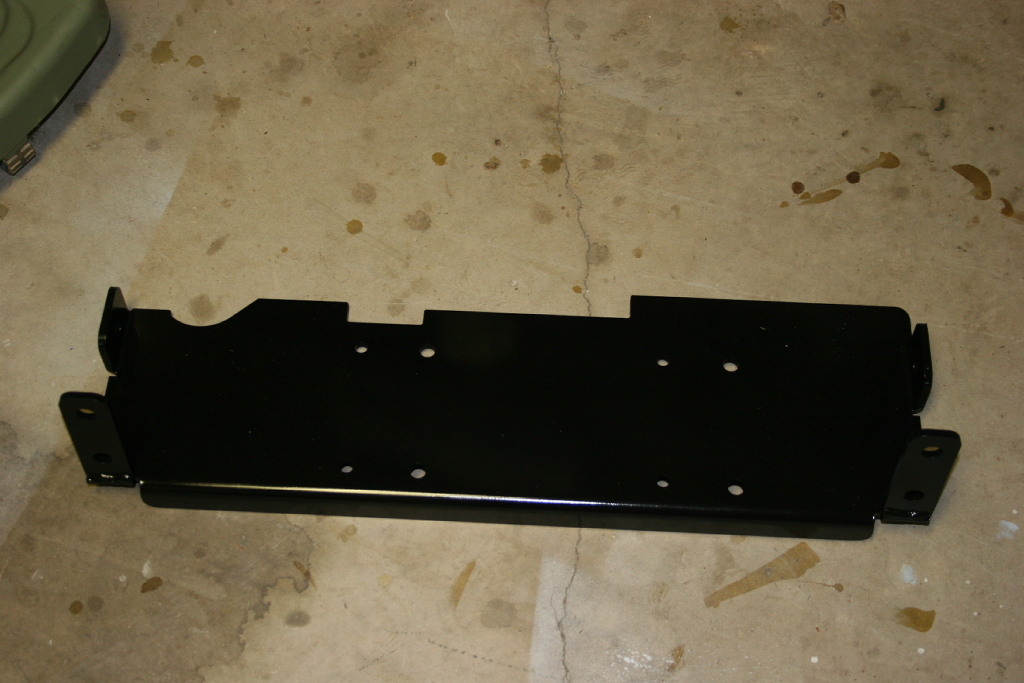
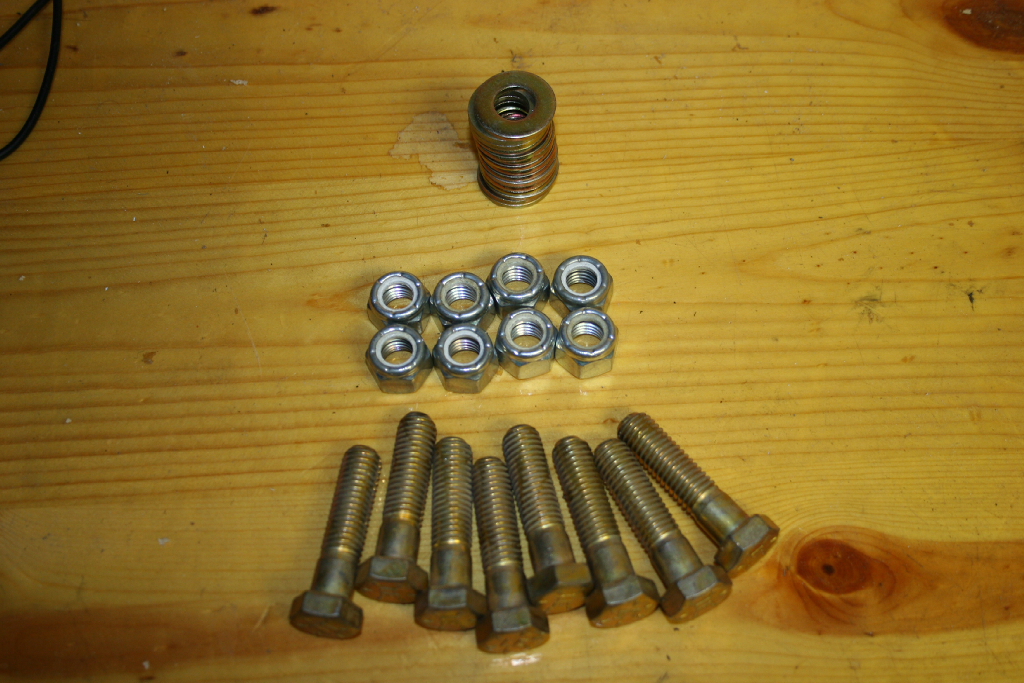
| Here's what comes in the box. I purchased just the basic bumper. It comes bare steel, and in these pictures I had already painted it black. You have your winch plate, bag of nuts and bolts, and the bumper. You can order the LED rock lights (semi-truck reverse lights) also. |
 |
 |
 |
 |
 |
 |
| |
| Bumper removal: |
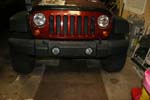
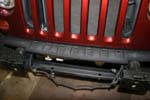
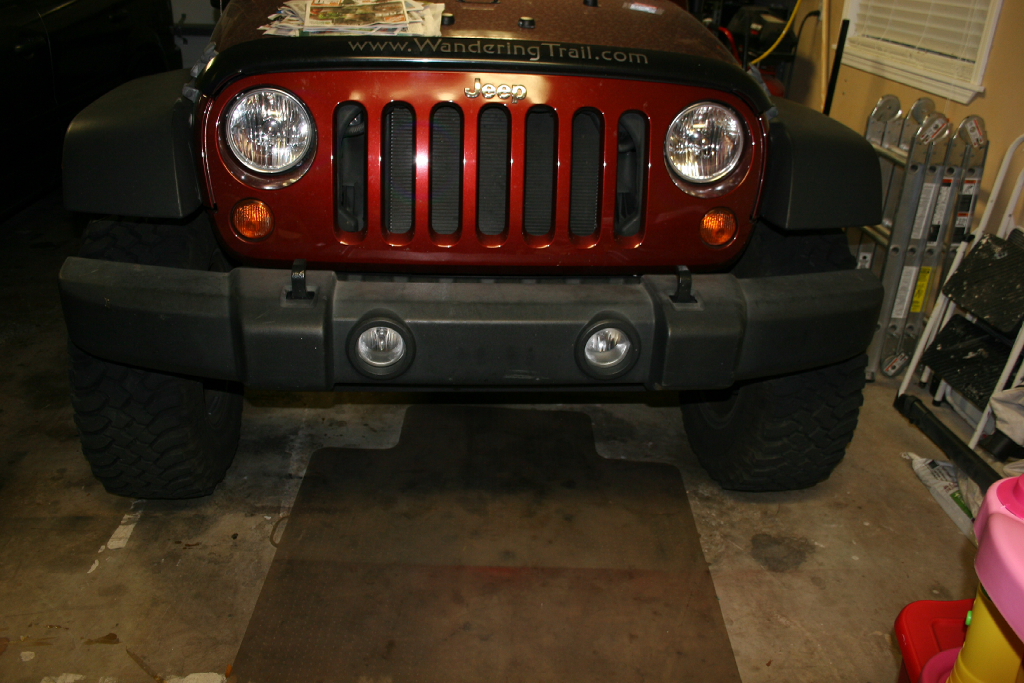
| Remove the front bumper and air dam. |
 |
| 1. I don't have any pictures of the removal of the front air dam. It can be a pain to get the retainers out. You will need a phillips screw driver and a steady hand. Unscrew the center of the retainer and then remove it from air dam. I think there were 6 total. I ended up pulling, prying, and cutting a couple of them to get them out. |
 |
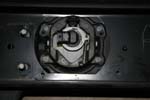
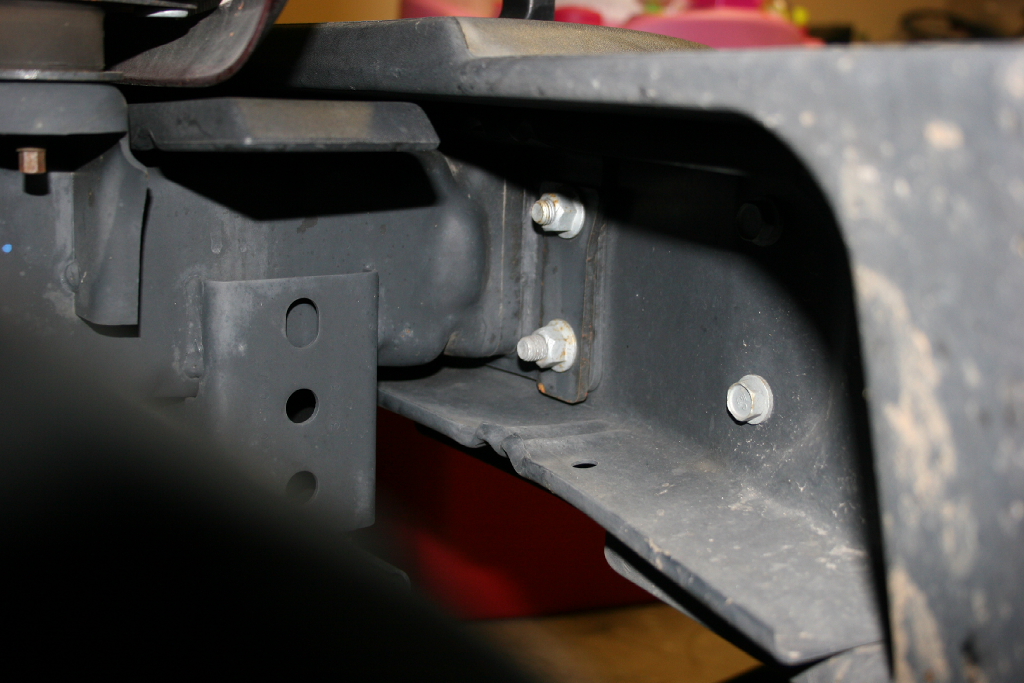
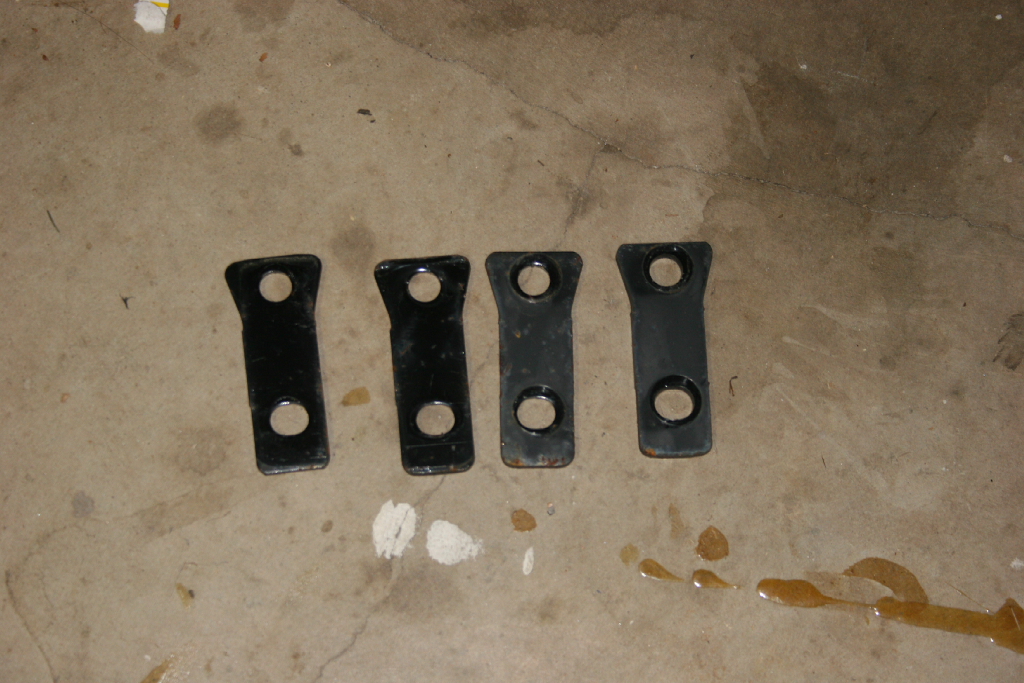
| 2. Remove the 8 nuts holding the backing plates and bumper. You will need a 18 mm socket, ratchet and short extension. |
 |
 |
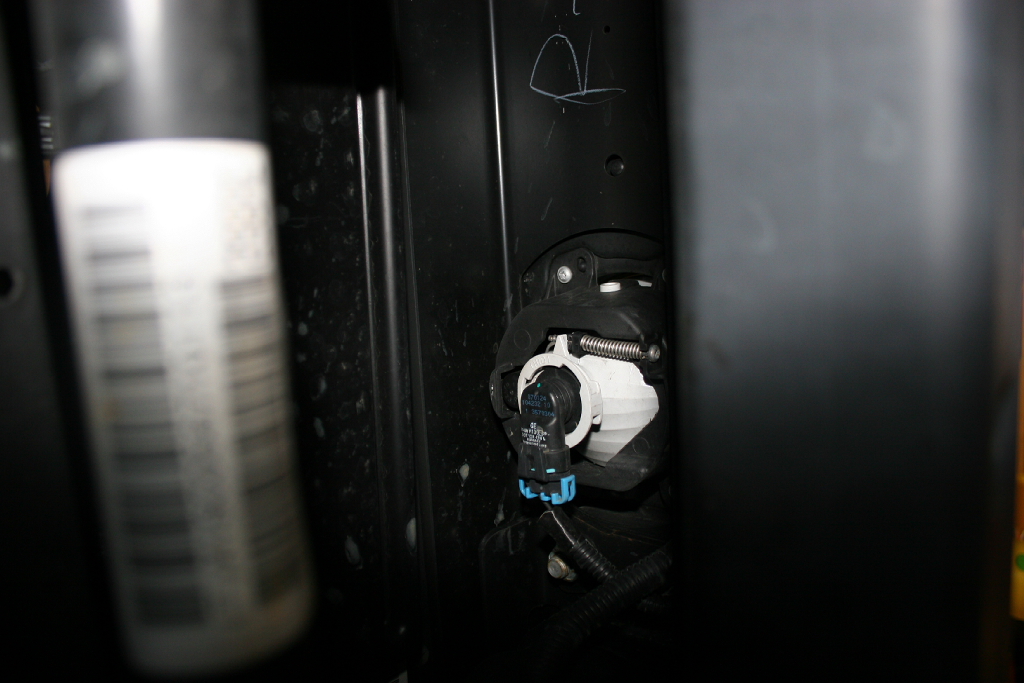
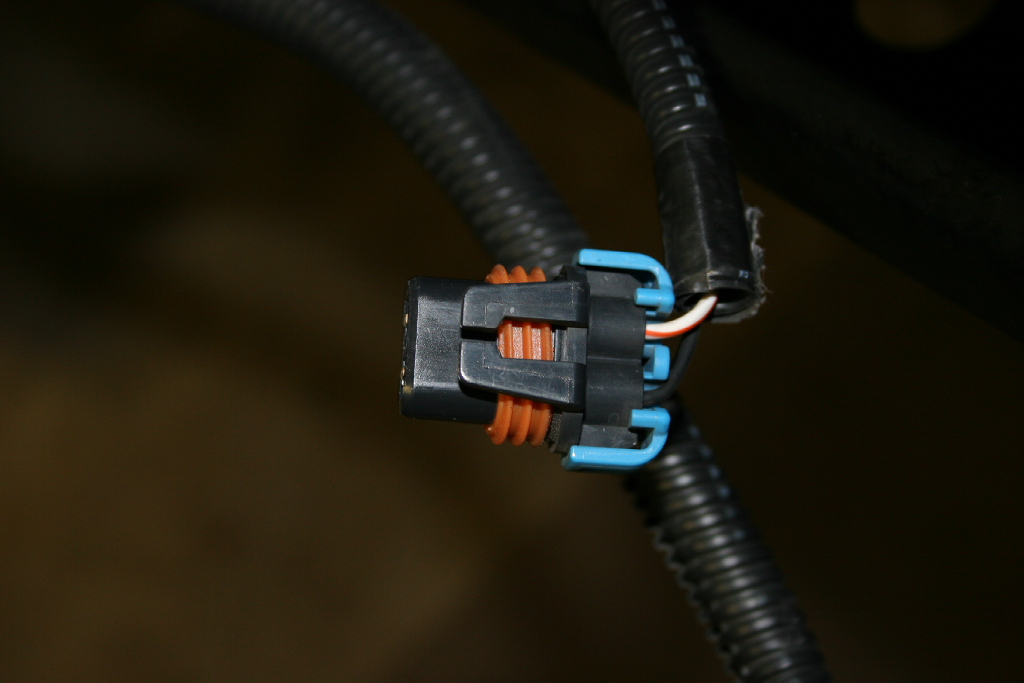
| 3. Pull the bumper out slightly and disconnect the factory fog lights. Pull up on the locking tap and pull out the connector. |
 |
 |
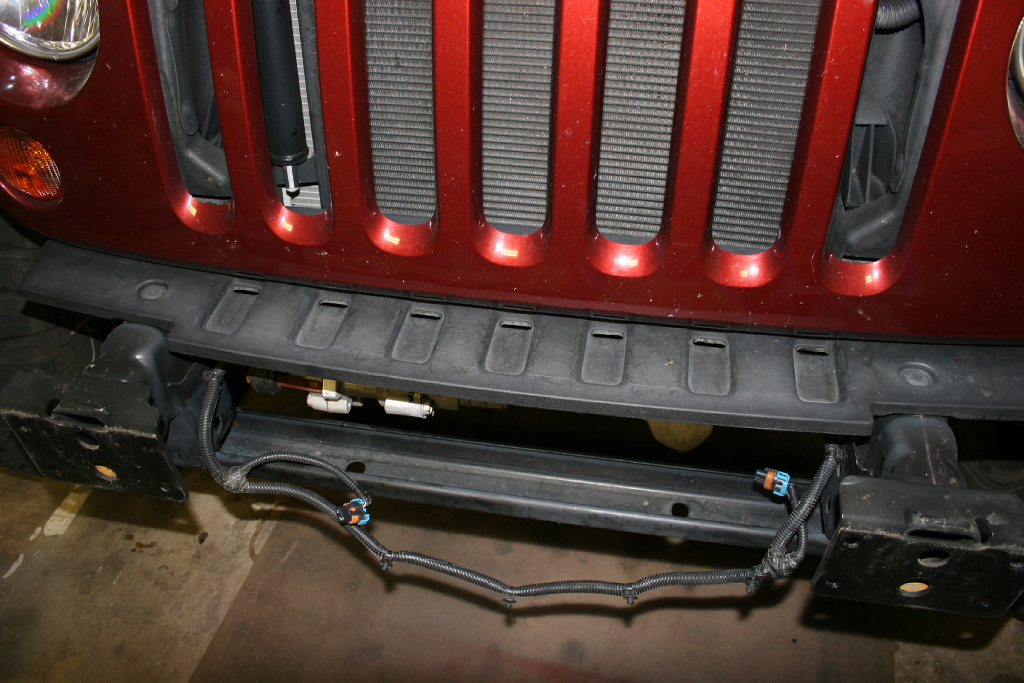
| 4. As you pull the front bumper away you will need to remove the wiring harness from the backside of the bumper. Just use a needle nose pliers to pull out the push trees from the holes in the bumper. |
 |
 |
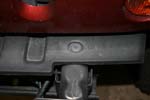
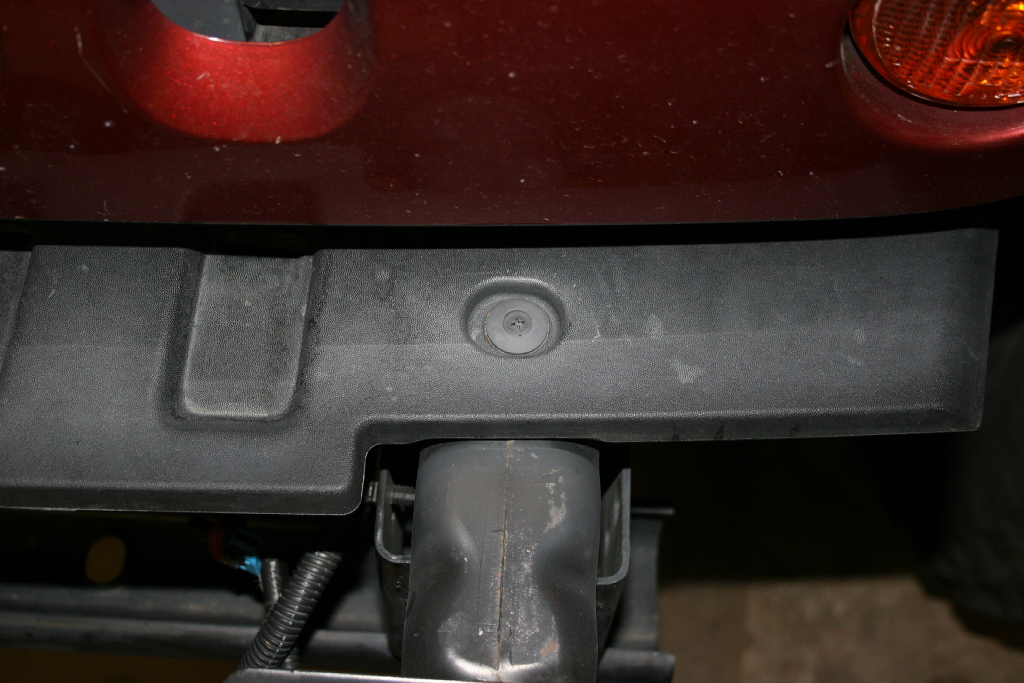
| 5. Remove the plastic trip piece from in front of the grill. This has the same connectors as the front air dam, so use a phillips screwdriver to back out the center screws and remove the fastener. I was able to get these out without to much of a problem. |
 |
 |
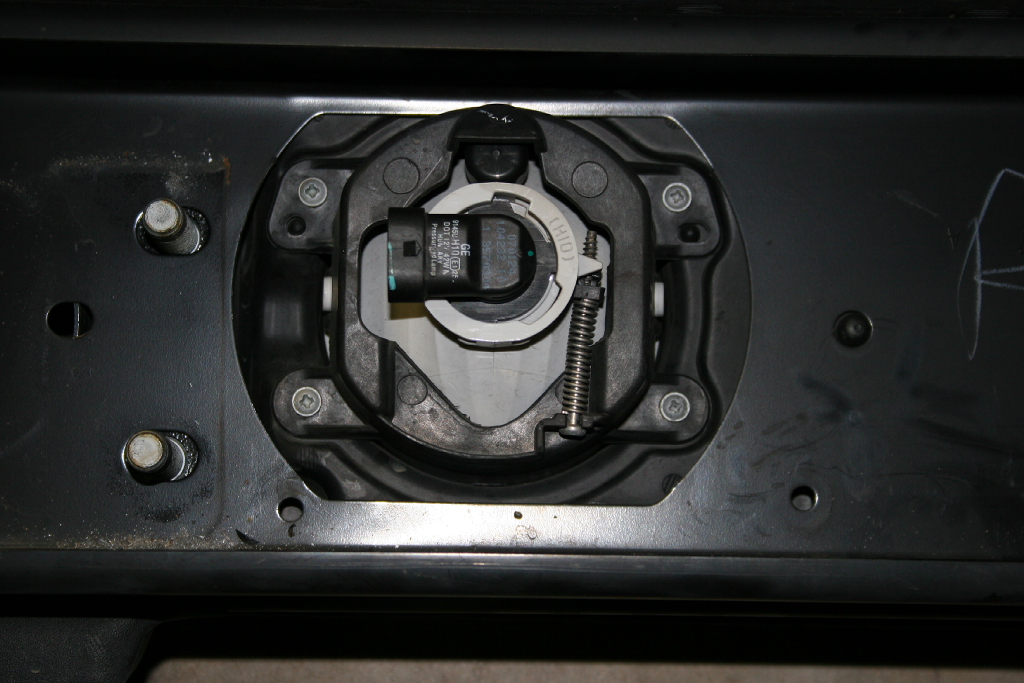
| 6. If equiped, or if you intend to reuse the factory fogs remove the 4 screws holding each fog light in the bumper with a phillips screwdriver. Set the fog lights asided, and put the bumper away. |
 |
| |
| Installation: |
| Go through and check to make certain you have all the nuts and bolts. I sort them out into what I will need for each stage of the project. |
 |
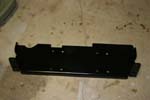
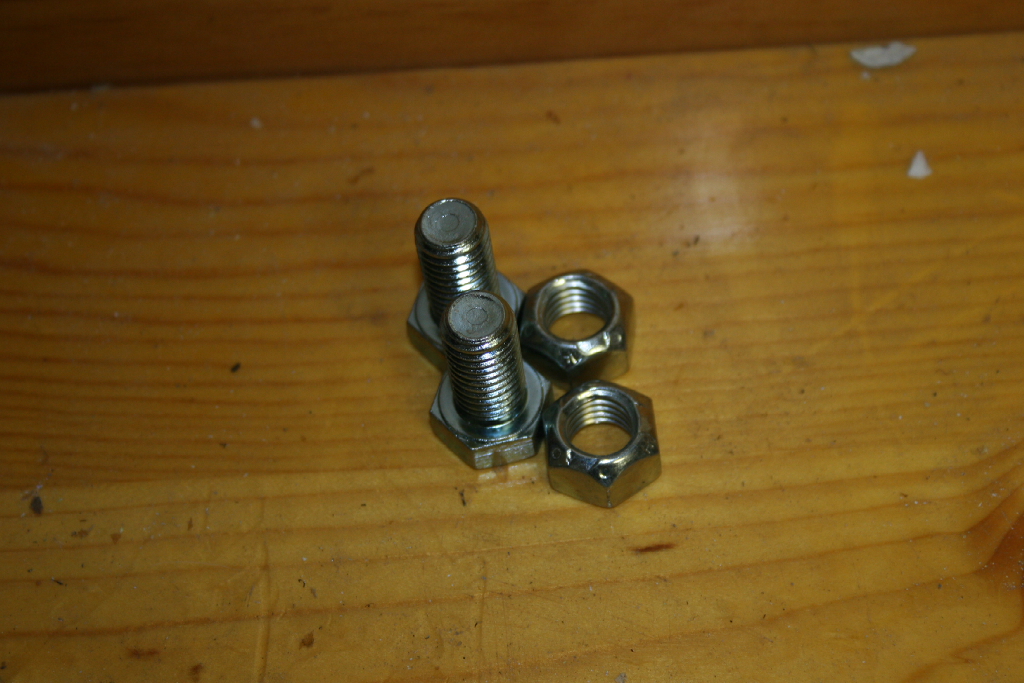
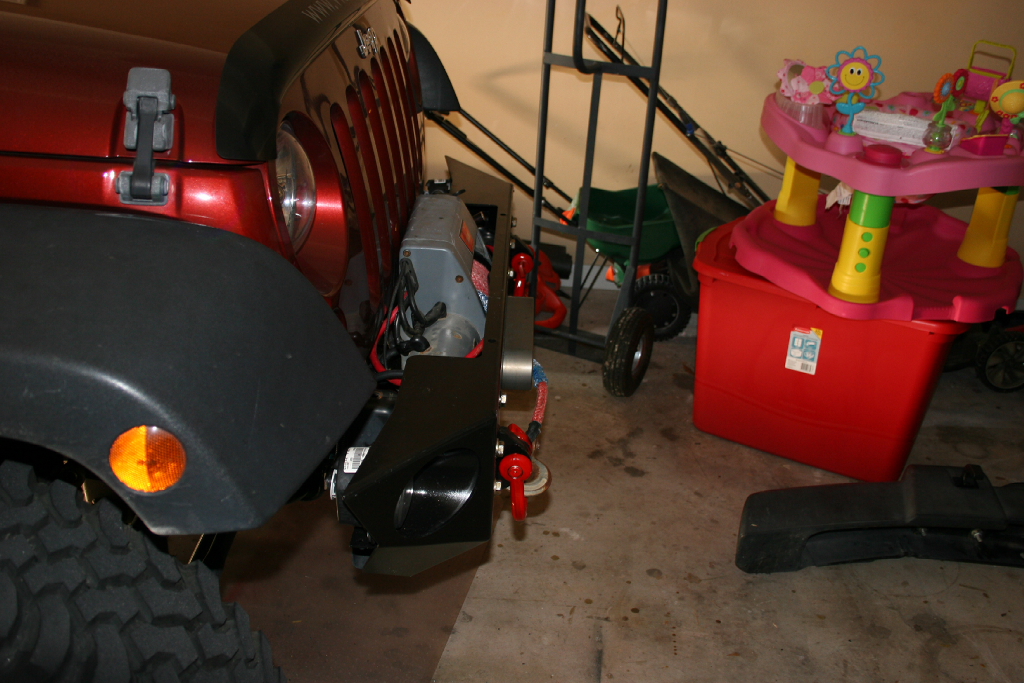
| You will need the winch plate and the two short bolts and nuts. For clarity I installed this without the winch, but if you have a winch you will need to install it on the plate first before you install the plate in the Jeep. |
 |
 |
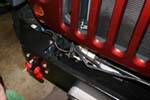
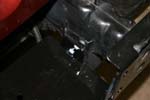
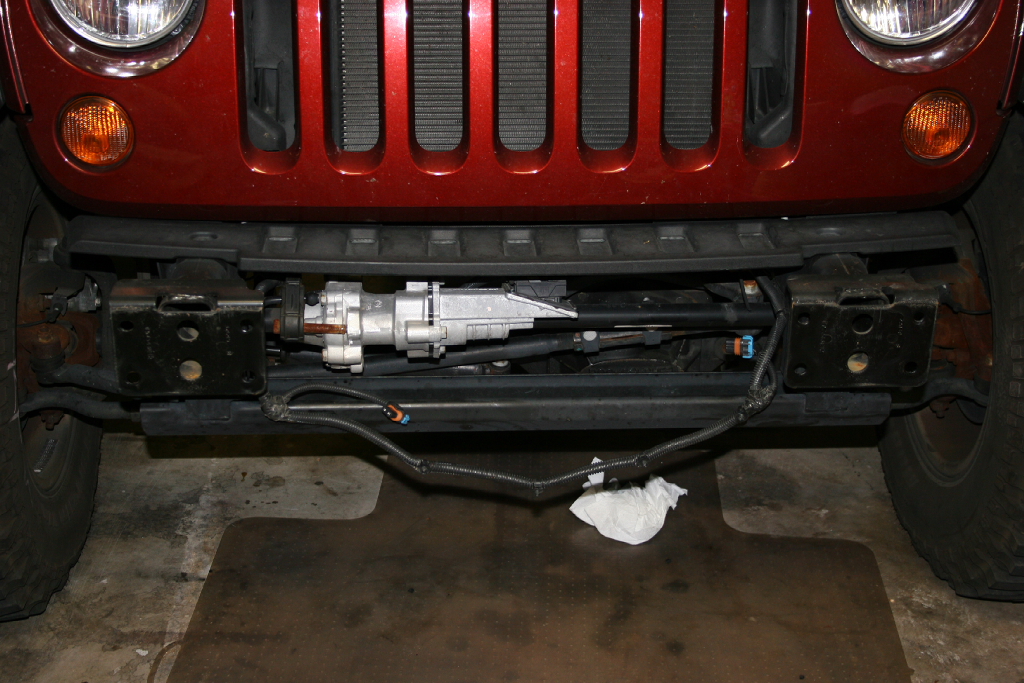
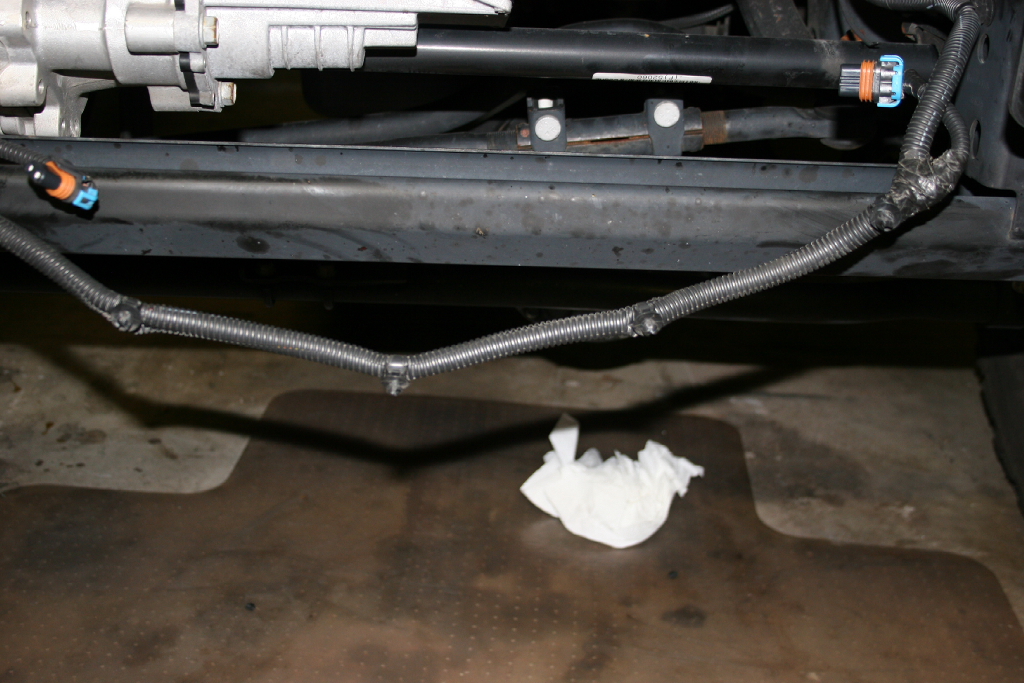
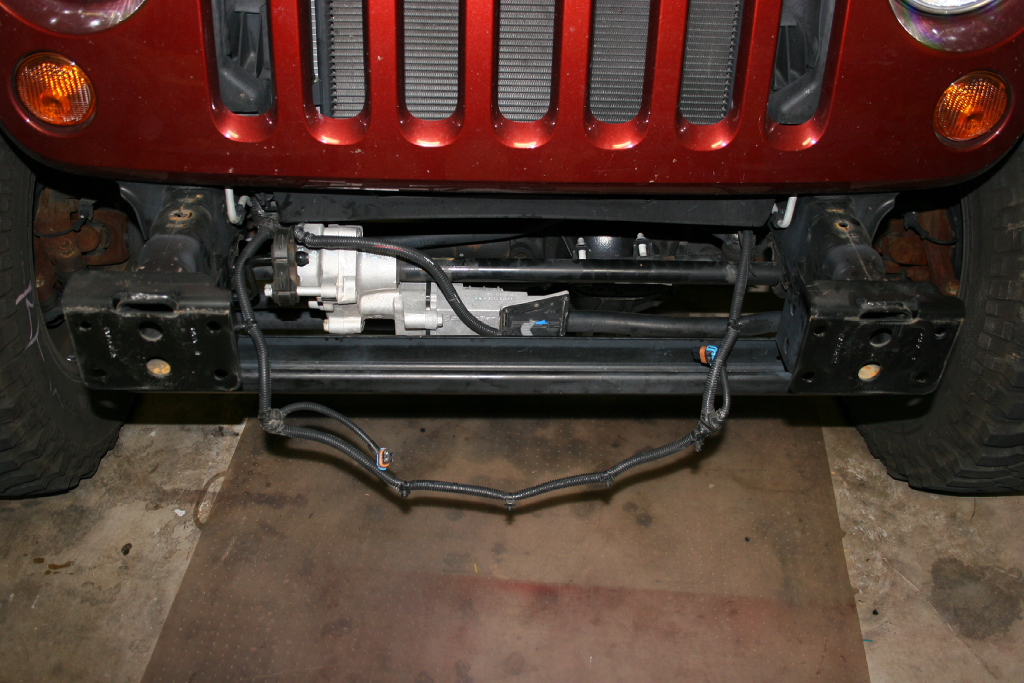
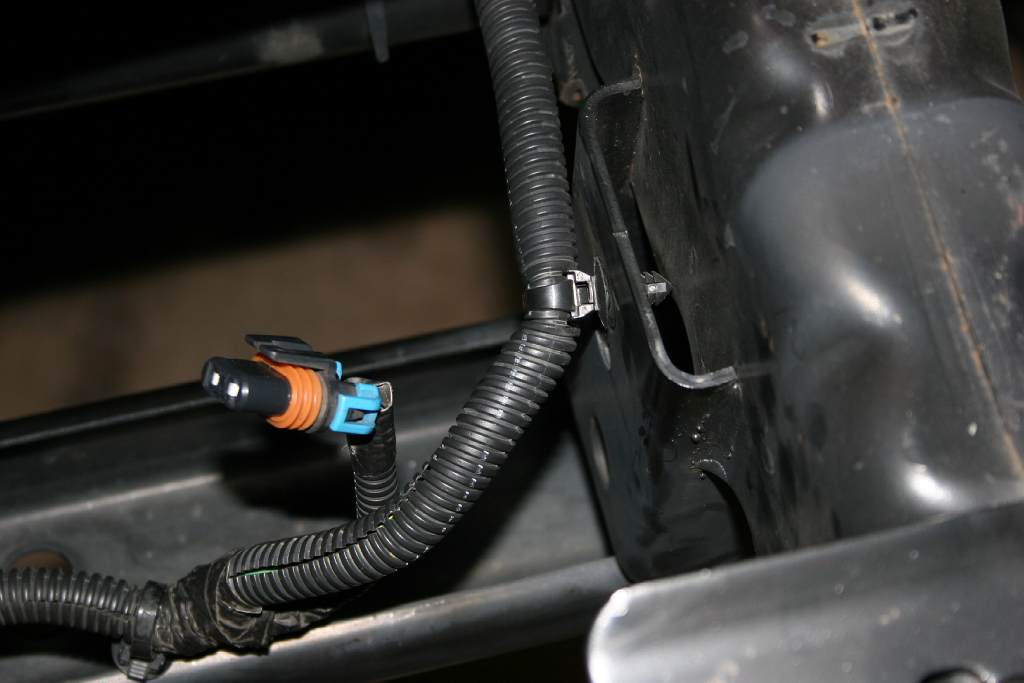
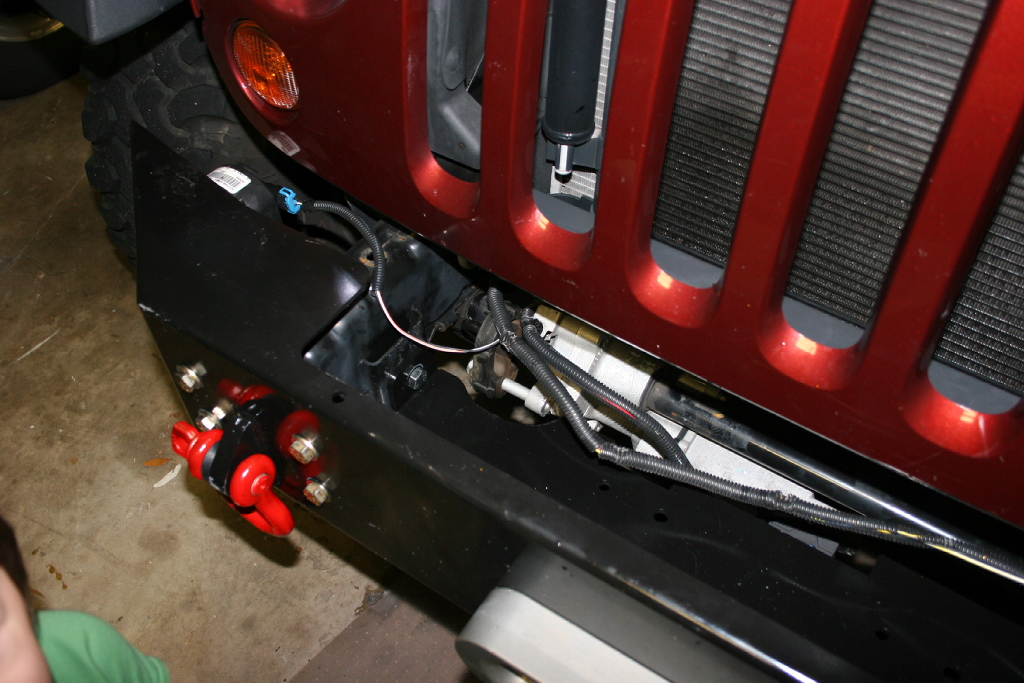
| Ensure that you don't have any wires in the area that the winch plate is going to be mounted. You should have already disconnected the wire bundle running across the front, but check the sides for any additional mounting points. I had one over on the drivers side.. |
 |
 |
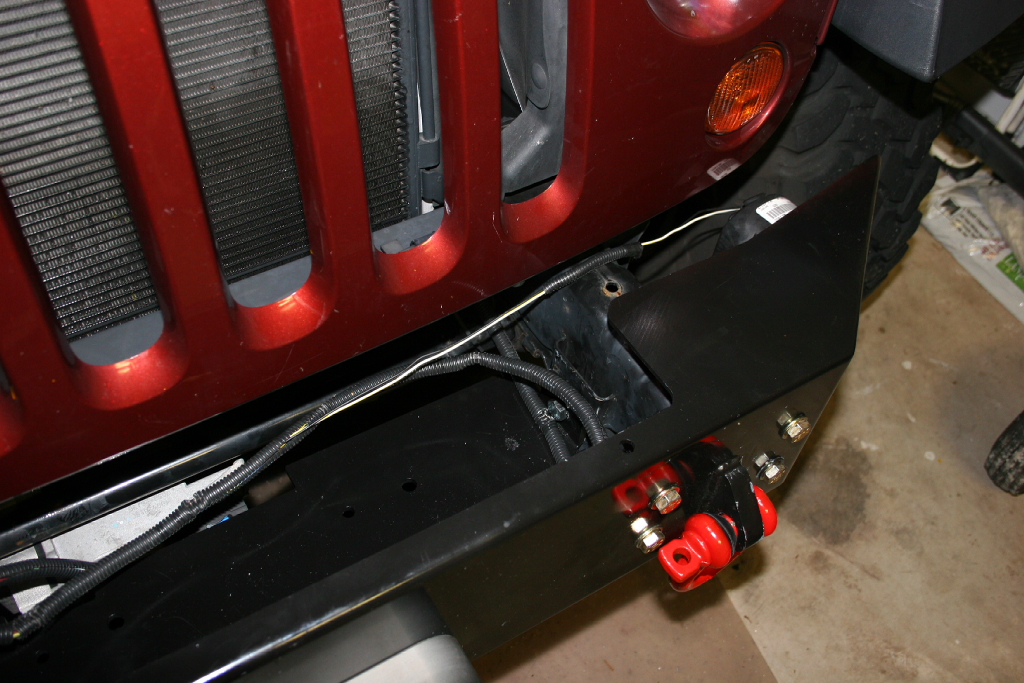
| Make sure you get all the wiring routed back along the radiator area, you may need to undo the fog light wiring from the bundle to allow it to reach the new mounting location for the fogs. (bumper installed for clarity) |
 |
 |
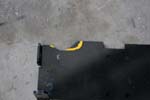
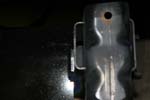
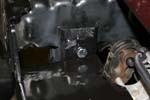
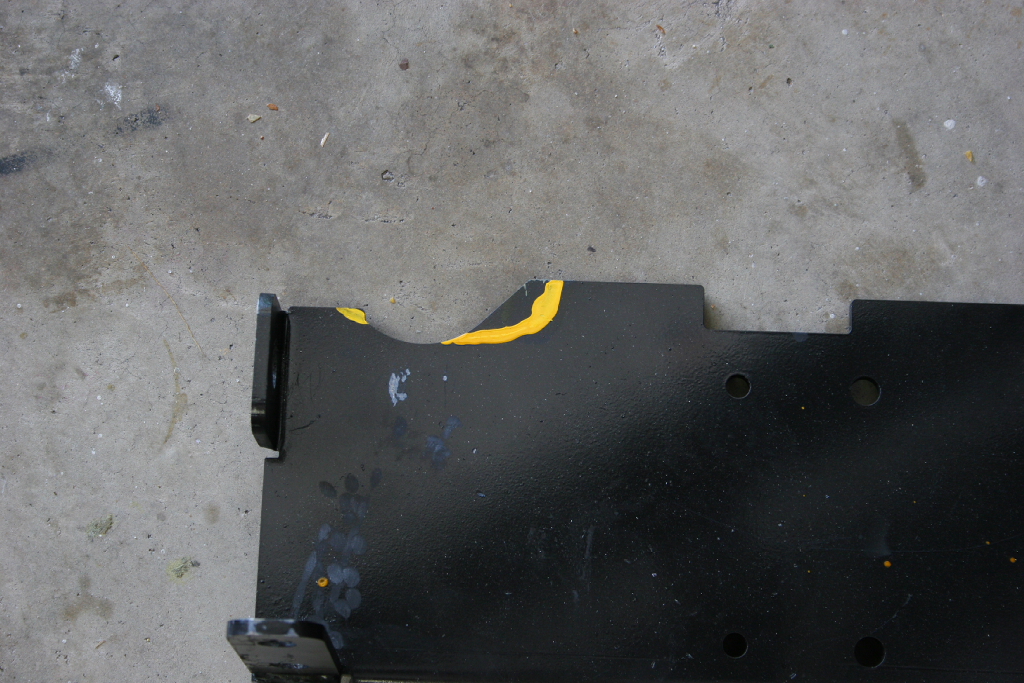
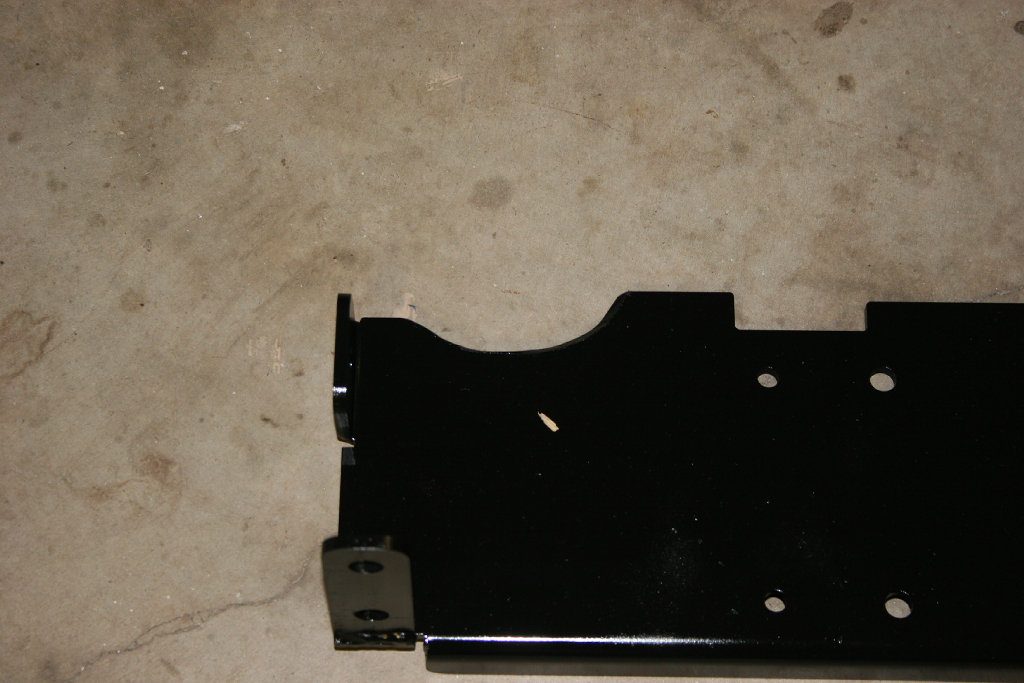
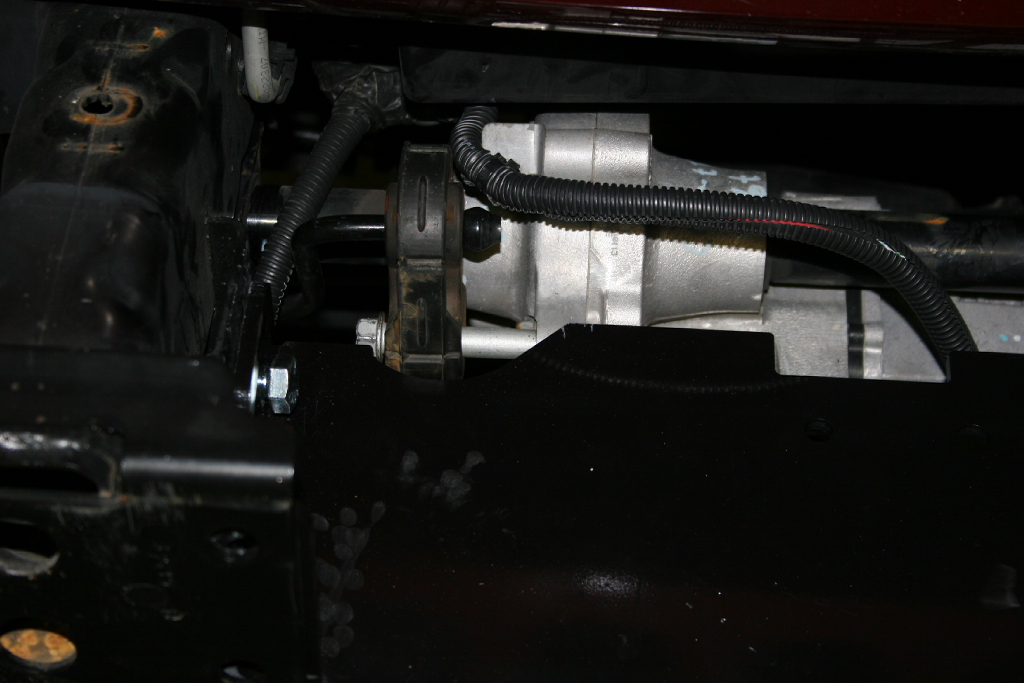
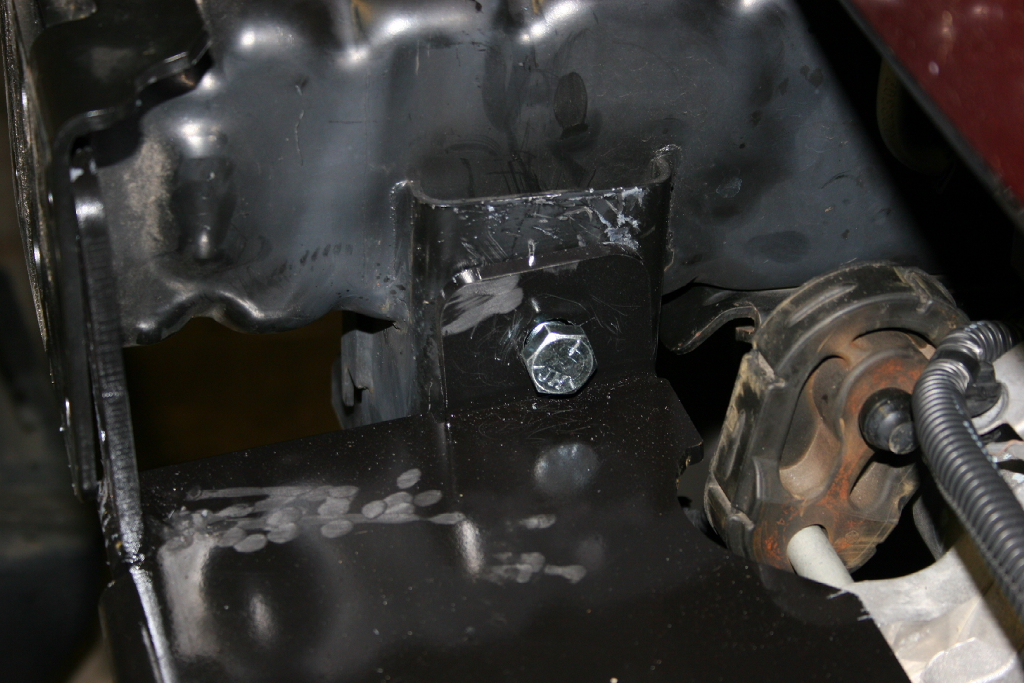
| I test fitted the plate and found that I didn't have the proper clearance for the Rubicons electronic disconnect, so a quick mark with the paint pen, and a little grinder work and the plate fit perfectly. This was one of the first bumpers manufactured, so finding a bug was not unexpected. |
 |
 |
 |
 |
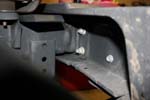
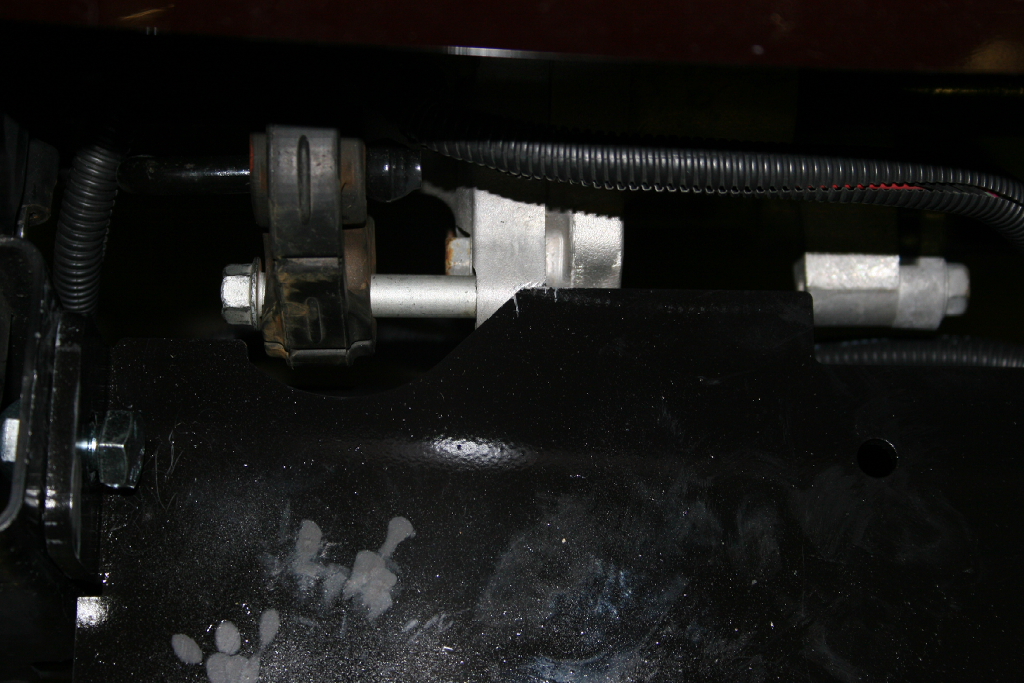
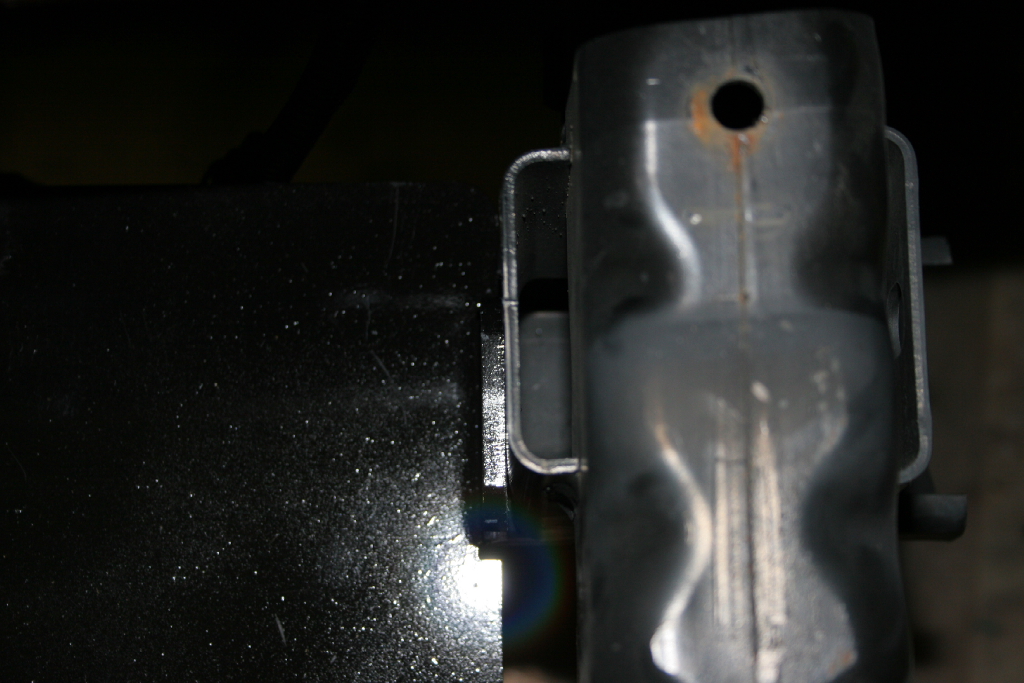
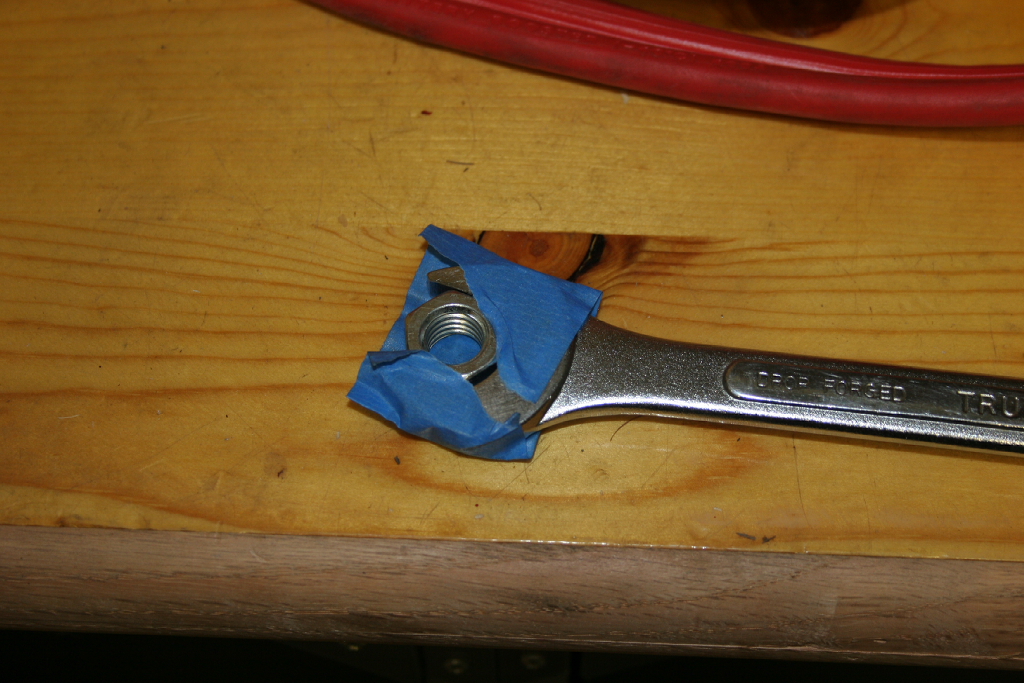
| The winch plate bolts into the upper of the two holes in the side of the frame. It's a tight fit, so you will need to tape the nut to the open end of the 3/4" combo wrench and slide it down into the slot. |
 |
 |
 |
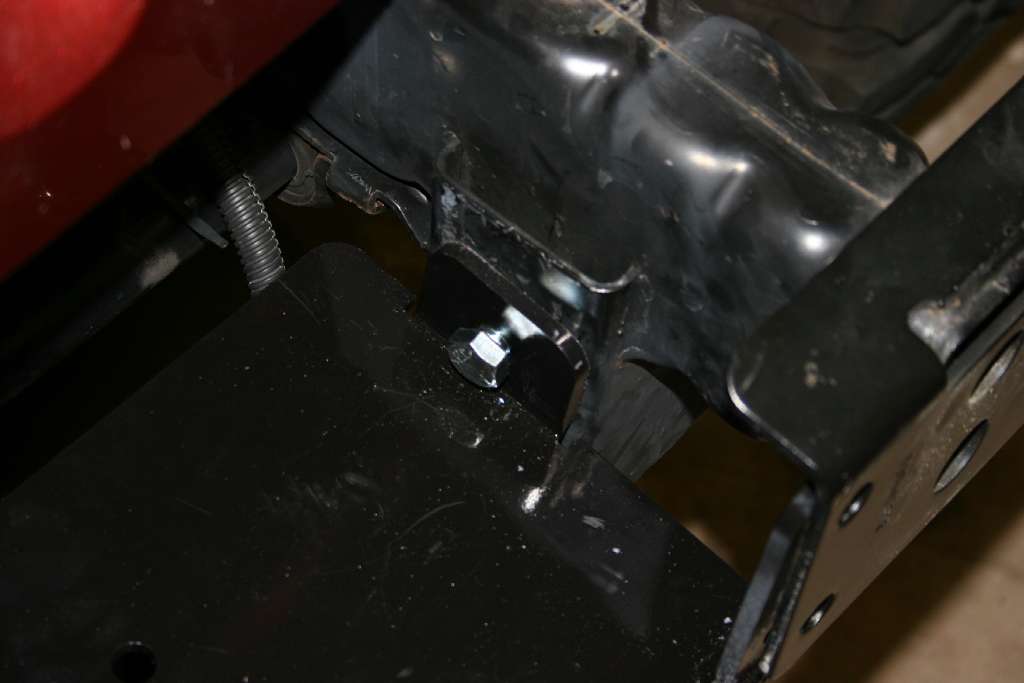
| Bolt the winch plate in with the bolt and nut. You will need a 3/4" combo wrench and a 3/$' socket. If you have the winch installed on the plate, you might need a little help with the weight, since the plate and winch can easily weigh over 100lbs. |
 |
 |
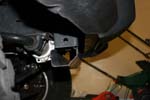
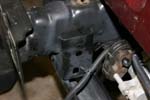
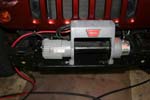
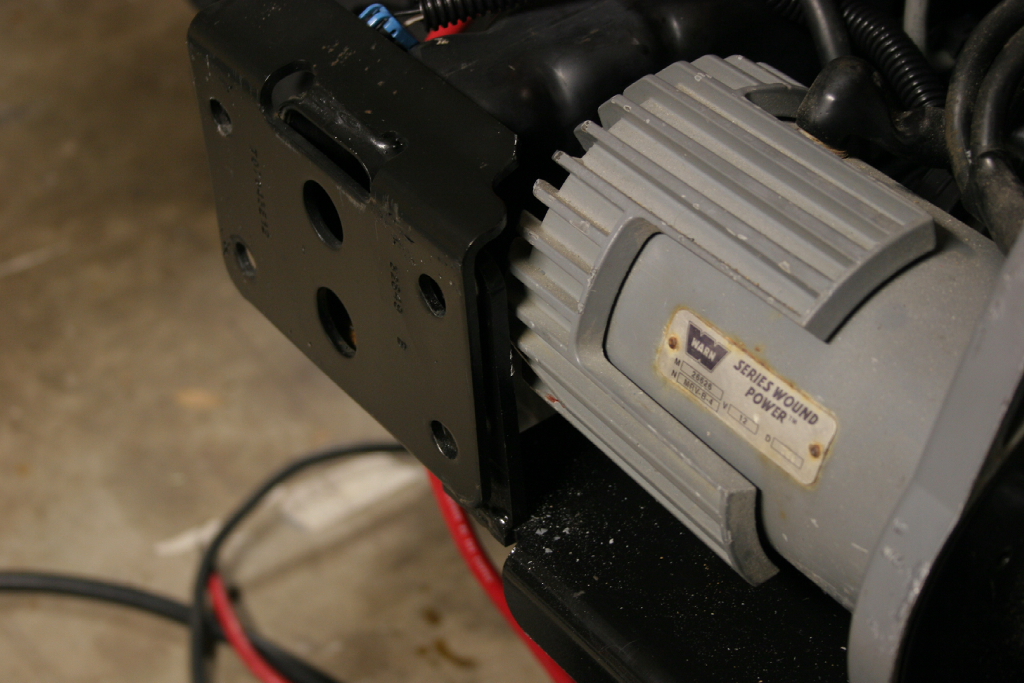
| My winch is an older xd9000i with the cooling fins on the motor. I quickly discovered that there was not enough clearance between the fins and the front bumper mount on the frame to allow the winch and bolts to fit in the same spot. |
 |
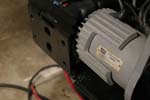 |
| I removed the cooling fins, (the ones only a couple years newer than mine did away with them), and reinstalled the winch. |
 |
 |
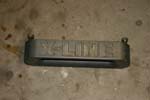
| Install the fairlead on the front of the bumper with hardware that came with the fairlead. I still had my x-line fairlead, so I reinstalled it. This is nearly impossible to do after the bumper has been installed on the Jeep. |
 |
 |
 |
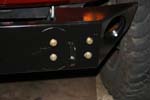
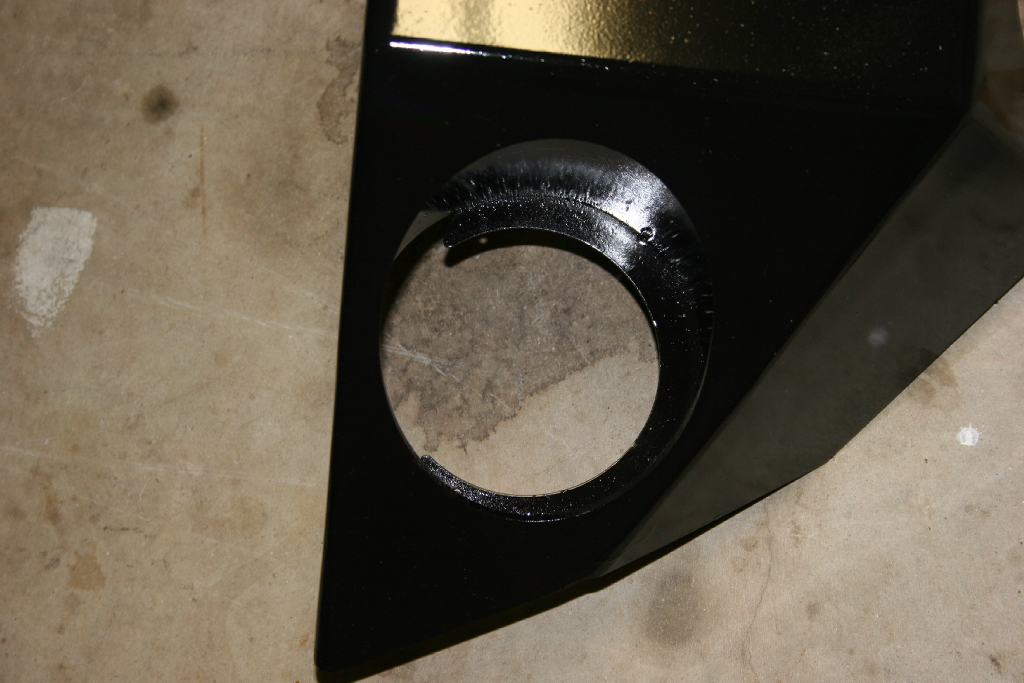
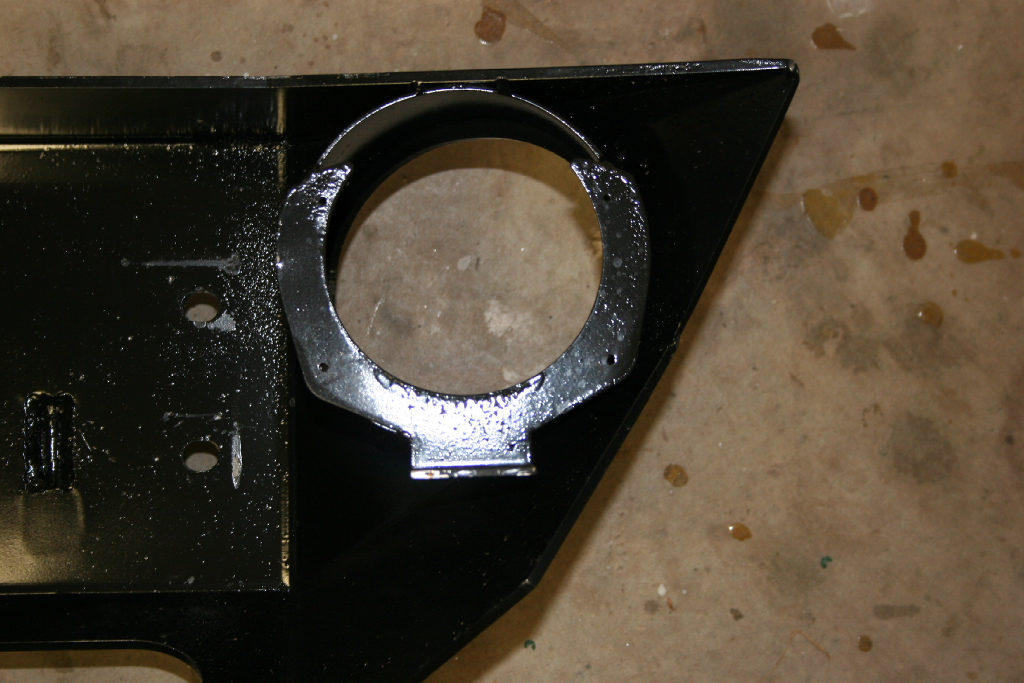
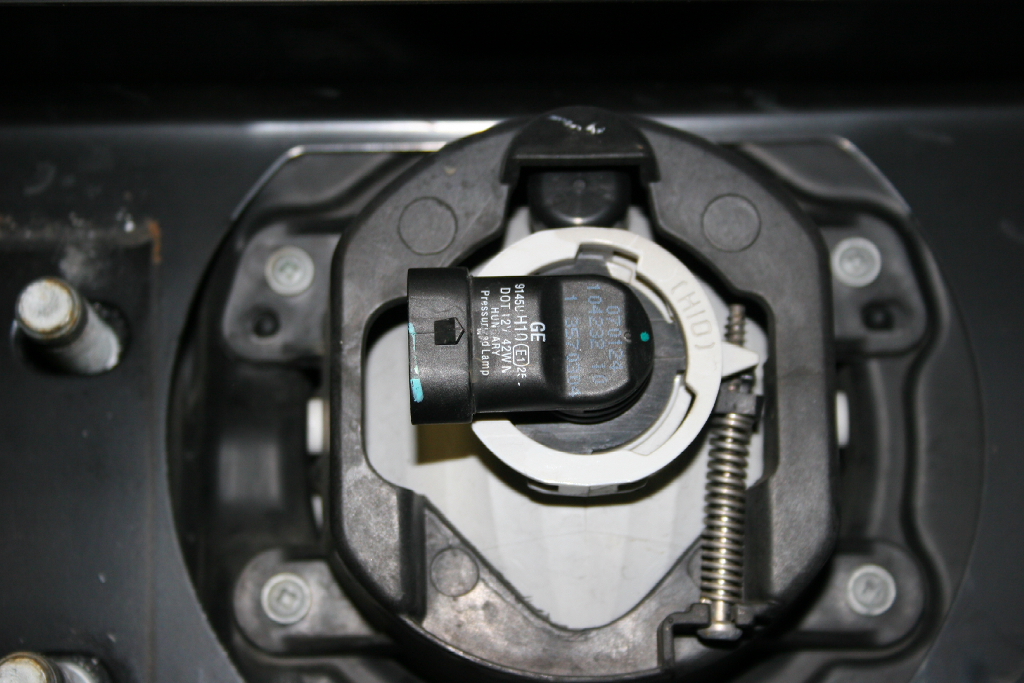
| The fog light holes are designed to except an aftermarket light mounted on the bottom tab, or the factory fogs mounted to the outer ring. I was reusing the factory fogs. |
 |
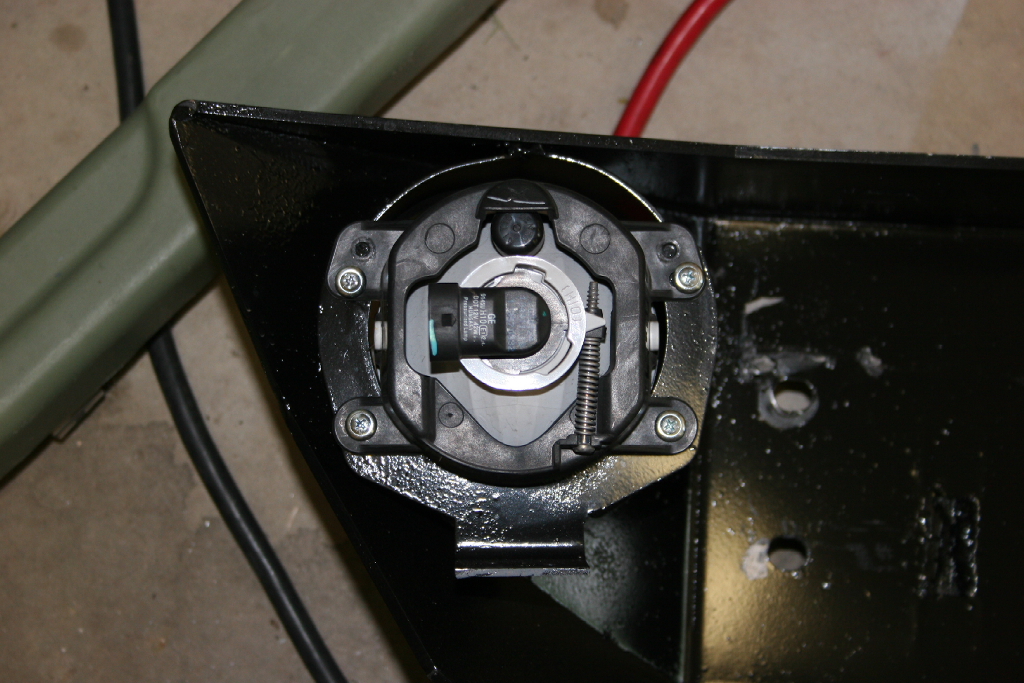
| Position the factory fogs in the bumper and install the self drilling screws through the mounting eyes and into the bumper. |
 |
 |
 |
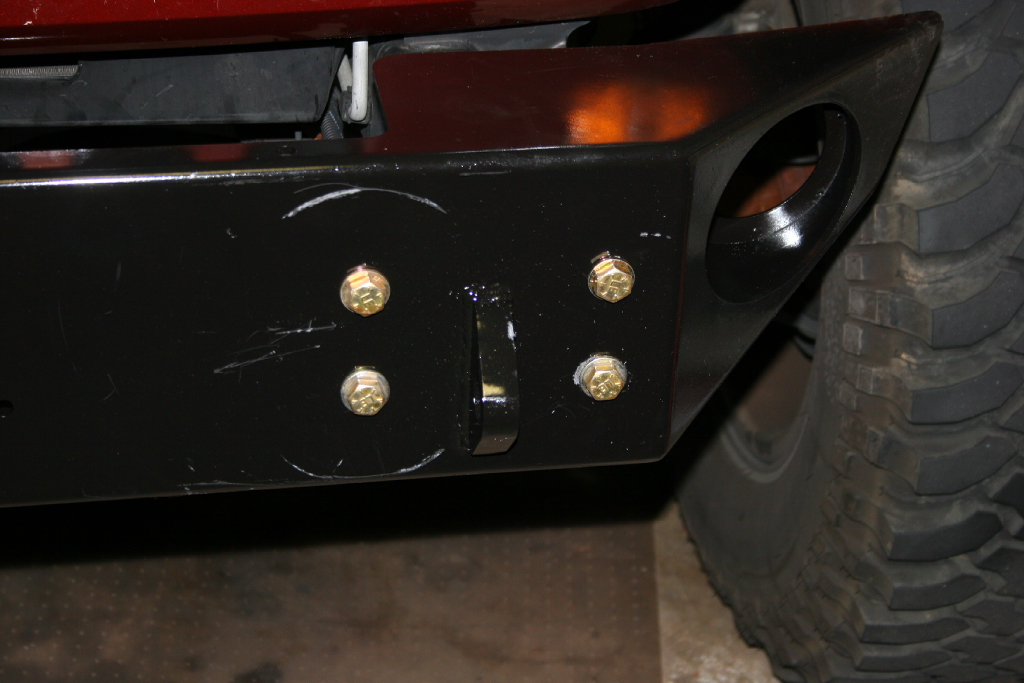
| Install two bolts through either side of the winch plate and through the frame mounts for the bumper. This is only temporary and just makes it easier getting the bumper up and lined up with the holes. |
 |
 |
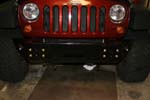
| Insert the remaining bolts in the holes and reverse the two bolts you used to line up the bumper. It's better if you have a helping hand with this to help position the bumper. Tighten down the bolts with a 3/4" socket and 3/4" combo wrench. Start with the bottom inside and then the top inside bolts. This will set your winch plate in nice and tight. |
 |
 |
| Reconnect your fog light harness to the factory fogs if you are using them. |
 |
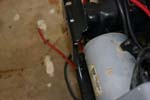
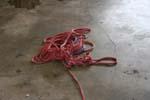
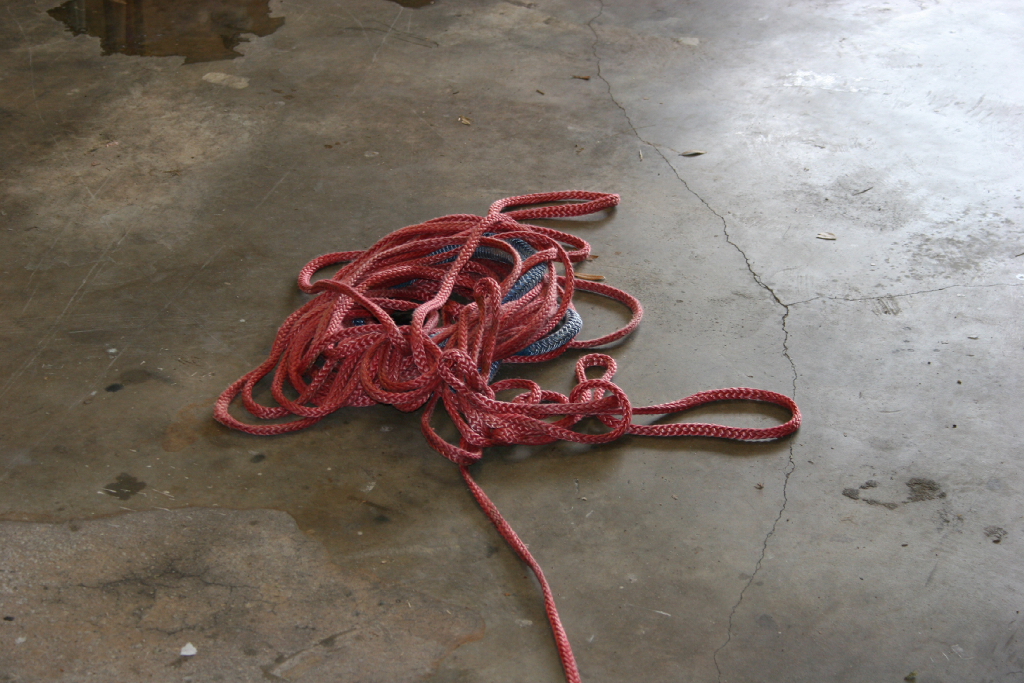
| I had to feed my winch cable back through the fairlead and hook it to the winch. Somehow along the way it became a tangled bundle from the nice coil I had laying on the ground. Amazing what a 3 1/2 year old will accomplish. |
 |
 |
 |
| |
| Front Air Hose Connection: |
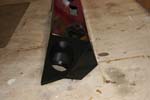
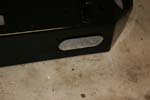
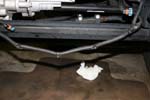
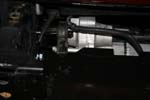
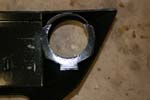
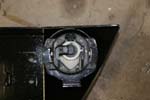
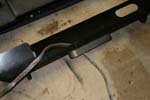
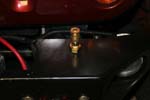
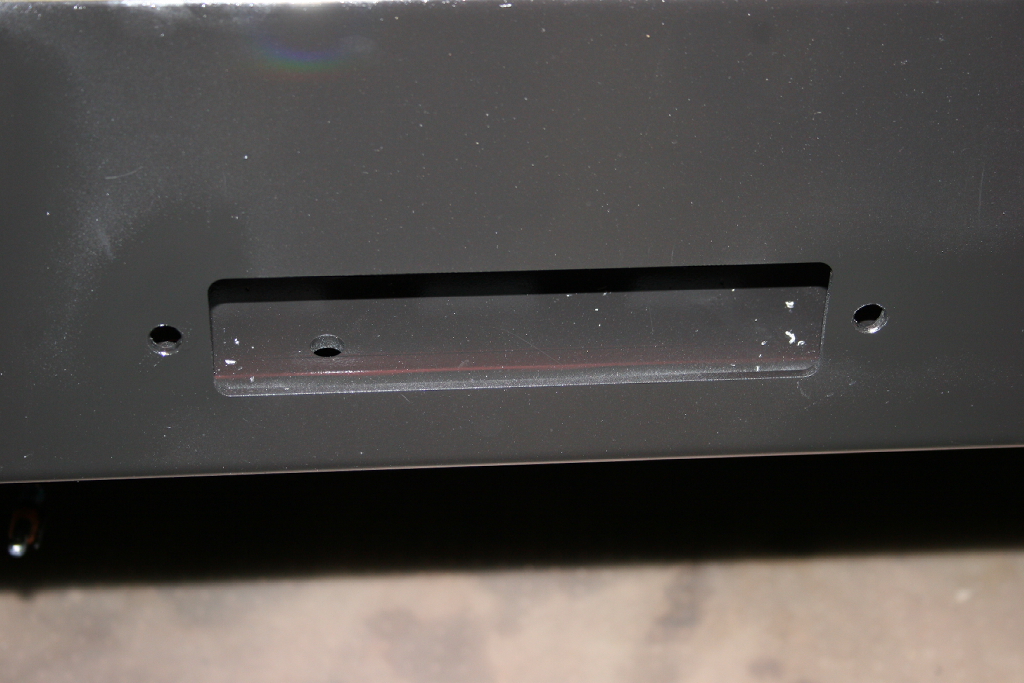
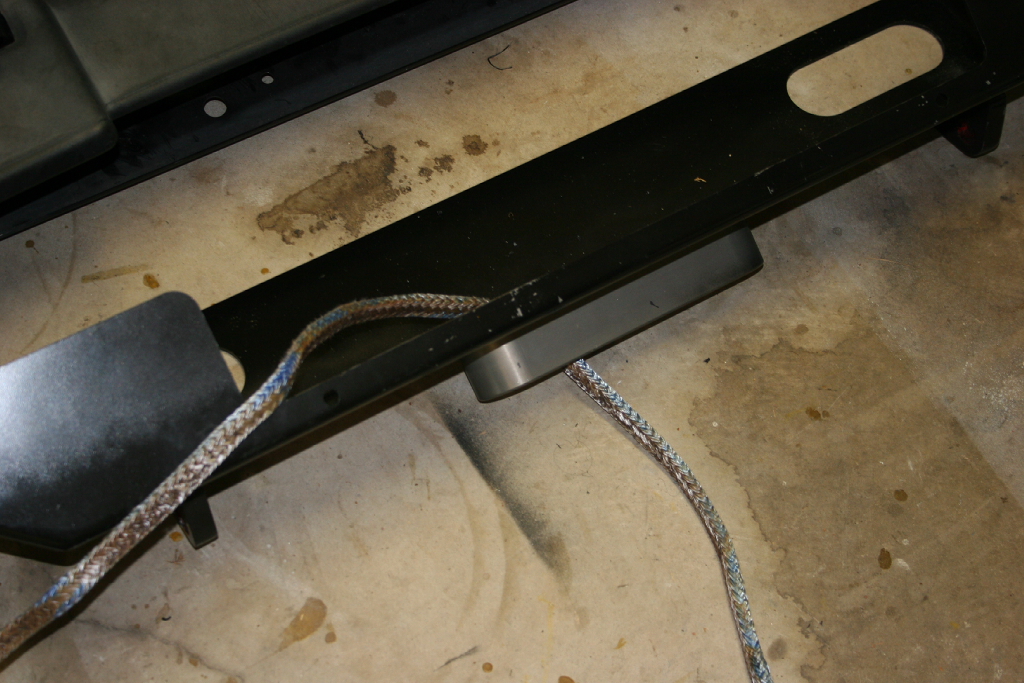
| I decided to mount my air hose connection to the front bumper. I marked a spot outside of the frame rail where nothing was located under the top of the bumper and drilled a |
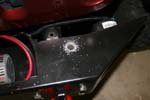 |
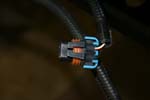
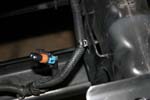
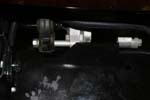
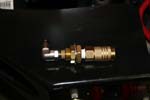
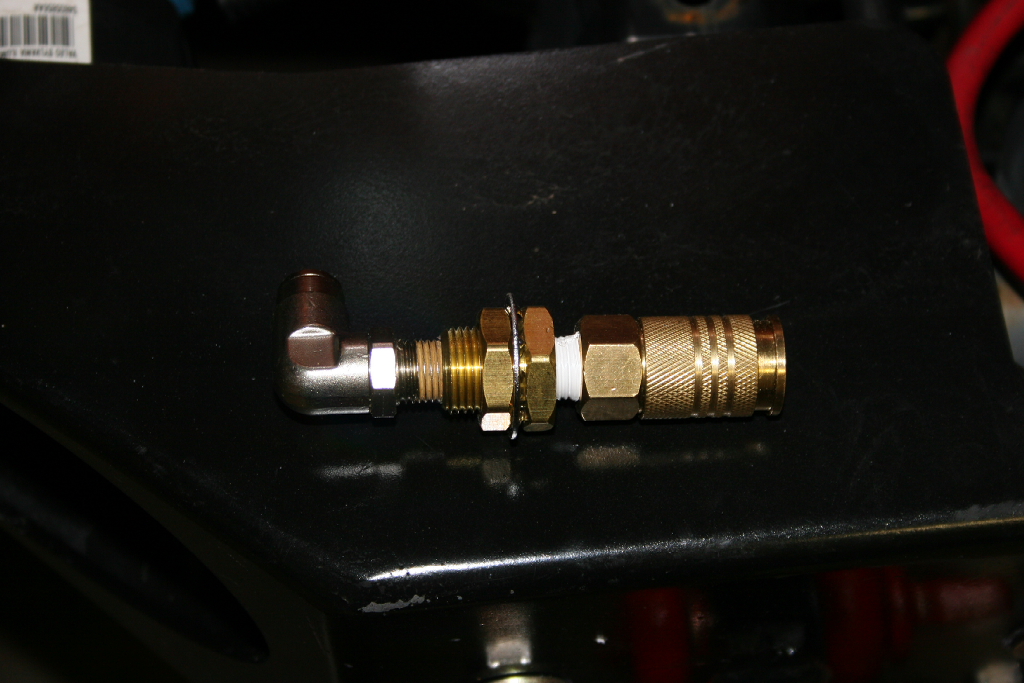
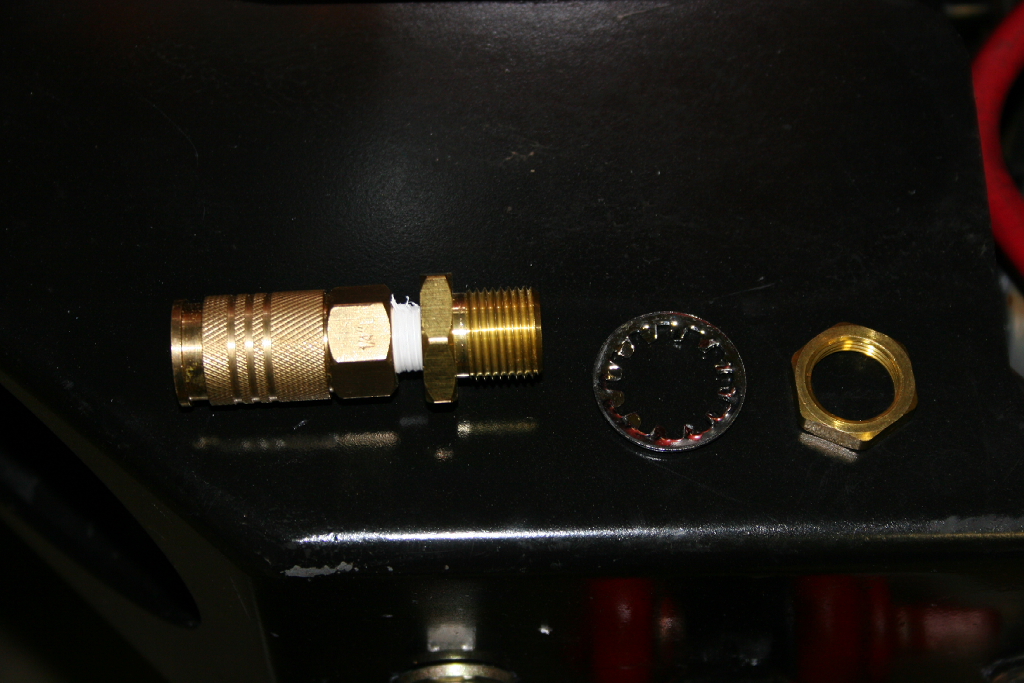
| Here's what the whole assembly looks like. Universal air coupler, bulkhead connector, and insta-tube fitting. |
 |
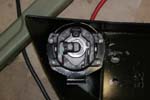
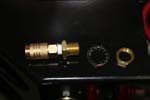
| Screw the air coupler into the bulkhead connector. |
 |
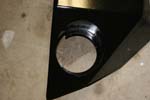
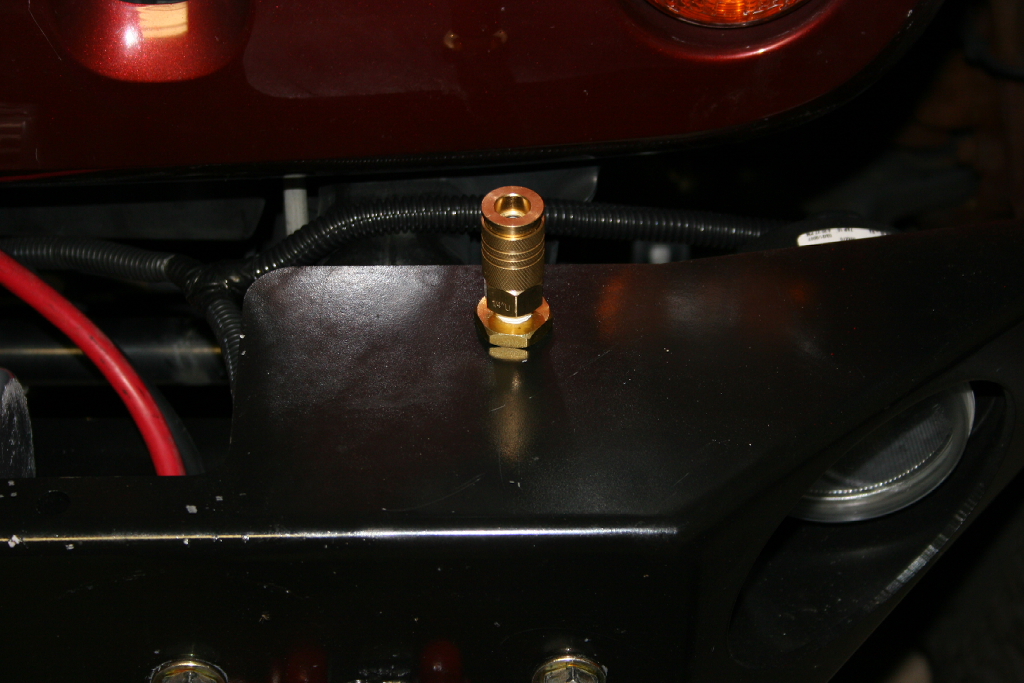
| Insert the bulkhead connector through the hole in the bumper and install the washer and nut on the underside. |
 |
 |
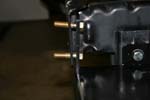
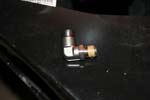
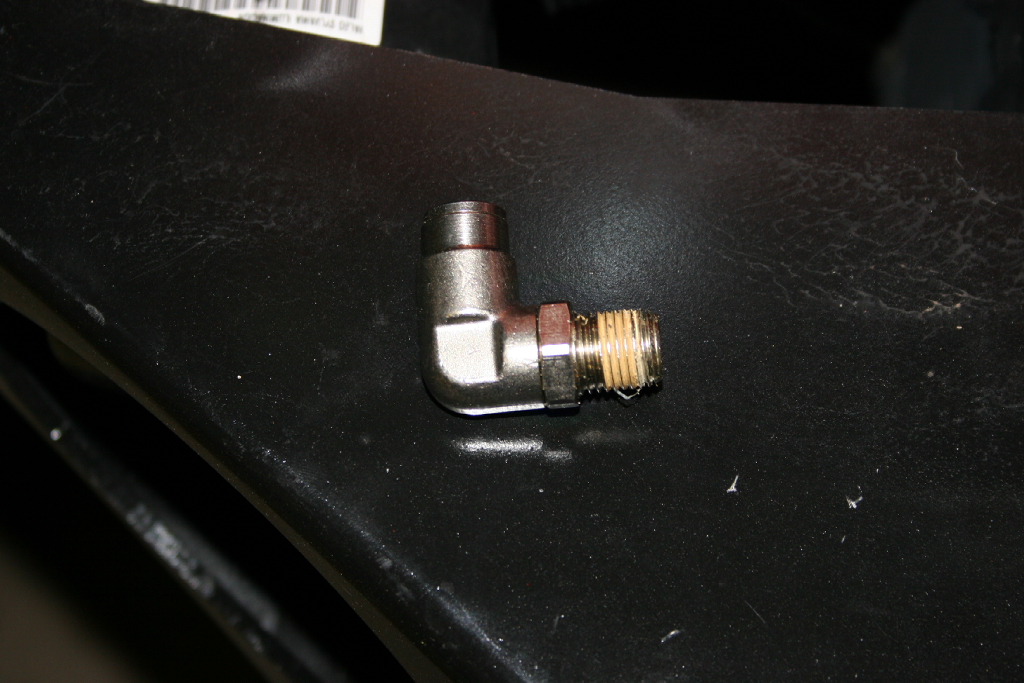
| Install the tube fitting into the bulkhead connector under the bumper. |
 |
| |
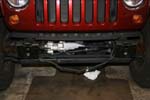
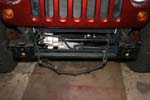
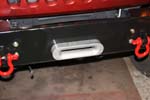
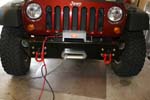
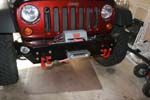
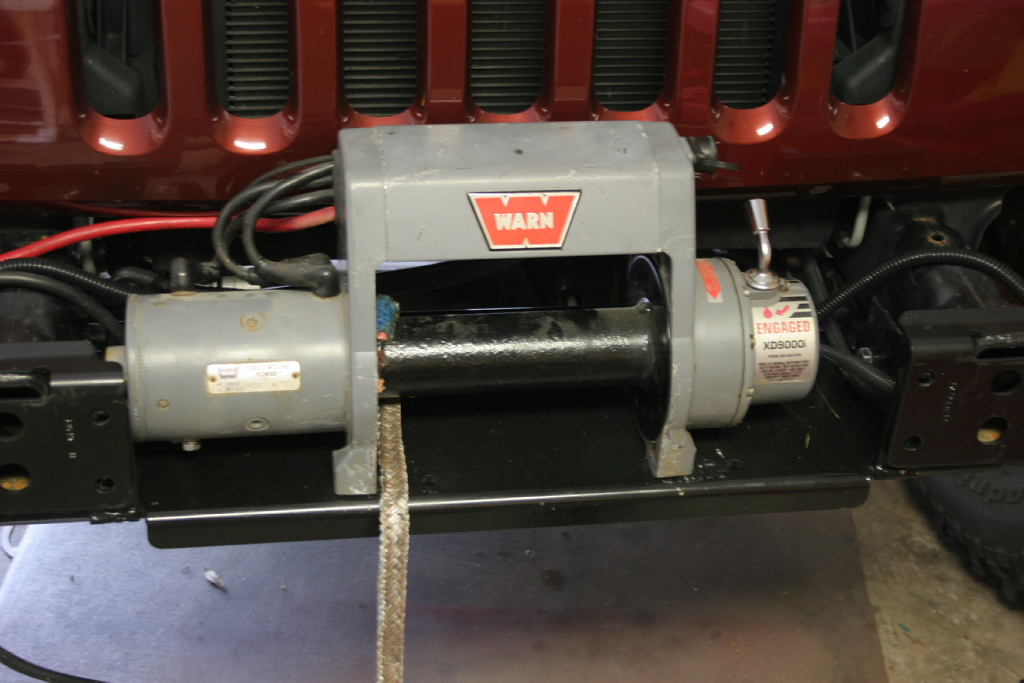
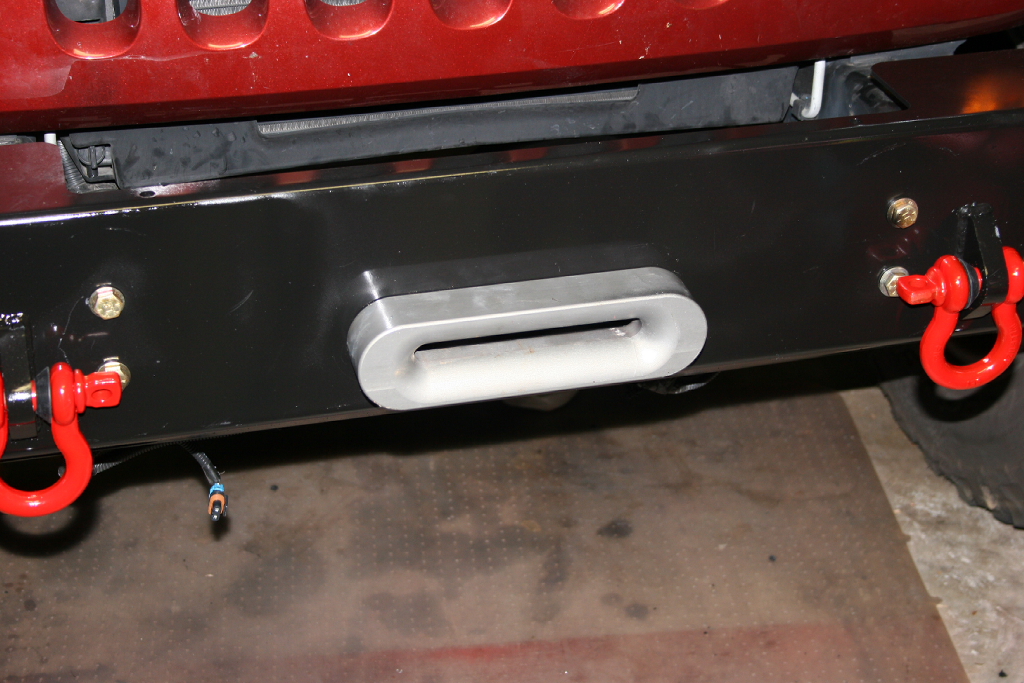
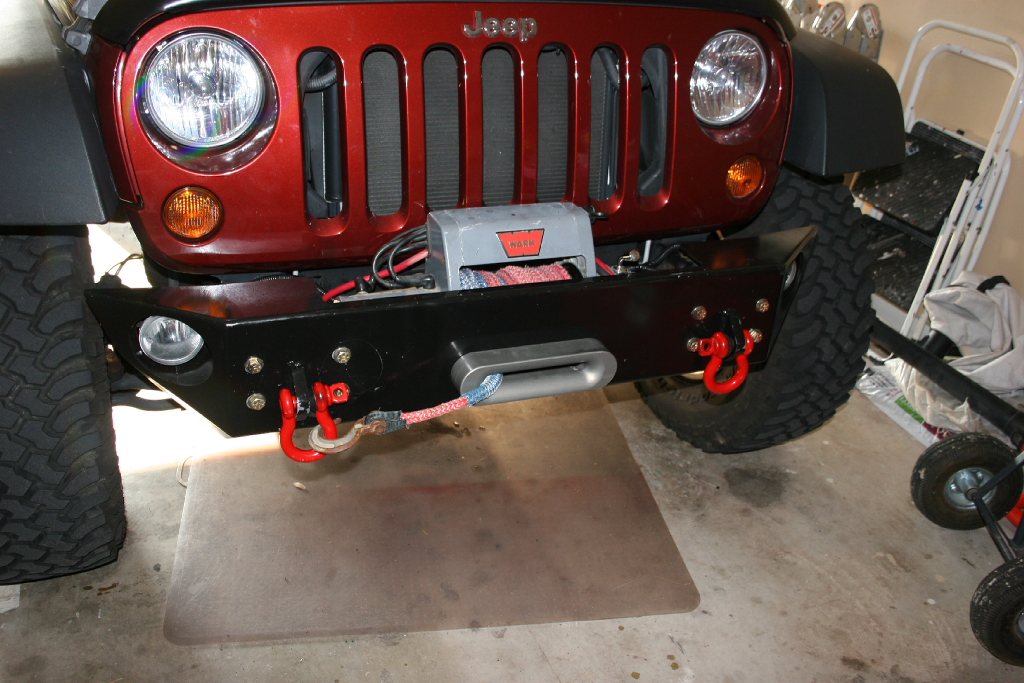
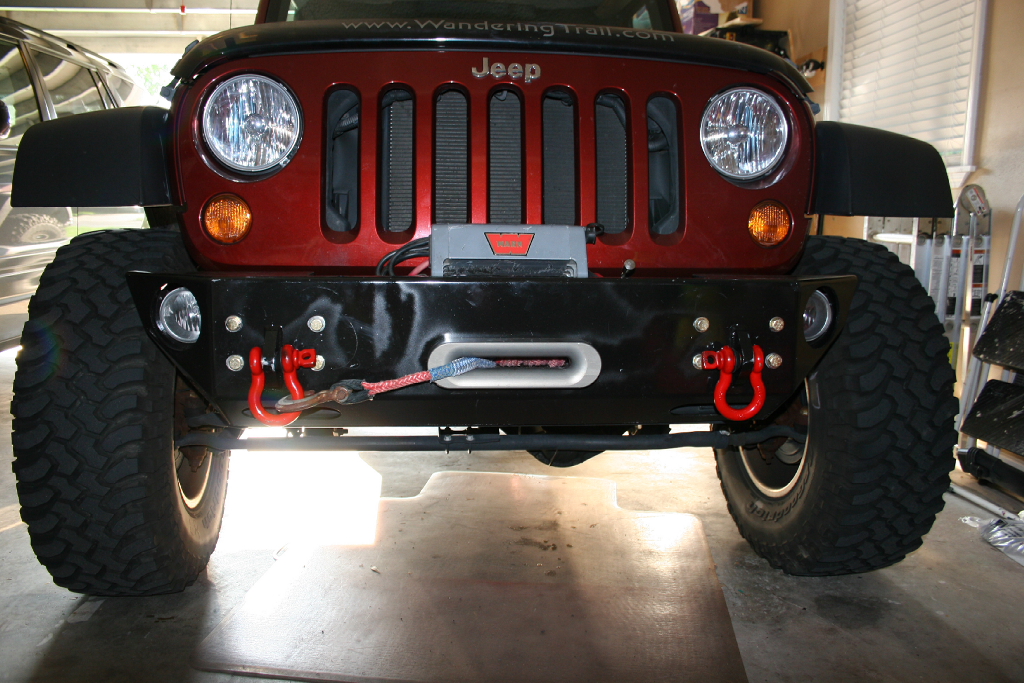
| Finished product |
 |
 |
 |
 |


