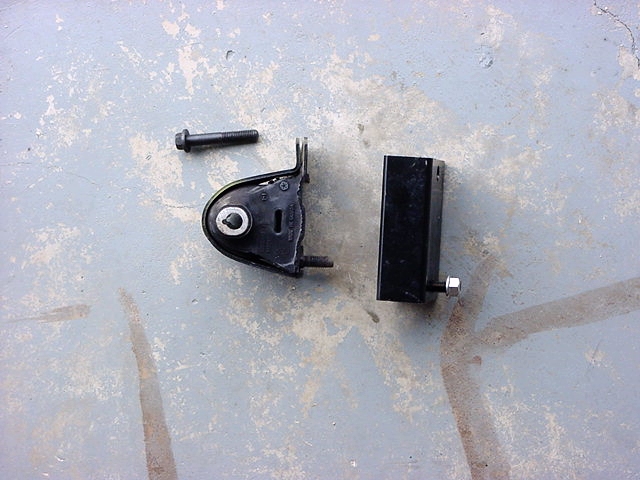
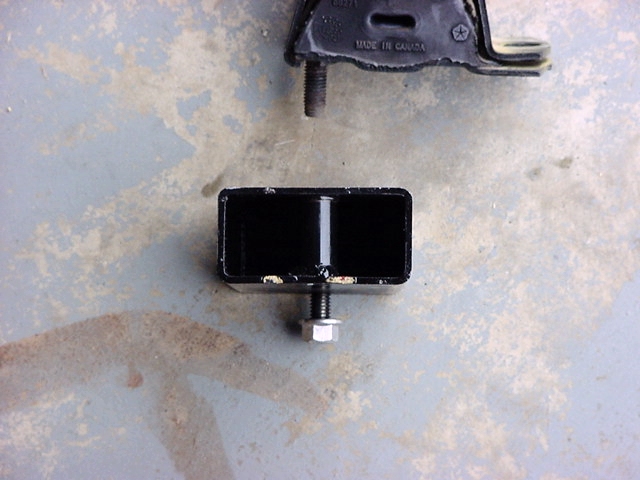
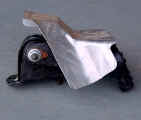
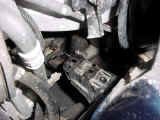
This is the part that came with the Tri-county gear Body
Lift. Now while the body lift was very well machined and I was impressed
with the quality, these were the cheapest things I had seen yet.
Basically a chunk of rectangular tubing, with a piece of flat iron weld
inside on edge, not very clean welds, not very neat, and definitely not
at the same level as a few other manufacturers. Unfortunately I
didn't shoot a lot of pictures of this mod.
| Motor
Mount Lift |
| Caution: Place block of wood between floor jack and bottom of oil pan. |
| 1. Loosen both Motor Mount to Engine Bracket Bolts. This helps to allow
the engine to rotate up. Also loosen the Transmission to skid
nuts, this will allow the engine to slide around. |
|
| 2. Brace engine with floor jack and piece of wood under the oil pan.
Be careful that you do not get the wood on to the oil drain area. |
|
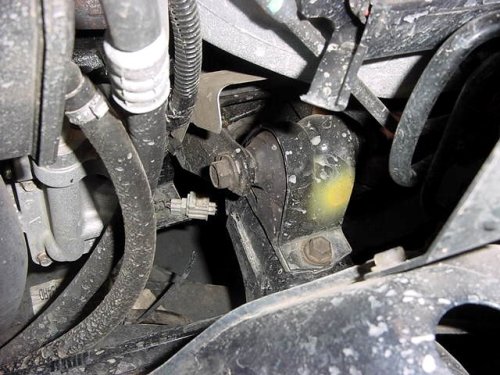
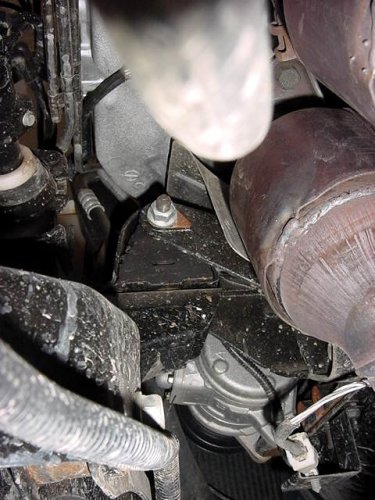
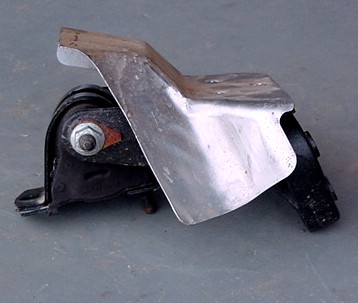
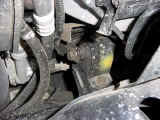
| 3. Remove Factory Mount on passenger side. |
 |
| 4. Now screw the Tri-County Gear spacer onto the factory motor mount
stud. Make certain you get the other holes lined up. |
 |
 |
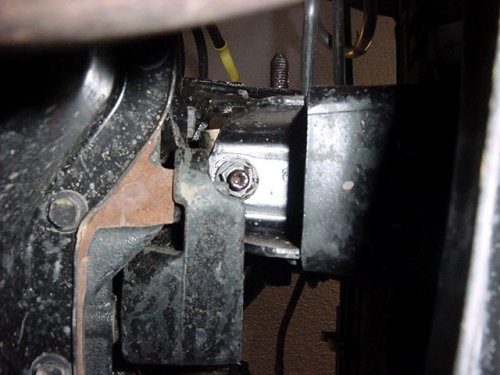
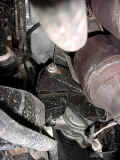
| 5. Install TCG spacers onto frame bracket. |
| 6. Torque lower nut tight, being careful to keep the mount centered
on the frame extension. You will not be able to tighten this nut later.
I was able to get a stubby open ended wrench in there after the driver
side was done and check the tightness. You might be able to
get a thin wall socket on it, but I didn't have one to try. |
 |
| 7. Now to the driver side. You can do this two ways. I choose to remove
the entire assembly, and then undo the mount to engine bolt, but you
could take the nut off the bolt first. Either way if you have A/C
the engine bracket is coming off. Having no A/C compressor should
allow you to just pull the bolt out forwards and skip taking the engine
bracket off. |
| 8. Remove lower nut from mount. |
|
| 9. Remove 3 bolts from engine bracket. |
|
| 10. Remove upper bolt from mount. At this point if you choose to remove
the nut earlier you can rotate the mount and bracket to get the mount
to bracket bolt out. Otherwise the entire assembly will slide down
along the side of the engine and pull out through the bottom. |
 |
| 11. Remove the mount to engine bolt. I tried the reinstall the assembly
with this bolt back in the correct direction, but I would have needed
3 people to do this, so I gave up. I didn't figure it was that important
to put the bolt in from the forward direction, besides it is much
easier to bolt the engine bracket to the engine, motor mount to the
frame and then line up the mount to frame bolt. I am going to
keep an eye on it to see. |
| 12. Reinstall the engine bracket. |
 |
| 13. Install the other TCG spacer on to the factory Motor mount and
install and snug the bolts on Motor Mount. |
| 14. Lift Engine and reinstall the Driver side Motor Mount to Engine bolt
from the rear. |
| 15. Install Passenger side Motor mount to engine bracket bolt. I needed
to tap the side of the mount to get it to line up perfectly. |
| 16. Install nut and snug that bolt, lower the engine, but do not take
all the weight off the jack. |
| 17. Tighten all the motor mount bolts. |
|
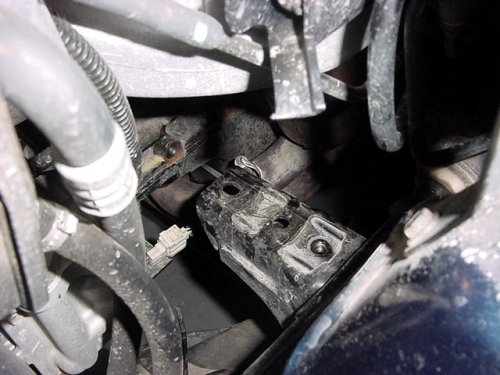
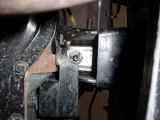
| 18. Now back to passenger side. Put a big screwdriver between the engine
bracket and motor mount. Pry gently, and tighten up the Mount to engine
bolt when it is all the way out in oval. This will give you
the clearance between the engine bracket and the frame bracket. |
| 19. Tighten the Driver side mount to engine bolt. |
|
| 20. Tighten the transmission to skid nuts. |
|