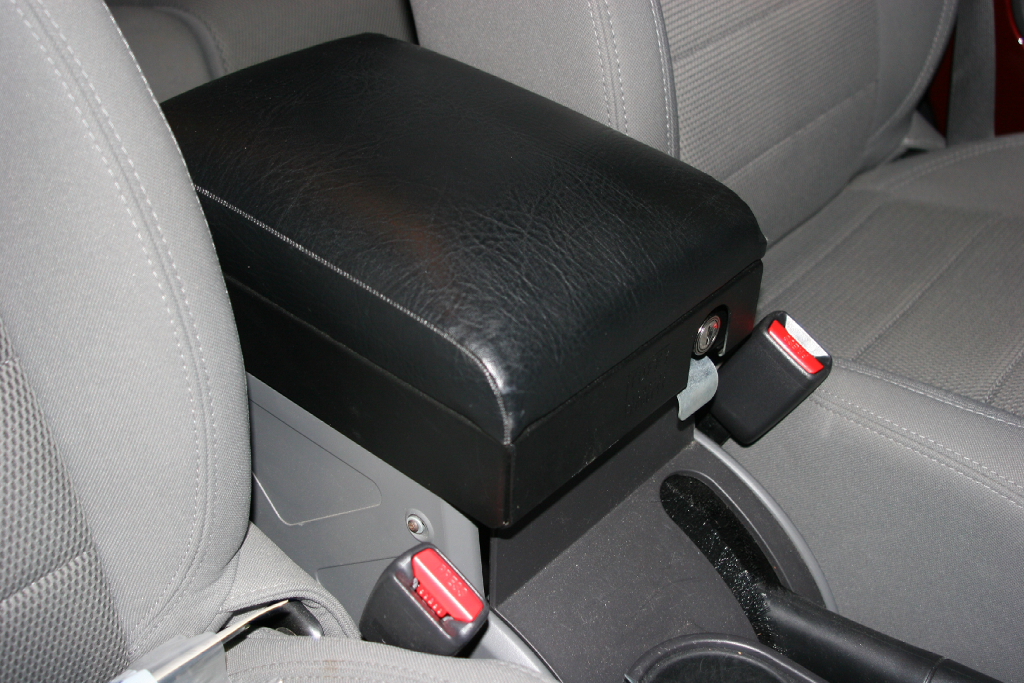
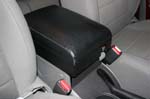
The lids for the Tuffy consoles have always been really heavy. I have commented that the lid can severely injure a finger when you are closing it or if it were to inadvertently fall when it was open. Tuffy came out with a really nice gas strut as a retrofit for the older consoles, and I believe is now standard on most of the consoles. This install is for the JK's center console insert, but the instructions have it for other console as well, see Tuffy's site for the instructions.
| Installation: |
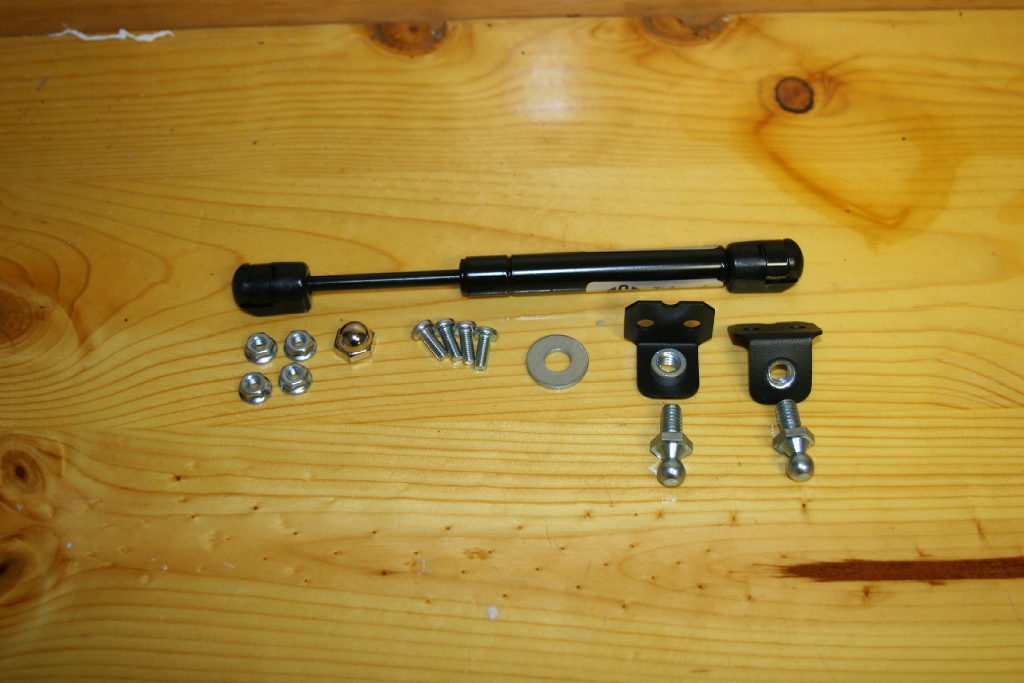
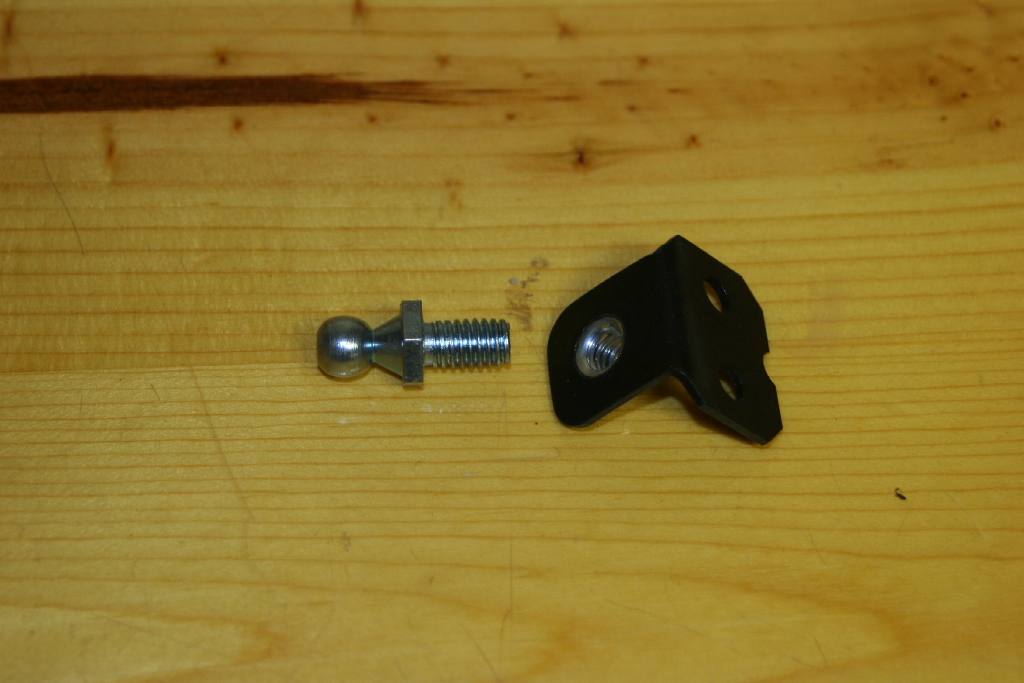
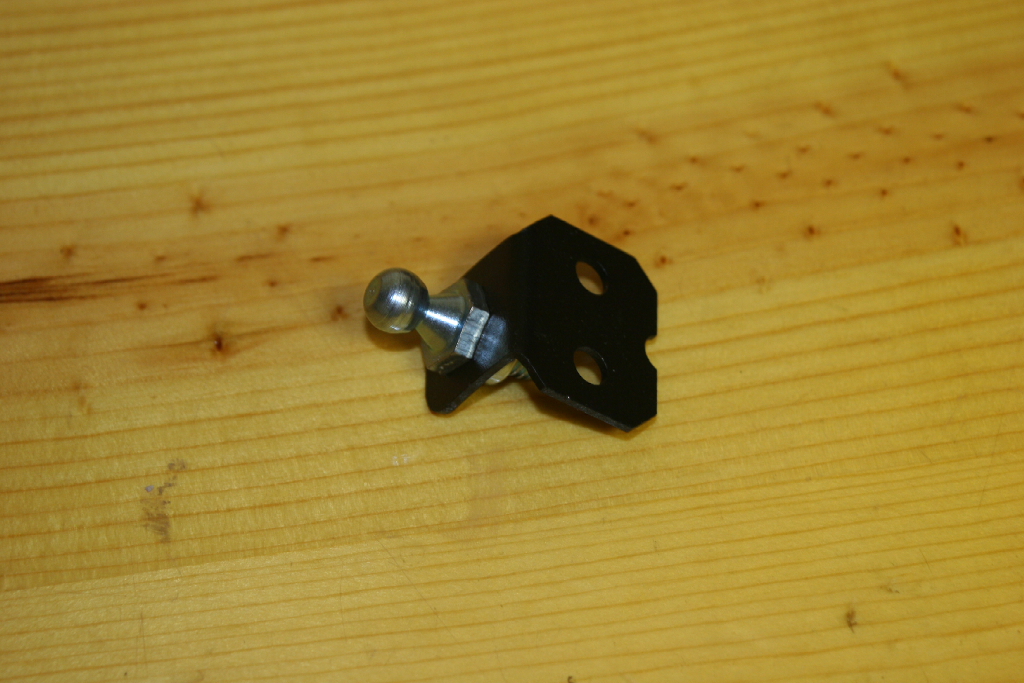
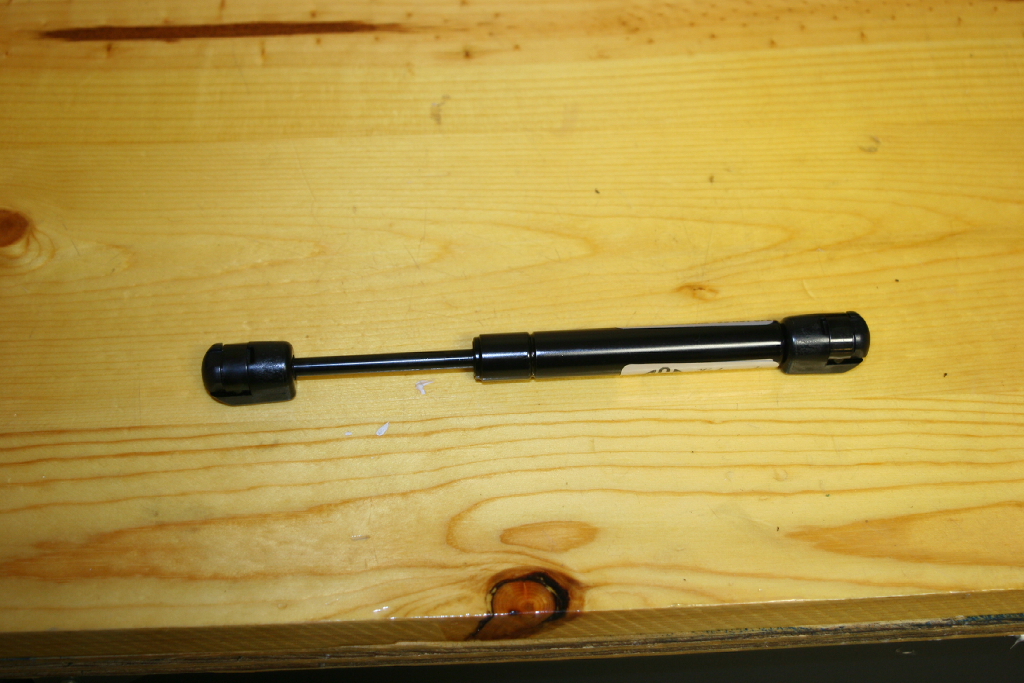
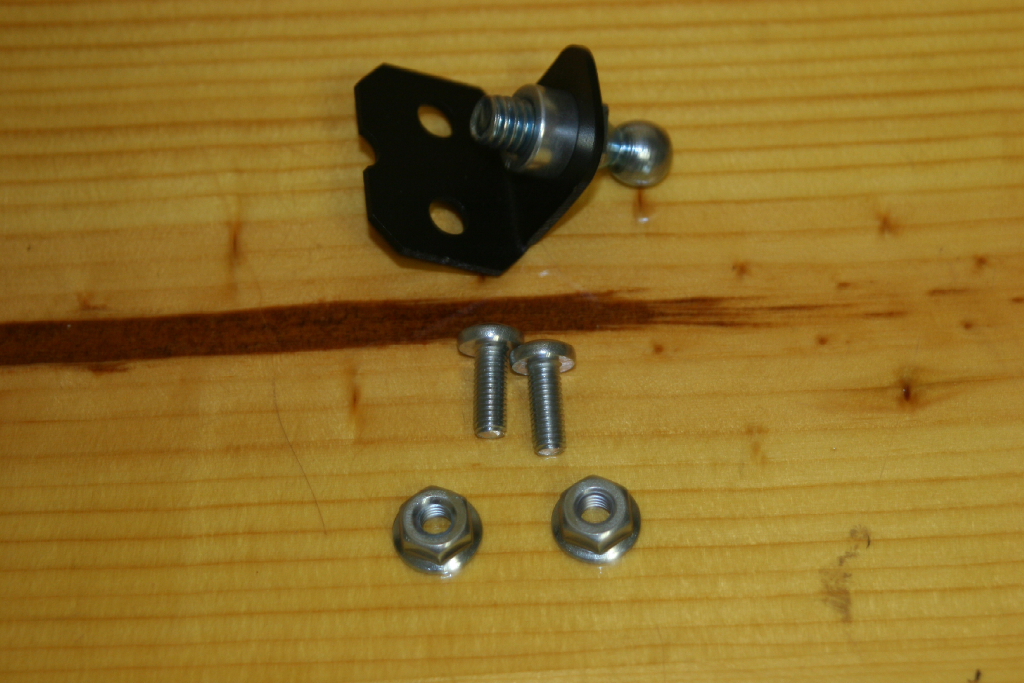
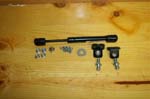
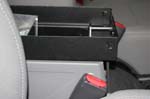
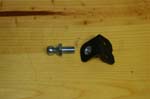
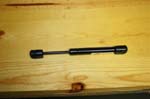
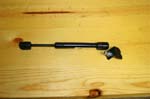
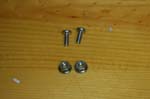
| The gas strut, screws and mounts. The JK center console insert uses both brackets, the others use just ball stud, so I had the big washer and acorn nut left over. Parts bin... |
 |
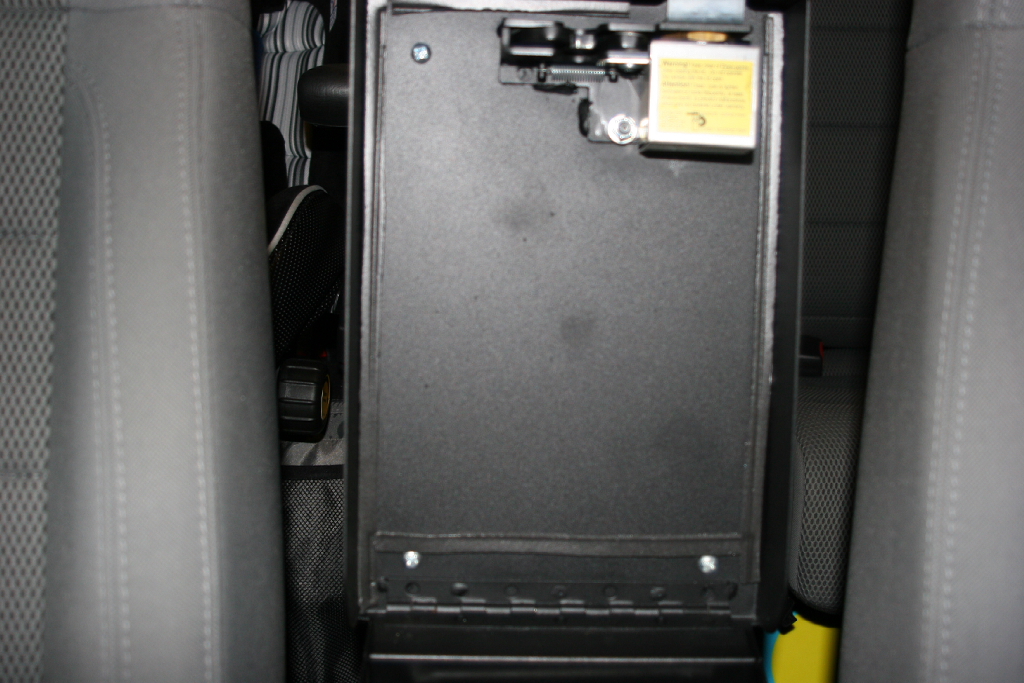
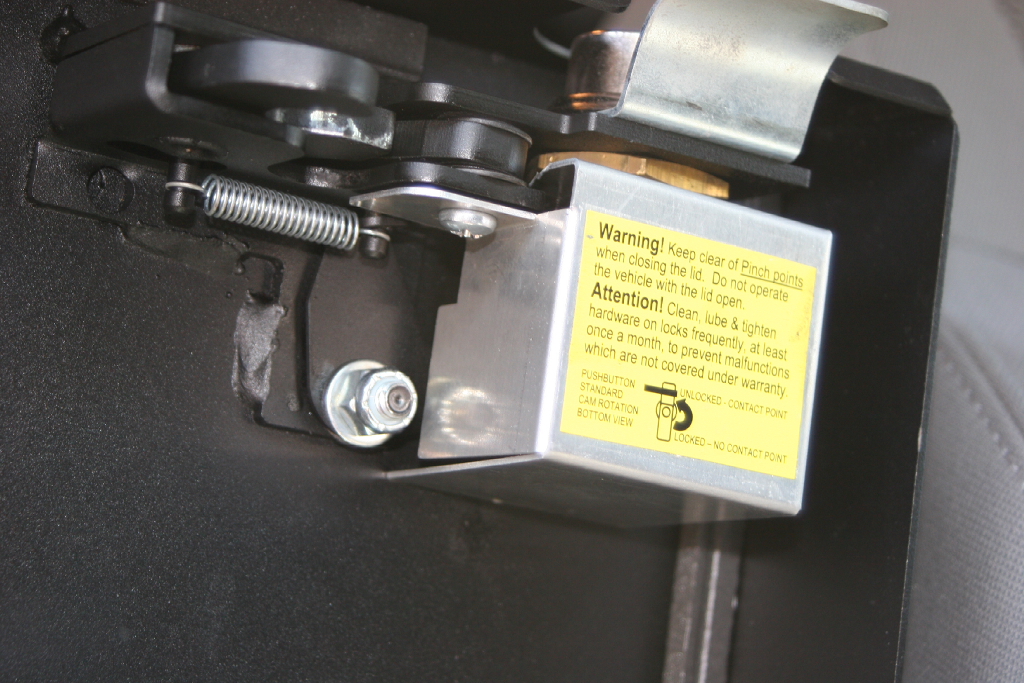
1. Open up the lid and remove the latch cover with a phillips screwdriver. The front driver side screw is underneath the cover for the latch. Reinstall the screw since it holds the latch in position.
|
 |
 |
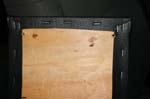
2. Remove the 4 Phillip’s head screws from underneath the lid.
|
 |
 |
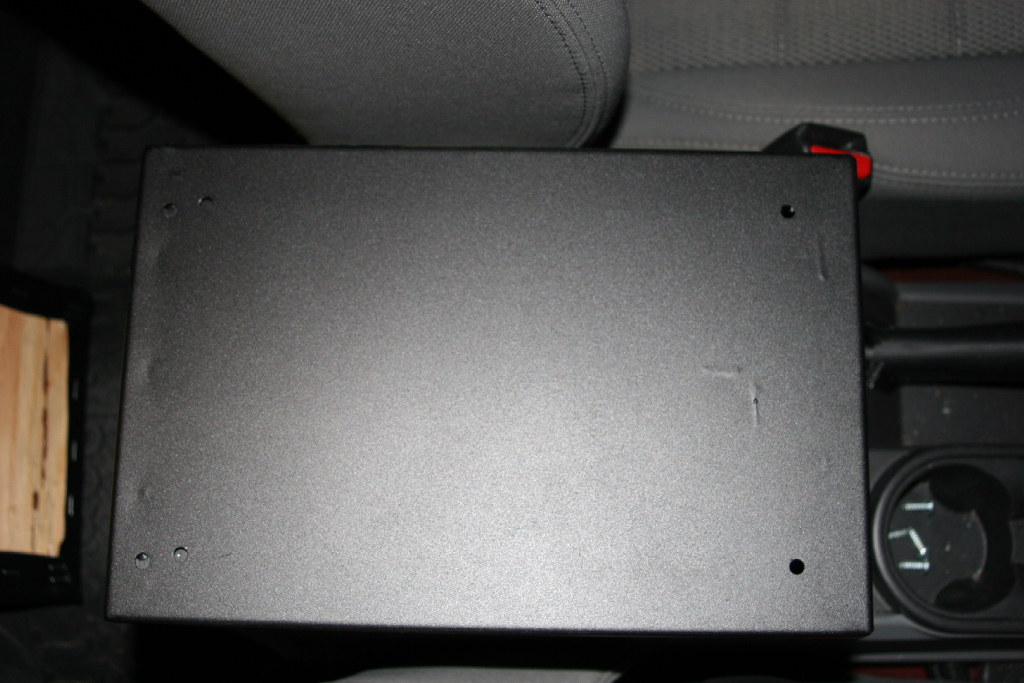
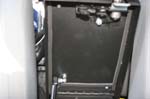
3. Remove the padded cushion and close the lid. Hopefully you reinstalled the screw from step 1. Slide the passenger seat all the way forward.
|
 |
 |
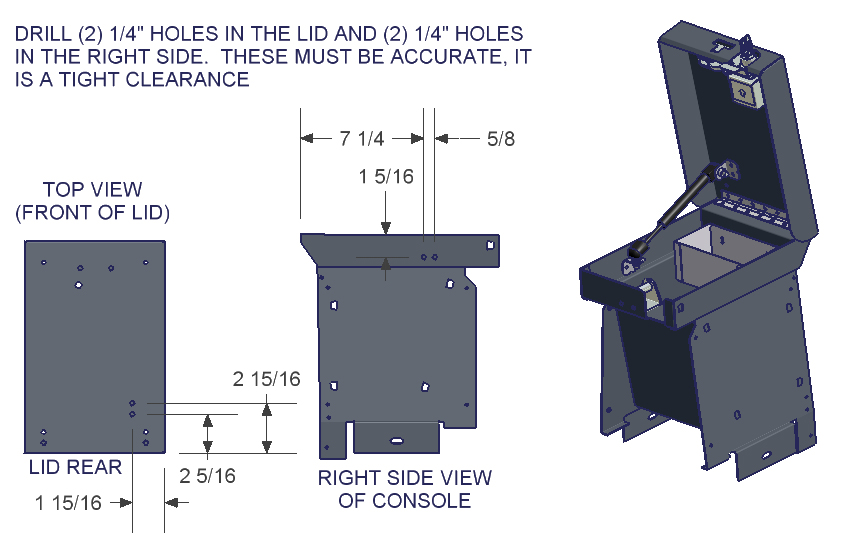
Tuffy Excellent picture of where to drill. |
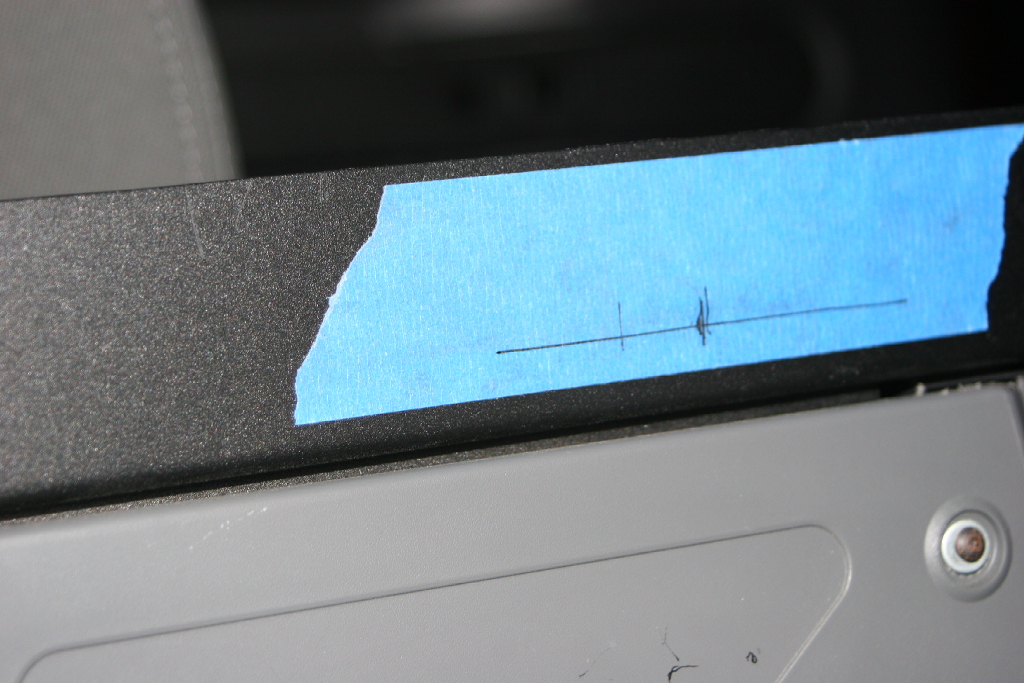
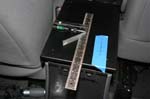
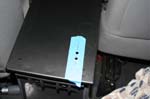
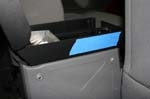
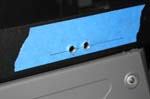
4. Mark the spots for (2) ¼” holes to be drilled in the lid to mount the Bracket. Measure from the rear and right side on the outside top of the lid (first hole 1 15/16” in from the side, 2 5/16” up from the back), (second hole 1 15/16” in from the side, 2 15/16” up from the back). Mounting holes should be 5/8” apart. I recommend using a piece of blue painters tape so that you can get a good mark. The black is hard to see marks on.
|
|
 |
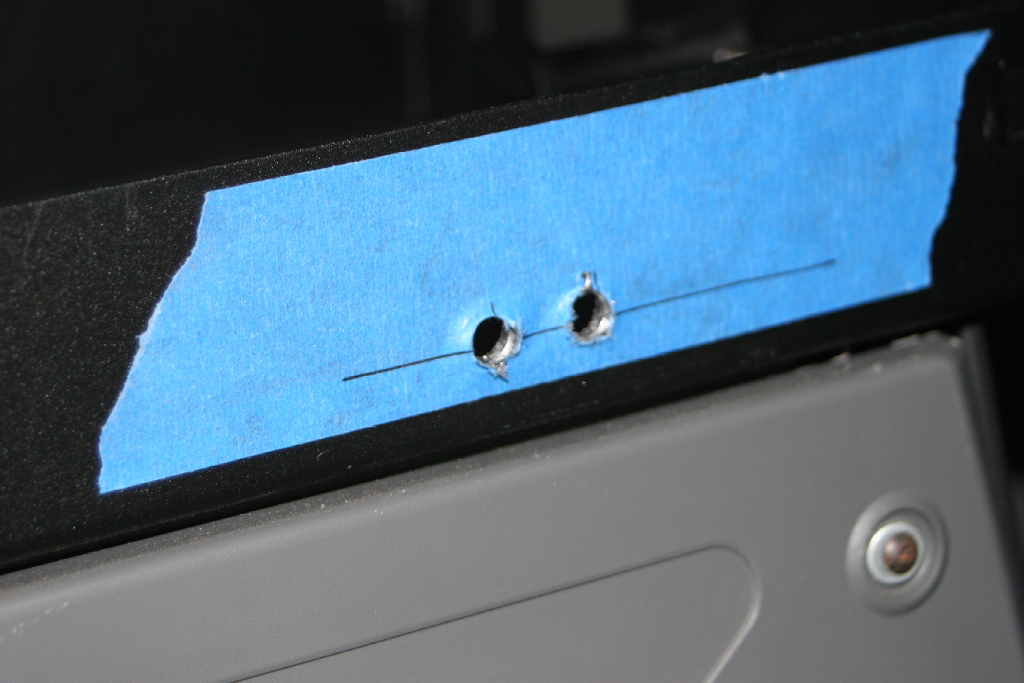
5. Drill the (2) ¼” holes in the lid.
NOTE: Tuffy says to drill two 1/4" holes. I recommend that you drill 3/16" holes. Tuffy's are way to big for the screws provided. I understand that they probably wanted to allow for some adjustment and drilling mishaps, but the brackets have 1/4" holes, and the screws provided are much smaller than the holes so you end up with a lot of slop when you mount the brackets. |
 |
 |
 |
 |
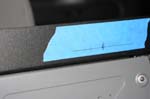 |
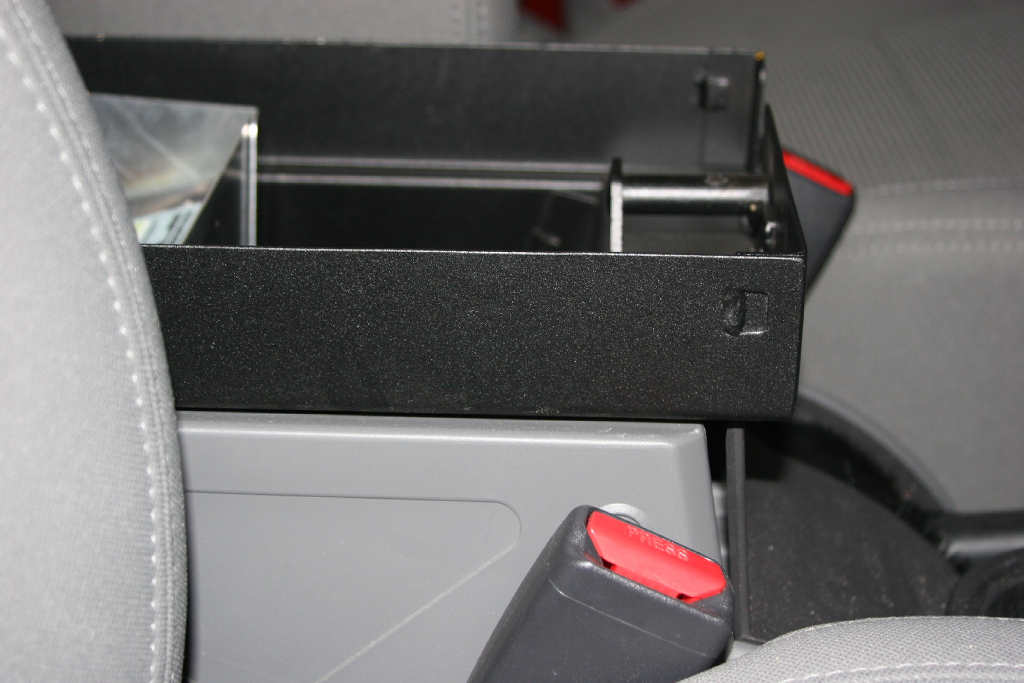
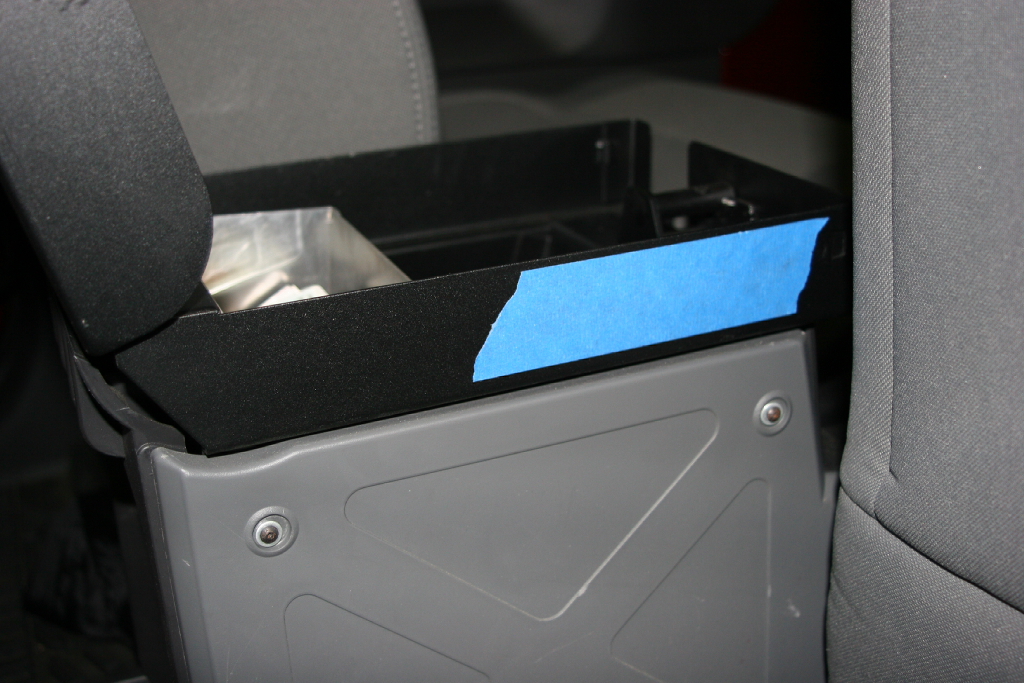
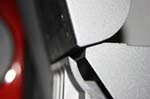
| 6. Mark the spots for (2) ¼” holes to be drilled in the right side panel to mount the Bracket. Measure from the rear and top on the right side panel (first hole 1 5/16” down from the top, 7 ¼” out from the back), (second hole 1 5/16” down from the top, 7 7/8” out from the back). Mounting holes should be 5/8” apart. I recommend using a piece of blue painters tape so that you can get a good mark. The black is hard to see marks on.
NOTE: When you are making your measurements, you have to measure from the very back edge of the console insert. This is a little difficult since the lid all but covers it when it is open. Be careful, this is a good time to knock the lid closed with your fingers in the way. |
7. Drill the (2) ¼” holes in the side.
NOTE: Tuffy says to drill two 1/4" holes. I recommend that you drill 3/16" holes. Tuffy's are way to big for the screws provided. I understand that they probably wanted to allow for some adjustment and drilling mishaps, but the brackets have 1/4" holes, and the screws provided are much smaller than the holes so you end up with a lot of slop when you mount the brackets. |
 |
| 8. Remove the tape and debur each of the holes that you drilled. Clean up all the metal shavings from drilling. This way you don't press your hand down on top of a sharp fragment. |
9. Screw the Ball studs to each Bracket. You will need a 1/2" combo wrench.
|
 |
 |
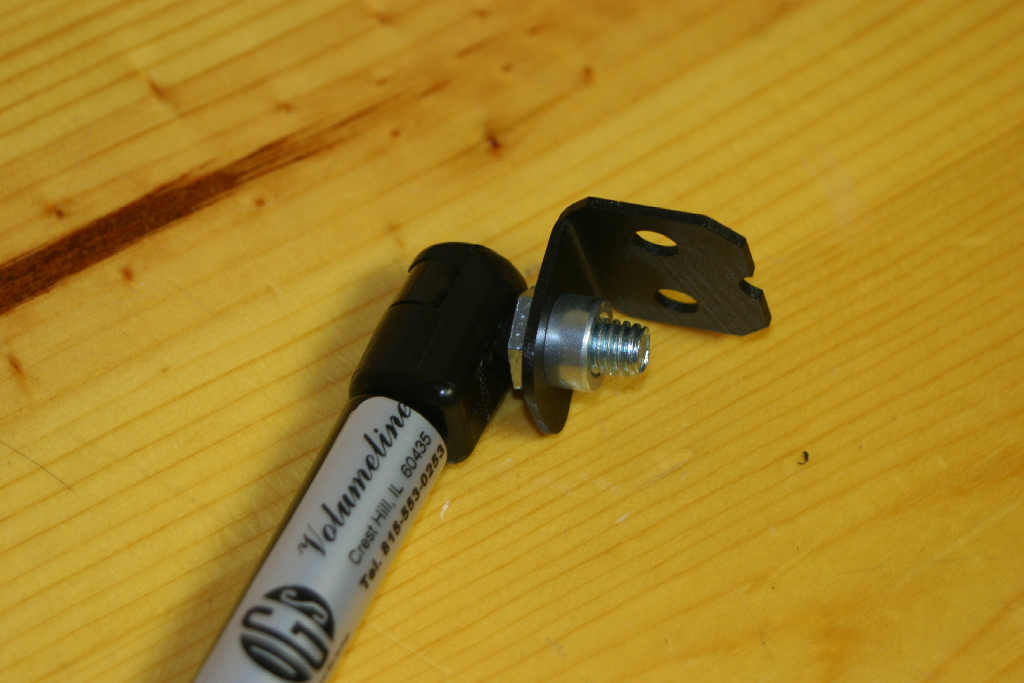
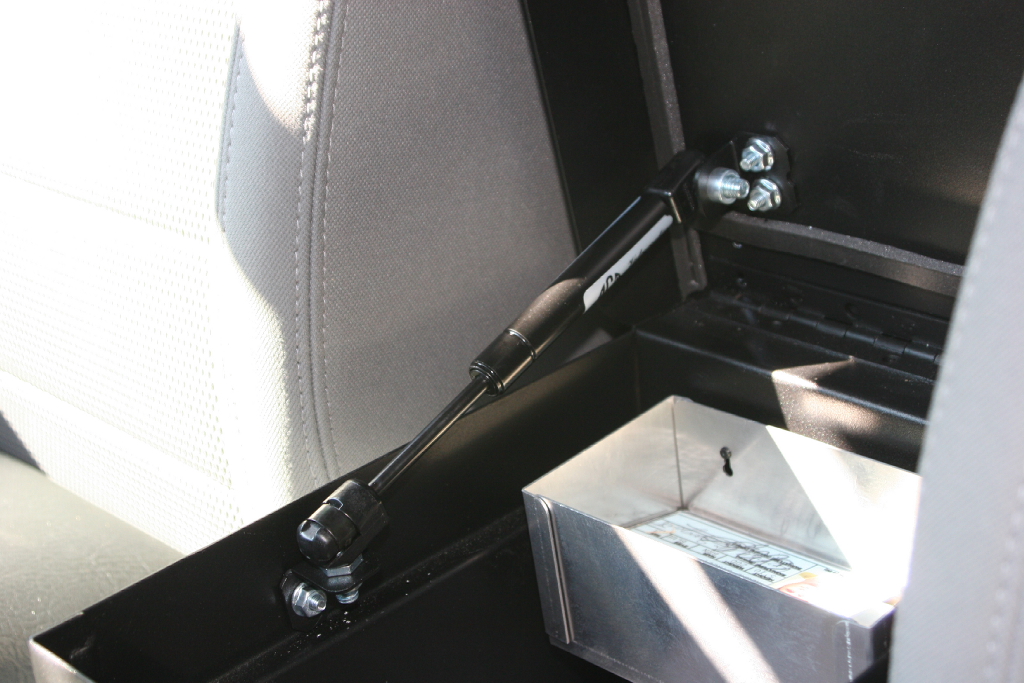
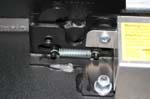
10. Attach the top end (tube side) of the Gas strut to the Bracket for the lid.
NOTE: To remove it use a standard screwdriver to pry up the spring clip on the Gas spring until it pops off, it is not necessary to completely remove the spring.
|
 |
 |
 |
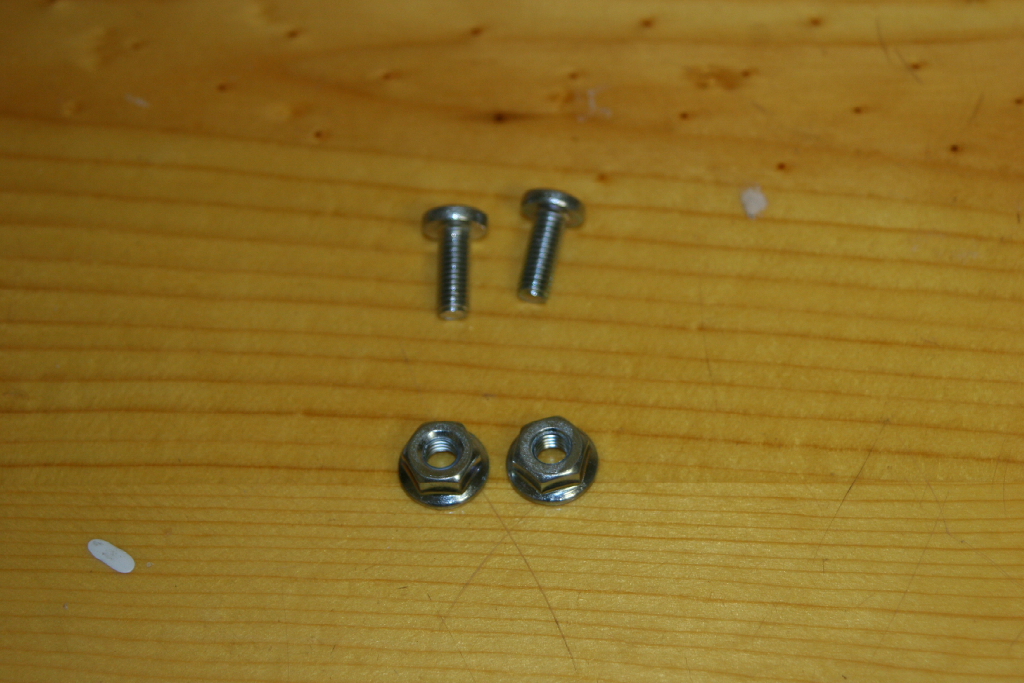
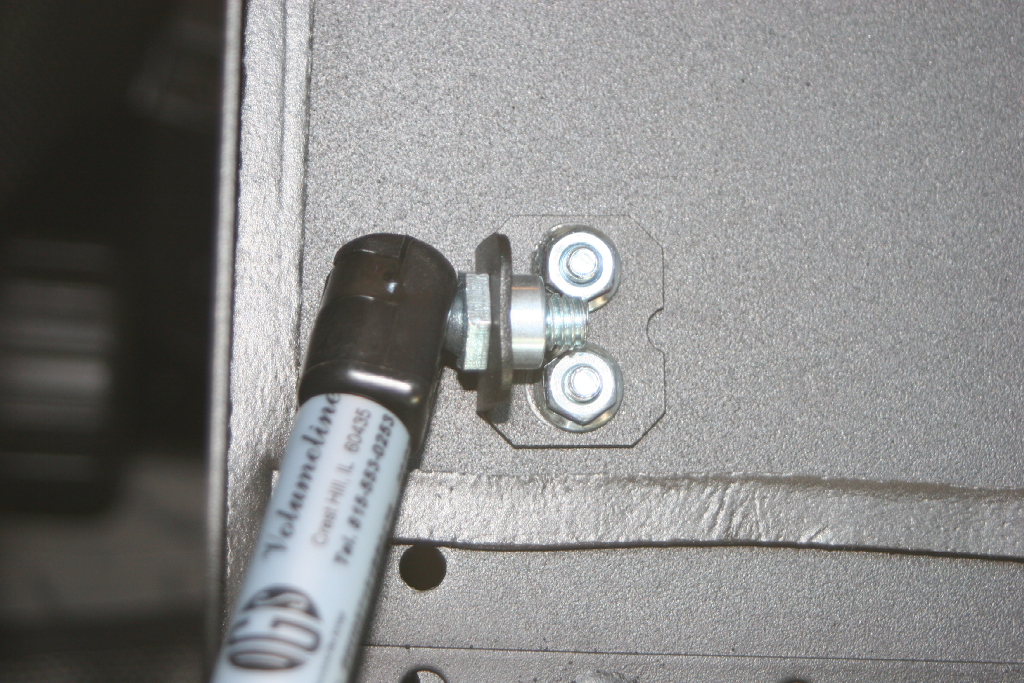
11. Fasten the bracket to the holes drilled in the lid using the 10-32x1/2” Phillips head screws, hex washer nuts. The nuts will be on the inside of the consol insert. You will need a phillips screwdriver and 3/8" combo wrench.
|
 |
 |
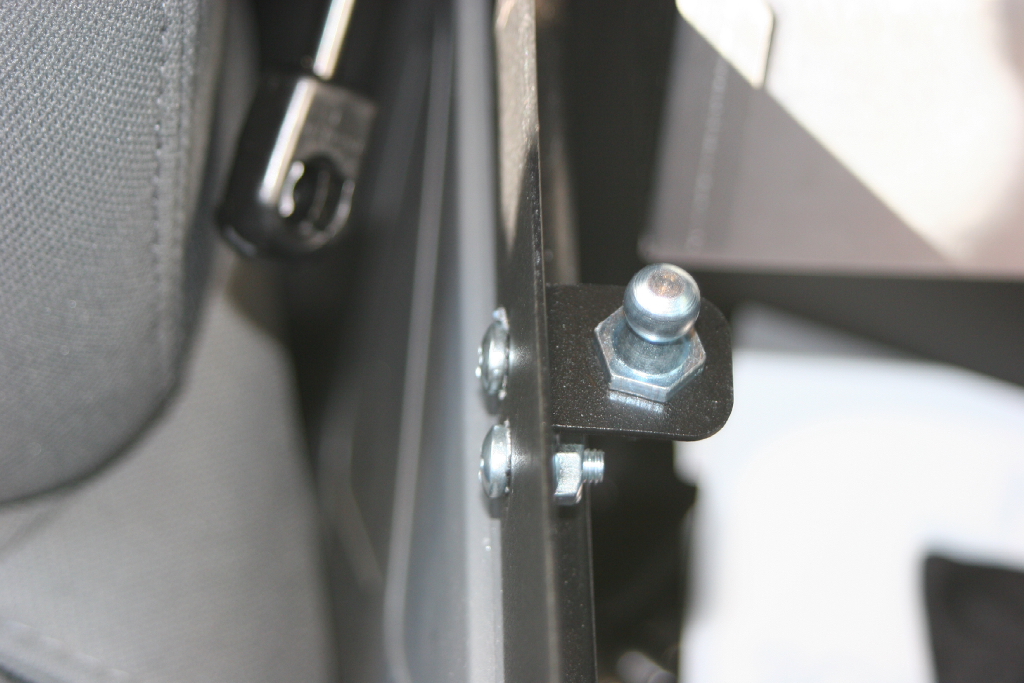
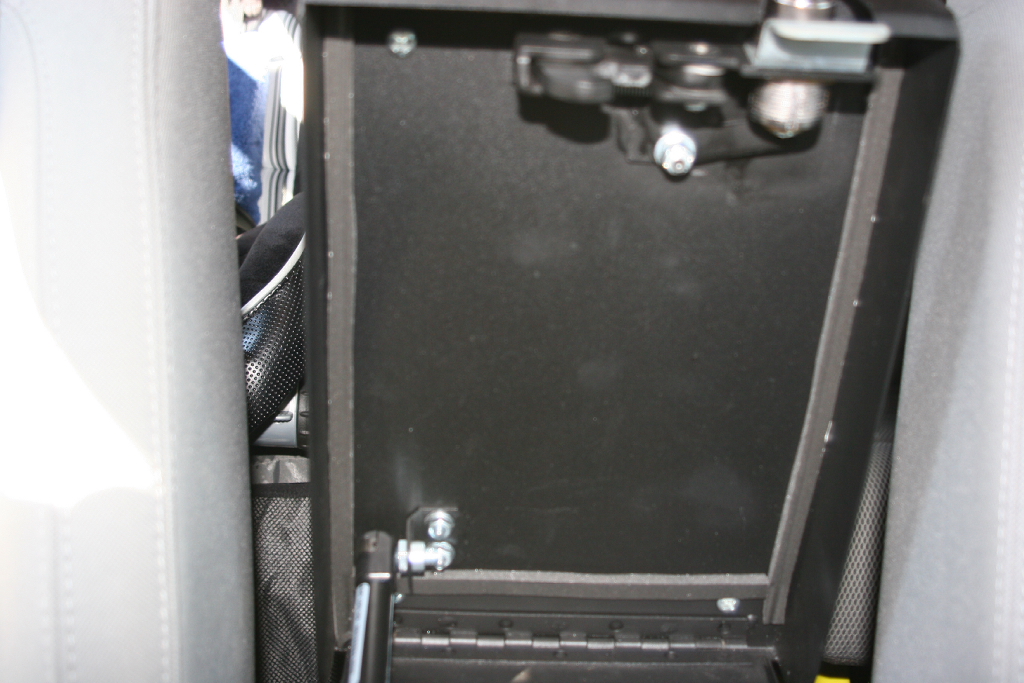
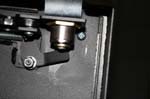
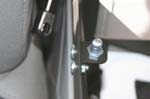
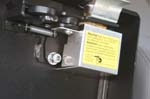
12. Mount the other Bracket with the Ball stud in the holes drilled in the side with 10-32x1/2” Phillips head screws, hex washer nuts. The nuts will be on the inside of the consol insert. You will need a phillips screwdriver and 3/8" combo wrench.
|
 |
 |
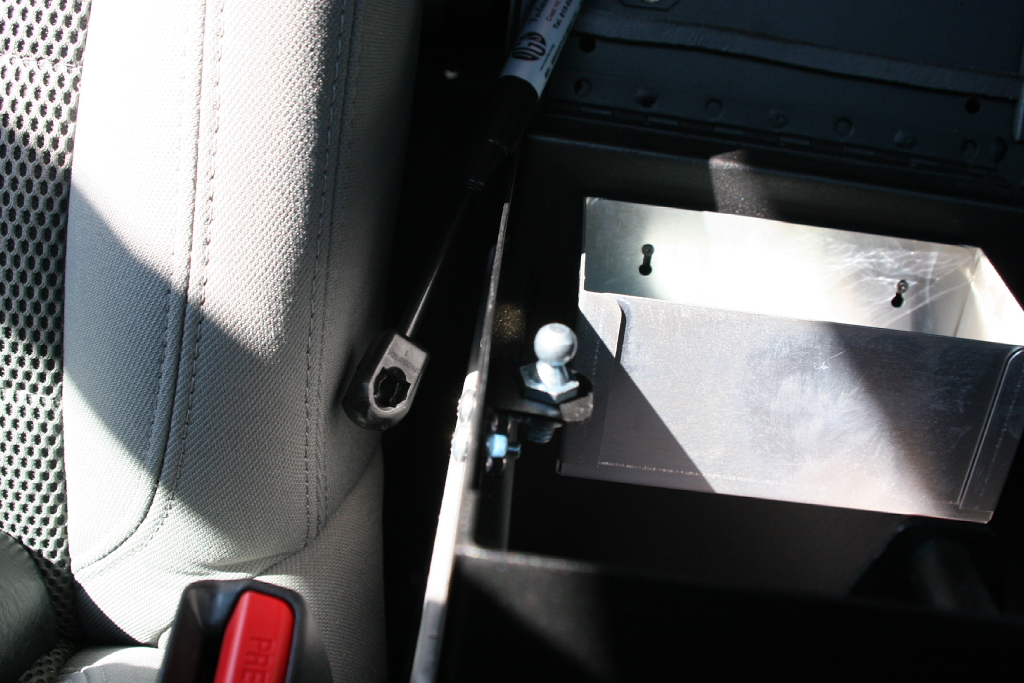
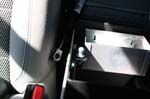
13. Press the Gas strut on to the Bracket.
NOTE: To remove it use a standard screwdriver to pry up the spring clip on the Gas spring until it pops off, it is not necessary to completely remove the spring.
|
 |
 |
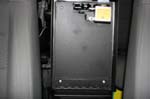
14. Reinstall the padded cushion. Do not over tighten the four Phillip’s head screws; you will strip out the plywood in the cushion. You will need a phillips screwdriver.
|
|
 |
| 15. Reinstall the latch cover. You will need a phillips screwdriver. |
 |
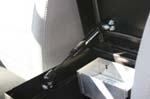
| Finished. The lid holds itself up now, though it is a little more restriced in movement. Before it opened about 95degrees, now it's limited to about 85. Not much really, but you will notice it with your elbow as you reach into it. Closing it is much easier, just press down on the top, no more having to hold the front edge as you put it down. The strut provides a nice even pressure until right at the end when it releases and the lid clunks down. |
|