For many years I ran rock lights under the jeep of one type or the other. Mostly the cheap ones from the local stores since they were magnets for rocks, deteriorated due to the elements or exploded when I drove into a cold stream with them on. The one thing that I always noted was that they were power hungry items. Running 4 to 6 lights under the jeep to give you good illumination quickly adds up. This puts a heavy draw on your electrical system that could be better used for other items. I started looking around for LED’s to put under the Jeep since they are smaller and use minimal power. I also needed them to be waterproof since I would occasionally be in the water with them. I tried the local marine stores with no luck on finding one that was small and provided good illumination. I then went and looked on the internet for LED’s. I did find the ones from PIAA for a hefty chunk of money. I even broke down and went and asked a few friends that still believe my Jeep would look better on some 22 dubs and about 3” off the ground. Their suggestion was the tube neon’s. While this might be good for on the street, off-road they wouldn't’t last very long. I just happened across a couple year old review on the internet about the “Tantrum” system.
Of course, this system was not initially designed to be used as trail illumination so it has a few additional features. Tantrum’s master controller varies speed and pattern to fit the user’s needs or L.E.D.'s can be left on a solid color. Another feature for the recreational user is it’s built in microphone for interfacing a vehicle’s stereo system to control the tempo of the lights. What does this mean, well you can either have the lights in constant on, have them blink at an adjustable speed, blink in sequence, or blink to the beat of the music.
The system also has a key fob remote that is supposed to work at 1,000ft, though I couldn't get it to respond from across the street. Talking to Nick at VisonX gave me the indication that I might have a low battery in the fob. It does have a little antenna on it. No more losing your Jeep in the parking lot, just hit the remote and look for the flashing light.
Some of the features and benefits according to the VisonX web site.
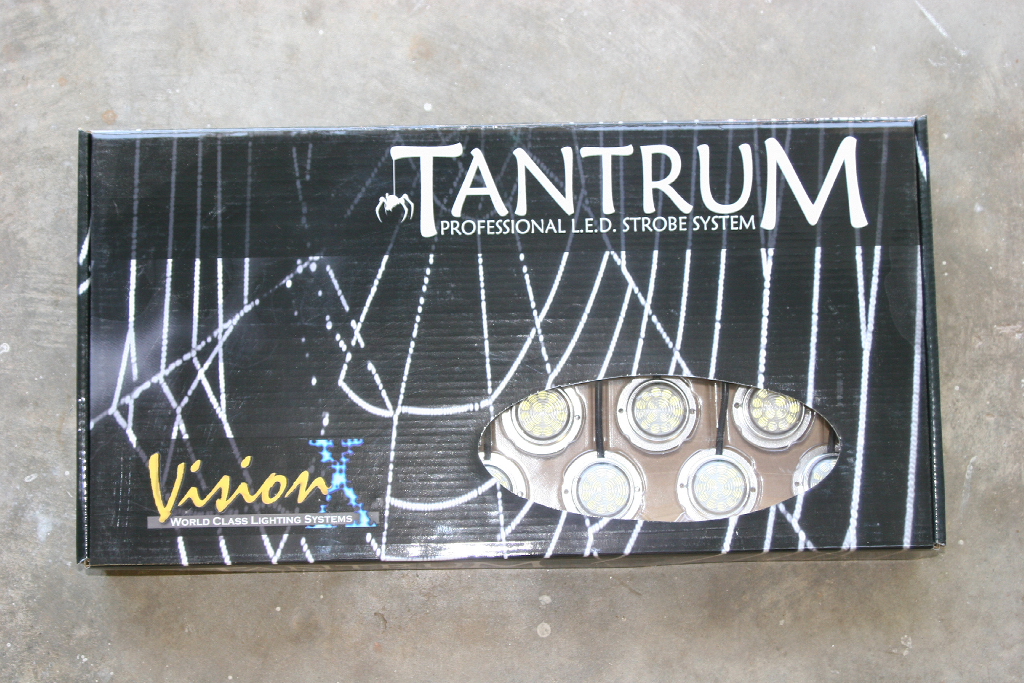
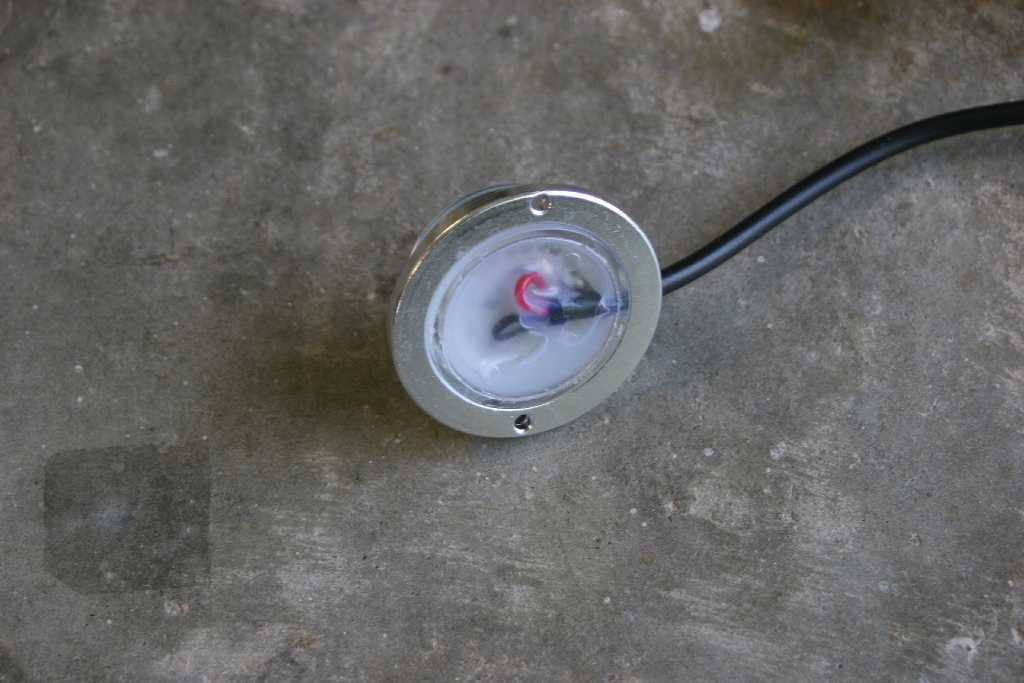
For our project, I selected the Super White kit. The light from these actually has a bluish tinge to it, so it's not a true white.
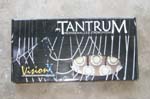
The Tantrum system. I'm used to getting boxes from people with stuff just tossed in them with some packing. Nice to see a professional package on an item. |
 |
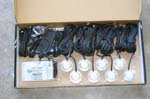 |
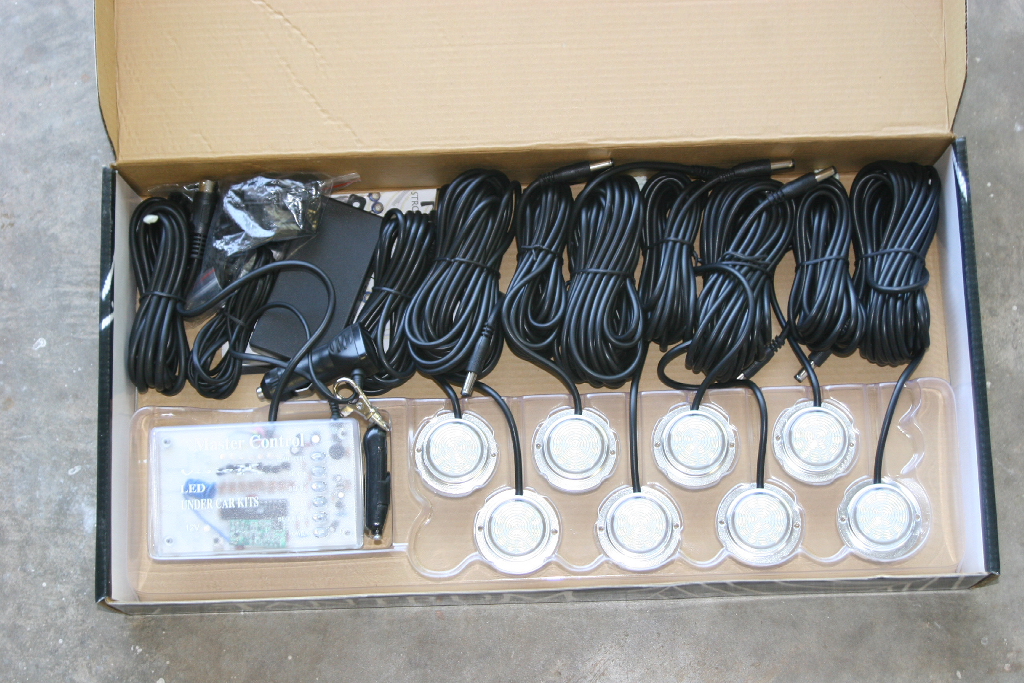
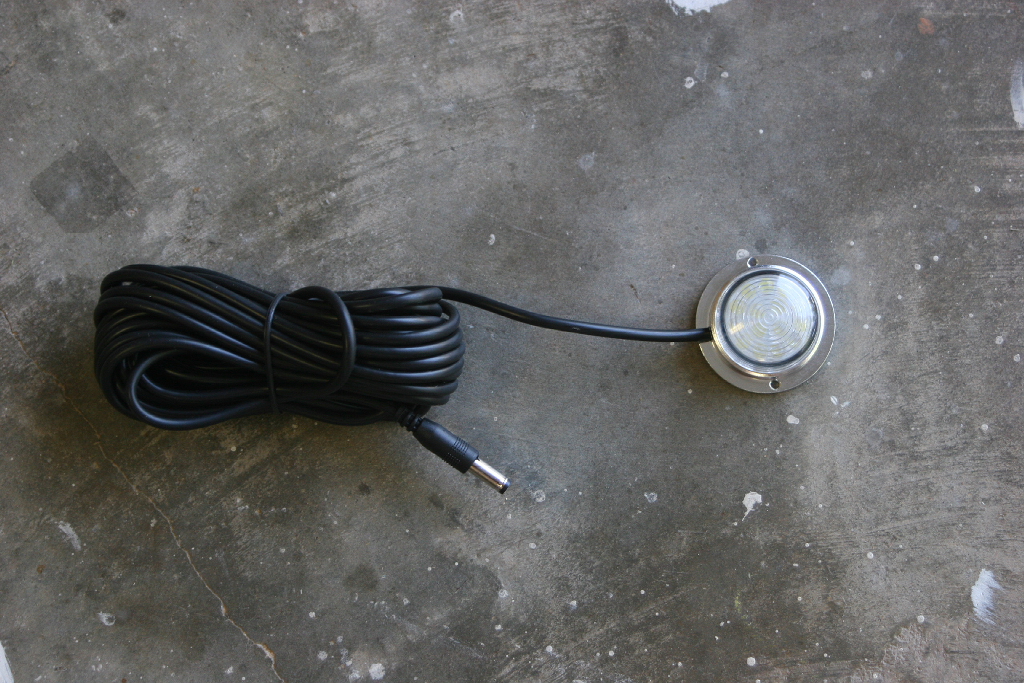
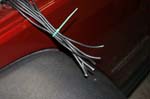
The L.E.D.'s come with plenty of cable on them. The 4 longest ones are 20 feet. Plenty of length to run from the back of the 4 door JK and up into the engine compartment. |
 |
 |
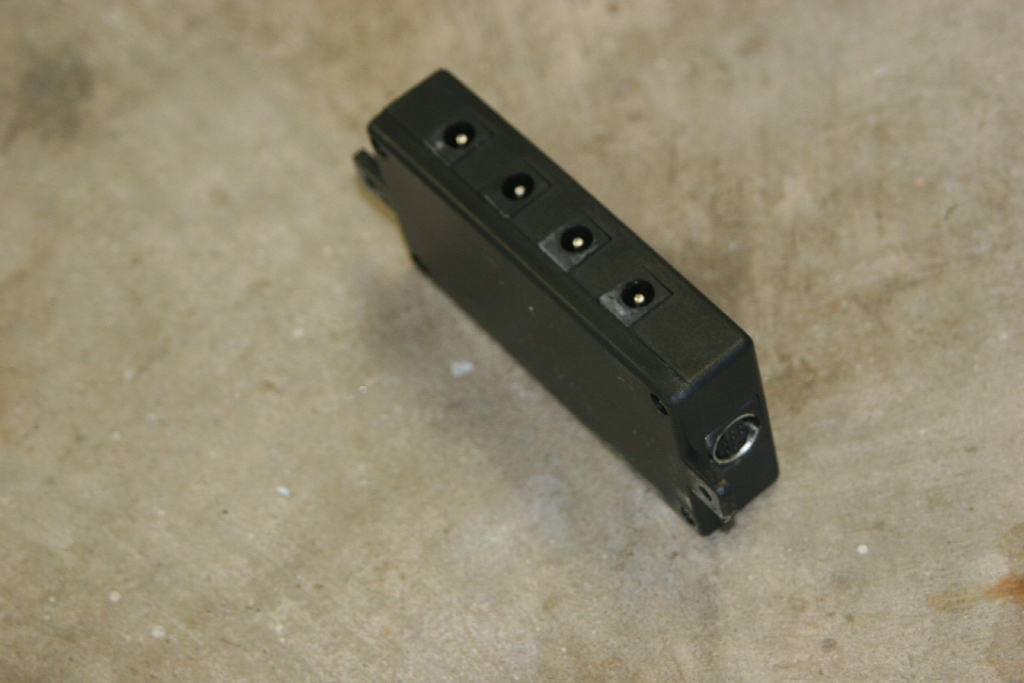
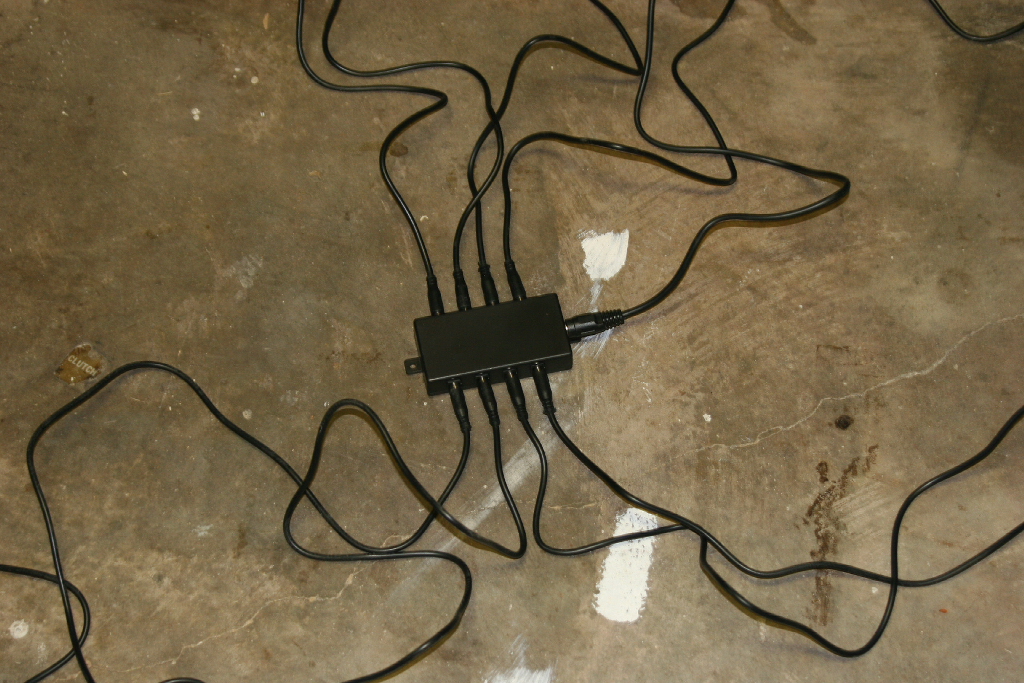
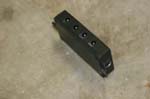
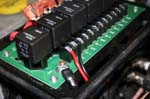
| The Distribution Block. All of your plugs from the L.E.D.'s and your control cable will plug into this. Supposedly it is waterproof, but it doesn't strike me as being water proof. I didn't open it up, so don't know for certain. I intend to mount this high in the engine compartment, so that shouldn't be to much of a concern. |
 |
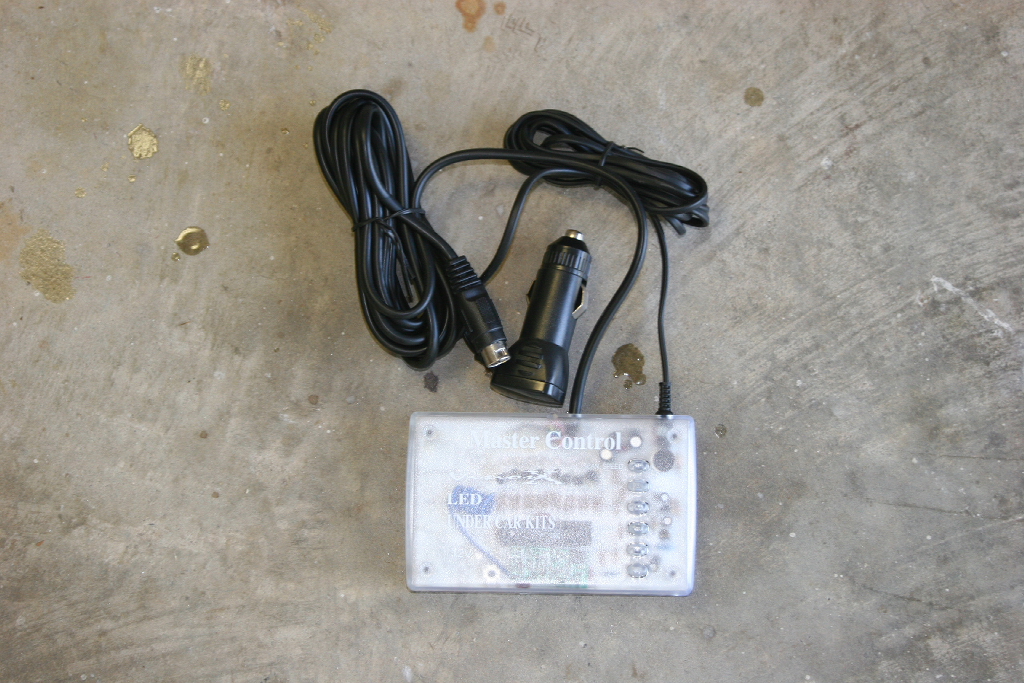
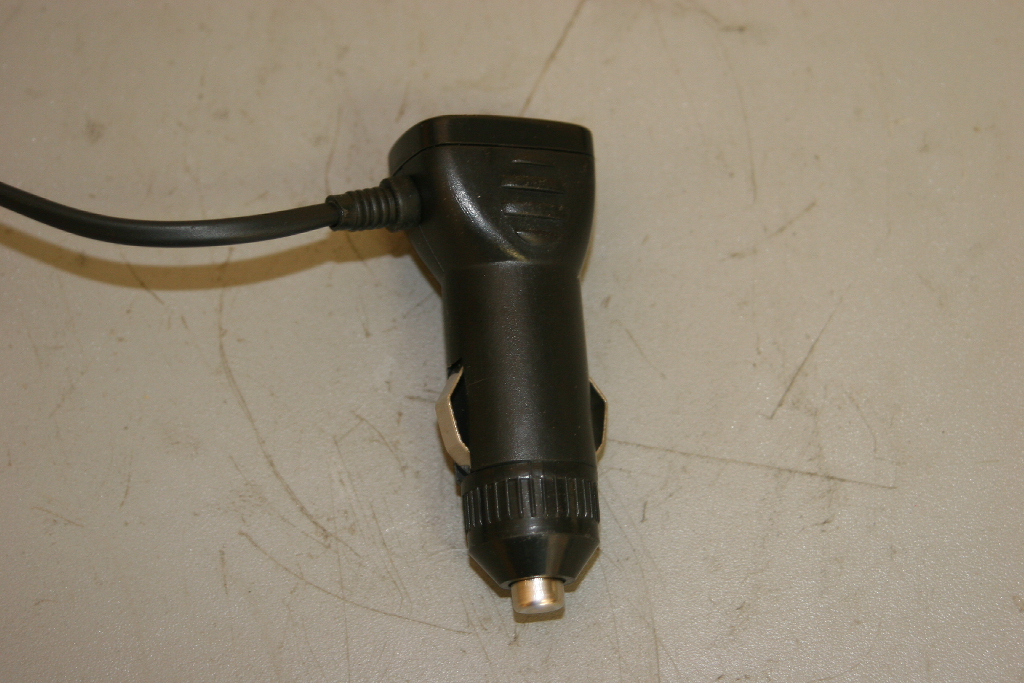
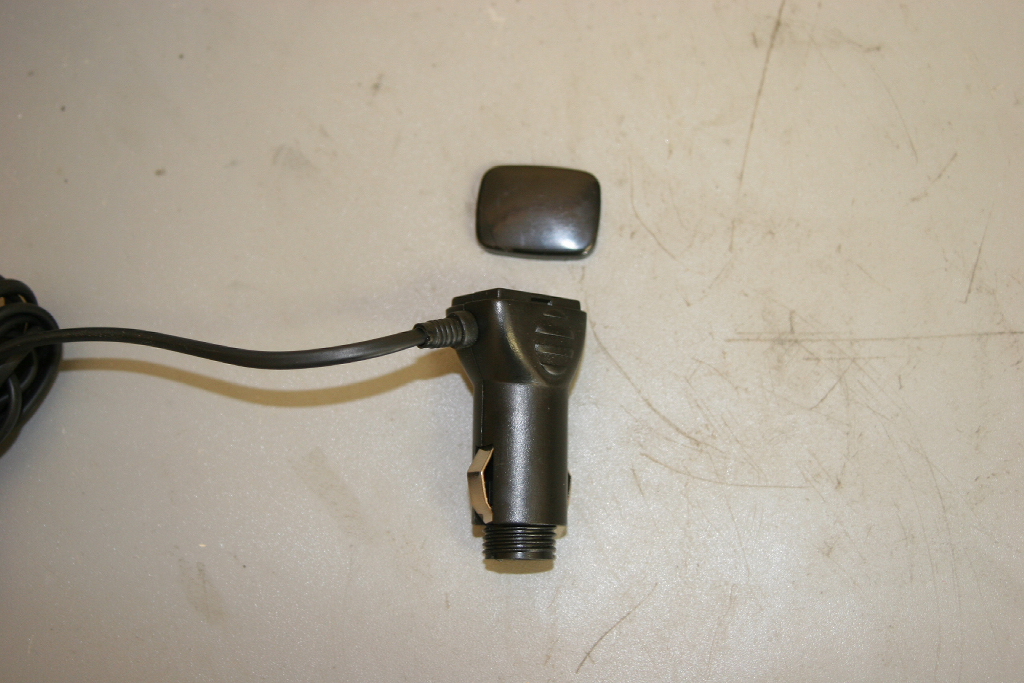
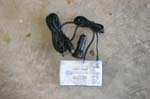
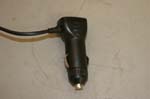
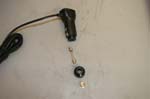
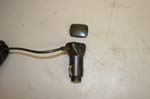
The brains of the whole system. The box has all the control buttons on it so you don't need to use the remote from inside the jeep if you leave it accessible. The lighter plug can be disassembled so that it can be hard wired into the electrical system. Wiring is your preference, either constant or switched power can be used.
Note: If wired to switched power the system will not work unless you have the key in the ignition and turned on. |
 |
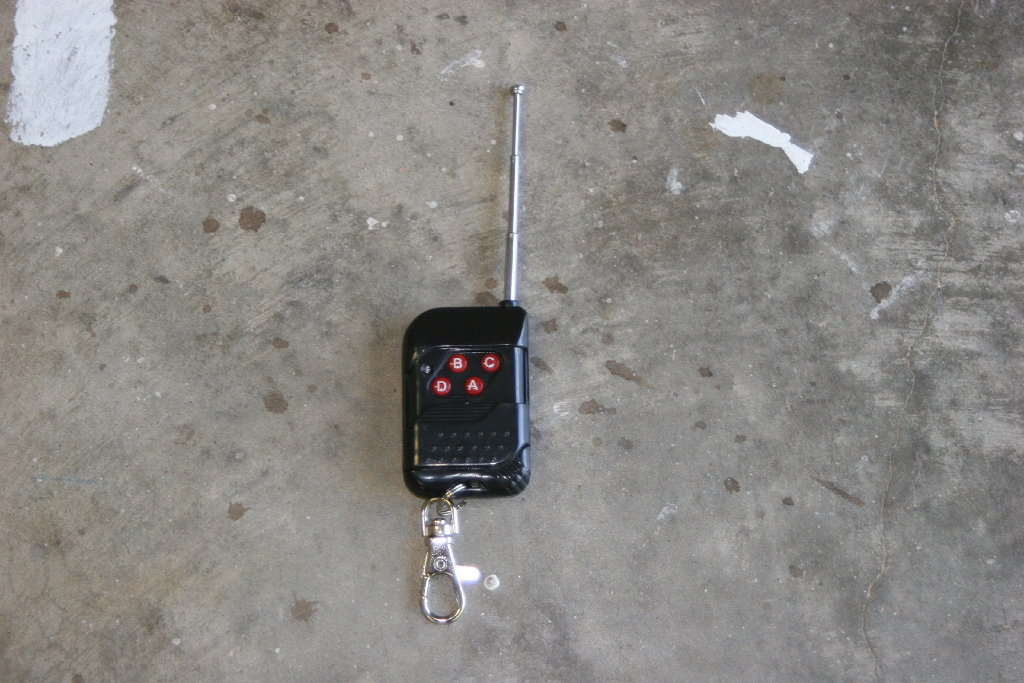
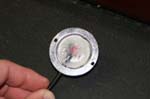
The 4 button remote with the antenna. This has a nice sliding shield on it for those of us who have the tendency to accidentally hit buttons on our keys. The buttons on the remote did not correspond with the actual features. Even the pictures on the web site have the buttons wrong.
Instructions |
Actual |
A - On/ Off
B - Reset/ Solid
C - Mode
D- Speed |
B - On/ Off
C - Reset/ Solid
A - Mode
D- Speed |
|
 |
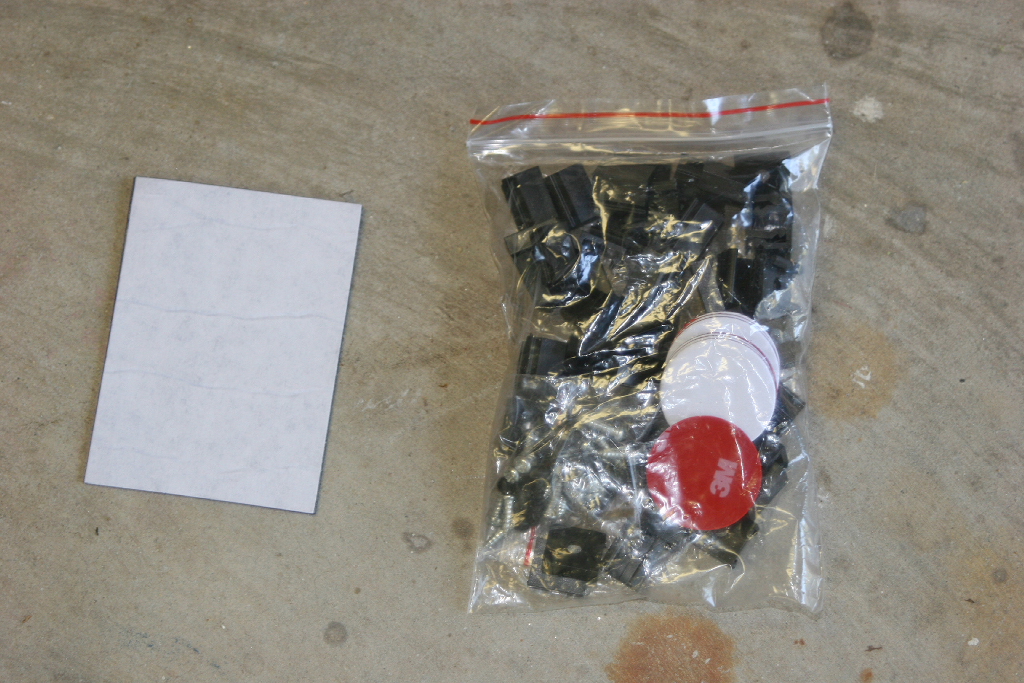
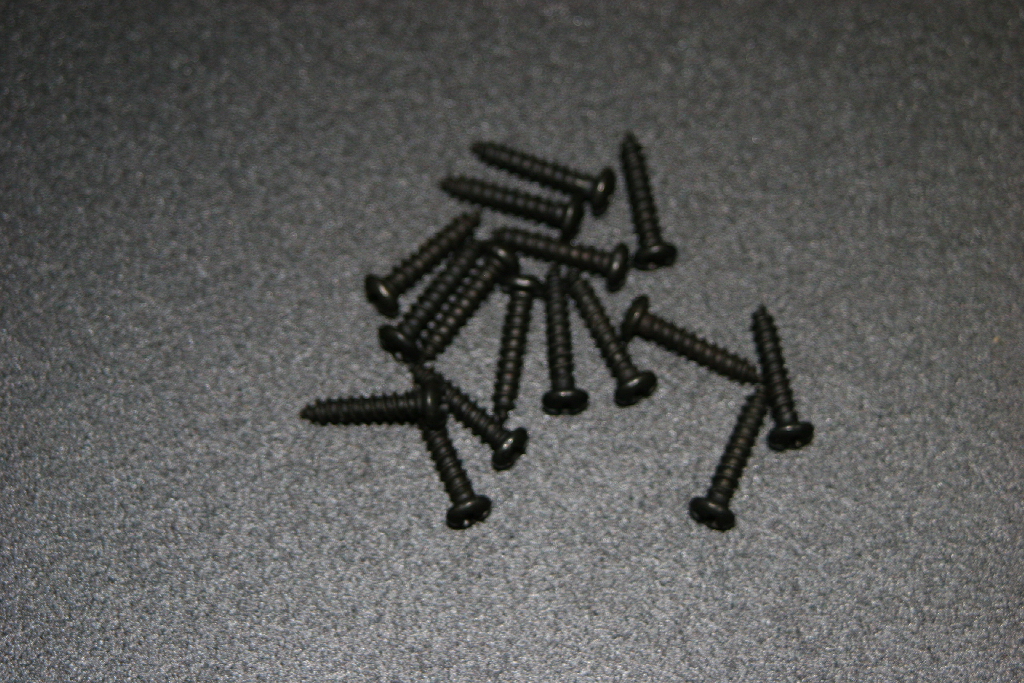
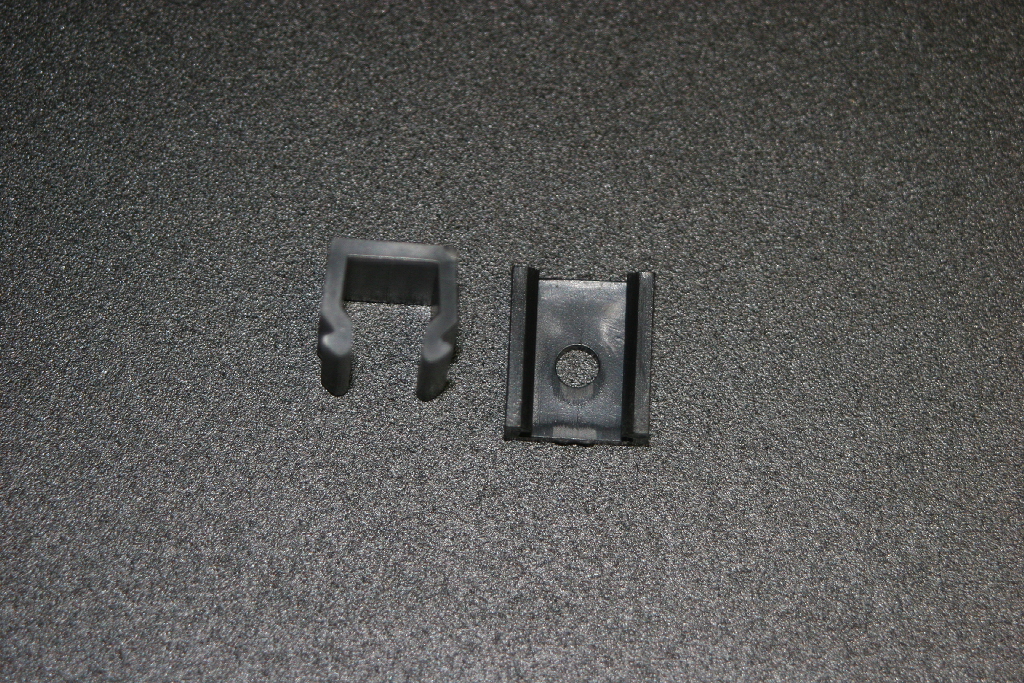
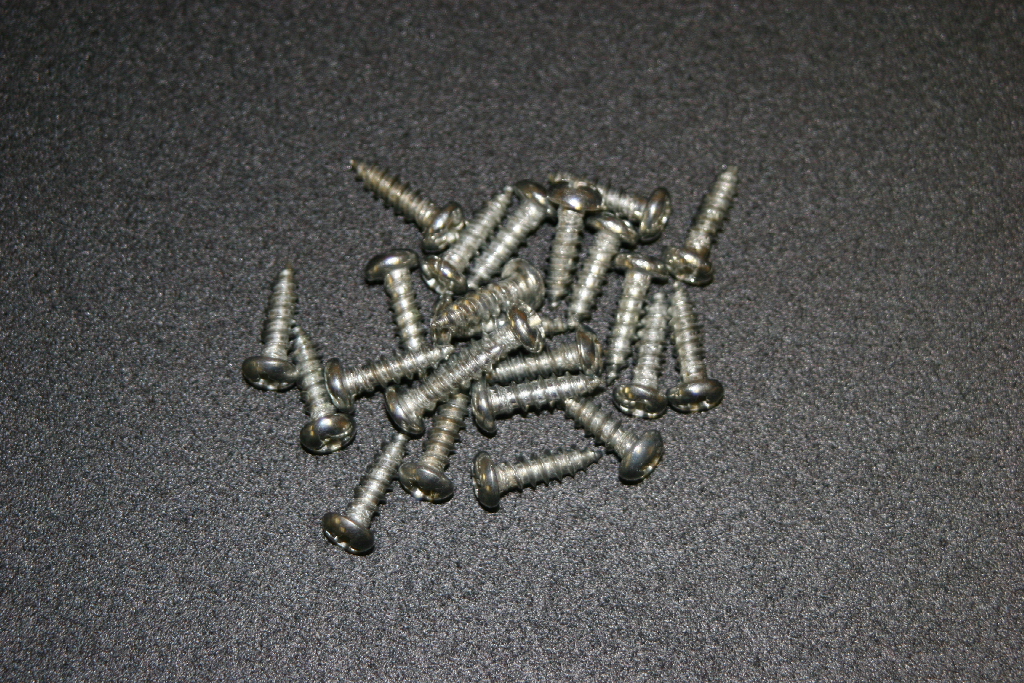
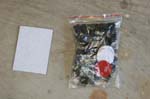
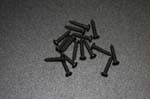
| And last the parts kit that includes screws for the L.E.D. pods, double sided 3m sticky tape to mount the L.E.D.'s, brackets and screws for the wires, screws for the junction and double sided tape for the junction box and / or control box. |
 |
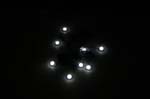
| The first thing I recommend is testing the system to see if everything works. Hooking it up is simple. Plug the 8 L.E.D.'s into the junction box, plug the control cable from the control box into the junction box, and then just plug the cigarette lighter plug into the cigarette lighter. |
|
|
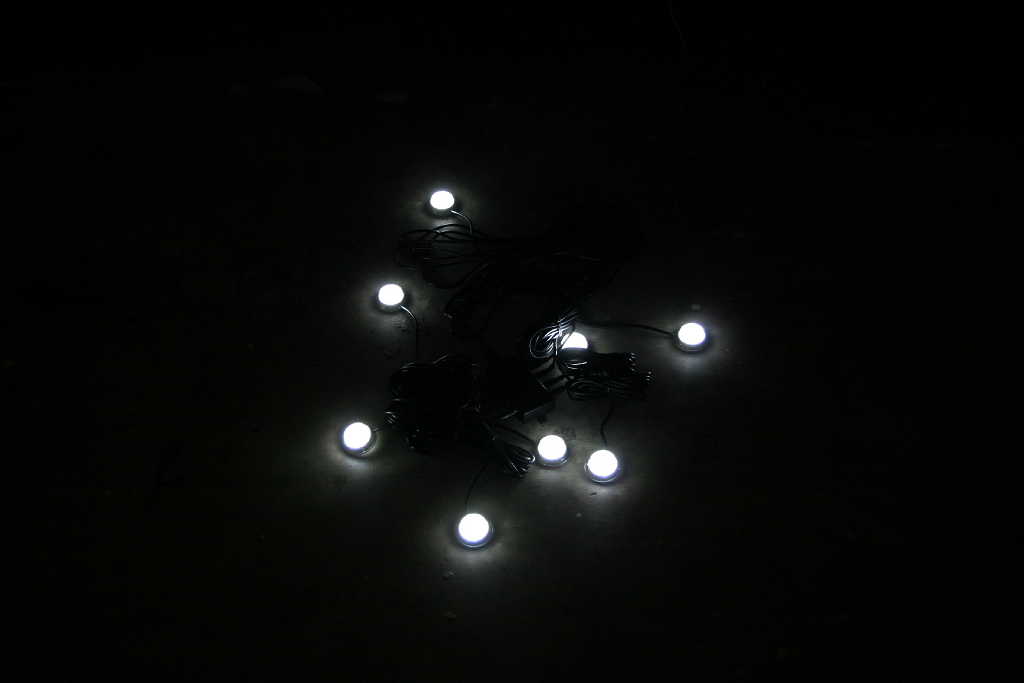
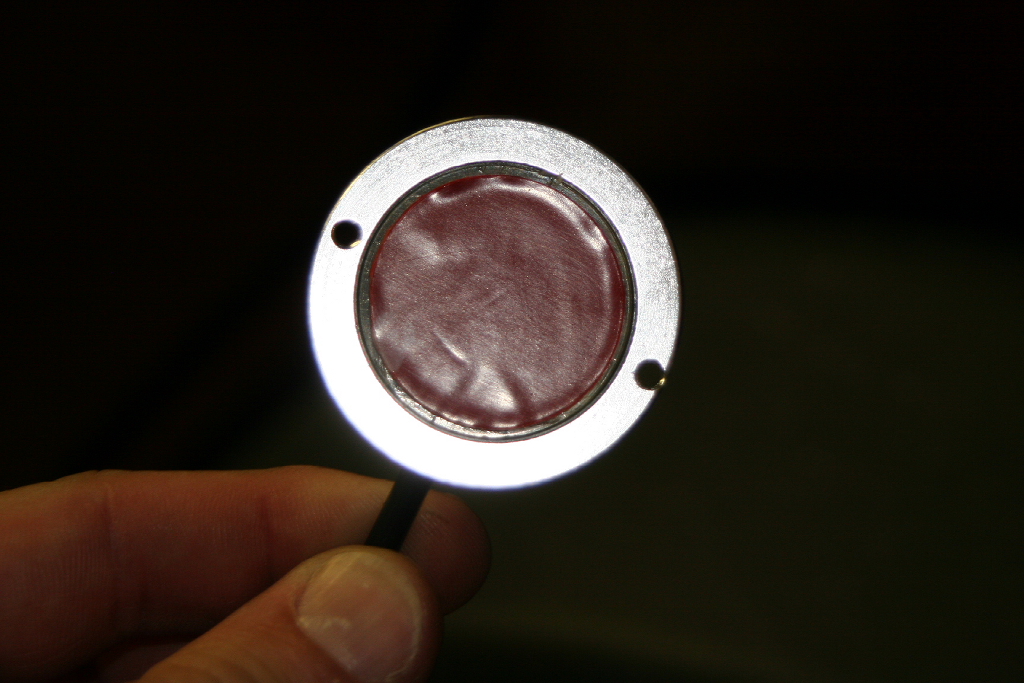
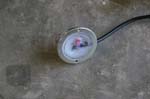
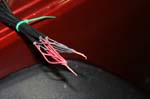
| Here's a bad picture of the L.E.D.'s in the dark. |
 |
| Installation: |
| The hardest part of installing these lights is actually finding good locations to mount them out of any possible harms way that provide good lighting. The JK's are harder than the TJ that I looked at. I was installing these prior to putting on rocker skids, and bumpers, so will probably have to relocate them in the future. |
| I turned the lights off in the garage and turned on the Tantrum system and then just laid under the jeep looking for locations. I wanted to illuminate both the front and rear of each tire, so finding a nice flat mounting point in that area. I do remember doing this same thing with a set of the 55watt lights from Wal-Mart. It was nice to be able to grab a light and just hold it up into locations without leaving a chunk of your hand behind. |
 |
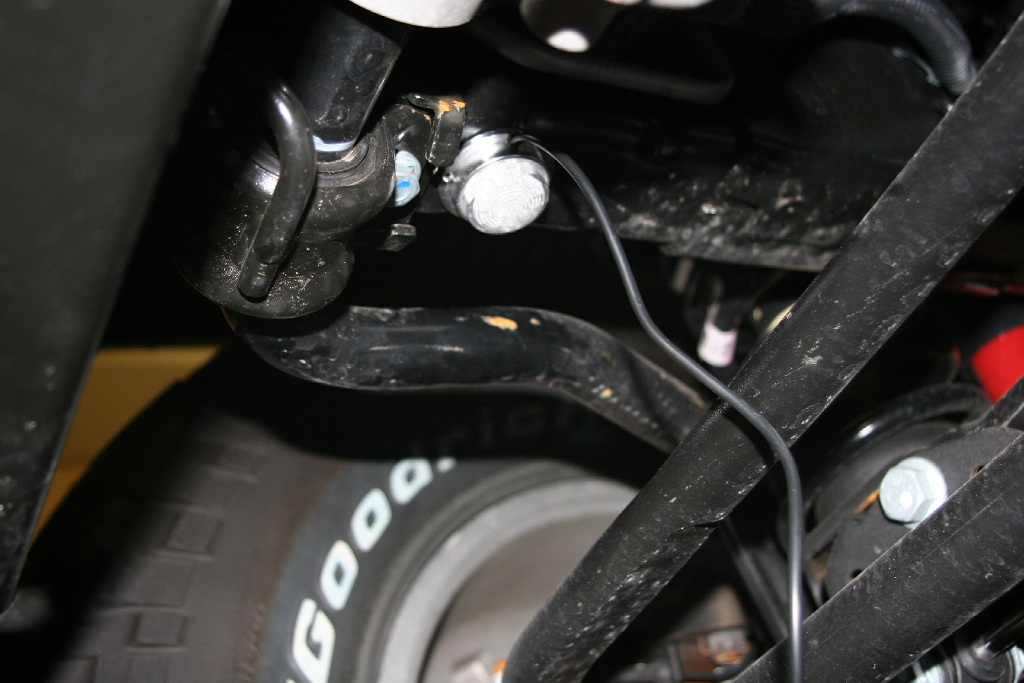
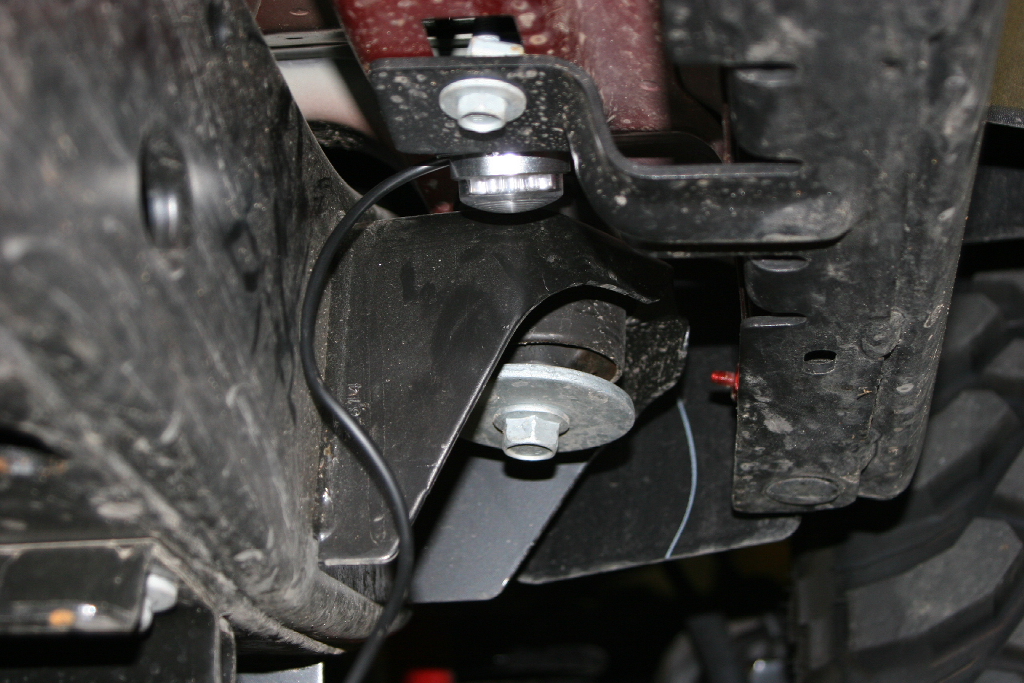
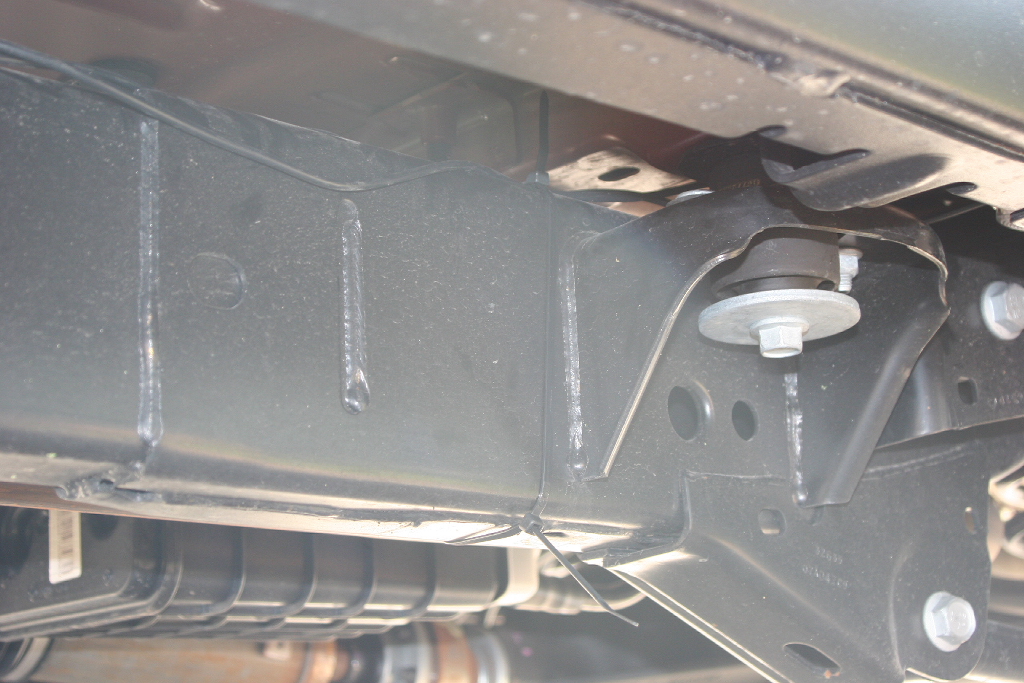
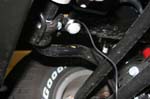
| I was able to come up with a few mounting locations along the sides of the JK's frame. Once I get the rock rails in place I may fabricate some brackets and aim the middle front light towards the rear and the middle rear light towards the front to give better illumination. The same will go with the bumpers. I may cross aim the lights for better illumination. |
Front
|
 Middle Front Middle Front
|
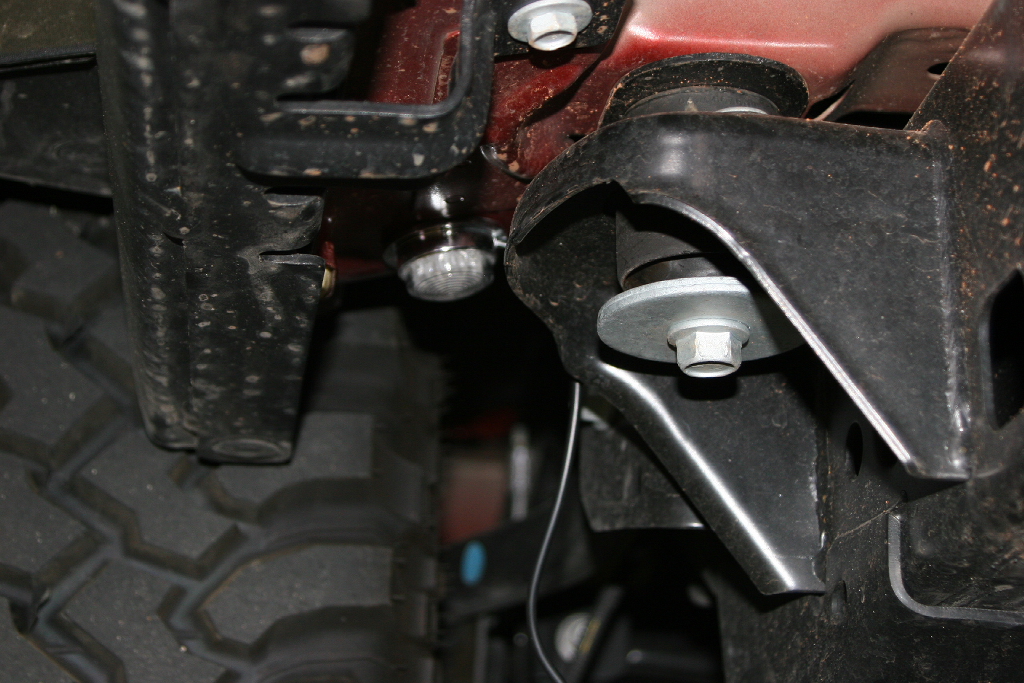
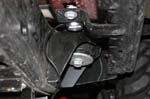
 Middle Rear Middle Rear
|
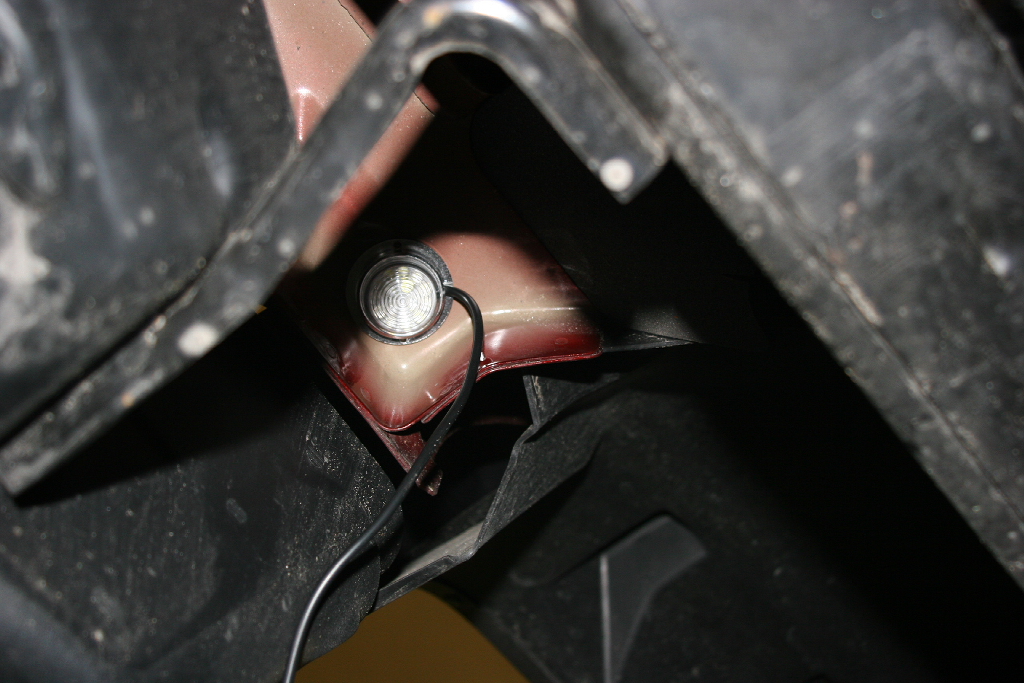
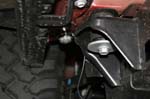
Rear
|
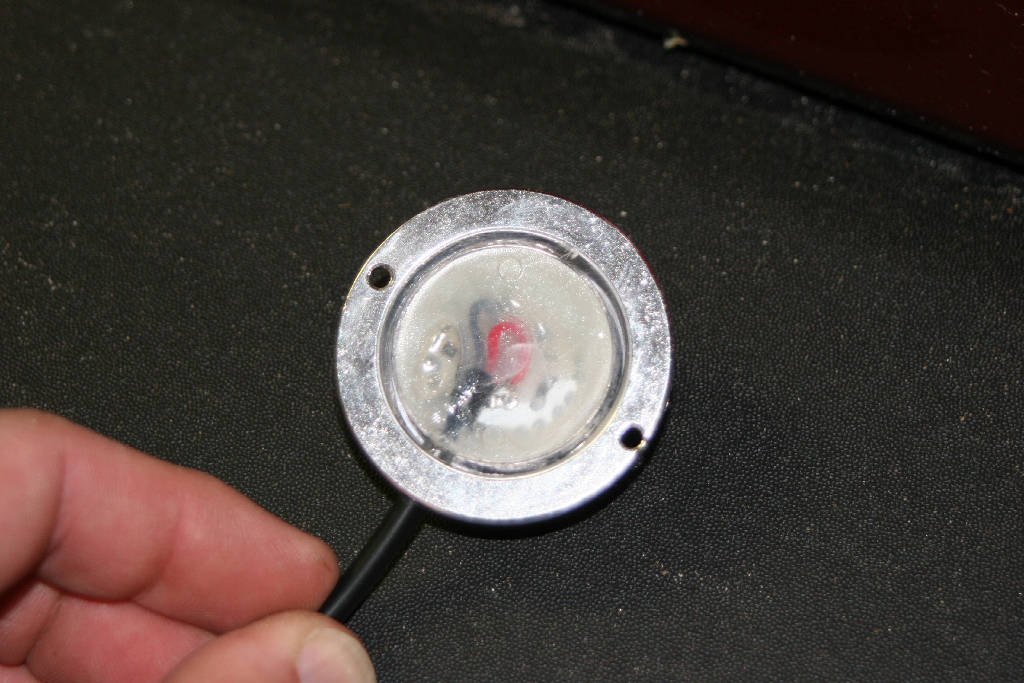
| Once you have the mounting locations selected. Wipe off the backs of the L.E.D. pods and the mounting location with alcohol. |
 |
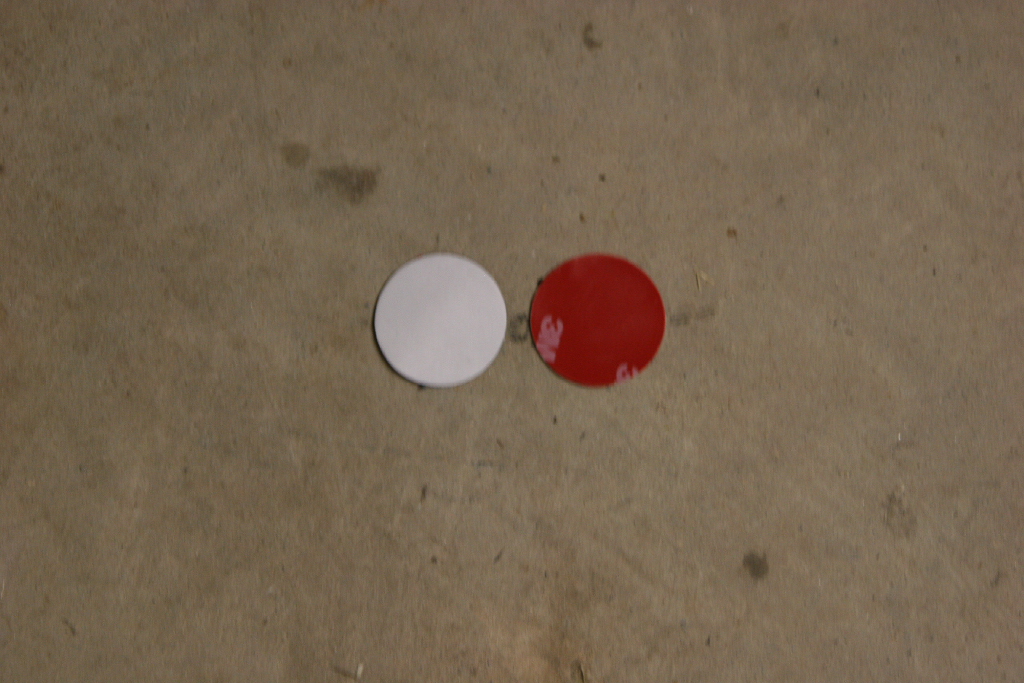
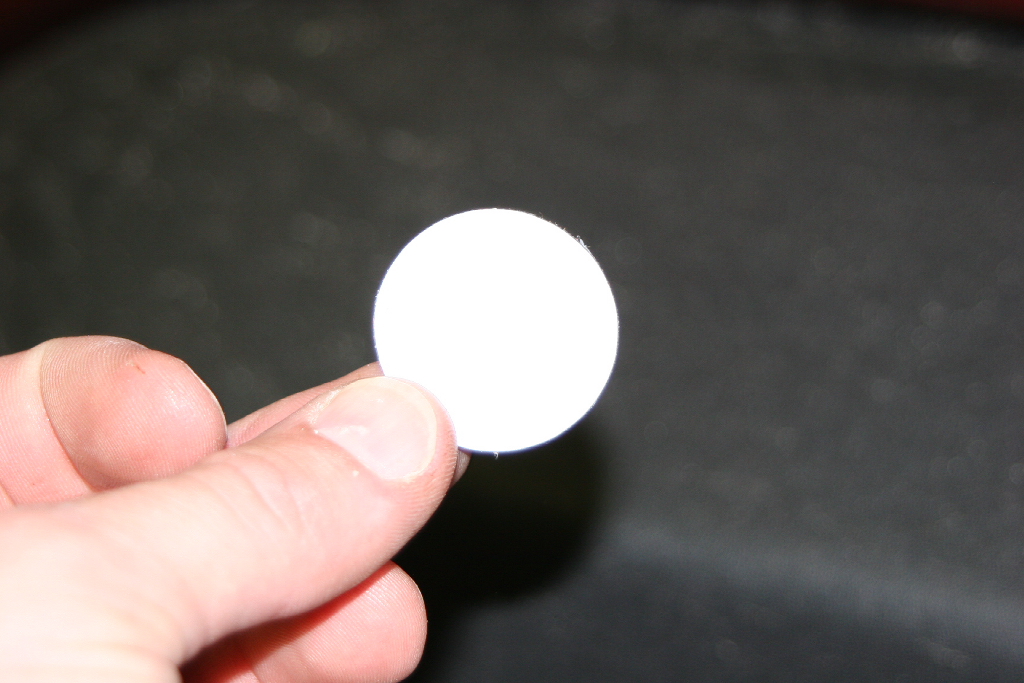
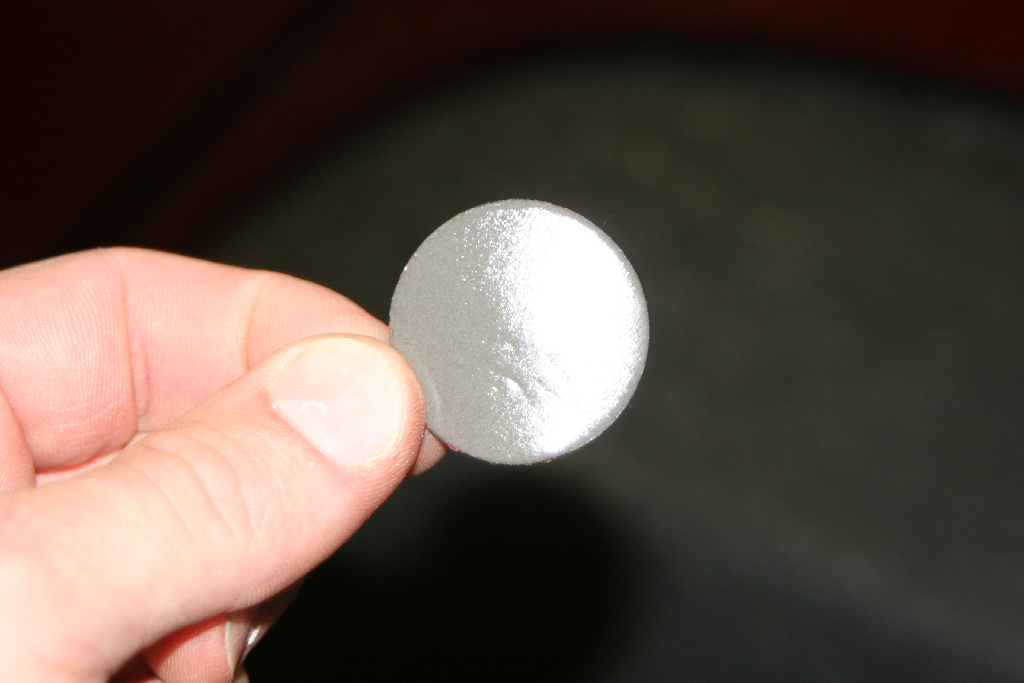
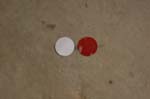
| Remove the the adhesive backing from one side of the two sided 3m tape. Be careful this stuff is really sticky. Attach the disk to the back of the L.E.D. pod. Remove the backing from the other side of the disk and attach the L.E.D. pod to it's location. |
 |
 |
 |
 |
| To better secure the pods, you can drill two mounting holes using the pod as a template and install two phillip's head screws. |
 |
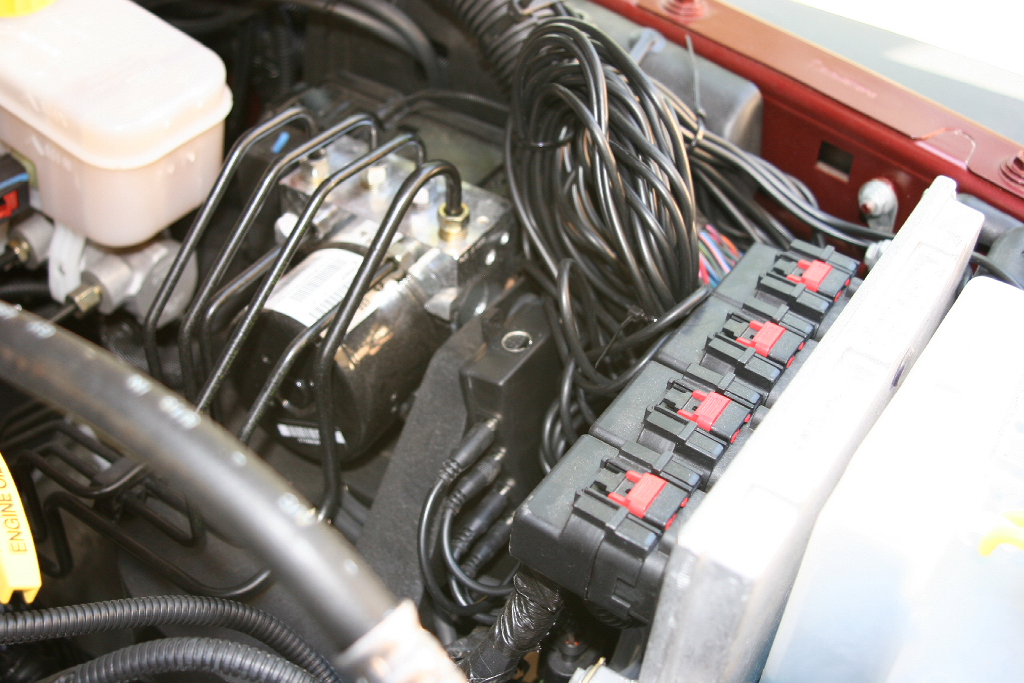
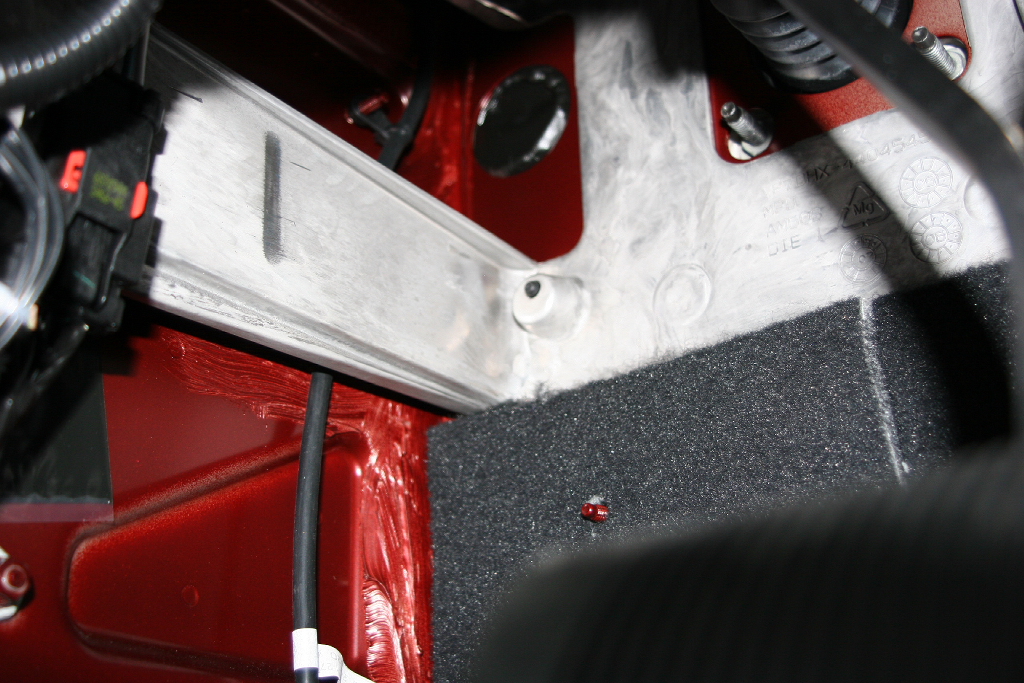
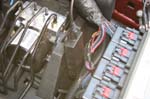
| Locate a suitable spot for your Distribution Block. I looked under the hood for a suitable spot to position the box. The best location is a flat piece of the plastic mounting tray just behind the computer. There isn't enough room to use the two supplied screws here, but I cut a piece of the double sided tape square and attached it to the back of the Distribution Block. (Wait to actually attach the junction box to the plastic tray until you are satisfied with your wire routing.) |
|
|
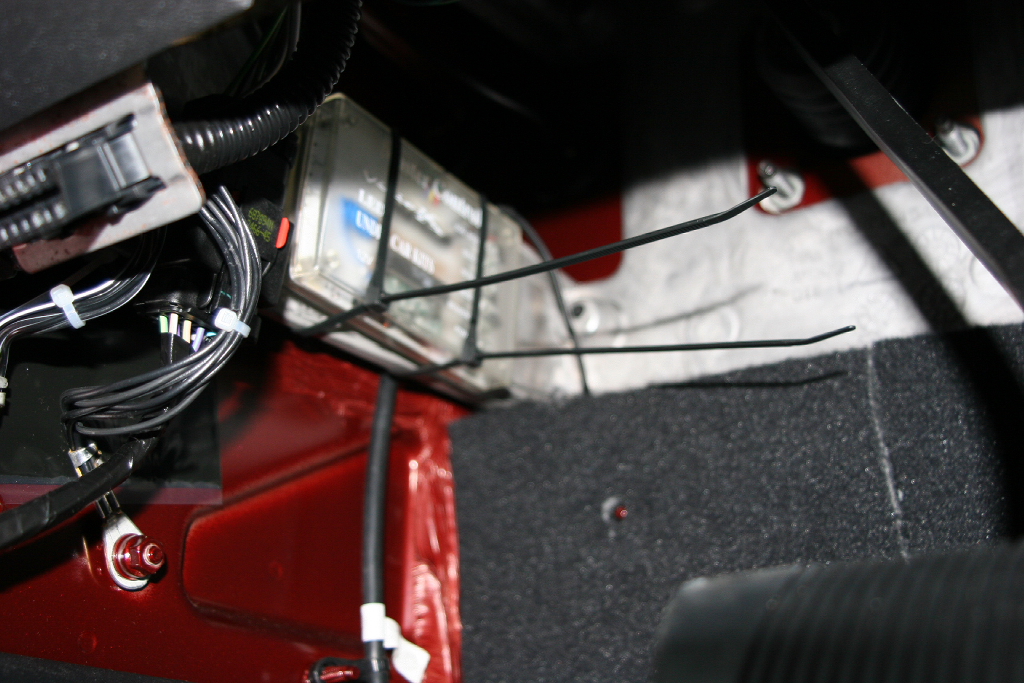
| Route the wires along the frame and up into the engine compartment. Even with the length of the 4 door JK I had plenty of wire left over. I secured everything with zip ties and went on to locating a good location for the Master Controller. |
|
|
| VisonX provides clips and screws to hold the wires on. These will not screw into the frame, but will work on the sheet metal of the body. I recommend waiting until you have everything set in it's location before you do any of the final clean up work. |
|
|
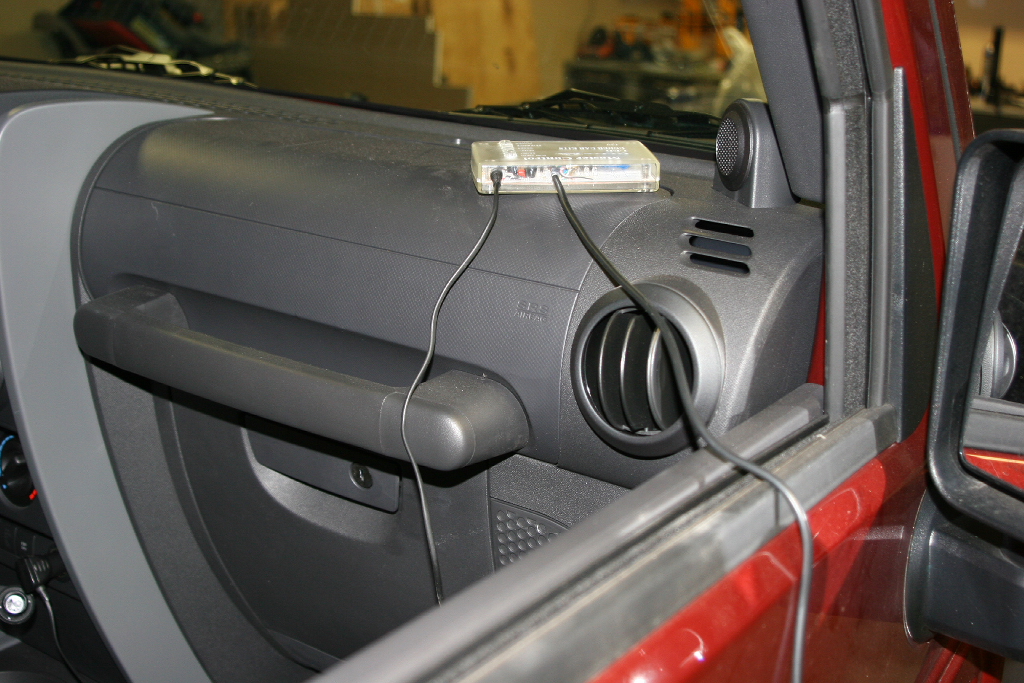
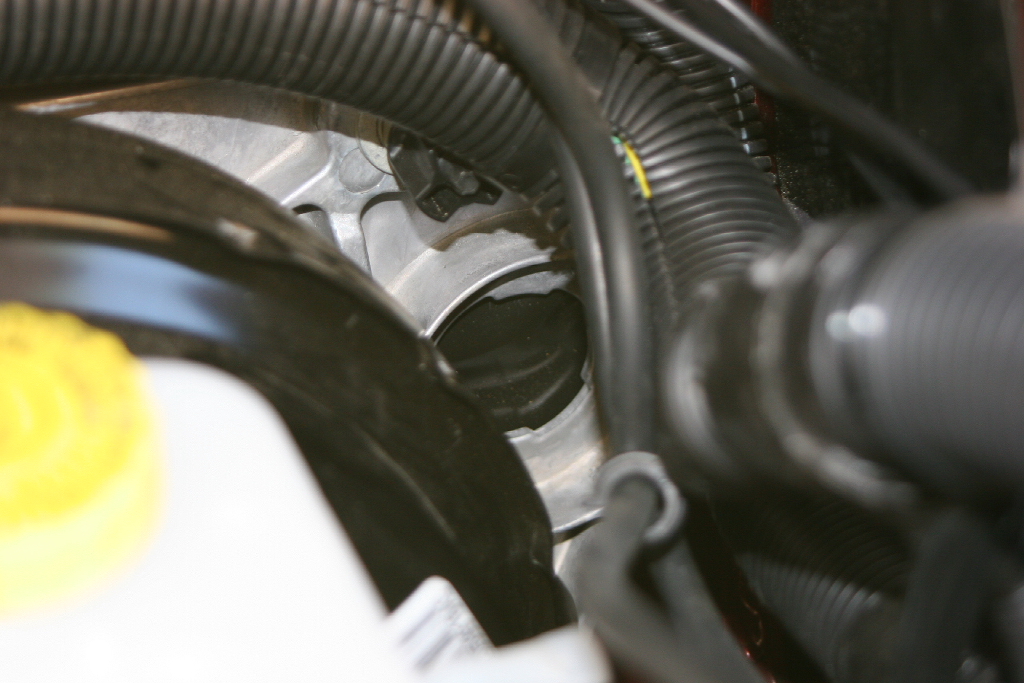
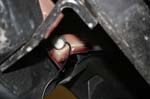
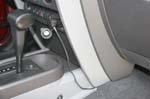
| I have an automatic, so finding a good point to penetrate the firewall was easy. The spot where the clutch master cylinder would be located has just a piece of sticky tape substance over it. I cut a slot in it using a razor blade and fed the control wire from the Master Controller through the slot. |
|
|
| The aluminum frame for the dash provides a flat mounting surface for the control box. Use the remaining portion of the double sided tape to hold this in place. Wipe off the back of the plastic and the mounting location on the aluminum frame with alcohol. I would recommend zip tying this in place temporarily while you work out the locations for all the parts. |
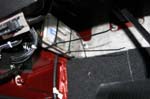 |
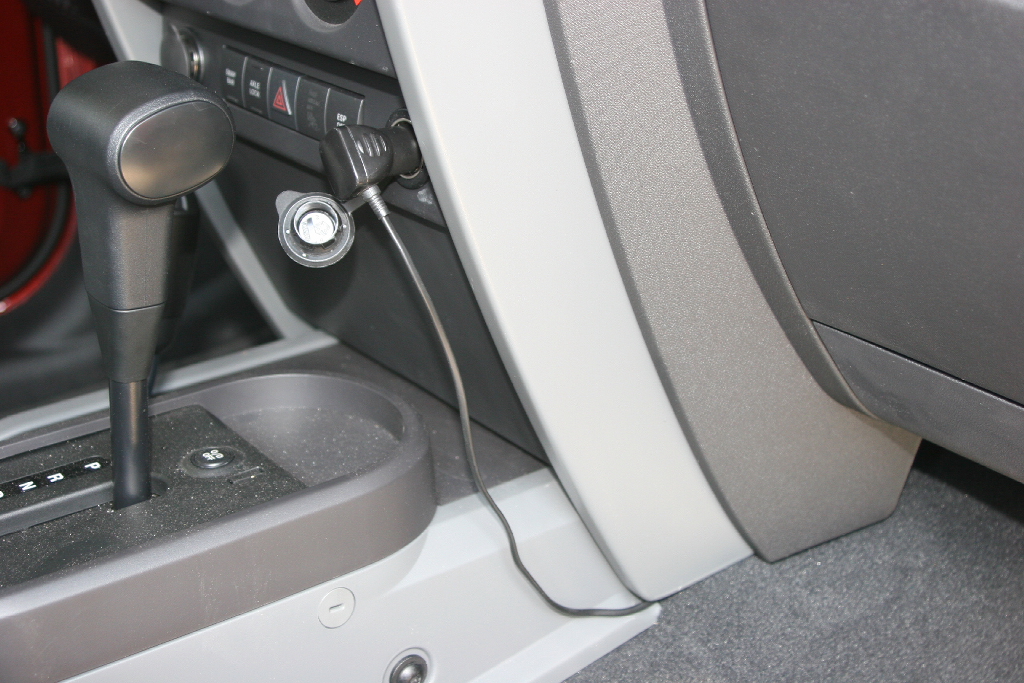
| If you want to just use the cigarette lighter plug for the system, you can run the wire behind the carpet and underneath the center console to the passenger side. |
 |
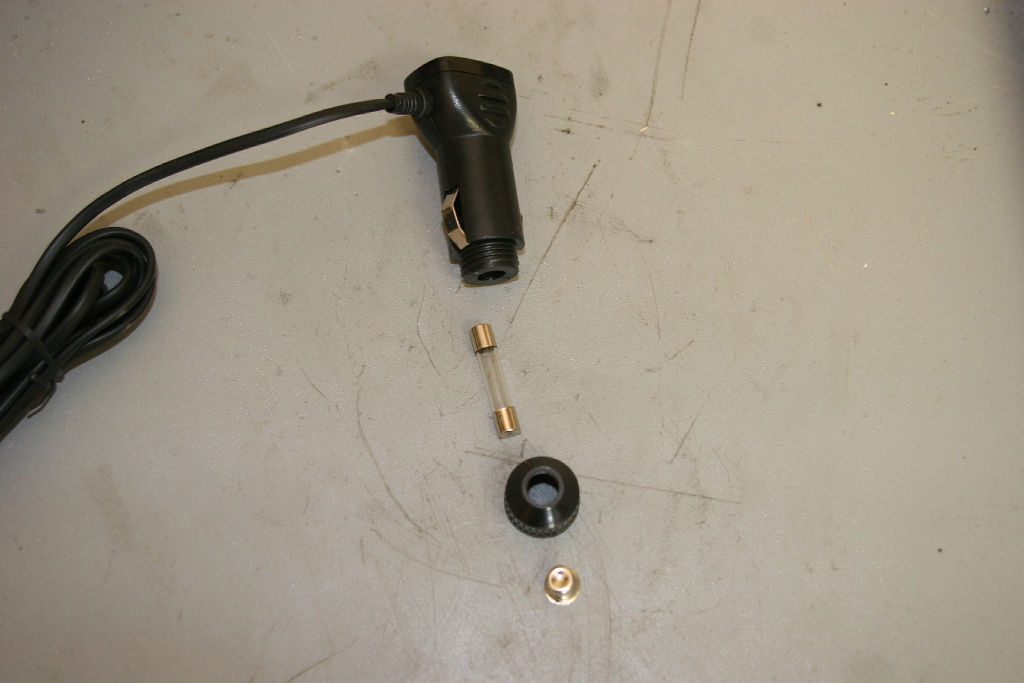
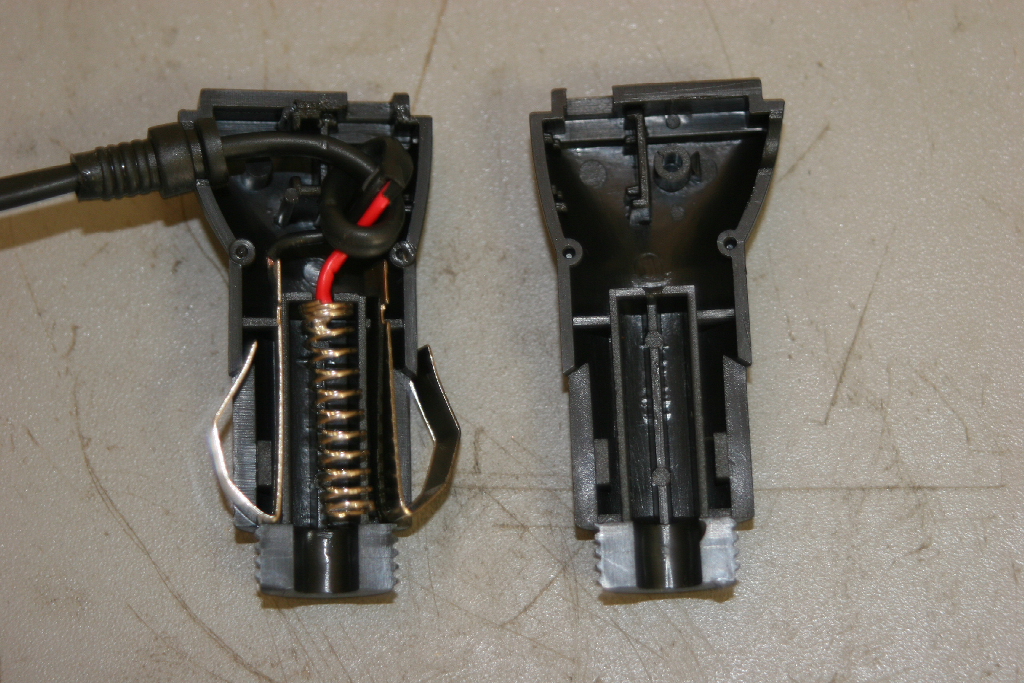
| If you want to tap into the constant power. You can disassemble the plug, or just cut the wire off at the plug. If you intend to cut the plug off I would wait until you are ready to clean up all the wiring on the vehicle. |
 |
 Unscrew the end and remove the fuse. Unscrew the end and remove the fuse.
|
 Remove the cap from the opposite side. Remove the cap from the opposite side.
|
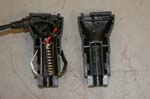
Lift off the cover and remove the wires.
|
Aarrgghh... Just cut the the plug off. |
| Remove all the light wires from the junction box and plug the control wire in. |
 |
| Turn on the control box and set for constant on. Plug the individual wires in checking which light illuminates. I used the end closet to the control cable as the rear of the vehicle. |
 |
| Once you have everything located where they need to be, it is time to clean up the installation. Jeep kept the number of wire runs and lines to a minimum on the JK's, so cleaning up the wire install is a little more difficult than before. You can run the wires a few different ways using the clips provided by VisionX and a small dab of epoxy to attach them to either the underside of the body, or the frame rail. |
| Mount the Distribution Block and the Master Controller in place. Do not cut the cable from the Master Controller to the Distribution Block, just coil this up and tuck it away. There are at least nine wires in side this cable. |
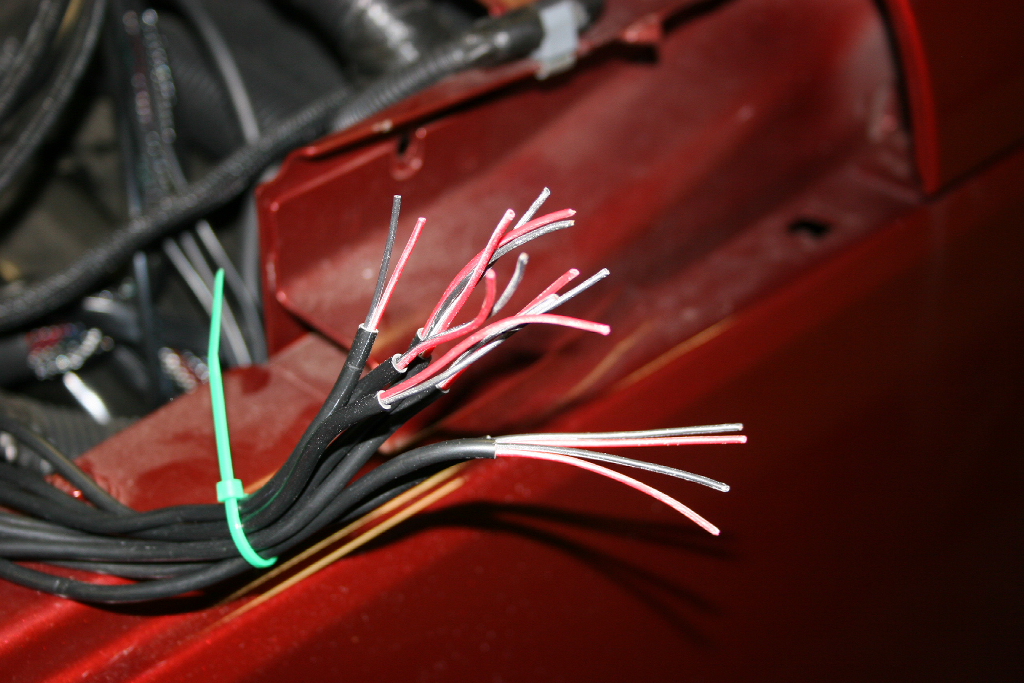
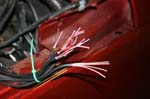
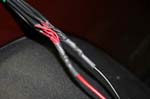
| With everything in place I ran into the problem of having lots of extra wire from the pods. I could easily pull it back, coil it, and zip tie it out of the way. For a nice clean install I decided to shorten each wire to the proper length. |
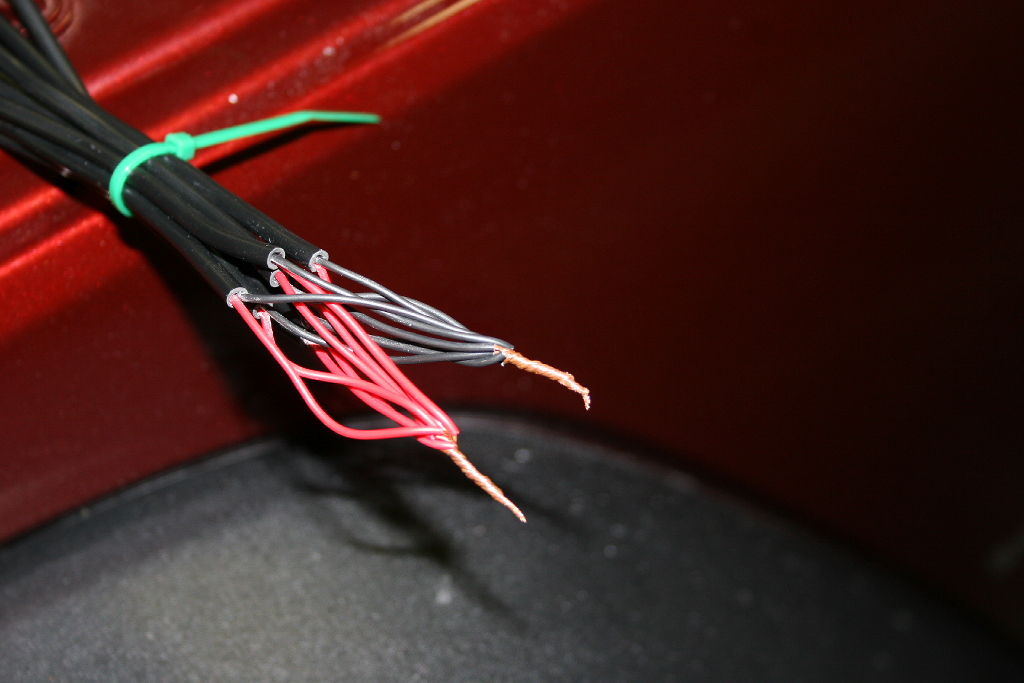
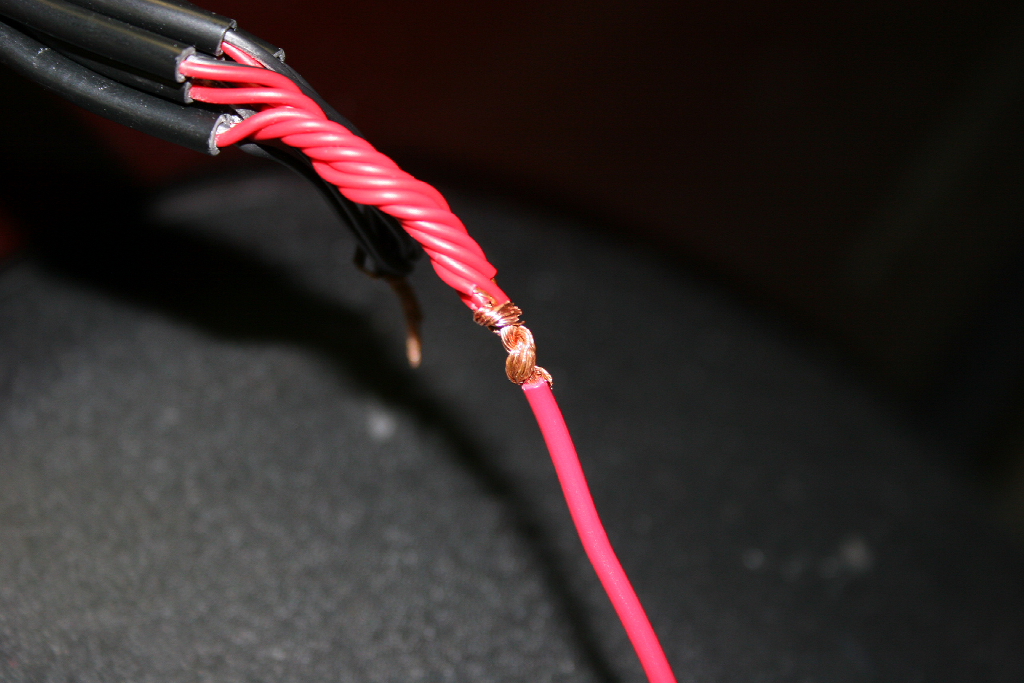
| Cut the wire, trim to a little longer than the correct length, and twist the ends together. |
 |
 |
 |
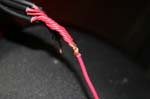
| Strip and twist the extension wire onto the first with and Audio Splice. I soldered this connection to ensure that it won't come apart. |
 |
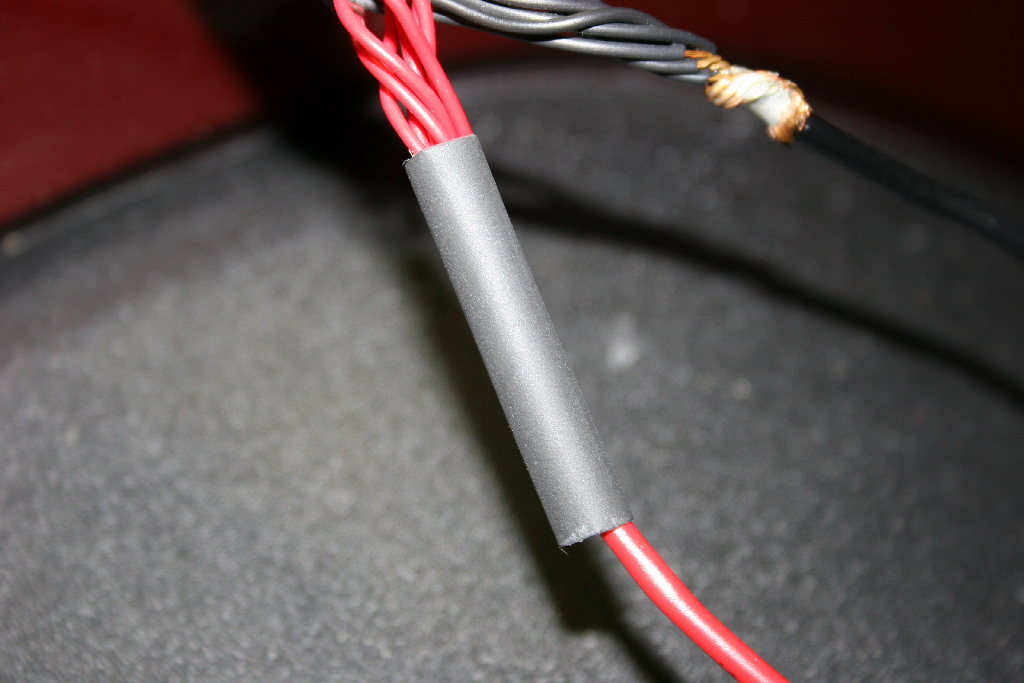
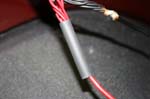
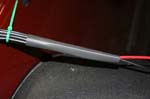
| Slide a piece of Marine Grade heat shrink tubing (the Marine Grade is actually waterproof) over one end, and then heat gun the heat shrink tubing to seal the wires. |
 |
 |
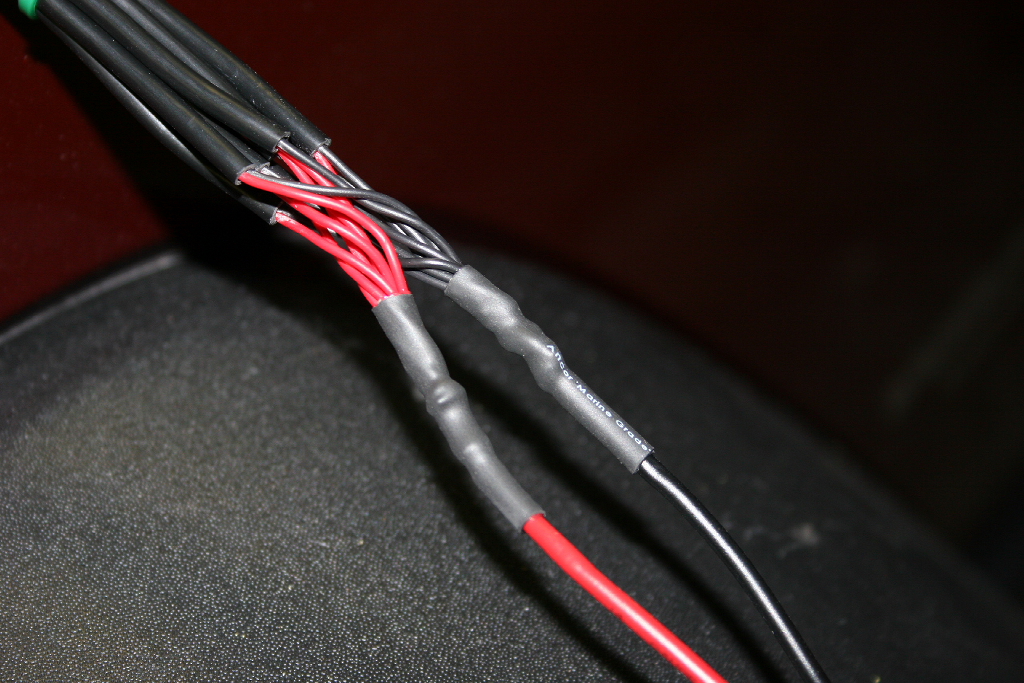
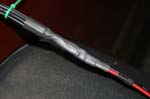
| I used another piece of Marine Grade heat shrink tubing (the Marine Grade is actually waterproof) over the wires and then heat gun the heat shrink tubing to seal the wires. |
 |
 |
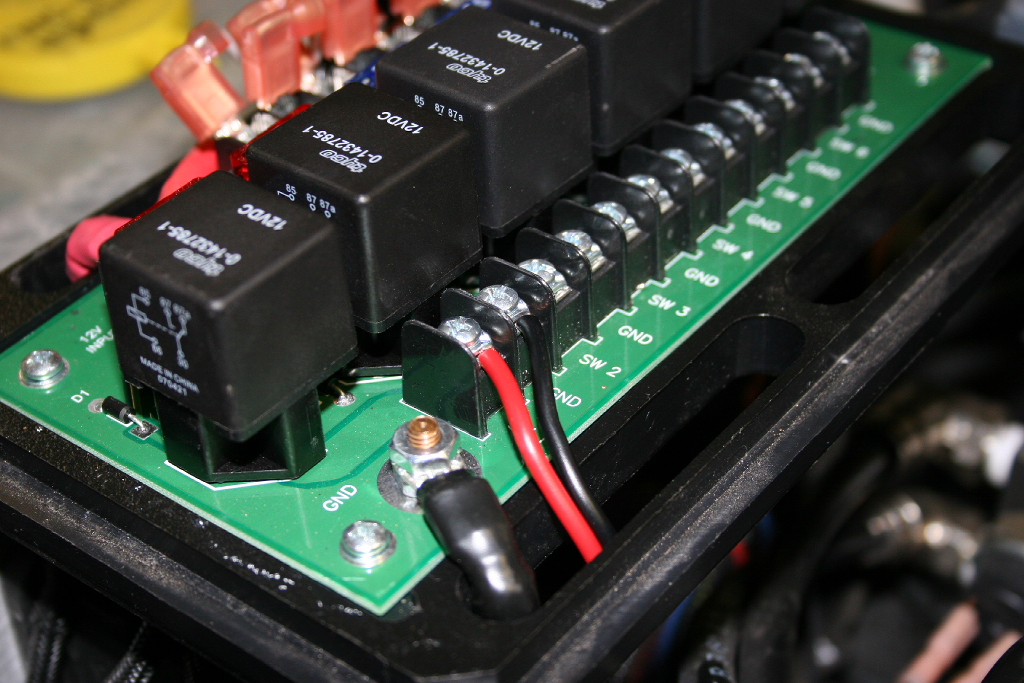
| I connected the wires into my sPOD. |
 |
| |
| Comparison: |
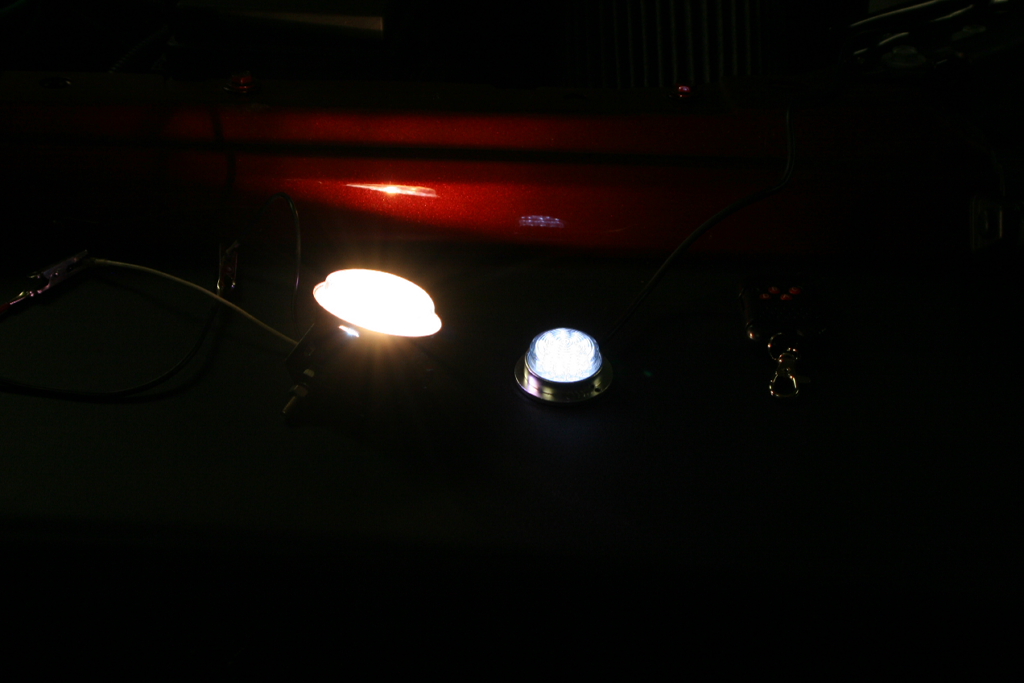
| I figured giving a good comparison between a 55watt light and the Tantrum LED Pods would be appropriate. I tried to shoot all of these at the same settings on the camera.
The lights are brighter than shown in the camera lens. I played around trying to get a good approximation of what I was seeing, but couldn't get a good contrast at that point. The 55 watt fogs throw a bigger pattern, and definitely put out more light. The LED are softer and more focused. Cross aiming them would give a bigger pattern. The LED's didn't destroy my night vision as much as the Fogs did. I did make the mistake after playing around with these for 30 minutes in the garage of grabbing the Fog with my hand. That Fog went in the trash afterwards, since I dropped it and shattered it. |
Side by Side
|

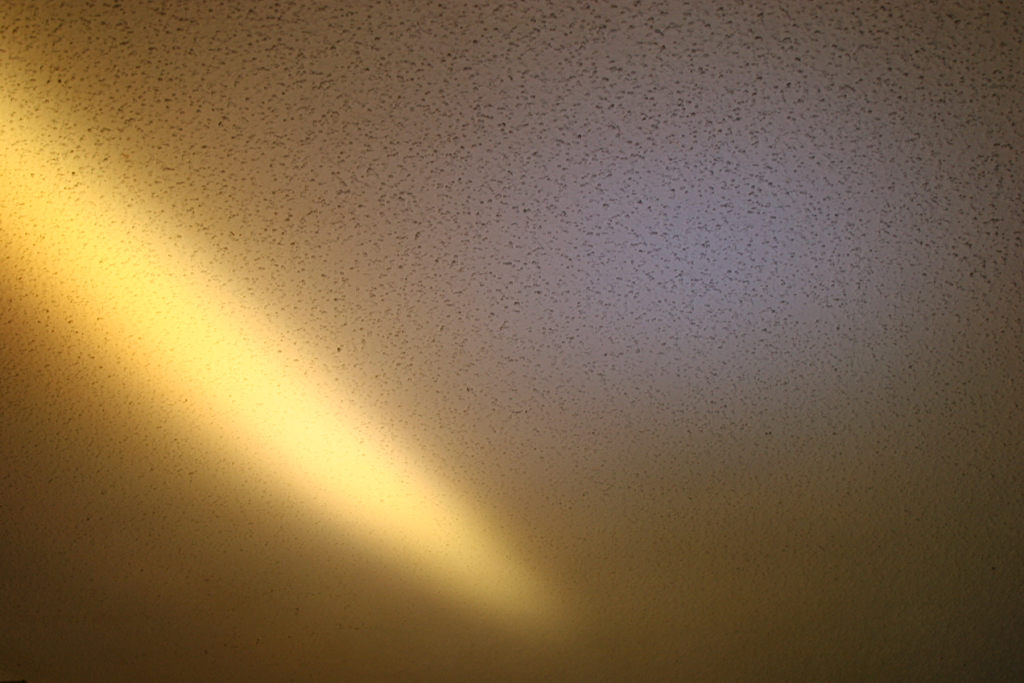
Ceiling at 7 feet
|
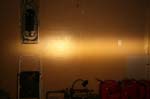
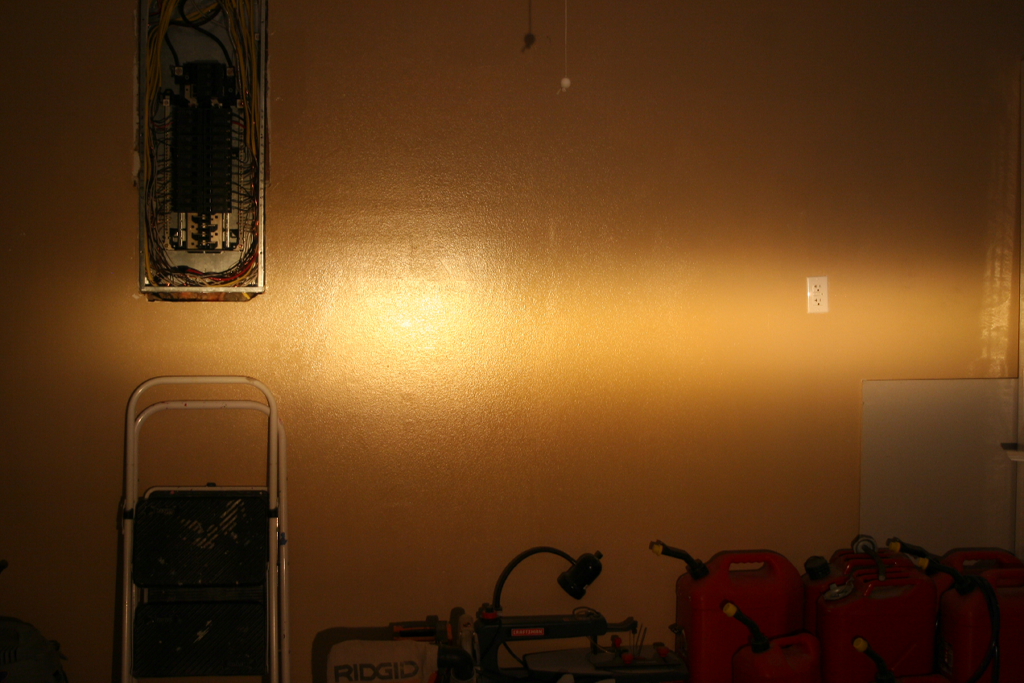
Wall at 15 feet, 55watt Fog
|
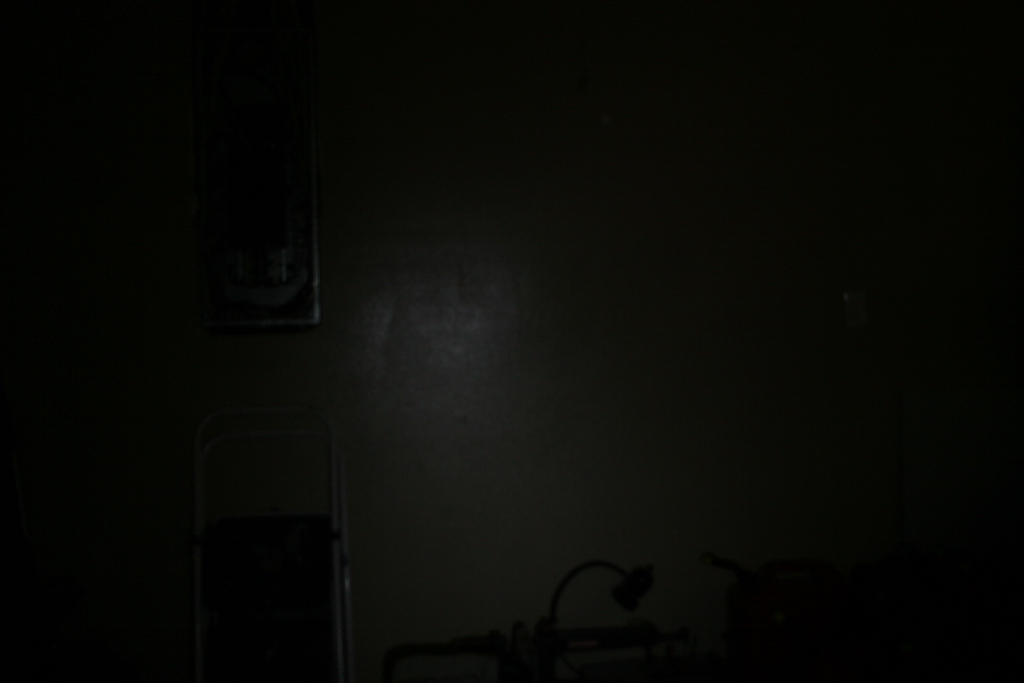
Wall at 15 feet, LED Pod |

Inside the garage, Dark |
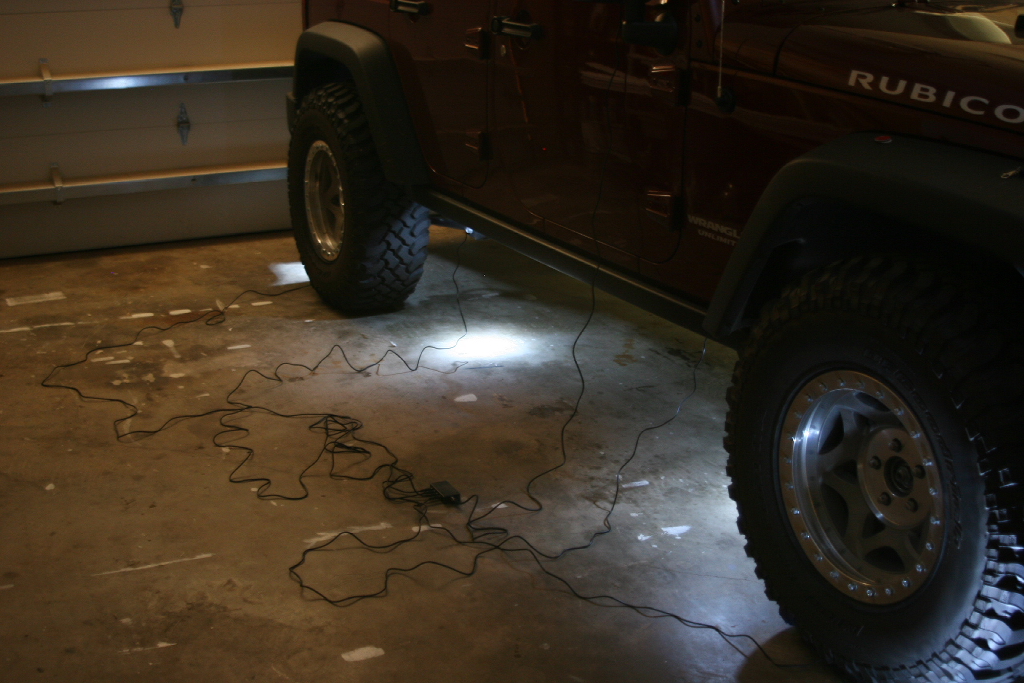
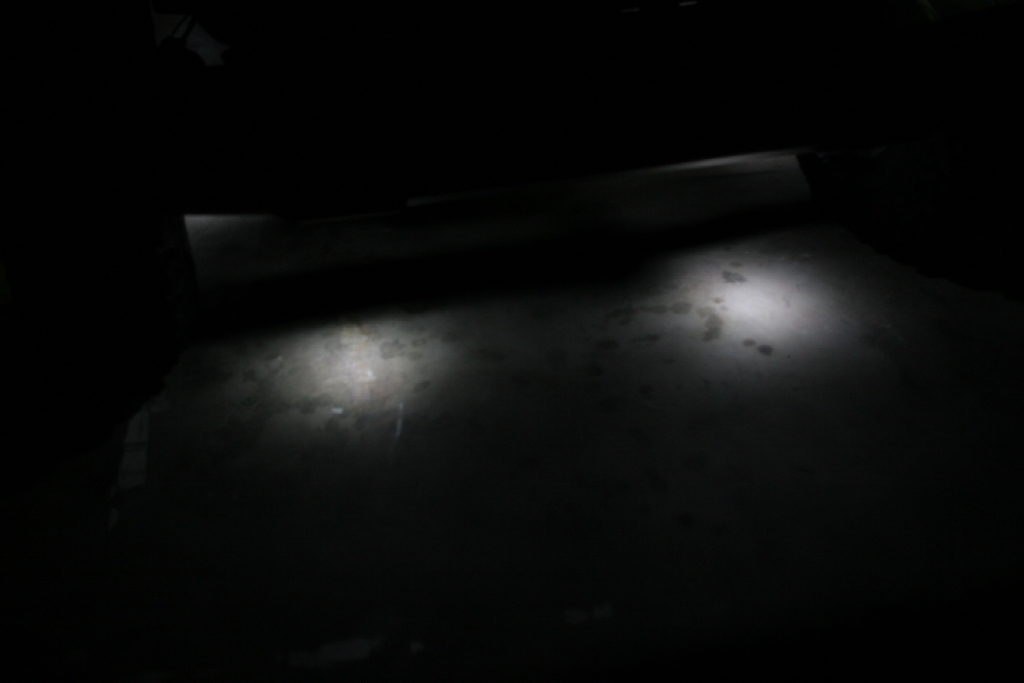
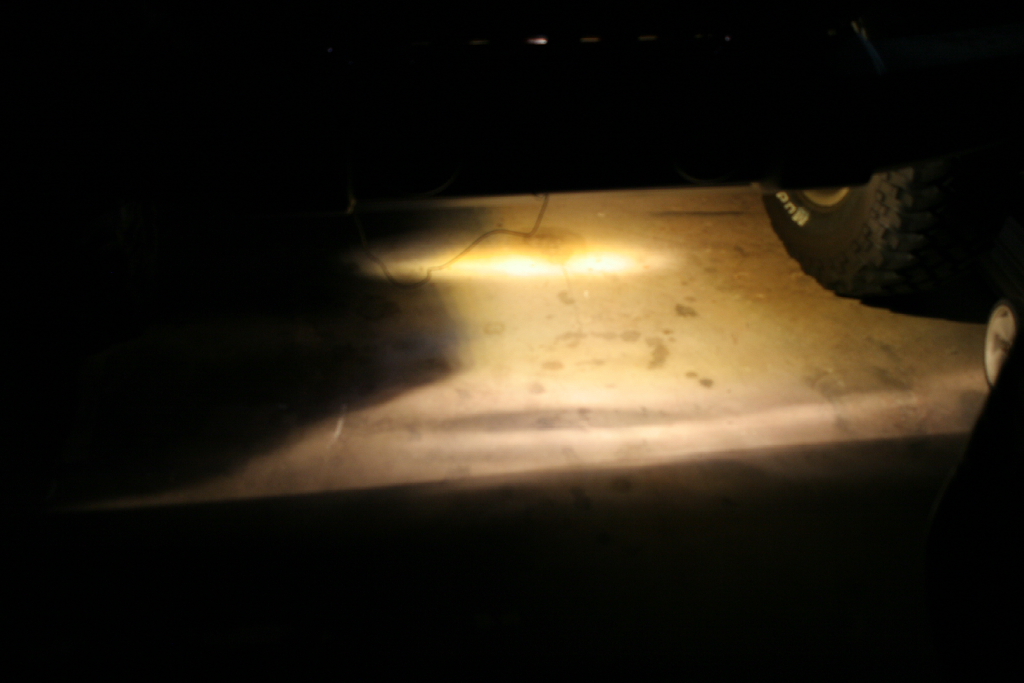
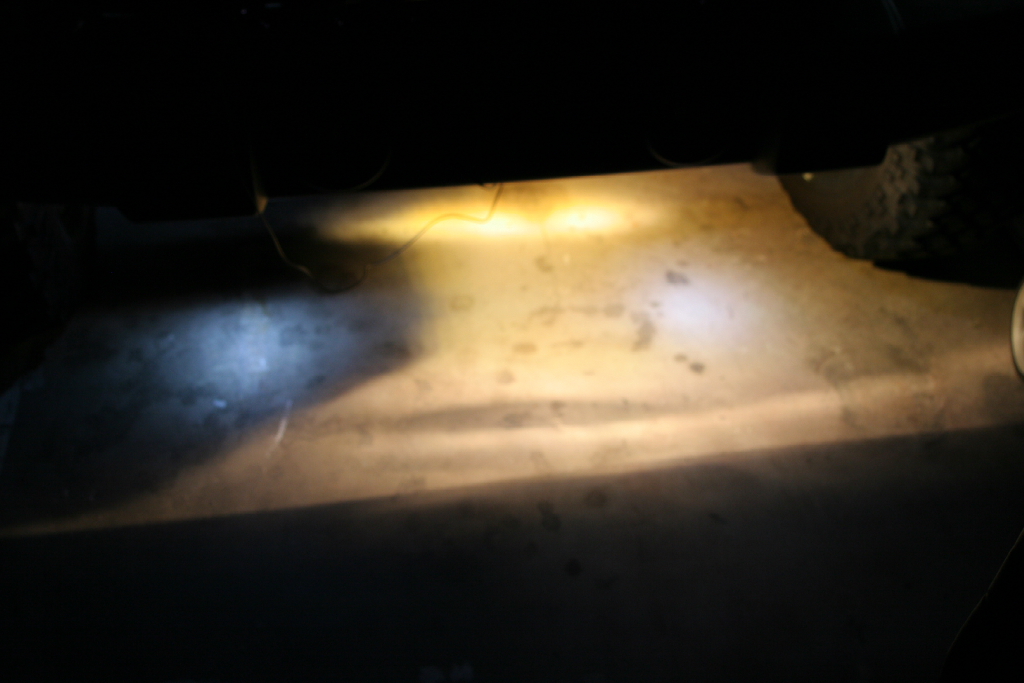
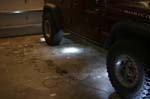
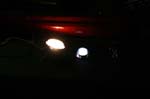
Under the vehicle, LED's
|
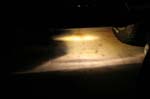
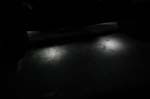
Under the vehicle, 55watt Fog
|

Under the vehicle, both
|
| |
| Opinions: |
You really don't need to pick up the whole Tantrum system if you just want some LED light pods. The system just has the cool features of the strobe and the remote. Which my niece's and nephew's love, and Mom's cats HATE! Other than that the Pods can be directly wired into a switch. Everything to run the LED's is inside the Pod. The LED's are bright enough to see obstacles at night without blinding you. They are no where near as bright as a 55 watt light underneath, but an advantage is that they don't get burning hot like the 55watt lights do. I couldn't touch the 55watt light after taking the comparison pictures, even the bracket holding it was almost to hot to pick up. The LED was just warm to the touch. I have been out enough times with Jeeps running six or more 55watt lights underneath. They were always to bright and destroyed any night vision you had. All it took was getting one good beam from them in the face and all you could see was spots. Not good if your the spotter.
A friend of mine installed these on his TJ. Total time was only about 1 1/2 hours to install, most of that was looking for the mounting points. His first night run with these at first pulled a few laughs at the disco effect of the lights to his music. After the run his friends were asking where they could get some due to a few noted items. First being the soft light, that actually allowed people to see where the tire tracks were and where the tire's were actually driving on the rocks. The second being that when they got lost looking for a trail and finally found it he stayed to mark the trail and turned the lights to strobe. Everyone said it was so easy getting back to him, they could easily identify where he was. |
| |
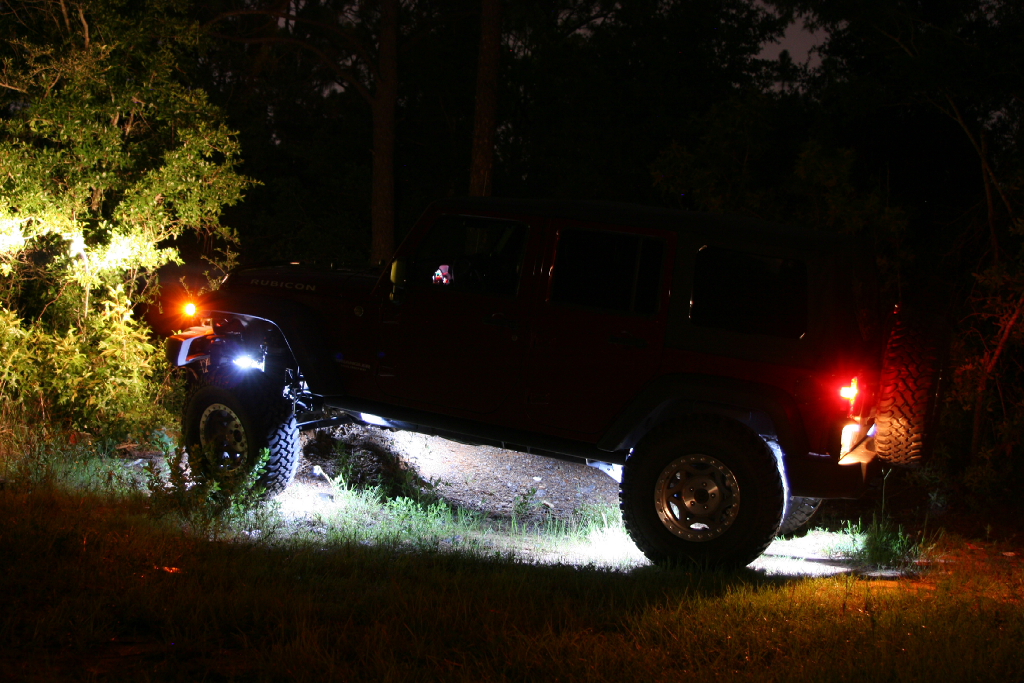
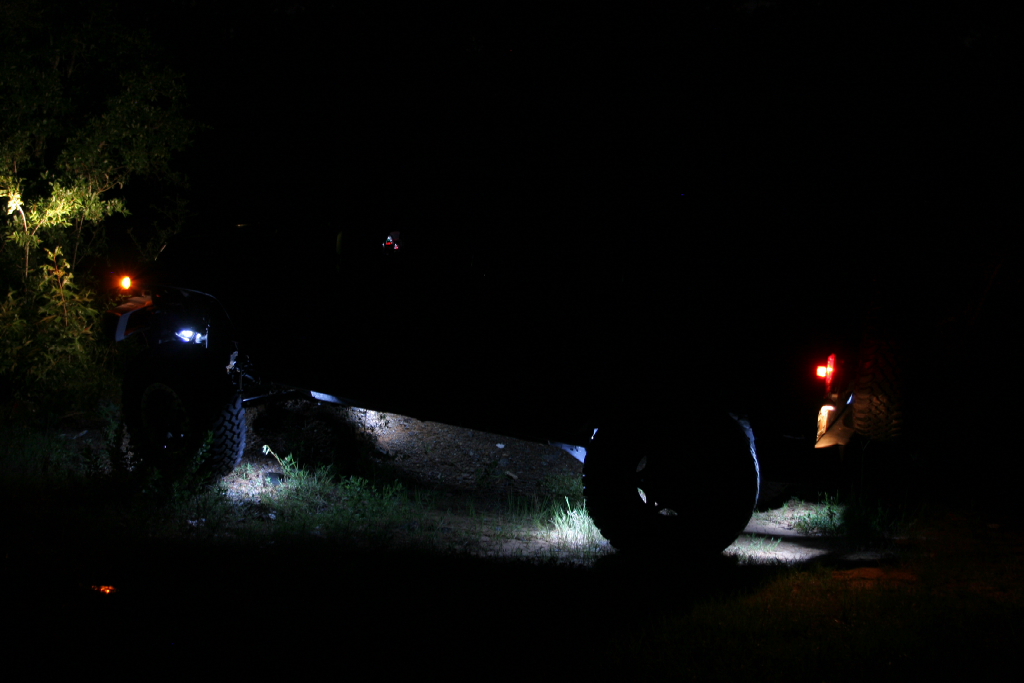
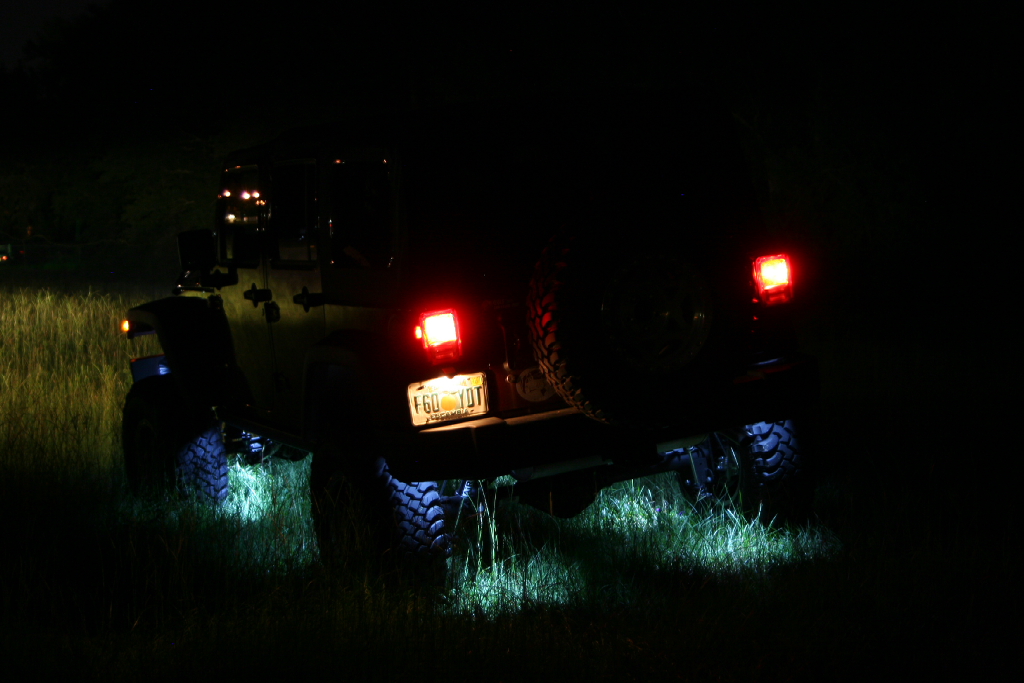
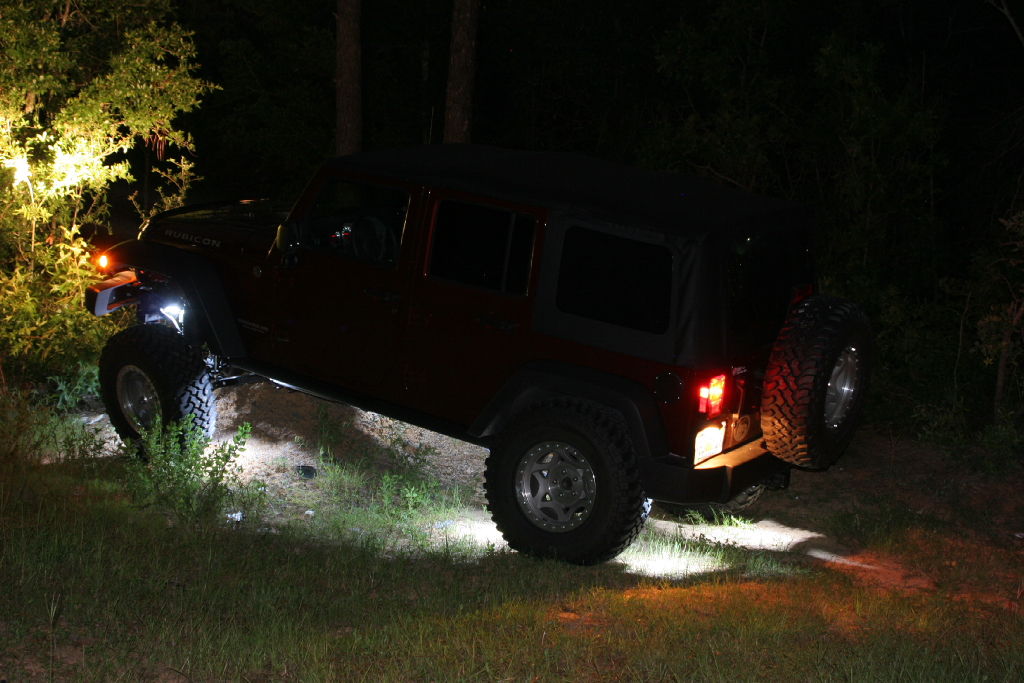
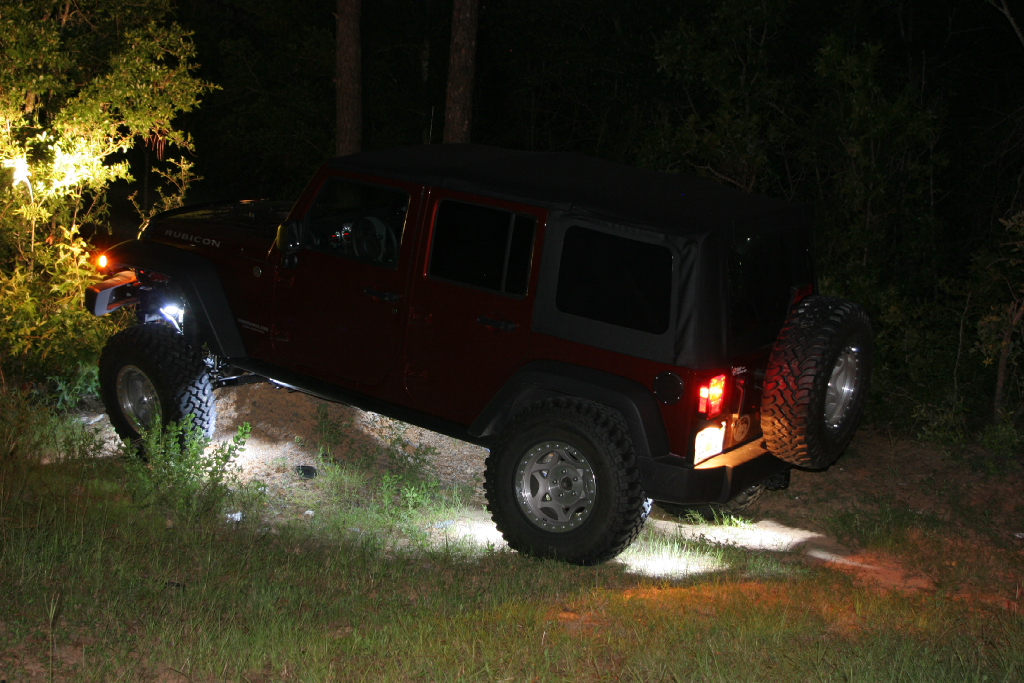
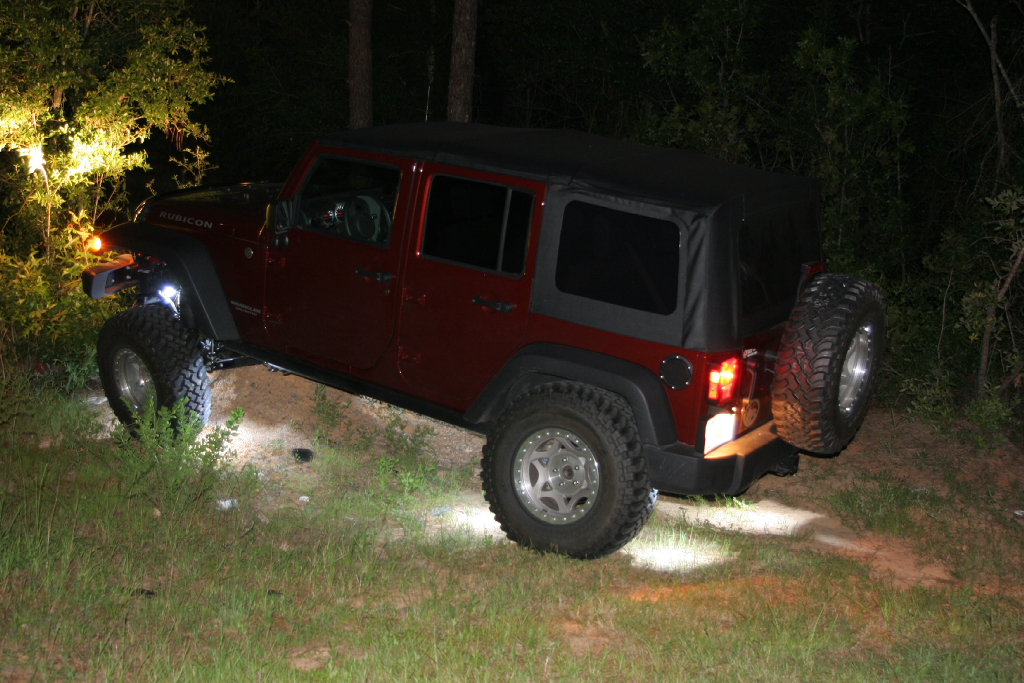
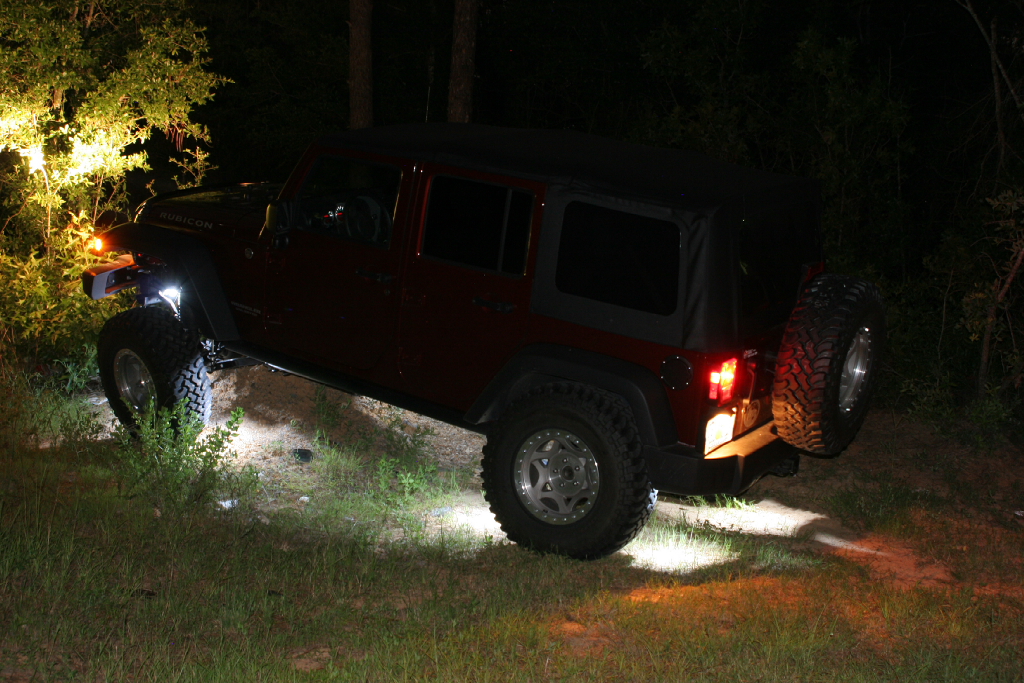
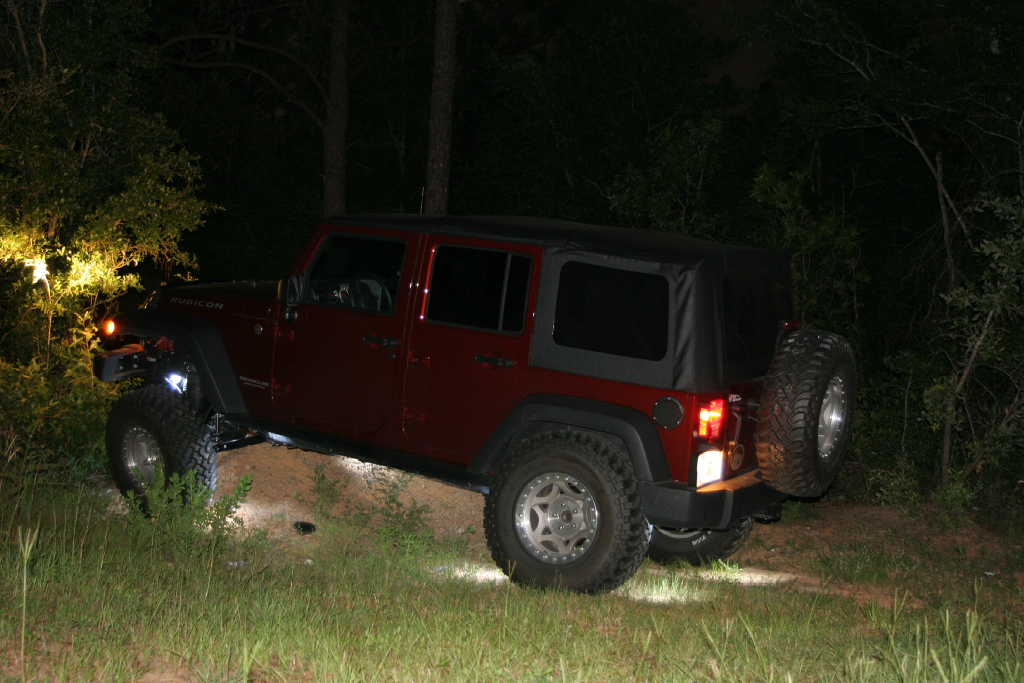
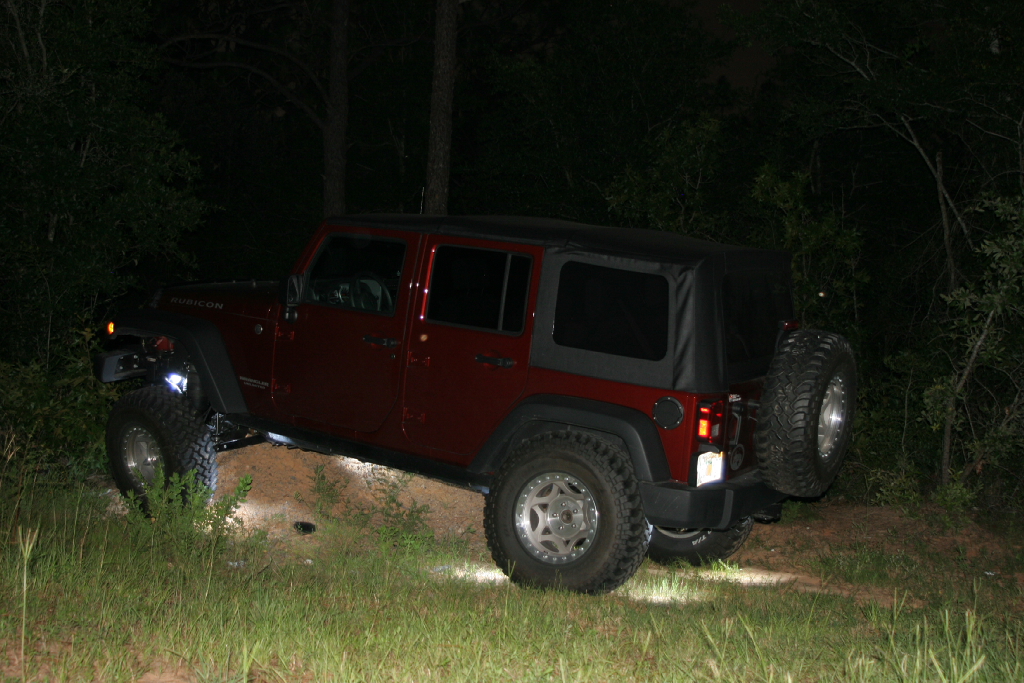
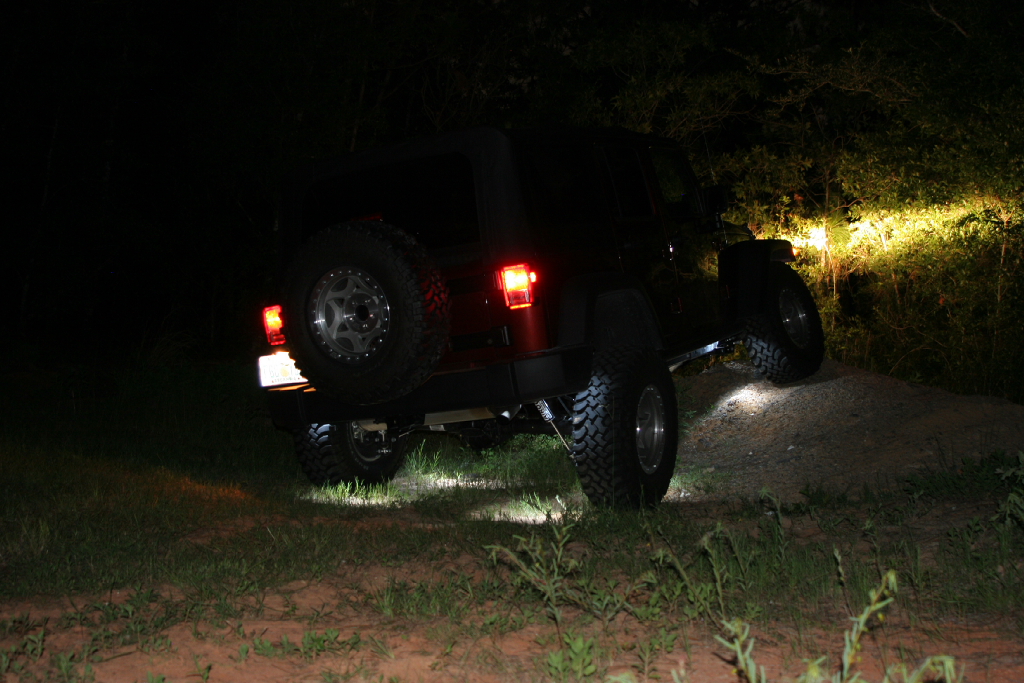
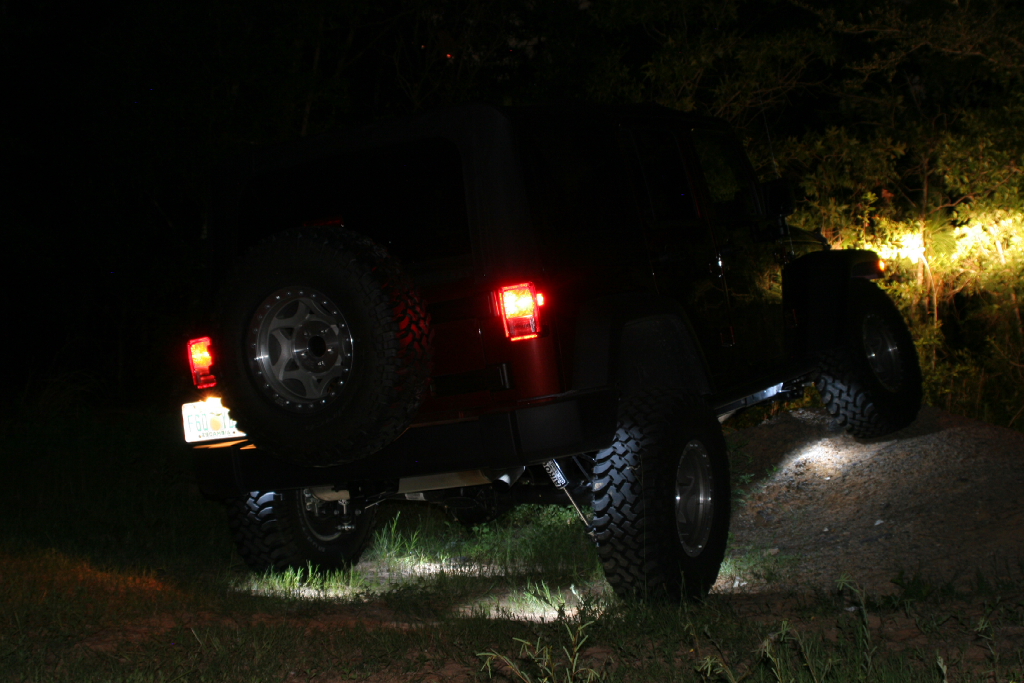
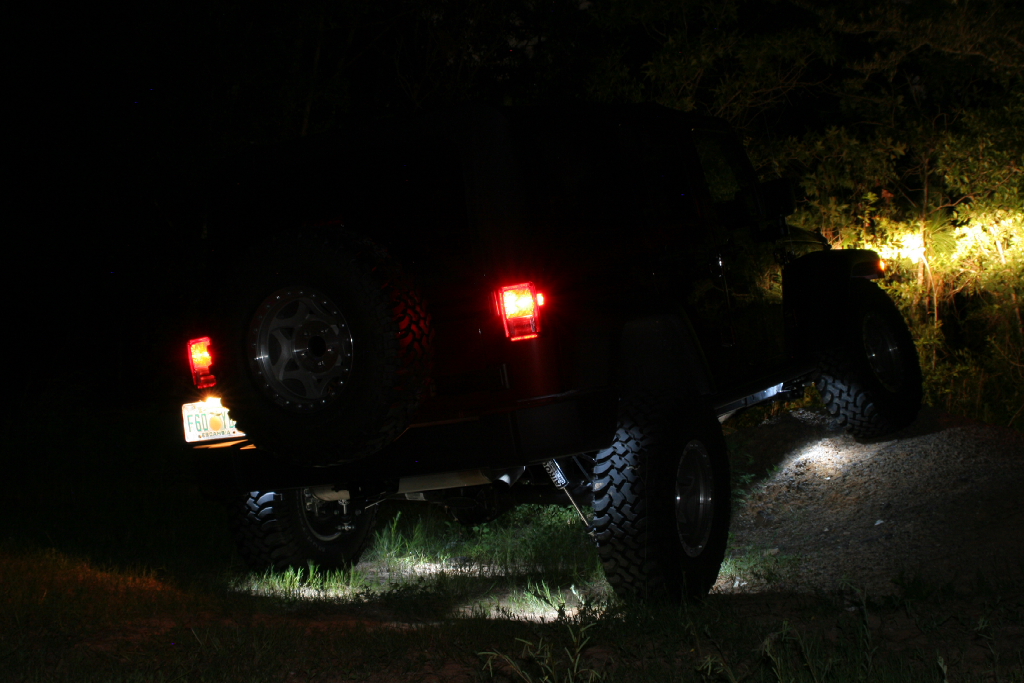
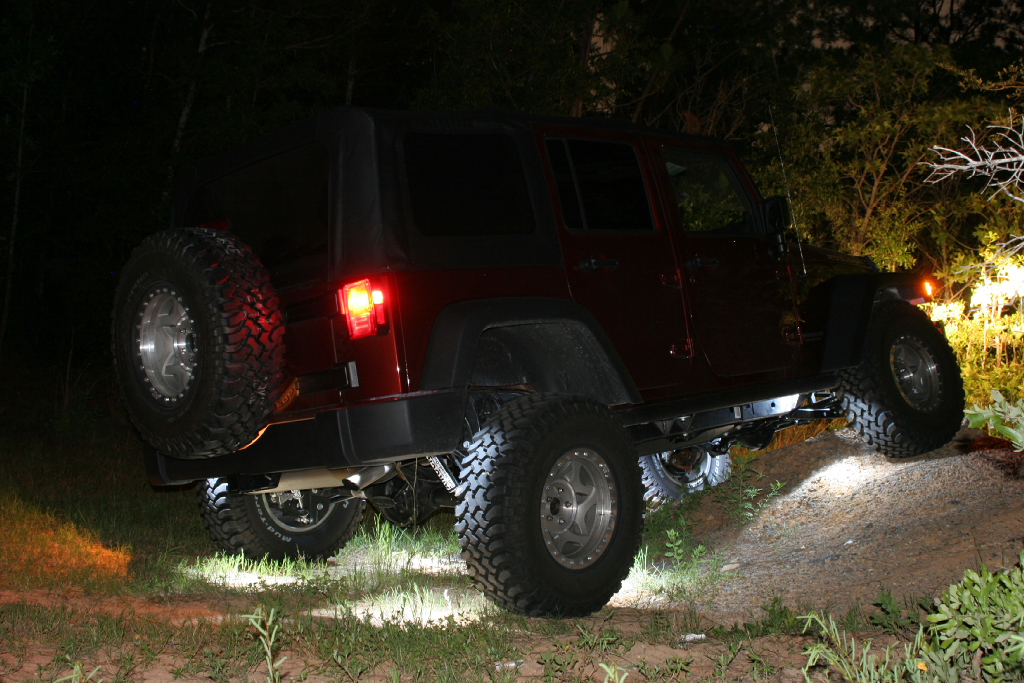
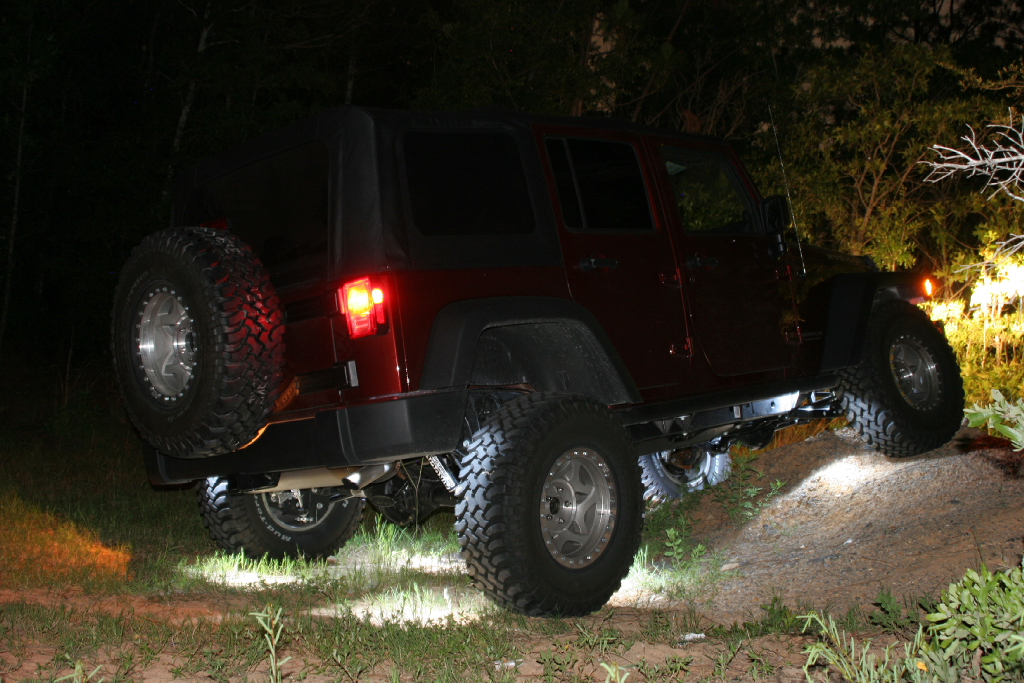
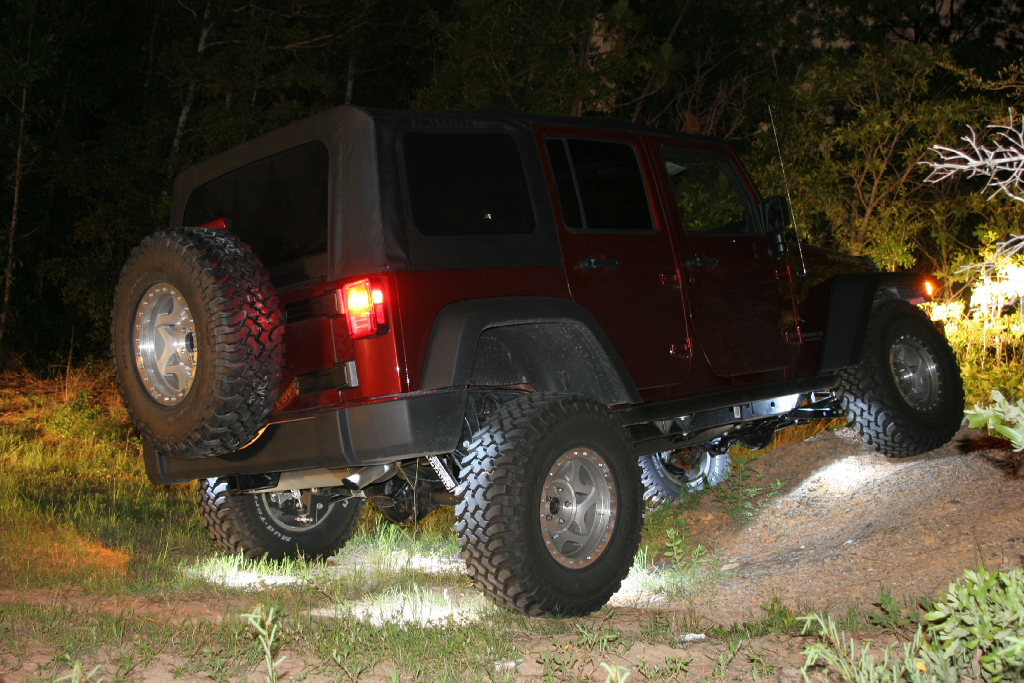
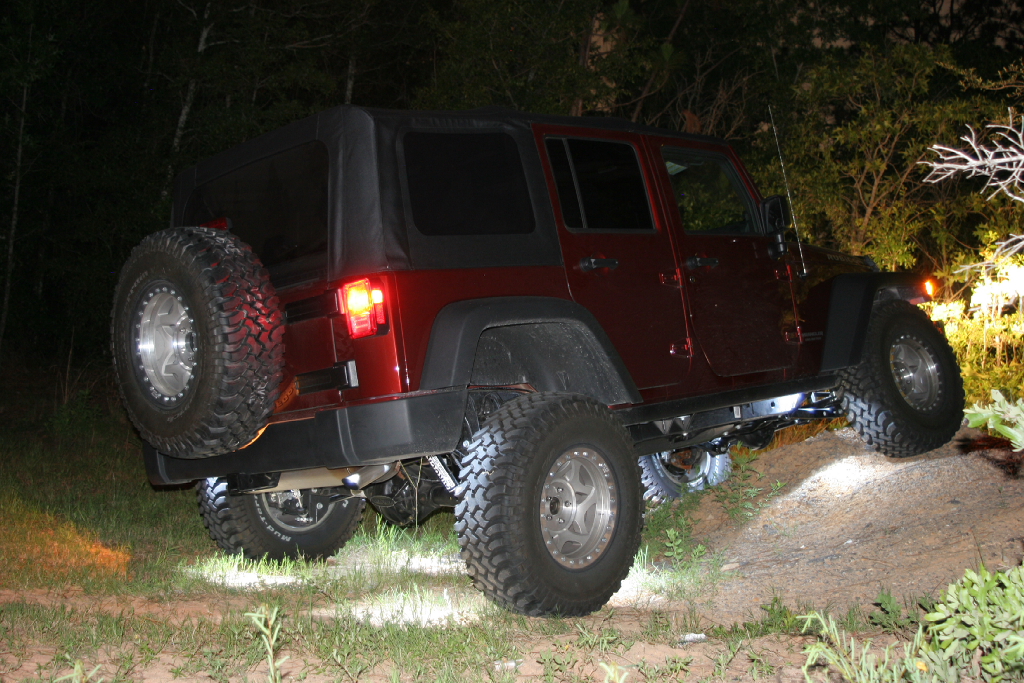
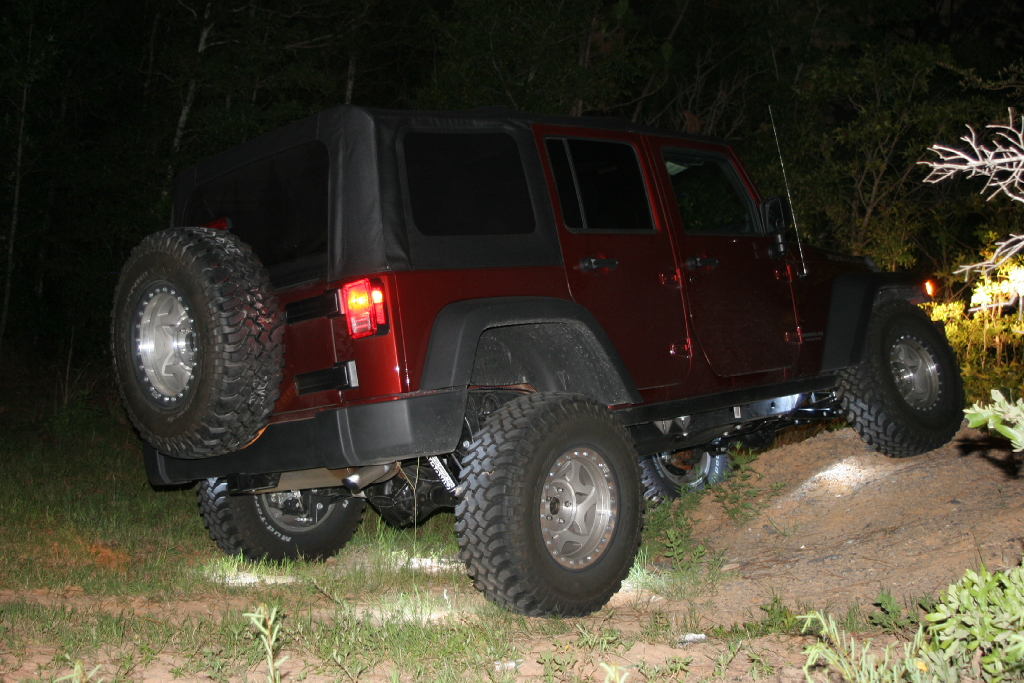
| Nighttime shots at various settings: |
|
|
|
|
|
|
|
|
|
|
|
|
|
|
|
|
|
|
Ā