I had decided to replace my years old steel cable with a synthetic
line from Geurock courtesy of Macs4x4products. My cable had seen it’s
fair share of work over the years and all the winching that I did after
Hurricane Ivan slammed the gulf coast really took it’s toll on the cable,
kinks, and busted strands were evident on the cable, so it was time to
replace it. I started looking into synthetic winch lines and a little
shocked at the price for them. I deal with a lot of line working at a
Port Operations so went looking for alternatives. My preferred winch line
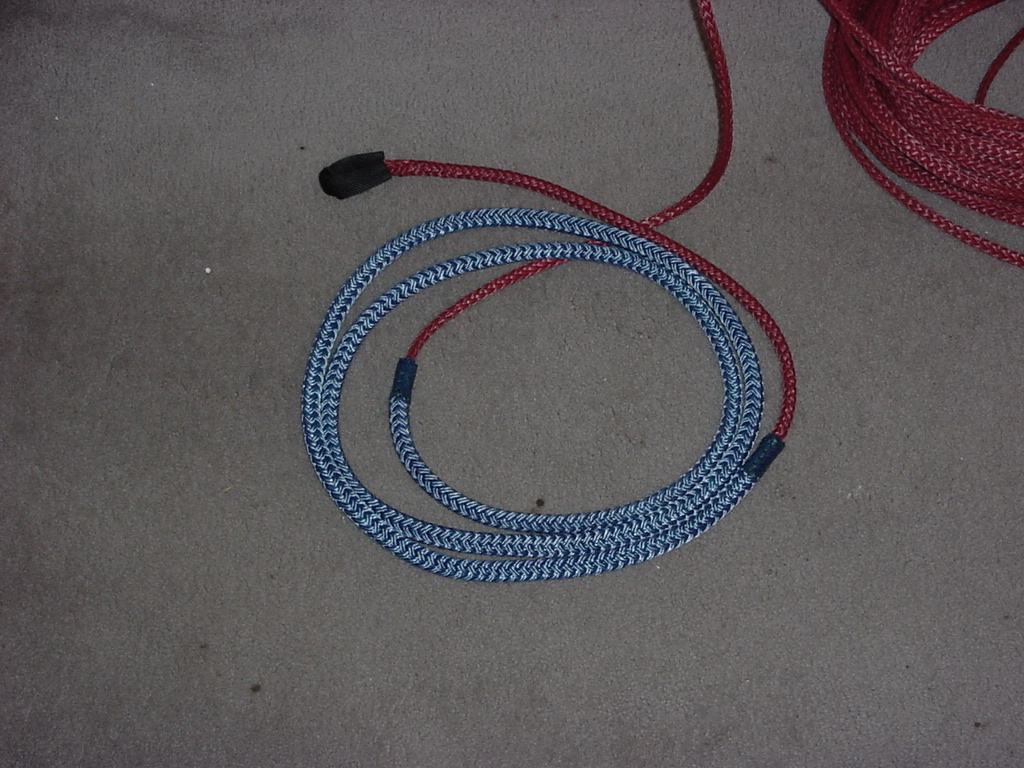
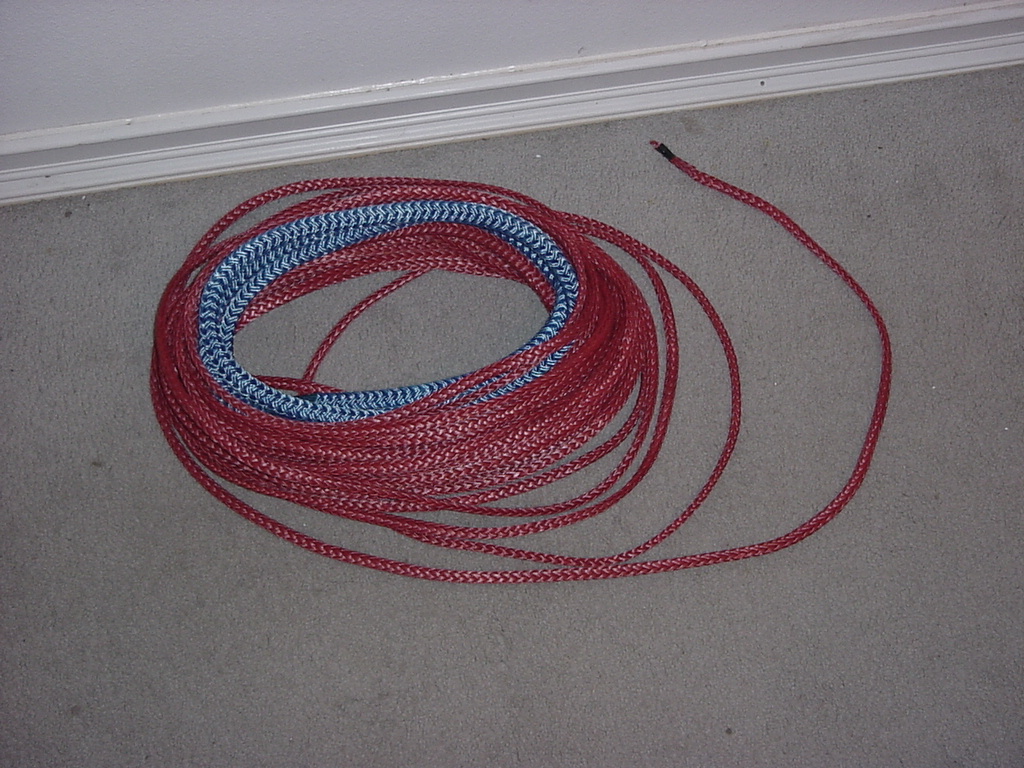
would have been the X-line from Off Road Only. I decided to go with a
synthetic line from Geurock. This is 5/16” Technora line by Twaron.
| Installation: (Skip steps as appropriate) |
1.
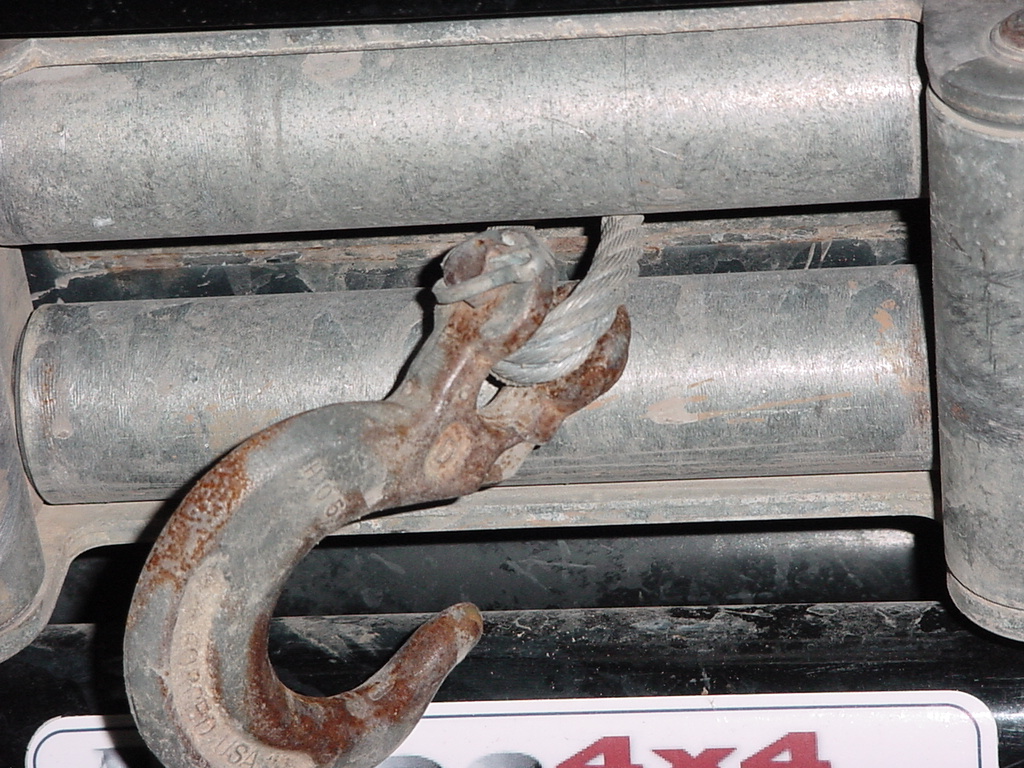
Pull out steel cable from winch. Caution wear a pair of gloves when
doing this, the cable may have broken strands and kinks in it that
can cause you pain.
|
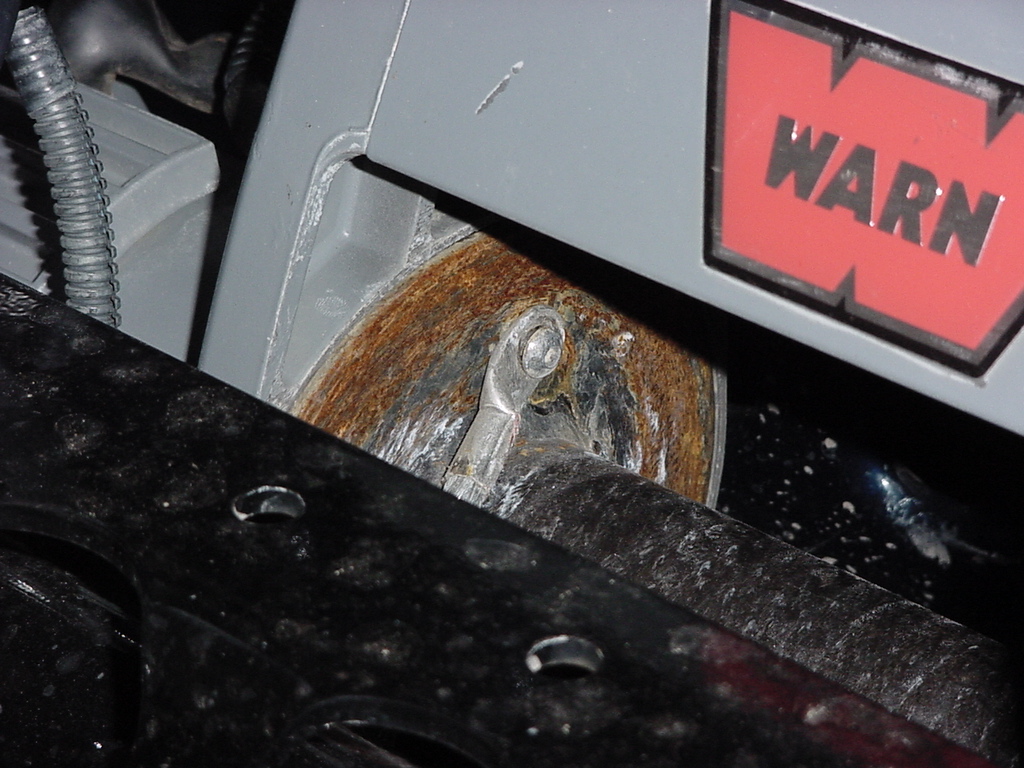
2.
Use an 4mm allen wrench to remove the cable retaining bolt form
the winch drum. Yours may be different. Set the cable aside.
|
|
3.
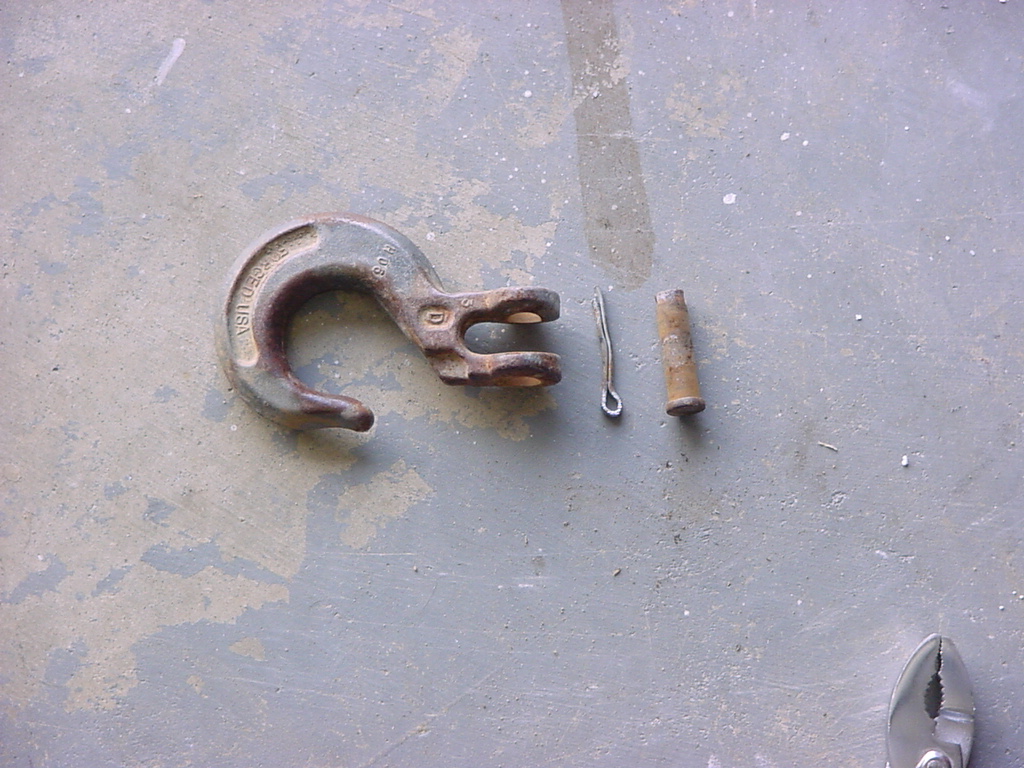
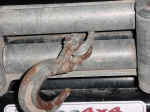
Remove winch hook from steel cable. Most of us will have a cotter
pin in the hook to remove, so just bend it back and pull it out,
this will allow you to pull the hook pin out of the hook and remove
the hook. You may need to get a new cotter pin if yours is old.
I don’t like to reuse cotter pins.
|
 |
|
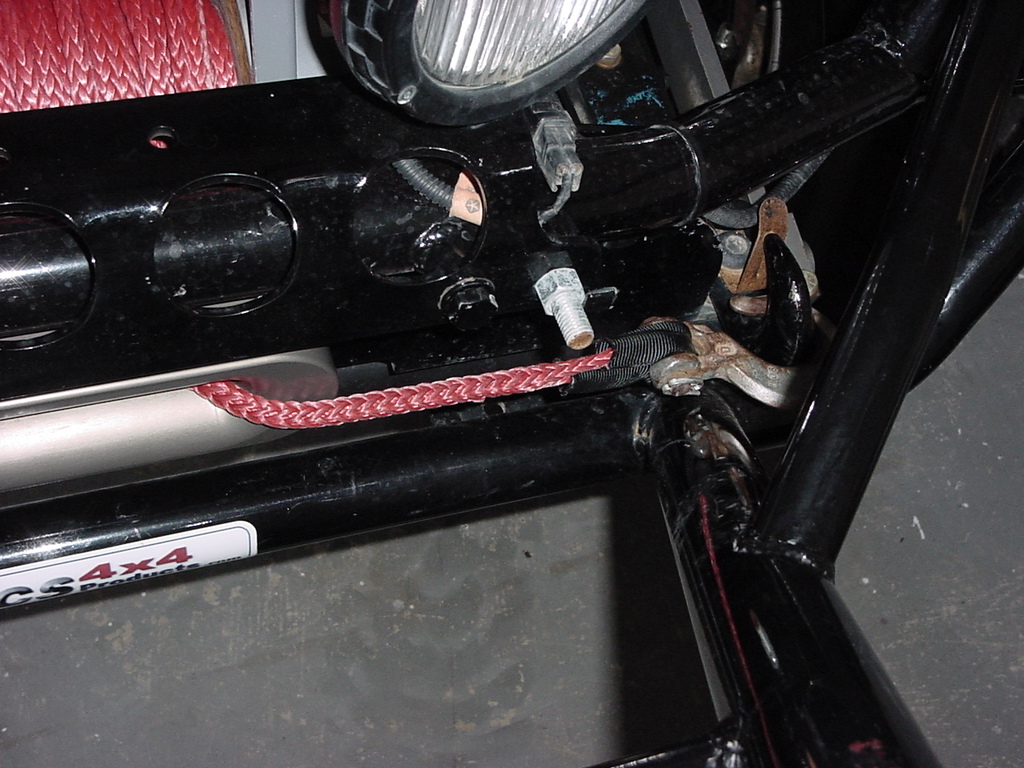
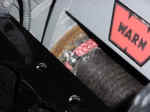
4.
I had 2 protector sleeves from my Technora rope, so I installed
them. 1 is to protect the cable and the other is for around the
drum to help with heat dissipation. These are a real pain to install.
Kind of like a Chinese finger trap.
|
|
5.
I fed an old electrical cord that I had through the protector sleeve.
You will need to work the sleeve down over the cable. As you push
the sleeve, you will notice that it expands, and when you pull on
it, it will tighten up.
|
|
6.
Once you have the cable through the sleeve, just tape it end to end
with the winch line and slowly pull it through. I had to do this twice.
|
 |
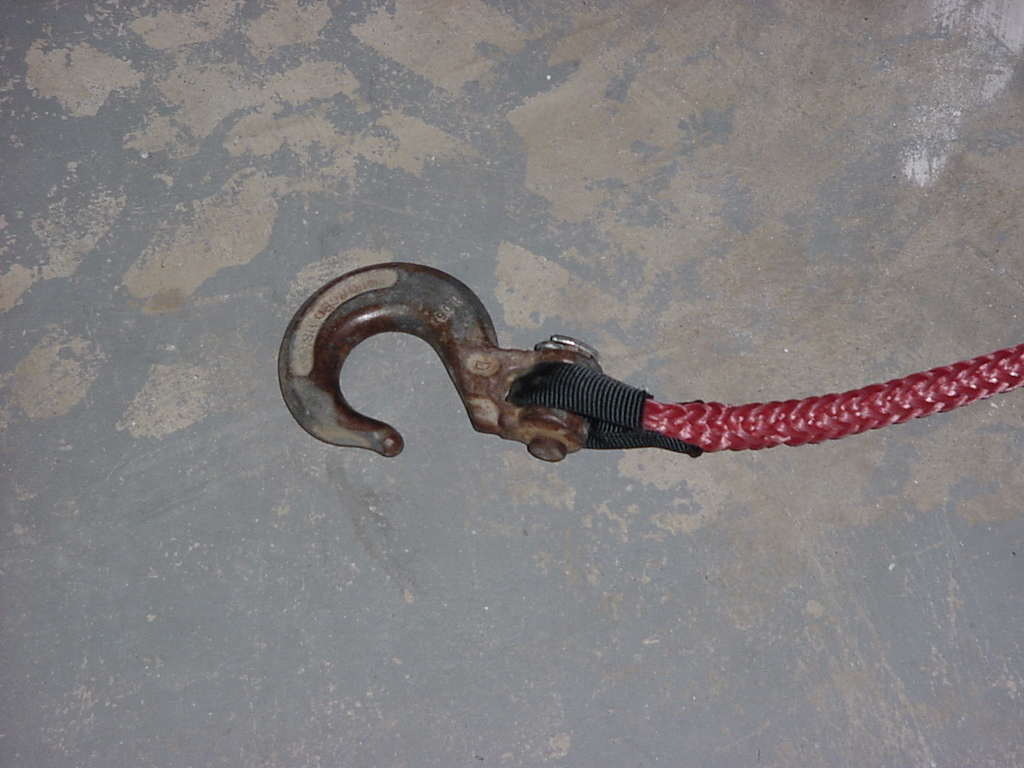
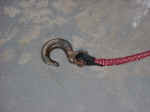
7.
Once you have the protectors on, I recommend installing the winch
hook. Simply place the hook over the eye in the rope, insert the hook
pin and new cotter pin.
|
 |
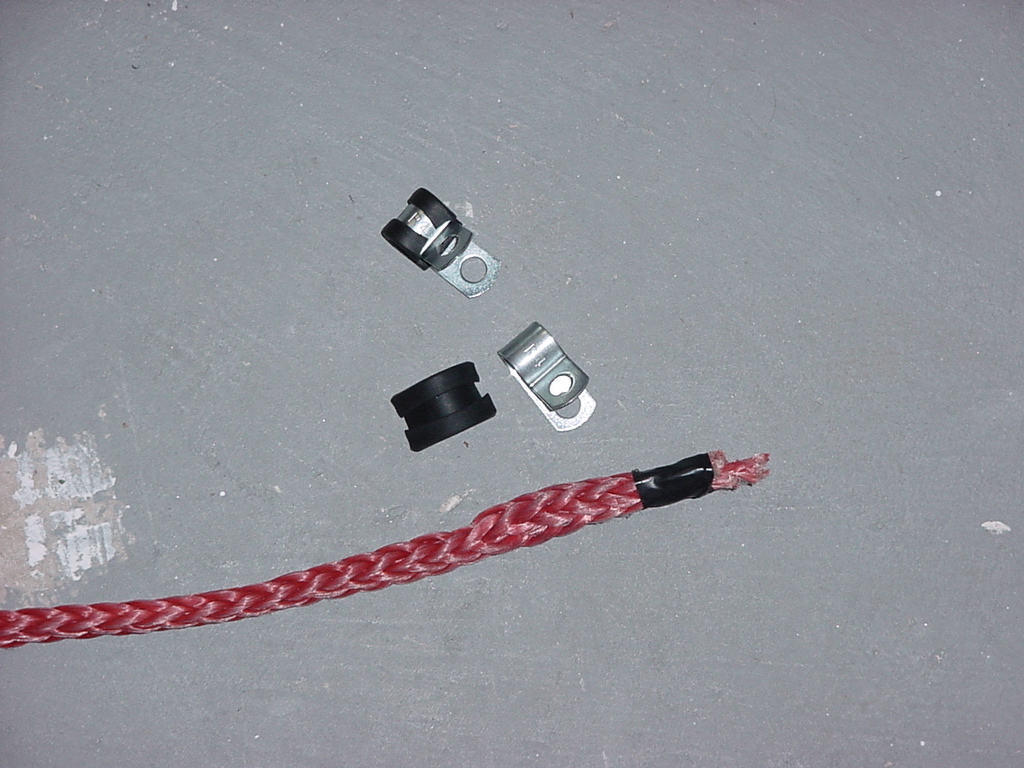
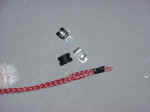
8.
Now you need to decide on what type of retainer you will be using
for the end of you winch line. Some of the lines come with a lug already
attached to the end of them so all you will need to do is insert the
bolt. ORO uses a nice clip that you bolt in and slid the winch line
through. Others use a small clamp to hold it down. I had some cable
clamps that fit the line and the
|
 |
9.
Check the direction of rotation of your winch so that you can install
the cable in the right direction. I recommend unplugging the controller,
placing the winch in disengaged position at a minimum. You will be
reaching inside near the drum with your hands.
|
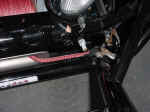
10.
Feed the line through the hawse fairlead and around the drum. Bolt
the line in place on the drum. You will need a mm Allen wrench, or
what you used to remove the bolt.
|
 |
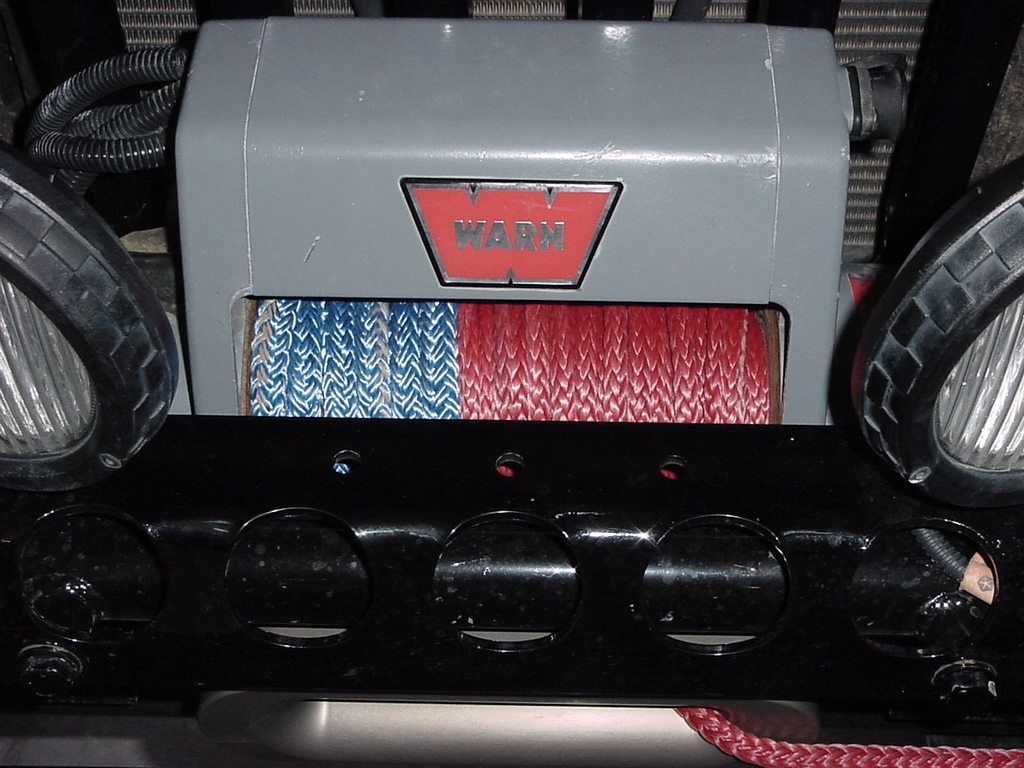
11.
Loosely wrap a few turns on the drum with power and leave the rest
coiled up on the front bumper. You will need to go find an area where
you can put a little tension on the line to coil it properly on the
winch drum.
|
| 12.
Coil the winch cable on the drum under slight tension. This will allow
the line to lay flat and minimize the line from slipping between layers
when under tension later. |
 |
| 13.
Just clip the hook to a suitable point on the outside of the jeep
when done. |
 |