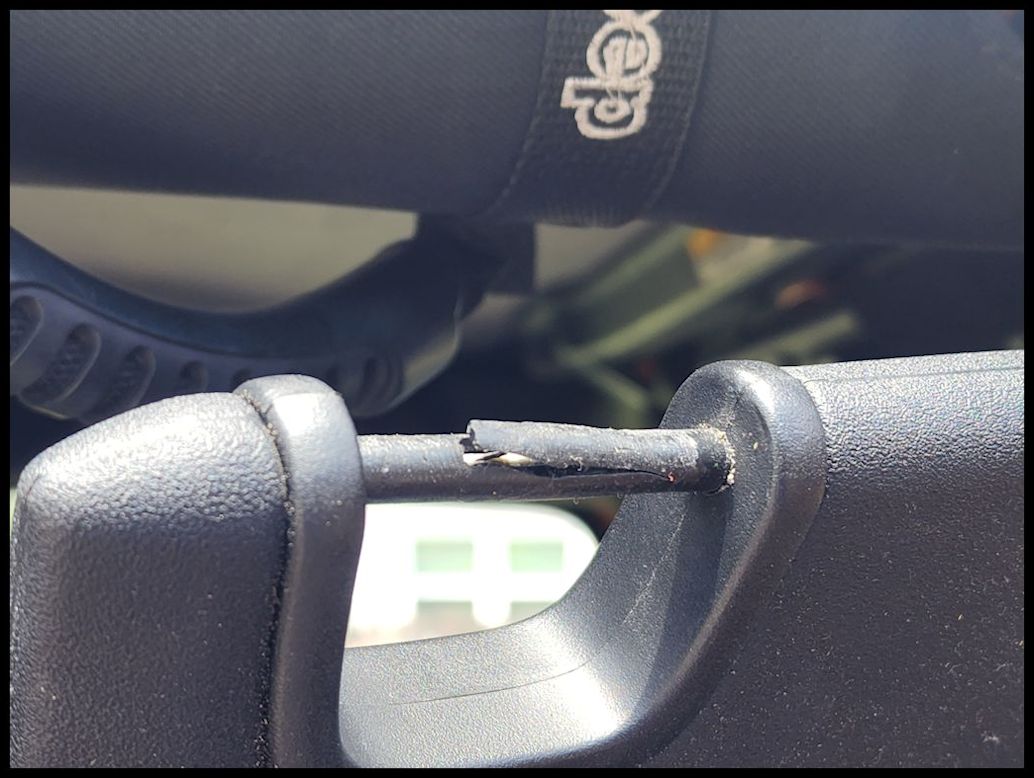
As the Jeep gets older plastic and vinyl parts that have been out in the sun and heat for a while start to deteroriate. The sunvisors in the Jeep JK have a support bar where they clip into the windshield header. This is just a bar covered in a vinyl plastic. The plastic eventually rots away and cracks. Usually when you pull it out it comes apart and drops all sorts of plastic parts in your lap. I looked to see if you could buy just this part, but you can only get the entire sunvisor from Jeep, which is expensive. Amazon does have someone selling some plastic tubing for about $20. This is really only about 4" of tubing. Really, shipping must be like $19.95. I looked around to see what I had that I could use to make a new sleeve. I had some left over vinyl air brake line, which you could probably run by NAPA and see what they would charge you for about 4". You only need 2" per side, but if one's bad, you might as well do both. I also had some heat shrink tubing from a few projects. This was going to work well. This is actually the second Jeep I did this on since I didn't take any pictures when I did mine a year ago.
Additional
Parts:
--This will repair two visors.--
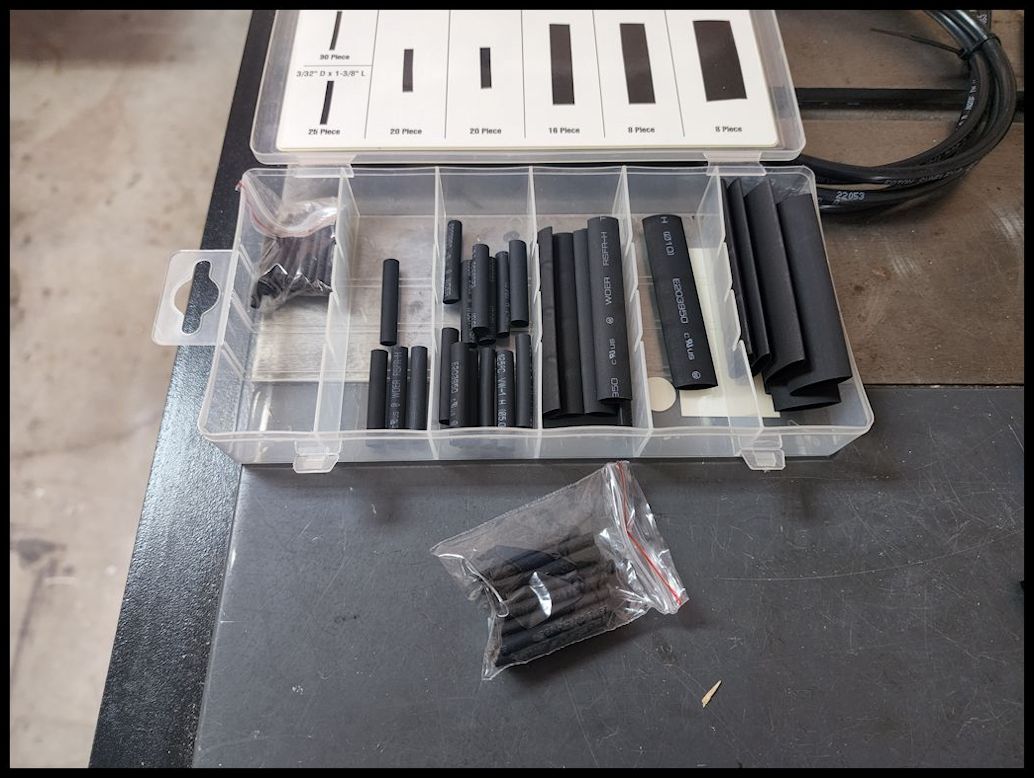
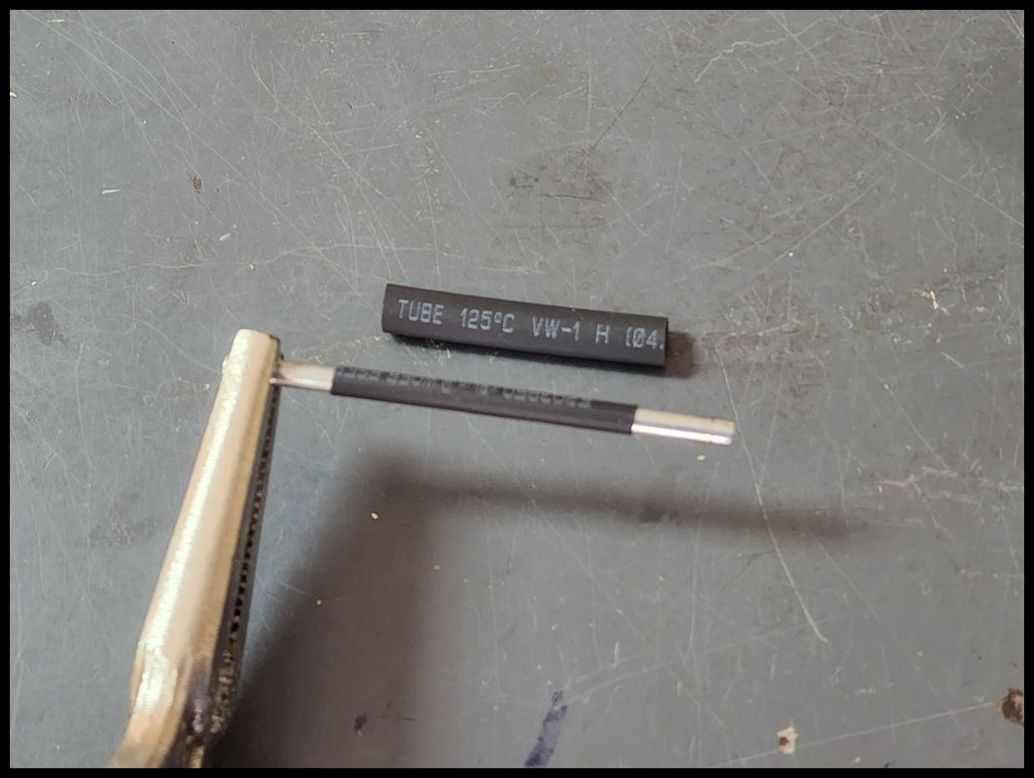
Heat shrink tubing (4" lengths)
--3/32", 3/16" and 1/4"
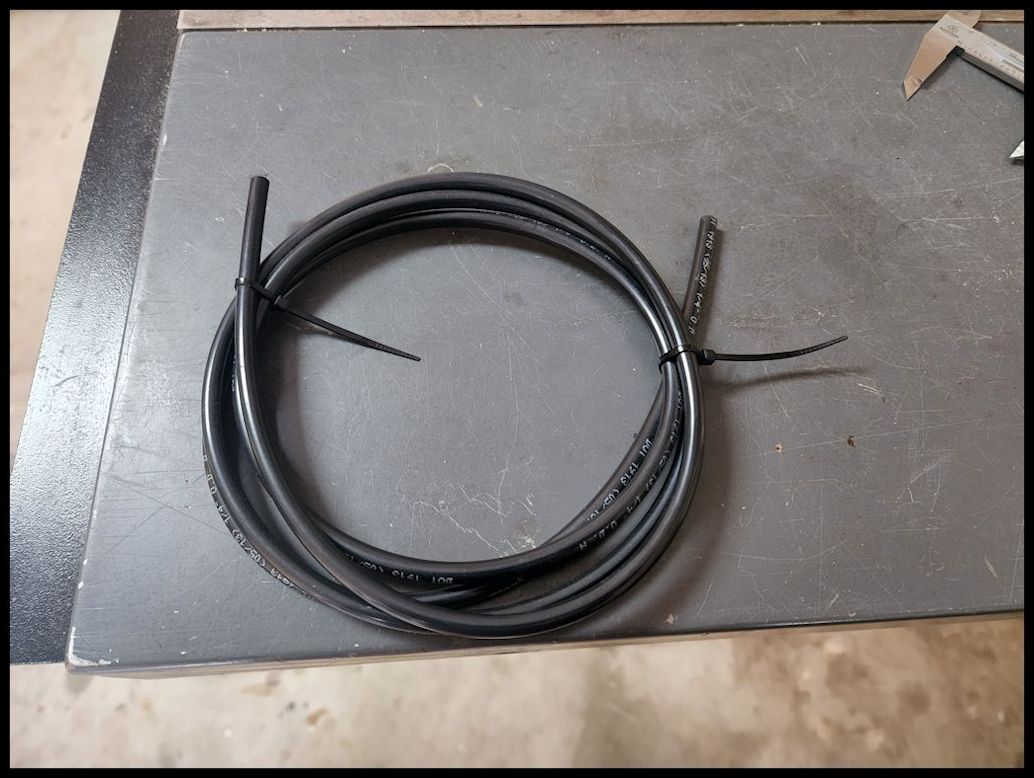
1/4" vinyl air brake line
about 4"
Tools
Needed:
Razor knife
Heat gun
Needle nose pliers
Parts:
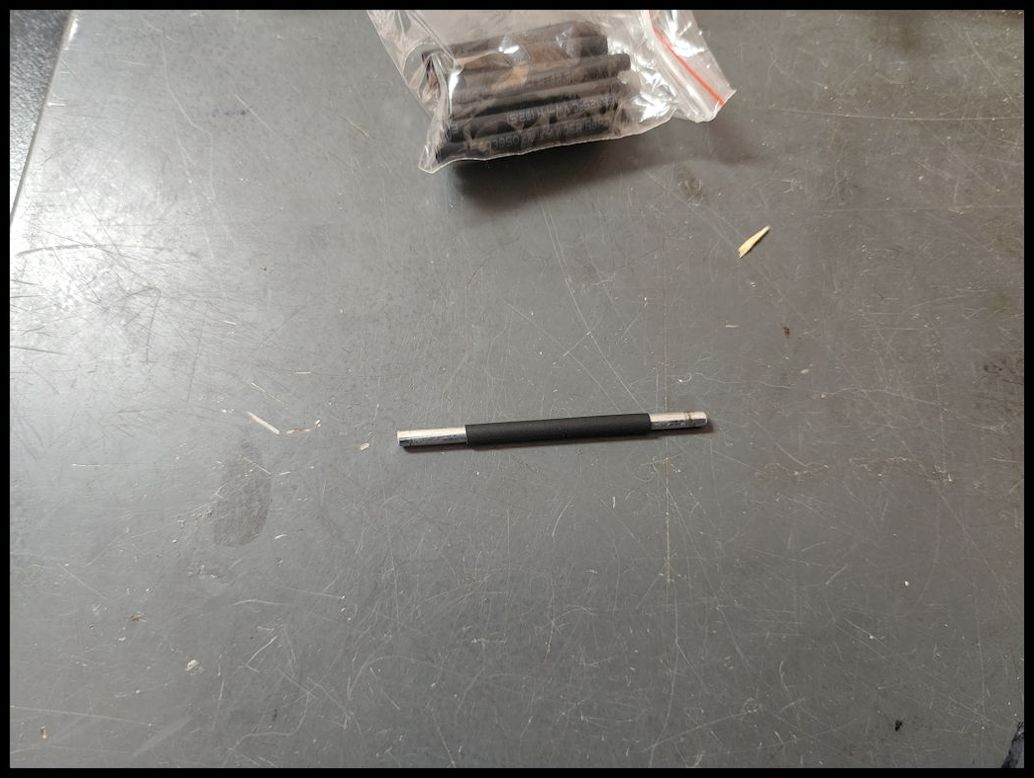
1/4" vinyl air brake line and some various size heat shrink tubing.
The Repair:
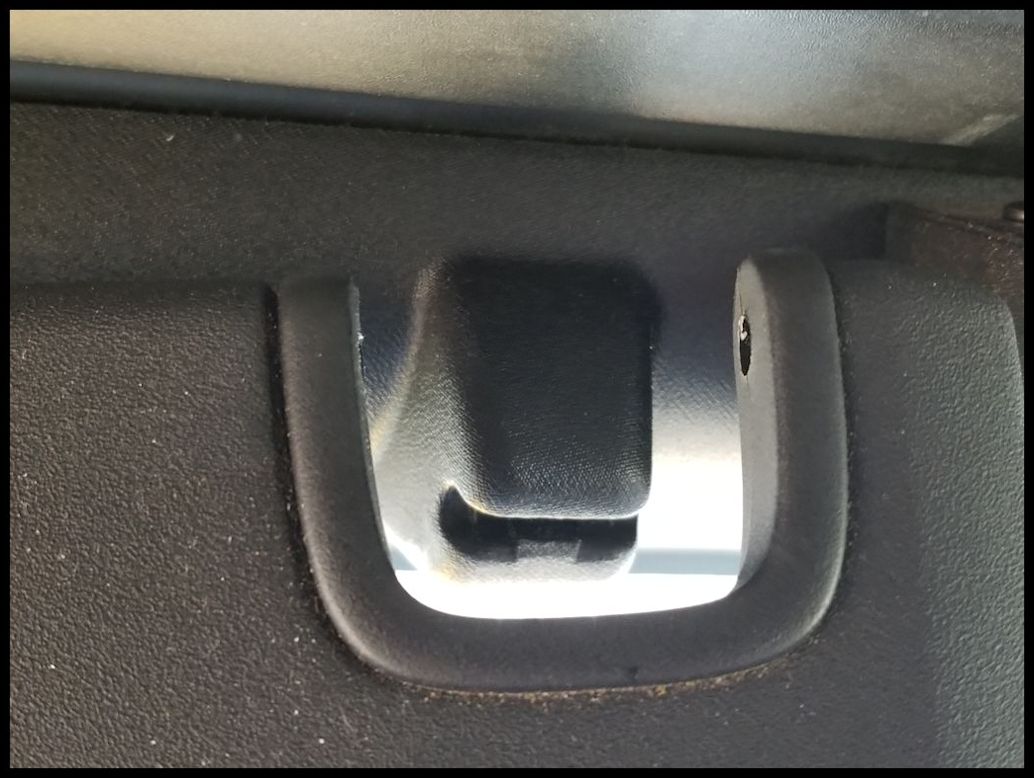
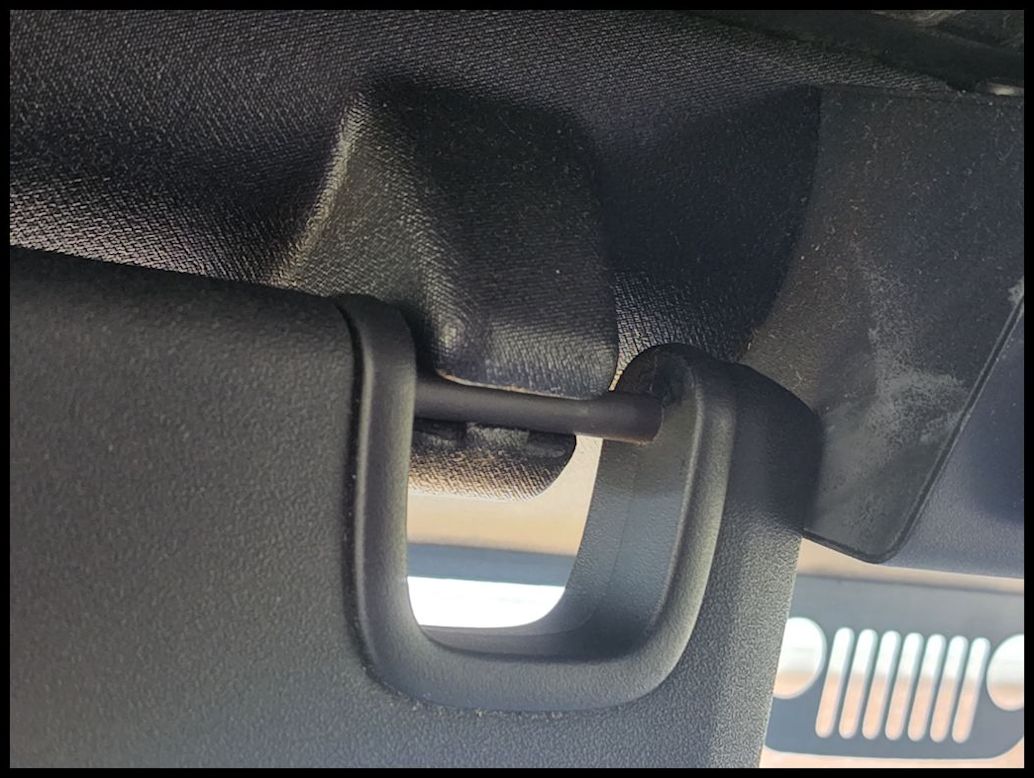
My visors looked like this. The driver side was completely missing, and the passenger side was coming apart. The sunvisor rattled every time I hit a bump and would constantly swing out towards me on hills.
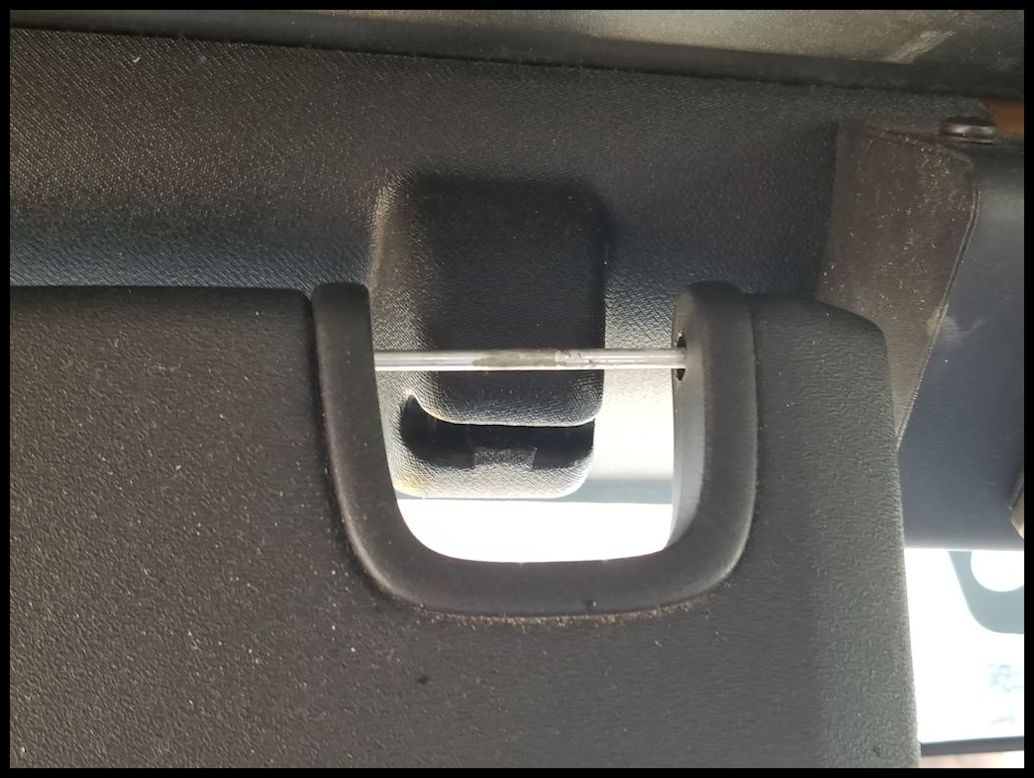
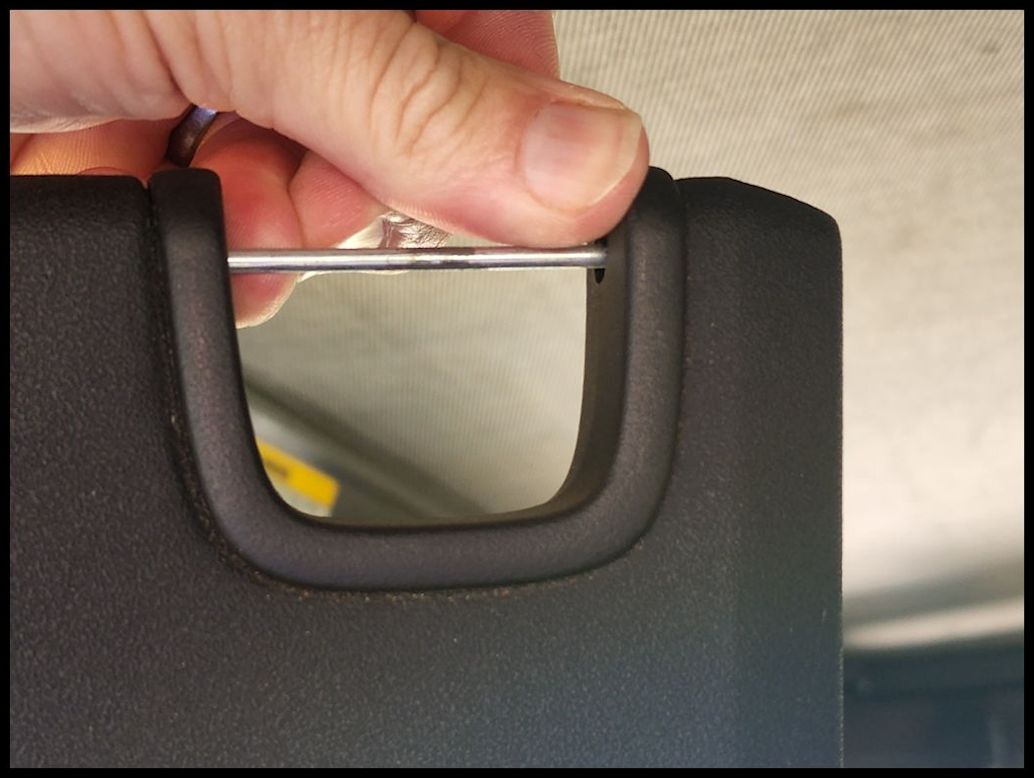
1. To remove the pin you will need to push the sunvisor apart on either side of the pin. You only need to move the end about 1/8" before the pin can be pulled up and out. This is much easier said than done. A nice hot sunny day will help soften up the sunvisor and make it easier to pry it apart. Be careful that you do not pull down on the visor, you can brake the mount or bend the bar inside the visor. Do not drop the pin.
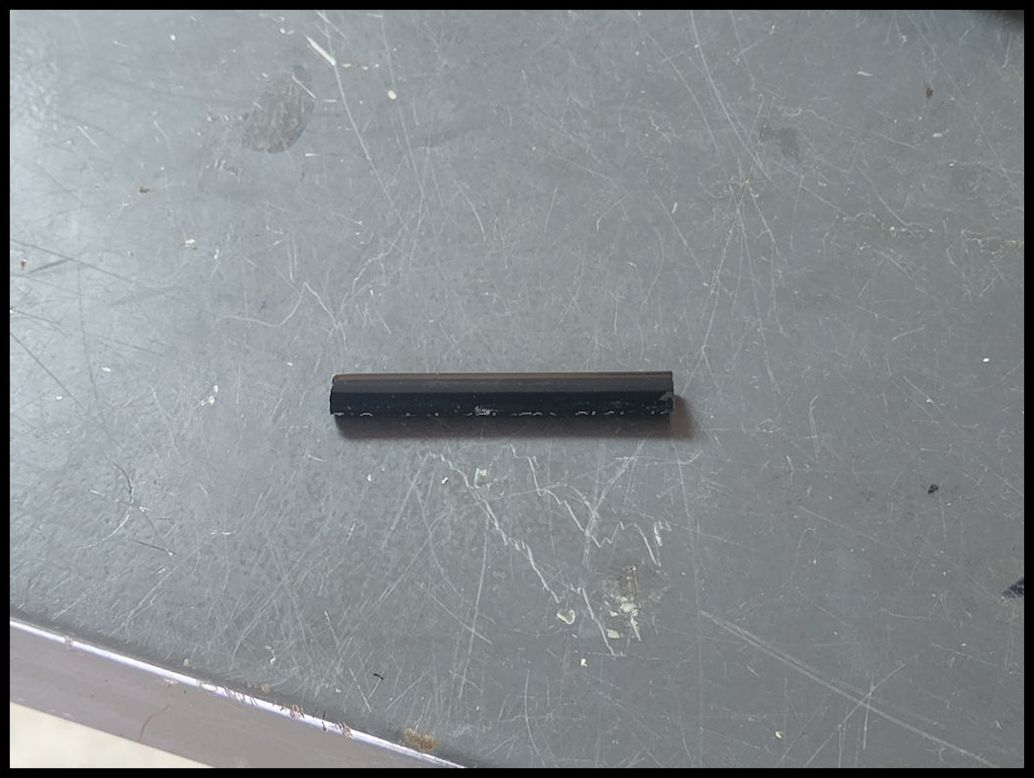
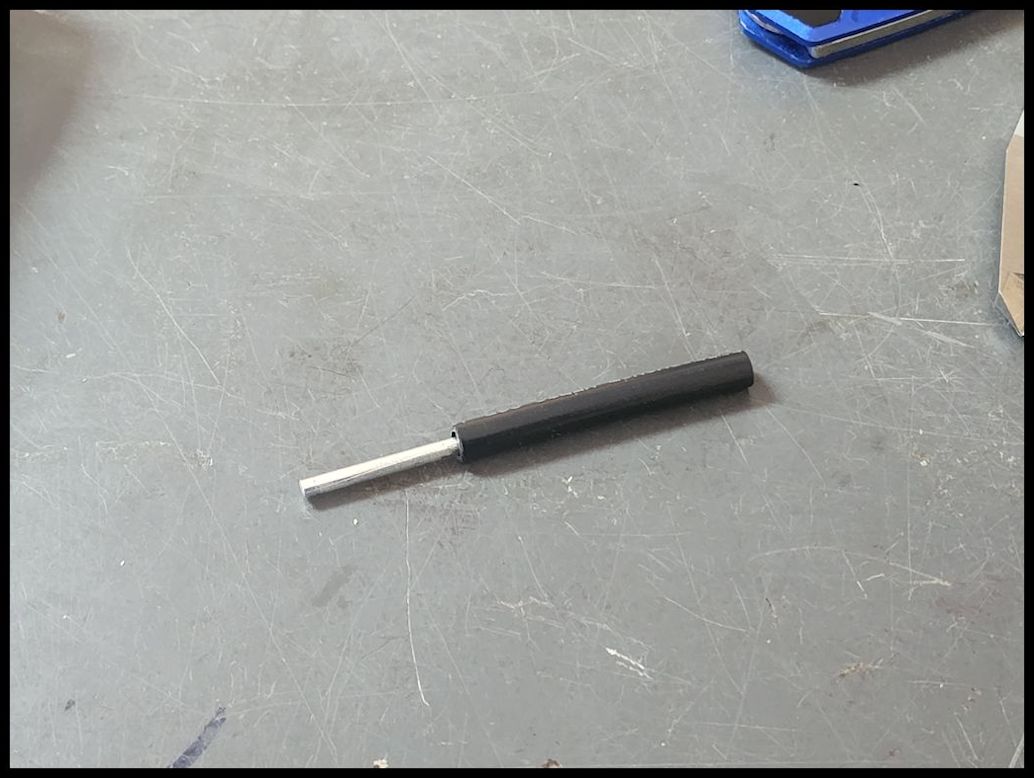
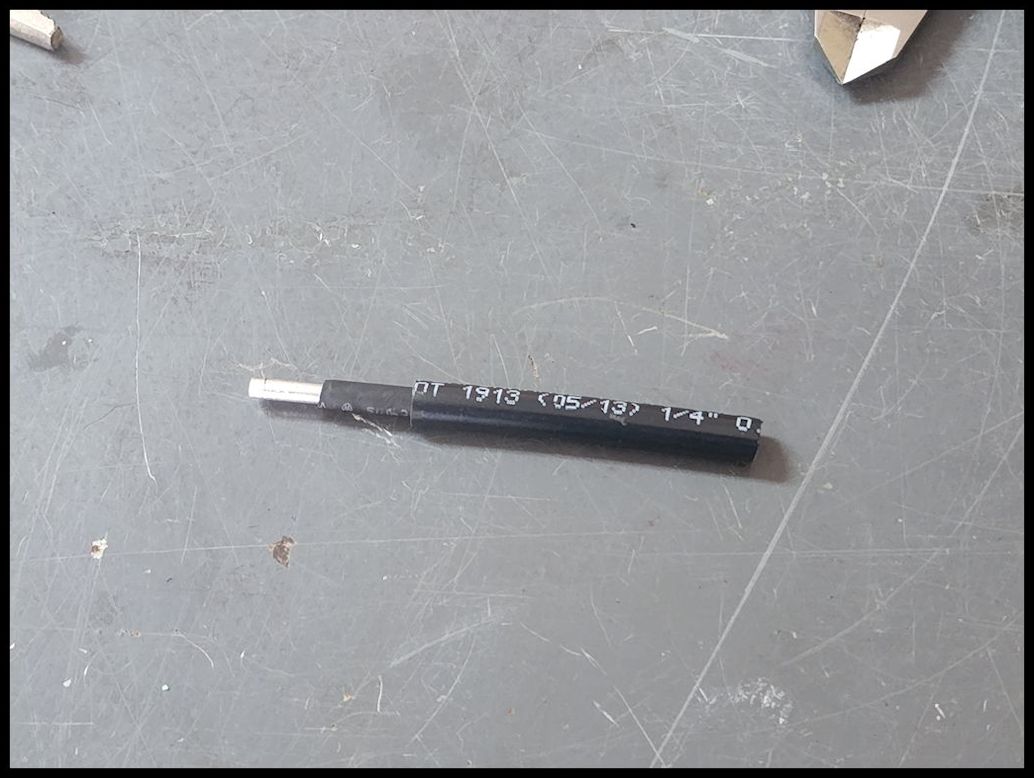
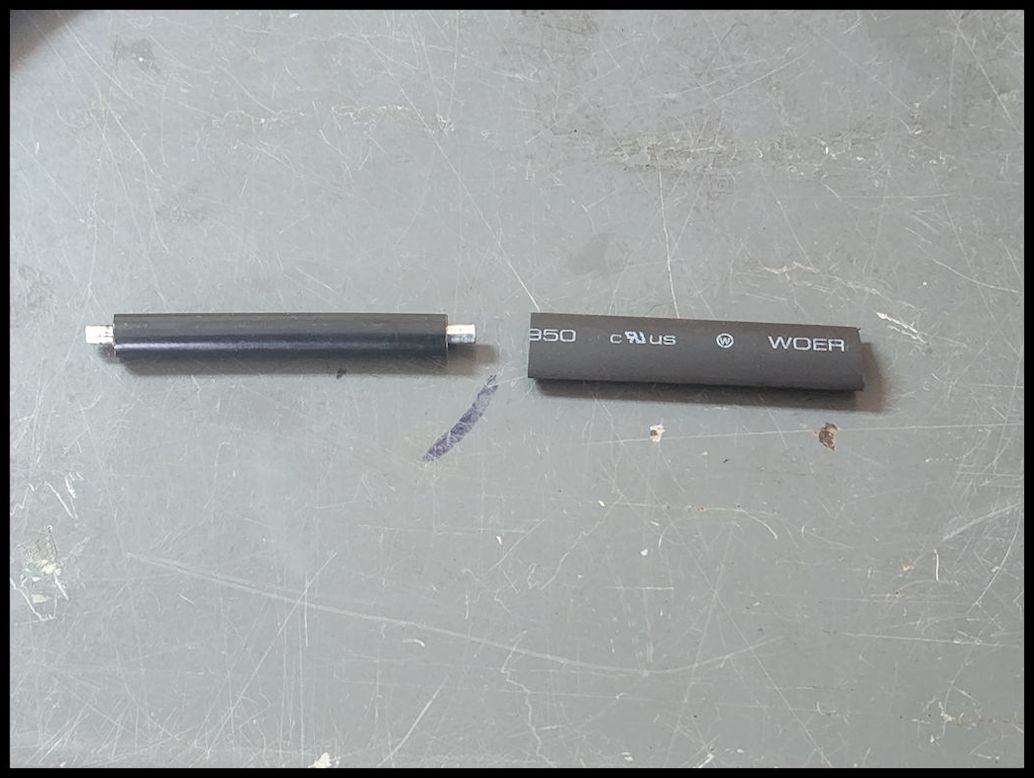
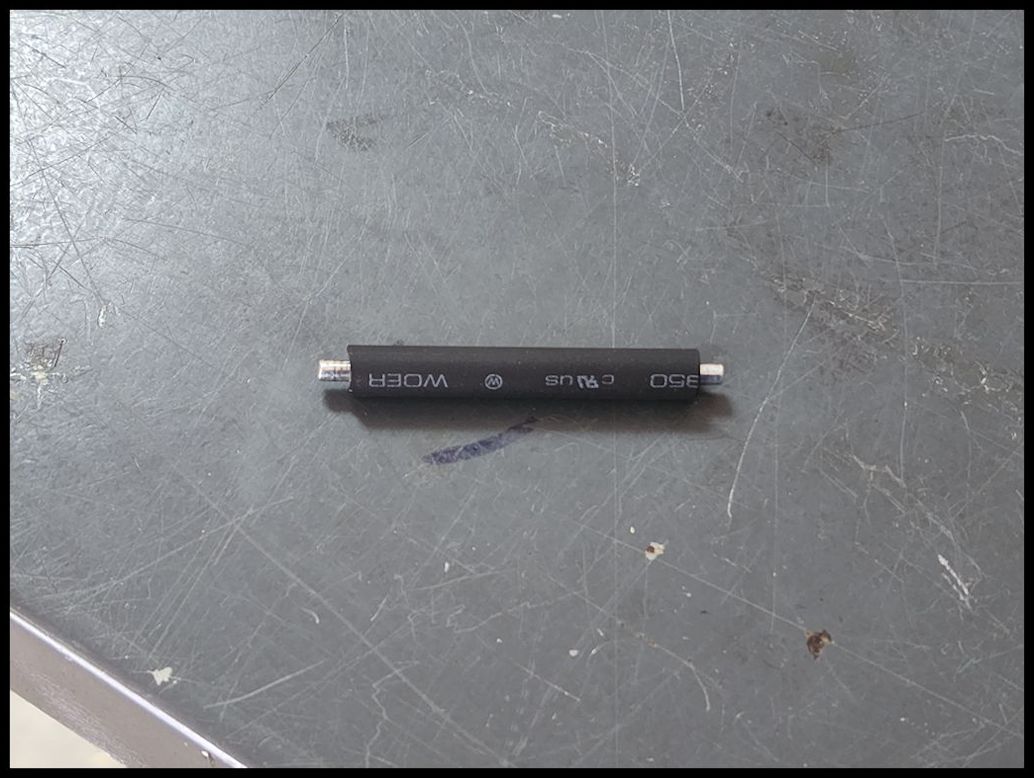
2. Cut a 1 7/8" piece of the 1/4" vinyl air brake line. As you can see the inside diameter of the air brake line is larger than the pin.
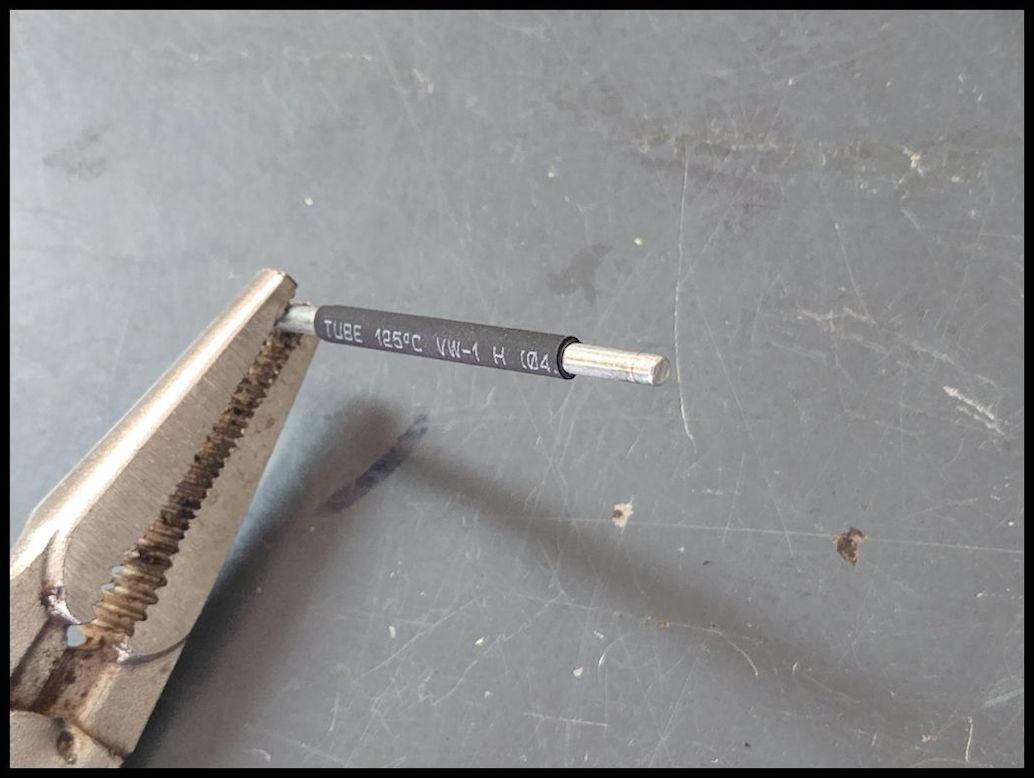
3. Cut a 1 3/4" (see note) piece of 3/32" and 3/16" heat shrink tubing. Place the 3/32" heatshrink over the pin, make sure it is centered. Hold the pin with a needle nose pliers and shrink it with the heat gun. Repeat this with the 3/16" heat shrink tubing. Let this cool.
Note: I actually used pieces that were 1 3/8" long. So you could use any piece from about 1 1/4" to 1 3/4" long
4. Place the 1/4" air brake line over the pin. This should be snug. You will probably be able to rotate the air brake line over the heat shrink, but it should have some resistance. I tried another piece of heat shrink tubing, but then I couldn't get the air brake line over it, so I would stay with just the two.
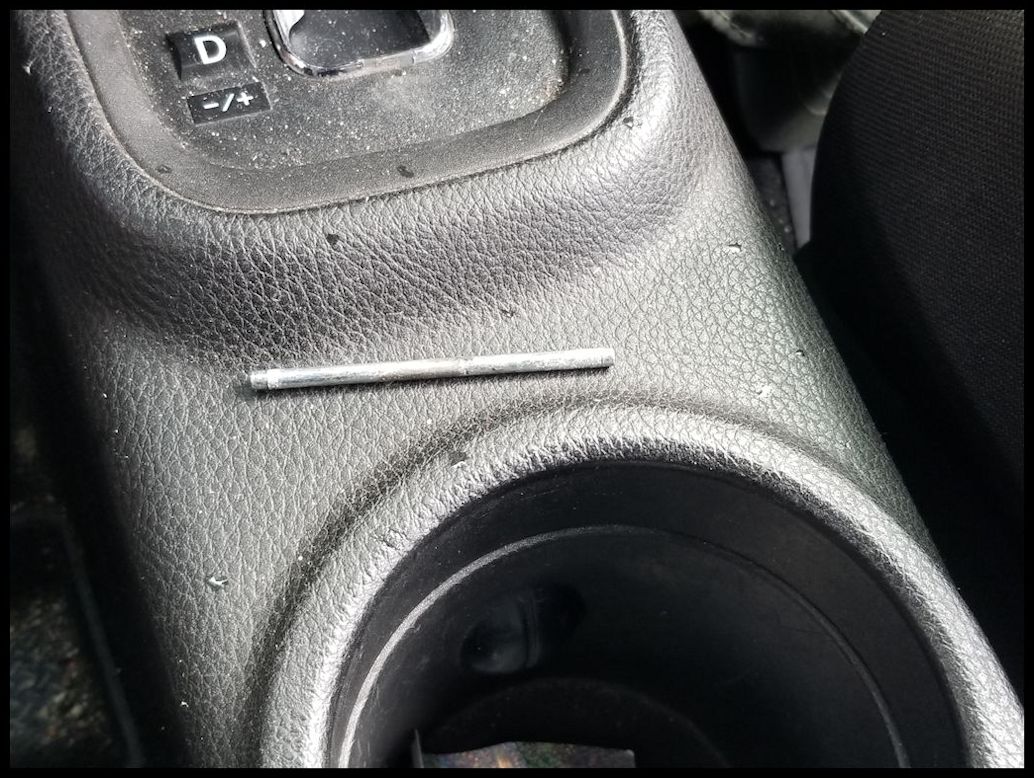
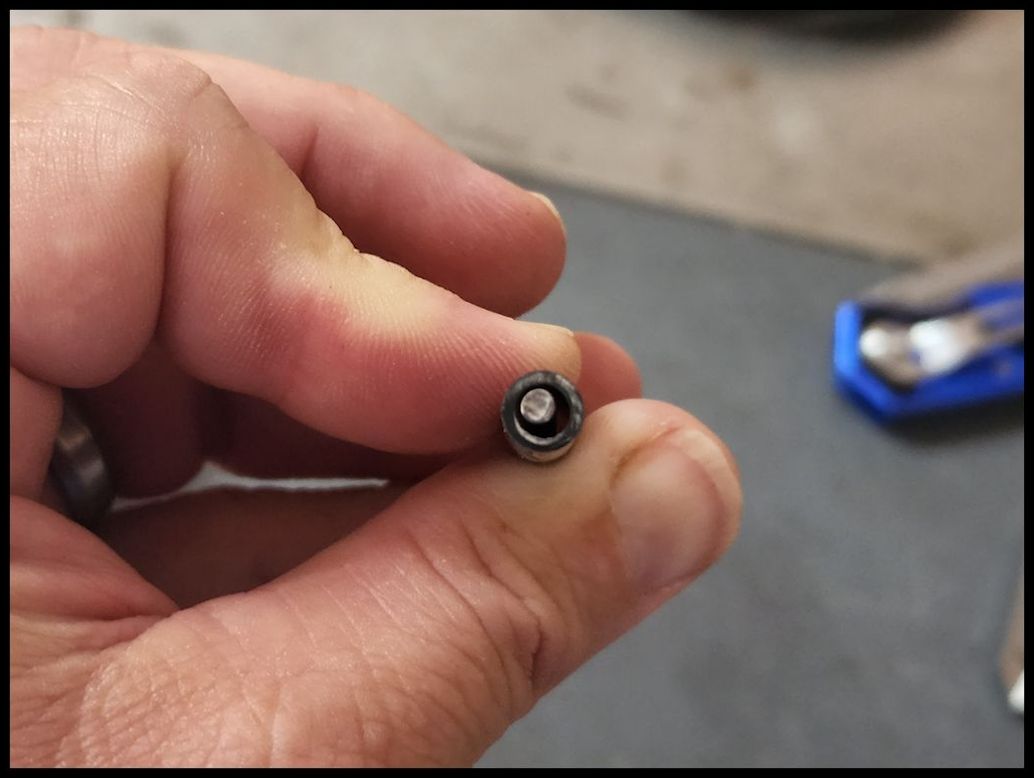
5. Test fit the pin in the slot to see if it fits snuggly. There should be resistance to it sliding into the holder on the windshield header. You don't need to put it back in the sunvisor like I did, you can just hold it in your fingers and see how snug it is. I was checking the fit to get good measurements, but the 1/4" air brake line was still two thin at this point.
6. Cut a 1 7/8" piece of 1/4" heat shrink tubing. Place the heatshrink over the air brake line, make sure it is centered. Hold the pin with a needle nose pliers and shrink it with the heat gun. Let this cool.
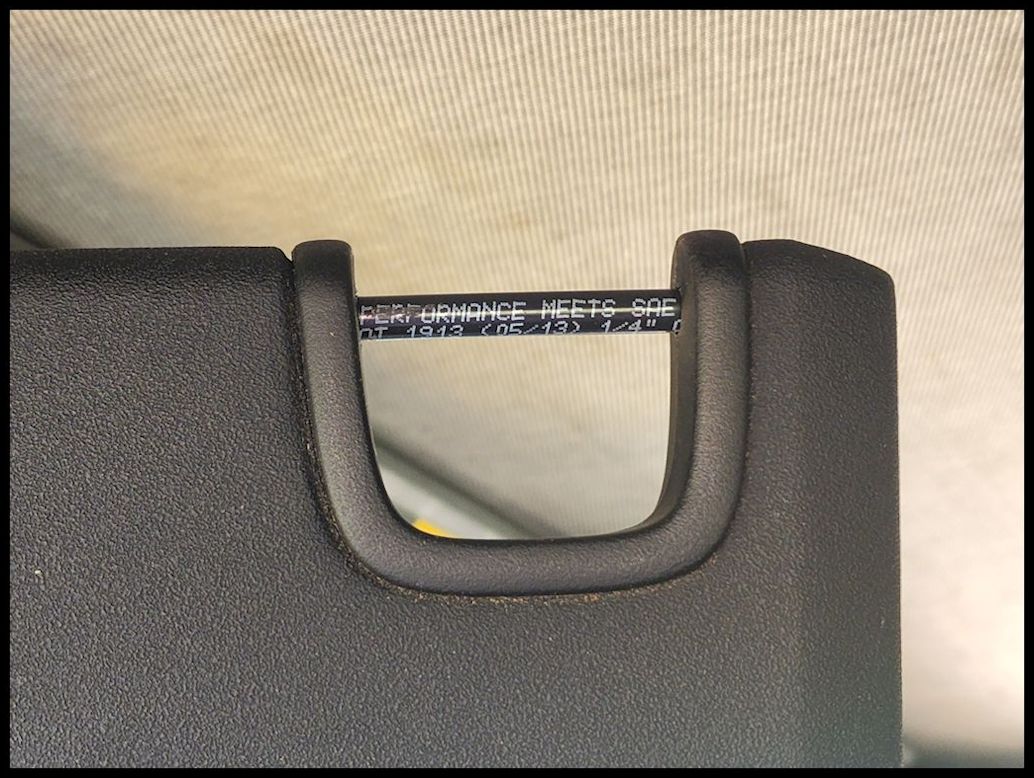
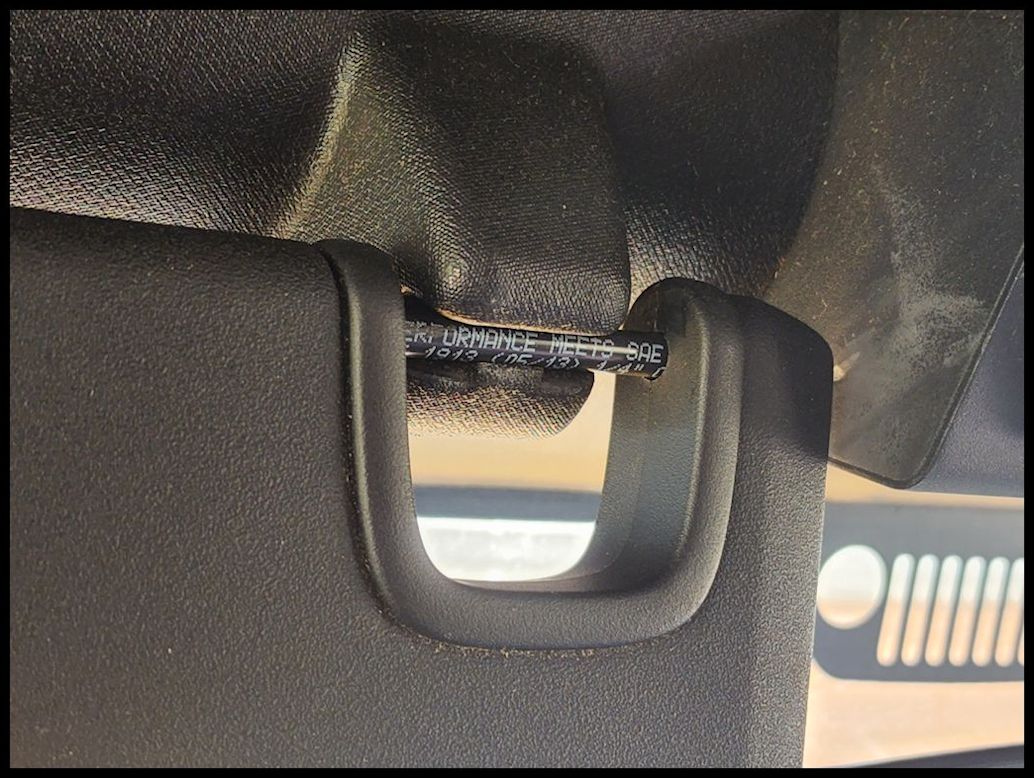
7. Test fit the pin in the slot to see if it fits snuggly. Reinstall the pin into the sunvisor. This is a repeat of taking it out. With a little patients you will get it in.
Follow Up:
I originally did mine about a year ago and haven't seen any real damage to mine. You can see a skuff mark on the heat shrink where it gets pulled in and out of the holder on the windshield, but other than that it works very well.