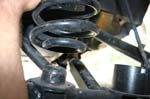
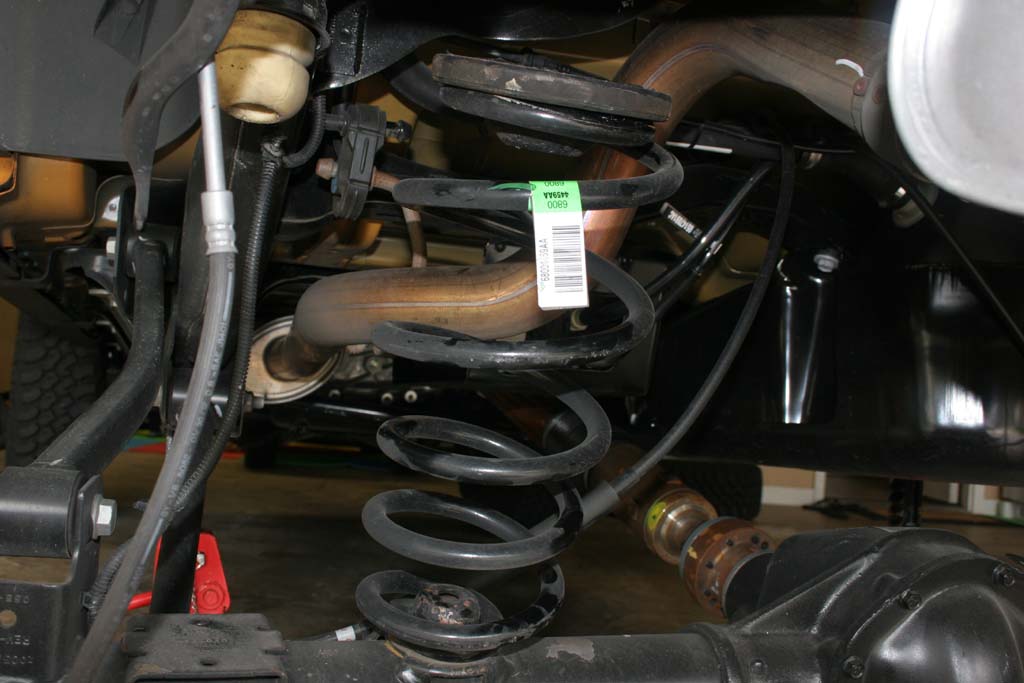
When I installed my RockKrawler 2.5" stock mod kit, I noticed a couple of things that I wasn't quite satisfied with. 1. The rear springs sat curved in the between the upper and lower spring mounts. Not a whole lot, but it was there. This is due to the rotation of the rear axle when you adjust for the pinion angle, not normally a big issue, just one of those have to live with it items. 2. The rear did sit a little lower than the front when you looked at it from the side. This is without any of the heavy bumpers or winch on the front. 3. My rear axle was pushed over towards the drivers side, so I really needed a shorter rear track bar than the factory. Most rear trackbars are designed to be longer than stock. This could most likely be fixed with the RockKrawler rear adjustable trackbar, but I can't be certain of that. RockKrawler had already thought about a few of the issues with spring rotation so they had a set of 10degree polyurethane wedges that are designed to go under the rear springs and align them better with the upper spring pads. This should give me a little more height (5/8" as I'm told, but the numbers will tell), align my rear track a little better, and make the Jeep level or nose down a little. I did see a set of wedges from Poly Performance. They appear to be the same exact wedge (size, shape, and molding number on them). Prices are the same also, so you can go either way.
Measurements
(with 2.5" RK stock mod installed) |
Before |
After |
Total Change |
| Front Bumper Driver Side |
31" |
30 1/2" |
-1/2" |
Front Bumper Passenger Side |
31" |
30 3/4" |
-1/4" |
| Front Fender Driver Side (centered on wheel) |
39 1/2" |
39 1/2" |
0" |
| Front Fender Passenger Side (centered on wheel) |
39 3/4" |
39 3/4" |
0" |
| Center of Front Door Lip Driver Side |
26" |
26" |
0" |
| Center of Front Door Lip Passenger Side |
26" |
26" |
0" |
| Frame at Mid Body Mount Driver Side |
17" |
17 1/4" |
+1/4" |
| Frame at Mid Body Mount Passenger Side |
17" |
17" |
0" |
| Center of Rear Door Lip Driver Side |
26 1/4" |
26 3/8" |
+1/8" |
| Center of Rear Door Lip Passenger Side |
26 1/4" |
26 1/4" |
0" |
| Rear Fender Driver Side (centered on wheel) |
39 1/4" |
39 3/4" |
+1/2" |
| Rear Fender Passenger Side (centered on wheel) |
39" |
39 1/4" |
+1/4" |
| Rear Bumper Driver Side |
30 3/4" |
30 3/4" |
0" |
Rear Bumper Passenger Side |
30 1/2" |
30 3/4" |
+1/4" |
| Installation: |
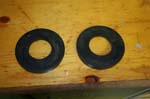
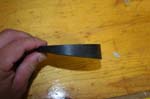
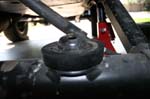
| Nothing to high tech about the spacers. Simple polyurethane with a 10degree angle and a beveled interior edge. |
 |
 |
 |
| 1. Jack up the rear suspension and support the Jeep with Jack Stands in front of the lower control arm. Remove the tires. Leave the floor jack under the axle to relieve some pressure on the bolts for the next couple of steps. |
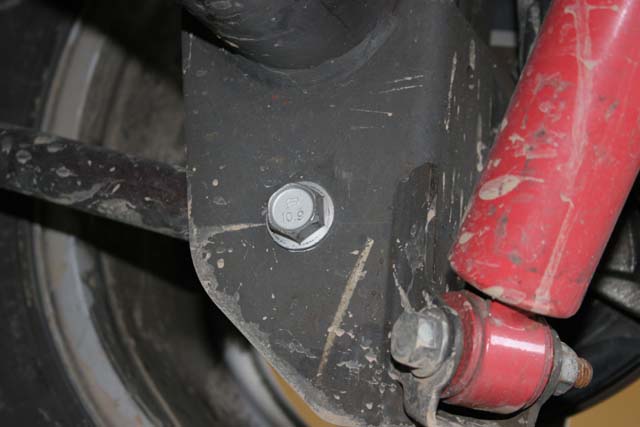
| 2. Loosen the following bolts: Upper control arms and lower control arms. You will need a 18mm and 21mm socket and combo wrench. |
 |
 |
 |
| 3. Remove the following bolts/nuts: |
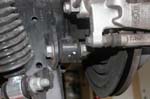
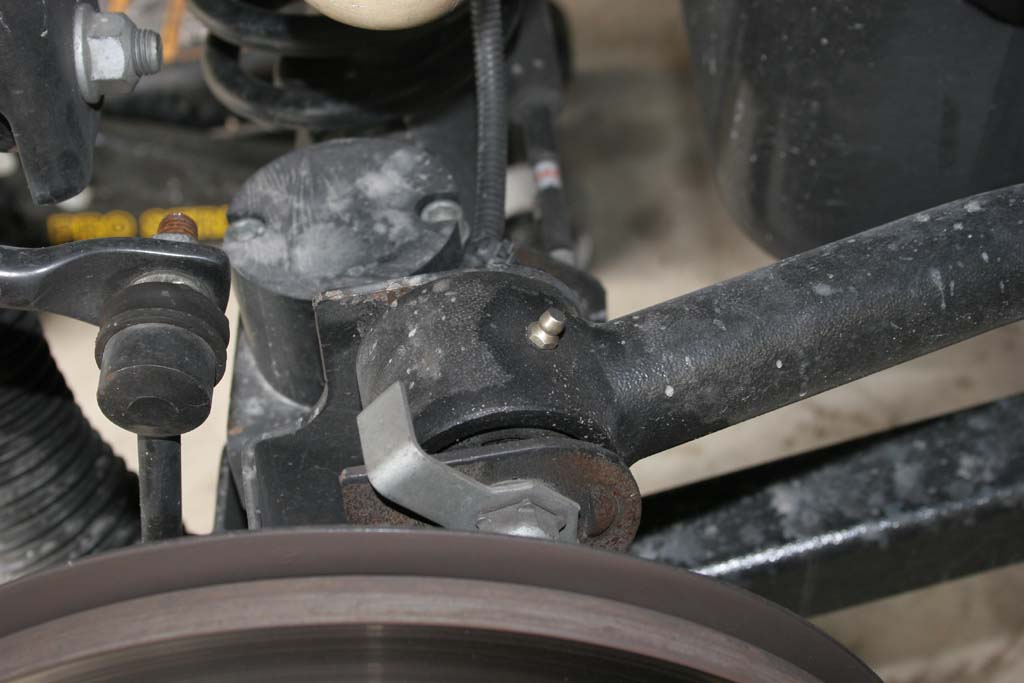
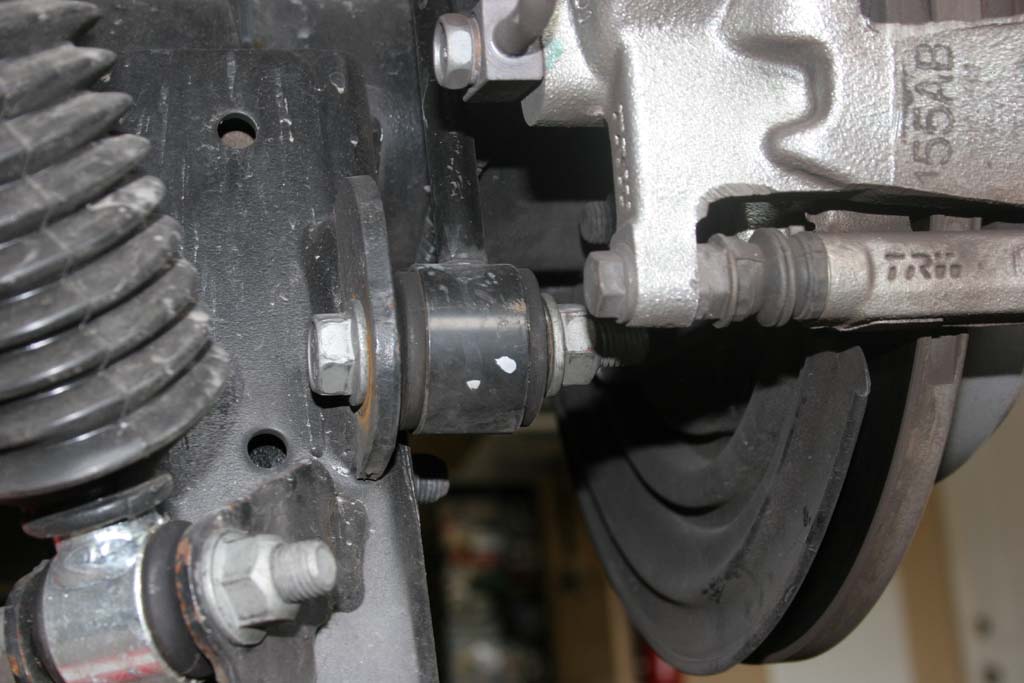
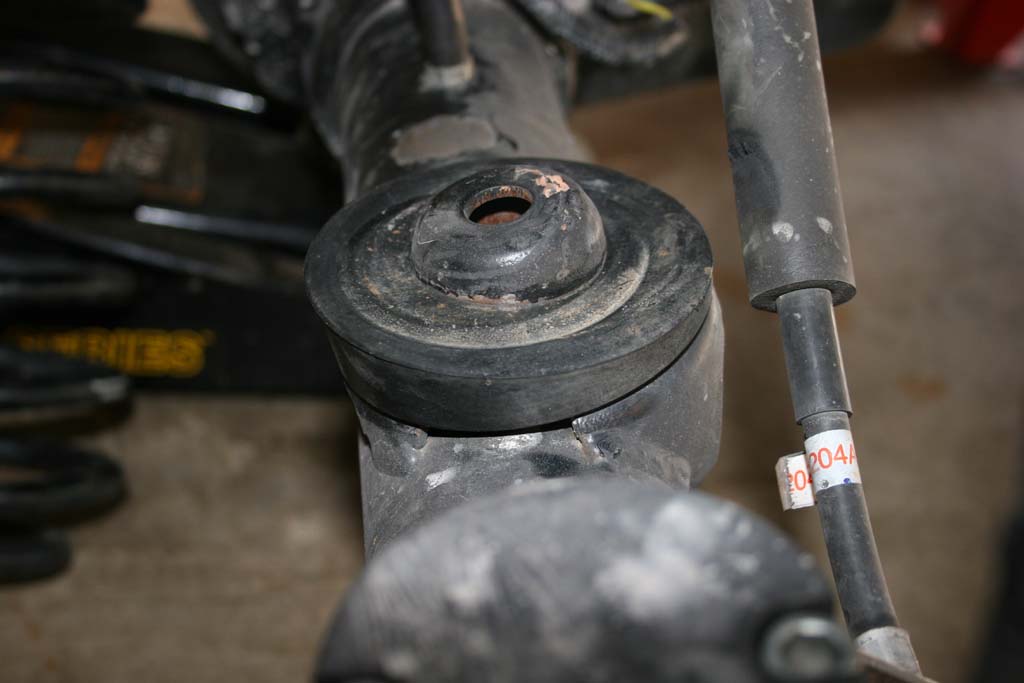
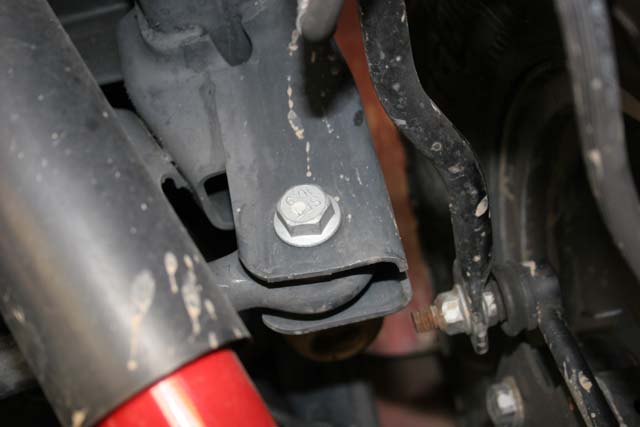
Lower shock bolts. You will need a 18mm socket and combo wrench for the lower.
|
 |
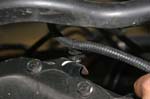
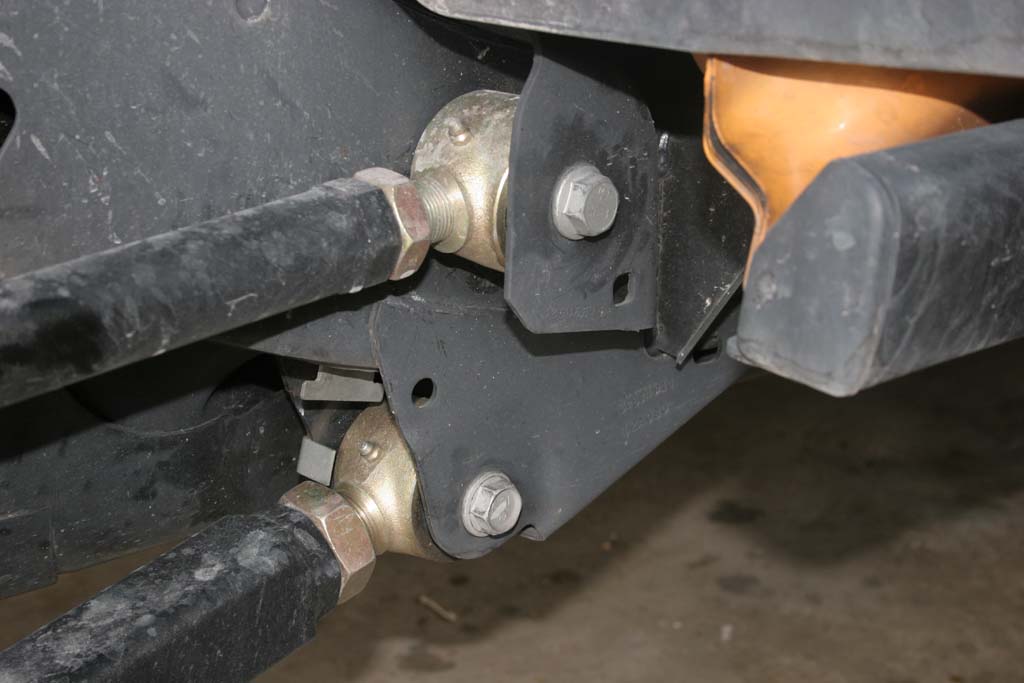
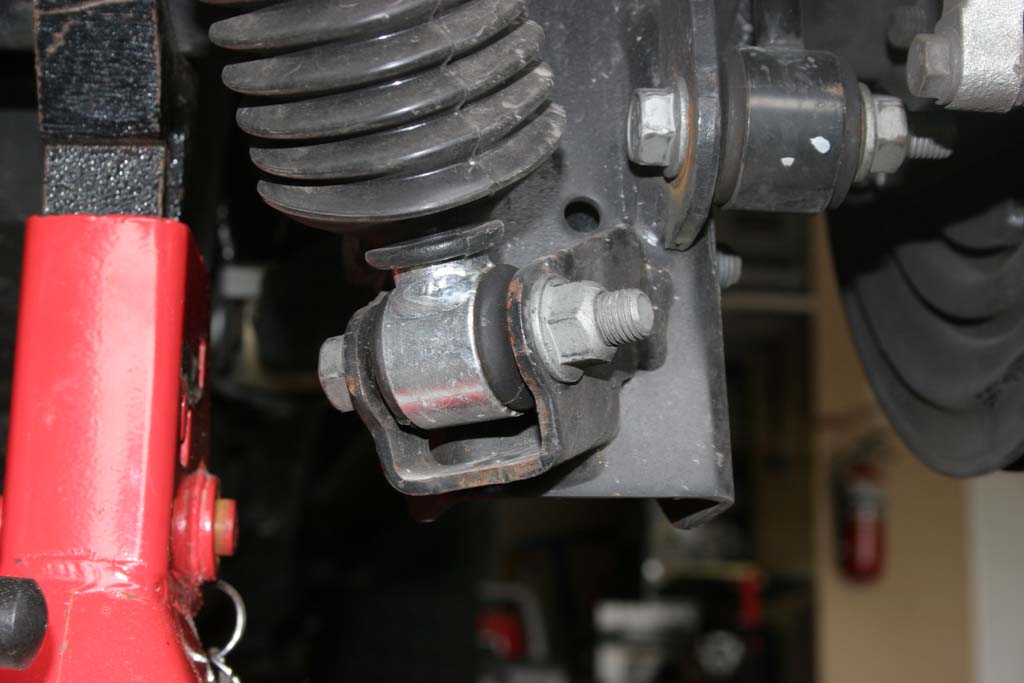
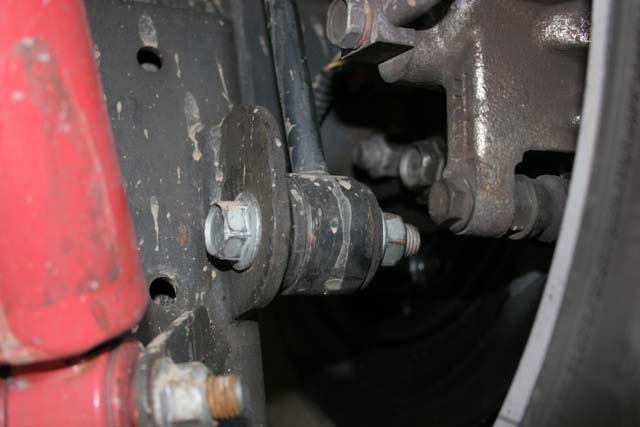
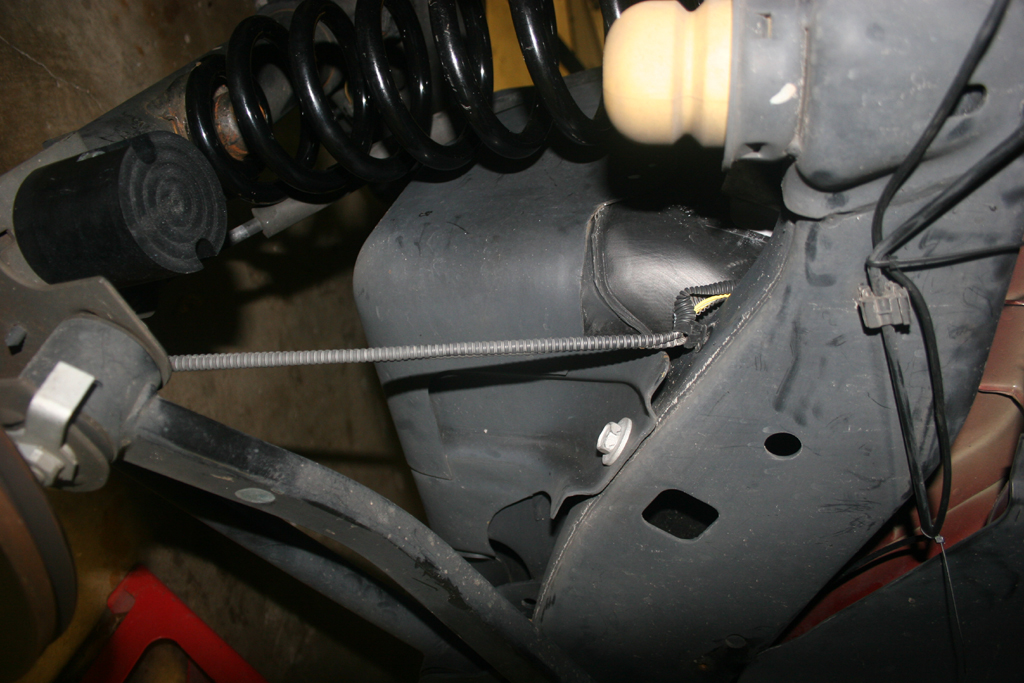
Rear anti-sway bar lower bolt. You will need a 18mm socket and combo wrench.
|
 |
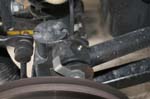
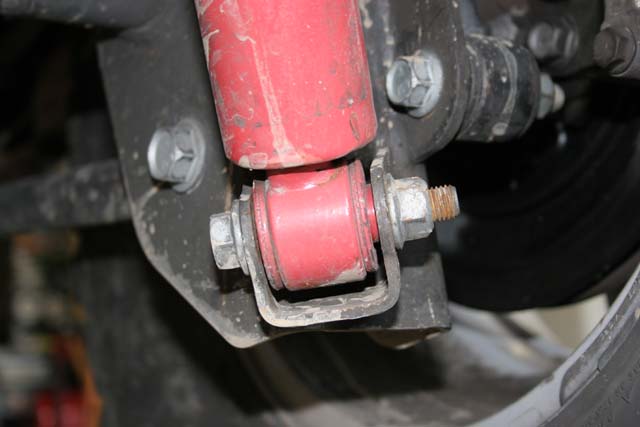
Rear trackbar lower bolt. You will need a 21mm socket and combo wrench.
|
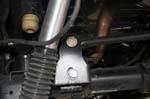 |
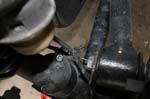
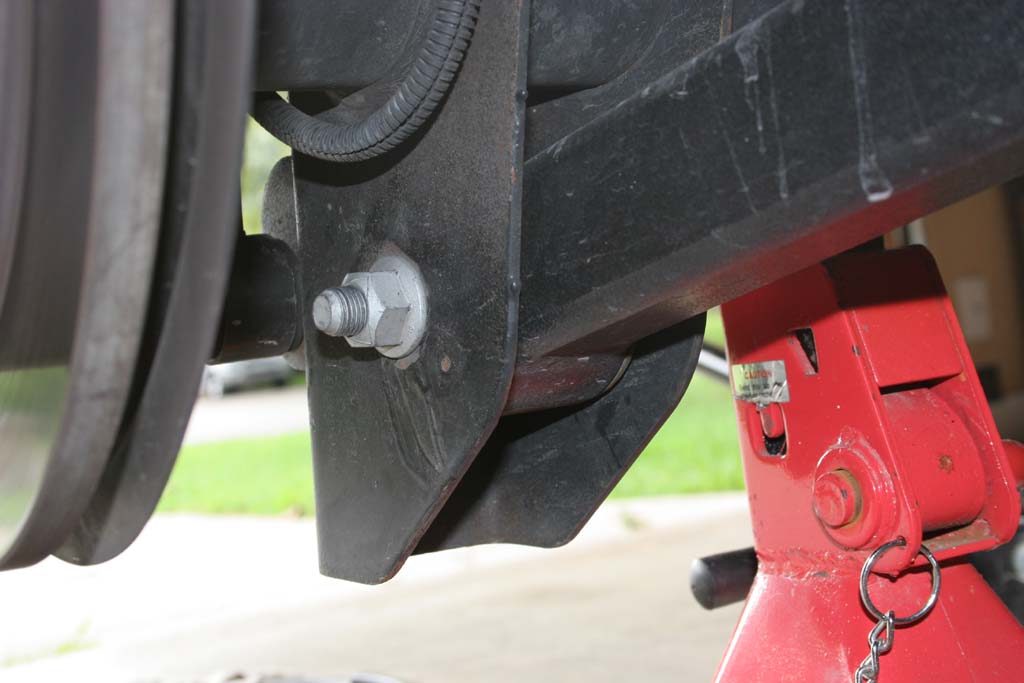
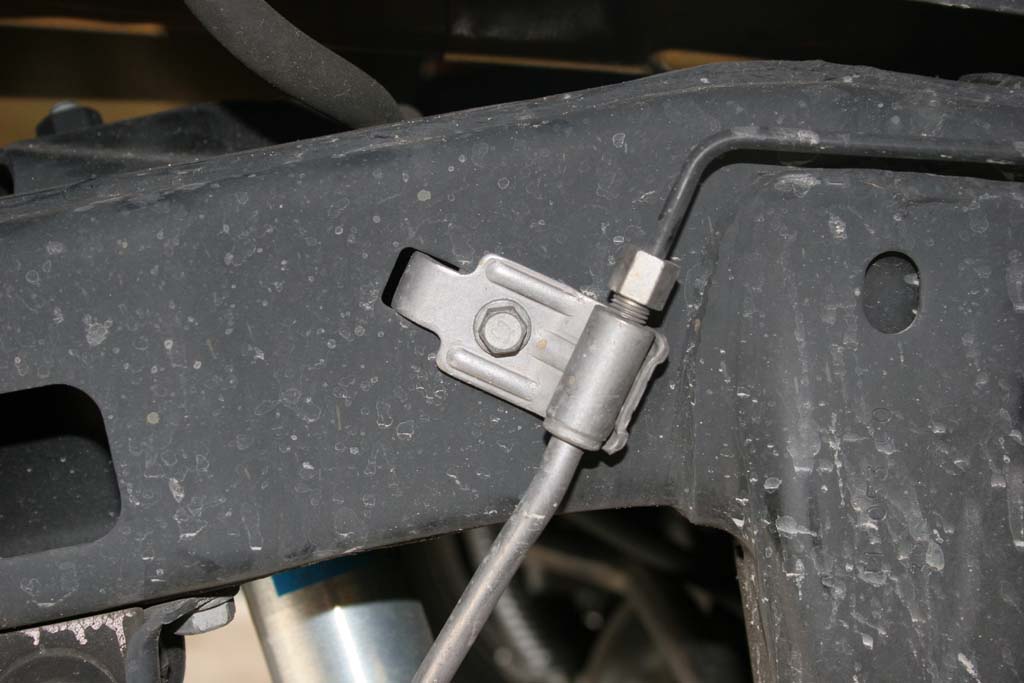
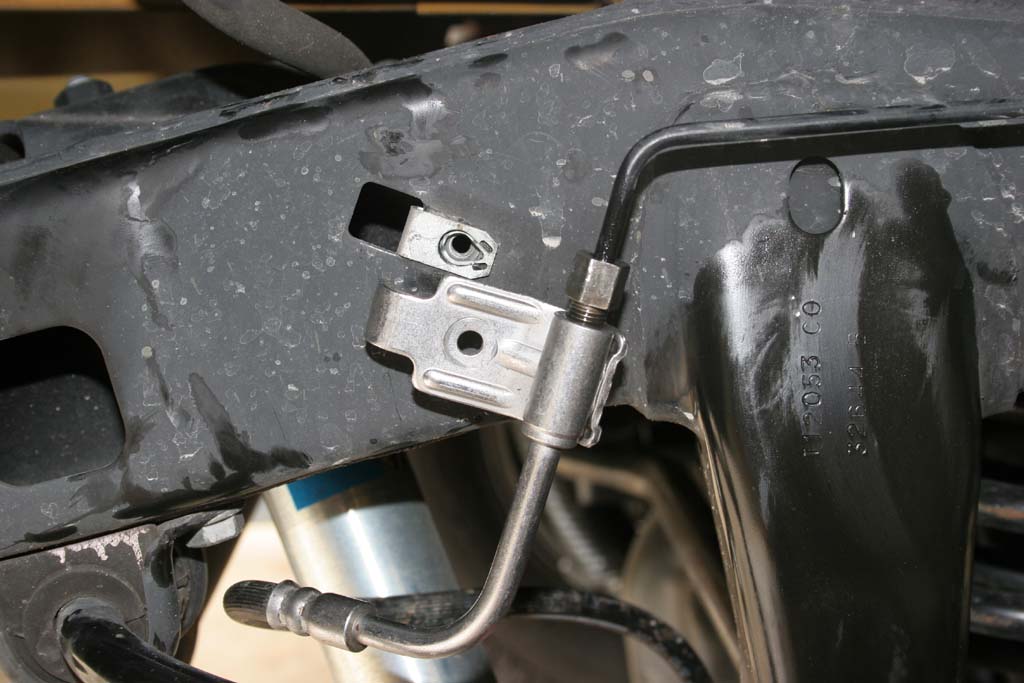
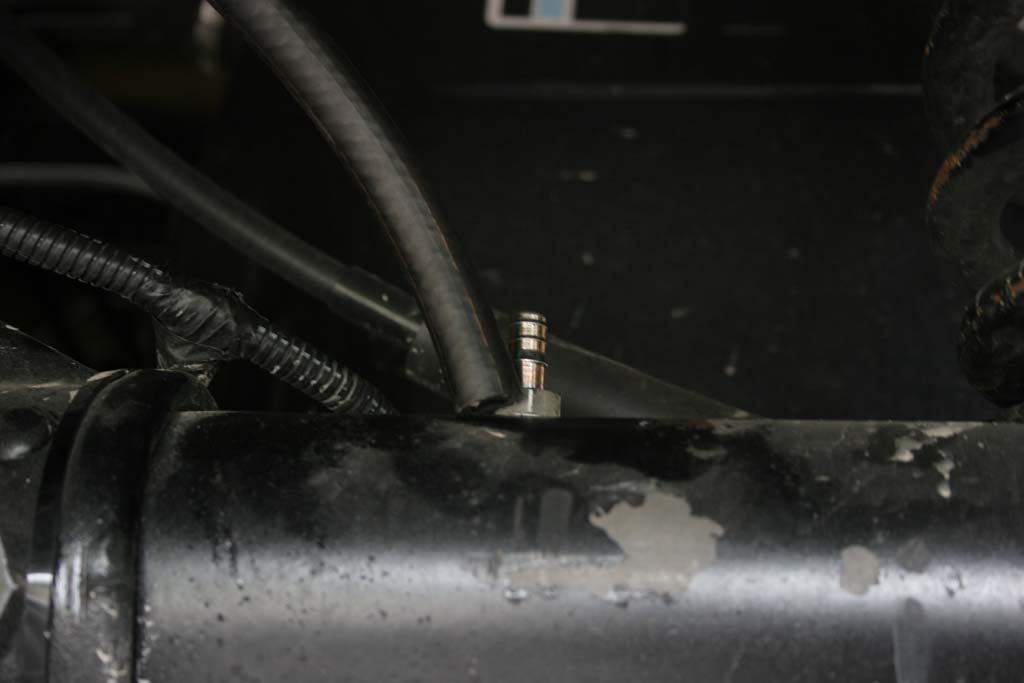
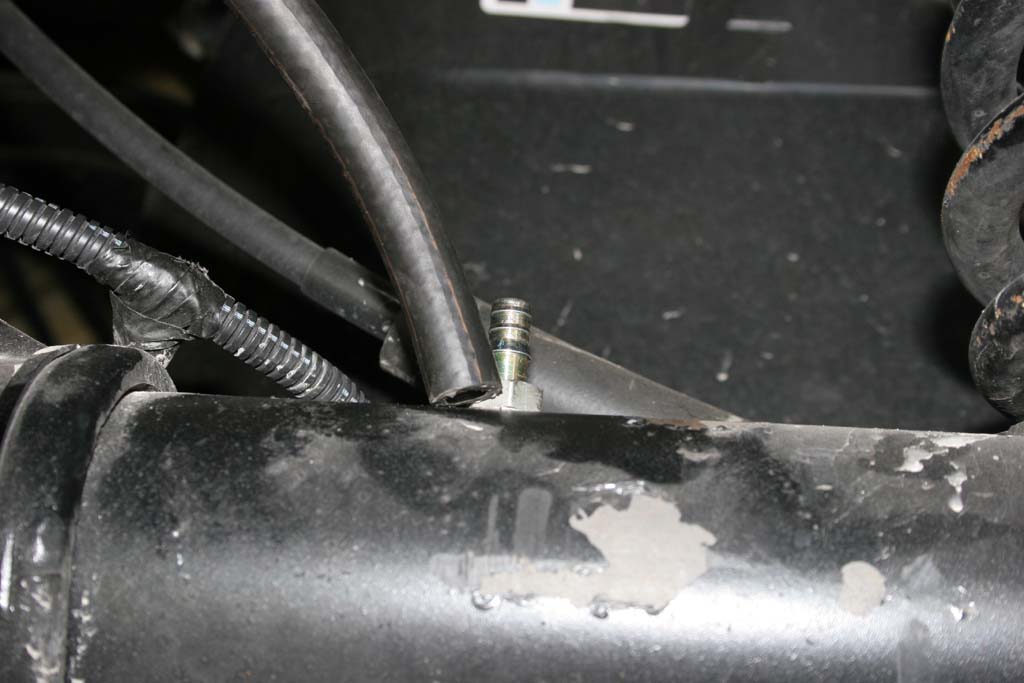
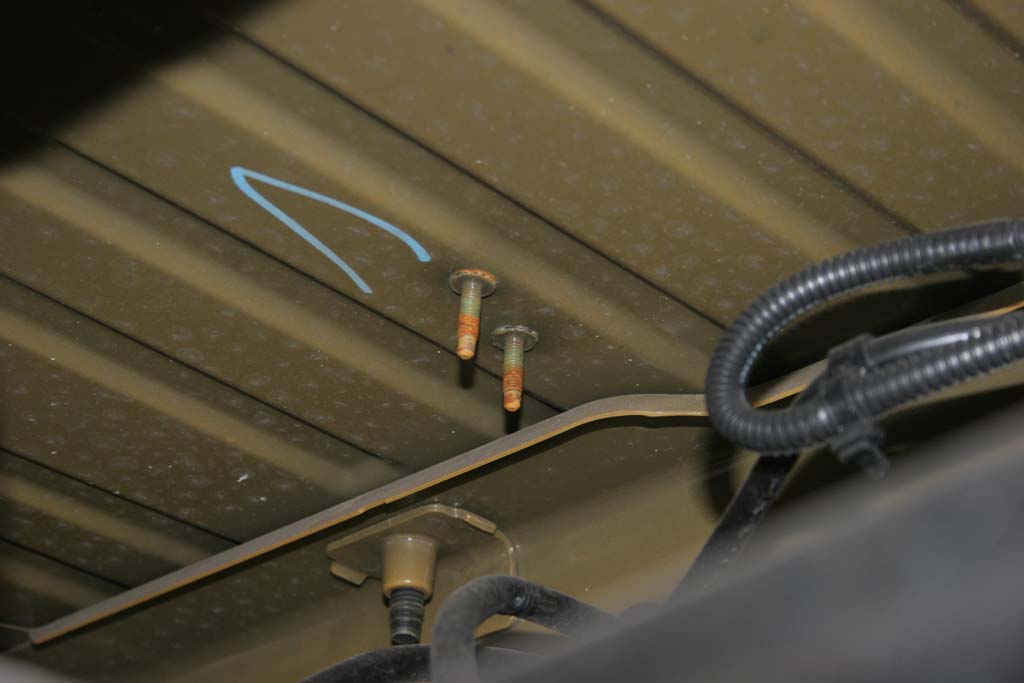
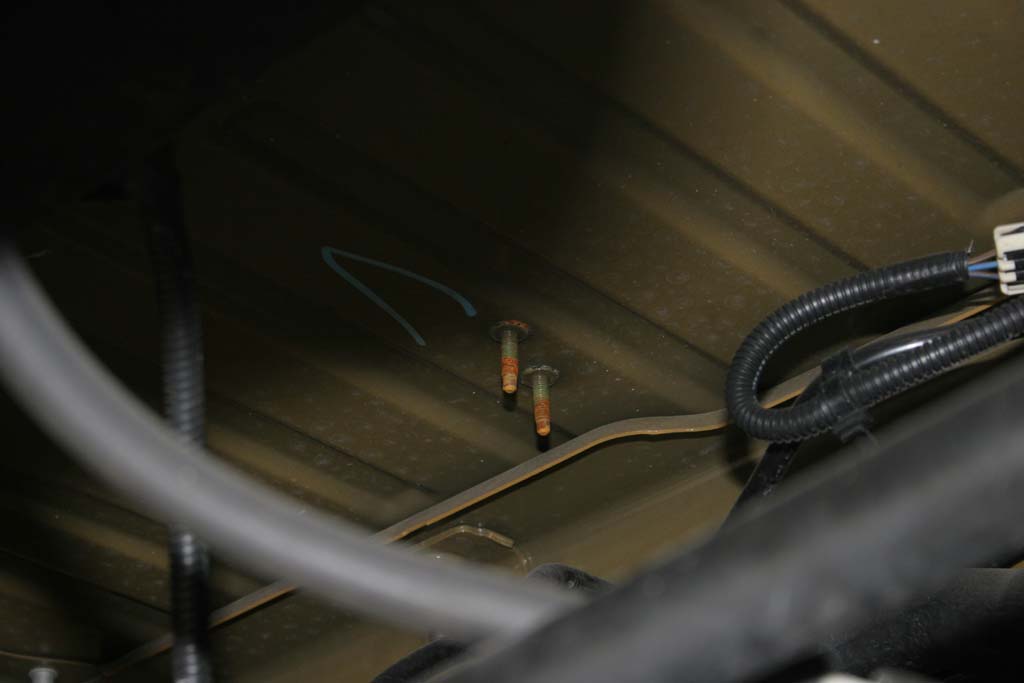
Brake line mount to frame. You will need a 10mm socket.
|
 |
 |
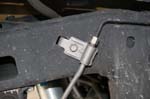
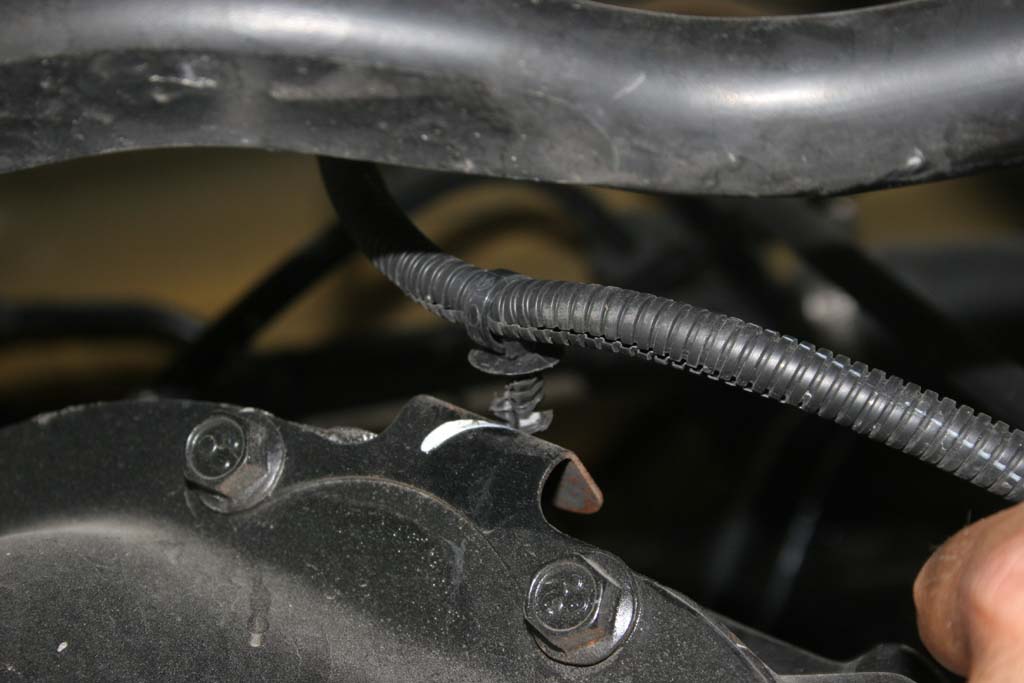
Emergency Brake bracket. You will need a 10mm deep well socket. I left the cables free of the bracket, though I did bolt the axle back into place to avoid loosing it. |
 |
| 4. If needed, unclip or remove the following:
(most of this will have been done if you have done a lift kit already on your vehicle) |
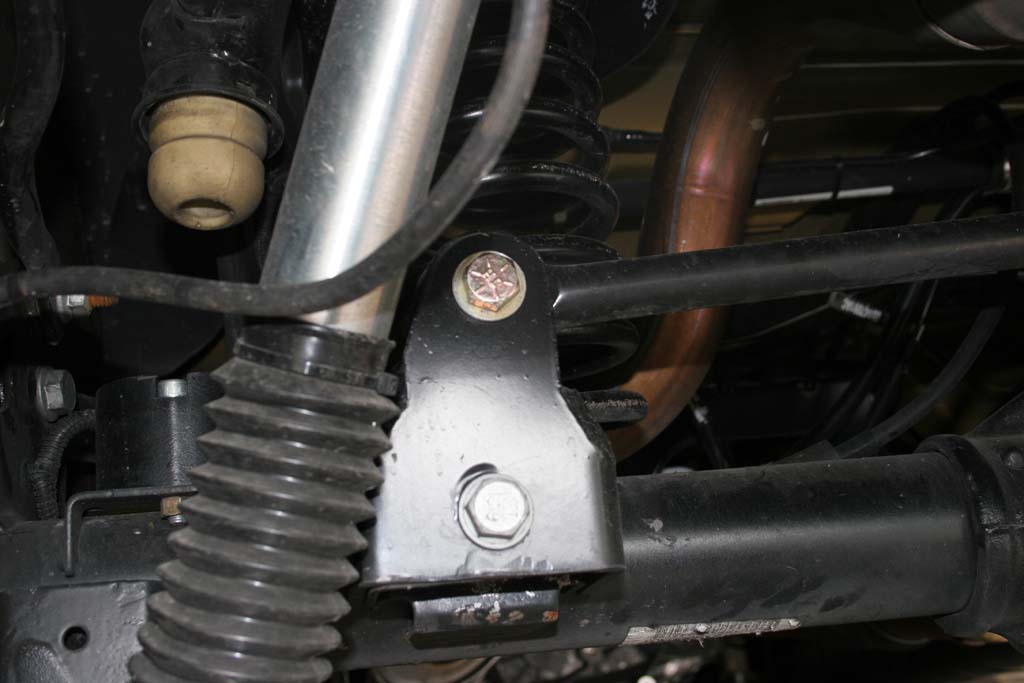
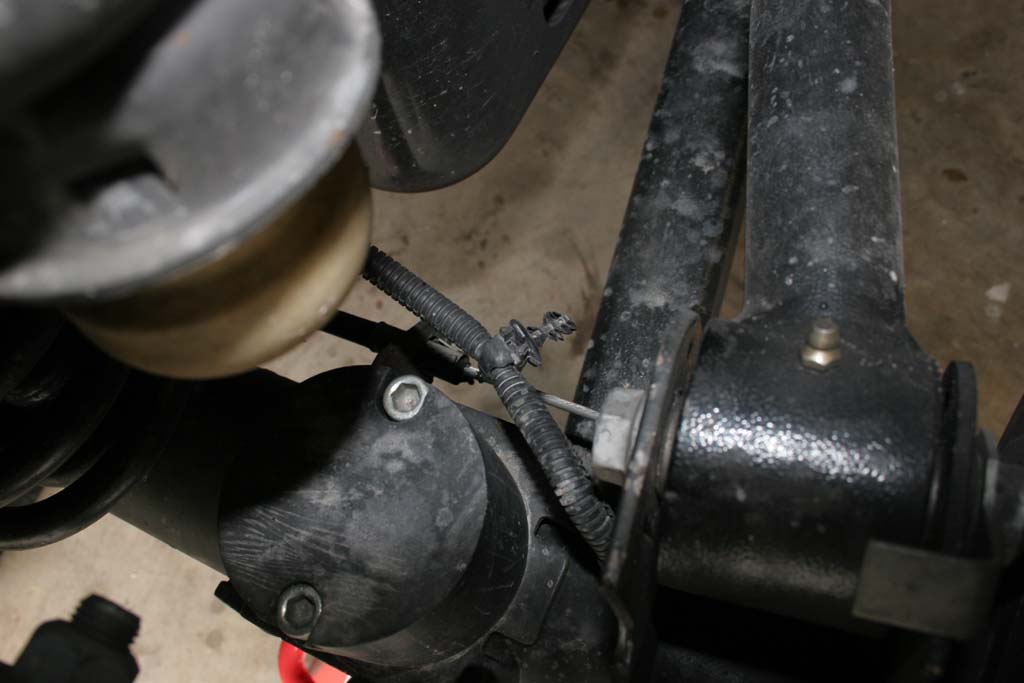
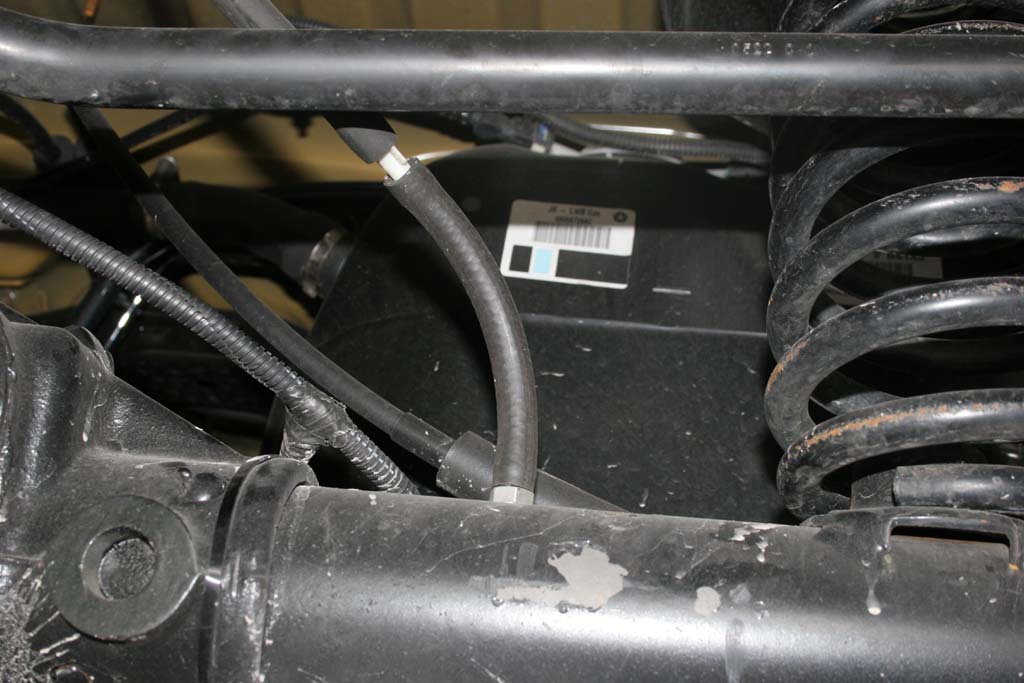
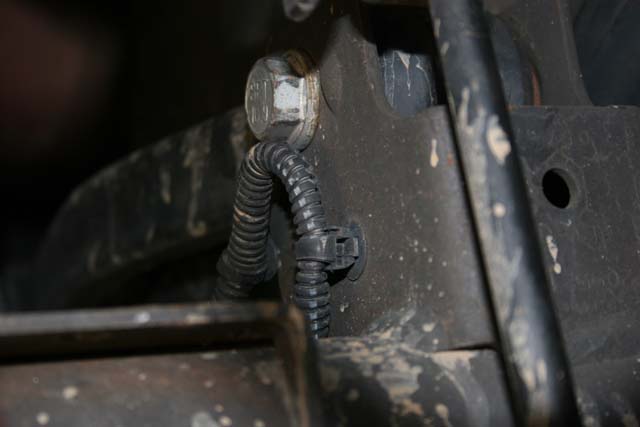
The speed sensor cables from the frame for each wheel hub. You may need the extra slack.
|
 |
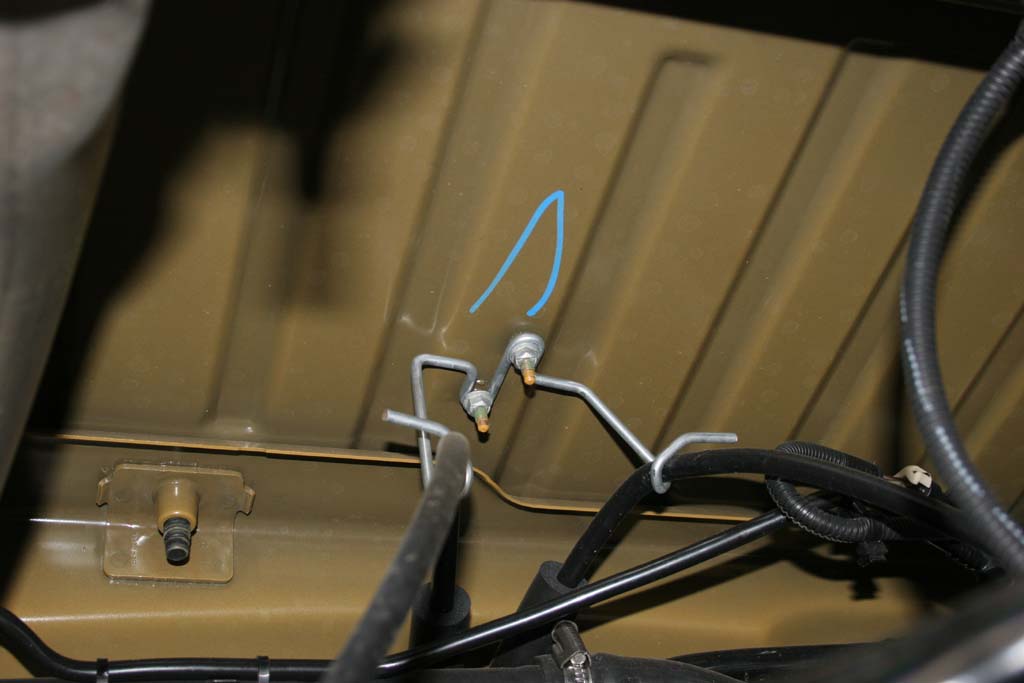
For Rubicon models, you may need to unclip the rear locker cable to the differential.
|
 |
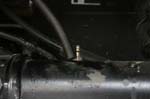 |
If needed, slowly twist and work the rear differential breather line off of the fitting on the axle.
|
 |
 |
| 5. Slowly lower the axle down towards the ground. Watch the brake lines, speed sensor lines and the locker cable on the differential. |
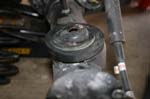
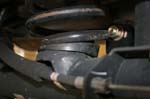
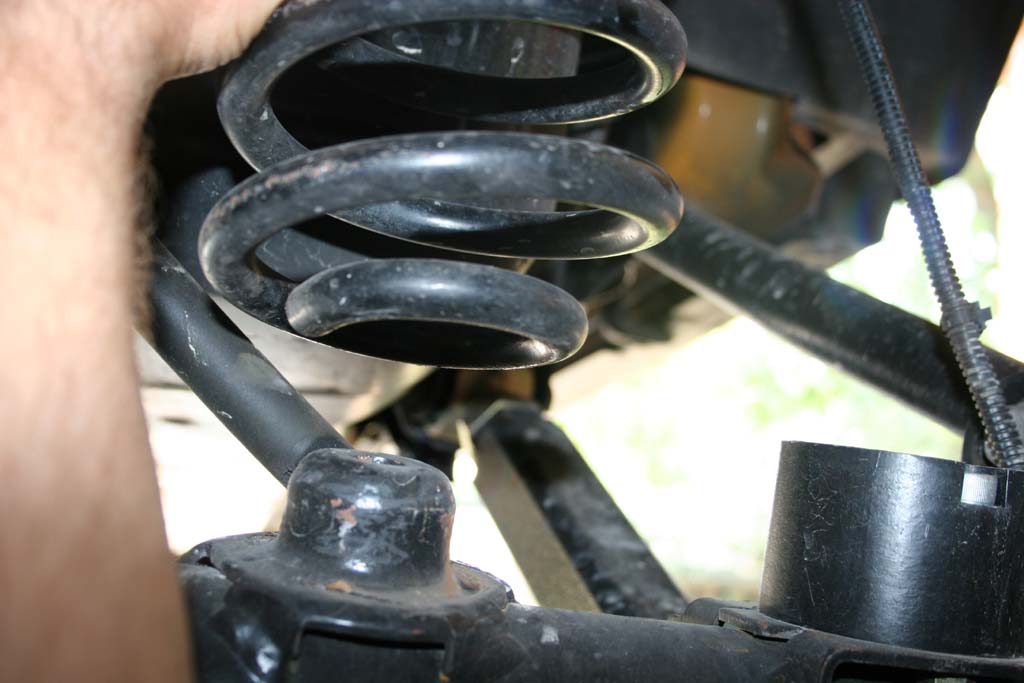
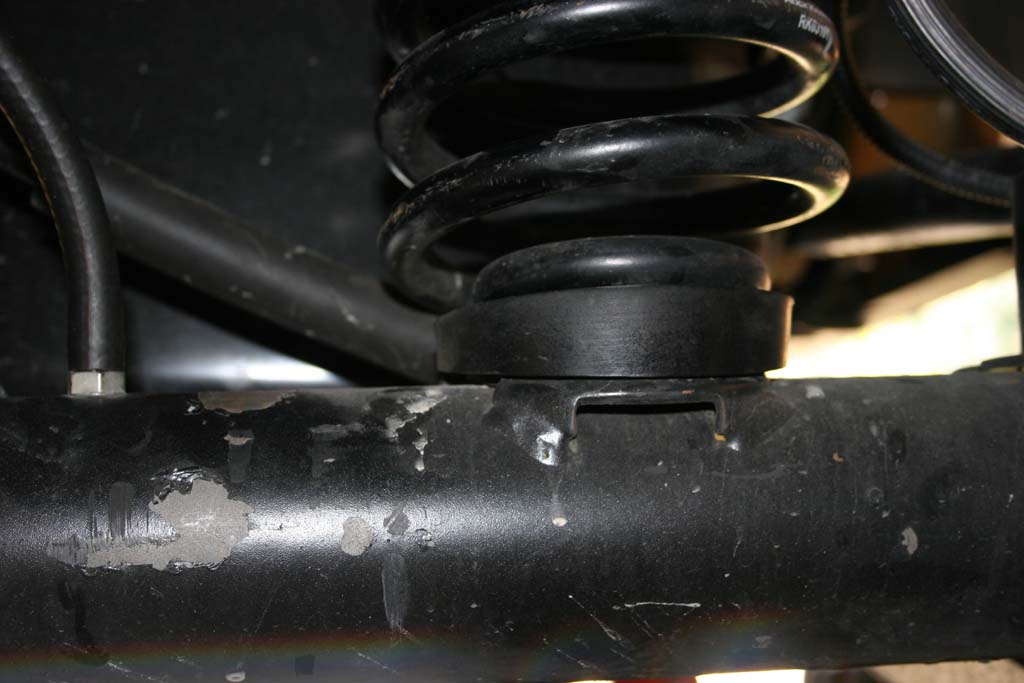
| 6. Lift your rear springs up. |
 |
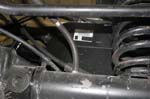
| 7. Install the RockKrawler spring wedge between the spring bottom and the axle spring perch. The fat side goes towards the back. |
 |
 |
| 8. Reinstall / lower the spring in place. |
 |
 |
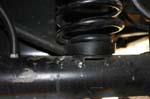
9. Jack up the rear axle to put pressure on the springs and ensure that they are seated properly. The tops have a tendancy to not want to line up on the upper spring perches, or try to get the spring isolators not centered between the perch and spring.
Note: Be careful you do not lift the Jeep off of the Jack stands and release the pressure to fast afterwards. |
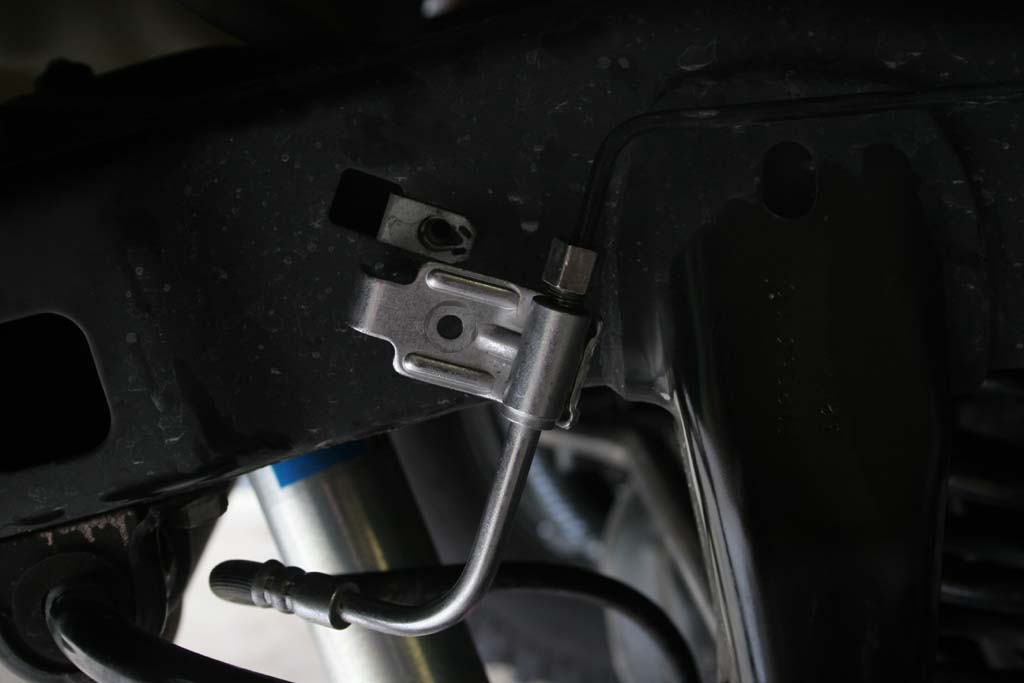
| 10. Reinstall the brake line bracket onto the side of the frame. You will need a 10mm socket and ratchet. |
|
| 11. Install the tires and lower the vehicle to the ground. |
| 12. Reinstall, tighten and torque the following: |
Lower and upper control arm bolts.
|
|
|
|
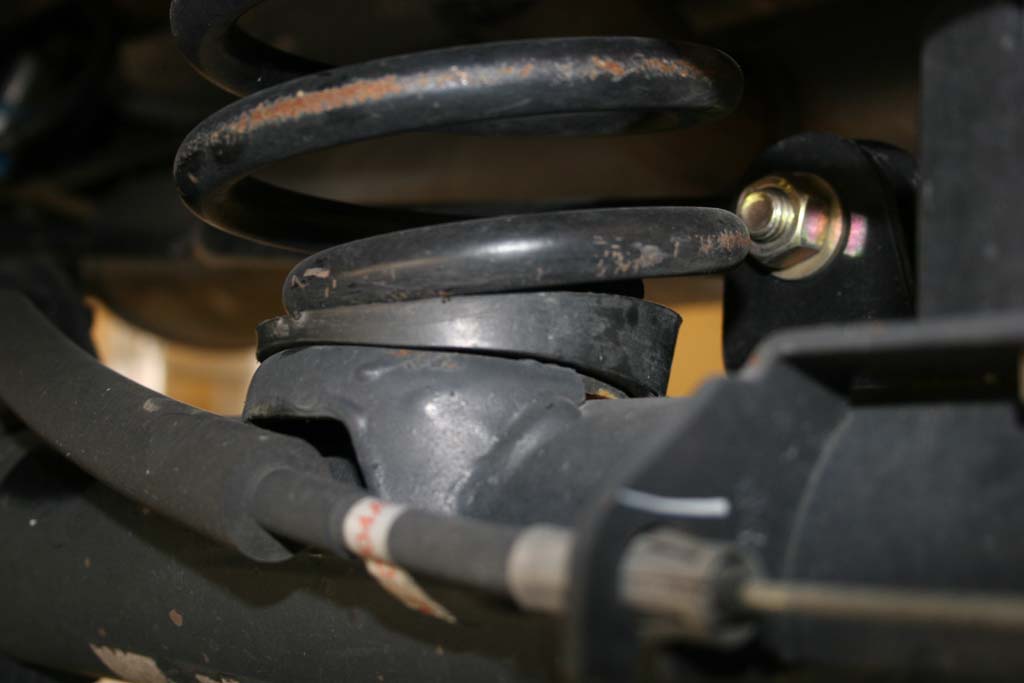
Rear trackbar axle bolt.
|
|
Rear Anti-swaybar link lower bolts.
|
|
Rear Shock lower bolts.
|
|
| 13. You can remove, or leave the emergency brake line bracket in place. |
|
 |
I was concerned with the spring coming off of the pad after this, so I made a spring retainer for the bottom. There are kits out there that you can buy. Currie, Rusty's, Teraflex, JKS, River Raider, etc.. all make some. Some address top and bottom, others just the bottom.
As you can see by the numbers I got a little bit of lift in the rear with a corresponding drop in the front. This is just due to angles, you lift the back, the front will drop naturally. Biggest thing is that the spring are straight now. |


