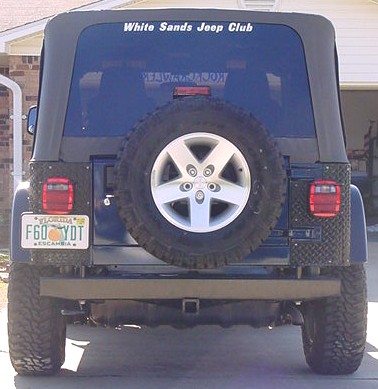
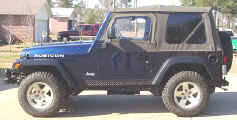
We back up all the time, or drag the rear corners of our Jeep
through stuff. I haven't done much more than dent one slightly, but I
think I have been lucky so far. I wanted to put a little more protection
on this area. There are many choices out there from aluminum, to heavy
steel. I had used OYR corner guards in the past and really liked their
strength. They are not light at 35lbs a set, but not as heavy as
Avalanches full side plates. I don't expect to ever get into stuff so bad
that I would need theirs. So another set of OYR's went on. This is
not an install for those squeamish about drilling holes in their Jeep.
Installation: |
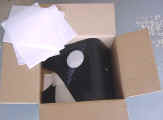
The OYR
corners come packaged in a nice box with plenty of foam backing
in between. UPS is starting to not like me. |
 |
The
first step is to remove everything that is attached to the back
of your Jeep. Flares, rubber wheel liners, taillights, license
plate, and the gas filler surround. Lets start by pulling
out the rubber wheel liners. These are simple. There
are 7 push inserts that hold the liner in. 4 in the back and
3 in the front. One of the front ones is above the frame so
can be a real pain to get out if you don't have a body lift installed.
I just inserted the tip of a needle nose pliers under the lip and
pulled them out. Now you will need to push in on the inner
lip, to get the pins out of the body and pull it all out.
This is harder than is sounds since it won't want to cooperate. |
 |
Now
once you have the liners out, you can take off the flares.
You will need a 5/16" socket or combination wrench. Luckily
I had a ratcheting combo wrench so it made this short work.
You will need to remove all the screws holding the flare on.
Some have well nuts, and the others have a plastic nut on the back
side. |
|
Now that we have the flares off, we can pull off the license plate
holder, just remove the license plate and unscrew the (4) 10mm bolts
holding the holder on. Oh the license plate is 10mm also. |
|
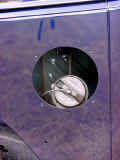
The
Gas filler remove by taking the cap off and unscrewing the 4 Phillips
screws from around the tube, be careful that you don't drop a screw
in the fill tube. Once these are removed you can unscrew the
4 Phillips screws from around the housing. It would be a good
idea to remove the gas cap from the housing and reinstall it on
the fill tube. |
 |
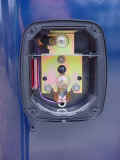
Now all that is left is to remove the tail lights. Just unscrew
the (4) Phillips screws from the lens and carefully remove the lens.
You will see (3) bolts that you need to remove with a 3/8"
socket. Be careful of the lights inside. Now the drivers
side is easy since you can pull out the connector and then disconnect
it. |
 |
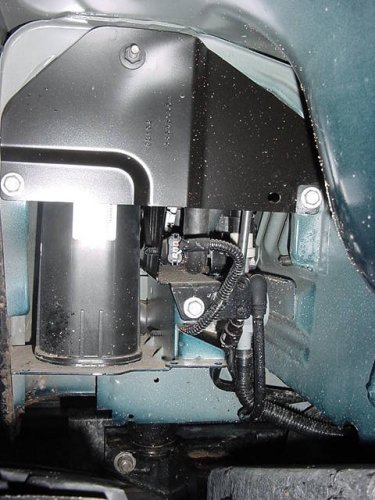
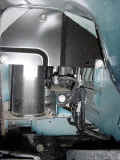
The
passenger side is a real pain. You will need to fish your
hand up inside the rear quarter panel and find the connector.
I was able to get it down far enough to get my other hand on it
to disconnect it. This connector is hidden behind the charcoal
canister. Now you will need to loosen up the charcoal canister.
Their are (4) bolts and (1) nut holding it in place. First
remove the metal shield from in front of the canister. These
(2) bolts and (1) nut are easy to see. Now remove the 3rd
bolt that is located towards the bottom in the middle. Now
once you get that done, you will need to loosen the last bolt.
Lie on your back and look up at the canister. You will see
a bolt. You just need to loosen this one since it is in a
slot. You will need a real long extension to get to it. |
 |
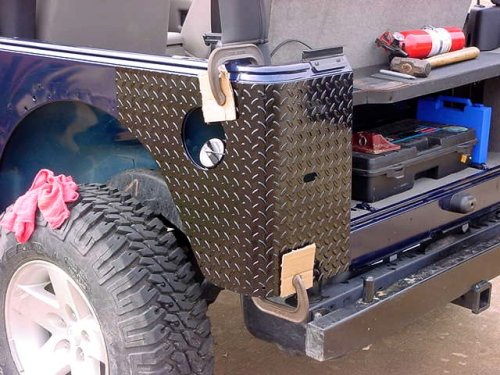
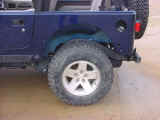
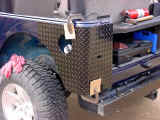
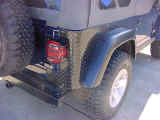
Now
comes the easy part. Take your c-clamps and clamp the OYR
corners in place. Make certain that the bend in the plate
is tight against the body and then drill your 2 holes. Insert
bolts and tighten down. Now work your way out from those bolts
with the rest. I found that if you drill a hole, insert and
tighten the bolt, then drill the next ones further out works the
best. Once you have all the holes drilled and bolted up, then
take a scribe and mark the holes for the flares, tail lights, gas
filler, and license plate from behind. Take the corners back
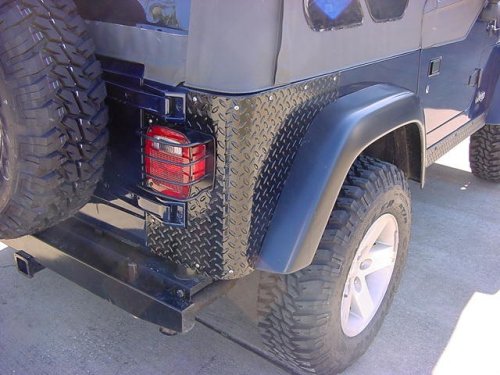
off, and drill these holes. Now all that is left is to debur
all the holes, paint the holes you drilled and reinstall the flares
using a little bit of silicone in the hole before you insert the
bolts. You will use the same pattern of installing the bolts
as you did when you originally drilled the holes. Make certain
that all your holes line up so that you can reinstall everything. |
 |
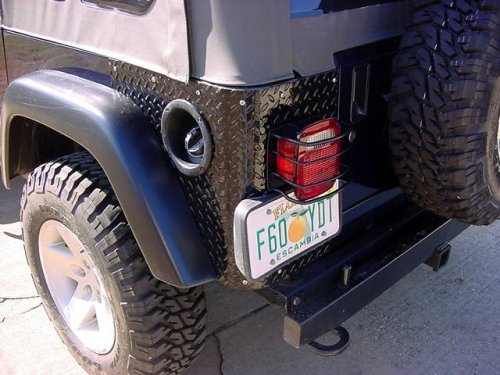
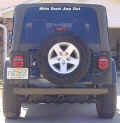
You
will drill on the average 22 holes in your body to mount these,
so there really is no going back after you start. Once you
are completed, run a piece of tape along the body parallel with
the top and the sides of the panel. You can then run a bead
of silicone along the top edge and sides to seal out water.
Leave the bottom open to drain. |
|
 |
 |
 |
 |