Since I had a installed the AiROCK suspension I found that the brake lines were a little to tight for my likings. ORO just unbolt them and bend them down, but I feel that it needs to be better addressed than just doing that. At maximum flex I found that you could almost play the rubber lines like a banjo string. If you ever lost your brakes on an obstacle you know that it's not fun and ripping them out just flexing your suspension is not a good reason.
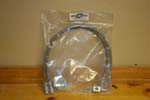
| Rear Brake Line Replacement: |
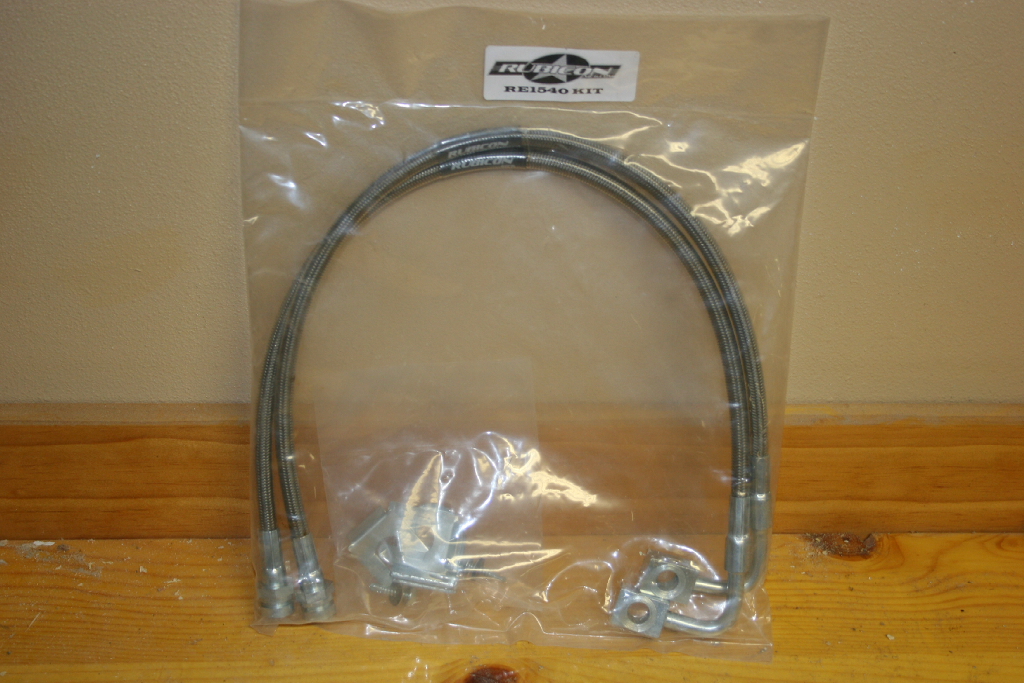
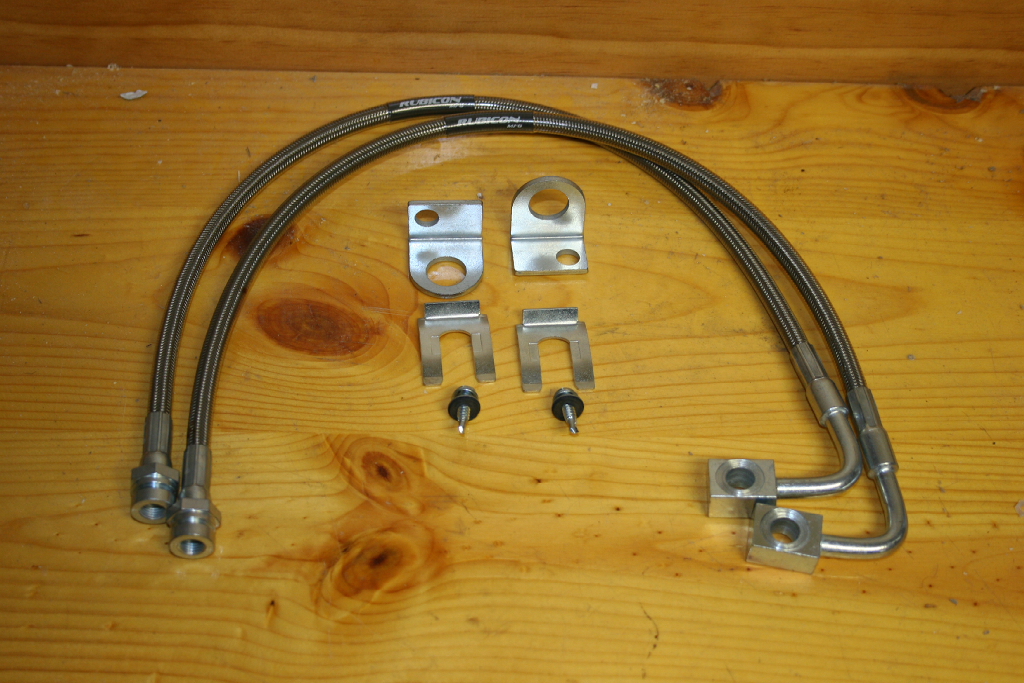
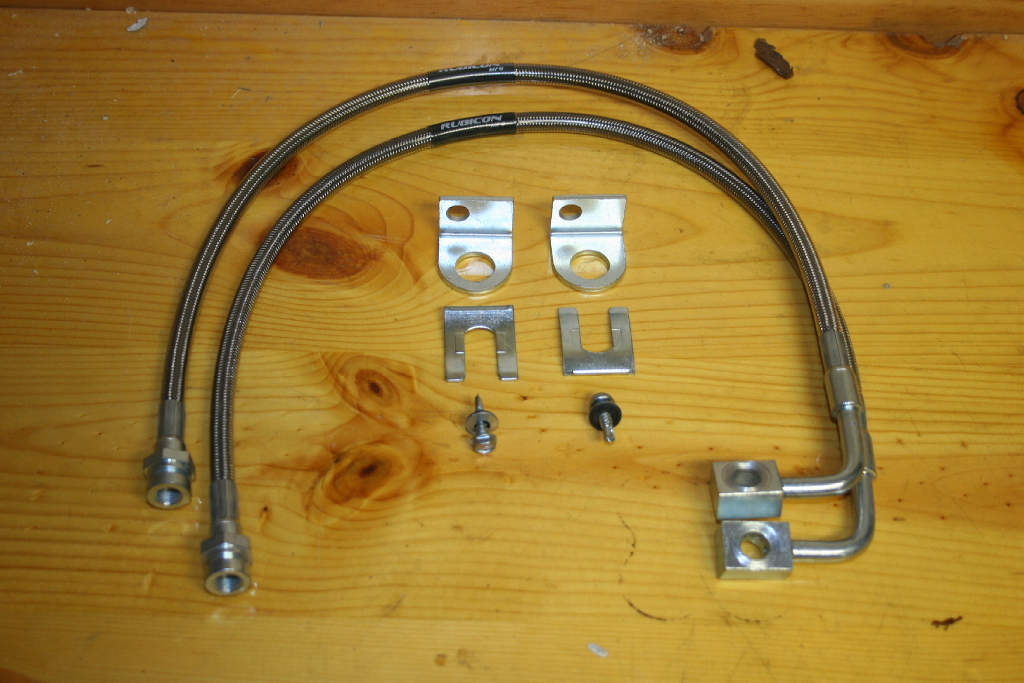
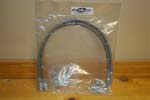
| Here is what comes in the bag. |
 |
 |
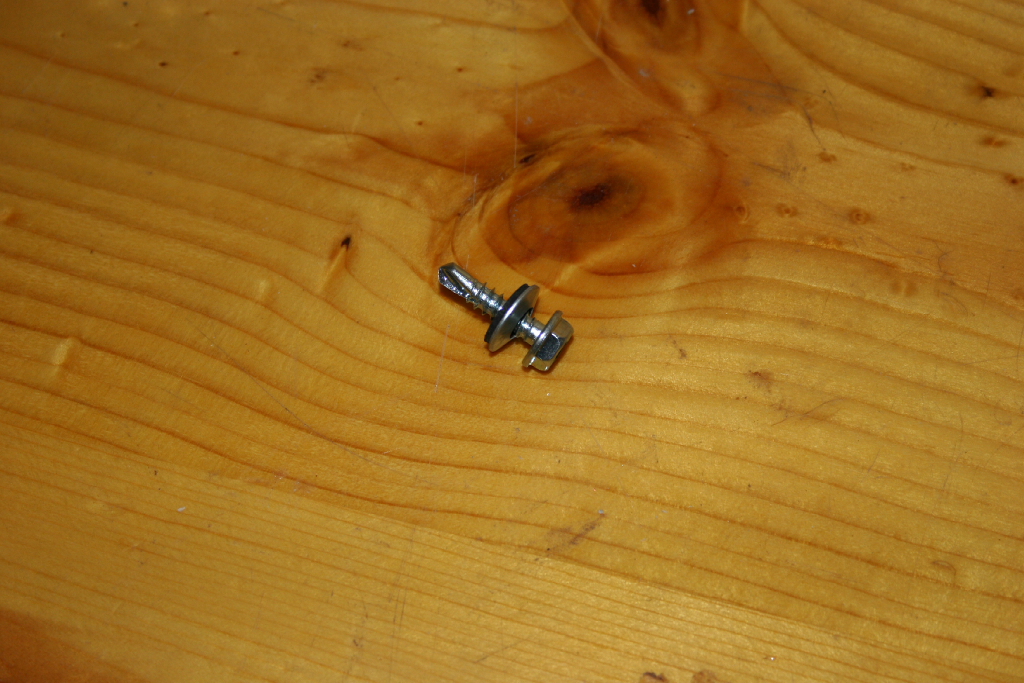
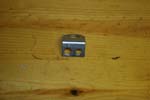
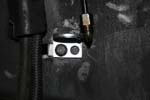
| Rubicon Express included a self tapping screw so that you can position the mounting bracket where ever you want to. I choose to reuse the original screw and mounting location. |
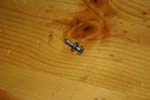 |
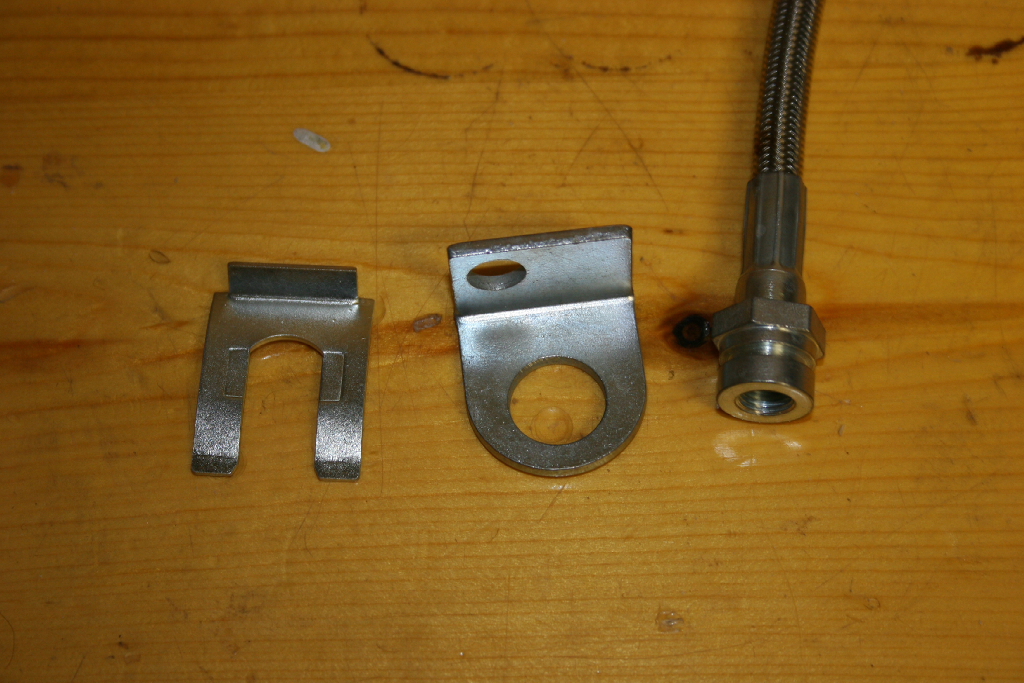
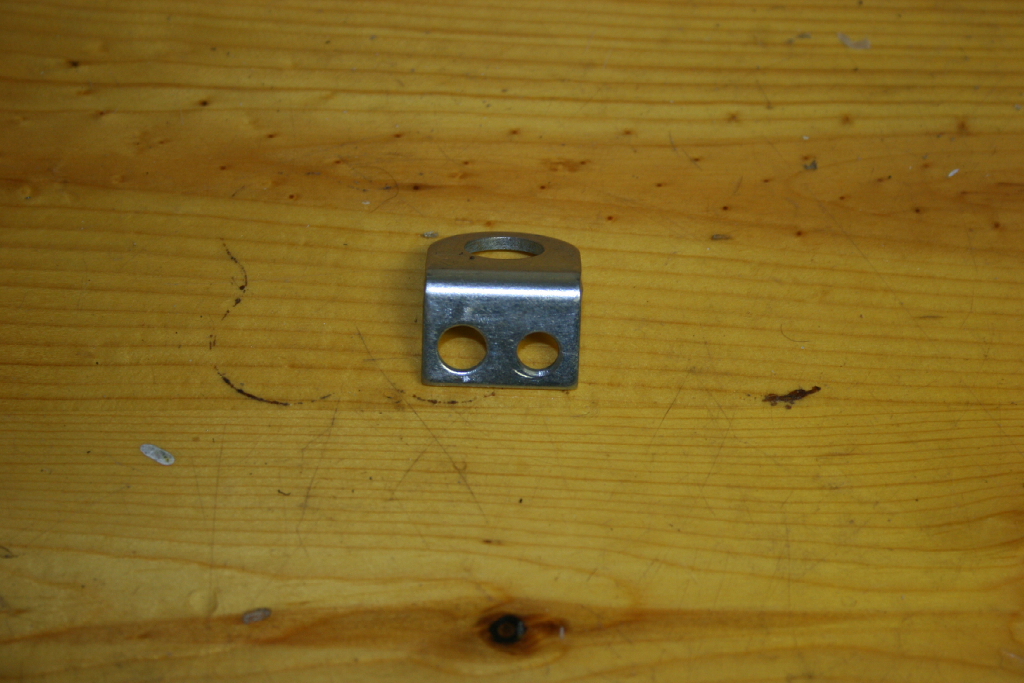
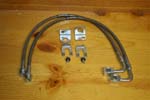
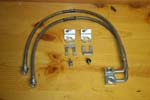
| Heres the pieces you need to do it the way I did it. Brake line, mounting bracket and retainer clip. |
 |
| Jack up, support and remove the rear tire for the side that you are working on. |
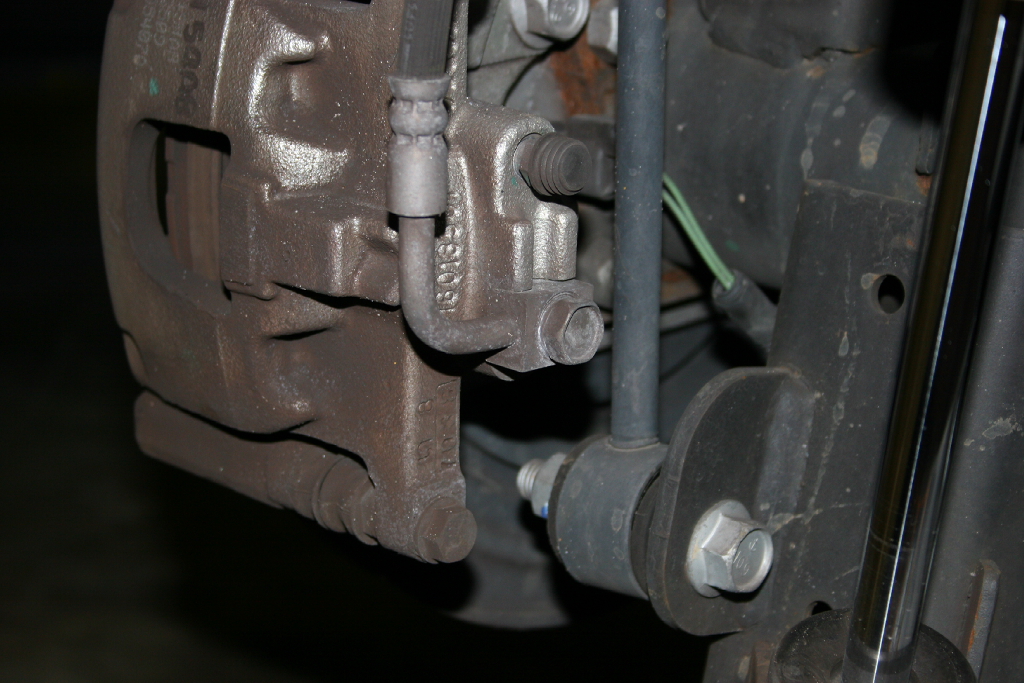
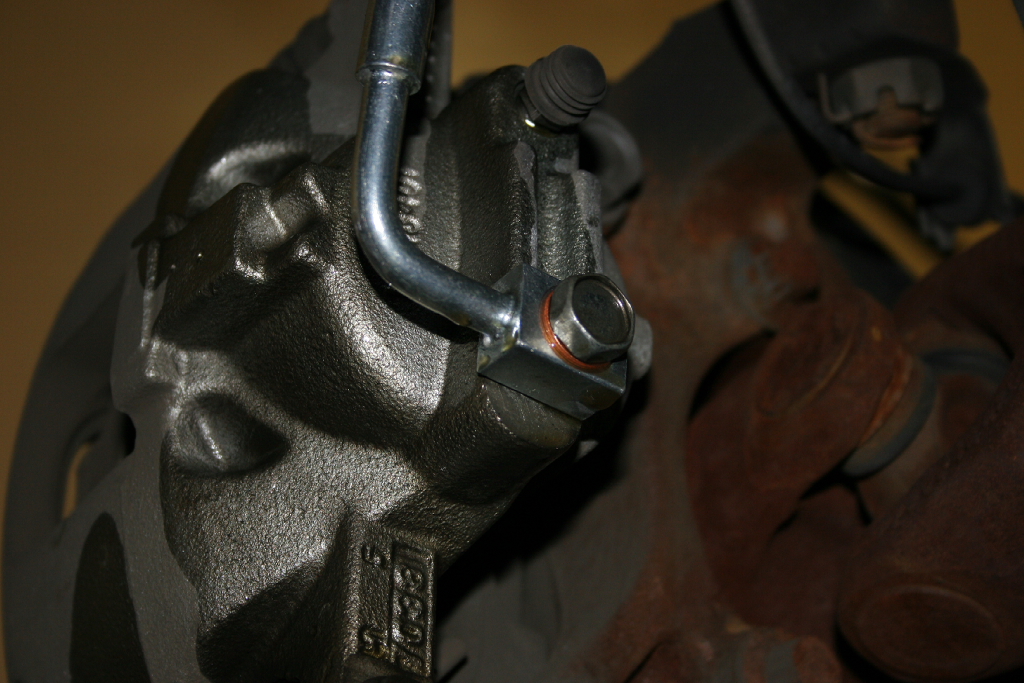
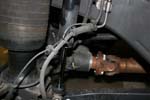
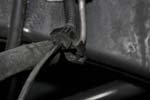
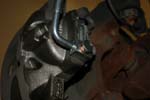
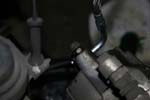
| Place a drip pan underneath the brake line that you are working on to collect the brake fluid that will drain out of the line. Remove the banjo bolt with a 15mm combo wrench. |
 |
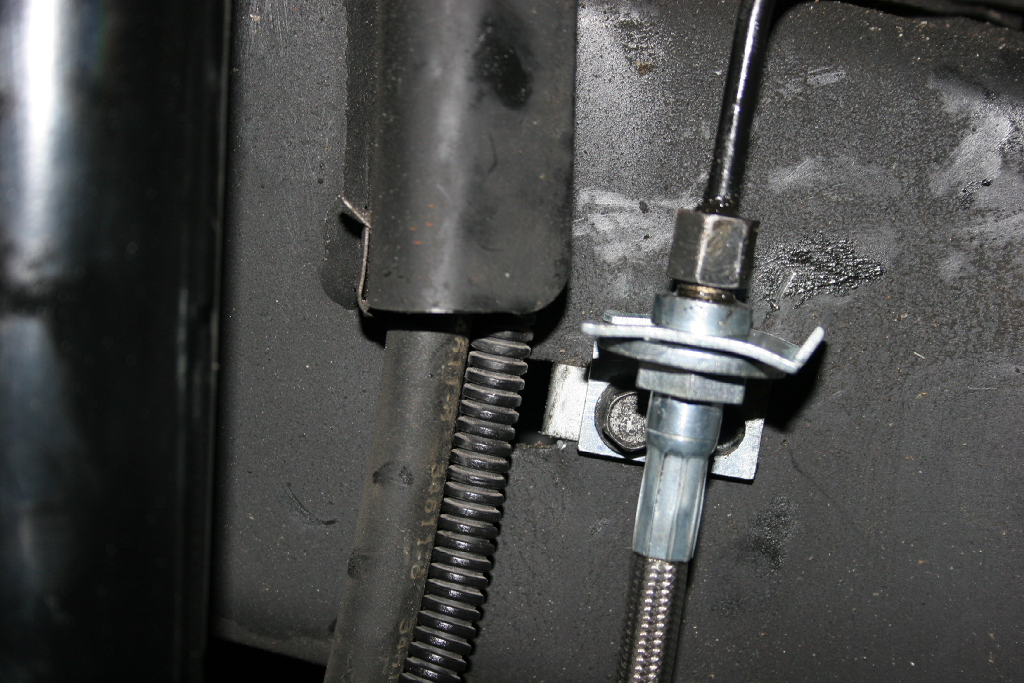
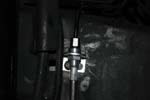
| Disconnect the hard brake line from the flexible line with a 12mm combo wrench. Unbolt the flexible brake line from the frame with a 10mm socket, short extension and ratchet. |
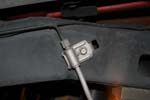 |
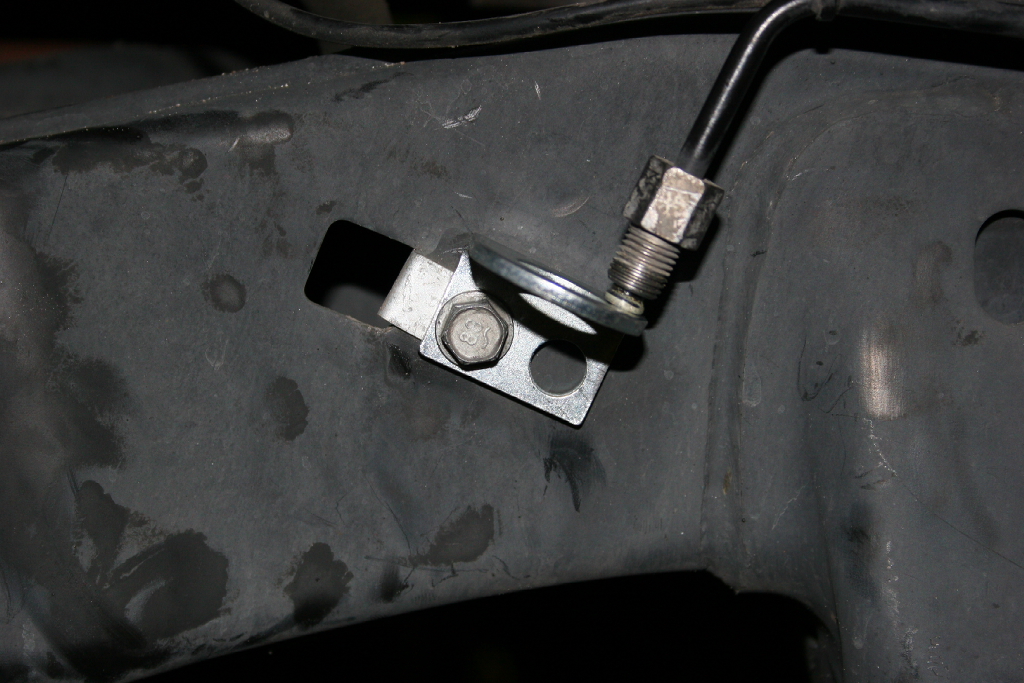
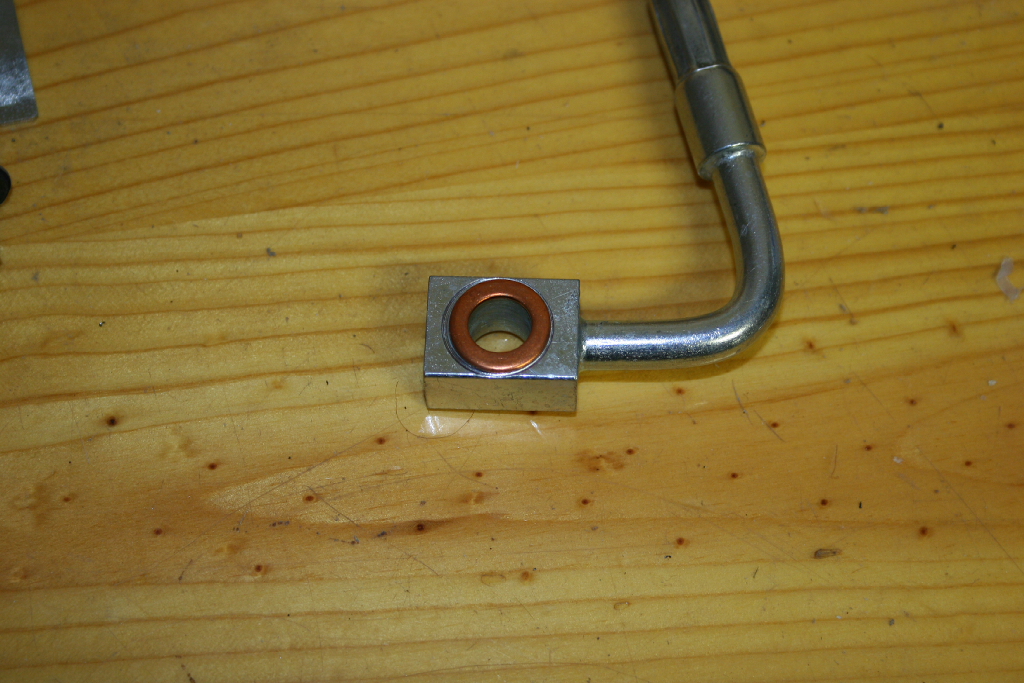
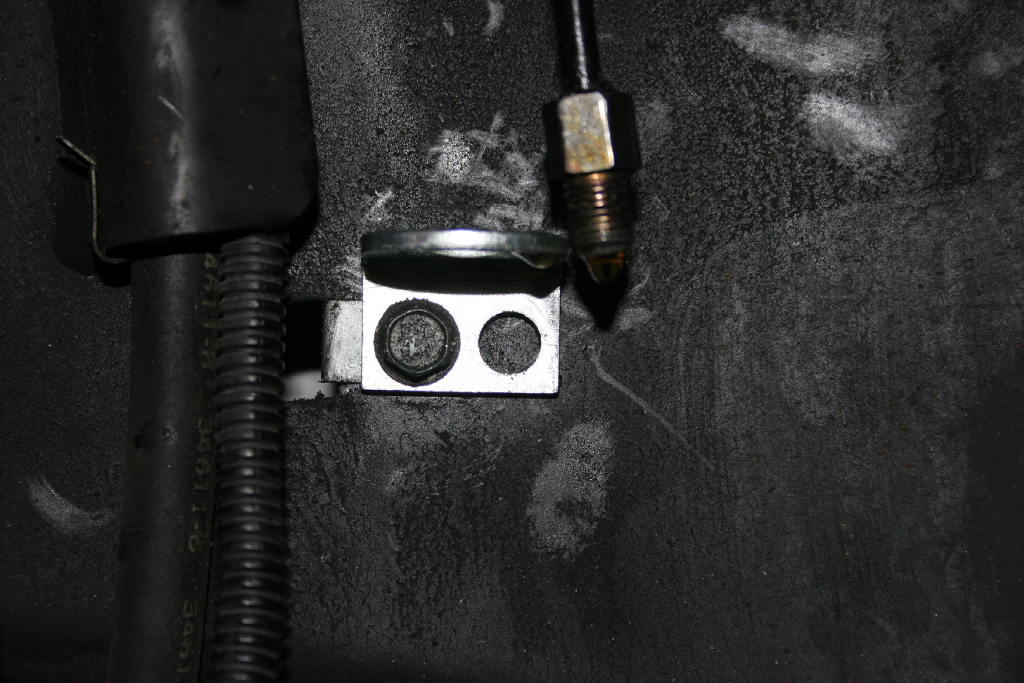
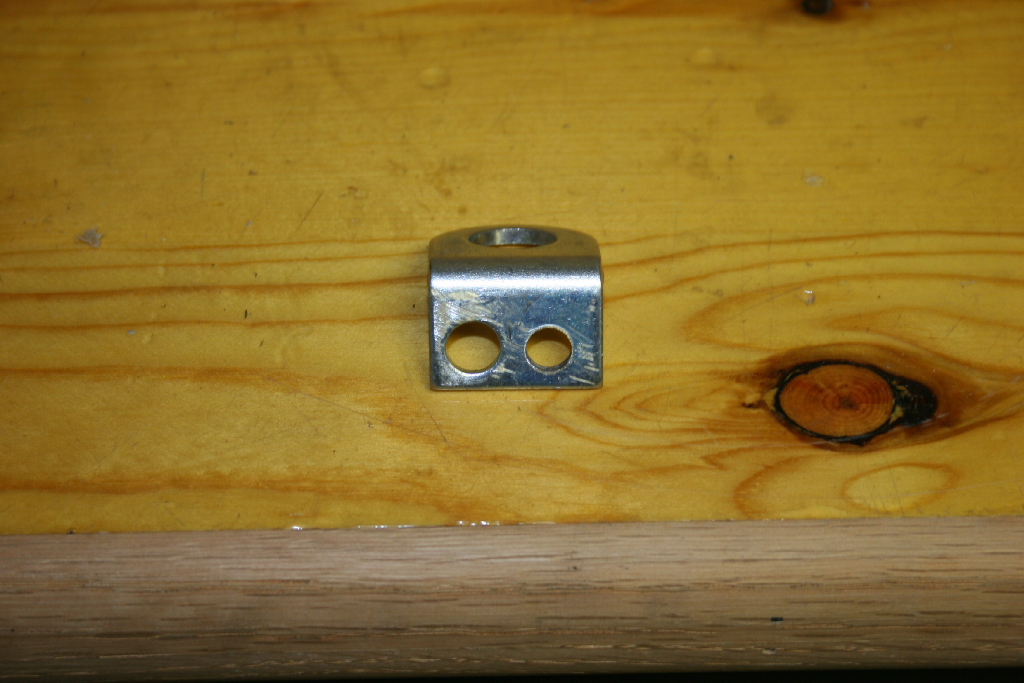
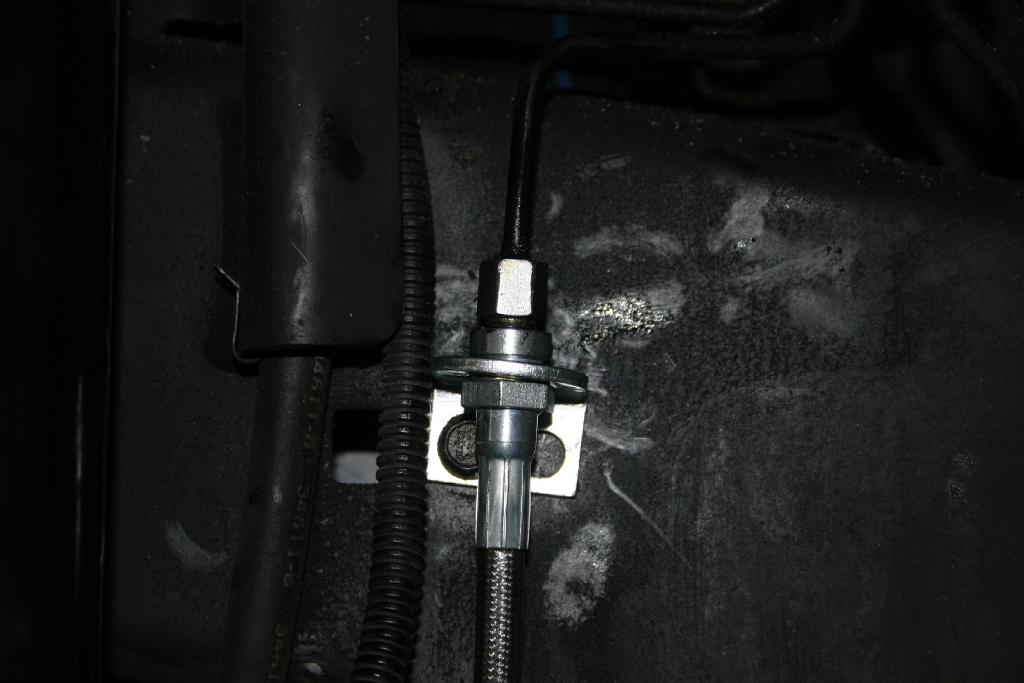
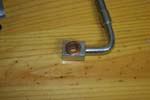
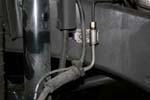
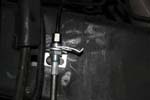
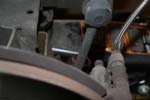
| Install the mounting bracket using the original bolt and mounting location. I drilled a second hole in the bracket for the other side to place them in the same orientation and location. Line up the bracket with the end of the hard line. |
 |
 |
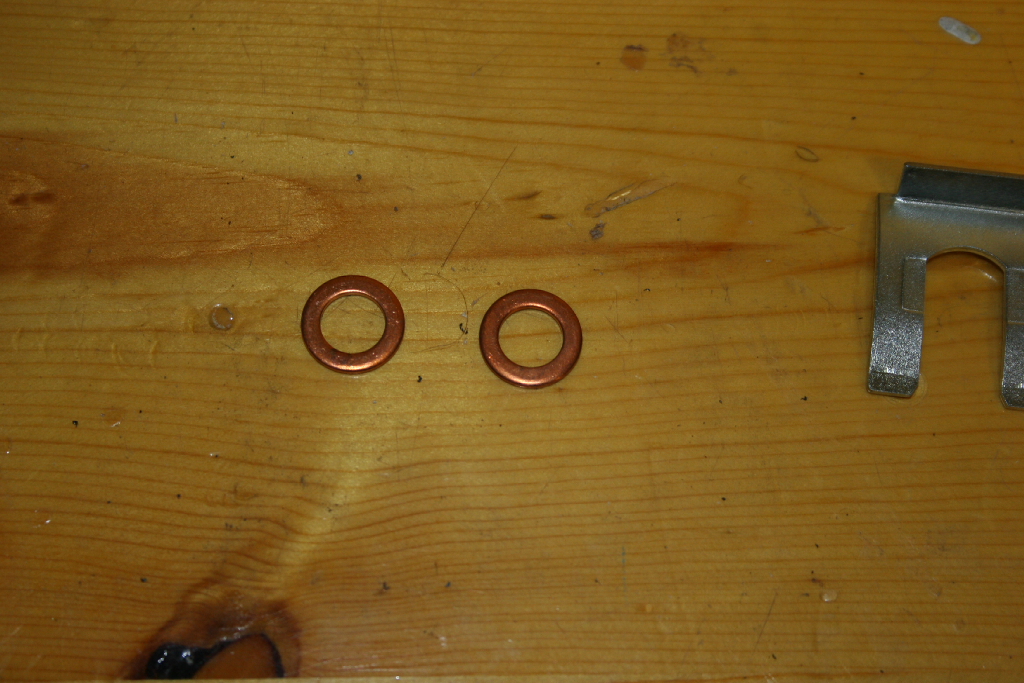
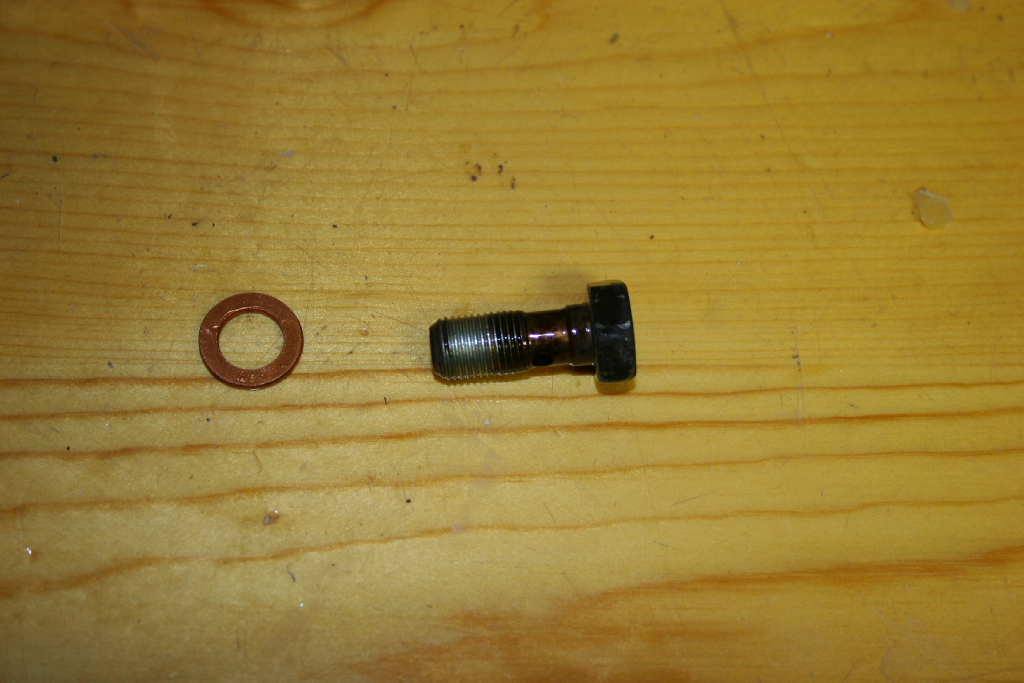
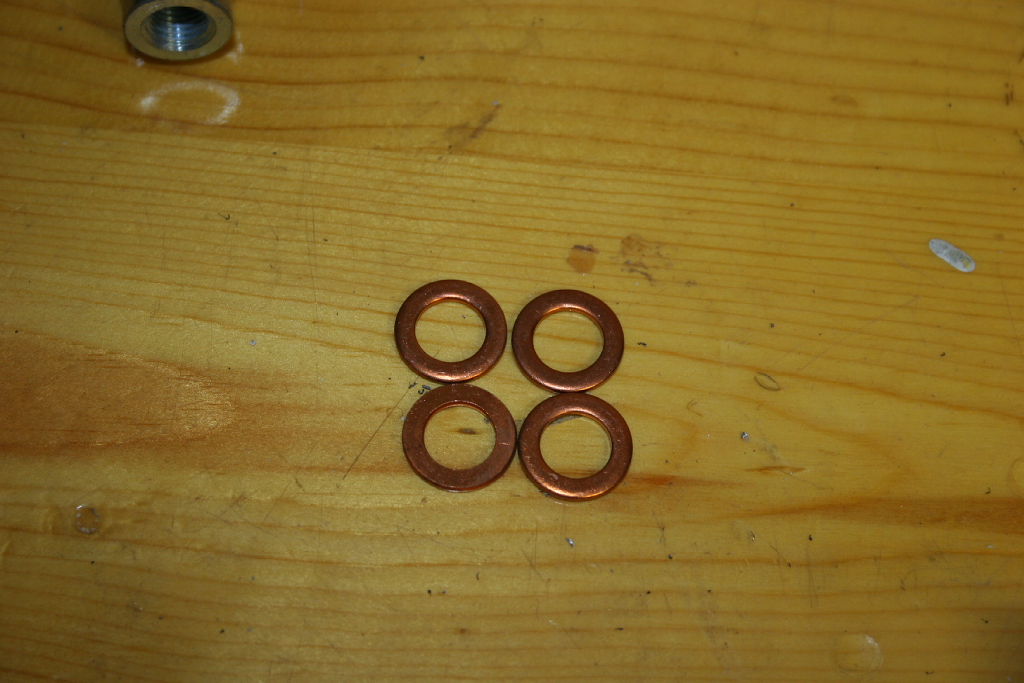
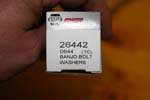
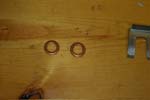
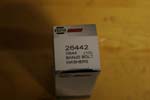
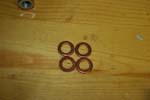
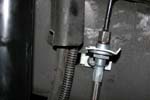
| You will need two (2) banjo bolt washers to install the new brake line. |
 |
 |
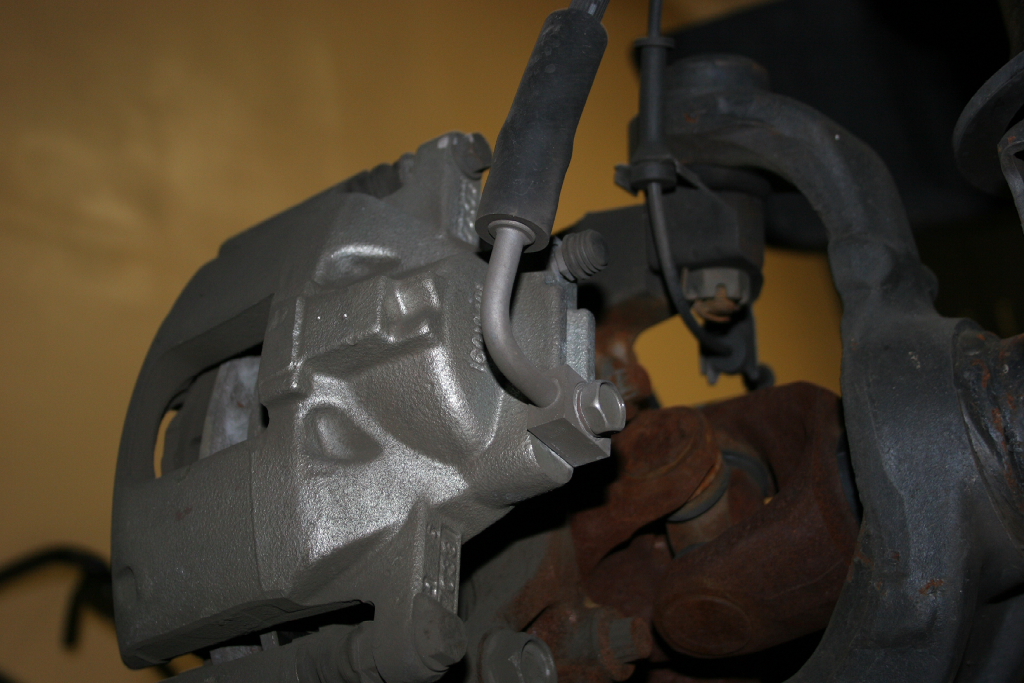
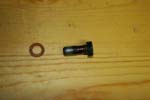
| Place one washer over the banjo bolt, then place the banjo bolt through the brake line, and then place the second washer over the other end. Line up and hand thread the banjo bolt into the caliper. You do not want to cross thread this bolt, it can become a very expensive fix. Leave it snug for now. |
 |
 |
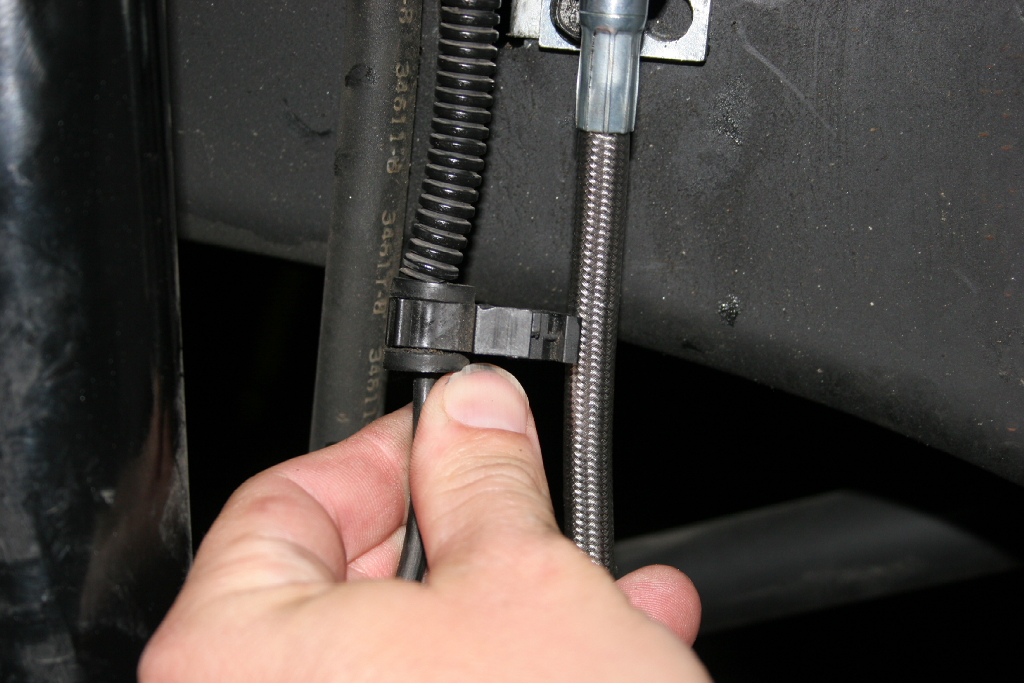
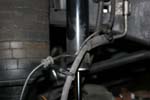
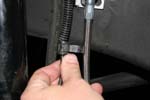
| Place the end of the flexible line through the mounting bracket hole and screw the hard line into it. Using a 12mm combo wrench and a 17mm combo wrench tighten the hard line to the flexible line. |
 |
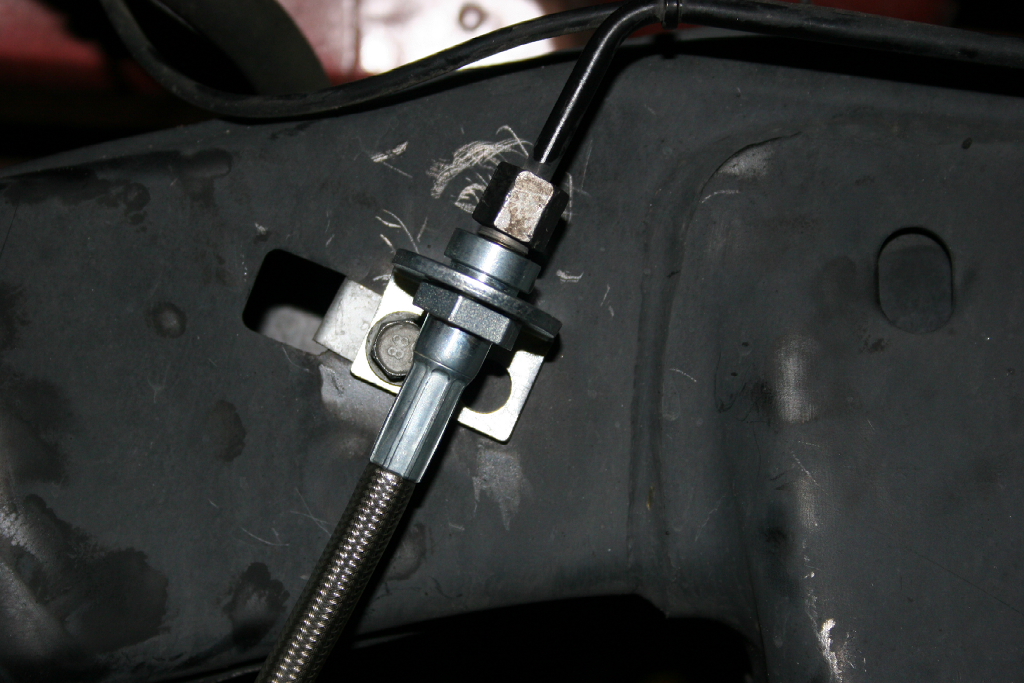
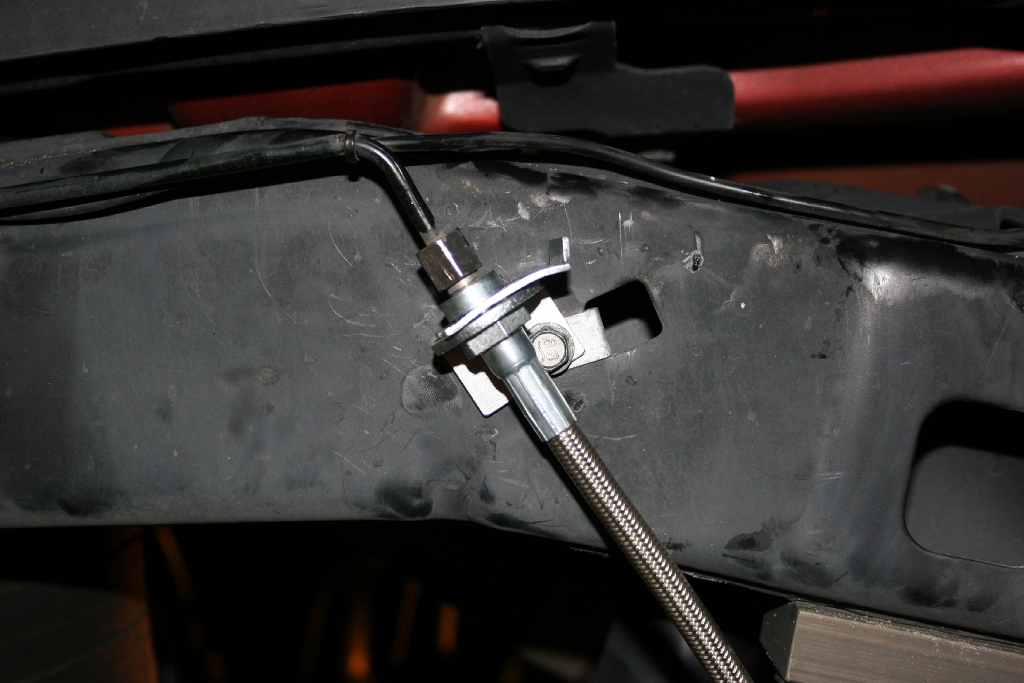
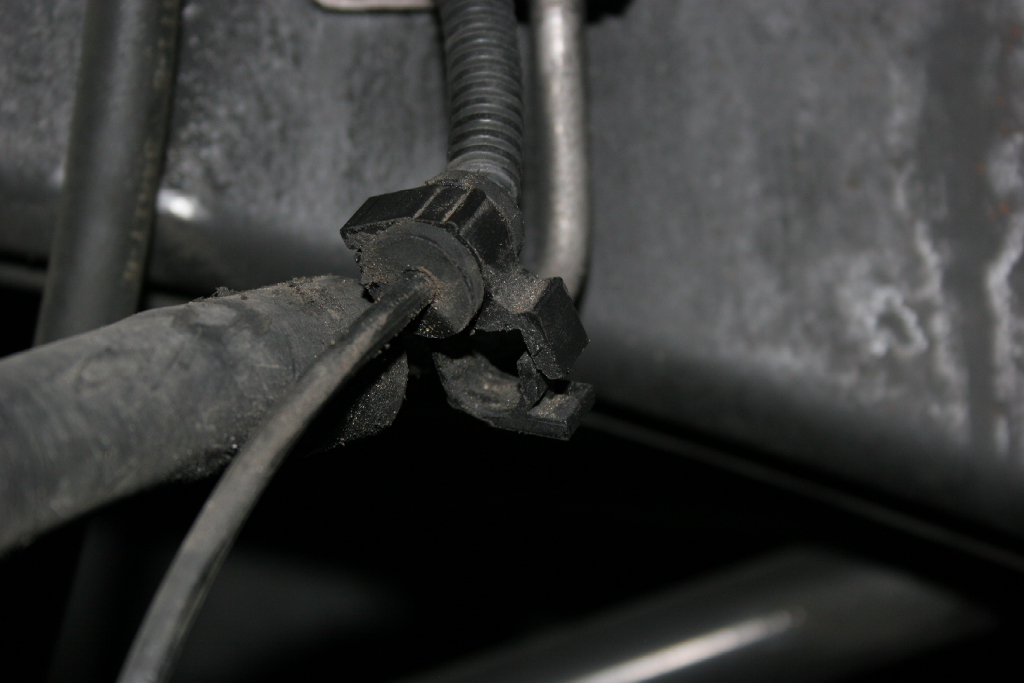
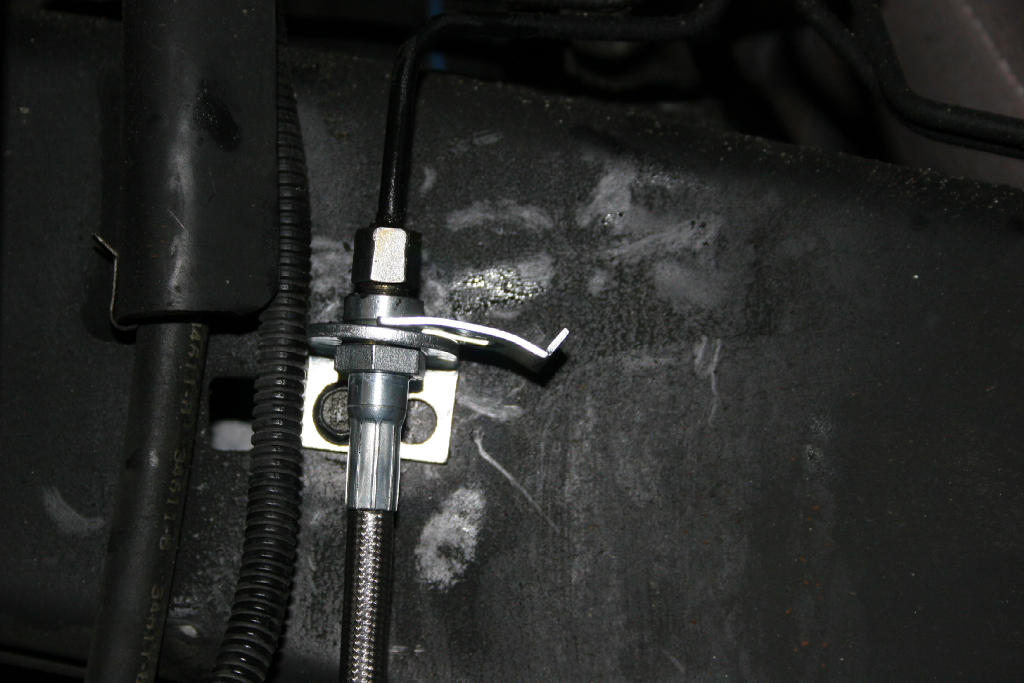
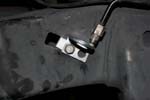
| Install the retainer clip on to the flexible line. Tighten the banjo bolt to the caliper with a 15mm combo wrench. |
 |
| |
| Front Brake Line Replacement: |
| Here is what comes in the bag. |
 |
 |
| Rubicon Express included a self tapping screw so that you can position the mounting bracket where ever you want to. I choose to reuse the original screw and mounting location. |
|
| Heres the pieces you need to do it the way I did it. Brake line, mounting bracket and retainer clip. |
|
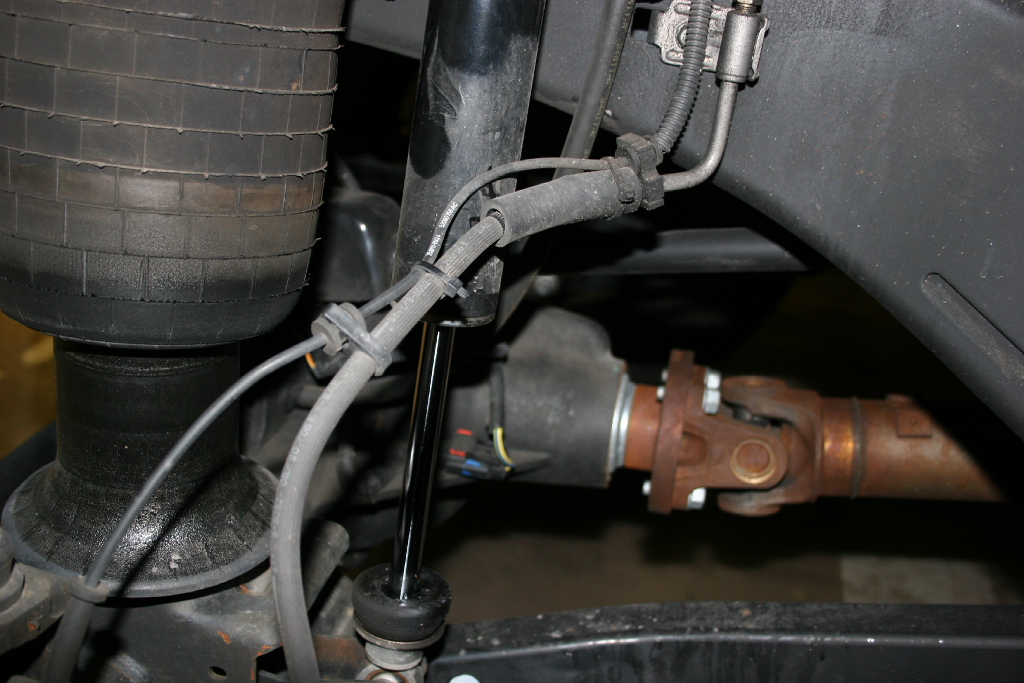
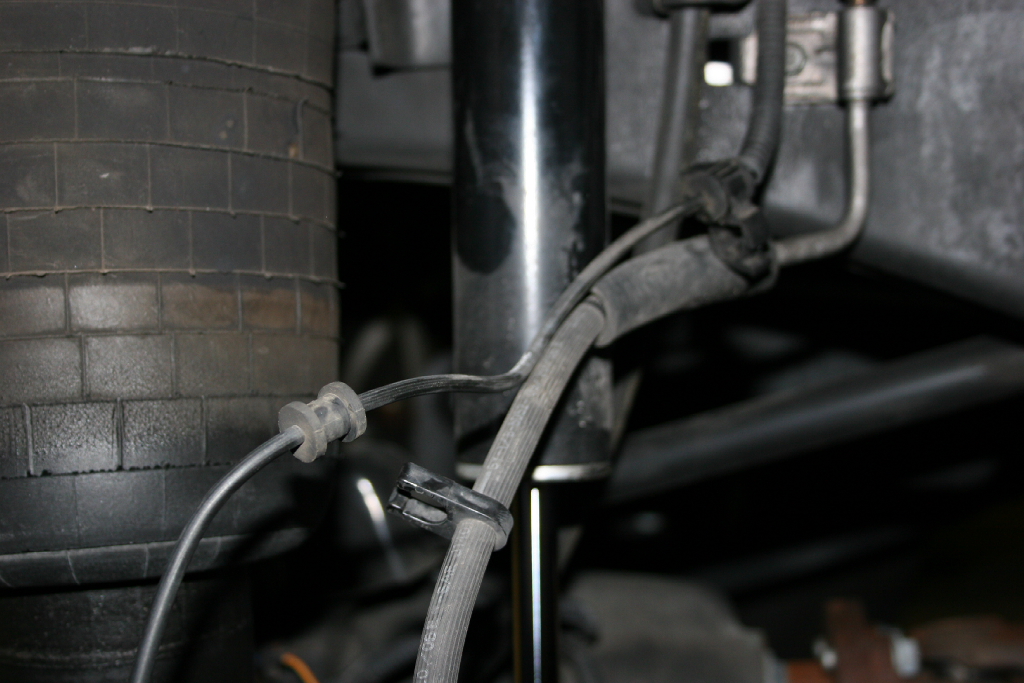
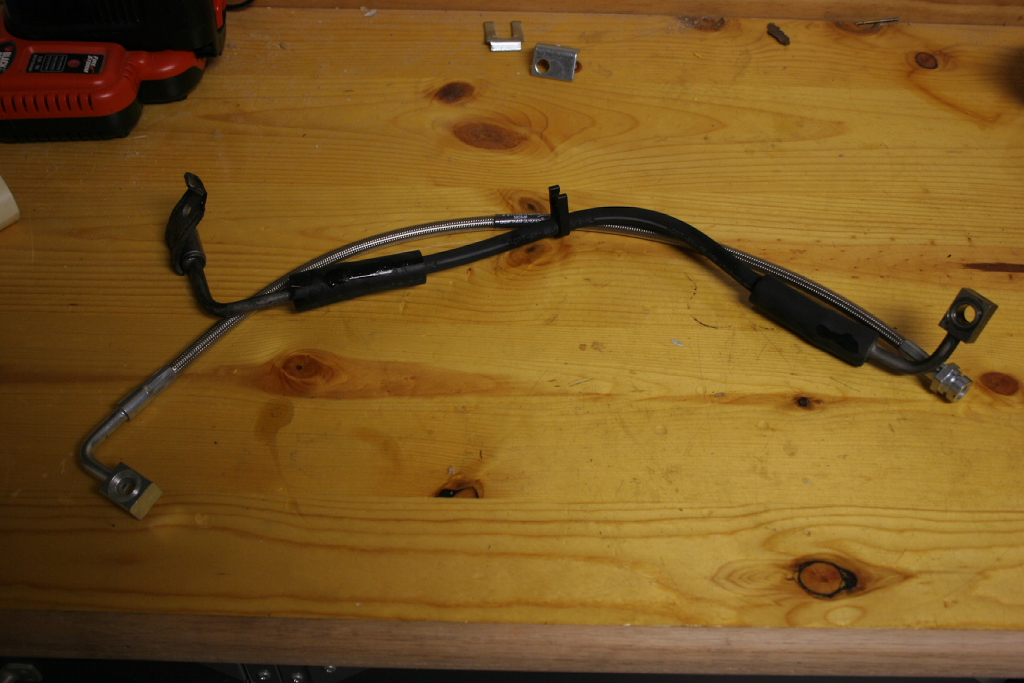
| Disconnect the speed sensor cable from the flexible brake line. |
 |
 |
 |
 |
| Jack up, support and remove the front tire for the side that you are working on. |
| Place a drip pan underneath the brake line that you are working on to collect the brake fluid that will drain out of the line. Remove the banjo bolt with a 15mm combo wrench. |
 |
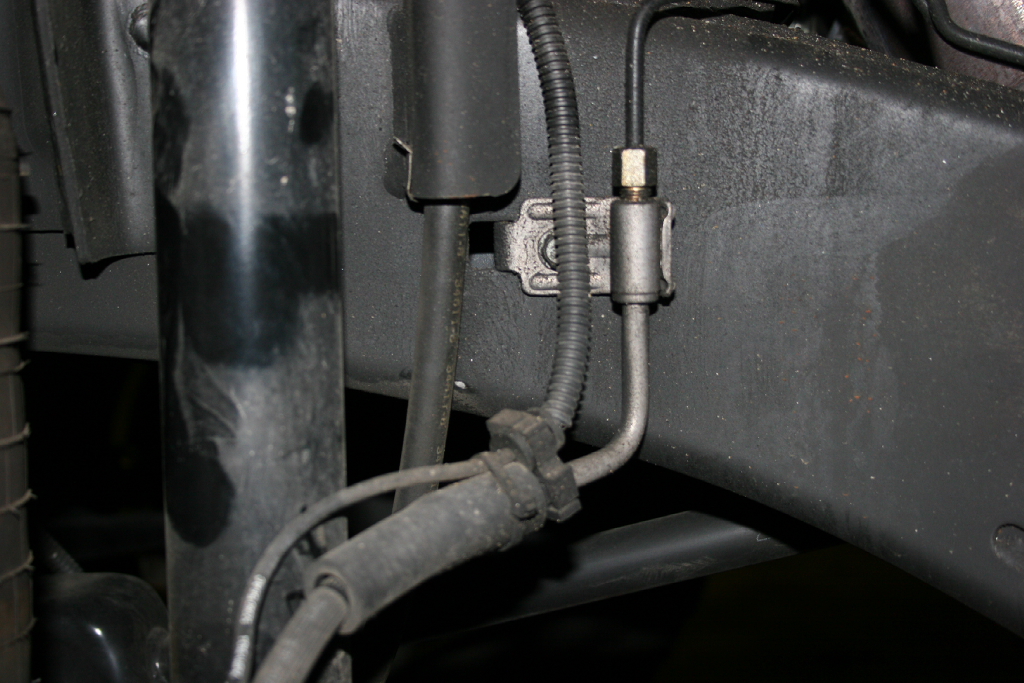
| Disconnect the hard brake line from the flexible line with a 12mm combo wrench. Unbolt the flexible brake line from the frame with a 10mm socket, short extension and ratchet. |
|
| Install the mounting bracket using the original bolt and mounting location. I drilled a second hole in the bracket for the other side to place them in the same orientation and location. Line up the bracket with the end of the hard line. |
 |
 |
| You will need two (2) banjo bolt washers to install the new brake line. |
 |
 |
| Place one washer over the banjo bolt, then place the banjo bolt through the brake line, and then place the second washer over the other end. Line up and hand thread the banjo bolt into the caliper. You do not want to cross thread this bolt, it can become a very expensive fix. Leave it snug for now. |
|
|
 |
| Place the end of the flexible line through the mounting bracket hole and screw the hard line into it. Using a 12mm combo wrench and a 17mm combo wrench tighten the hard line to the flexible line. |
 |
| Install the retainer clip on to the flexible line. Tighten the banjo bolt to the caliper with a 15mm combo wrench. |
 |
 |
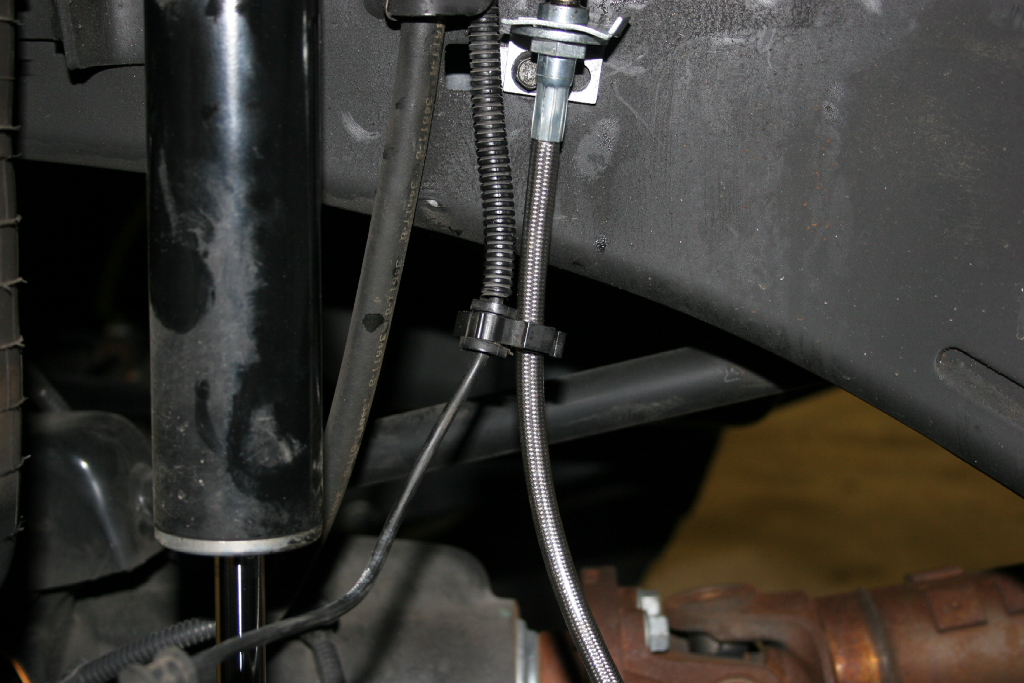
| Reinstall the top speed sensor clip onto the new brake line. Leave the rest free to allow for suspension flex. |
 |
 |
 |
| |
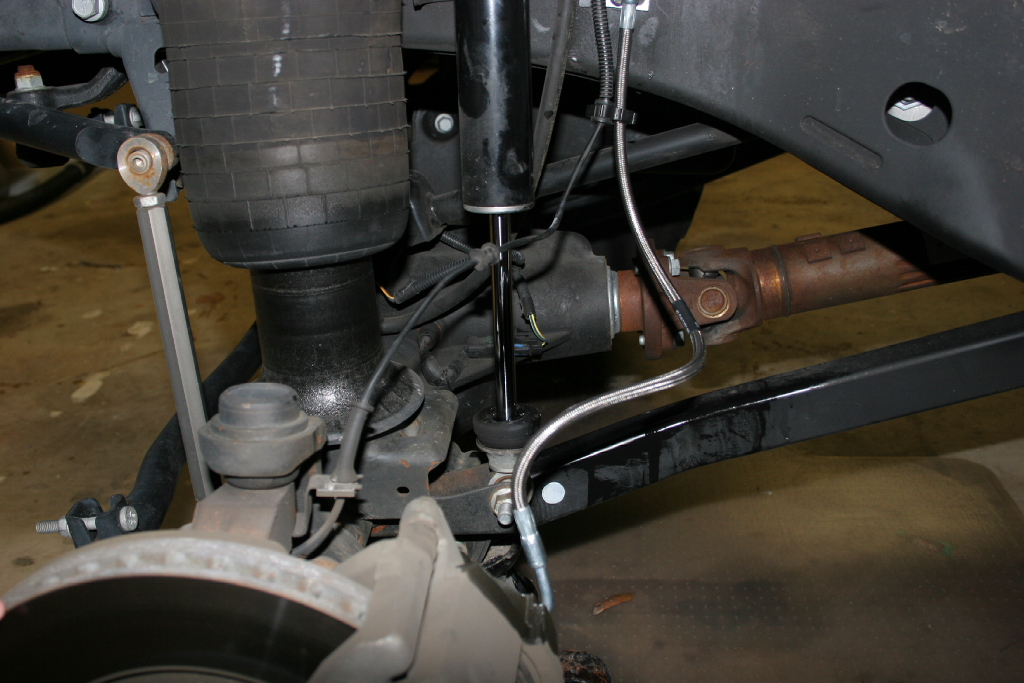
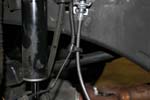
| Quick comparison shot. |
 |
| |
| Bleed the Brakes: |
| Remove the rubber caps covering the brake bleed nipples. You will need a 7/16" combo wrench to open the nipples after you attach the brake bleed system. |
 |
 |
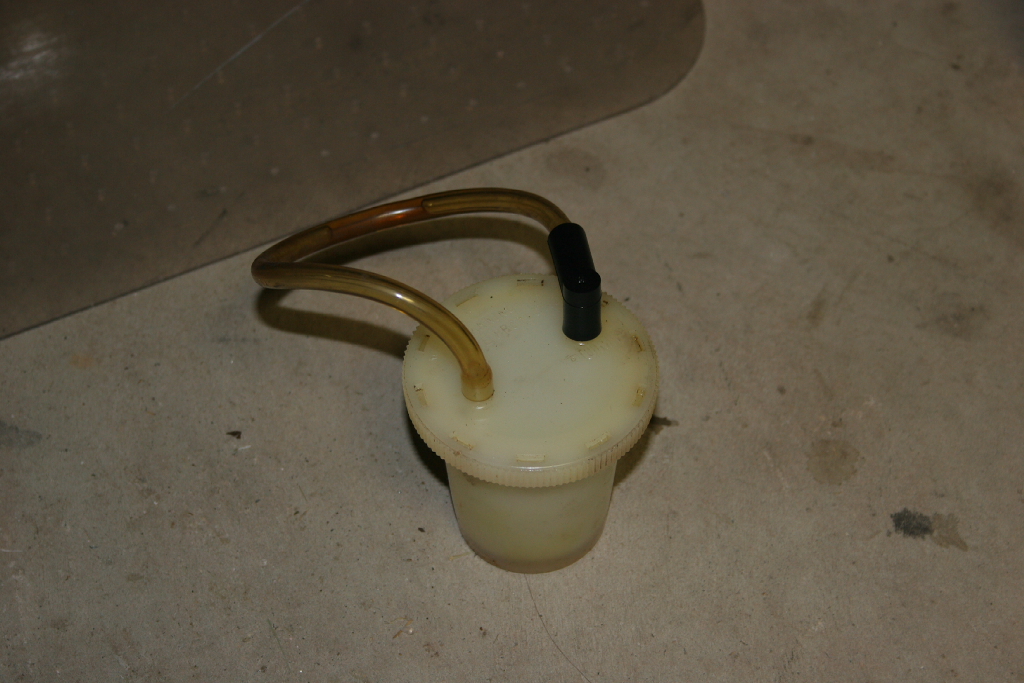
| Attach brake bleed system and bleed brakes according to instructions. |
 |