Quite a few years ago I installed the 2.5" lift kit under the Jeep. This pushed the Rzeppa joint on the front driveshaft to pretty close to it's angle limit. I always knew that I would be replacing the front driveshaft at some time, especially since I couldn't run the exhaust spacers with the EVO skid plates. I didn't have any issues with the boot rubbing on the exhaust shaft, getting torn or melted, but it was very close to happening. I kept an eye on it, and in March of 2020 right before everything got locked down with Covid, I noticed that the boot had torn and slung grease all under the Jeep. There are a few really good driveshaft companies out there that build driveshafts for the Jeep JK and other models. Tom Wood's, Je Reel and Adam's are just a couple of the better known companies. Adam's and Je Reel are basically identical in quality and design. You can only build a driveshaft so many ways. I originally decided to replace the shaft with a Je Reel just because I liked the dust shield on the new transfer case output flange. That was the only reason, however I couldn't find one. Adam's did have on in stock, so I purchased that one. I really don't think you can go wrong with any of those manufacturers and it really just came down to the one small difference between them. In hindsite I'm glad that I bought the Adam's driveshaft.
Adams Driveshaft makes the Strongest Driveshafts in the market using only the Best Driveshaft Components made by American Companies Spicer and Neapco.
| Parts: |
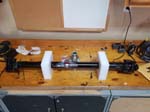
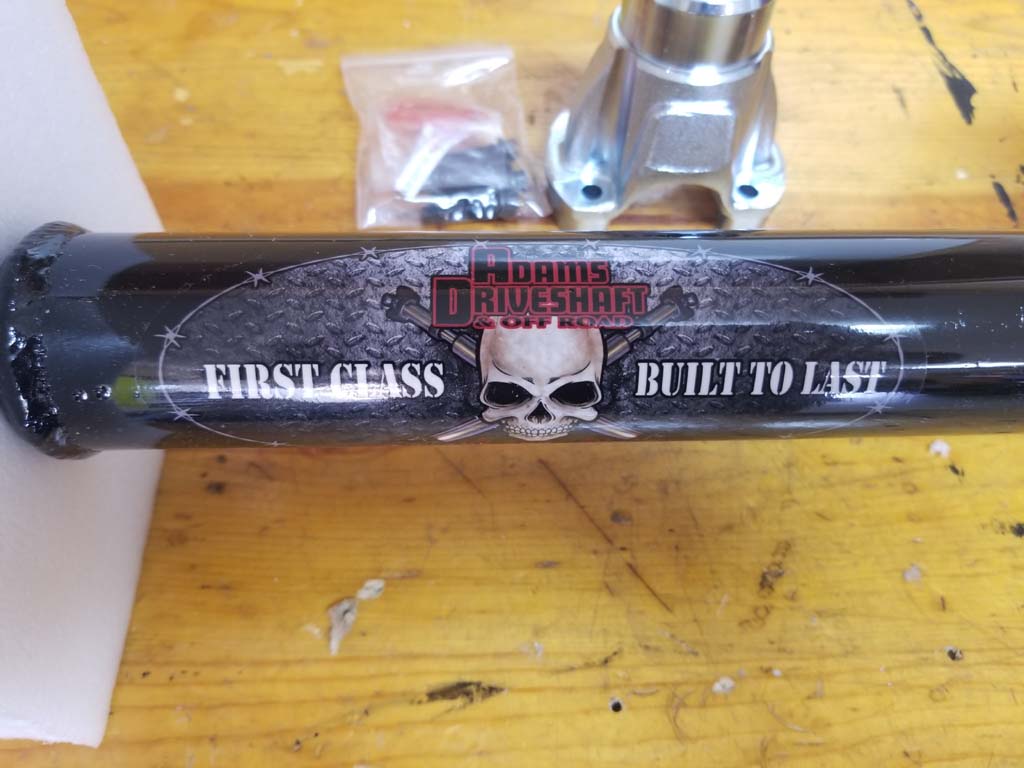
| I bought the extreme duty 1310 driveshaft with the transfer case output flange. This saves you the headache of messing with the front axle pinion flange. The extreme duty comes with sealed 1310 u-joints so you will not need to grease them. You still need to grease the splines and the centering ball on the double cardan joint. |
 |
 |
 |
 |
 |
 |
 |
 |
 |
| |
| Installation: |
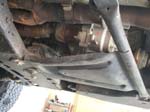
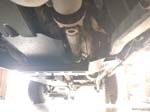
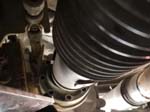
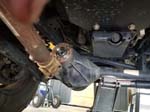
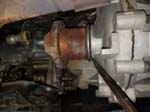
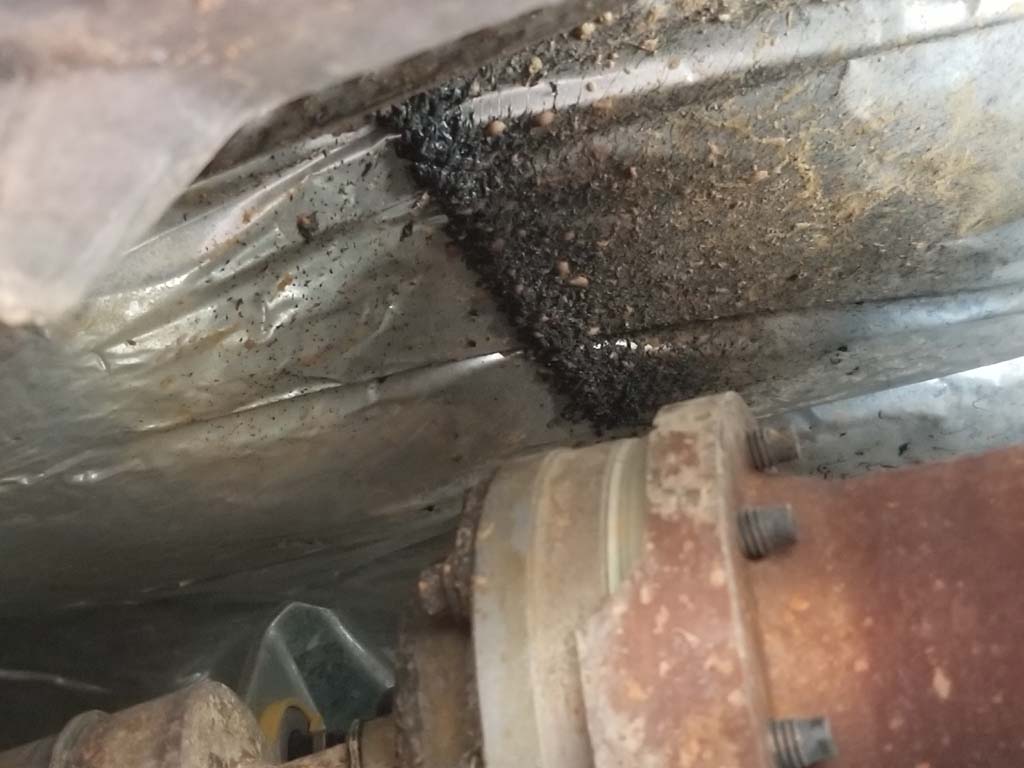
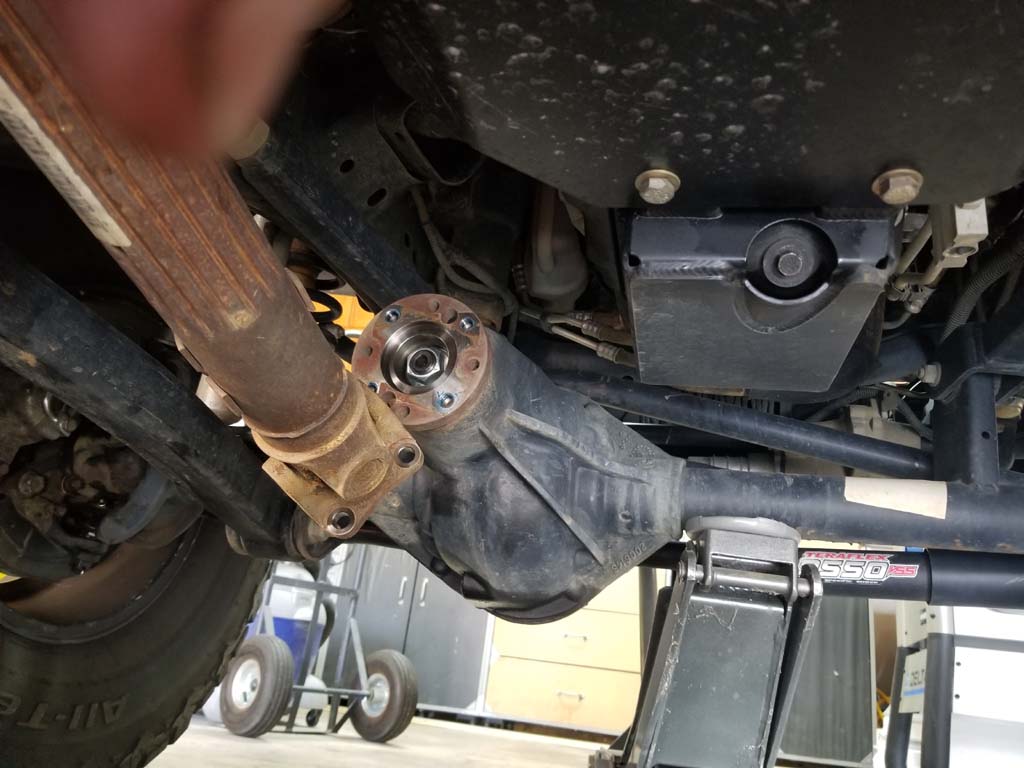
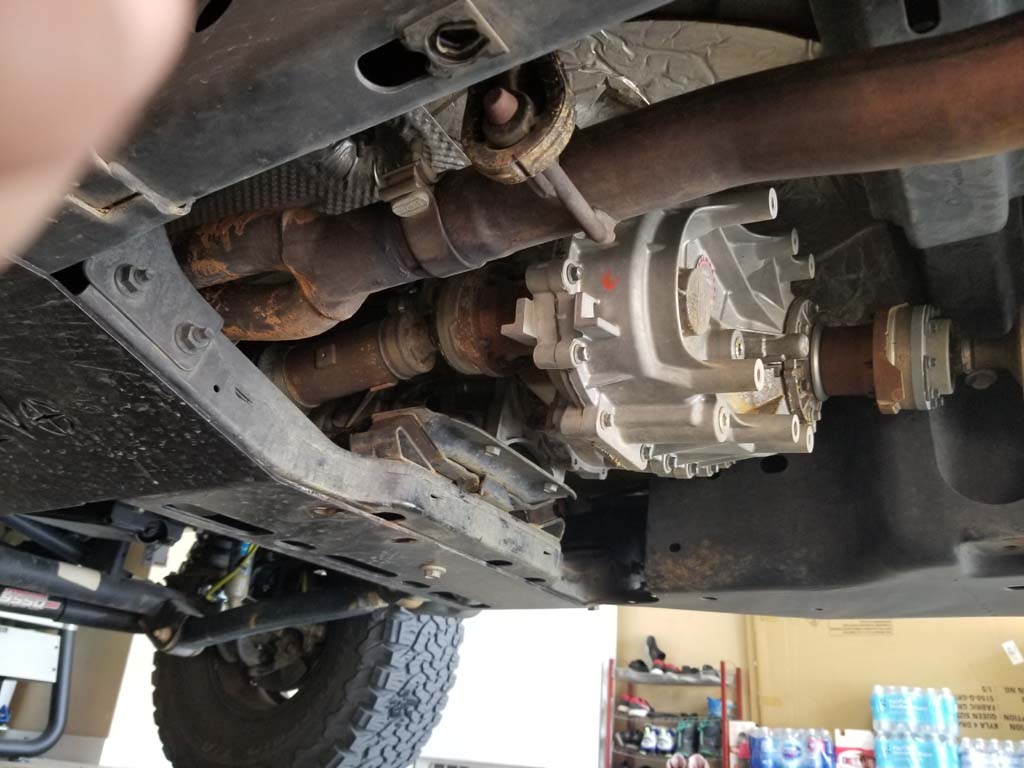
| I was under the Jeep checking the torque on bolts prior to a wheeling trip when I noticed that the Rzeppa joint on my front drive shaft was slinging grease onto it's surrounding. The joint had been running pretty much at it's max for quite a few years, but other than the line of grease it had given no indication that there was a problem. |
 |
 |
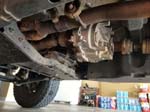
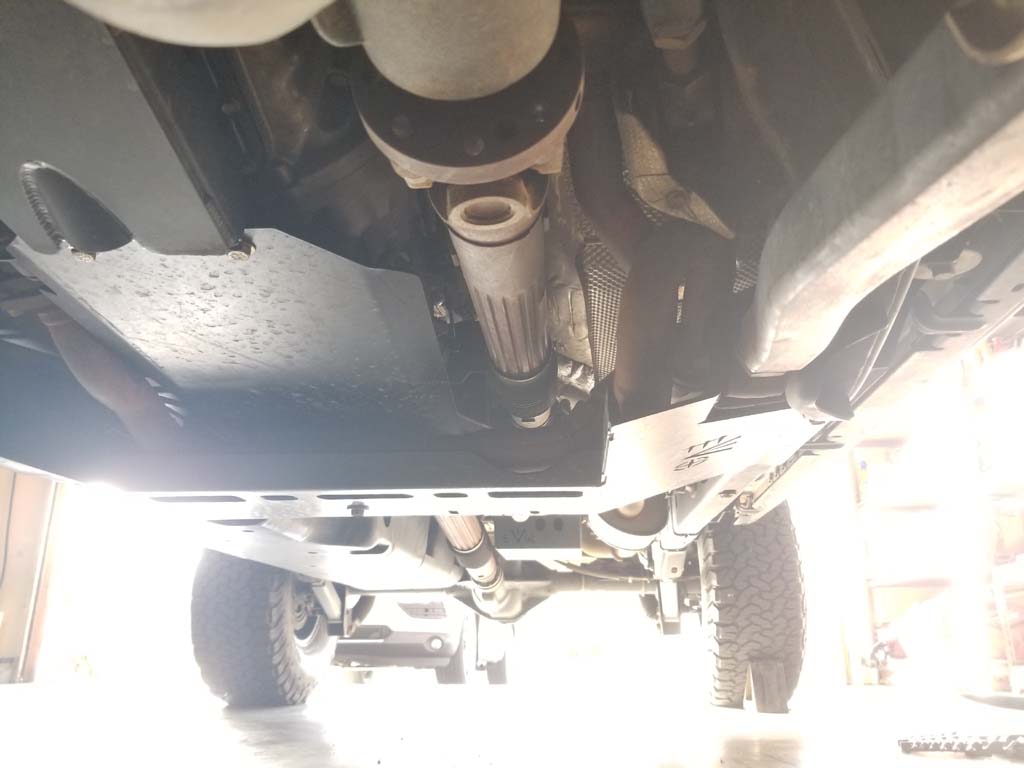
| 1. Set the parking brake, and chock the rear tires. This is important to keep the Jeep from moving while you are under it. Jack up and support the front axle. Shift the transfer case into Neutral. You will shift between 4wd and neutral a couple times during the install. |
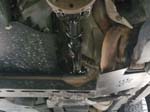
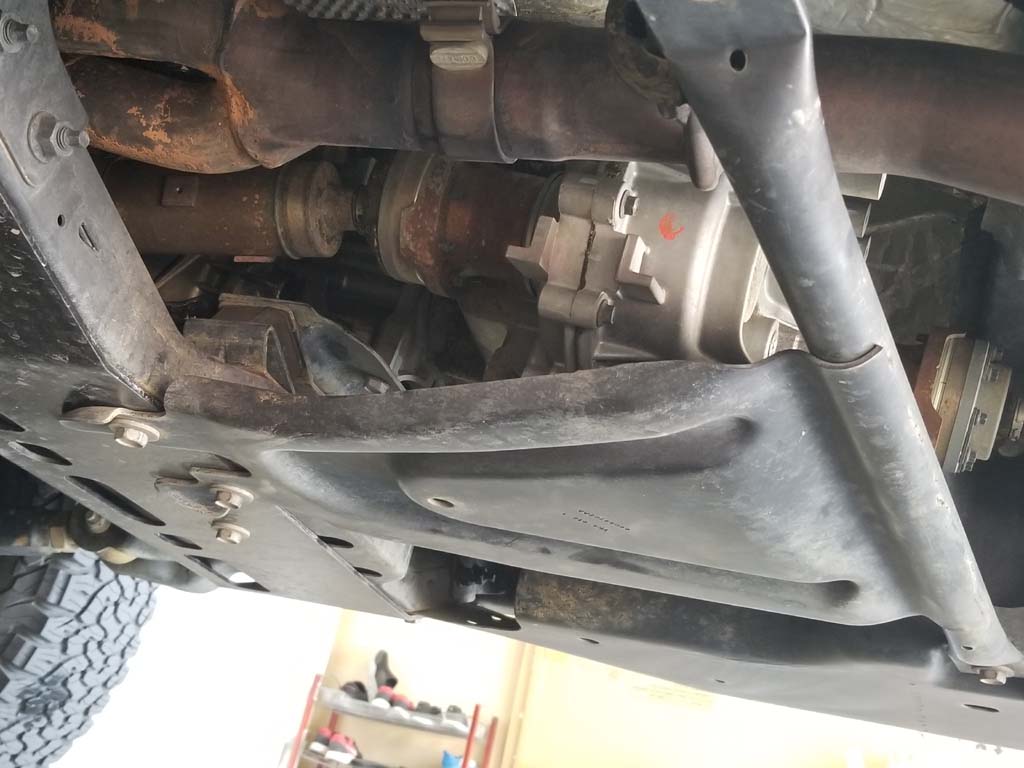
| 2. Remove the four bolts holding the transfer case skid plate to the frame. You will need a 18mm socket or combo wrench. The skid isn't heavy, just a little unwieldy. I usually brace it with a knee when I removed the last bolts. |
 |
| With the skidplate removed you will have enough room to get the bolts out of the driveshaft. It is a little tight, but doable even with the EVO skids that I have installed. |
 |
 |
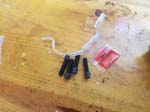
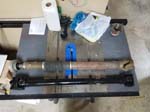
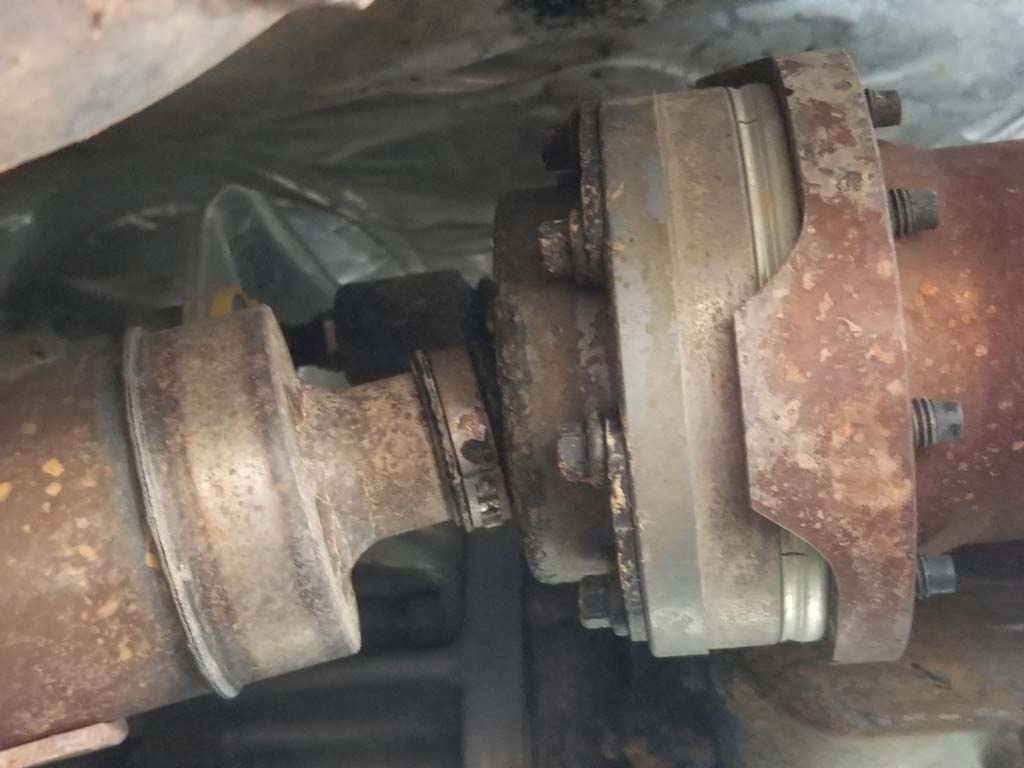
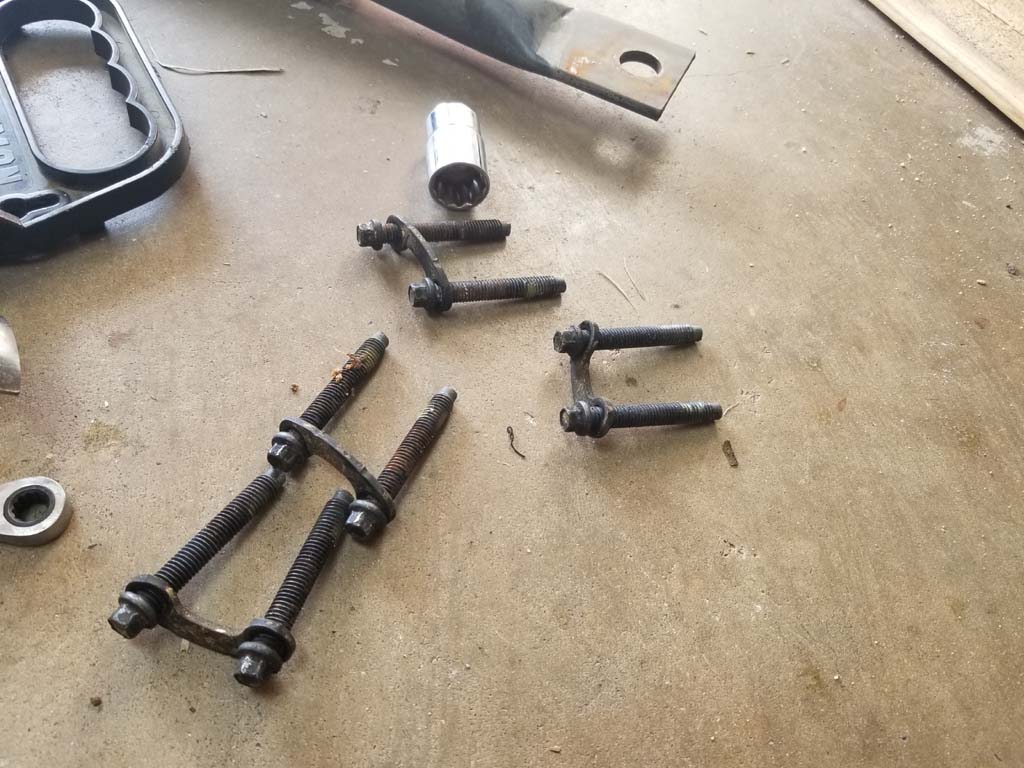
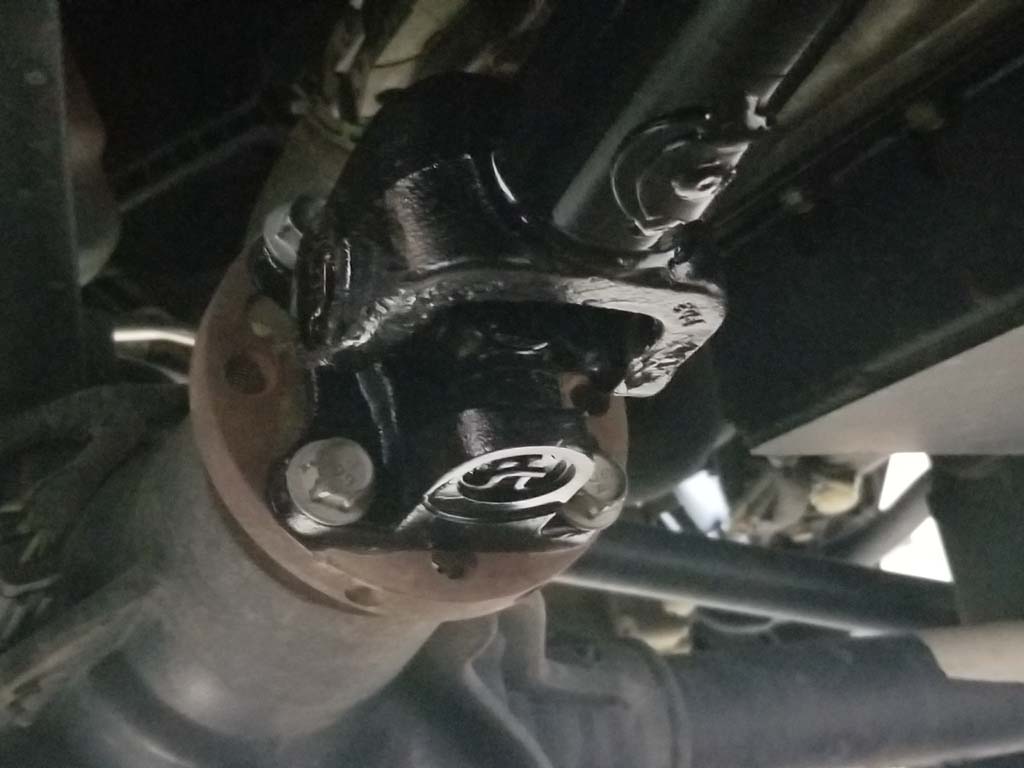
3. Remove the 8 bolts holding the rear end of the front drive shaft to the transfer case output shaft. You will need an 8mm 12 point socket or combo wrench. You will not be able to get the bolts all the way out if you just use a ratchet and socket. A socket with a wobble extension will allow you to clear the edge of the factory driveshaft. Loosen and remove as many as you can
Note: The picture is of the rear driveshaft for clarity. |
 |
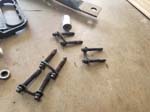
| Each of the bolts has a small horseshoe between them that helps distribute the load across the flange. You will need to loosen both bolts before you can get them off. The bracket will come off with the bolts. |
 |
 |
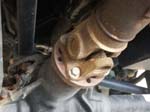
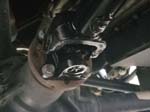
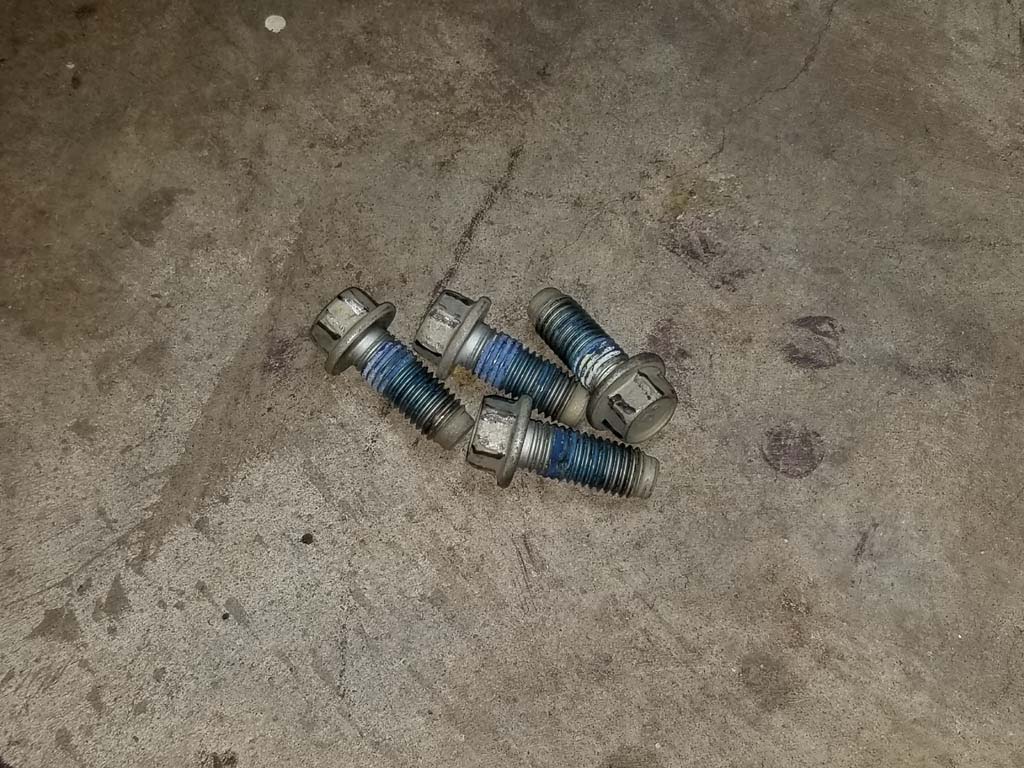
| 4. Remove the 4 bolts holding the front U-Joint to the front pinion. You will need a 15mm socket or combo wrench. You may need to apply a little persuaison with a dead blow hammer to get them to move. These were installed with what looked like blue loctite at the factory. You will need to rotate the driveshaft to gain access to all of the bolts, I just rotated a tire with my foot. Leave one or two bolts partially installed to prevent the drive shaft from coming out. |
 |
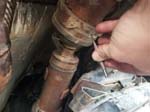
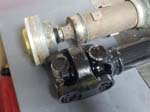
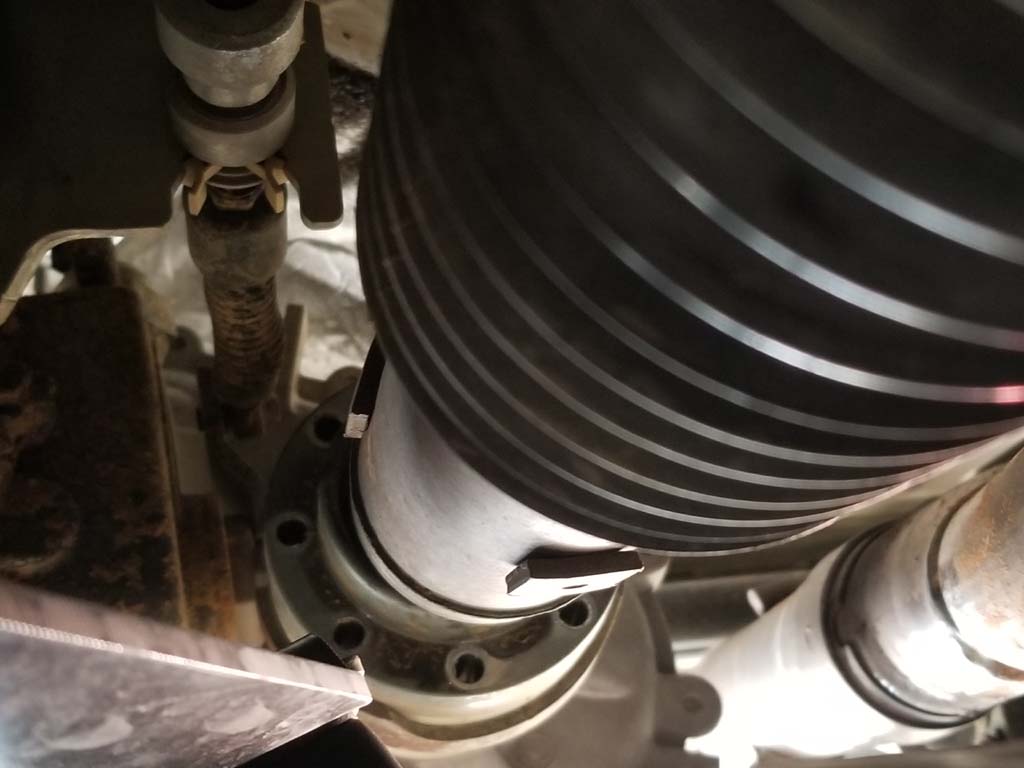
5. Rotate the driveshaft until you find the small notch and hole at the connection point. Place the tip of a small pin punch into the notch and hole. Gently tap the pin punch into the hole to seperate the Rzeppa joint from the mounting flange. Once you have a little seperation you can use a large flat tip screwdriver to pry the joint apart.
Note: The first picture is of the rear driveshaft for clarity. |
 |
 |
 |
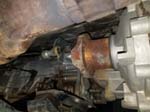
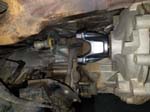
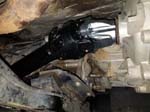
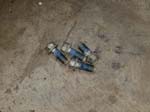
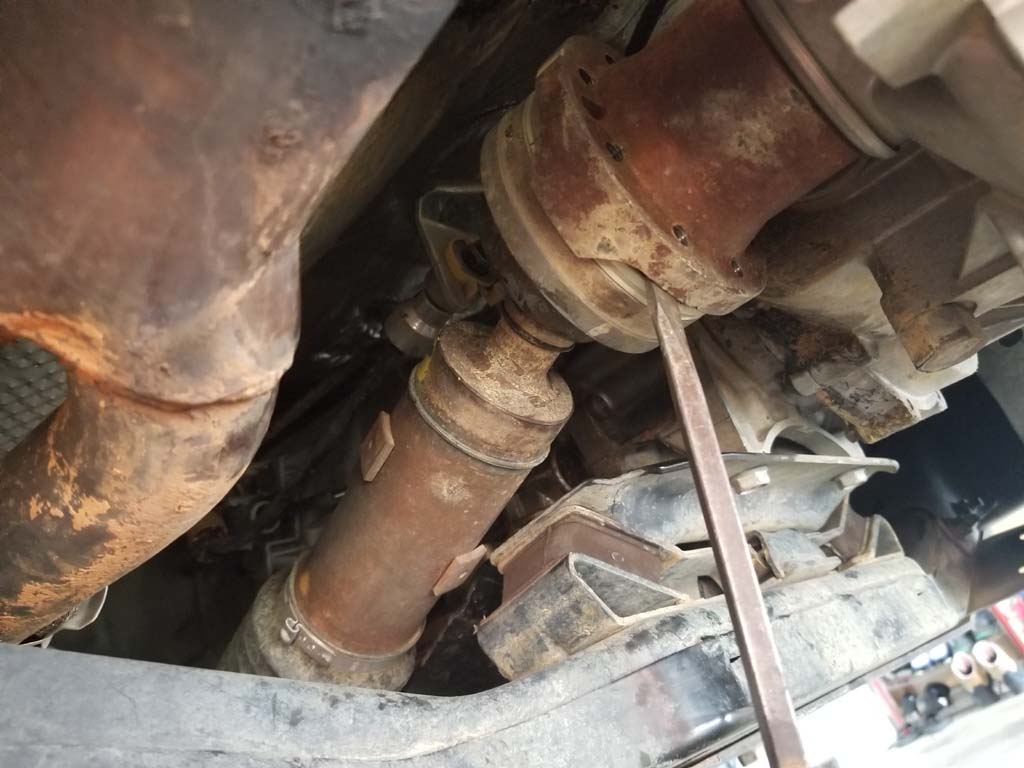
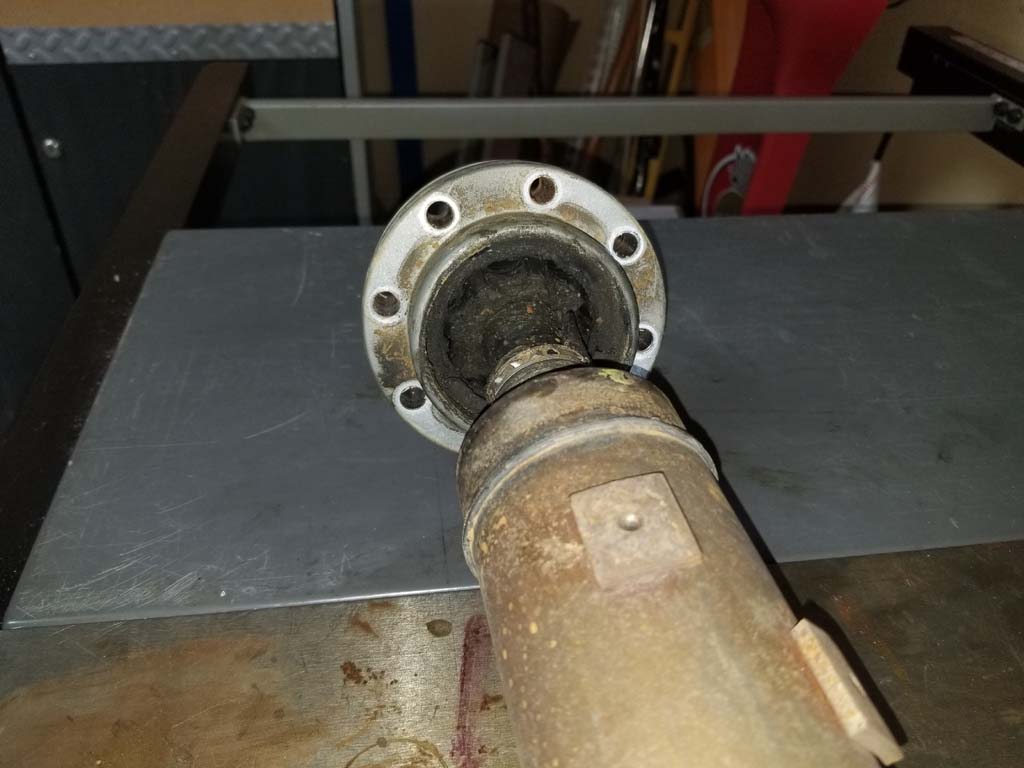
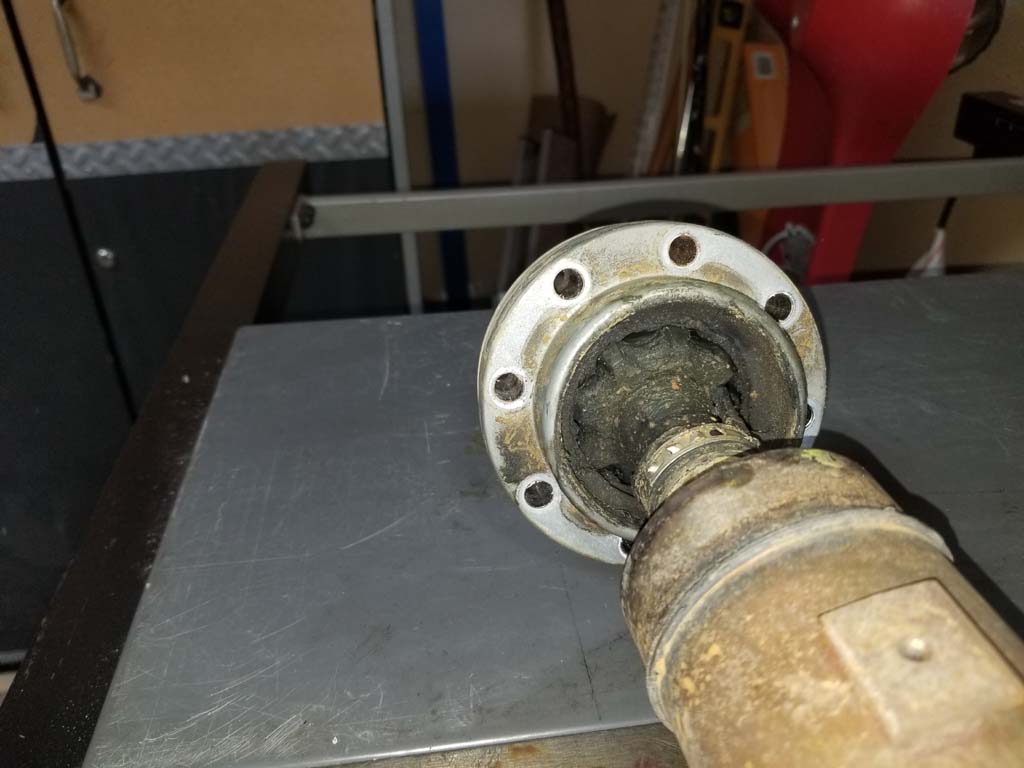
| 6. Once the Rzeppa joint is free from it's mounting point, you can rest it on the transmission crossmember. Support the driveshaft with your hand. Remove any remaining bolts from the front axle pinion. The driveshaft may come off with a little tug. Mine required a couple light taps with the dead blow hammer. Additionally, you can slip a prybar under the edge of the flange and pry it out of the axle pinion flange. |
 |
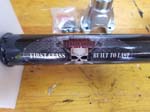
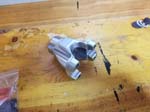
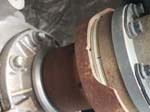
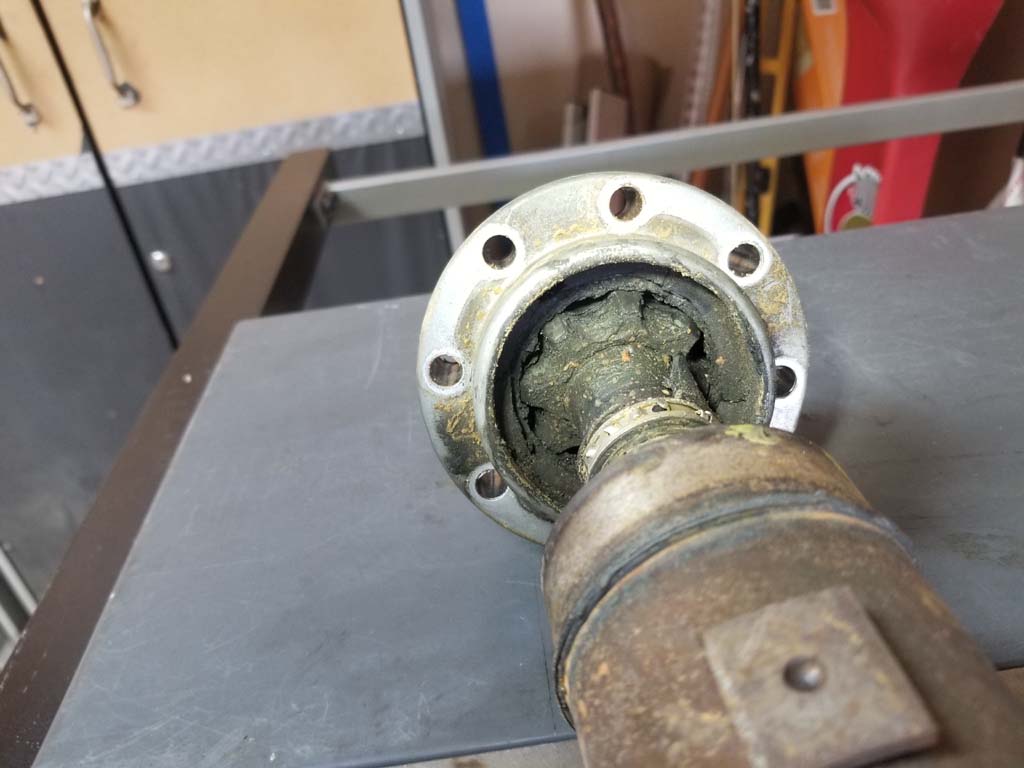
| As you can see the Rzeppa joint is pretty much toast. All the grease is gone and the boot is completely destroyed. It appears that most of the balls are at least still inside the cage and the joint is fairly moveable. It is actually fairly impressive that it is still working and didn't show any other indications than the grease throwout. |
 |
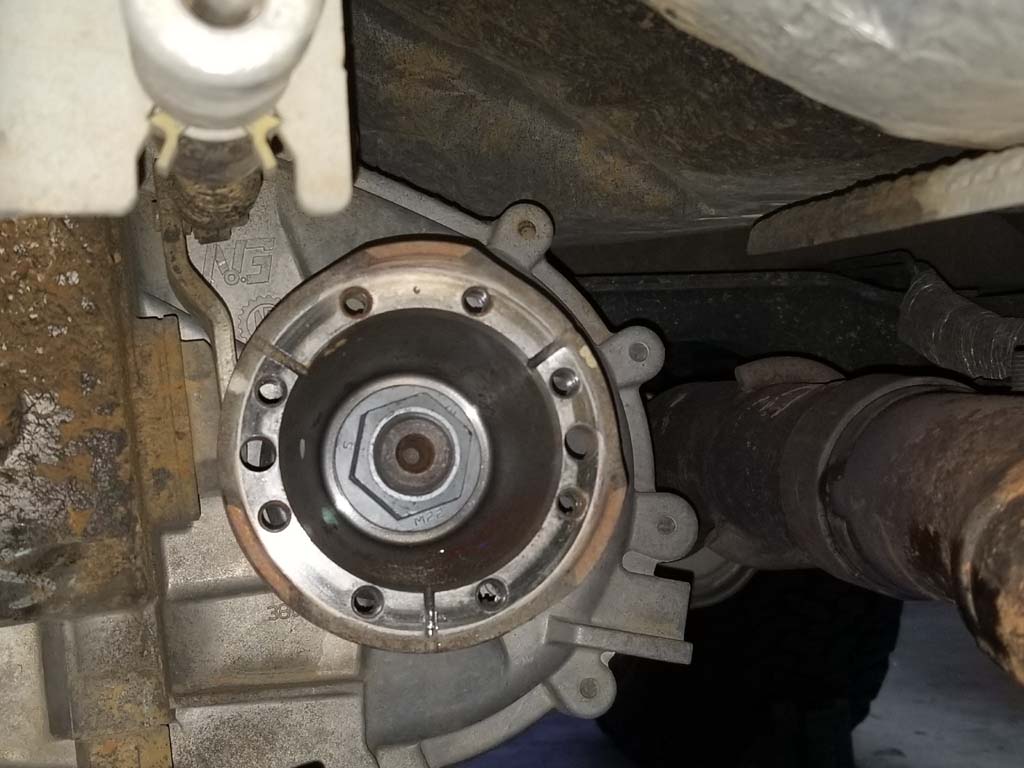
| 7. Shift the transfer case from neutral into 4wd. Remove the transfer case output shaft nut. You will need a 32mm socket and breaker bar or ratchet. |
 |
 |
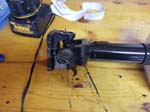
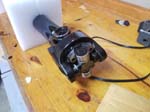
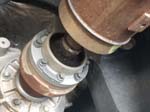
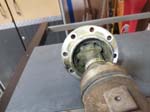
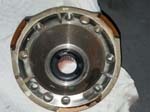
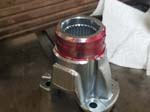
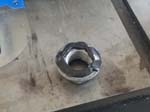
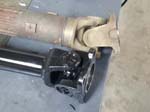
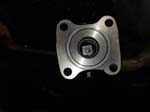
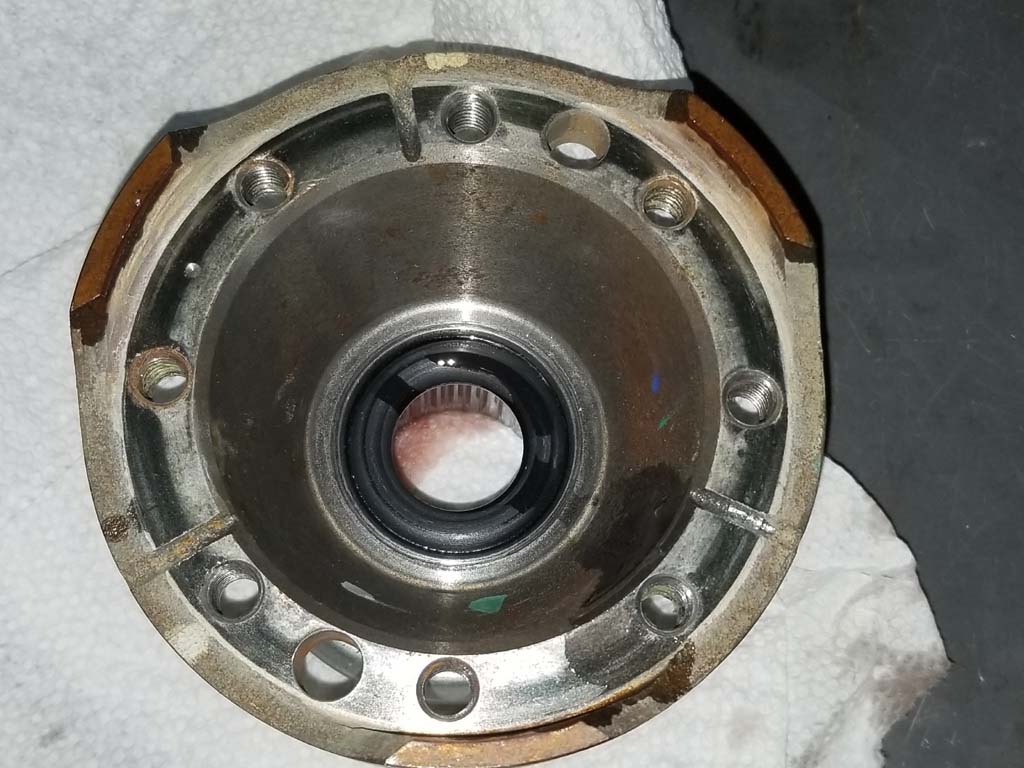
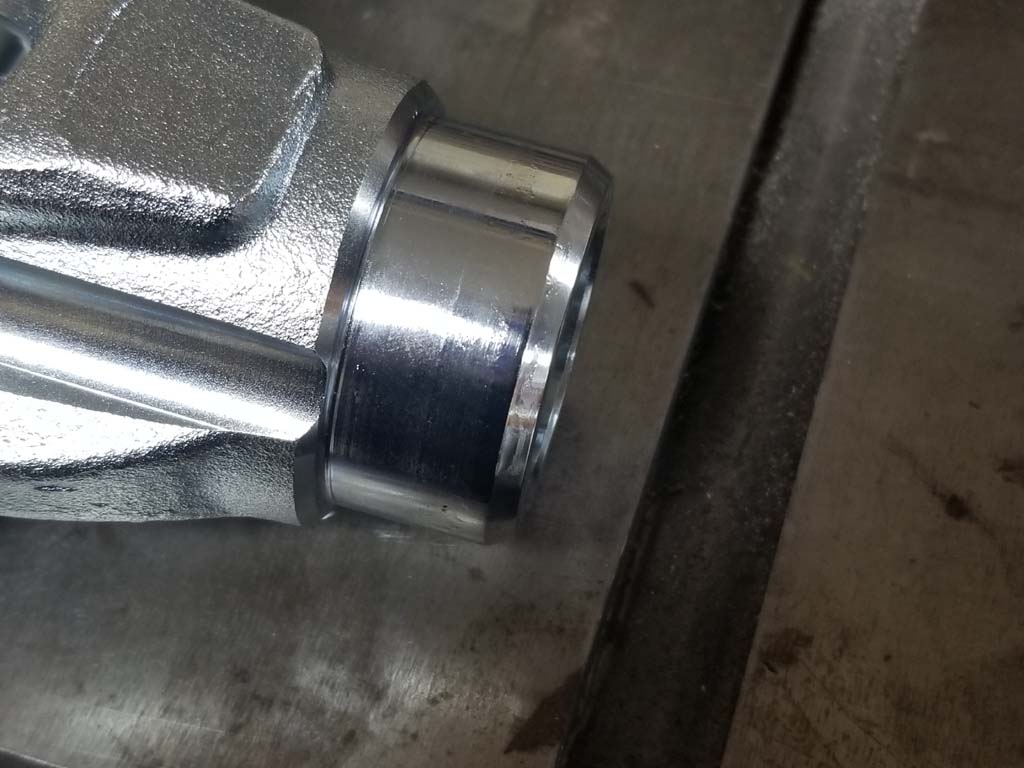
| 8. Using a dead blow hammer gently tap the output shaft adapter towards the front of the Jeep. Once you have enough clearance behind the dust shield, you can gently pry the adapter off of the shaft. It should slide off fairly easy. I actually had to put it back for the picture because it popped right off. |
 |
 |
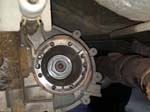
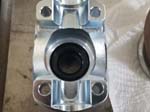
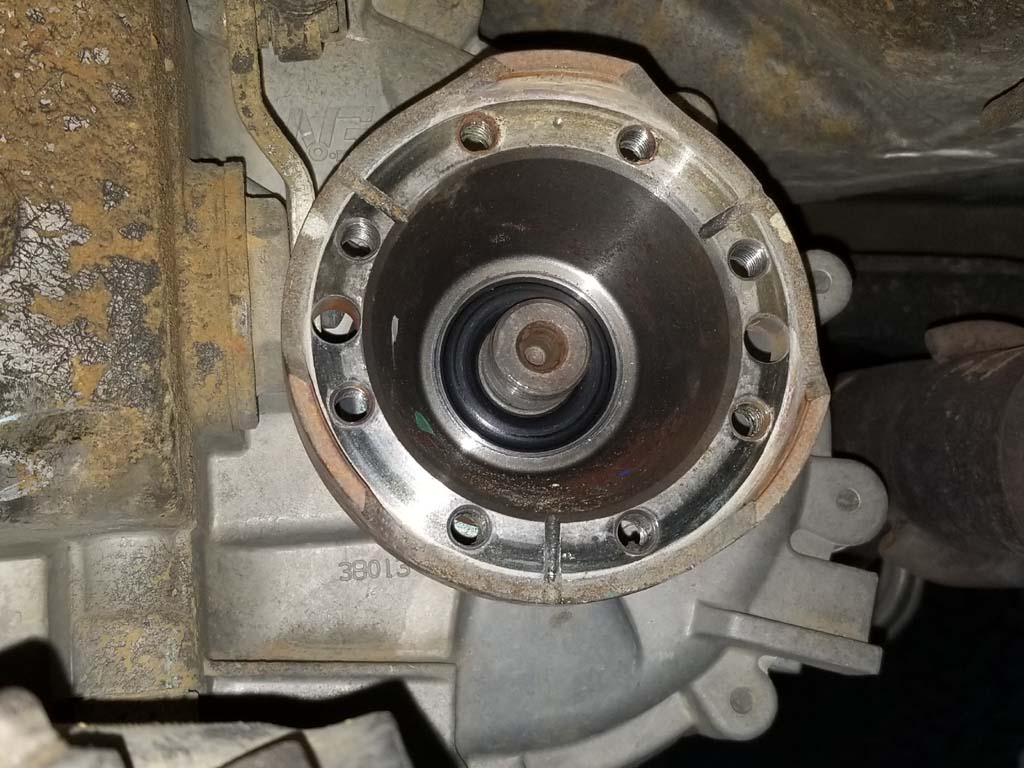
| 9. Inspect the transfer case output shaft seal and mating area. This is a good time to carefully clean any dirt and debris out of this area. I was surprised at how clean mine was considering the water and mud I deal with in the south. |
 |
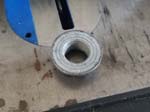
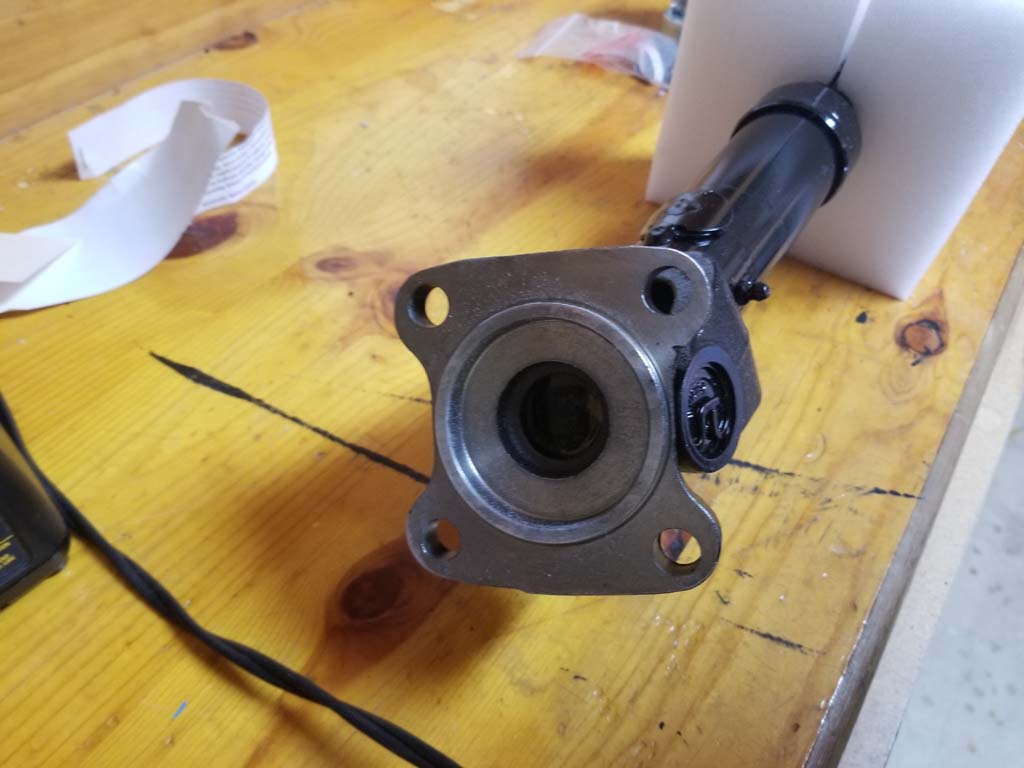
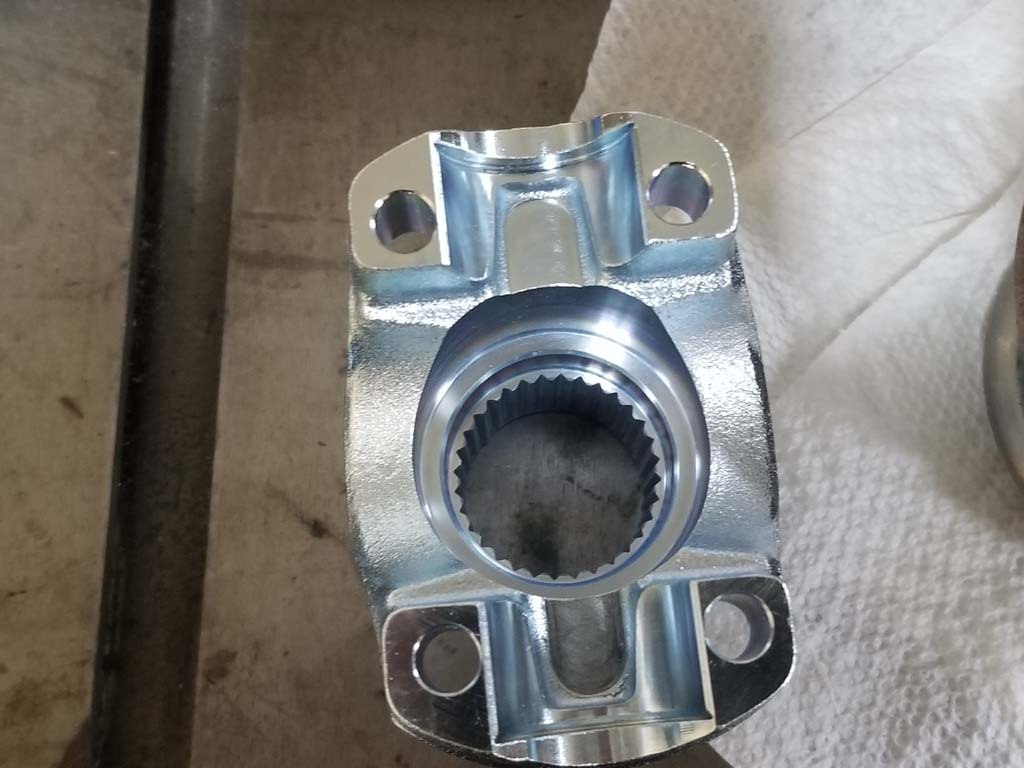
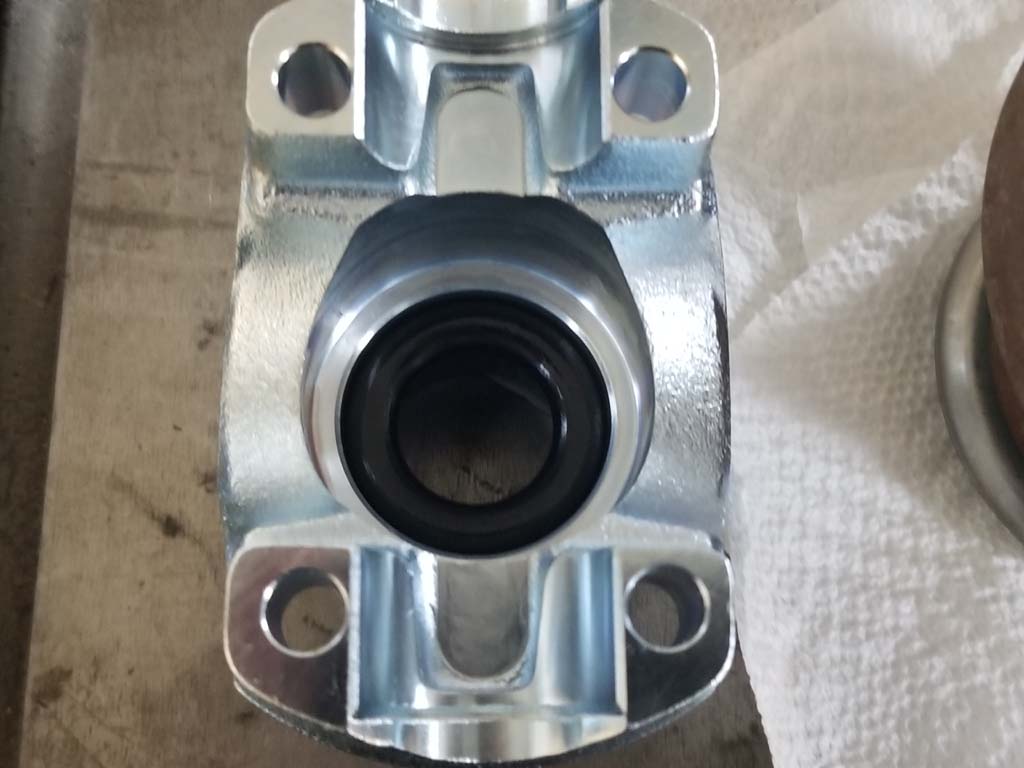
| 10. Remove the output shaft o-ring from the adapter and place inside the new Adams drive shaft transfer case yoke. |
 |
 |
 |
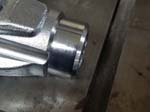
| 11. Apply a liberal amount of grease to the flange on the Adams drive shaft yoke and a small amount to the inside of the o-ring so it slides back on the shaft easily. |
 |
 |
| 12. Slide the drive shaft yoke onto the transfer case output shaft. |
 |
| 13. Apply a bead of silicone sealant to the output shaft nut. Install the nut onto the shaft with some red locktite. Use a 32mm socket and breaker bar or ratchet. Torque to 90-130 ft/lbs. |
 |
 |
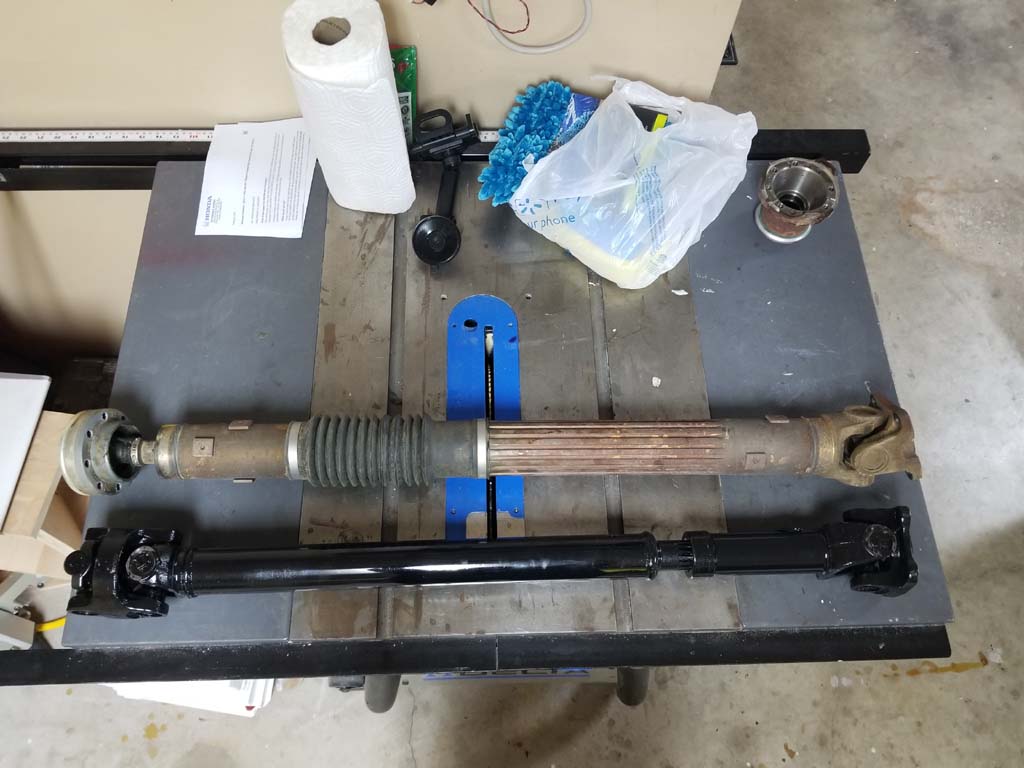
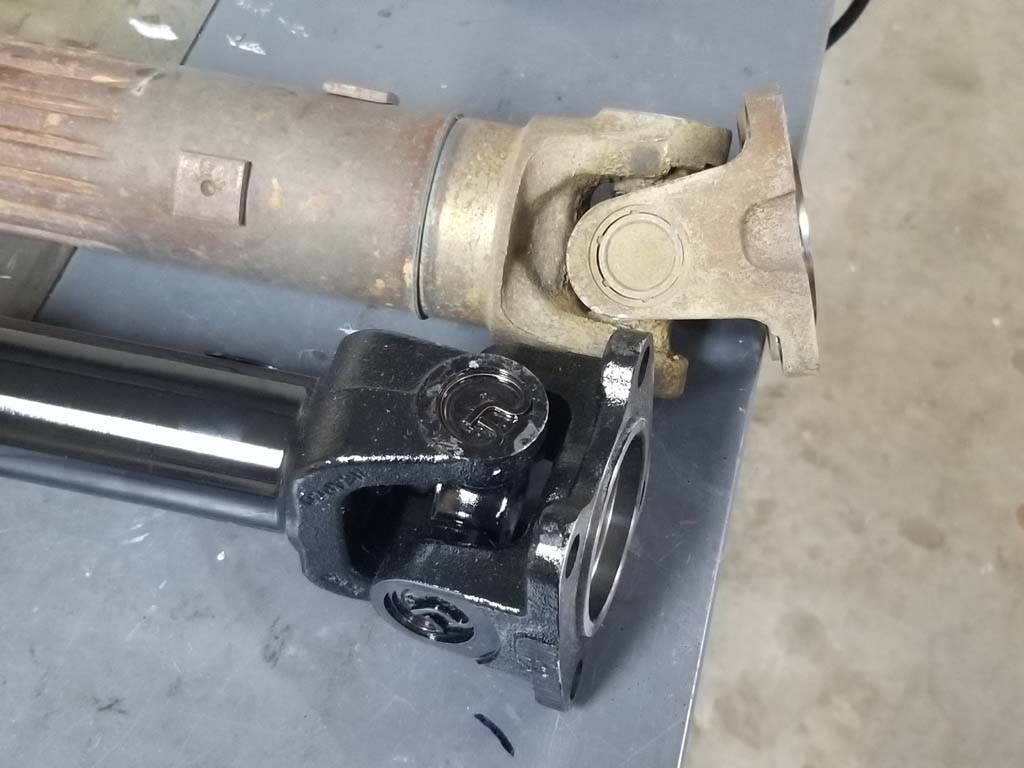
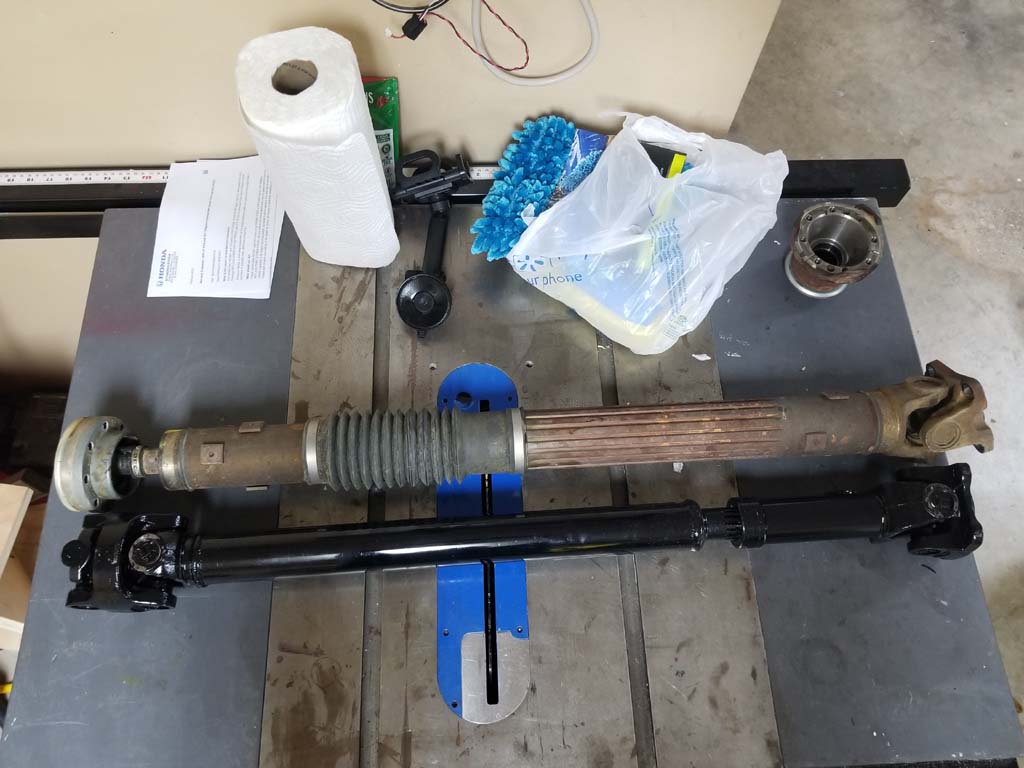
| Comparison |
 |
 |
 |
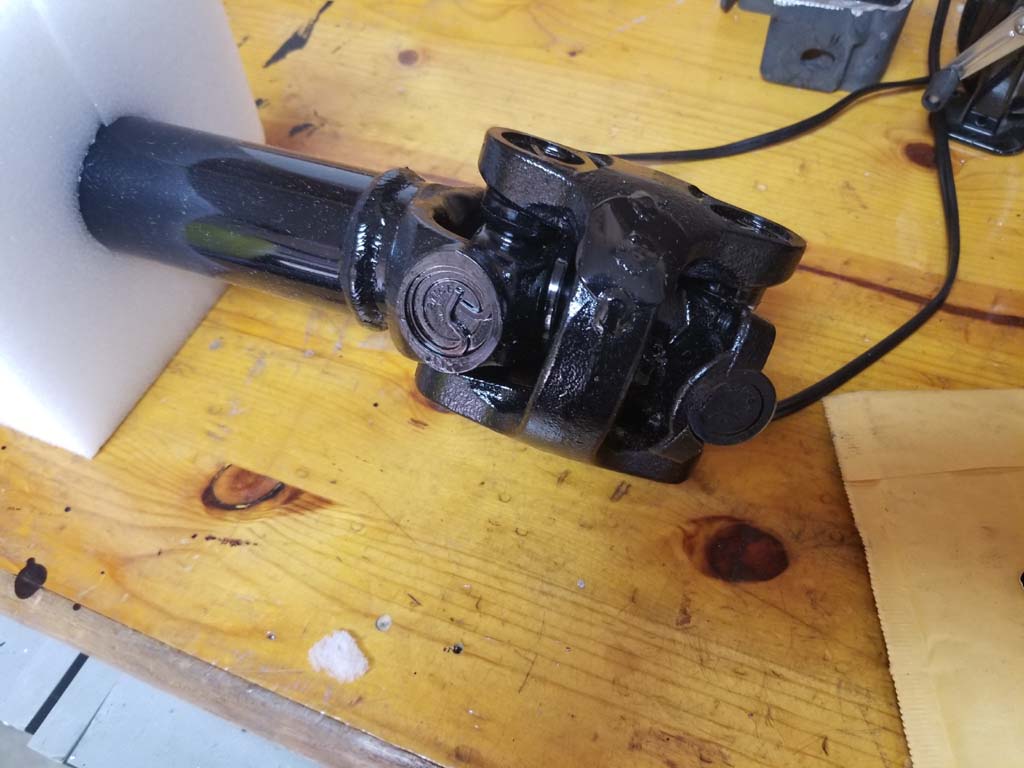
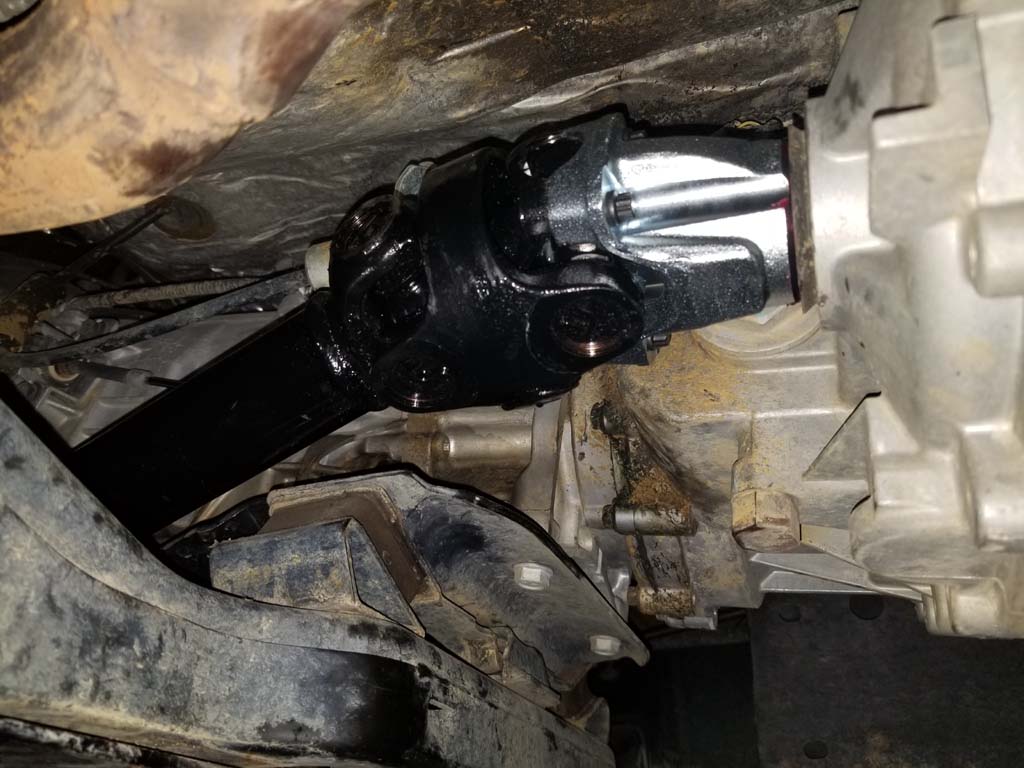
| 14. Slide the Adams driveshaft up over the transmission crossmember and line it up with the transfer case output flange. Make sure that that the universal joint on the driveshaft sits between the tabs on the output shaft flange. |
 |
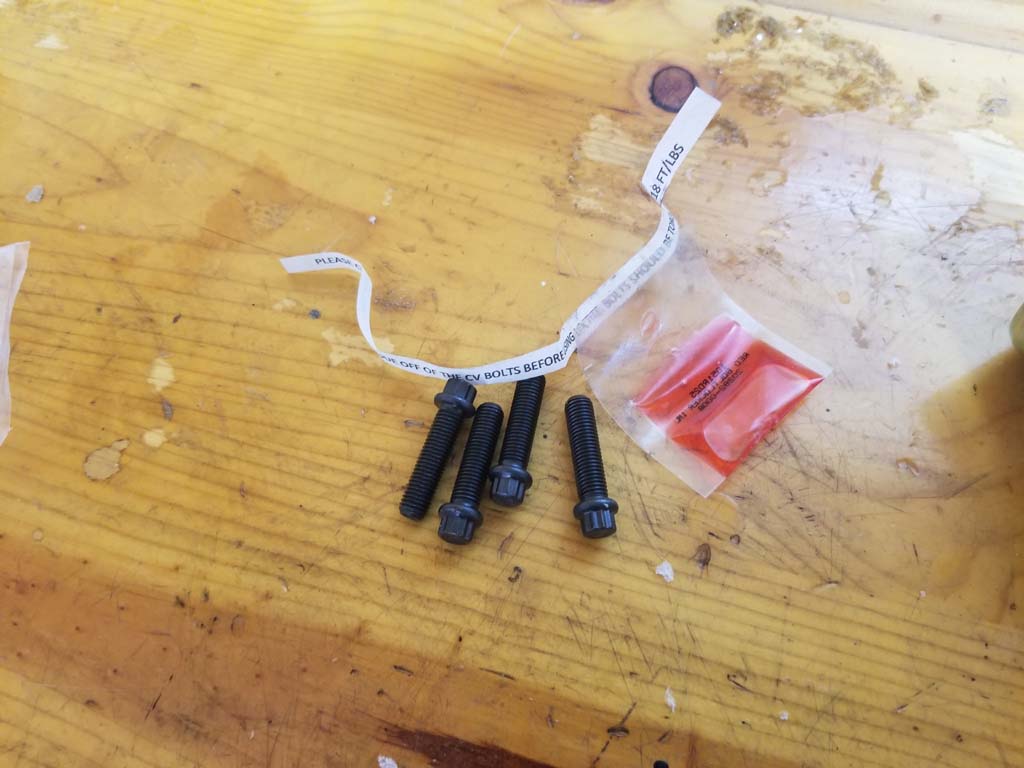
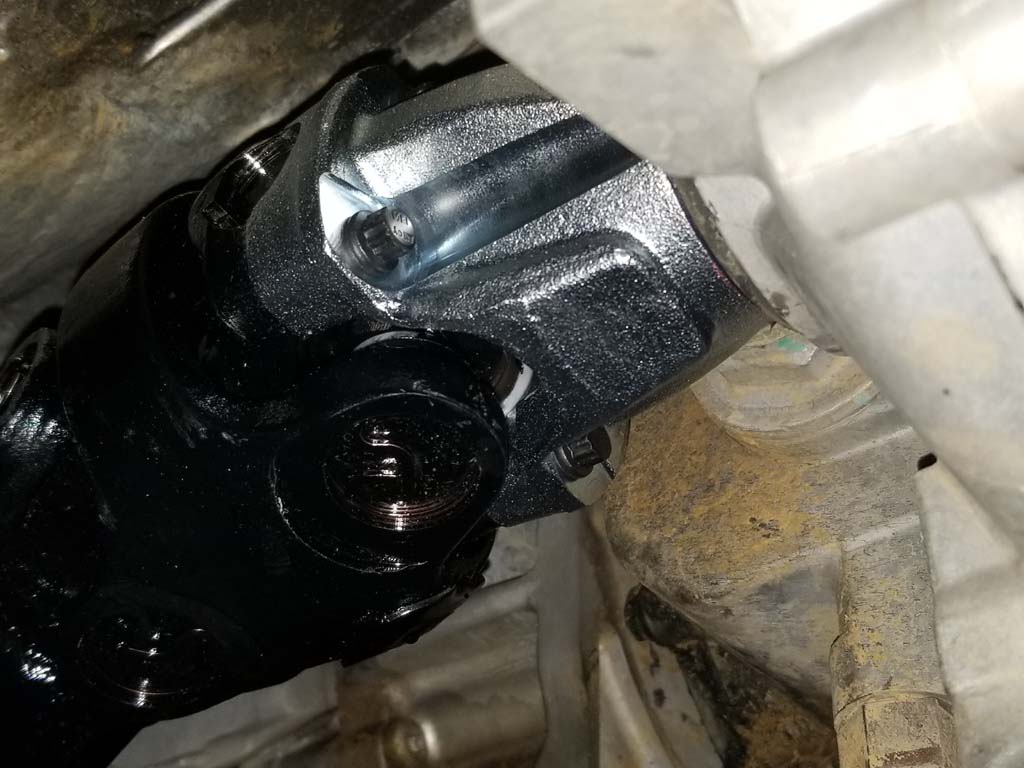
| 15. Install the supplied bolts with red locktite through the output flange and into the driveshaft. Snug the bolts down. Torque setting is 18 ft/lbs, but you won't be able to get a torque wrench in there, so make sure they are tight. |
|
 |
| 16. Shift the transfer case back into neutral. Line up the driveshaft axle flange with the front pinion. Apply blue locktite to the factory bolts and reinstall into the flange. You will need a 15mm socket or combo wrench. Torque to 81 ft/lbs. |
 |
 |
 |
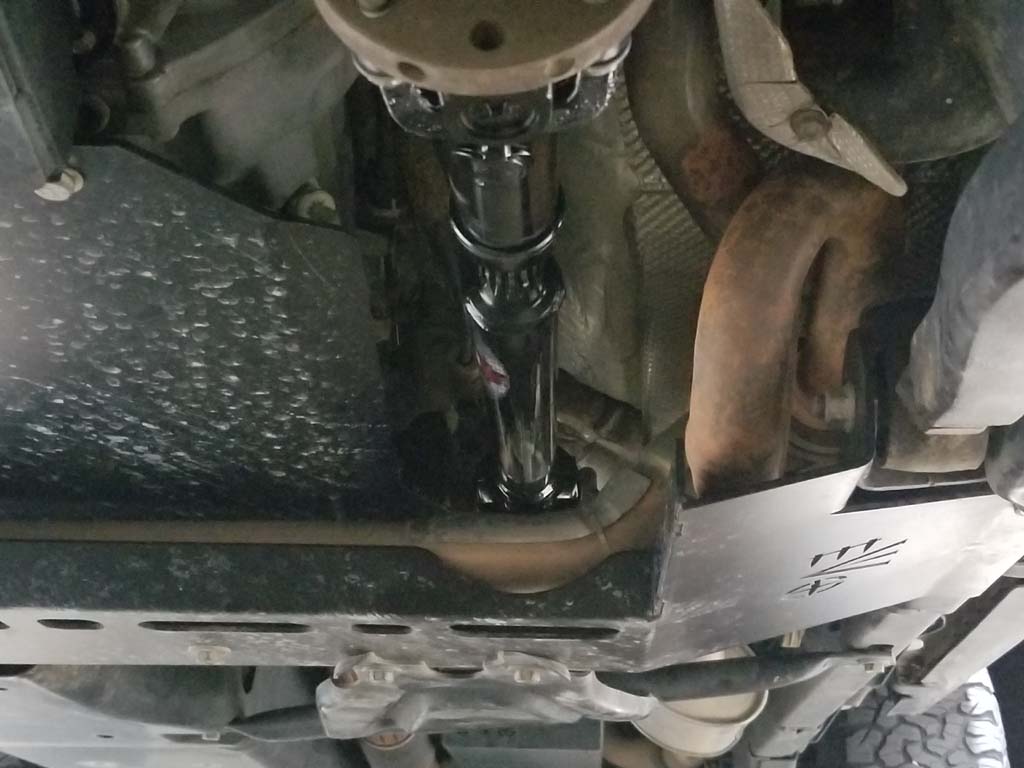
| Installed. Don't forget to remove the jack stands and shift the tranfer case back into 2wd before removeing the rear wheel chocks. |
 |


