In 2012 they decided that the front brake lines needed to be routed down through a bracket on the front lower control arm mount. This was a very nice way of keeping the lines from getting caught on things. It was also really nice since the brake lines were longer. Most owners of the 2012 and up Jeeps really don't need extended front brake lines, all they need to do it unbolt the bracket, and remove the brake line from inside of it. Easy 26" long brake lines. Well I decided that why not try them on the rear and see how they work. So here is the results. Note: The front passenger becomes that rear drivers brake line and the front drivers becomes the rear passenger brake line.
| Installation: |
| Jack up the rear axle and place jack stands under it. Remove the tires and set aside. |
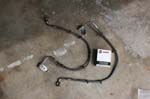
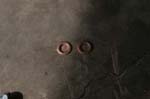
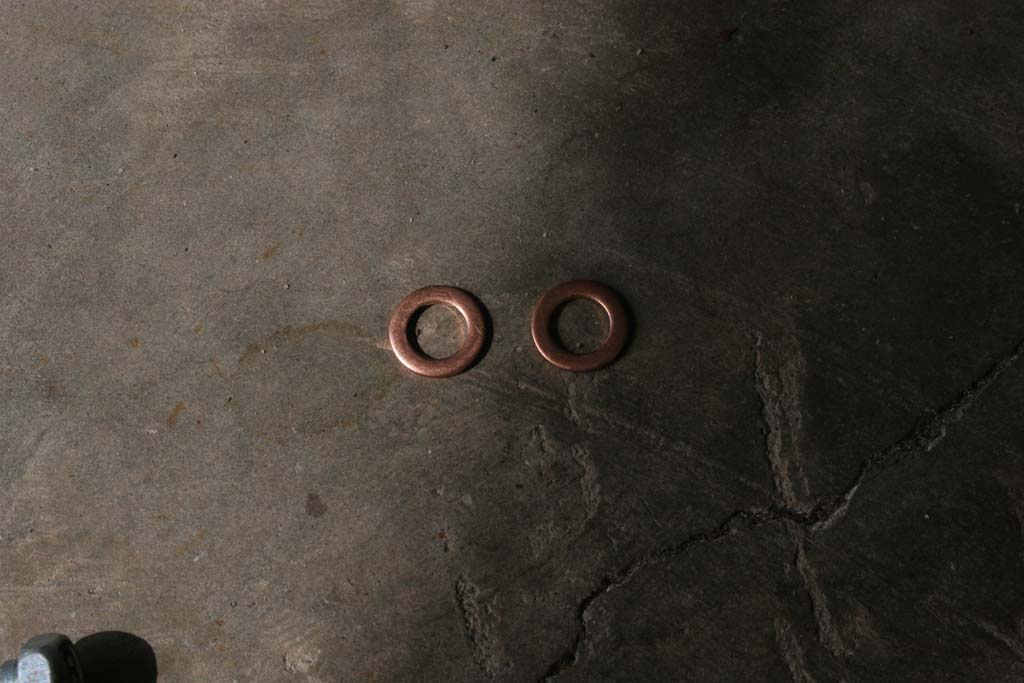
| Here's what you need. Two front brake lines (left and right) and 4 new banjo bolt washers. Some people have reused the old washers and not had it leak, but I'll only do that in an emergency. Better to put new washers in place so you get a good seal on your brake line to caliper. |
 |
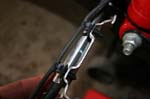
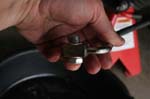
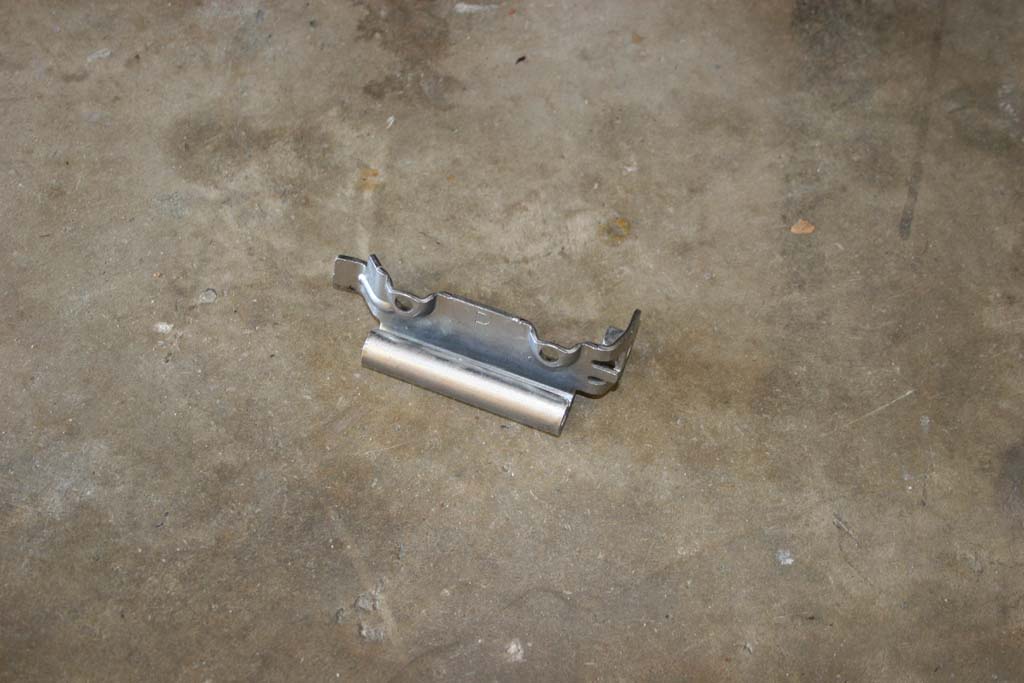
| 1. You will need to remove the bracket from the OEM front brake lines. I simply used a vice and a pair of vice grips to pry open the bracket. I have also used silicone spray and eased the brake line out of the bracket, but the vice method works best. |
 |
 |
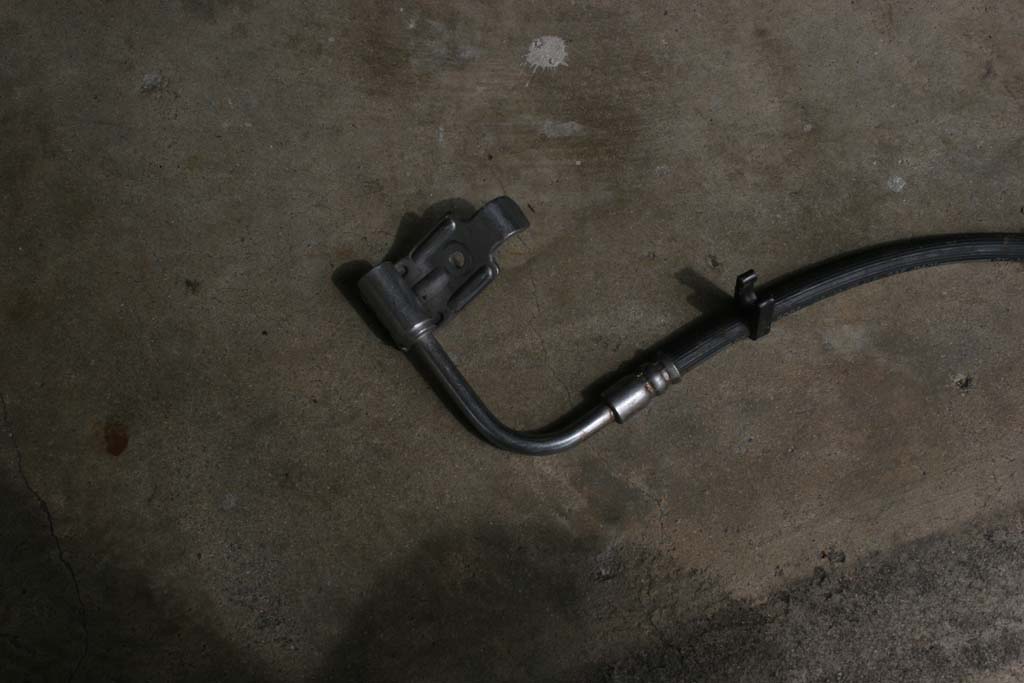
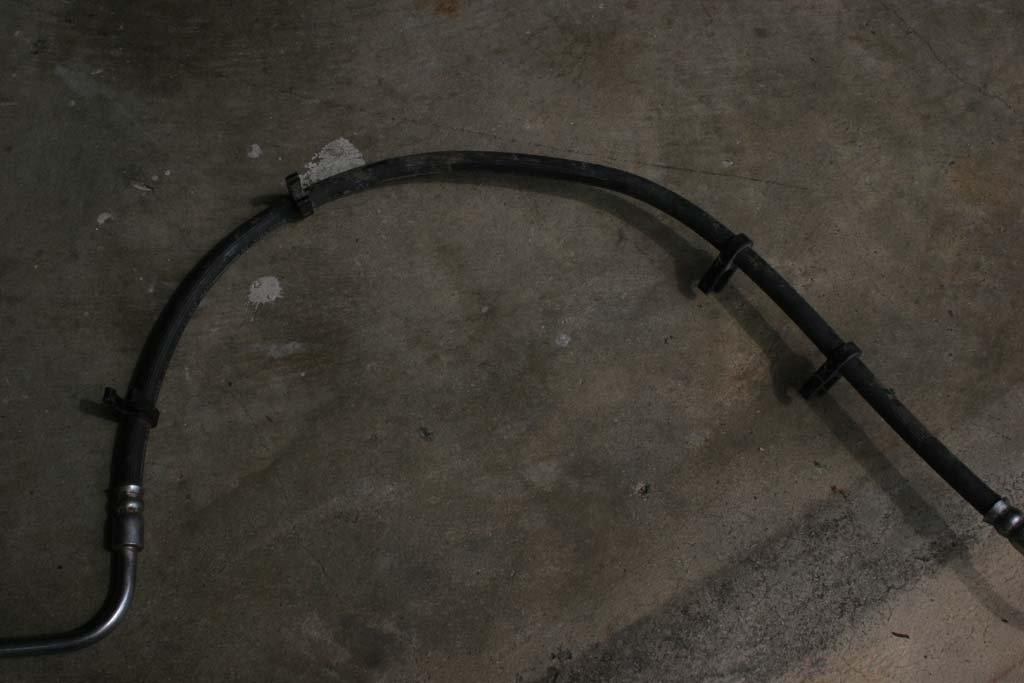
| 2. You will need to start by cutting off the soft plastic (rubber?) clips that are attached around the brake line. I simply clamped the line and carefully used a razor blade to press down and through the clamp. Be careful, you don't want to saw at it. I was able to do it by just pressing down and rocking the blade. |
 |
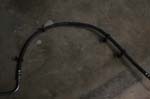 |
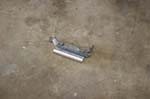
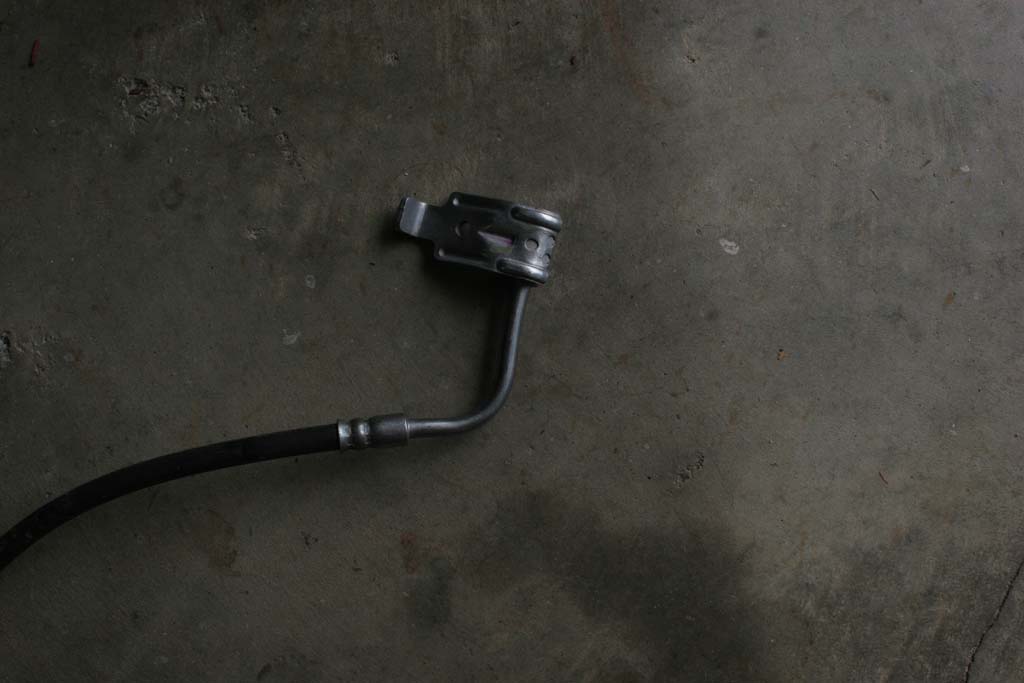
| Now you have a nice clean line. |
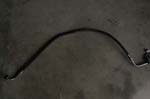 |
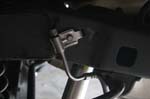
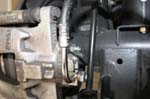
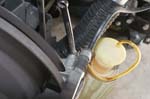
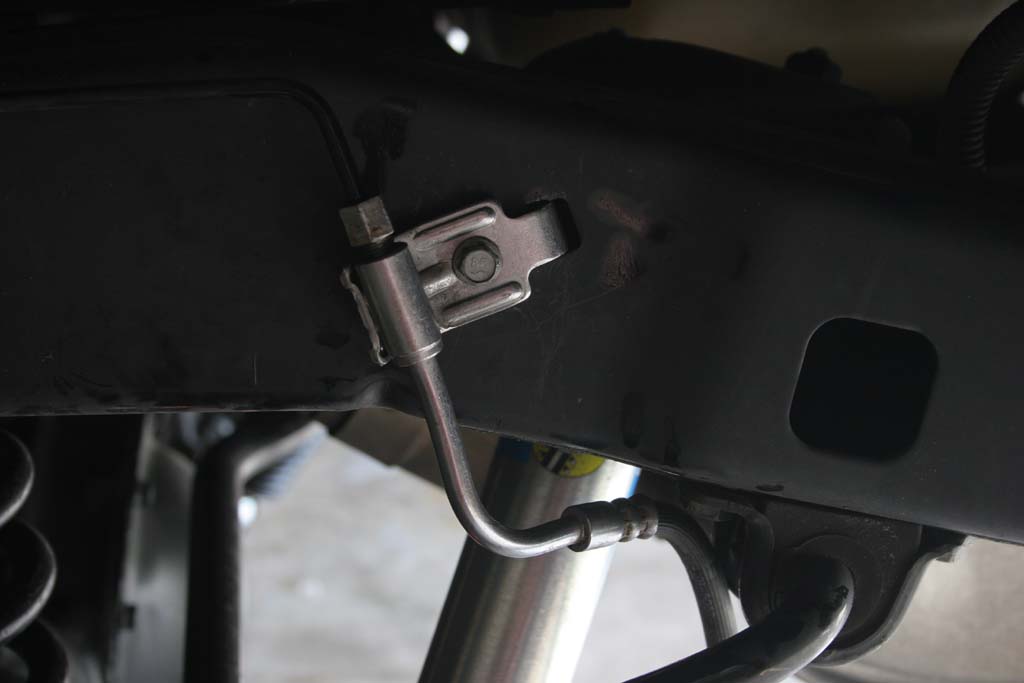
| 3. One of the problems you will run into is that the OEM rear brake lines drop almost straight down from the hard line connection, while the fronts do an L shaped bend. You will need to open up the bend a little. |
 |
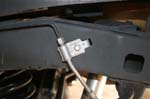
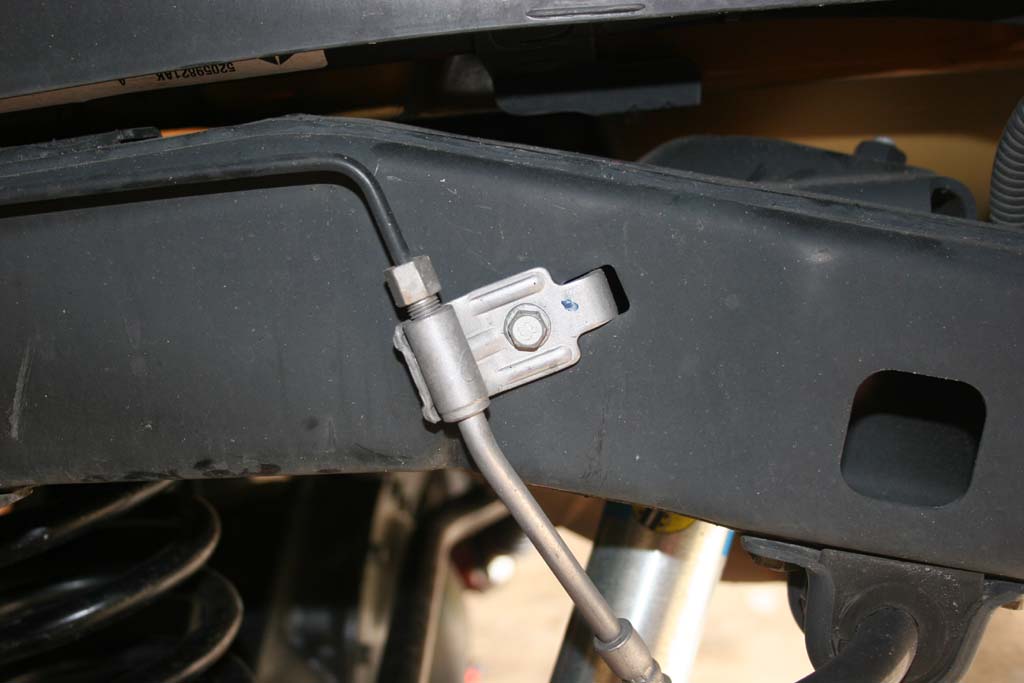
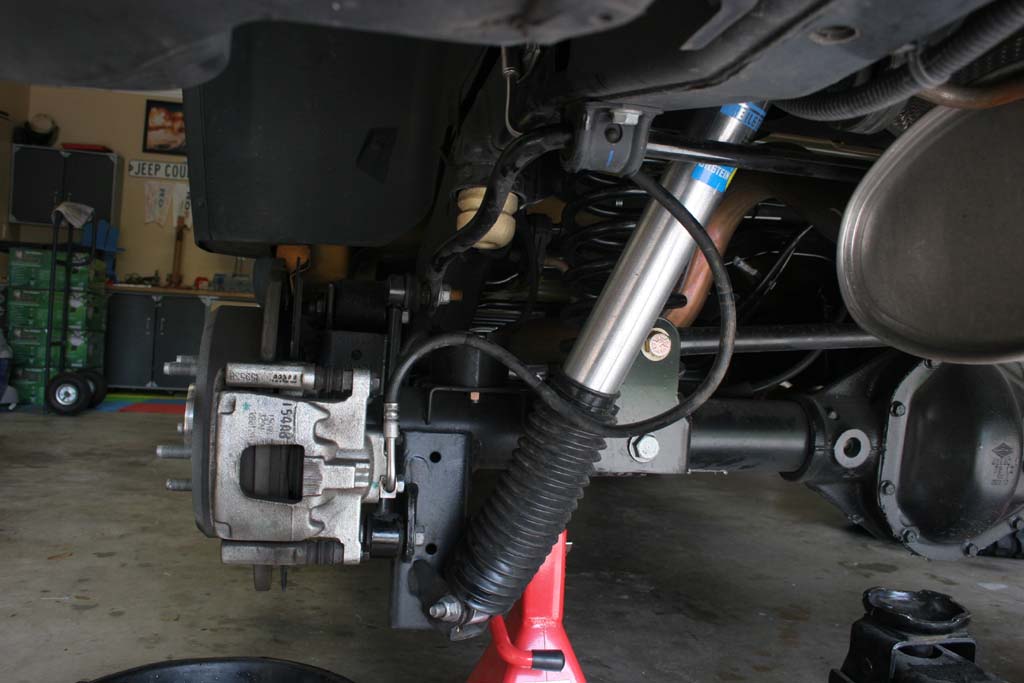
| 4. I simply clamped one side of the hard line between the fittings in the vice and use a large wrench to bend the line open a little more. Do Not hold it by the fittings, they are braized onto the hard pipe and could bend enough to cause a leak. Bend just the hard L shaped pipe. You may need to do a couple of test fitting to see if it is bent enough. Just remove the bolt holding the OEM brake line to the frame with a 10mm socket and bolt the longer OEM brake line in place. You will need to clearance the rear anti-sway bar bracket and it's bolt. Remember to bolt the OEM rear brake line back in place. |
 |
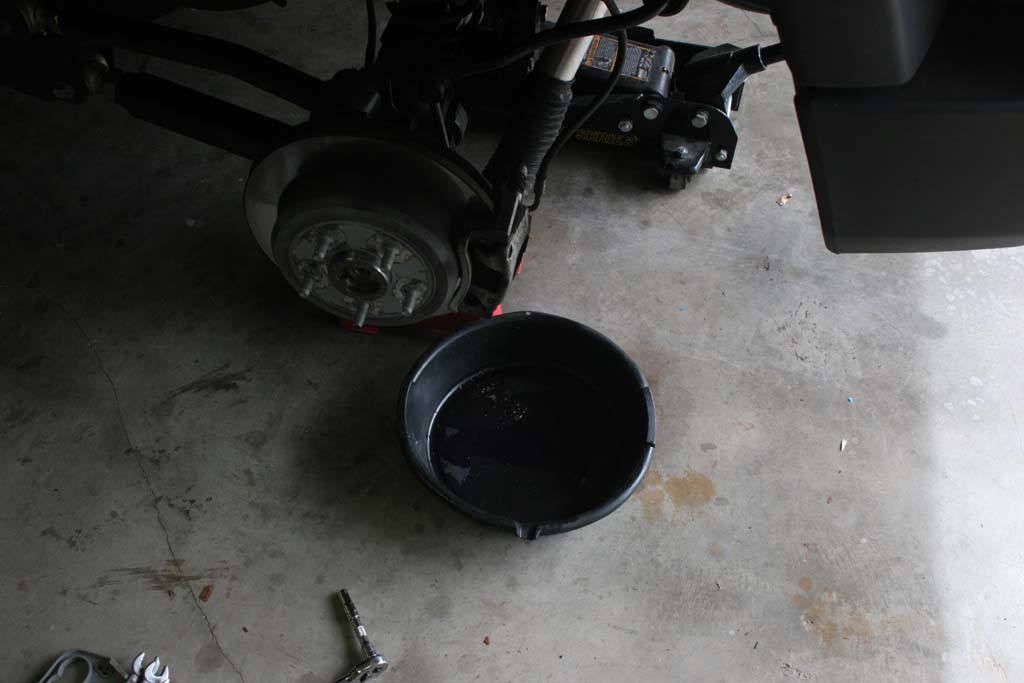
| 5. Place an oil pan underneath the side that you are working on. |
 |
| 6. Remove the hard line from the OEM rear brake line with a 12mm combo wrench. At this point I Reinstalled it in the new OEM brake line so that it wouldn't drip all over what I was working on. |
 |
 |
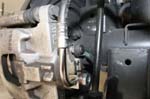
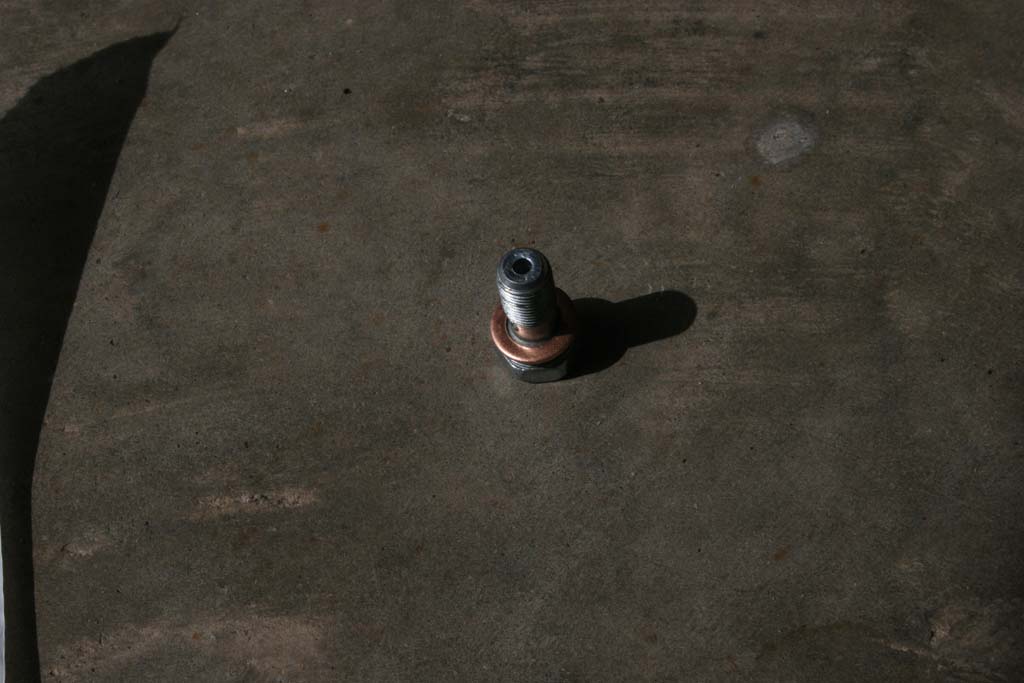
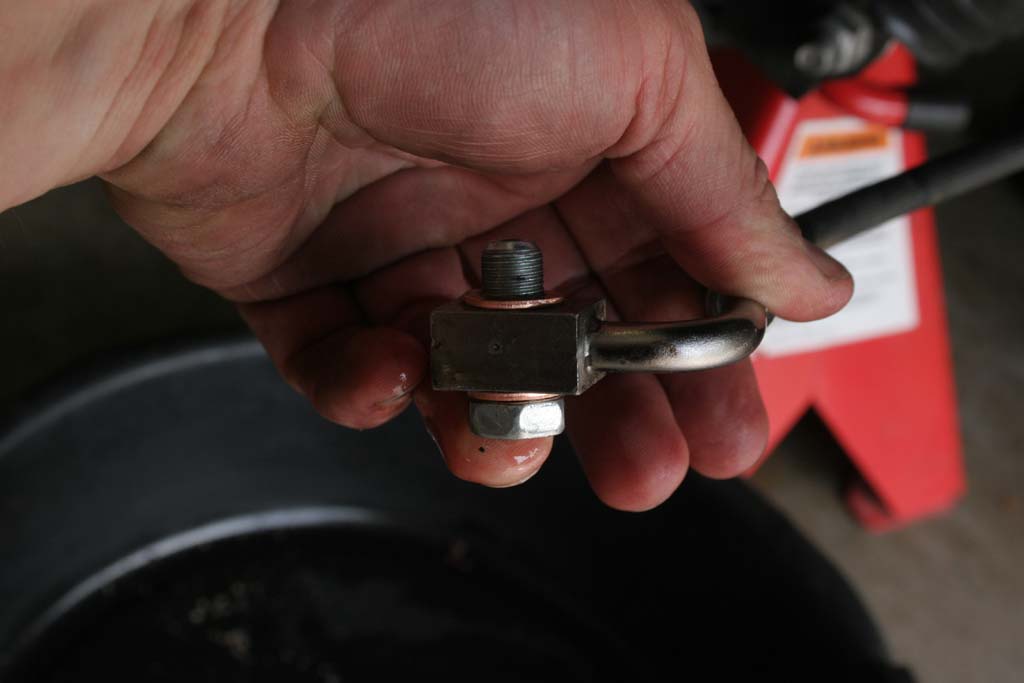
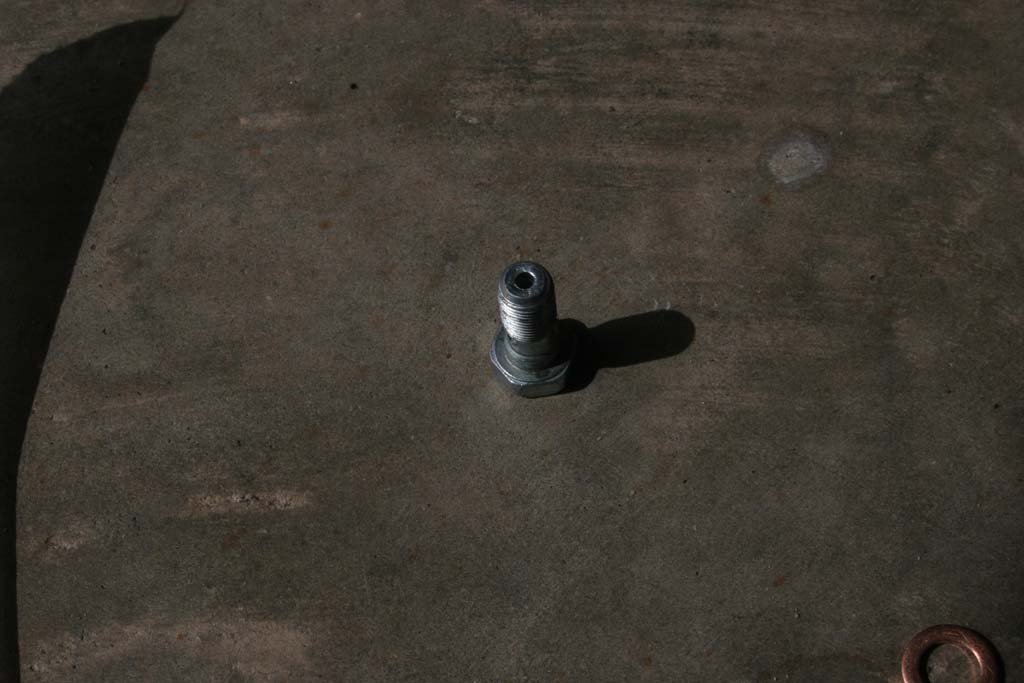
| 7. Remove the lower banjo bolt with a 15mm combo wrench. The caliper will leak all over the place, so make sure you have the drip pan underneath it. |
 |
| 8. Make sure you remove both of the old washers. Install one new washer on the banjo bolt, place the banjo bolt through the end of the brake line and then another washer. |
 |
 |
 |
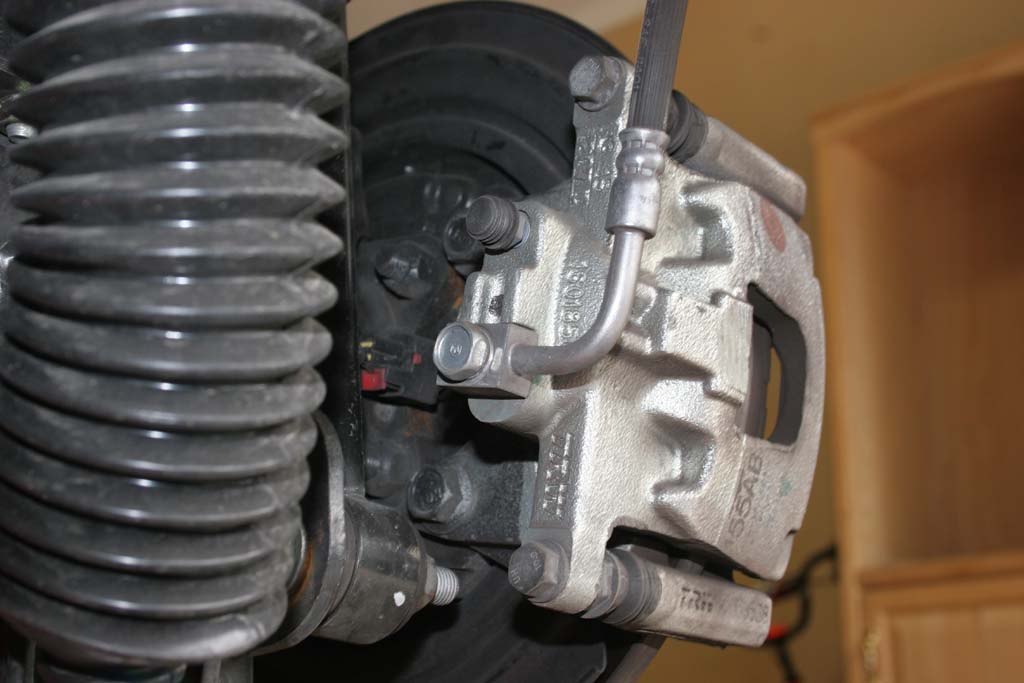
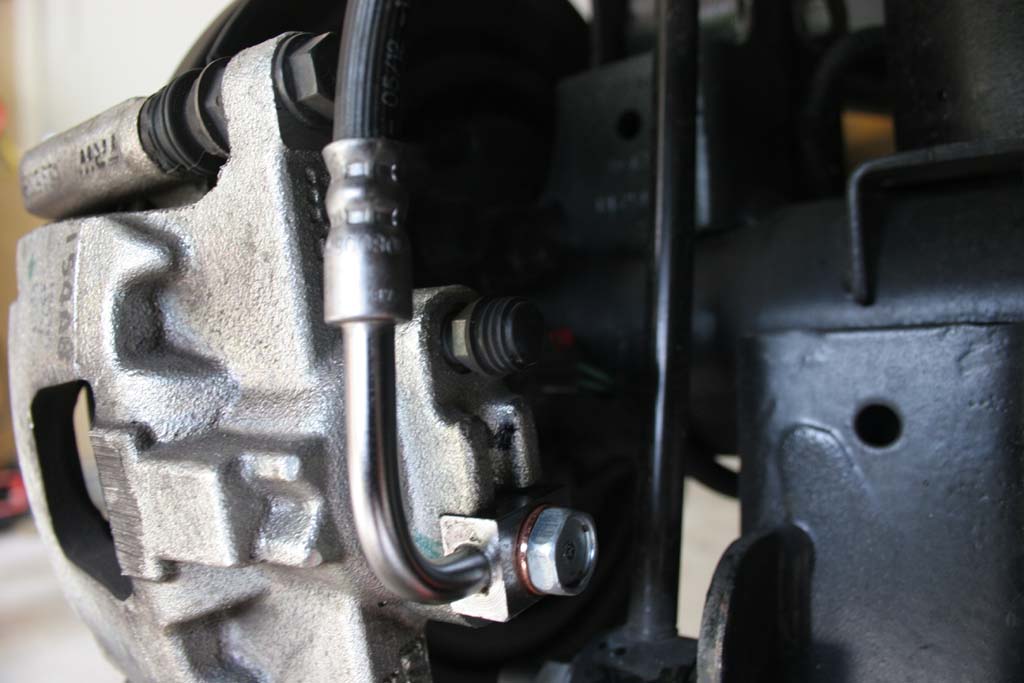
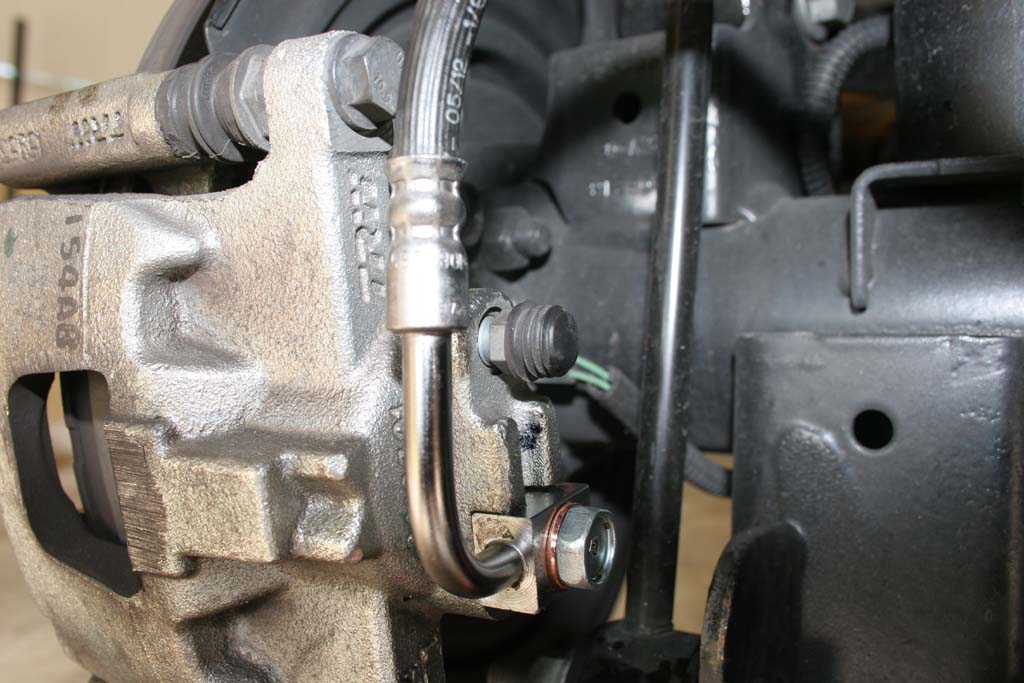
| 9. Screw the banjo bolt back into the brake caliper. |
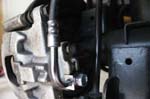 |
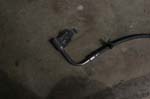
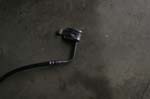
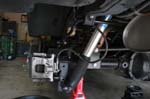
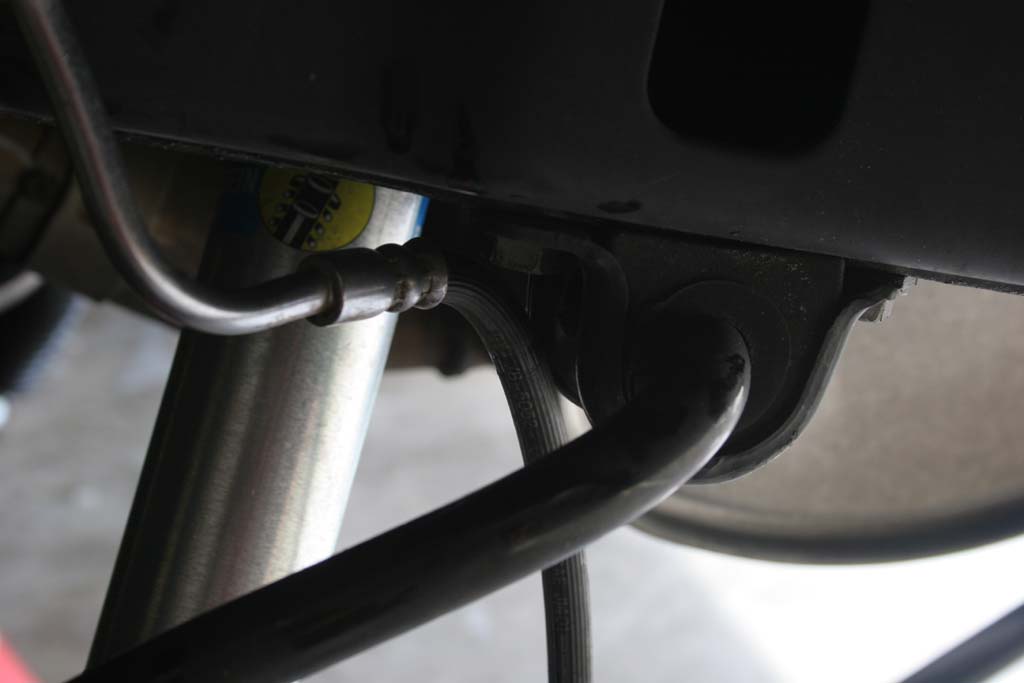
| What the new line looks like. Notice how much extra length there is. |
 |
| 10. Remove the rubber bleed screw cap. |
 |
 |
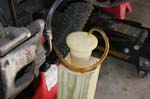
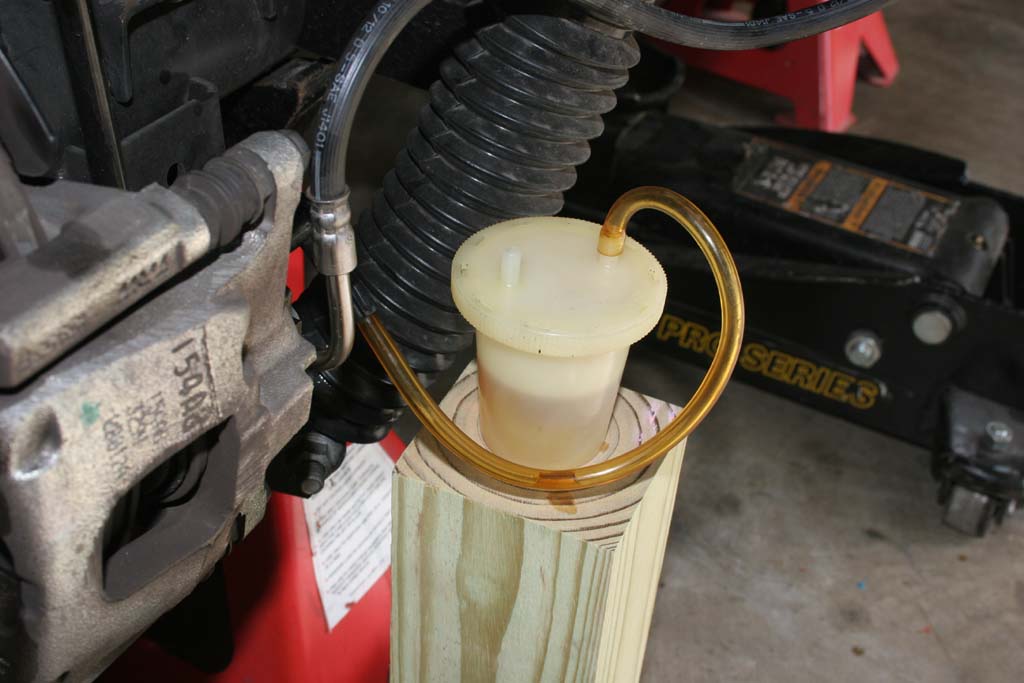
| 11. Install the brake bleed kit onto the bleed screw. Make sure you have good clean oil in the container. Open the bleed screw with a 12mm combo wrench, it should only take about 1/4 to 1/2 of a turn. |
 |
 |
| 12. With a helper bleed the brakes and check for leaks. |
| 13. Reinstall the tires and jack stands. |


