If thing in life spoils stuff more than heading out to your favorite location and finding it full of trash. We should all "Tread Lightly" and pack out our trash, but where should I keep that smelly stuff. Inside the vehicle just makes it smelly. Hanging the plastic trash bag on the outside is just a way to guarantee that a bag is going to be laying on the side of the trail, or a long line of garbage to mark where you were. Even leaving it sit alongside your vehicle at the campsite can invite some furry little friends to come see what's up. What if your headed out to the beach, what to do with all the sandy wet stuff that happens at the beach, leave it in the vehicle so you can get more sand everywhere. So where to put all this stuff. I have hung those knit bags you can buy in the stores to hold beach stuff, but I've managed to lose a few of those, had them tear, or just disappear. I wanted something sturdier that I could keep around for a while and use for multipule things. I also wanted something that wouldn't be in the vehicle.
| Trasharoo overview (kind of rhyme's): |
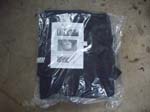
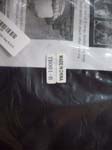
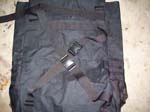
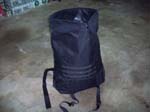
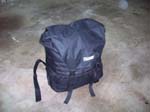
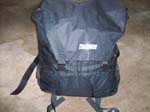
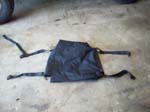
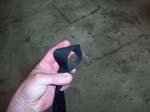
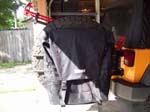
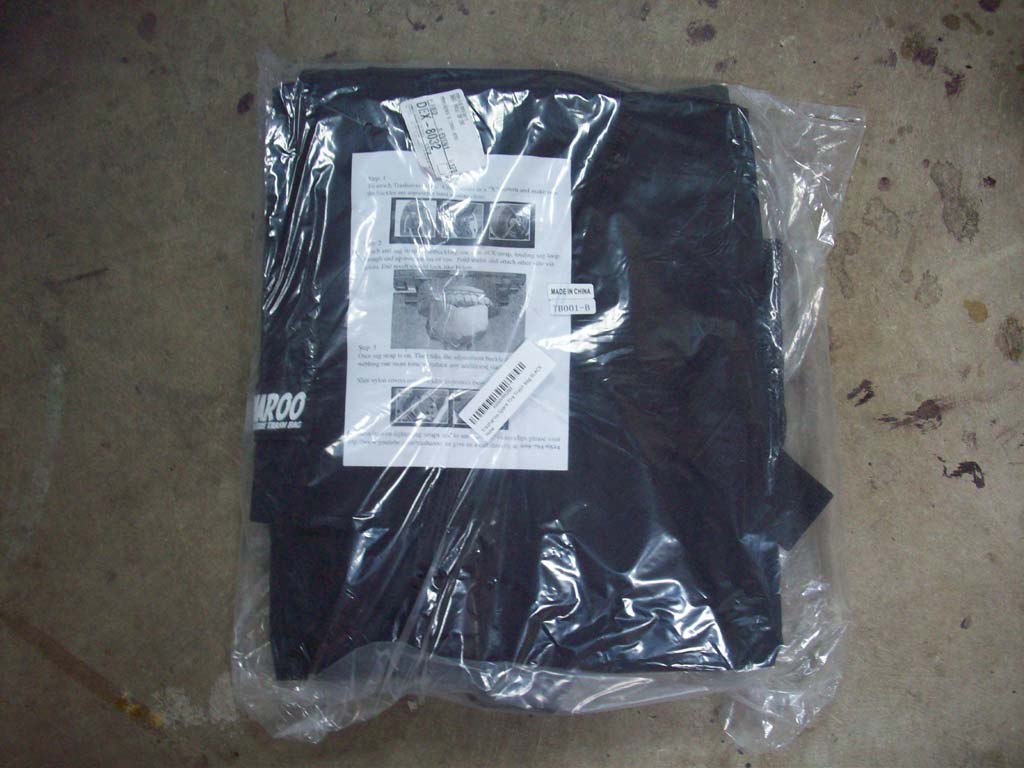
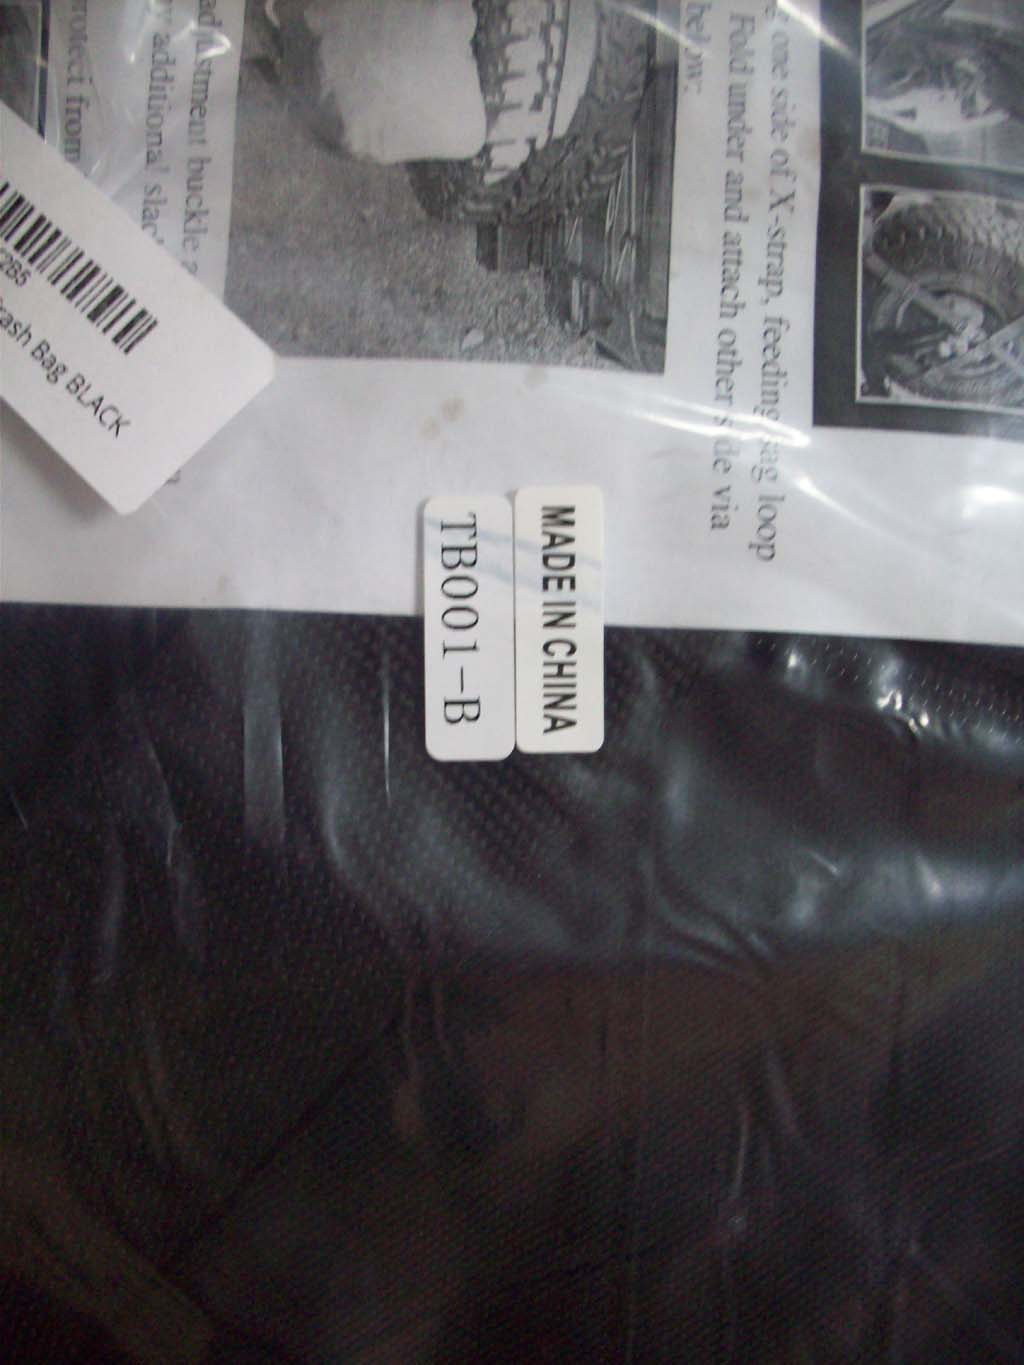
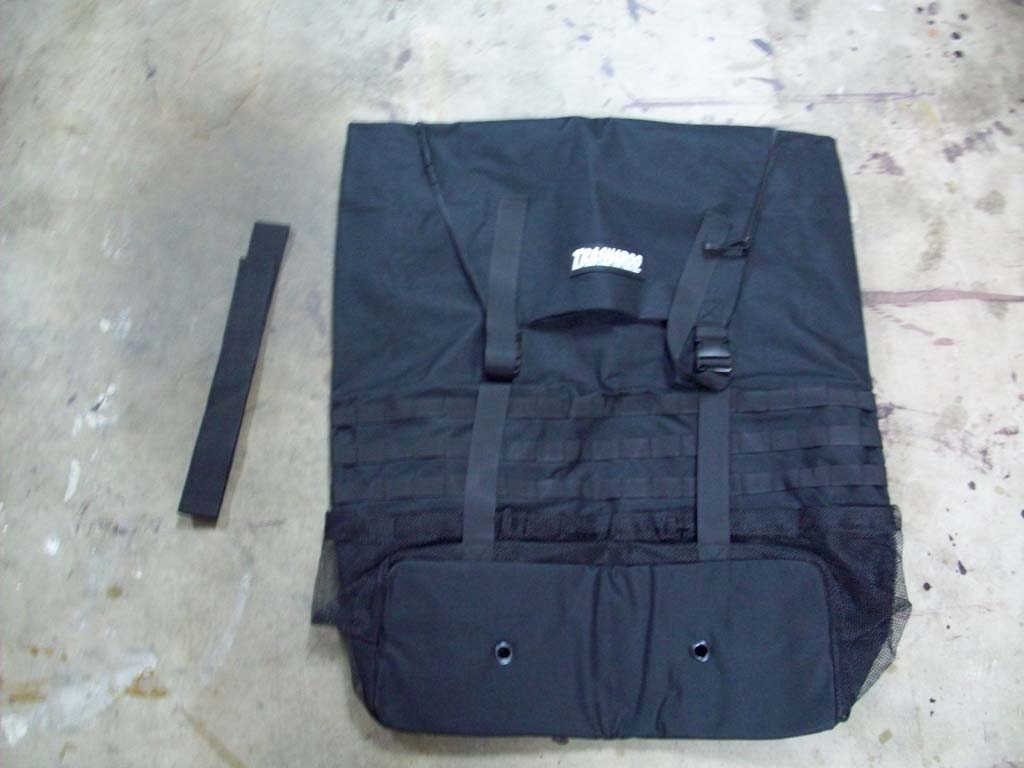
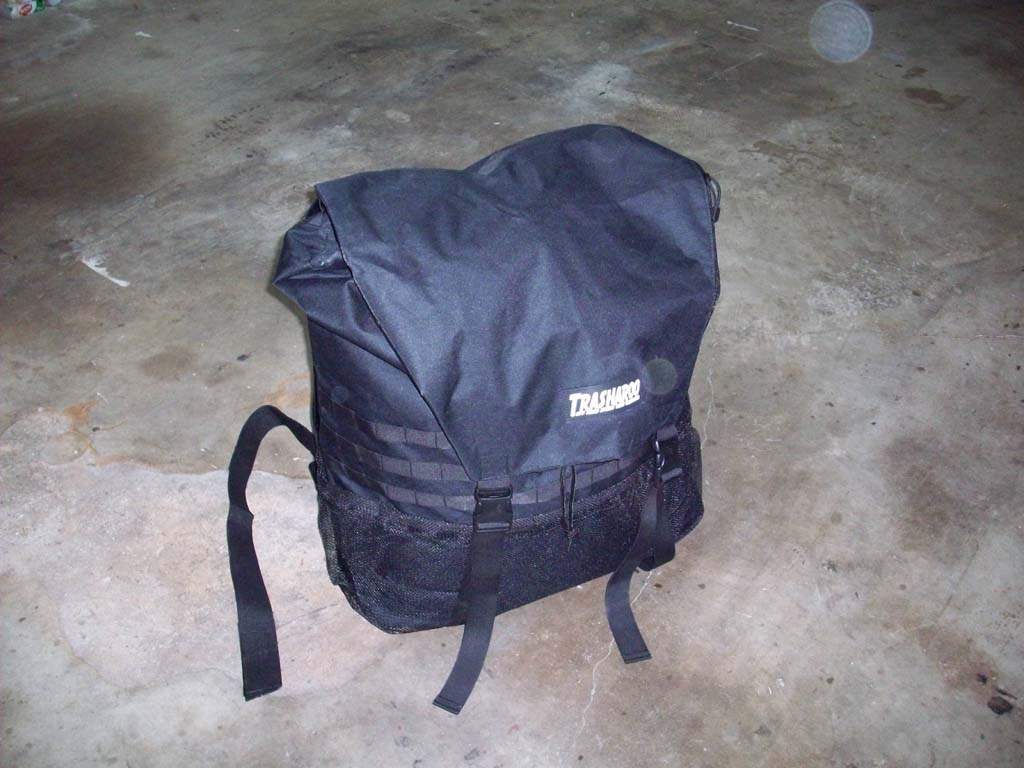
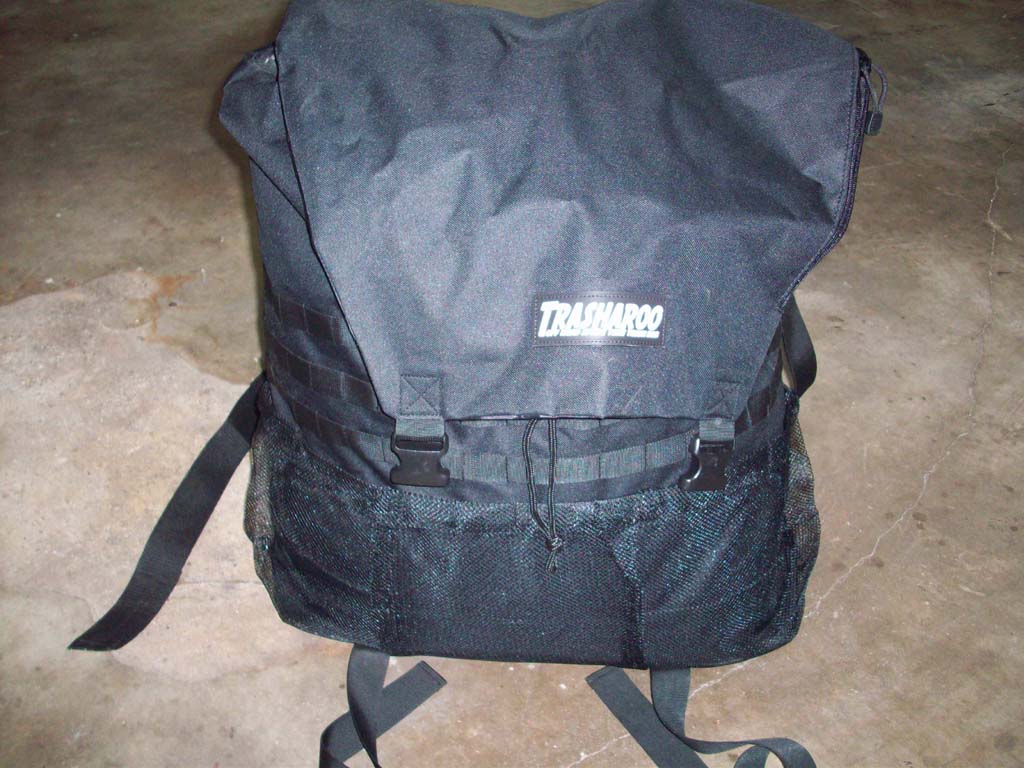
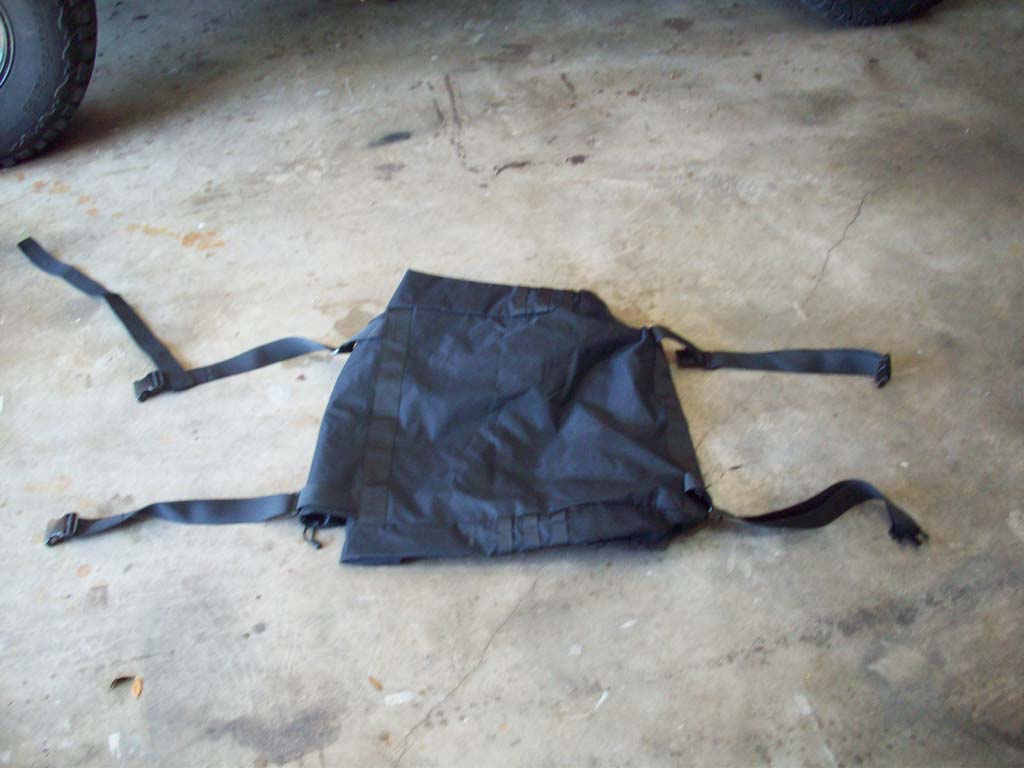
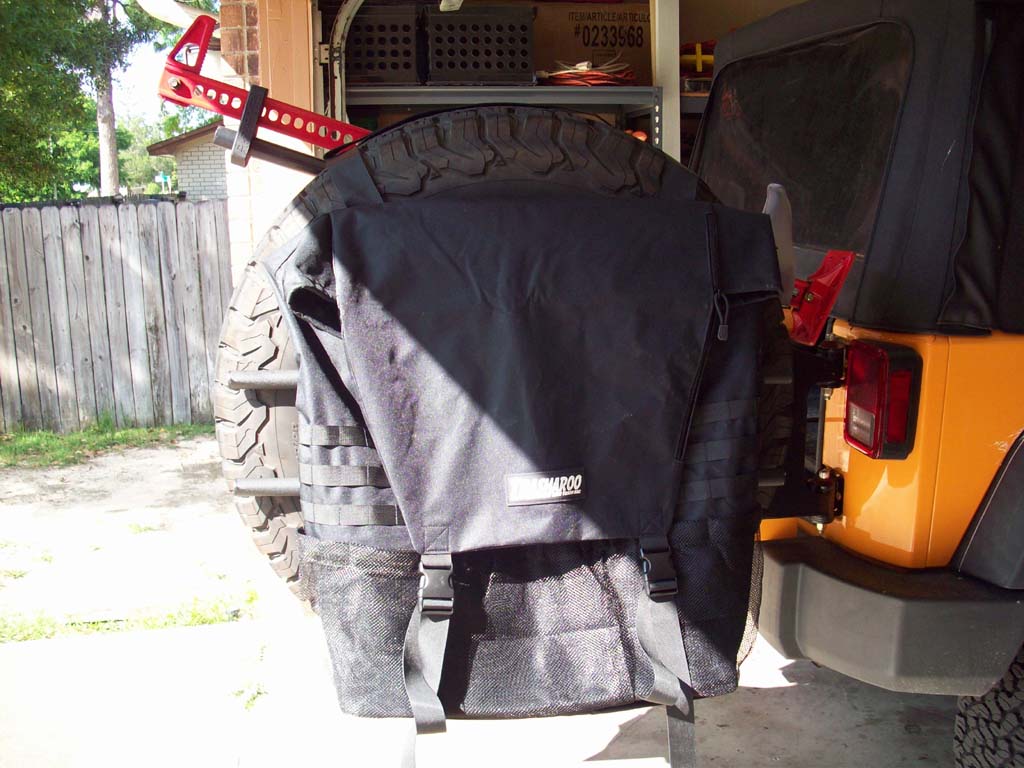
| Here's what you get. I was actually surprised at how heavy the package was, in never actually picked one up when I saw them at the shows. So a quick look at what was in the box. Heavy canvas bag, a strap, photocopied way to many times instrtuctions (not like men need these as my wife said), and the Made in China sticker. The Trasharoo unfolds into a huge bag, seeing pictures on the internet do not really do justice to the size of this until you see it in person. |
 |
 |
 |
 |
 |
 |
 |
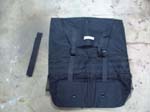
Made from high quality 900 denier canvas
|
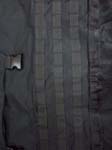
Water resistant interisor coating for bad weather
|
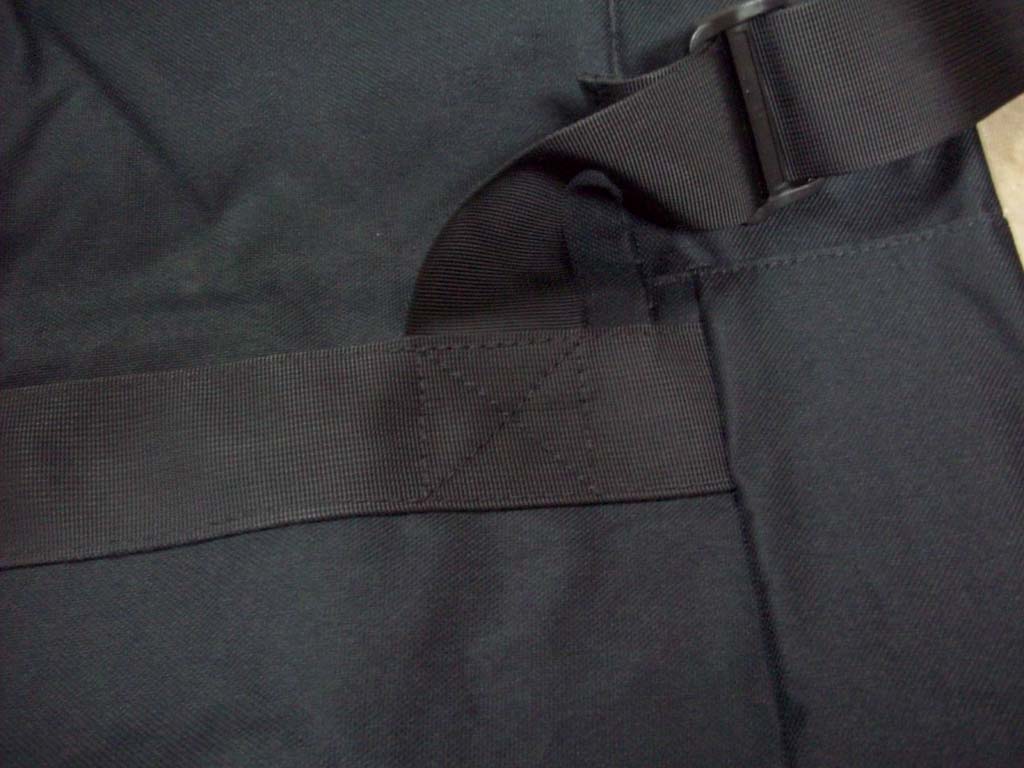
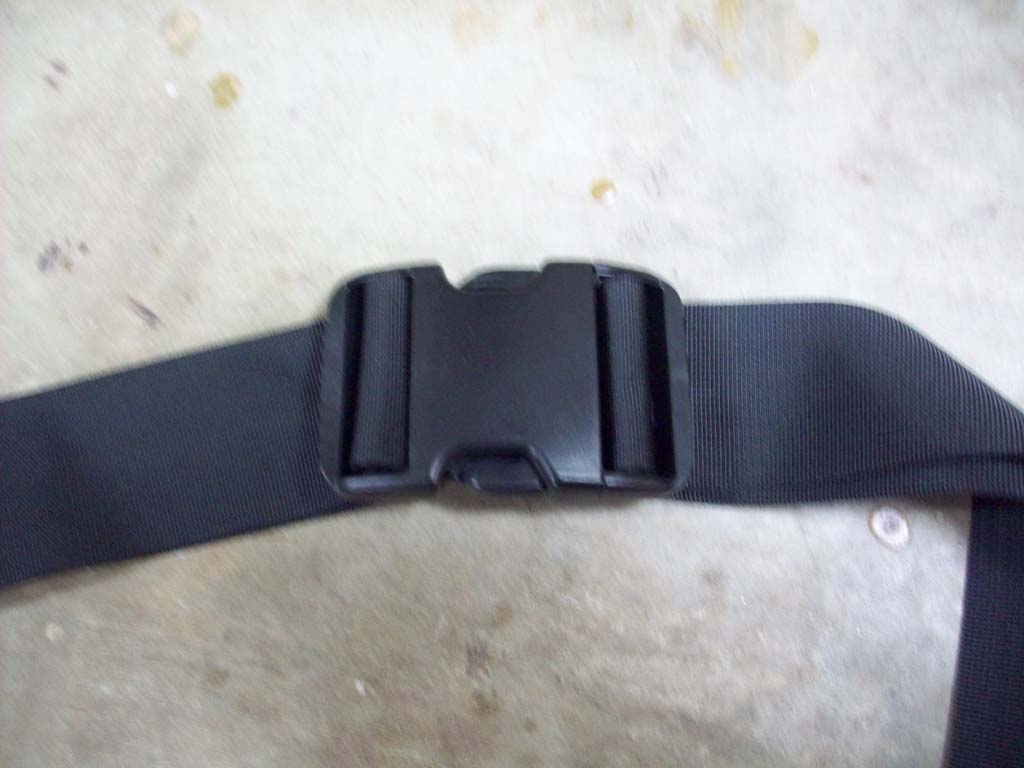
All buckles and straps double stitched
|
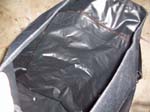
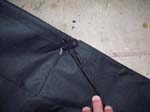
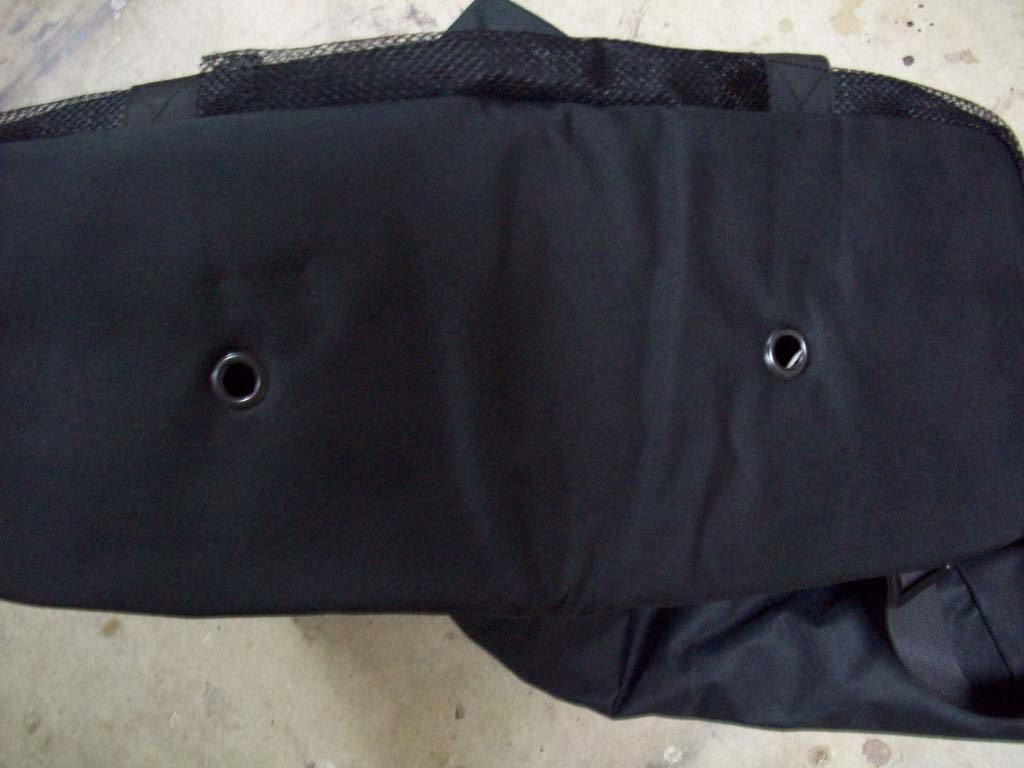
Drainage holes at the bottom for any unexpected leaks. |
 |
 |
 |
 |
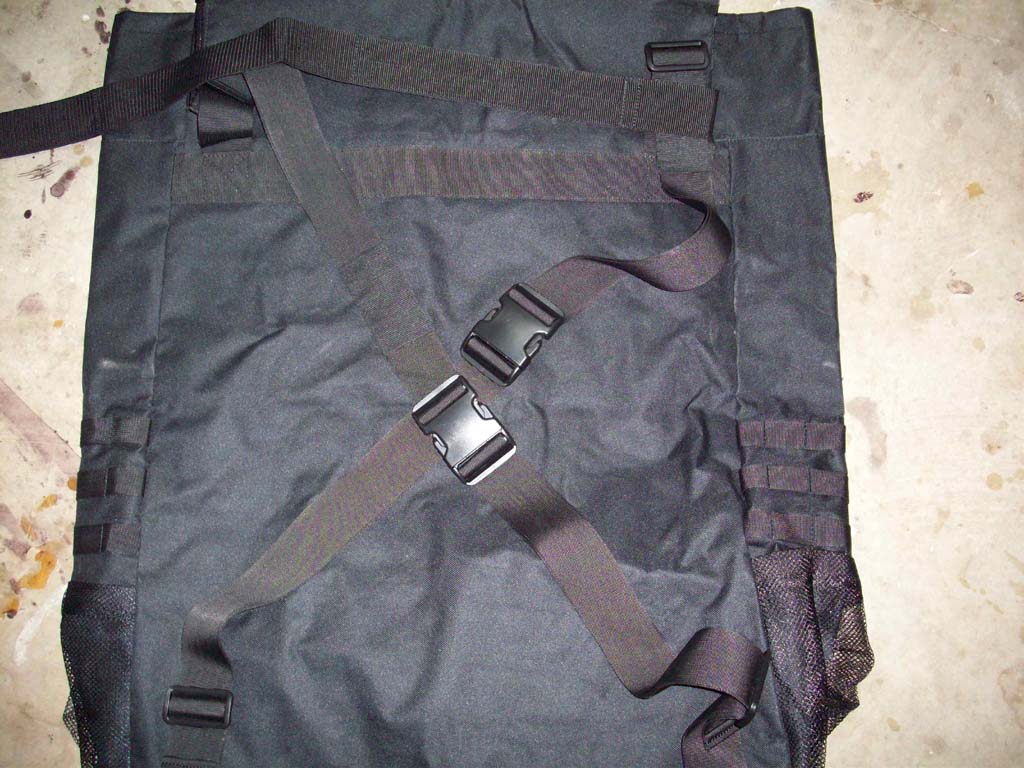
X" strap design keeps bag secure over thousands of miles.
|
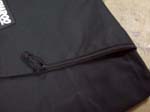
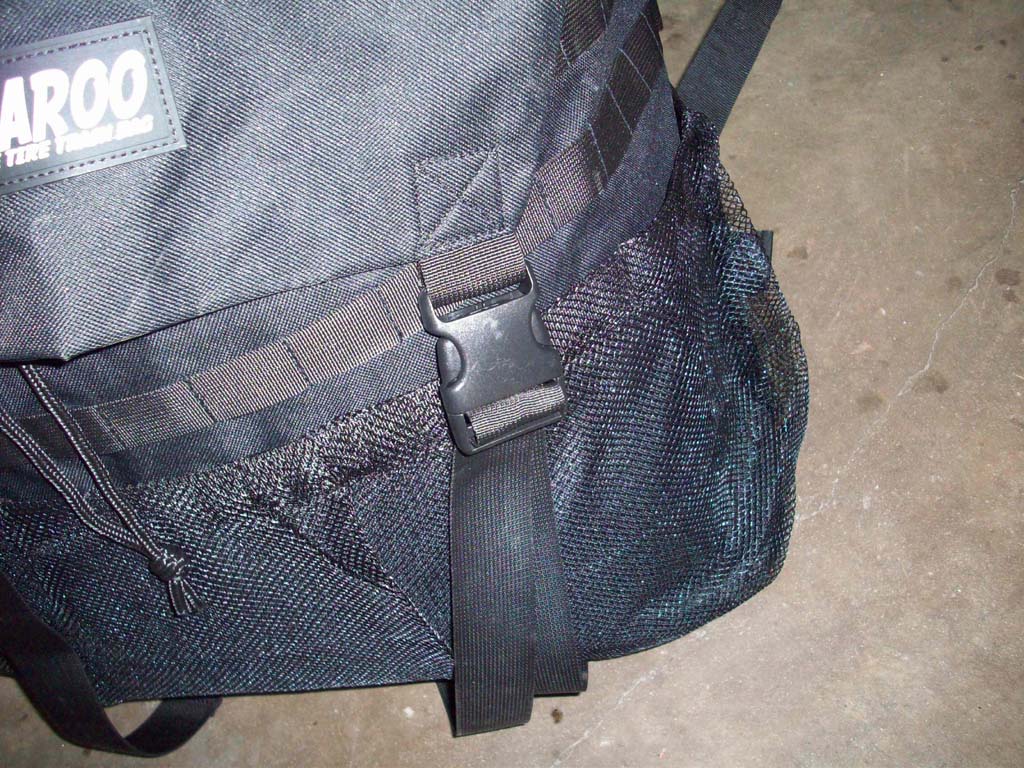
Slide over nylon covers to protect buckles from UV rays and dirt
|
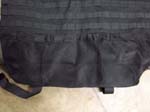
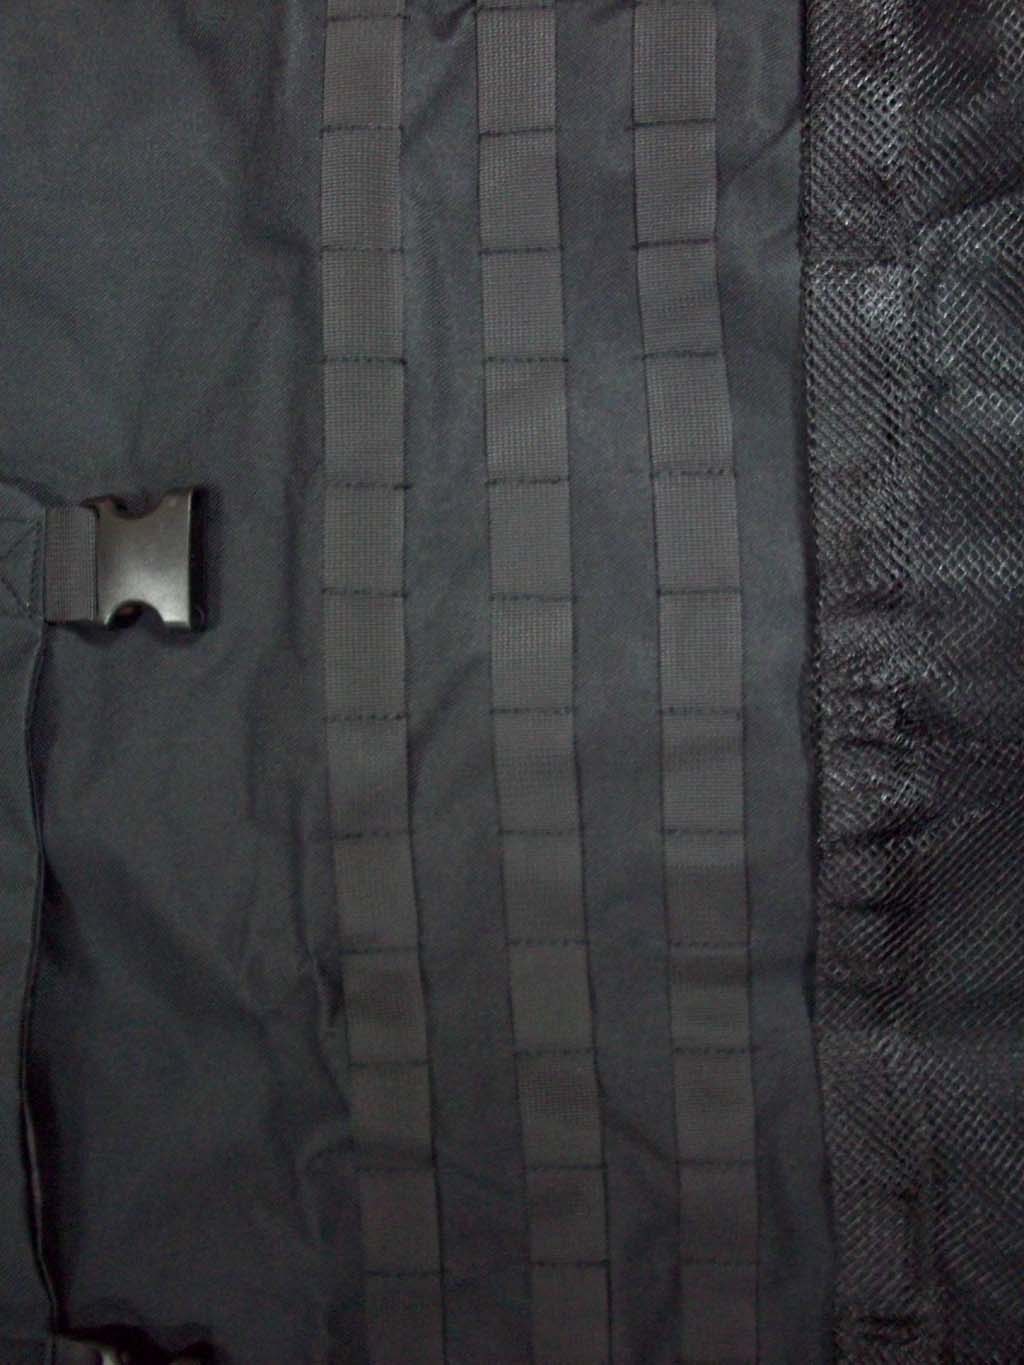
Molle Straps for added storage. |
 |
 |
 |
 |
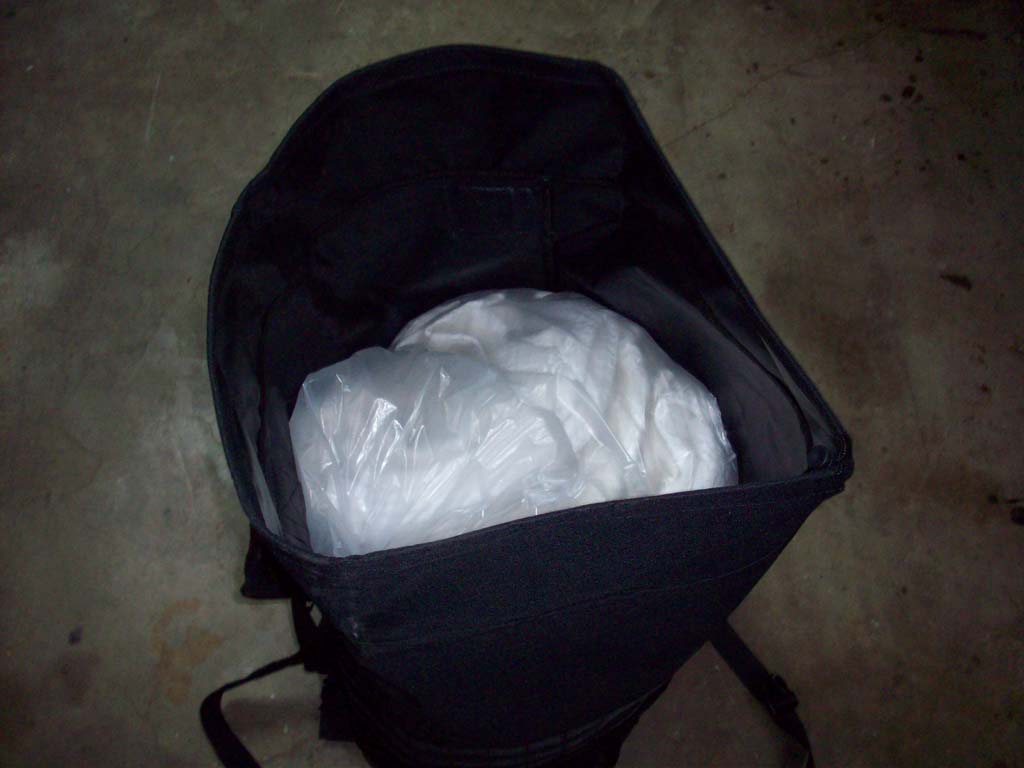
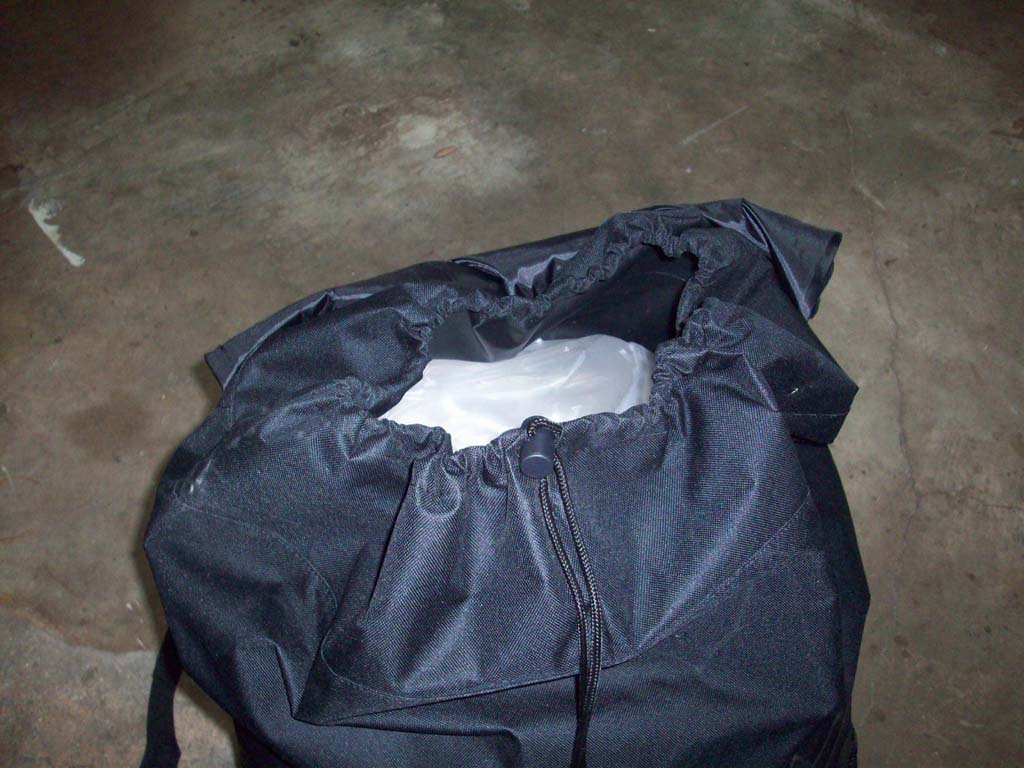
Fits a standard 30 gallon trash bag liner for ease of dumping
|
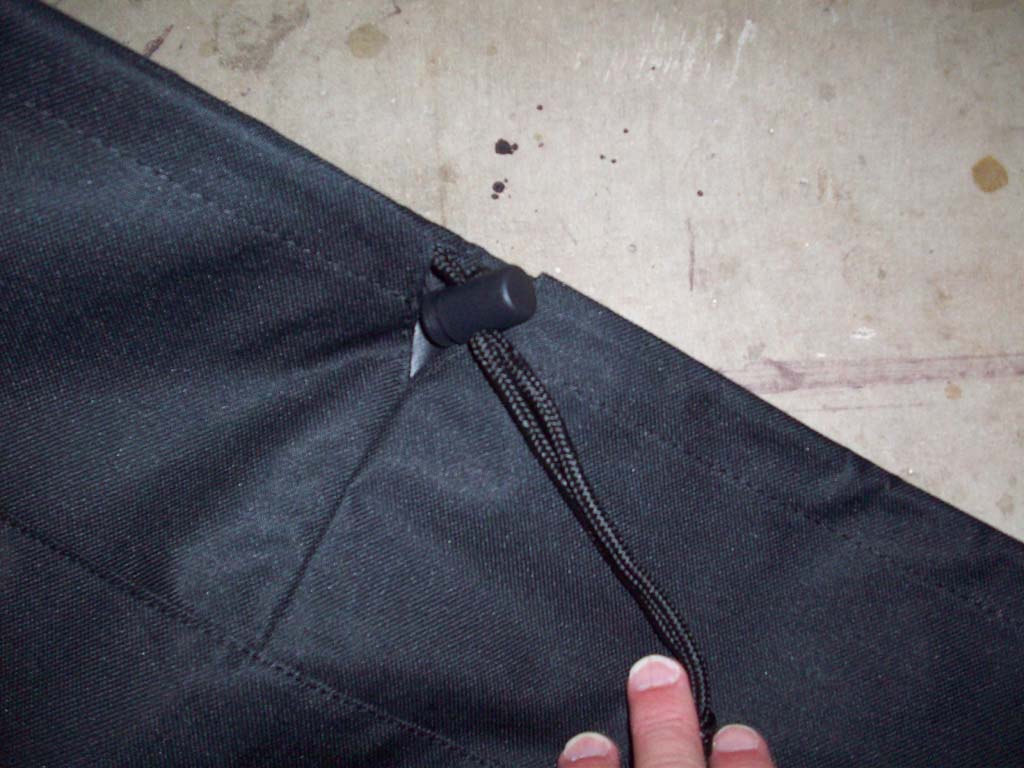
Drawstring to keep trash secured and prevent trash flying out |
 |
 |
 |
 |
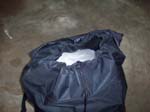
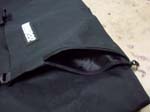
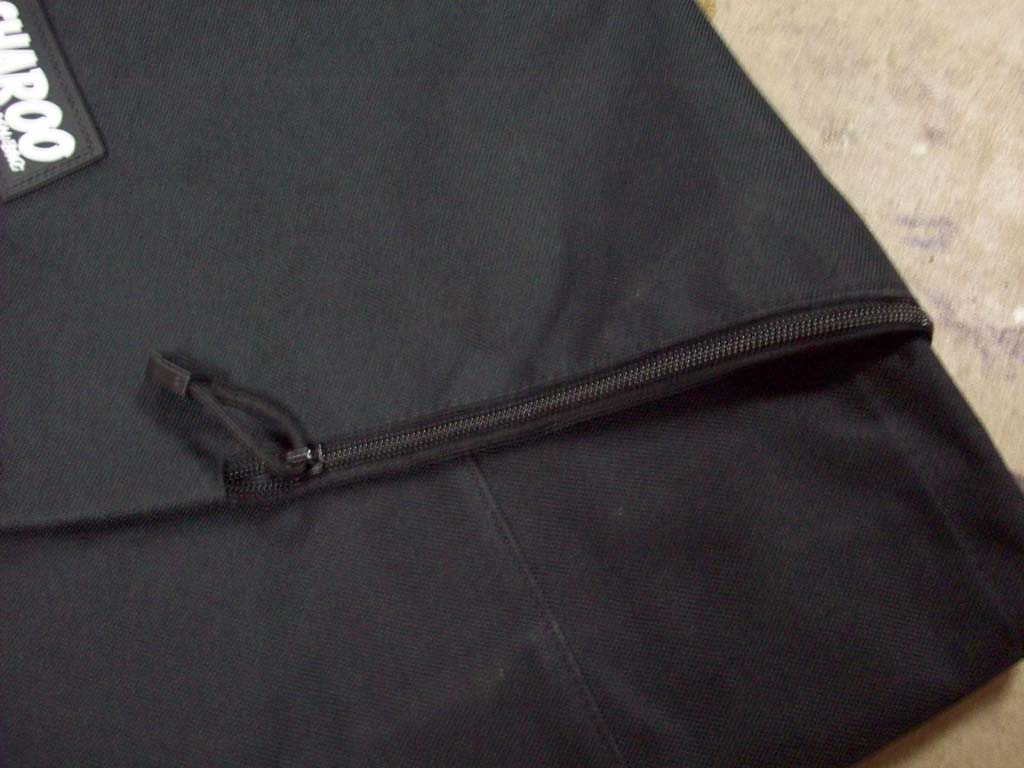
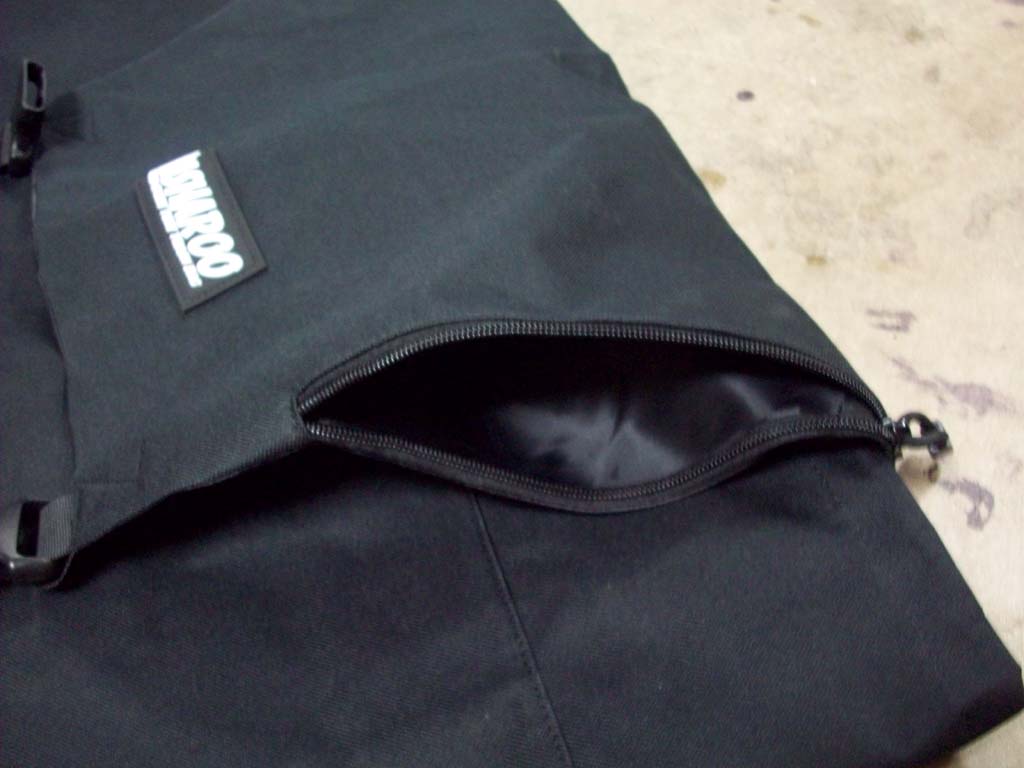
| Built in flap zipper for storage of trash bags, gloves, straps, etc. |
Mesh elastic pocket |
Rubberized Name Plate |
 |
 |
 |
 |
| |
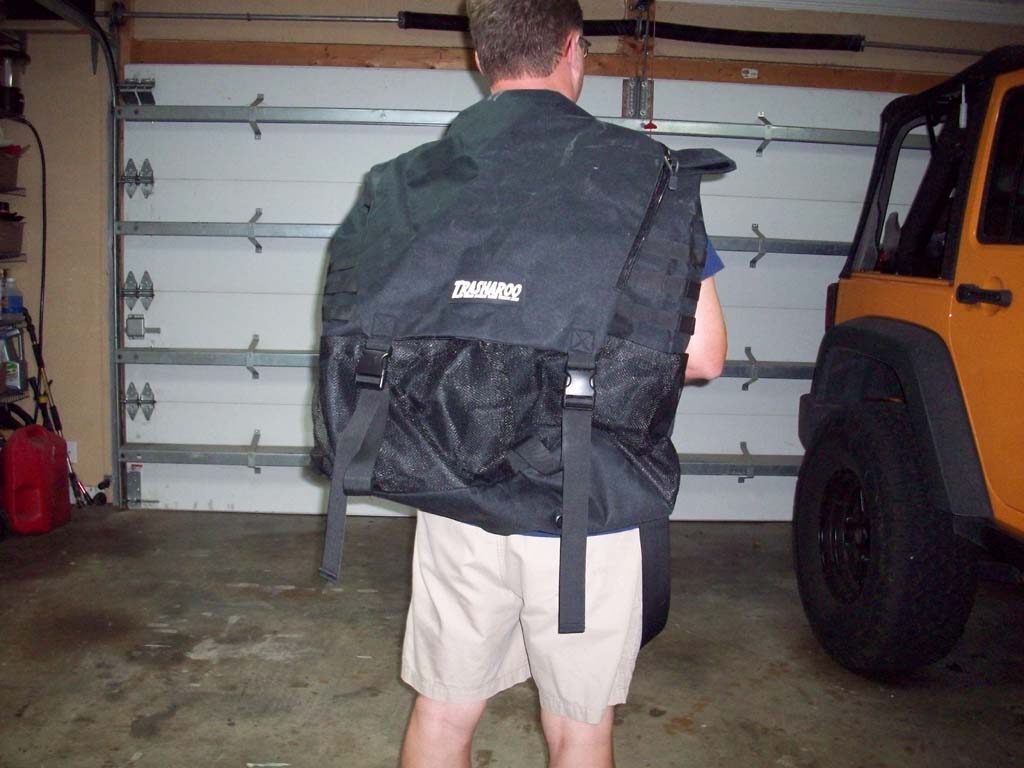
Emergency Backpack |
| |
| Installation: |
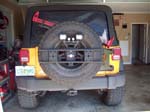
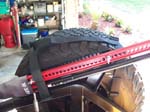
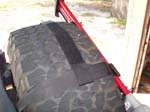
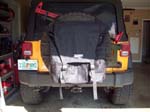
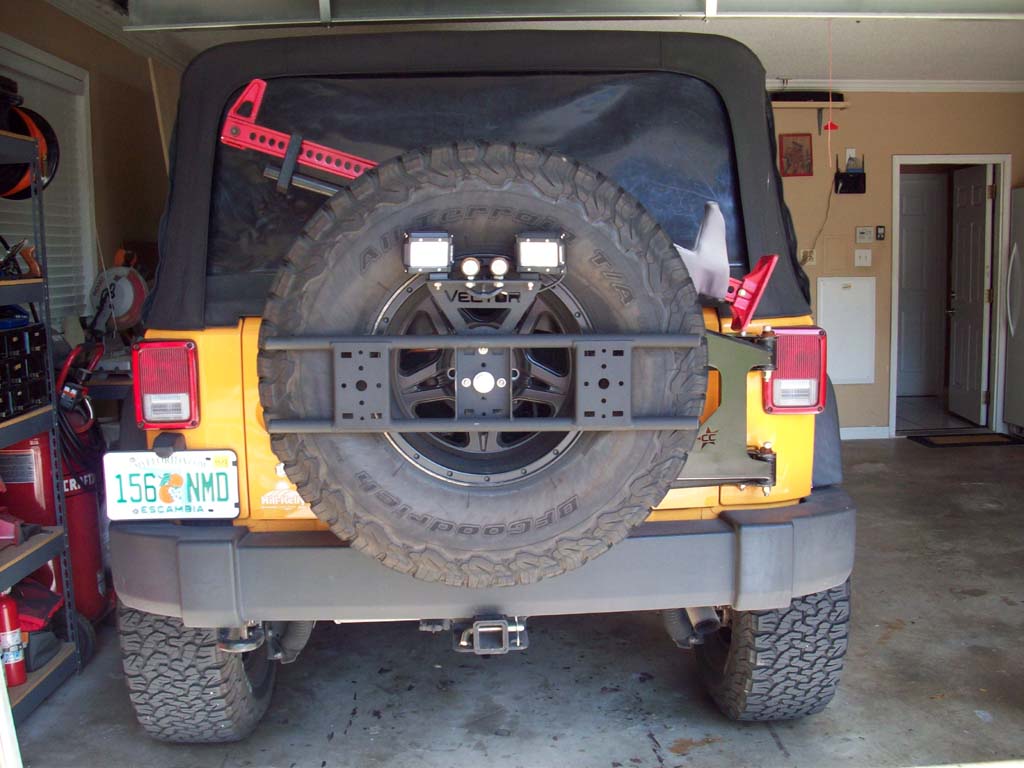
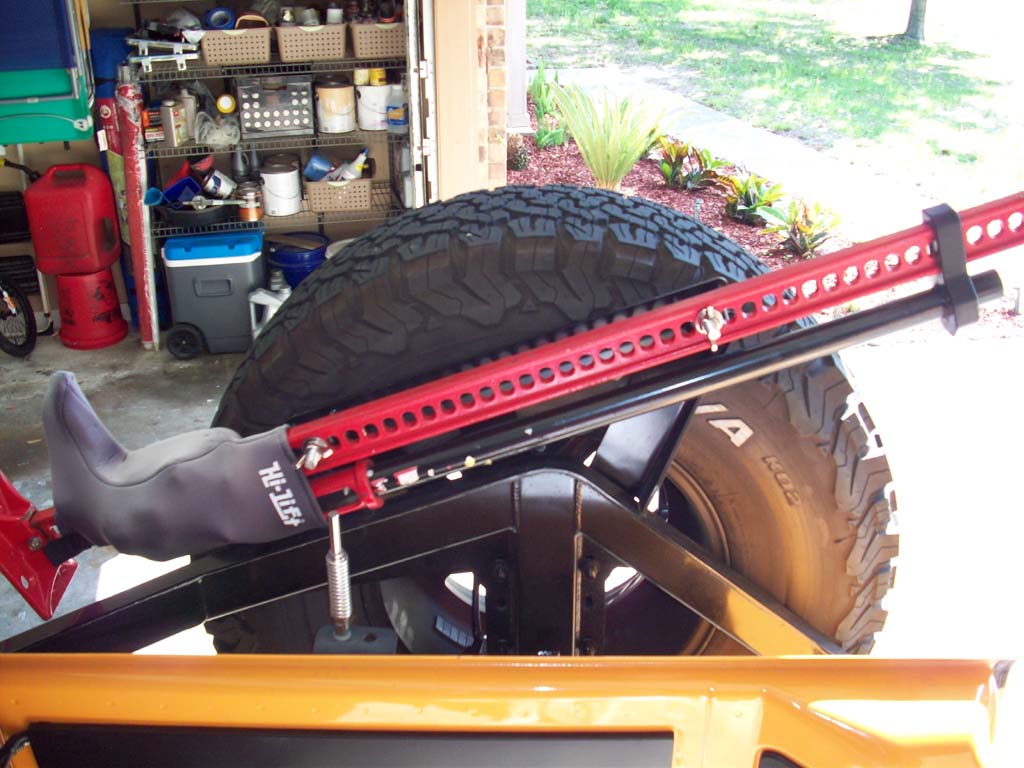
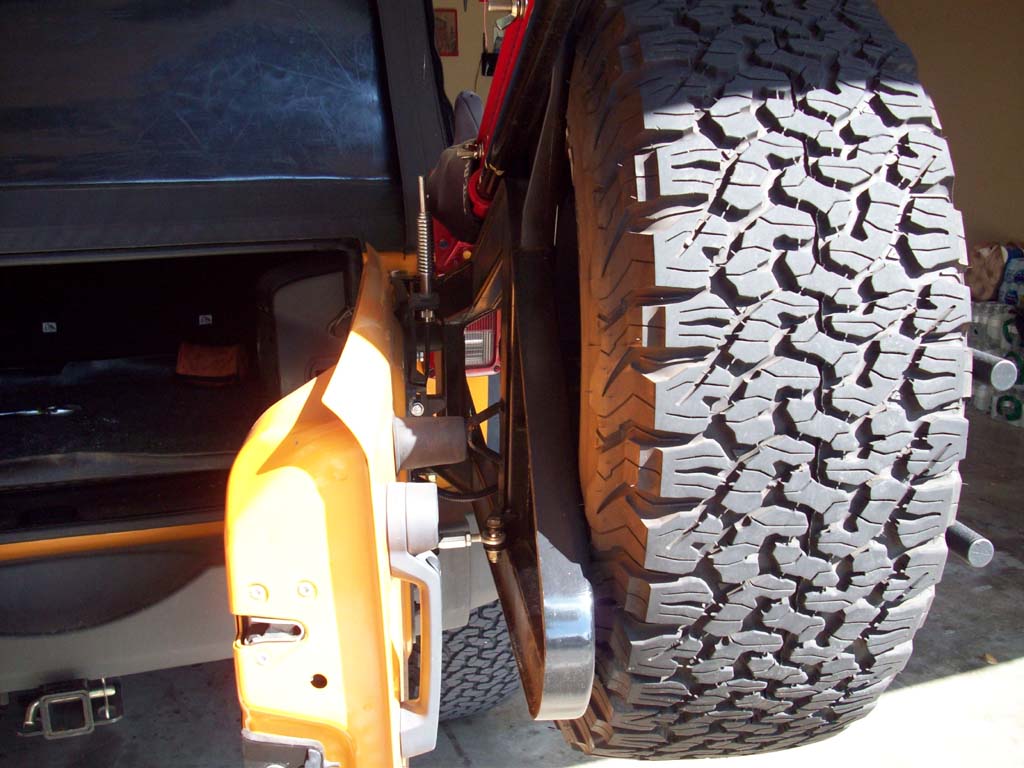
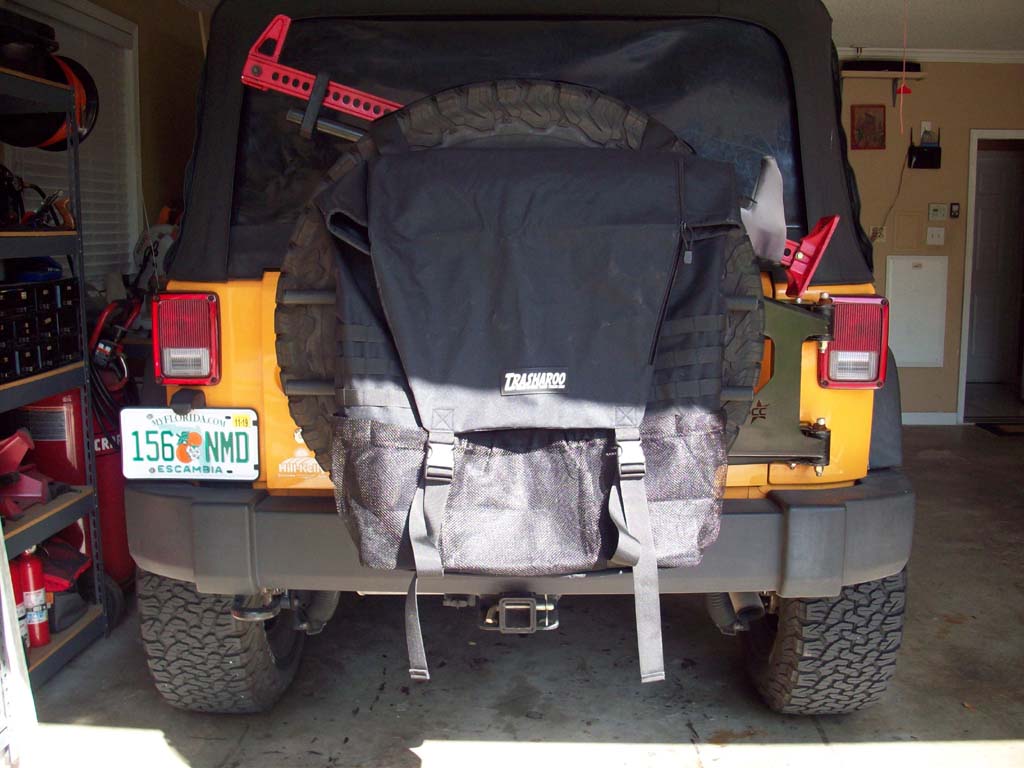
| Installation is fairly straight forward. I have a tire carrier, hi-lift Jack, reverse ligths, brake lights, and usually a couple of rotopac's on the back and can easily fit the Trasharoo over them all. The straps are long enough. Though it does make it a little hard to get the rotopac's off if I need them, but it's only a couple of buckles. |
 |
 |
 |
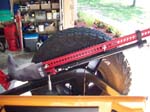
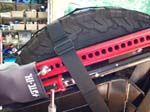
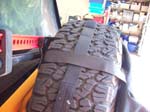
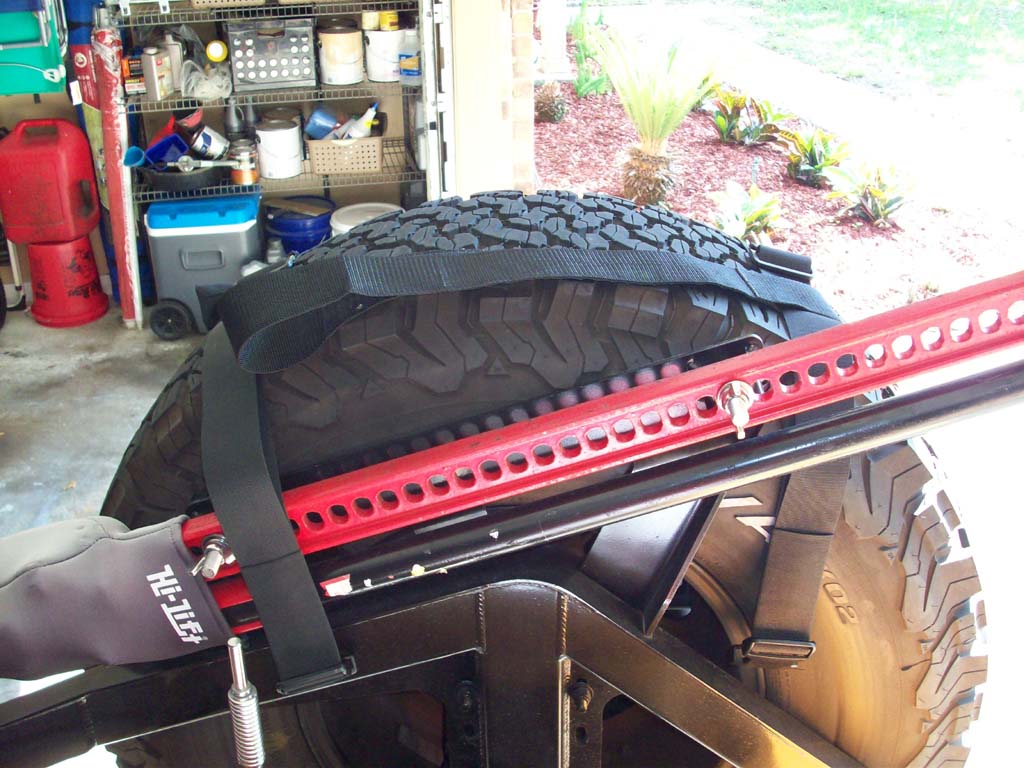
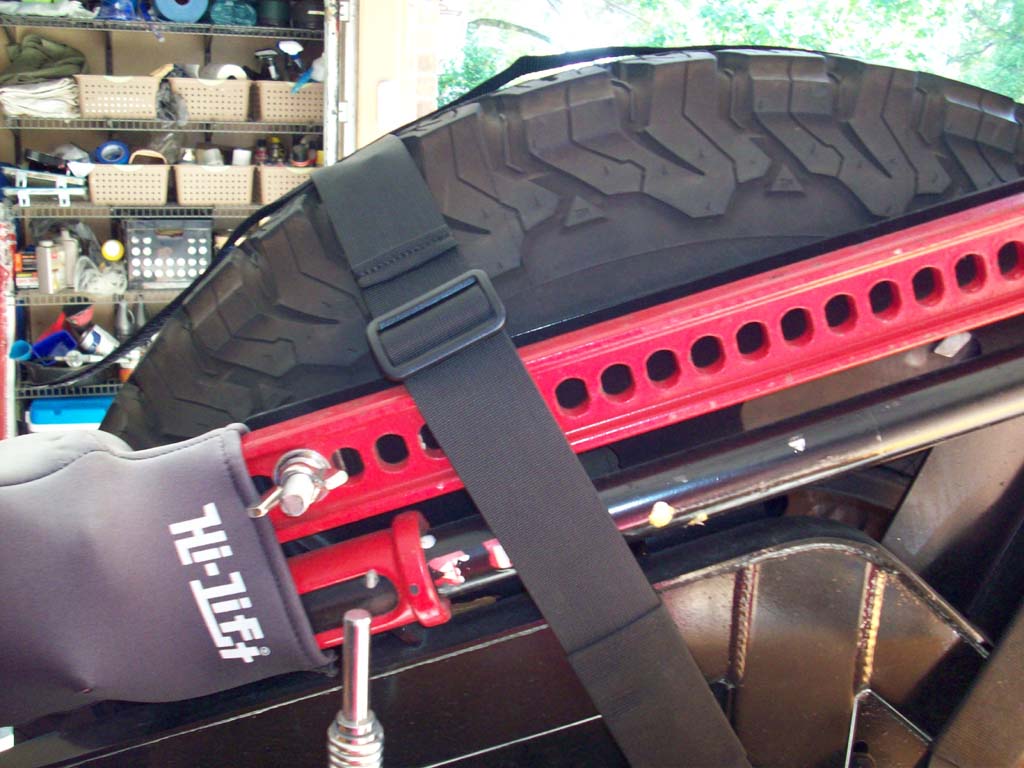
| 1. Undo the straps and extend them out. I found that I really needed to put the upper straps over the tire and extend them to what I figured would be the half way point in the back. |
 |
 |
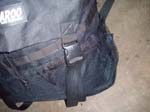
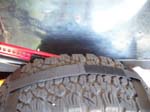
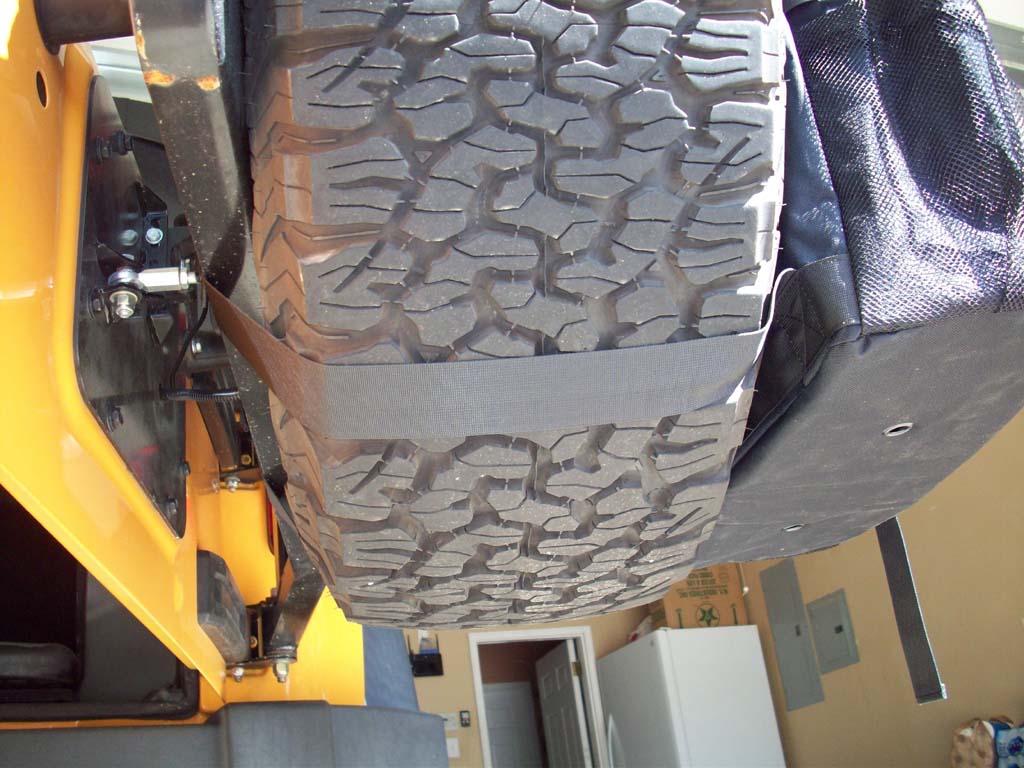
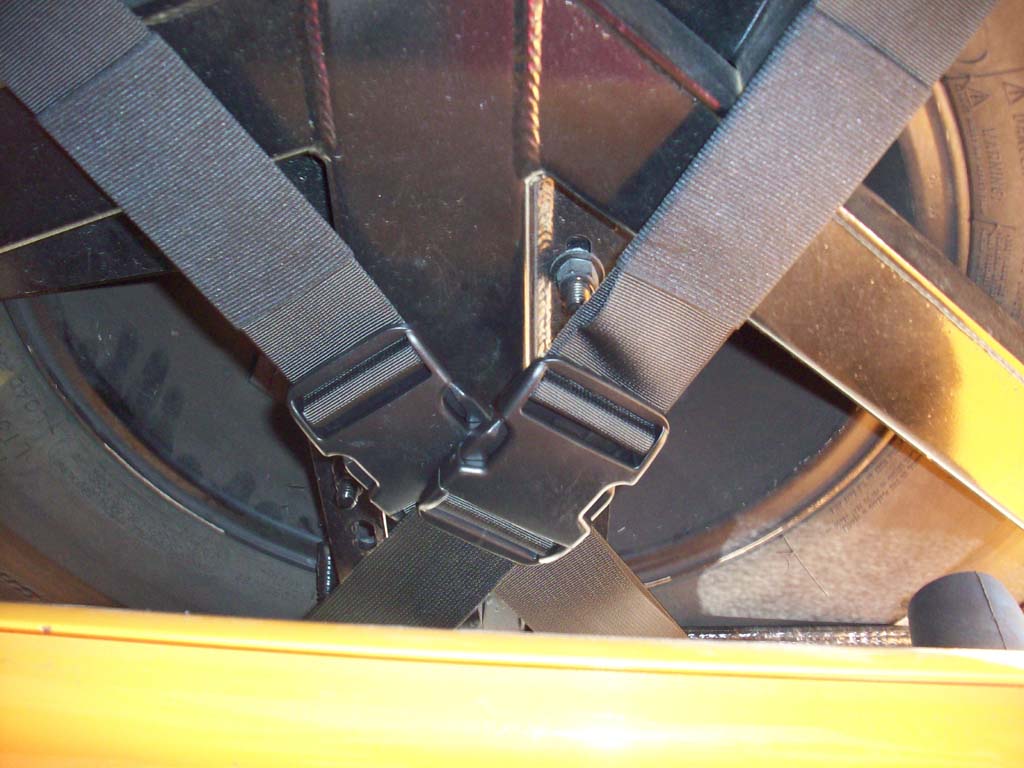
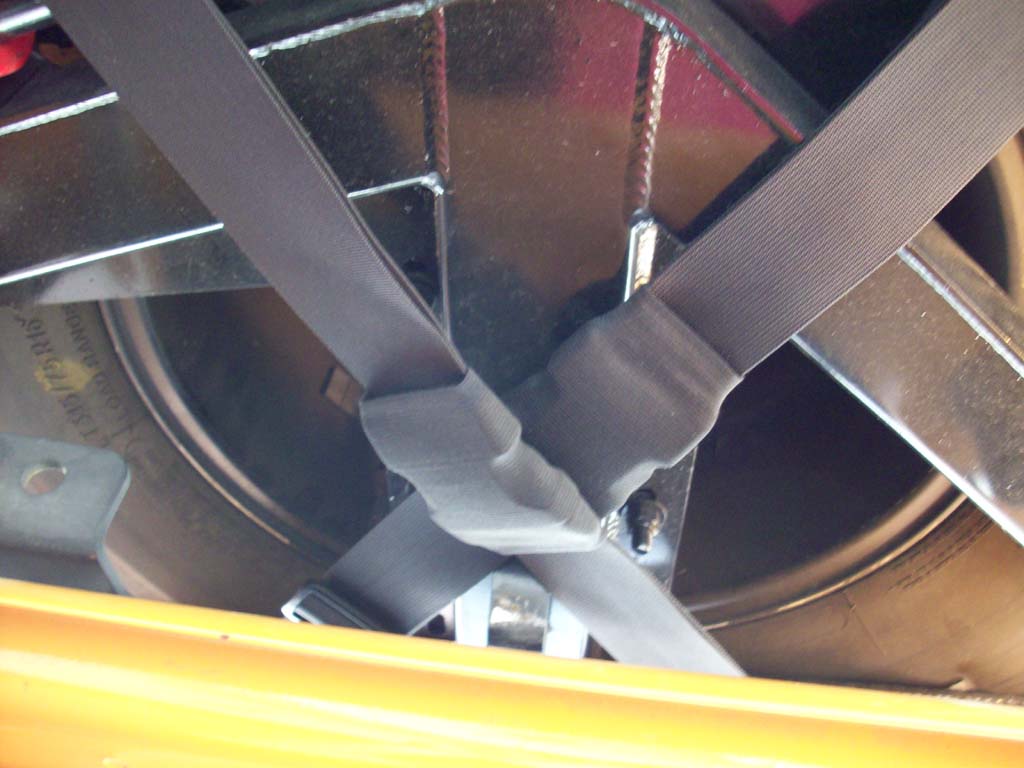
| 2. Wrap the lower straps up under the tire and connected them in an X pattern (crossing) to the upper straps. You will have to play with the straps to get them center and tight. You do not need to be able to play the banjo with the straps, just tight. You shouldn't have to force the buckles together to get them to latch. I did adjust the buckles so that they were not sitting right on top of each other. I lengthened the lowers and shortened the uppers so they didn't overlap each other. |
 |
 |
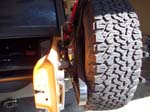
| 3. Clean up the straps and move the loops towards the ends so that the straps don't flap in the wind. You would be surprised how quickly they remove paint and scratch up a window. |
 |
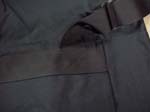
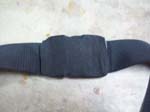
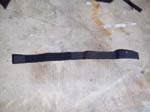
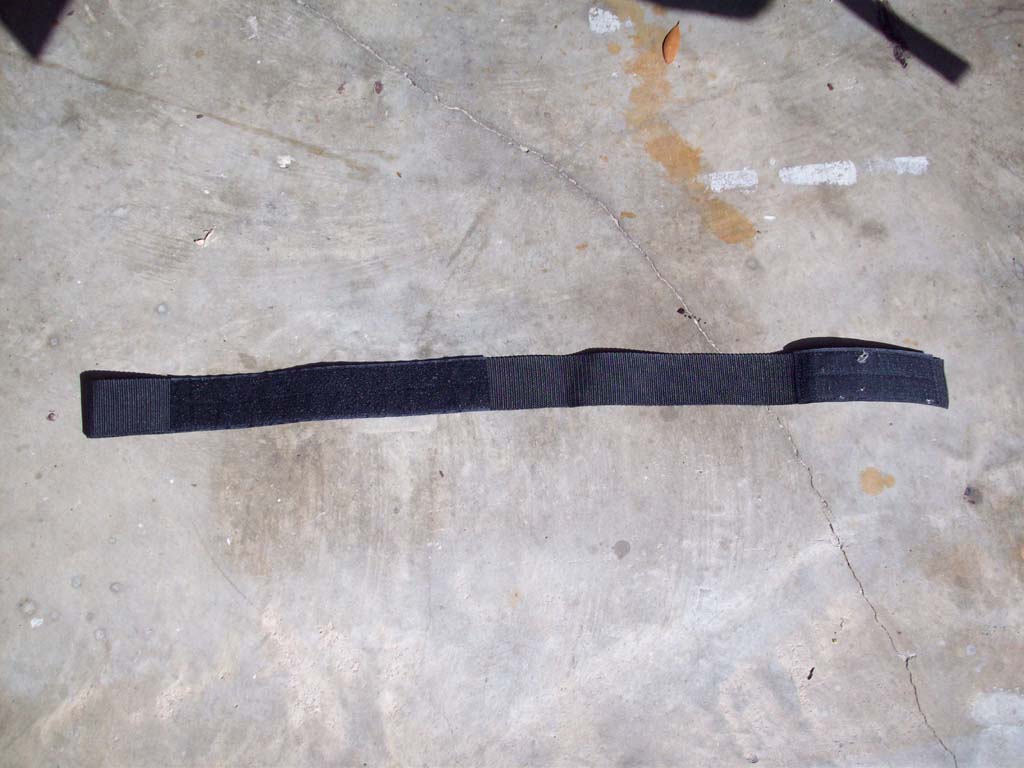
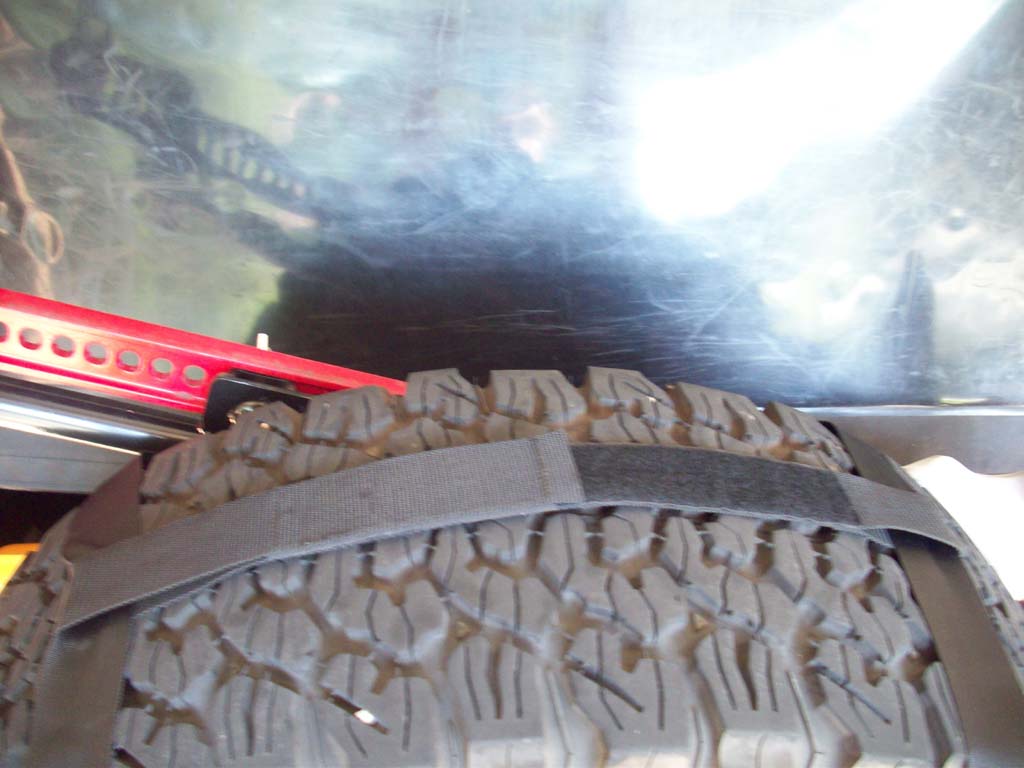
| 4. Once you have everything situated. Unbuckle one side of the straps and slide the sag strip over the buckle and up to the top of the tire. Make sure that the velcro nearest the loop is pointed up and the strip is pointed towards the other strap. Rebuckle the buckle. |
 |
 |
 |
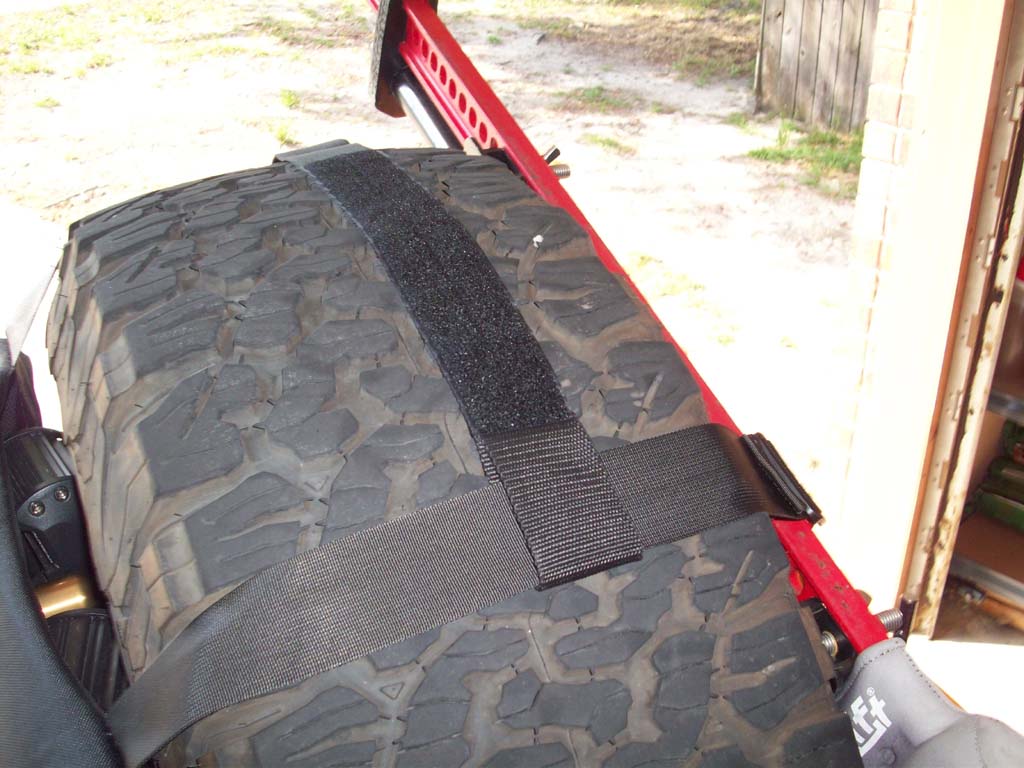
| 5. Slip the sag strip underneath the other strap and connect the velcro together. |
 |
 |
| 6. Slip the protective sleeves over the buckles. |
 |
| 7. Now you can load it up with what you want. I generally just use it for trash, wet clothes, beach stuff, recovery gloves, and some first aid equipment. I keep the really heavy stuff like shackles and pull straps inside the Jeep. |
 |
 |
| I am currently on my second one (The first was abscounded with by someone). I didn't do a write up on the first one, but there is a difference between them. The newer ones have better features built into them. I didn't get much fading out of the old one, though with all the wet shoes, snorkling gear, swimsuit and wet towels that were in that one it did pick up a smell I couldn't quite get rid of. Probably would have helped not leaving the stuff in there in the Florida sun for a couple of days a few times. I had it's scuff marks and scrapes, but didn't have any tears or torn seams, so I was really happy with it. This one should last me a while. |


