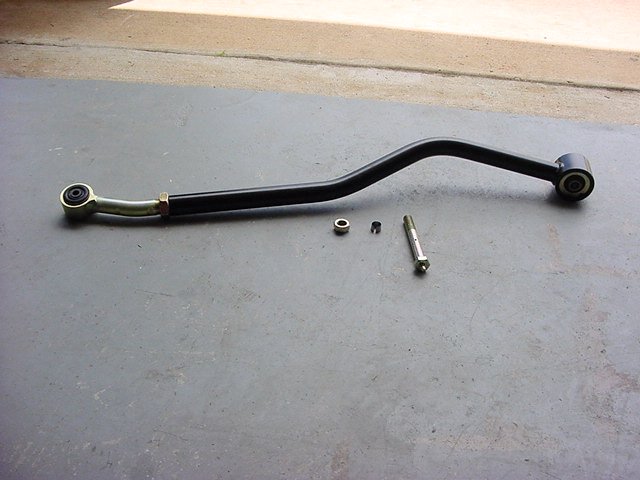
I had looked at a few of the Adjustable Front Track Bars
for the Jeeps. I had pretty much narrowed it down to the Currie
and the JKS (actually OGS) bars, when I realized that they were the same
bar, just different prices. The main reason for these was the Johnny
Joints and the ability to grease the frame attachment point just like
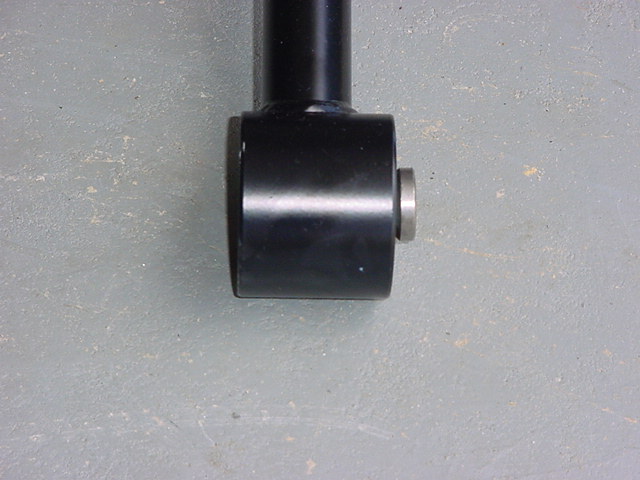
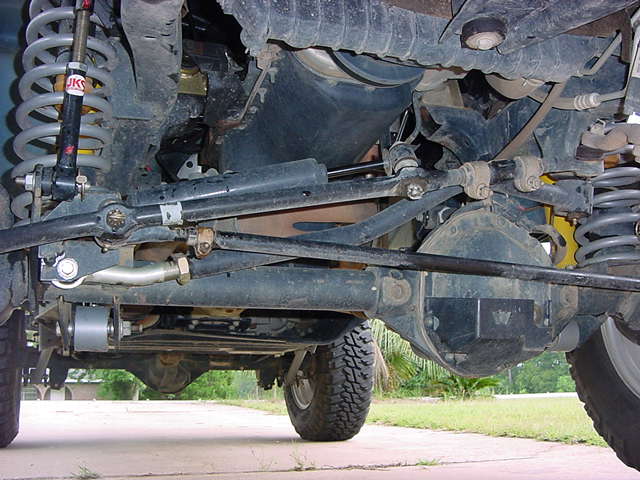
the factory. The JKS (OGS) bar uses a rubber bushing at the
axle end and a Johnny Joint at the Frame end. I am using the bar
for 4" and up lift. It fits fine since the 3.5" RE springs
actually net you a little bit more in height.
Additional
Parts:
Anti-seize
Grease
Opps Parts:
Retainer - 6506264-AA
Screw non - 6505549-AA
REMOVAL (FSM instructions)
(1) Raise and support the vehicle.
(2) Remove the cotter pin and nut from the ball stud end at the
frame rail bracket.
(3) Use a universal puller tool to separate the track bar ball stud
from the frame rail bracket.
(4) Remove the bolt and flag nut from the axle bracket. Remove the
track bar.
As we can see the Factory Service Manual instructions are quite
detailed.
Installation:
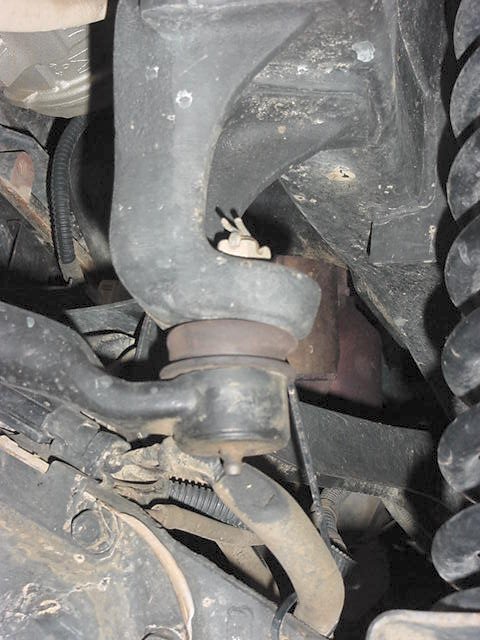
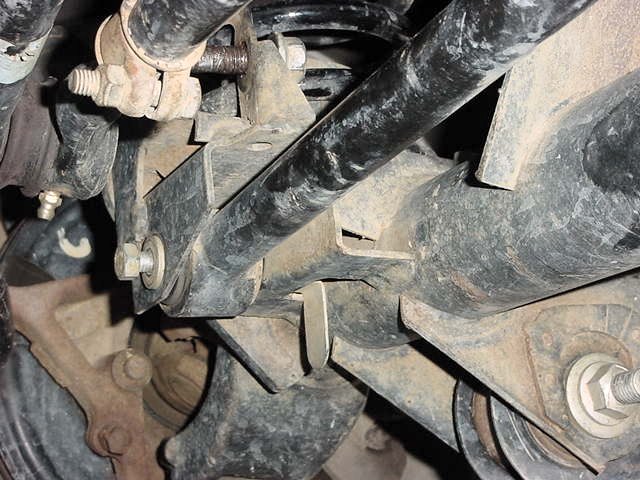
1. I started by removing the cotter pin and 19mm castellated nut from
the frame side taper bolt. Now place the pickle fork between
the track bar and the mount point, give it a couple of blows
with a hammer to separate the track bar.
2. I then removed the 15mm bolt from the axle side of the bar.
There is a capture nut on the back side. Be careful with this
nut and bolt. Once you get this out you can pull the old track
bar out.
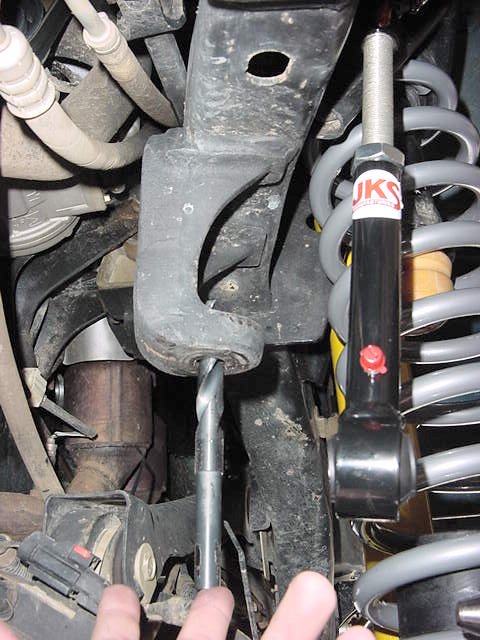
3. Now that you have your track bar out, you will need to drill out the
frame mount point to 9/16". Now this is a big drill bit
that needs to go in a little area. You will need a 1/2"
drill to do this, most likely the angle drill. Now I spent the
better part of a morning going and finding the drill bit and renting
an angle drill. Drilling the hole out took all of about 2 seconds.
I could have probably gotten this with my Dremel and a grinding head.
There wasn't a lot of metal to remove. I had jacked up the vehicle
at this point to give me some more space, but don't really know if
it was necessary.
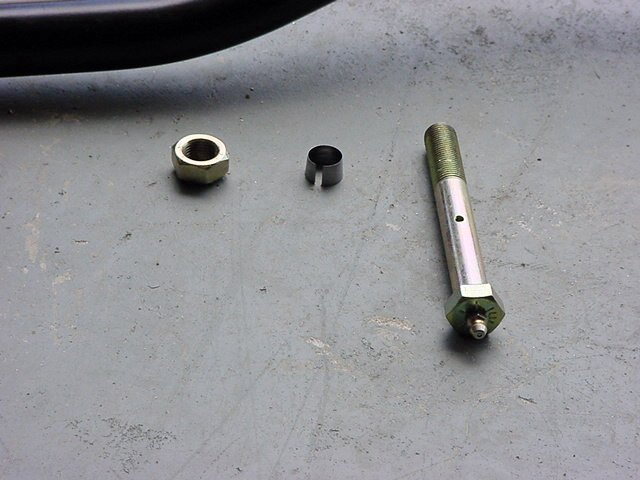
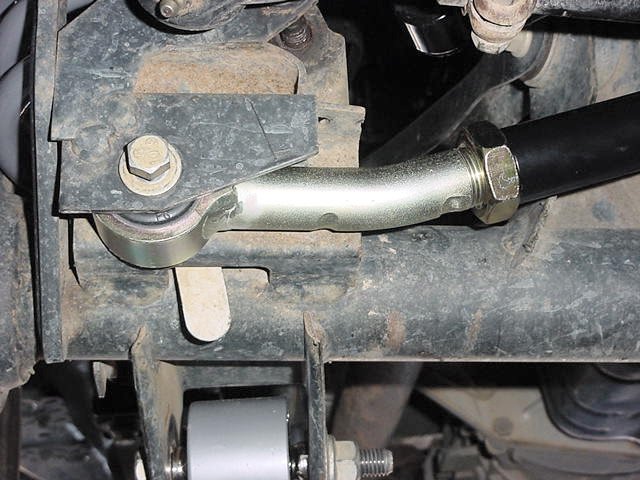
4. Now insert the new bolt through the head of the new track bar.
Note that the bolt goes through from the side that does not have the
extension of the Johnny Joint. Then put the tapered cone on.
5. The fun part is trying to hold this assembly up, insert the bolt
in the hole and then get the nut on top. It is much easier to
do with 2 people. The nut is a 7/8" and the bolt a 13/16".
Make certain that the tapered cone sits entirely inside the frame
mount, if it sticks out any you will need to trim it.
6. Now all that is left is to extend your track bar to center the axle
and bolt it back up to the axle. I first extended mine out to
match the hole in the axle bracket, and then measured to center the
axle (see below). Mine is extended 31 1/4". Once
you have your new length, all you will need to do is get the holes
to line up. I did this 2 different ways. Since I first
needed to move it some distance, I just turned the steering wheel
and this forced the axle to move over. Remember you don't have
the track bar on so nothing will hold the axle stable laterally.
Once I got it close, I just put my foot on the frame and gave it a
push until the holes lined up. Like I said before be careful
with this bolt and nut, I managed to cross thread the bolt into the
nut and it was a pain to get out. I went to the dealership to
find these and 5 weeks later I finally got it in. A 3/8"
by 3" bolt works well as a temporary.
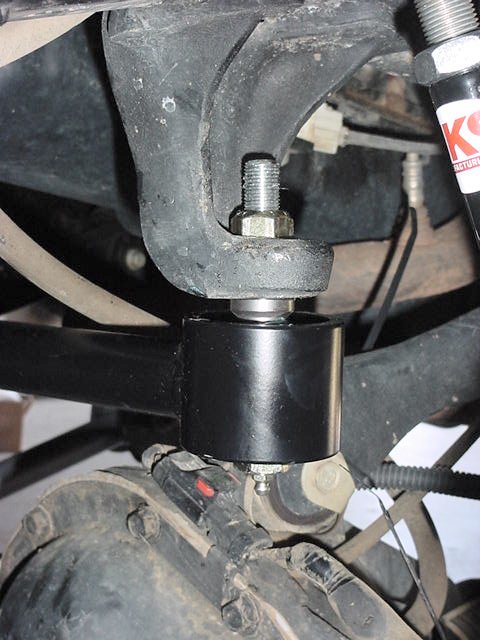
7. Once you get the axle centered you will need to tighten down the Jam
nut. This takes a 1 1/2" wrench to tighten down.
Once you have everything tightened down you will need to take it for
a test ride. Remeasure your settings after this test drive.
Once you are certain that you have the axle centered as best that
it will be then grease the johnny joint on the frame side.
Axle
Centering:
Start by Jouncing the front of the vehicle a couple of times. (i.e.
make it go up and down). Then take a steel ruler (measuring
tape will work) and measure from the frame to the tire rim centered
above the axle. This measurement will give you the most accurate
distance for the following reasons. It negates most of the effect
of having the tires turned slightly, and the fact that the body does
not sit perfectly straight on top of the frame. I know mine
sits slightly off, but the measurements were talking about here are
not that big and that small difference will matter. Once you
have the difference in sides you will need to figure out how much
you need to lengthen or shorten the adj. track bar. If the Driver
sided (most likely) is larger than extend the track bar 1/2 the distance,
if the Passenger side is larger than shorten the track bar 1/2 the
distance.