This seemed like a really good idea to keep that tailgate from slamming back into you unexpected. It can be made for a few cheap parts, or you can buy the kit from a few vendors out there that charge sometimes as much as twice the cost of materials. Why not make a few dollars.
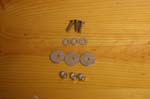
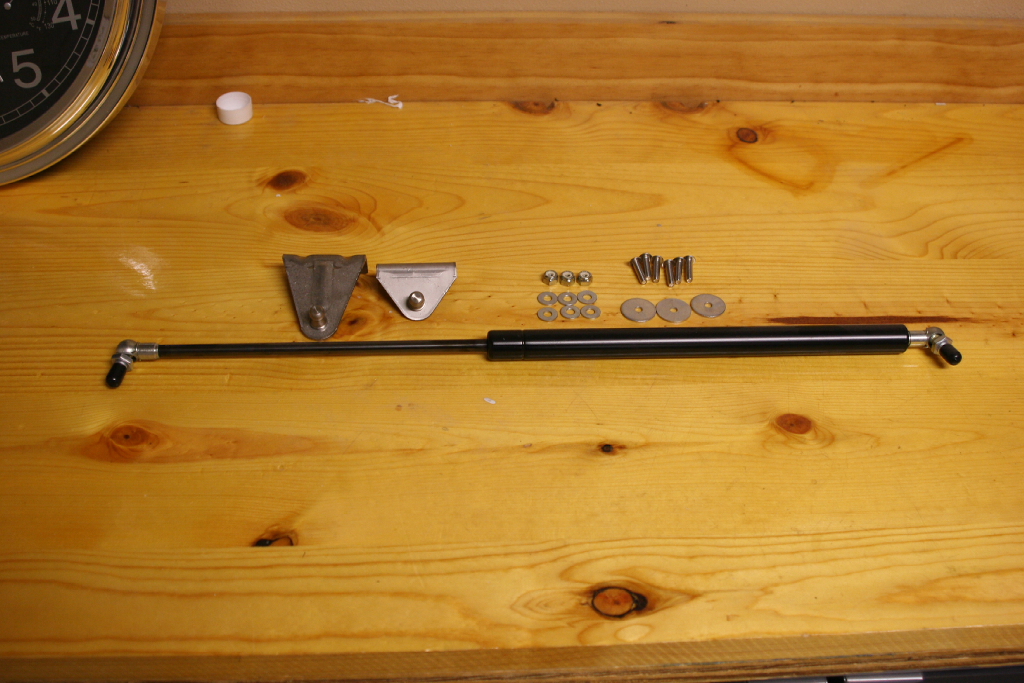
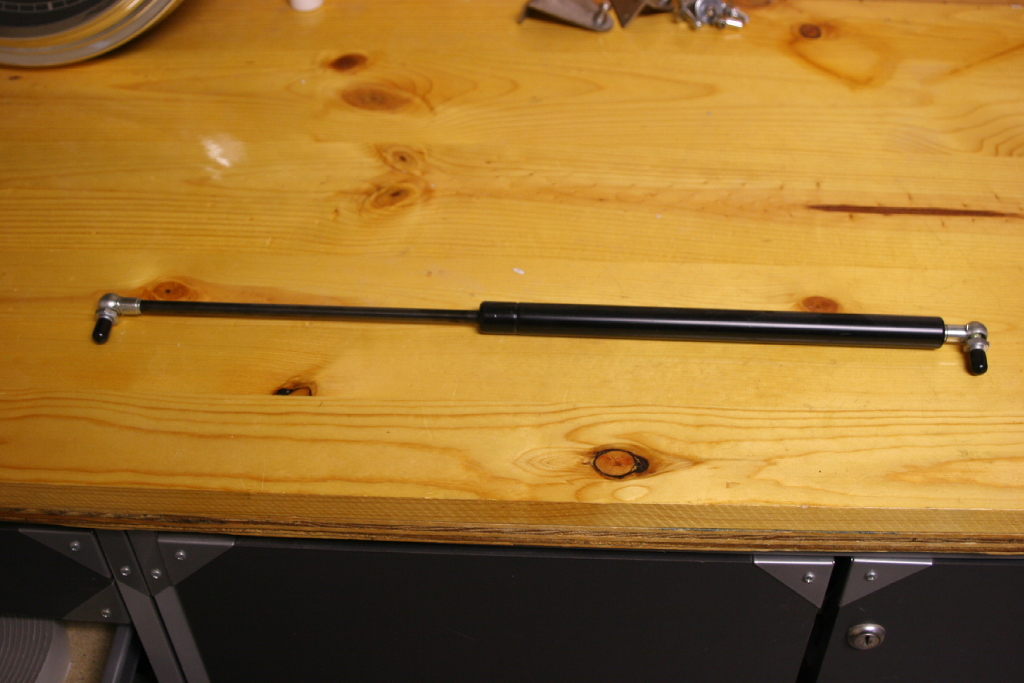
| Parts: |
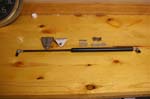 |
| |
| Installation: |
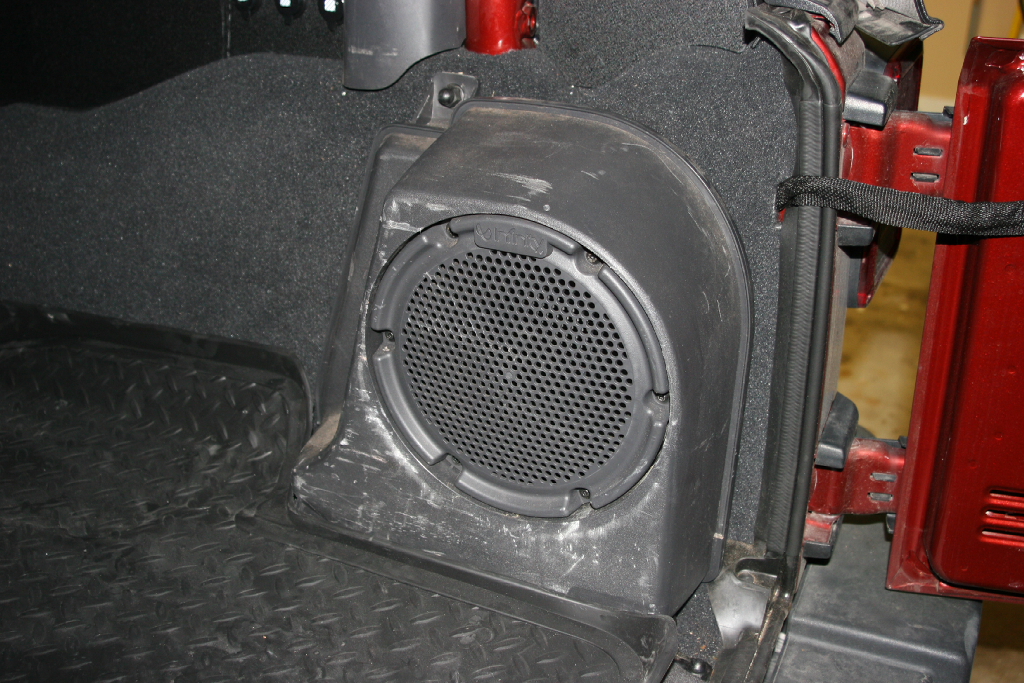
| 1. Open the tailgate and check to see if you have a subwoofer installed in the rear. If not skip to step 4. |
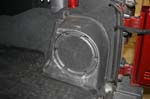 |
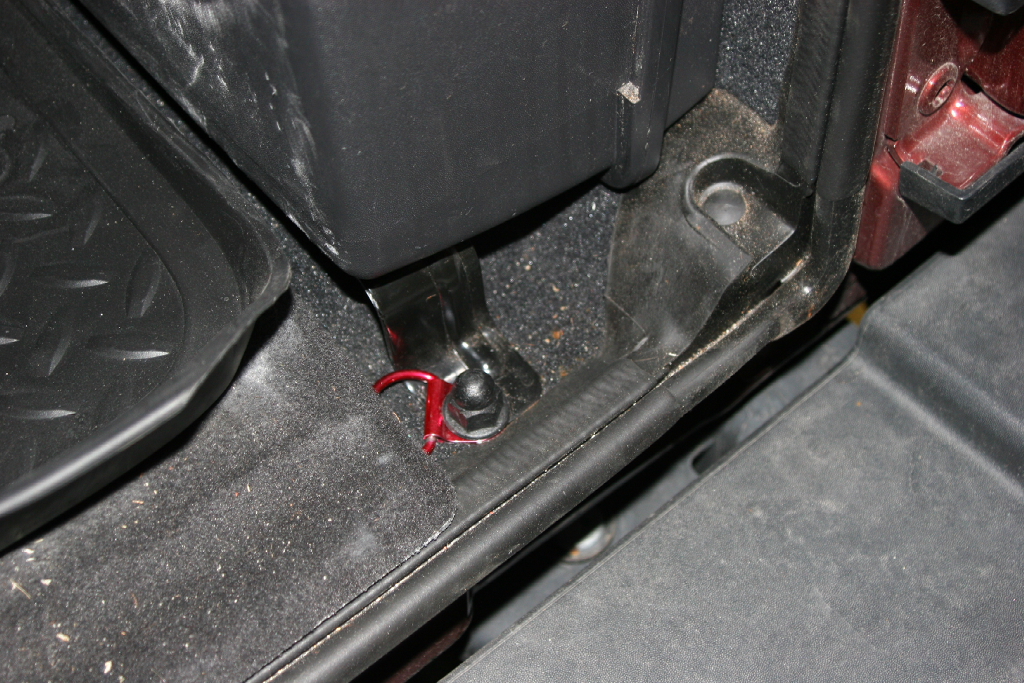
| 2. Remove the nuts holding the three feet of the subwoofer with a mm deep well socket. |
 |
 |
 |
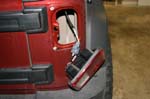
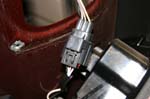
| 3. Unplug the subwoofer from the wire harness. There may or may not be a small tab you need to push. |
 |
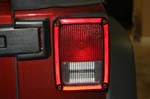
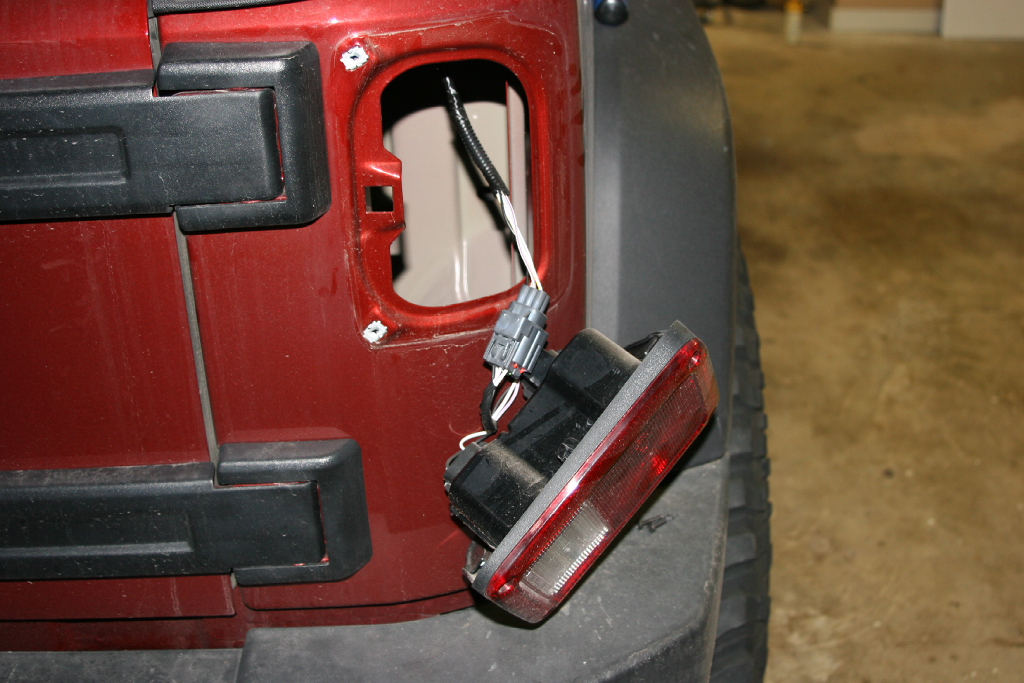
| 4. Remove the rear passenger tail light by unscrewing the two inboard (closest to the tailgate) phillips screws with a phillips screwdriver. |
 |
 |
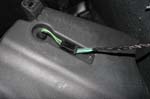
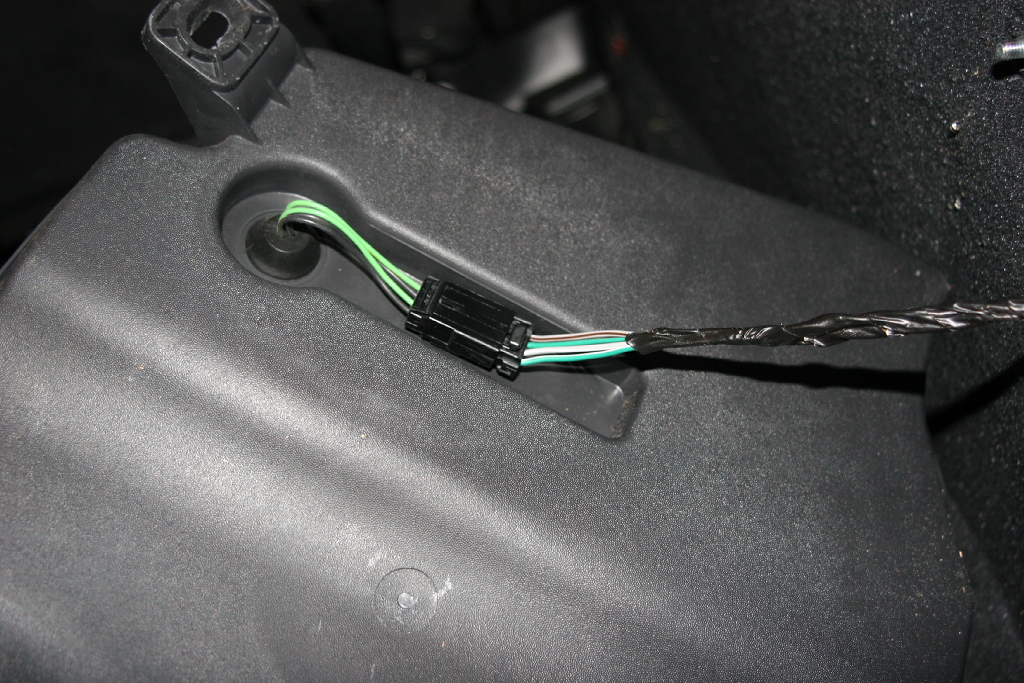
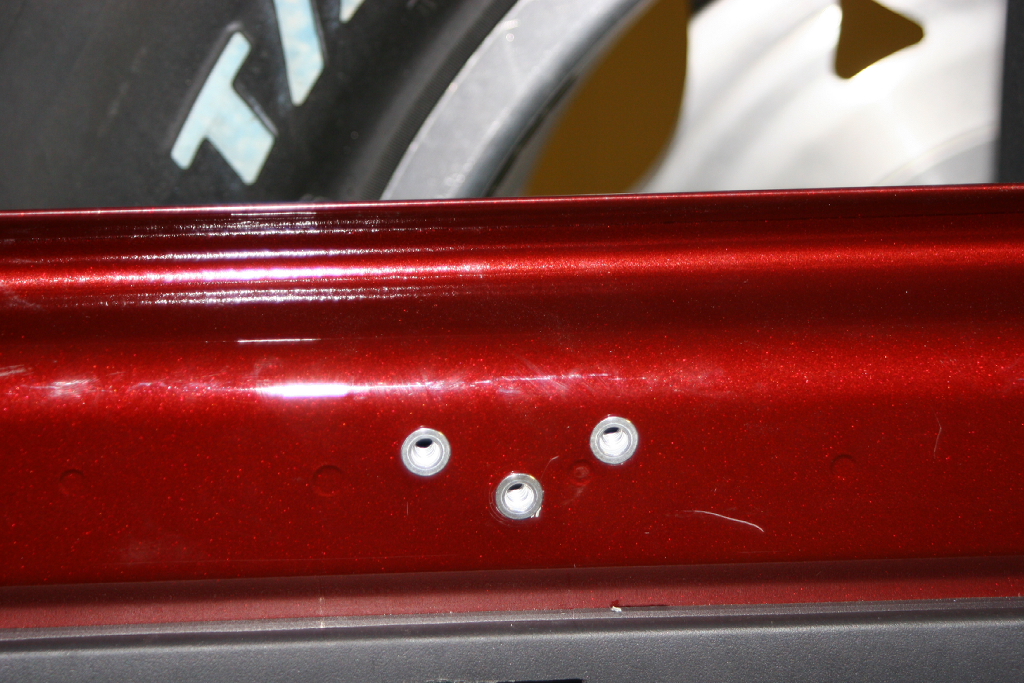
| 5. Unplug the wire harness from the tail light by depressing the tab and pulling it apart. I would not recommend leaving it hanging since the sheetmetal has a sharp edge and the wires will rest against it. |
 |
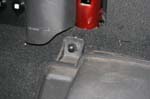
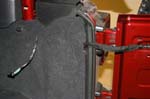
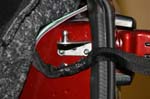
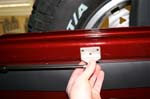
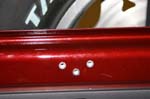
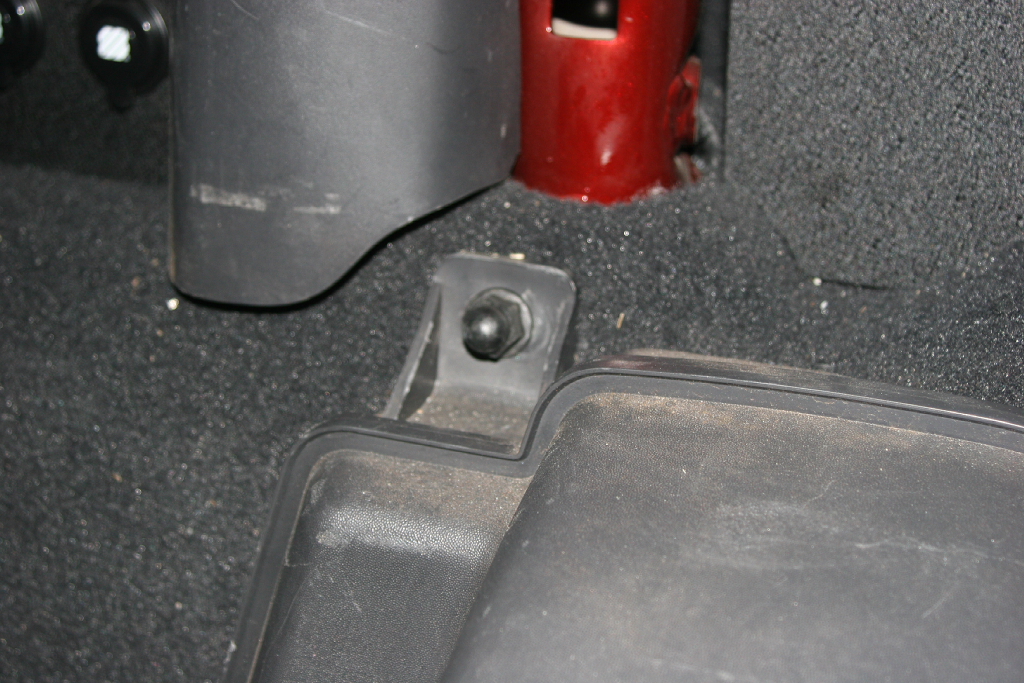
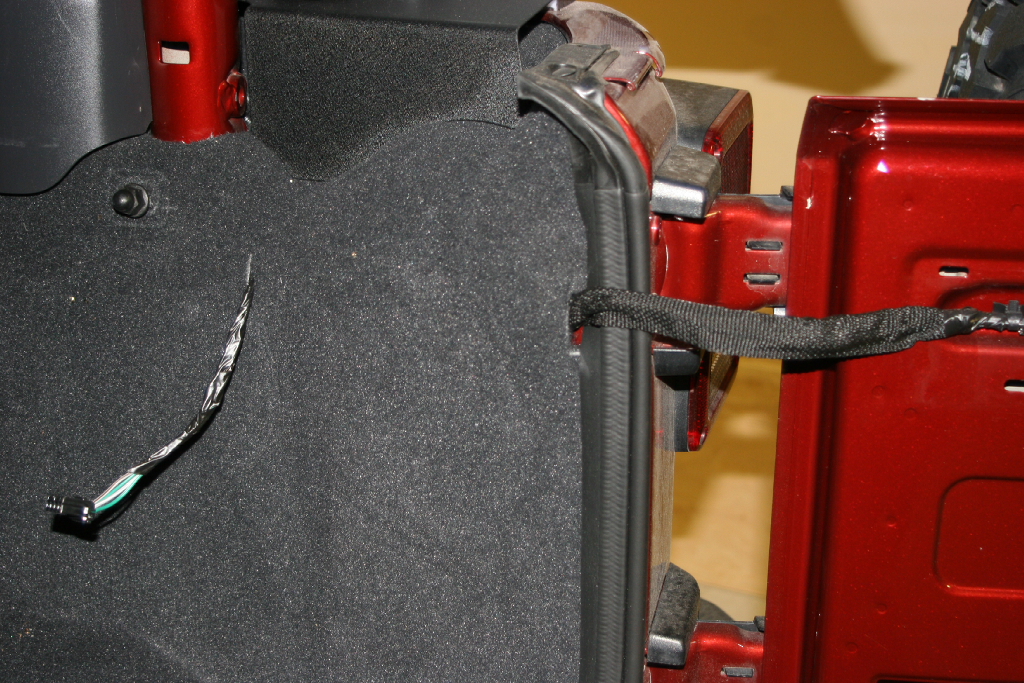
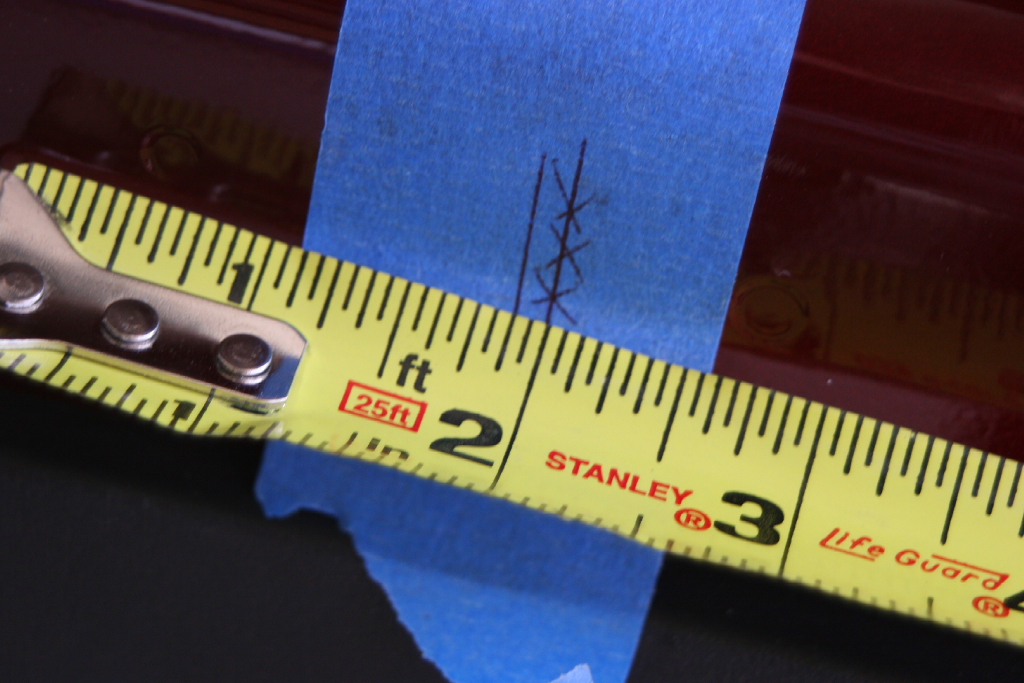
| 6. Pull the carpet back from the passenger side to expose the sheet metal. The bracket will mount just above the wire with the top edge approximately 13 1/4" up from the floor (not the carpet) |
 |
 |
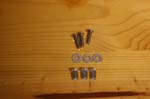
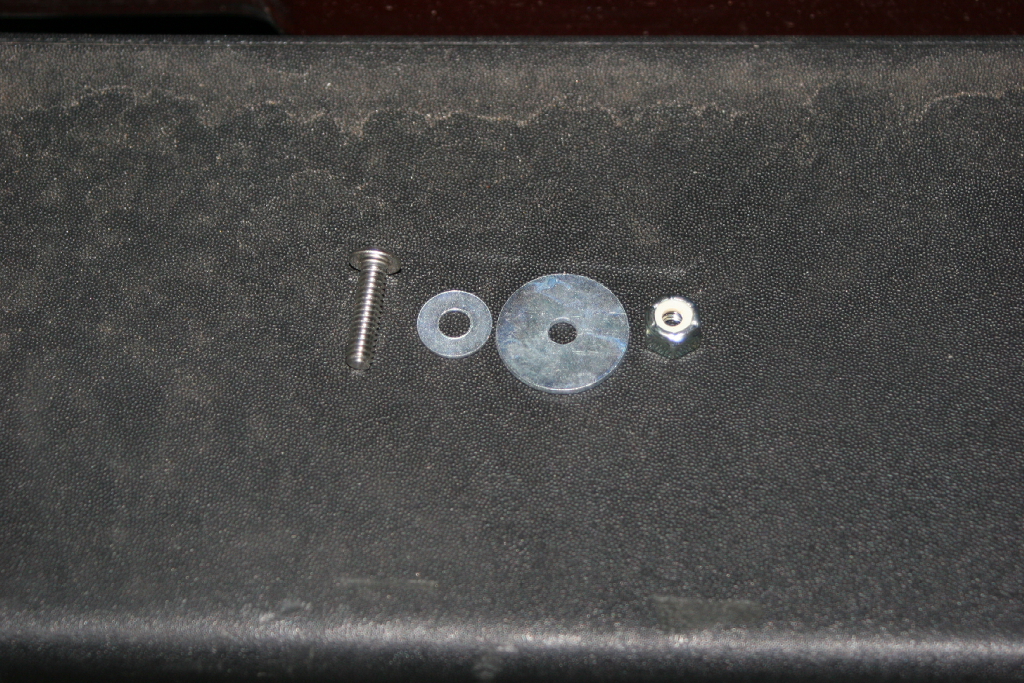
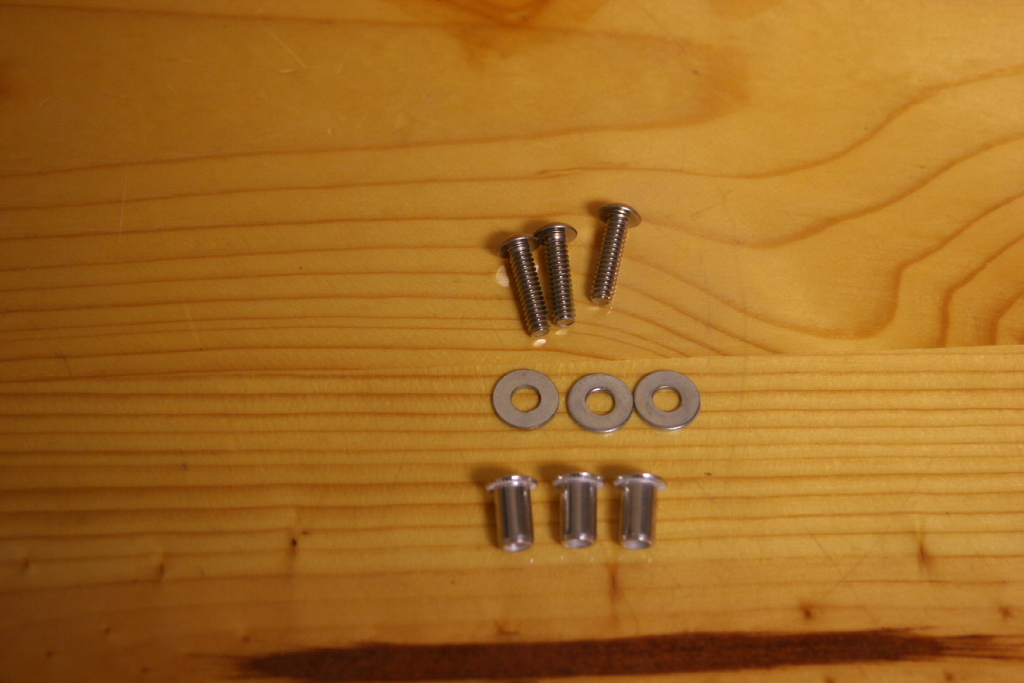
| You will need the long bracket, 3 sets of screws, washers, fender washers and nylon lock nuts for the next step. |
 |
 |
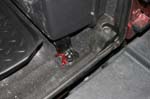
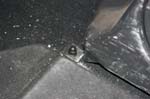
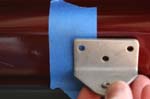
| 7. Place the bracket just above the wire bundle and just forward of the rubber weather stripping for the tailgate. Holding it level, mark the three screw holes. Now center punch the holes so that you can start the drill bit and keep it centered. Drill out the 3 holes with a 3/16" drill bit. |
 |
 |
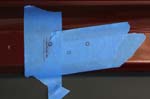
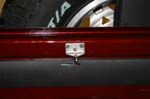
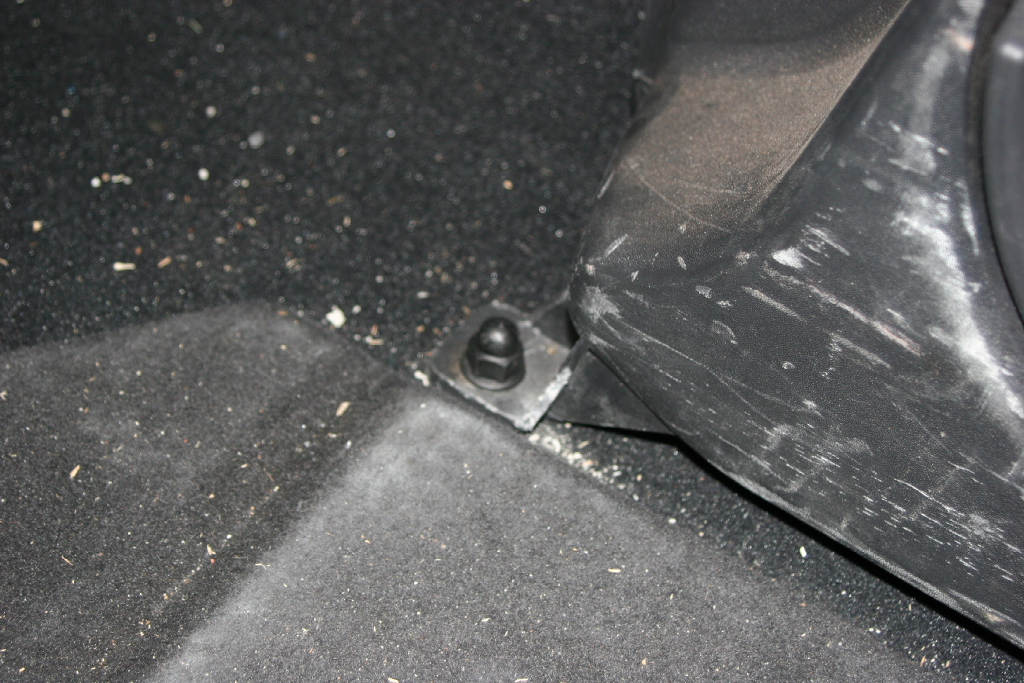
| 8. Install the bracket. It will be screw, small washer, bracket, sheetmetal, fenderwasher, nut. Leave the center hole for last. This is a good time to have some help, so that you can reach around inside the rear quater panel and install the fender washer and nut. Don't worry about dropping any pieces, they just fall to the bottom rubber panel of the quater panel. Once you have all three installed you can tighten up with a 3/8" combo wrench and 1/8" allen head wrench. |
 |
 |
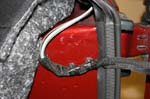
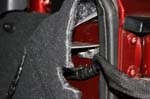
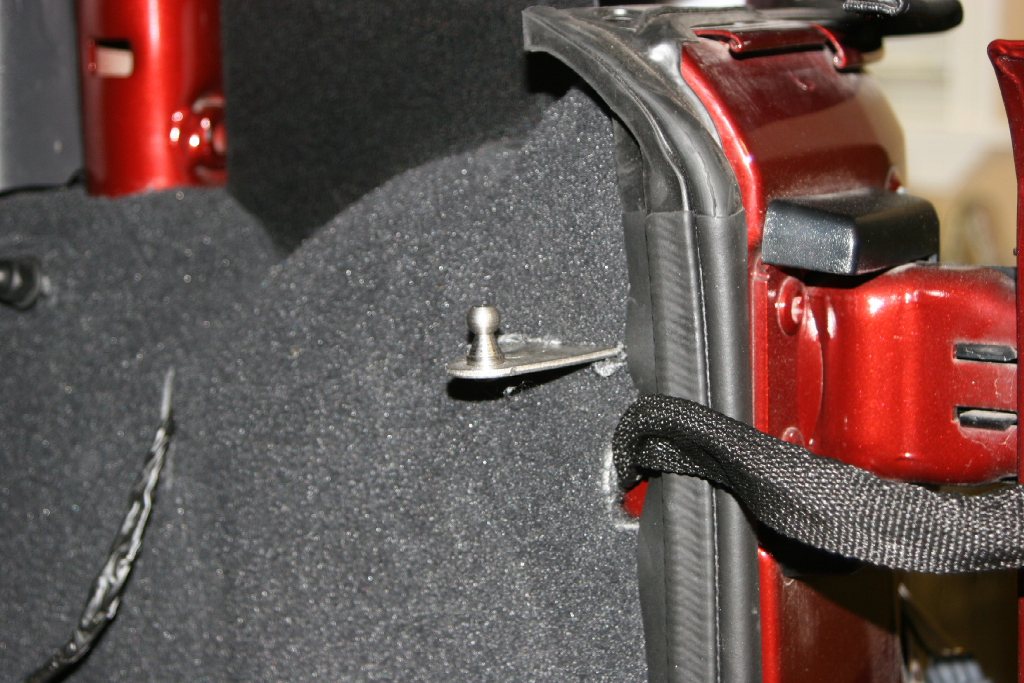
| 9. Push the carpet back and line up where you will need to make about a 2 1/2" slice in the carpet. Cut the carpet and slide it around the bracket. Tuck it back in behind the rubber weather stripping for the tailgate. |
 |
 |
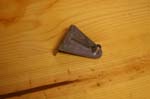
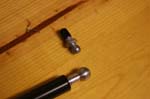
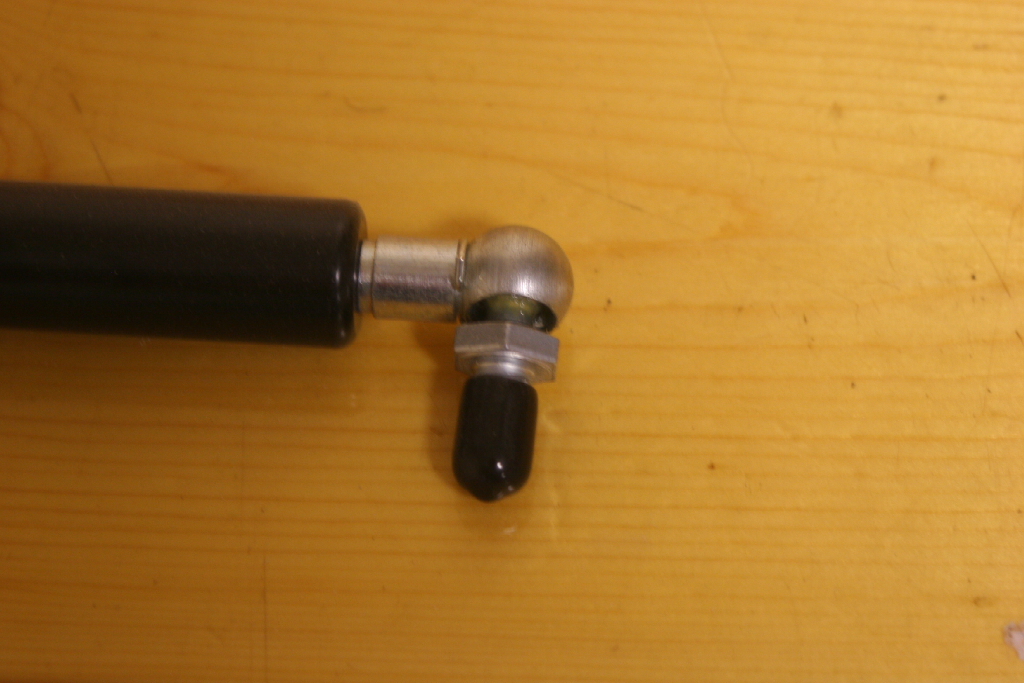
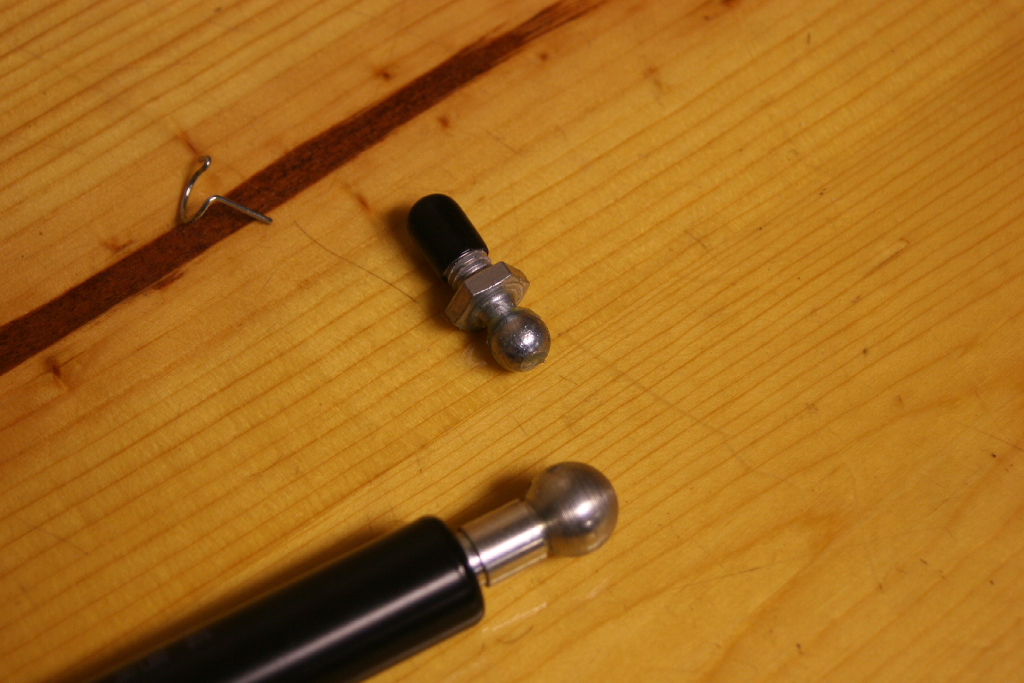
| 10. The shock comes with a ball and screw mount already installed. You need to remove this. |
 |
 |
| 11. On each head is a small metal clip. One side is inserted through the head to hold the ball in place. Flip up the catch, and slide out the pin from the head. Then pop the ball out by twisting the ball and screw mount sideways in the head. |
 |
 |
 |
 |
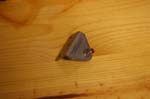
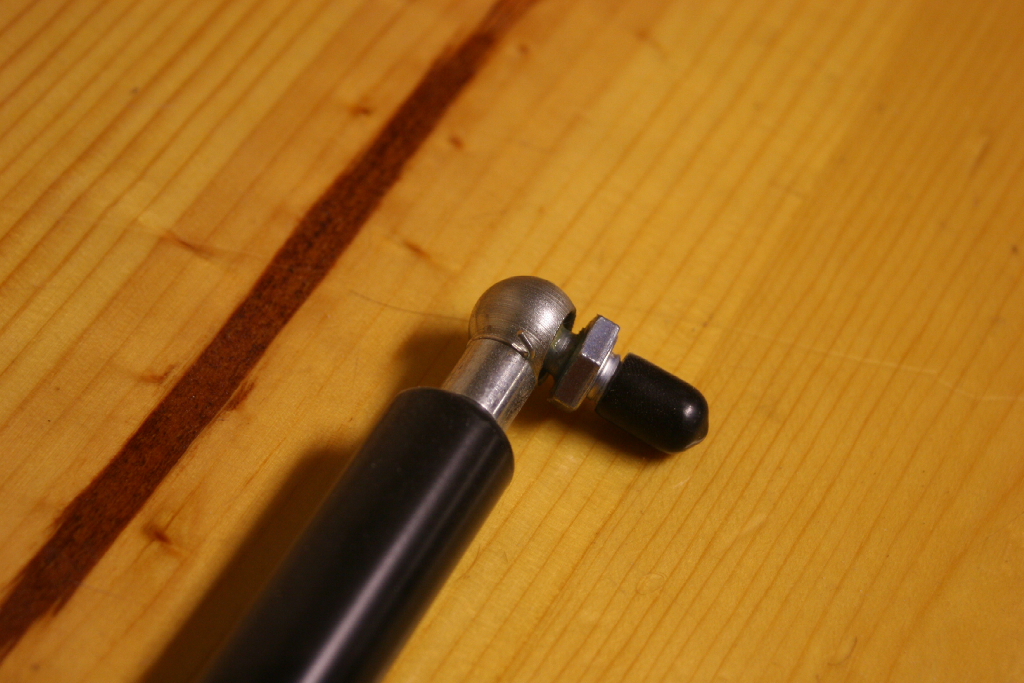
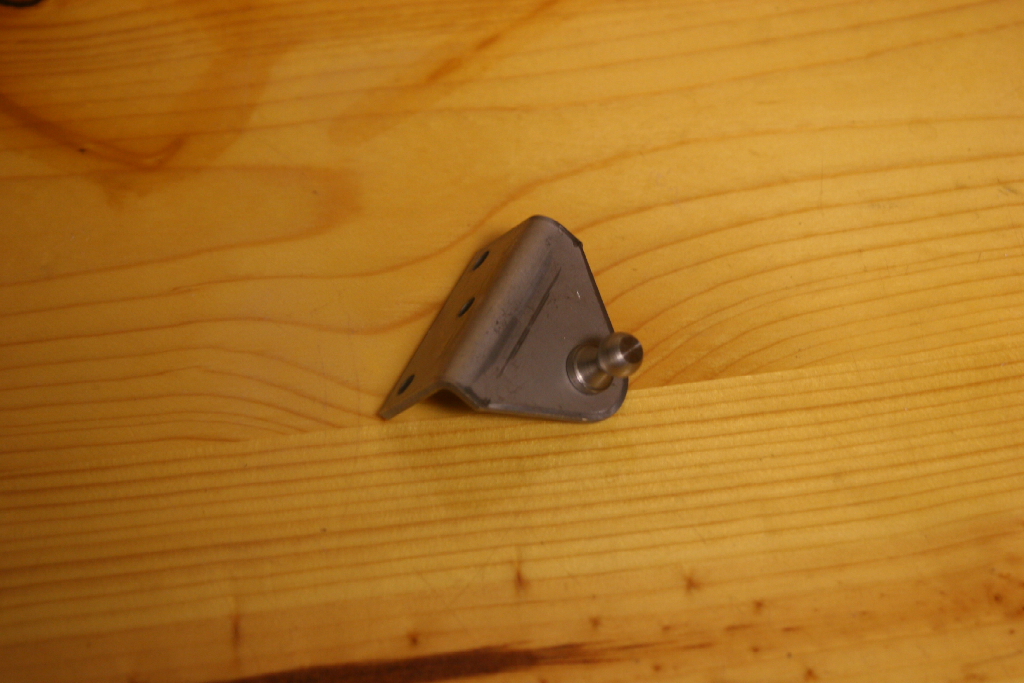
| 12. Install the small bracket on the rod end of the shock. Do not reinstall the clip, you will need to pull the bracket back off. |
 |
 |
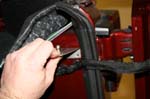
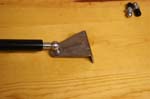
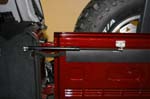
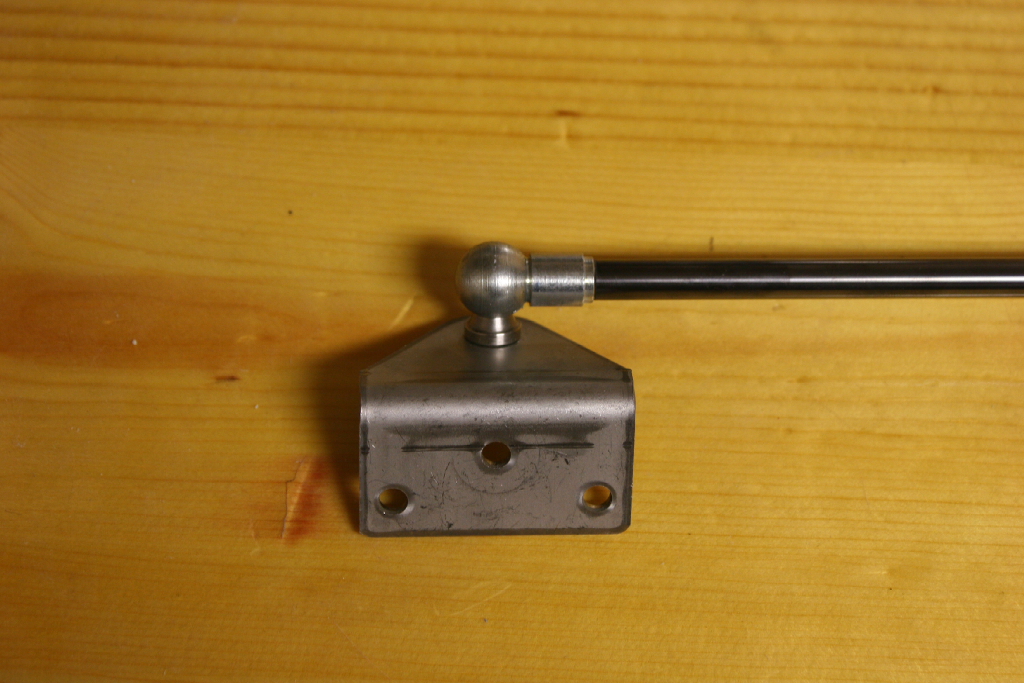
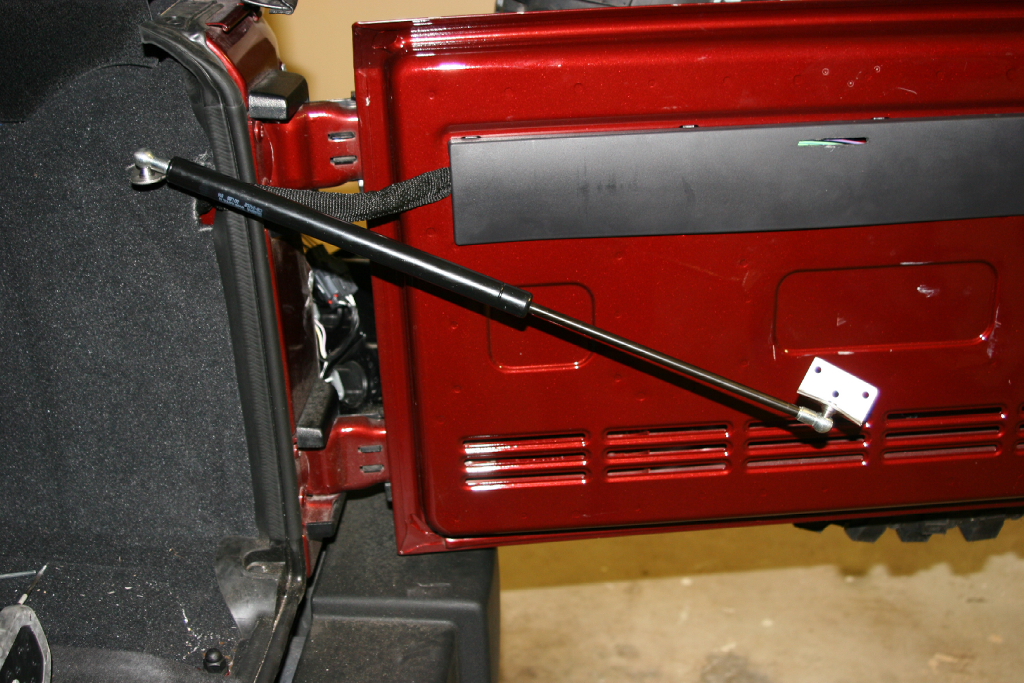
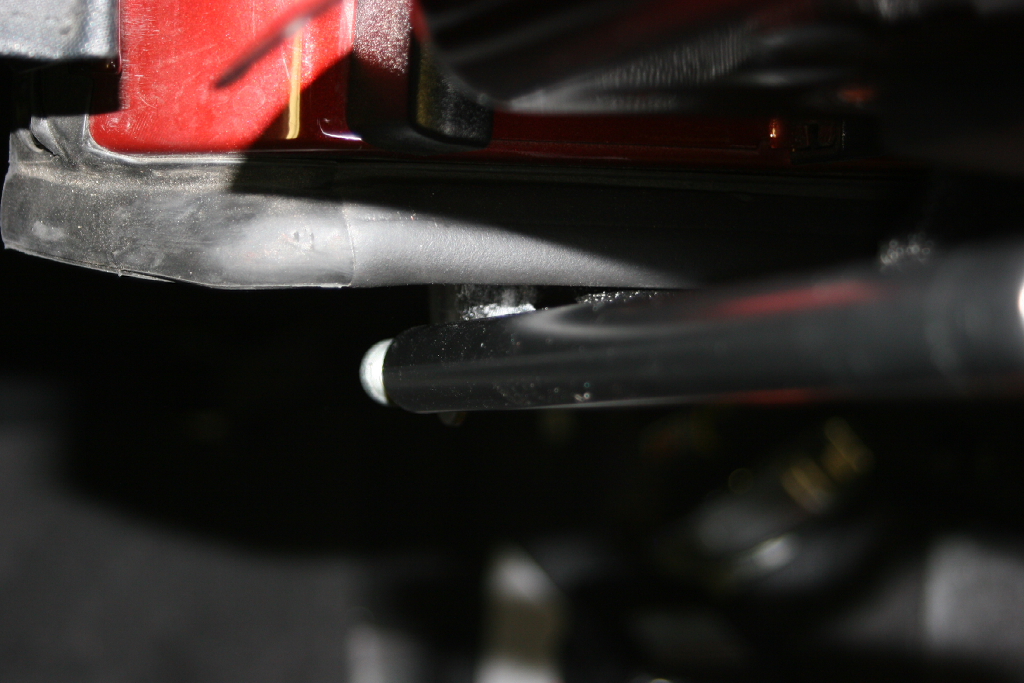
13. Install the cylinder side of the shock onto the large bracket. Do not reinstall the clip, you will need to pull the shock back off.
Note: You will need to hold the shock and bracket. So get your marking pencil ready. If you let it just hang like in the picture, it will pop off the bracket and fall on the floor, most likely via your foot. |
 |
 |
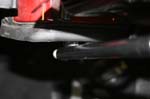
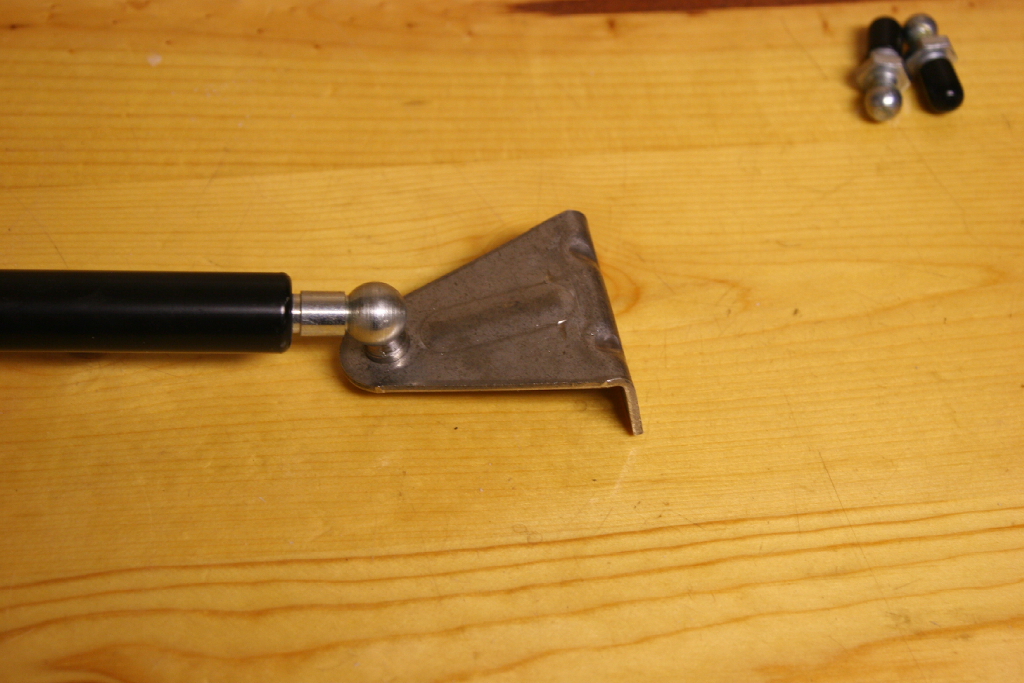
| 14. With the tailgate all the way open, hold up the shock and bracket to the tailgate. The ball will point down. You want to be centered between the rolled top edge, and the lip just above the plastic channel molding on the tailgate. Mark the leading edge (edge closest to the back of the Jeep) with a pencil or marker. Remove the shock from the large bracket and the small bracket from the shock. |
 |
 |
15. Now draw a line approximately 1/8" to 1/4" closer to the back of the Jeep and hold your bracket up to this line. Mark the screw holes for drilling. Ensure that the ball is pointed down. This will ensure that the shock does not extend all the way out when you open the tailgate completely.
Note: You may find it easier to put blue painters tape on the tailgate so that you can mark it. |
 |
 |
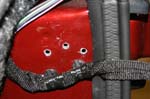
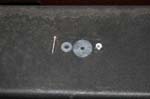
| 16. Center punch the three holes and drill out to 9/32" for the Nutserts. Install the three Nutserts with the nutsert tool. |
 |
 |
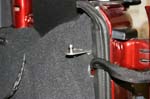
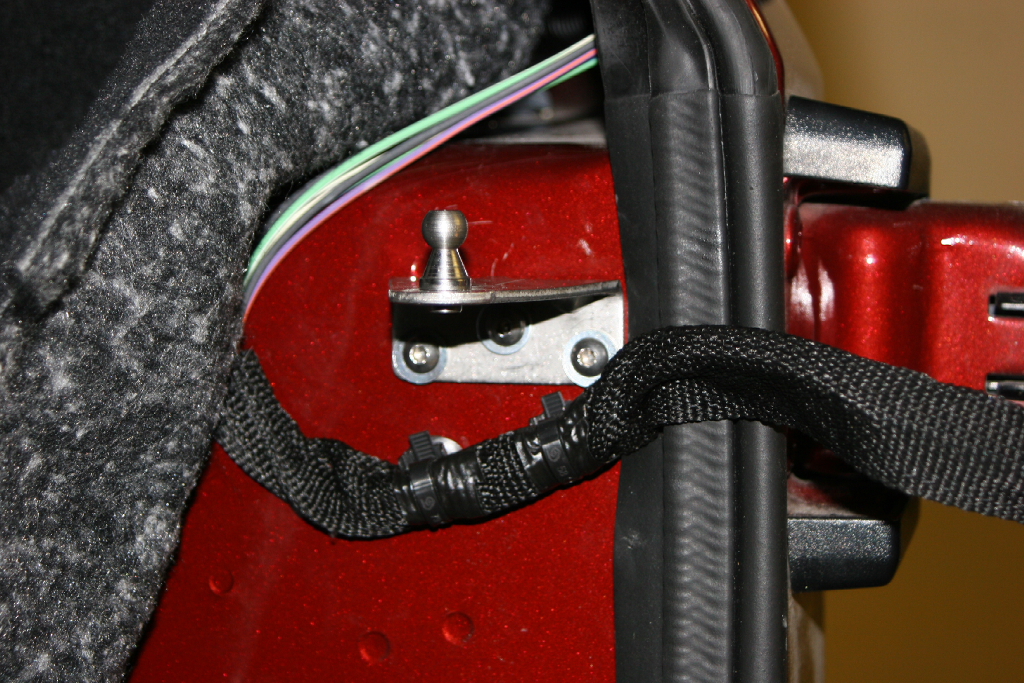
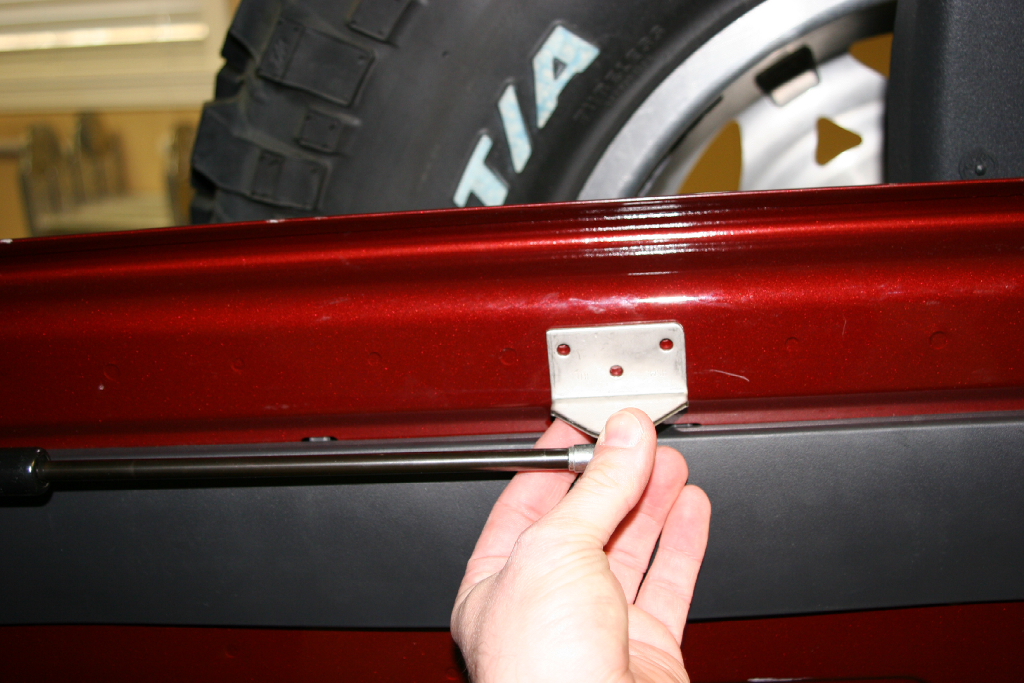
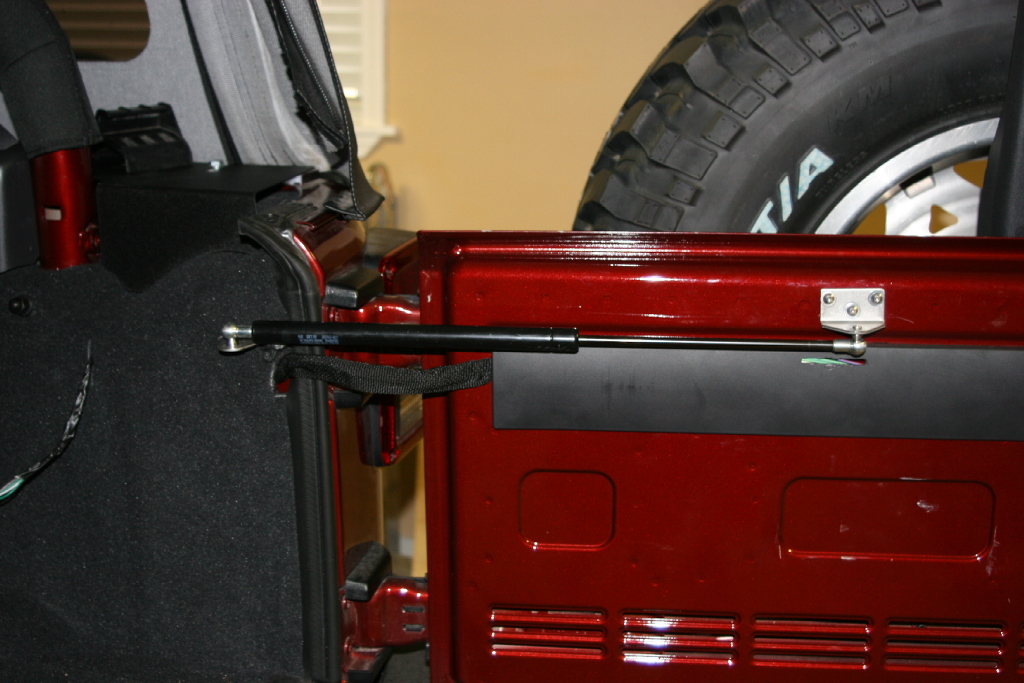
| 17. Mount the small bracket on the tailgate with the button head screws and small washers. Use a 1/8" allen head wrench. |
 |
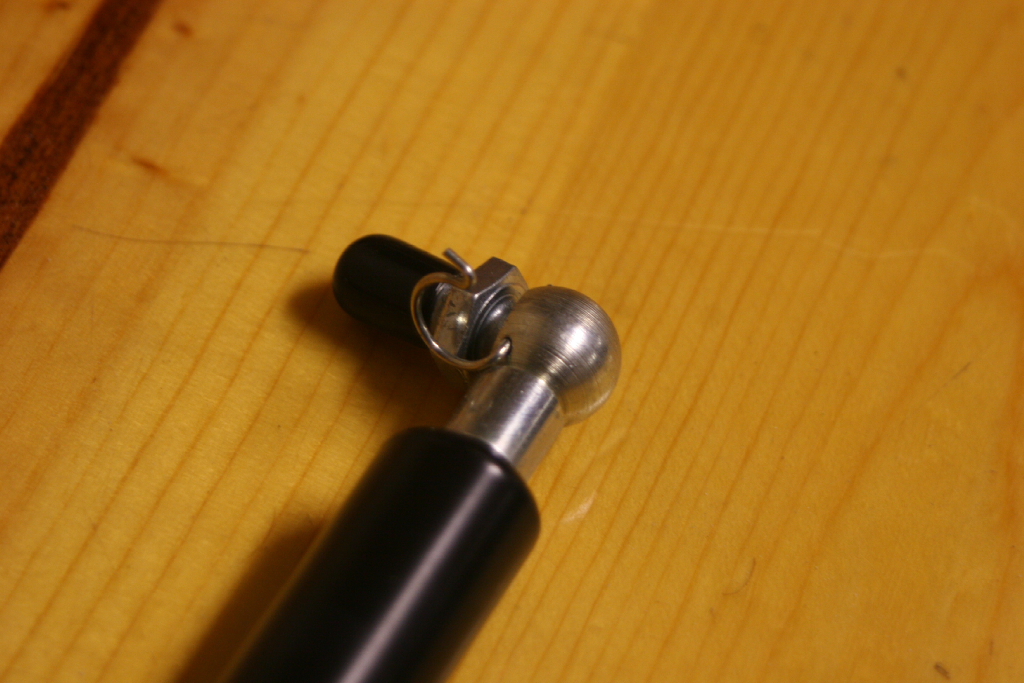
| 18. Reinstall the shock on the balls and install the clips in the reverse order of step 11. |
 |
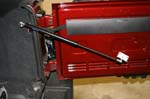
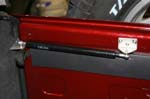
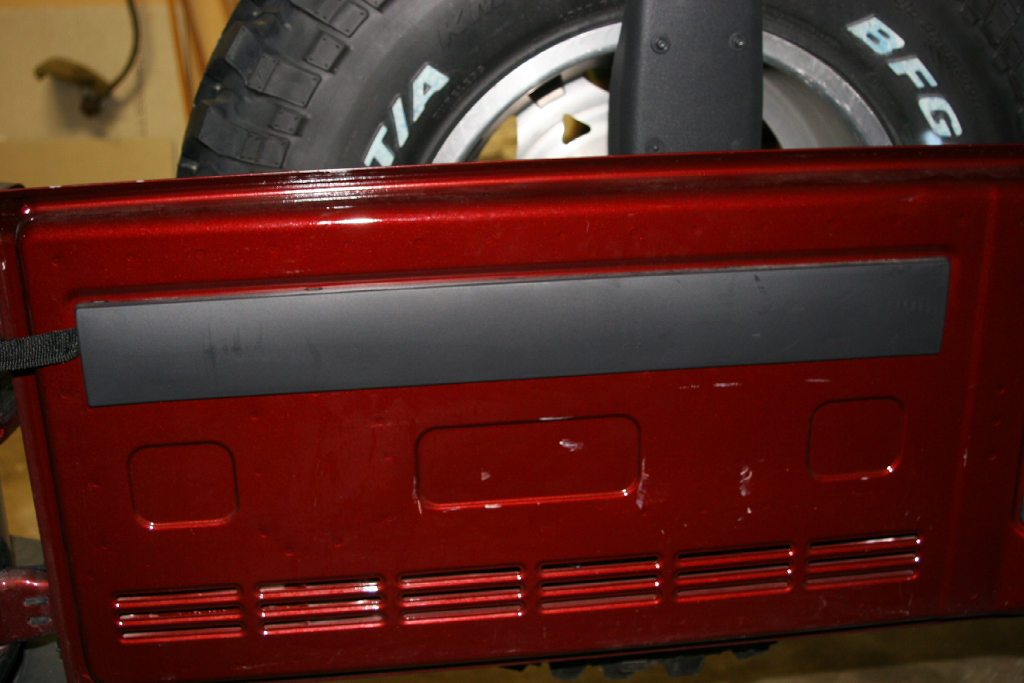
| 19. The moment of truth. Check your clearances. The tail gate cylinder should clear the tailgate edge at full open and should pull on any brackets when it's open. Now close it and ensure that you don't bottom out the shock before the door closes. |
 |
 |
 |
| |
| Thoughts: |
This is really nice for opening the tailgate. The 30lb shock is enough to hold open the door on a slight slope with the 35" tire that I have on it, but if your really looking for more, the 40lb shock would probably be better.
Wood's does make one of the best kits out there that I have seen. A little pricey compared to the do it yourself project here, but his has a metal bar to distribute the load across the door, and the tailgate bracket sits under the plastic cover for the wire run. |


