I was in the market for some good differential covers this time around. I had gone the cheap route a few times in the past and while they worked pretty good, I got tired of having to remove them to get at the cover, having them leak because they were such a pain to install, and of course having to clean them out when they filled up with mud or debris. This time I wanted a full cover that could take the abuse. I had narrowed down the list to a few covers, but when the Rockcrusher (now Solid) differential covers went on sale I had to jump on them. A quick phone call to David at Northridg4x4 had a set of covers on their way to me. Of course my UPS guy had to have me open them. I don’t know who waits for parts more, me or him
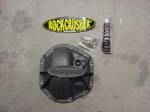
Here is what comes in the box. The RockCrusher covers come with a tube of RTV gasket material so you do not have to run out and pick any up. They of course include new bolts and a sticker. The cover is unpainted, so you will need to paint it if you wish, or you could install it unpainted.
|
 |
| |
|
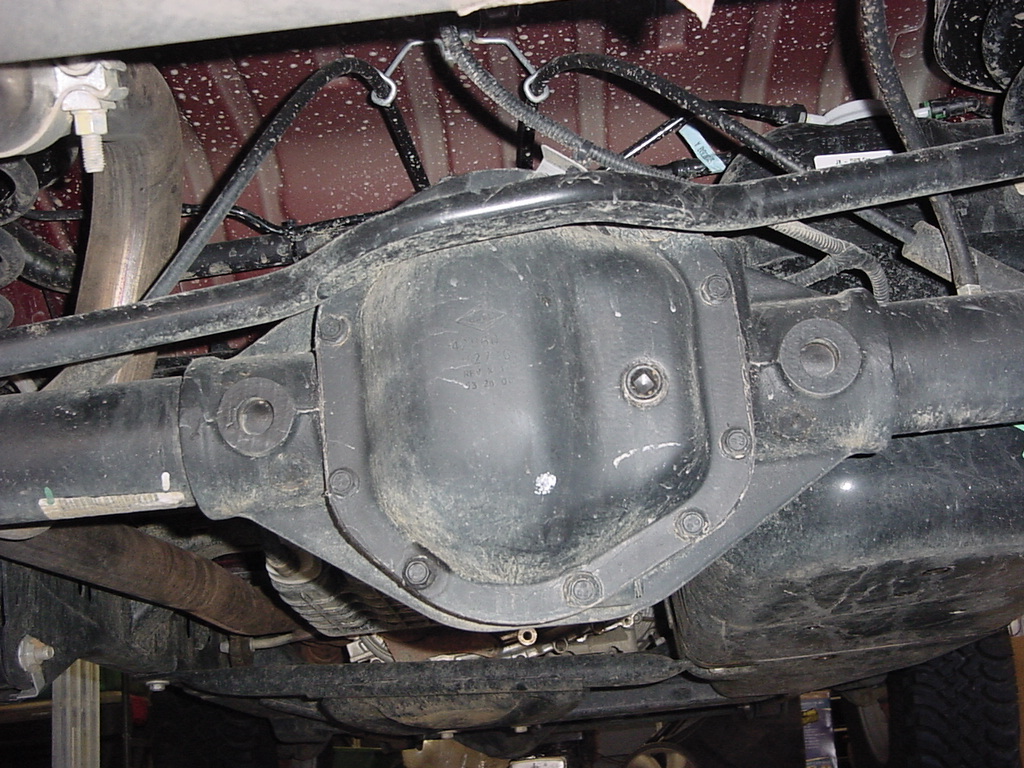
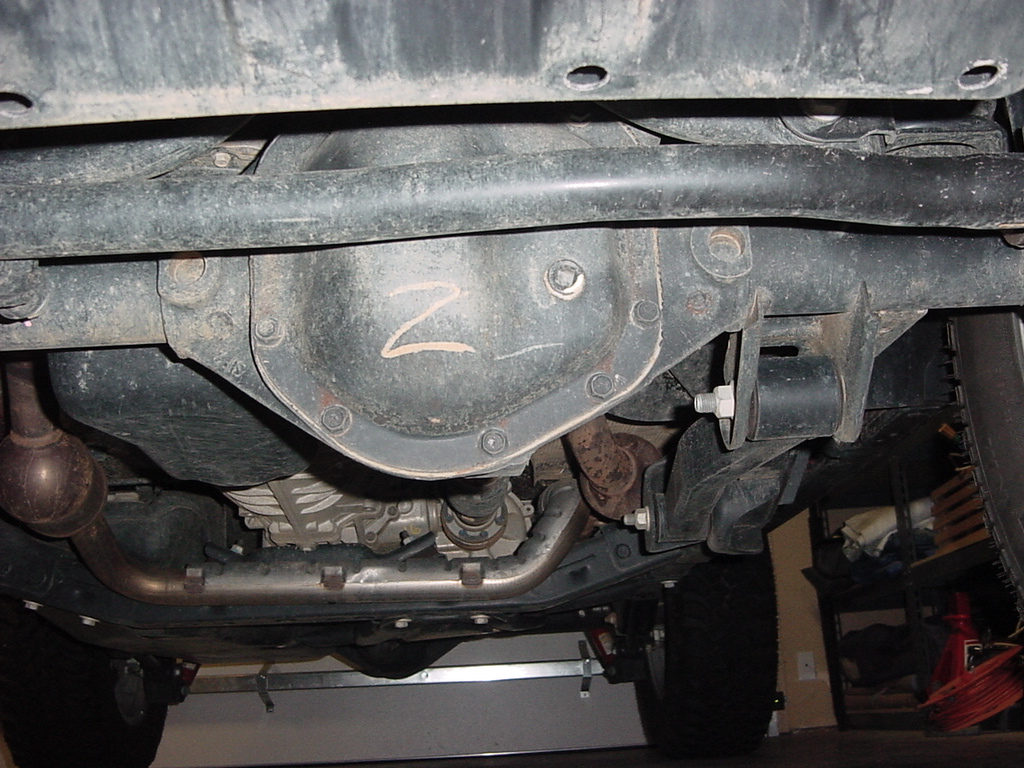
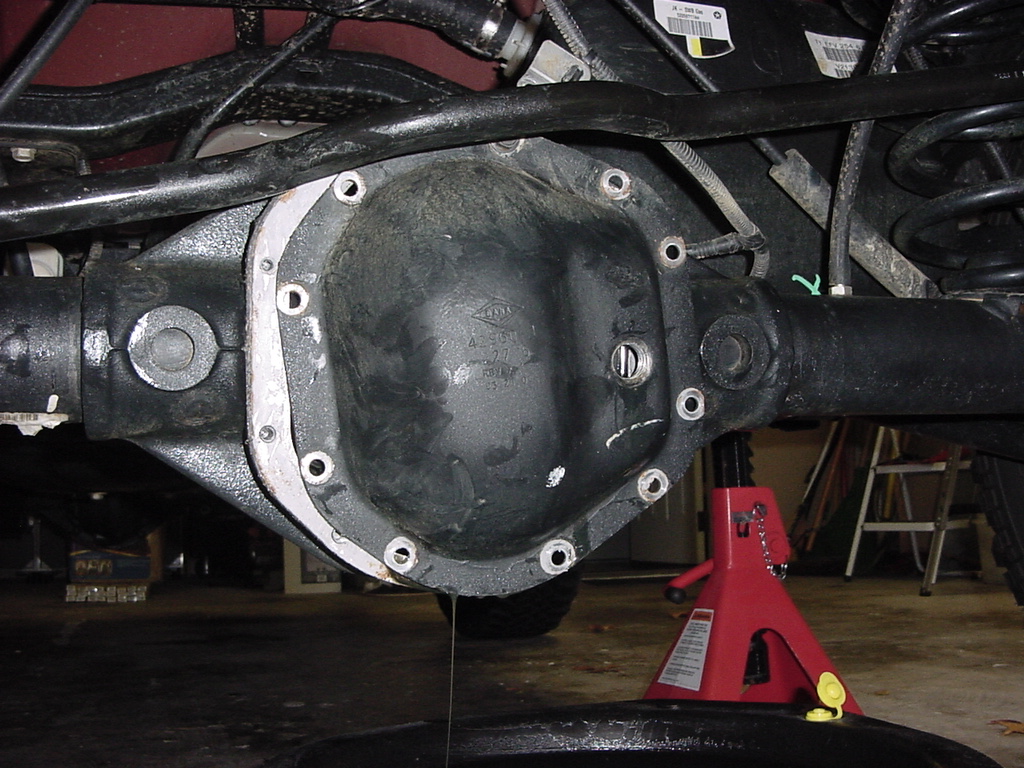
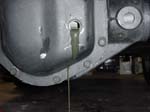
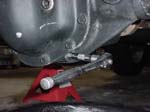
You may need to lift the vehicle from the frame to gain better access to the differential cover. Place an oil pan and some rags or newspapers under the differential. |
|
| |
|
|
|
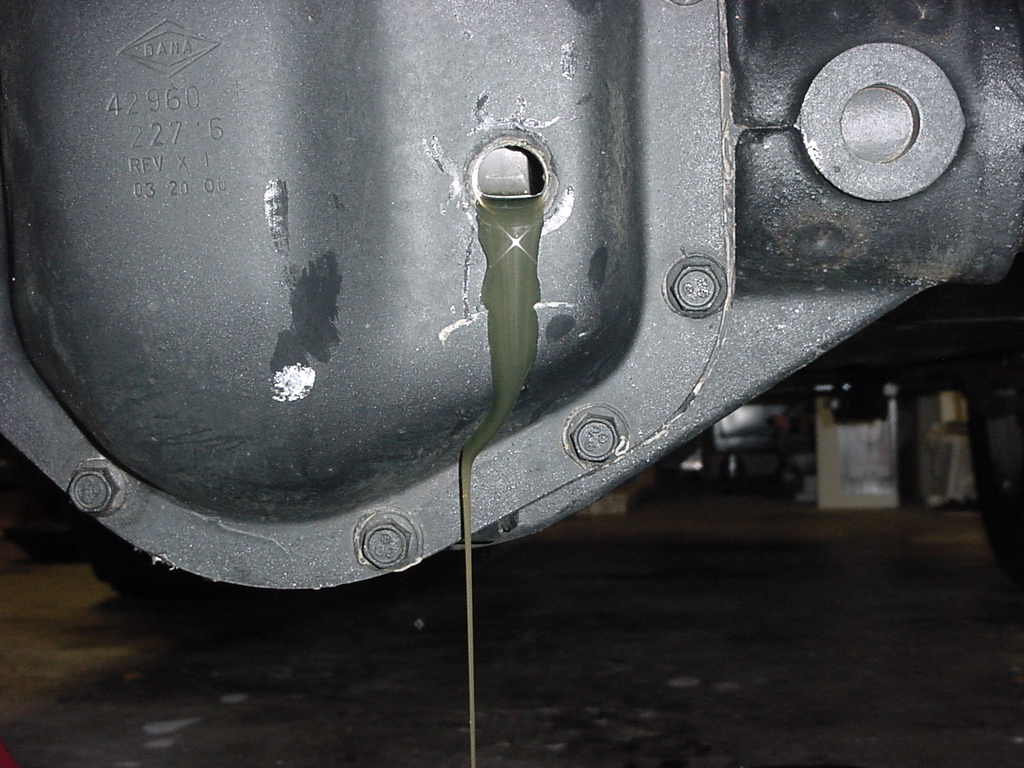
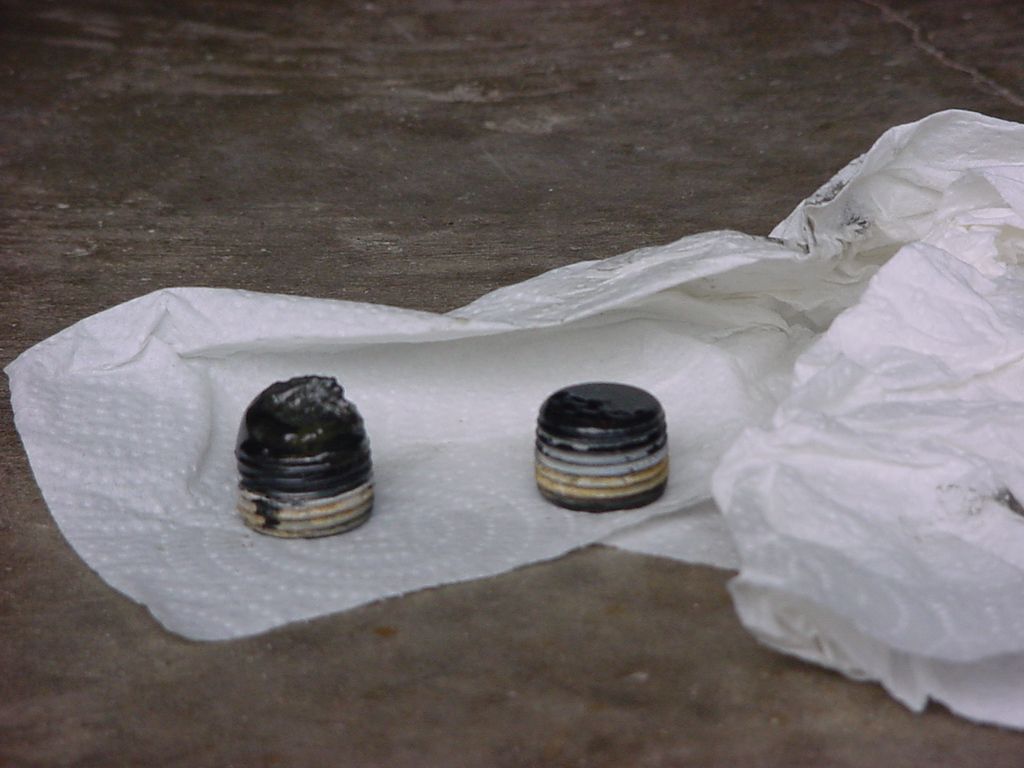
1. Drain the fluid from the differential. Remove the fill plug from the cover. On the Dana 44’s this is a steel plug front and rear, some of the other Dana’s have rubber plugs. Drain the fluid. Some plugs may have magnets installed so you will need to clean off the accumulated metals and sludge. You should normally have some buildup on the plugs especially if this is your time removing the plugs.
|
|
|
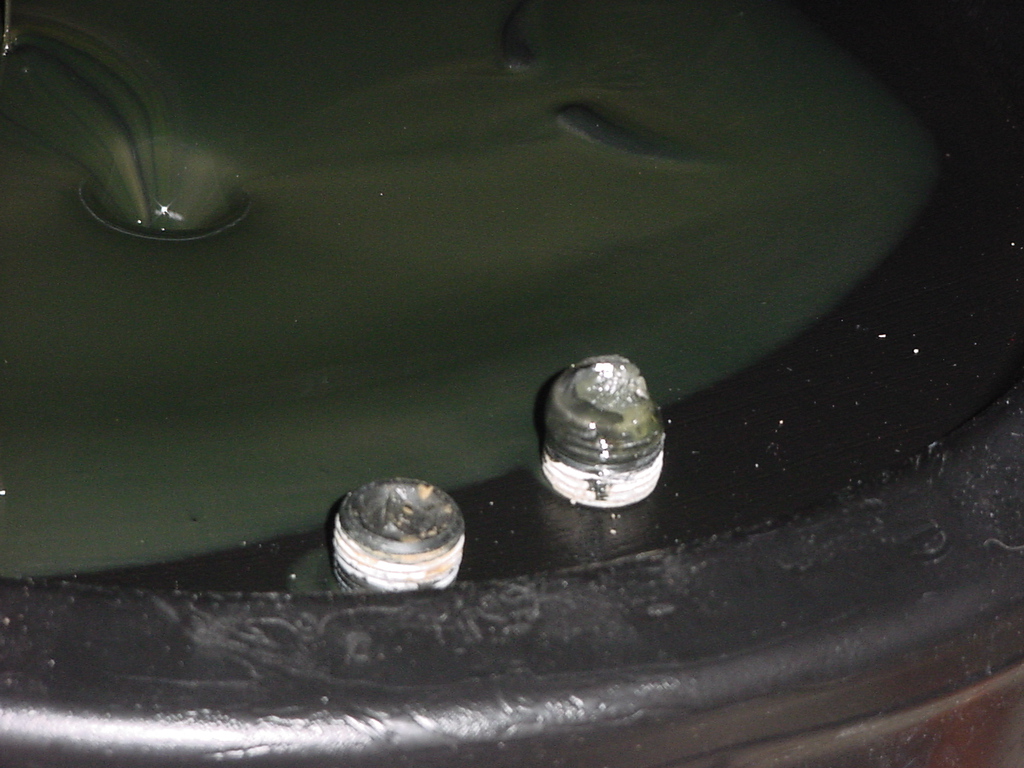
Lovely! |
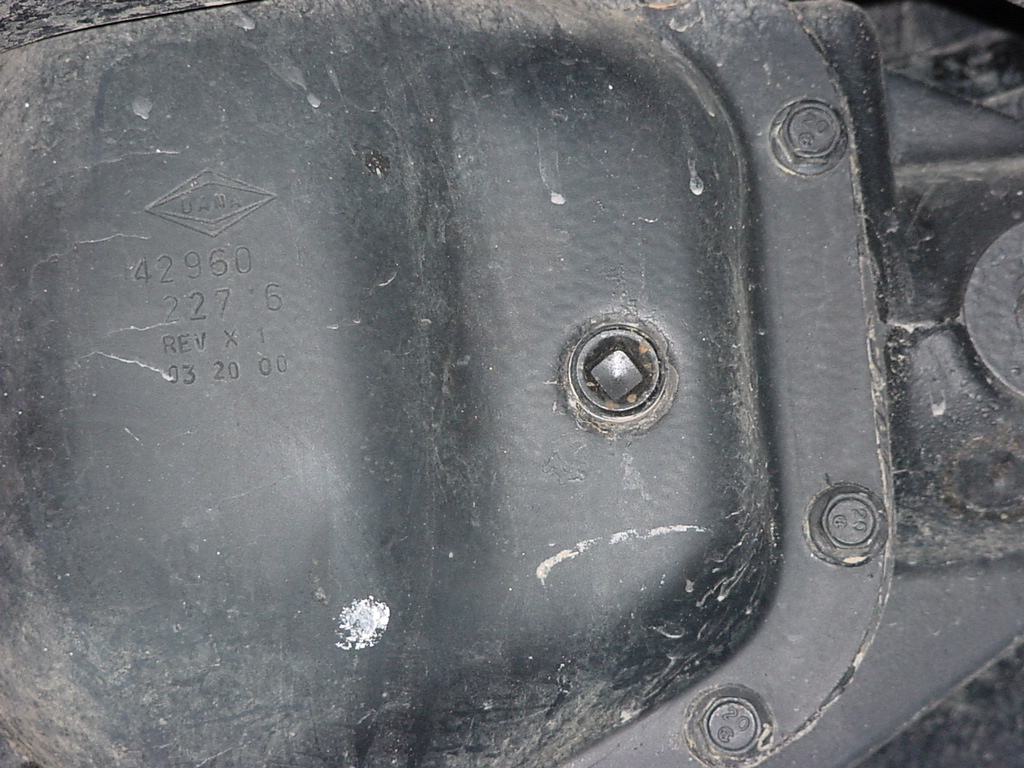
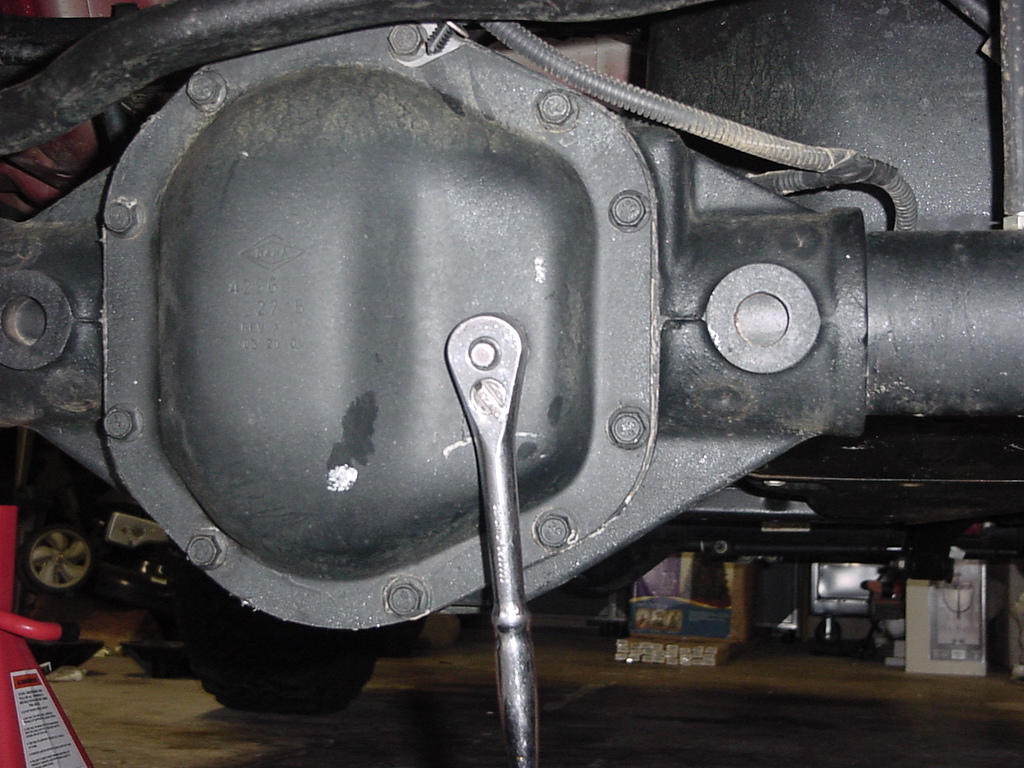
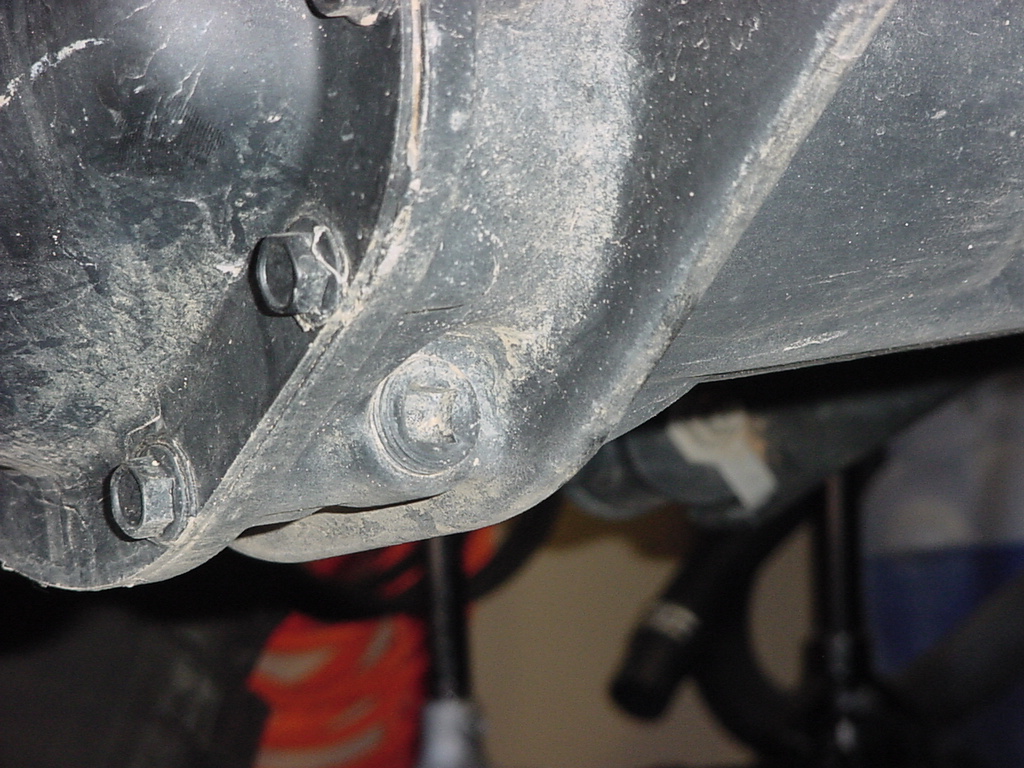
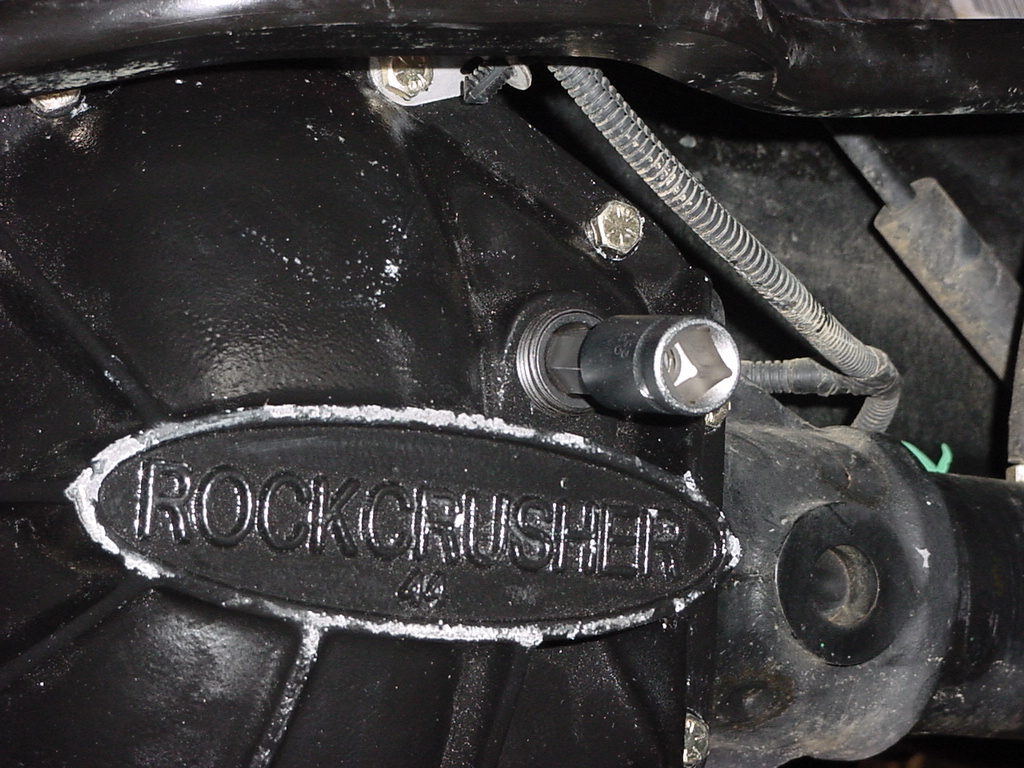
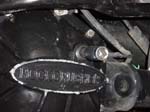
| On the Dana 44’s there is a drain plug on the differential. Just remove the drain plug with a 3/8” ratchet. You may need a short extension for some ratchets to get to the plug. |
|
|
| The Dana 44's have a magnet on the drain plug to catch any metallic particles. You will need to clean this off. Mine had a bunch on there since this was the first oil change. |
|
|
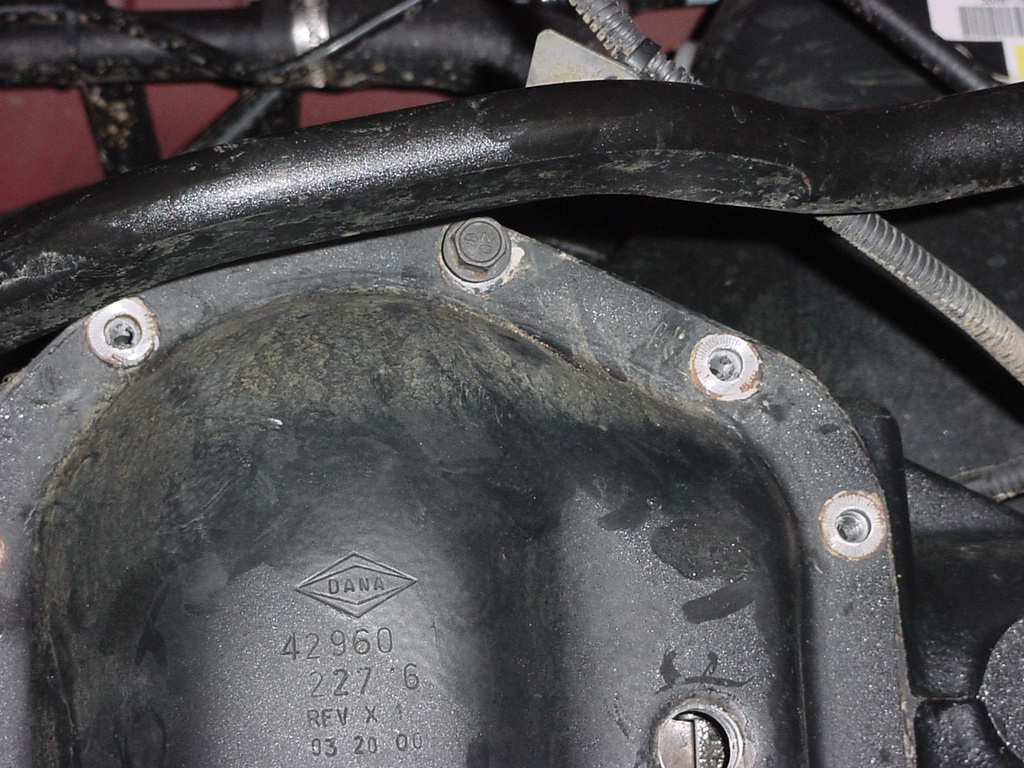
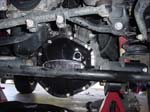
| 2. Remove the bolts holding the cover on with a ratchet and 1/2” socket, leaving the top bolt partially installed. Be careful you do not drop anything in the pan of oil that is sitting underneath the axle. |
|
|
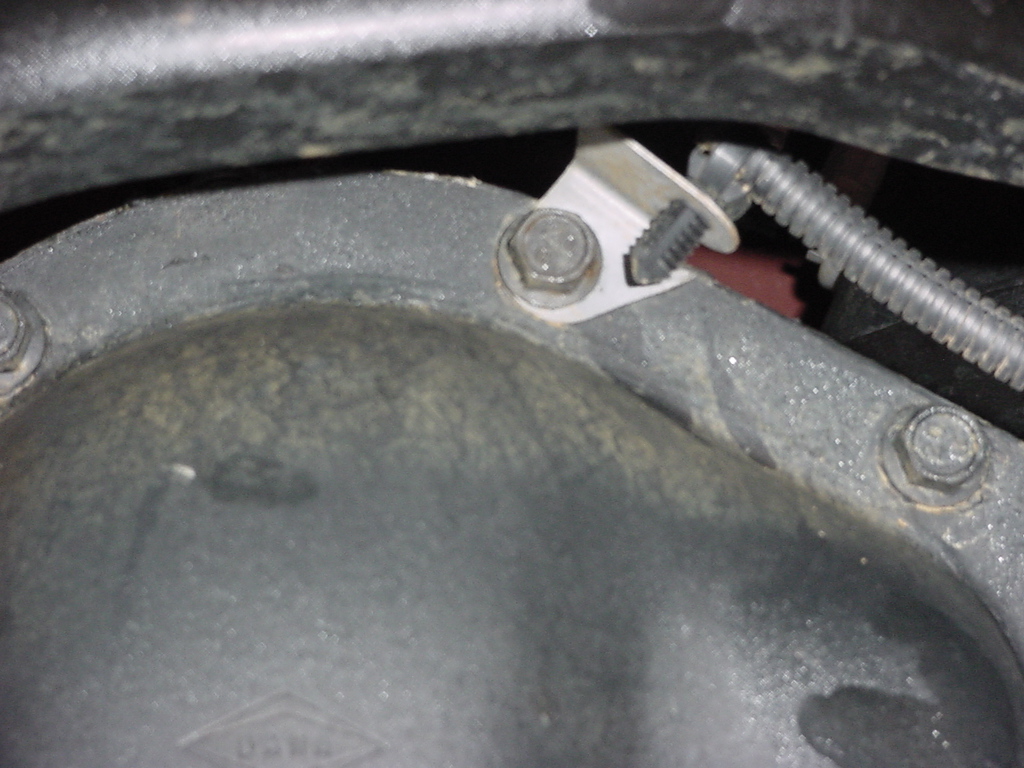
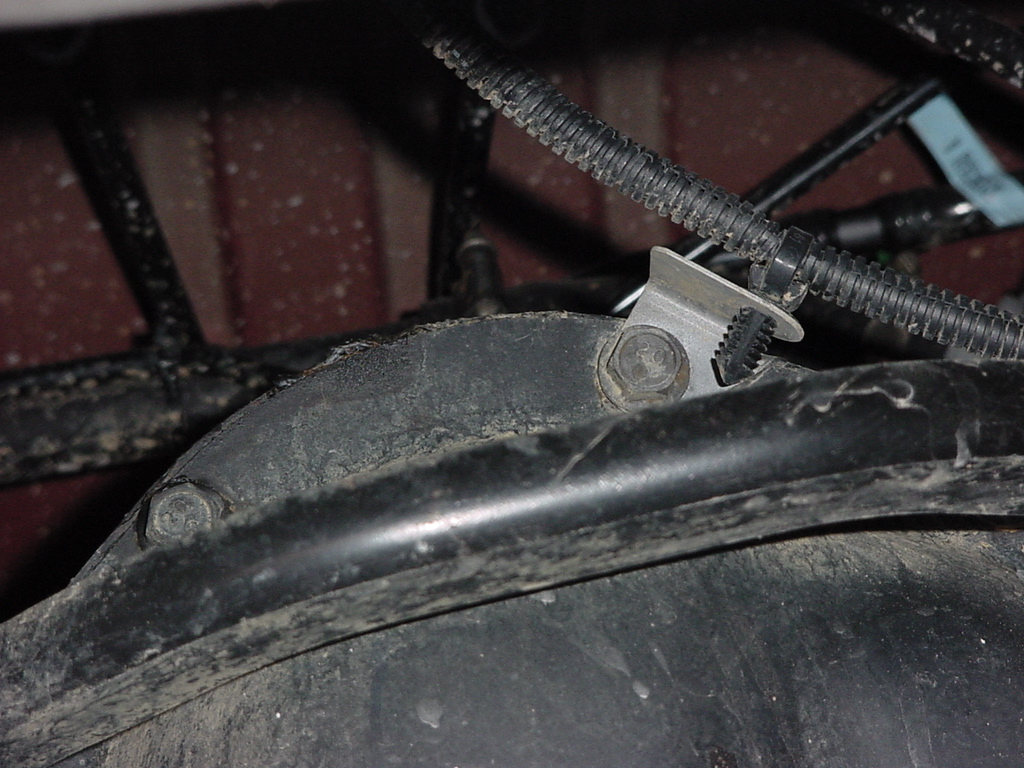
On the Rubicon models, you will need to remove the bracket that holds the lines going to the front and rear lockers.
|
|
|
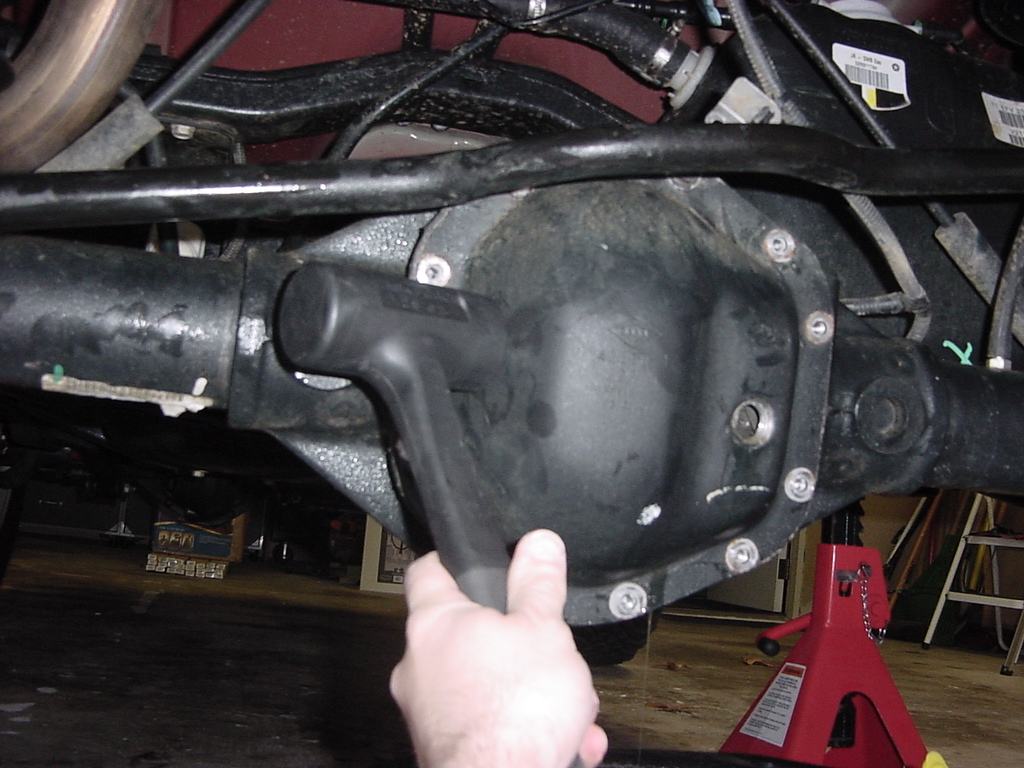
3. Once all of the oil is drained, or to drain the oil, use either the rubber mallet or dead blow hammer to knock the cover loose. The dead blow works the best. The top bolt that you left installed will catch the cover.
Note: if you decide to remove all the bolts and then hit the cover with a hammer to knock it free, the cover will immediately hurl itself into the pan of oil and approximate the meteor that hit the ocean in Deep Impact. Should I mention that the significant other will probably witness this event.
|
 |
4. Remove the top bolt and cover. Lay the cover and bolts aside.
|
|
|
|
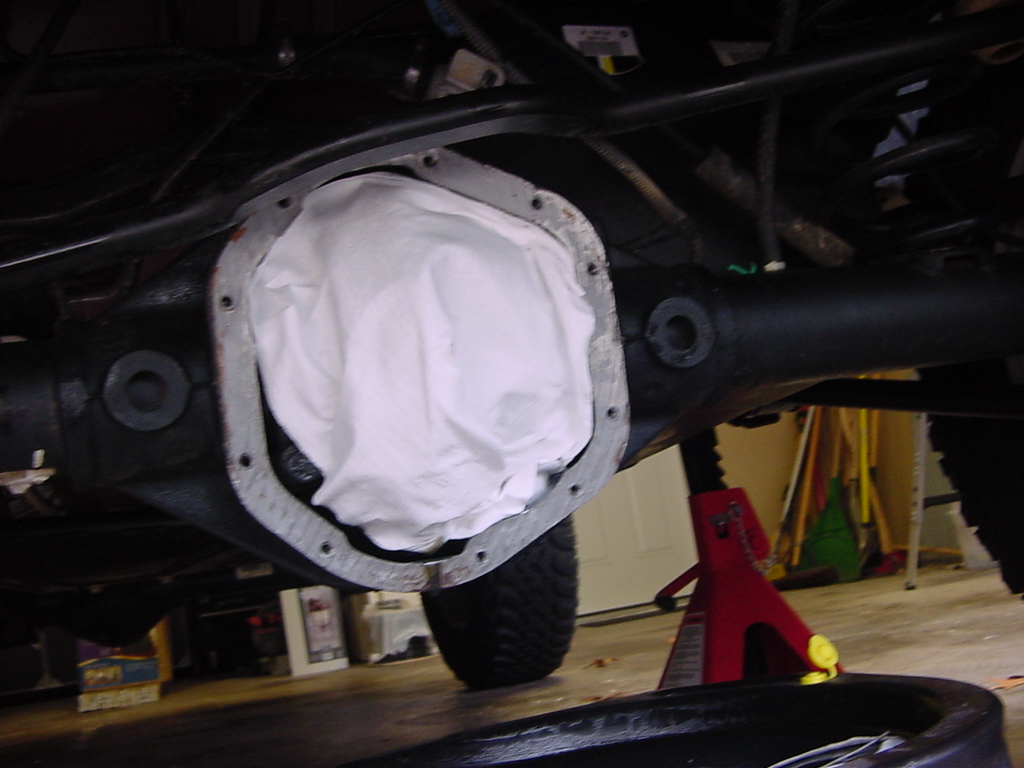
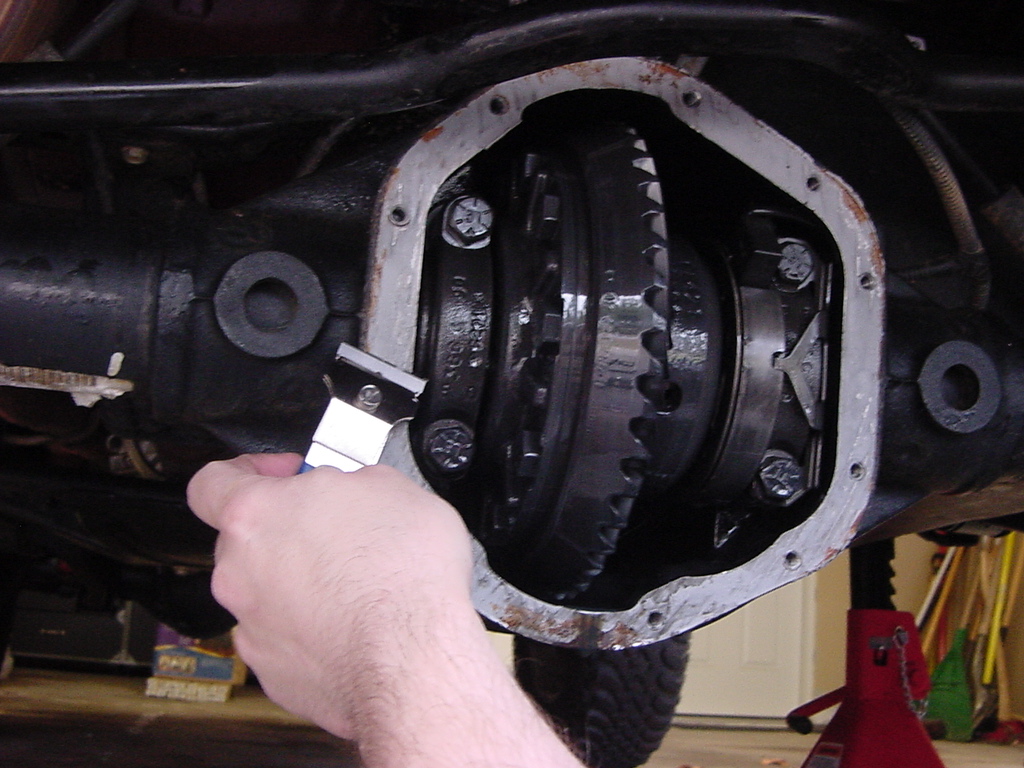
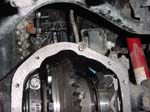
5. Drape a clean rag over your differential gears so that you don’t get gasket material into the gears.
|
 |
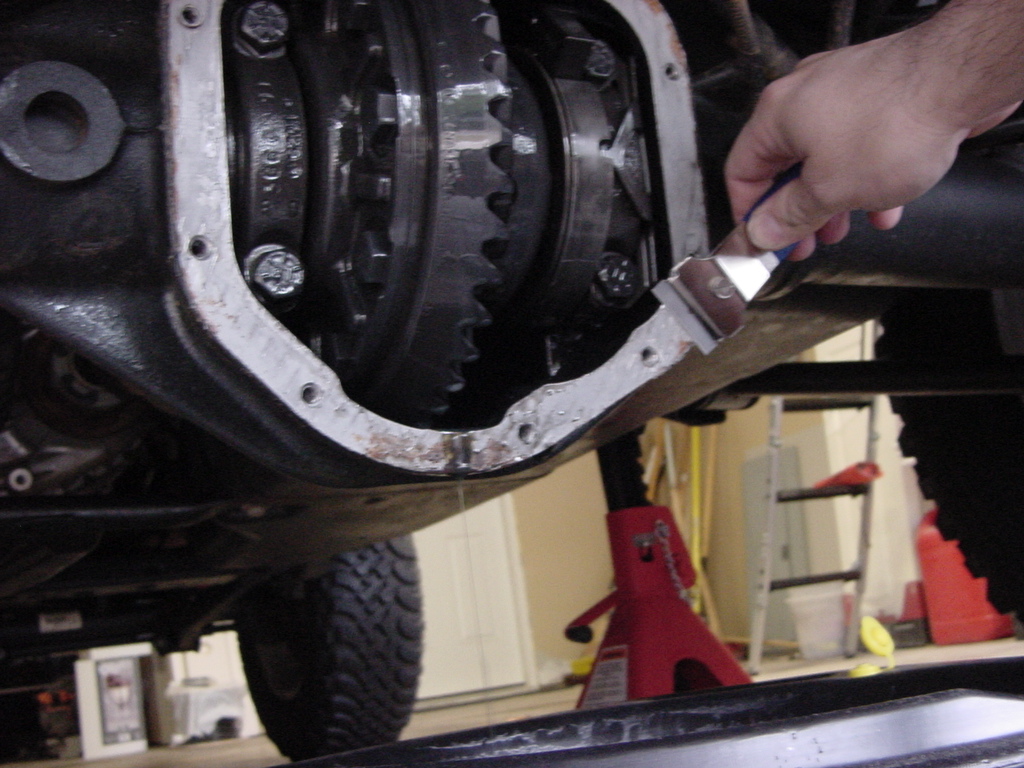
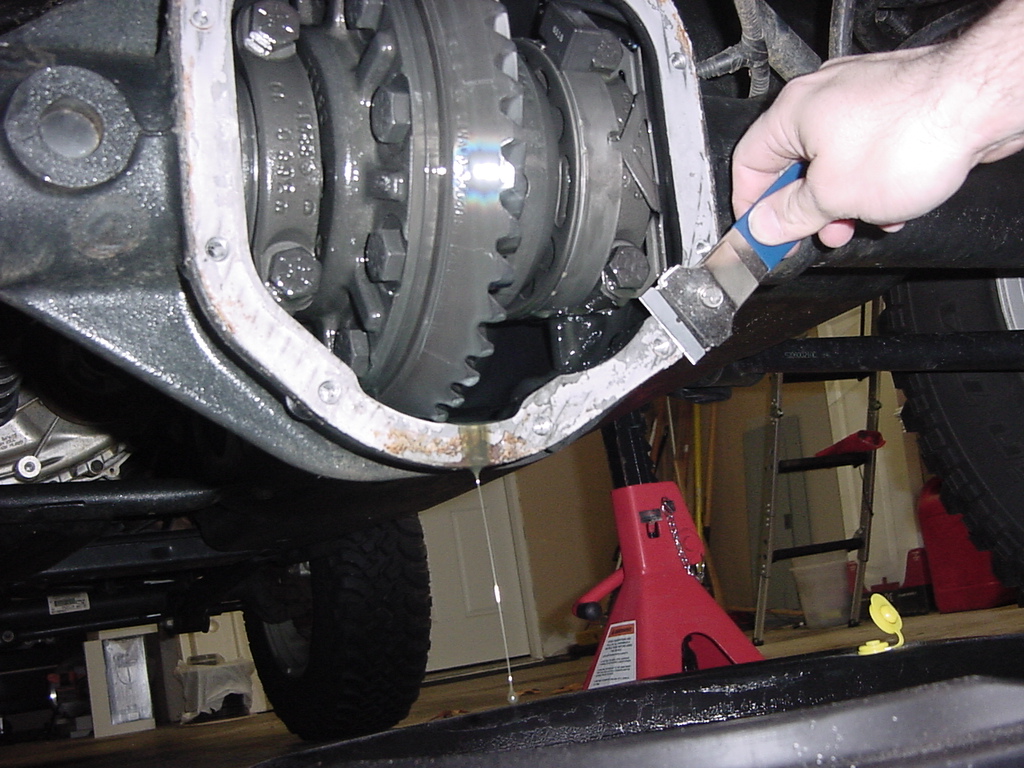
6. Use the gasket scrapper to gently scrap any adhesive off the differential mating surface.
Note: Rag was removed for picture purpose. |
|
|
Be careful around the bolt holes since there may be some raised edges. This will damage the blade on your scrapper.
|
 |
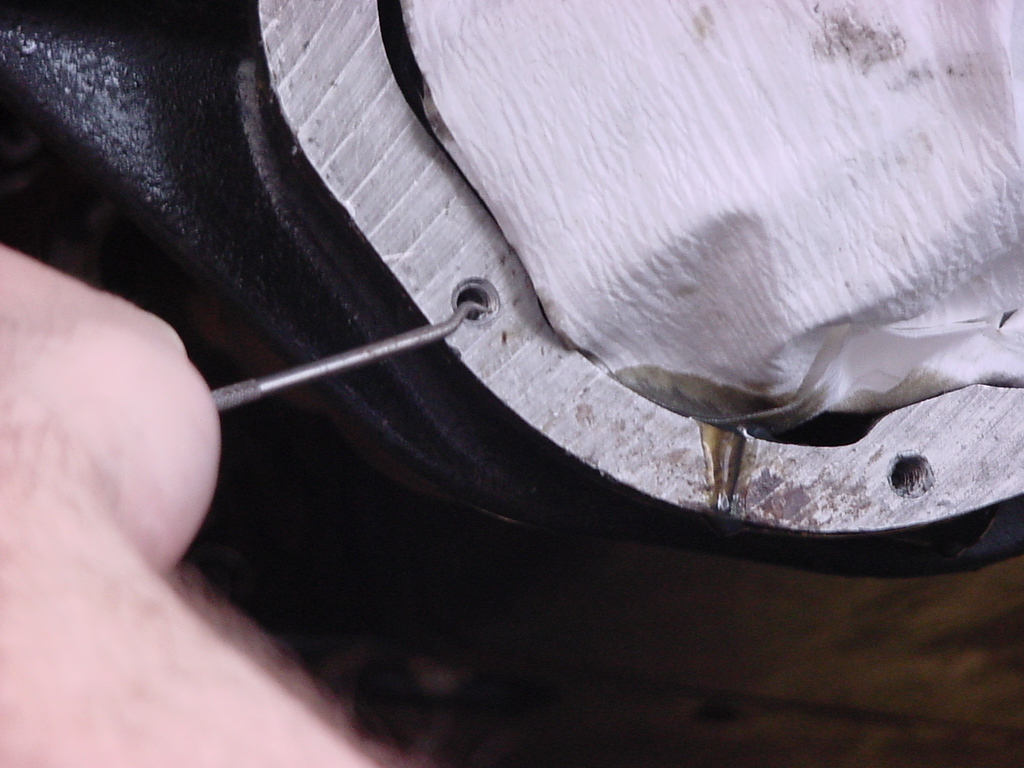
7. Use the scribe to remove any adhesive from the bolt holes. Old adhesive in the bolt holes will affect your torque when you bolt the cover back on and may cause the cover to leak.
|
 |
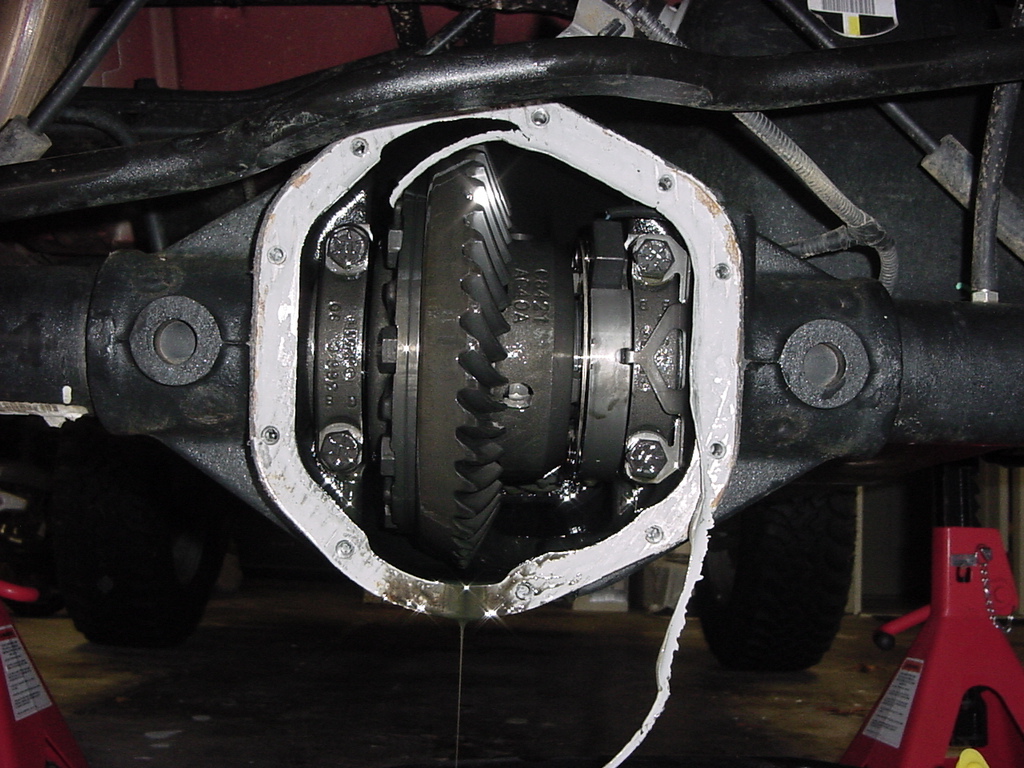
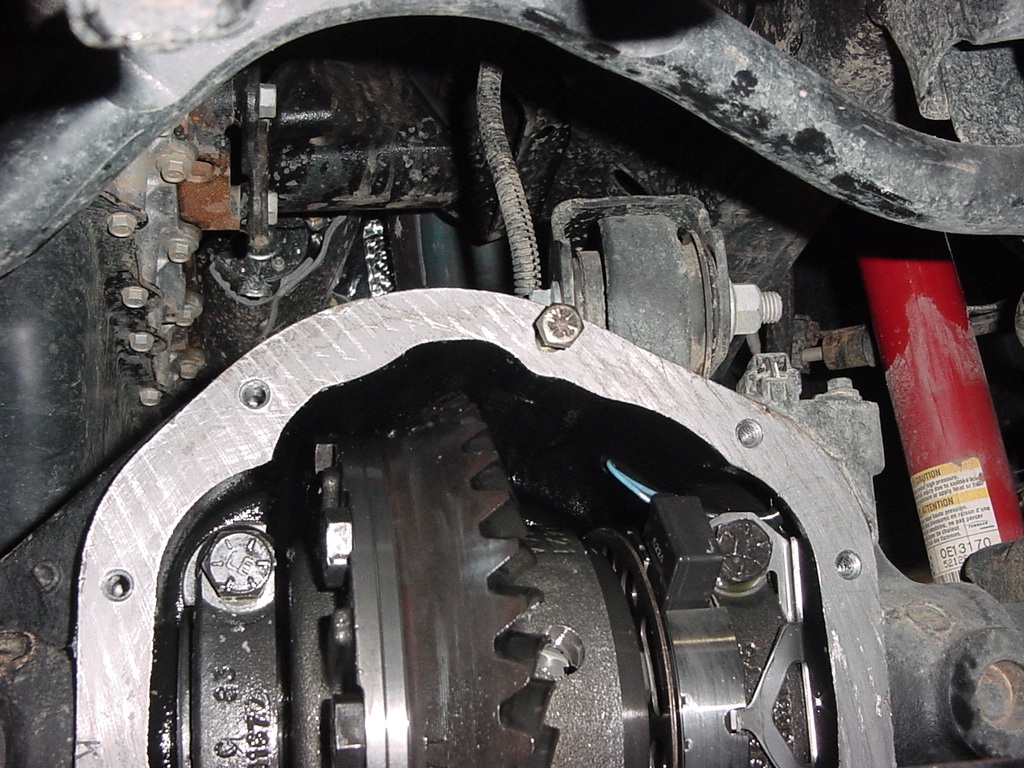
8. This is a good time to take a look at your gears and inside of the differential. |
|
| |
|
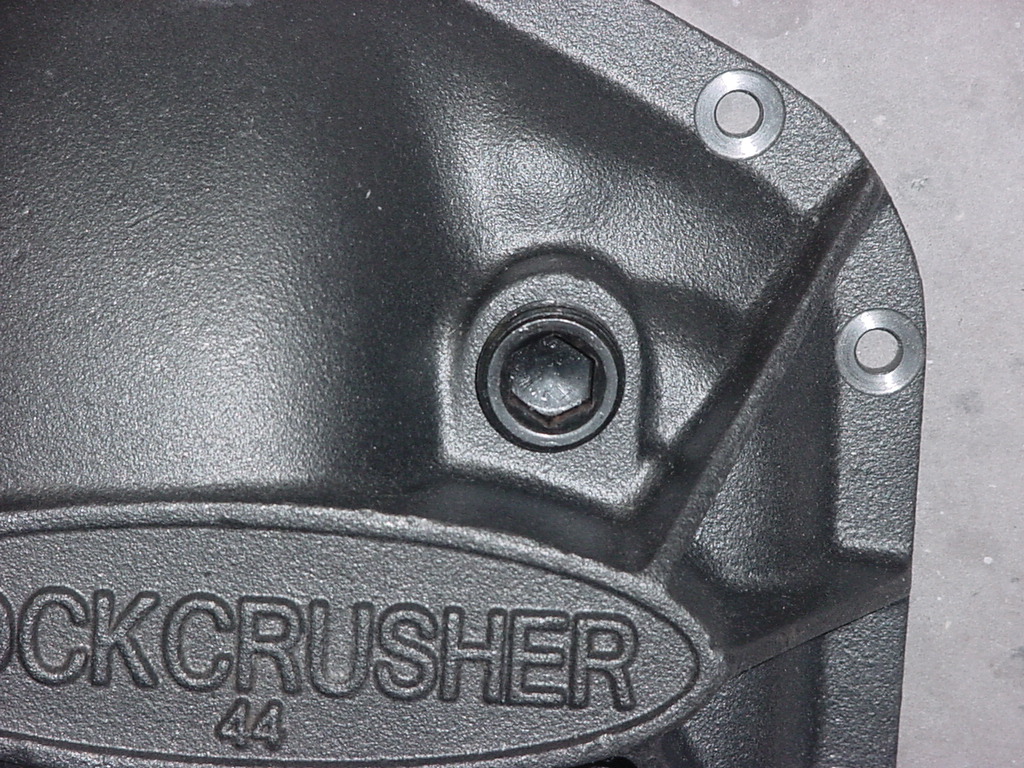
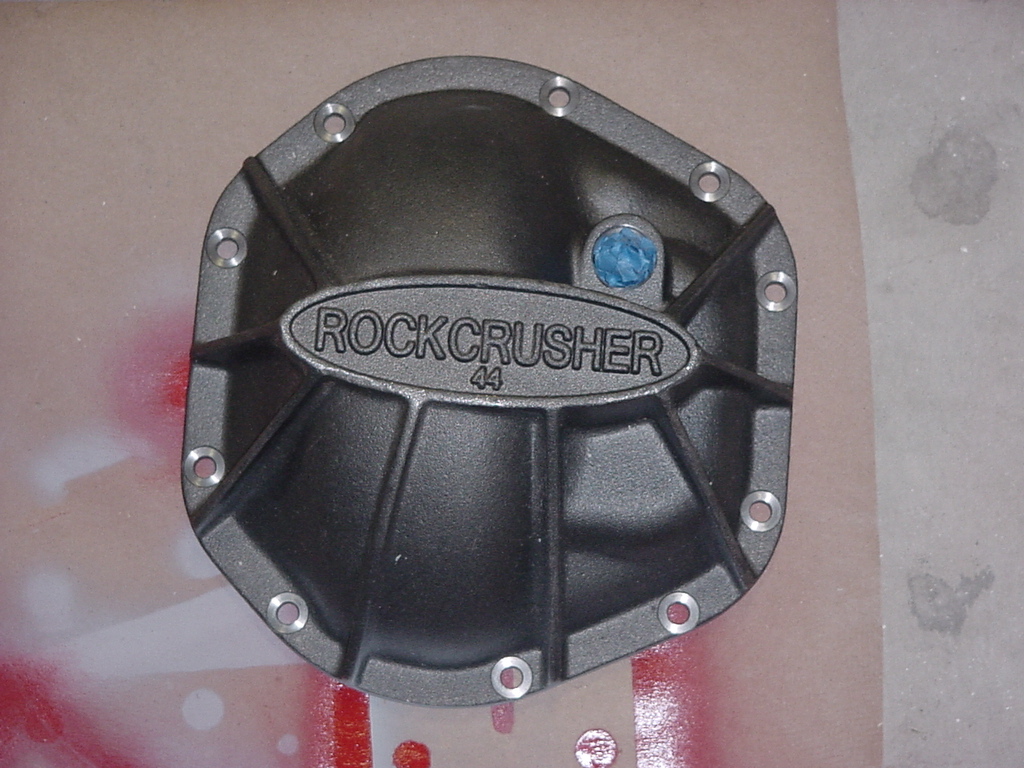
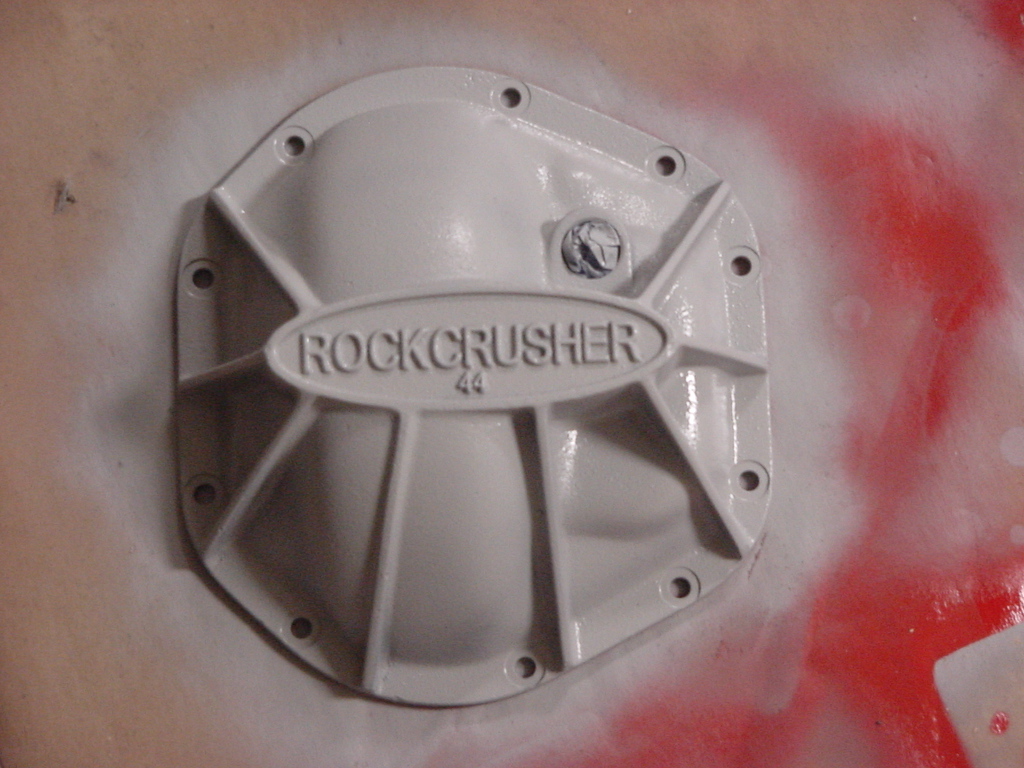
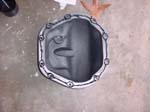
I decided to paint these covers. Pretty simple, prime and paint. Though, I would like to see the gorilla that installed one of the plugs in the cover. Remove the fill plug with a 14mm allen wrench or a T-14 hex socket. If you paint the covers you may need to drill out the bolt holes with a 11/32” drill bit. |
|
|
|
| |
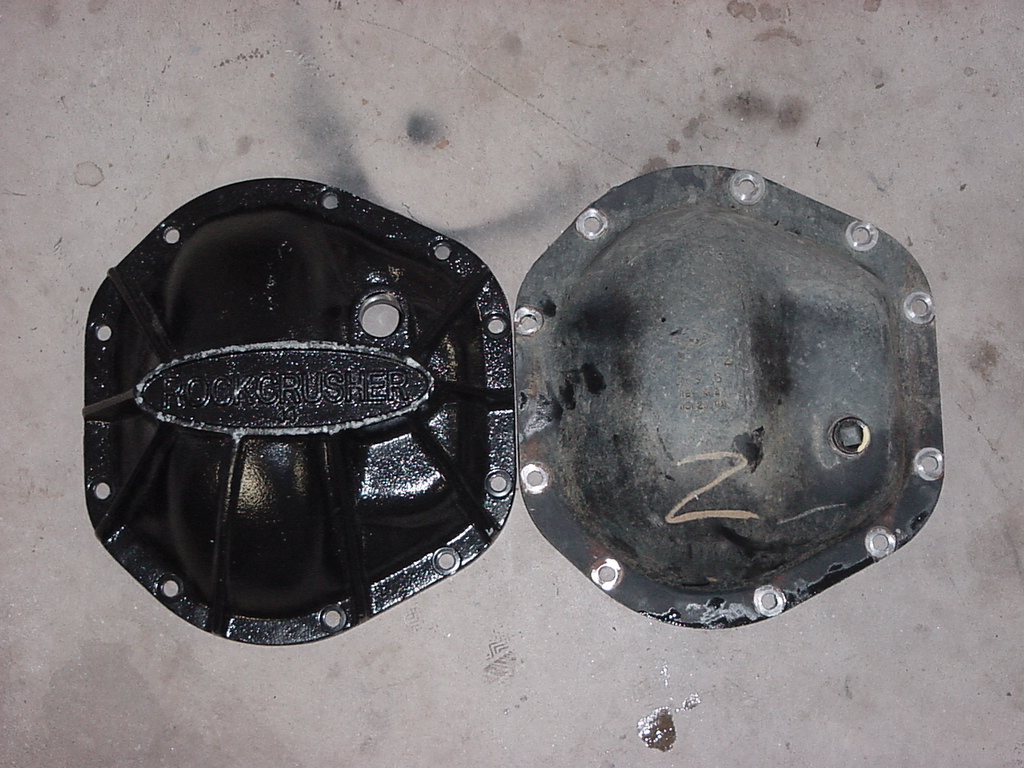
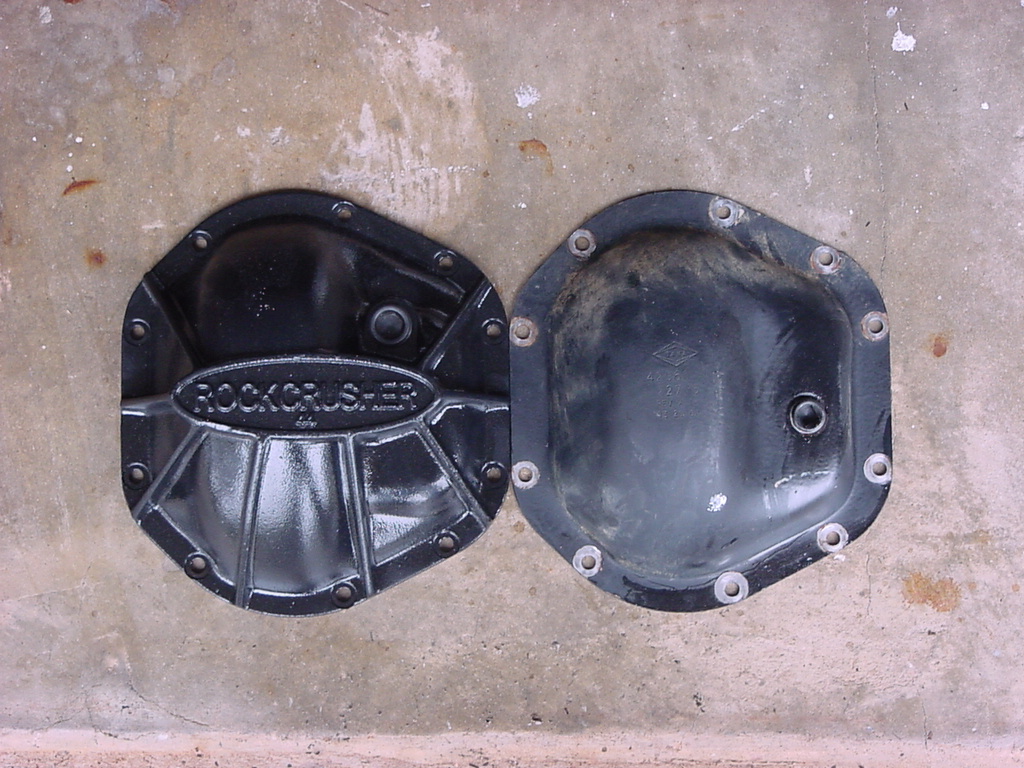
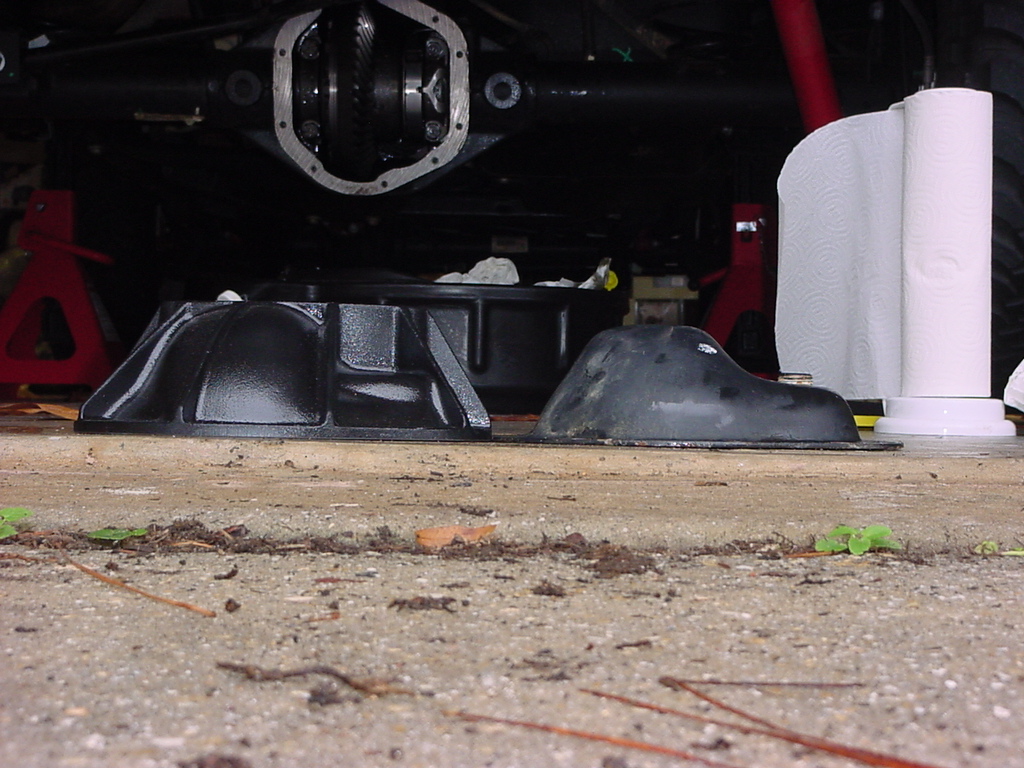
| Here is a quick comparison between the two covers. The RockCrusher cover is heavy and thick. |
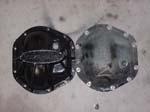
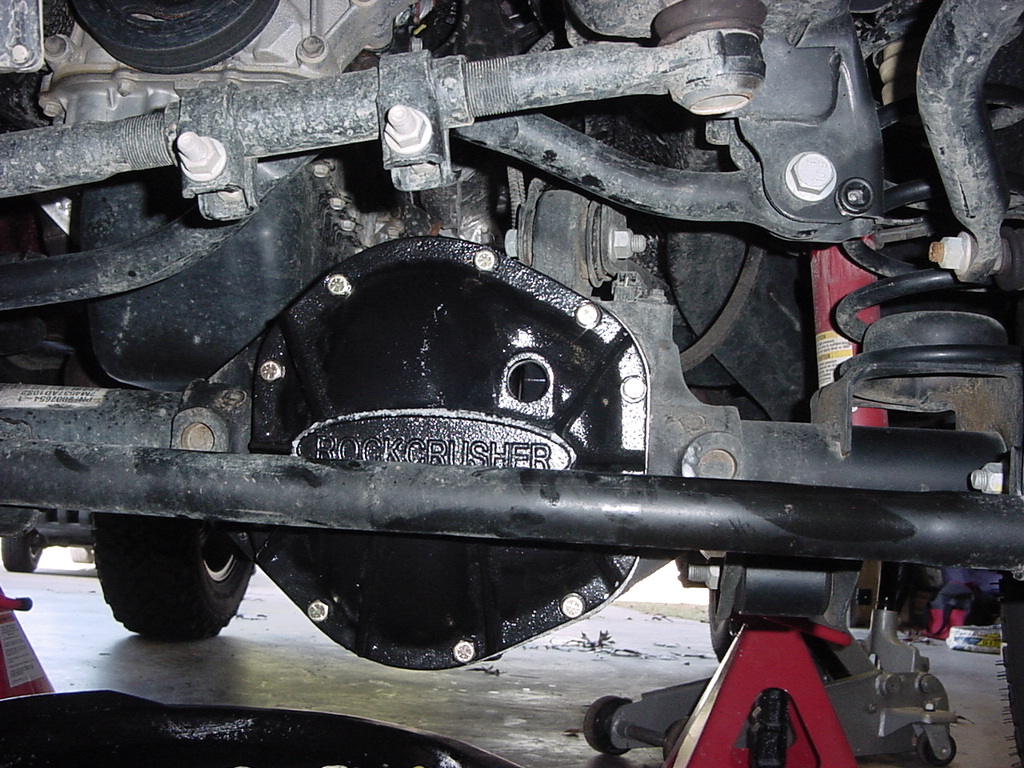
Front Cover |
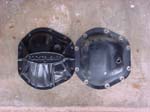
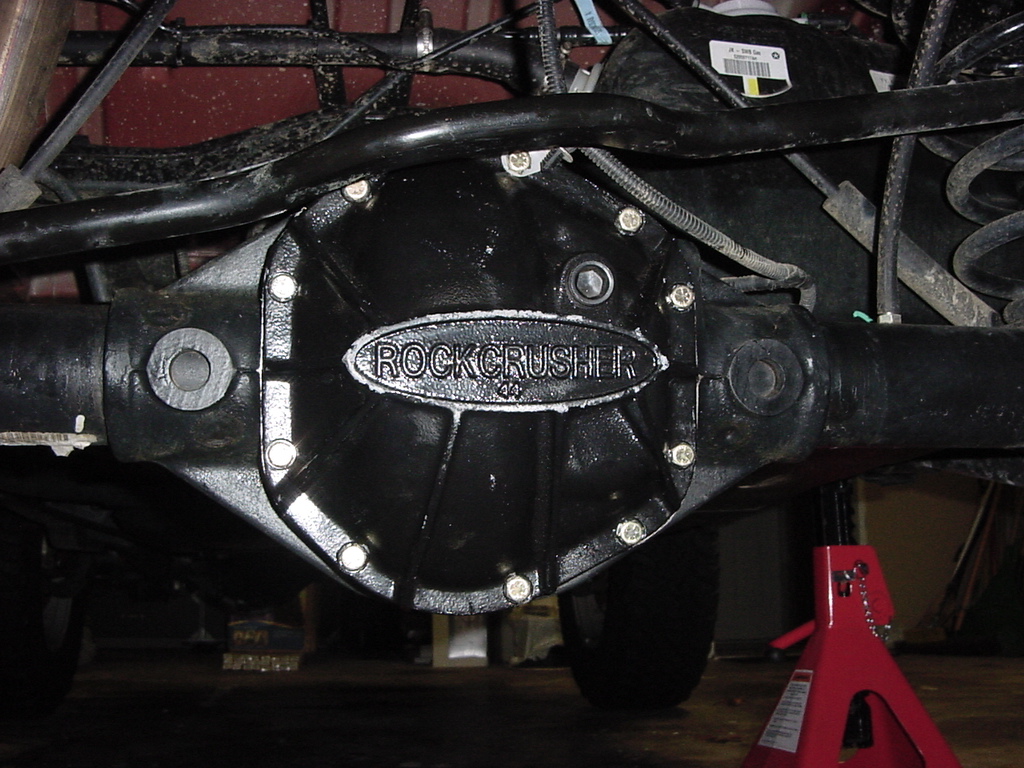
Rear Cover |
|
| |
| Installation: |
1. Use the brake cleaner and some lint free cloths (good paper towels) to clean the mating surfaces on the cover and housing. Remove the rag that you covered the differential with and clean out any debris that got past it.
Note: Do not spray brake cleaner on any plastic or rubber parts. The brake cleaner will deteriorate these and can lead to failure.
|
2. Test fit the cover and bolts. The RockCrusher cover has a tight tolerance.
|
 |
3. Apply a continuous 1/4" bead of RTV along the mating surface of the RockCrusher differential cover. I run the bead down the center of the mating surface and make a loop around each bolt hole. This will give a better seal in the bolt area.
|
 |
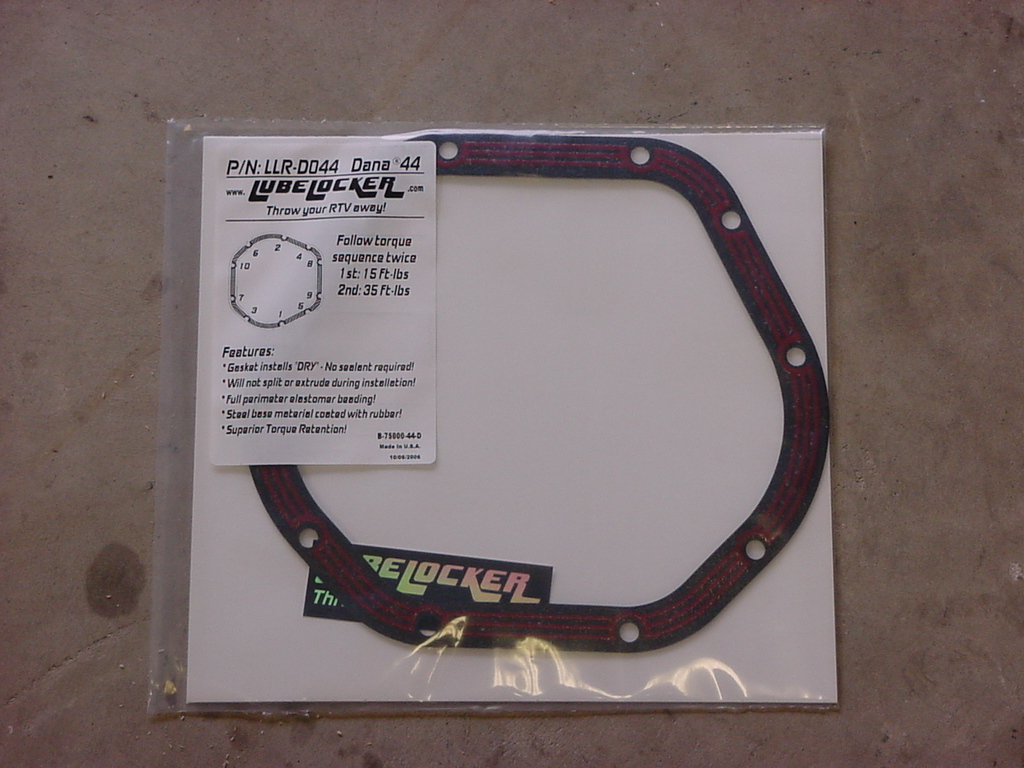
| 3a. If you are using the Lubelockers, install them vice using the RTV. |
|
4. Place a couple of the new supplied bolts on the ground right under the cover. I carefully slid 1 bolt through the top of the cover. This will help you line up the cover and get a bolt started without having the cover slide around. Lift the cover up and carefully place it onto your differential making sure not to move it around too much. Once you have the cover lined up, install a bottom bolt to help hold it in position.
|
5. Install the rest of the bolts that come with the kit. Run all the bolts down until they are just finger tight, or snug. Then torque them down using a crisscross pattern to 25-30 ft. lbs. torque. Do not over torque these bolts; you do not want to try to drill out a hardened bolt from a differential. The RTV is curing, so getting the cover down and torqued is important. You should be able to do this in 5 to 10 minutes.
|
6. On the Dana 44’s. Reinstall the drain plug in the differential.
|
 |
7. Take a break or go work on the other differential if you are doing both of them. I usually let the RTV cure for a little while before I dump oil in on it. I leave my bottles of oil back by the differential just as a reminder.
|
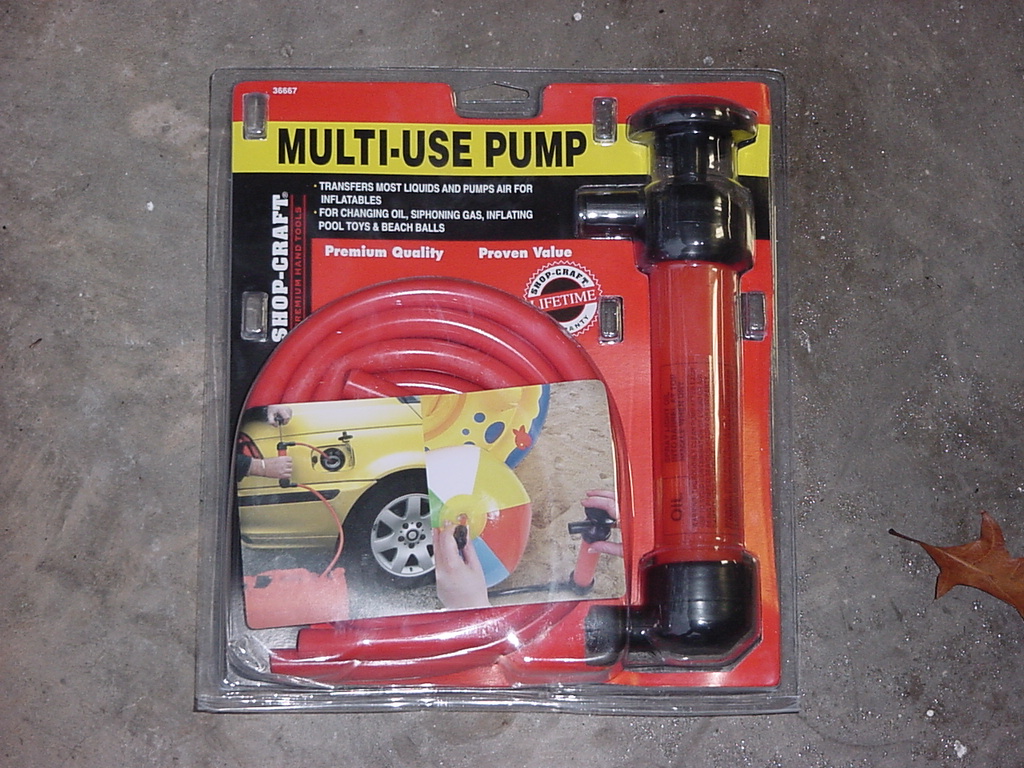
8. Fill up your differential with the appropriate gear oil. The Dana 44’s on the Rubicon’s use 75w-140 gear oil. Some of the other axles have Trac-Loc that requires a special friction modifier to work properly. Most synthetic gear oils already have it mixed in, or you can pick up the little bottles at the Jeep dealership. Now actually filling the differentials is a pain if you do not have a cheap bottle pump. I picked one up at pep boys, but you should be able to get hem from just about any auto parts store. Fill your differential with oil. The RockCrusher covers will hold a little bit more oil than the stock covers. I have seen, been told a few different ways to fill your differentials, one being fill to the edge of the fill hole, another fill to ½” below the fill hole, and even another that said put in what the factory said to put in. Strange how that amount does not come out of the differential in the first place. I usually go by where the level was in the beginning. The people I know at the dealership fill it to the edge of the fill hole. Do not try to cram more oil in the differential this will only cause problems with gear oil being pumped out of the axle breather tube. It is best check your owners manual for the amount of oil used in the differentials.
|
 |
| 9. Then, using a 14mm Allen wrench, install the new fill bolt provided with the RockCrusher differential cover. Tighten this bolt to 25 ft. lbs. of torque. |
 |
Front Cover |
Rear Cover |