After nearly 9 years of ownership, I finally had a light bulb burn out that wasn't either the turn or brake light. I wasn't in a hurry to replace it since it was the map light for my side of the vehicle which I never really used other than when I opened the door. A few weeks later a coworker mentioned that my tag light was out on the back of the Jeep. Now I really don't want to draw attention from my local LEO's just for a tag light out so I decided to stop in the local autoparts store and pick up a couple LED replacement lights for the Jeep. Just needed 3 interior and a tag light. The front map lights and tag light were the same bulb, so I thought this shouldn't be expensive. I walked out after seeing the price and once again deciding that Amazon was going to get a little more of my money.
BRISHINE Super Bright 6000K White LED Interior Light Kit for 2007-2018 Jeep Wrangler JK JKU 4-Door
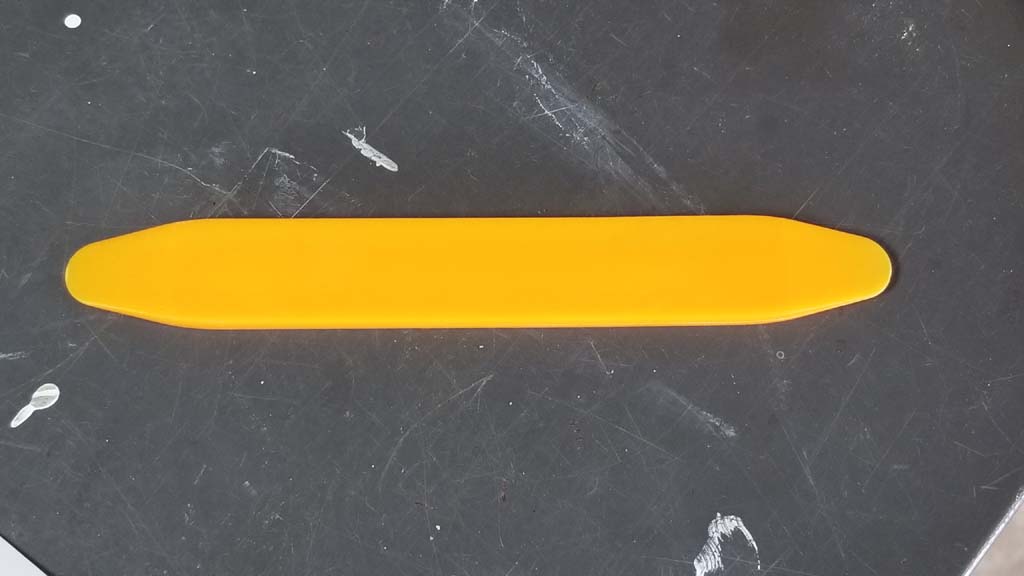
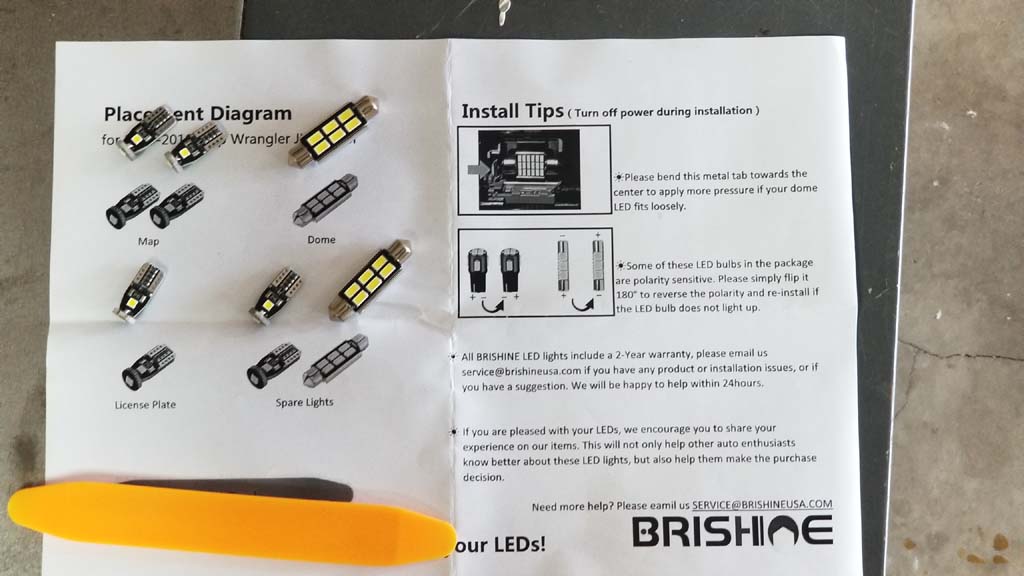
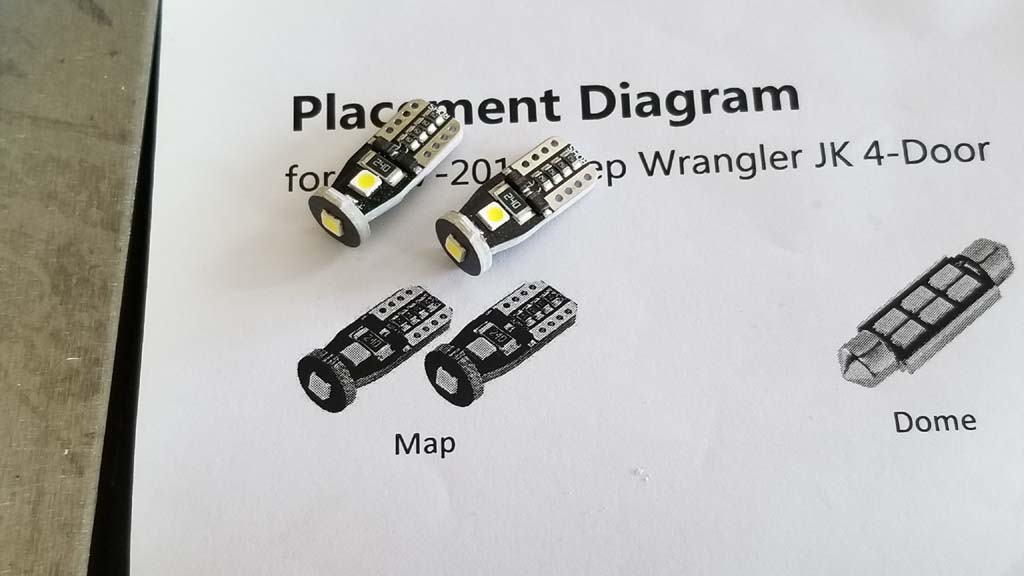
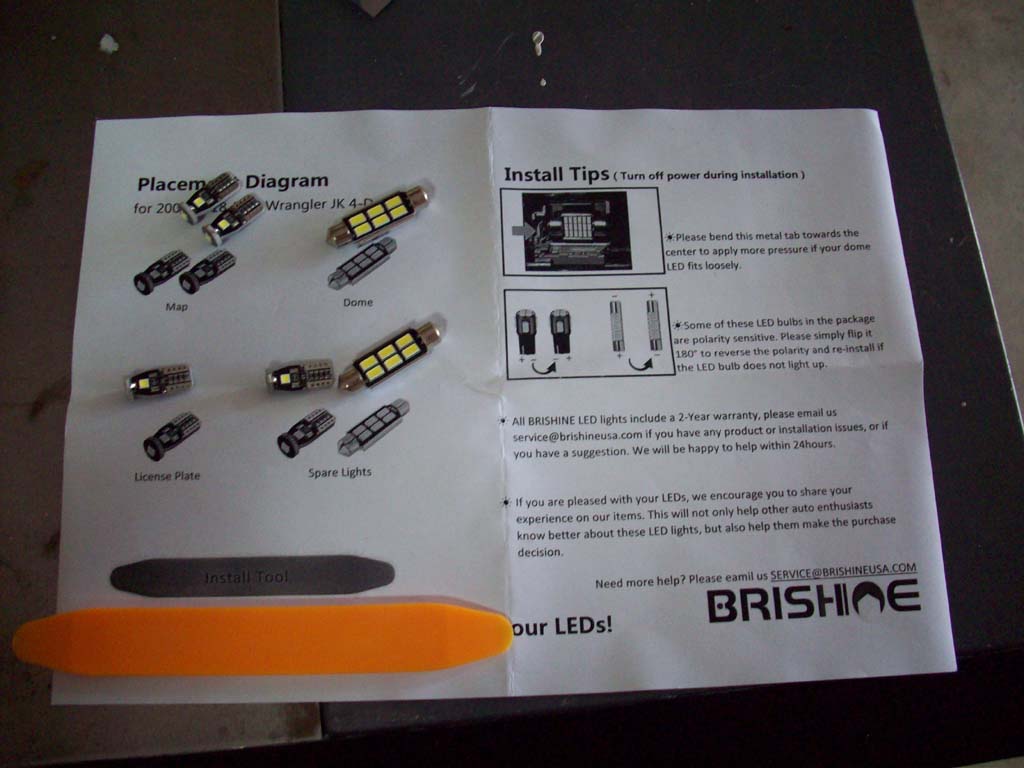
This package offers everything you will need to replace your dim traditional bulbs with our powerful LEDs. Each BRISHINE lighting kit comes with non-marring pry tool to help remove light covers easily and avoids damage your vehicle. It also includes placement diagram shows you which bulb goes where.
Specifications:
Voltage: 12V DC
Color Temperature: 6000K xenon white
CAN-Bus: Yes
Fitment Type: Direct Replacement
Brightness: 300% brighter than original halogen bulbs
Low Power Consumption, Life Span: 50000Hrs.
Certifications: DOT, CE, ROHS
Applications:
2007, 2008, 2009, 2010, 2011, 2012, 2013, 2014, 2015, 2016, 2017, 2018 Jeep Wrangler JK JKU 4Door (Fits all trims and cab sizes)
Package Included:
6PCS LED Light bulbs(Map Lights, Dome Lights, License Plate Lights, and 2 Spare Lights)
1PCS Non-Marring Installation Tool
1PCS Placement Diagram that shows what bulb goes where
Warranty:
All LED lights have a BRISHINE 2-Year warranty.
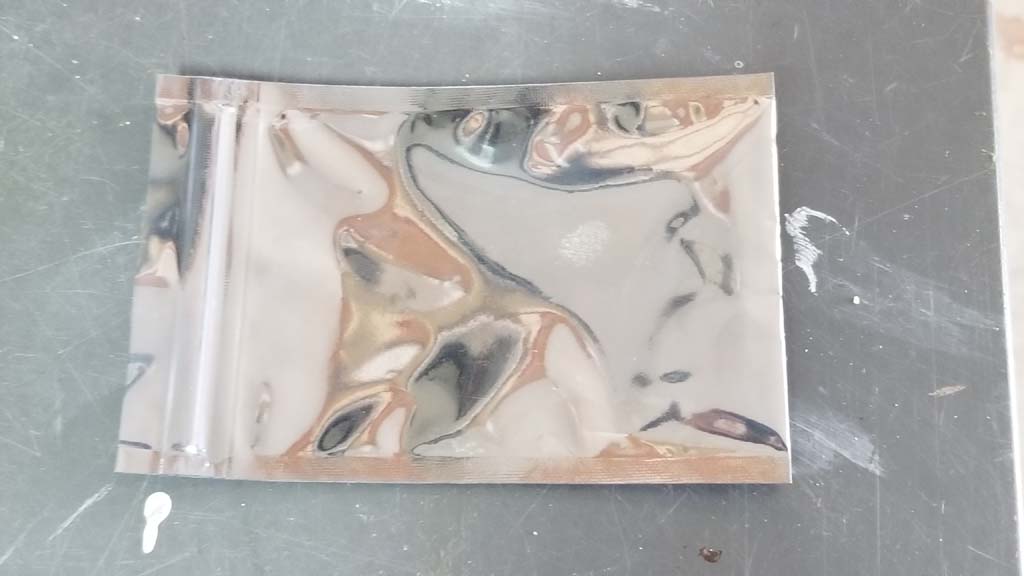
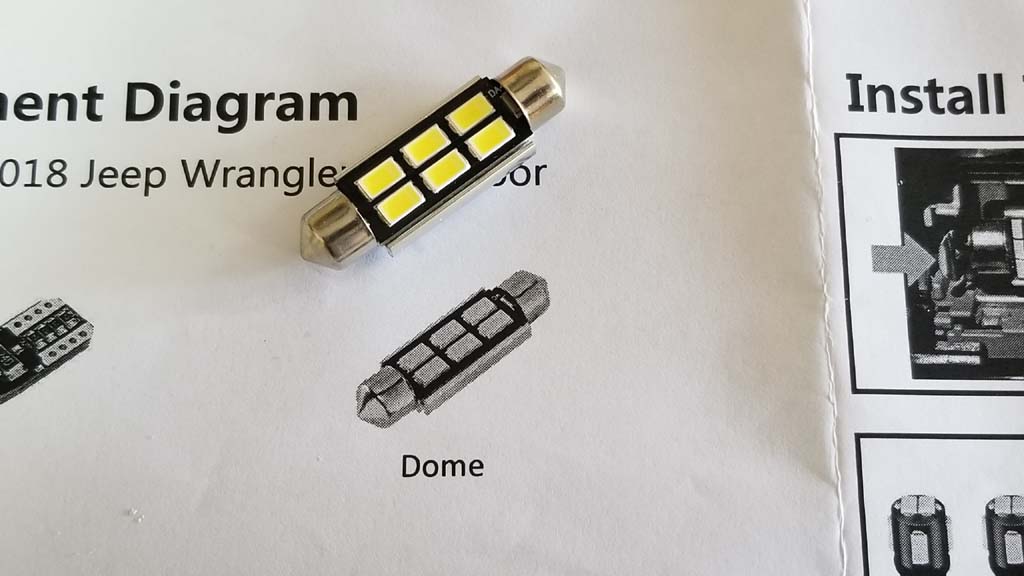
The bulbs came nice packaged in a small box and I wasn't really expecting much. I kind of figured it would just be some LED lights loose inside the box. Actually the box was padded with instructions, a plastic pry tool and all 6 of the LED bulbs were located inside a static bag for electronic parts. I was mildly surprised. I took a good look at the bulbs and the construction was really good, no sloppy solder joints, or solder splatter. Everything was well mounted and tight. The package had 4 bulbs for the front map lights and tag light (1 spare), and 2 bulbs for the rear seat light (1 spare).
They even gave you pictures to match up the bulbs and pry tool with. Of course my wife came out as I was putting the bulbs by the pictures so I could take a picture of them and asked me what I was doing. So in my best cave man voice I proudly announced "Pictures good no need instructions, ug, ug.." She rolled her eyes and went back inside.
Tag Light Installation:
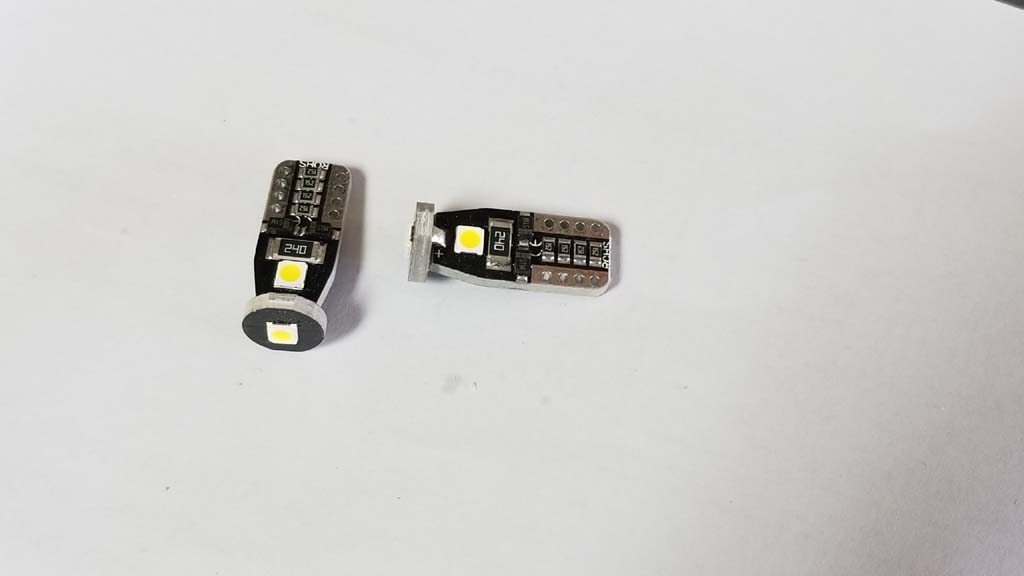
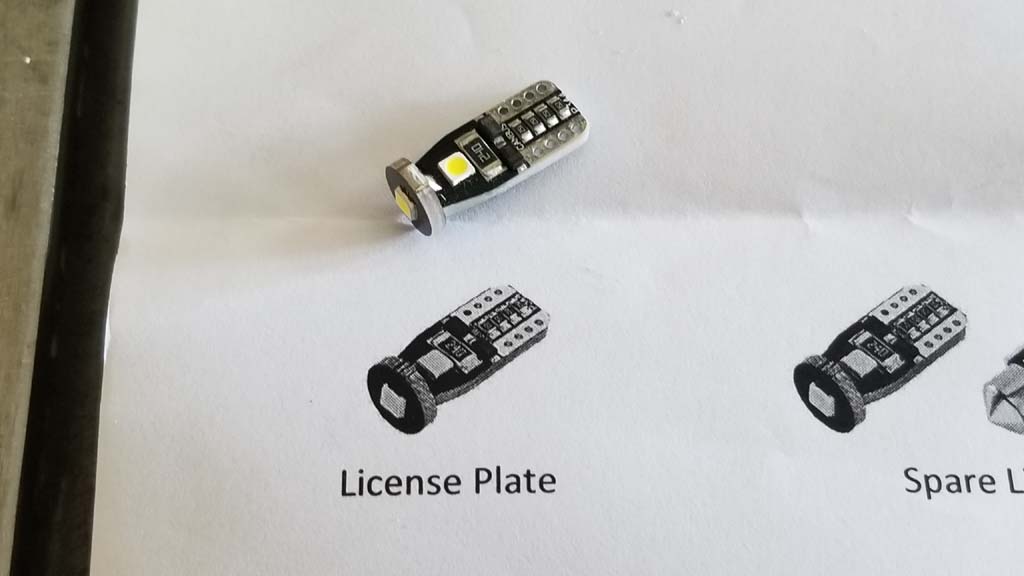
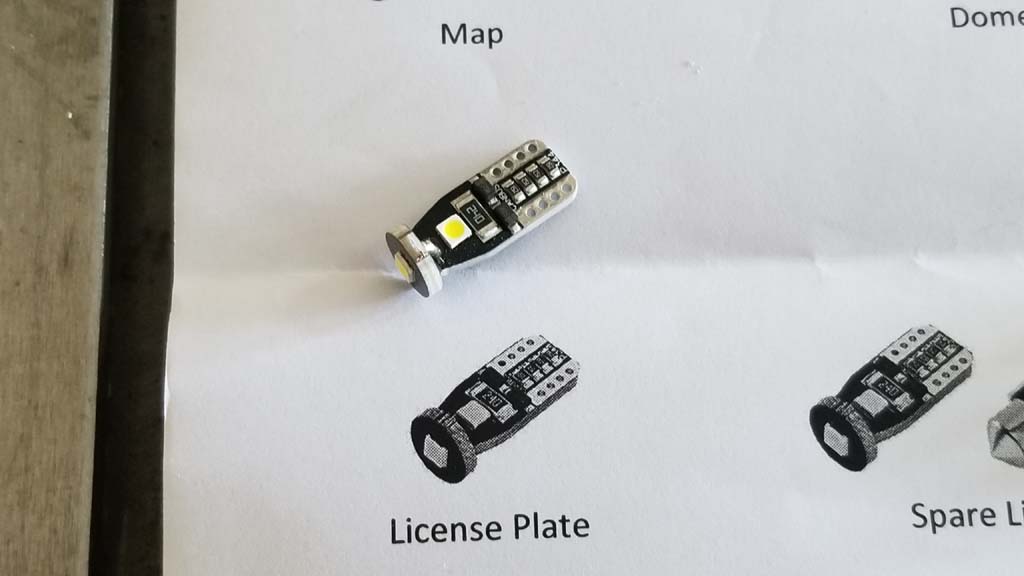
Pictures good... My wife would make a comment about reading instructions. Find the bulb that matches the picture on the instructions. It's the same bulb as the map lights in the front, so you should have 4 if you bought the same LED light bundle.
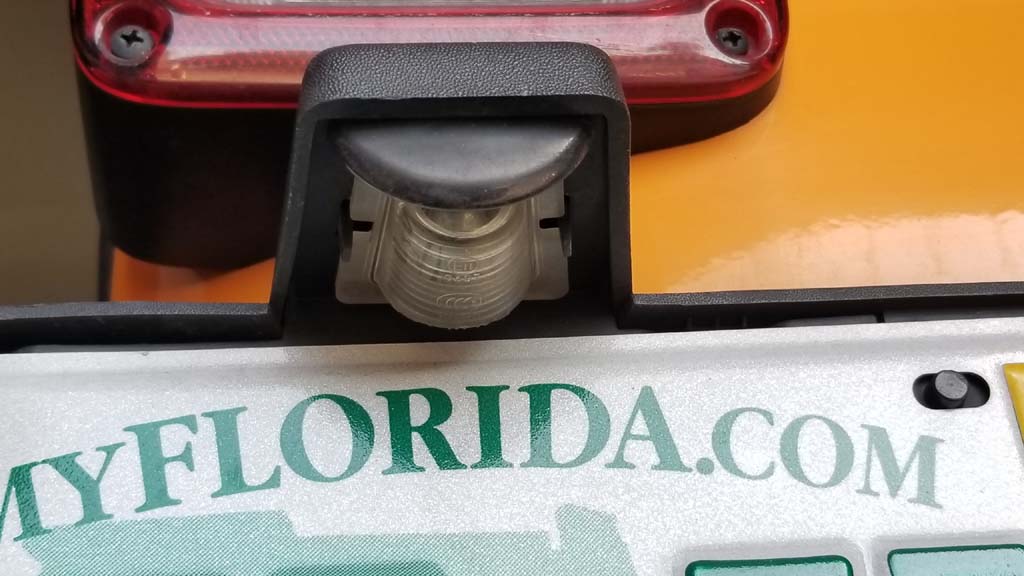
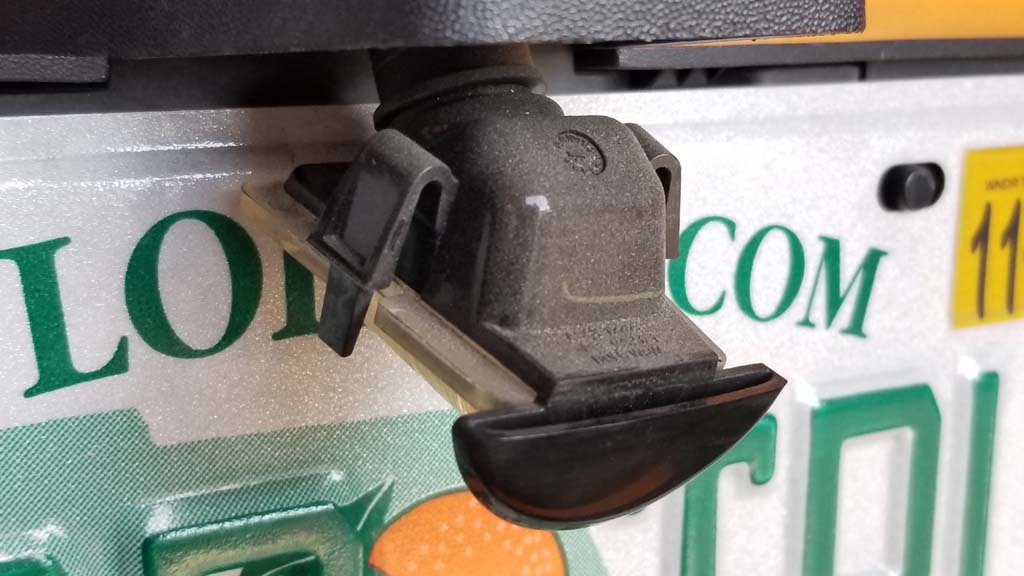
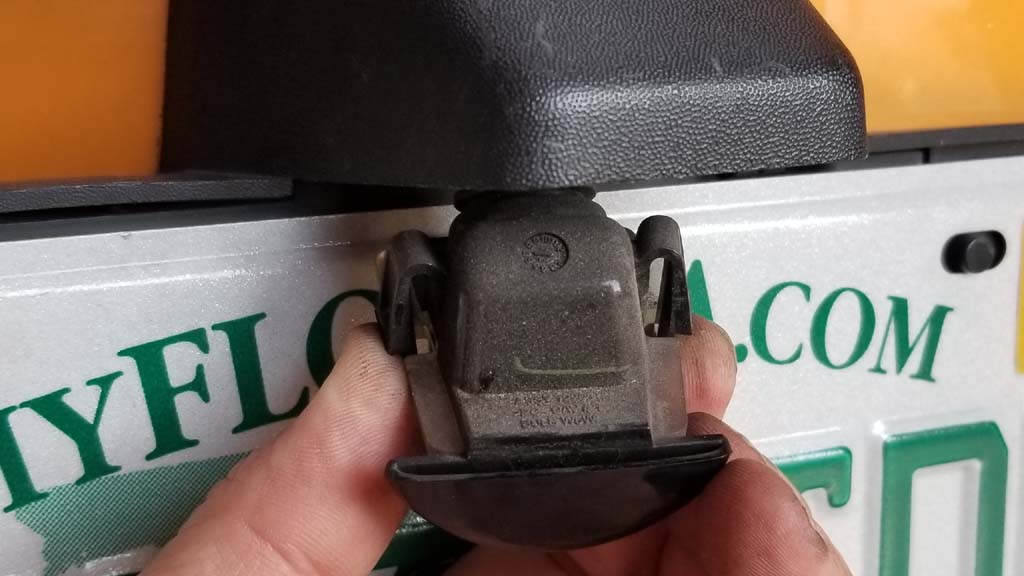
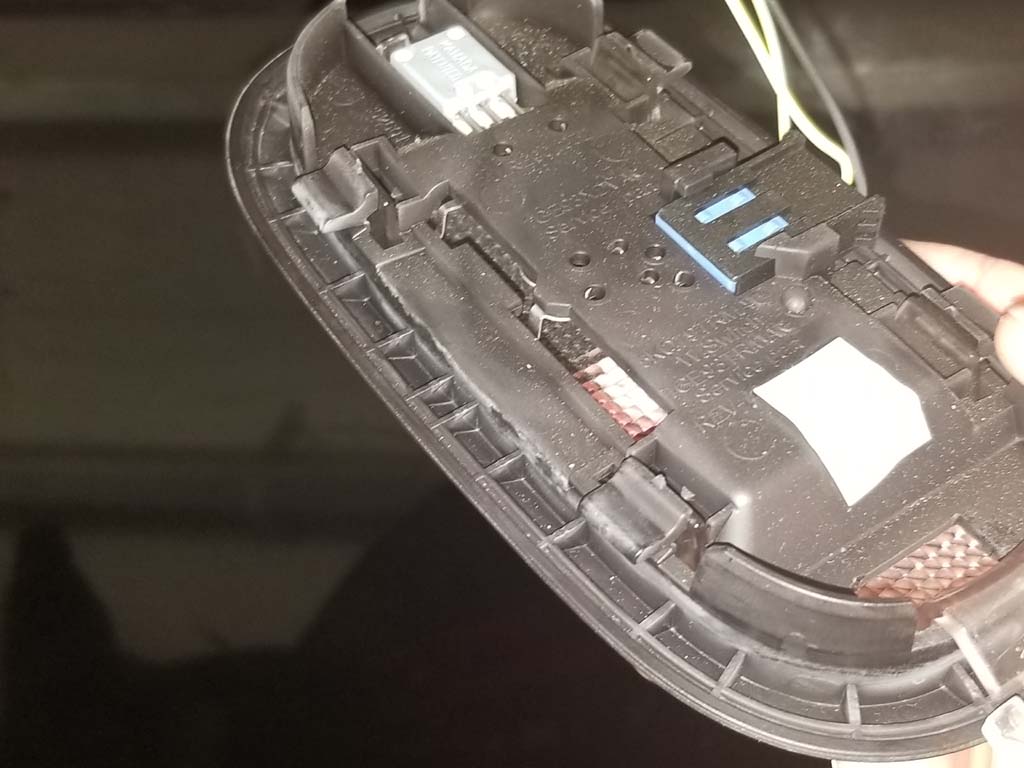
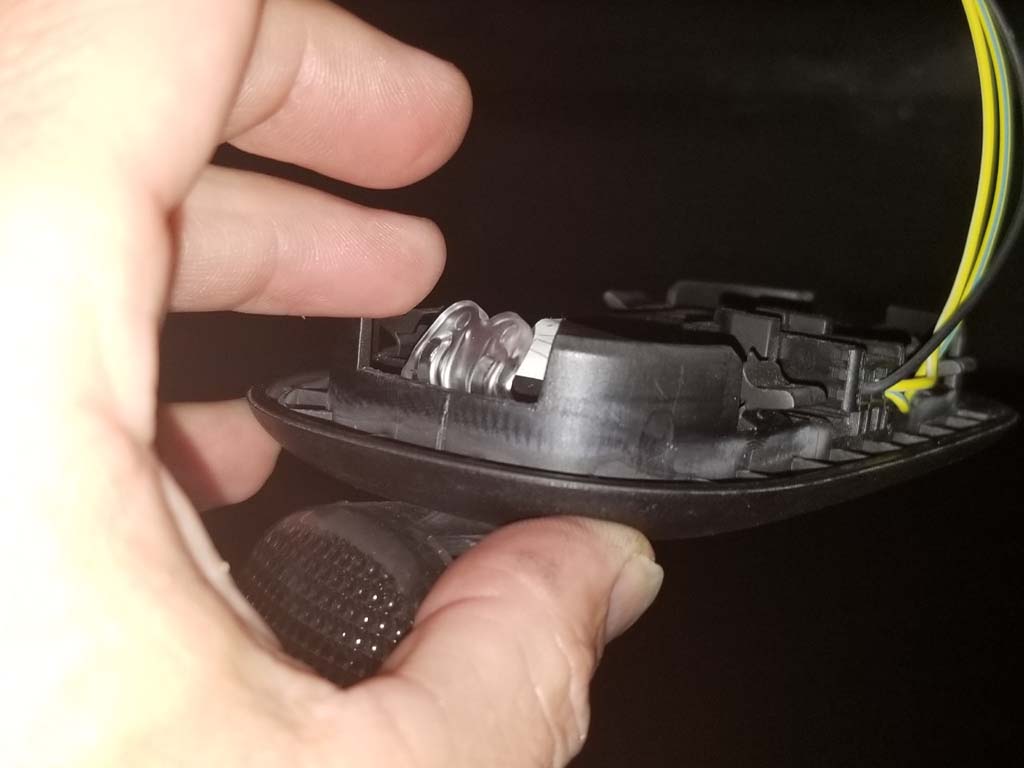
1. Squeeze the two tabs located on either side of the lense and pull down. The light housing should come out of the license plate frame.
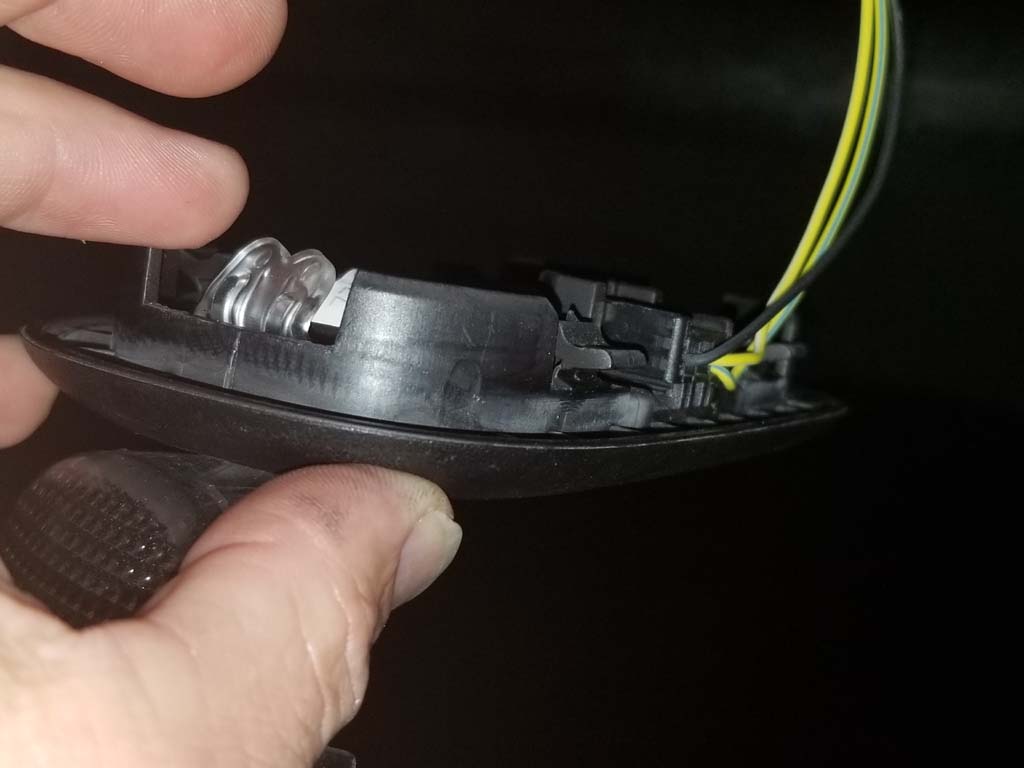
2. Hold the light housing and twist the bulb holder counter clockwise to disconnect it from the light housing.
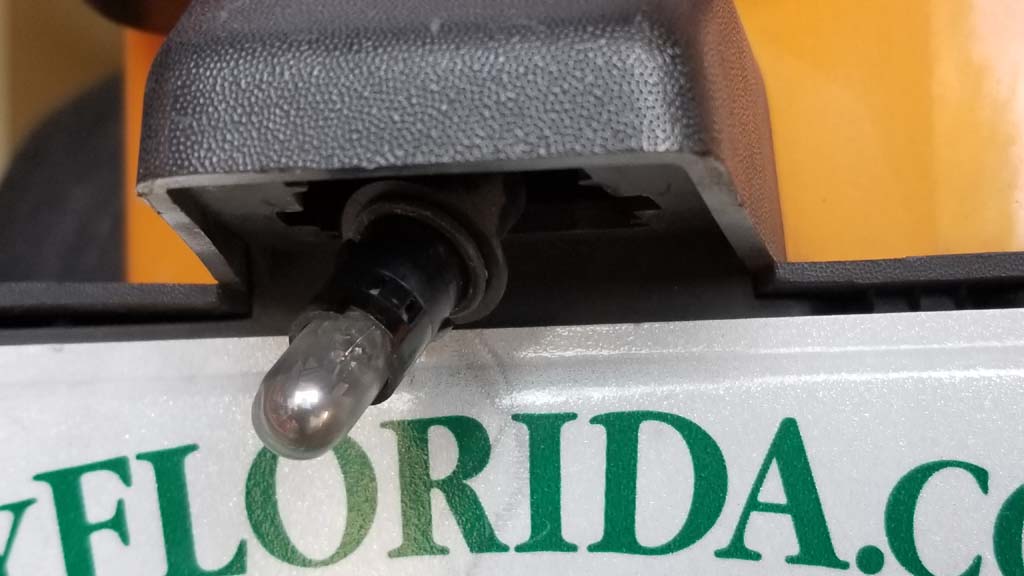
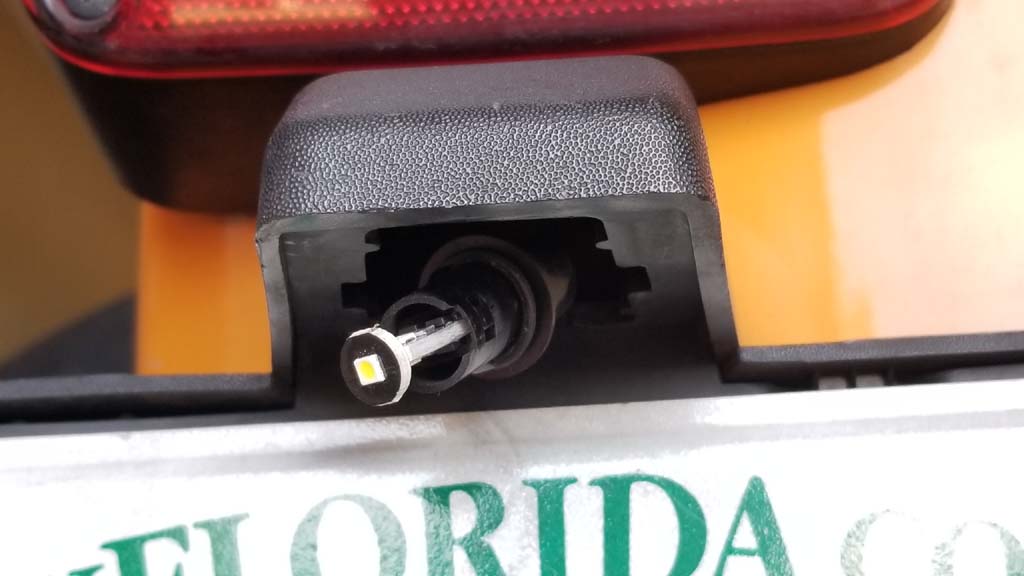
3. Pull the bulb out of the socket, and install the new LED light into the bulb holder. Before you reassemble the housing, turn on your marker lights to check and see if the LED light illuminates. The instructions mention that you may need to reverse the light in its socket if it doesn't turn on. Basically turn it 180deg from the way you installed it. Everyone of of mine came on and I didn't pay any special attention to which way I put the light in.
4. Reinstall the light holder into the light housing and then install the light housing into the license plate frame.
Front Map Light Installation:
The front map lights use the same bulb as the rear tag light. You will need two of them this time.
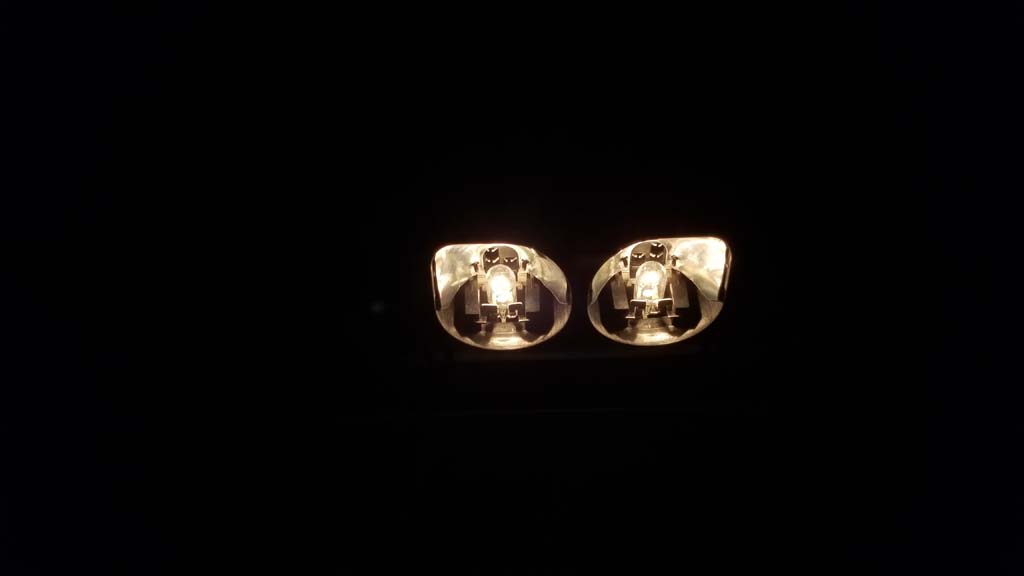
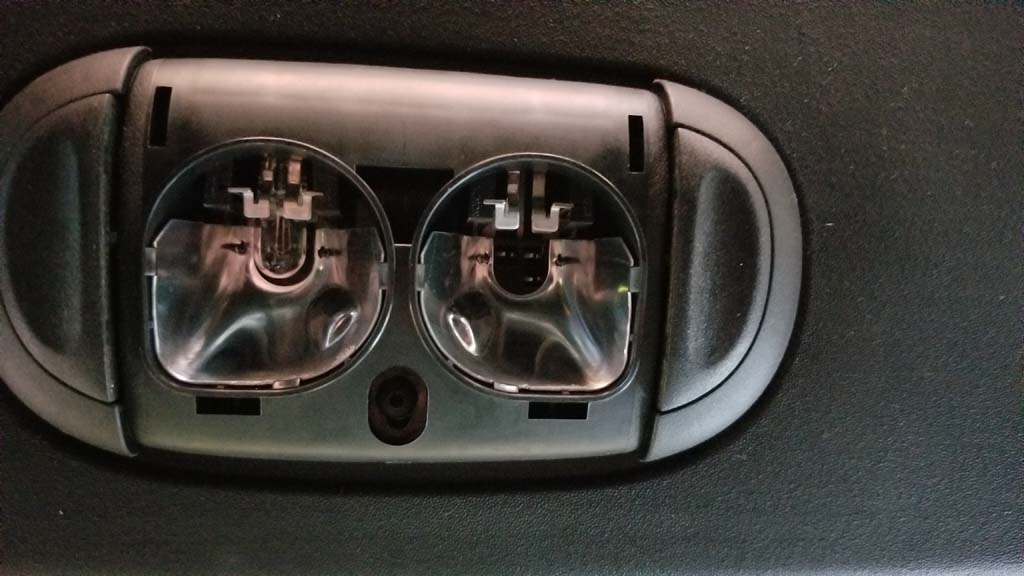
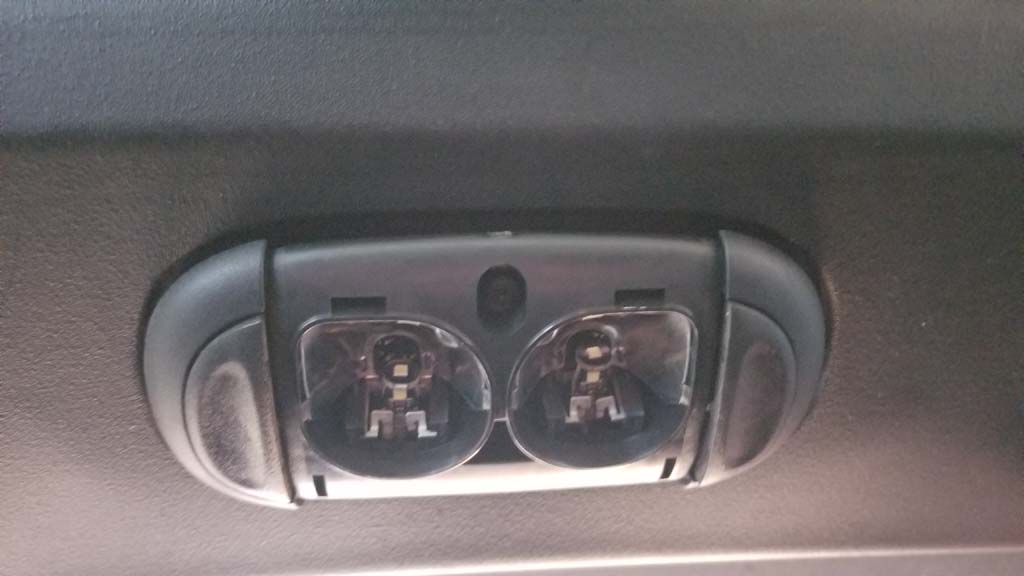
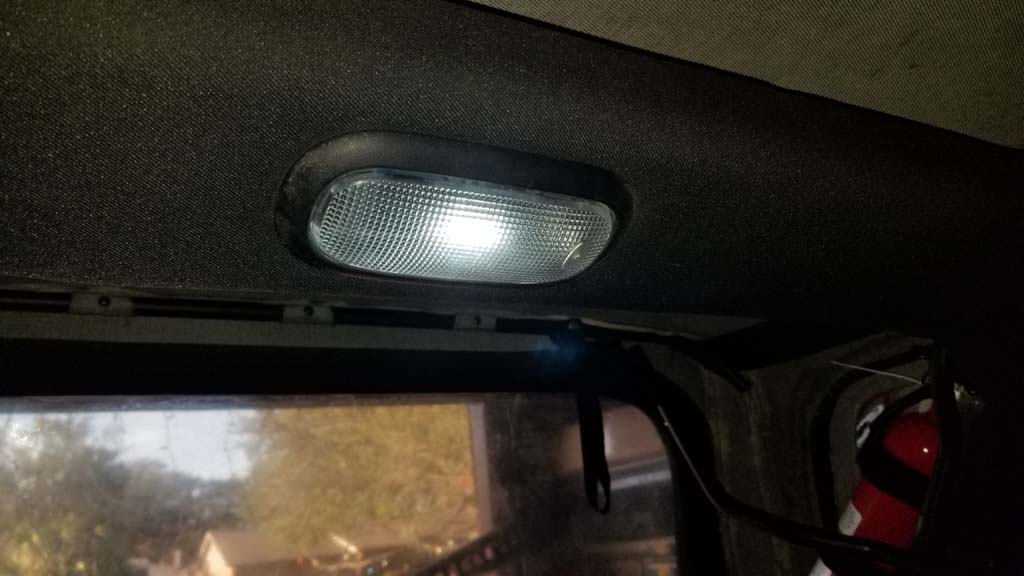
The stock bulbs are fairly dim, even with the cover off of the lights.
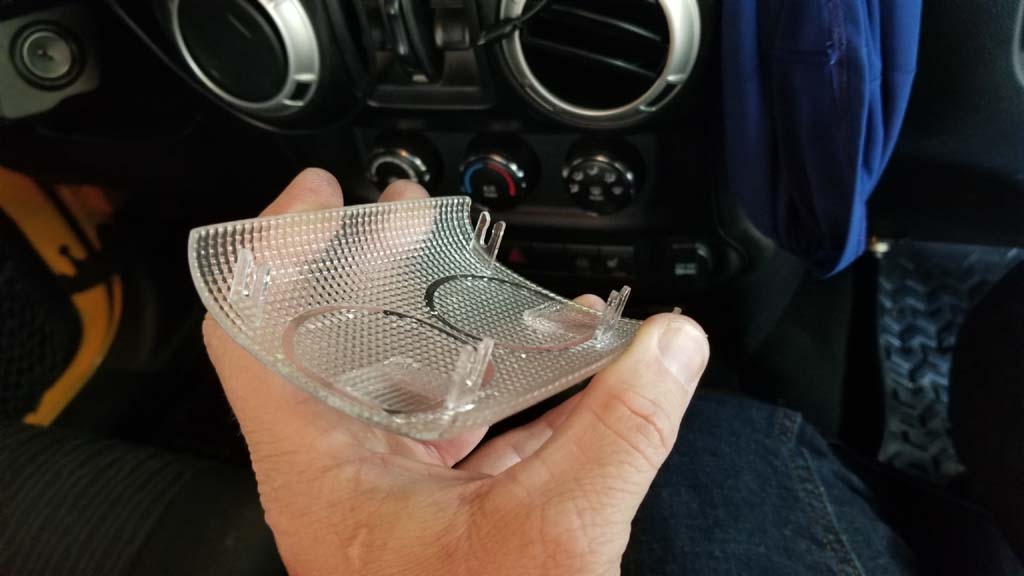
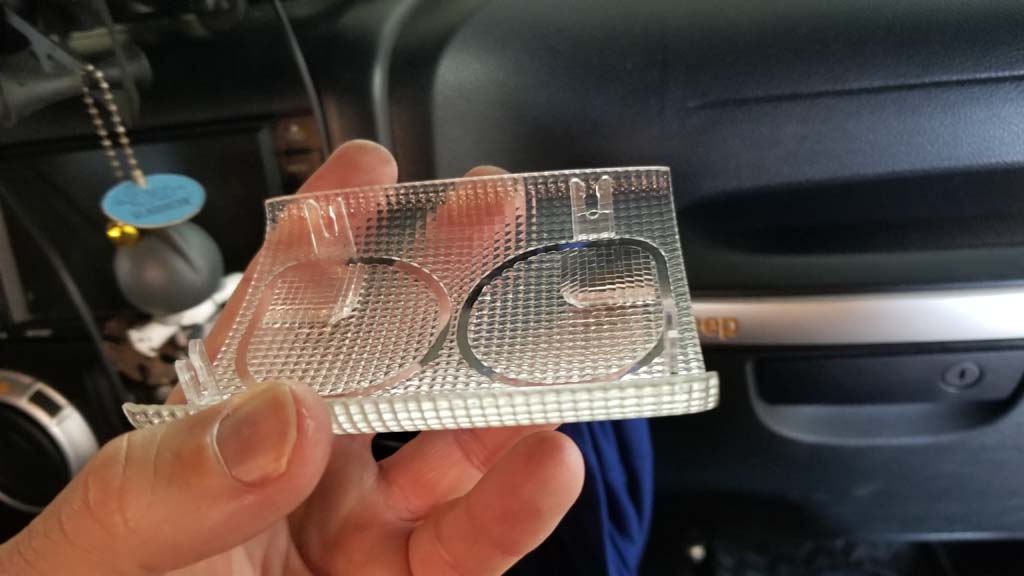
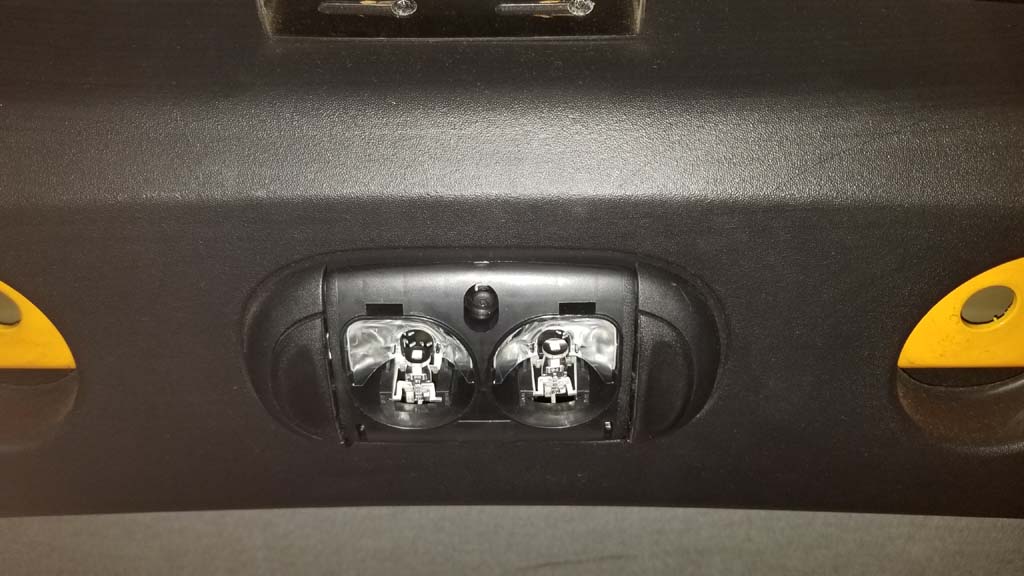
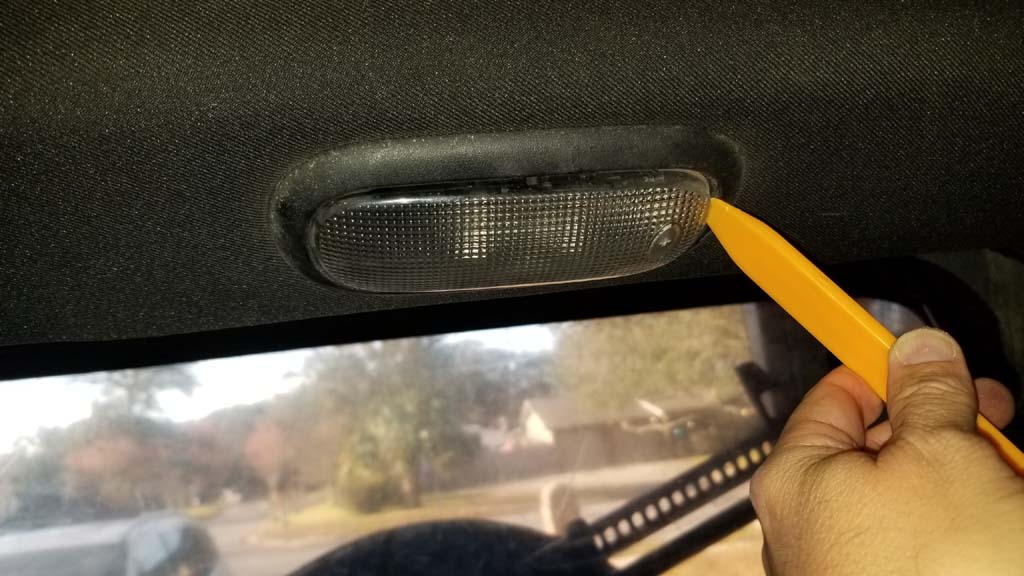
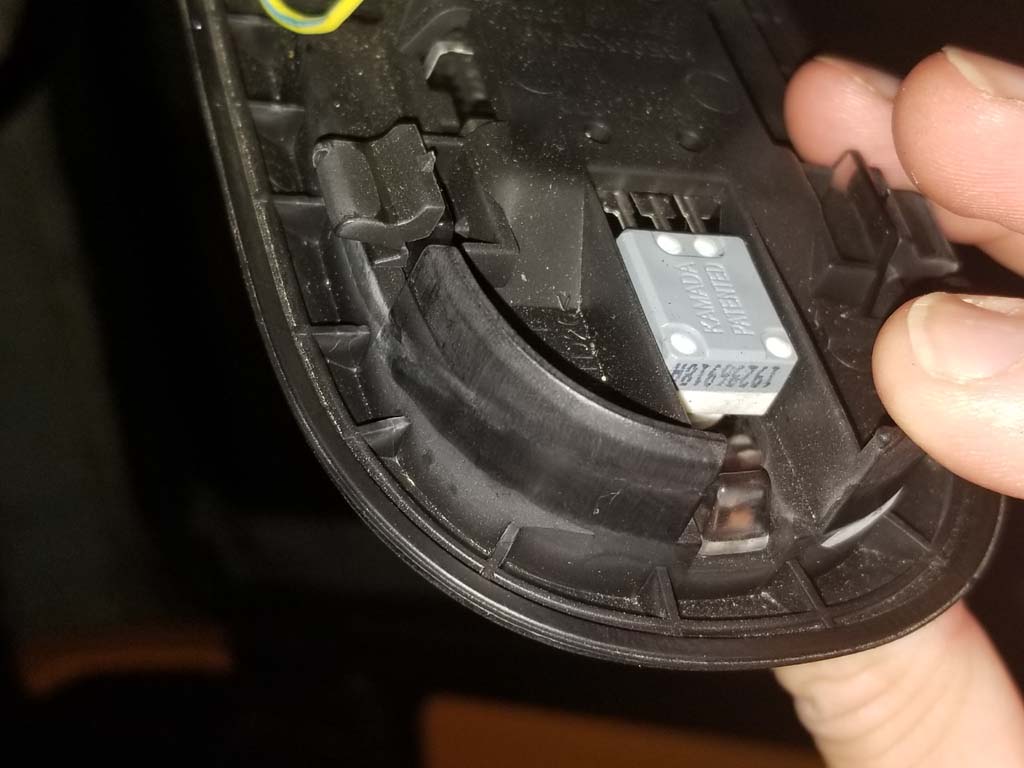
1. Use the pry tool to pry the cover straight down. You can see that there are 4 prongs on the cover that fit into the slots on the light housing.
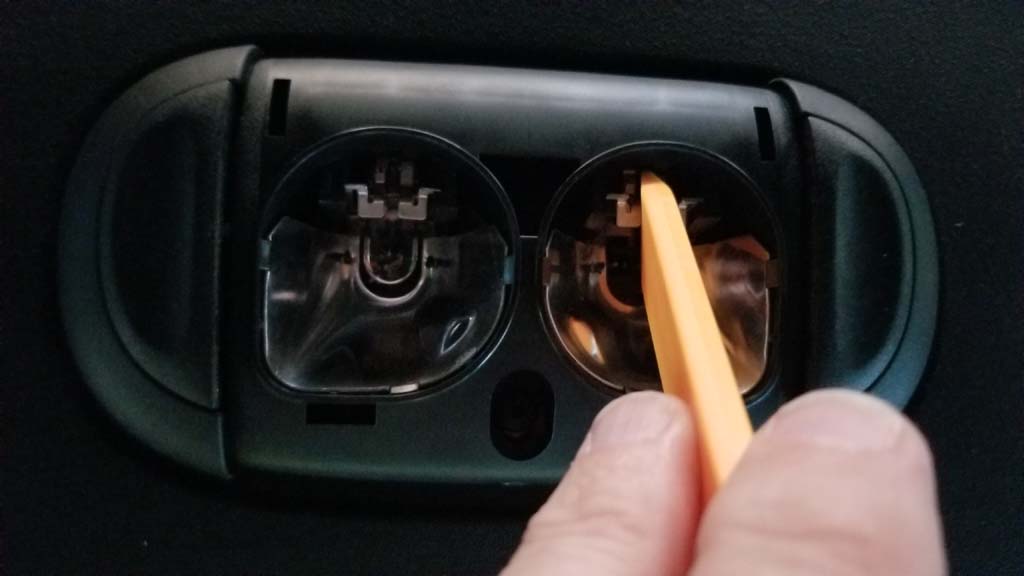
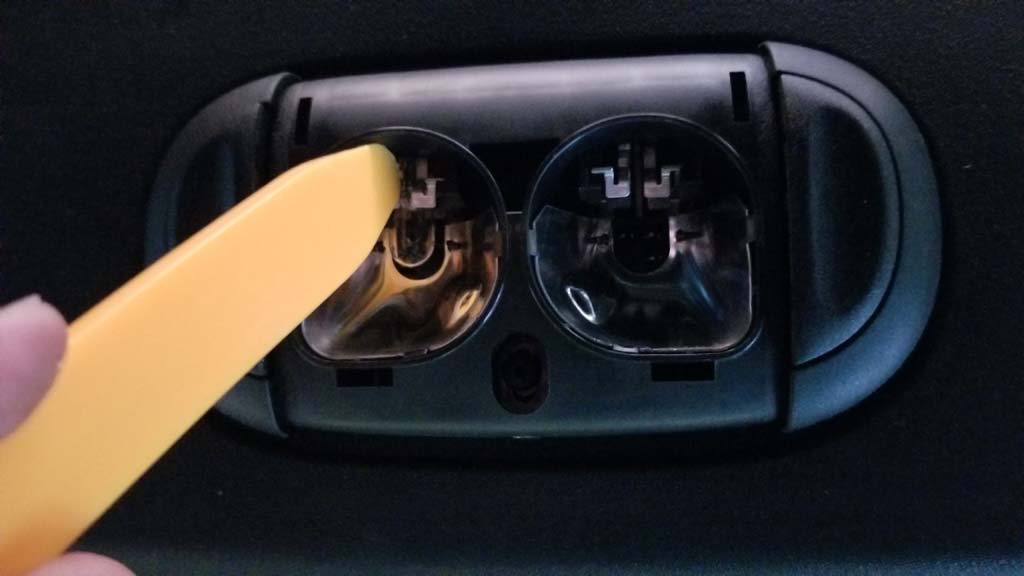
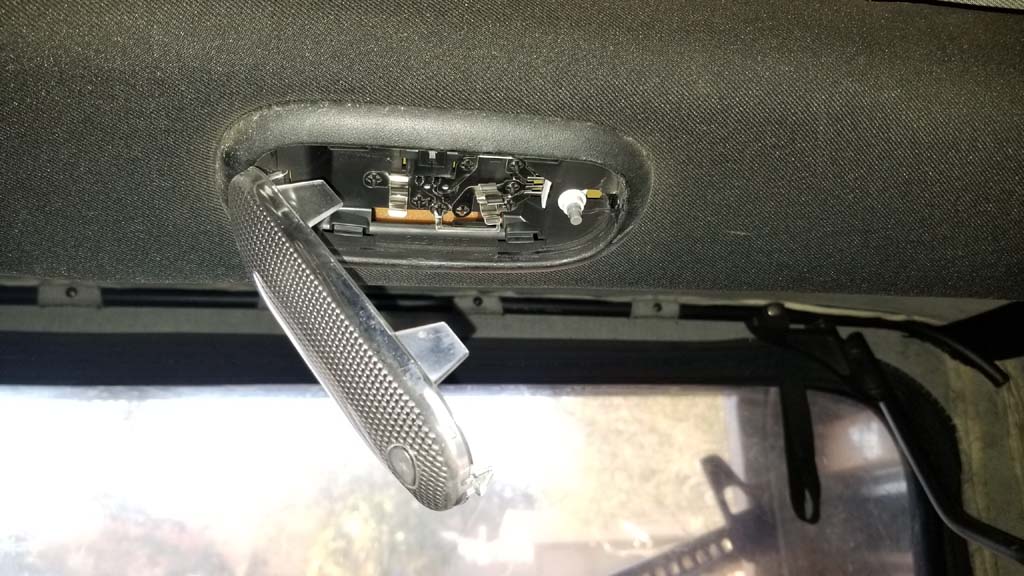
2. The bulbs sit in the holders horizontally, along with the issue that the contactors are not exactly the greatest of holders. This makes them a real pain to get out. I used the pry tool to push/pry the bulbs out of the socket. Use a little caution because you can force the contractor apart, if you do this, just push them back towards each other.
3. Slide the new LED lights into place. You may need to pinch the contactors together as you push the LED in. This really isn't the greatest of designs for a light socket.
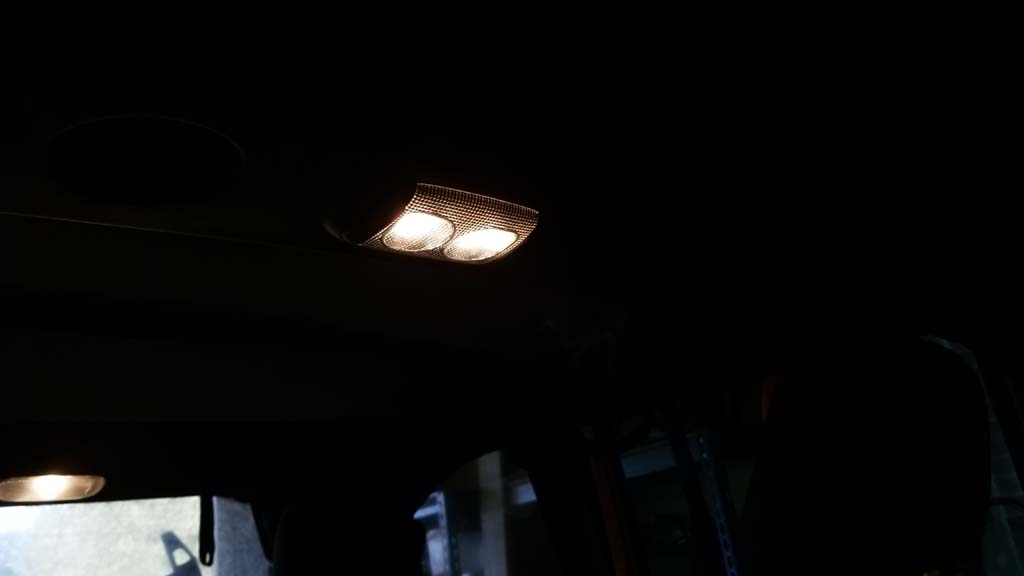
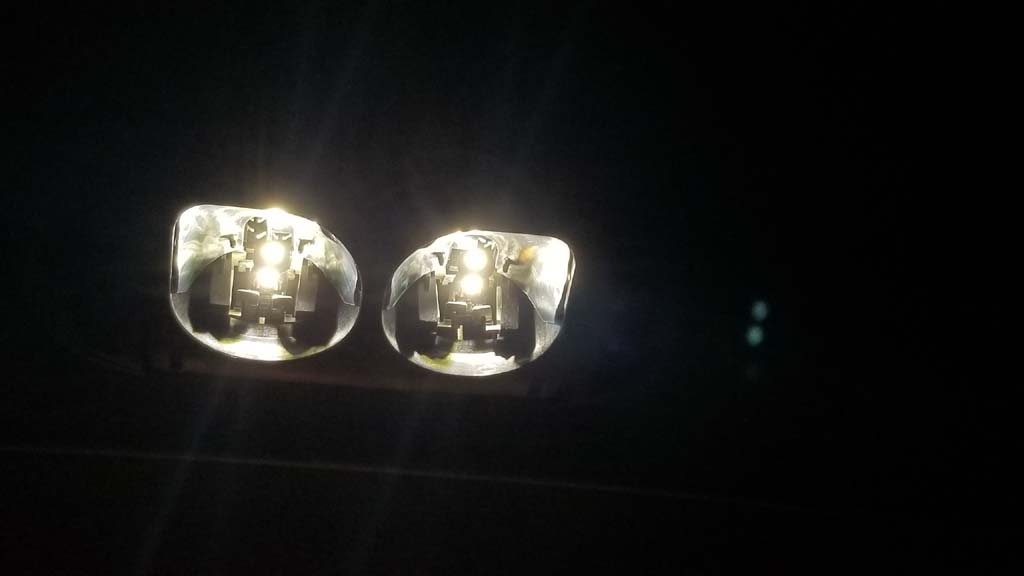
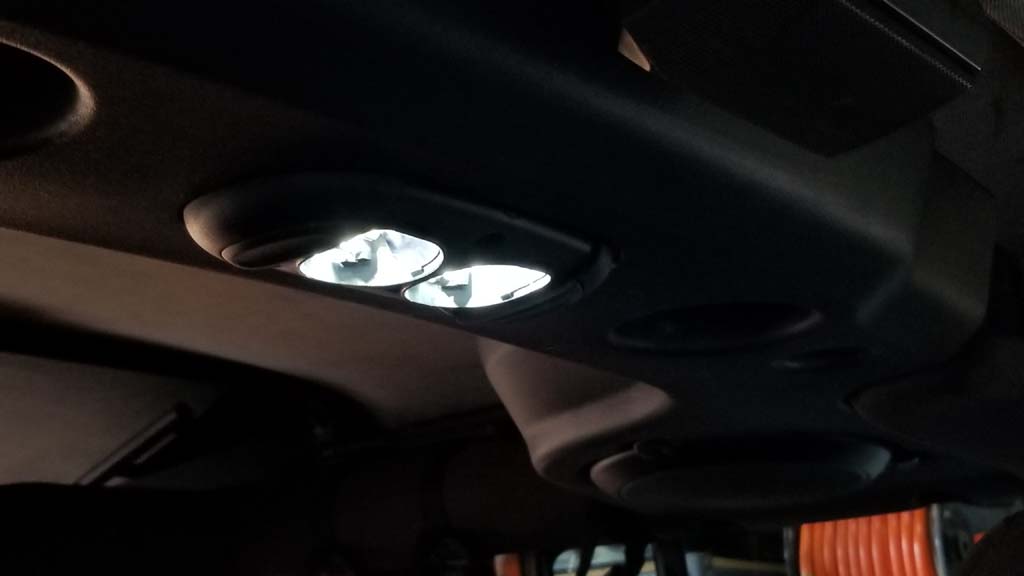
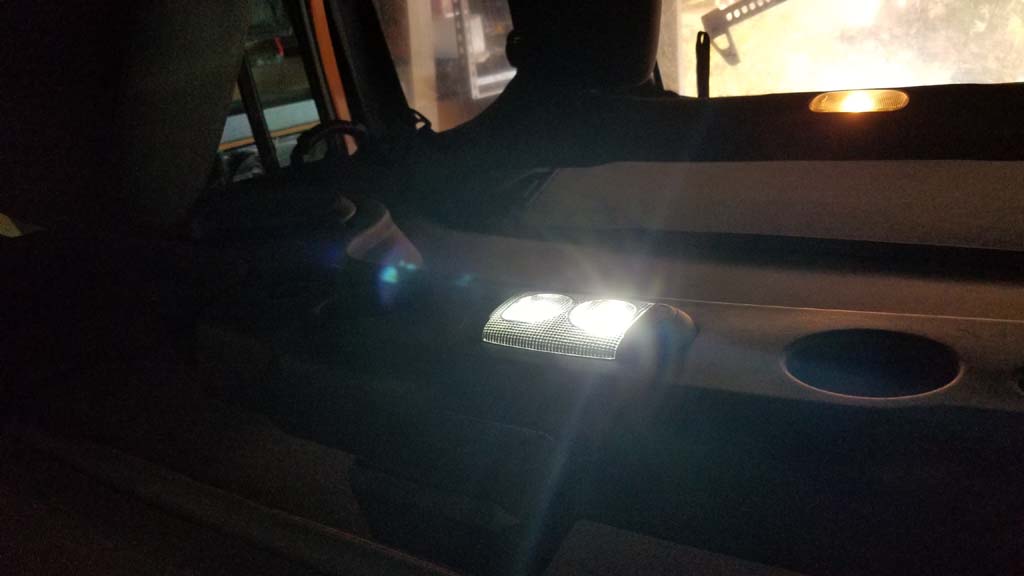
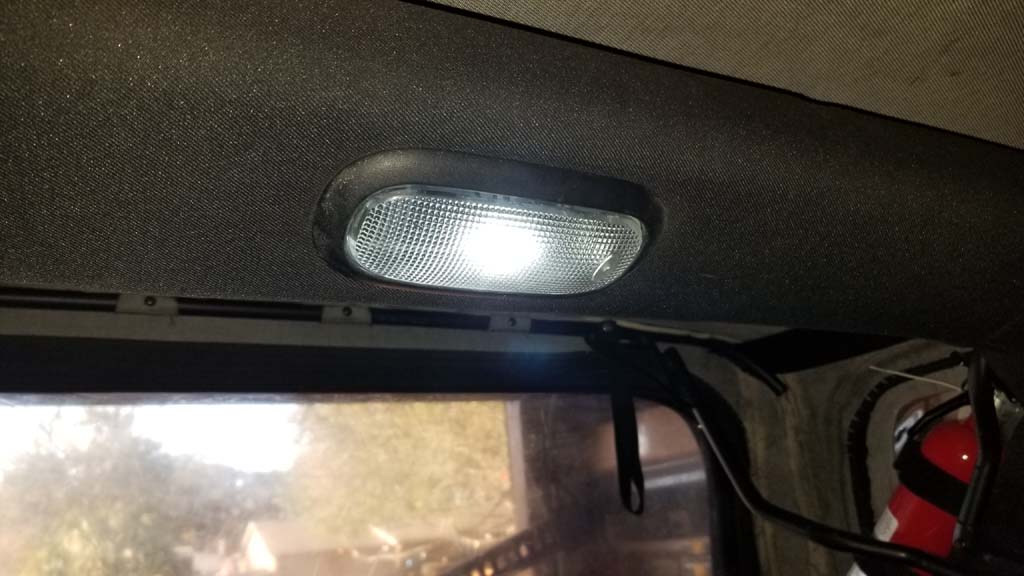
These provide a bright white light. It is almost too bright if the passenger wants to see something at night and turns the light on while you are driving.
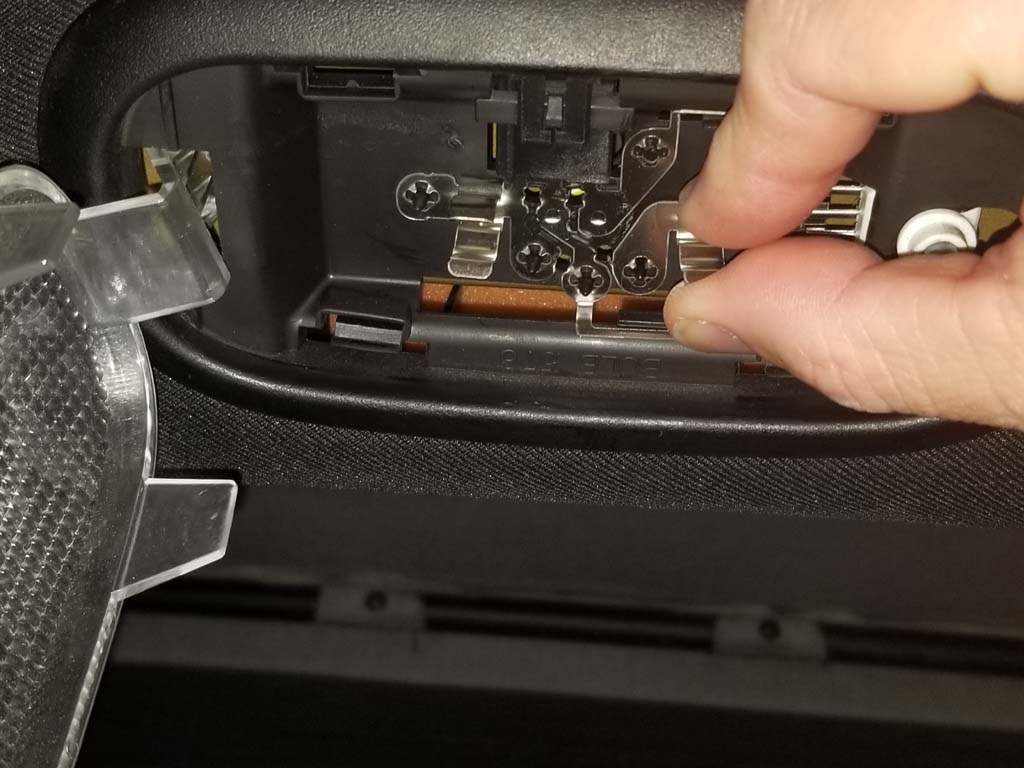
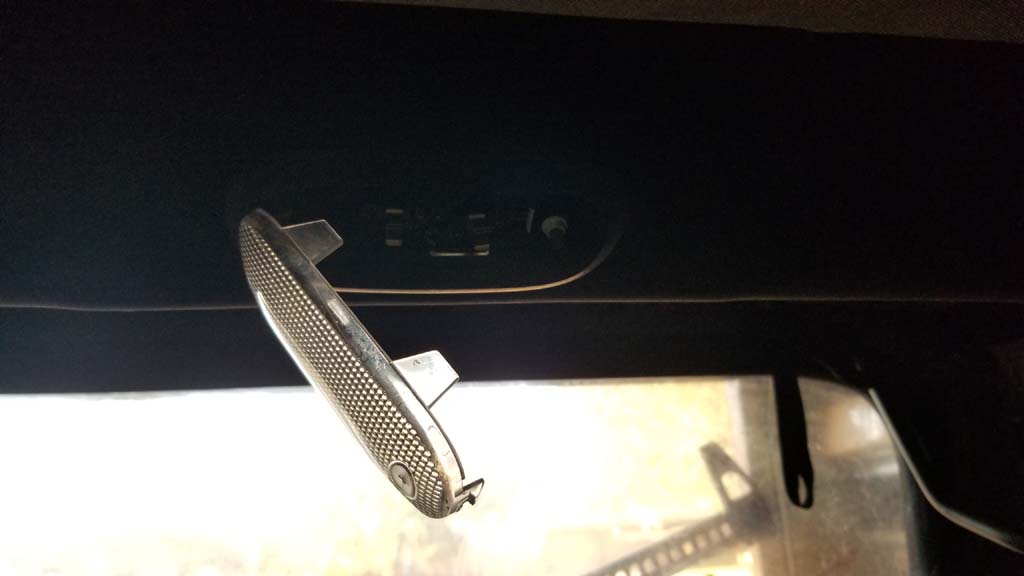
Rear Seat Light Installation:
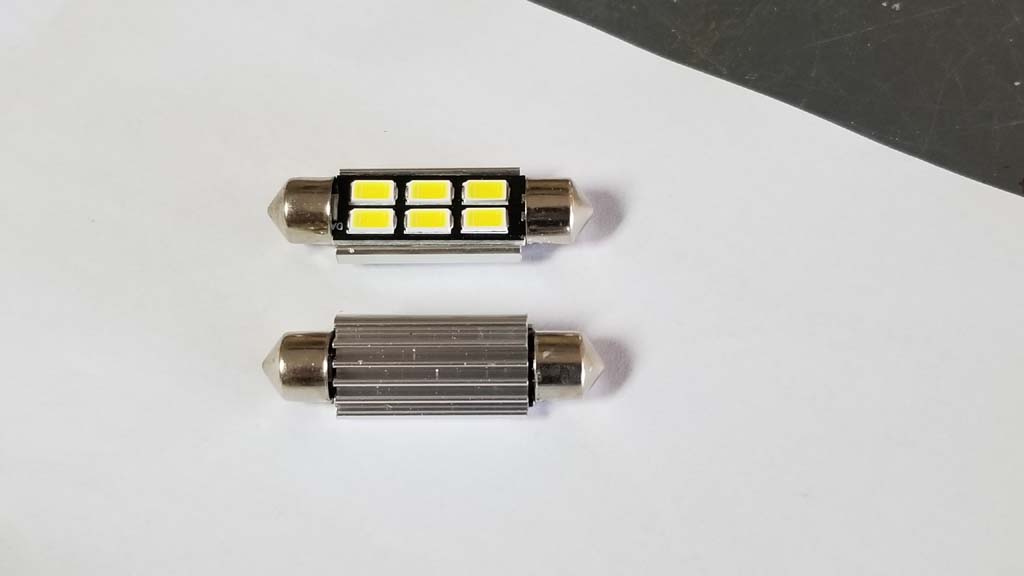
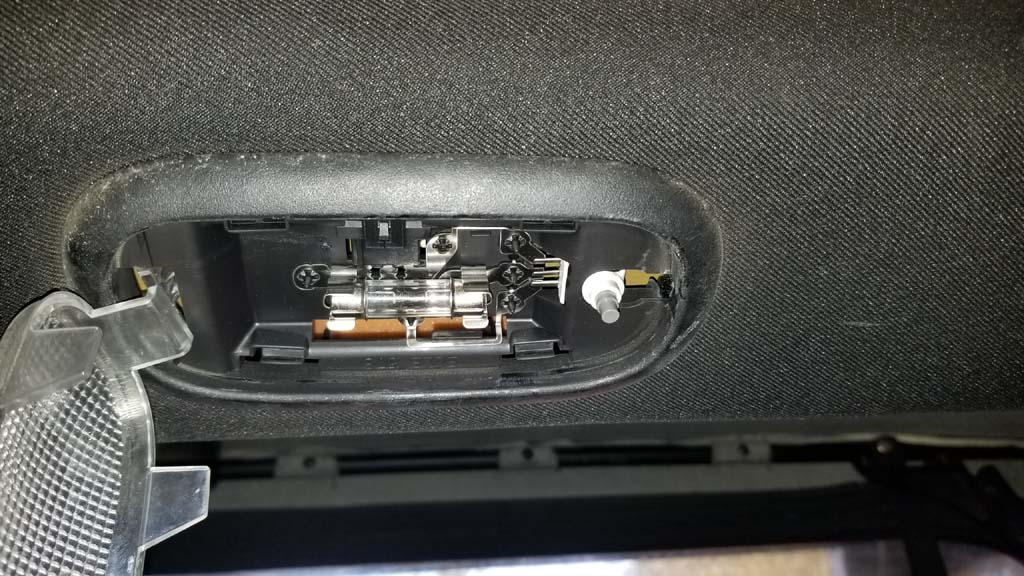
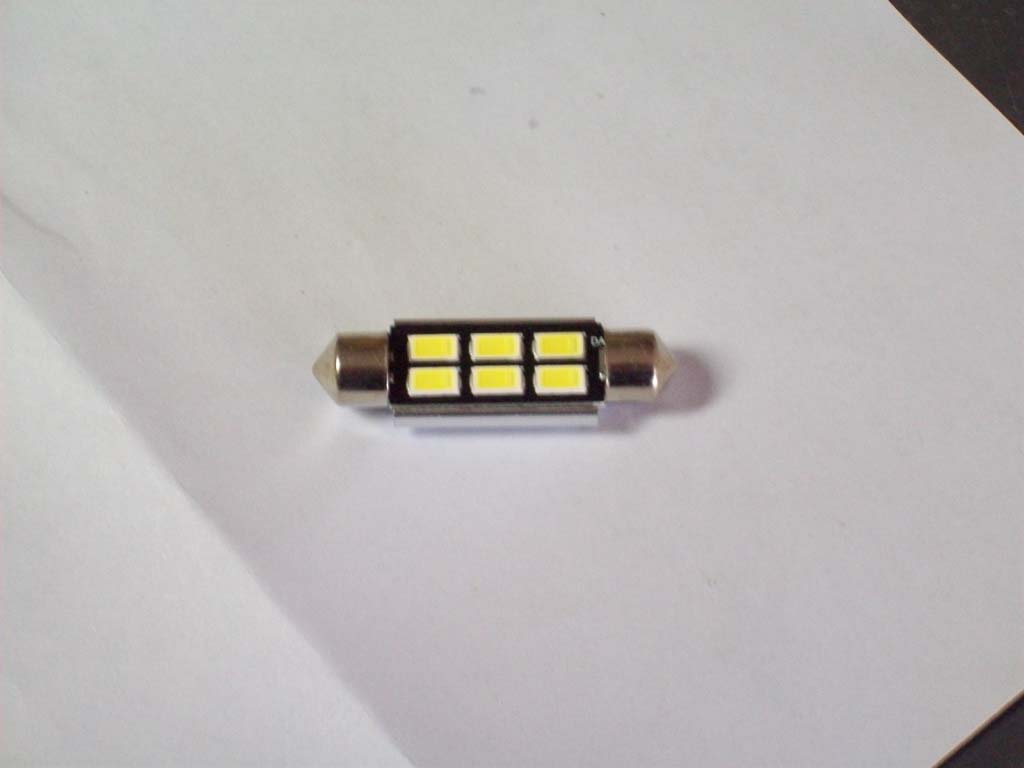
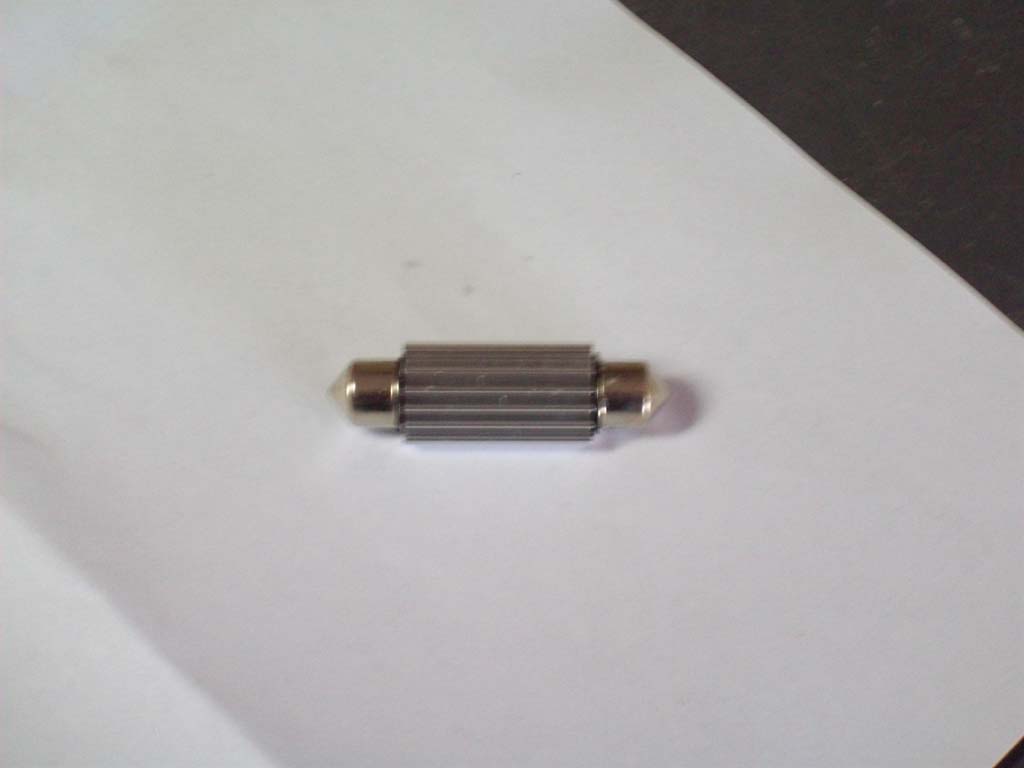
The rear dome light is different from the others and looks more like an old fashion fuse. This does have the LED's on one side and a heatsink on the opposite side. Once again gotta love the provided picture.
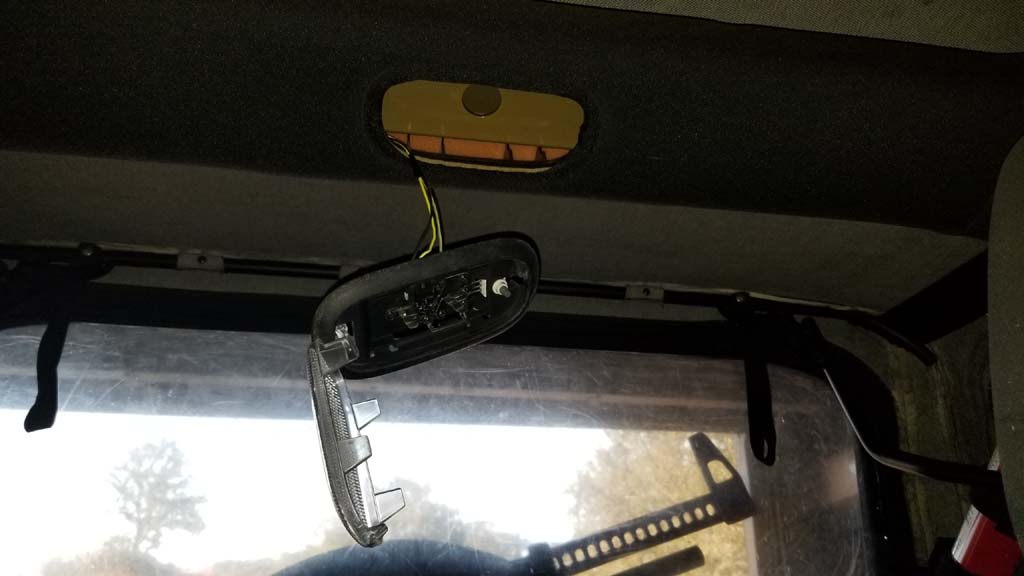
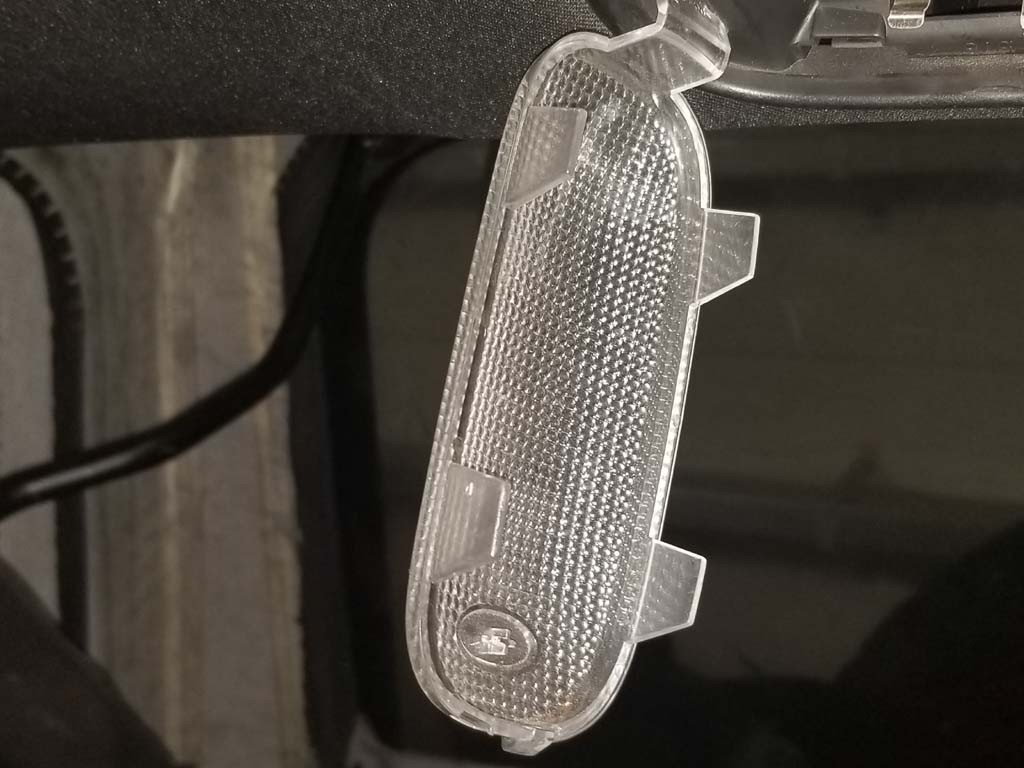
1. The latch for the light cover is located on the side where you push to turn the light on. Insert the pry tool into the edge of the light cover and gently pry it open.
This light housing might fall out of the sport bar crossmember. The 4 tabs on each side of the lense actually press out the 4 tabs on the housing that hold it in place in the crossmember. Not exactly a great design. You will need to push/squeeze the tabs back into the housing so you can get it back up into the crossmember.
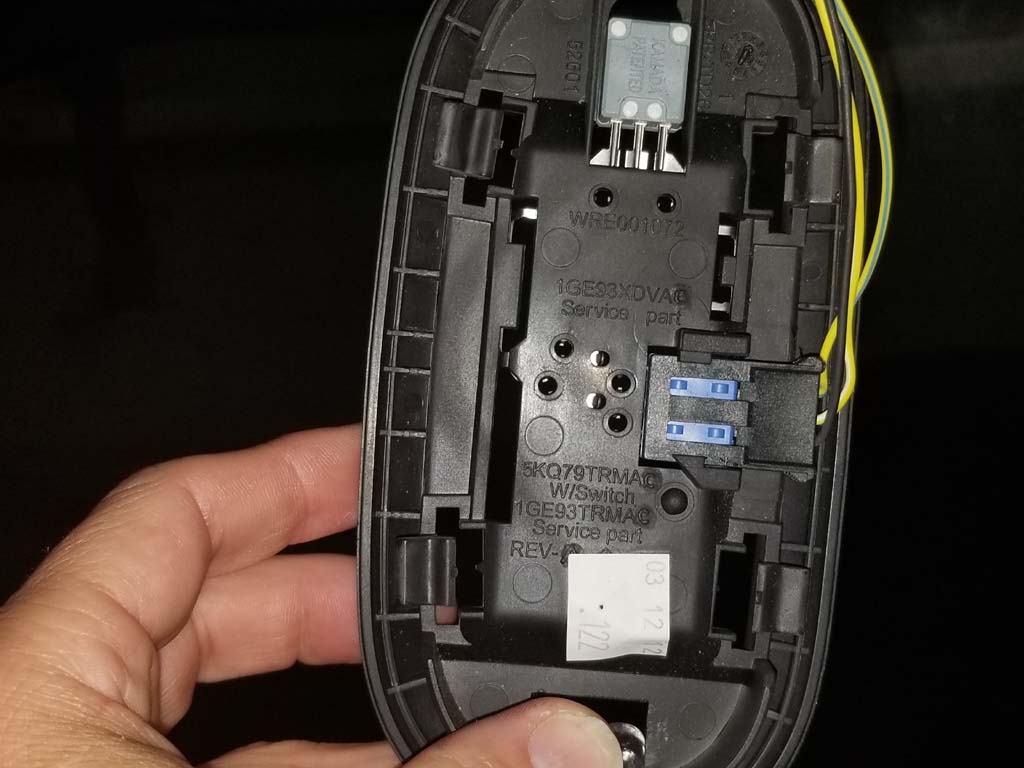
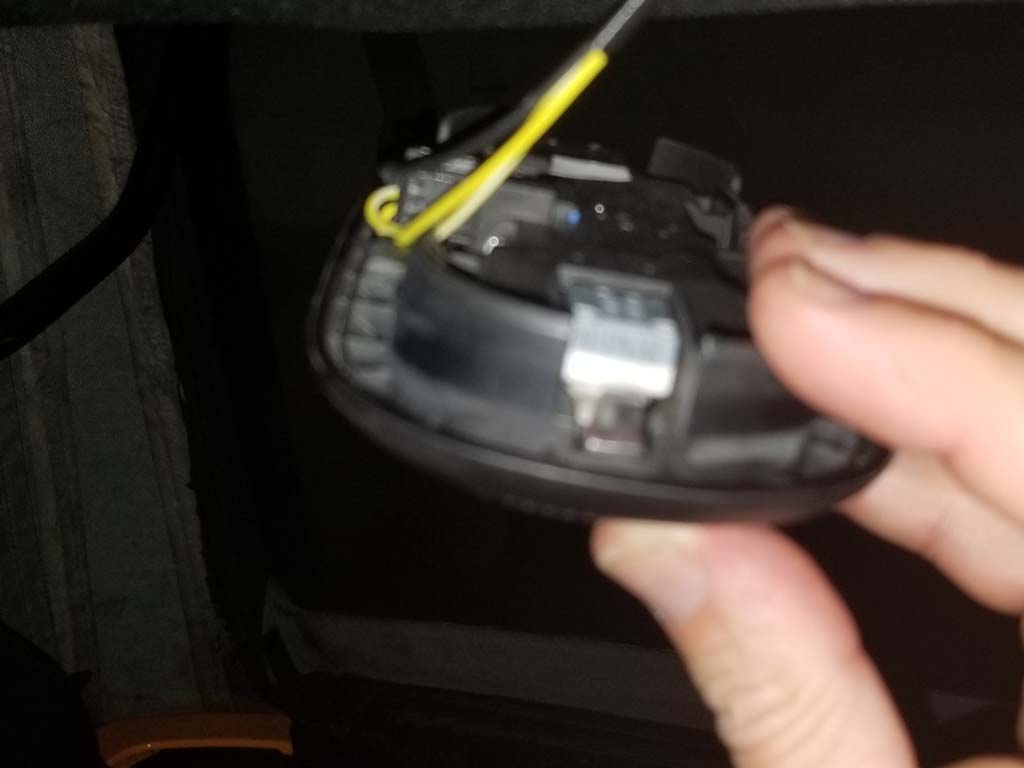
2. Remove the bulb by pulling it out of one side of the light holder and then levering or pulling it out of the other side. The light holder isn't held in the housing very well and is just attached by a metal tab to the wiring. Once again not a great design. You may need to push the holders back up into place and squeeze the prongs of both sides of the light holder together to give the LED bulb a tighter fit.
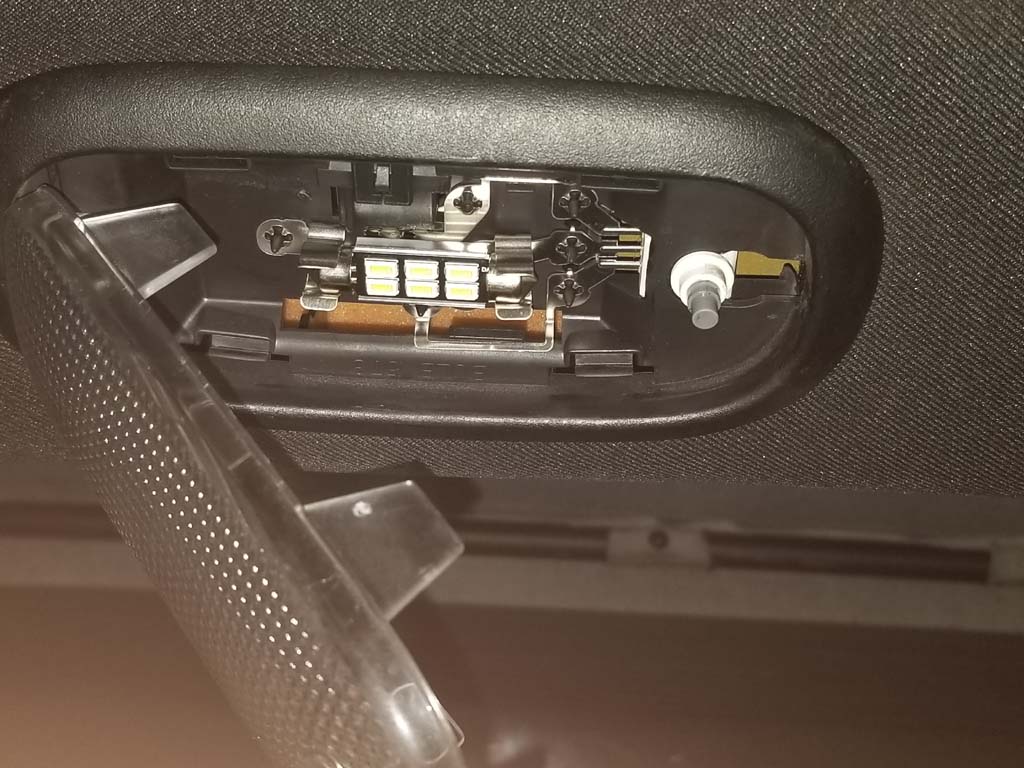
3. Install the LED bulb into the holder. Rotate the bulb so that the heat sink is pointed up. This should be a tight fit, if not you will need to remove the light and squeeze the prongs together a little more. The weight of the heatsink will cause the light to rotate if it is loose.
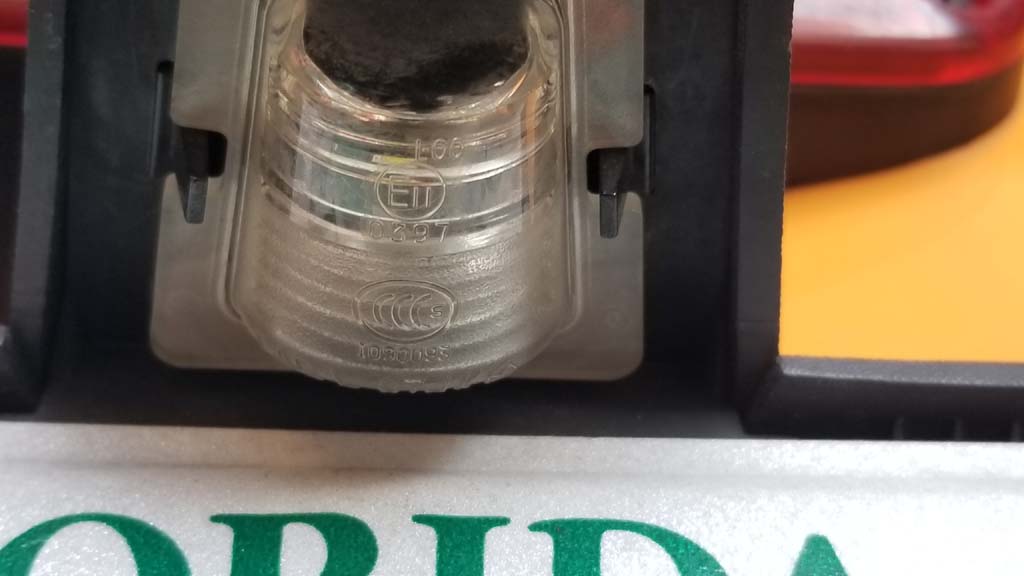
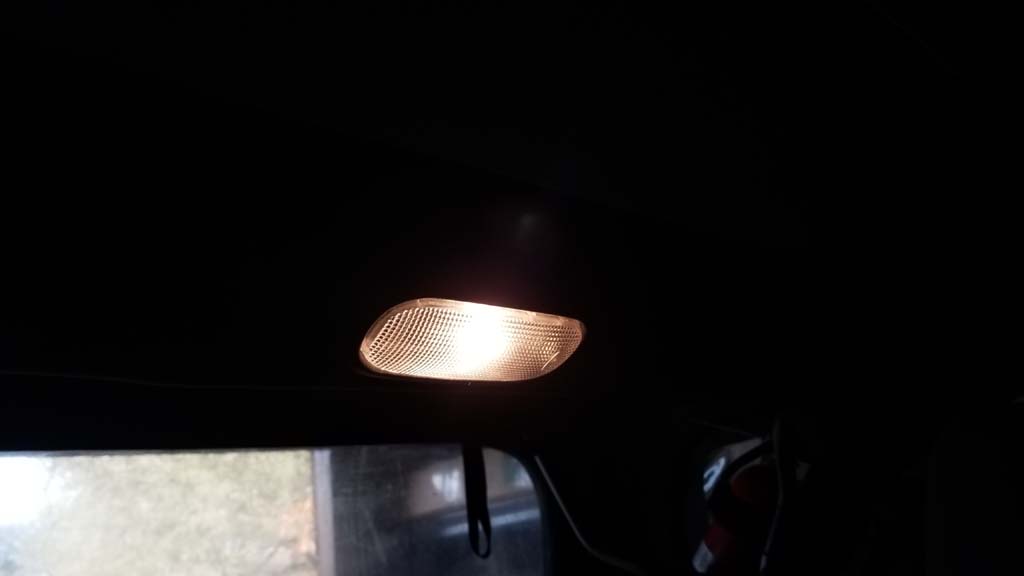
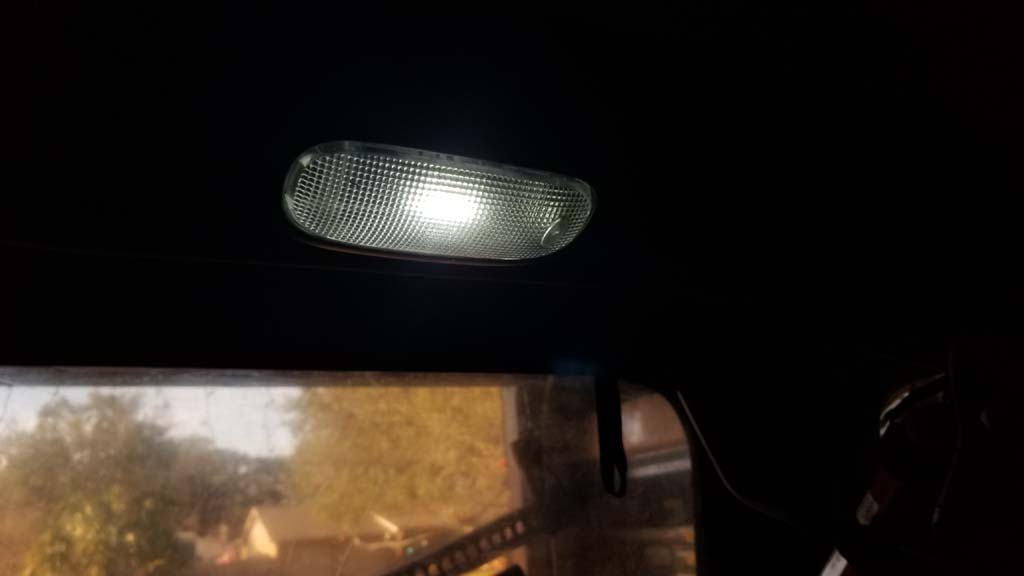
Comparison between the stock light and the LED bulb. The LED bulb is really white and brite inside the Jeep.

