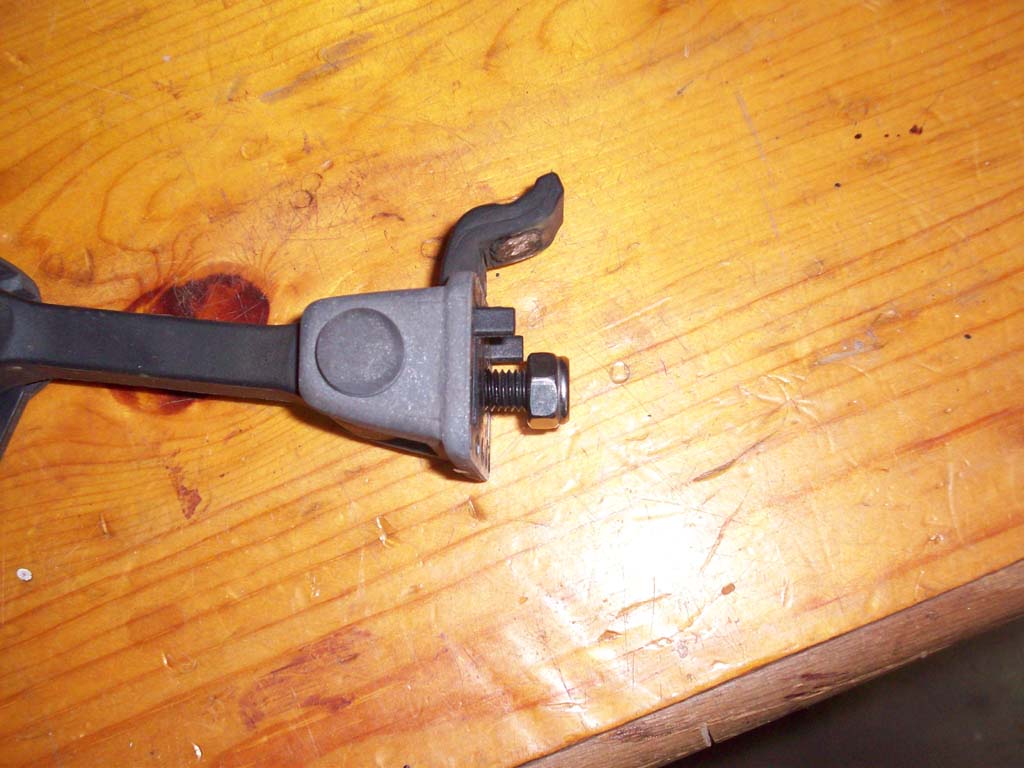
The Florida sun and heat finally got to one of my hood latches and it started to tear so I figured I would change things up a little. The JL latch looked like it would fit perfectly fine and I remembered reading somewhere on a JK forum that they would fit. So, I figured I would price them out and see what they would cost. I quickly discovered that the MOPAR one were expensive, but thanks to Amazon you can get some cheaper ones.
| Parts: |
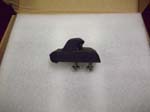
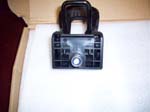
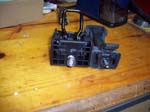
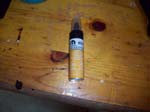
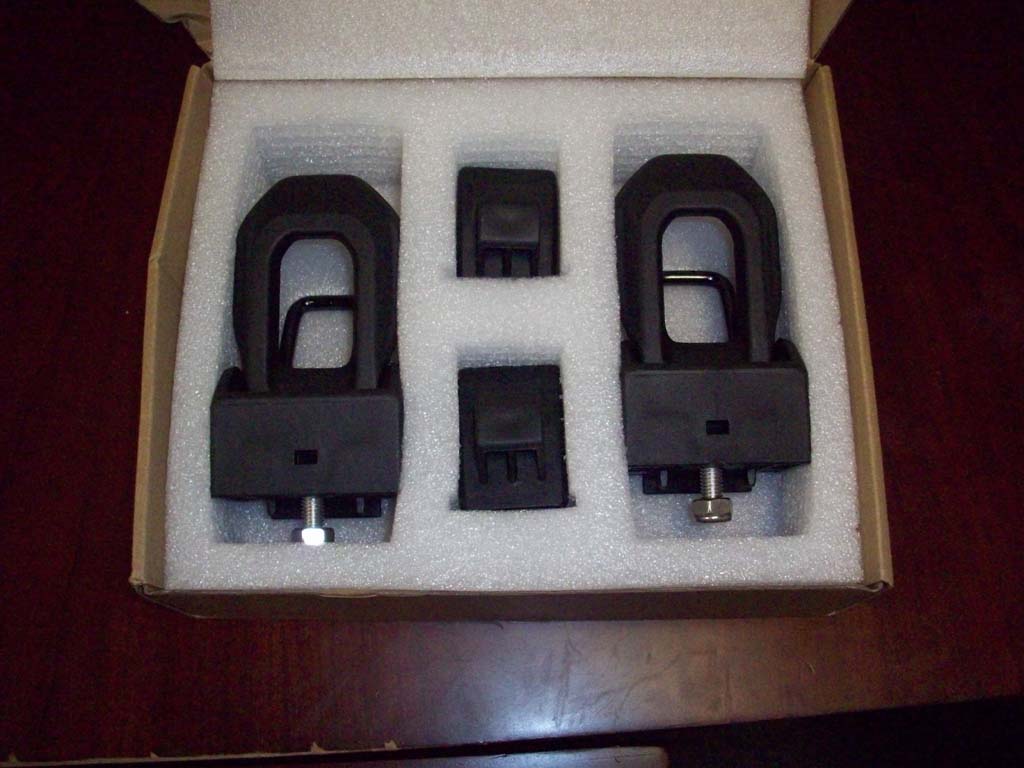
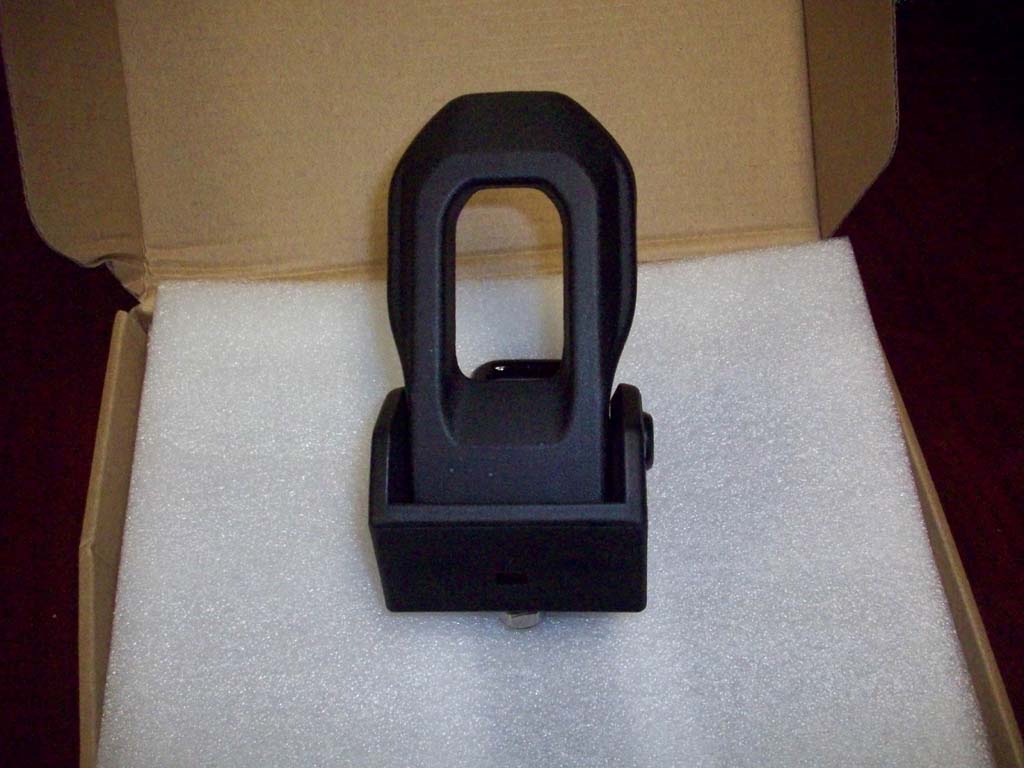
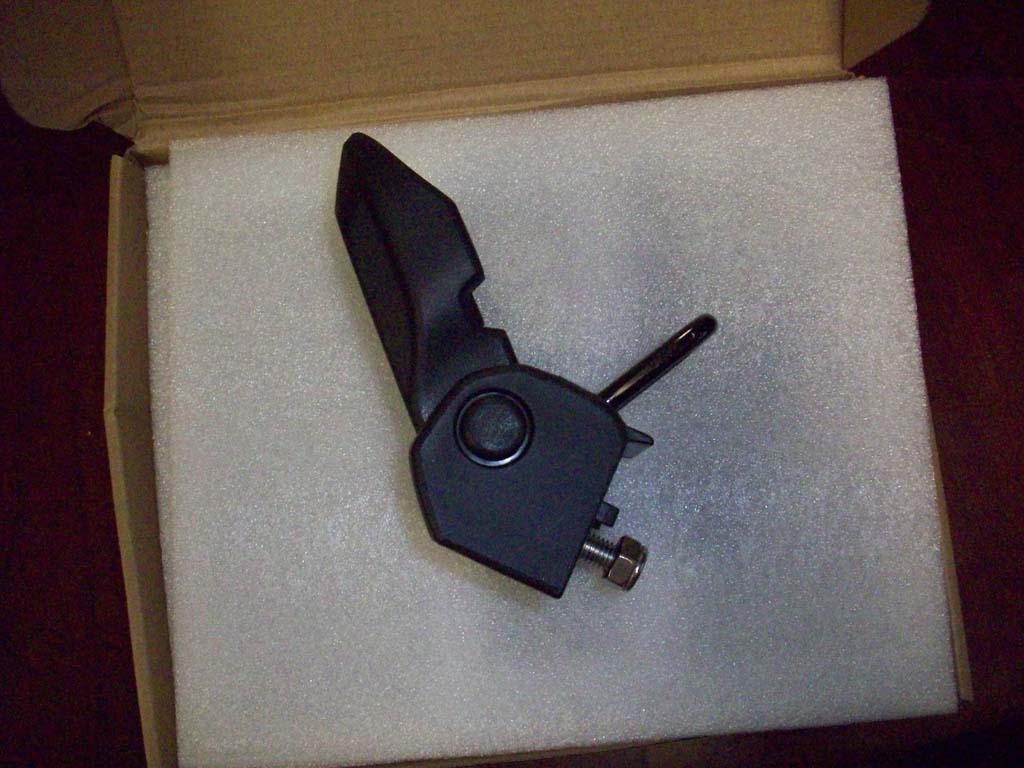
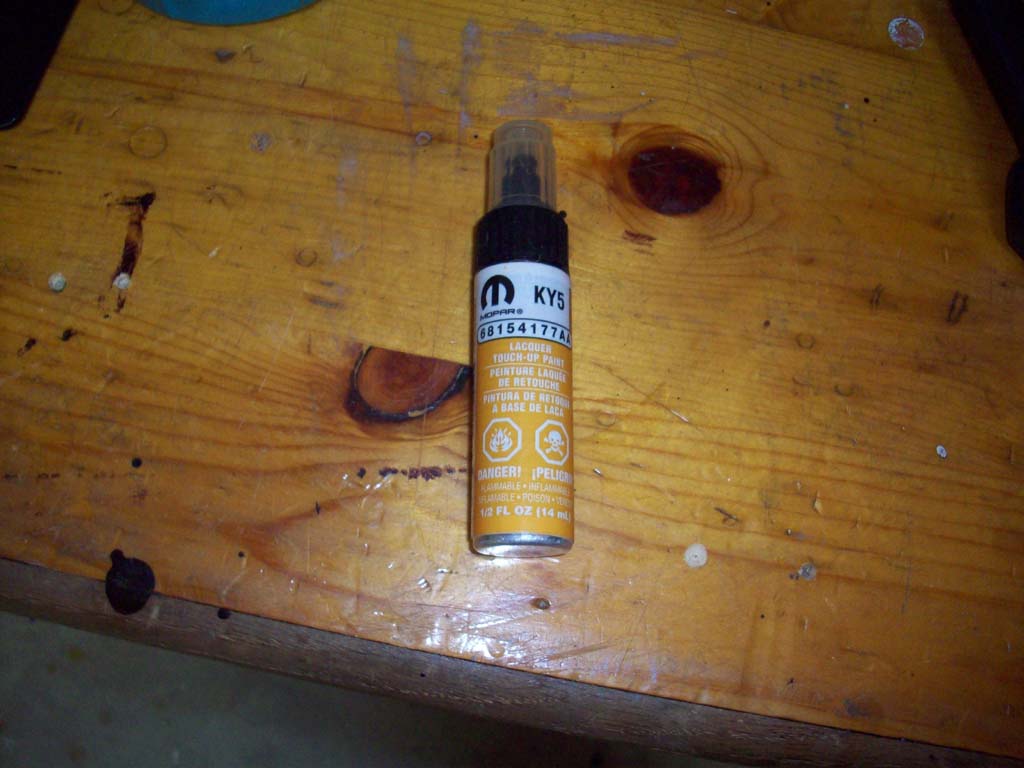
| I was actually impressed at how well the parts came packaged. Really looks like an OEM part. Actually I thought it looked better, most of the time my OEM parts show up in a plastic bag. I priced the OEM parts at nearly $200, while these were only $35. |
 |
 |
 |
 |
 |
 |
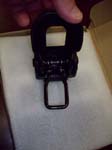 |
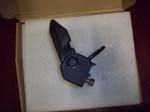
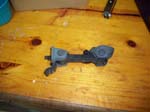
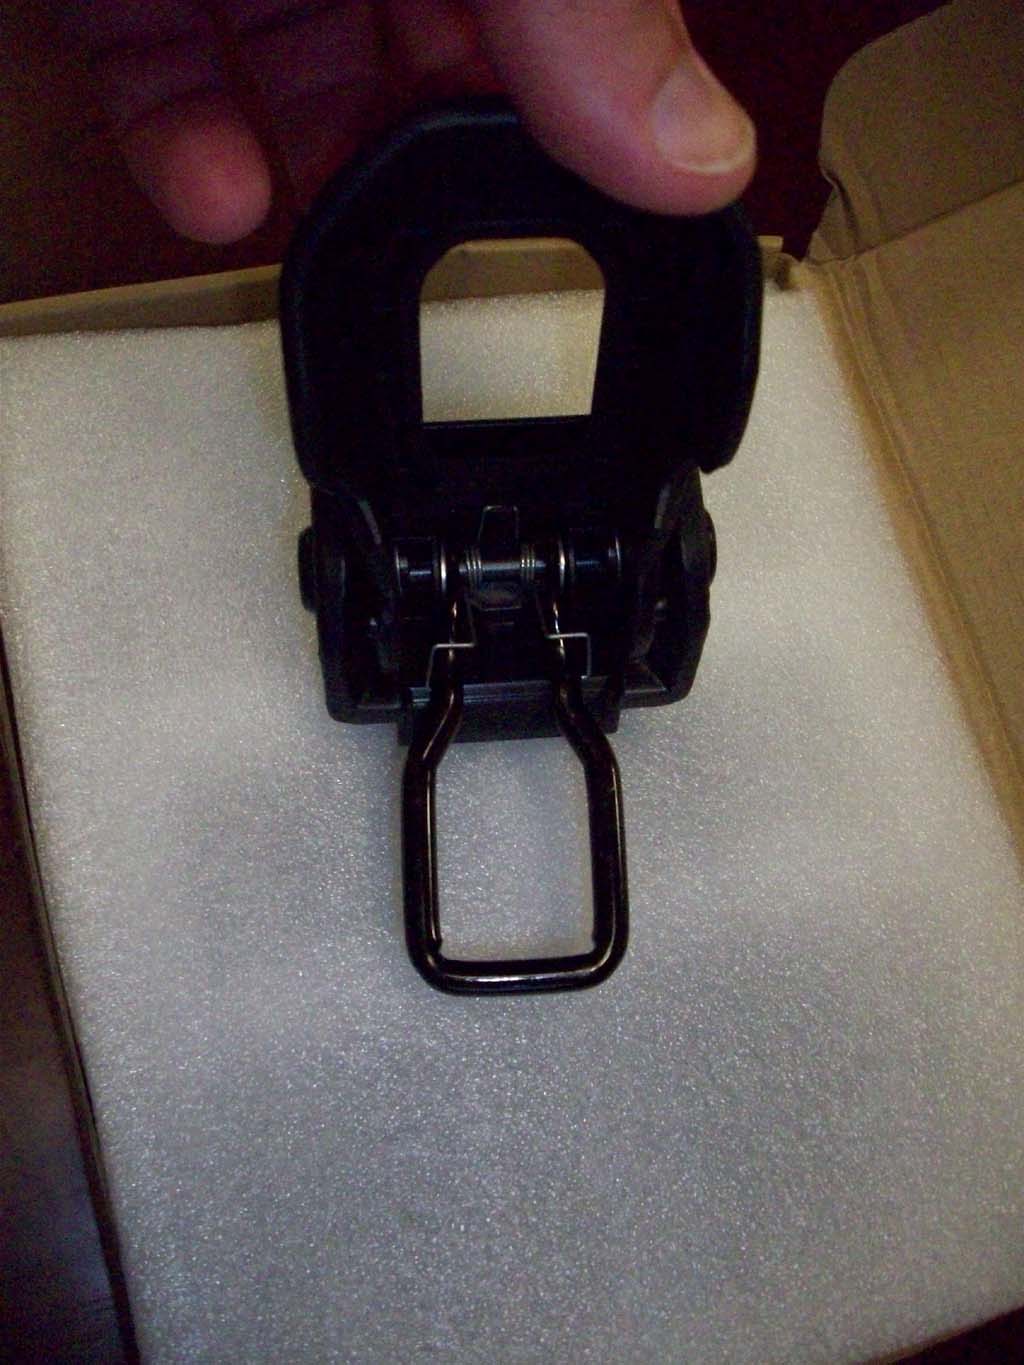
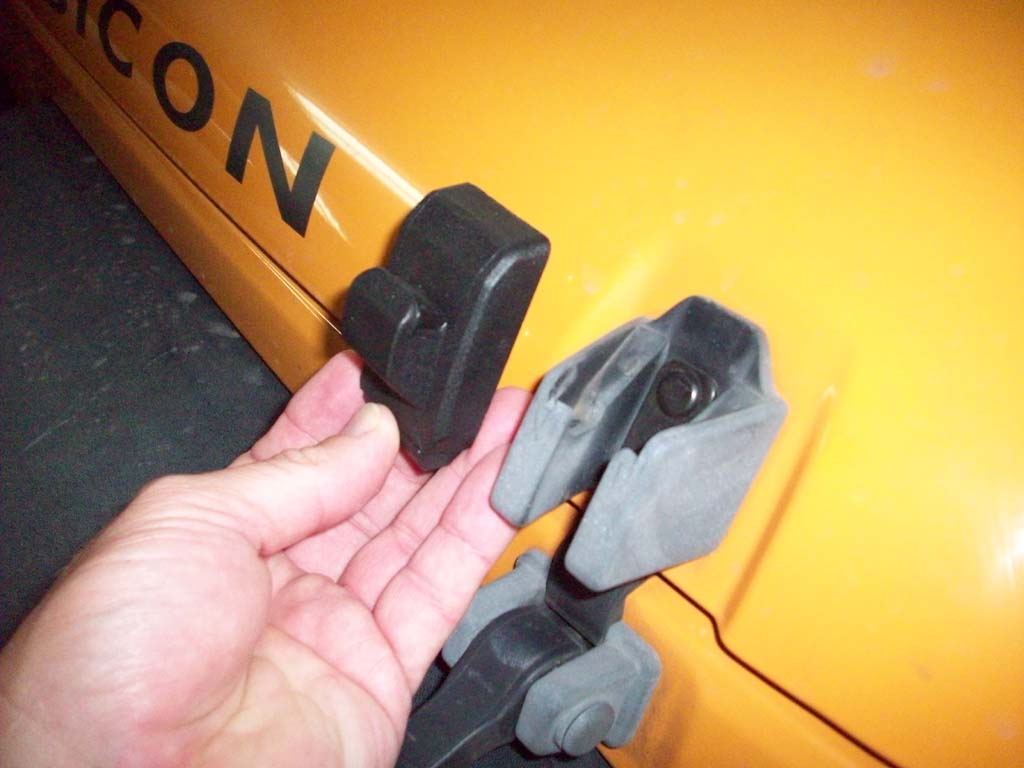
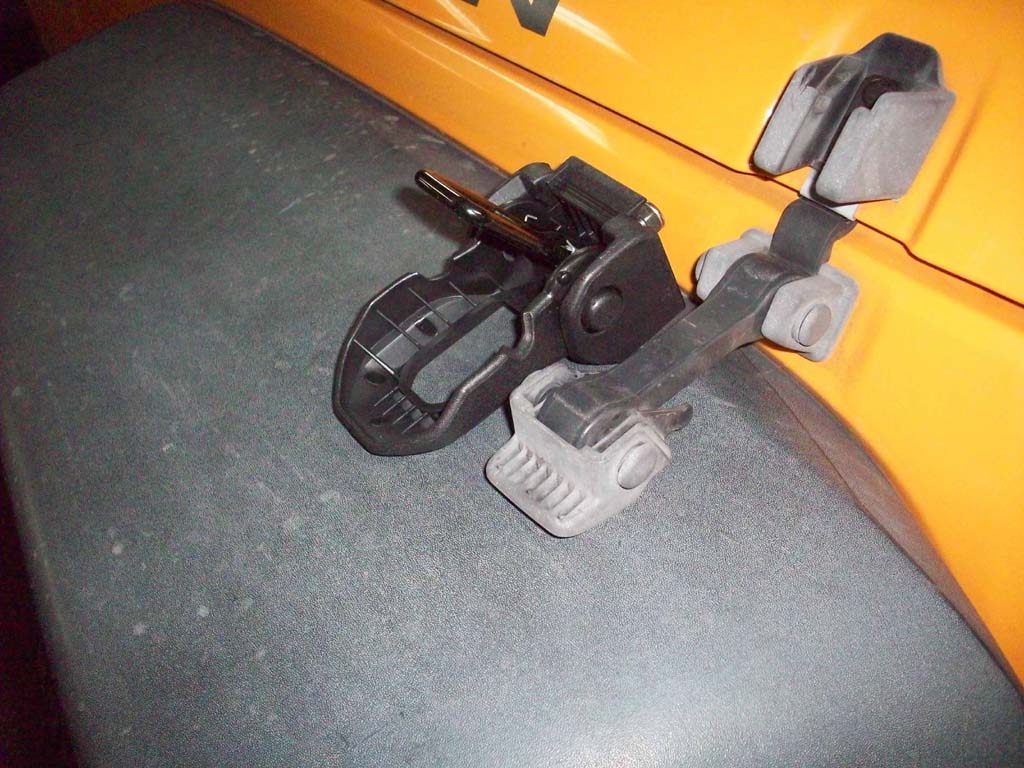
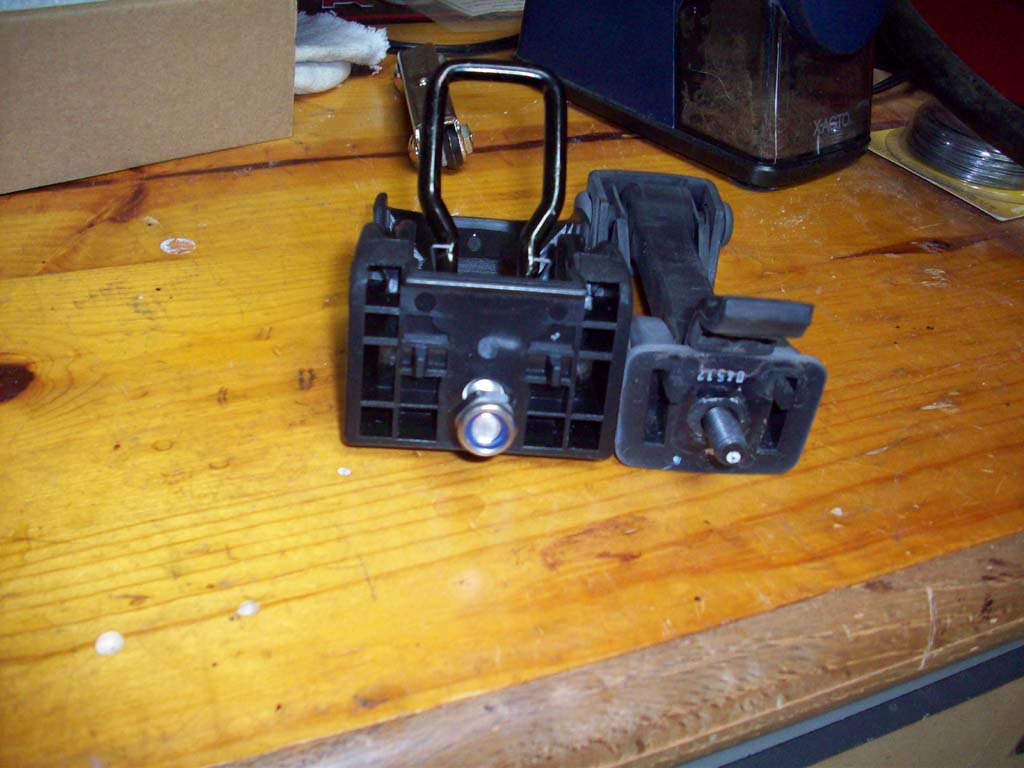
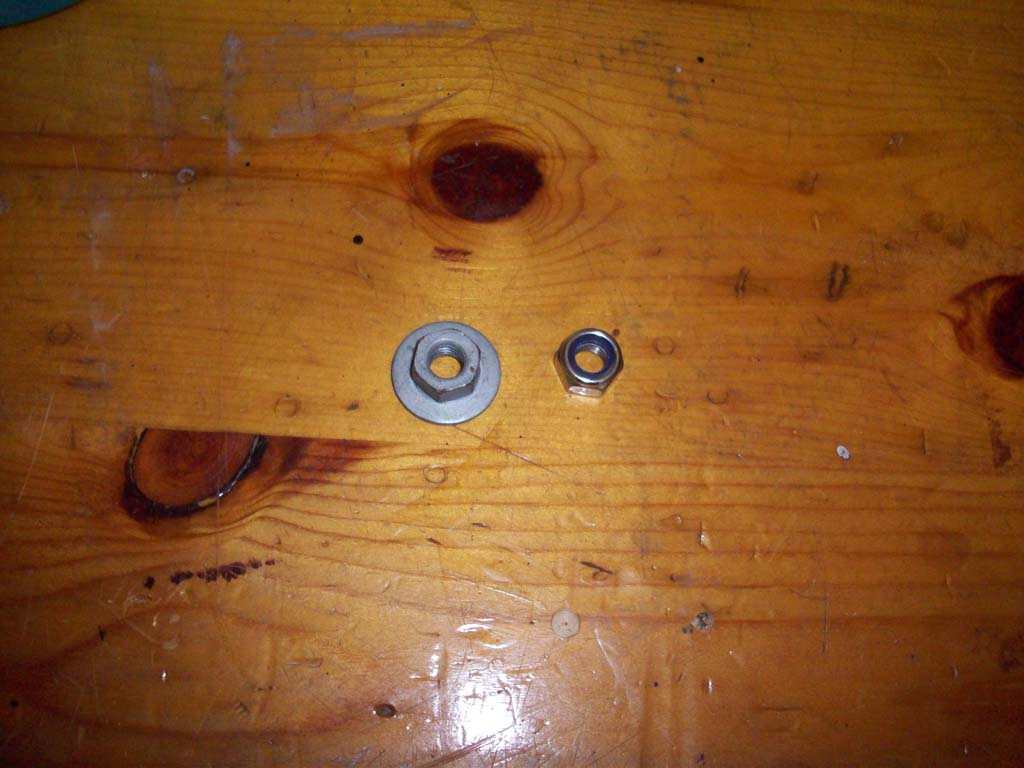
| Quick comparison. |
 |
 |
| |
| Installation: |
| Undo the latches on the side and open the hood. Use the hood prop, since you will be working on the front sides of the hood. |
 |
 |
| First remove or tilt forward the grill by removing the six (6) hood retainers with a phillips screwdriver. You may need a pair of needle nose pliers to help in removing the inserts. You don't need to remove the grill, just pull the top forward. |
 |
 |
| On the 2012 they changed this to a push style pin. Just pry up the center point with a flat tip screwdriver and pry out the retainer. You don't need to remove the grill, just pull the top forward. |
 |
 |
 |
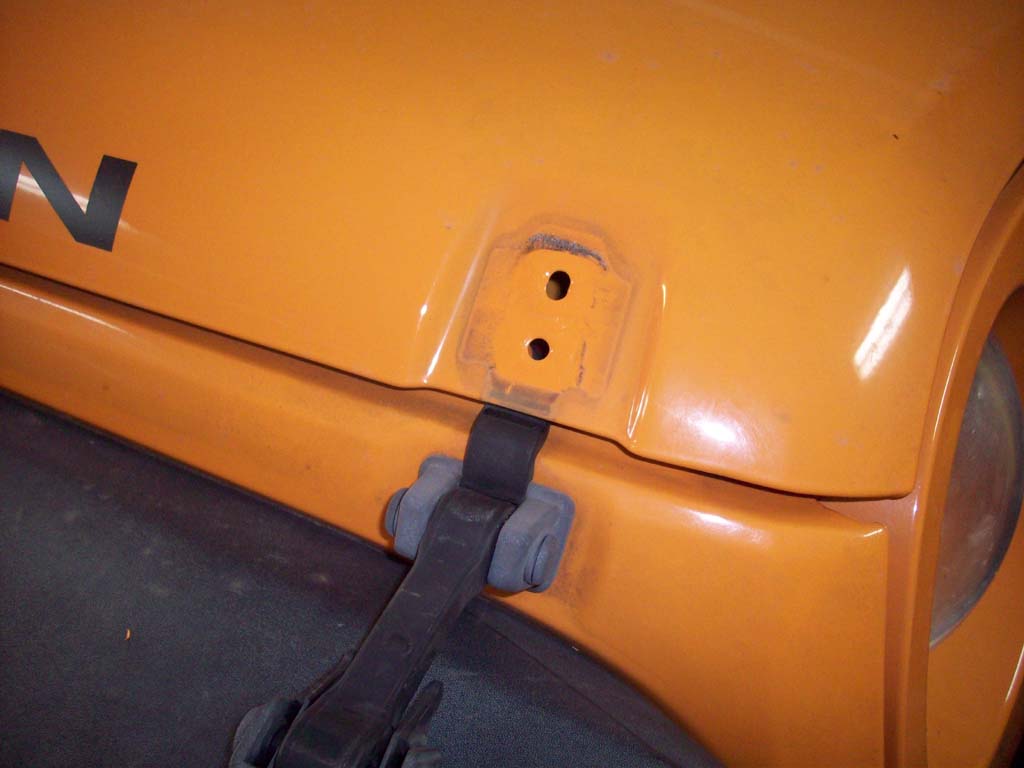
| Remove the two (2) nuts holding the upper latch piece in place with a 10mm socket and ratchet. |
 |
| I set the hood back down so I could clean off the area around and underneath where the old latch was. It was pretty filthy after all these years. |
 |
 |
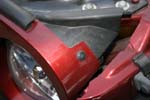
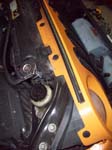
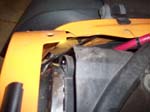
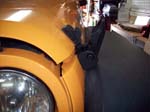
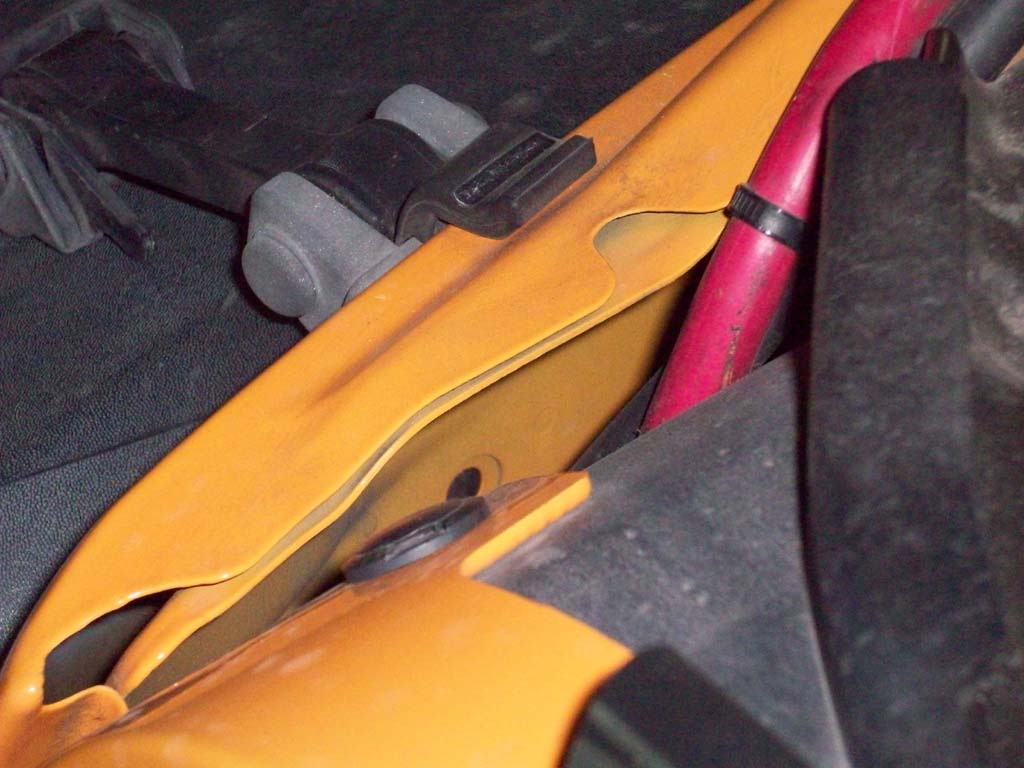
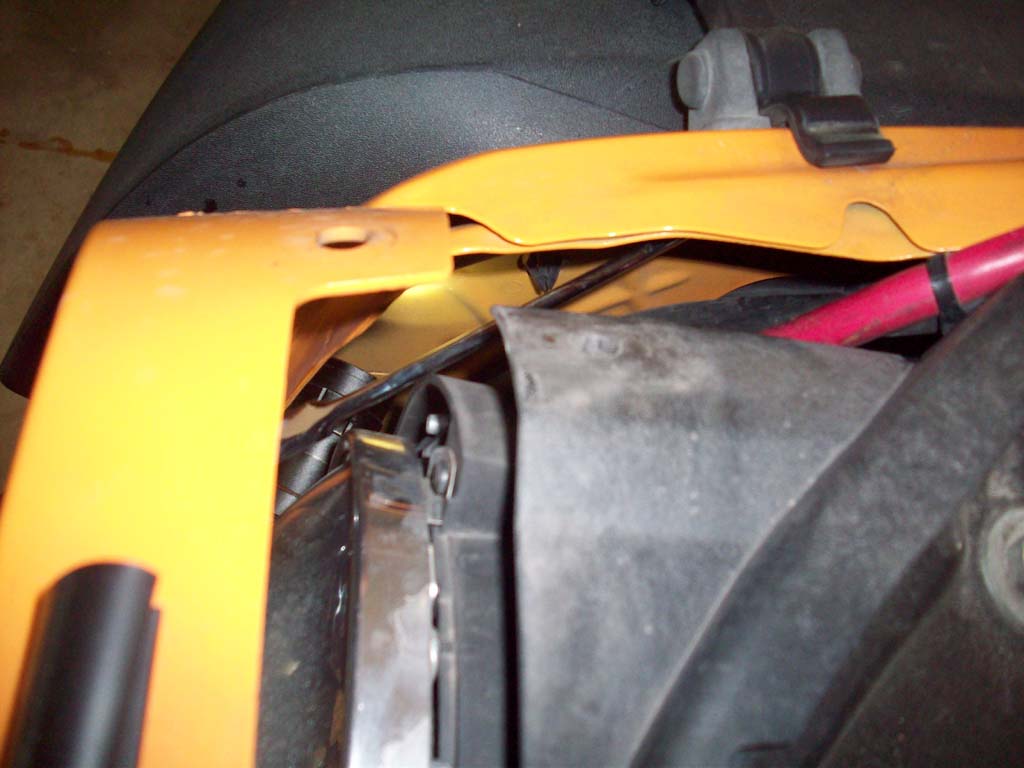
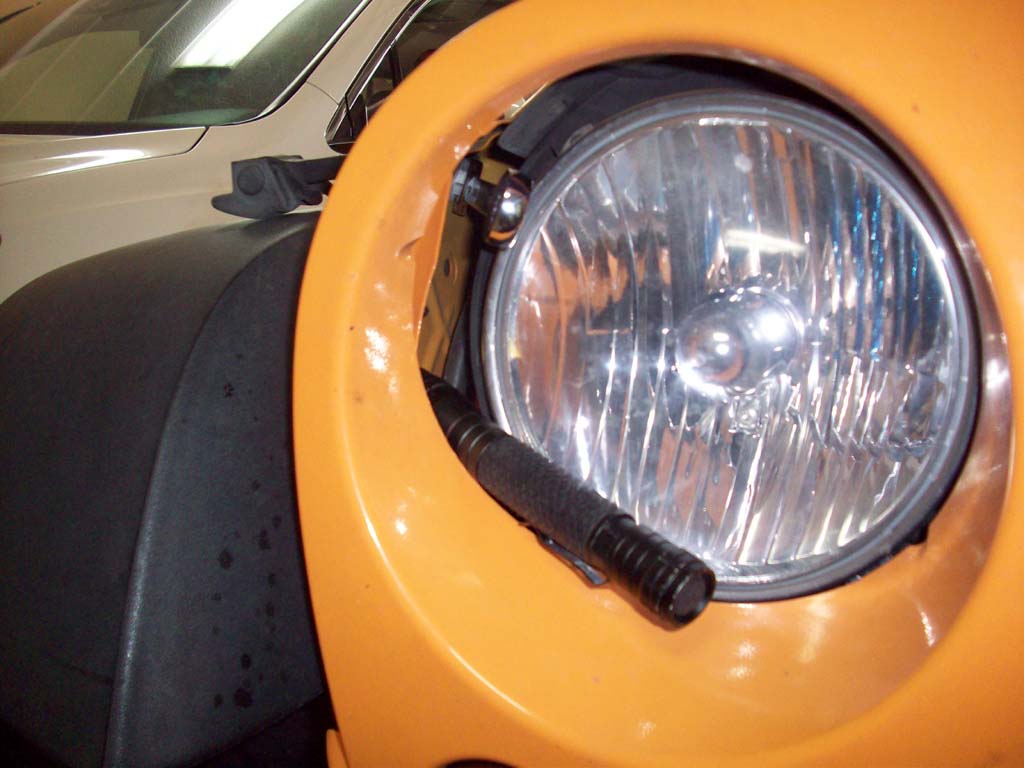
| Remove the hood latch from the fender. You will need to slide a 13mm combo wrench down inside the fender to loosen up the nut. It spins off easily once you get it loose. I recommend tying a loop of string around the end of the wrench, so if you drop it, you don't spend time getting it out of the fender. |
 |
 |
 |
| Just like the hood I took the time to clean as much of the dirt and debris off the fender that I could. I probably could have gotten it cleaner, but was a little concerned about damaging the paint, so I left a what didn't come off after some work at it. |
 |
 |
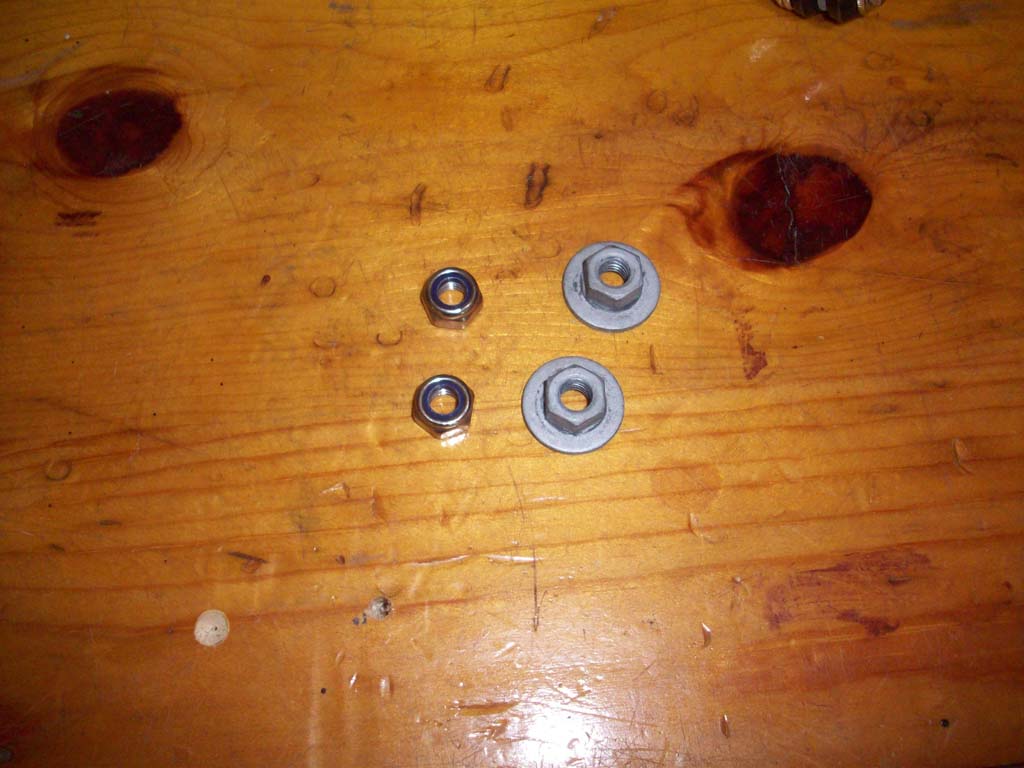
| Install the upper latch on the hood. The nuts that were supplied with the latches were simple nylock nuts without washers. Not what I really liked to see, but the studs on the new latch pieces were the same thread pattern as the factory, so I reused the factory nuts to hold it in place. You will need a 10mm socket and ratchet. |
 |
 |
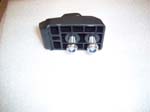
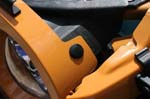
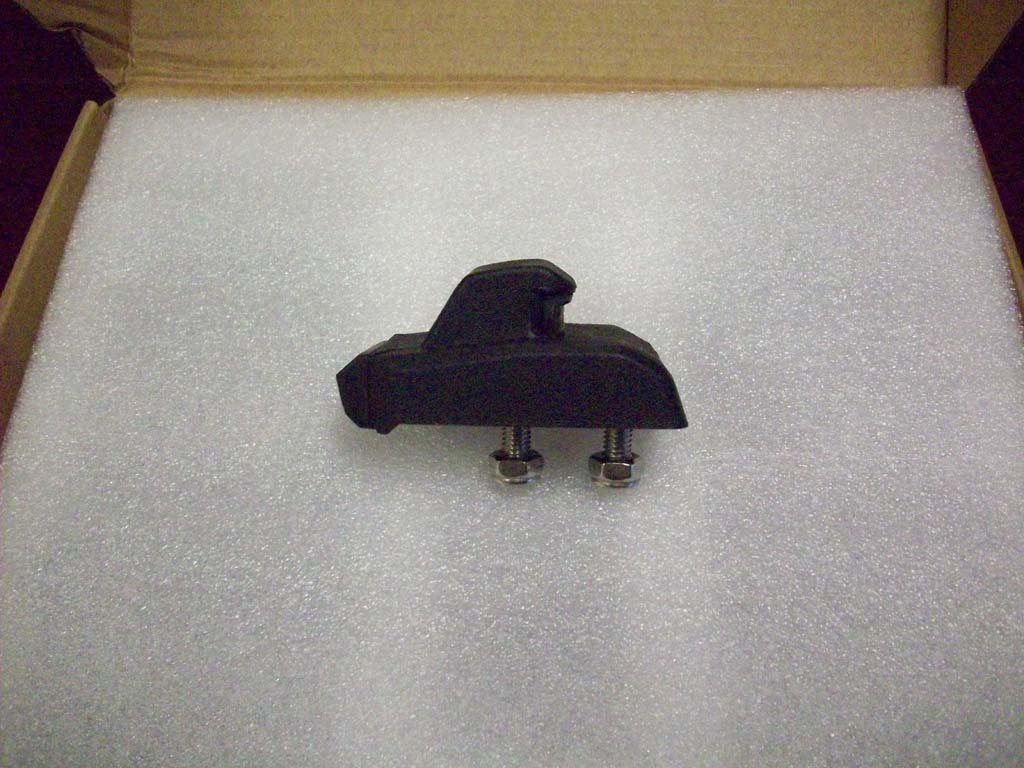
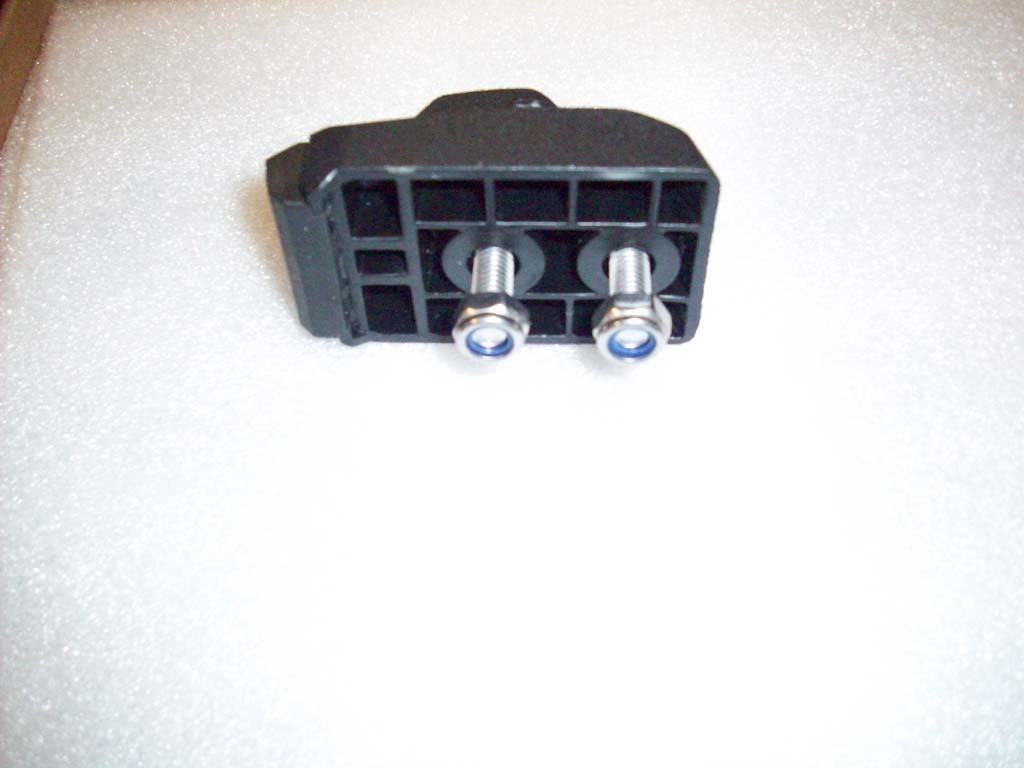
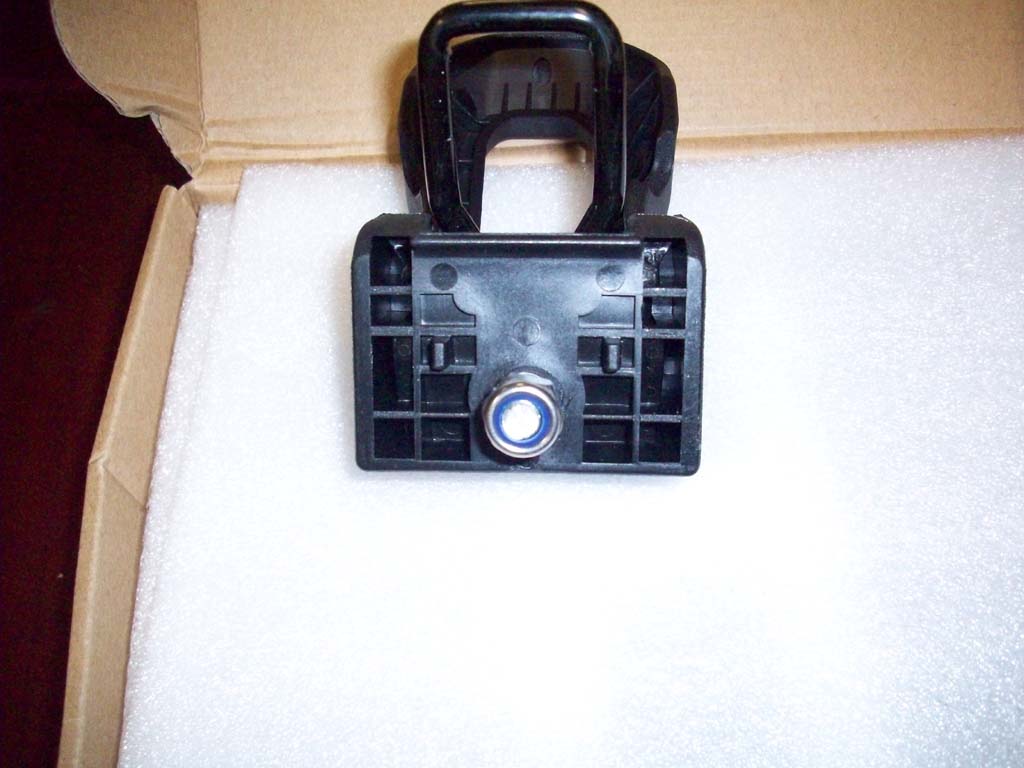
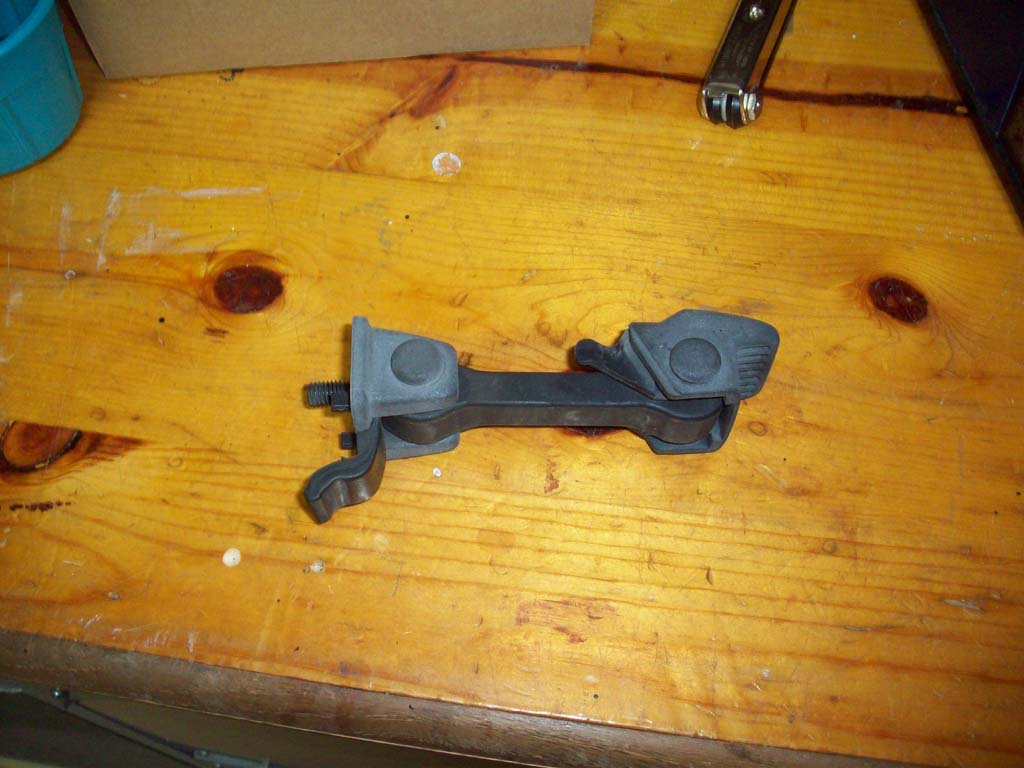
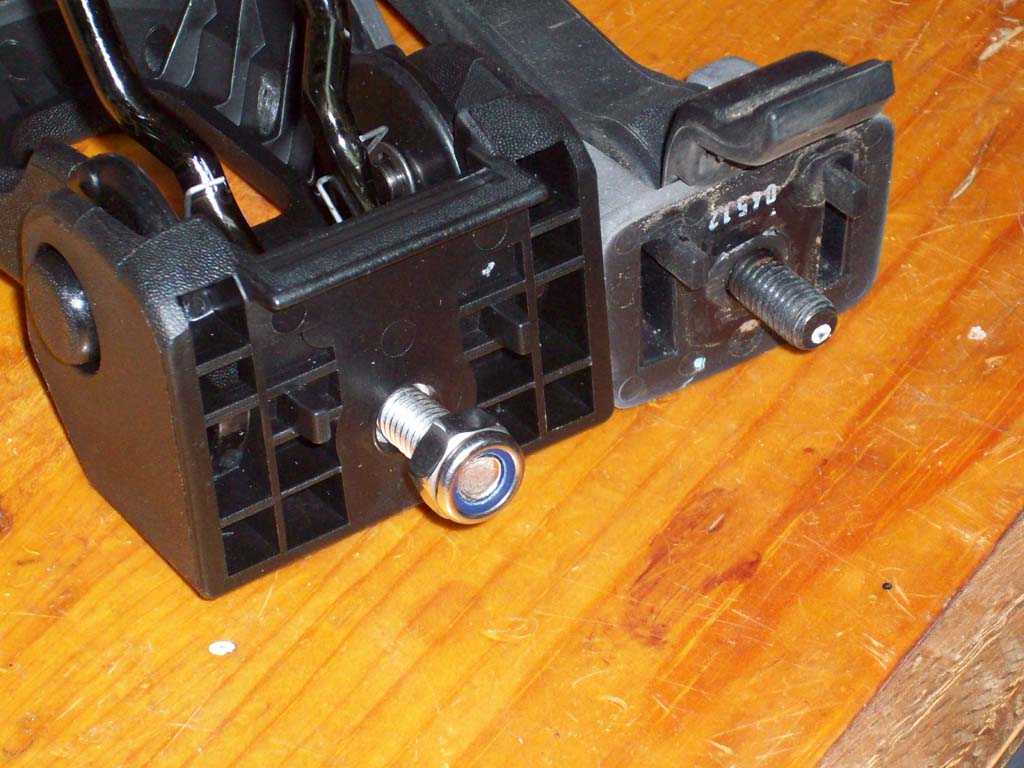
| You can see that the JL/JT style hood latches have a larger mounting base than the JK's. There is plenty of room for the larger base on the JK's. The studs are the same size and thread pattern. |
 |
 |
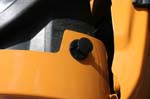
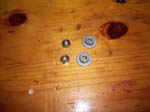
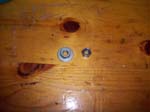
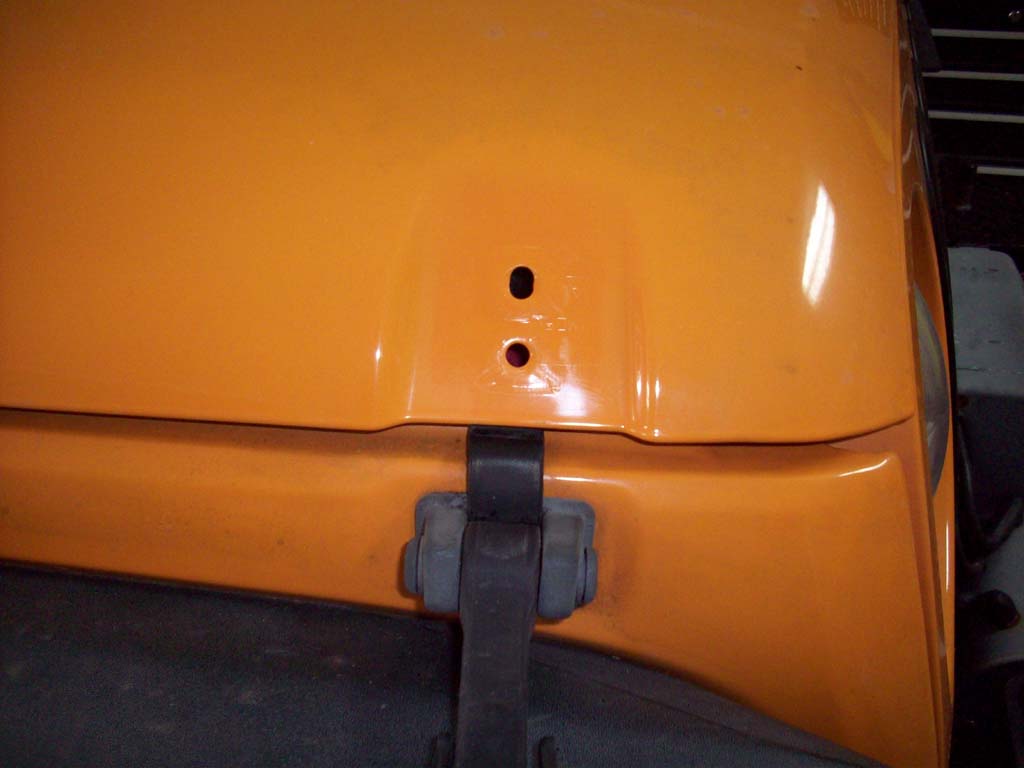
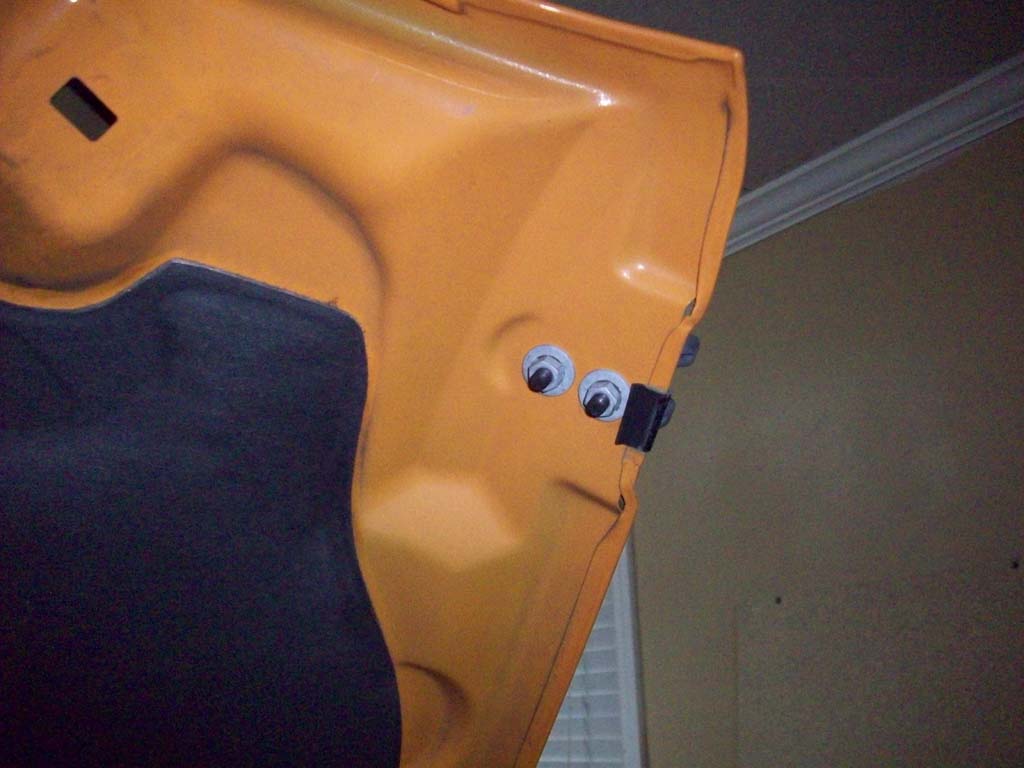
| The main difference between the two is that the two alignment pins are closer to the stud on the JL/JT latches than on the JK's. And if you already guessed it. Break out the drill. |
 |
 |
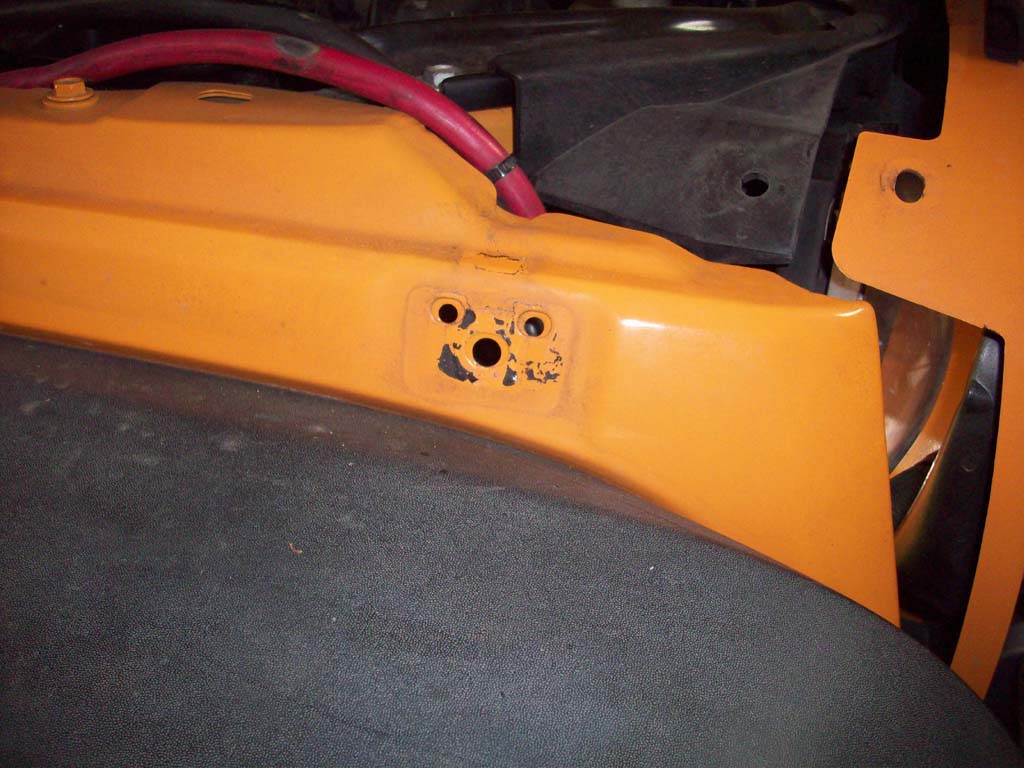
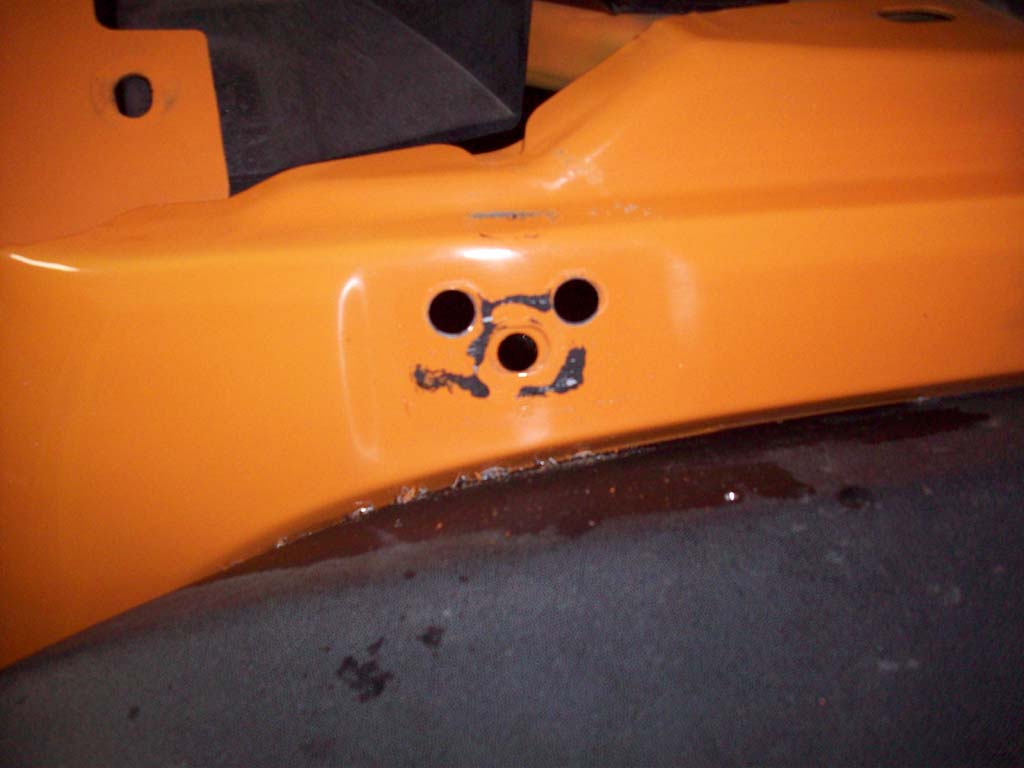
| Drill out the two (2) upper holes where the alignment pins go using a 3/8" drill bit and drill. I recommend using a step drill bit since it will give you a cleaner hole. Use some touch up paint to clean up the bare metal. |
 |
 |
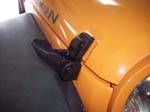
| Install the lower latch on the fender. The nuts that were supplied with the latches were simple nylock nuts without washers. Not what I really liked to see, but the studs on the new latch pieces were the same thread pattern as the factory, so I reused the factory nuts to hold it in place. You will need a 13mm socket and ratchet. |
 |
 |
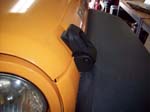
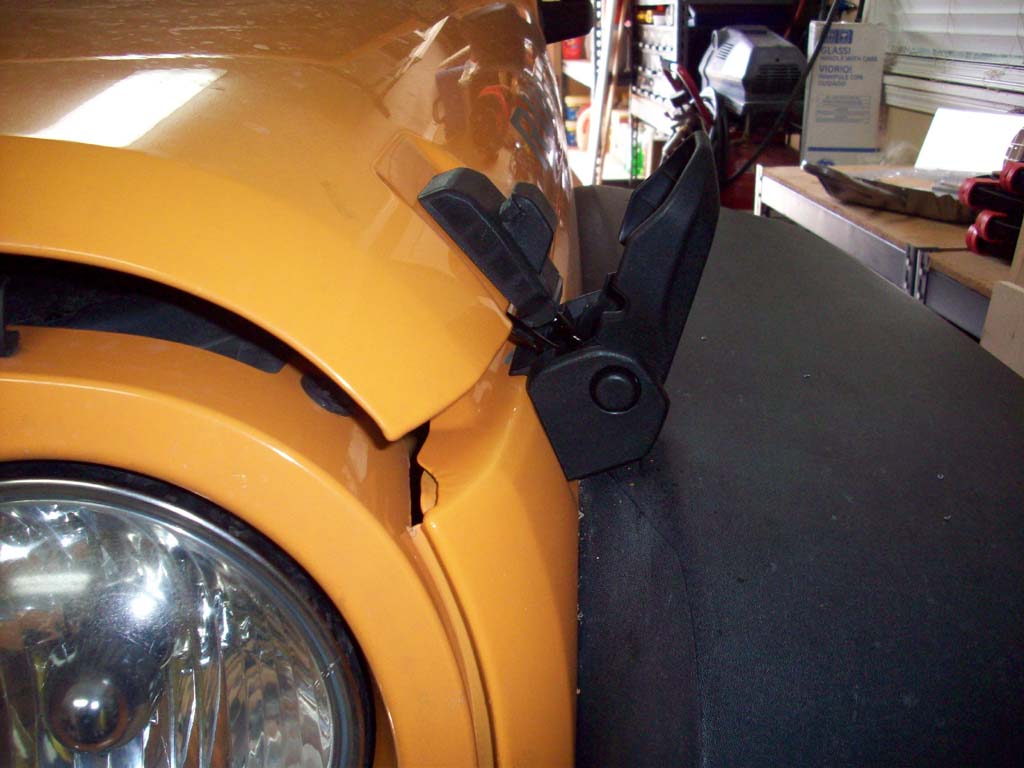
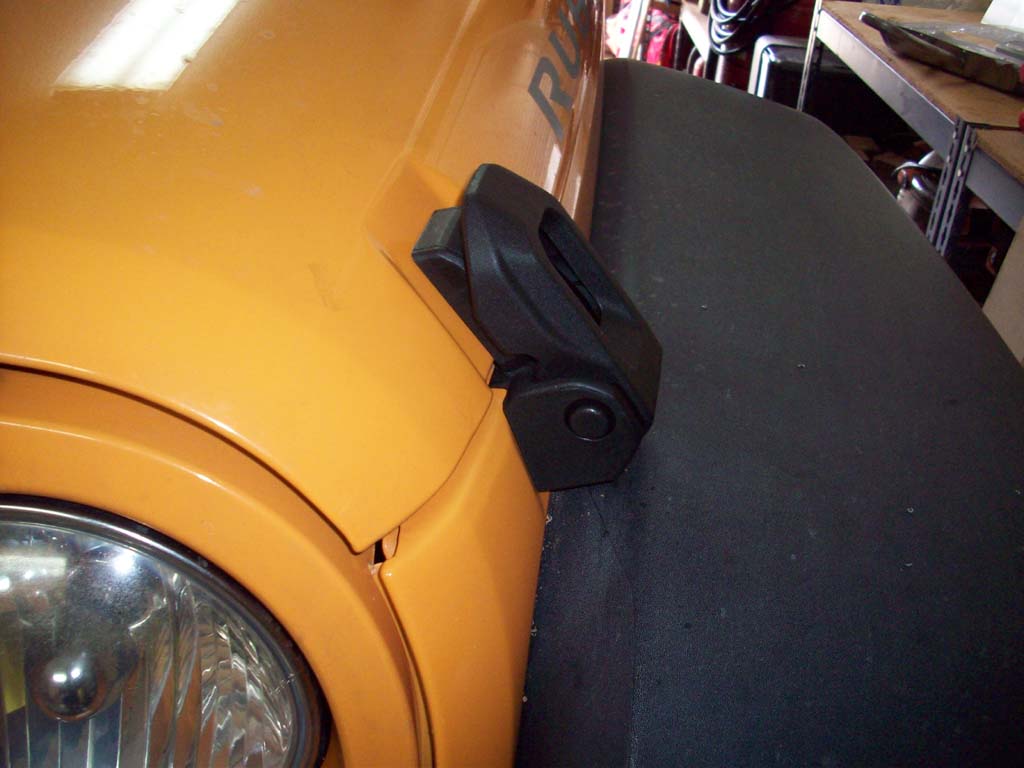
| Now shut the hood and check the alignment between the upper and lower latch sections. Adjust as neccessary to get them lined up. You will probably run into the problem of the latch getting stuck under the hood initially. It takes a little to get them out from under the hood lip the first couple of times, but they do adjust themselves so this problem goes away. |
 |
 |
| Push the grill back into position and reinstall the push pins holding it in place. |
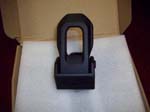
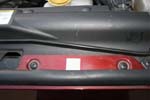
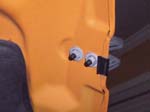
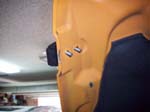
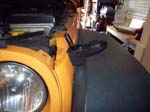
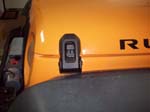
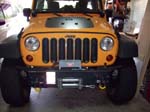
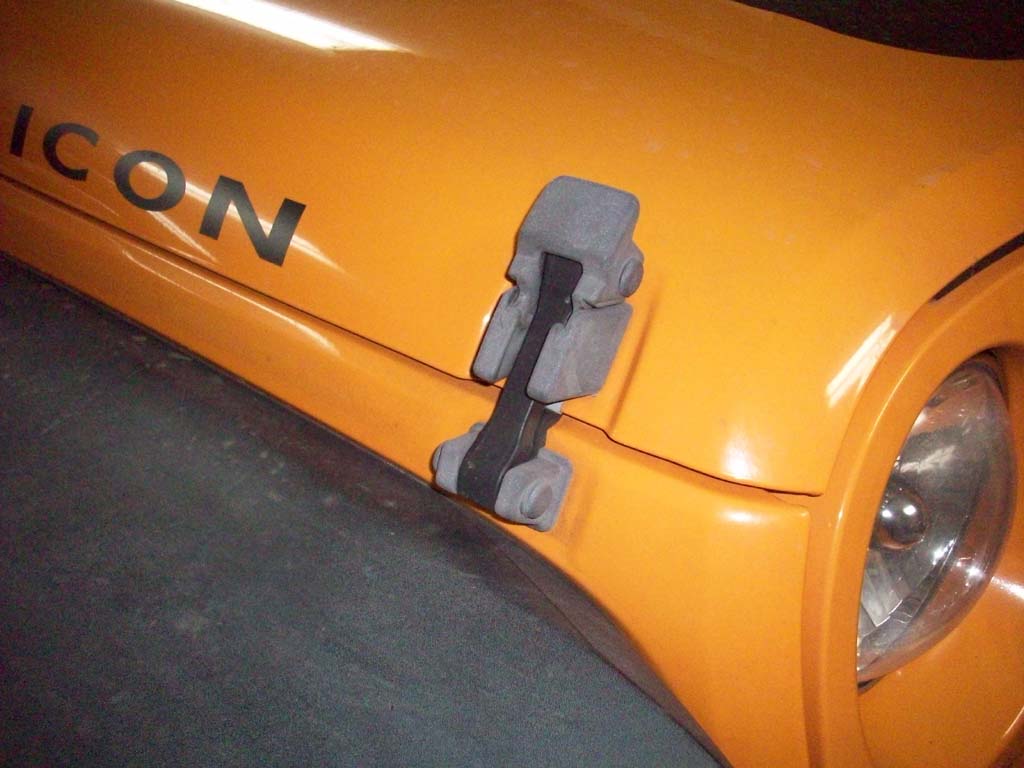
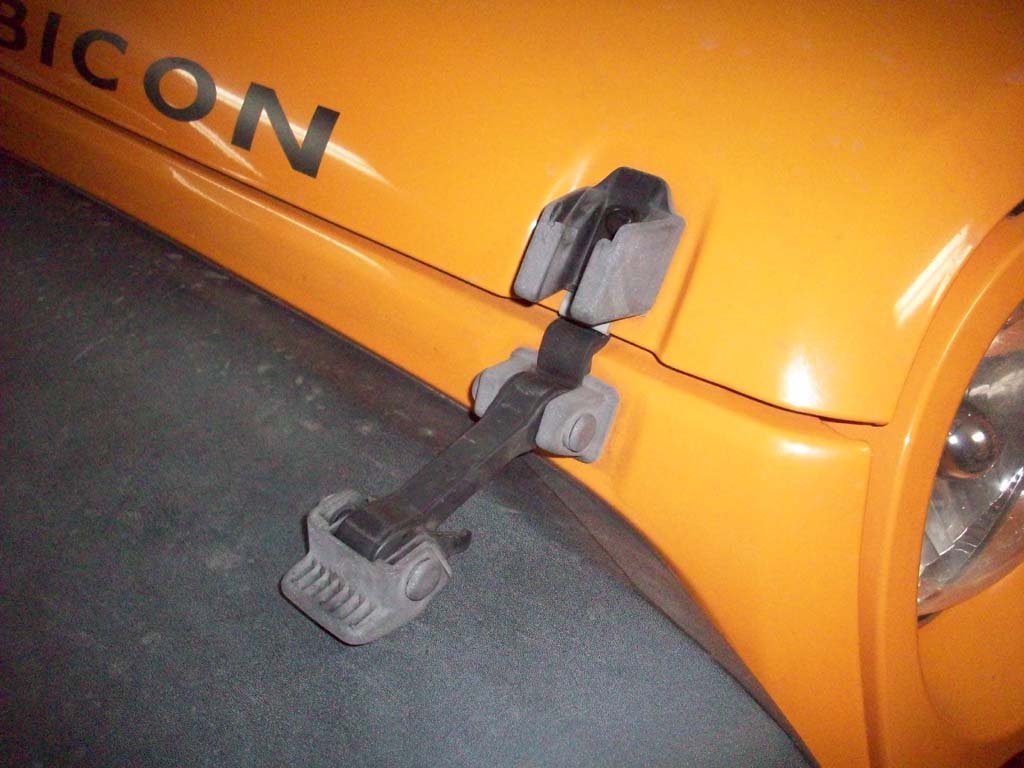
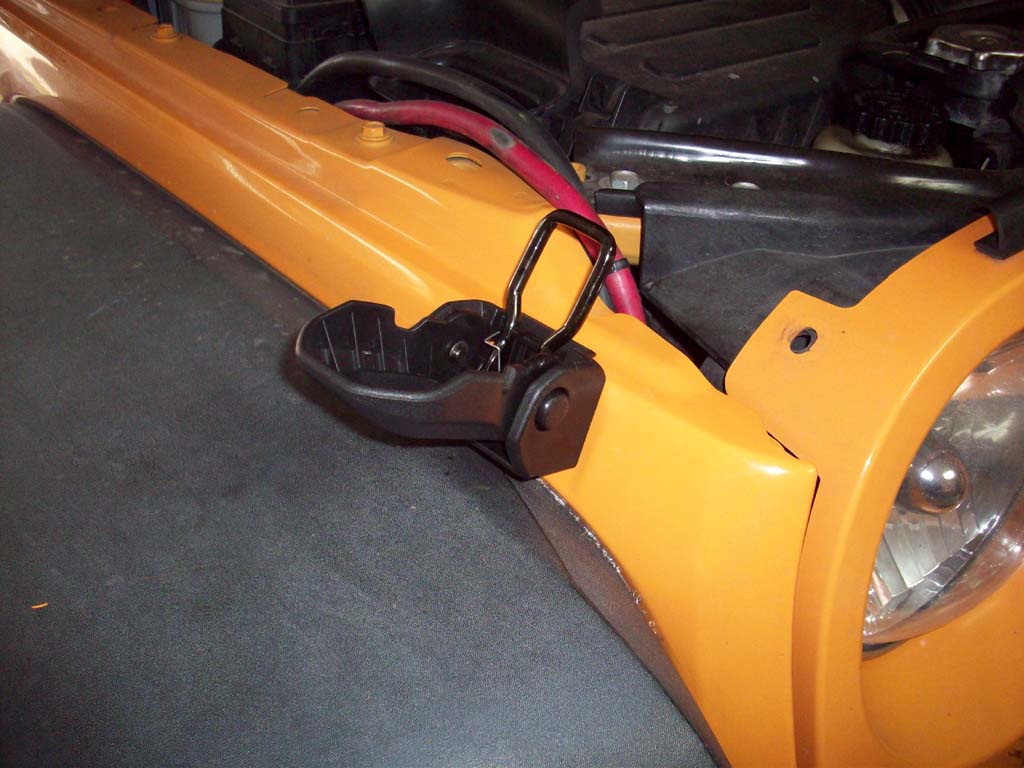
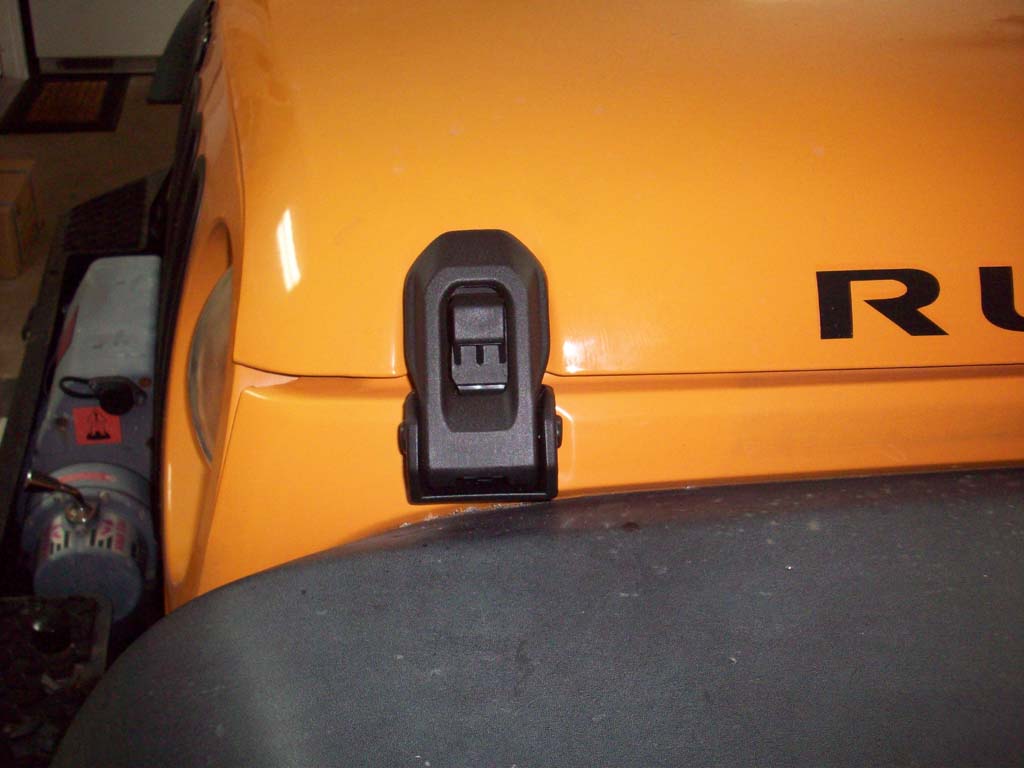
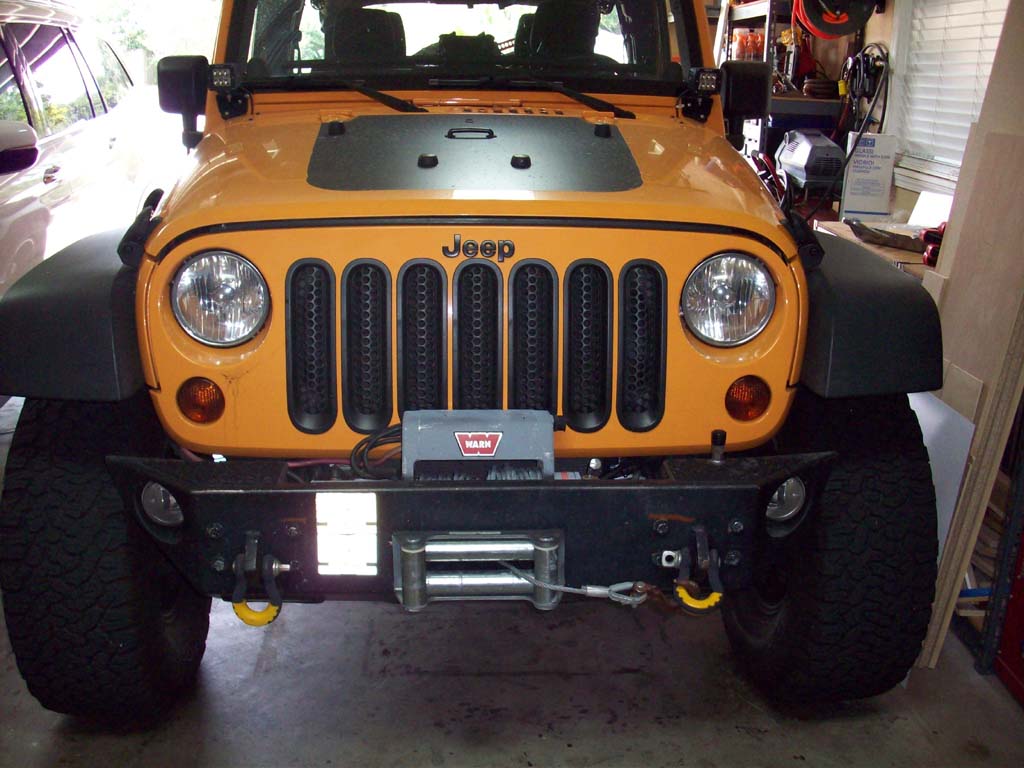
| Here is the finished install. They actually look pretty nice on the hood and really do hold it in position. I can't lift up on the hood without actually causing the hood itself to deflect. There is zero flutter at freeway speeds. Definately an improvement over the stock latches for the JK. |
 |
 |
 |
 |


