I’ve been off road enough times to have learned a few lessons about things. One of them is that I never seem to have enough air hose to reach the location that we need it on the disabled vehicle. Now while 25ft of coiled air hose (that’s what it says on the package, not reality) is great for airing up your vehicle, or one next to you, it’s just not enough to reach anything further. I also discovered that airing down all 4 tires at once was pretty cool (Thanks Staun), I didn’t like walking around and airing up each tire individually. So I though why not do all 4 at once, but that quickly died as I thought about all the hoses, and stuff that I would need. Now I really wanted about 50ft of coiled air hose also. So a few thoughts were born and I came up with this. I have seen something similar on a forum lately using a cross 4 way instead of the 4 way I used. I thought about that, but realized it would be too bulky of a setup for storage. I also checked and couldn’t find one in any of the local hardware stores, or the harbor freight (one of the smaller stores) that we had in town. You can get the majority of this stuff at Lowes, Home Depot or Wal-mart. The nice thing about this set up is I now have 50ft of air hose at my disposal, and a way to monitor pressure and have a shut off valve available for use.
Additional
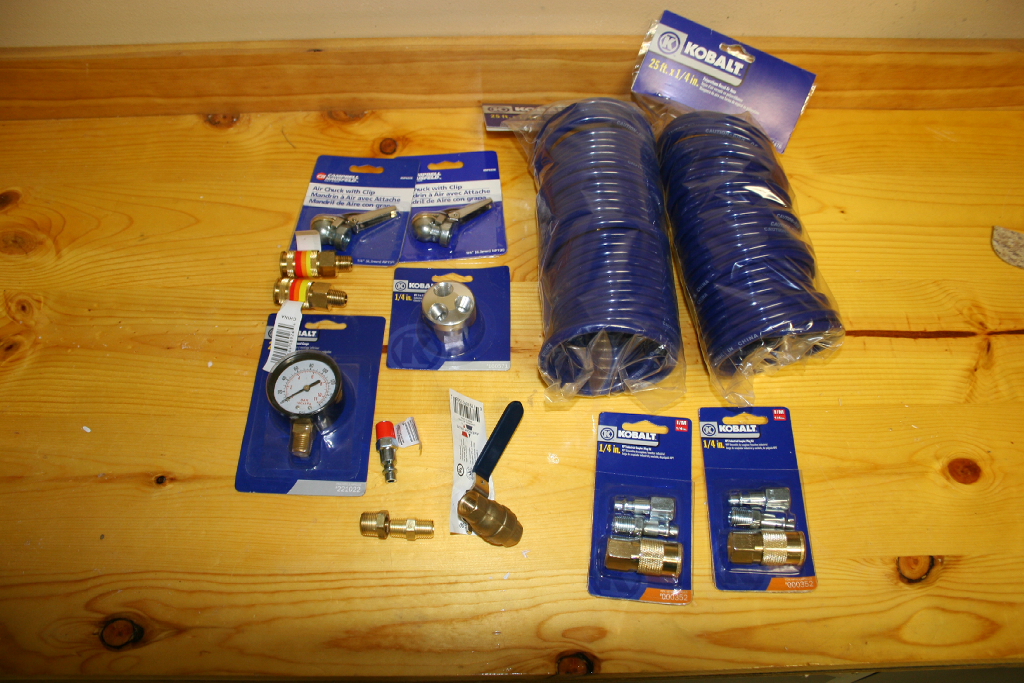
Parts:
2 – 25ft coiled air hoses
3 – 1/4" male quick connects
2 – 1/4" female quick connects
2 – 1/4" female quick connect couplings
2 – 1/4" male quick connect couplings
2 – 1/4” clip on air chucks
1 – 4 way air manifold
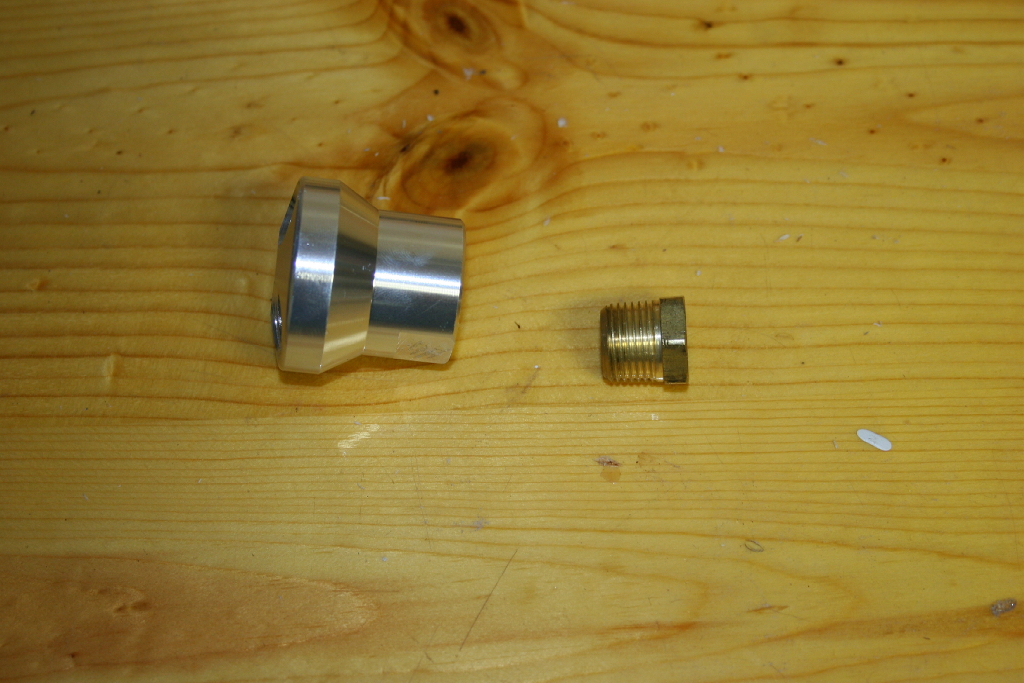
1 – 3/8” to 1/4” reducer
1 – 1/4” ball valve
1 – 1/4" male coupling
1 – 0-160lb 1/4" air gauge
Teflon tape
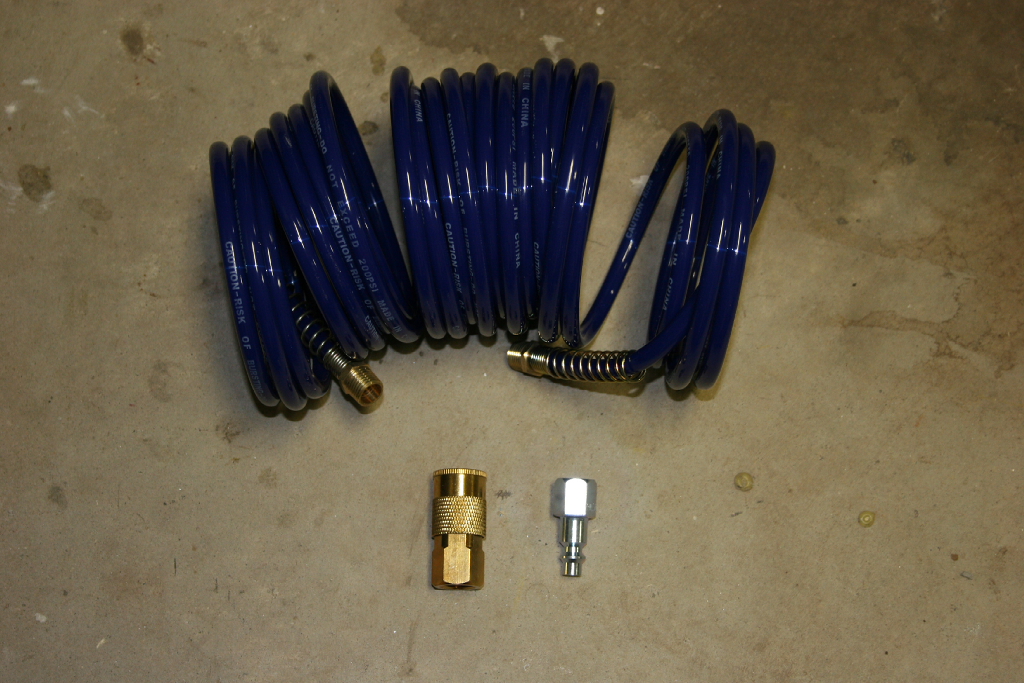
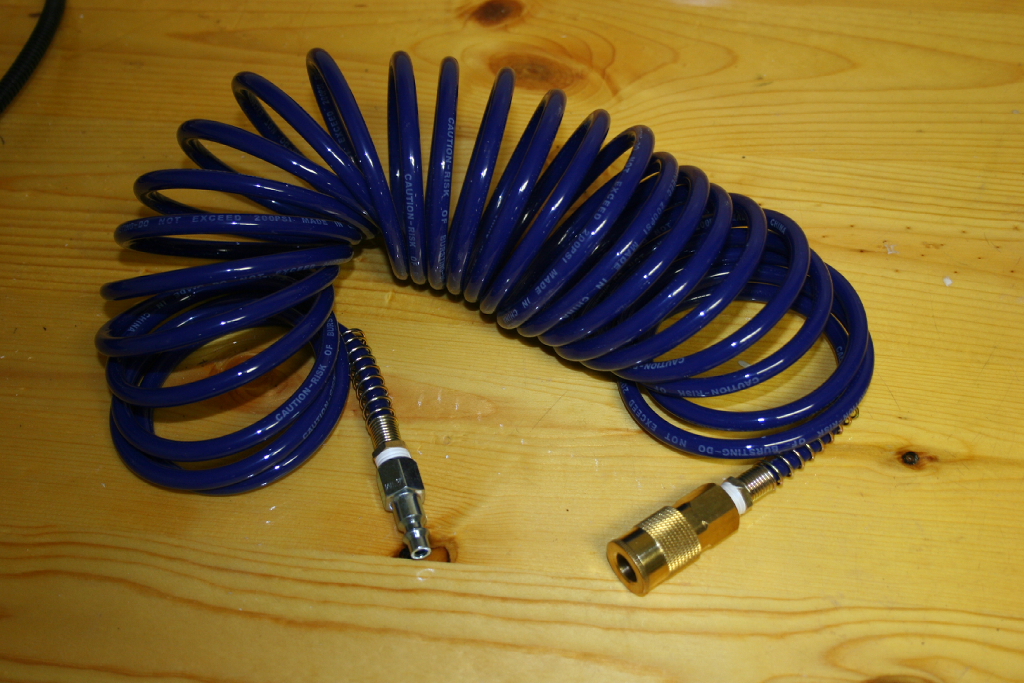
Wrap the ends with Teflon tape, and install one 1/4" female quick connect coupling and one 1/4" female quick connects on each end.
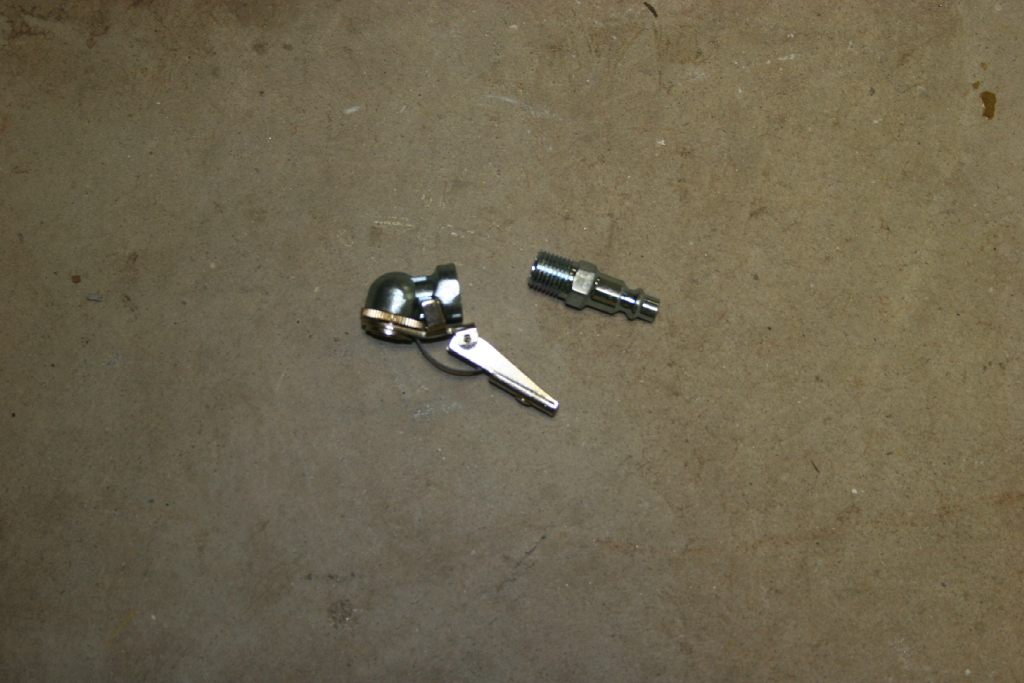
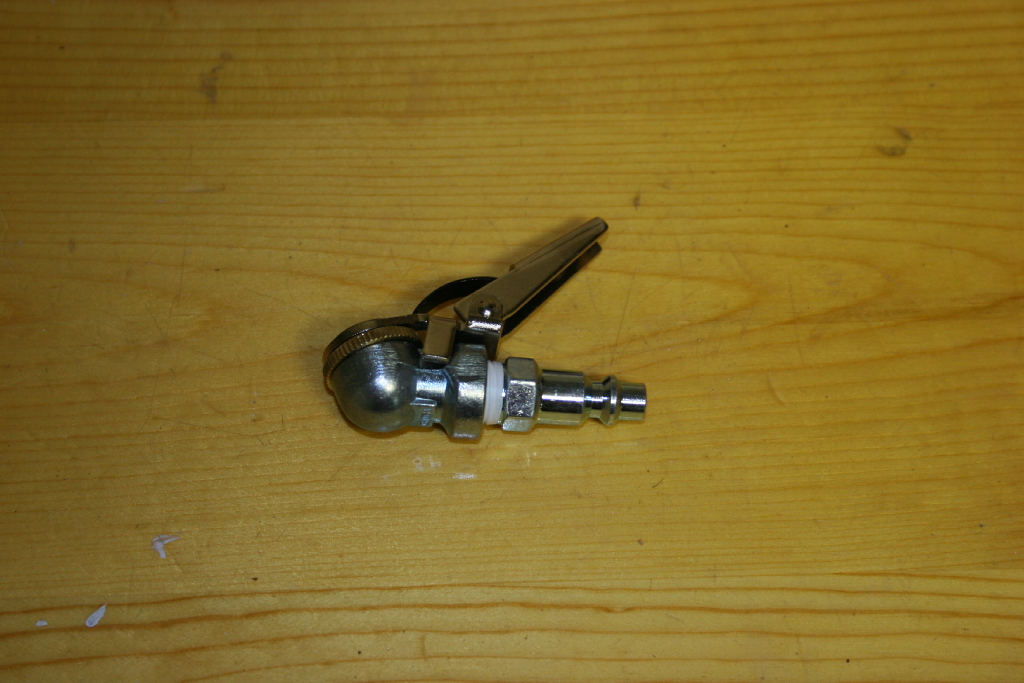
Assemble the air chucks:
Wrap the end of the 1/4" male quick connect with Teflon tape and install in each air chuck.
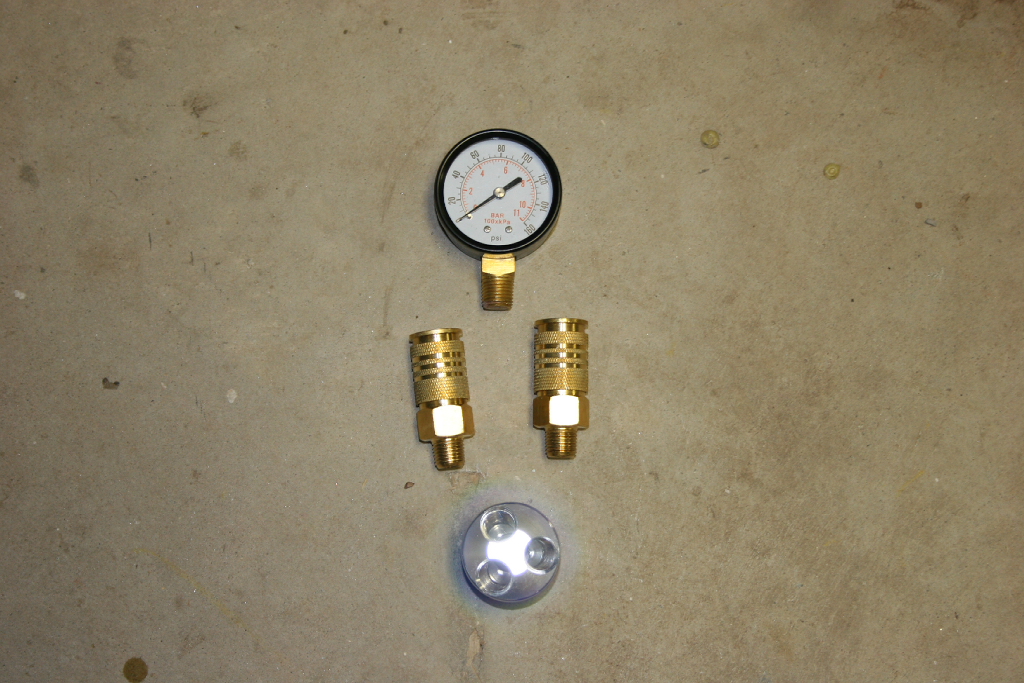
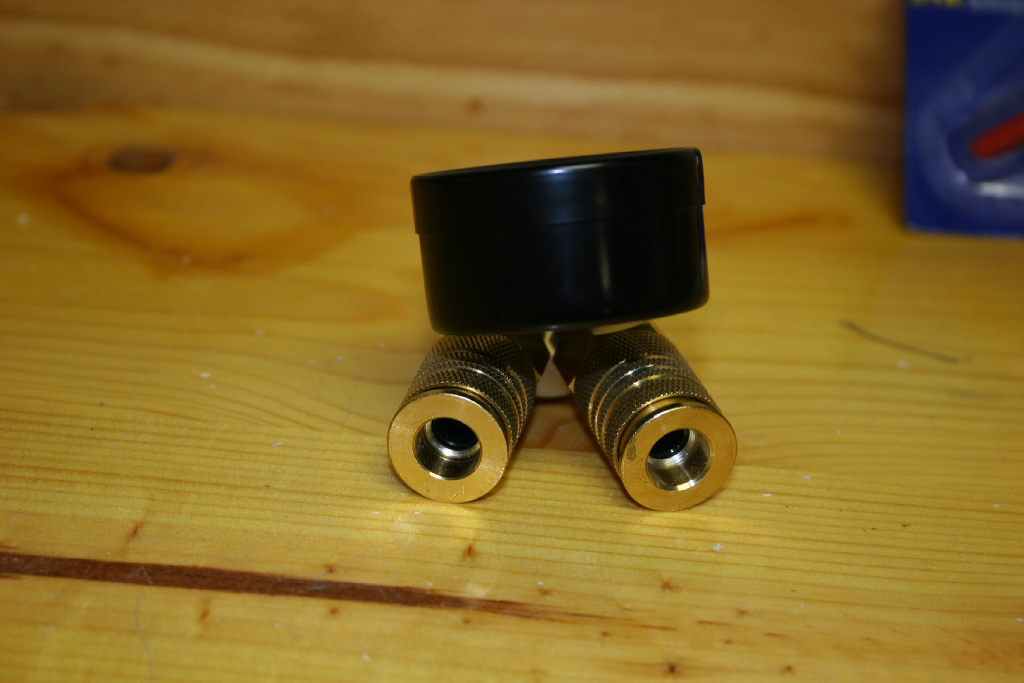
Assemble the 4 way fitting:
Wrap Teflon tape on the air gauge, both 1/4" male quick connect couplings, and the 3/8” to 1/4" adaptor.
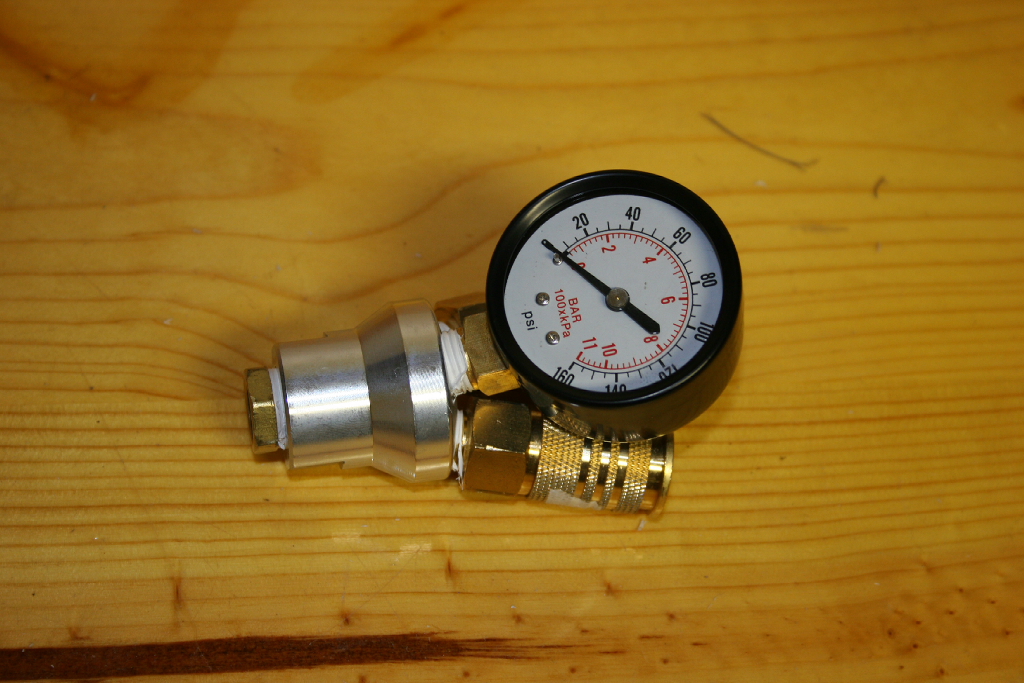
Install the air gauge in one of the holes in the top of the 4 way fitting; ensure that the gauge is pointed up with the other two fitting on the bottom. The gauge should be at the top of the triangle formed by these holes. Install the 1/4" male quick connect couplings in the remaining holes.
Install the 3/8” to 1/4" adaptor in the base of the 4 way fitting.
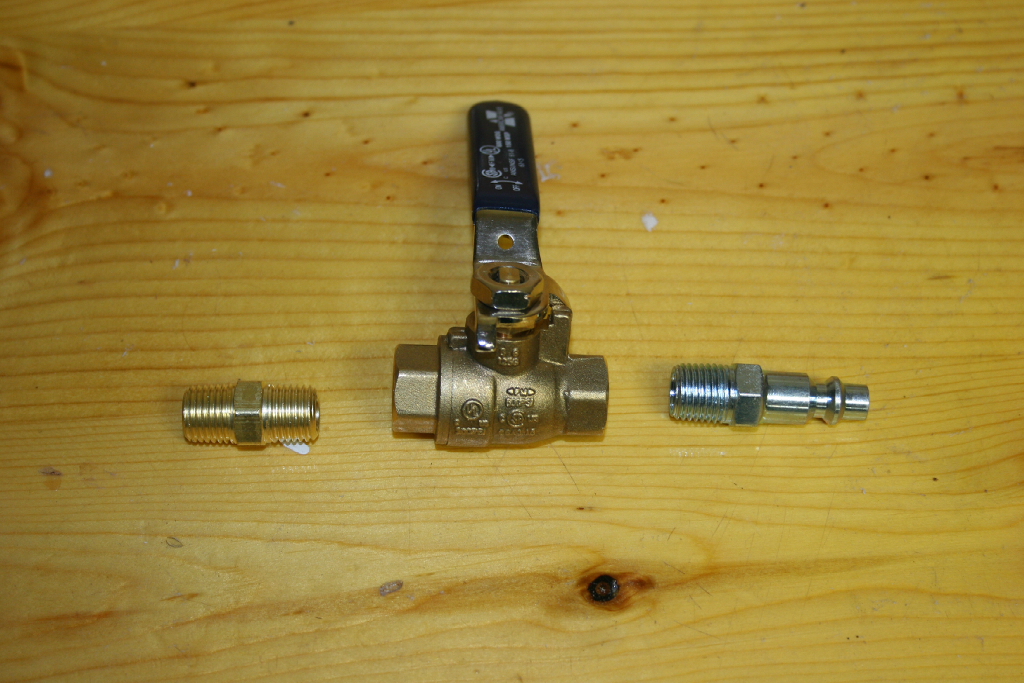
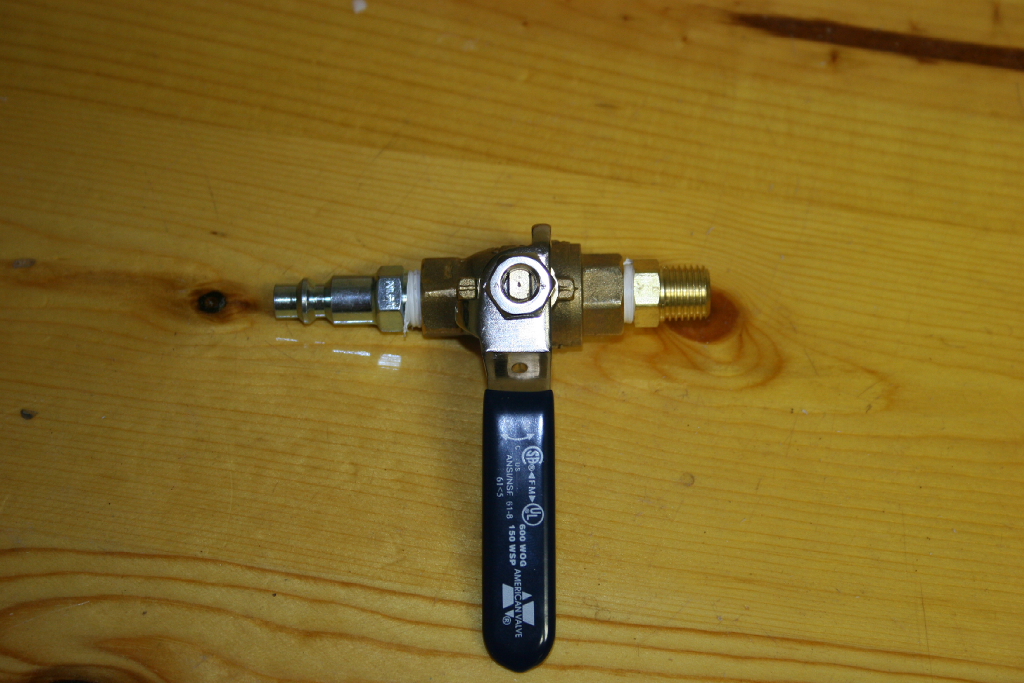
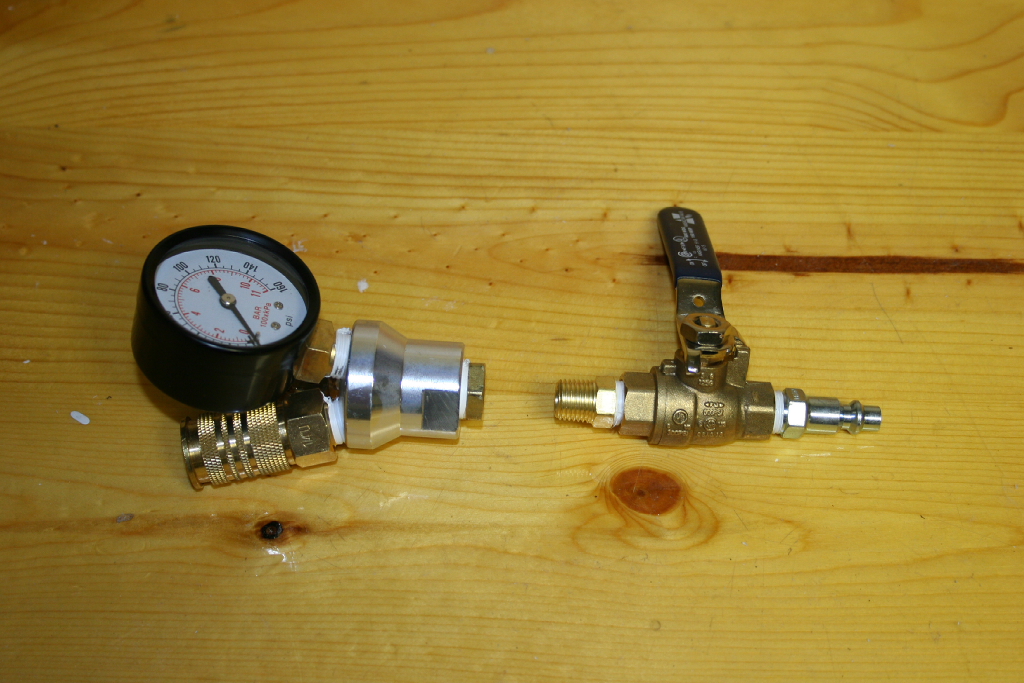
Wrap Teflon tape on the 1/4" male quick connect and on one side of the 1/4" male coupling.
Install the 1/4" male coupling and 1/4" male quick connect in the 1/4" valve. I choose to have the handle point towards the gauge when it was open, this way you don’t have to worry about clearance over the air fitting on the vehicle.
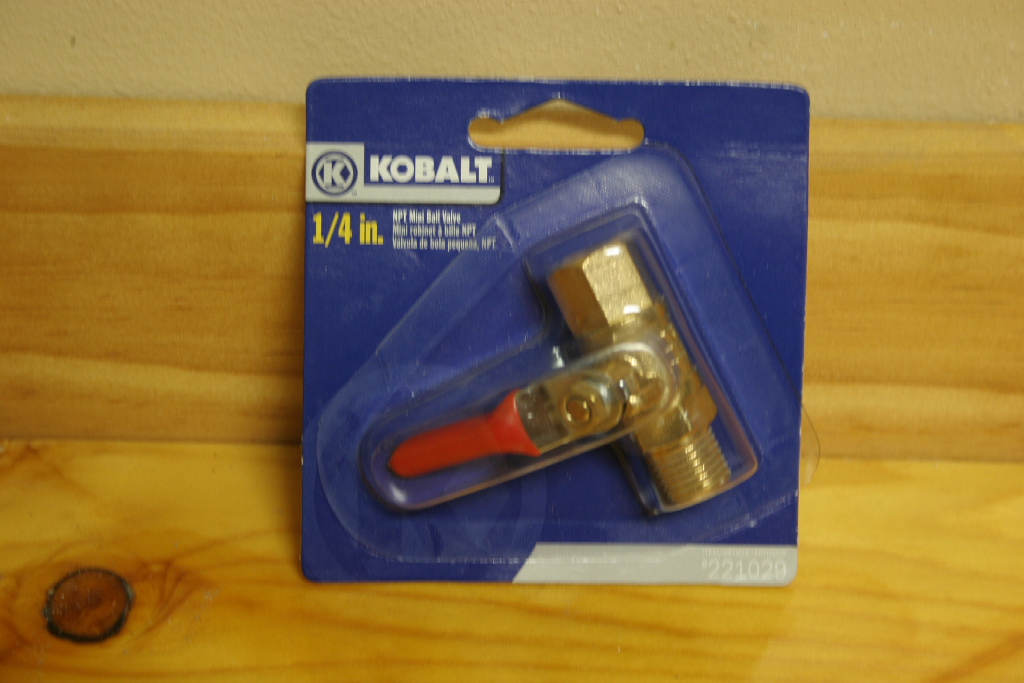
Note: This Kobalt 1/4" air valve is only rated for 90psi and should not be used with this system since most OBA systems maintain between 120 and 150psi.
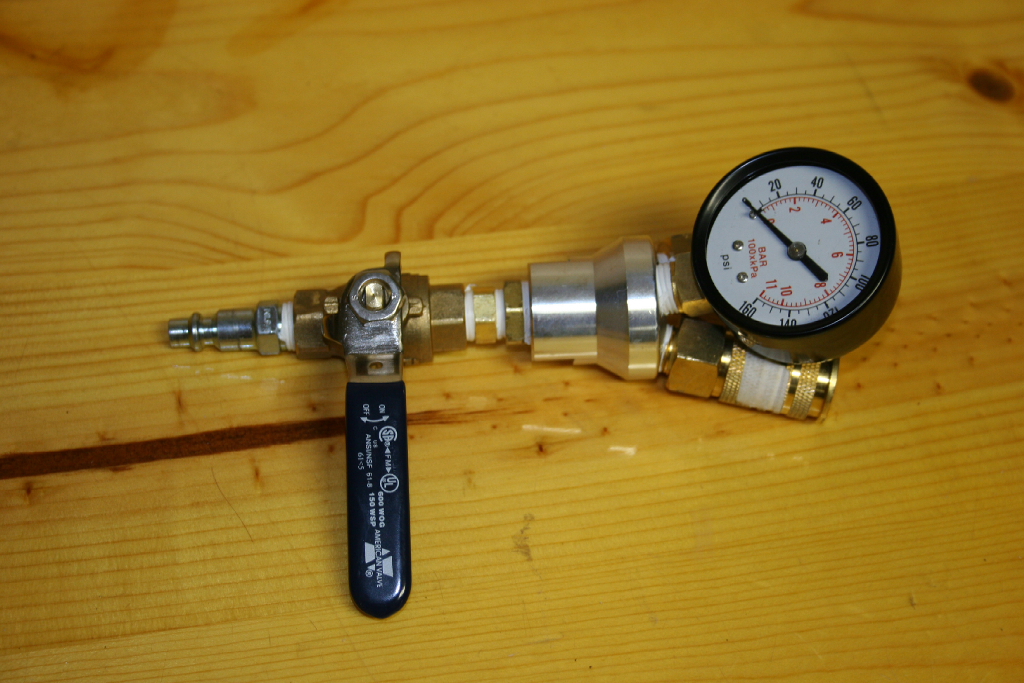
Wrap Teflon tape on the exposed end of the 1/4" male coupling and install the valve into the 3/8” to 1/4" adaptor that you had previously screwed into the base of the 4 way manifold. You will want to have the valve handle somewhere near the top with the gauge.
Pressure test:
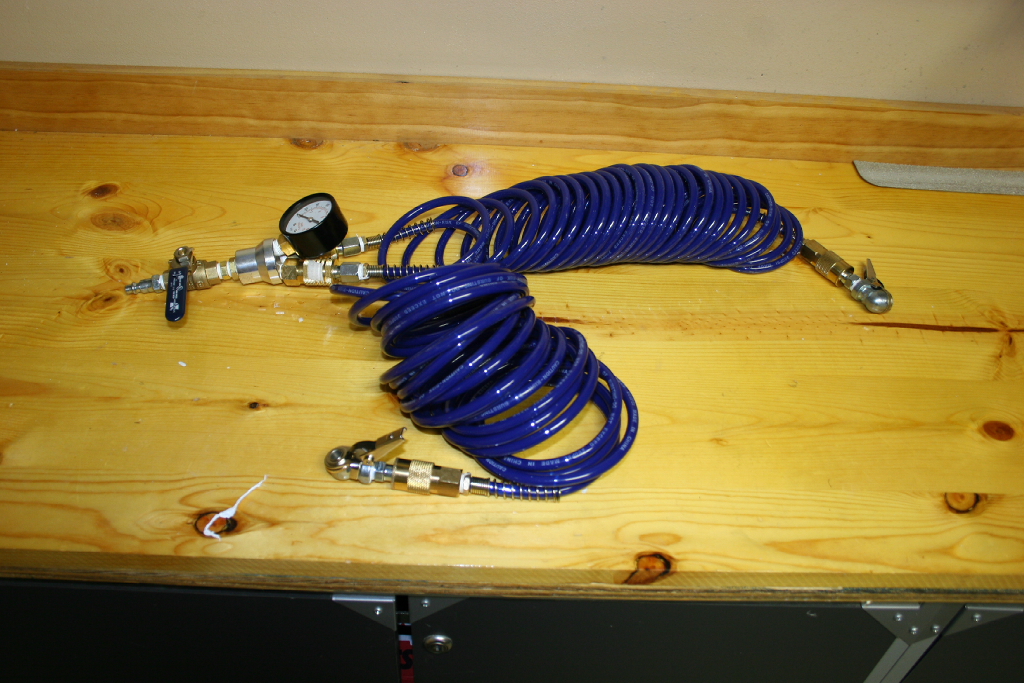
Hook everything together and plug it into an air source. Then just spray the fittings with a soapy solution (Bubble soap works well for this).
Notes:
The manifold is aluminum and while it has brass fittings screwed into I shouldn’t see dissimilar metal corrosion, I may see some normal oxidation on the aluminum. I will see how this holds up over time.