I took a trip up to Tennessee one weekend and on the way back the ZJ decided it didn't want to go fast anymore. It was very painful limping down the freeway at less than 45mph at times. I settled for a long drive back. When I got back I checked with a few Jeep mechanic's that I know and they all pointed to the need to replace the fuel filters in the tank and while I was at it to drop in a new fuel pump. We did check to see if the pump was putting out the required amount of fuel via the regulator/filter attatched to the top of the tank and at low demand it worked fine, it was only at high demand that the pump couldn't handle it anymore. Now instead of having the dealership do this I decided to tackle it myself, partially for a curiosity point since this pump assembley was basically the same as in the TJ and later LJ's. They did change out the top section, but the way the pump is setup is virtually the same. A little heads up, I am writing this probably 3 years after I did it. I just located the pictures and decided to try and recreate this just by looking at the pictures. Guess it's a test of my mechanical ability here.
| Removing the Tank: |
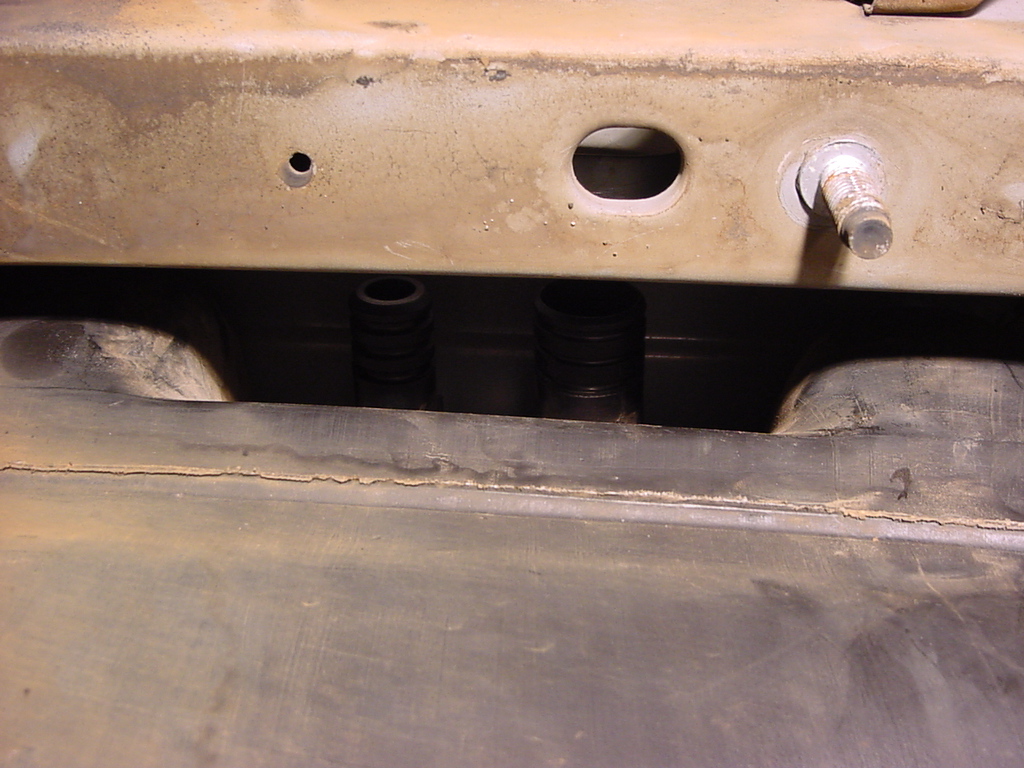
| Open up the hood since we will be dealing with the battery and fuel pump relay. |
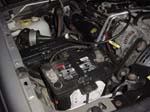 |
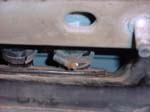
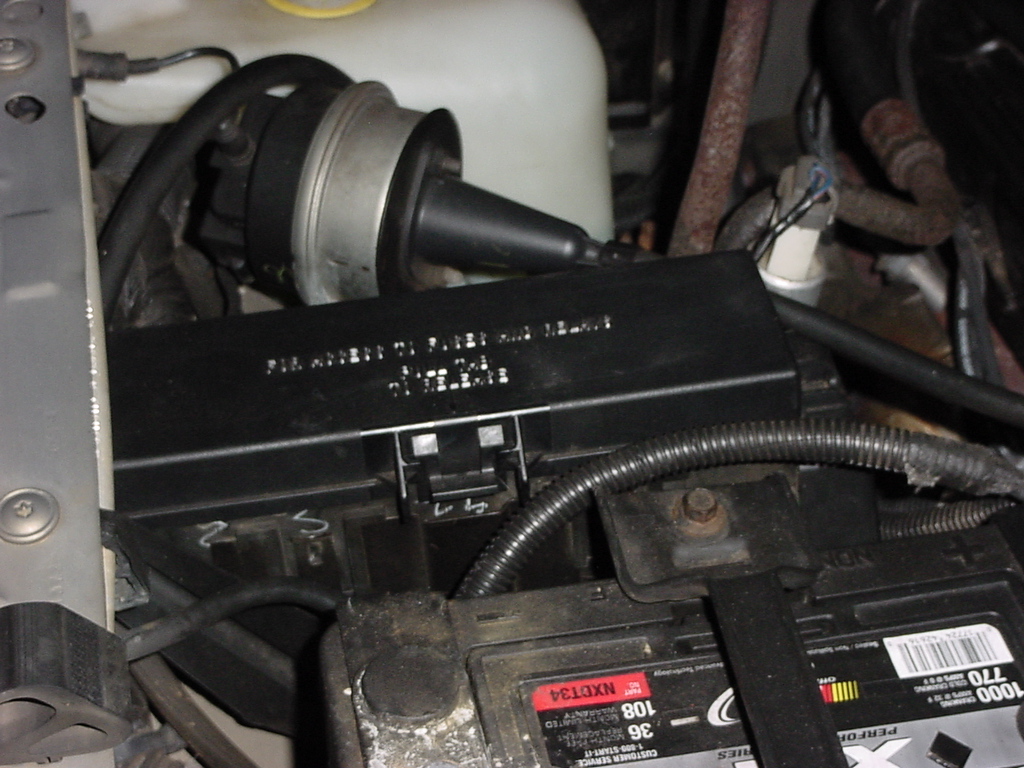
| Open up the fuse and relay box under the hood. |
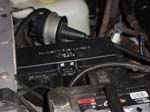 |
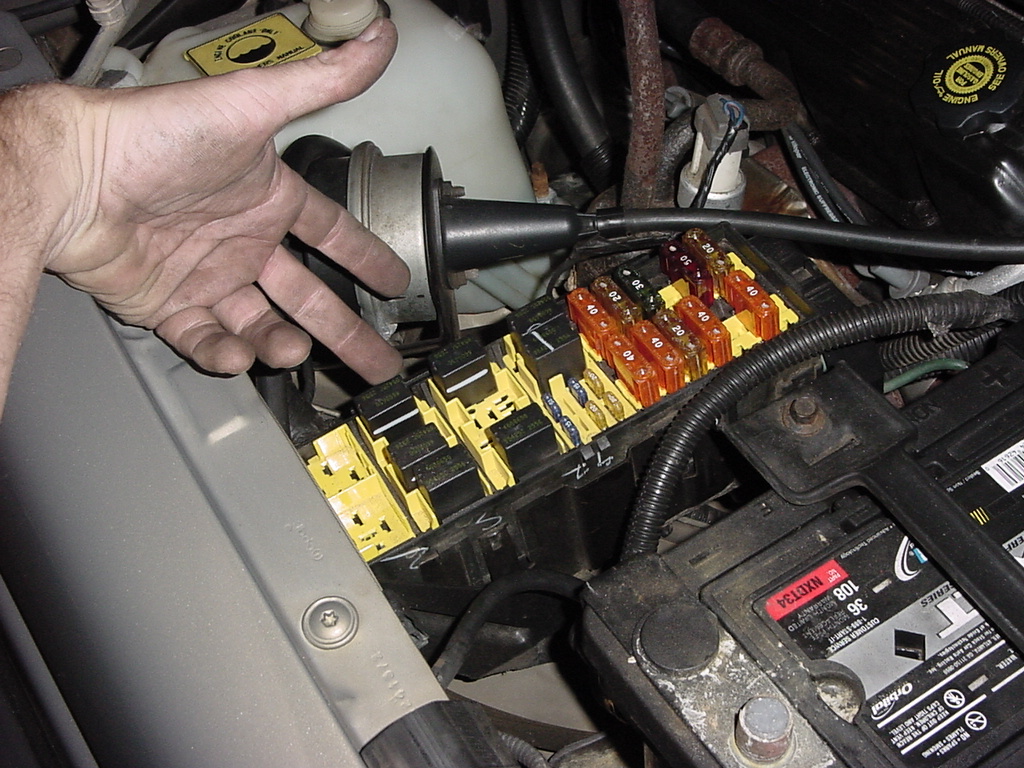
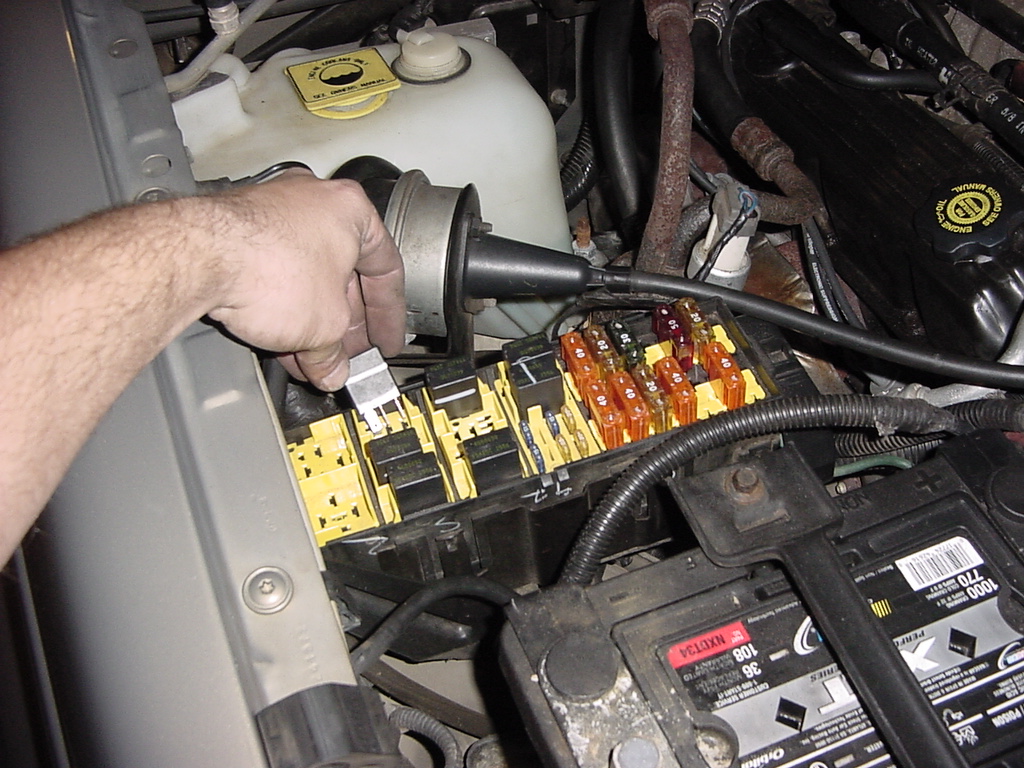
| Locate and remove the fuel pump relay. |
 |
 |
| Now start the jeep and let it run until it dies. This should remove the fuel from the lines to the engine. These lines are pressurized. I did this and still had fuel in the lines so always wear non-vented goggles when disconnecting the fuel lines. |
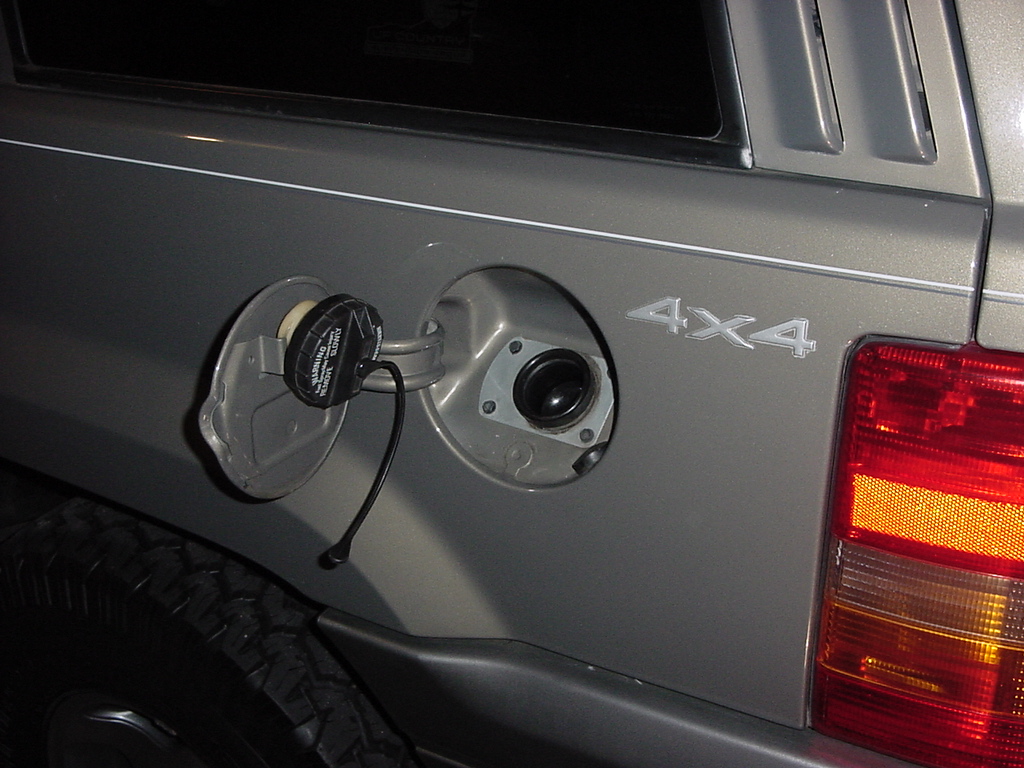
| Remove the fuel cap to depressurize, or repressurize the fuel tank. Mine always seemed to be under a vacuum. |
 |
 |
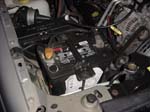
| Disconnect the battery. |
 |
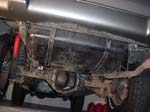
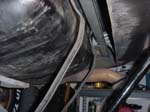
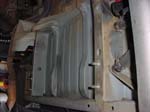
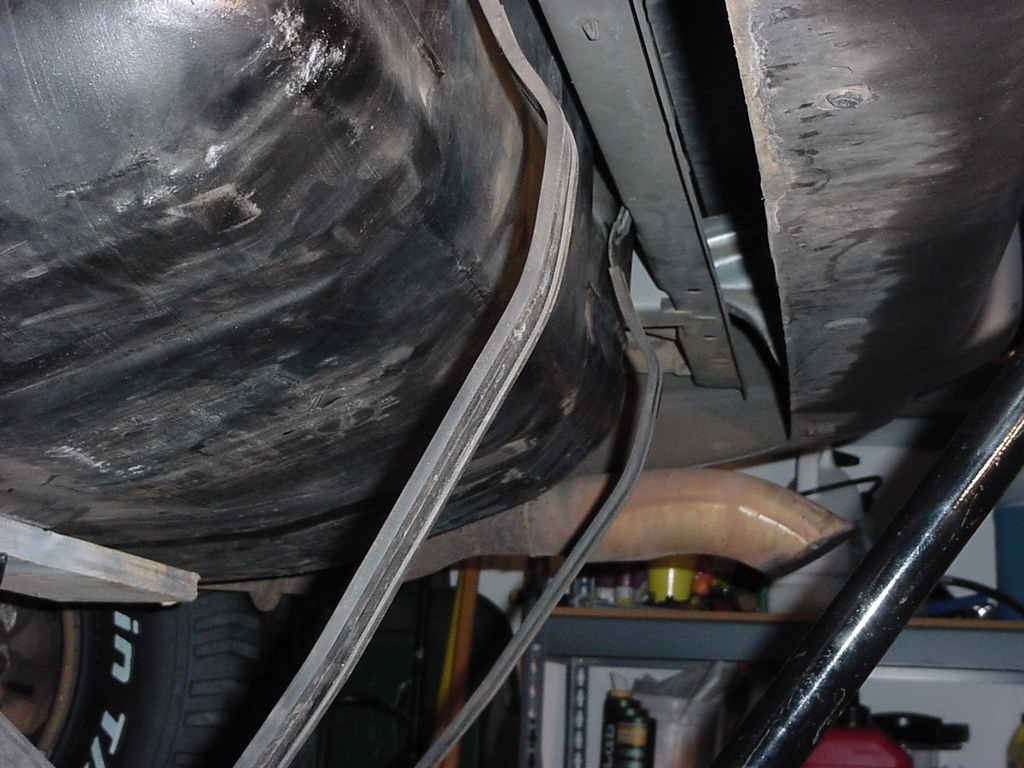
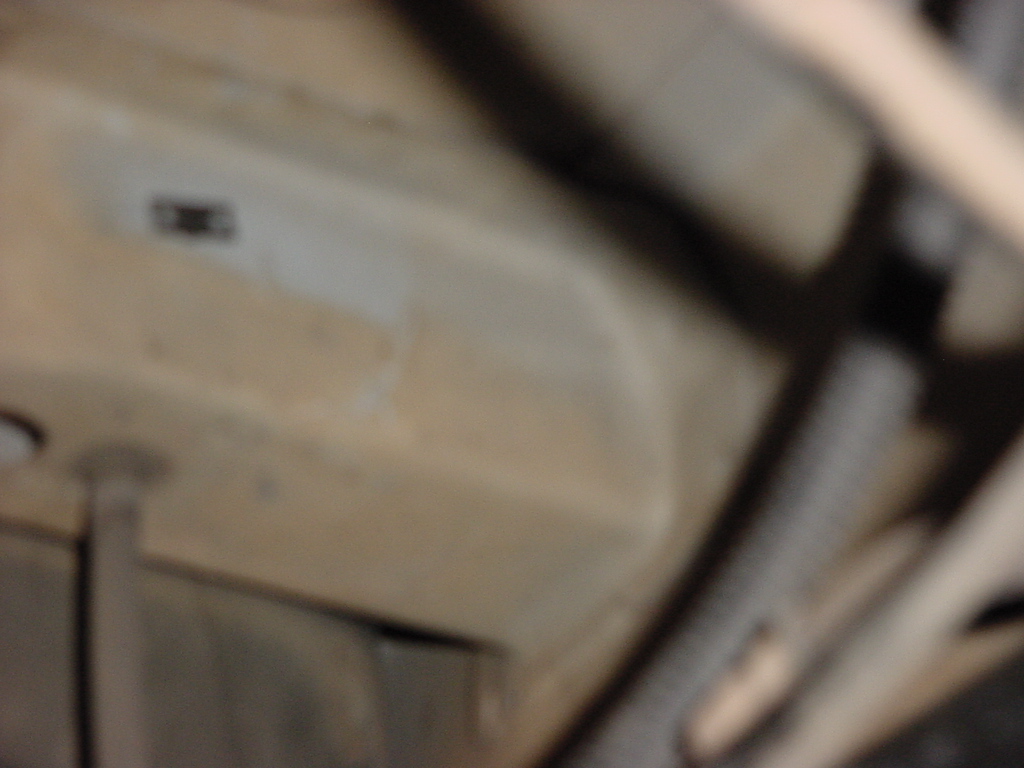
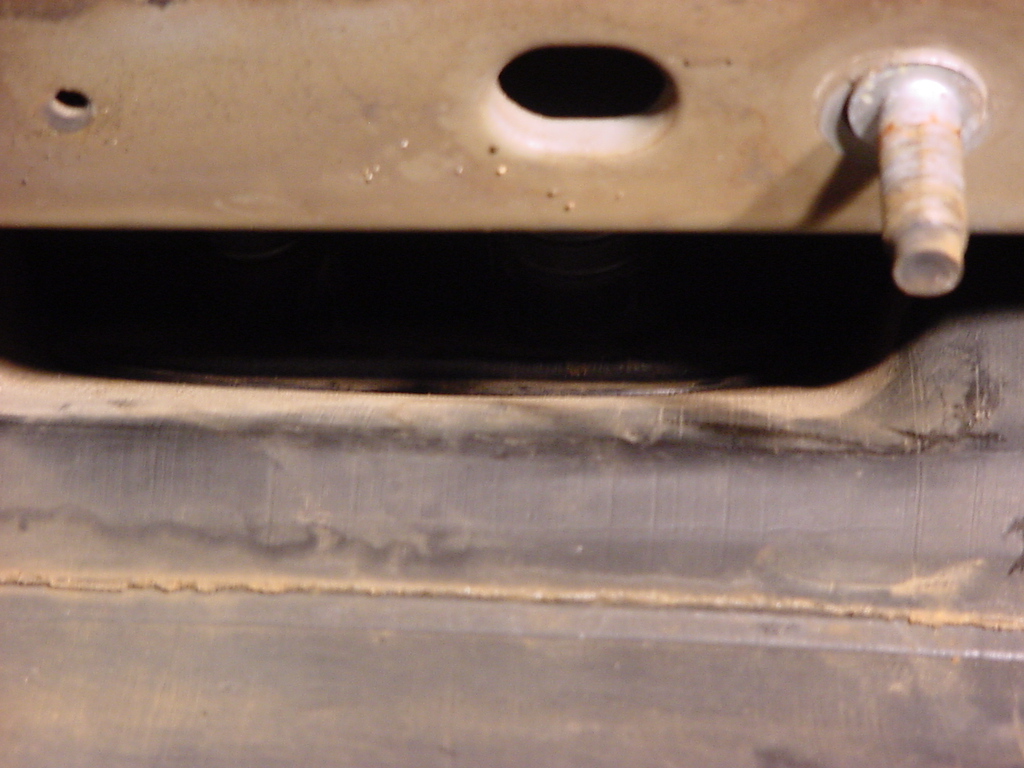
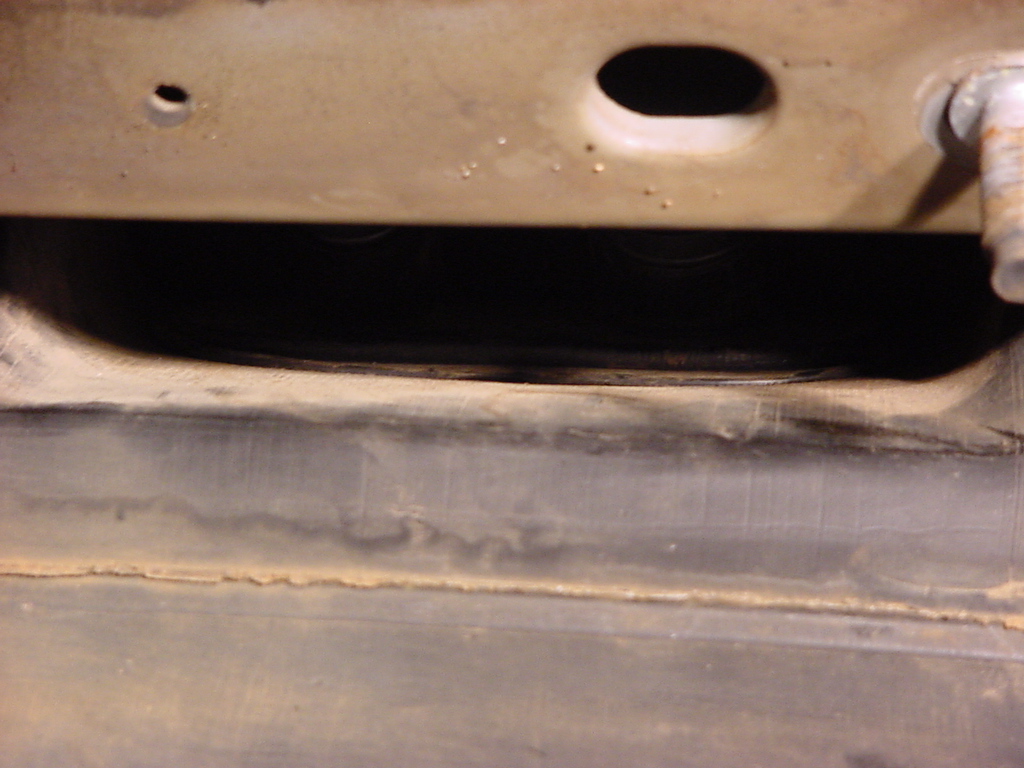
| Remove the fuel tank. What's not pictured here is the trailer hitch and gas tank skid plate that I needed to remove. |
 |
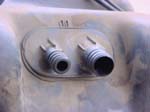
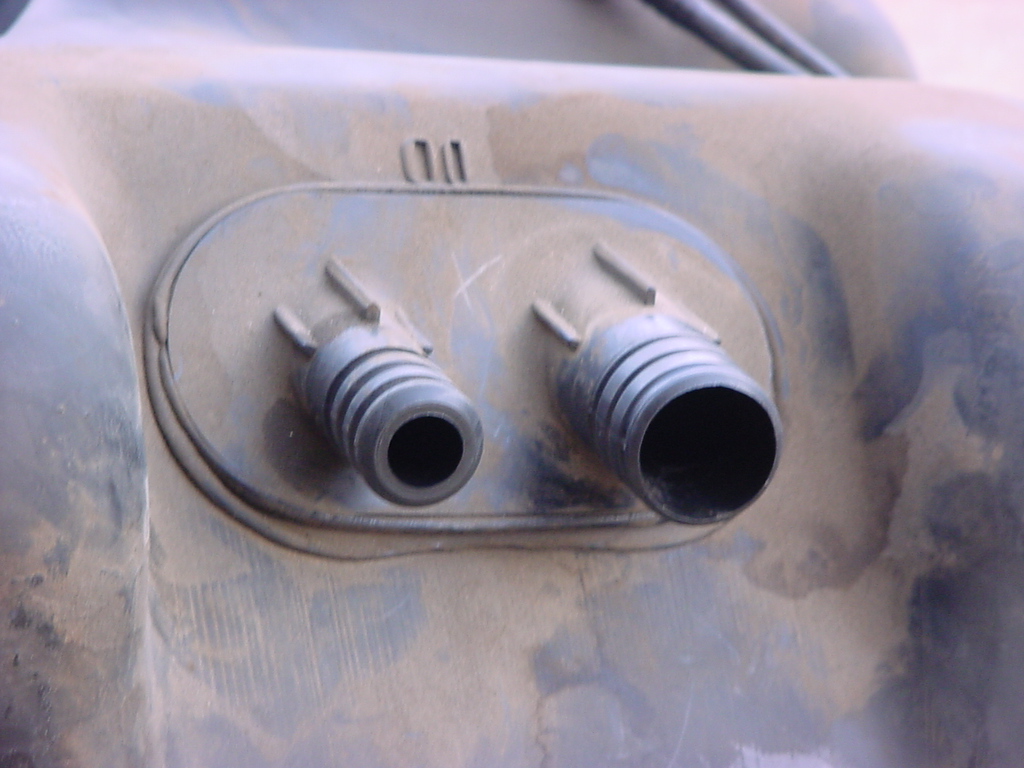
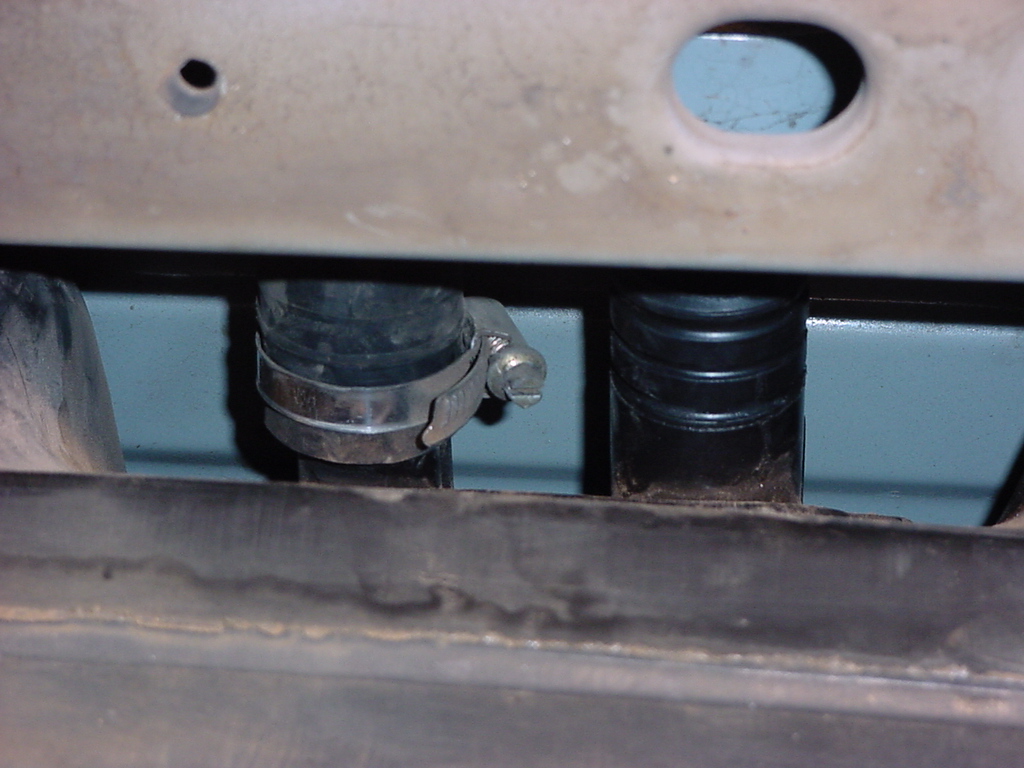
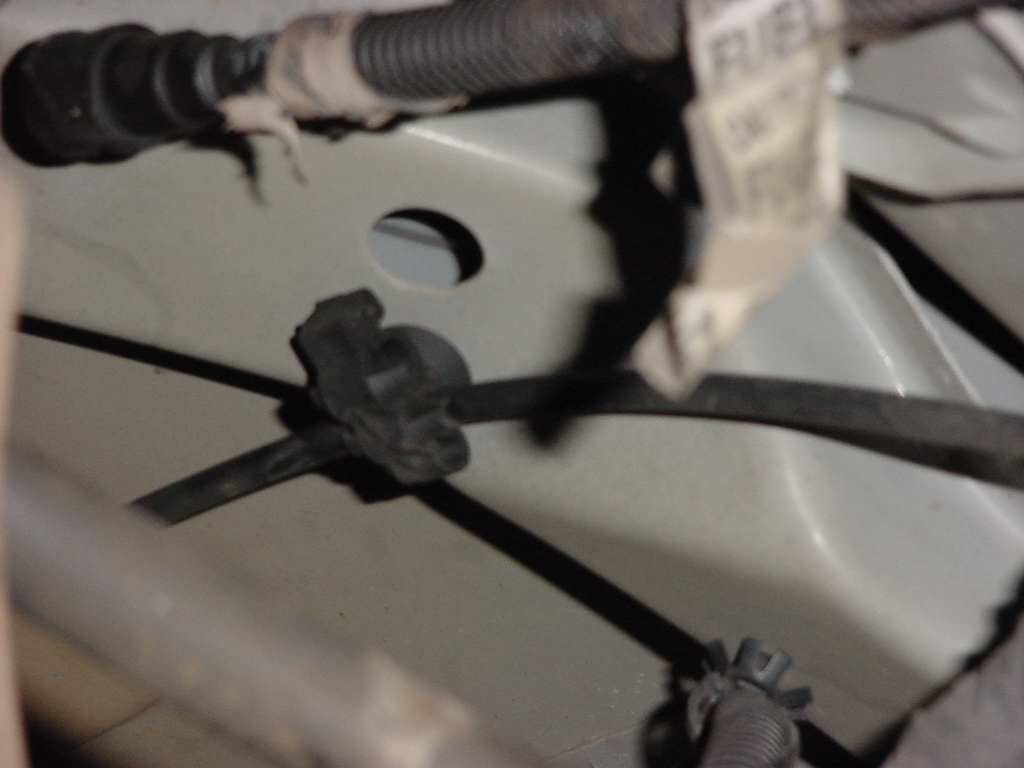
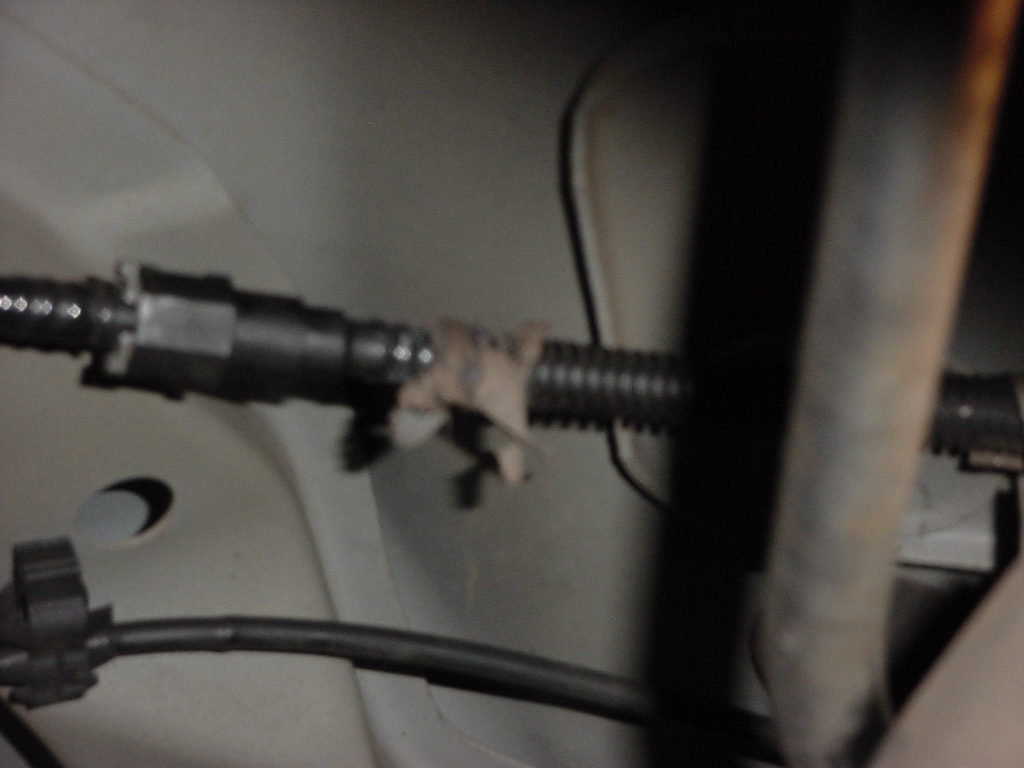
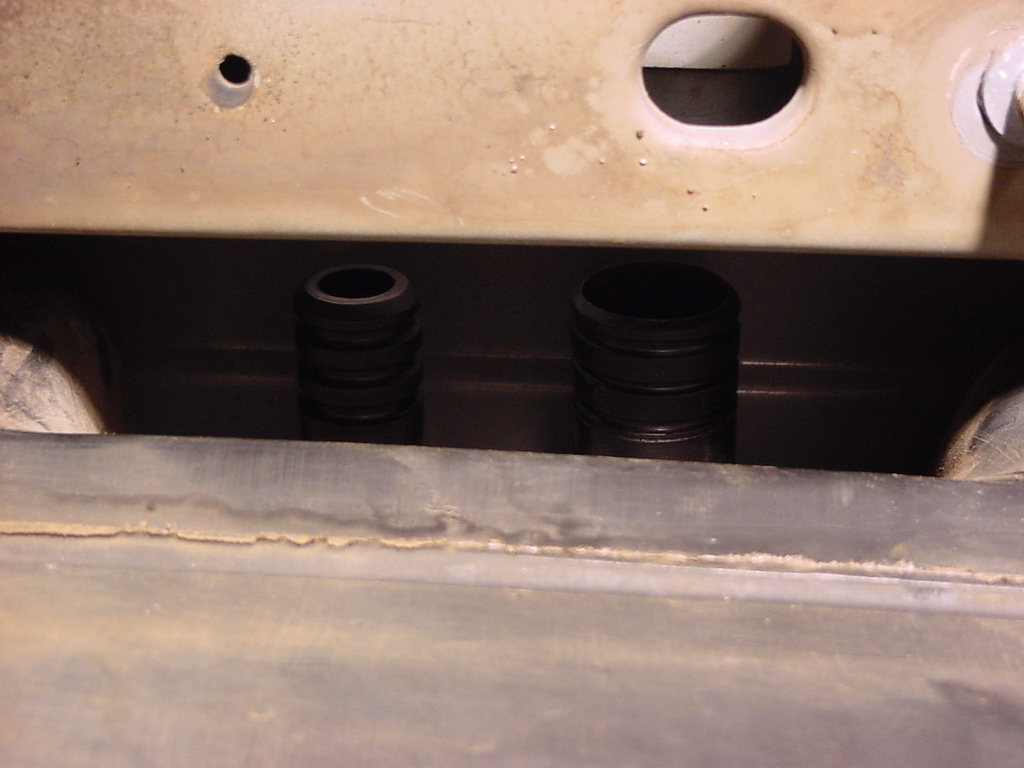
| Disconnect the fill and vent lines from the fuel tank by unscrewing the hose clamps and sliding the lines off of the tank. Be careful the tank nipples are plastic and do not like to be bent. You may need to twist the lines slightly to break the seal on them. |
 |
 |
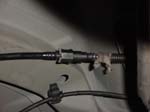
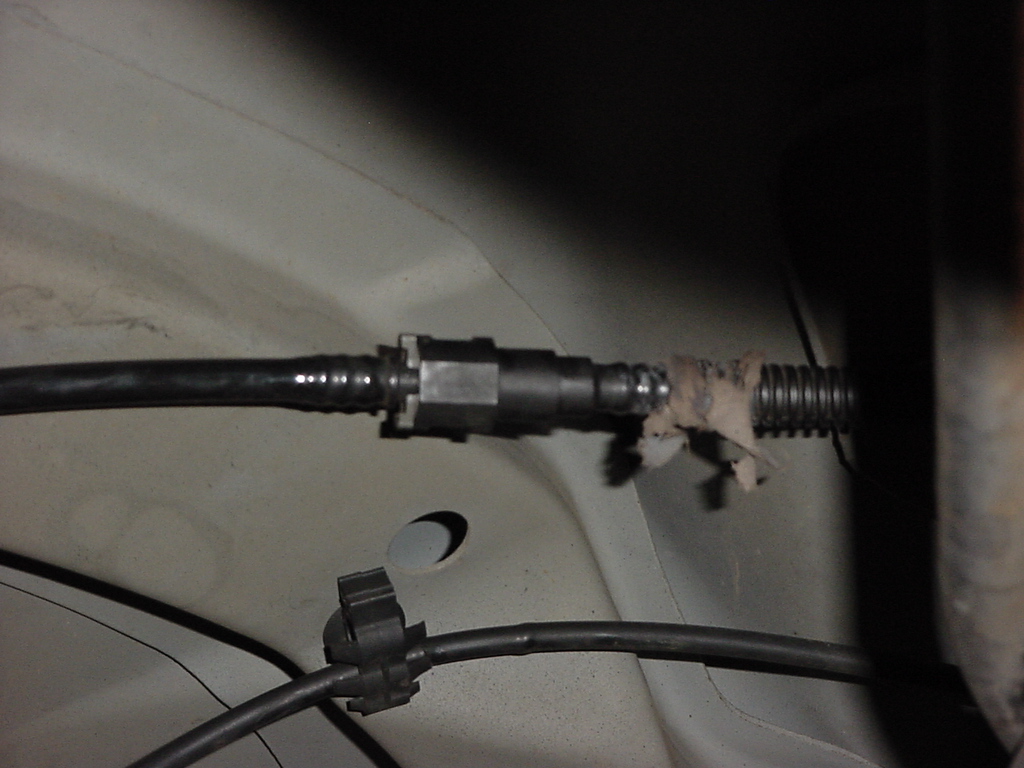
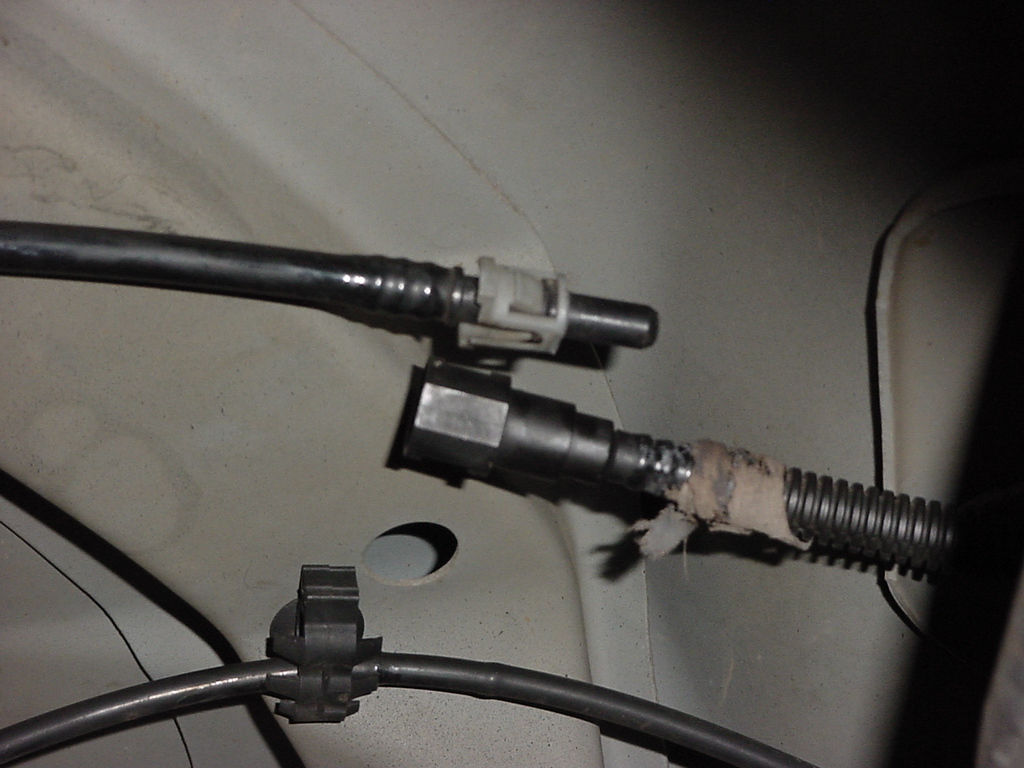
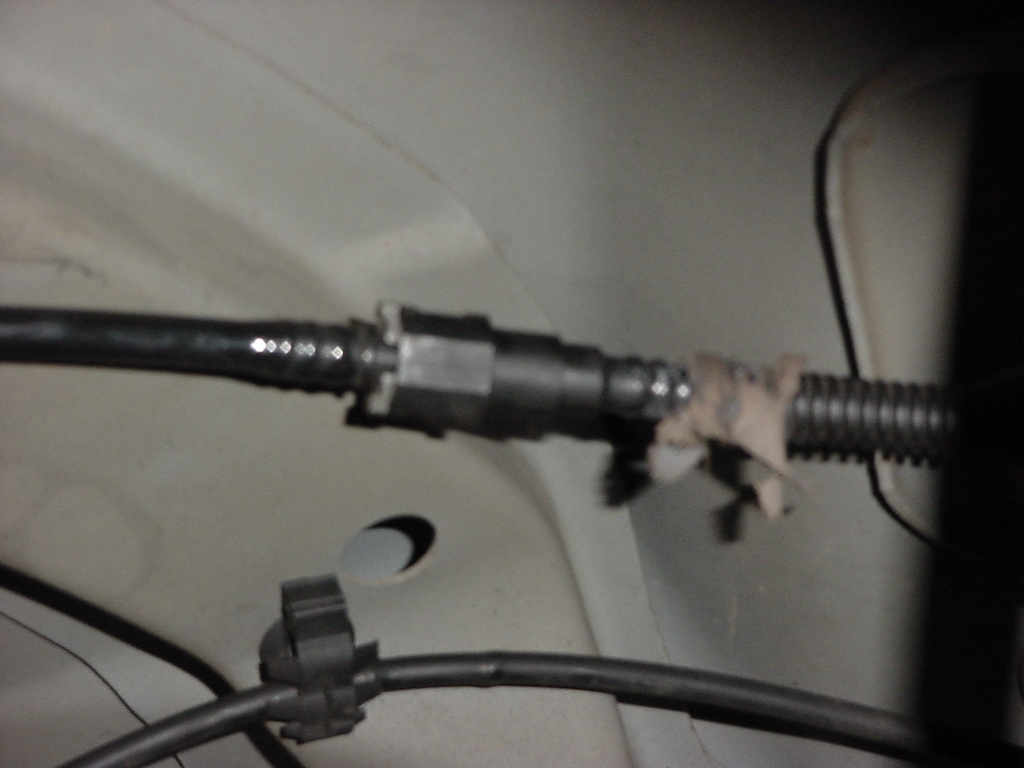
| Now disconnect the fuel feed and return lines. Unhook the fuel supply line by squeezing in on the two tabs and pulling apart the line. I recommend wrapping the line with a rag and wearing non-vented goggles for this part. Mine still had pressure in it and I ended up with a face full of fuel. Oh, close your mouth. |
 |
 |
| Disconnect the vapor return line by simpling pulling it out of the rubber sleeve. You may need to twist the line slightly to break the seal. I recommend wrapping the line with a rag and wearing non-vented goggles for this part. Mine didn't have fuel in it, but after the last incident. Oh, close your mouth. |
 |
 |
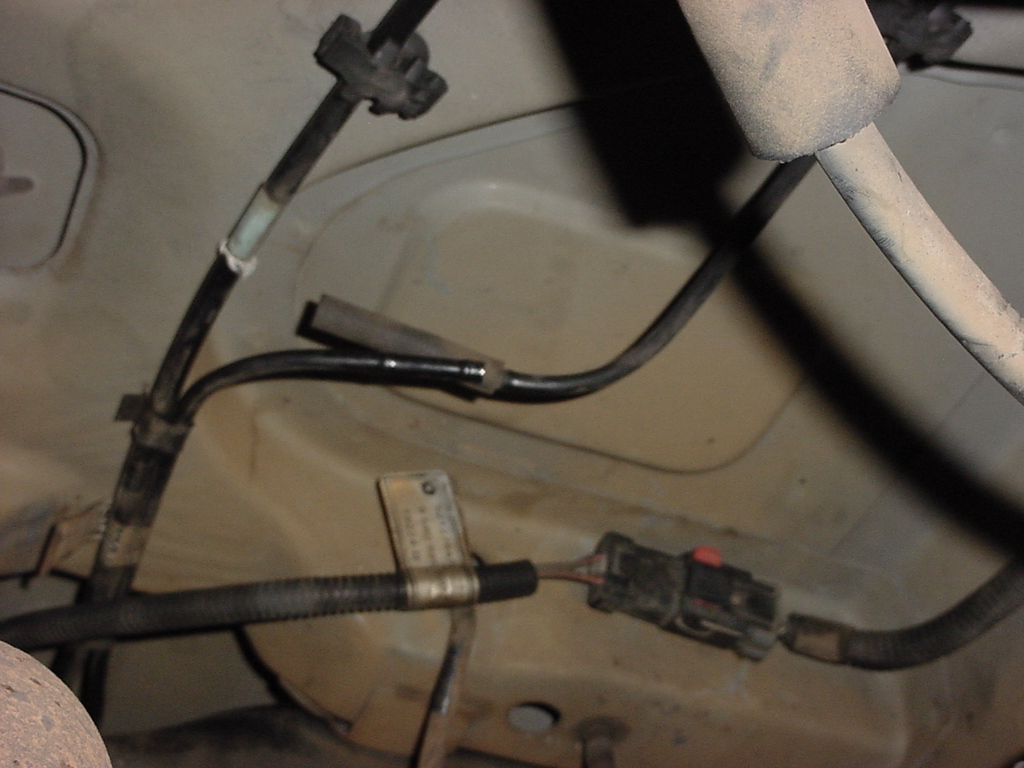
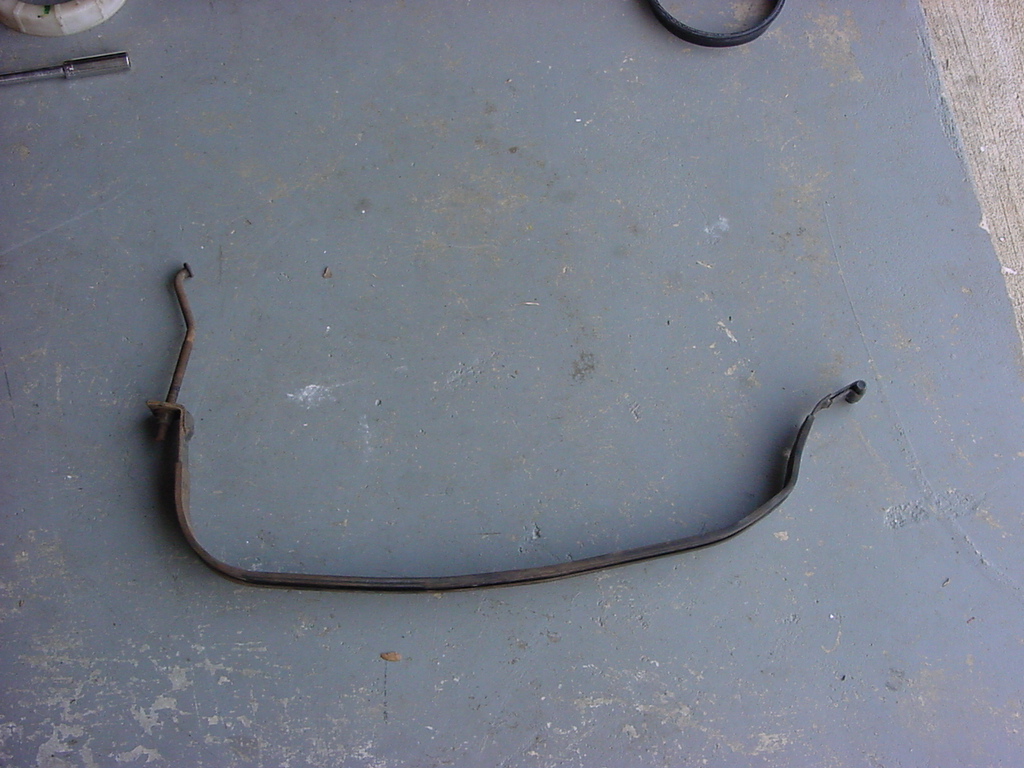
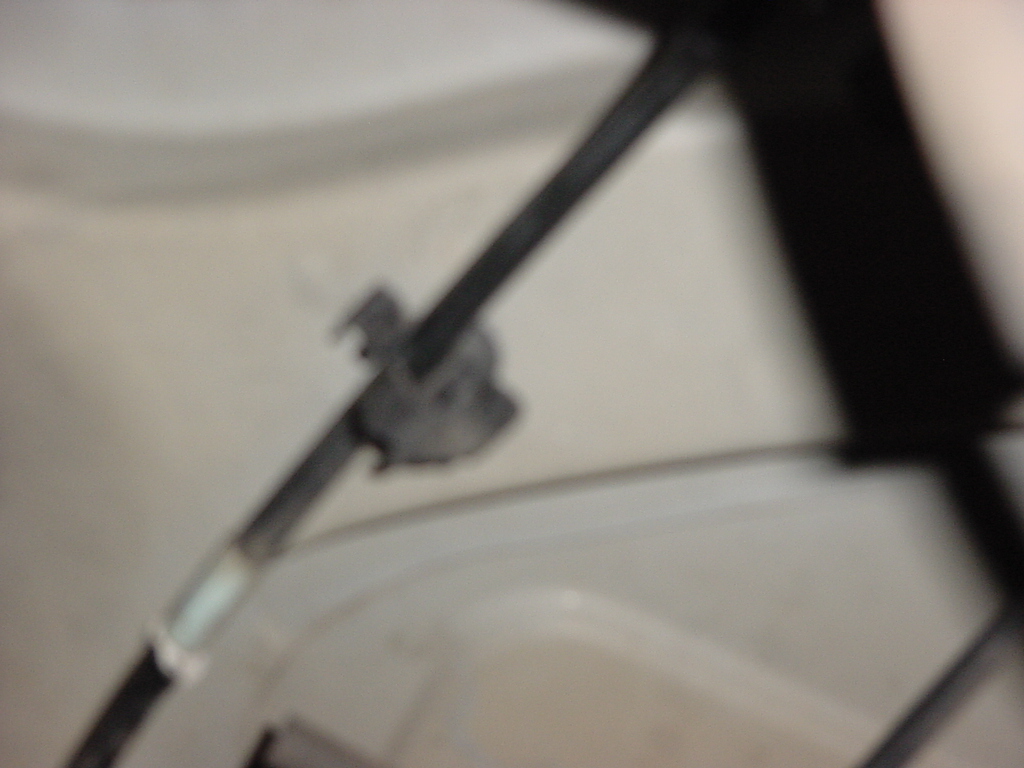
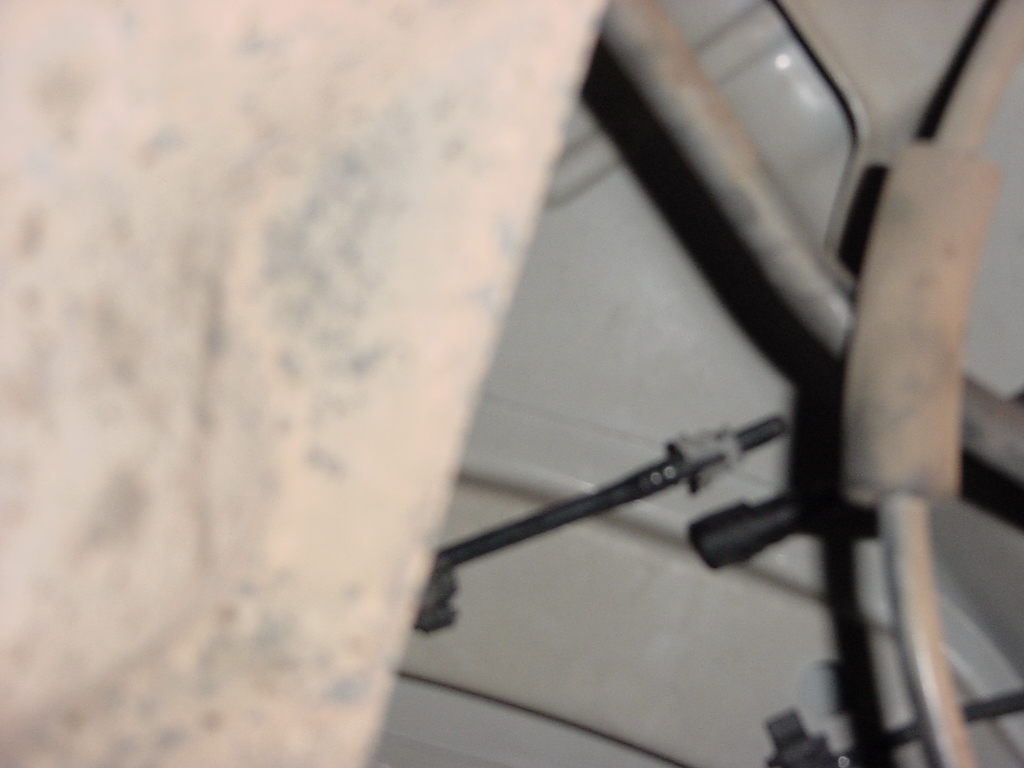
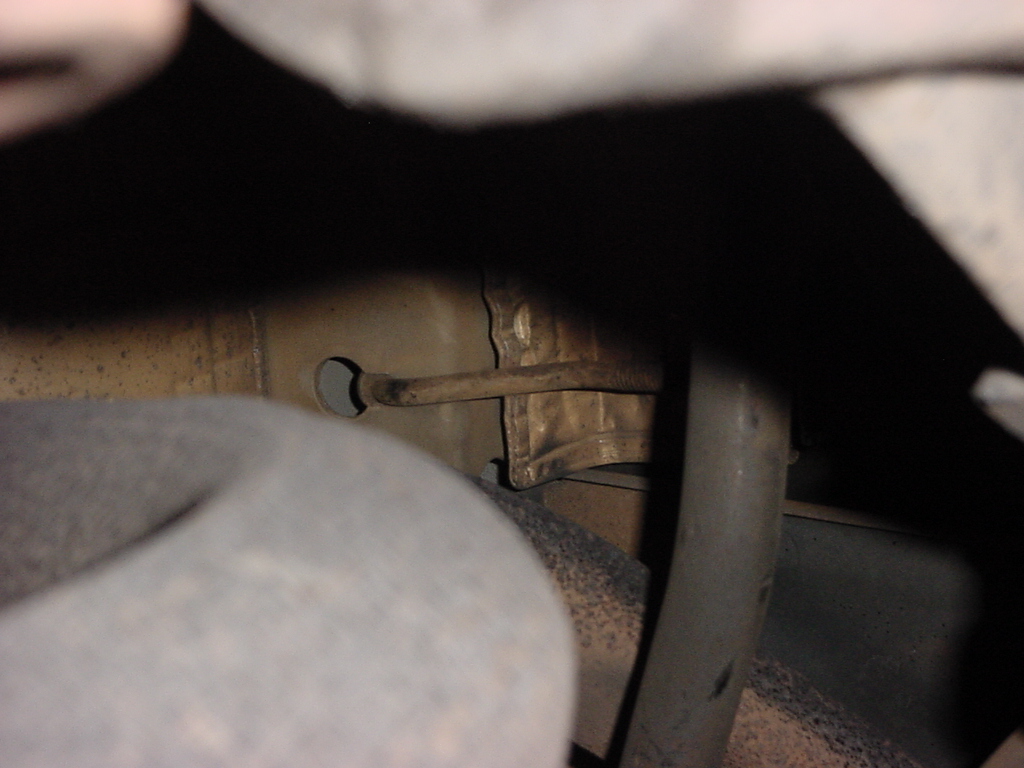
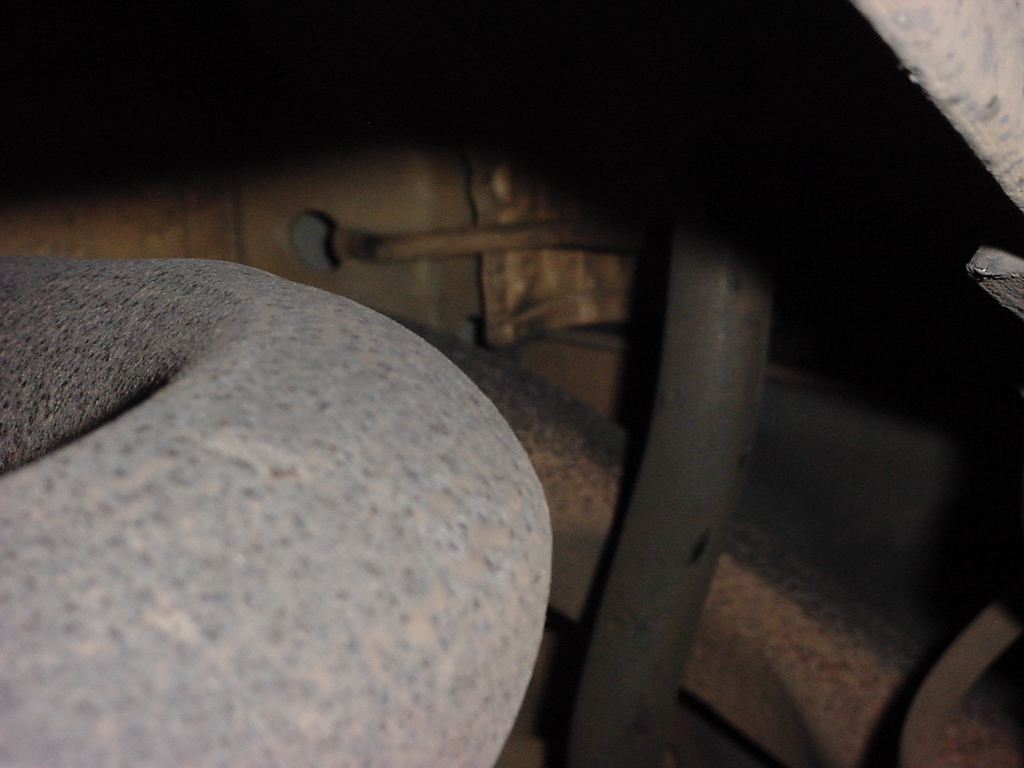
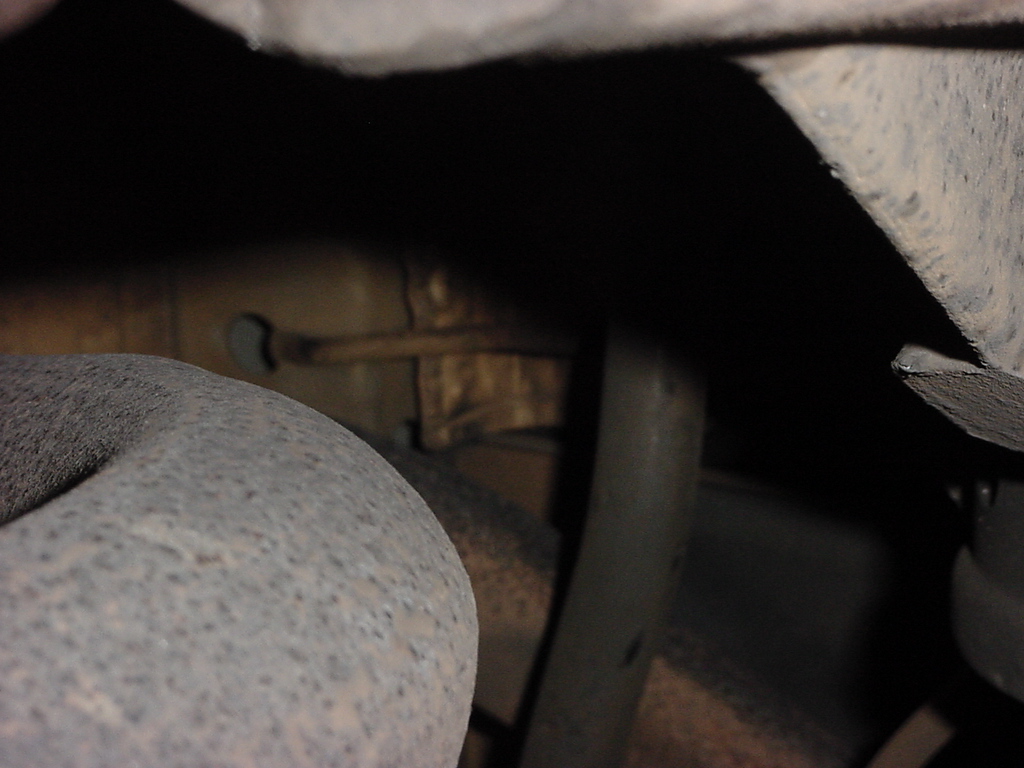
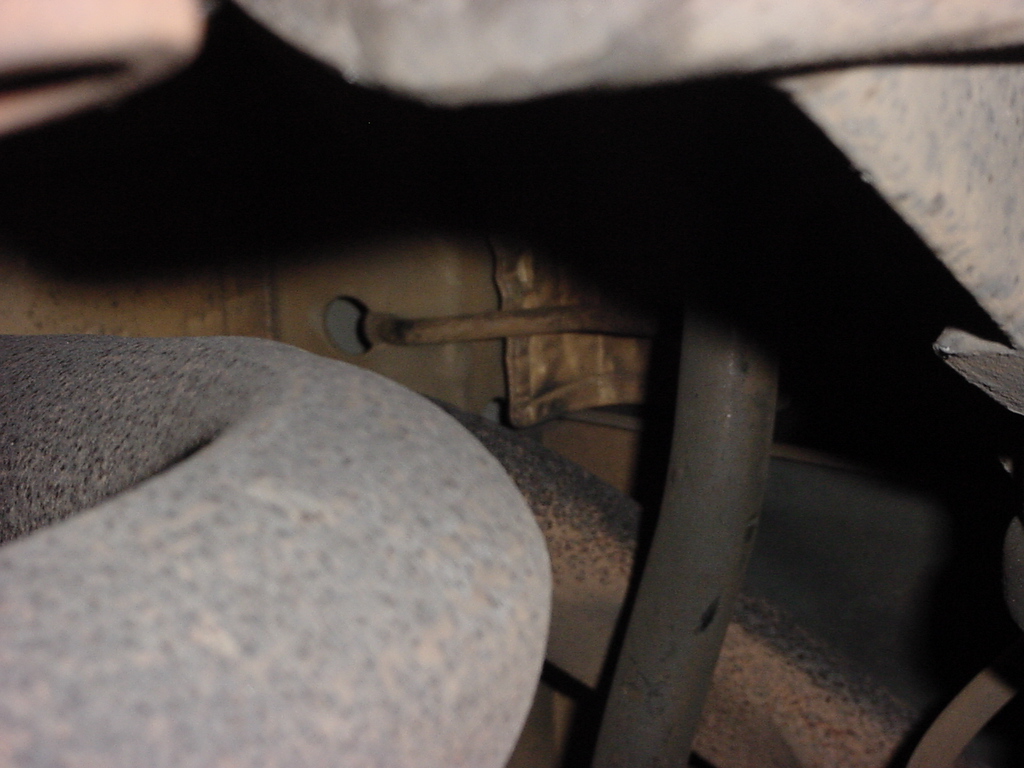
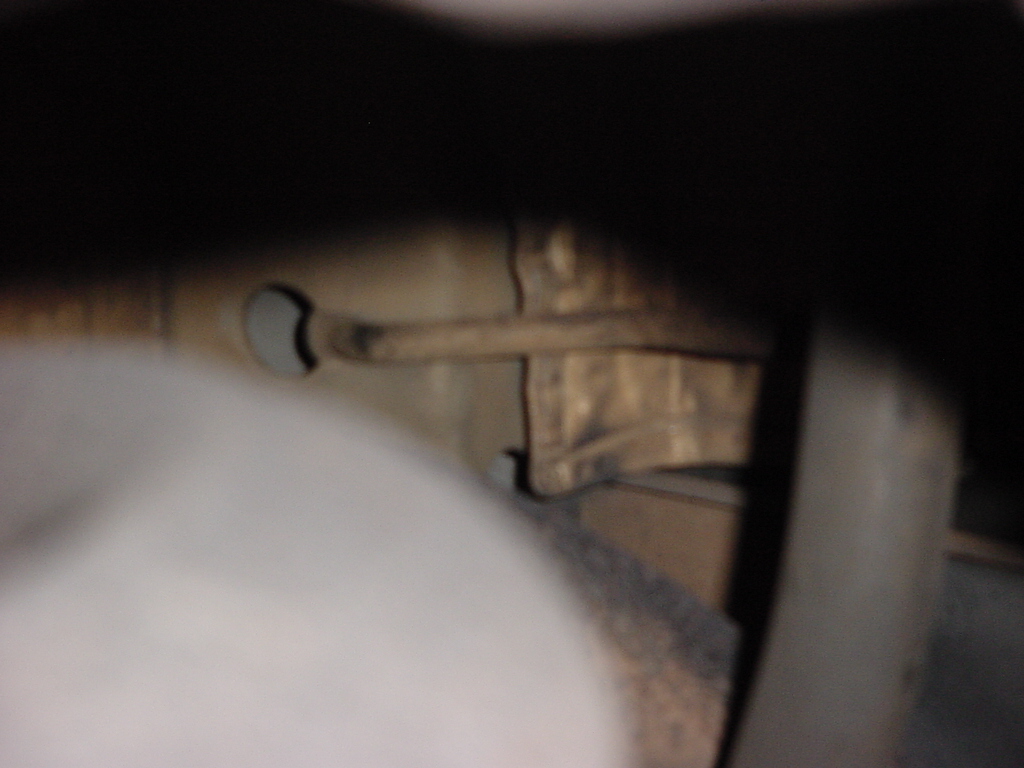
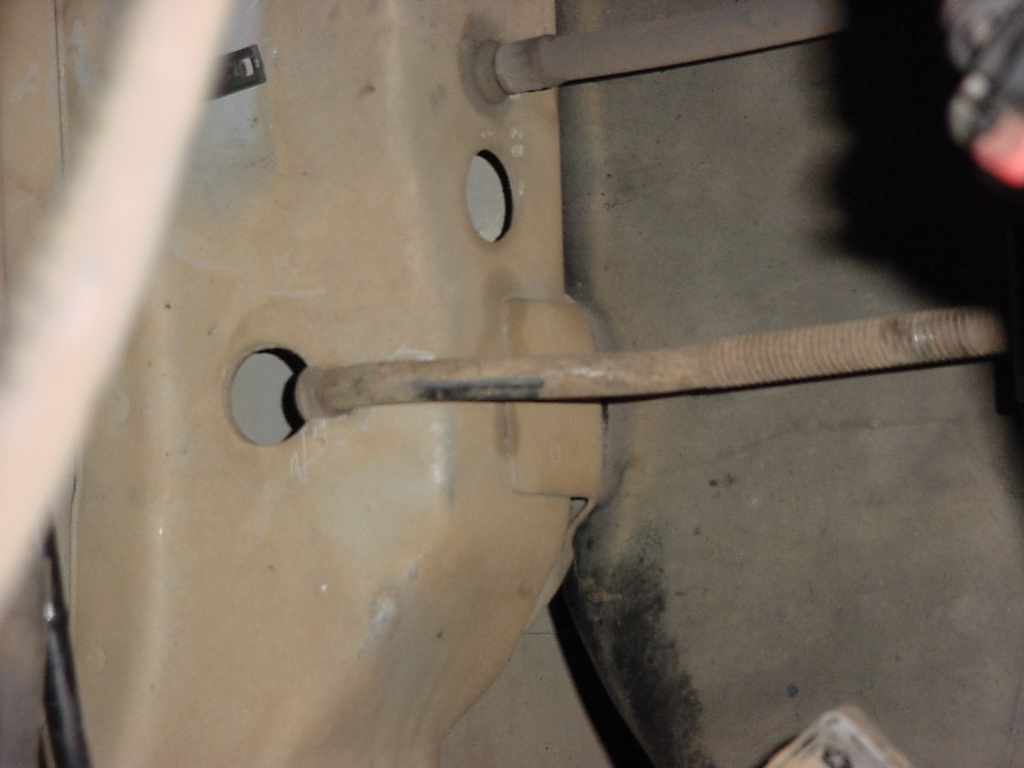
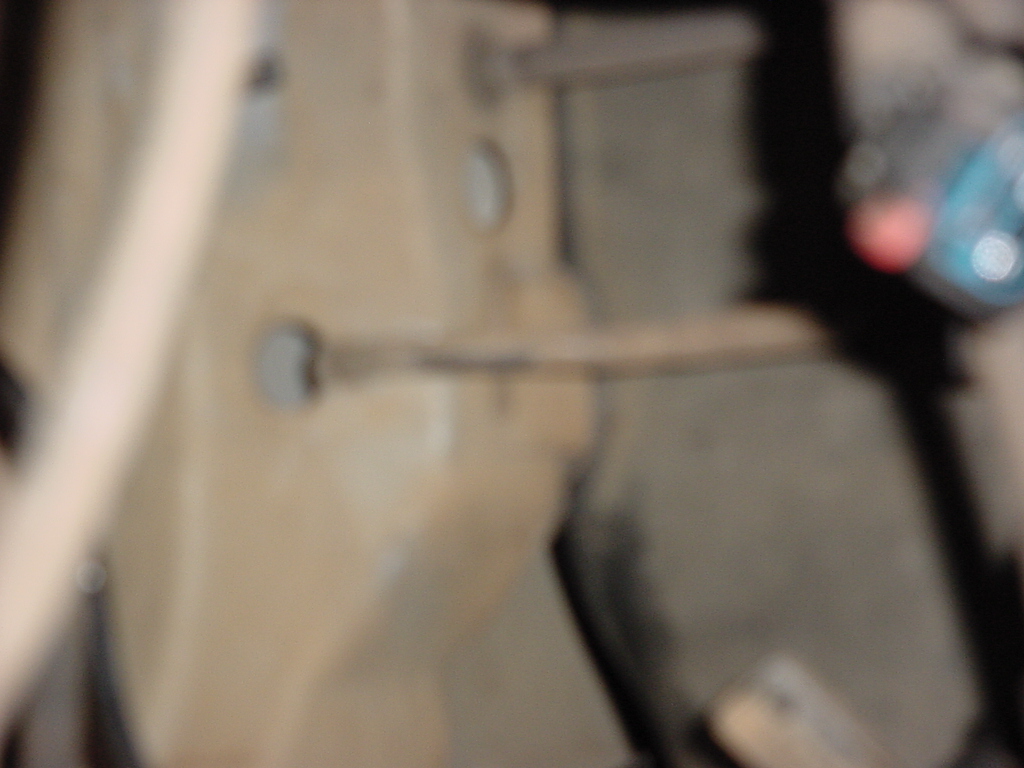
| Undo the retaining clip for the lines so that they can be removed when you drop the tank. Check the lines to make sure that there are no additional clips attatched leading to the tank. |
 |
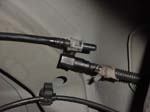
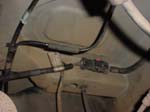
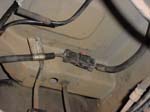
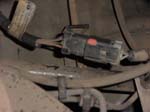
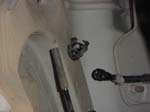
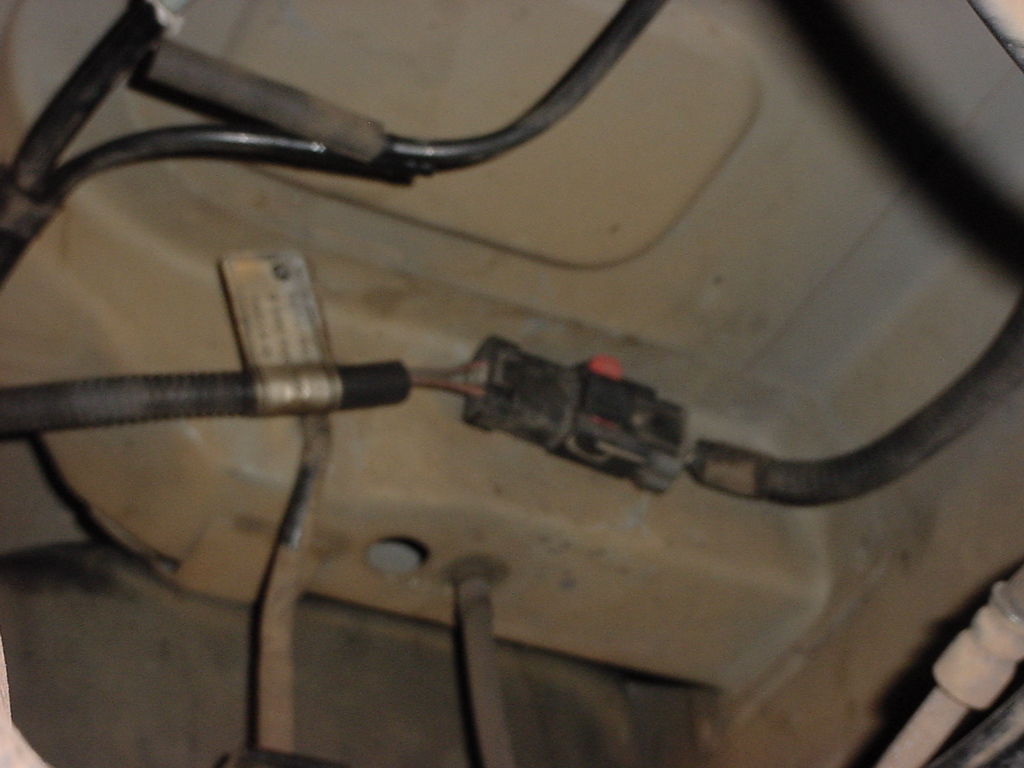
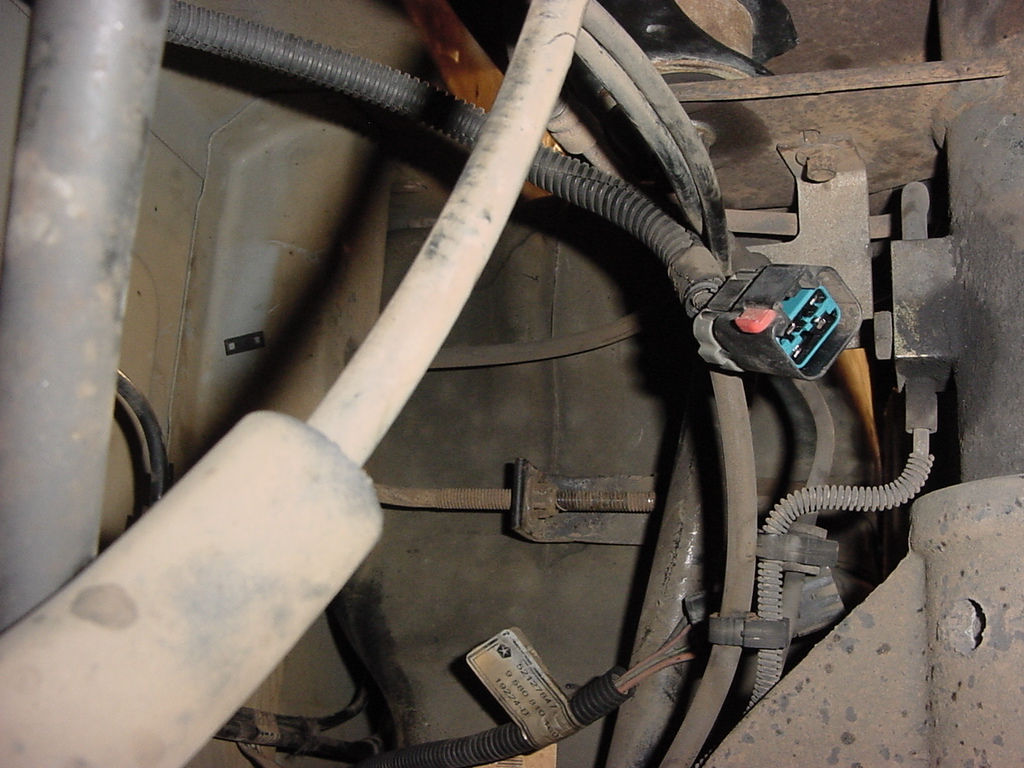
| Remove the electrical connector from the body. This is attatched with push fitting on the back side. I tried to disconnect the connector first, but couldn't get the end leading to the tank to come off, so I just pulled it all off. I retrieved the push fitting from the body with a pair of pliers. |
 |
 |
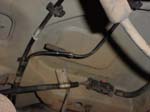
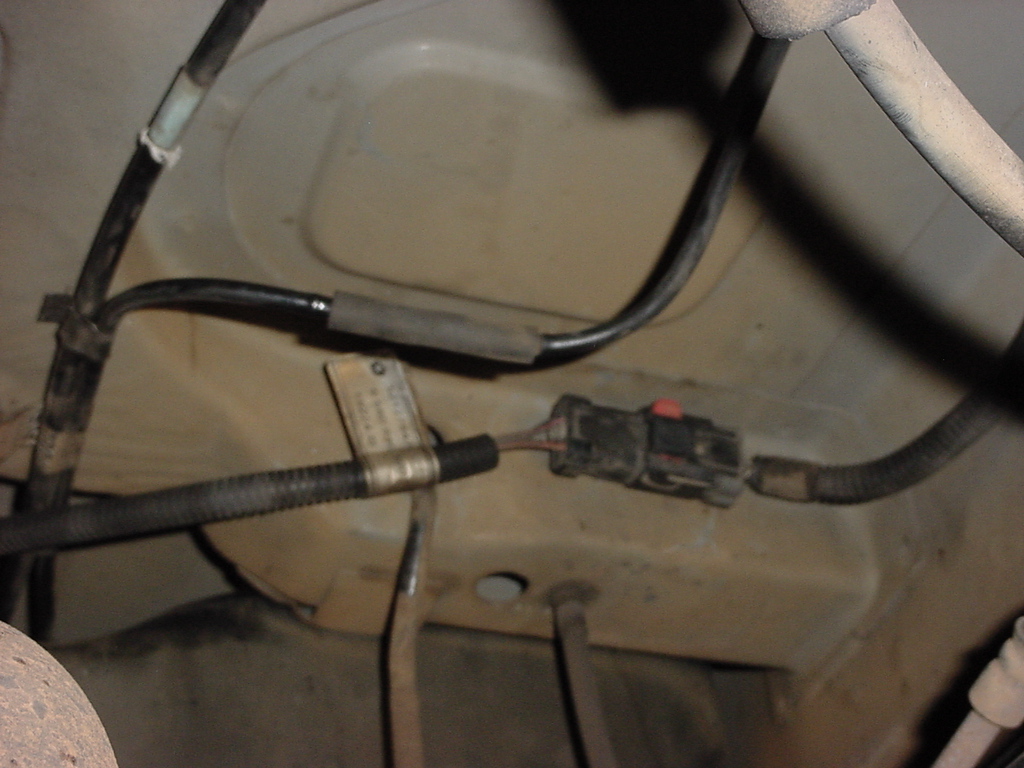
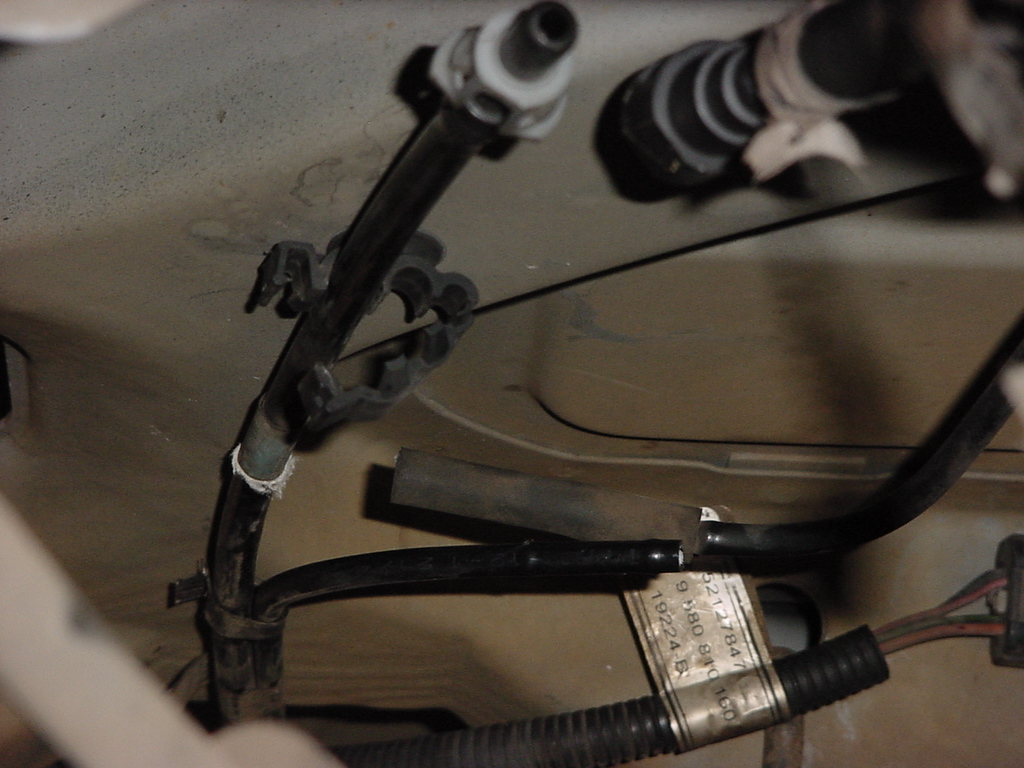
| Pull the red tab up and disconnect the gas tank harness. Check to make sure there are not clips holding the harness leading to the gas tank to the body. |
 |
 |
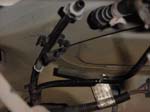
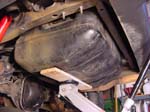
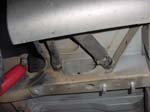
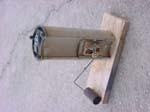
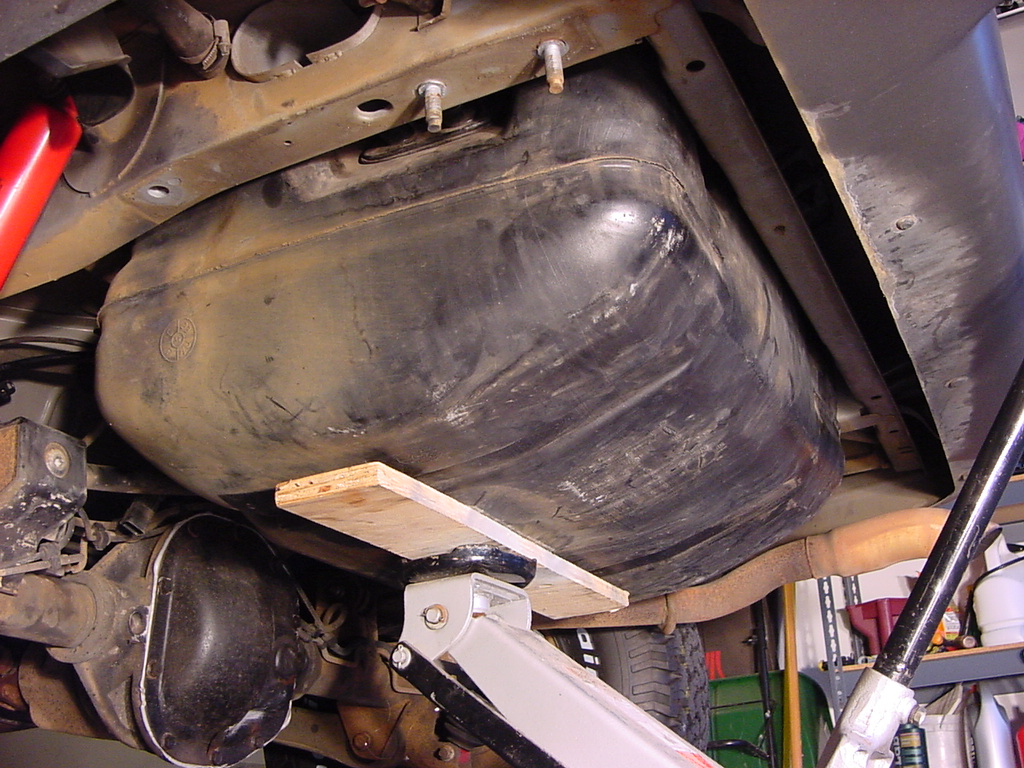
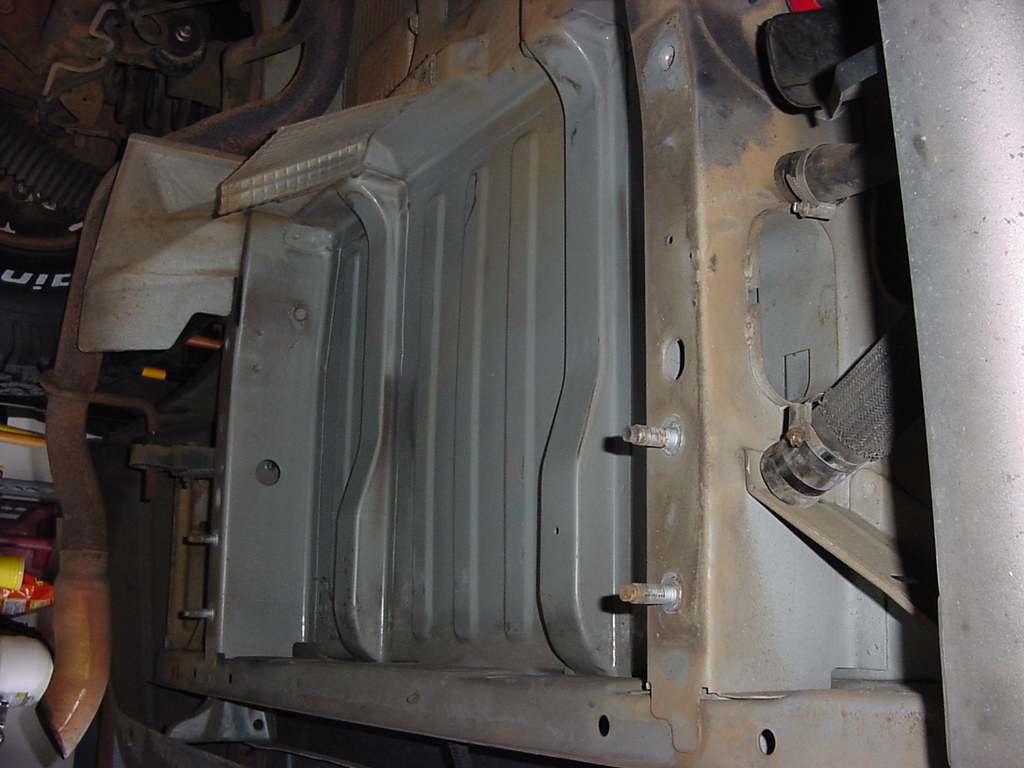
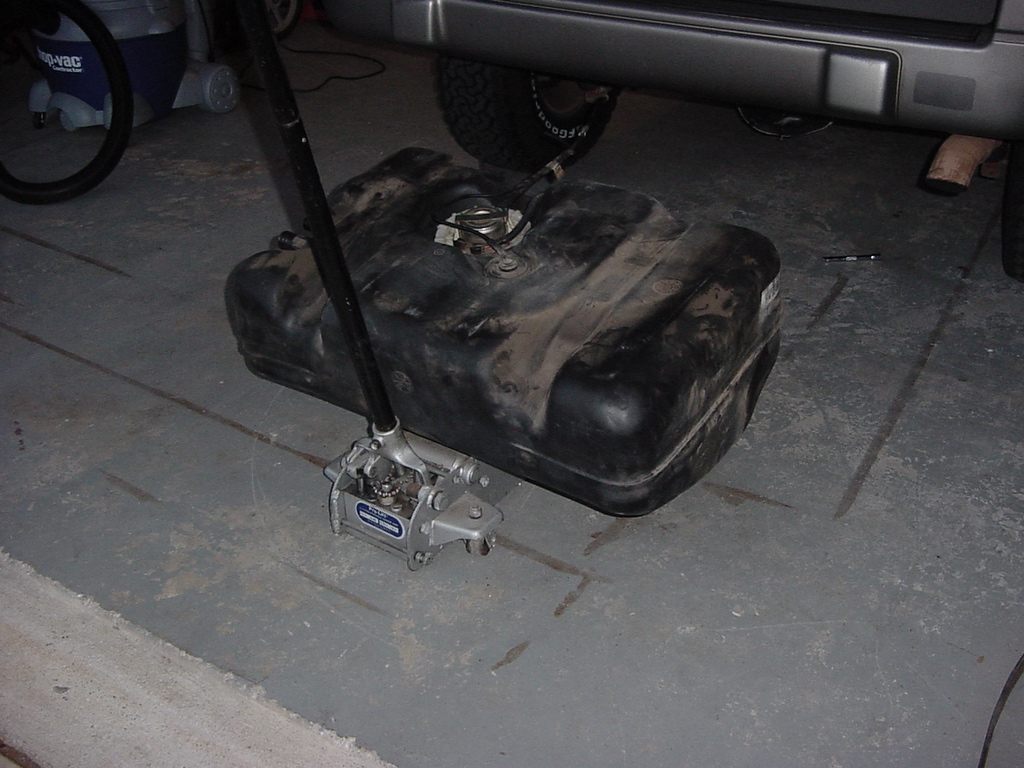
| Place a piece of wood underneath the gas tank and lift the floor jack up to the tank to support it. Do not cover up the straps like in the picture, you will need to remove the straps to drop the tank. |
 |
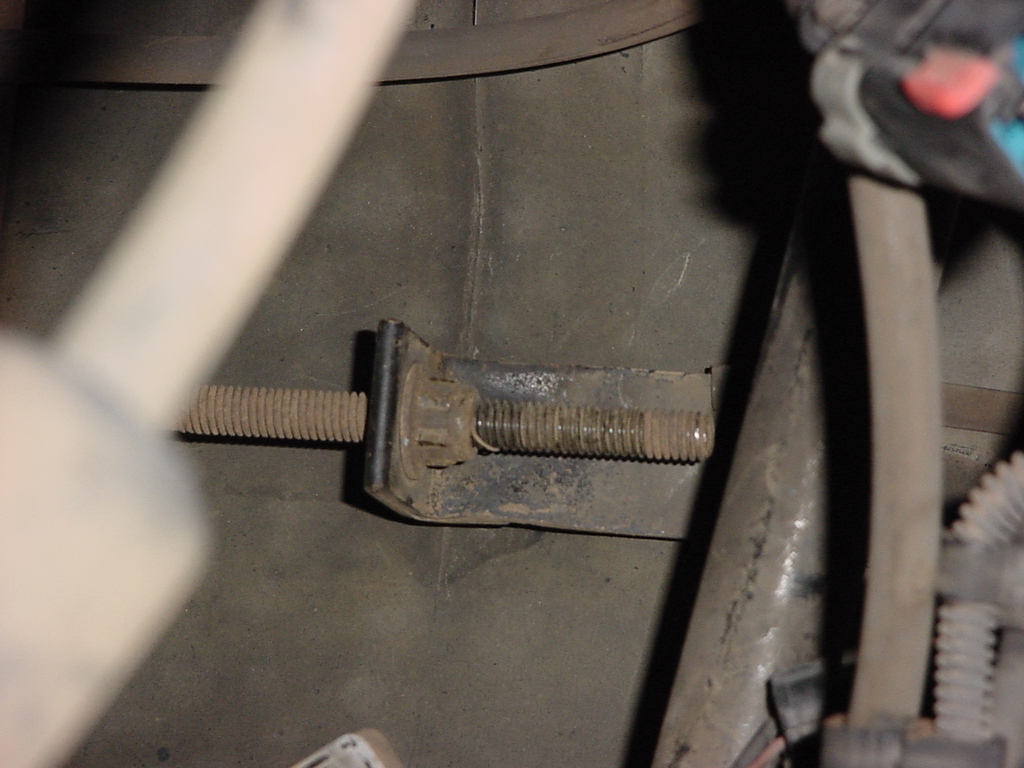
| Locate and measure the lenght of exposed thread on the two J-bolts that hold the gas tank straps to the body. You don't want to overtighten these straps you can crush or dent the gas tank. |
 |
 |
| Remove the nut and remove the J-bolt from the body. You will need to pivot the straps down, and getting the J-bolt out of the confined space is difficult. |
 |
 |
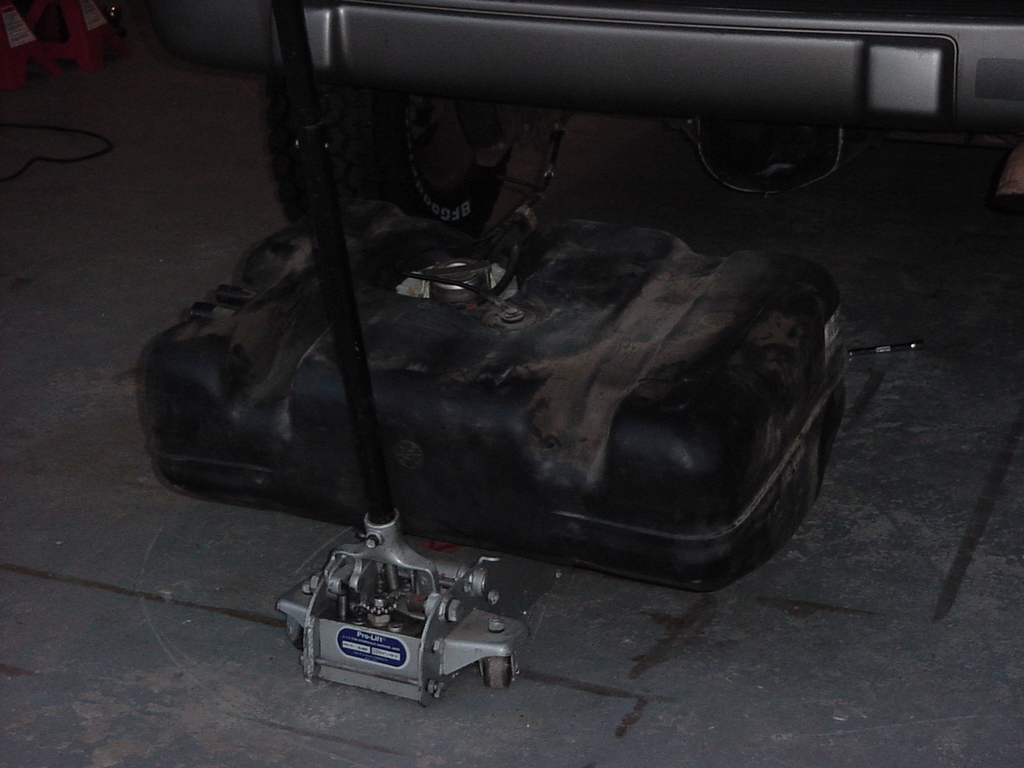
| The straps will not be removable until you get the tank down. Just watch when lowering the tank that you don't hook the straps, they will dump the tank off of the jack. I recommend getting some help at this stage, since you will need to steady the tank and watch for any lines that might bind up when lowering the tank. |
 |
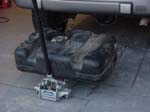
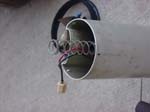
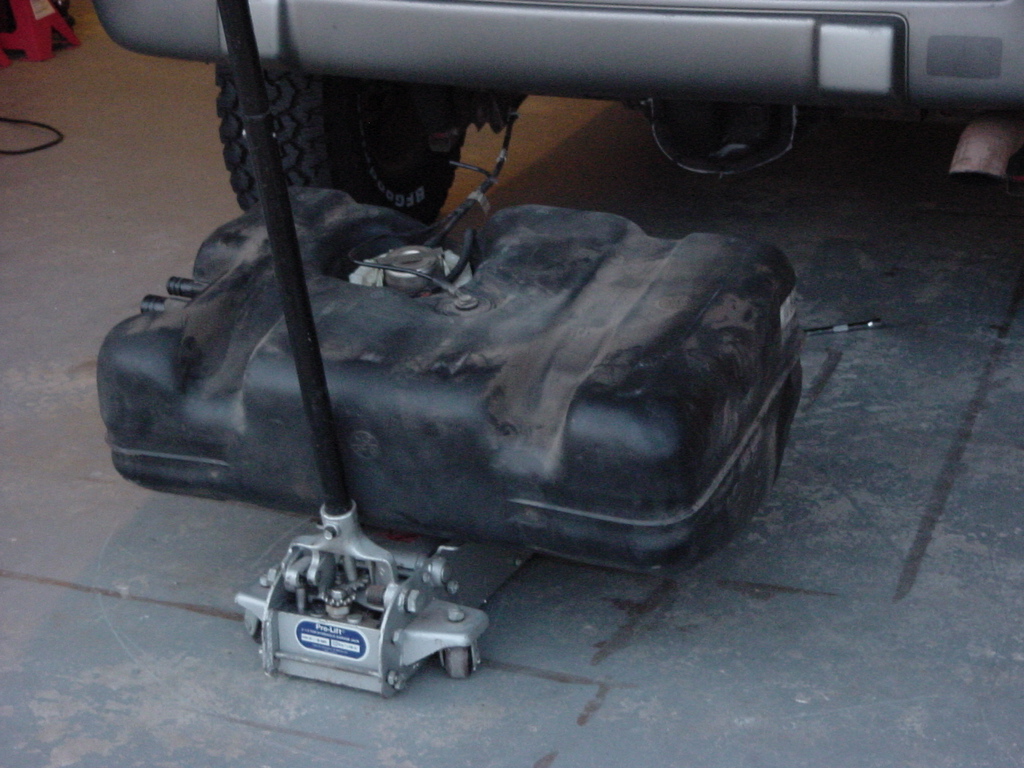
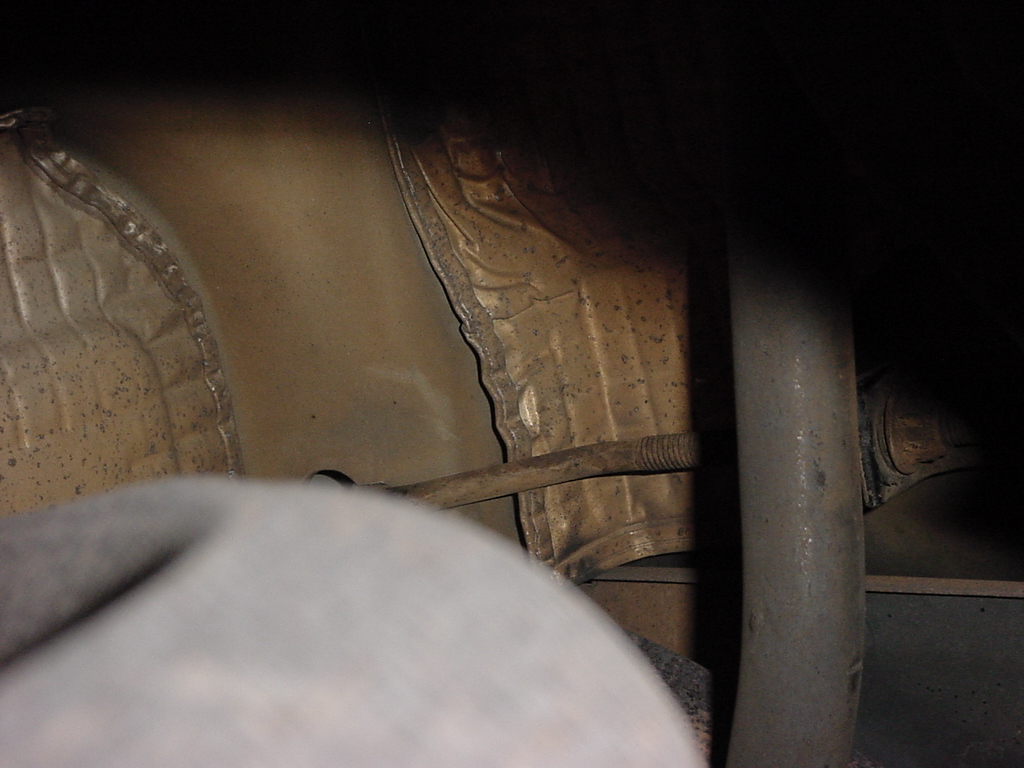
| Lower the tank, and remove it from underneath the vehicle. Be careful, the tank may have fuel remaining inside of it and if it tips will dump it all over the place. |
 |
 |
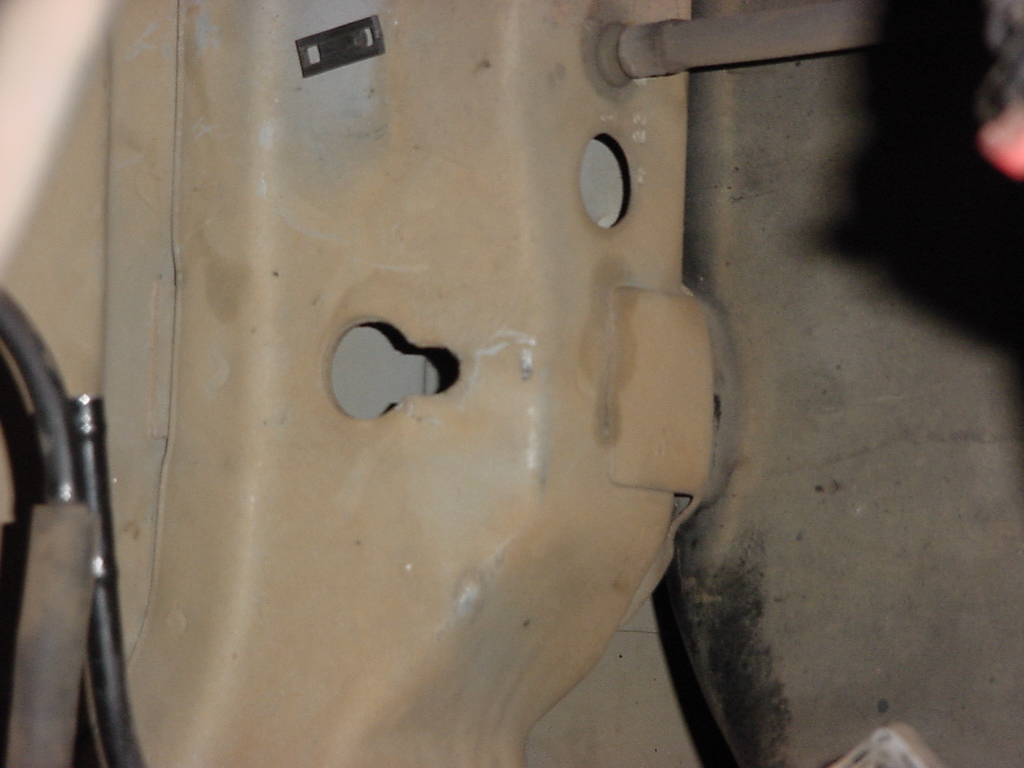
| Remove the two straps, they sit inside a channel. Just turn the strap on it's side and remove it. |
 |
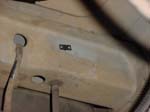
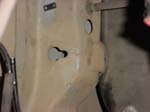
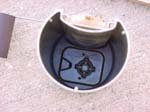
| I cleaned up the area where the gas tank sits to get rid of all the dirt that had accumulated there. |
 |
 |
 |
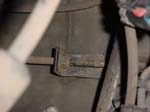
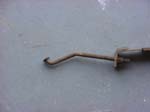
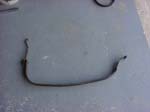
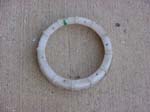
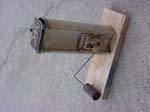
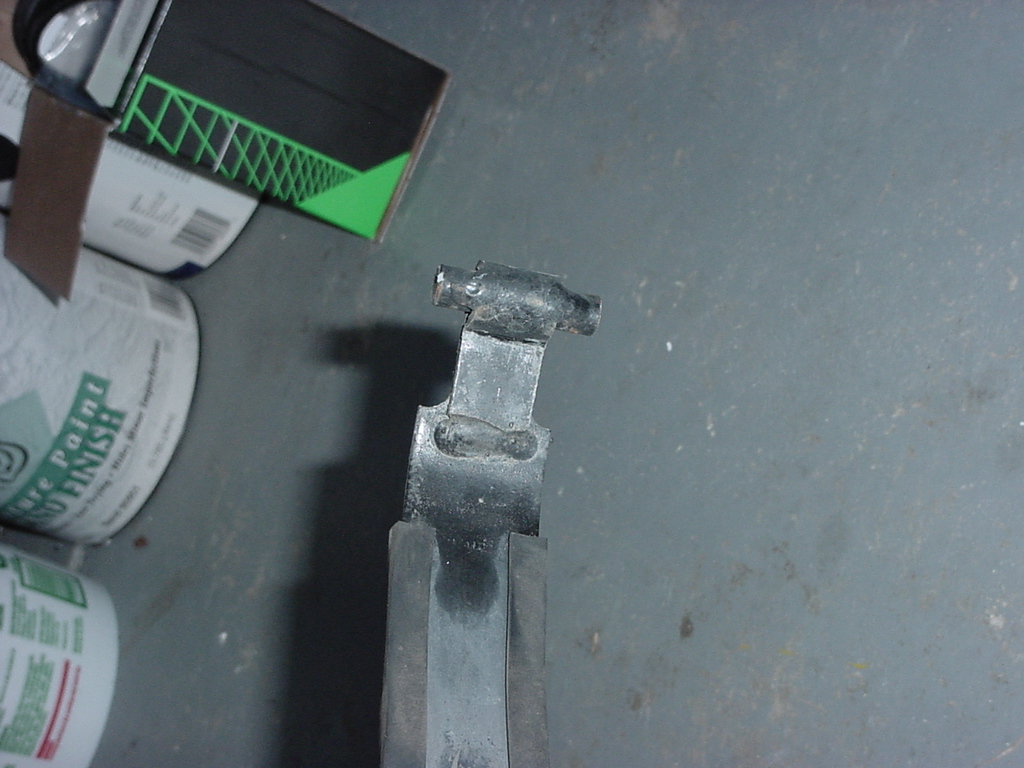
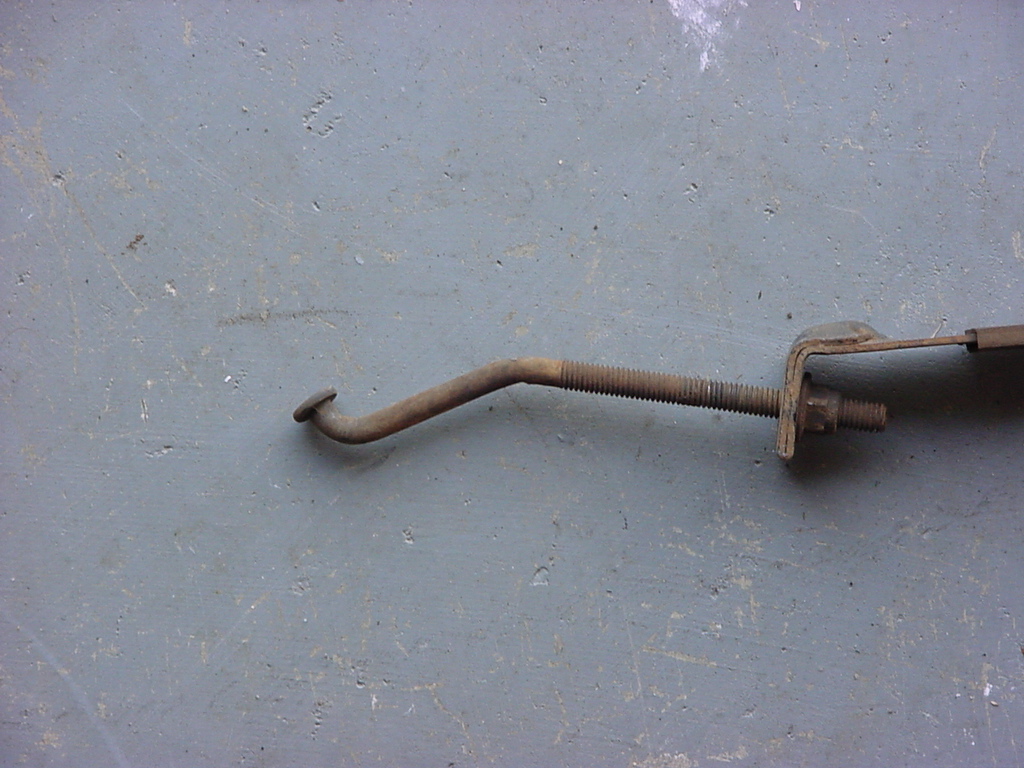
| Here is what the removed J-bolt and Strap look like. |
 |
 |
| |
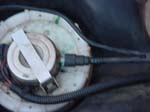
| Fuel pump assembly removal: |
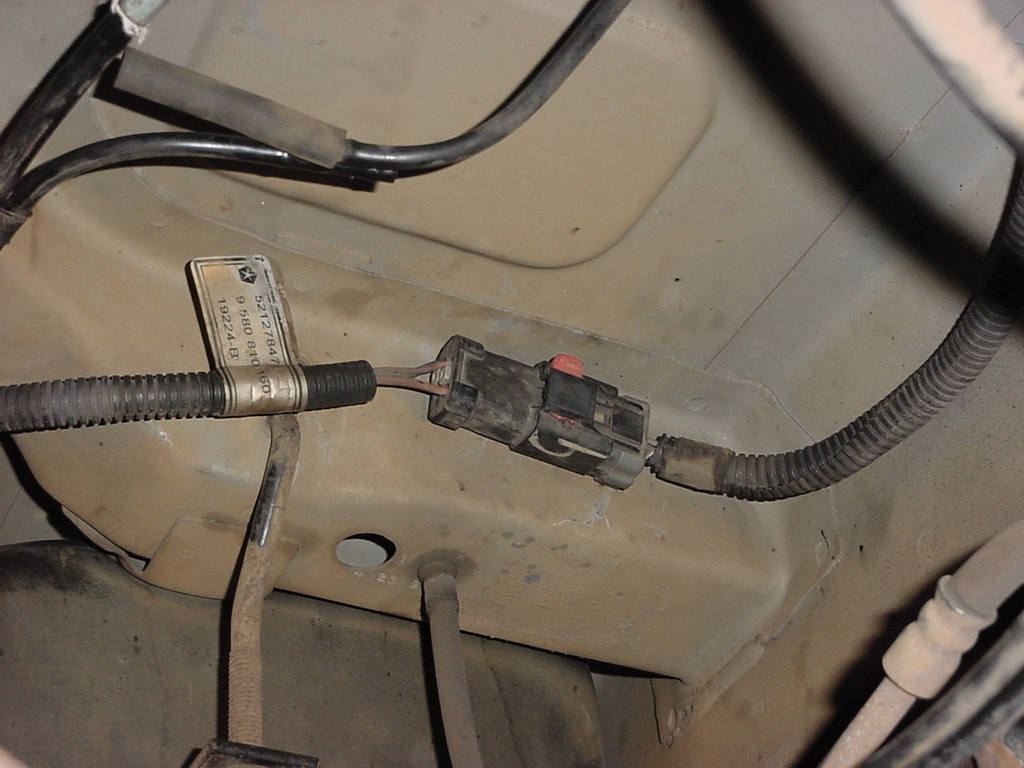
| Pinch the two tabs together and remove the fuel supply line from the filter regulator housing. |
 |
 |
 |
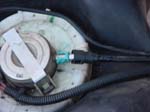
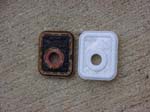
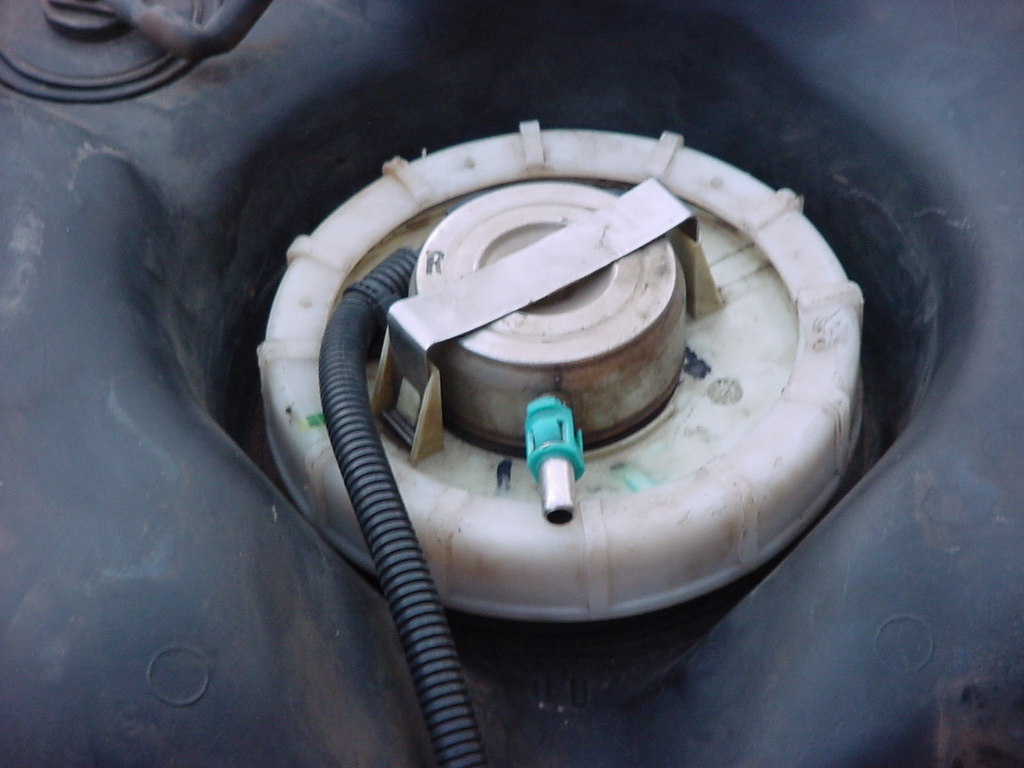
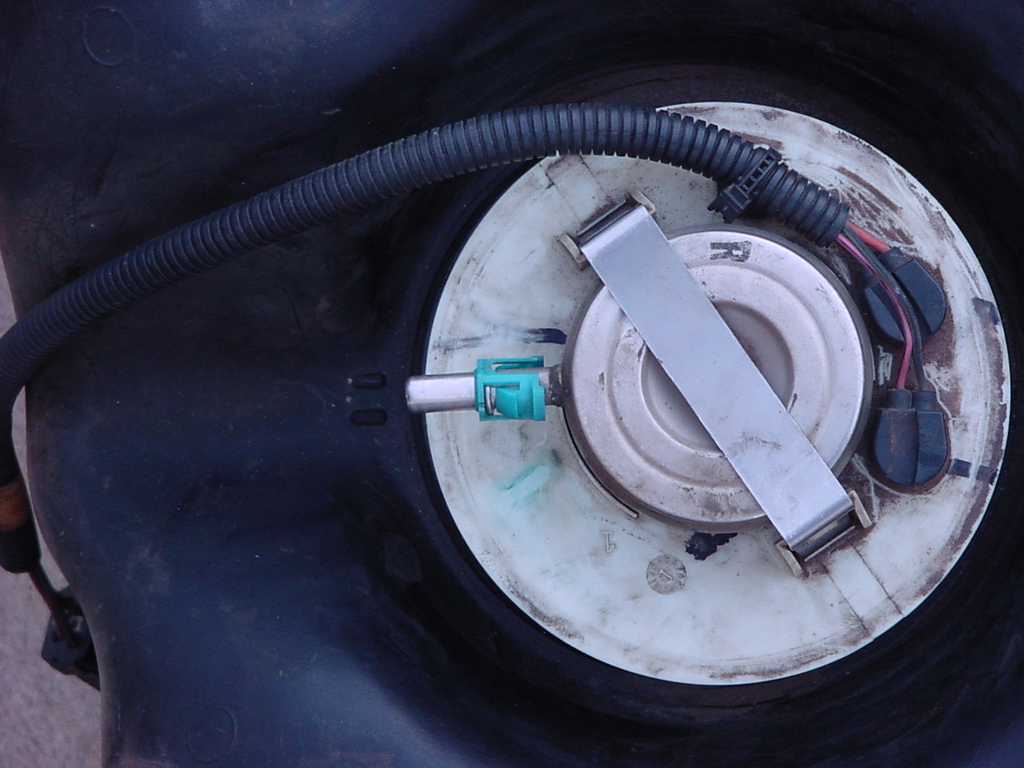
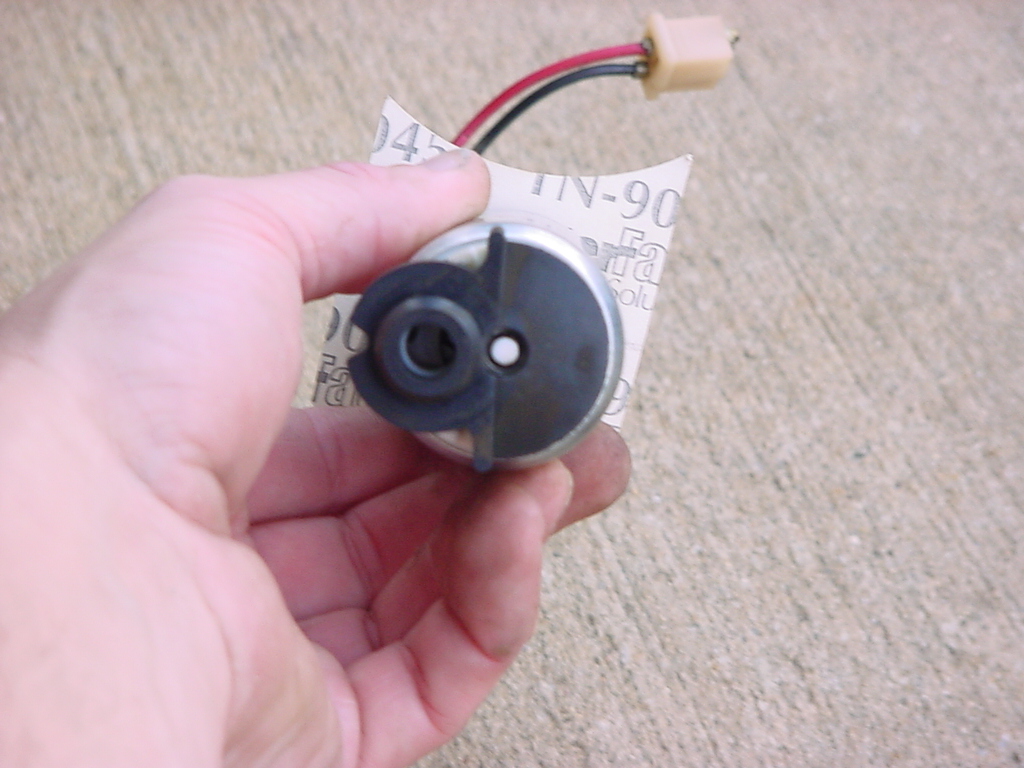
| Mark the housing, retaining ring and gas tank so that you can get them tightened up later. Also mark the location and direction of the filter/regulator housing so that you can get this realigned when you put the pump back in. |
 |
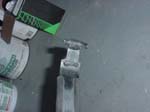
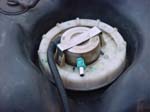
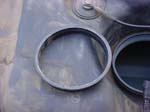
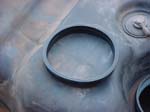
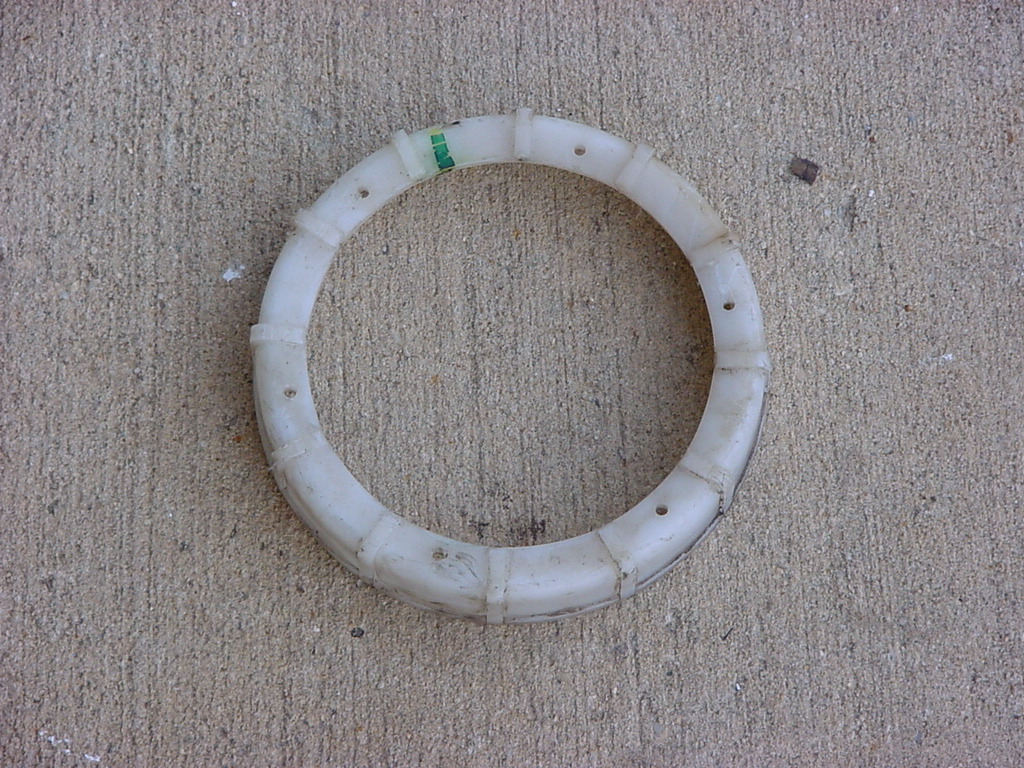
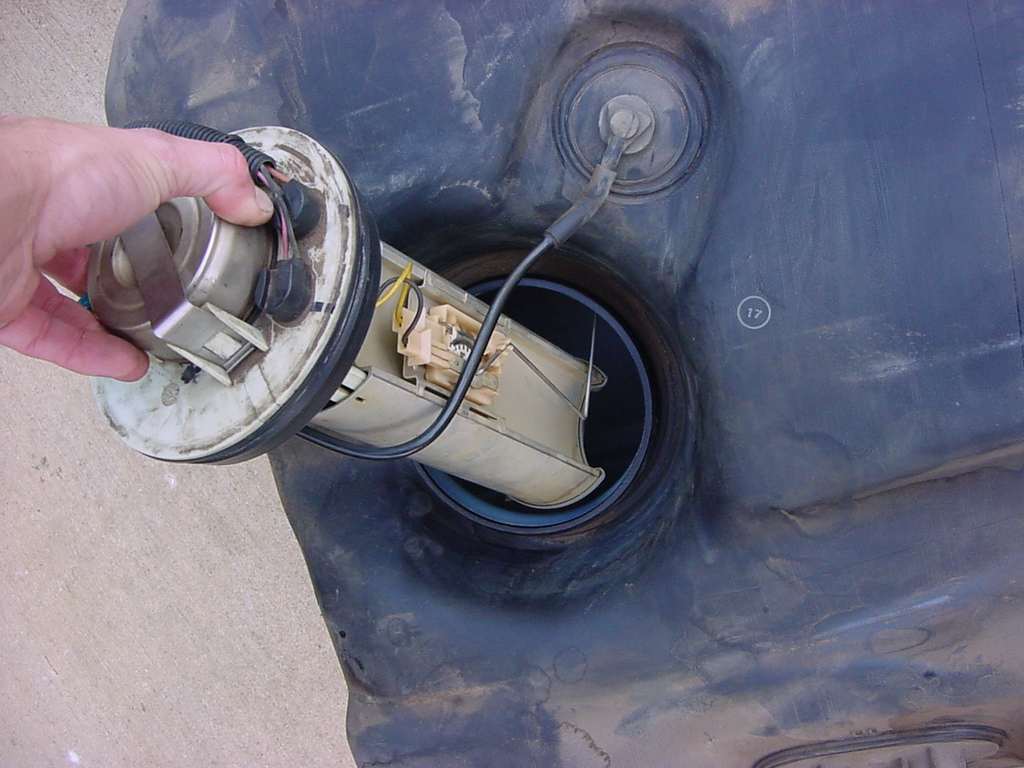
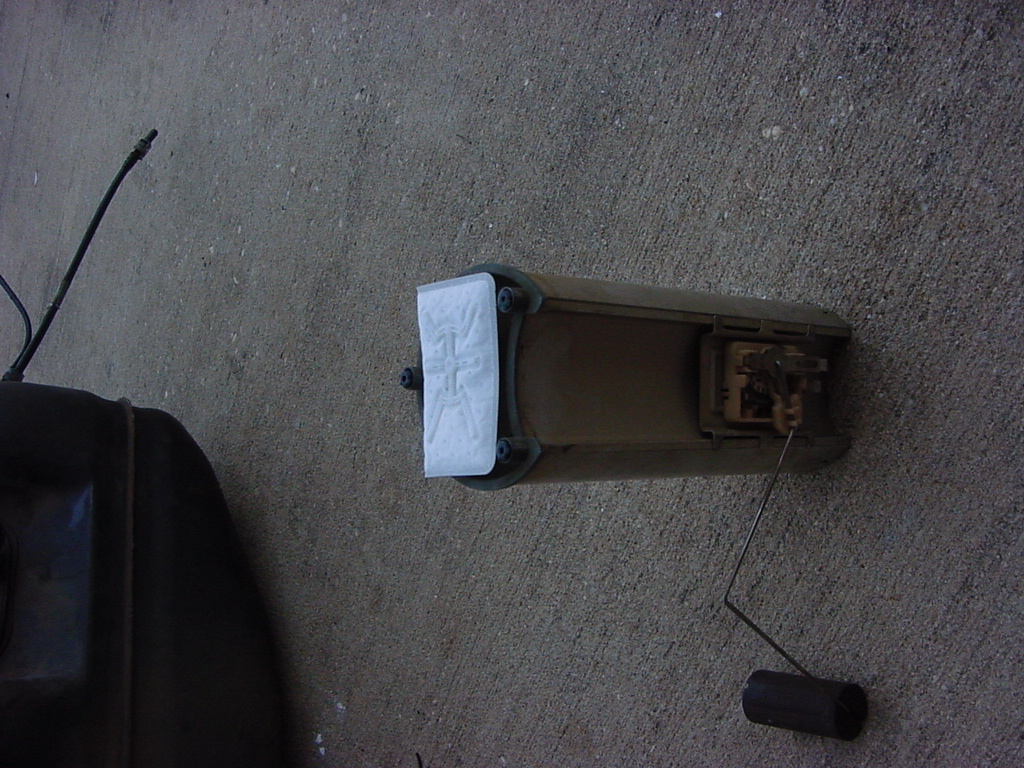
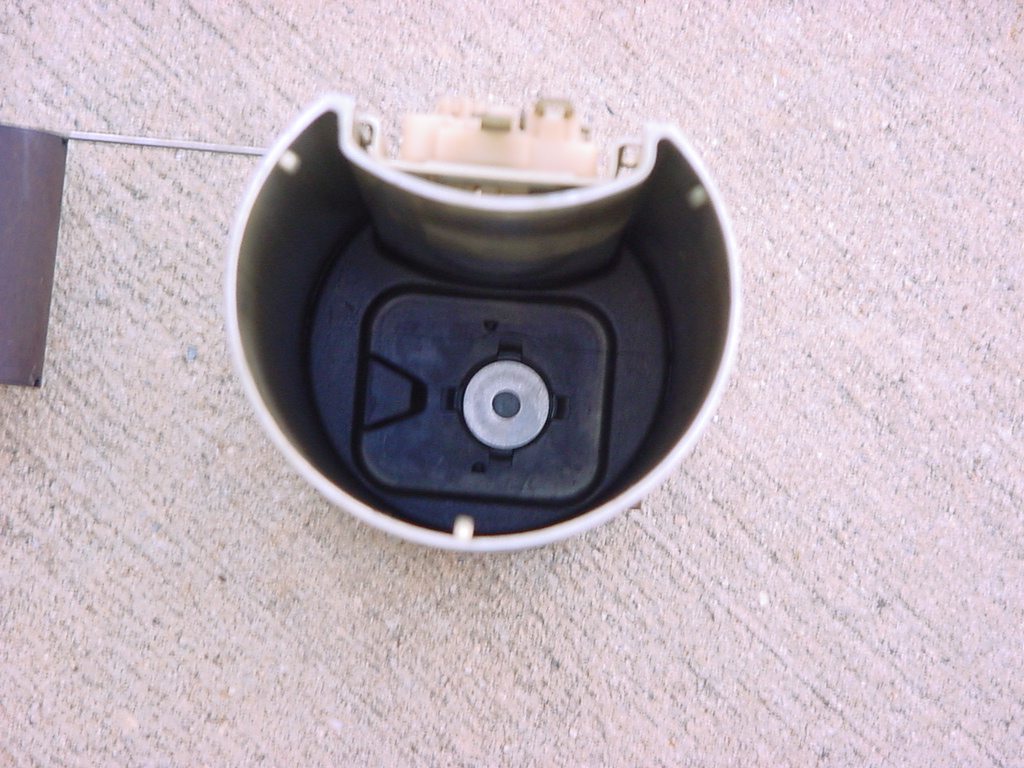
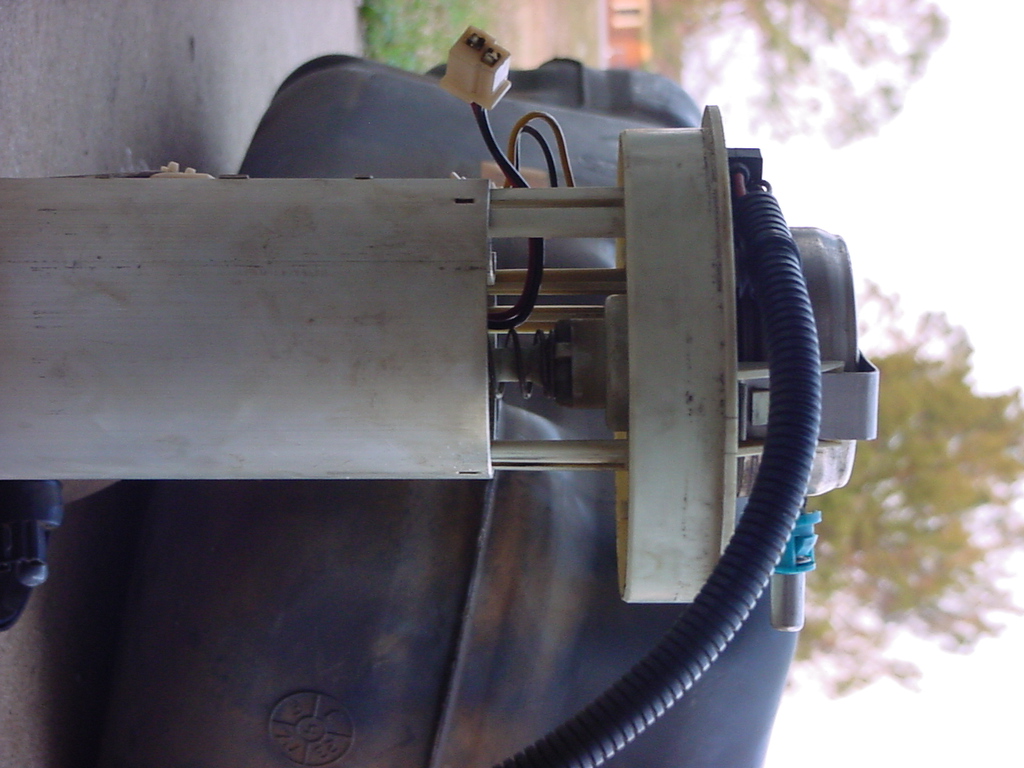
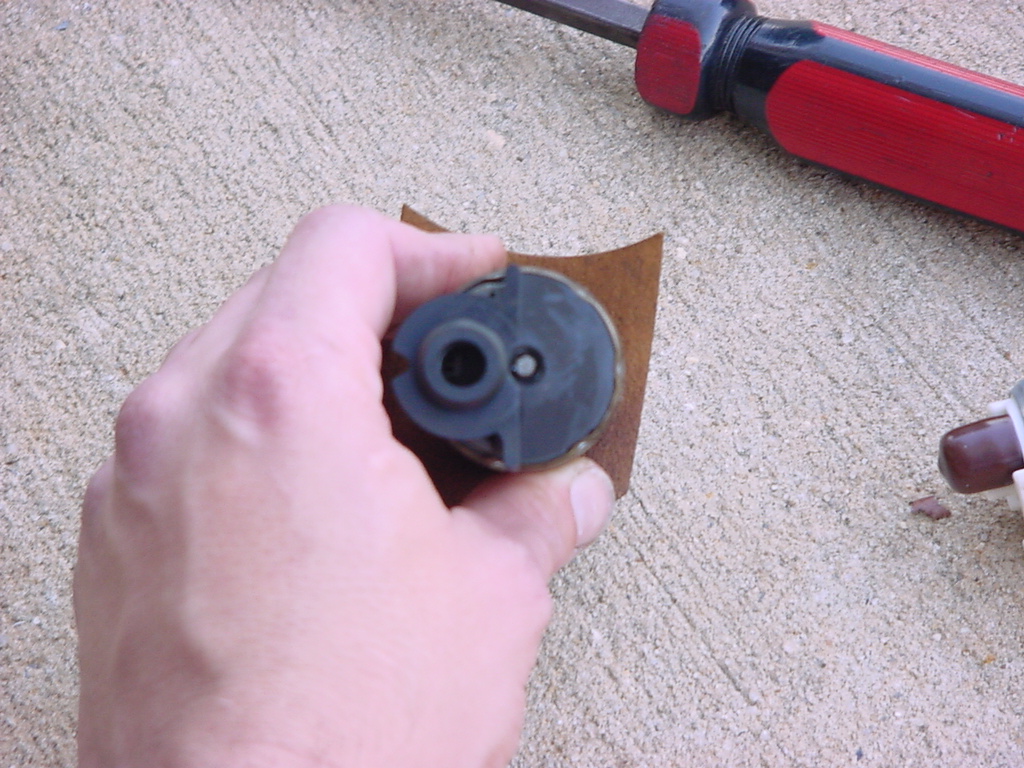
| Remove the retaining ring. There is a special tool to remove this, but I used a pin punch and a hammer to tap the ring around. |
 |
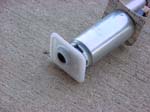
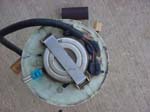
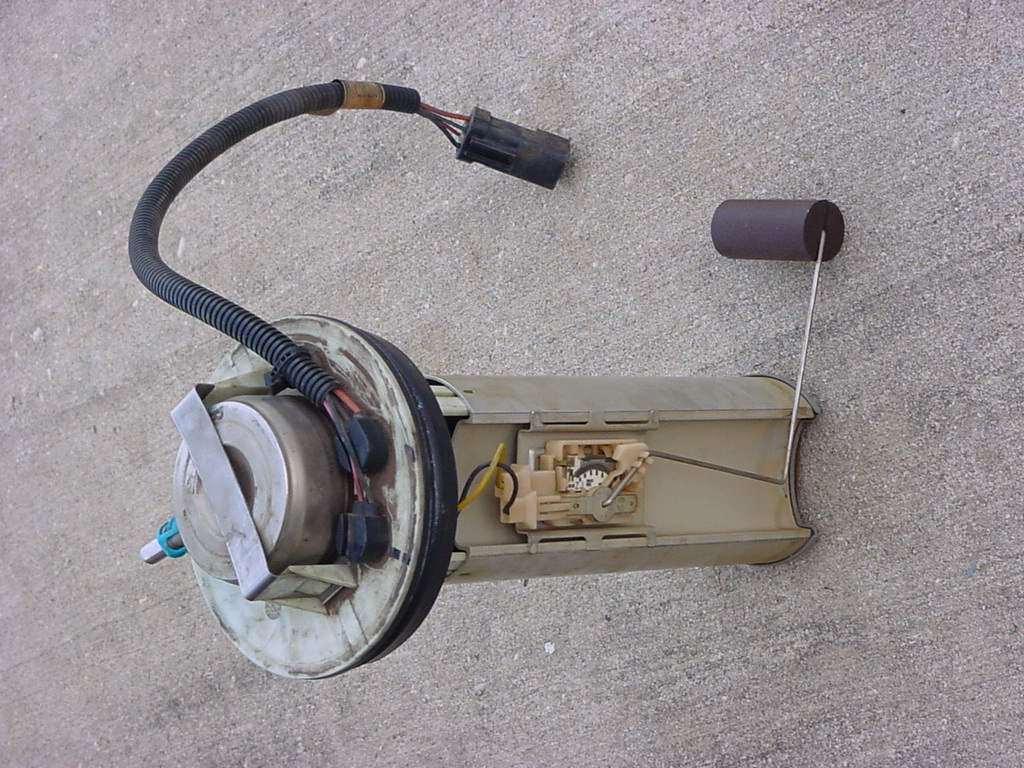
| Pull the fuel pump up and out of the tank. There is a float arm on the pump, so when you just about have it out you will need to tilt it to get the arm out. Do not bend this arm, it will screw up your tank level readings. |
 |
 |
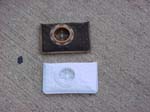
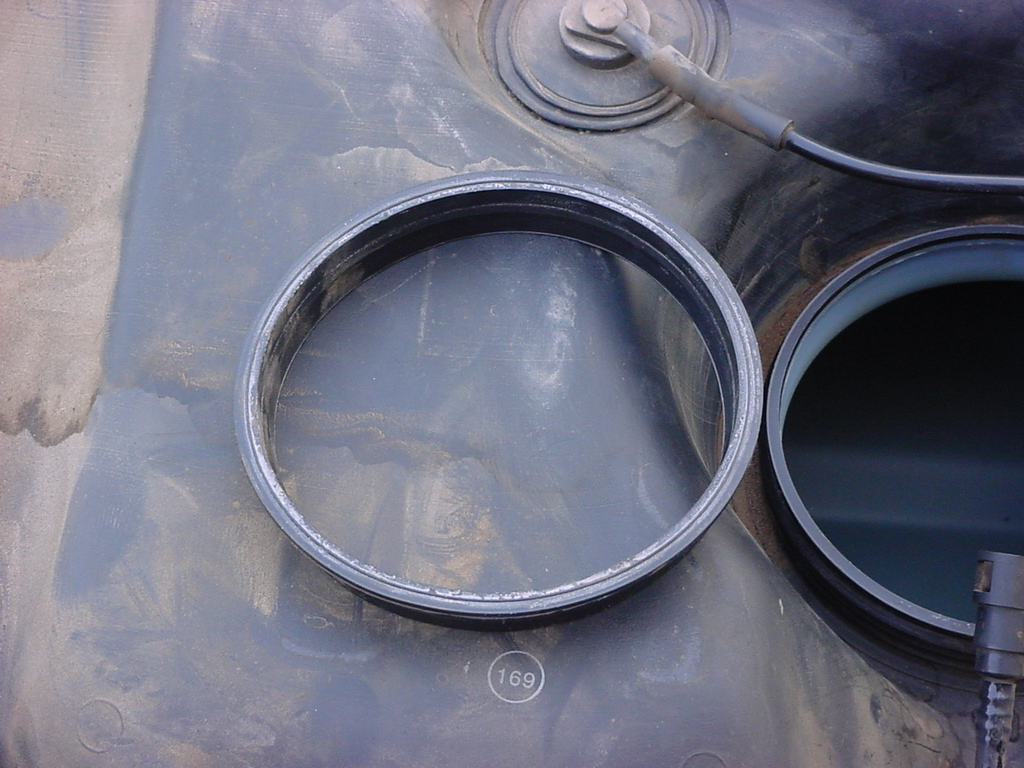
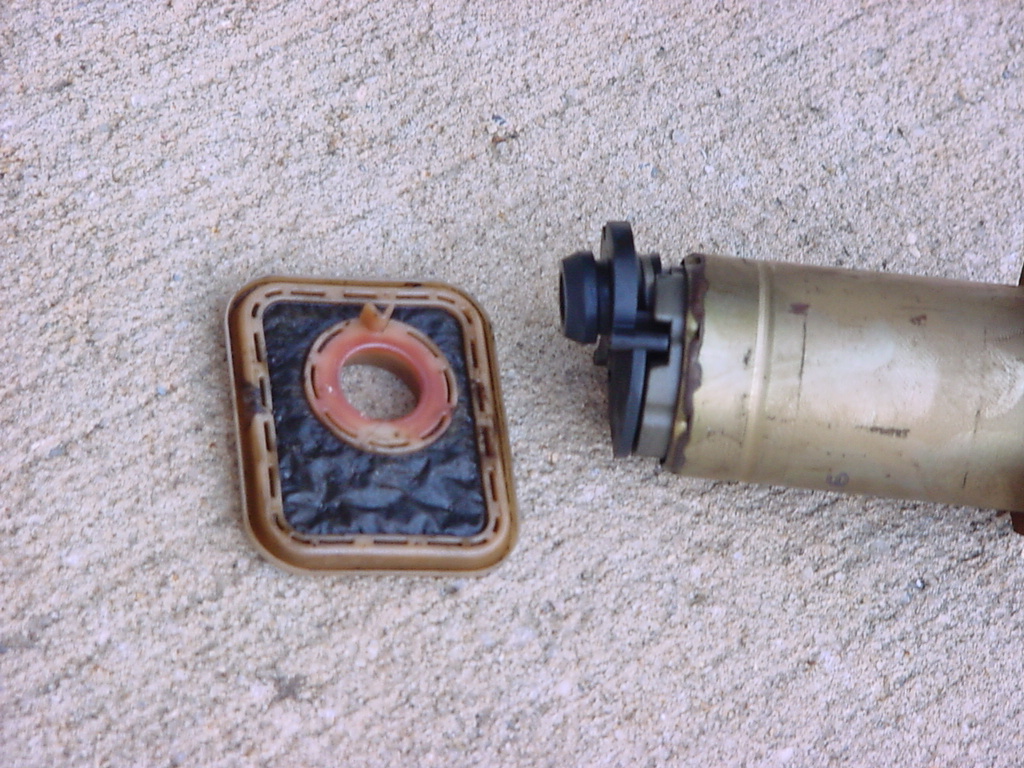
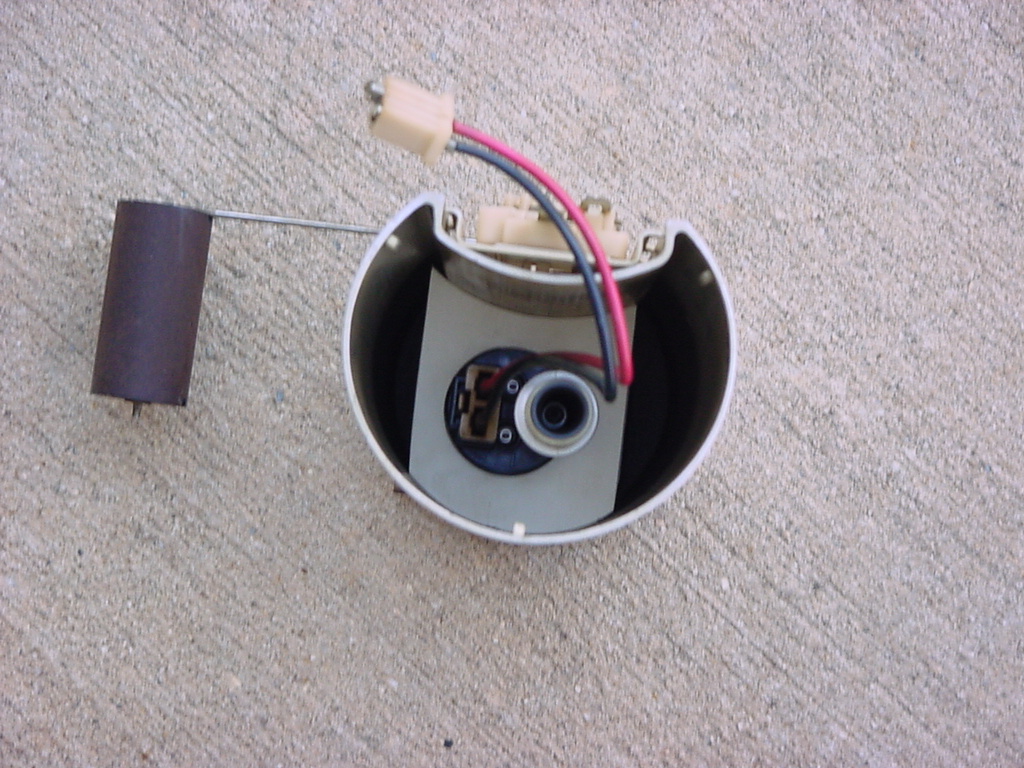
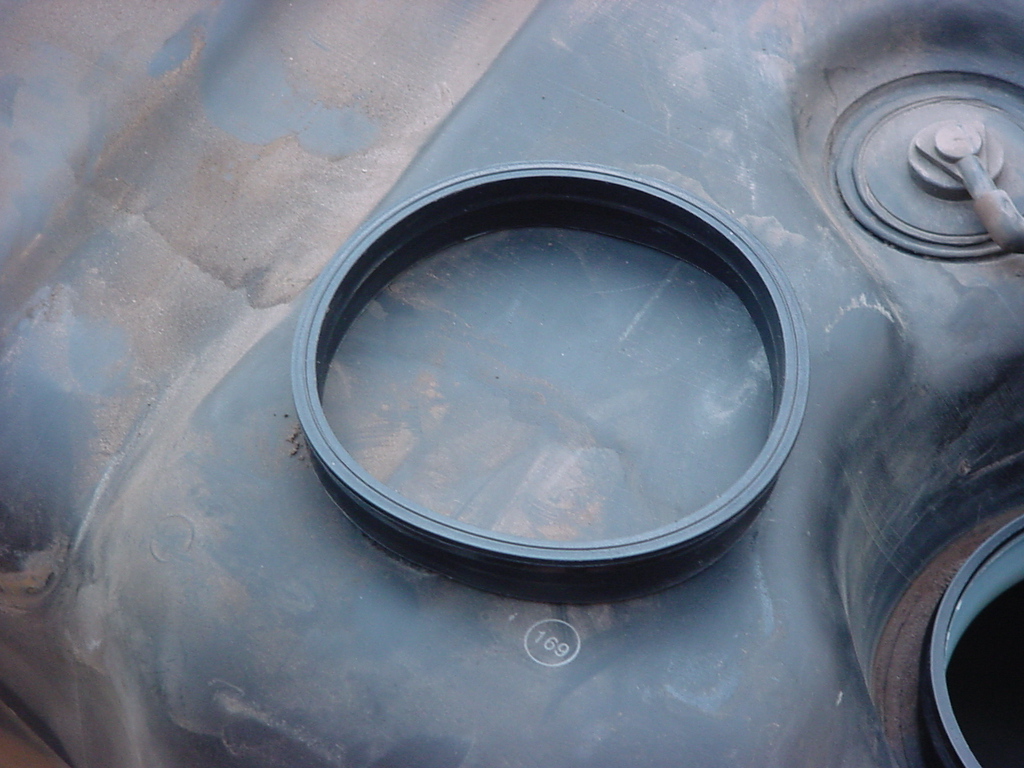
| Remove the old pump assembly gasket from the tank. |
 |
 |
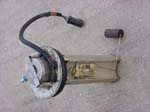
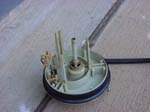
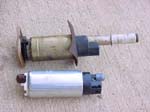
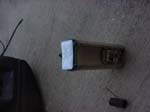
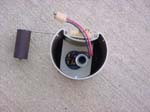
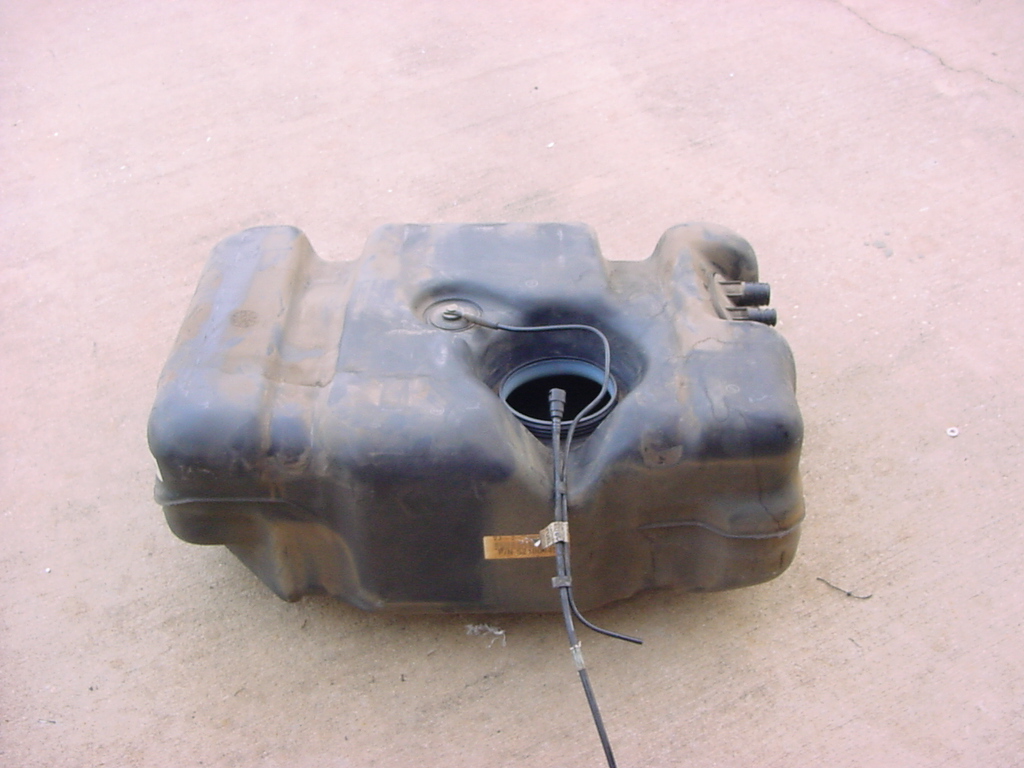
| You should now have one fuel tank, and one fuel pump assembly. |
 |
 |
| |
| Replacing the fuel pump and fuel filters: |
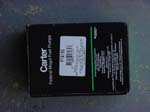
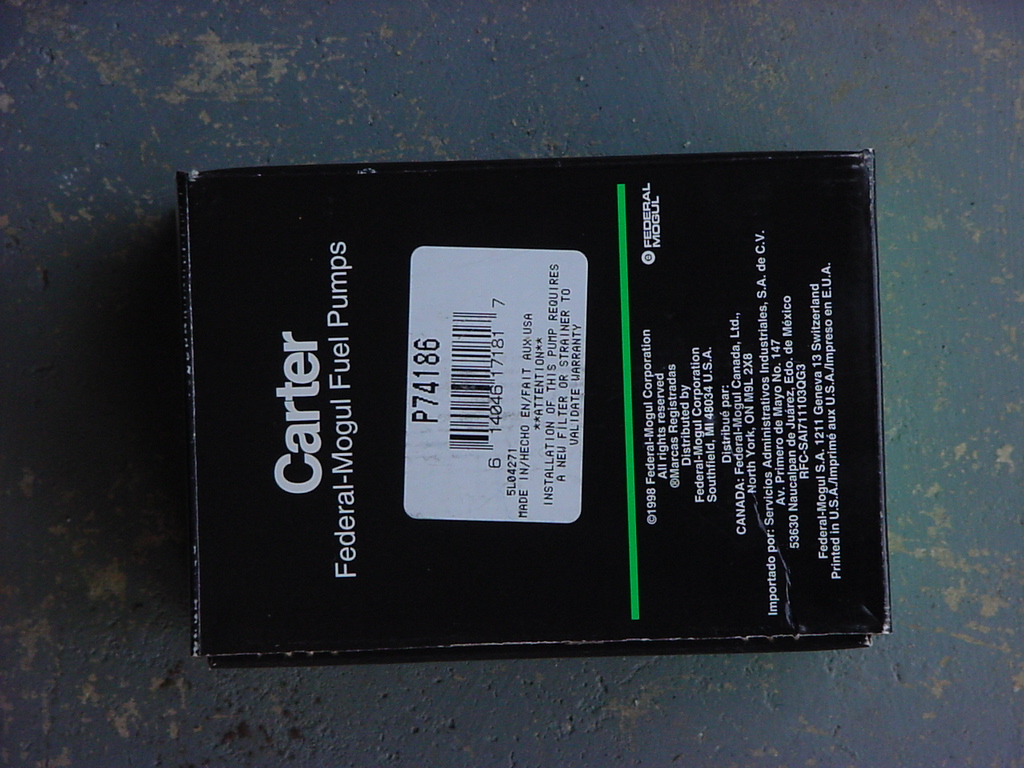
| I discovered that replacing the fuel pump and filters was about the same price as just replacing the filters. That and the fact that I would need to order the filters, but could get the pump and filters now was an easy decision. |
 |
 |
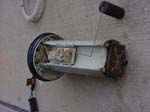
| If the filter on the inside is as dirty as the one on the outside, no wonder I'm not getting any fuel. The pump sits inside the cylinder and is cooled by the fuel. There are two filters on inside, one outside. The pump supplies itself with fuel and normally keeps the cylinder full. What was happening now was the filters could supply enough gas just running down a flat stretch of load, but as soon as the engine needed more it would suck the cylinder dry and then starve the pump. |
 |
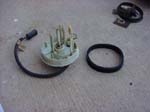
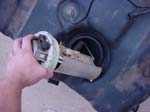
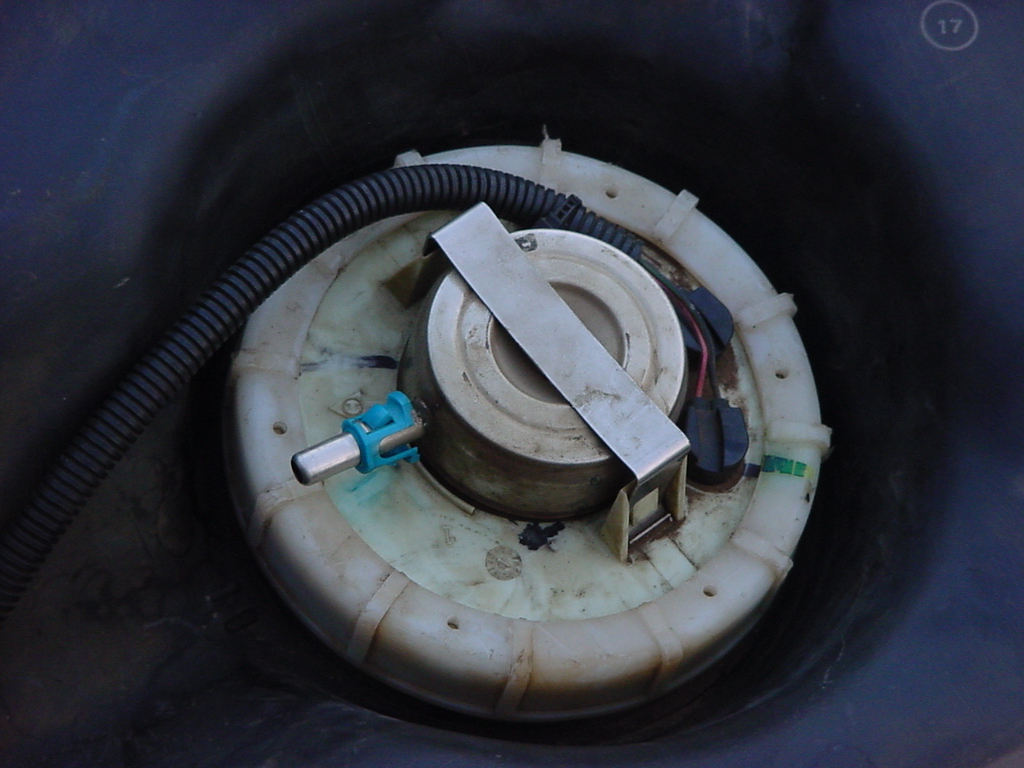
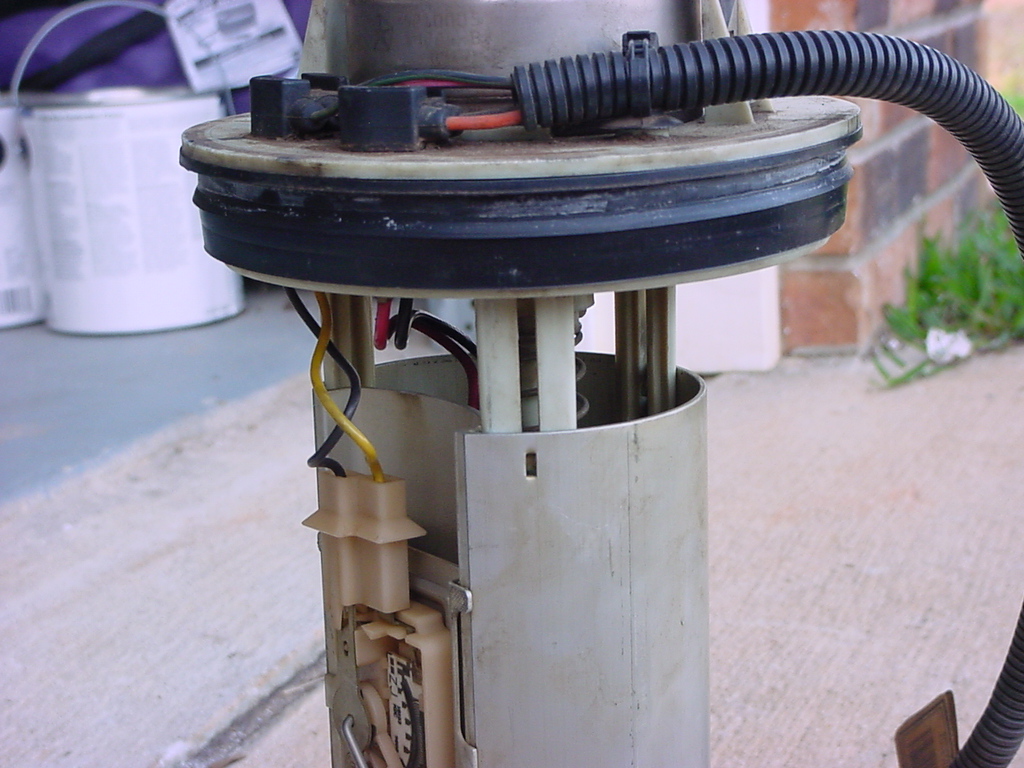
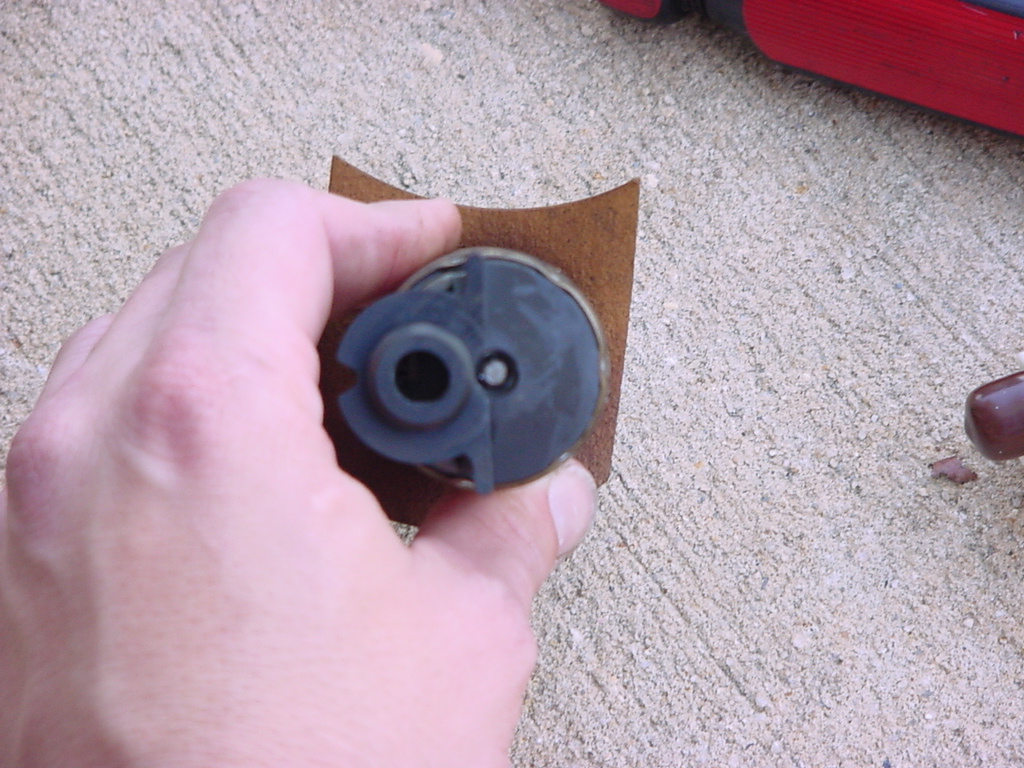
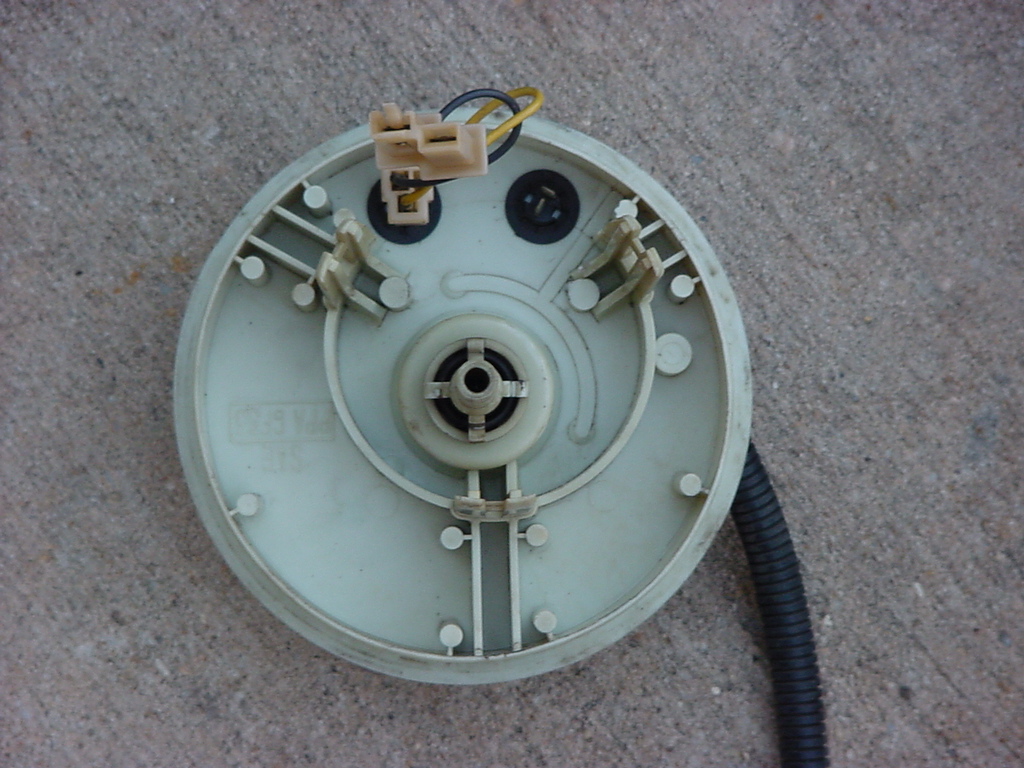
| We need to remove the top of the pump assembly. |
 |
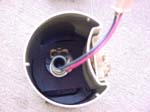
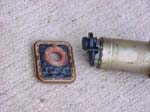
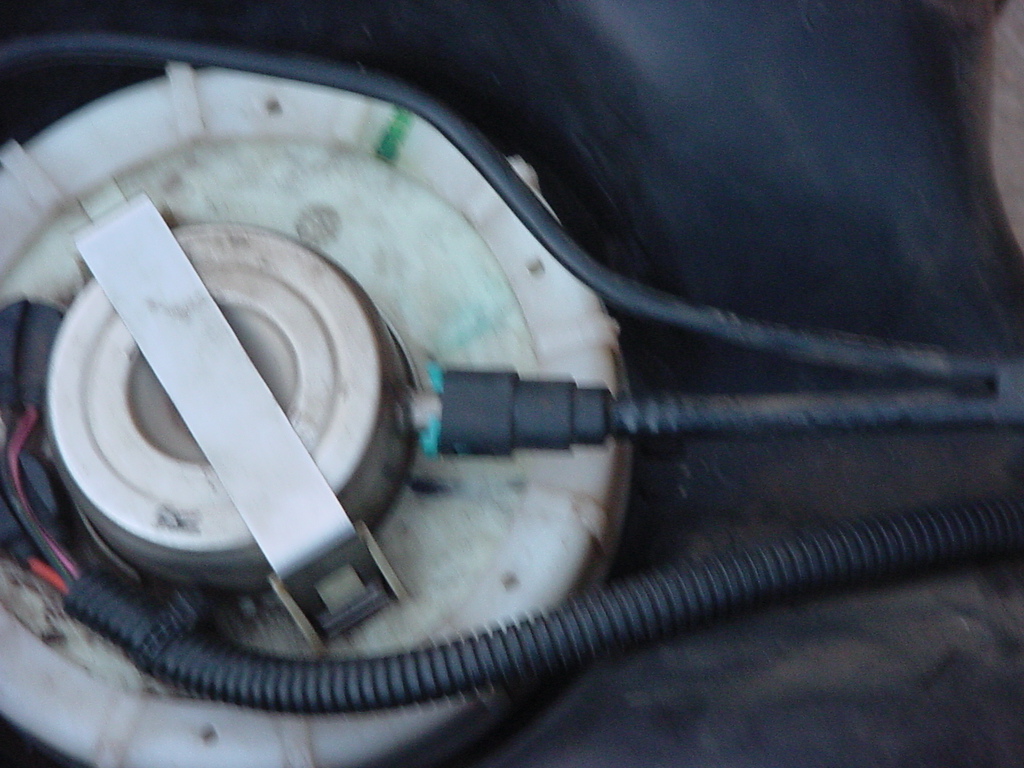
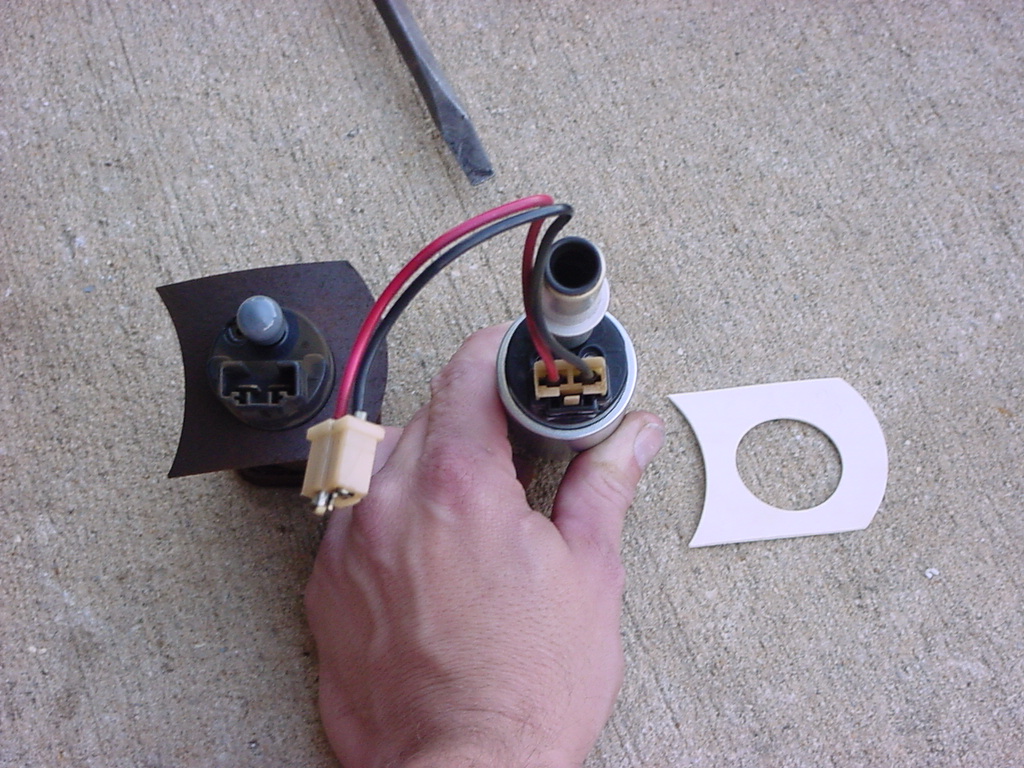
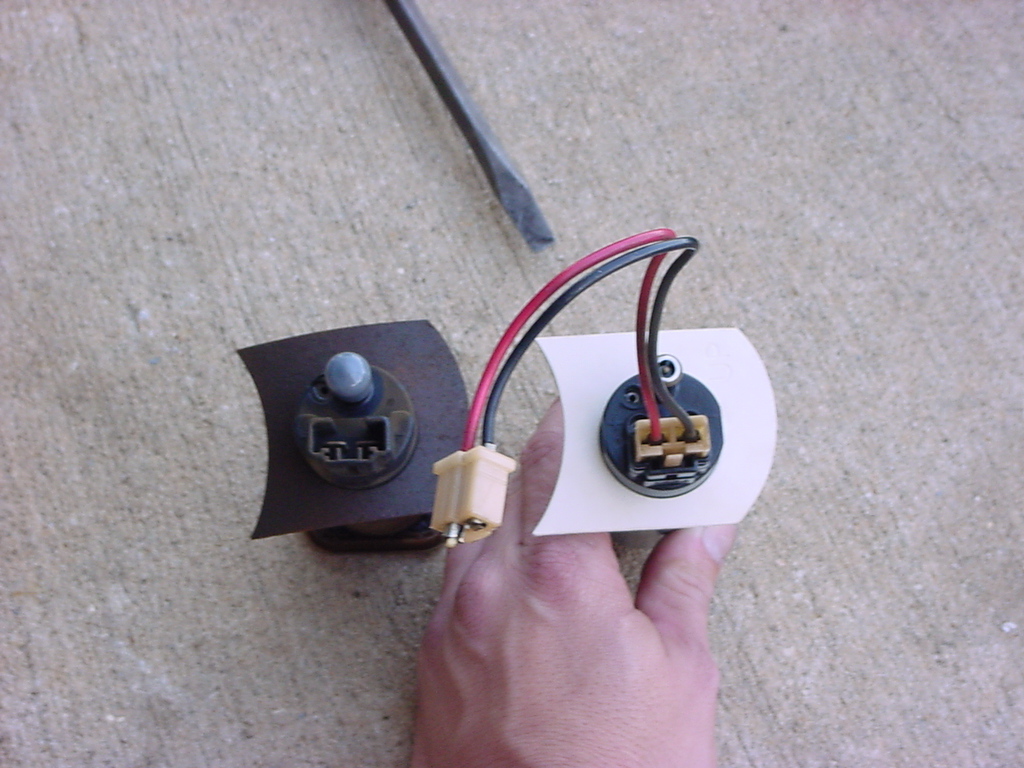
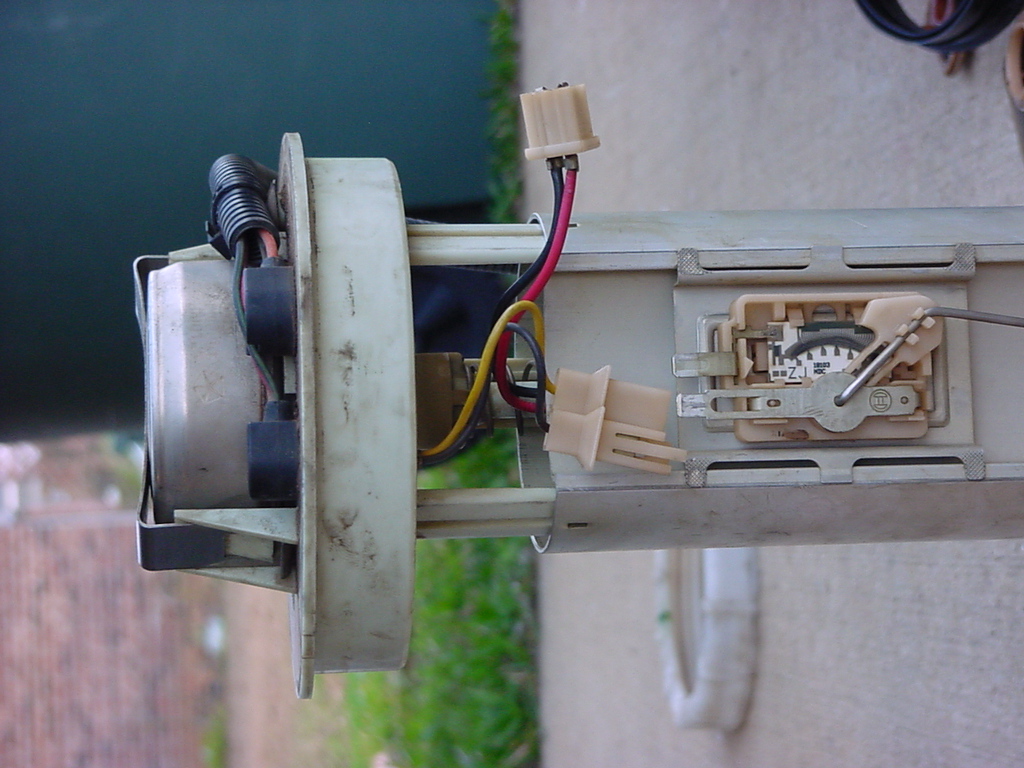
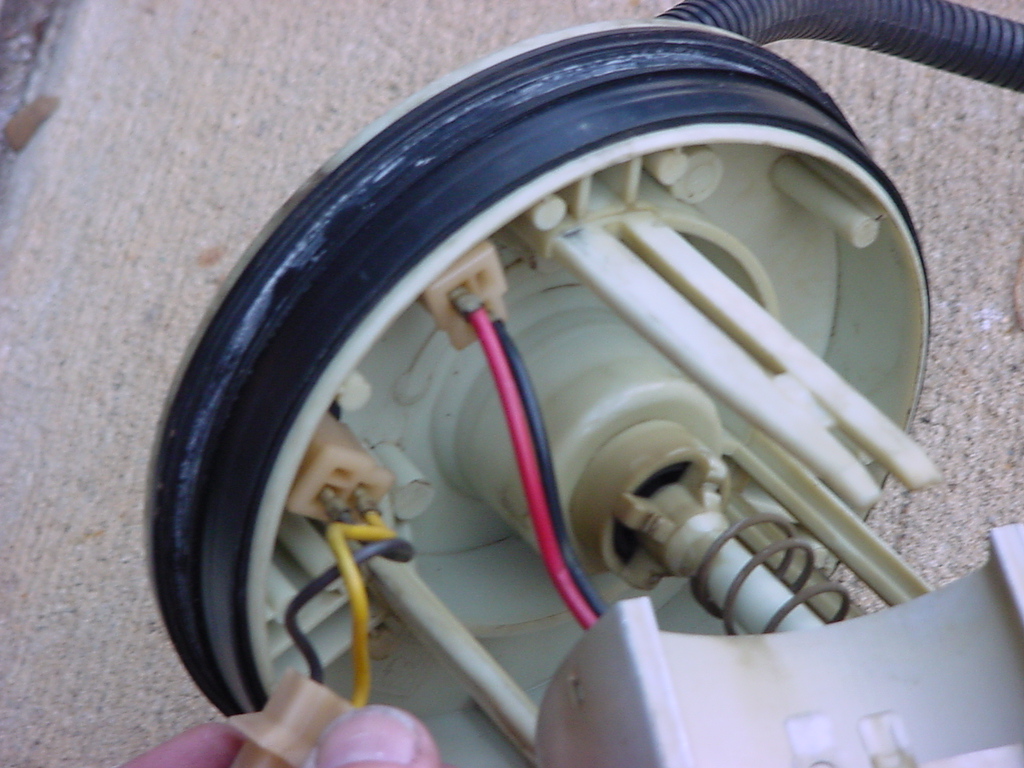
| Disconnect the electrical connector from the fuel tank level circuit board. Just pull up on the little clip and slide the connector off. |
 |
 |
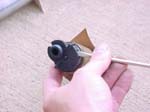
| Remove the top by pressing in on each of the legs and getting them to unclip from the hook inside the cylinder. You will need to unhook the red and black wired connector from the top. Just pull it off. |
 |
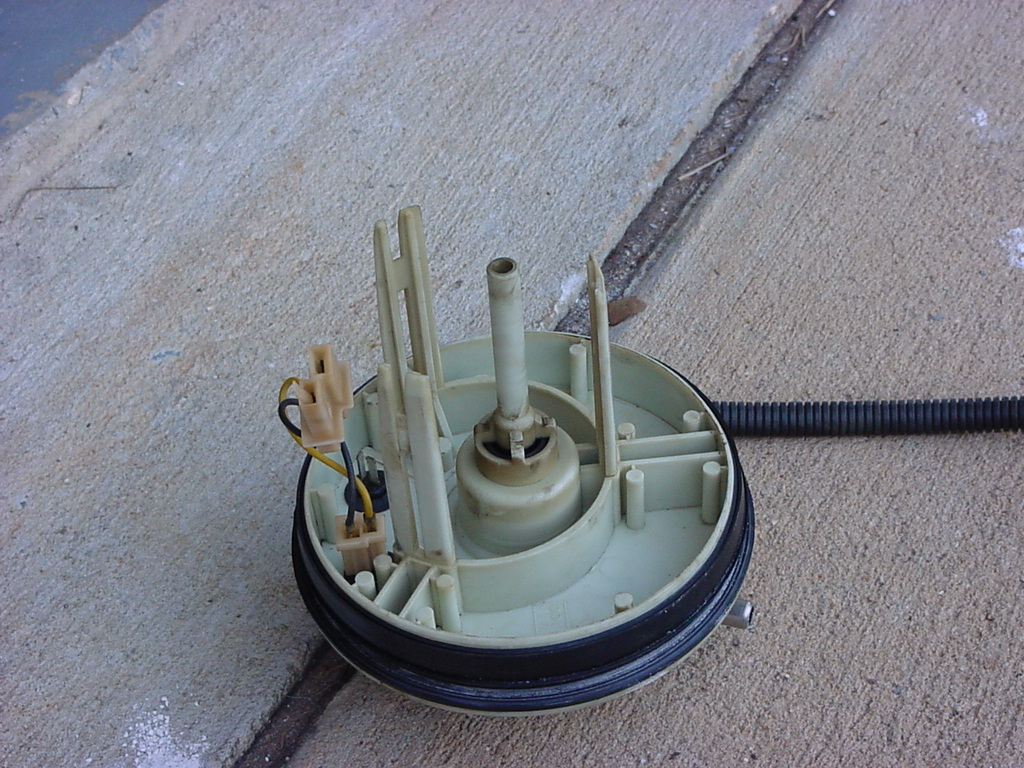
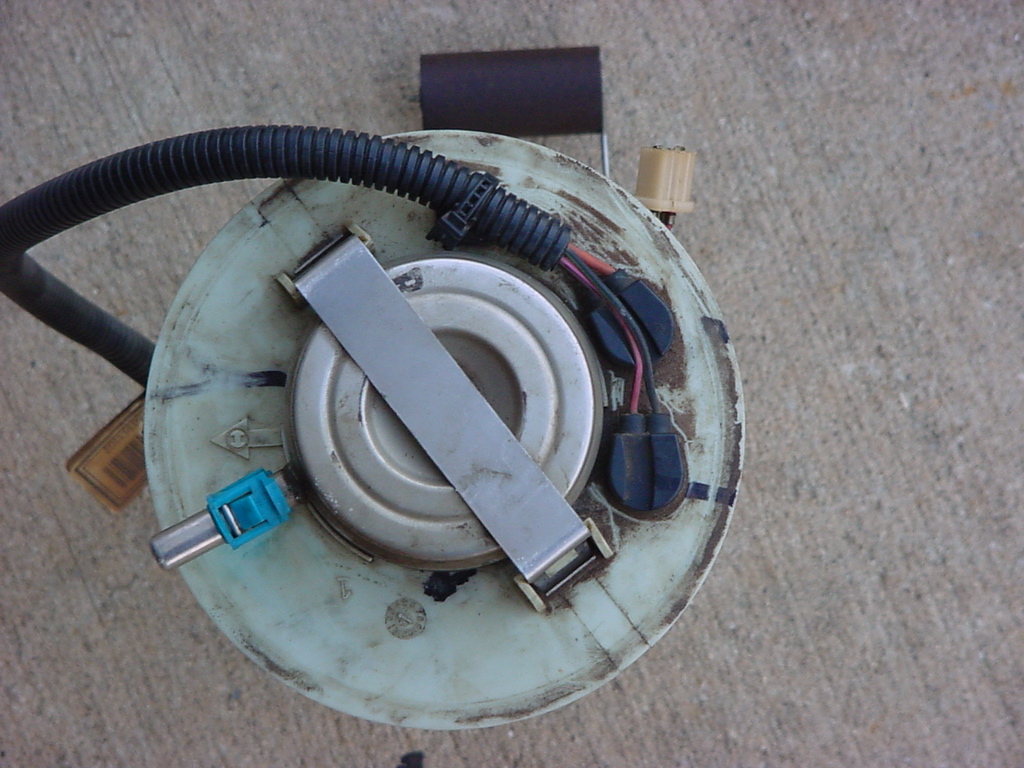
| Top removed. If the gasket didn't stay with the tank, pull it off of the top, you have a new gasket to replace it. |
 |
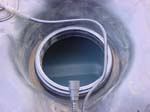
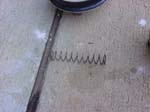
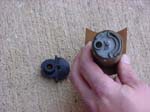
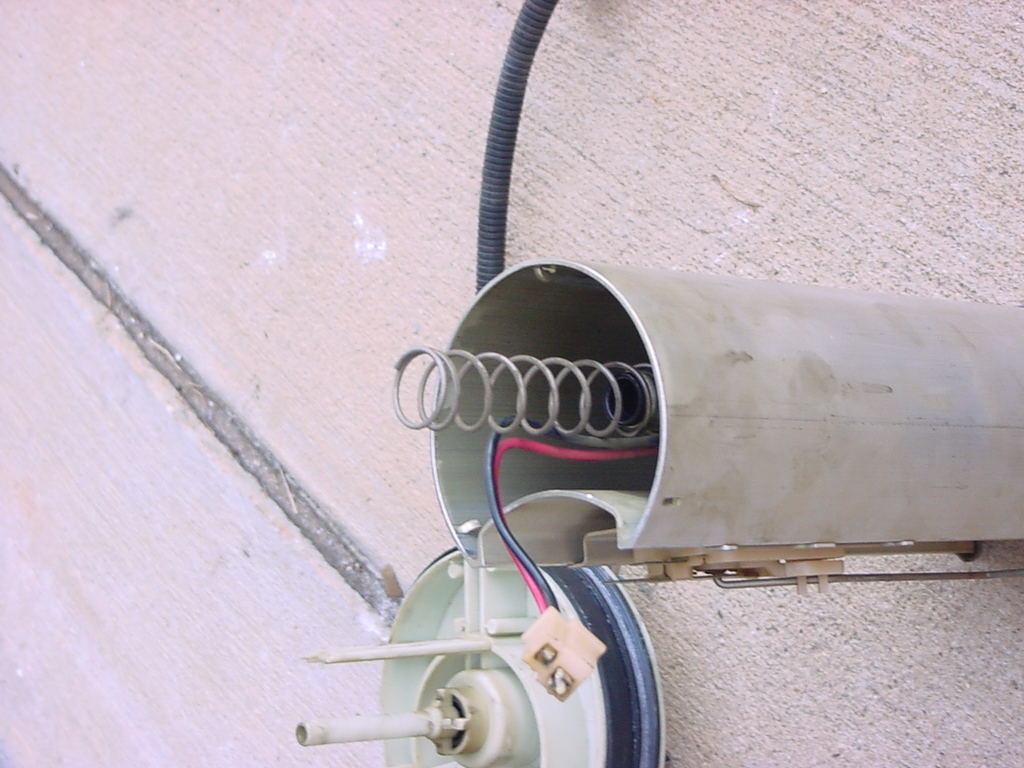
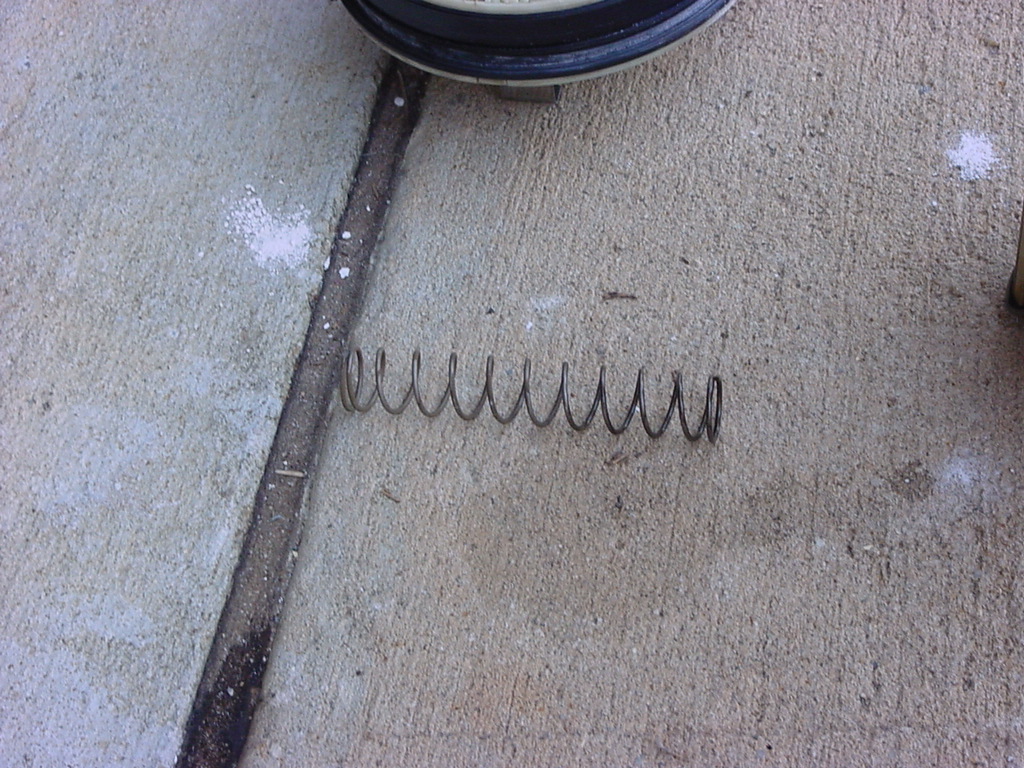
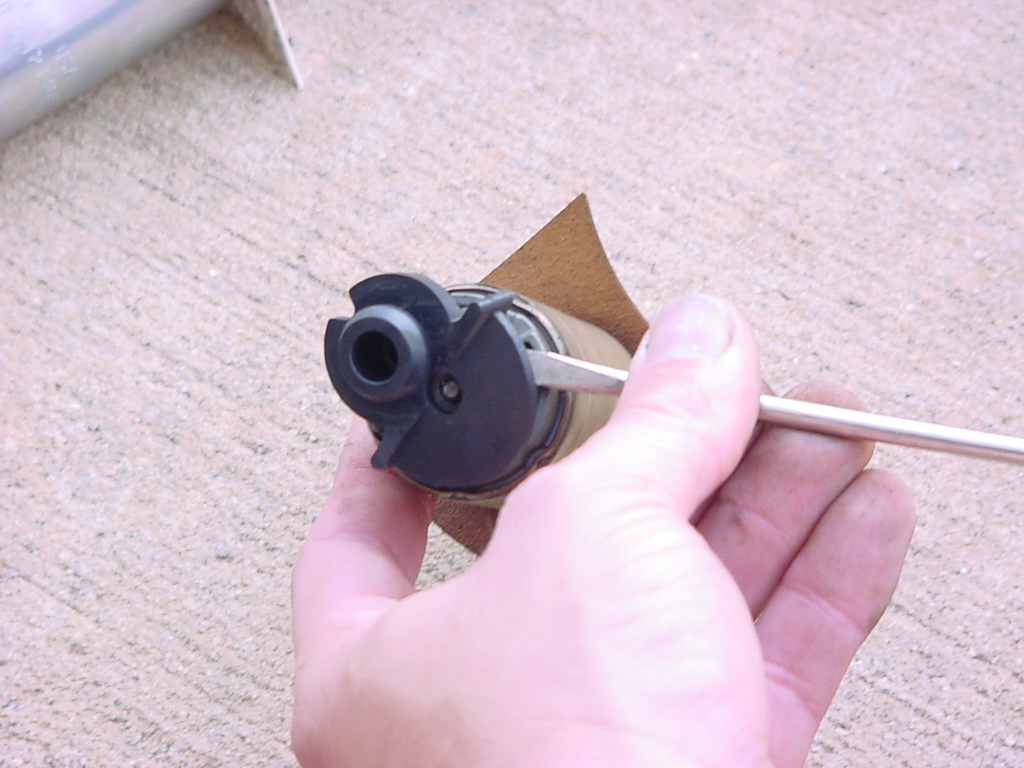
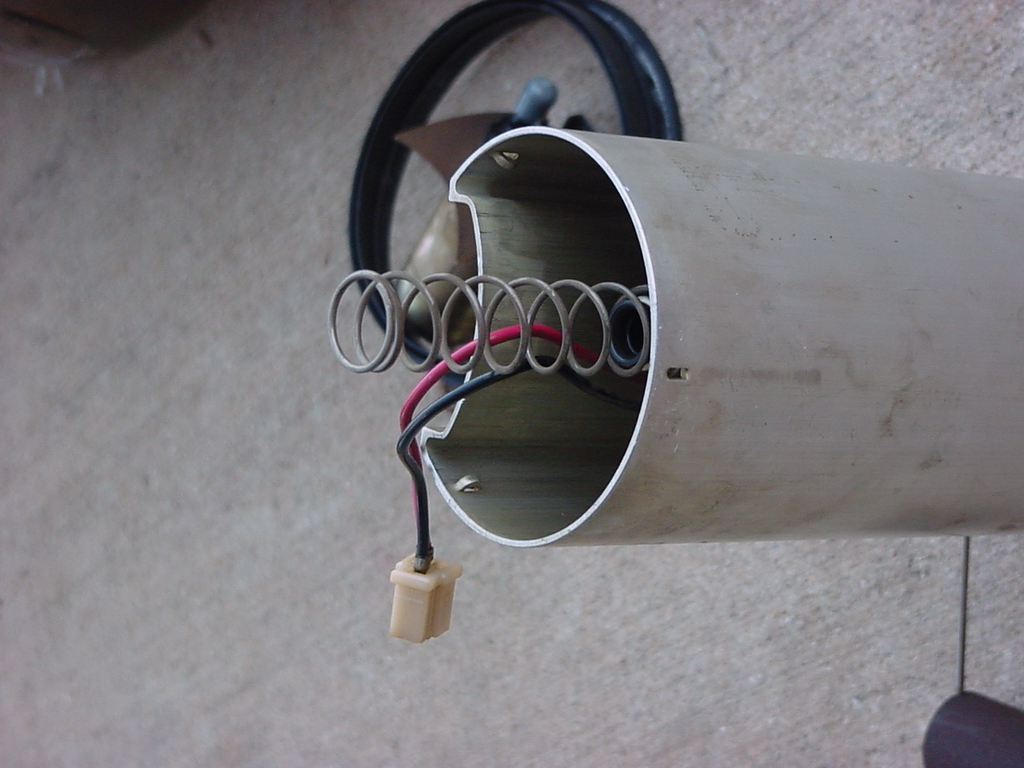
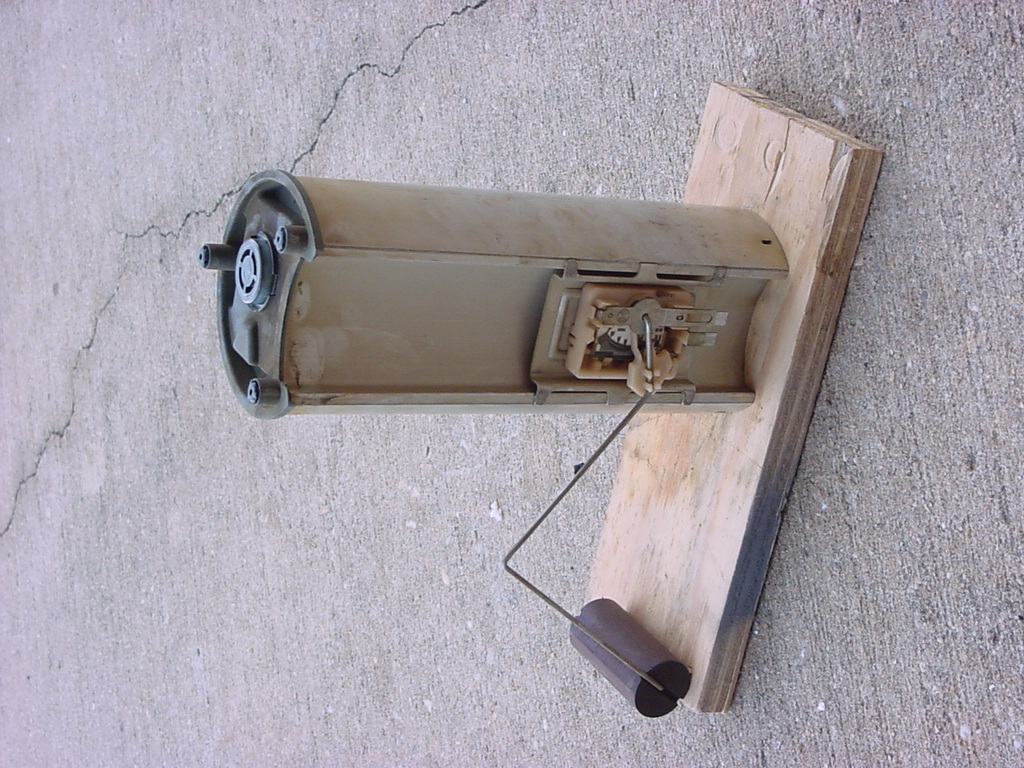
| Remove the spring from the cylinder. This is what holds the fuel pump assembly down on the bottom of the gas tank. There is very little gap between the top of the cylinder and the top of the fuel pump assembly. TJ and LJ's have a problem if the dimple on the bottom of the tank gets crushed. This cylinder will push up into the top of the tank and can crack the fuel pump assembly top, or seal off the bottom of the fuel pump. |
 |
 |
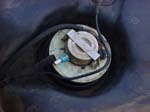
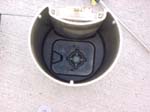
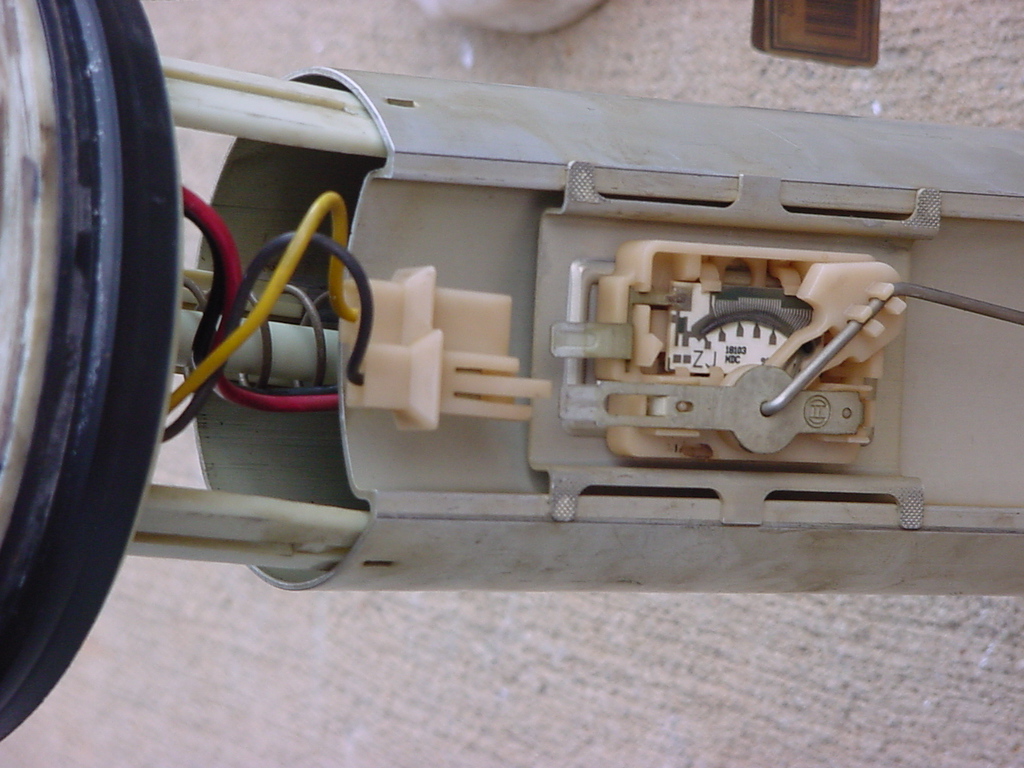
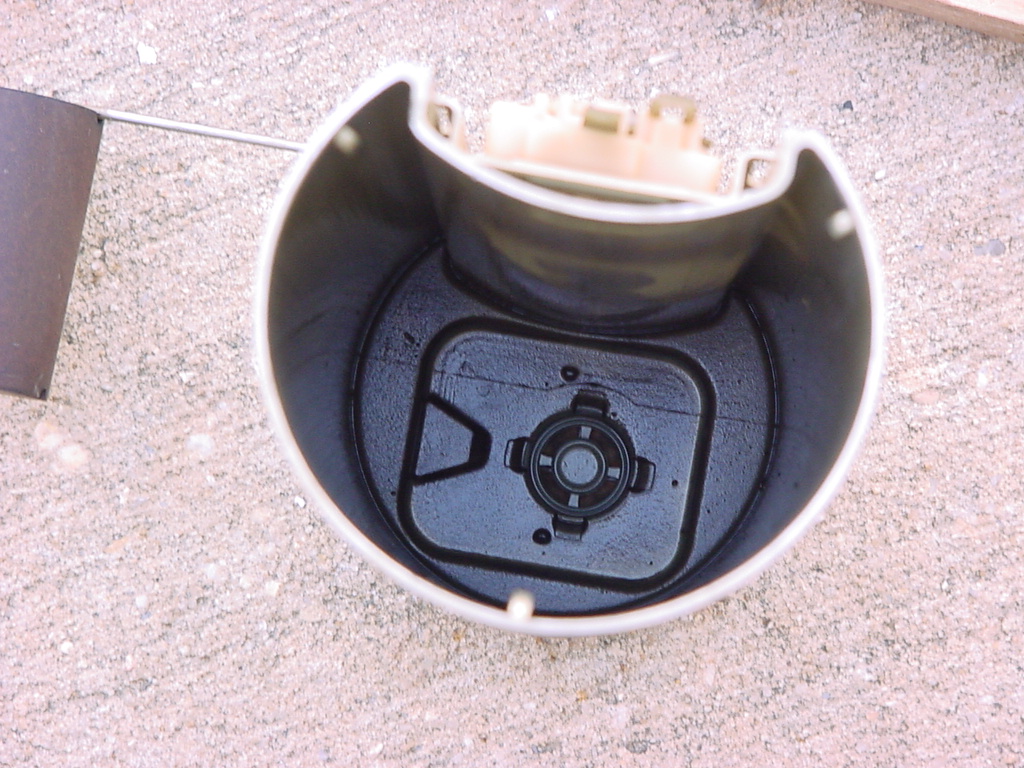
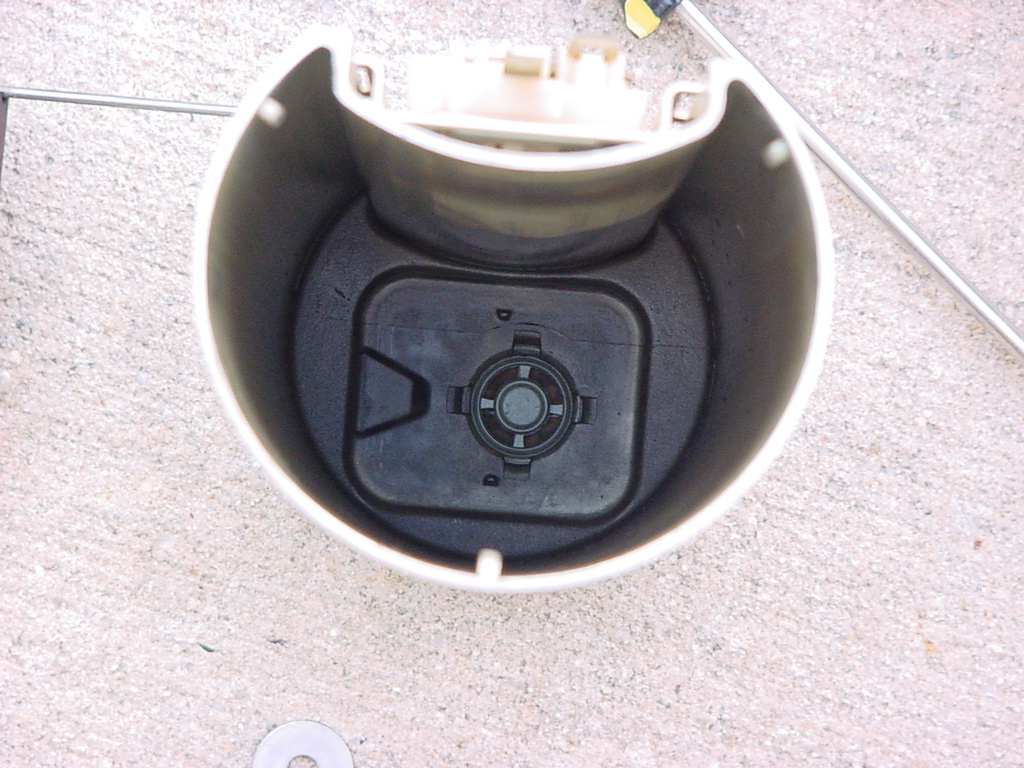
| A quick look inside showed lots of gunk built up, and the fuel pump. |
 |
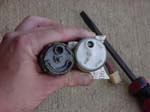
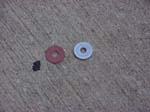
| Reach inside and pull the fuel pump out. This may leave a small washer and flapper valve in the bottom of the cylinder. I put a board over the top and flipped it over. |
 |
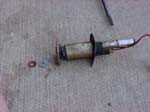 |
 |
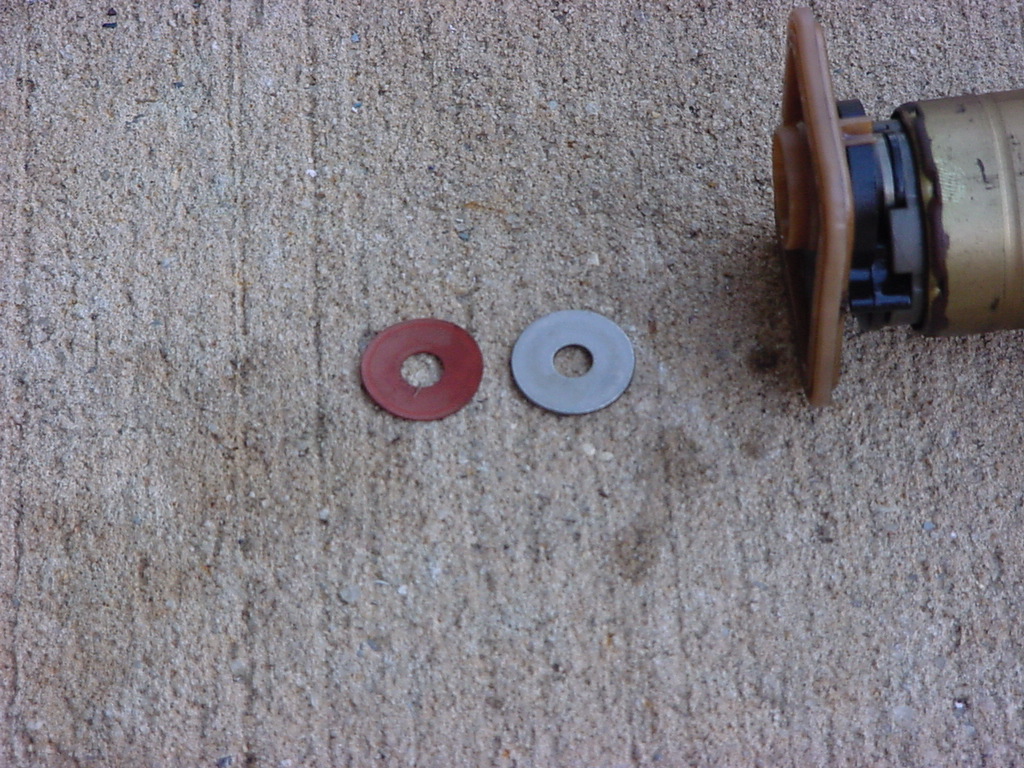
| This is the relationship of the flapper valve and washer to the bottom of the fuel pump and internal filter. |
 |
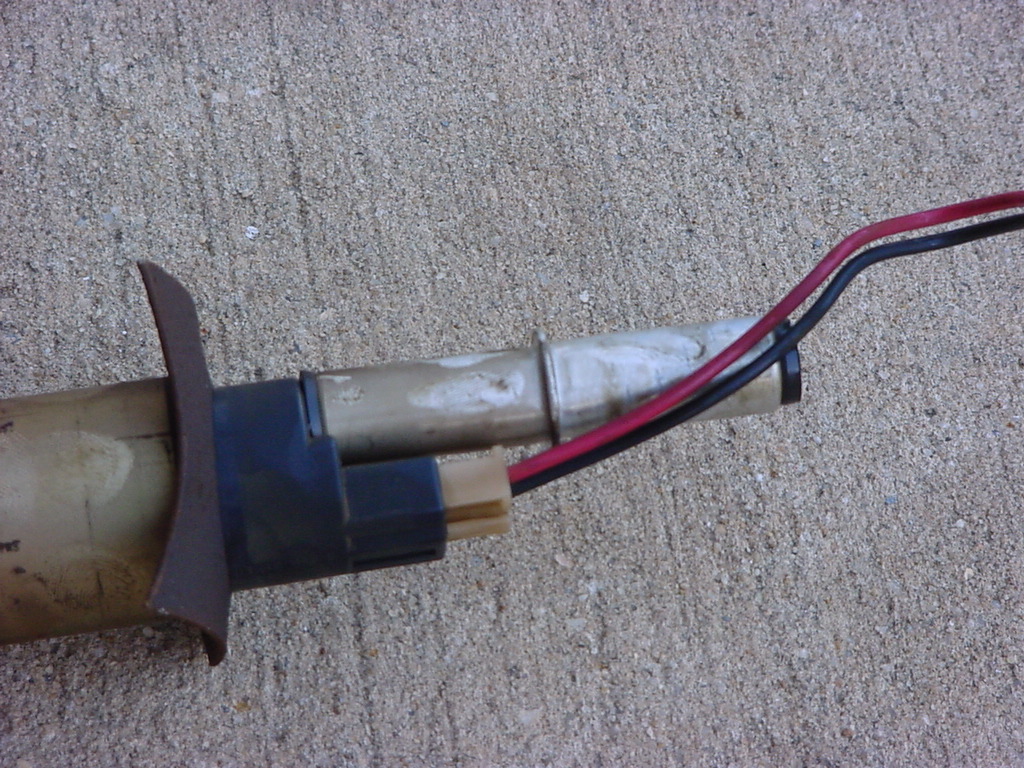
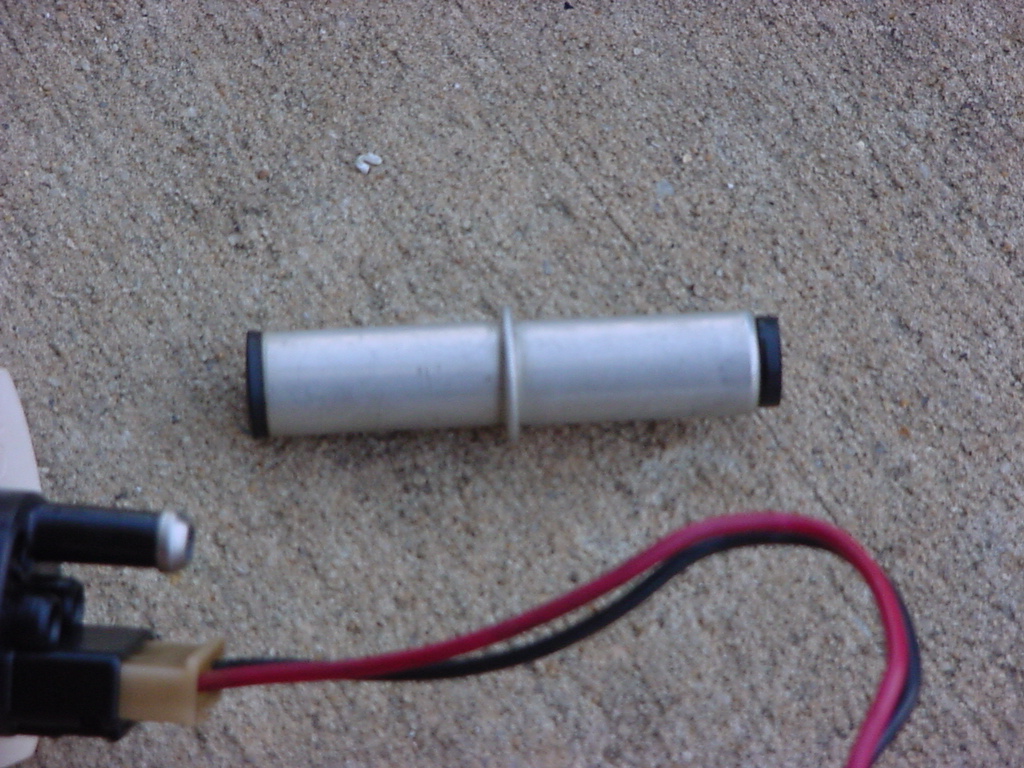
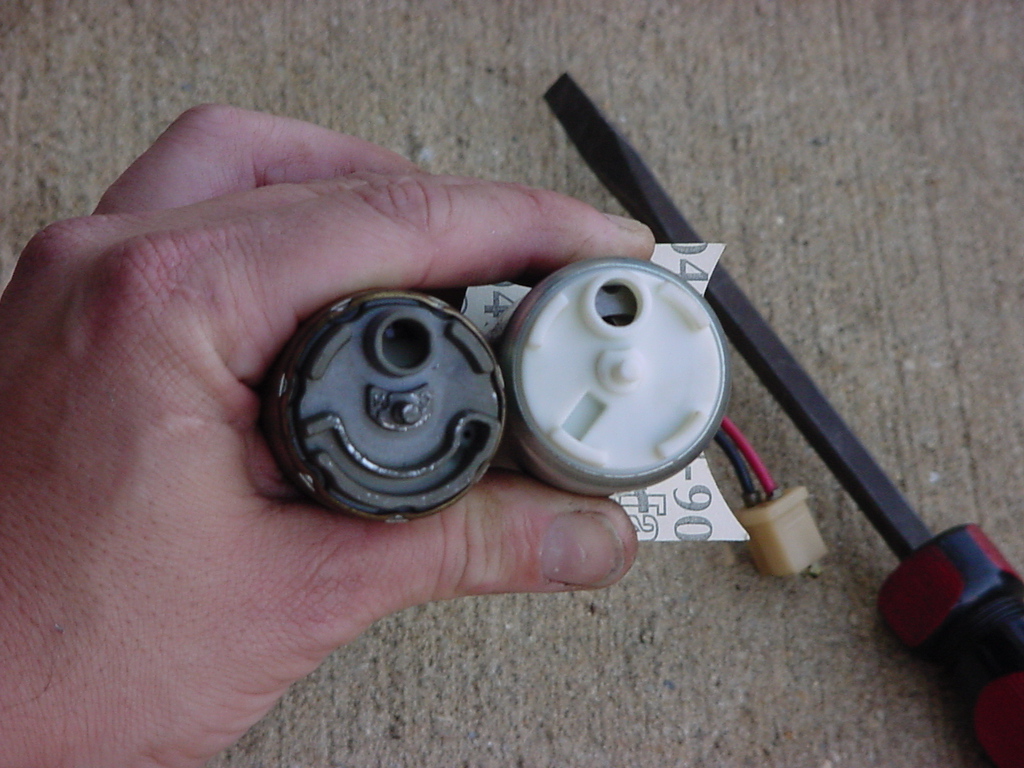
| Remove the electrical harness and discharge tube from the old fuel pump. |
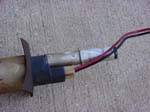 |
 |
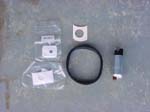
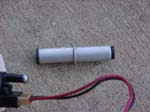
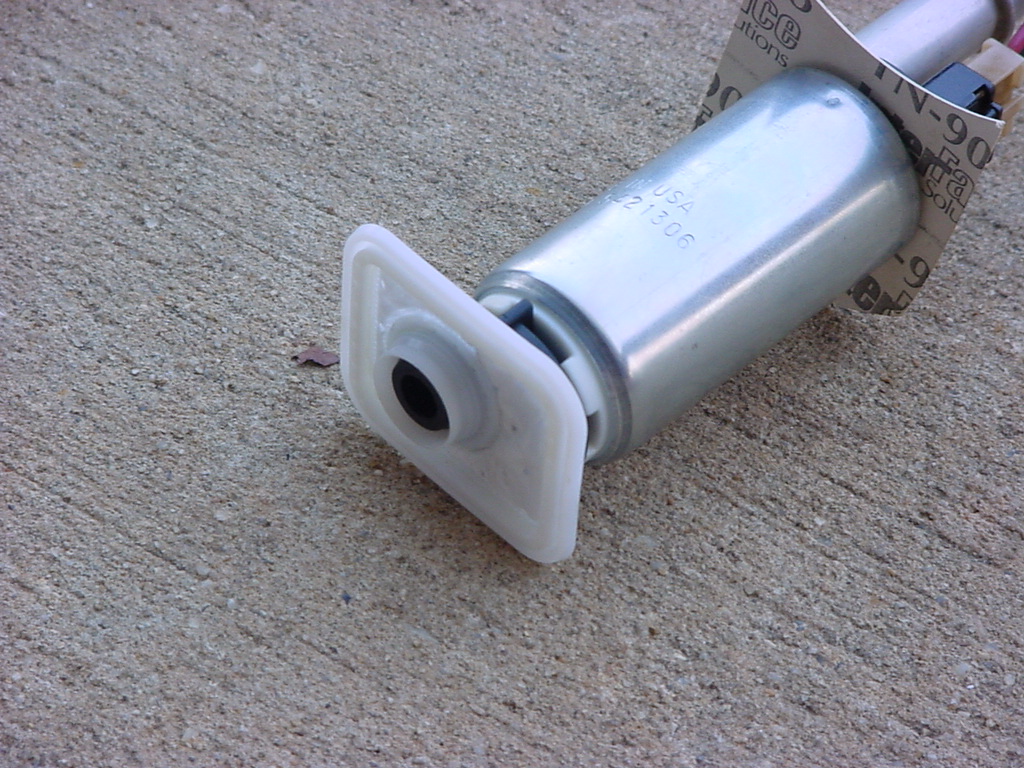
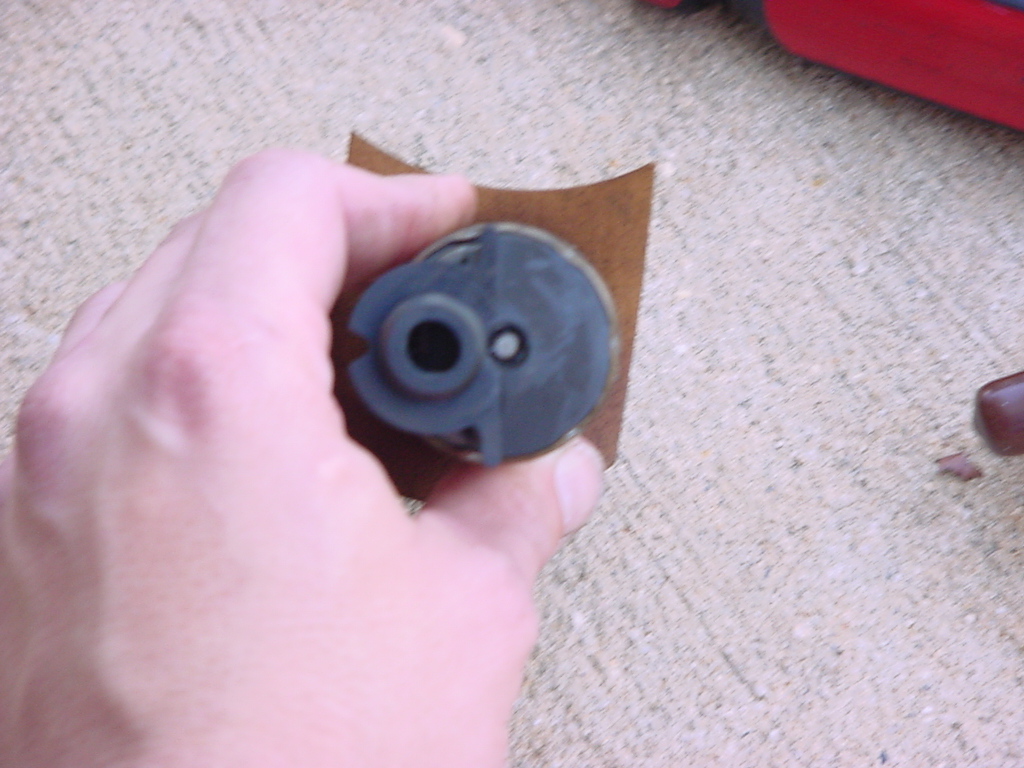
| Install the electrical harness and discharge tube on the new fuel pump. Don't forget to remove the rubber seal cap from the new pump first. |
 |
 |
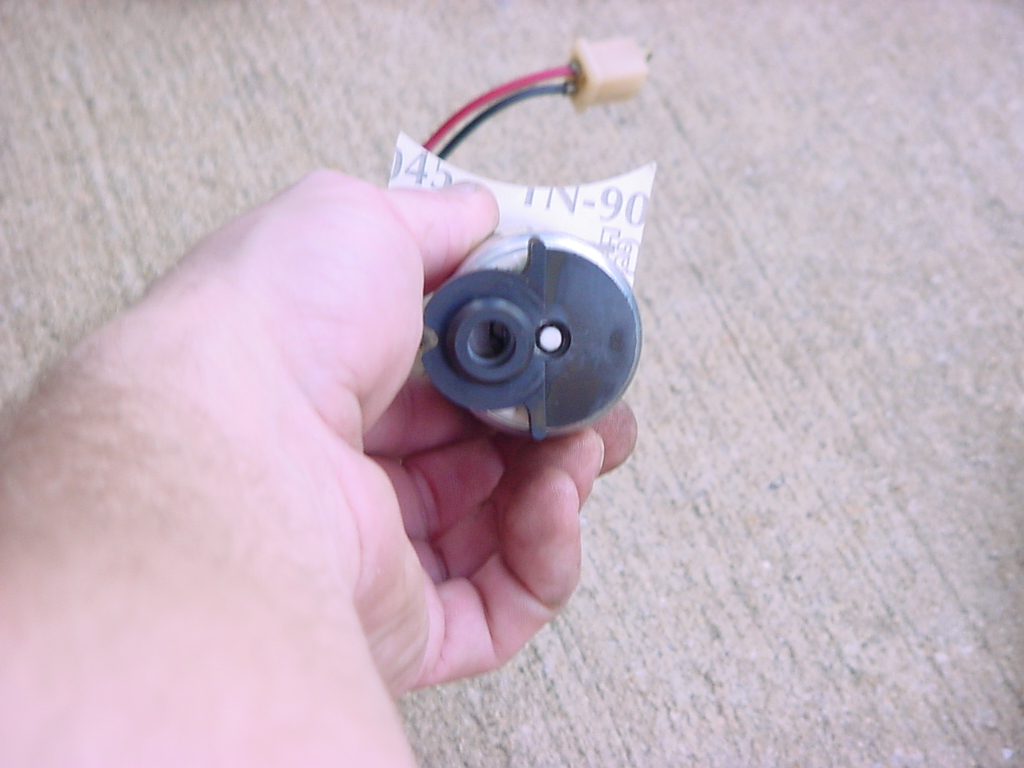
| Check the orientation of the pump and install the new cardboard shield on the new fuel pump just like the old. |
 |
 |
| Remove the old filter from the bottom of the old fuel pump. It just pulls off. |
 |
| Remove the rubber base from the old fuel pump. Just slip a screwdriver under the edge and gently pry up, the base is on over a center pin. |
 |
 |
 |
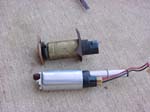
| There is a slight difference between the pumps, the old one had a fuel drain to let the fuel pump drain when it stopped. |
 |
| Install the rubber base on the new fuel pump. |
 |
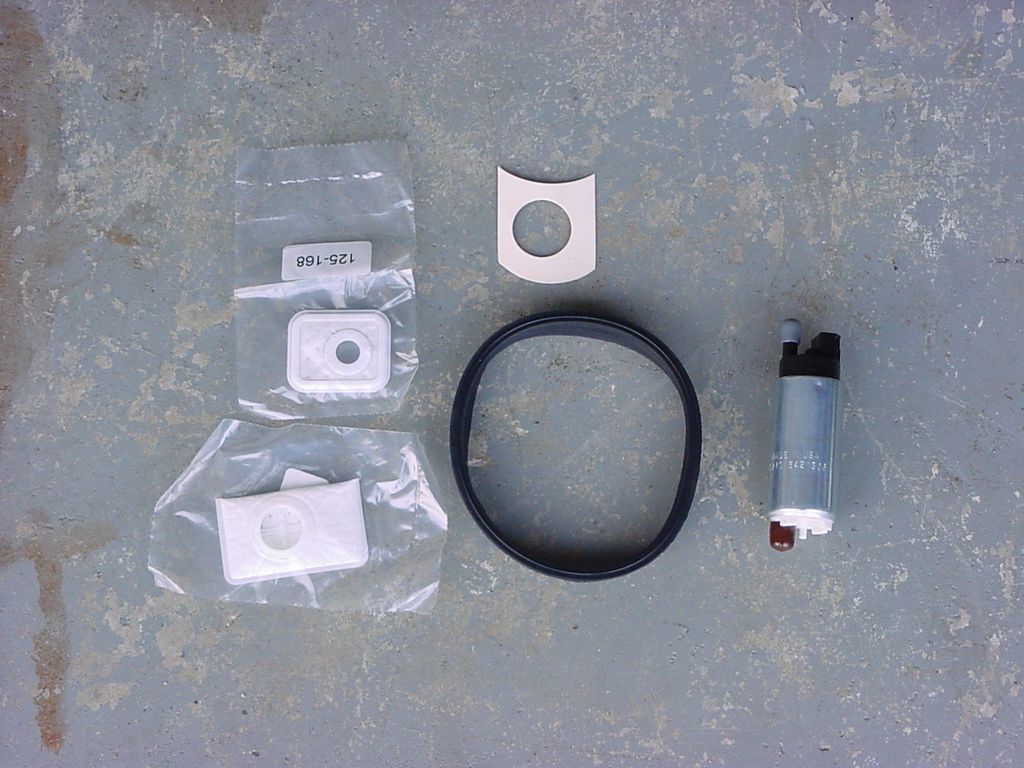
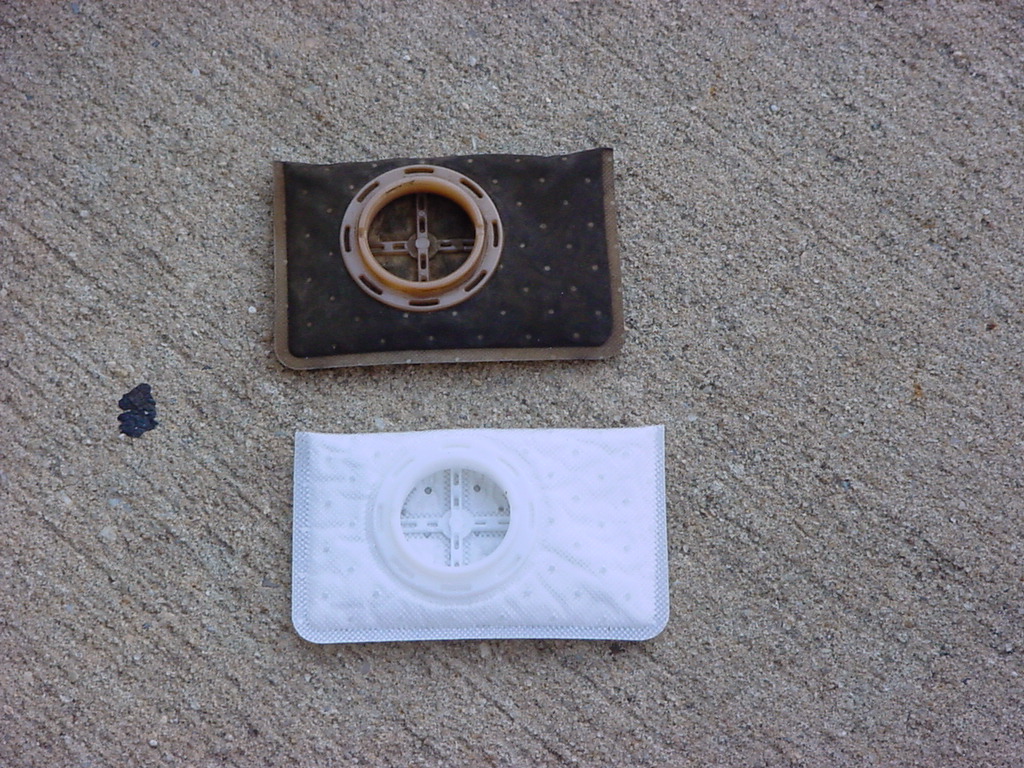
| Install the internal filter on the new fuel pump. The new one shows how dirty the old one is. |
 |
 |
| Remove the old external filter from the base of the cylinder by pulling it off. I needed to twist it a little back and forth to get it to break free. |
 |
 |
| Press the new filter down onto the base. You can see how dirty the old filter is compared to the new one. Flip the cylinder back over. I recommend keeping it on something clean at this point so that you don't pick up anything and put it back into the tank with the base of the cylinder. |
 |
 |
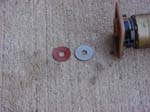
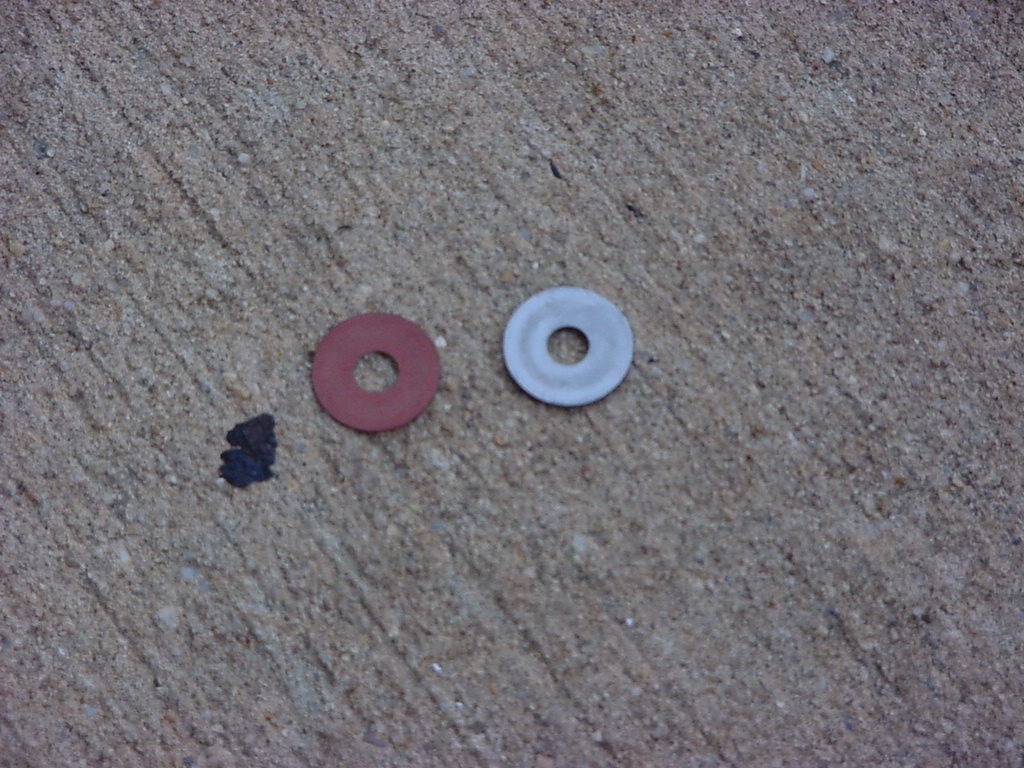
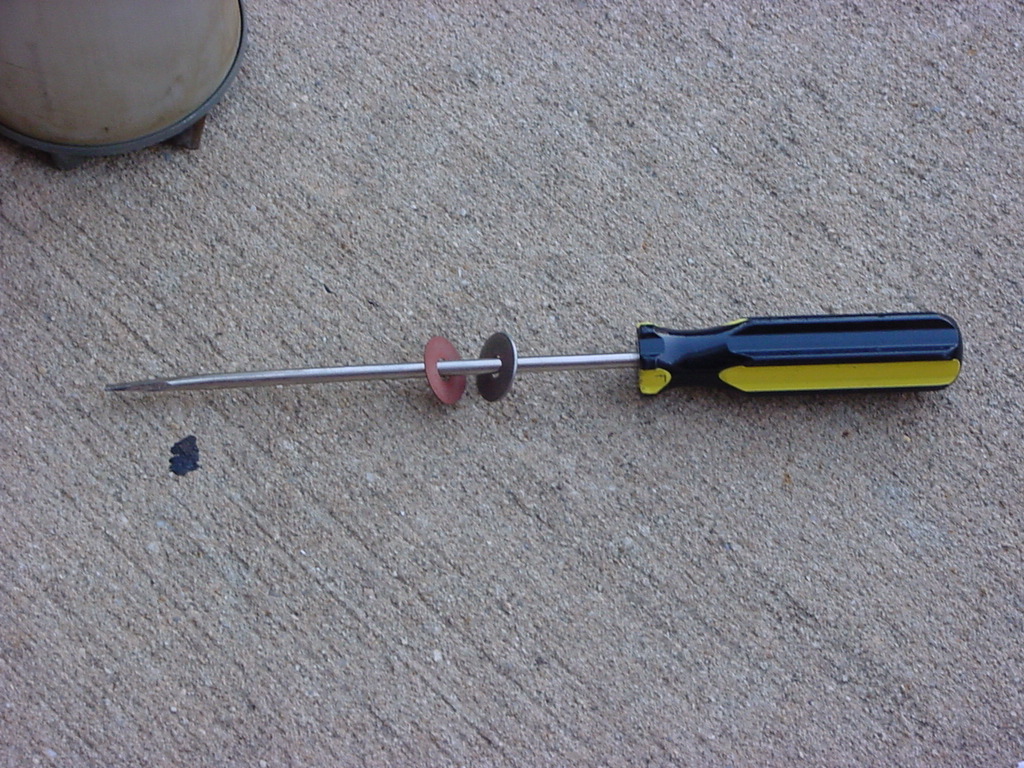
| Install the flapper valve and metal washer in the base of the cylinder. |
 |
 |
| Here is the trick to getting them down and in place. Slide them both over a long skinny screwdriver and then tip the cylinder on it's side, put the screwdriver tip where they need to go and then tilt the entire thing up, they slide right into place. |
 |
 |
| Slip the fuel pump down and press it into the base with your hand. |
 |
| Place the spring on top of the fuel pump. It goes over the discharge tube. |
 |
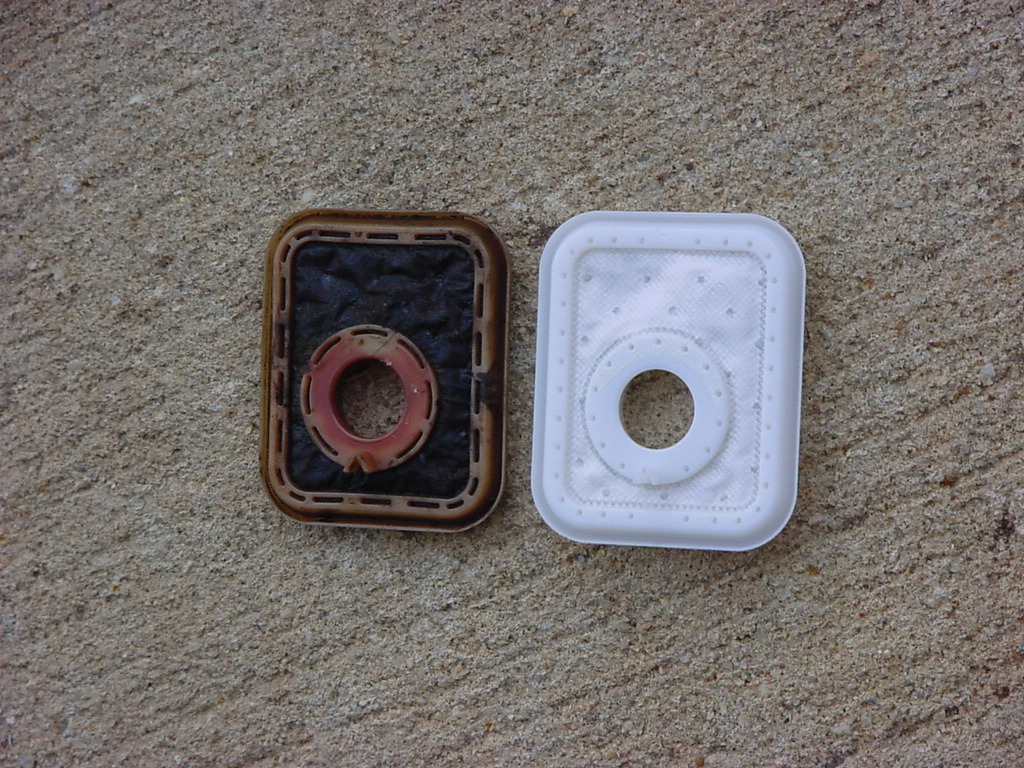
| There are two ways to install the new rubber gasket. You can place it around the top of the fuel pump assembly, or... |
 |
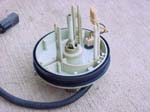 |
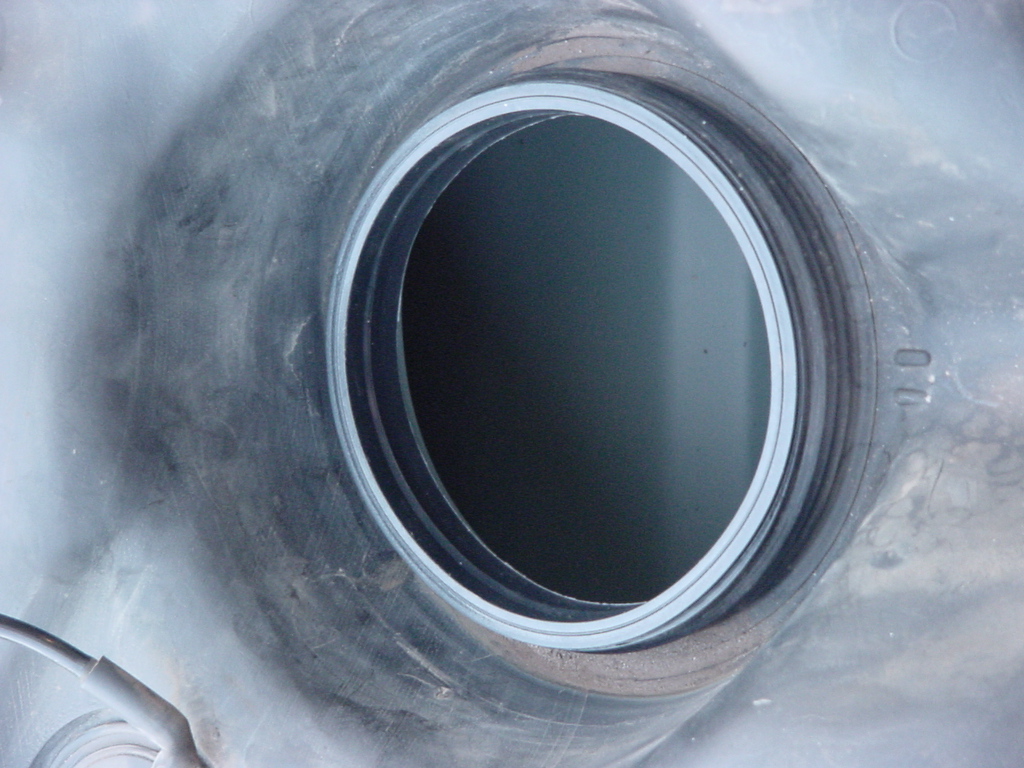
| You can install it in the top lip of the fuel tank. I found that installing it into the top of the fuel tank to be the easiest way when installing the pump. |
 |
 |
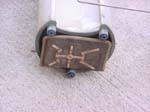
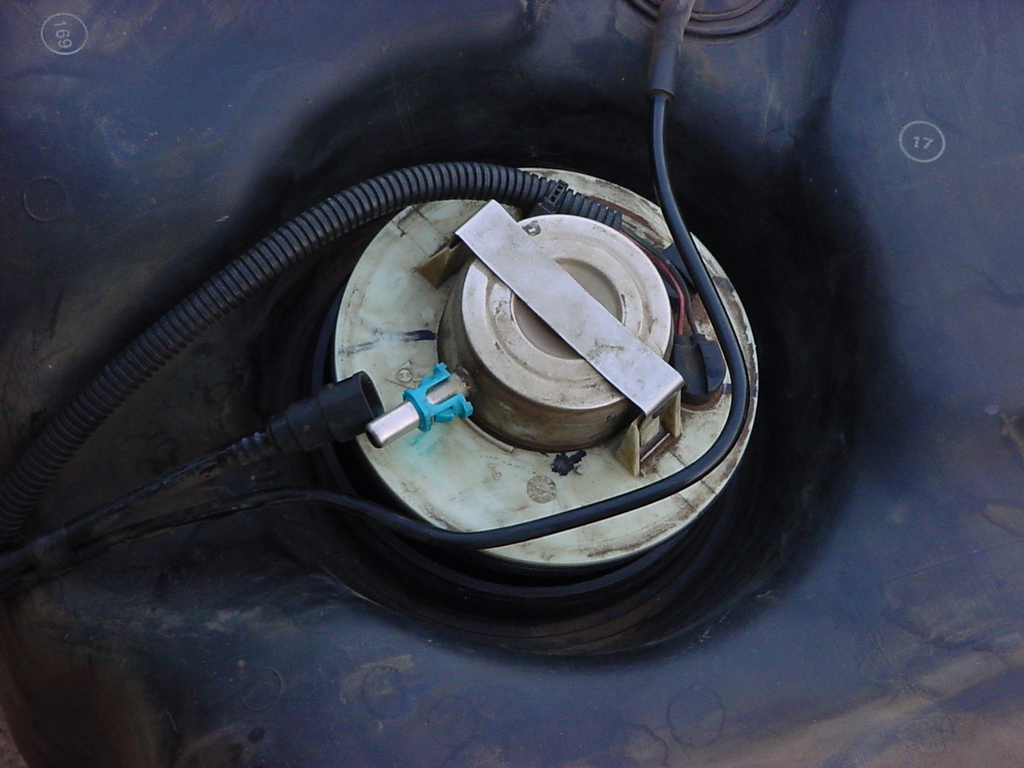
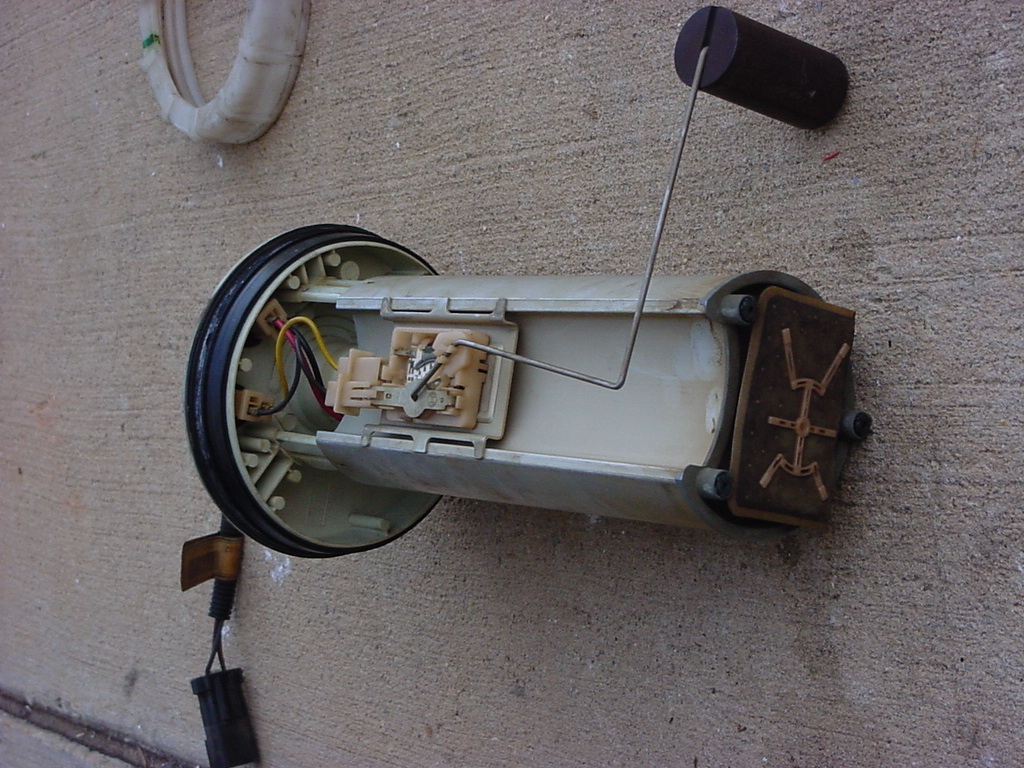
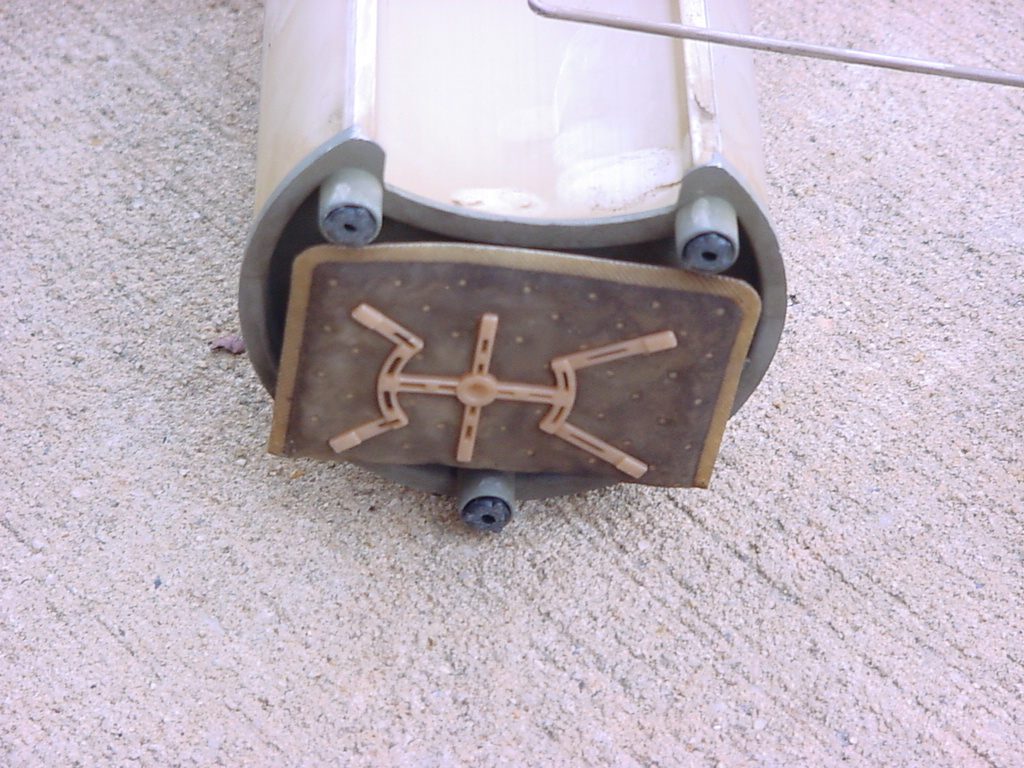
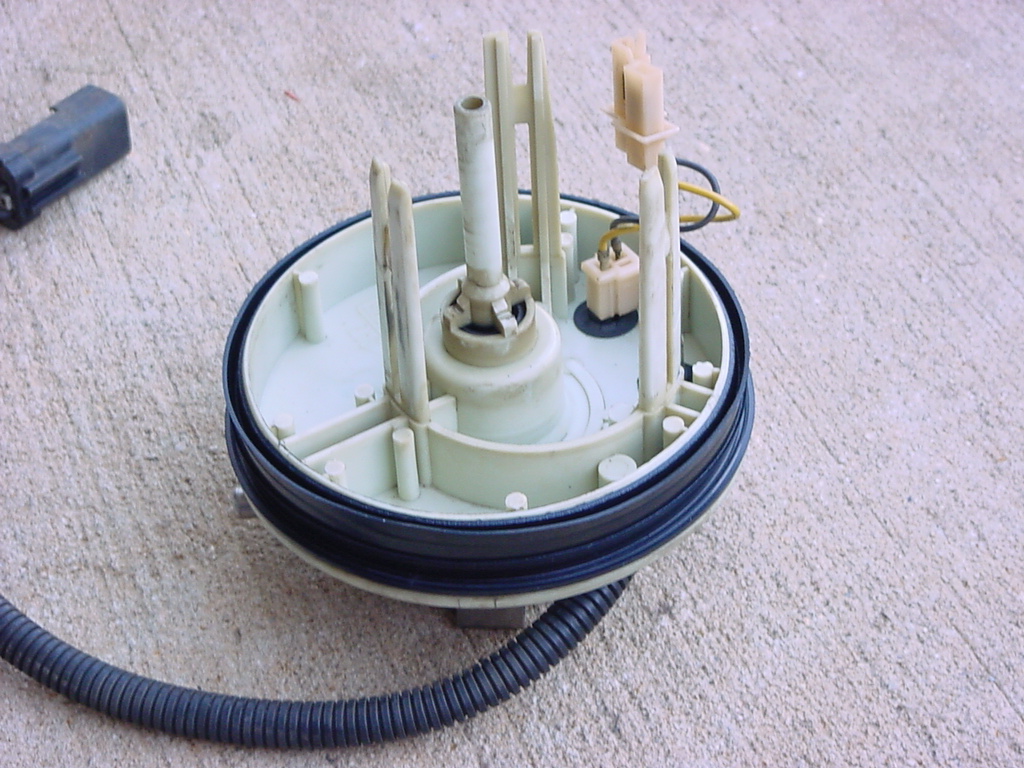
| Reinstall the top onto the cylinder. The filter/regulator discharge should be on the opposite side from the fuel level float, and the electrical connectors should be on the side with the float. |
 |
 |
| Press the legs in and hook them into the clips inside. Make sure the tube slides into the pump dischage tube and that the spring is around it. |
 |
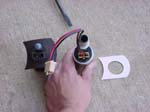
| Reconnect the fuel pump harness and the level sensor harness. |
 |
| Install the fuel pump into the fuel tank. Be careful of the fuel float, you don't want to bend it. |
 |
| Line up the marks the you previously marked, and install the locking ring. You will need to tap this around to get it tight. I used a pin punch and hammer. |
 |
|
| Reconnect the fuel line to the filter/regulator. |
|
|
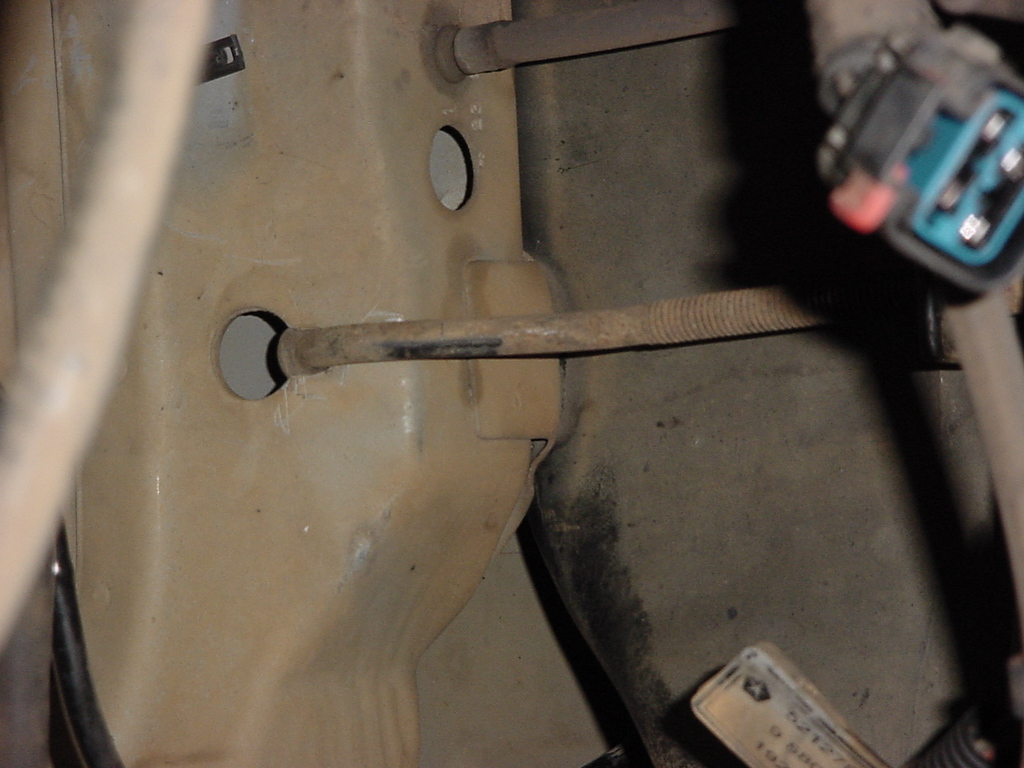
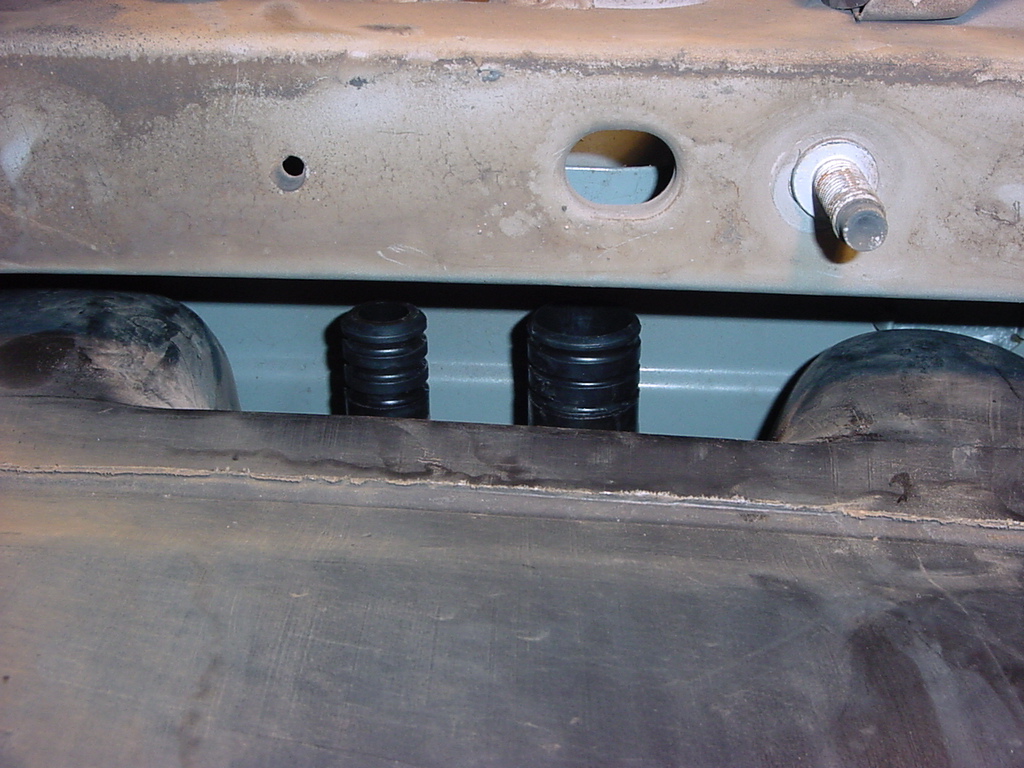
| Install the straps into the body. |
|
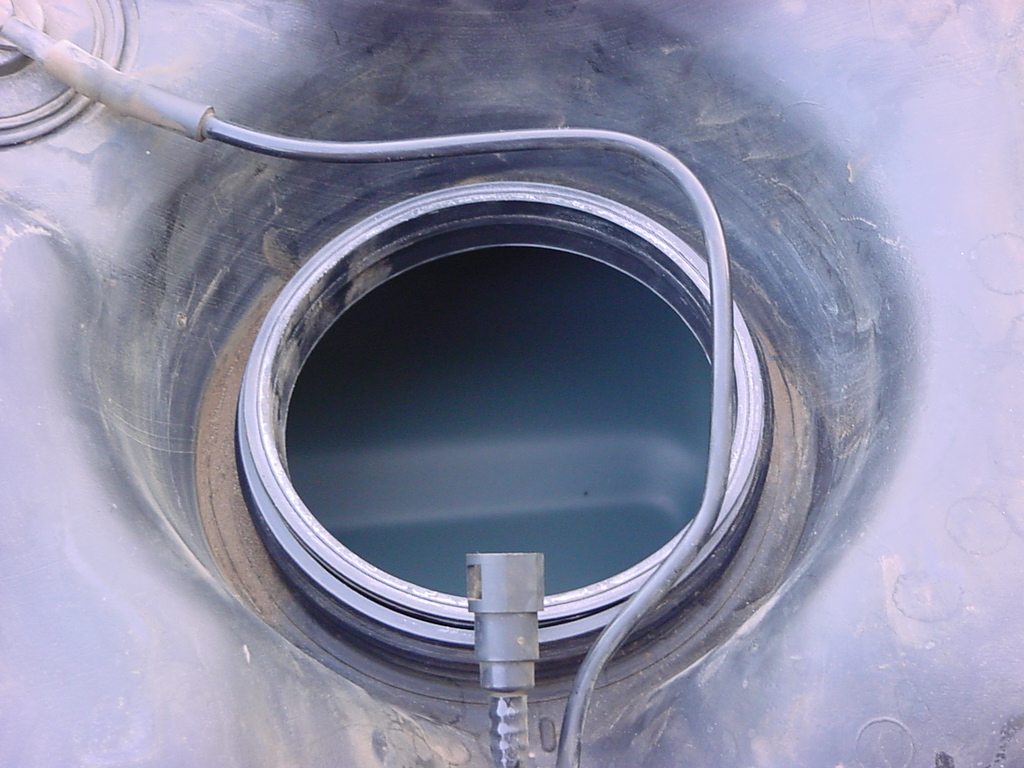
| Position the tank underneath and lift into place. You will want to attatch the fuel fill and vent lines. |
|
|
|
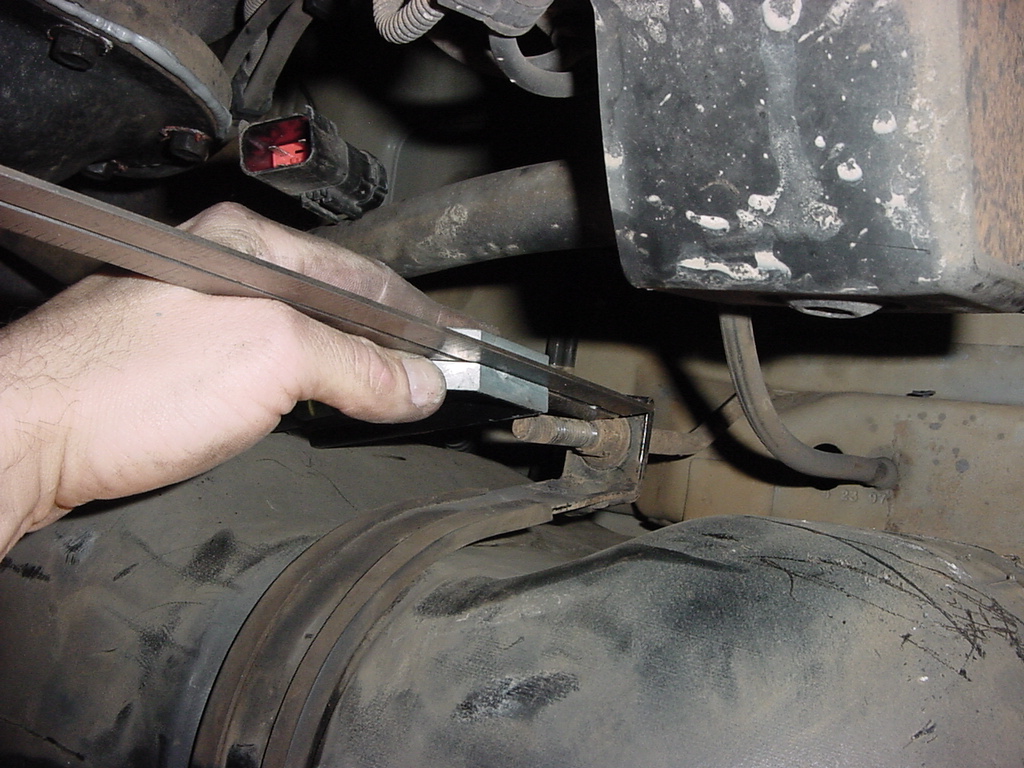
| Install the J-bolts into the Jeep body. |
|
|
| Tighten the J-bolts until the match the original measurement. |
|
|
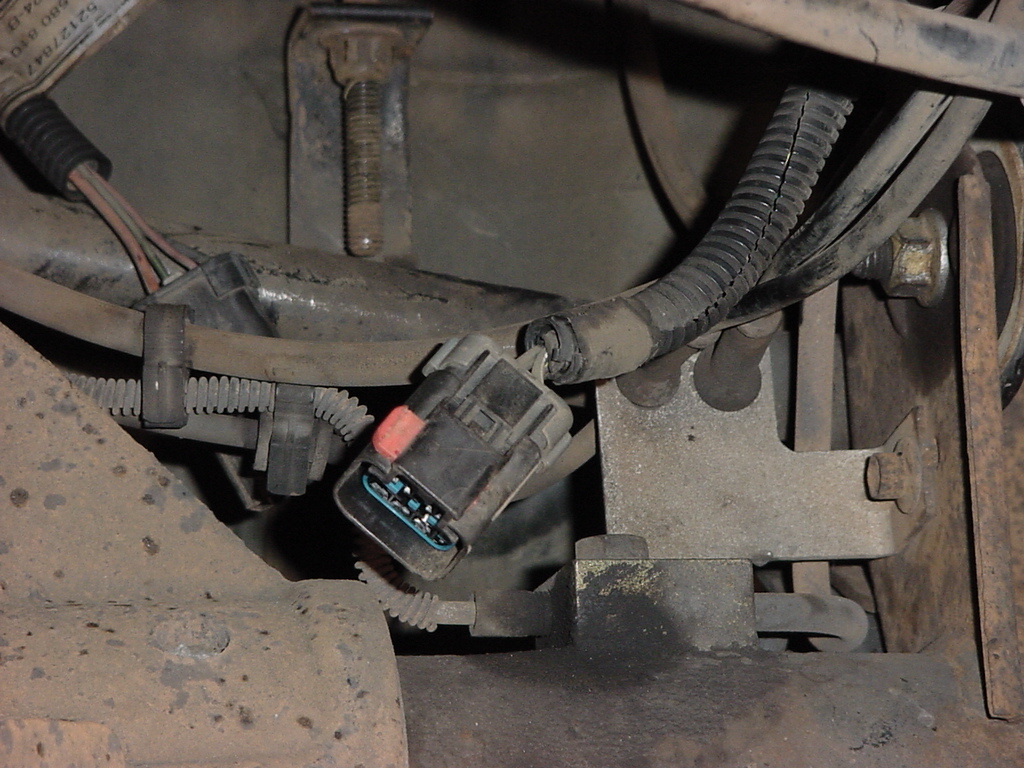
| Reconnect and atatch the electrical harness. |
|
|
|
| Position the line up into the holder and clip holder closed. |
|
| Reconnect the fuel vapor return line. |
|
|
| Reconnect the fuel line. |
|
|
| Reconnect the fuel fill and vent lines. |
|
| Remove the floor jack and reinstall the skid plate, and trailer hitch if equipped. |
|
|
| Reinstall the gas cap. |
|
|
| Reinstall the fuel pump relay. |
|
|
|
| Reconnect the battery. |
|
|


