I got tired of trying to hold up the anti-sway bar when I disconnected it, trying to get the little pins into clips, breaking out the zip ties, etc. One day I was just sitting around when an idea came to me for some simple clips you can make to hold the anti-sway bar up. I figured I would share it with you here. I used stainless steel parts, or zinc coated steel at a minimum since I knew they would be getting wet. Now forgive me, I'm writing this a few years after the fact and am working from a set I had laying in back of a drawer.
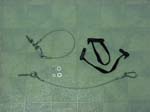
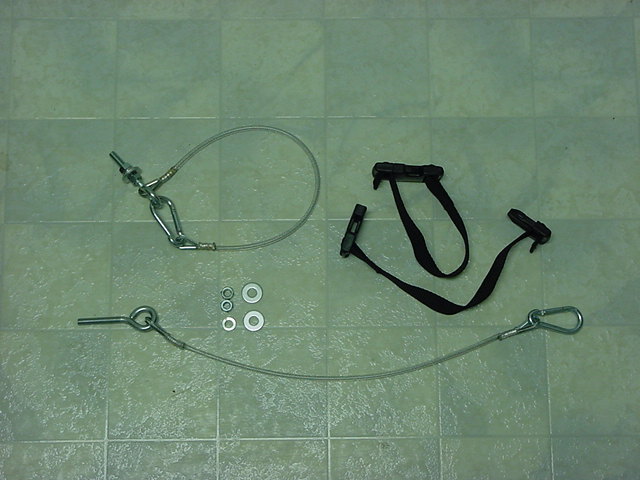
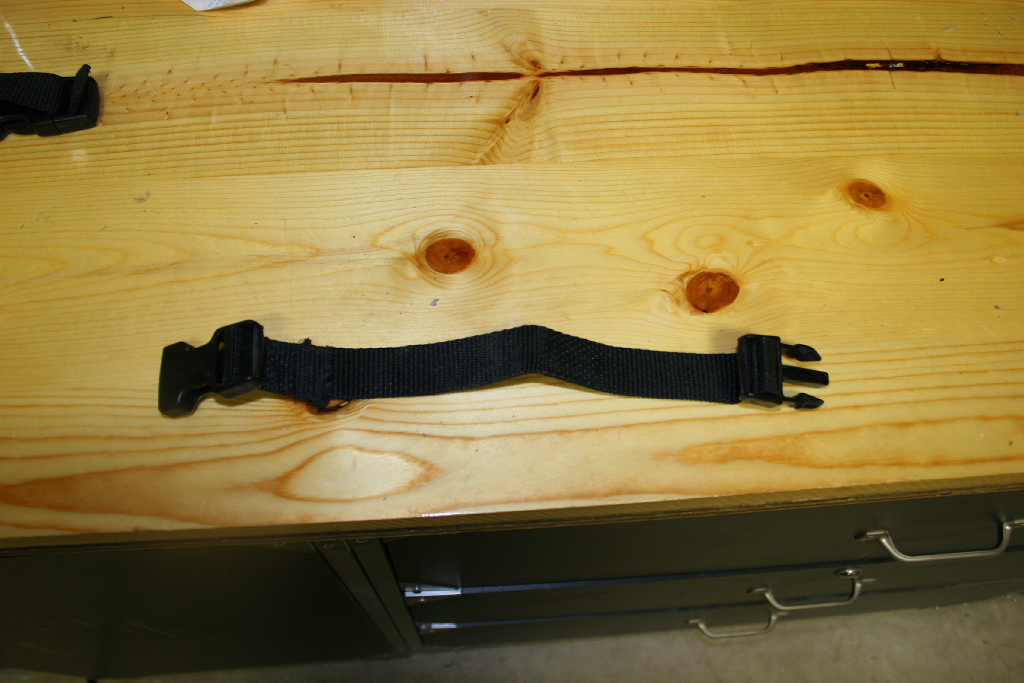
| Here is what it will look like once you get everything made. The straps will double as a rear seat belt retainer to stop them from flapping in the wind. This can be made fairly cheap, between $20 - $30 if I remember correctly. |
 |
| |
| Cable Fabrication: |
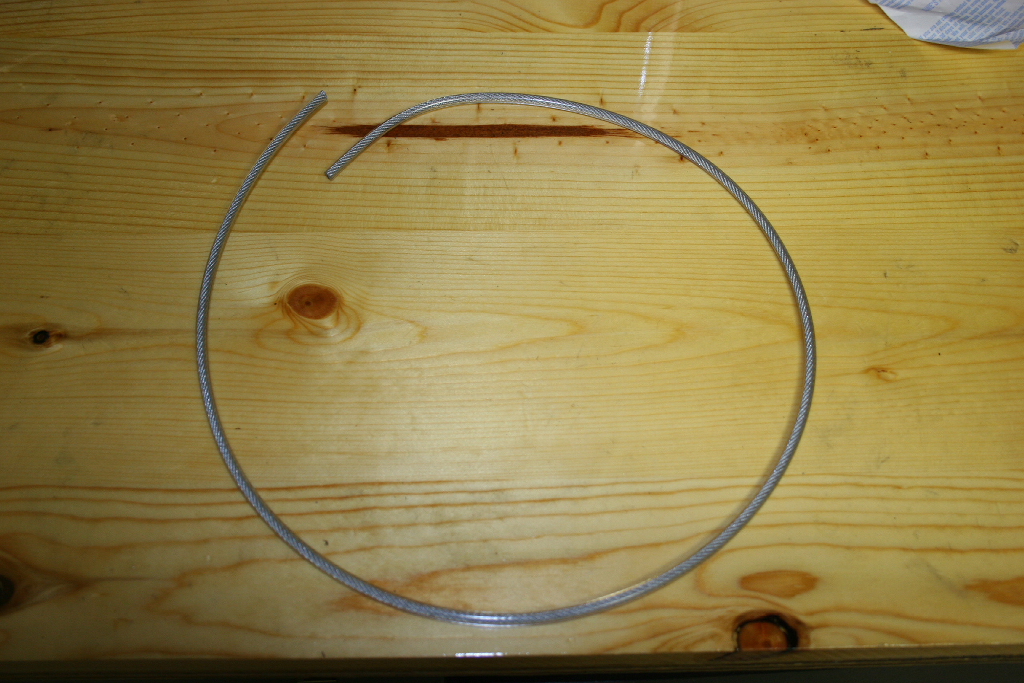
| Cut the cable into 23" lengths. |
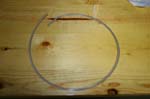 |
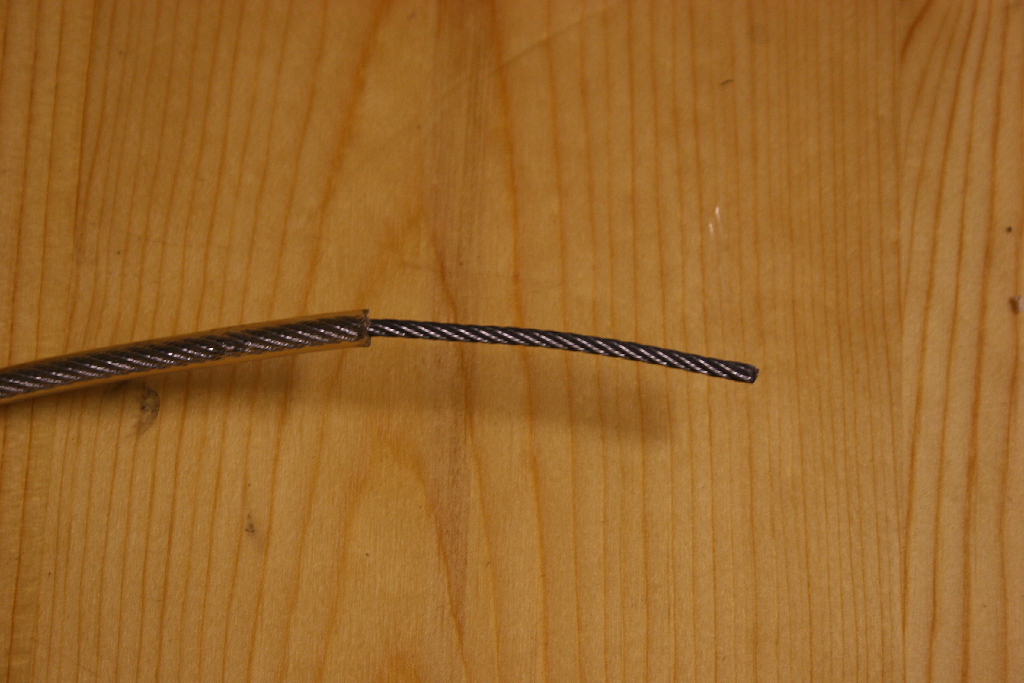
| Strip 4 1/2" of vinyl coating off each end of the cable. |
 |
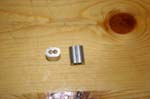
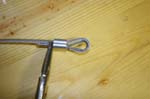
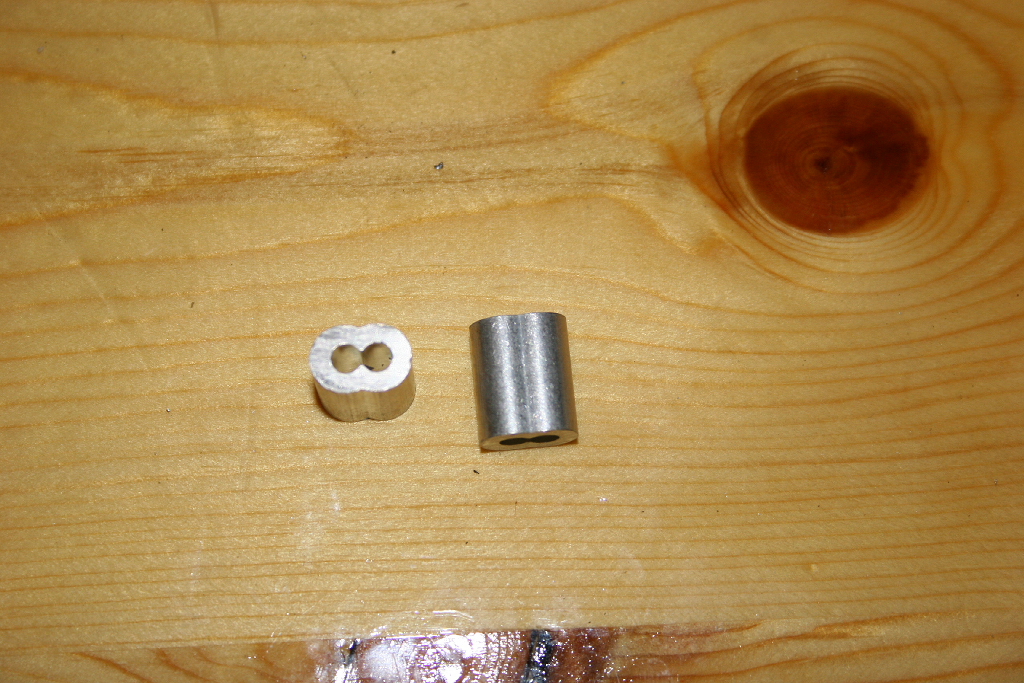
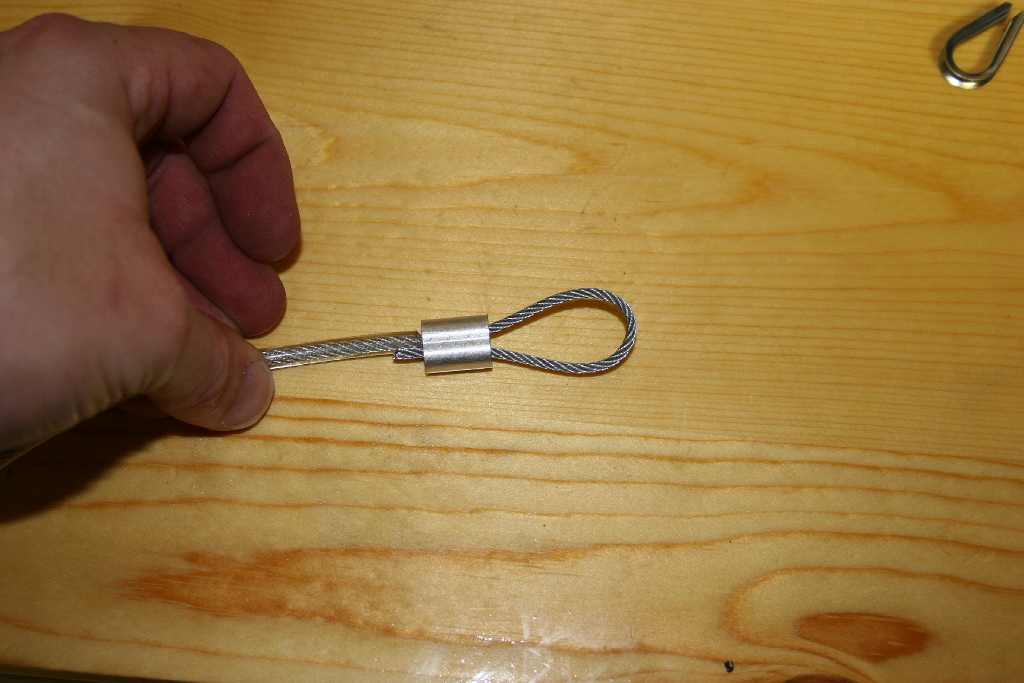
| Slip one side of the double ferrule over the stripped end of the cable |
 |
 |
 |
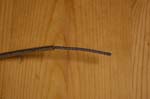
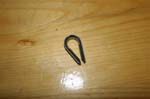
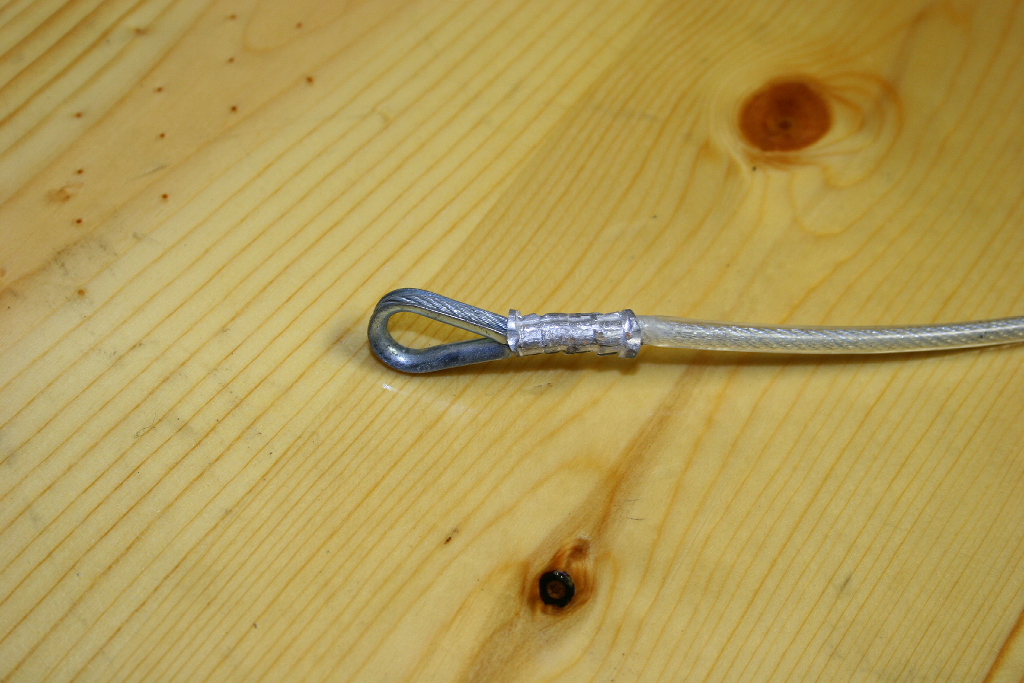
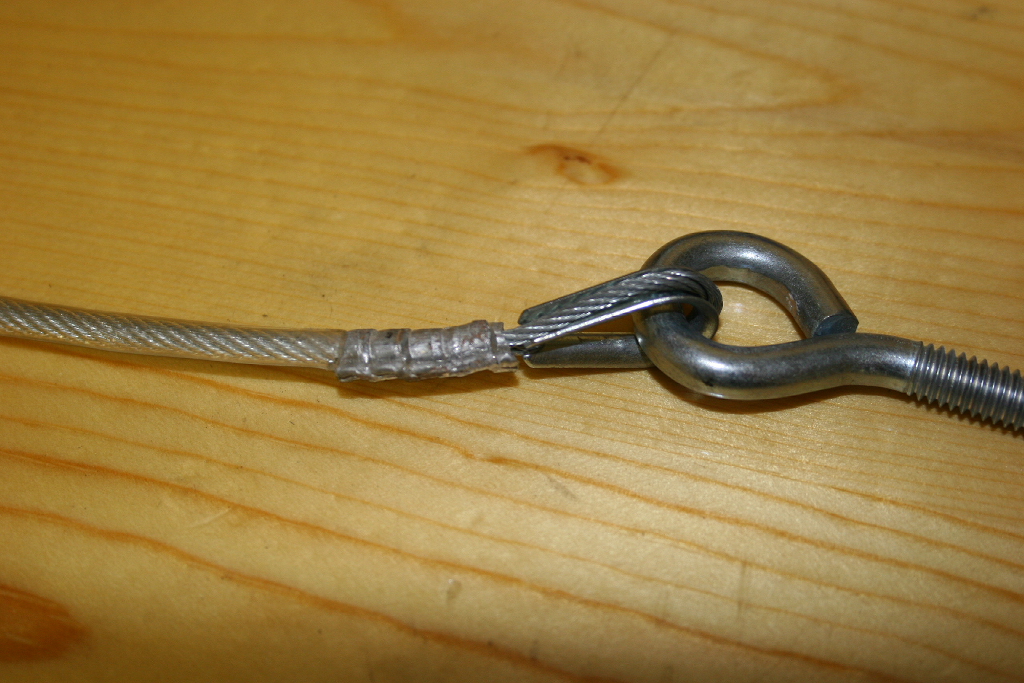
| Route the cable around the thimble and insert it back into the other side of the double ferrule. |
 |
 |
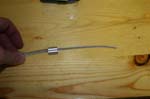
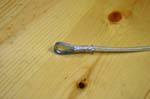
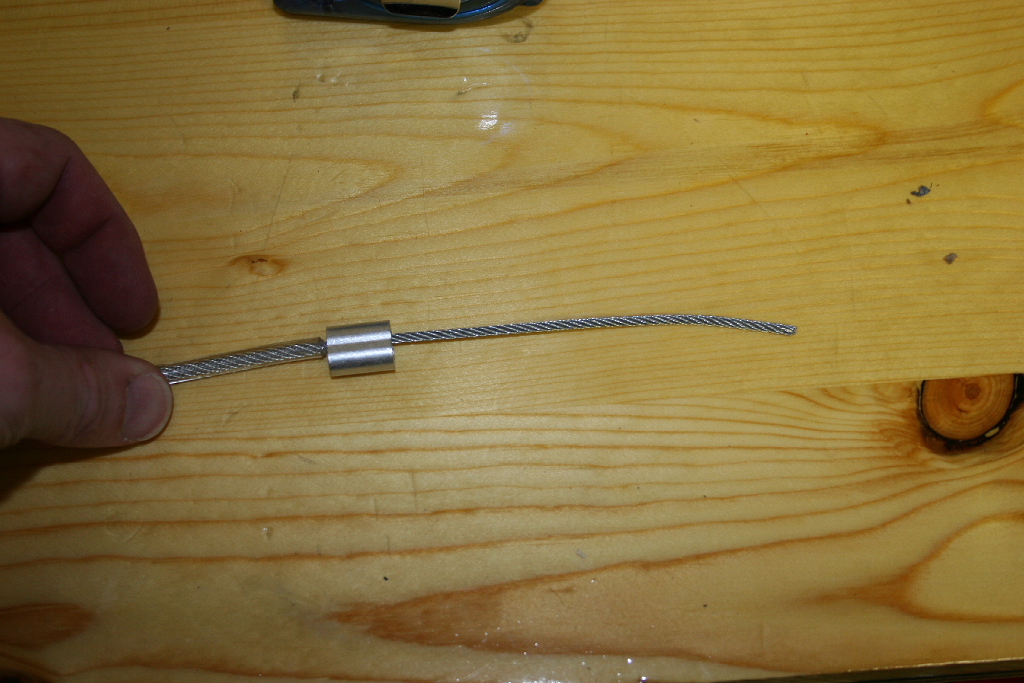
| Pull the cable tight with the pliers and clamp with the vice grips to hold it all tight. |
 |
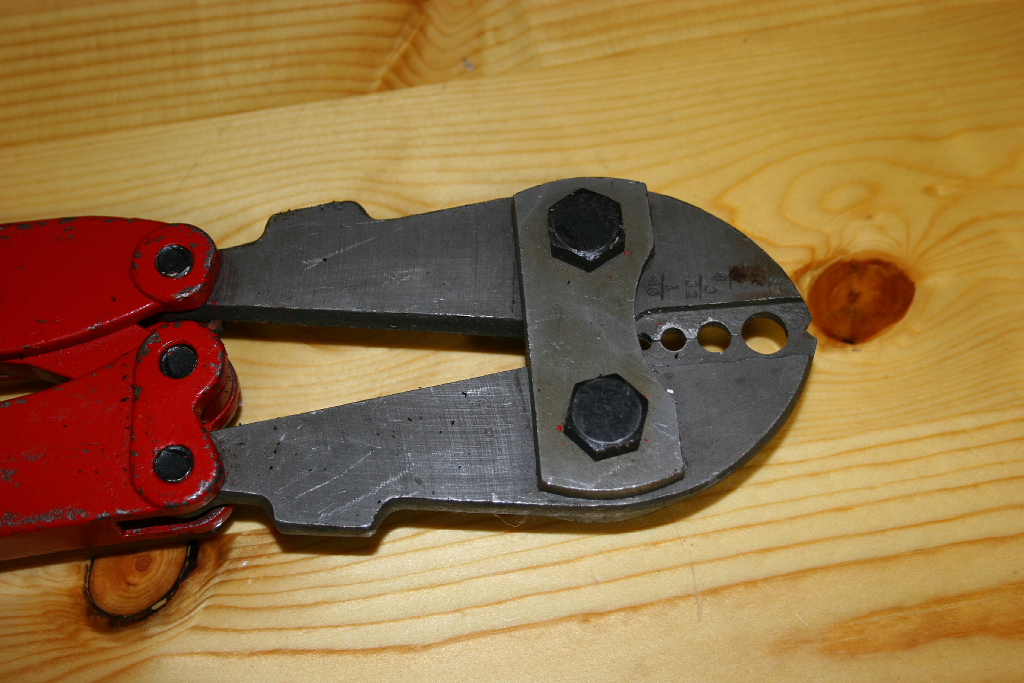
| Use the swaging tool to clamp the ferrule tight. You will need to clean up the ferrule with a file to make it smooth. |
 |
 |
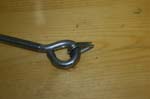
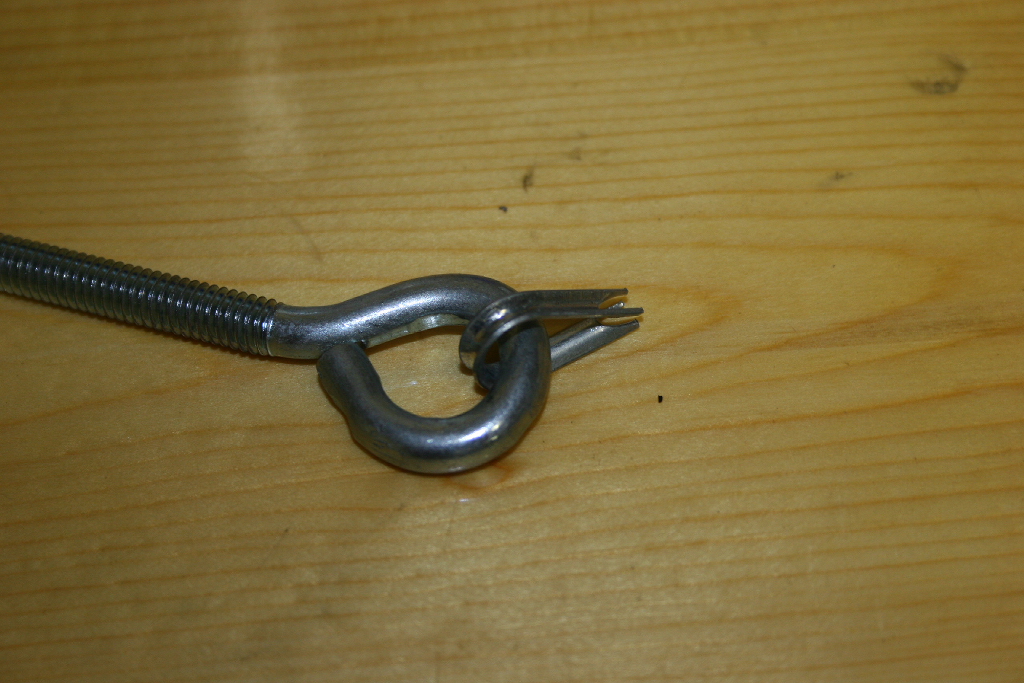
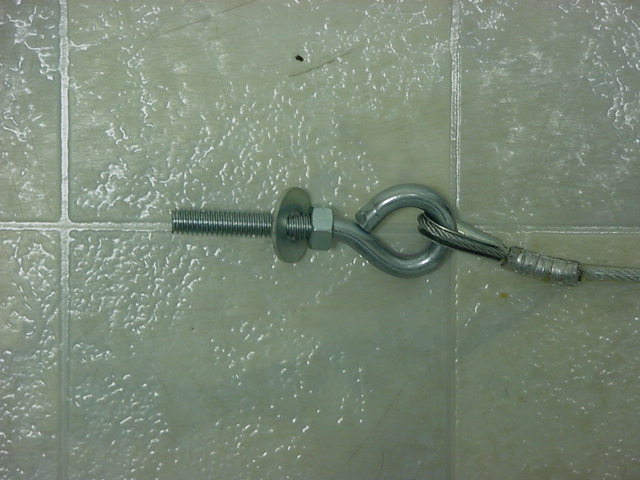
| Repeat the process on the other side, except that you will need to open the thimble and insert it around the eye bolt first. |
 |
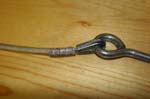 |
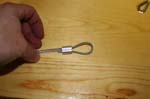
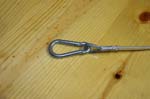
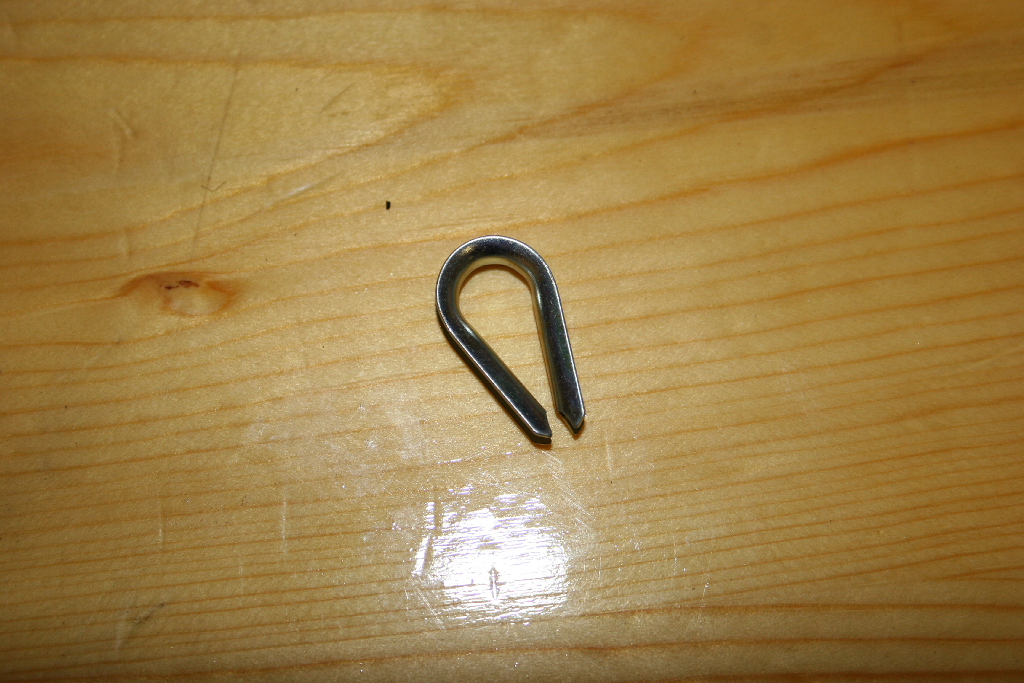
| Insert a spring snap link through the open eye at the other end of the cable. |
 |
 |
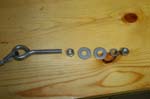
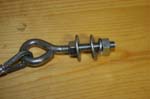
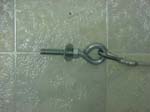
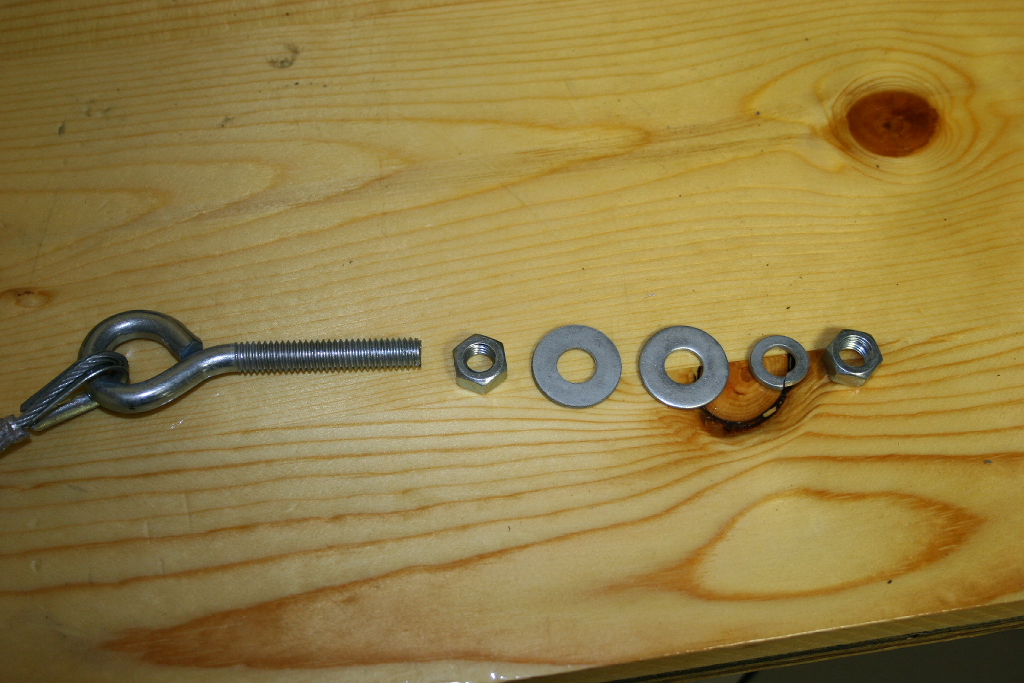
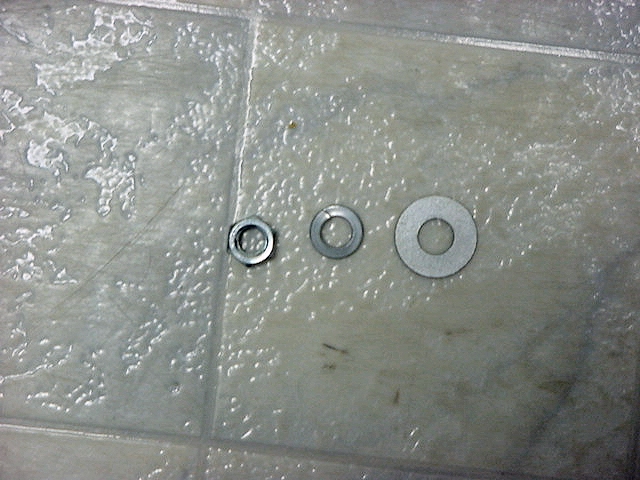
| Thread a 5/16" nut onto the eye bolt followed by 2 flat washers, 1 lock washer and the other 5/16" nut. This completes the assembly for one side. Repeat the above steps for the other side. |
 |
 |
| |
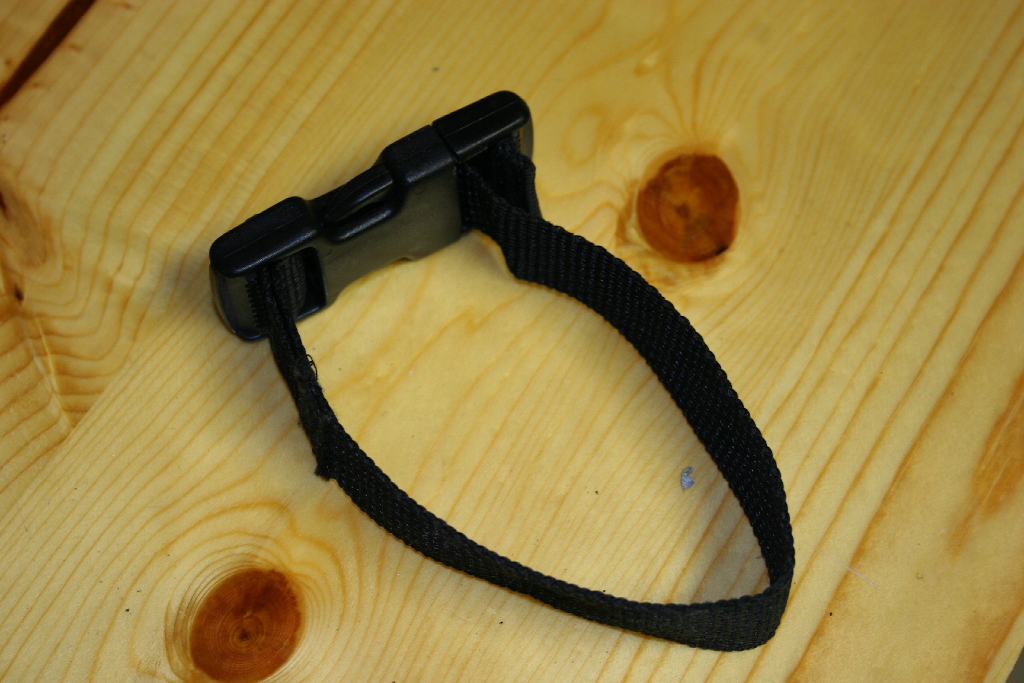
| Strap Fabrication: |
| Cut 14 inches of 1" web strap. |
|
| Feed one end of the strap through the 1" buckle. Fold over 2" of strap and sew together. |
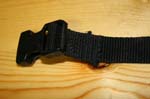 |
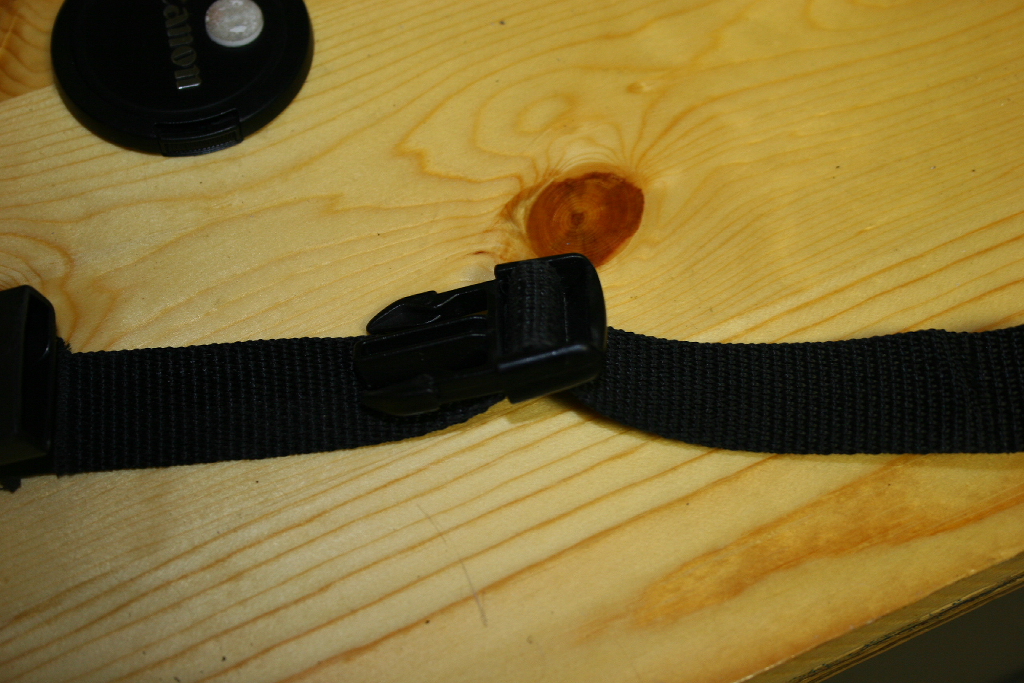
| Flip the strap over and slide the other end of the buckle over the end of the strap. The two pieces of the buckle will be pointed at each other with the belt going underneath. |
 |
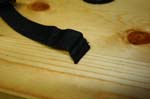
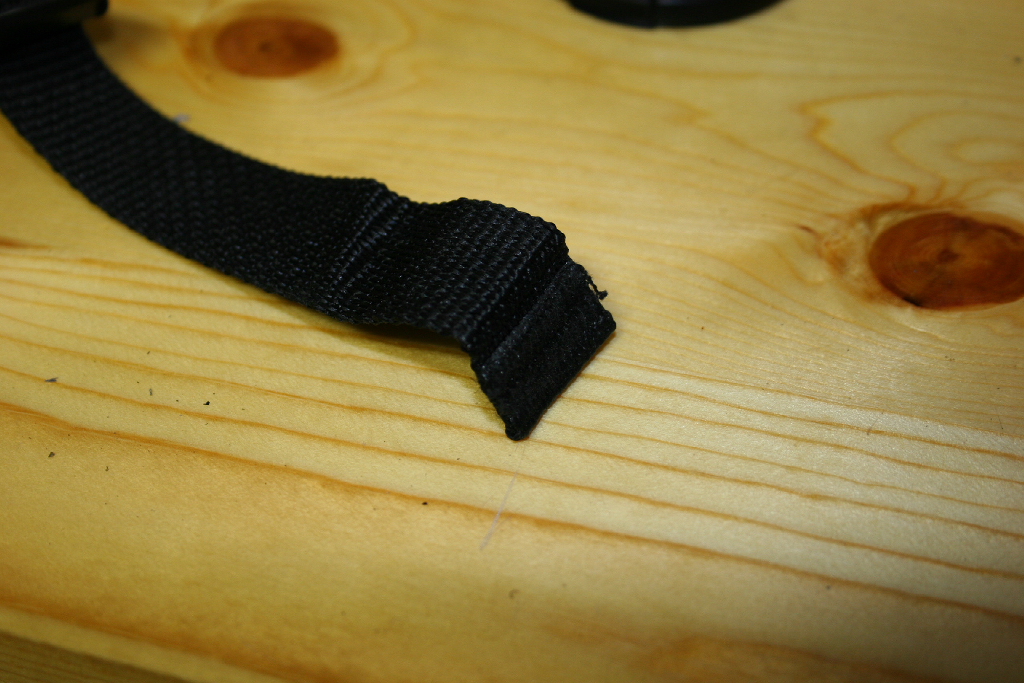
| Fold over 1/2" of the end and sew together. |
 |
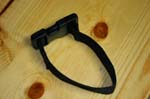
| Finished product |
 |
 |
| |
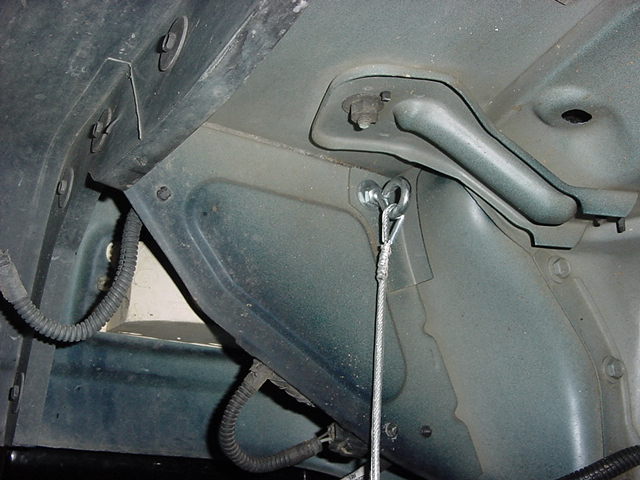
| Installation: |
| Remove the nut, lock washer and washer from the end of the eye bolt. |
 |
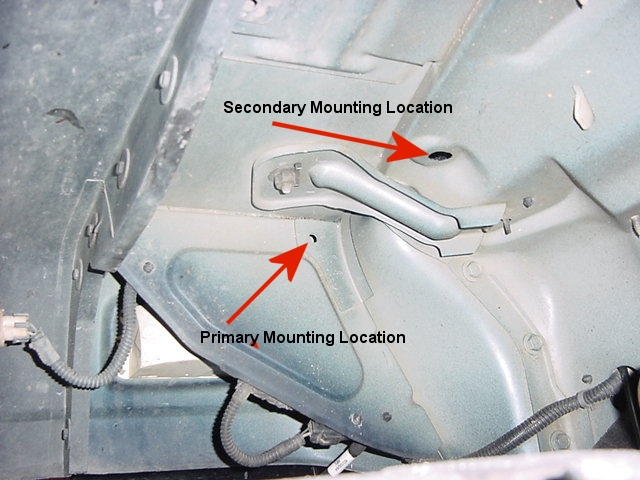
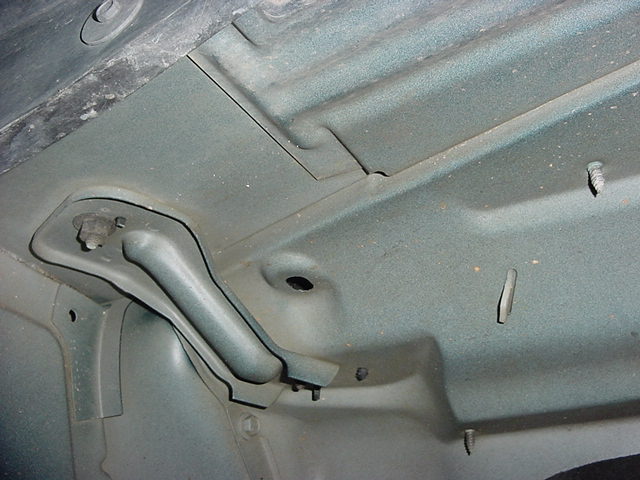
| You have two choices of mounting locations. Primary goes through the hole in the front support web of the fender, and the secondary goes up through the top of the fender into the engine compartment. |
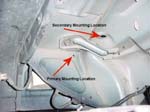 |
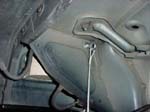
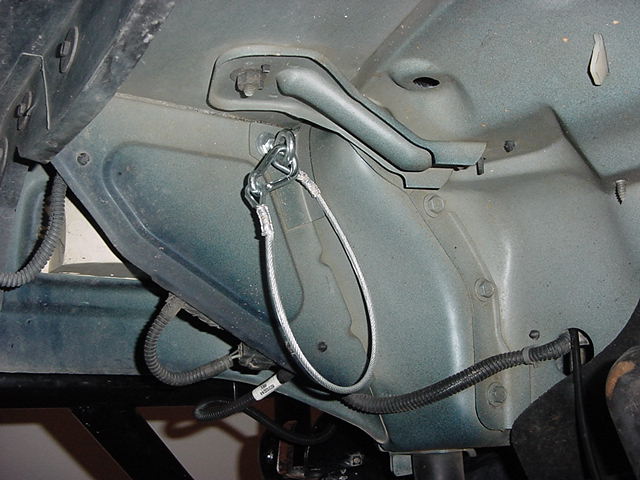
| Primary mounting point. place the end of the eyebolt in the hole and install the washer, lockwasher and nut on the end. |
 |
 |
| Primary installed |
 |
|
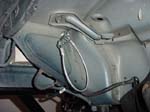
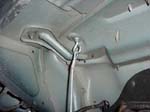
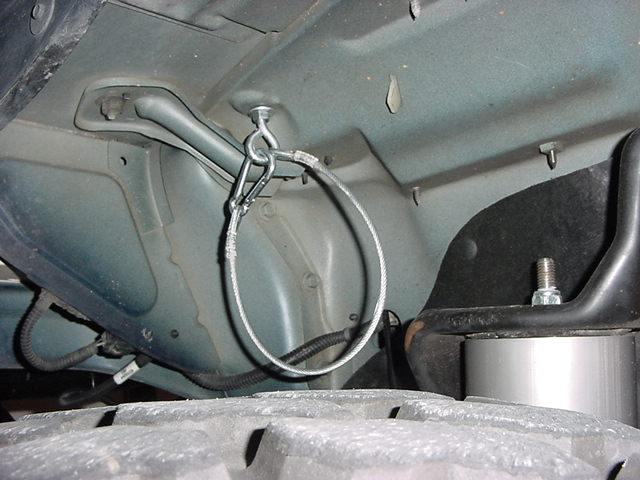
| Secondary mounting point. place the end of the eyebolt in the hole and install the washer, lockwasher and nut on the end. |
 |
|
| Secondary installed. |
 |
|
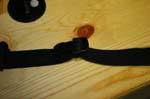
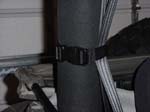
| Just loop the strap around the rear roll bar and seatbelt and clip together |
 |
| |
| Operation: |
| Undo the clip from the eye bolt and let it hang. |
|
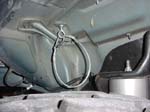
| Disconnect your anti-sway bar and lift it up. Loop the cable underneath the anti-sway bar and reclip to the eye bolt. |
|
| Remove the strap form your rear seatbelts if installed or dig out of where you put it and strap the disconnect to the anti-sway bar. |
|
| Done, now go wheeling. |
|


