Main Menu Vehicle Trails Mechanicals TJ/LJ Mods JK Mods Gallery
xd9000i Warn Winch Installation

Warn xd9000i Winch

Part #:

I am once again installing my old winch on another Jeep.  This winch has gotten me out of more trouble, saved me from my own stupidity, and rescued my friends from themselves countless times.  Since this is a re-installation I will skip the steps of unpack the winch and plate, bolt fairlead to plate, bolt winch to plate.  That is all to simple.  Okay keeping the little nuts in the winch while you try to screw in a bolt is a PITA.  Don't forget to anti-seize these.  It is even worse when you try to take it apart for some reason.

Additional Parts:
6 stainless steel washers, 
2 M10 1.50x50mm bolts (40mm may work)
2 M10 1.50 washers 
Tools Needed:
T-55 Torx Socket
15mm Socket
3/8" Socket
Adjustable wrench

Warn Winch Tech

Installation:
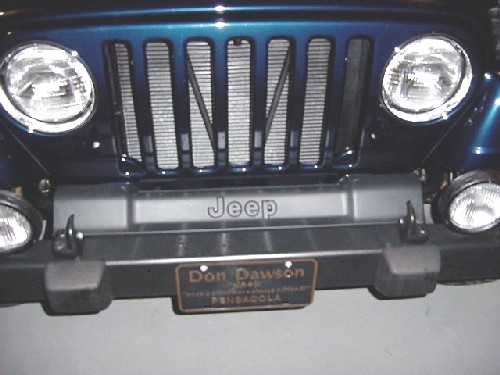
1. Remove the plastic Jeep cover that sits behind the front bumper by removing the 2 3/8" screws from each side.  After it is removed put some anti-seize on the screws and reinstall them in the holes.  This will keep some of the water out of the frame.
front cover cover side screws
2. Remove the 4 top T-55 Torx bolts holding the bumper on and the front (2) 15mm bolts for the anti-sway bar brackets.  I needed longer bolts to replace the last 2.  You will see why in a moment.
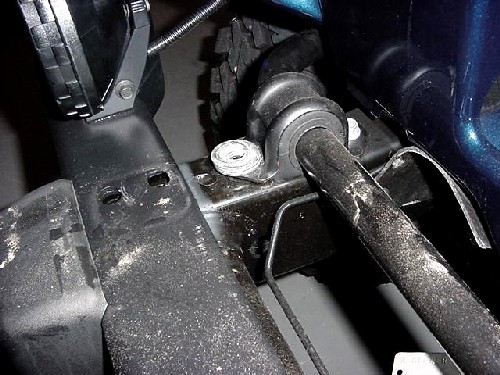
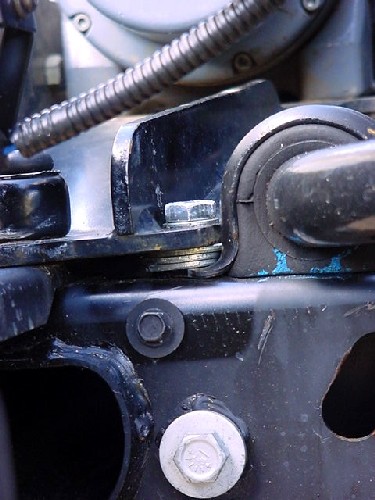
remove sway bar bolt
3. Place 3 washers over the hole for the anti-sway bar bracket.  These will be used to level out the height difference them and the bumper.  Otherwise the winch will lean back into the grill when you tighten up the bolts.  This will scrape off the paint, bend the grill slats and when the body move around do even more damage to it.  This is where I needed the longer bolts.
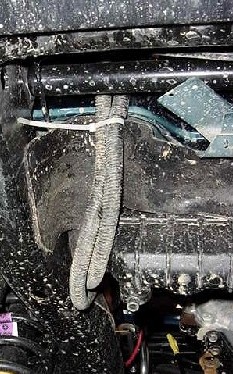
washers as spacers
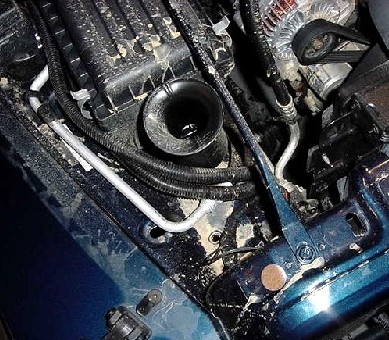
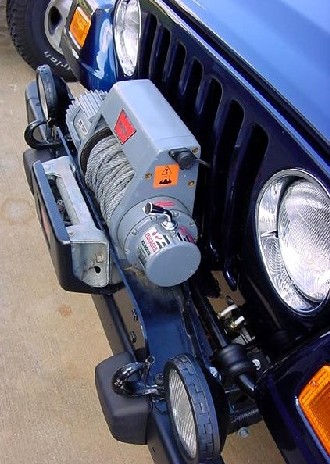
4. Position the winch over the top of the bolt holes and thread the power cable down between the grill and the anti-sway bar.
routeing cables
5.  Anti-seize all the bolts and thread them back in.  I used a crossing pattern to tighten them up. 
 
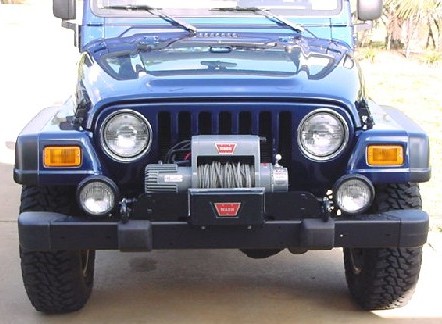
6.  Now all that is left is to thread the power cables up to the battery and attach them.
cables inside engine compartment
Finished Project
side view winch front view winch


  N-m Ft. Lbs. In. Lbs.
FRONT BUMPER SCREW 104 77 -

FRONT TOW HOOK SCREW 

108 80 -
STABILIZER BAR RETAINER AND BRACKET BOLT 54 40 -

This page last updated: 26-Apr-2018


Content and Design © 2002-present WanderingTrail,  Ronald Seegert
Common Sense and Safety should always be observed when working on your vehicle or doing modifications. Jackstands, wheel blocks, disconnecting the battery are a few of the basic safety precautions that should be used and may not be mentioned in the write ups on this site. You are responsible for your own installation, these write ups are a helpful guideline and should not be taken as an official installation instruction. My write up may be different from the kits currently out there, so alwasy double check the manufacturers installation instructions when installing anything. I try to keep the site up to date with changes that have occured as I discover them, but may not have the latest unless someone lets me know. If you feel that an install is above your capabilities after reading my write ups, I recommend getting together with a club and getting some help. Only a few times have I needed to employe some actual help from a shop to get something done. Usually welding or A/C work. While I have spent many years working on mechanical systems, I am not an expert, nor do I pretend to be one. I hope these write ups have been useful to you.
All trademarked names & logos are property of their respective owners
This site is in no way associated with Stellantis.
Jeep is a registered trademark of Stellantis.