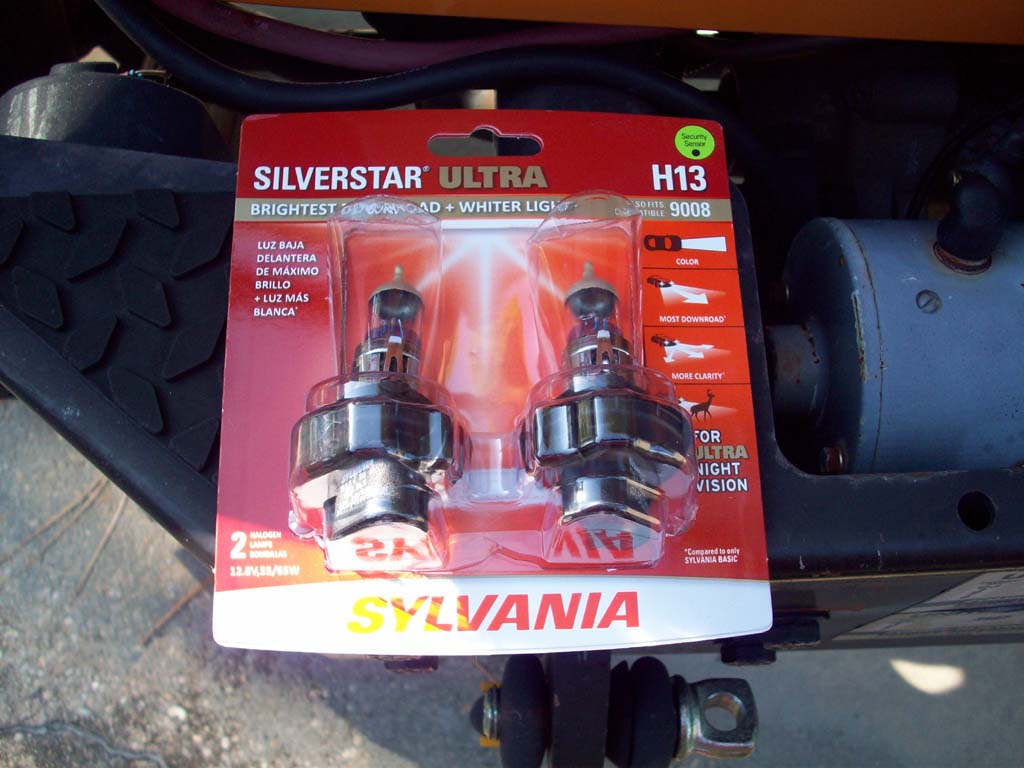
Sometime back in 2007 I bought a set of Sylvania Silverstar lights for my 2007 Jeep JK. When I sold the JK, I installed the old light bulbs and kept these to install in my 2012. I was just wondering how long they would last. Well I finally had one blow out on me before Halloween 2018. Not bad 11 years on a set of headlights. I picked up a set of Sylvania Silverstar Ultra H13/9008 bulbs at the local autoparts store. These are supposed to brighter, whiter, longer range, and better side coverage.
Tools
Needed:
Flat tip screwdriver
T15 torx screwdriver
The package. You really should replace both bulbs at the same time, especially if they are the same age.
Installation:
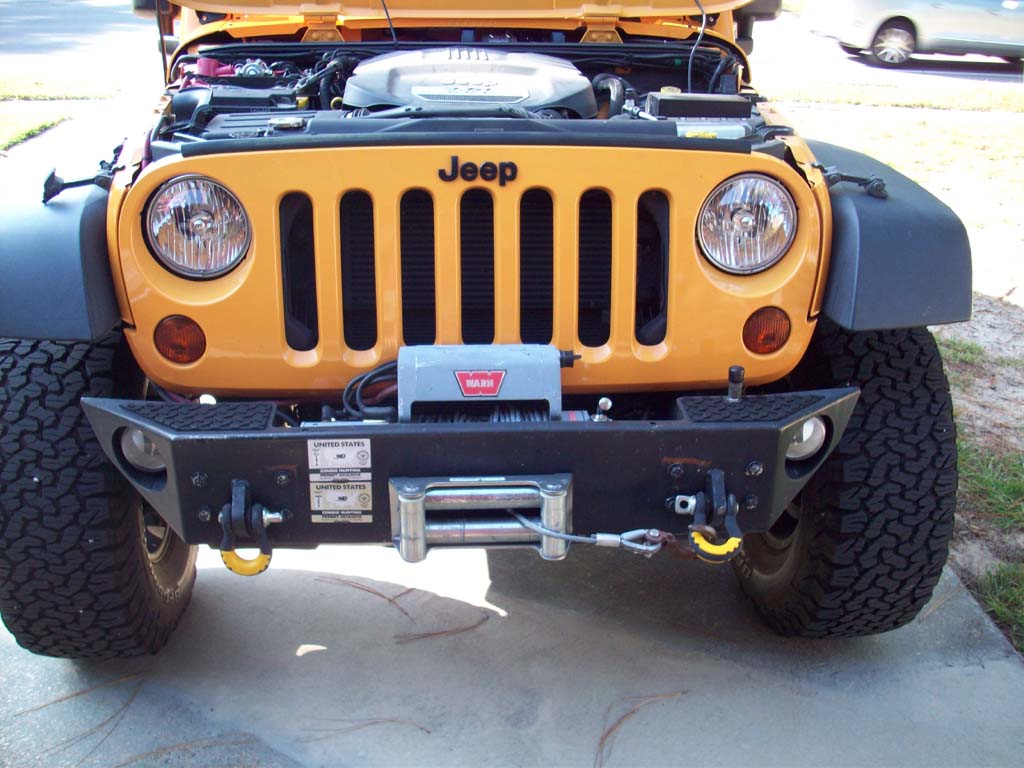
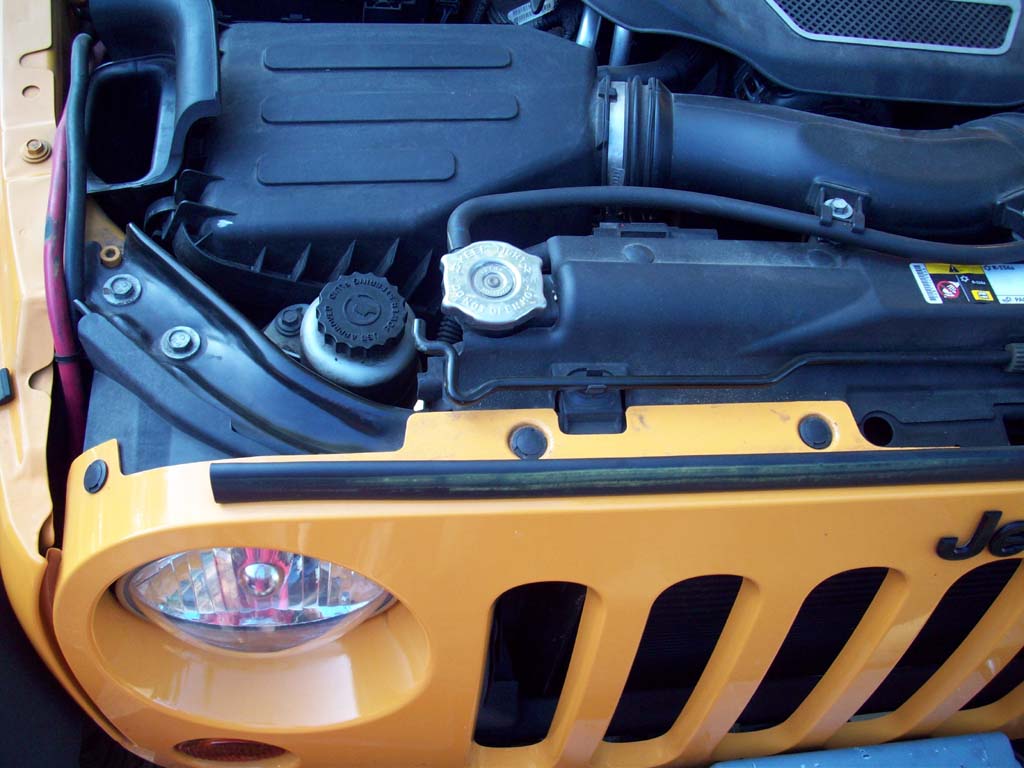
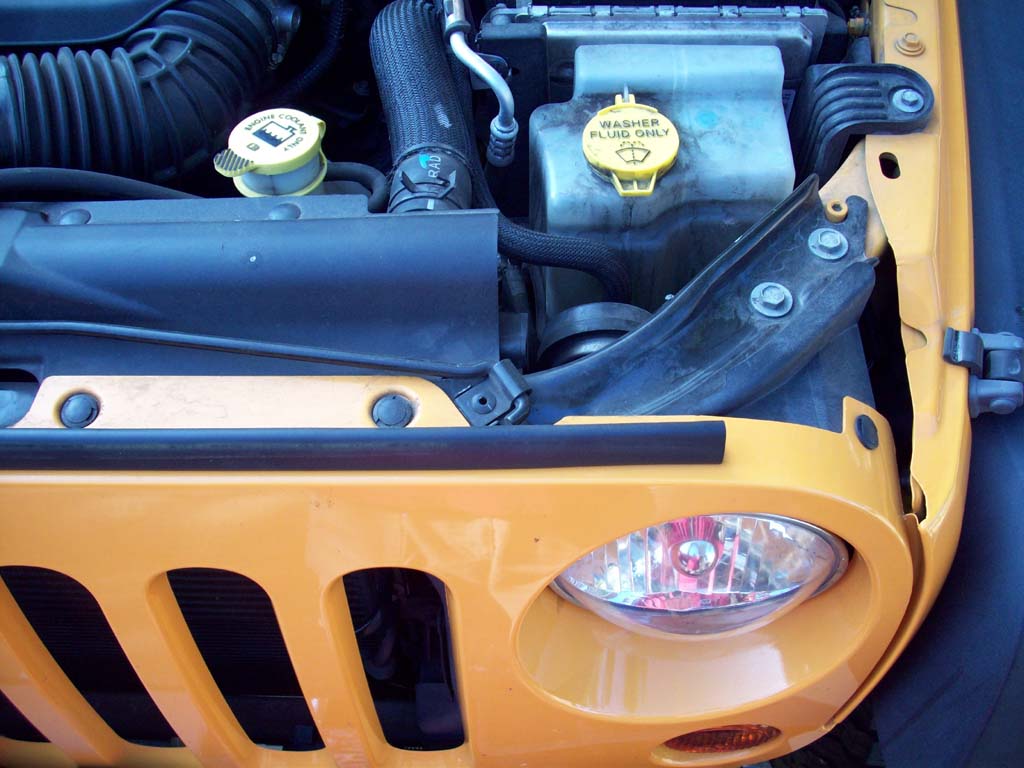
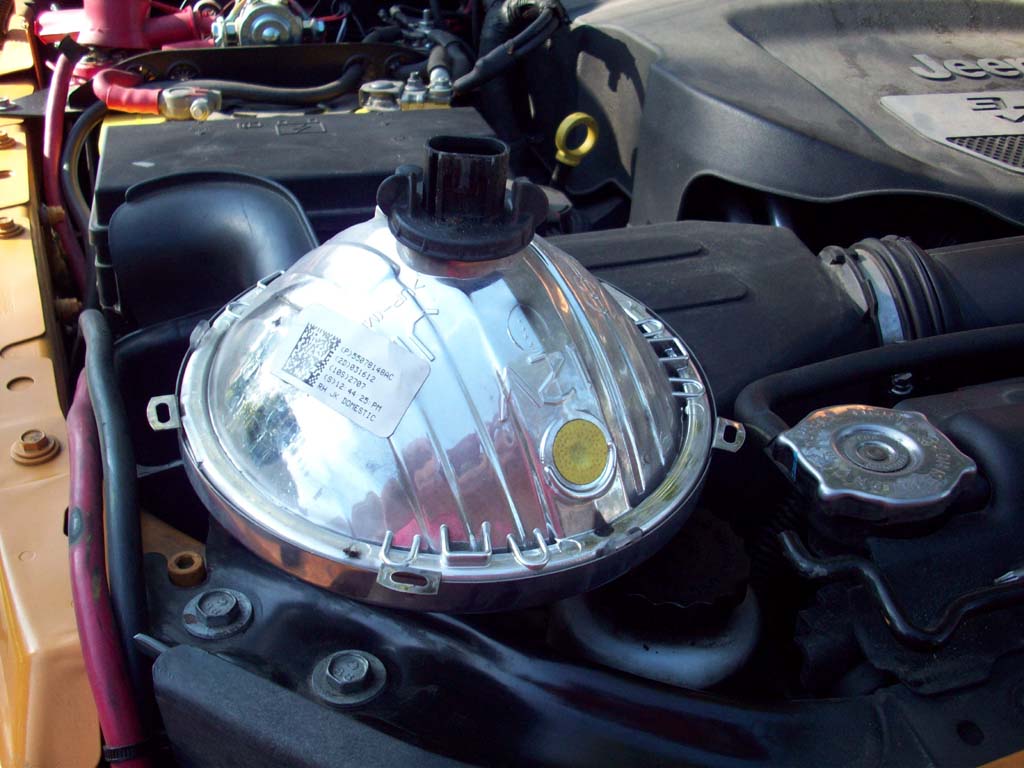
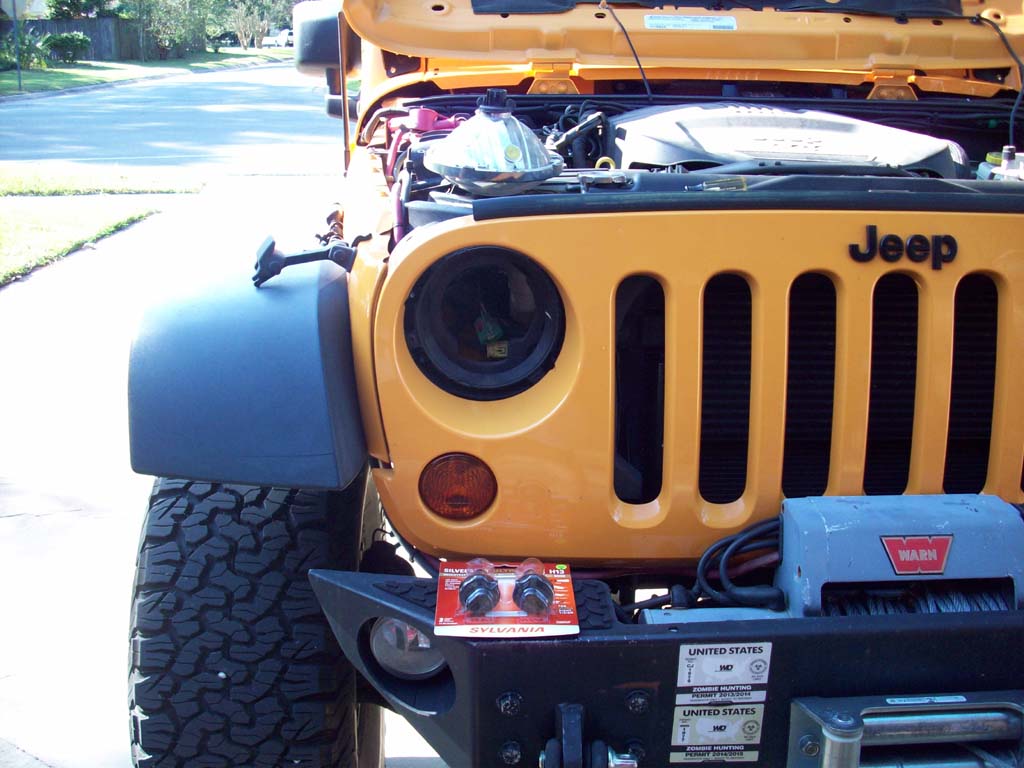
Jeep packs so much stuff in under the hood that it is nearly impossible to get to the back side of the headlights, so you need to remove the grill to get at them. Typically you would disconnect the grill and lay it down, but if you have a winch you will not be able to do this. Don't worry the plastic grill is flexible enought that we can still get the headlights out.
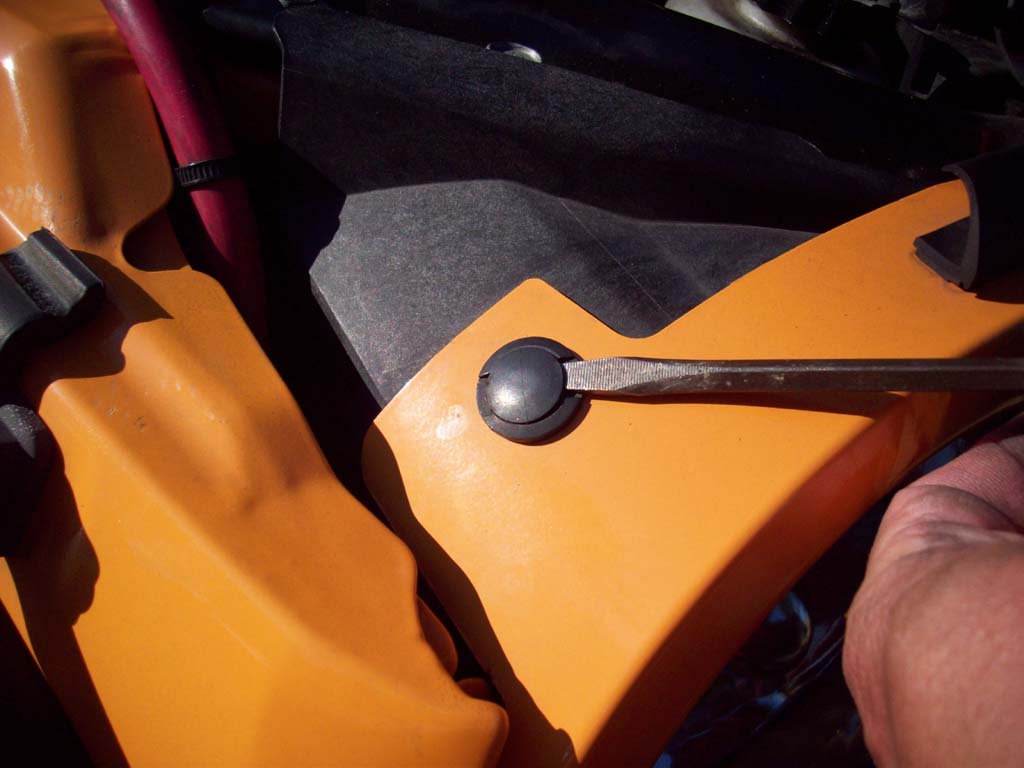
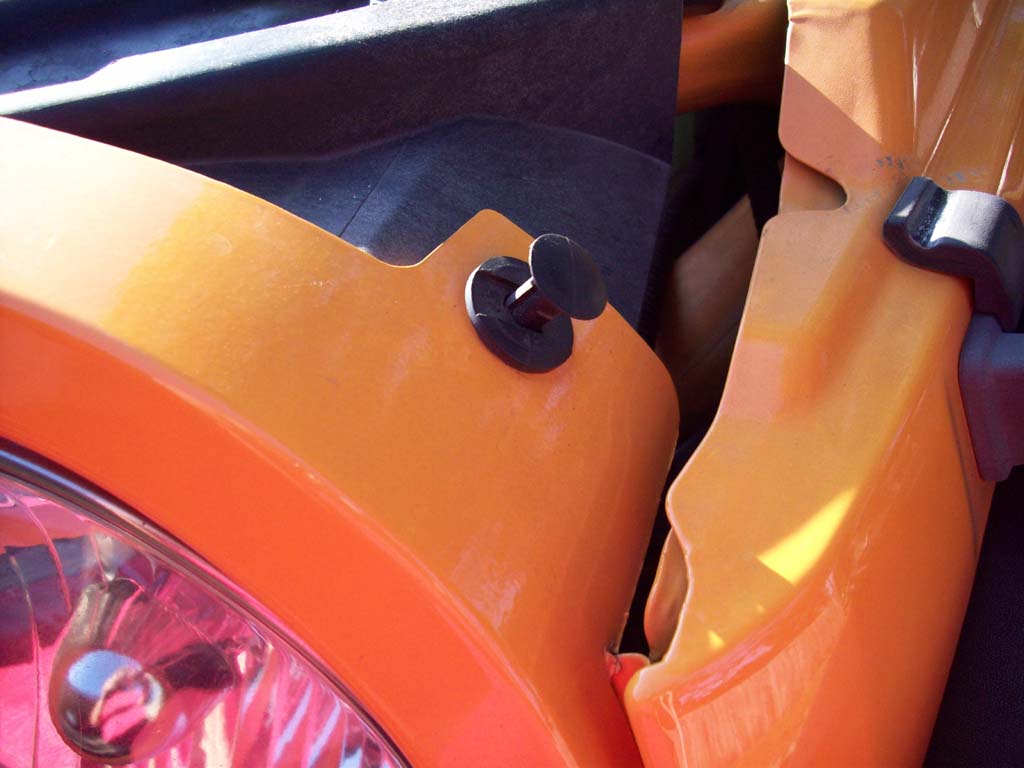
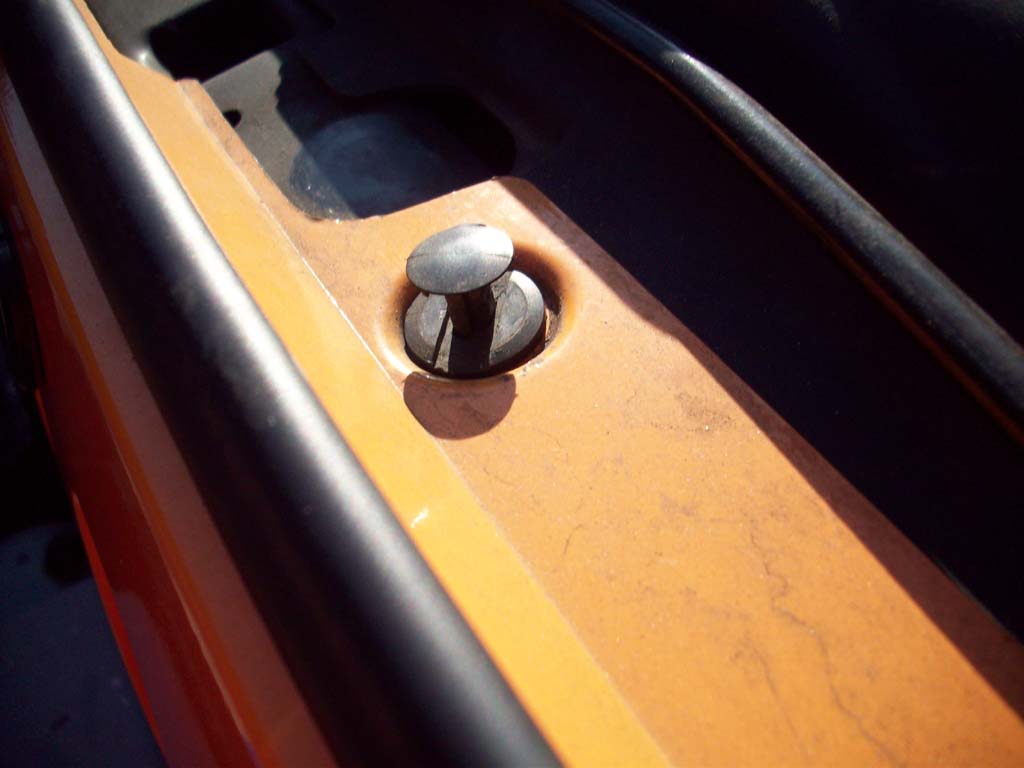
1. Remove the 6 push pins along the top of the grill.
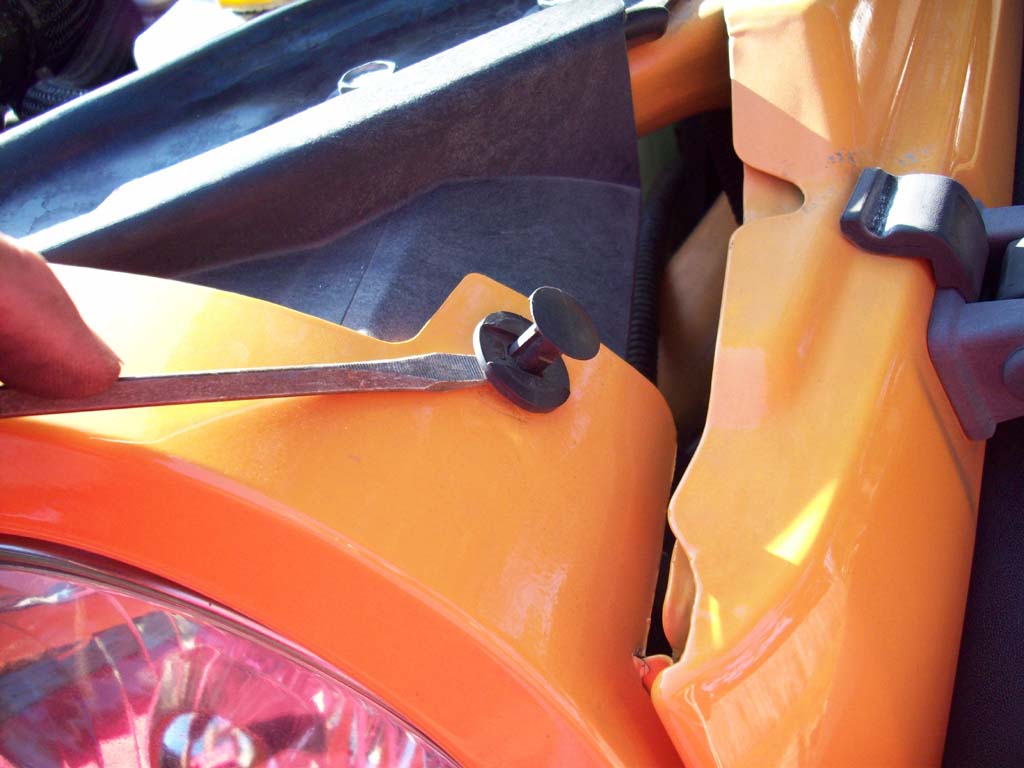
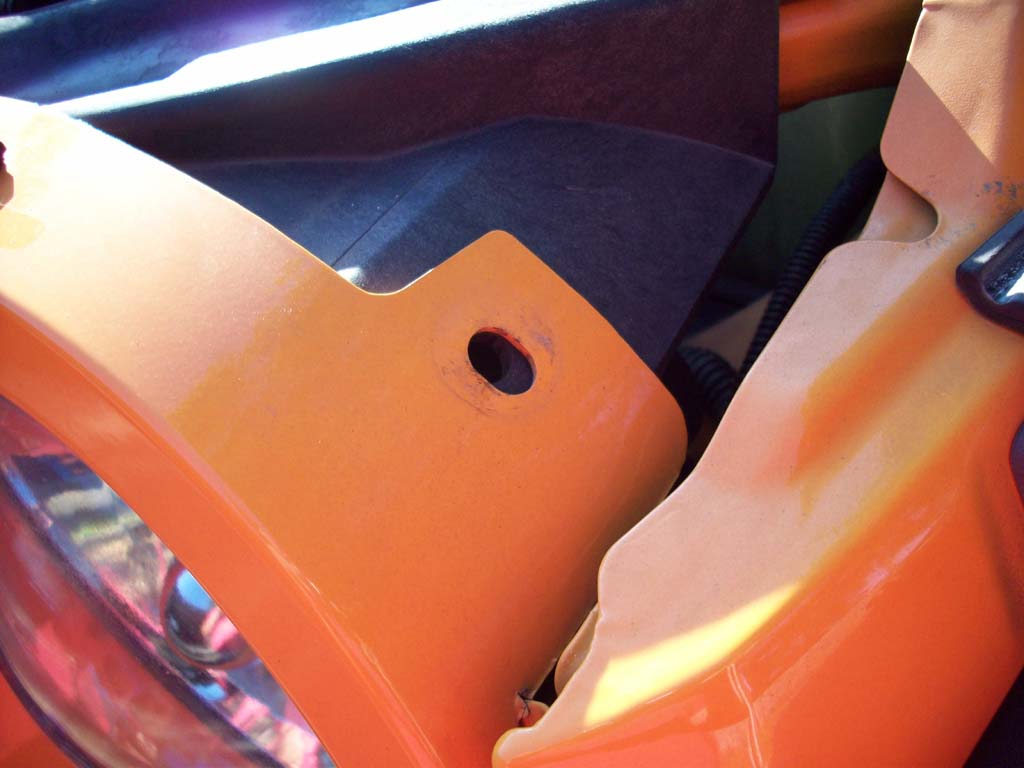
2. Use a flat tip screw driver to gently pry up the center button on the push pins. Then just pull the entire pin out of the grill. You might need to slip the flat tip screw driver underneath to pry up a little, but mine came out by just pulling on the base with my finger tips. Once these are out put them somewhere where they won't roll around and wander off.
The grill does pull forward enough for you to access most of the screws for the trim ring holding the headlights in. The passenger side has one that is difficult to get to and the drivers side has two that can be a pain. The turn signals have a clip behind them that holds the grill to the framework behind it. Just pull the grill out to release it.
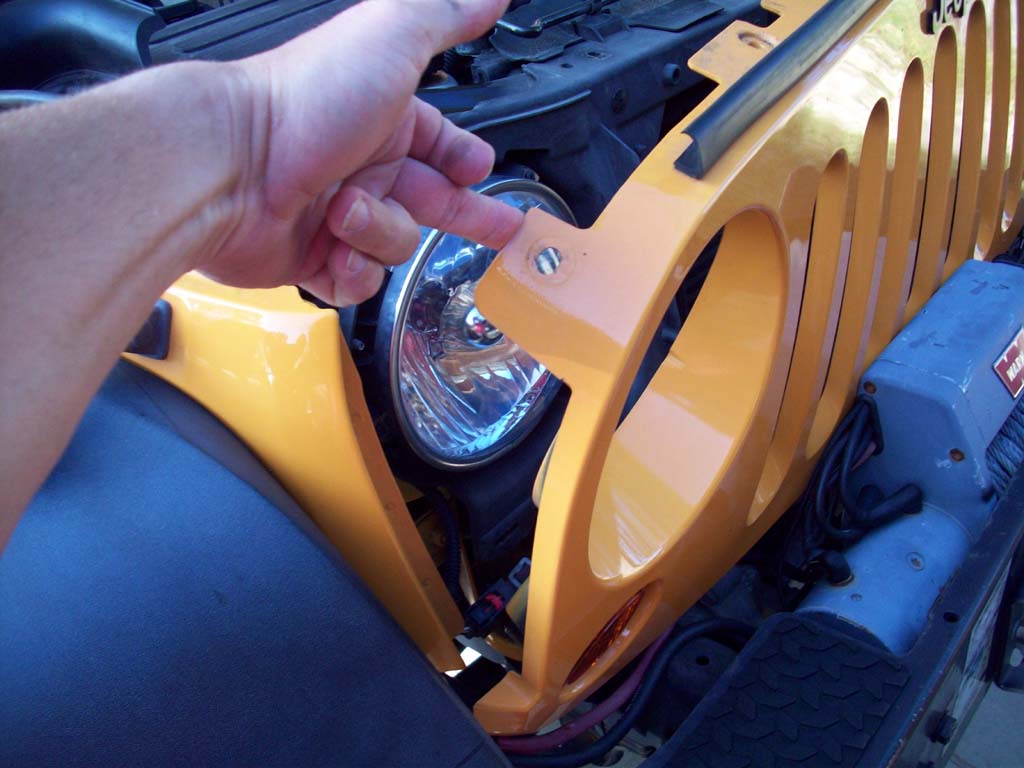
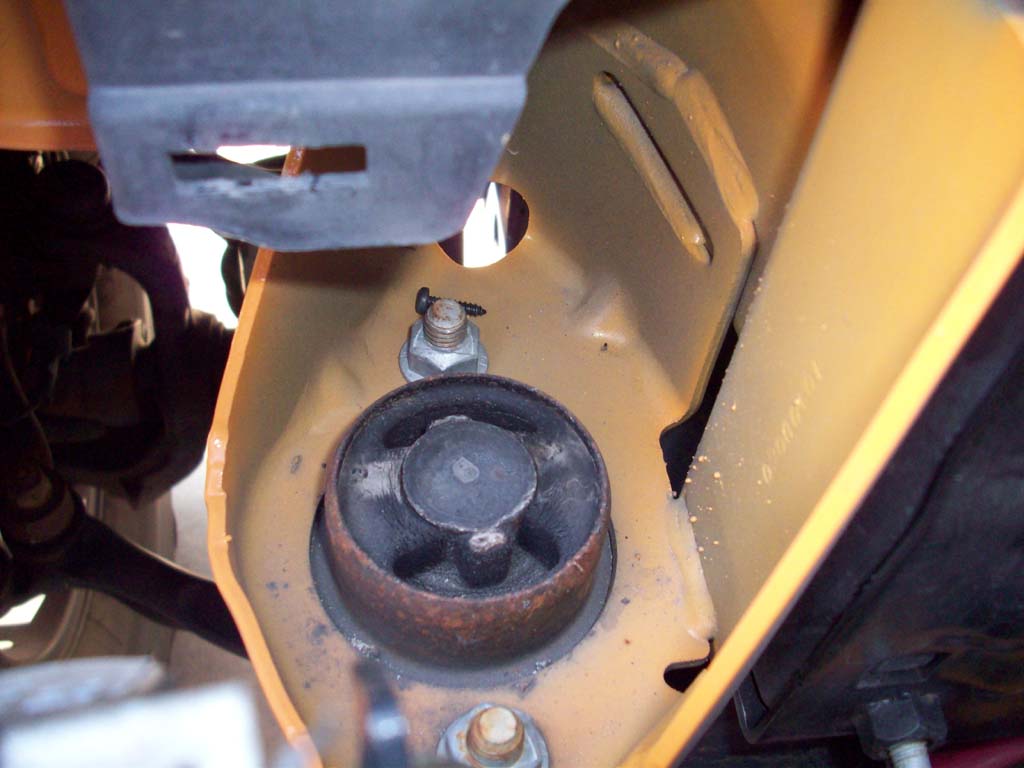
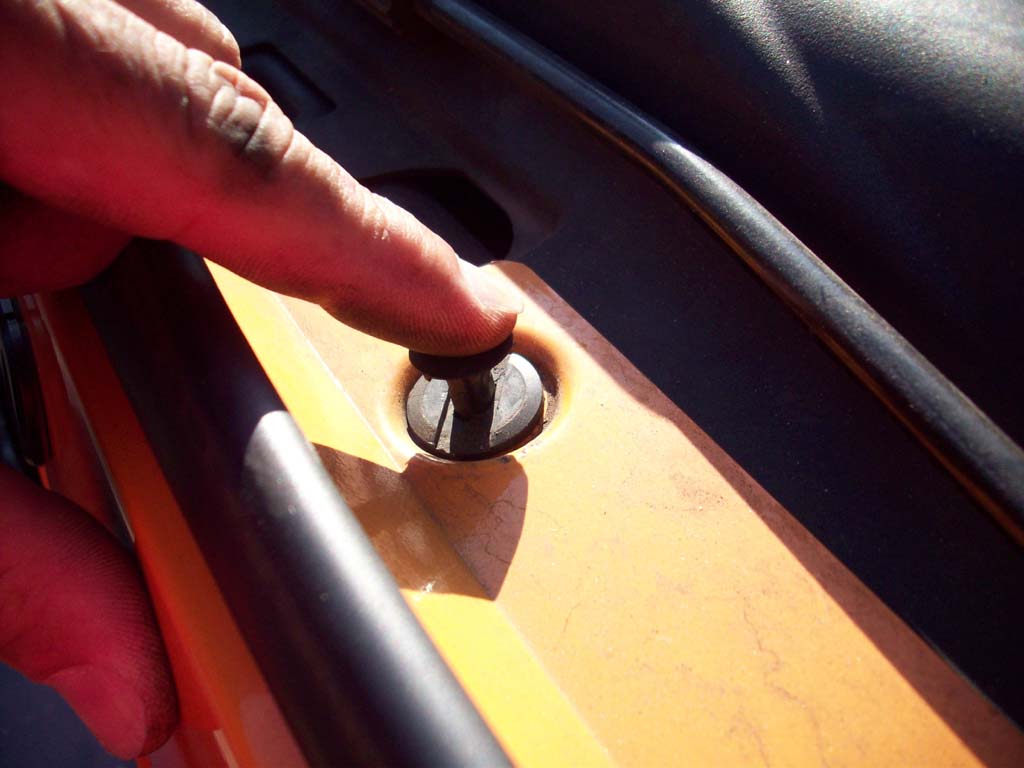
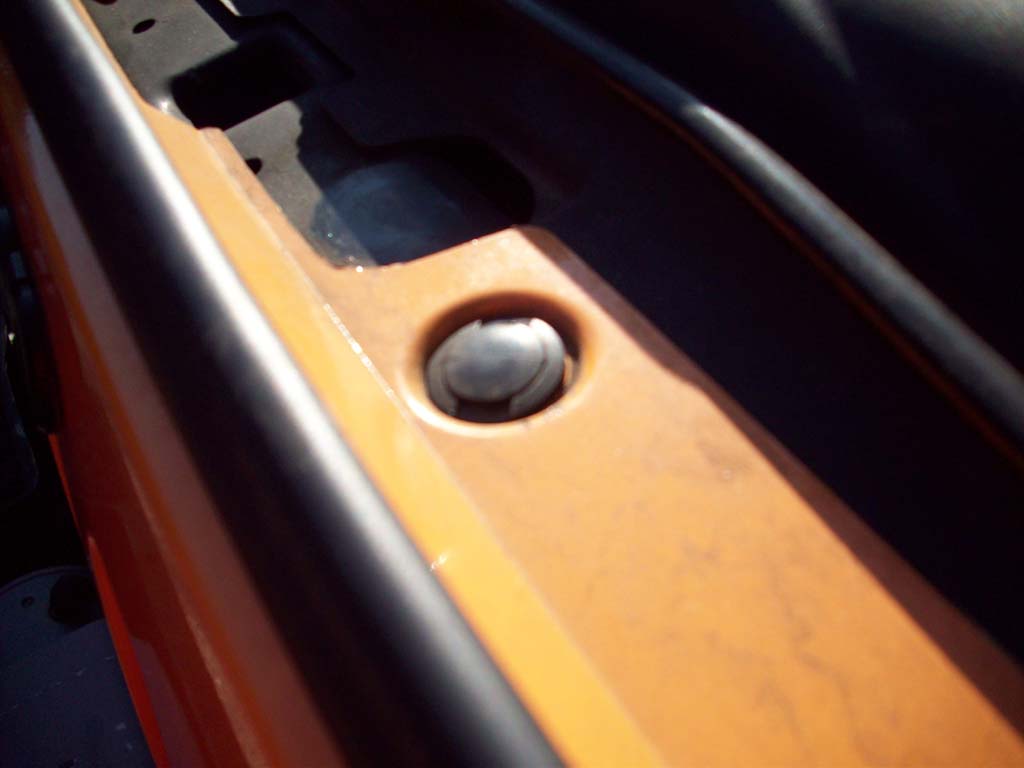
3. Remove the 4 torx screws holding the headlight trim ring in place with a T15 torx screwdriver. I dropped a screw and couldn't find it for a while. It was hiding behind the bolt for the body mount.
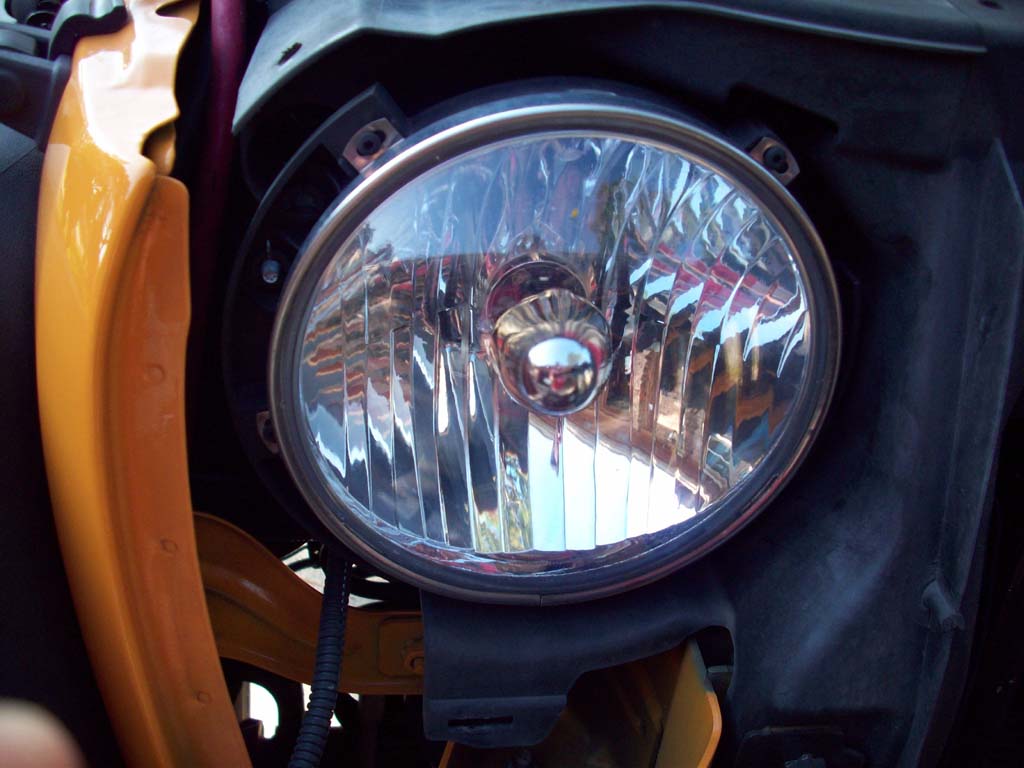
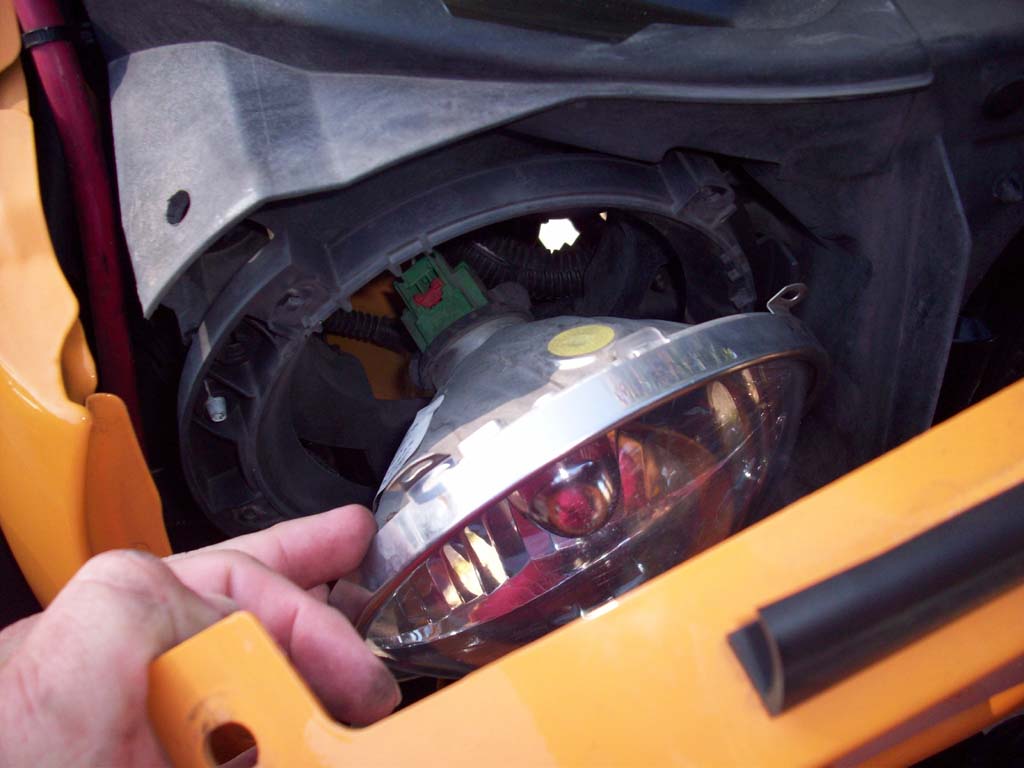
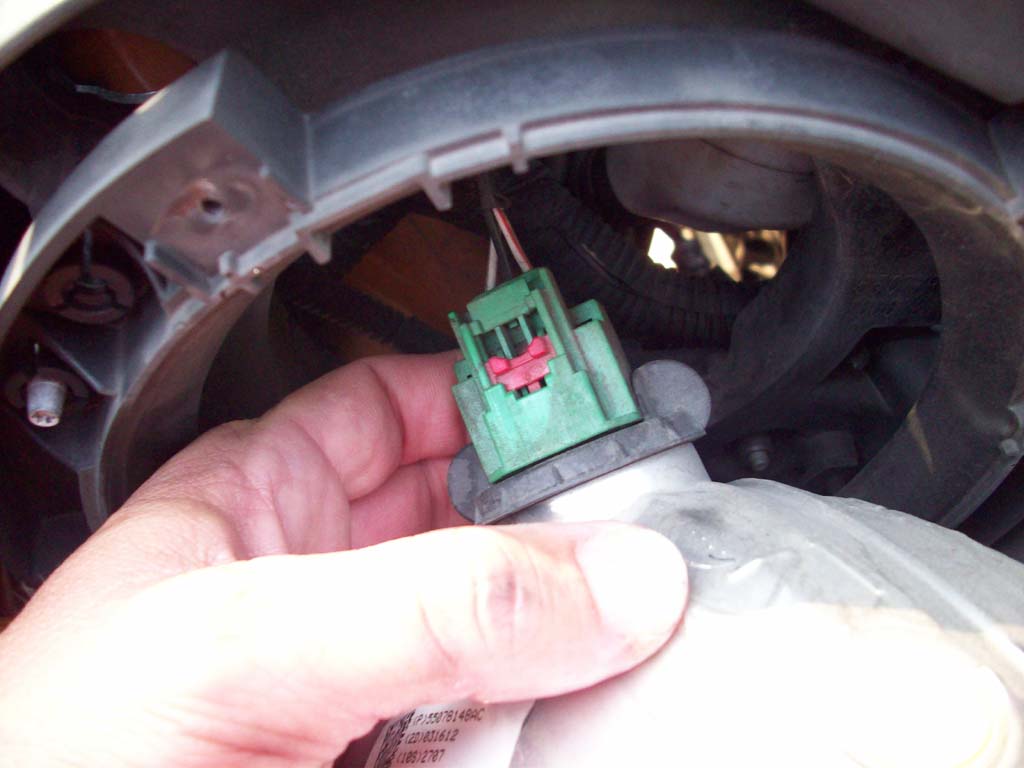
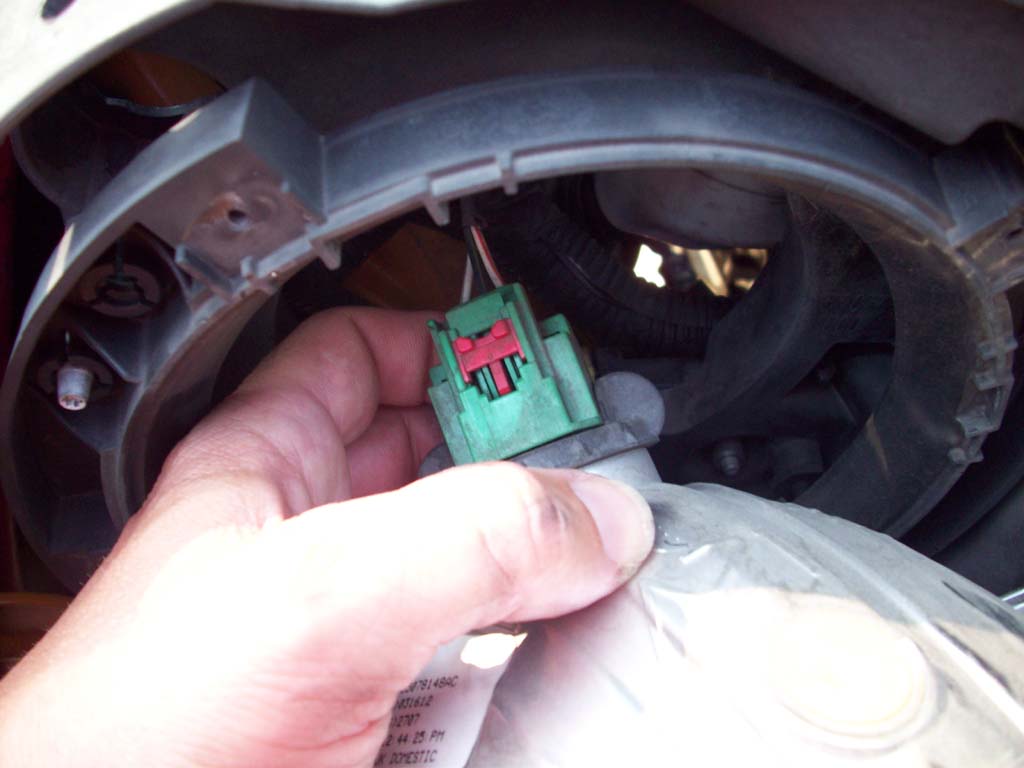
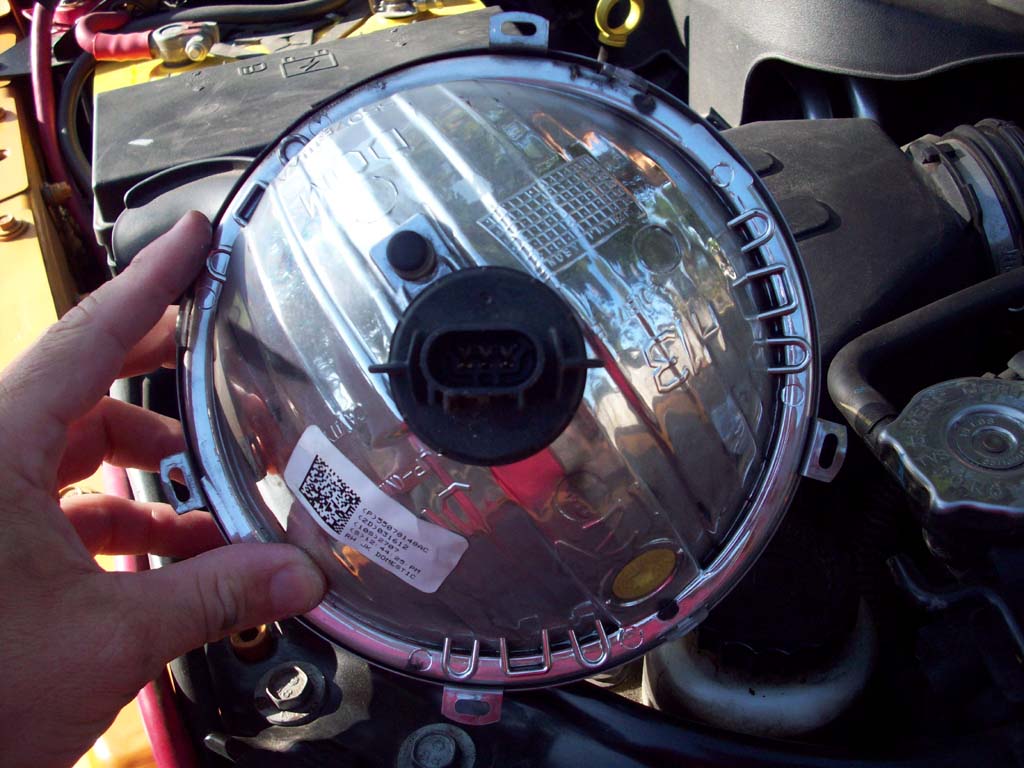
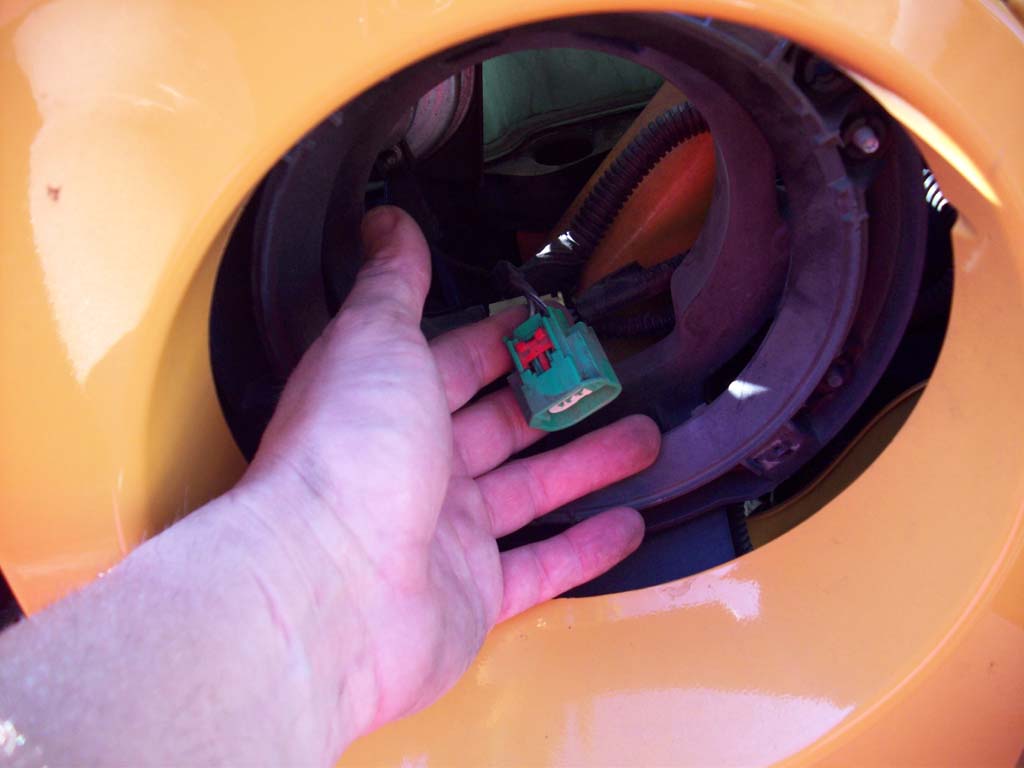
4. Pull the headlight out and disconnect the harness. Pull the red locking tab out and press the tab behind it to pull the harness off of the light bulb.
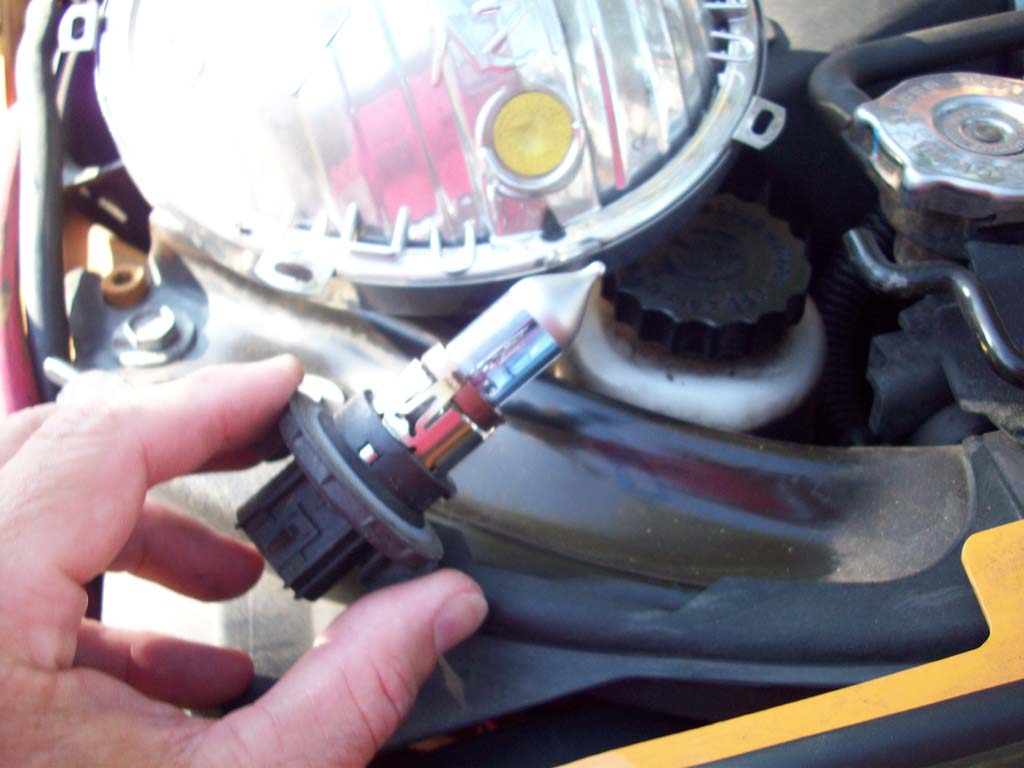
5. With the headlight removed twist the light counter clockwise to remove it.
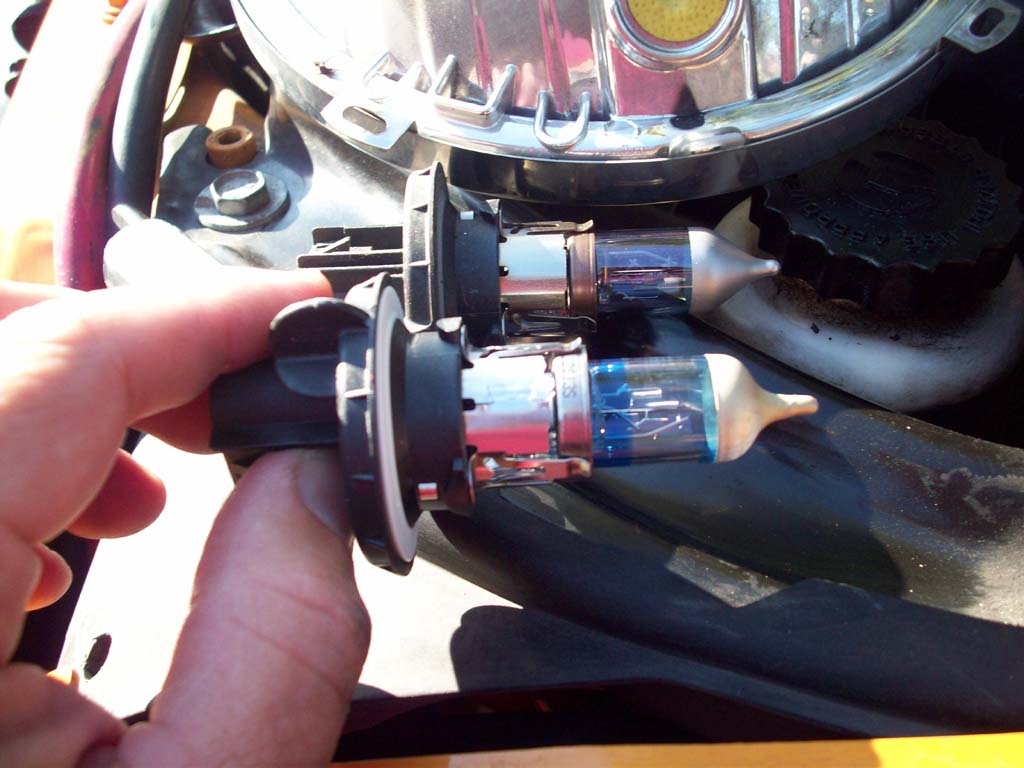
Quick comparison. The new one has a different tip and different colorization along the glass surround.
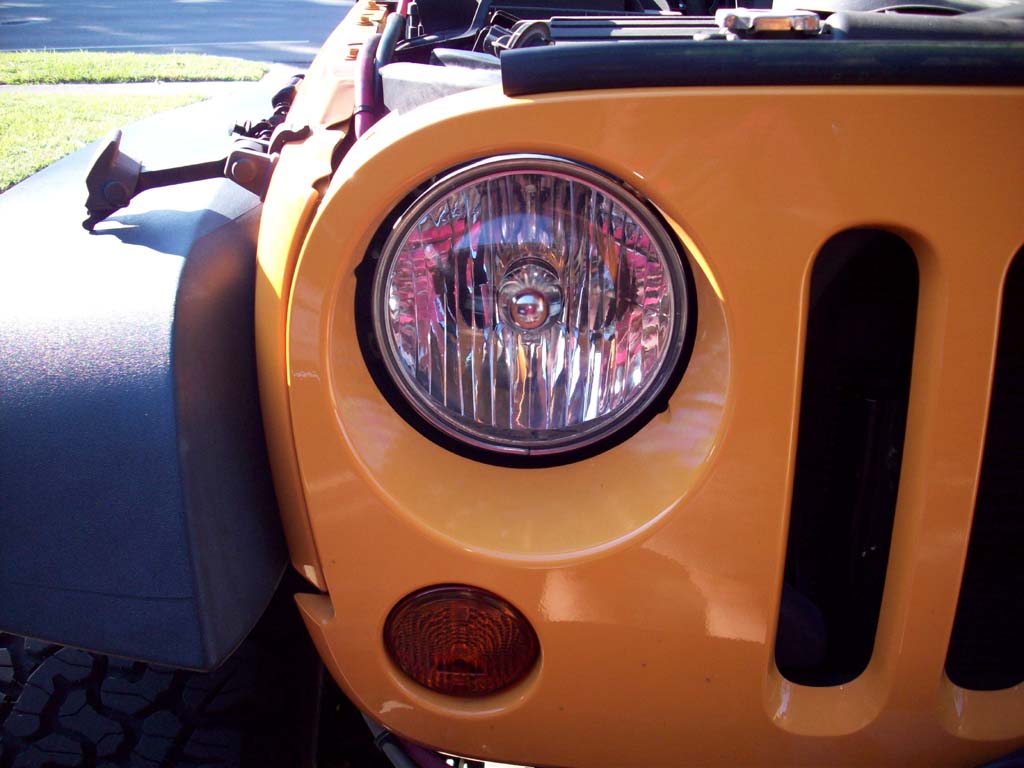
6. Reinstall the headlight. Don't forget to plug the harness back into the light before installing the trim ring. Otherwise you will have to repeat all these steps to do that when you discover that one light doesn't come on.
7. Reinstall the 6 push pins in the grill and press the center down to lock in.
The one thing I noticed the next morning while driving to work was that these lights were much whiter than the older ones that they replaced. I did have better distance, more side coverage and a whiter light. I can't really say this would be an improvement over a brand new OEM headlight with the exception of possibly the color scale. I'm currently comparing these to 10 year old bulbs. I did have a new JL pull up next to me with the LED headlights and mine pretty much disappeared compared to how much light his put out.