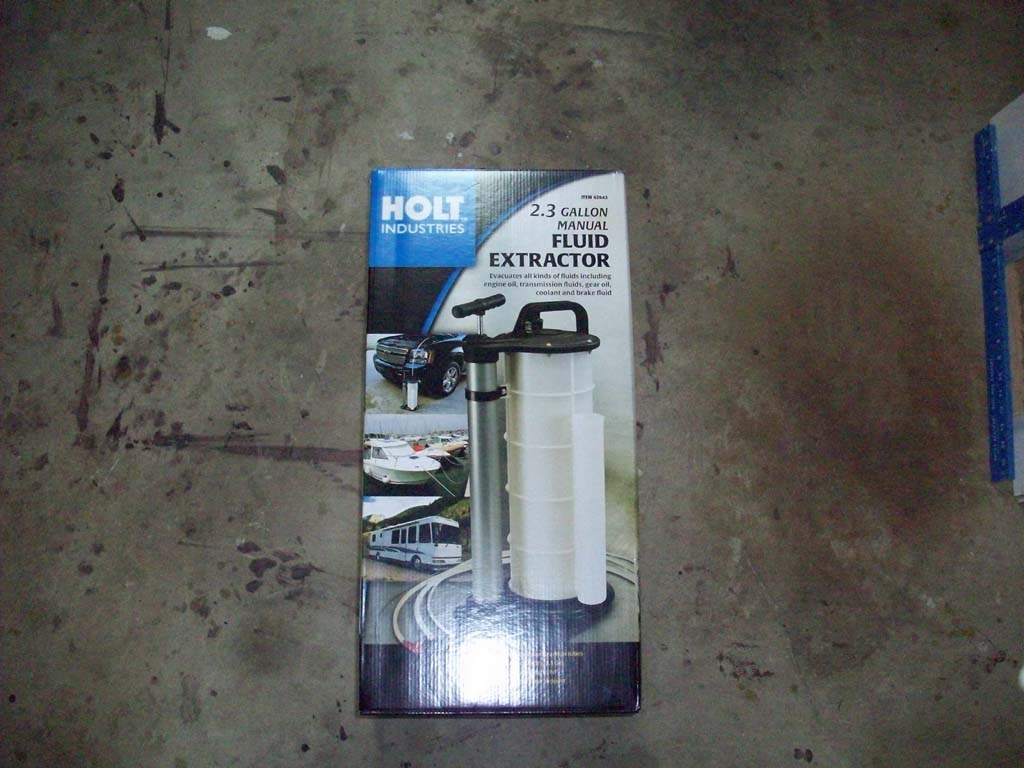
Jeep recommends changing the Automatic Transmission fluid and filter at 60,000 miles. You can take this into the dealership, pay their price and let them change it, or you can do it yourself. This can be pretty messy if you don't have a piece of optional equipment to suck out the oil from the transmission pan ahead of time. This is not a job you want to do with the exhaust hot since you will be working right against it.
| Parts Needed: |
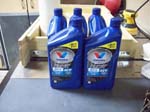
| I only needed to pick up 4 quarts of the ATF+4. |
 |
 |
 |
 |
 |
 |
| |
| The Fluid and Filter Change: |
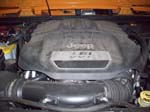
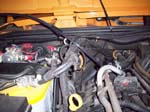
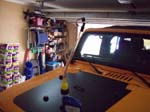
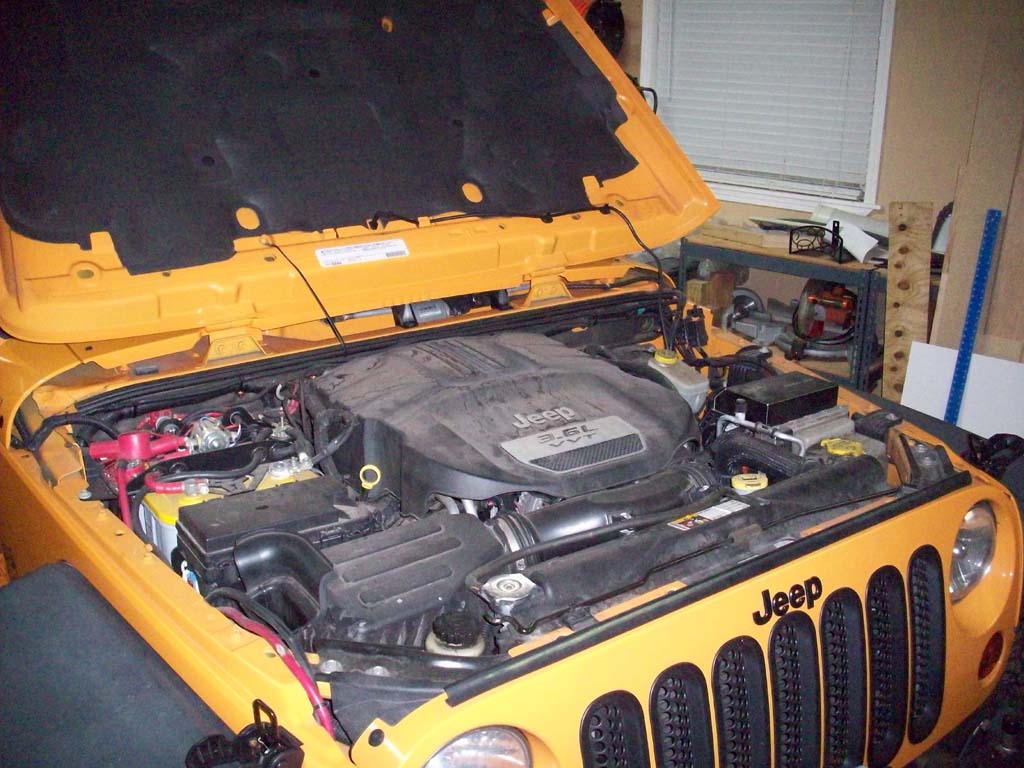
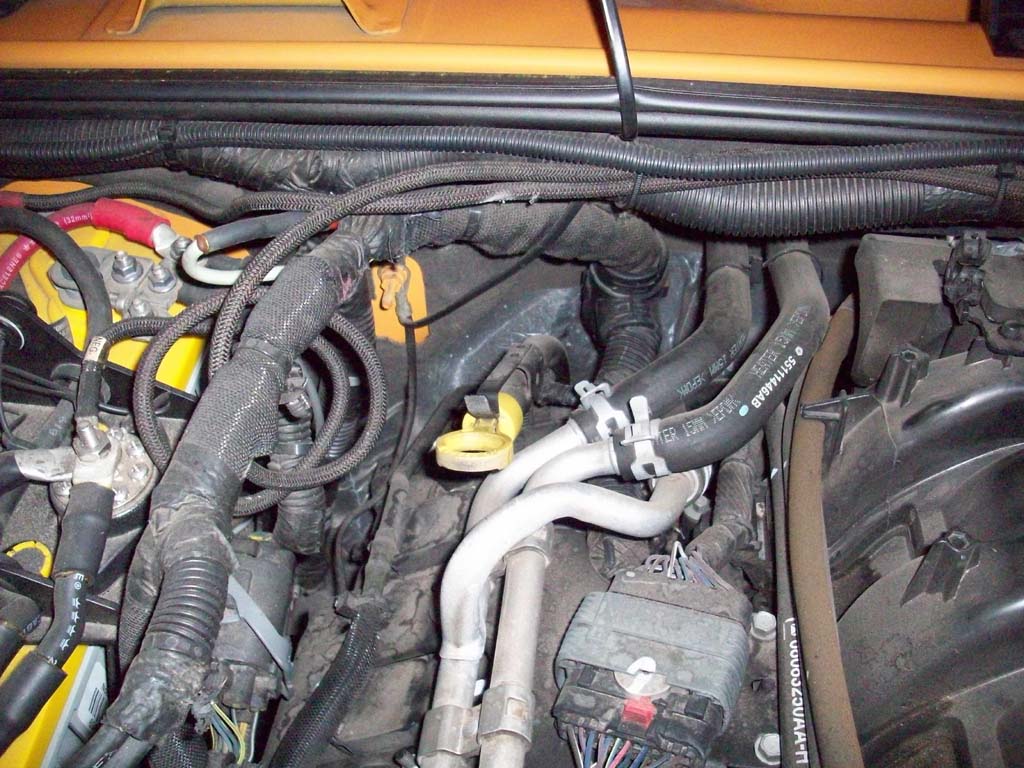
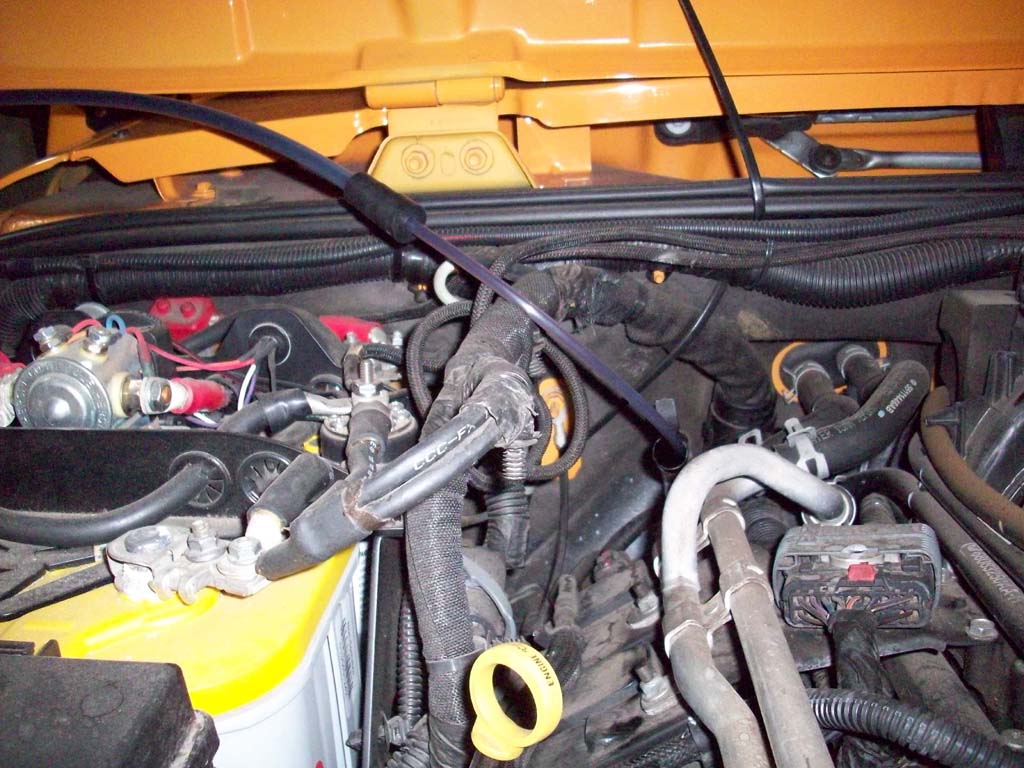
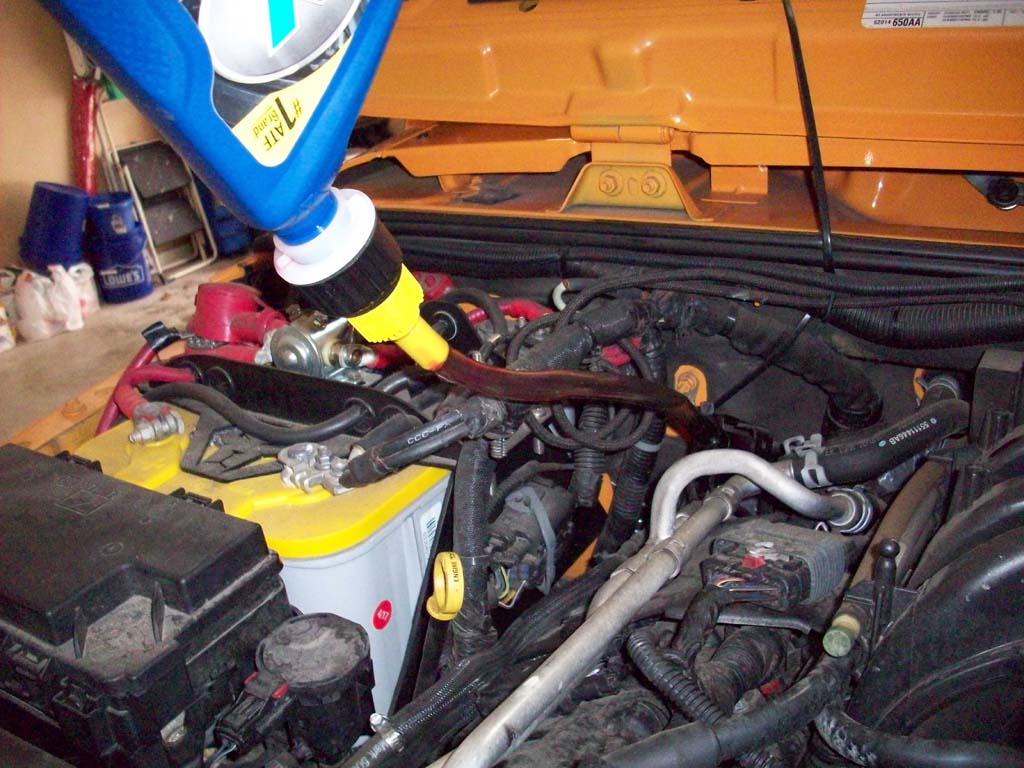
| 1. Open the hood and remove the engine cover to get to the automatic transmission dipstick. |
 |
 |
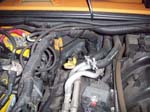
| 2. Remove the dipstick, check the oil level and wipe it clean. I recommend putting it somewhere out of reach of the kids. Don't know if the fire ant mound really liked haveing it's oil checked. |
 |
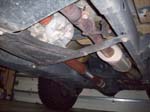
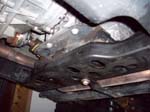
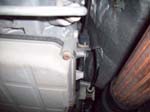
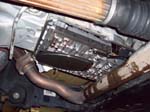
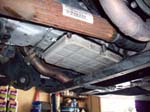
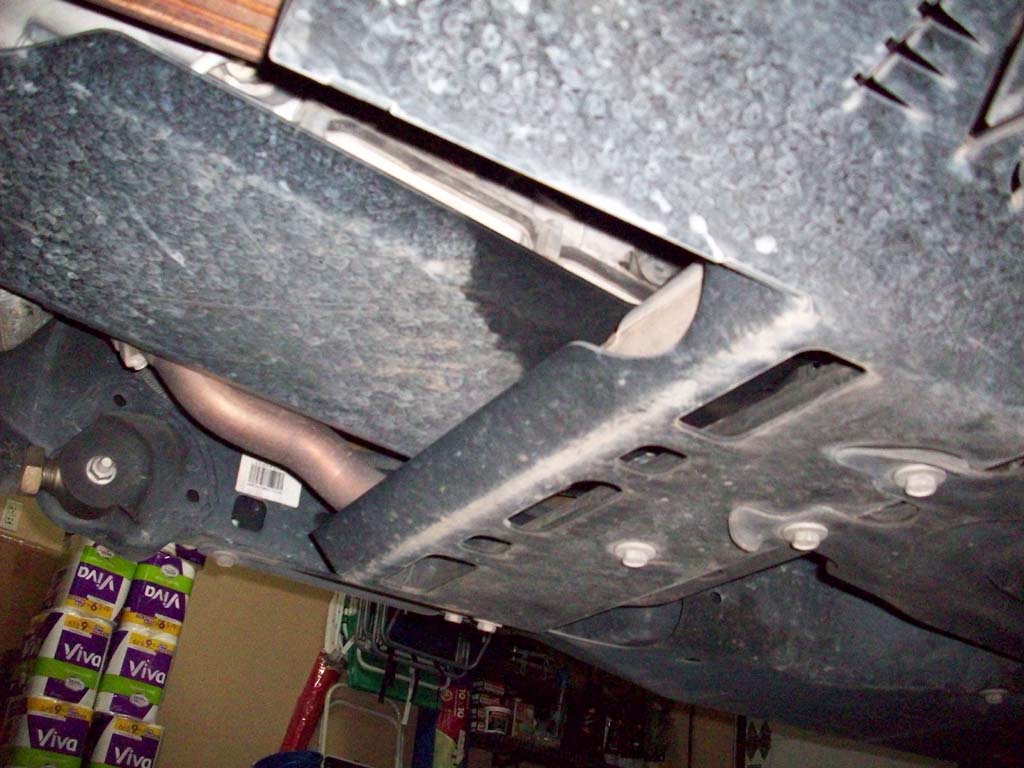
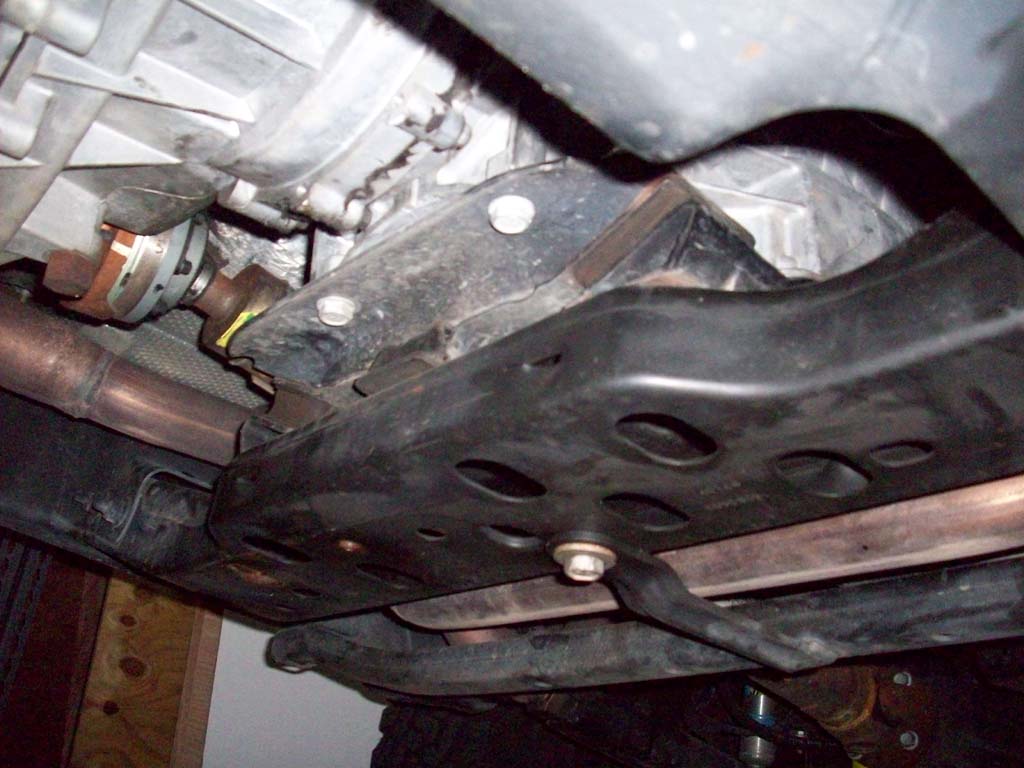
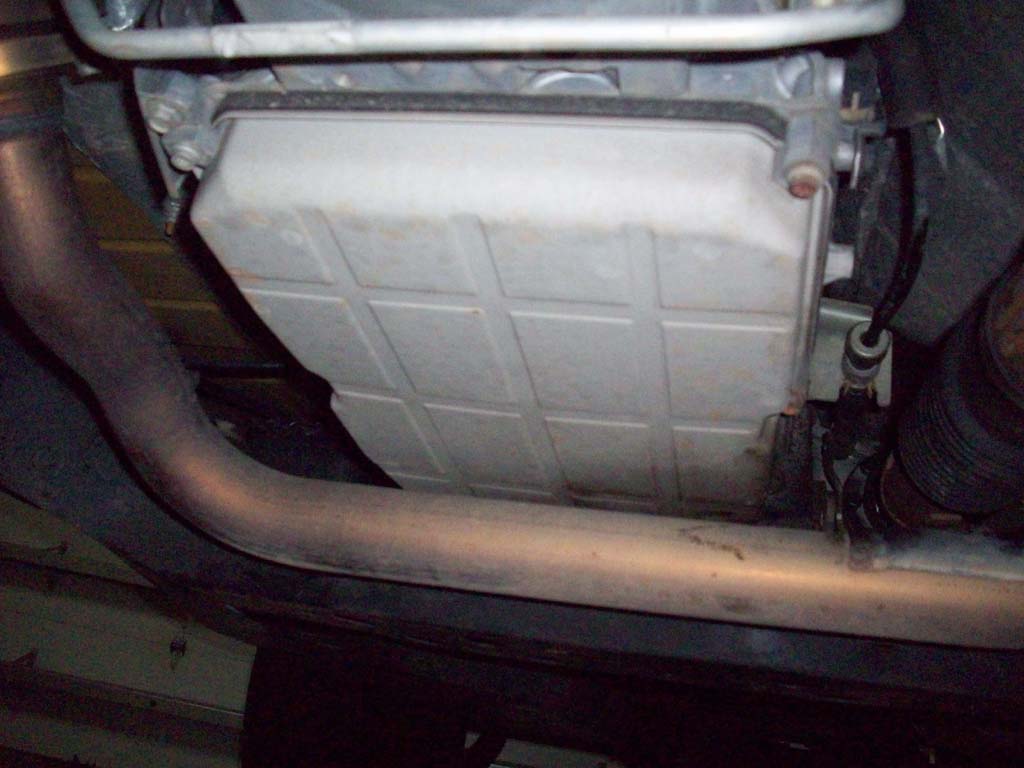
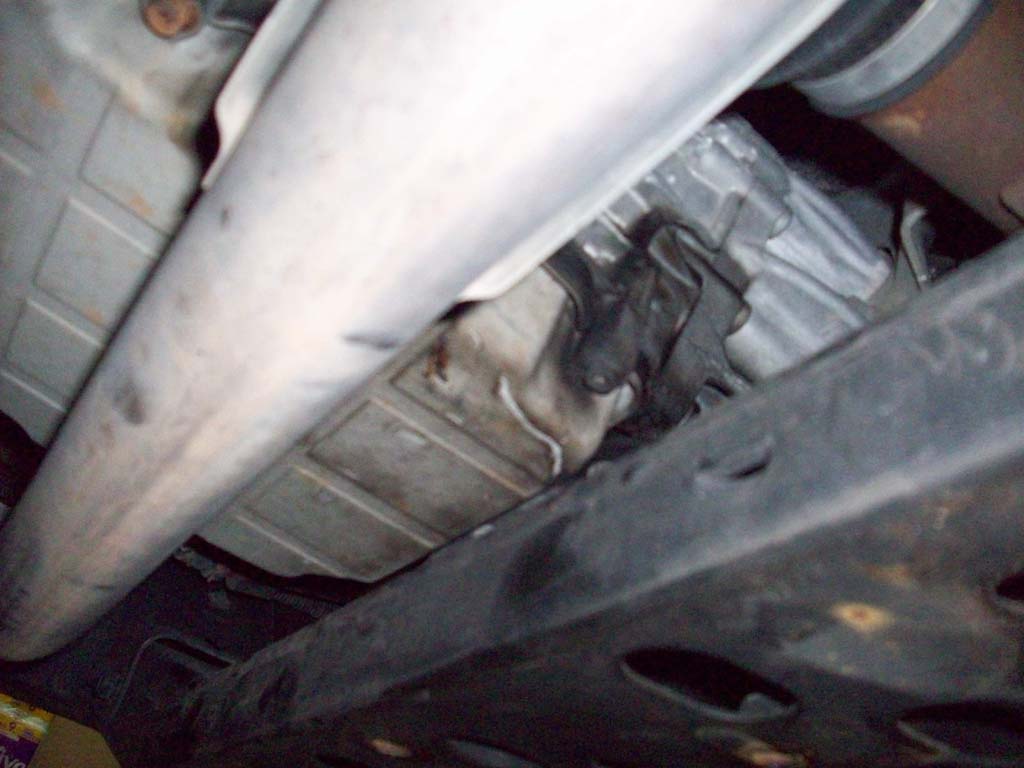
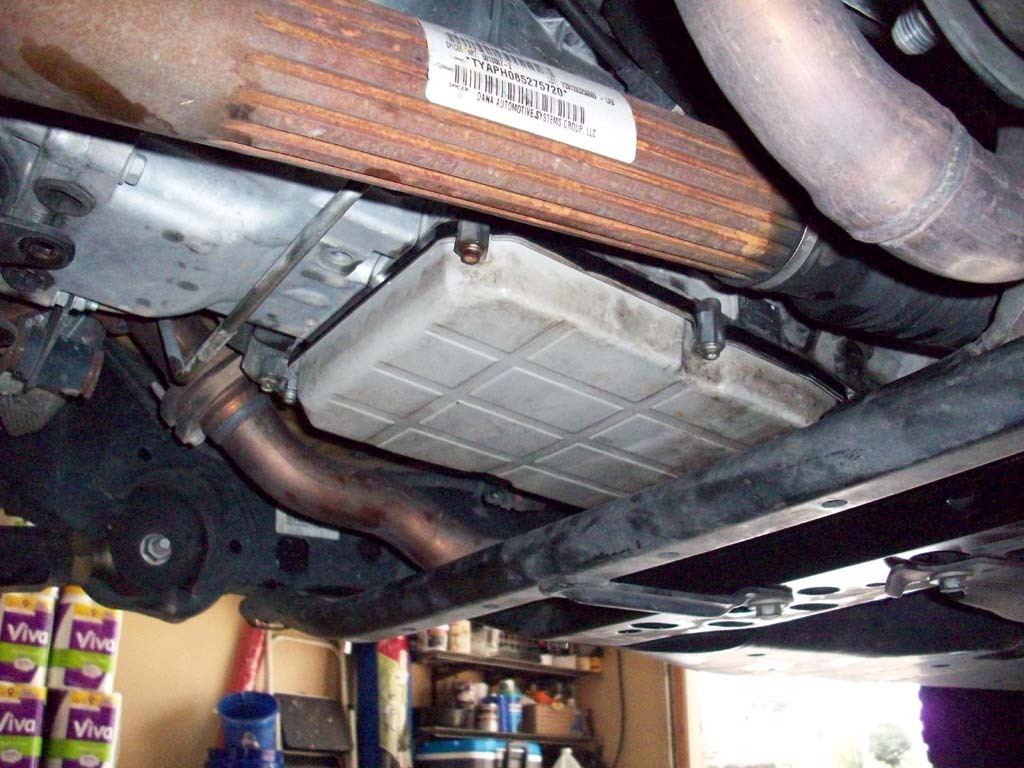
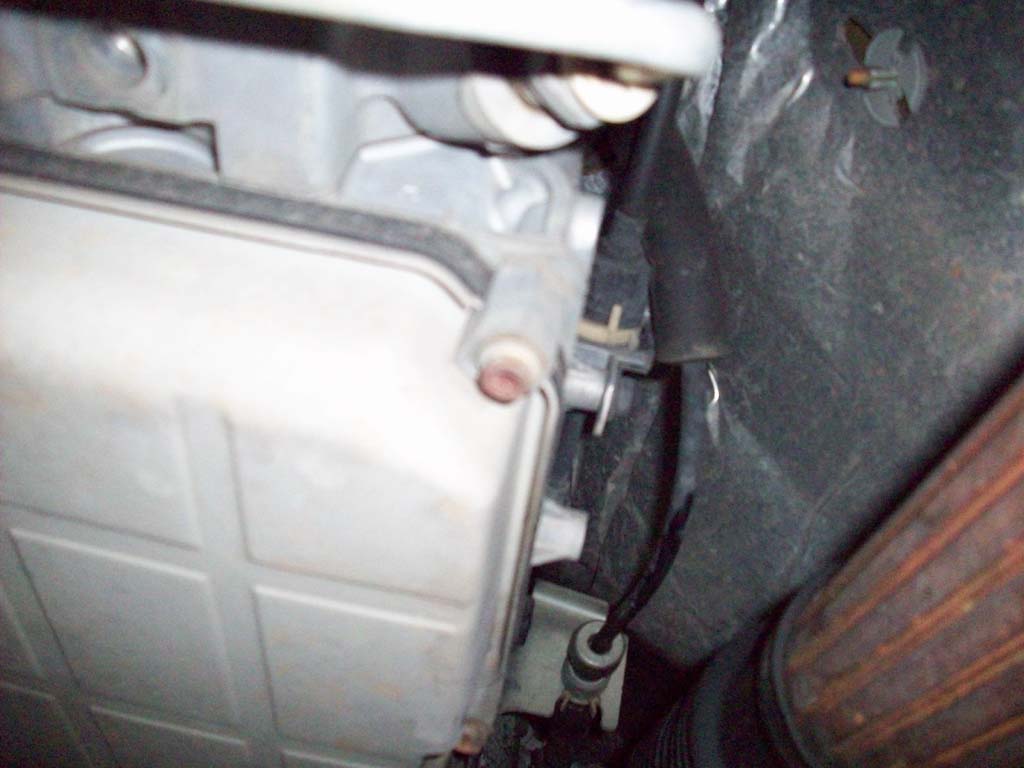
| 3. The automatic transmission pan is located up behind the skid plates/bar, transmission crossmember and the exhaust crossover pipe. There are 6 bolts that you will need to remove to get this off. I have the EVO skids, so it's even more difficult to get to. |
 |
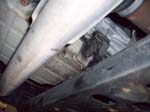
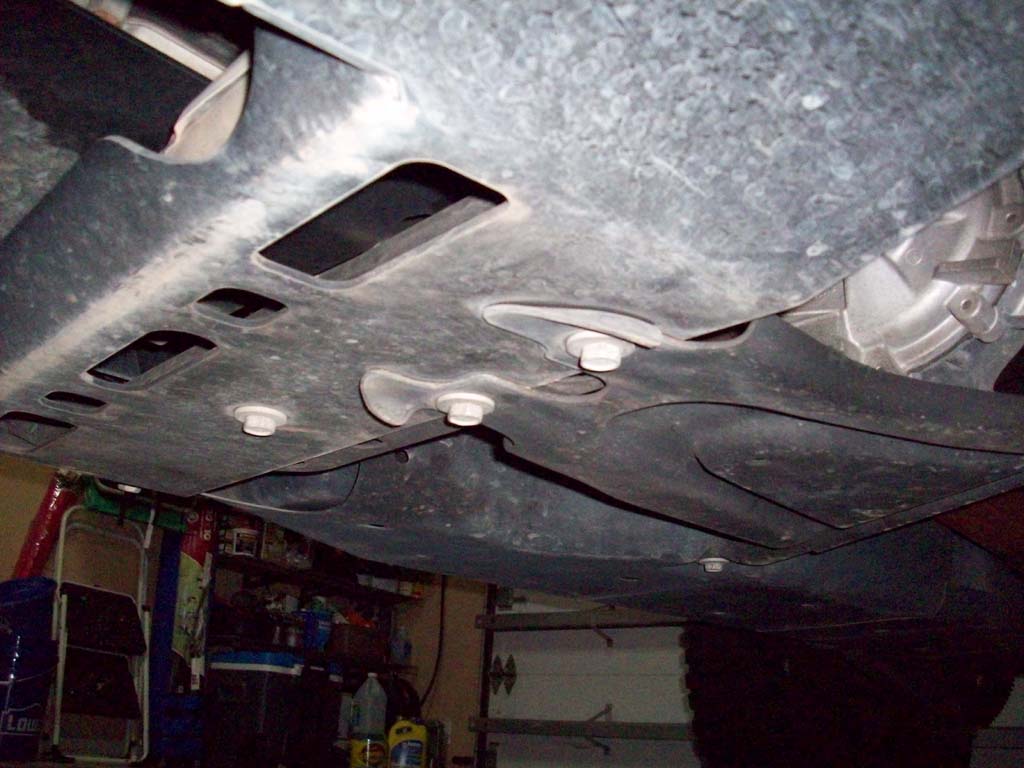
| 4. Remove the transfer case skid using an 18mm socket and ratchet to remove the 4 bolts holding it in place. Not to heavy, but you will need to hold it up when you remove the bolts. |
 |
 |
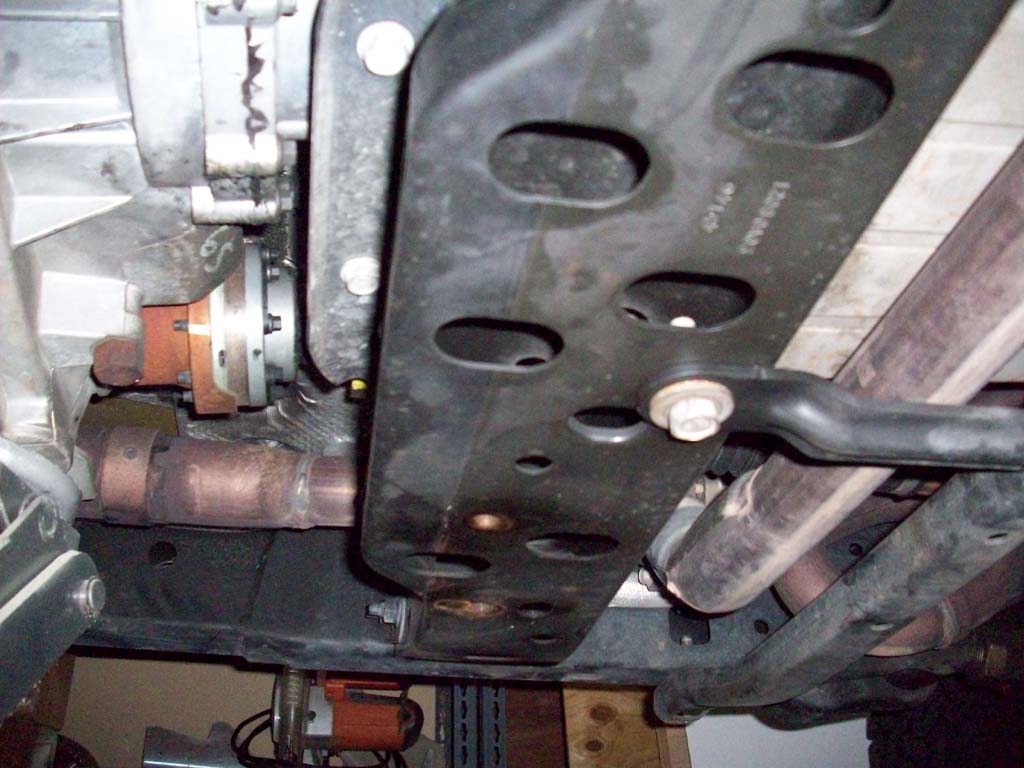
| 5. Remove the transmission bash bar using an 18mm socket and ratchet to remove the 3 bolts holding it in place. Not to heavy, but you will need to hold it up when you remove the bolts. |
 |
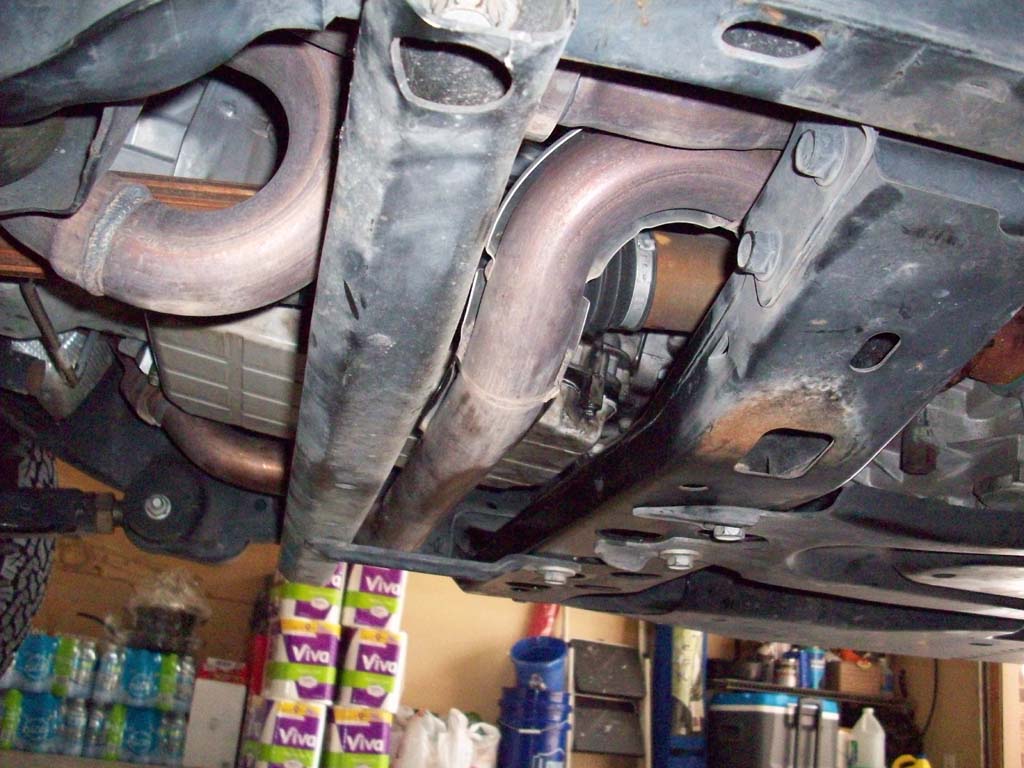
6. Loosen the 3 nuts holding the transmission mount to the transmission crossmember with a 16mm socket and ratchet. Do not take the nuts all the way off, I just backed them off until they were flush with the end of the stud. You do not need to lift the transmission mount clear of the crossmember.
Note: If you have an exhaust spacer installed you may be able to skip this step. |
 |
 |
 |
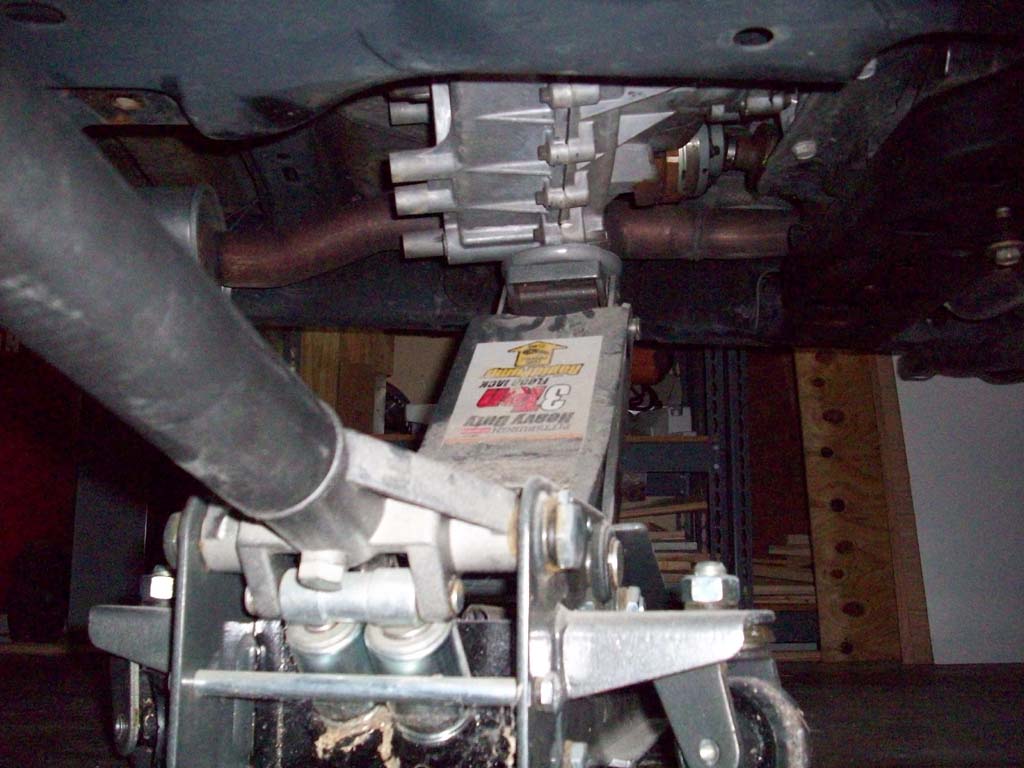
| 7. Place a floor jack under the transfer case and slowly lift up on the transfer case. You will need to lift the transmission about 1 1/2" to get enough clearance to get the last 2 bolts out of the transmission pan and have the pan clear the exhaust when you are removing it. |
 |
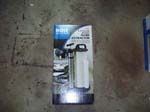
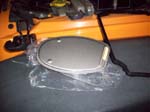
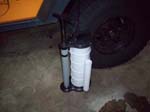
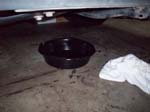
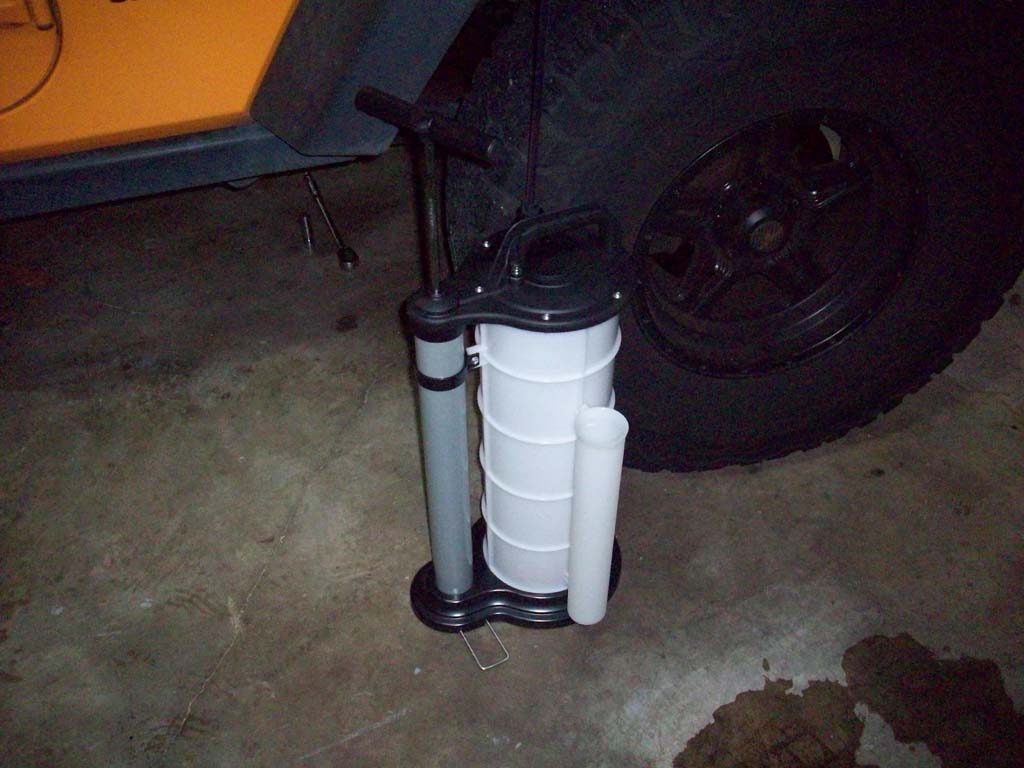
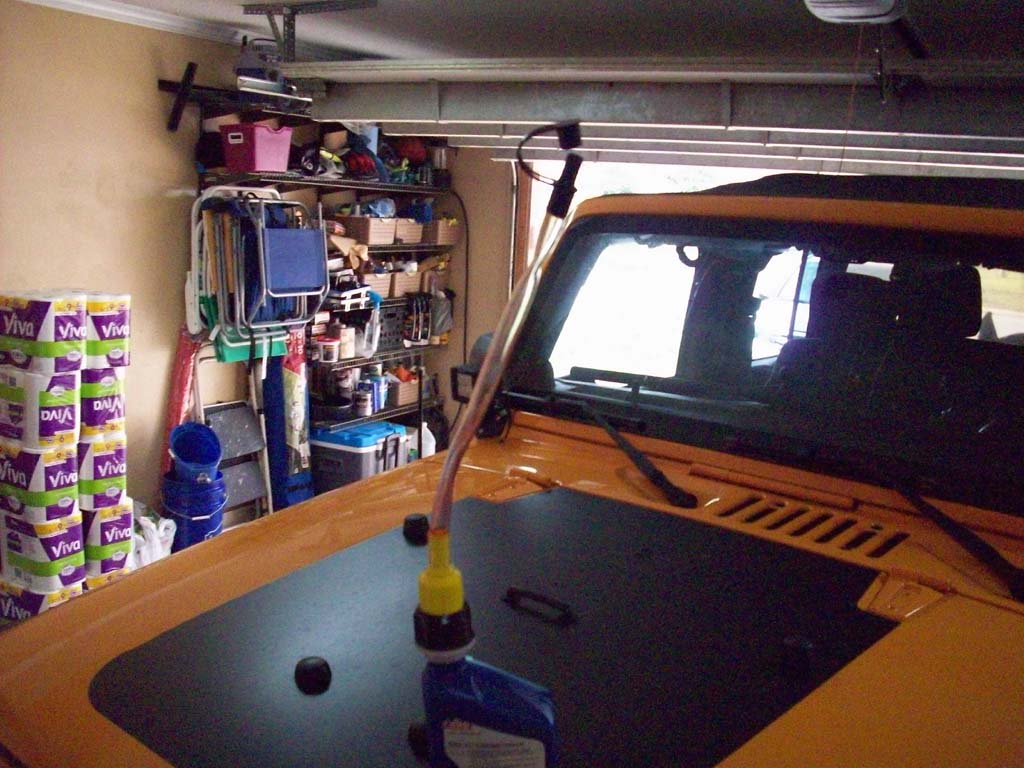
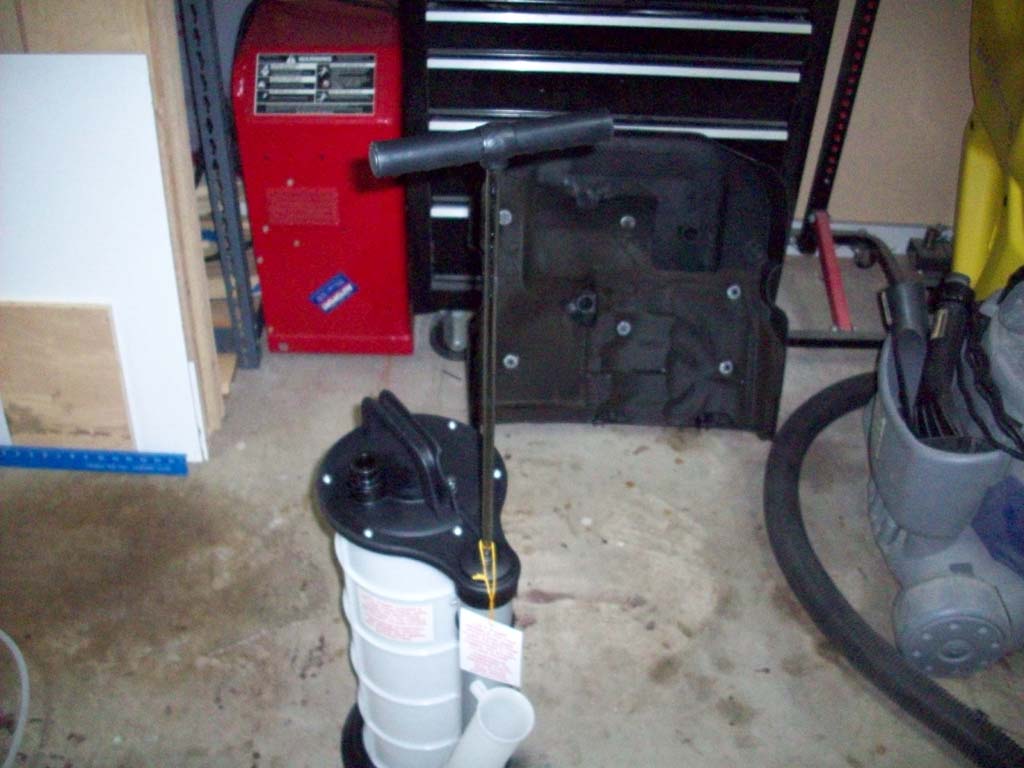
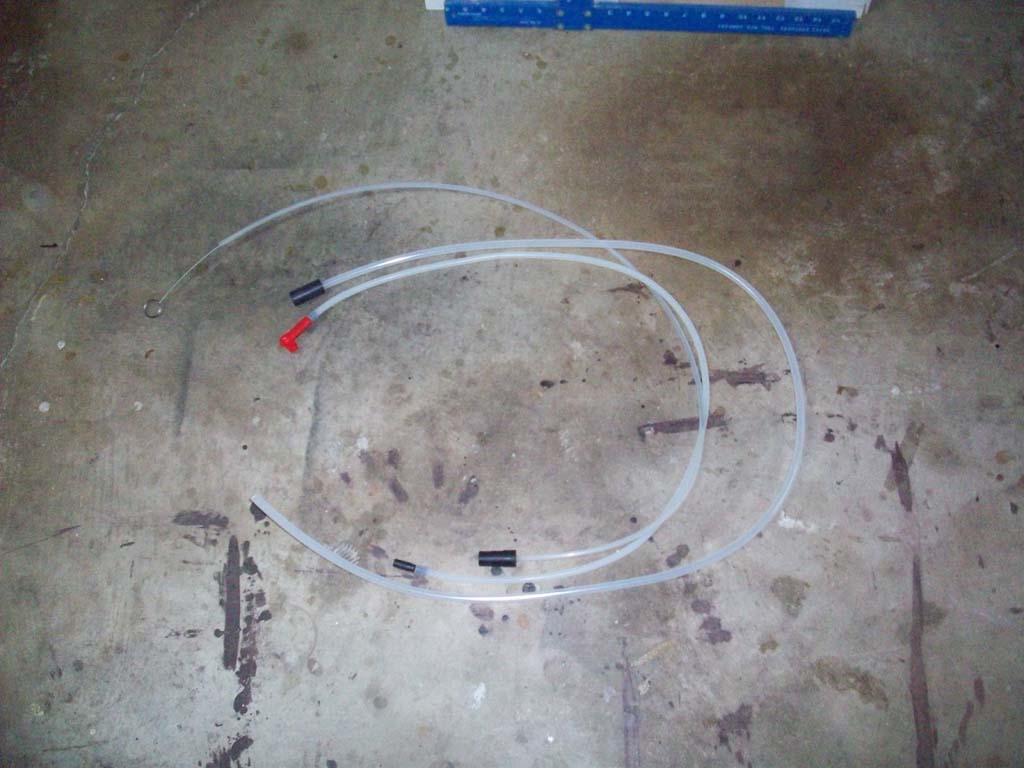
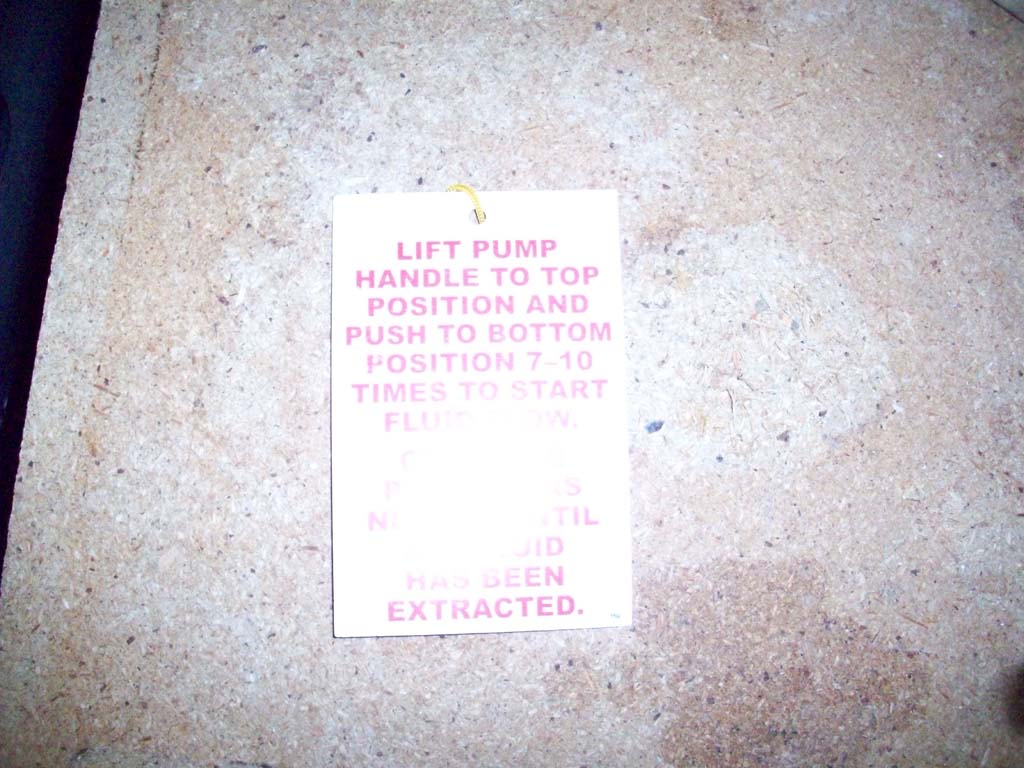
| 8. Use a fluid extractor to suck out the transmission fluid via the dipstick tube. The extractor should remove about 3 quarts of fluid. You don't need to use an extractor to remove the fluid, but it makes it easier to remove the pan without spilling fluid everywhere under the vehicle. |
 |
 |
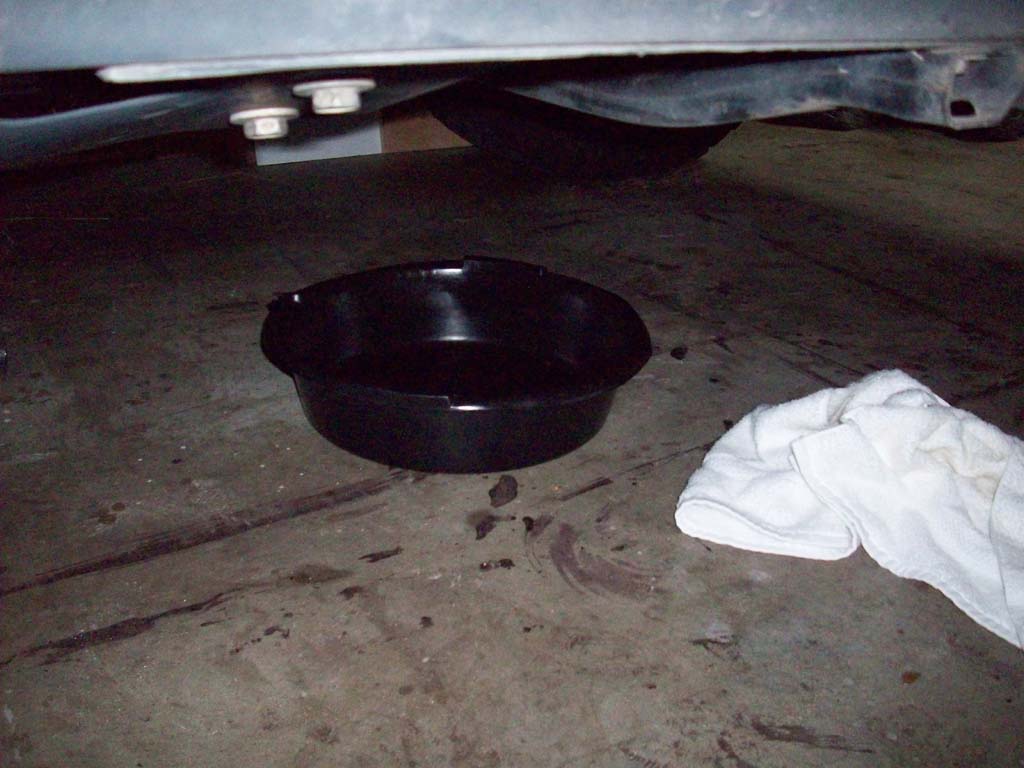
| 9. Place a drip pan and some rags under the vehicle within reach. |
 |
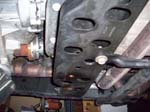
| 10. Remove the two back bolts (hardest), then the two front bolts. Leave the two middle ones for last. You will need a T-30 torx bit. See the notes below before proceeding with this step. |
 |
 |
 |
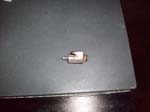
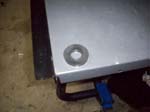
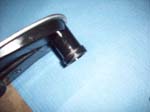
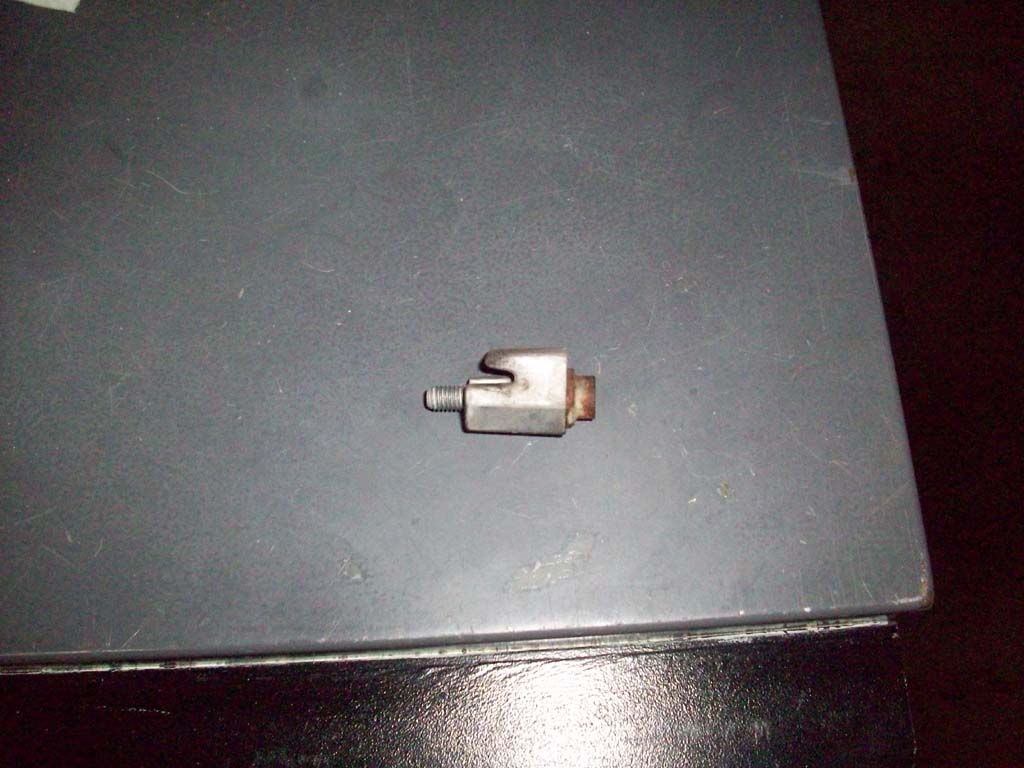
10a. This is what the bolt looks like. The pan is held on by the hook on the bushing that the bolt goes through. Make sure the bushing comes off with the bolt.
|
 |
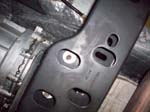
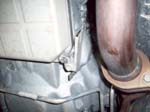
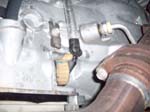
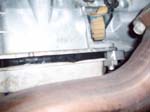
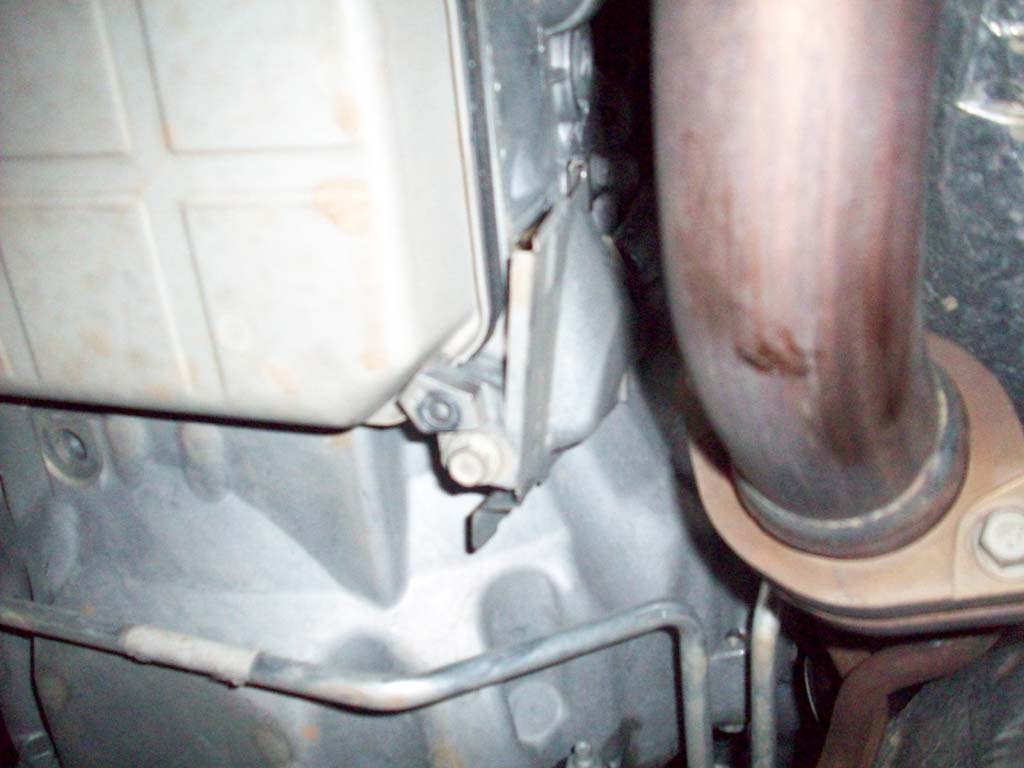
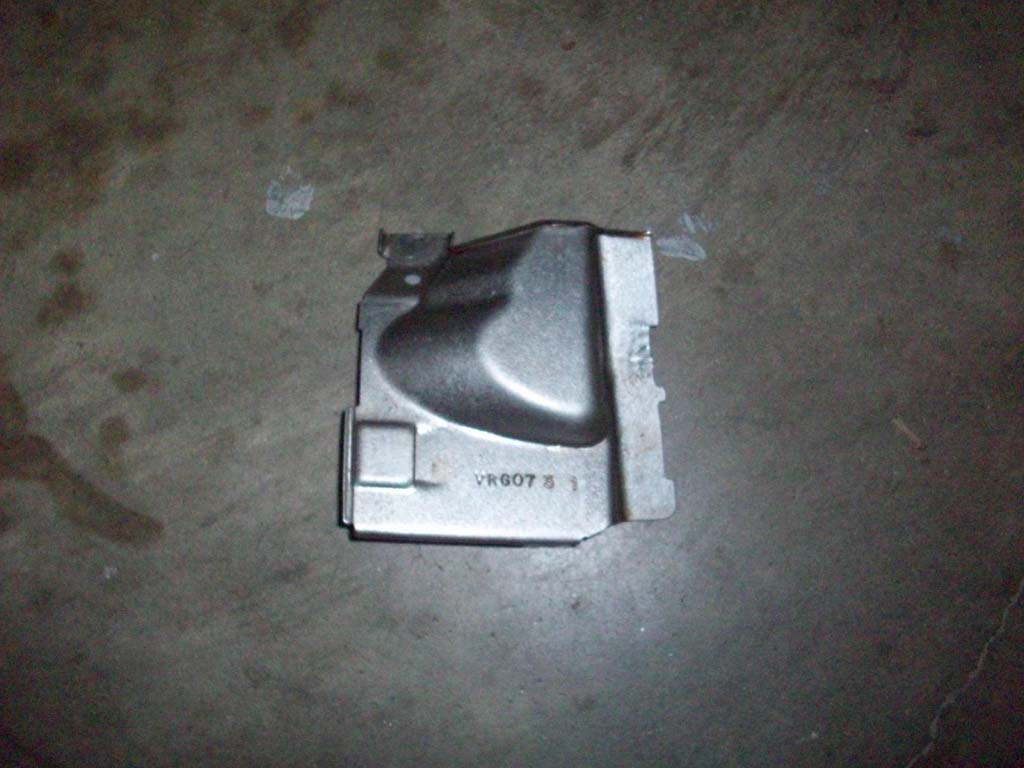
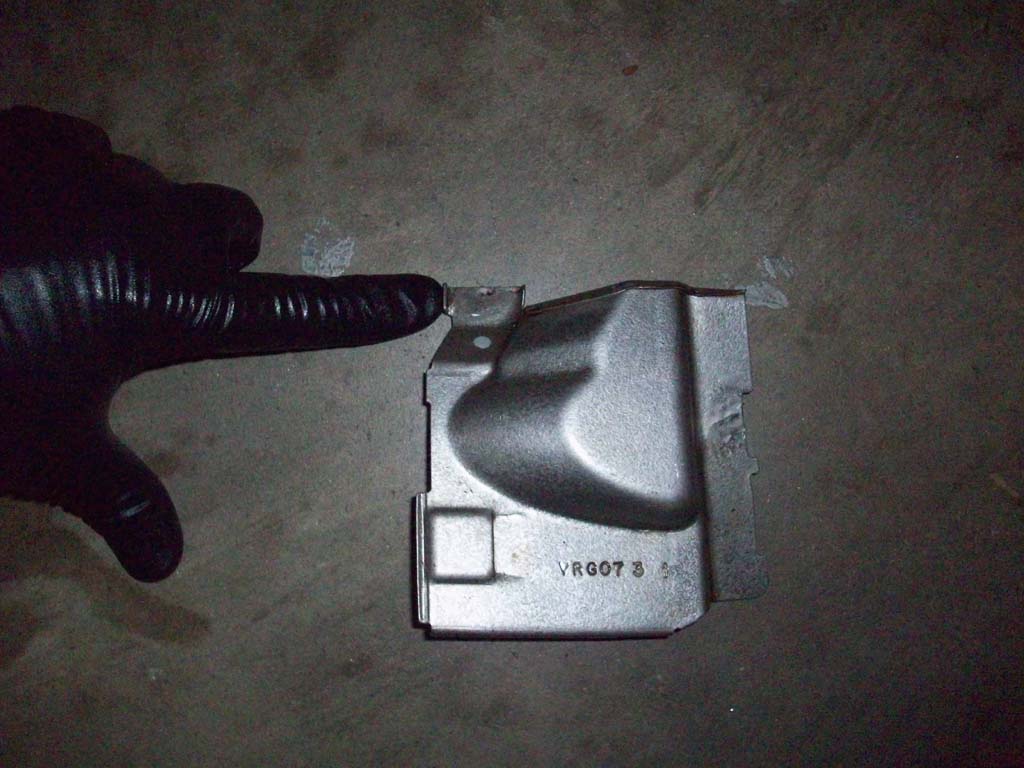
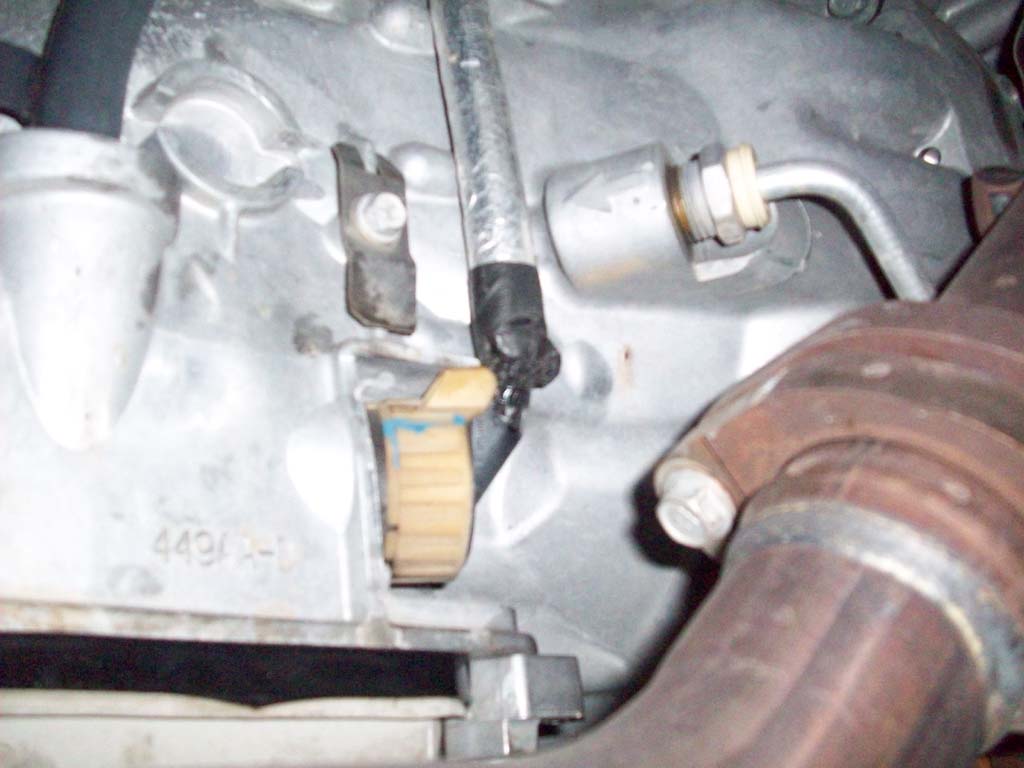
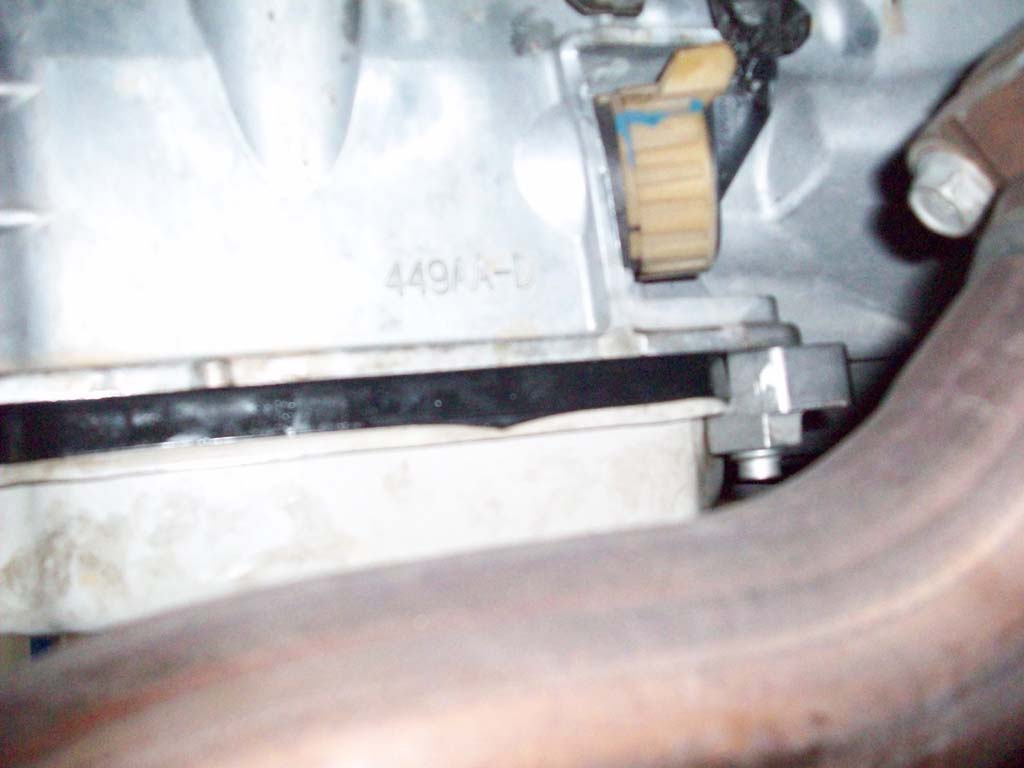
10b. The passenger side front bolt has a heat shield attached to it to protect a sensor on the side of the transmission. Once you remove the bolt, you should be able to wiggle the shield side to side as you pull downward. I pointed out where the indent on the shield is. It just slides under a clip bolted to the side of the transmission. I didn't need to remove the clip to get this off.
|
 |
 |
 |
 |
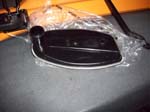
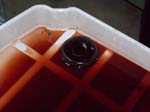
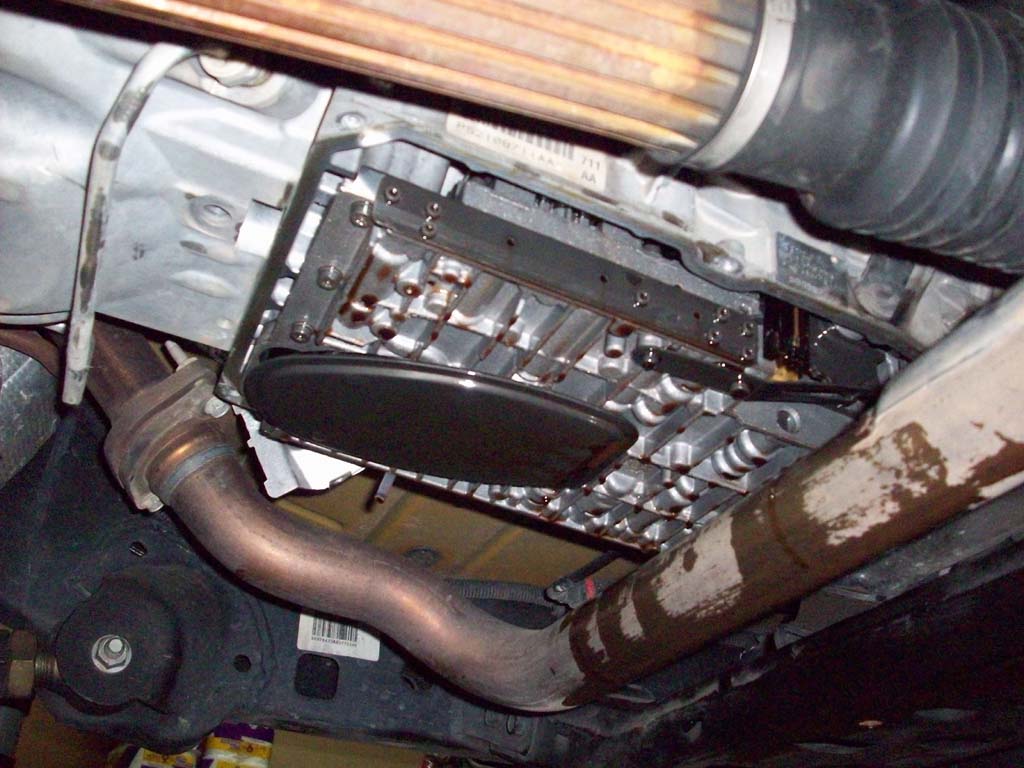
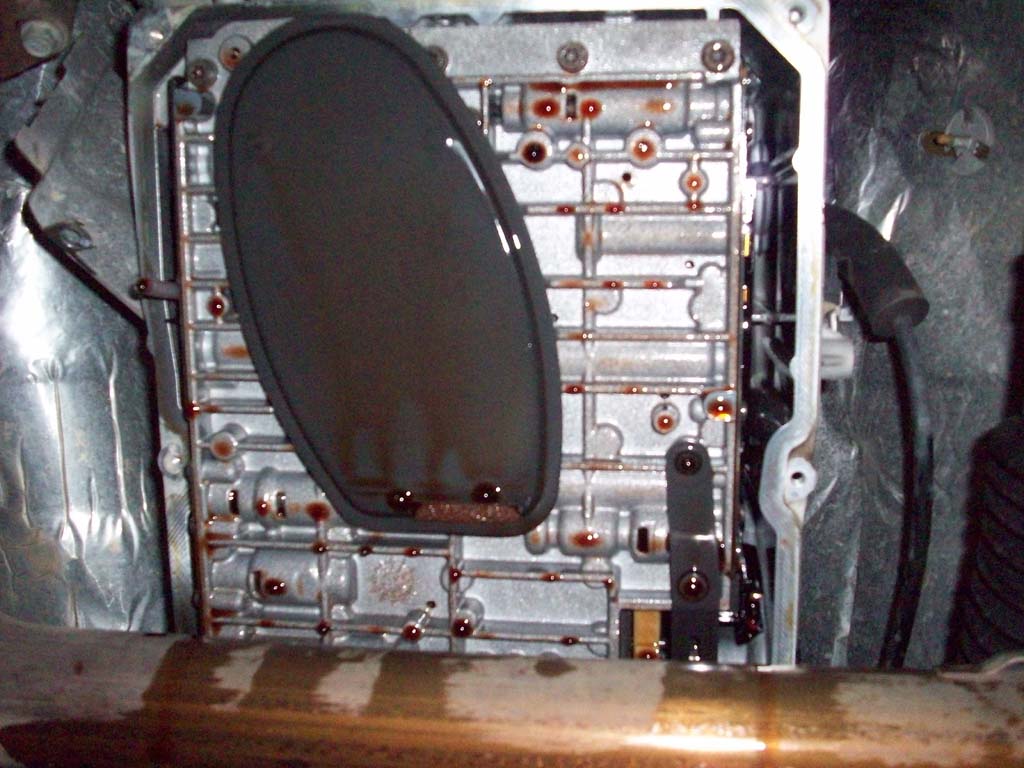
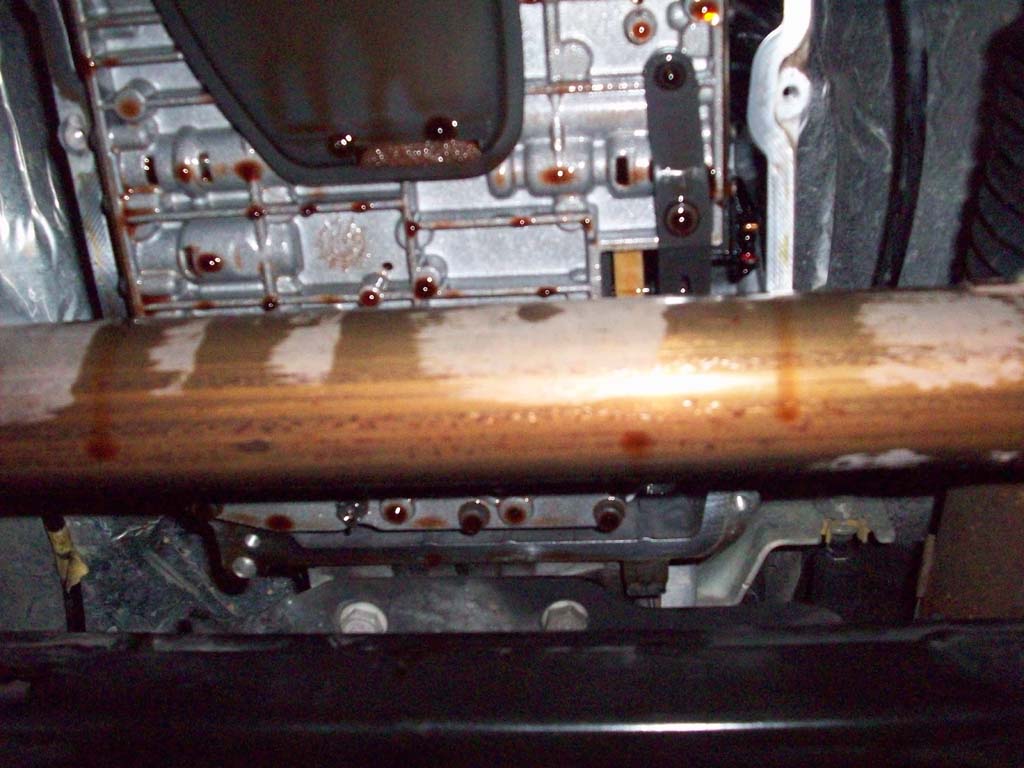
| 11. Hold up the transmission pan and remove the two middle bolts with a T-30 Torx bit. There is still some fluid in the pan and you do not want it to tilt. Slowly lower the pan, it will contact the exhaust crossover pipe. Keeping the pan level bring it forward. You may need to rotate it towards the drivers side. This should give you enought clearance to get it out. It may hit the transmission filter right as you clear the exhaust crossover pipe with the back of the pan. Dump the bulk of the remaining fluid into your drip pan. Place the drip pan under the exposed filter and let it drain a little longer. |
 |
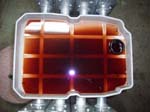
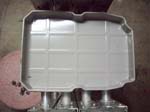
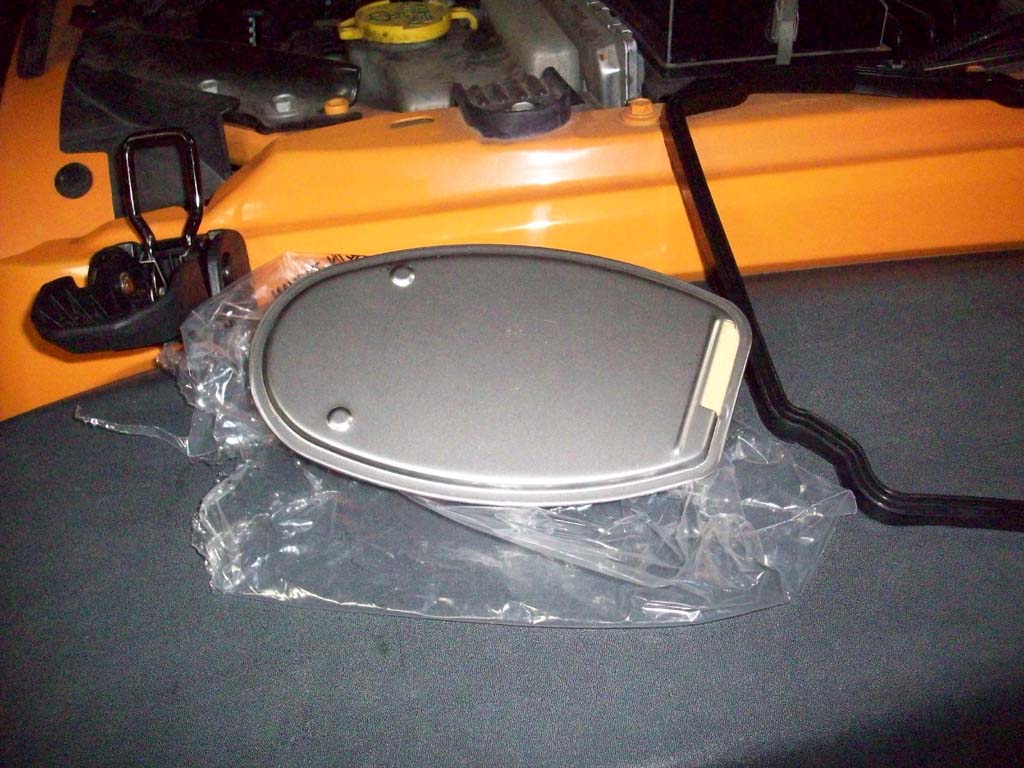
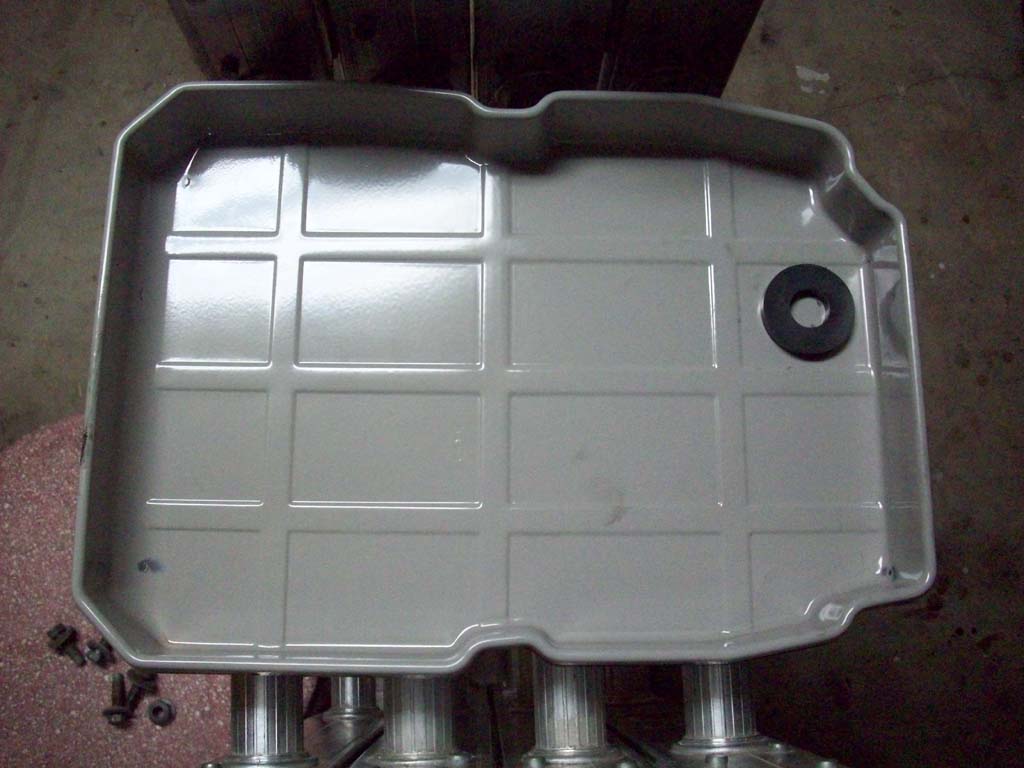
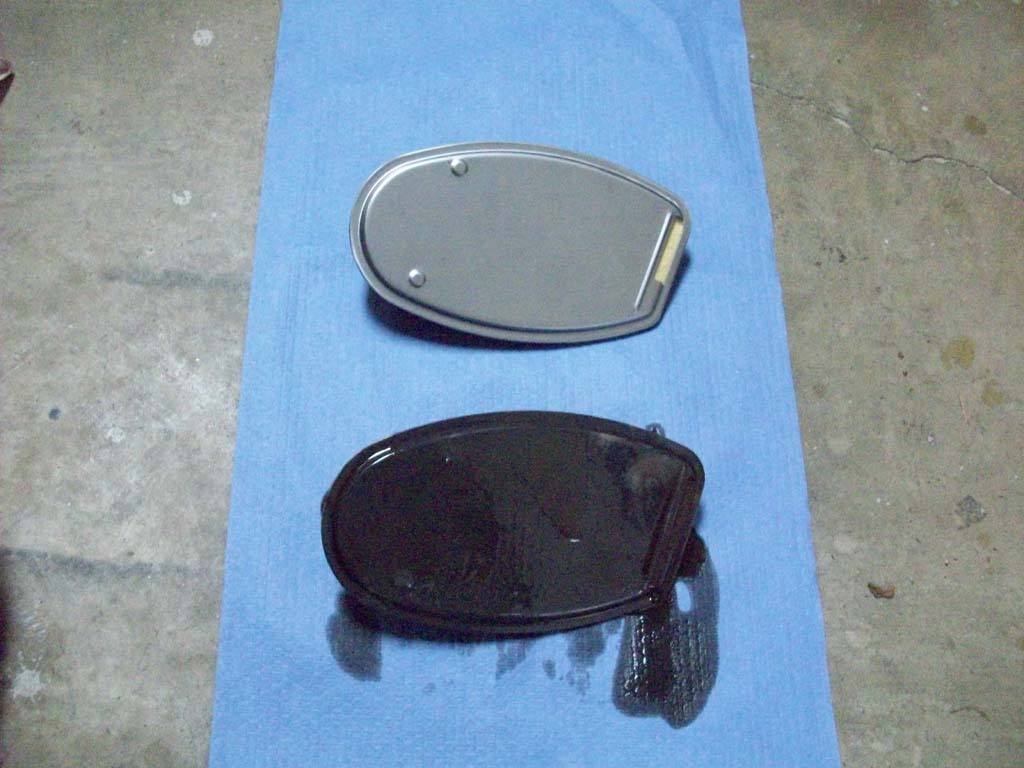
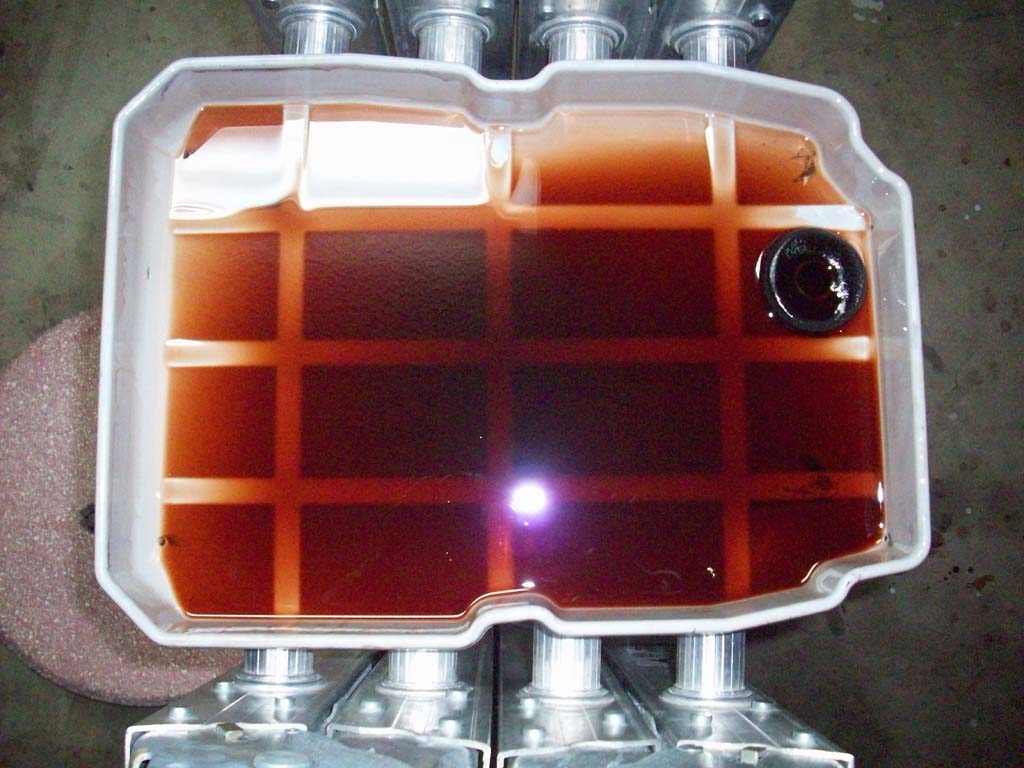
| 12. Clean the transmission pan and magnet. The magnet will probably have a fine film of metallic filings on it. This is normal wear, just be concerned if you find any chunks of metal on it. I wasn't able to change mine until 70,000 miles, but the fluid wasn't to bad, no burnt smell, and still semi-transparent. |
 |
 |
 |
 |
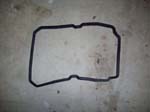
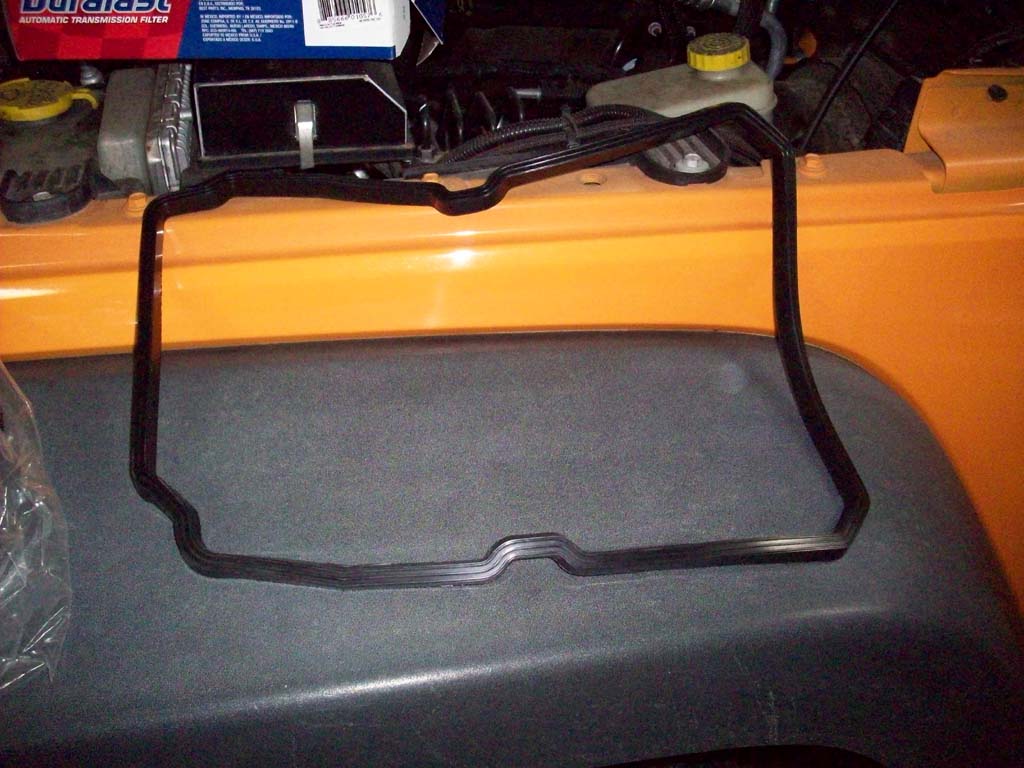
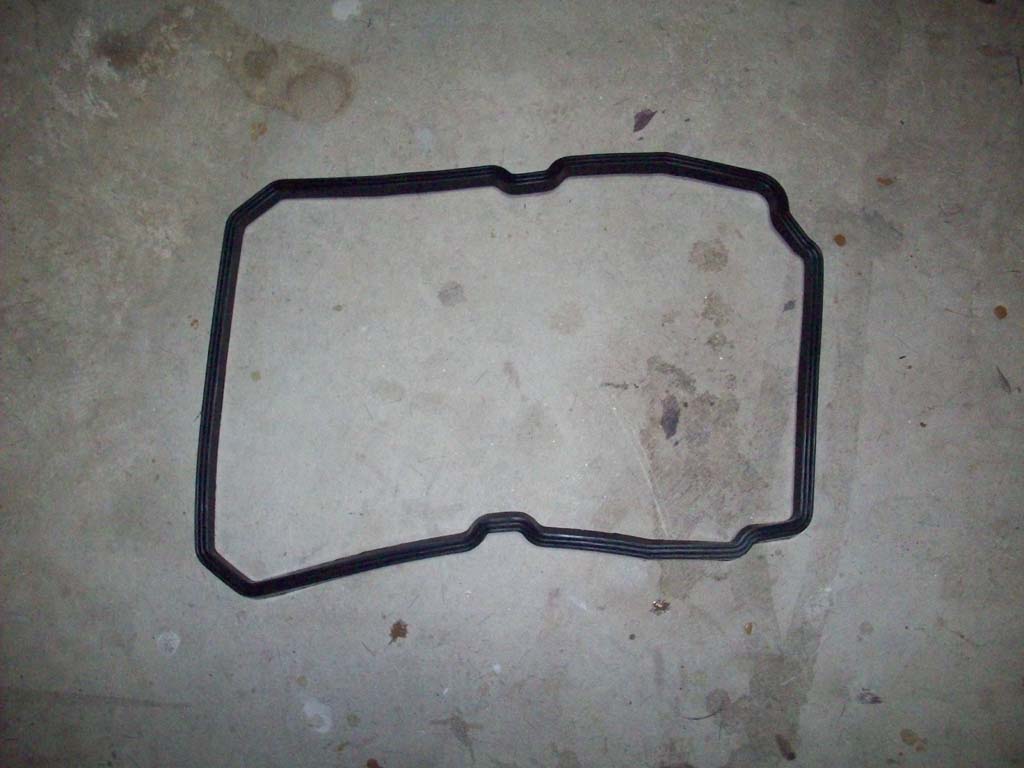
| 13. Replace the wash in it's original location. For mine it was the rear passenger side of the pan. Install the new gasket on the pan. The U-shaped rubber gasket just sits over the lip of the pan. |
 |
 |
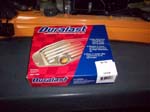
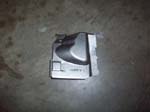
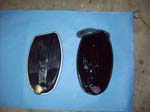
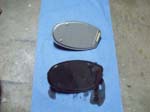
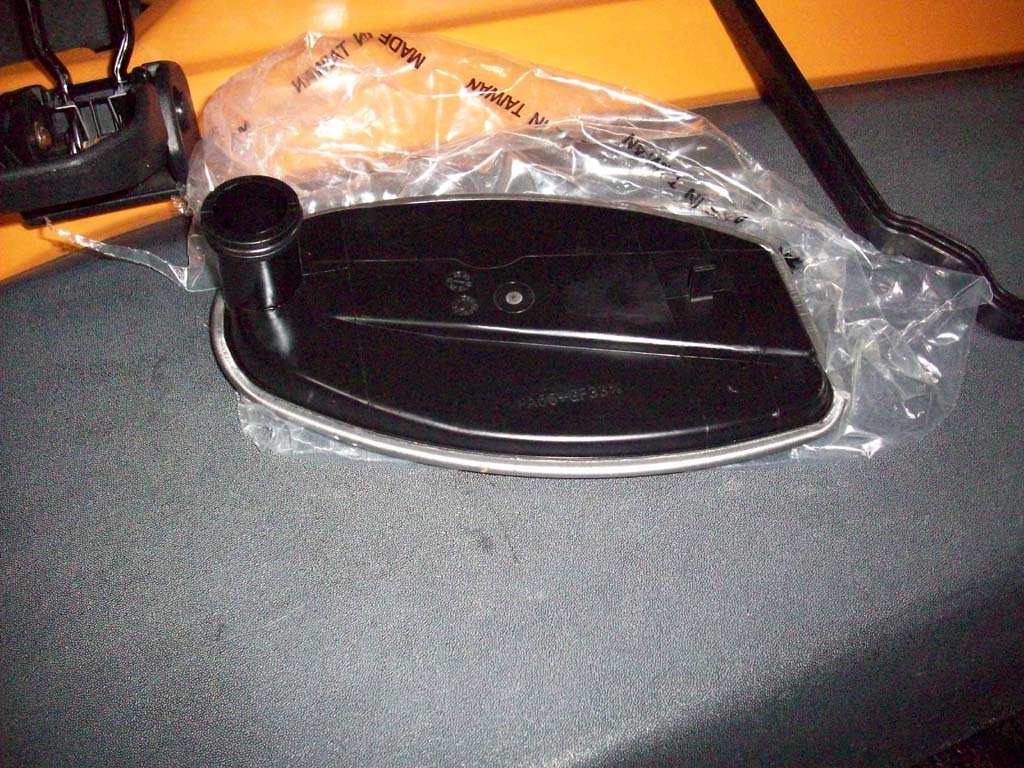
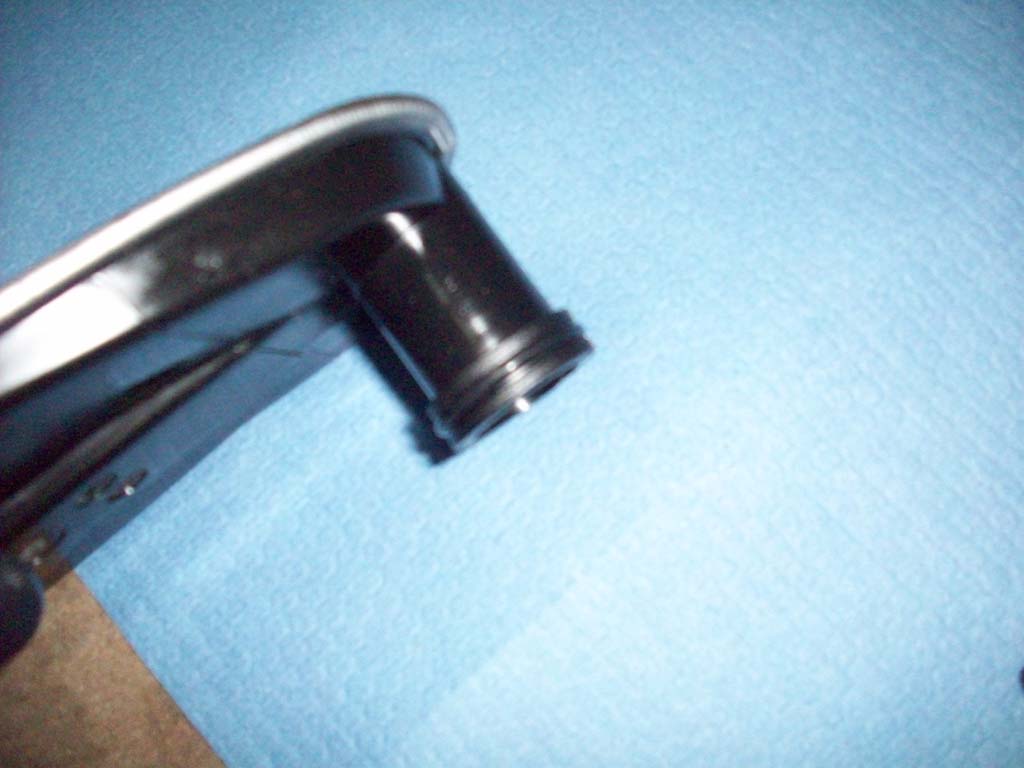
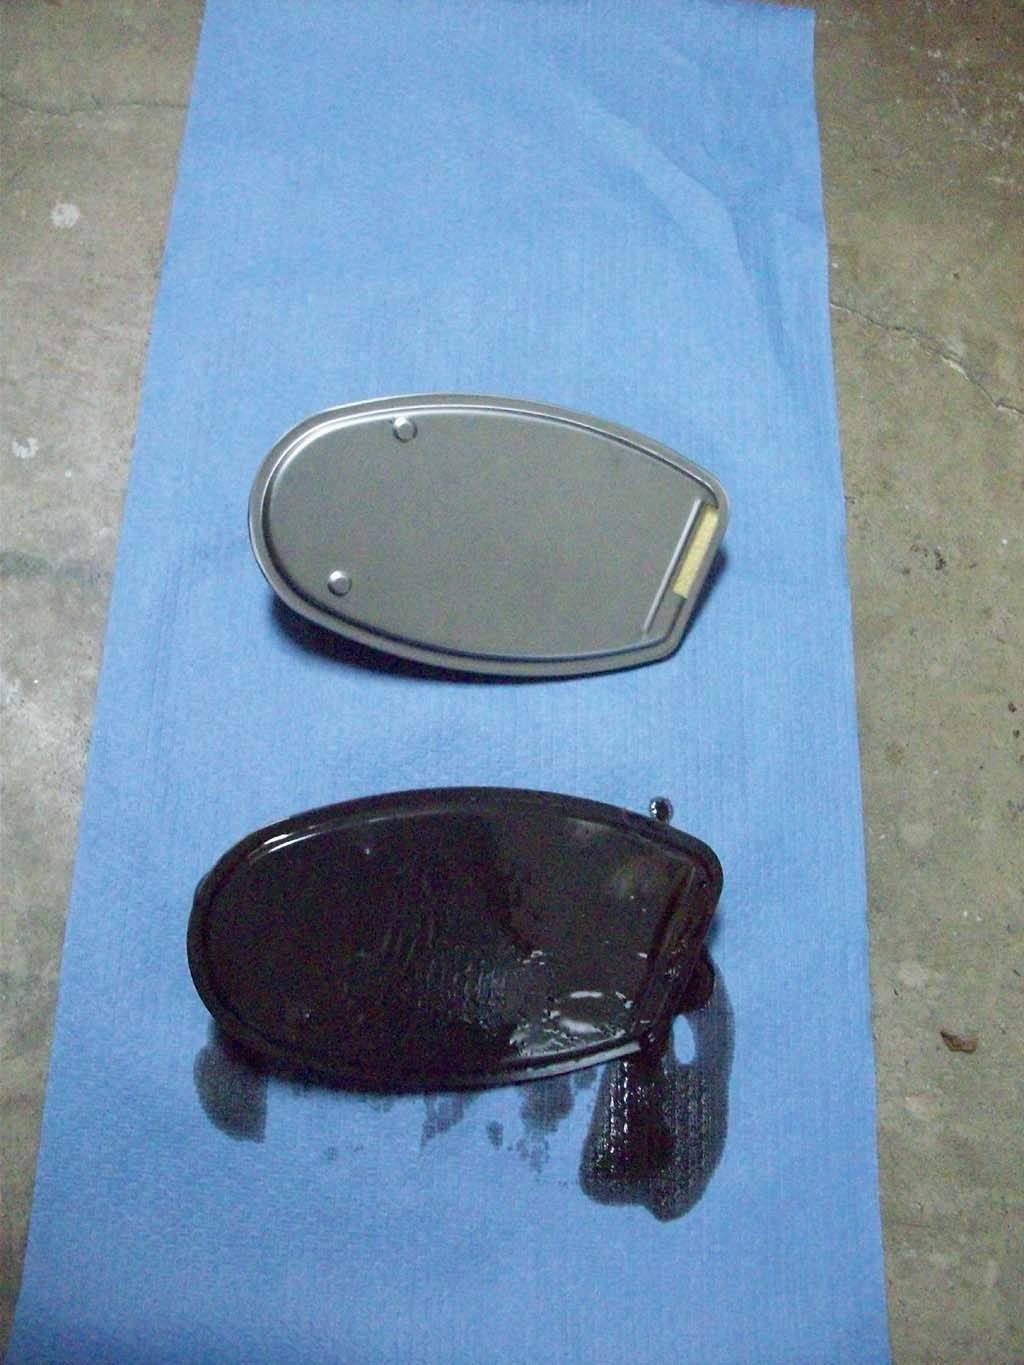
| 14. Remove the filter from the transmission. Pull straight down on the front part of the filter. This is where the neck of the filter is located. |
 |
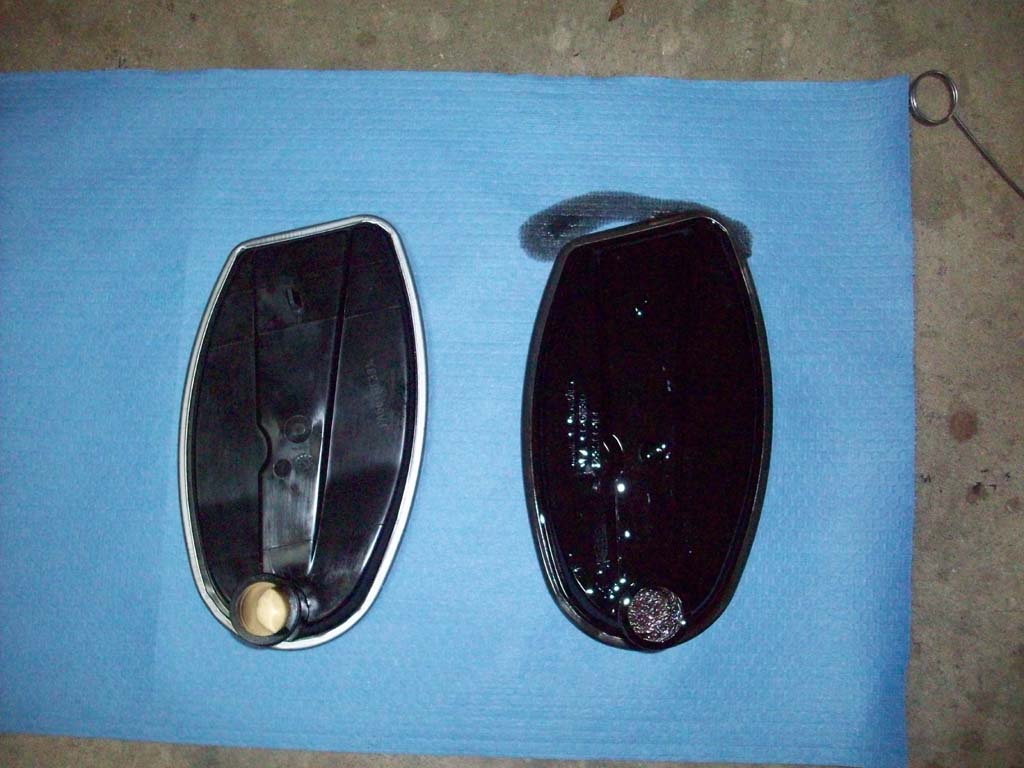
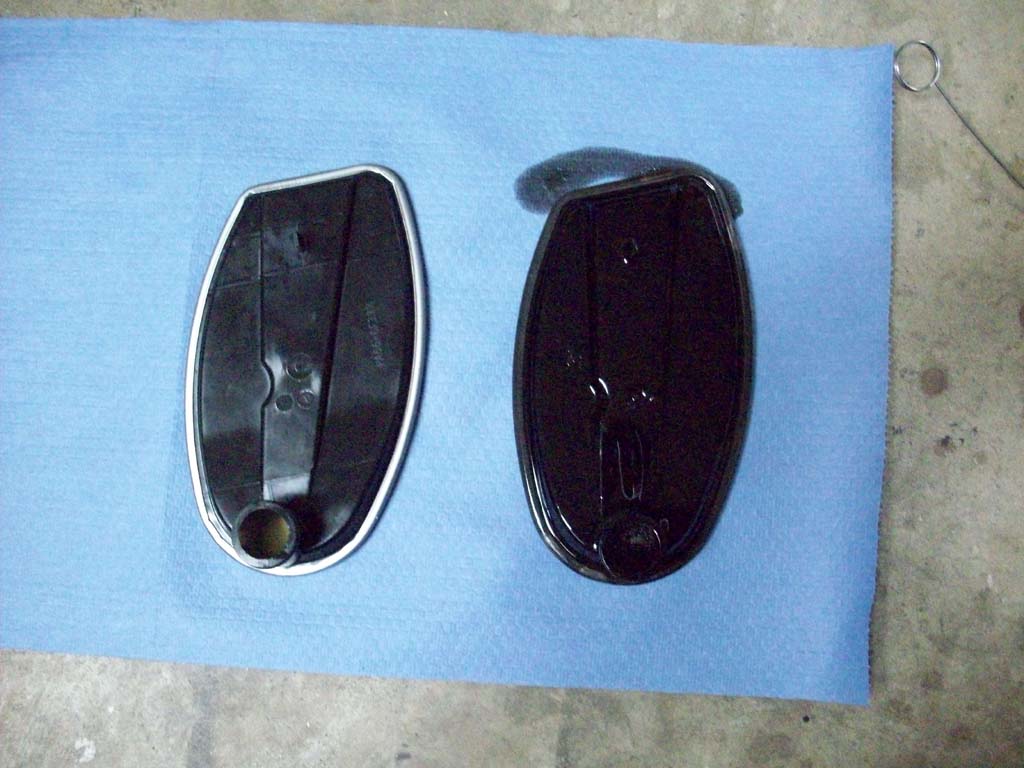
| Quick comparison between the two. The only thing I noticed is the part number stamped on the OEM filter. |
 |
 |
| 15. Place a small amount of transmission fluid on the o-ring located on the neck of the new filter. Place the neck up into the hole on the transmission. Align the filter. There is a tab on the filter towards the back that fits into a slot in the transmission. The back should almost be straight across. |
 |
|
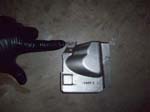
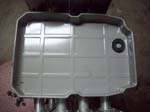
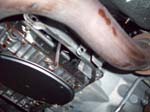
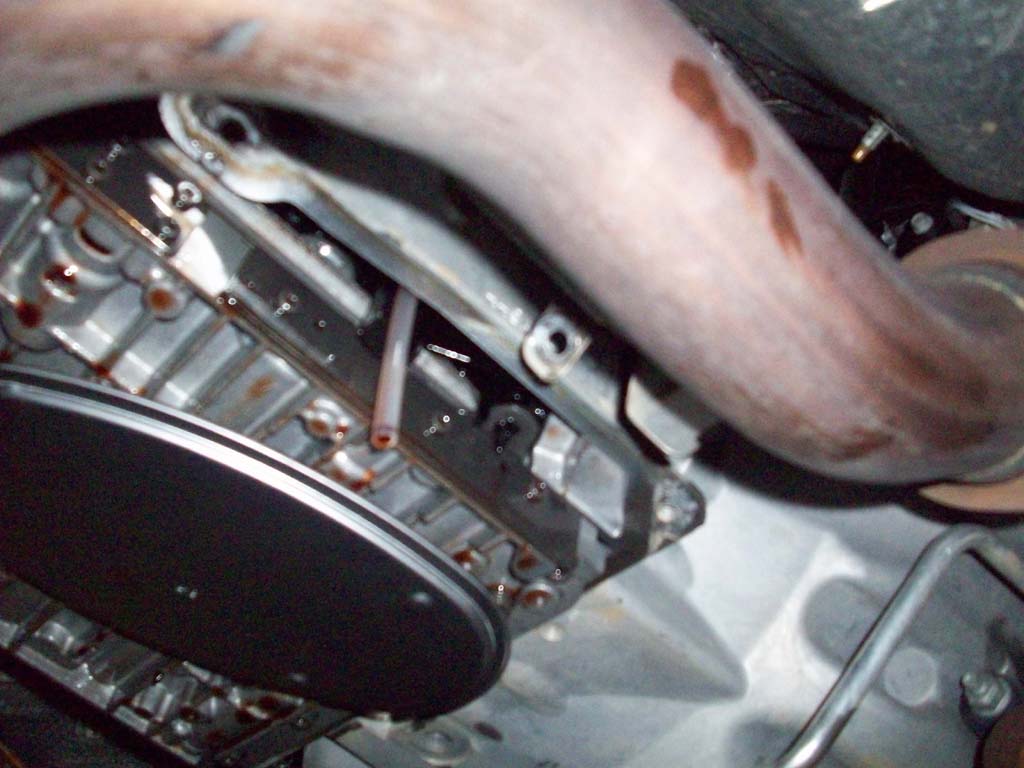
| Just in case your wondering where the dip stick goes into the pan, I took a picture of the extractor tube sticking out of the transmission. It's on the passenger side front. |
 |
| 16. Place the six transmission pan bolts within easy reach. Slide the transmission pan and gasket back into position. The gasket will most likely come off at some point while you are doing this, but it's fairly easy to get it back on just by feel. |
 |
| 17. Hold the transmission pan up and loosely install the two middle bolts. Make sure the bushing catches the lip of the transmission pan. Do not tighten these, you may need to slide the pan slightly. I recommend installing the drivers side front bolt next then the two back bolts. Leave the passenger side front with the shield for last. |
 |
| 18. Toque all bolts to 105 In.Lbs. Be very careful, the housing is aluminum and you don't want to strip the threads out. I wasn't able to get a torque wrench into the back bolts, so I torqued the front and got a fell as to how tight they were and then tightened the back two. |
| 19. Fill the transmission with about 3 1/2 quarts of transmission fluid ATF+4. I measured all the fluid that I removed from the transmission to give me an idea as to how much I need to put back in. |
 |

|
| 20. Check for leaks and reinstall the skid plates with an 18mm socket and ratchet. |


