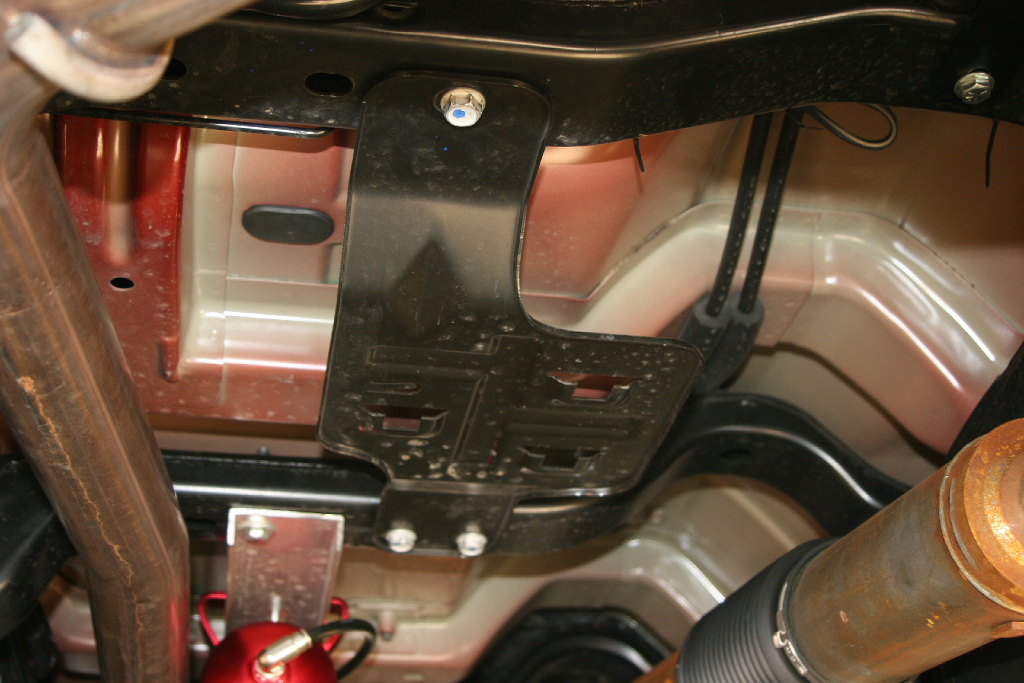
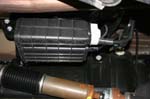
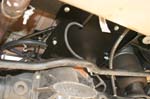
Why Jeep decided to install the evaprative canister between the frame rails right where a rock would be destined to remove it and then make it out or plastic without a skid plate is beyond me. I know space is tight on a vehicle, and from a manufacturing point of view it's pretty easy to install right there, but come on a few of us do actually take these things off road. Kilby came up with a kit to relocate this to above there rear axle. This is a fairly straight forward install until you get down to cutting lines and rerouteing them. Yes you can install them backwards and not get an error code thrown until you do some sharp angles and get a little fuel back to the canister, then you will get a gas cap error message. I can thank a friend for verifying this. Oh and just because your buddy has his done the same way don't make it right.
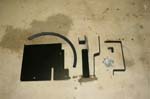
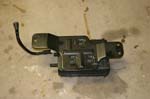
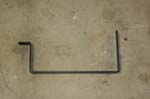
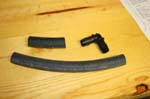
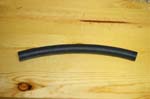
| The evap relocation kit. |
 |
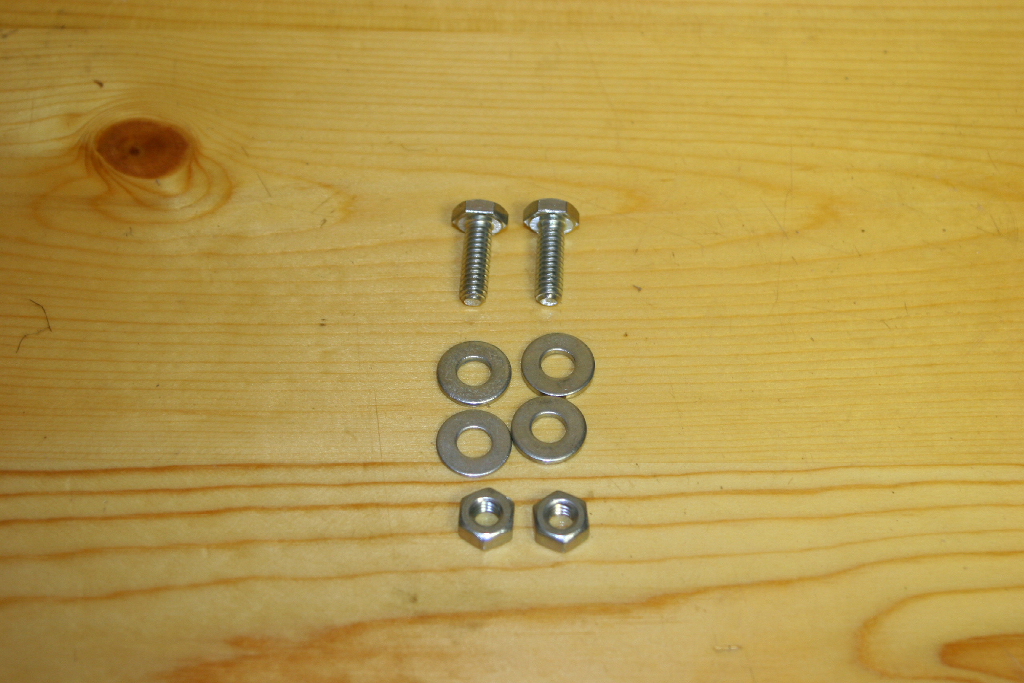
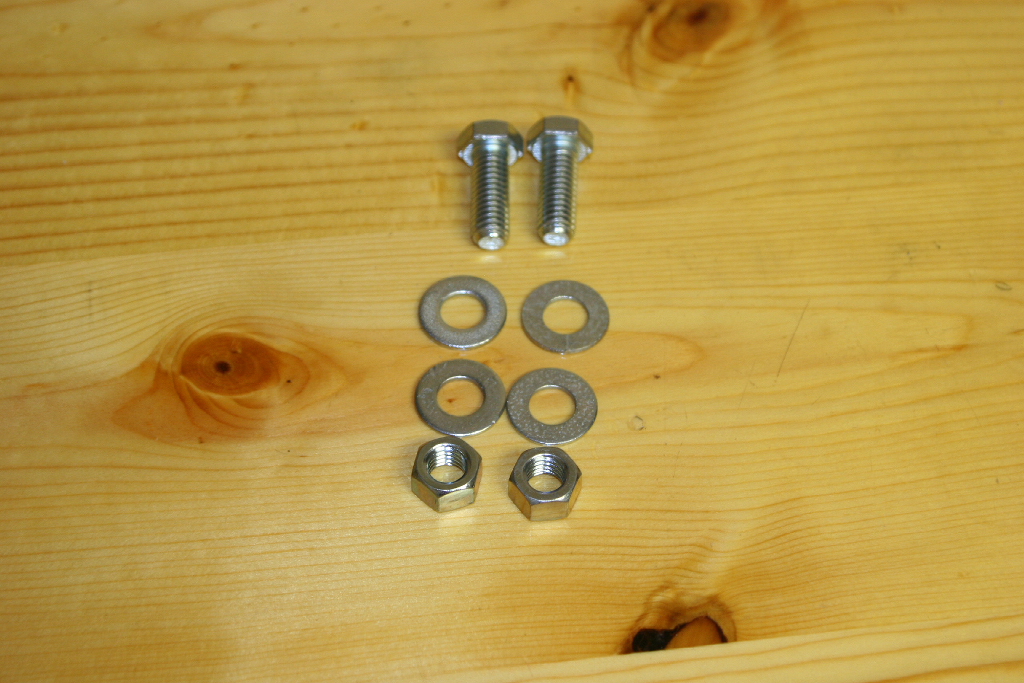
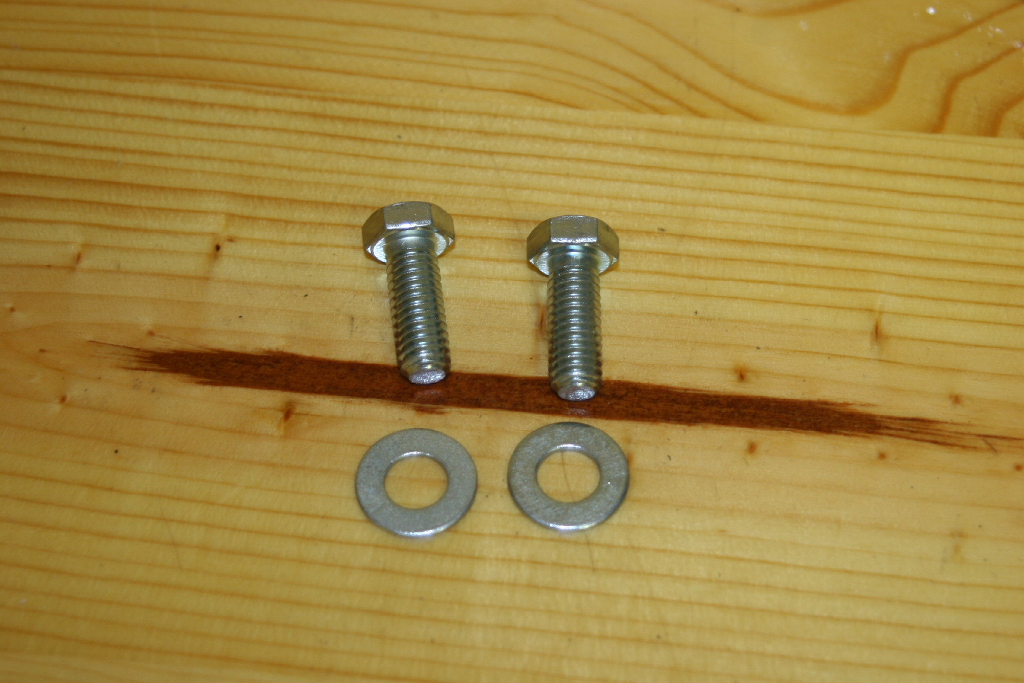
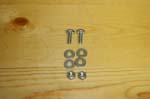
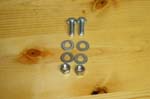
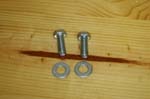
| Take the E-brake cable bracket, and the 1/4" nuts, bolts and washers with you when you crawl under the Jeep. |
|
 |
 |
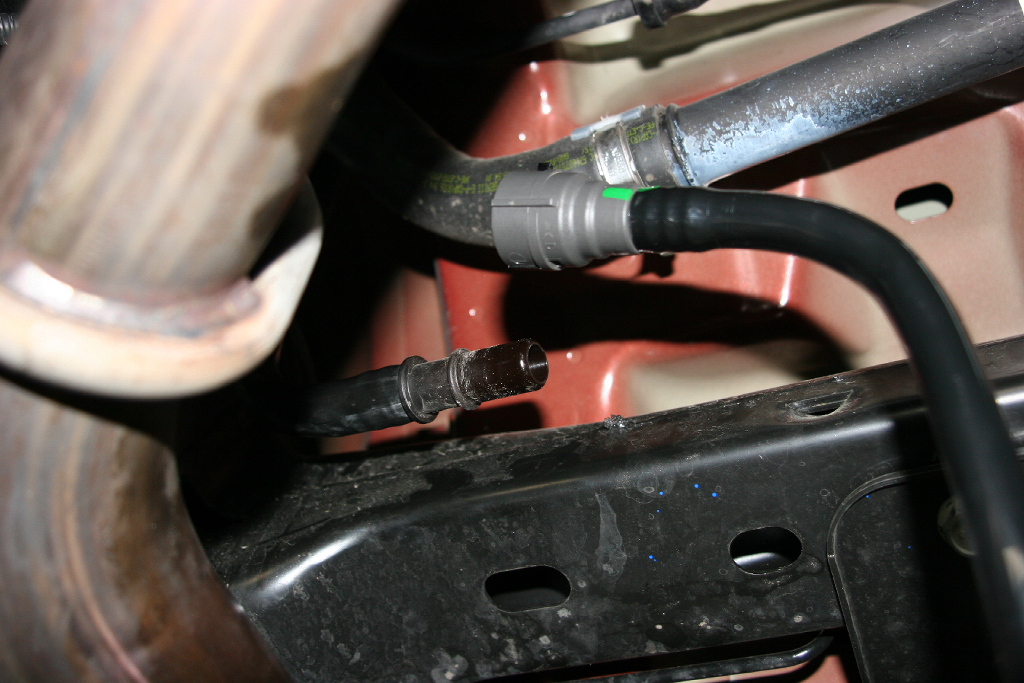
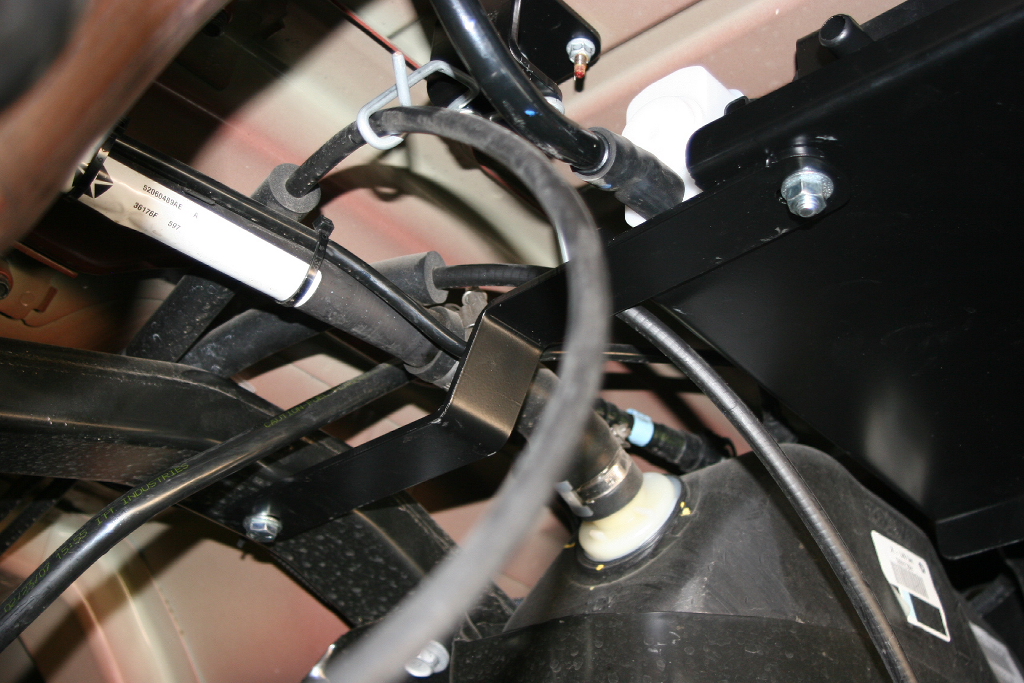
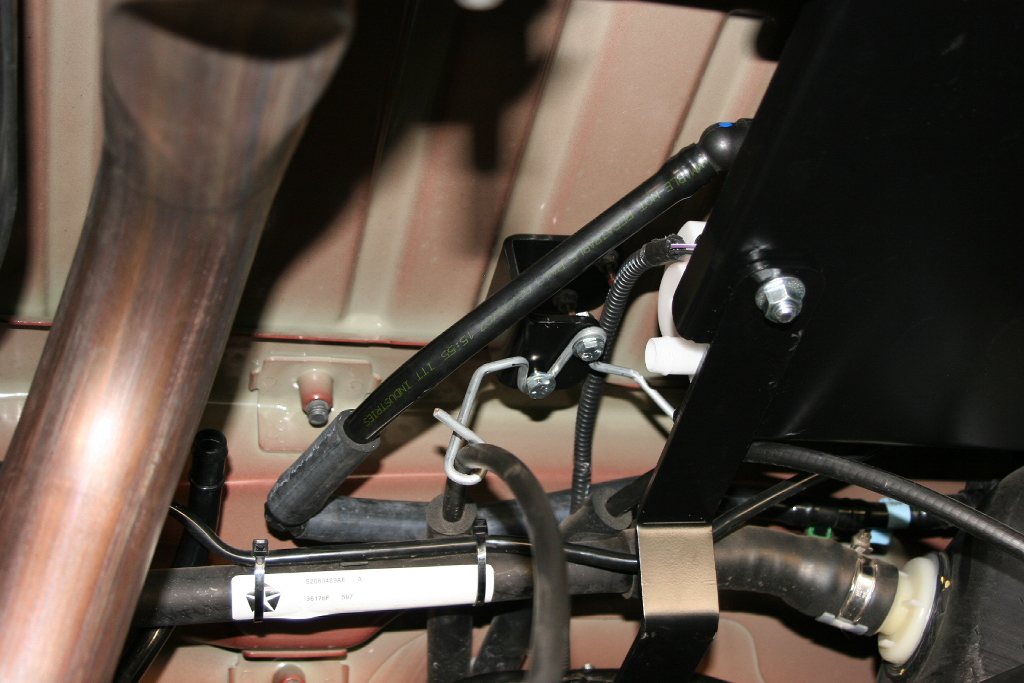
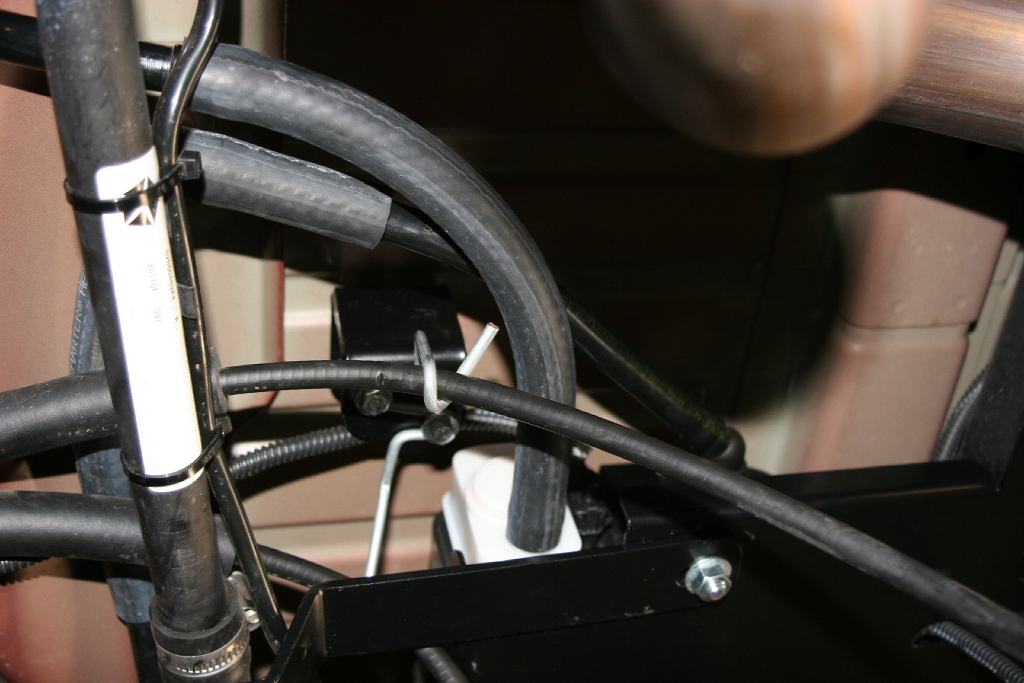
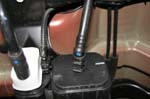
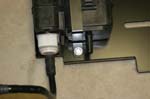
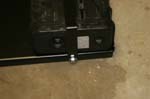
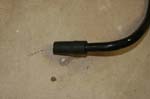
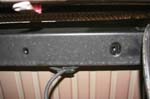
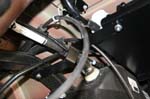
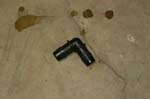
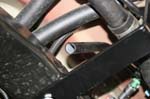
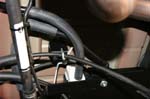
1. Remove the hoses and electrical connector from the EVAP canister. The electrical connector has a tab, and the line to the black section just pulls off. (You might need to squeeze it on the side slightly right near the tip) |
 |
 |
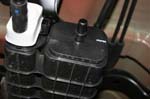 |
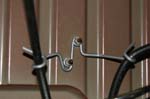
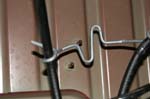
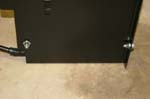
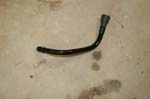
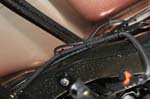
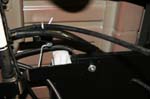
| 2. Remove the tank fill vent line. This has a small tab that needs to be rotate to undo the latch. You can see this in the second picture. |
 |
 |
 |
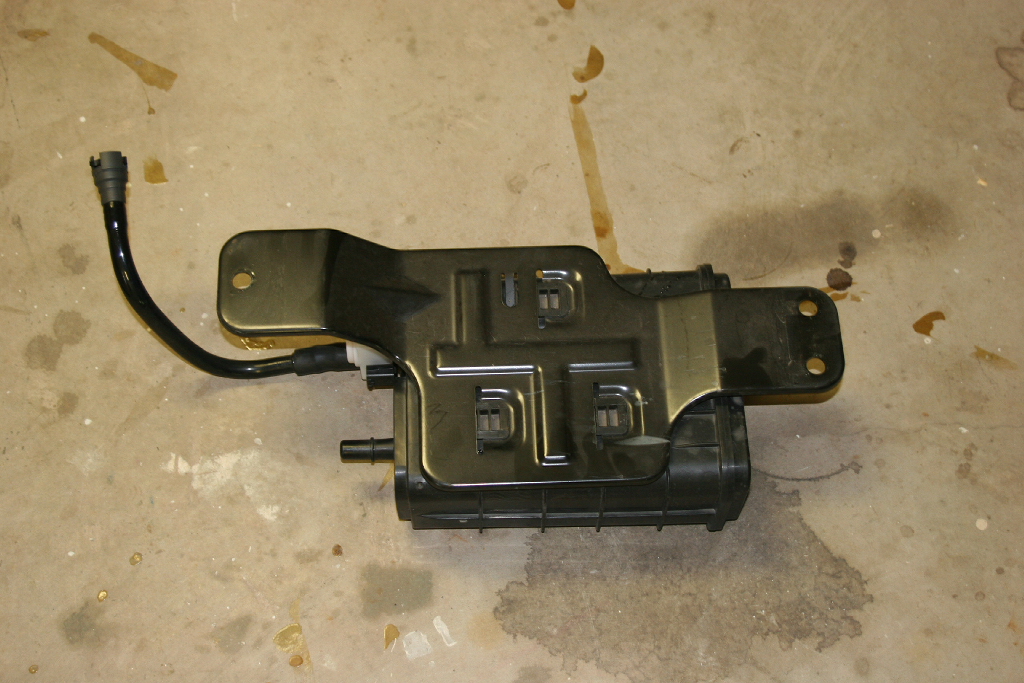
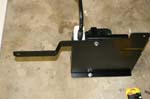
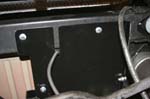
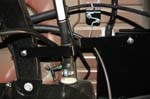
3. Remove the EVAP canister by removing the 3 mounting bolts. Use a 16mm socket. This has a little bit of weight to it, so support it as you are removing the last bolt.
|
 |
 |
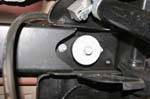
| 4. Remove the e-brake cable bracket and save the hardware. Use a 7/16" socket and extension to reach up to it. A deep well socket might be requried. |
 |
 |
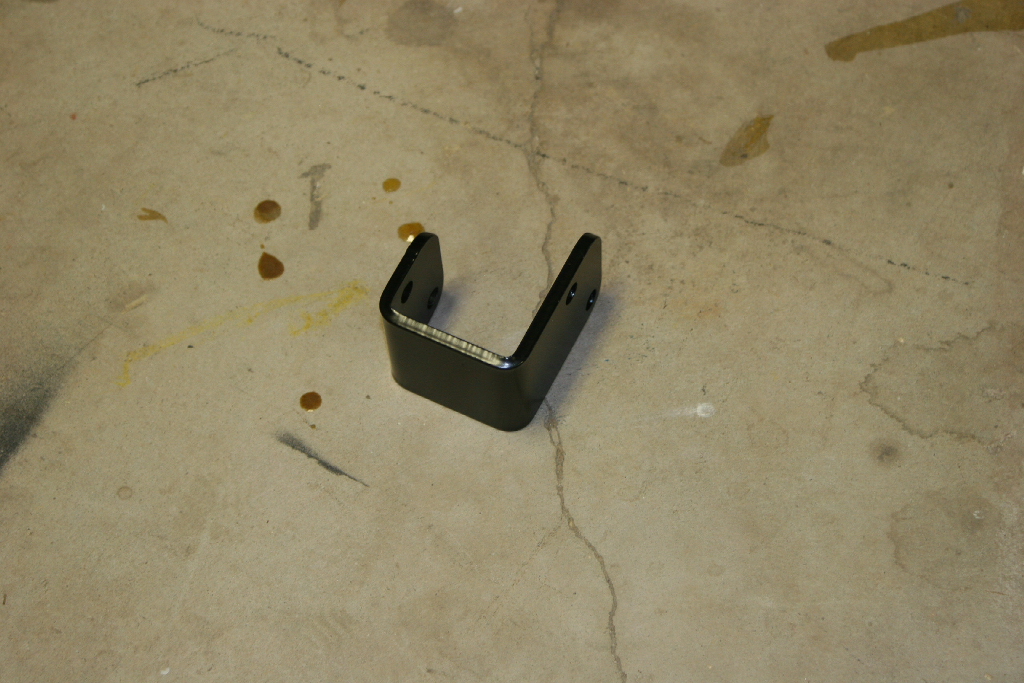
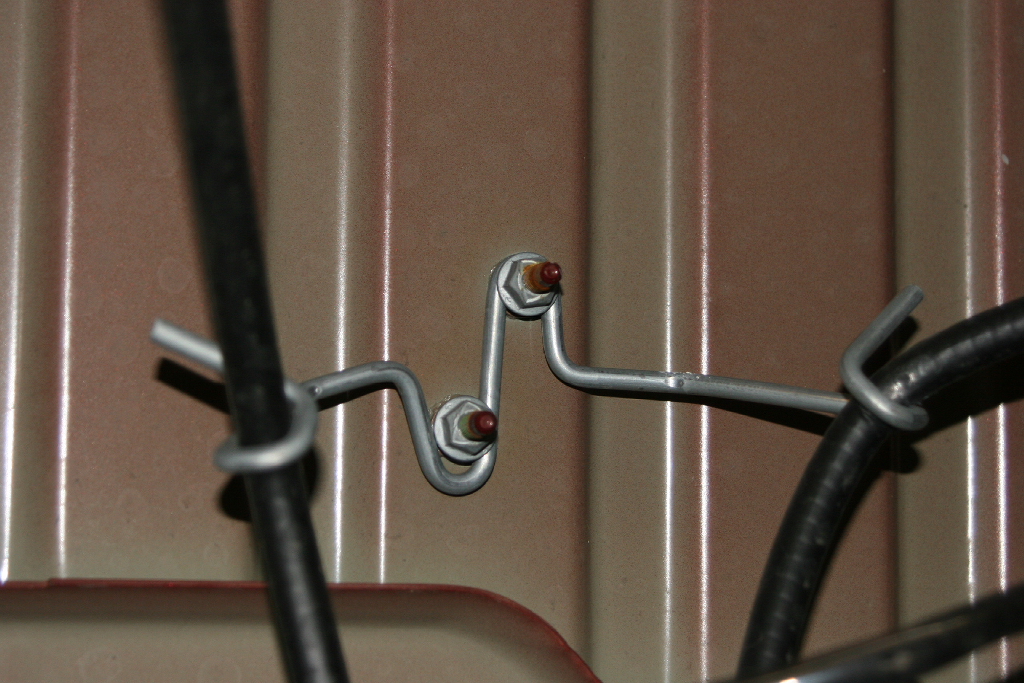
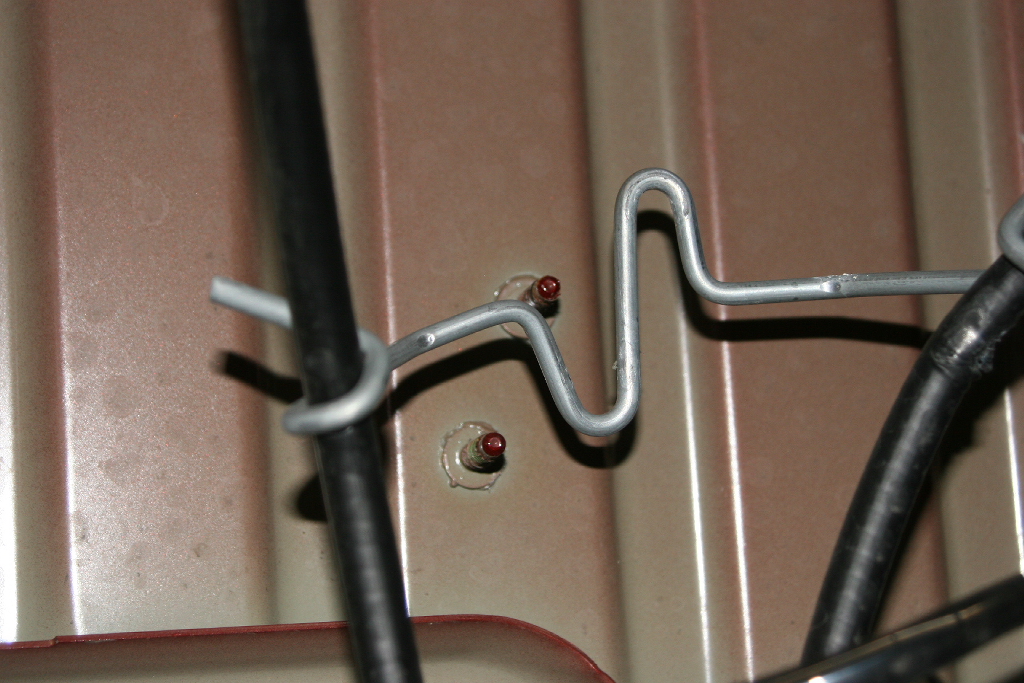
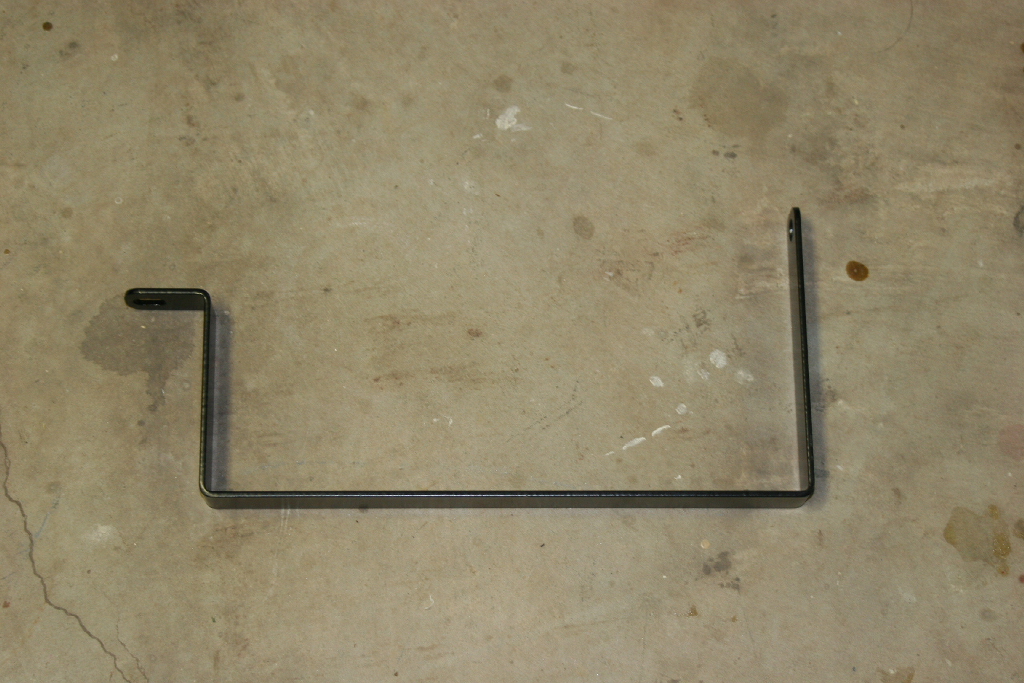
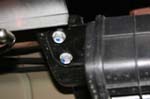
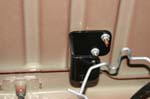
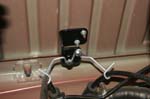
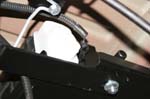
| 5. Install the e-brake cable drop-down bracket onto the factory studs. Position the bracket so the long end is on top and the open end of the “C” bracket is facing the passenger side. Use the factory hardware and secure tightly. Reinstall the factory brake cable bracket to the new bracket with the 1/4" nuts, washers and bolts. |
 |
 |
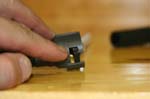
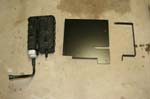
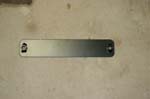
| 6. Remove metal mounting bracket from EVAP canister. There is a metal retaining tang that needs to be bent back up with a screwdriver. |
 |
 |
| I reinstalled the plate underneath, since it is heavier than the sheetmetal above it and would act as a decent skid just in case. |
 |
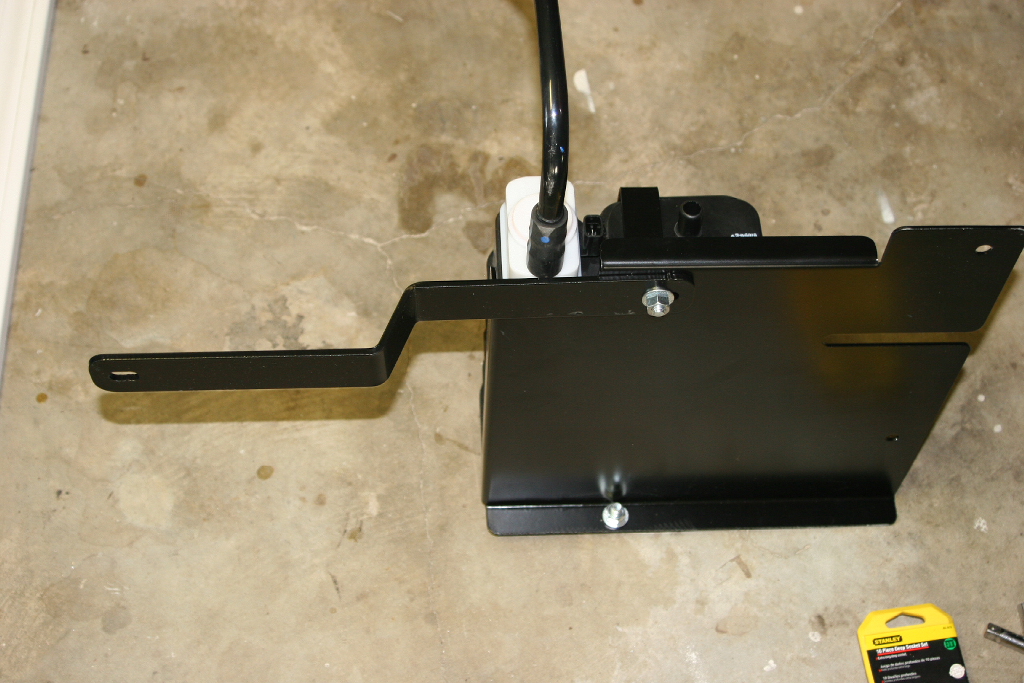
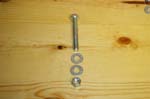
| 7. Install the EVAP canister onto the main bracket using the provided strap, one 3/8” x 1” bolt, nut and two flat washers per end. |
 |
 |
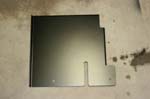 |
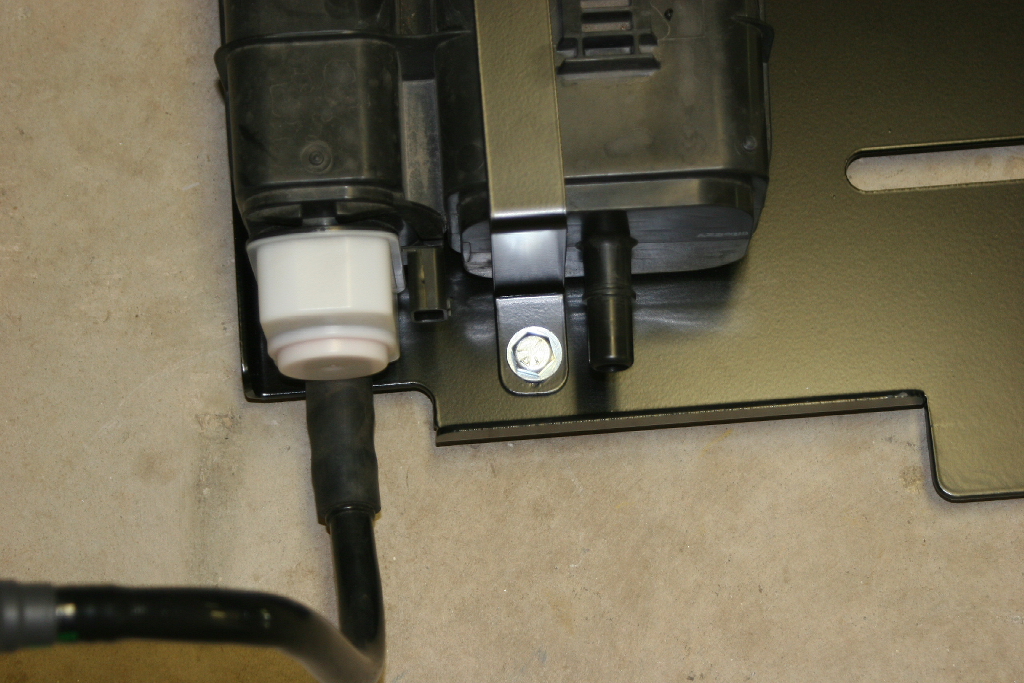
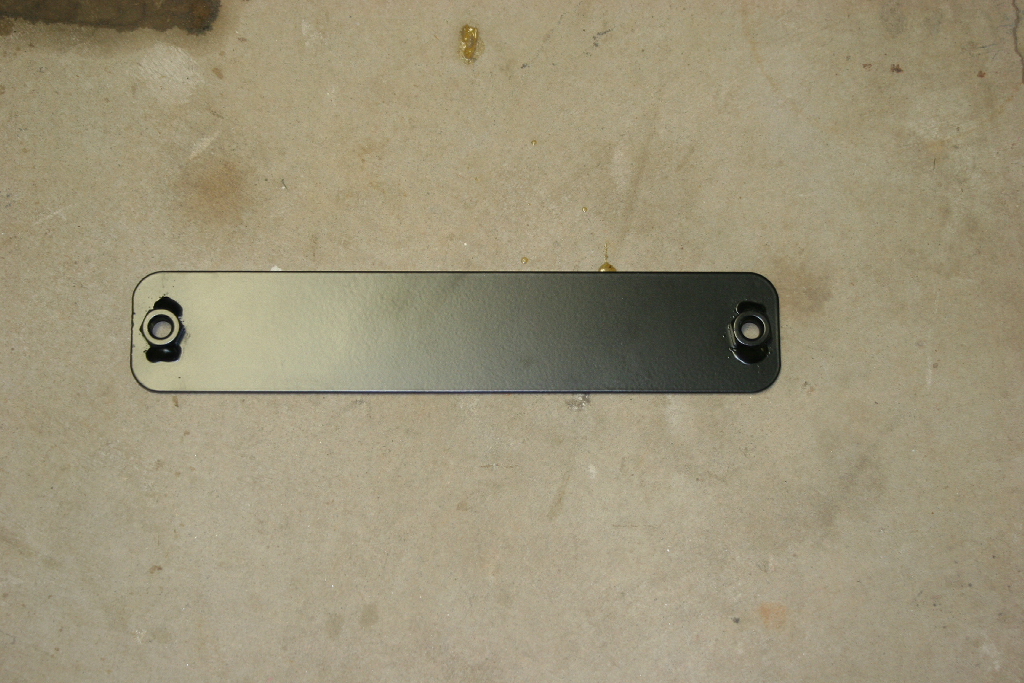
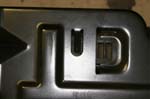
8. Orient the plate with the slot pointing to the right, and the cutout to the left. Place the Evap canister on top and the strap over it.
|
 |
| 9. Install the bolts and nuts through the EVAP Strap to the Main Plate. Finger tight only, you may need to readjust slightly. |
 |
 |
 |
| 10. I installed the Cross Member Support at this point since I didn't want to play with it underneath the vehicle. The strap points down as in the second picture. |
 |
 |
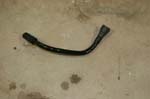
| 11. Remove the hose from the white part of the Evap canister. You might need to cut the rubber section, it is on pretty tight to the canister. The hose should pull right out. |
 |
 |
 |
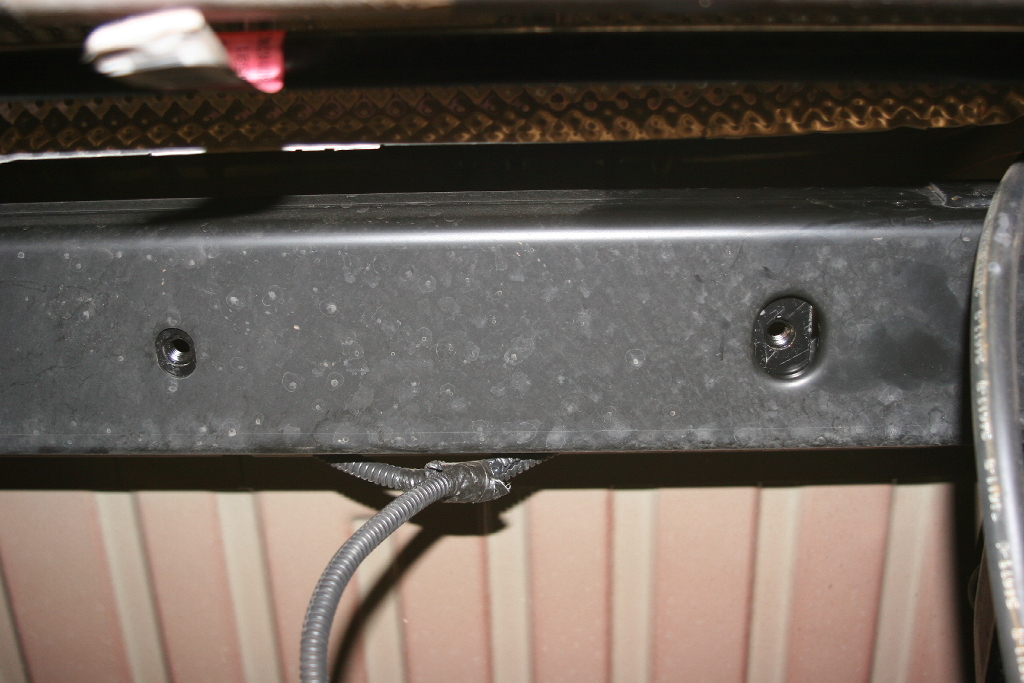
12. Slide the nut plate into the frame cross member from passenger side. There is a slot at the top of the channel that the plate might catch on. Reach up on top, you will feel it.
Note: Nuts go up. |
 |
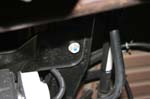
13. Remove the body mount bolt if necessary. I was able to massage the plate into the slot with a few taps of the hammer. I almost had it in.The main bracket will be bolted through the cross member & into this plate.
Note: If you already have the Kilby Enterprises JK Muffler Skid Plate, you already have this piece. |
 |
 |
| 14. Gather up the remaining nuts and bolts. |
 |
 |
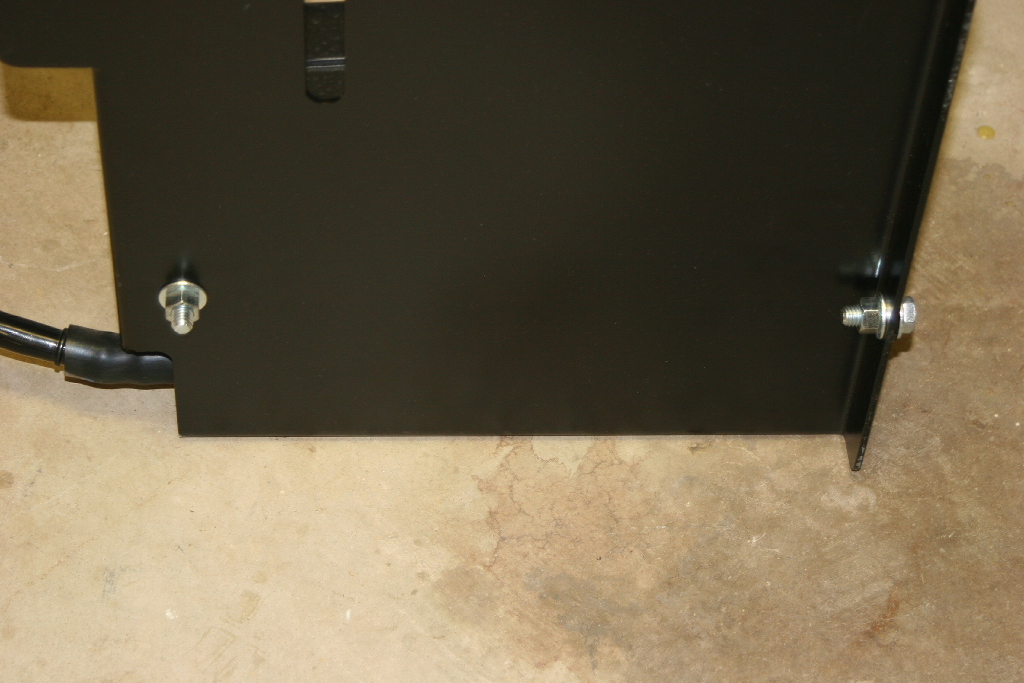
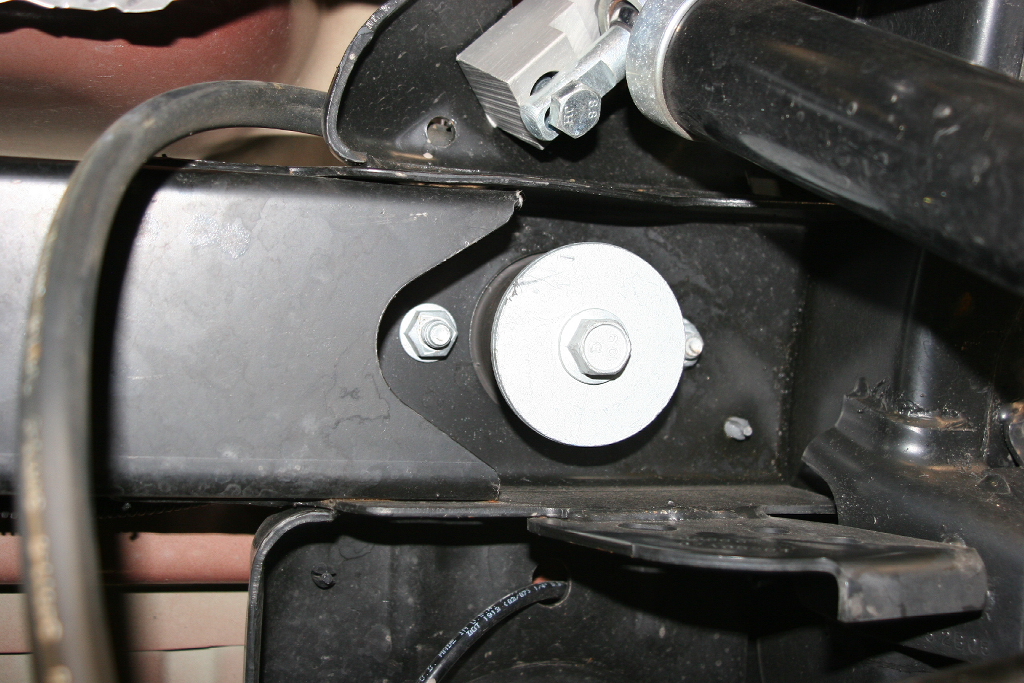
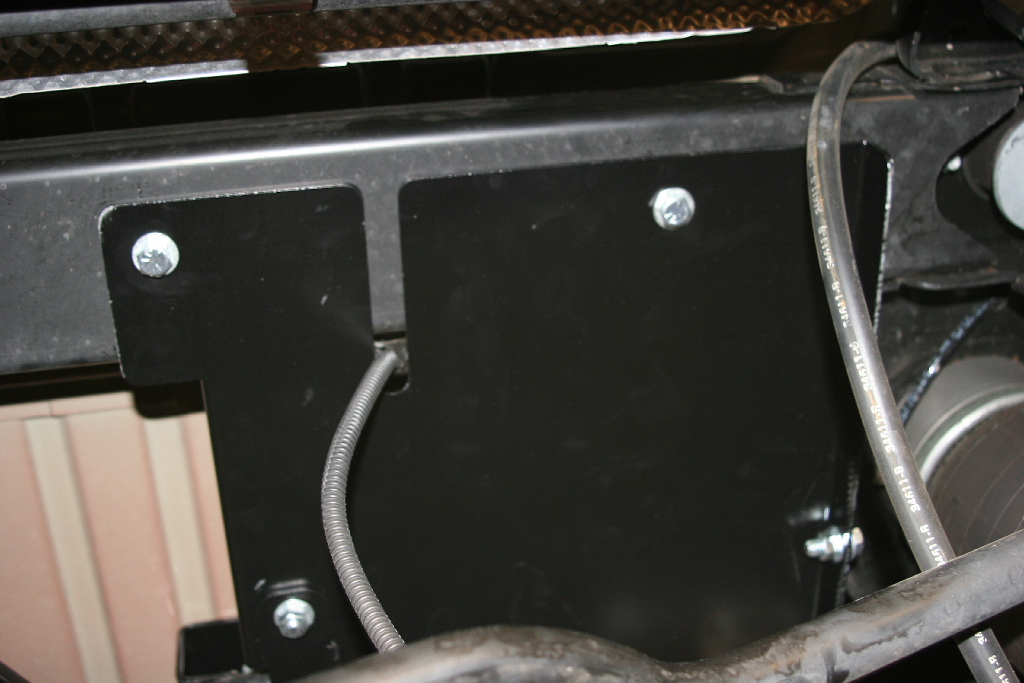
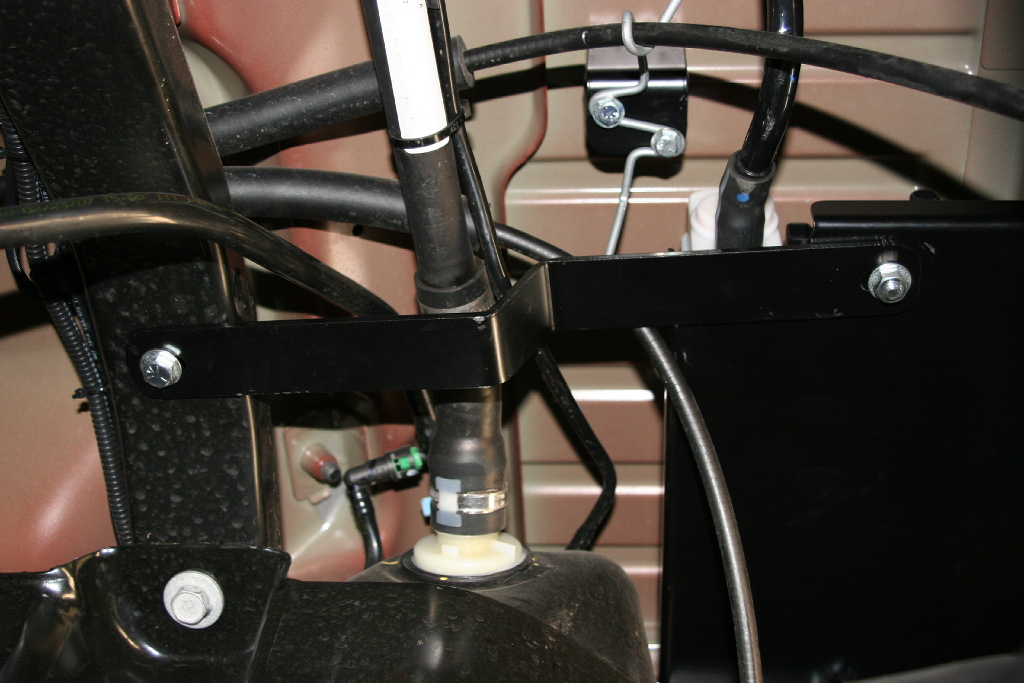
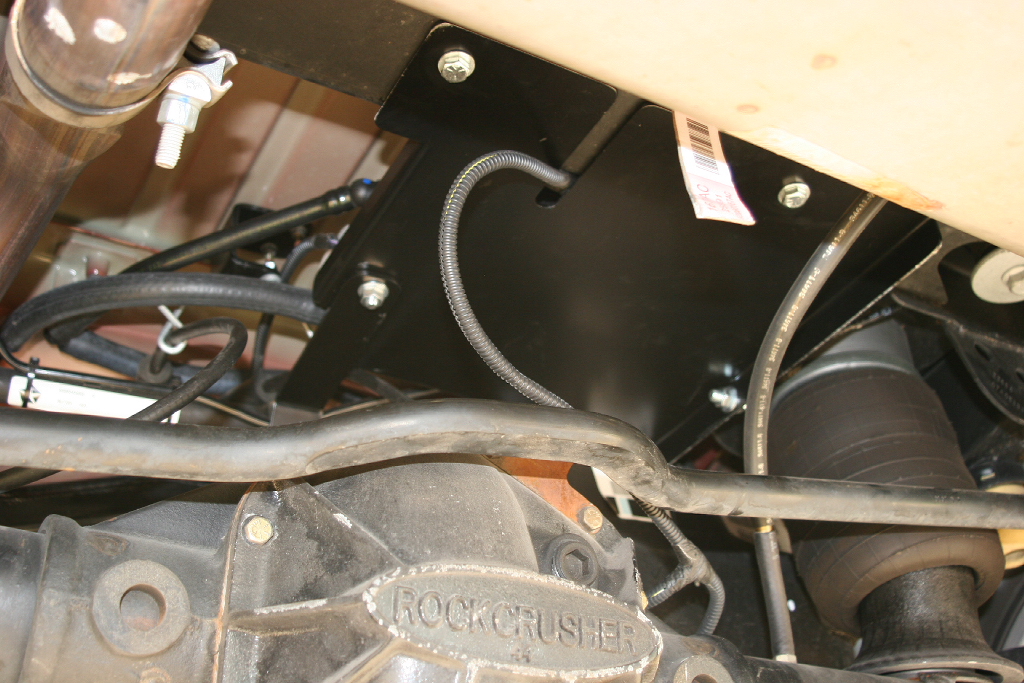
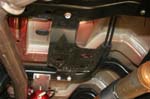
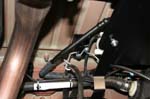
15. Install the main bracket with EVAP canister attached. Be sure to route the axle wiring (if equipped) through the slot in the main bracket. Use a 9/16" socket.
|
 |
 |
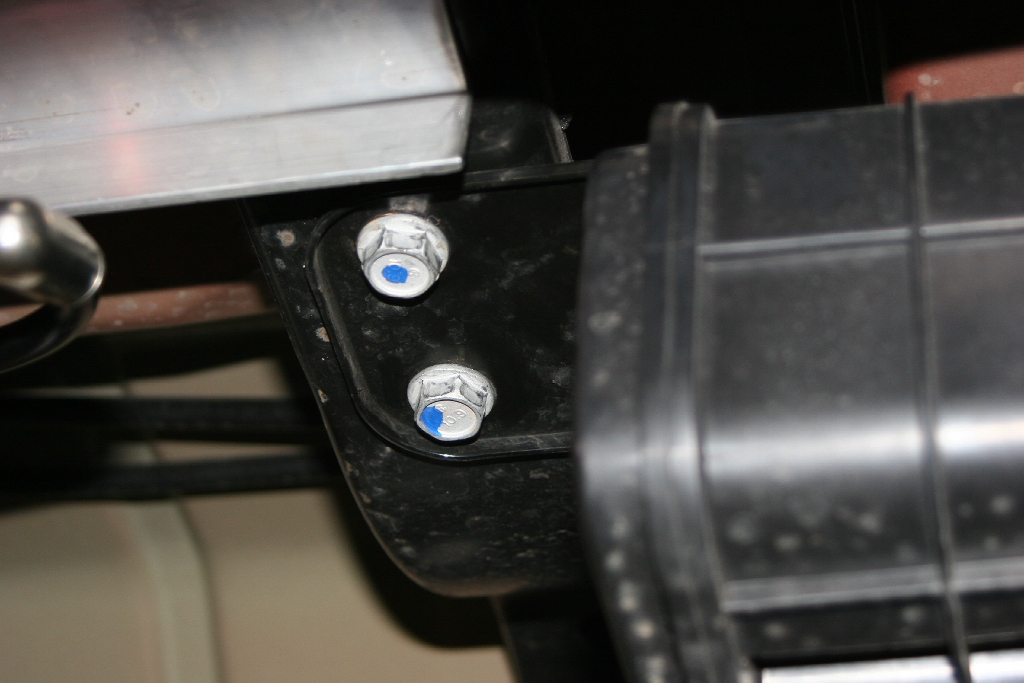
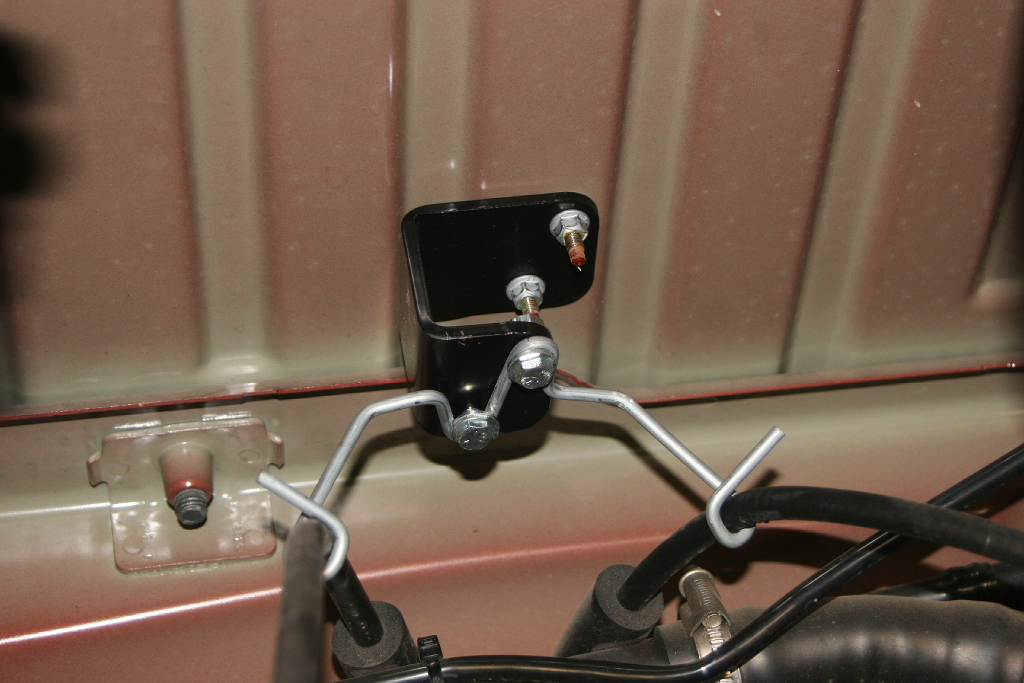
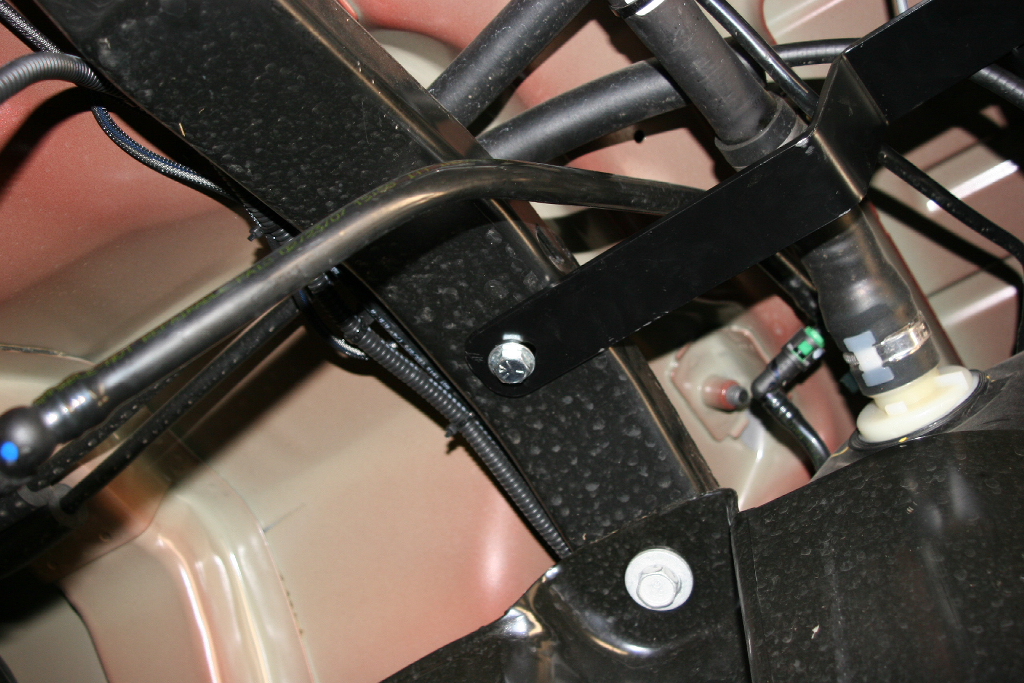
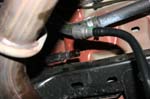
| 16. Attach the “Z” bracket from the bottom of the main plate (strap bolt) to the cross member in front of the fuel filler hose. Use the 3/8” x 2.75” bolt, nut and two flat washers. Tighten all hardware securely. Use a 9/16" socket and Combo wrench. |
 |
 |
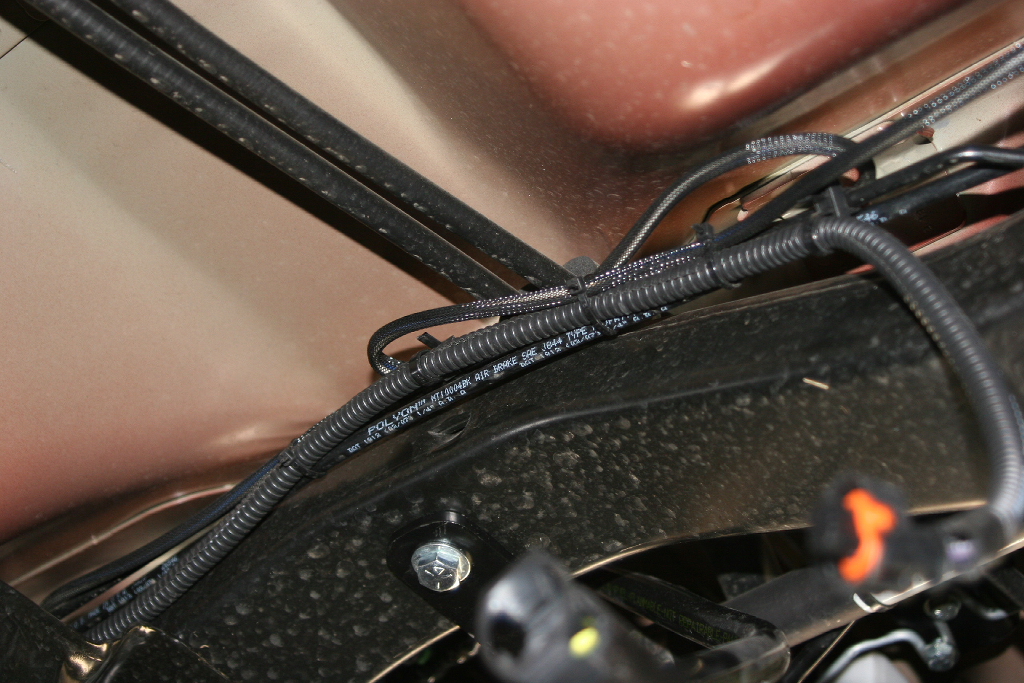
17. Cut the zip ties holding the electrical connection & re-route to the new location.
|
 |
 |
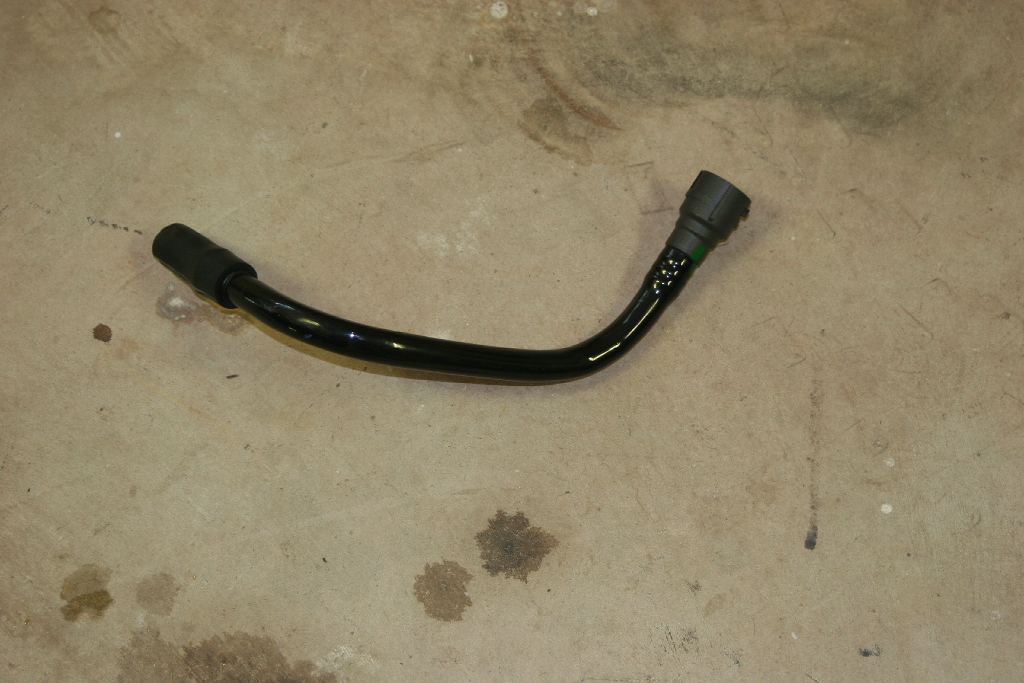
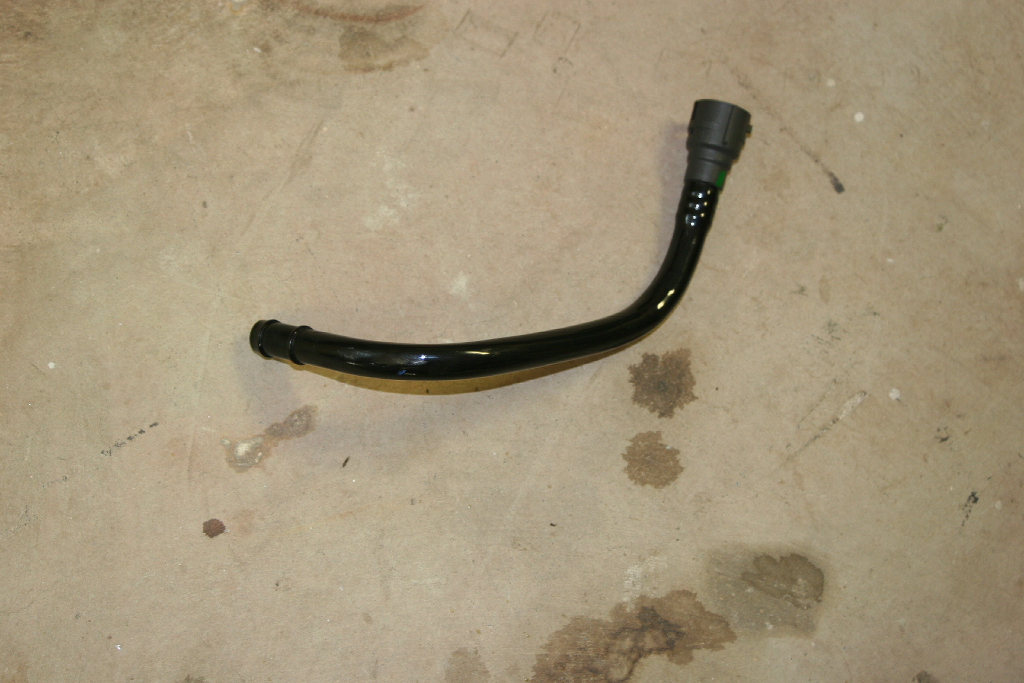
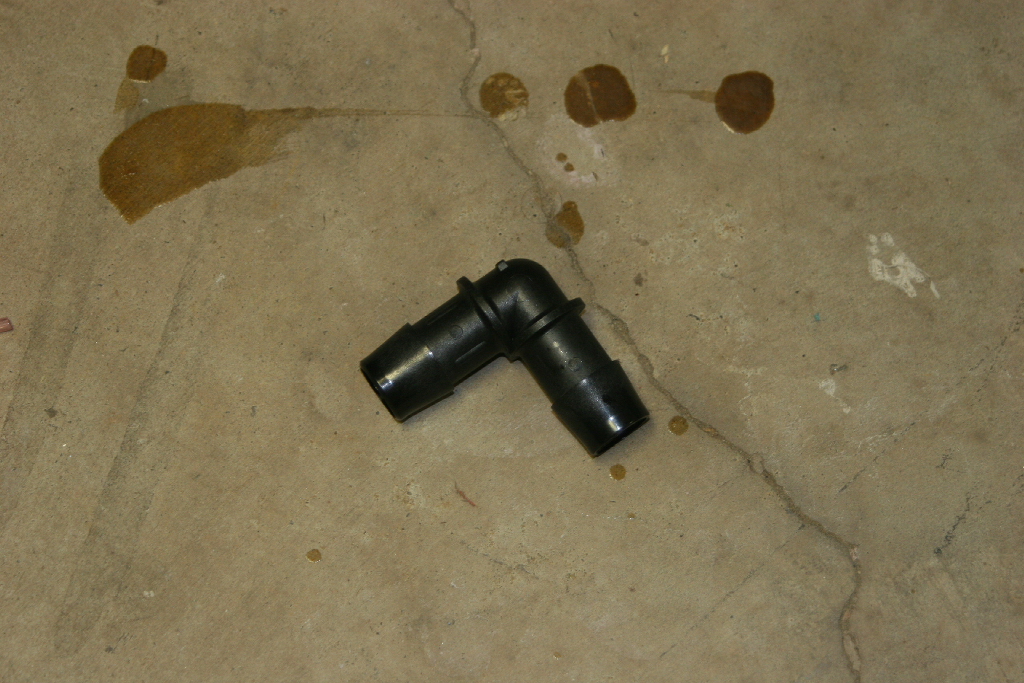
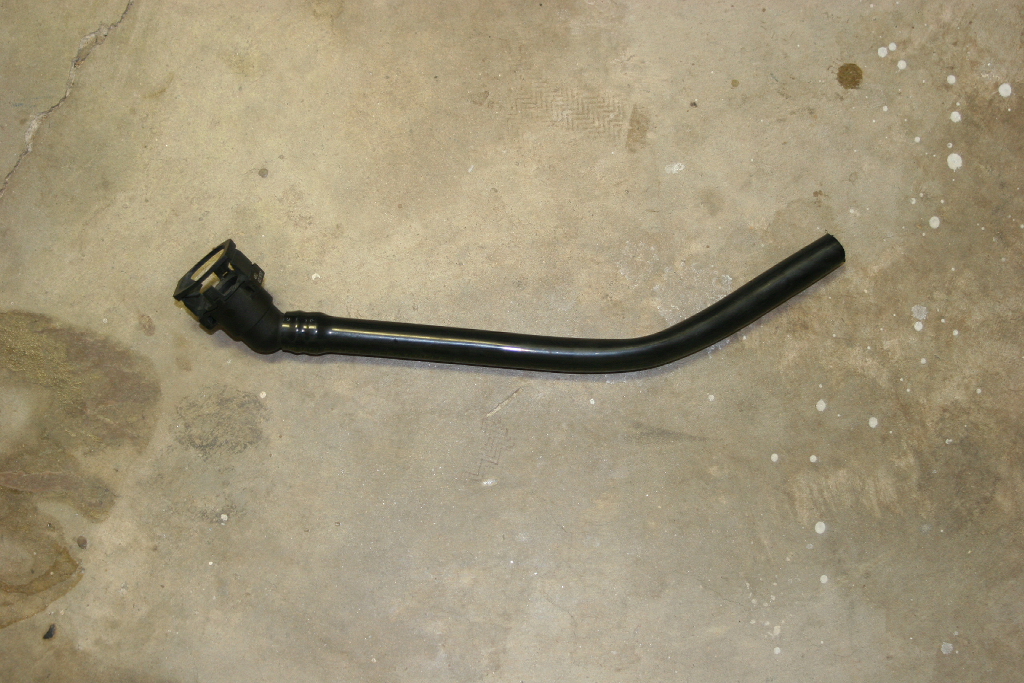
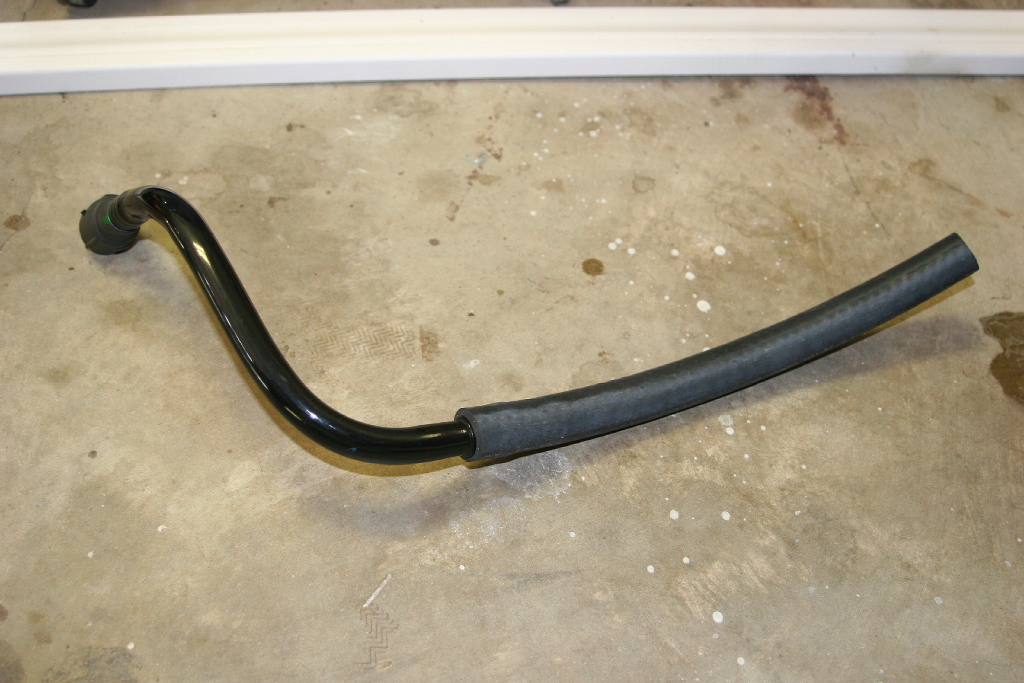
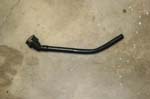
18. One of the plastic lines goes from the fuel tank to the black connector on the EVAP canister. You will need the 90 degree fitting and the hose.
|
 |
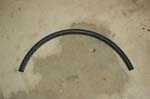 |
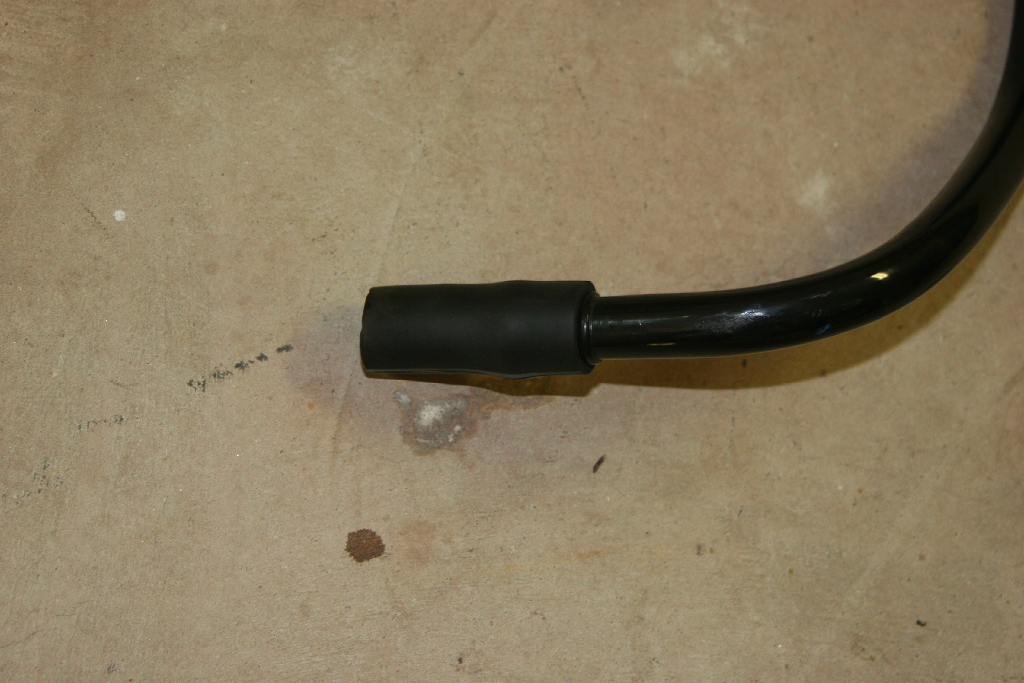
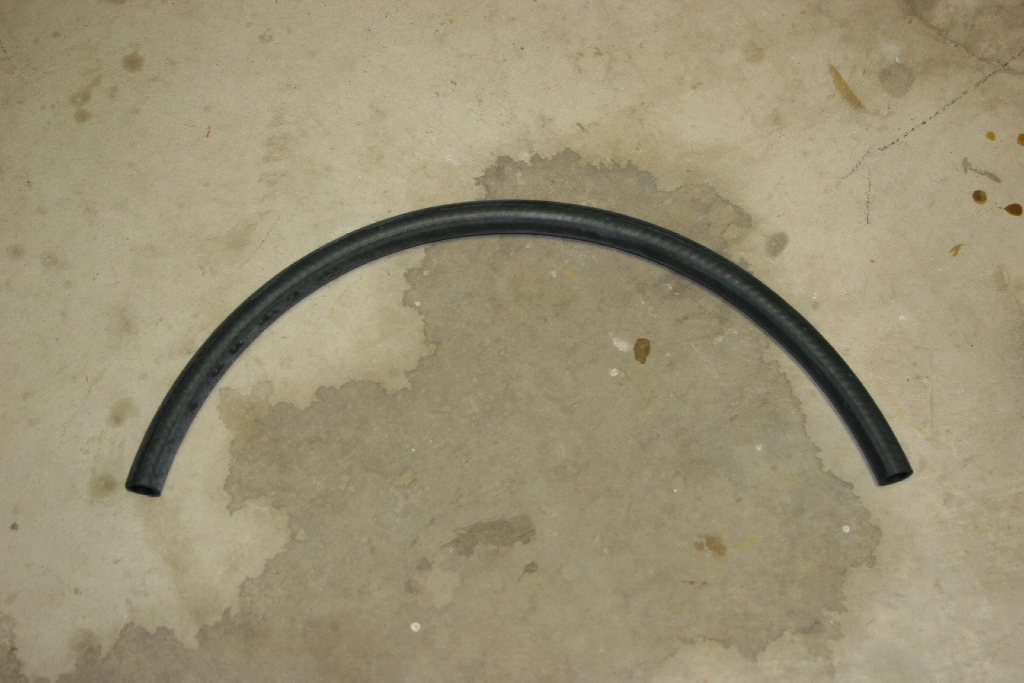
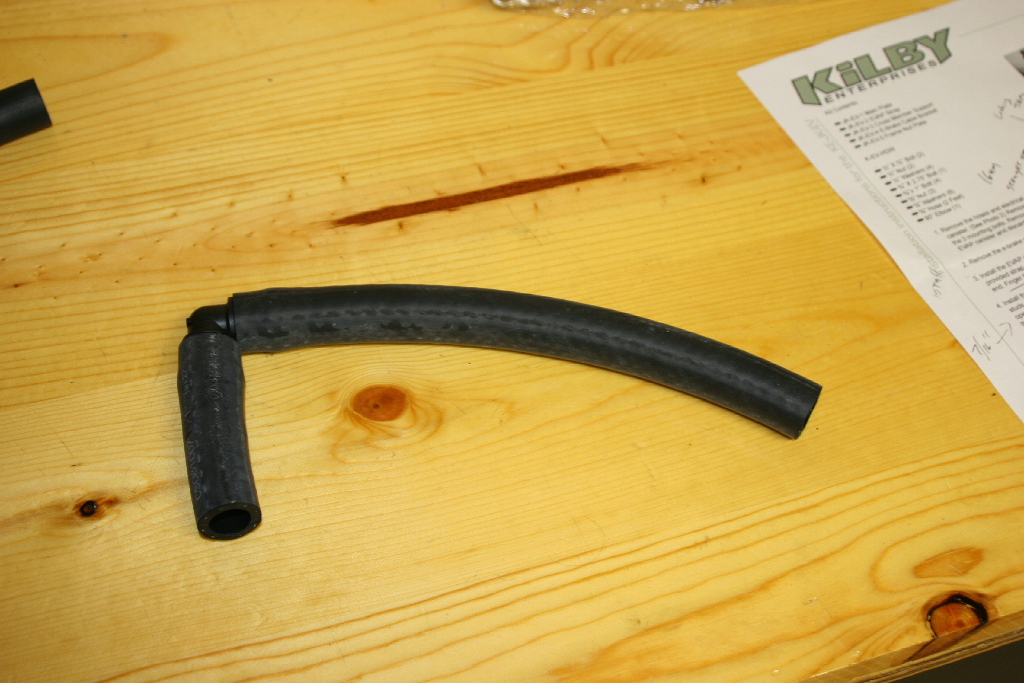
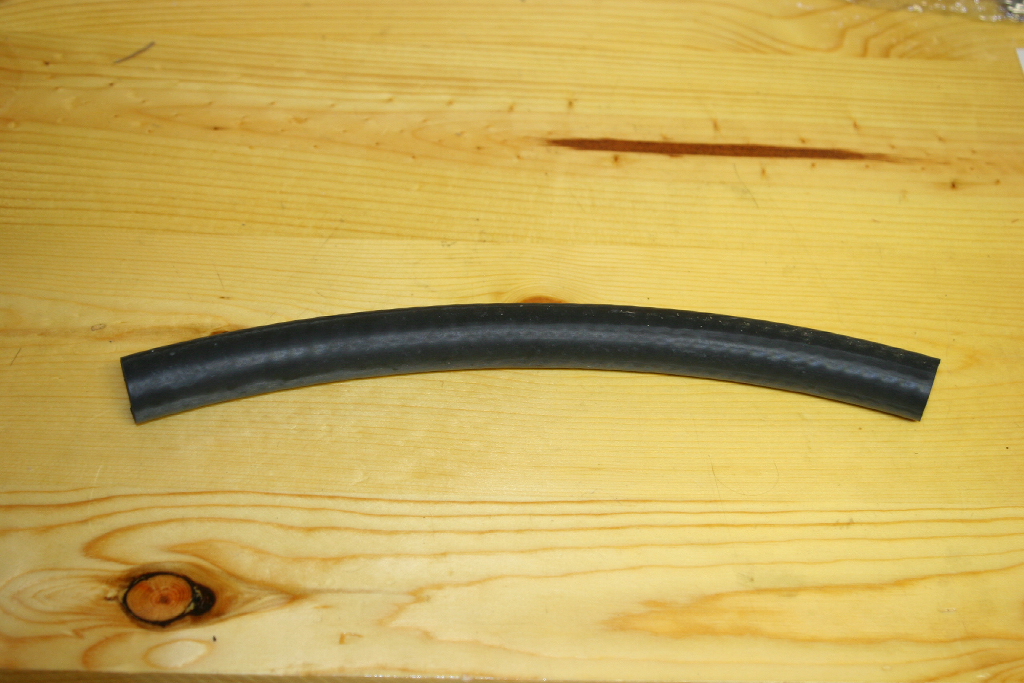
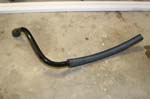
| 19. You need to cut 2 pieces from the rubber hose provided. One piece will be cut to 9” long, the other to 3” long. Assemble both hoses to the elbow provided. |
 |
 |
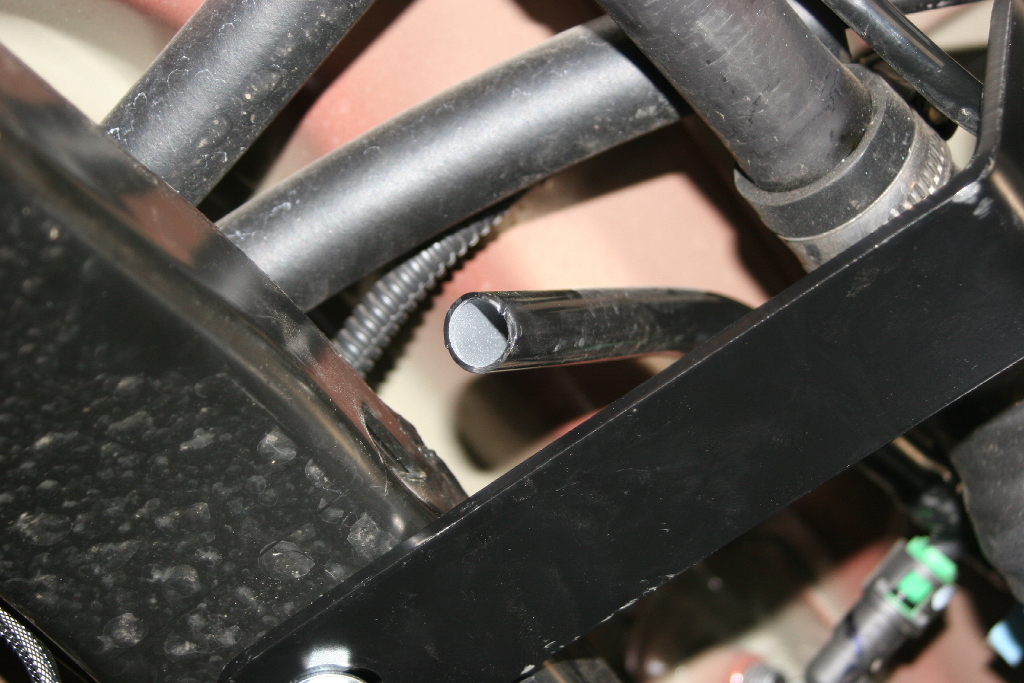
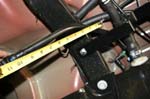
| 20. Measure 10” from the plastic connector and cut the plastic hose. |
 |
 |
| 21. Connect the cut end to the EVAP canisters black connector. |
 |
 |
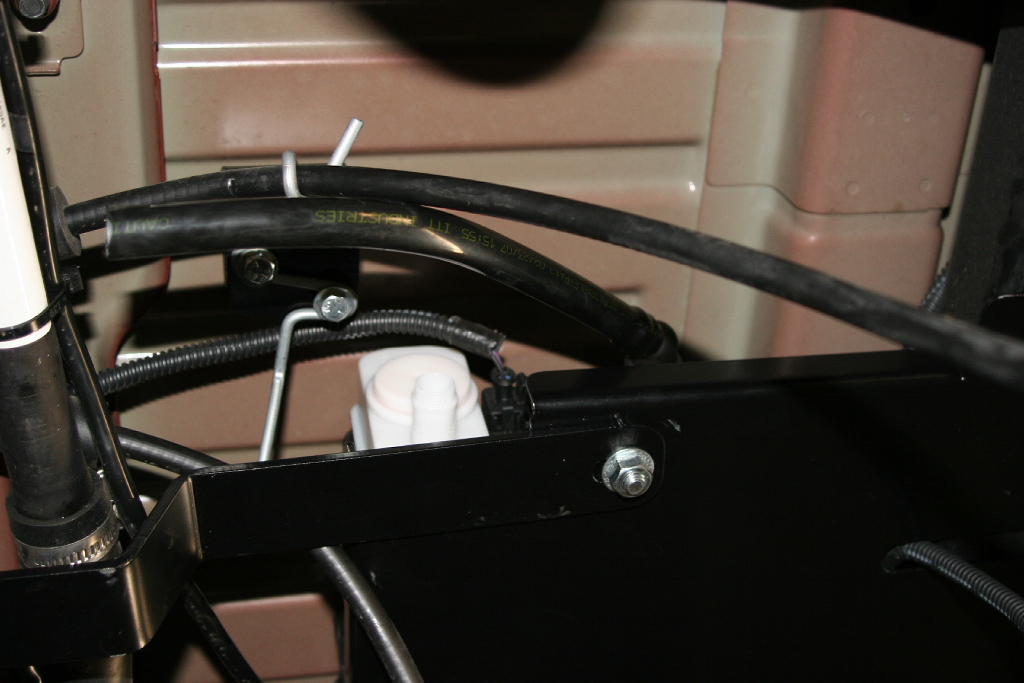
| 22. Connect the long end to the line towards the fuel tank and the short end to the hose on the black EVAP connection. Push the long hose all the way to the “T” connection. |
 |
23. You should have one plastic hose left over that was removed from the white connection on the EVAP canister. From the remaining rubber hose provided, cut one piece 11” long and attach one end to this plastic hose.
|
 |
 |
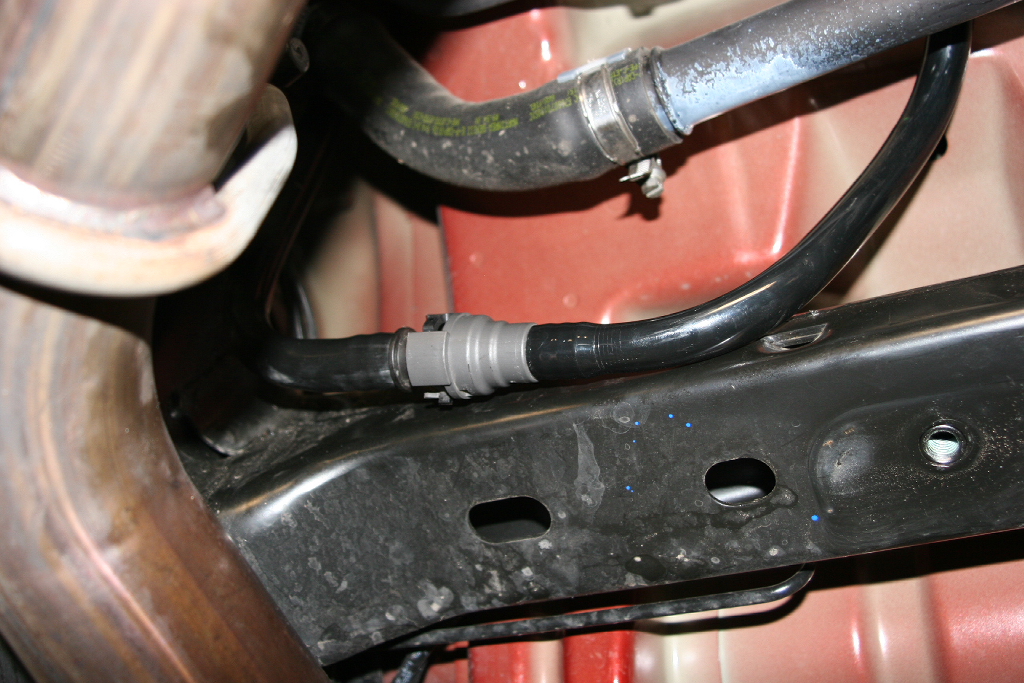
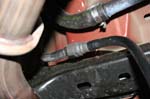
| 24. Attach this hose to the OEM snap connector by the drivers side frame rail, the other end to the white EVAP connection. |
 |
 |
| 25.. Double check all hose connections and hardware. Start the engine and make sure the check engine light is not on.All done! |
 |