I decided that I needed a little bit more protection than was offered by the stock cage.�I looked around at a few of the cages.�There was two primary differences between the cages.�Bolt in, and weld in.�Lots of
argument on both sides of the house on which is better than the other.�Since I'm not racing Nascar here, I didn't feel that I needed something designed to withstand 200mph into a wall, especially since 70mph was plenty fast for me in the Jeep.�I didn't want to cut holes in my dash or give up leg room like I did in my '86 CJ-7 that had a weld in cage in it.�So I decided that I would do one that bolted to the dash at the front pinch weld area.�This is a fairly strong area in itself.�So that left me a few decisions out there.�OR Fab, Toys by Troy, Poison Spider Customs, or RockHard.�I just never liked the look of the PSC cage, no offense, but wasn't a fan of the big spider on the side.�Rockhard was just a little bit expensive for me, though I may go with their rear cage bar in the future.�Now OR Fab and TBT are basically the same cage, though TBT had one thing that OR Fab didn't have.�A grab handle in the front for my Jeep ingress challenged friends.�Though OR Fab had one thing that TBT didn't have, floor supports.�So I may get those at a later date also.
The first TBT cage didn't arrive without it's issues. Skip to the
bottom if you want to read my issues.
| Installation: |
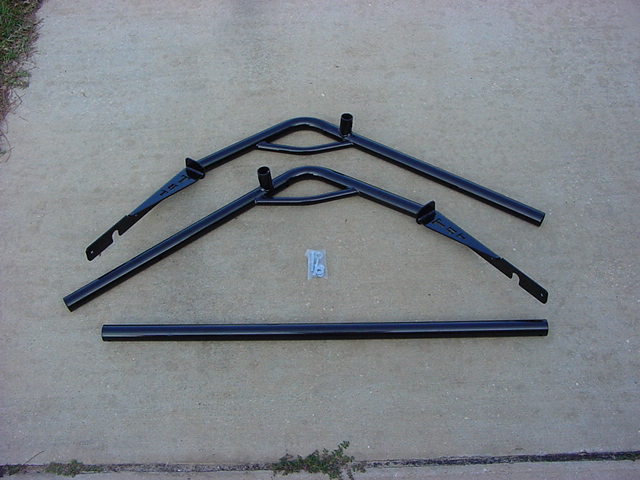
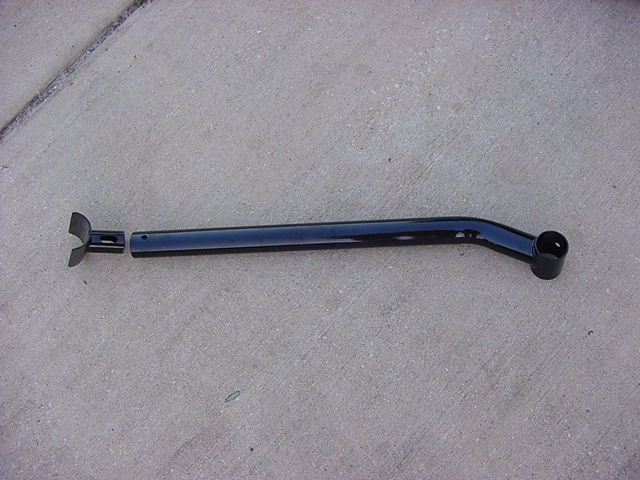
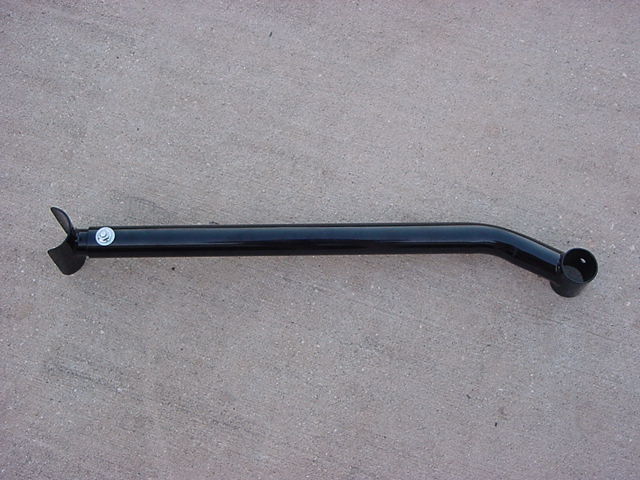
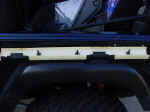
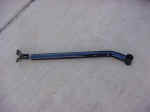
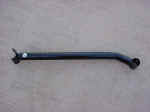
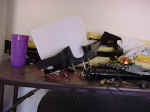
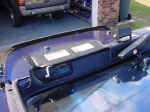
| Here
are the parts. Look at all the openings, and all the drill
holes. Debur or remove any access powdercoat. |
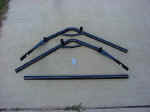
Sport Cage |
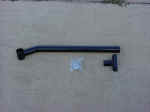
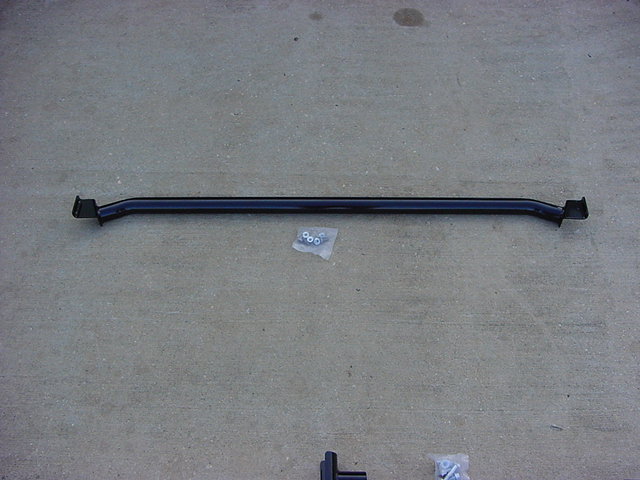
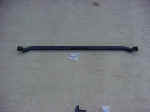
Spreader bar (1of2) |
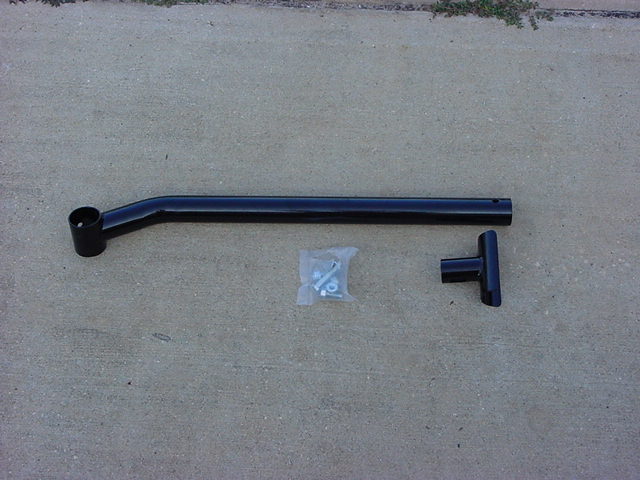
Dash Bar |
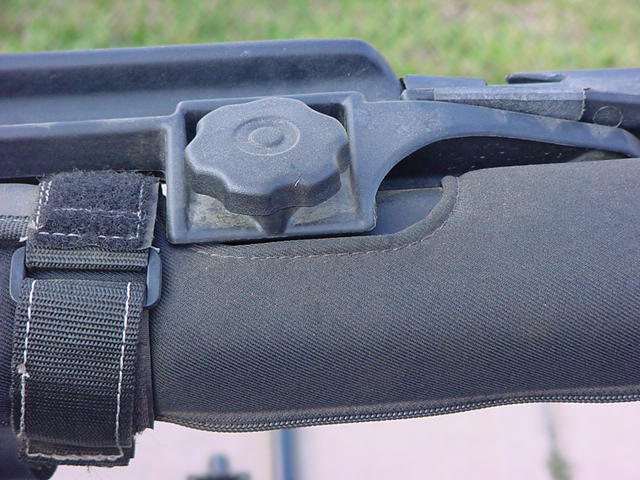
| 1. After you remove the hard top or put down the soft top you will
need to remove the door surround. Undo the two hand screws from
the top and pull the surround off. |
 |
 |
| 2. Now remove the visors by taking out the Phillips screw that holds
them to the windshield frame. |
 |
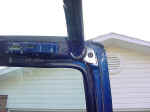
| 3. Now remove the plastic surround from around the windshield.
Their are 3 phillips head screws holding it to the windshield frame
and 1 push retainer on the top. You can just pull the rubber
seal around the retainer to get it off, but you'll need to get the
retainer out of the plastic surround later. |
 |
 |
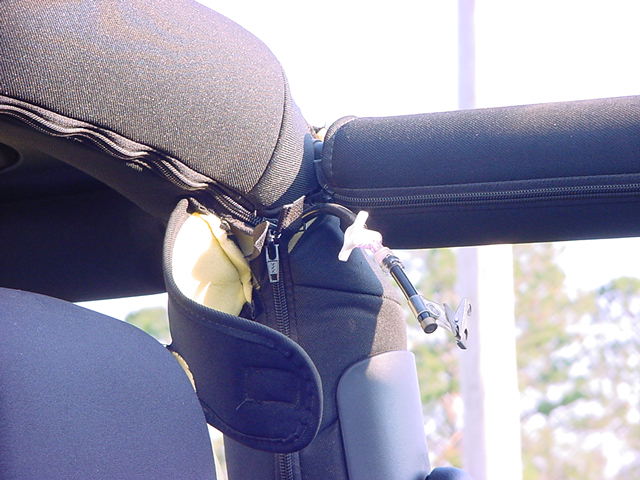
| 4. Now undo the Velcro from around the center bar and unzip
the cover from the front roll bars. |
 |
| 5. Remove the foam padding from the roll bar. It is in with
3 push retainers. They are marked by an X on the underside.
Carefully pull down on the padding and it will come off. |
 |
 |
| 6. Now remove the roll bar to windshield frame Torx bolts. This
requires a T-40 Torx. |
 |
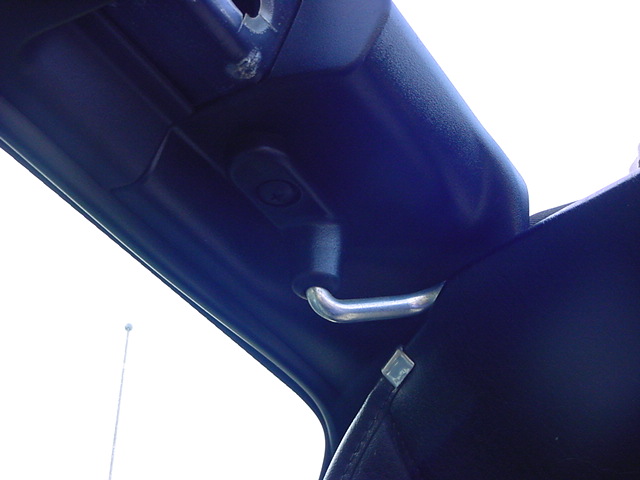
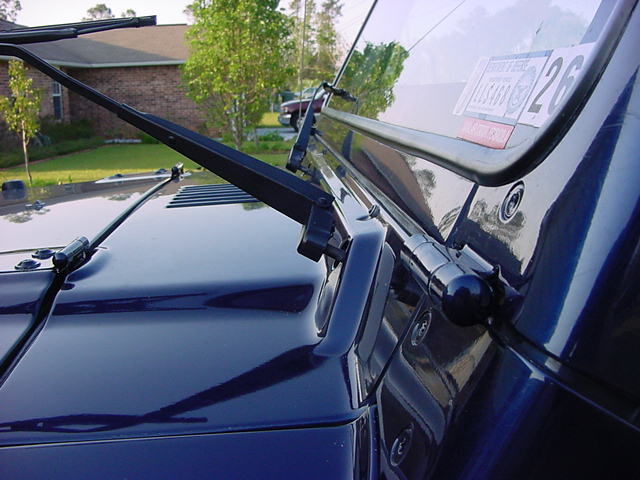
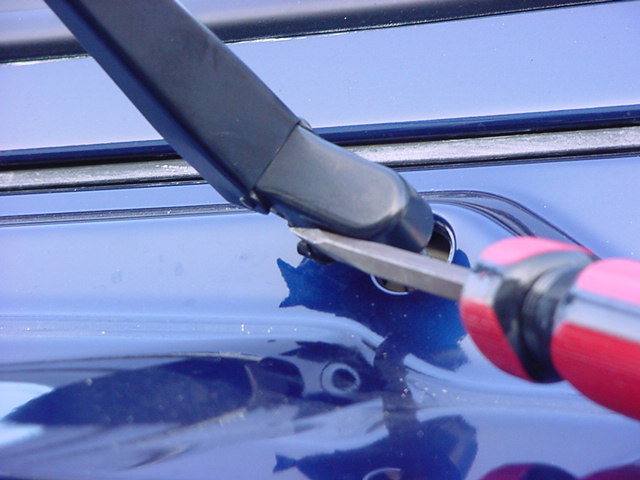
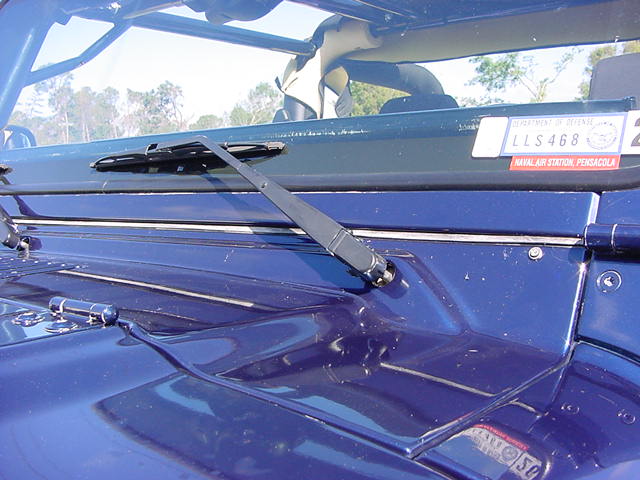
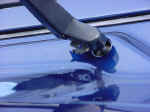
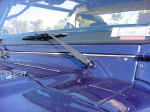
| 7. Remove the windshield wipers so that you can lay down the windshield.
Lift Them into the up position and pry out the clip on the bottom. |
 |
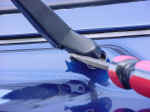 |
| 8. Once you have the clip out just pull the wipers off the mount. |
 |
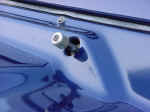 |
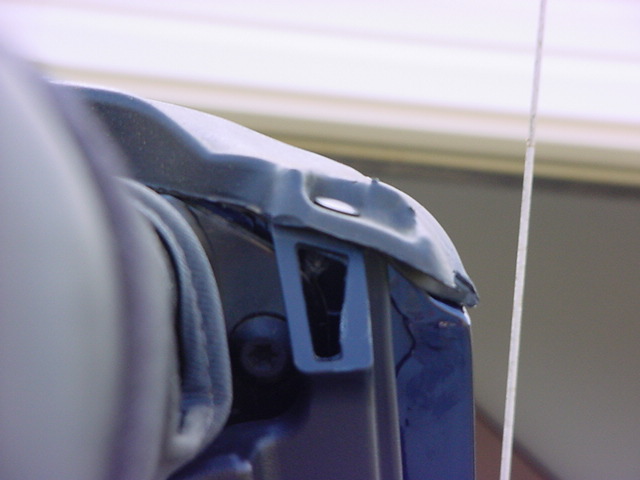
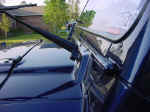
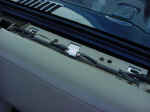
| 9. Remove the Windshield retainer bolt from each side. This
requires a T-40 Torx. It may be easier to pull back on the windshield
slightly to remove these. |
 |
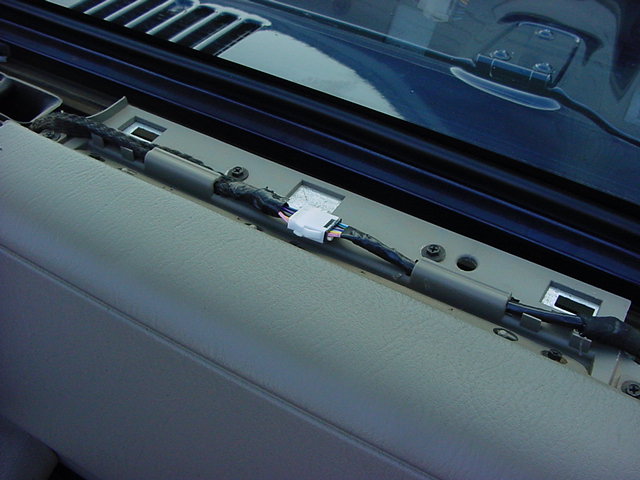
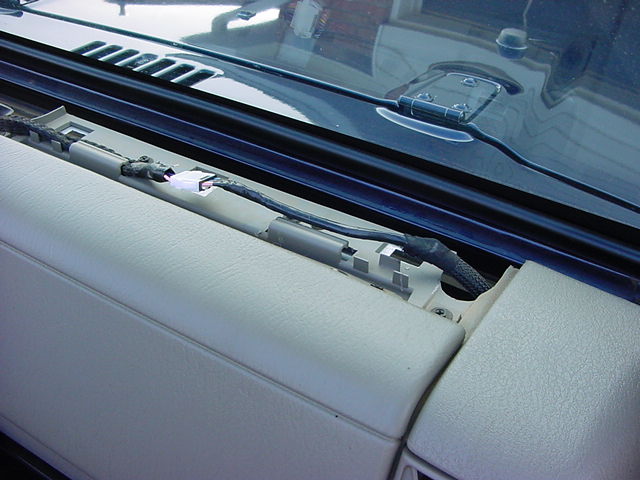
| 10. If you have the electronic compass mirror your wiring is most
likely to short to support laying down the windshield, so to prevent
damage. Pry up the defroster cover. |
 |
 |
| 11. Undo the wire from the slip on the right. This will give
enough slack to lay down the windshield. |
 |
 |
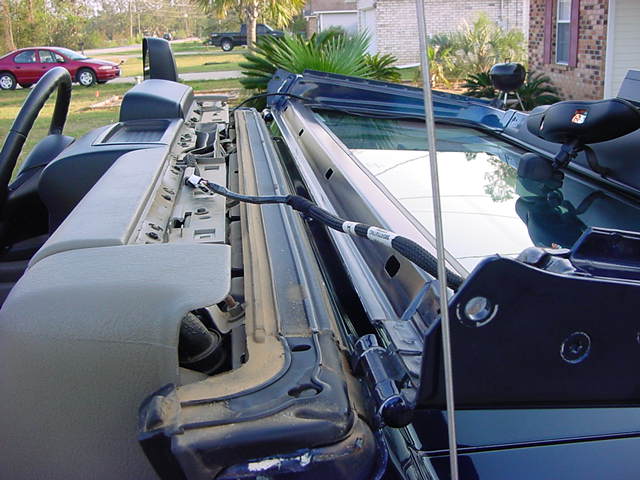
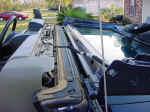
| 12. Lay the windshield
down against the hood. |
 |
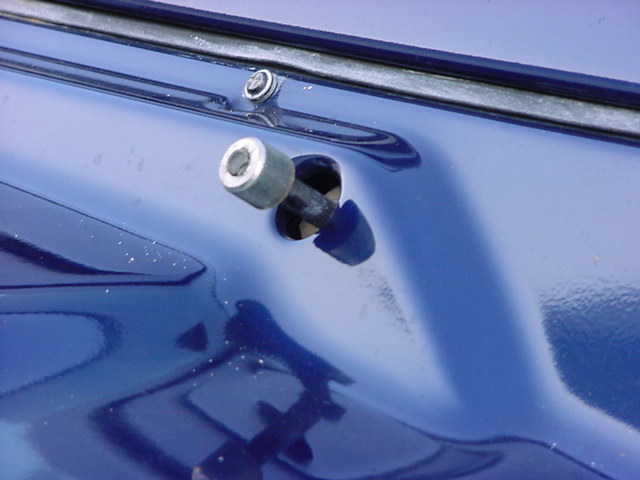
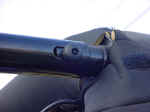
| 13. Jeep decided that putting a nice T-55 Security Torx in the roll
cage was a nice feature. Though it works well to maintain the
length of the stock roll cage bars, we will need this for the new
cage. So you can either knock out the center pin, go buy a T-55
Security Torx, or grab a good pair of vice grips and just turn it
out. |
 |
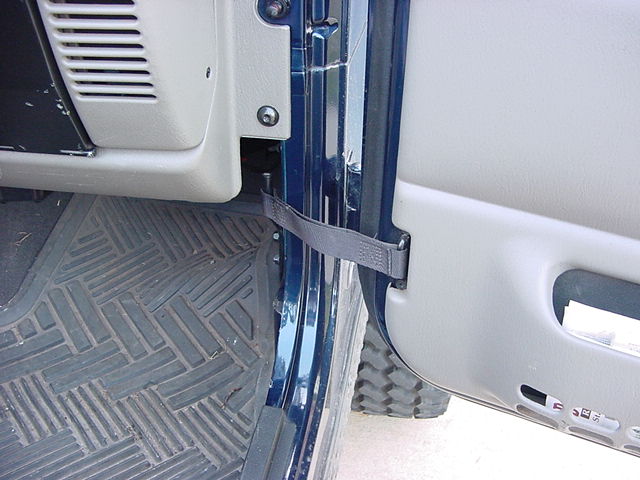
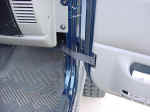
| 14. Undo the strap holding the door in place, fold the mirror in and
open the door all the way, you will need the extra room. |
 |
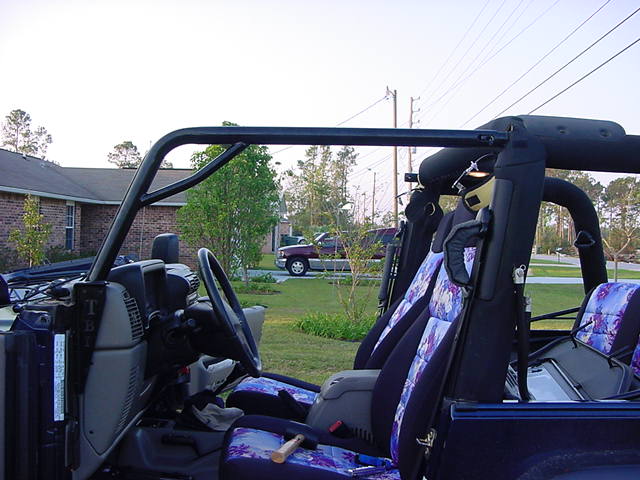
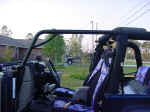
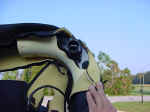
| 15. I decided to do a little test fit at this point with the bars
before I went any further, just to see how things would fit. |
| 16. Remove the 3 screws holding the dash to the fire wall. These
will require a T-30 Torx. Don't worry about the nuts, they are
actually clips behind the dash. |
 |
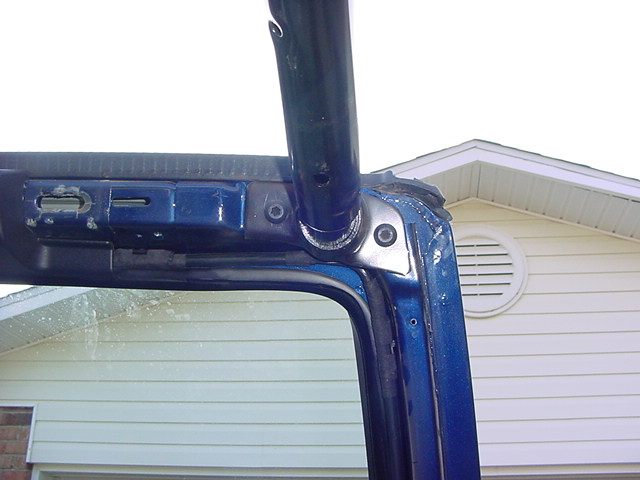
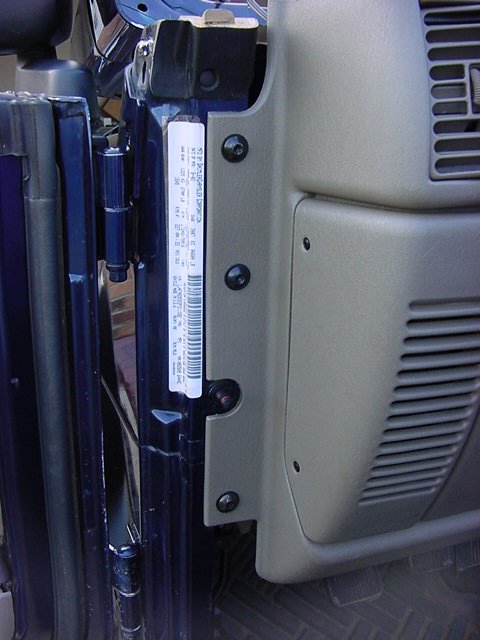
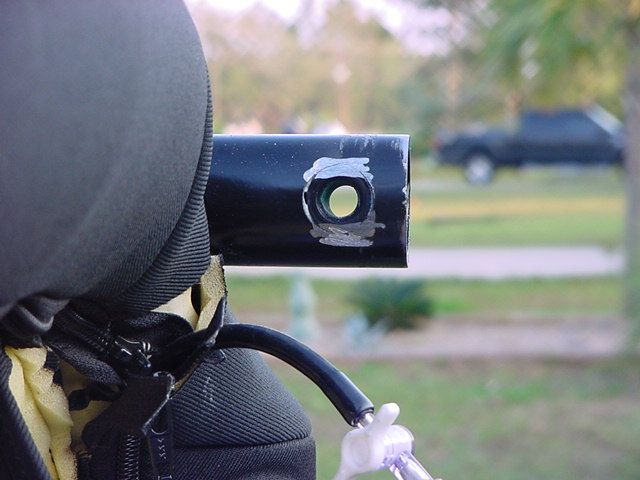
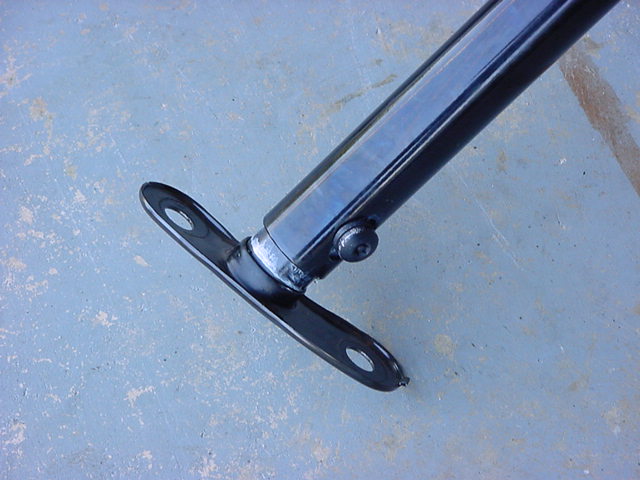
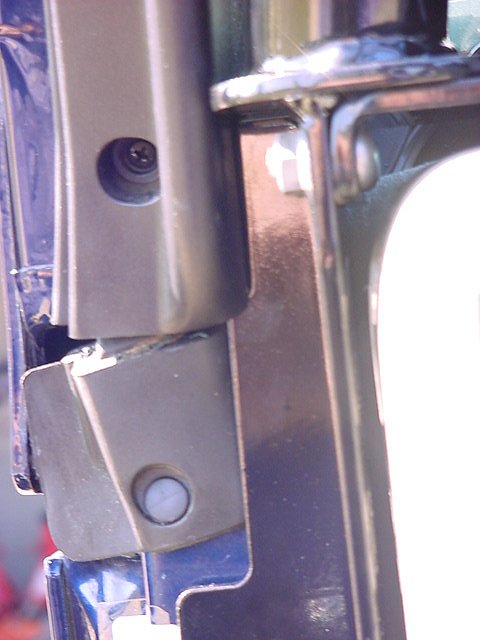
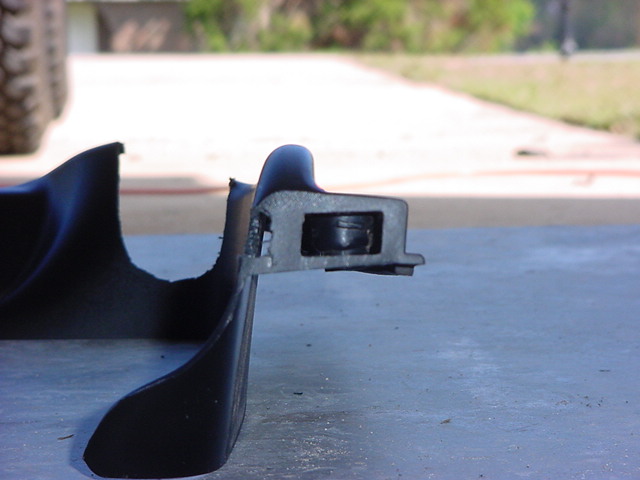
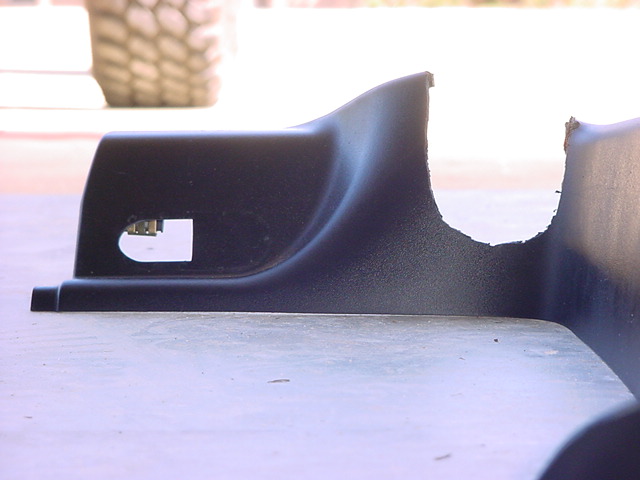
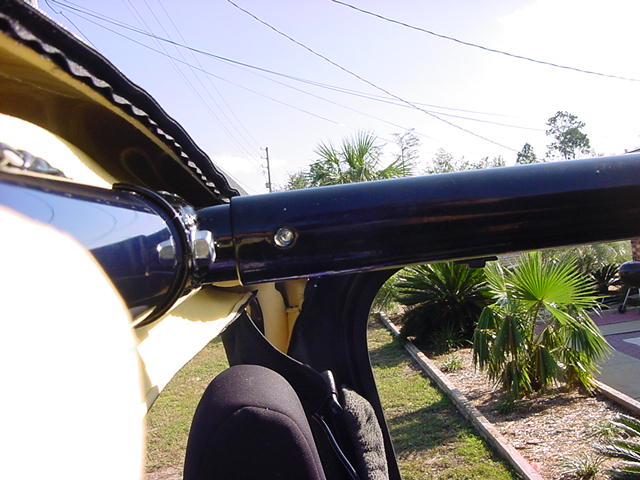
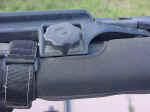
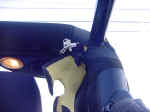
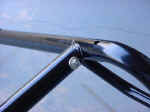
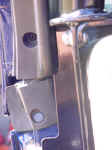
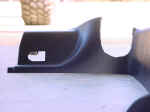
| 17. I slid one of the bars up onto the nibblet that was still mounted
to the rest of the cage. Of course it didn't go on. I
took a look at the factory part and saw that they had welded the threaded
insert off center and part of it was sticking out, so I ground it
down and the bar slid right on. |
 |
 |
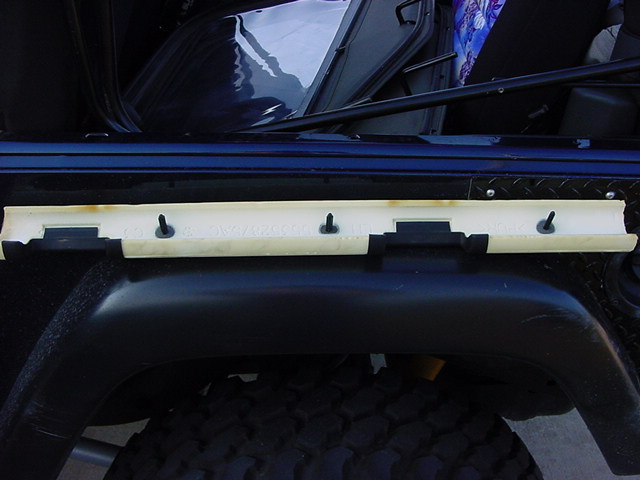
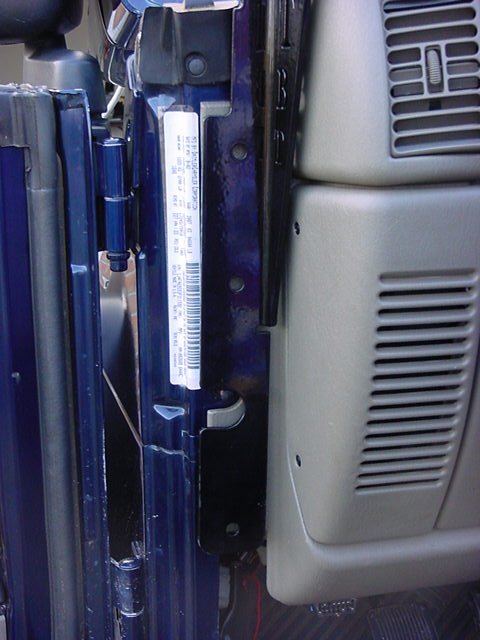
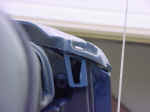
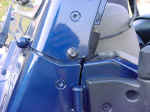
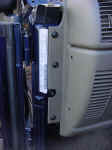
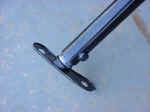
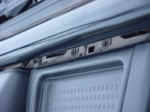
| 18. Now line up the holes in the TBT bar with the holes in the dash.
Be careful of the door light button, it's only plastic and you can
break it. It also pops out if you hit it just right. I
screwed it into the dash temporarily to check the fit. |
 |
 |
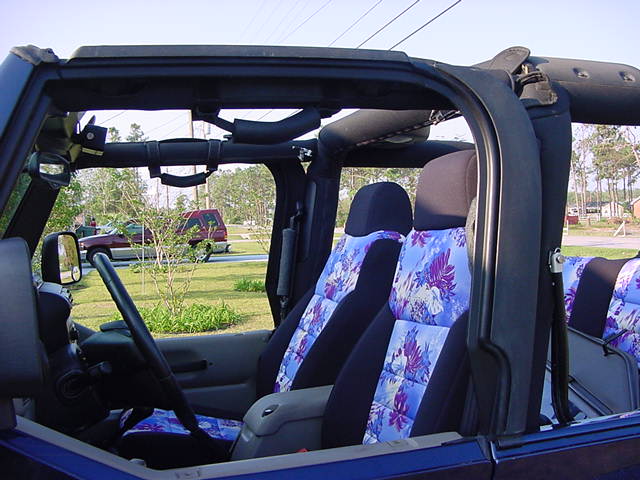
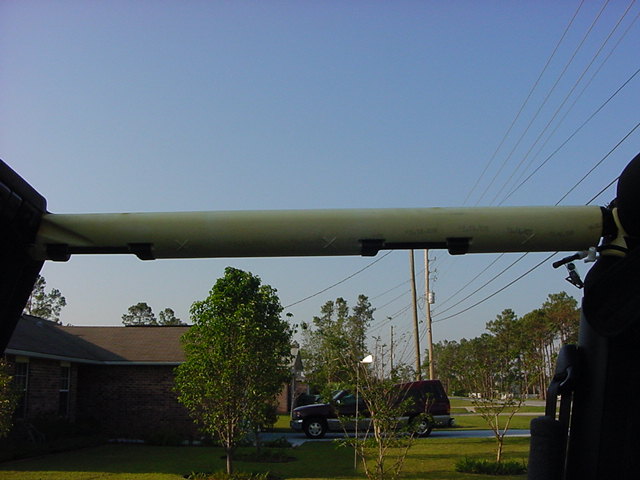
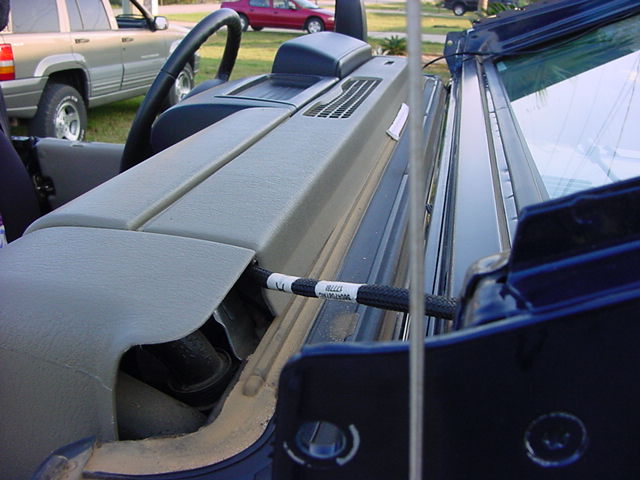
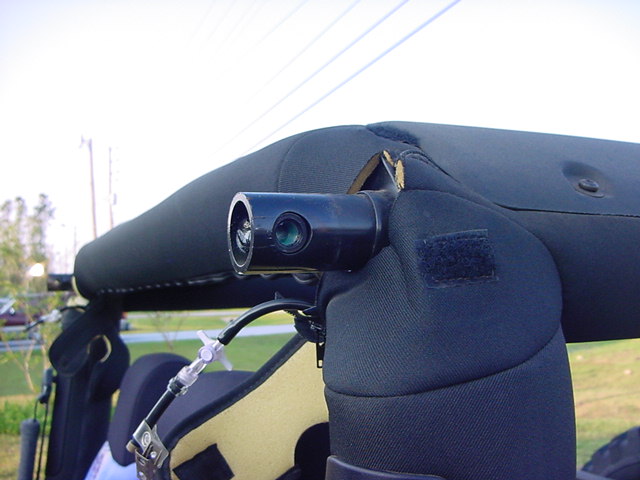
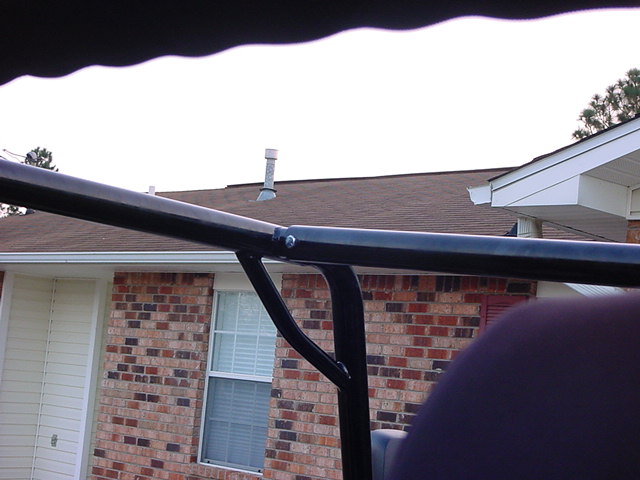
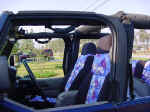
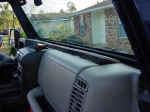
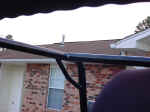
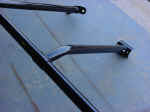
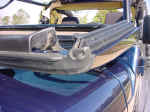
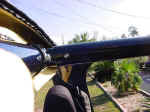
| Here
is what it looks like so far. |
 |
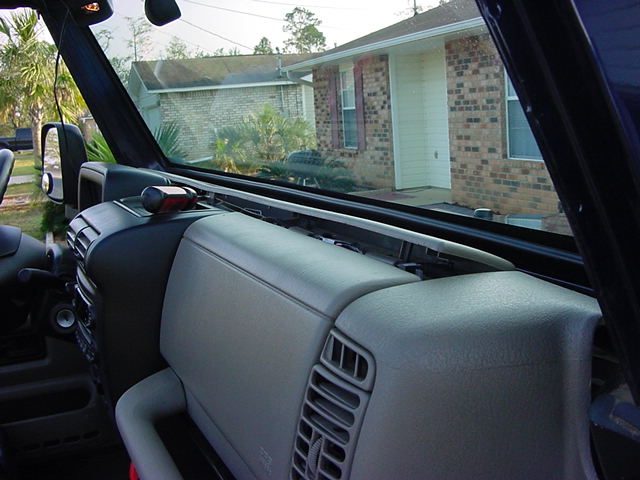
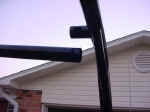
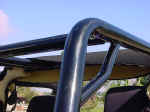
| I
decided to fit in the upper bar at this point. Hmm don't line
up. Don't worry, your supposed to put it all together first, and remember
I still have the nibblets in the stock locations, so the bars are
not lined up. |
 |
 |
| 19. Now unzip the roll bar pad from the center bar and remove the center
pad. This is the same as the side bars. So just pull down
at the X's |
 |
 |
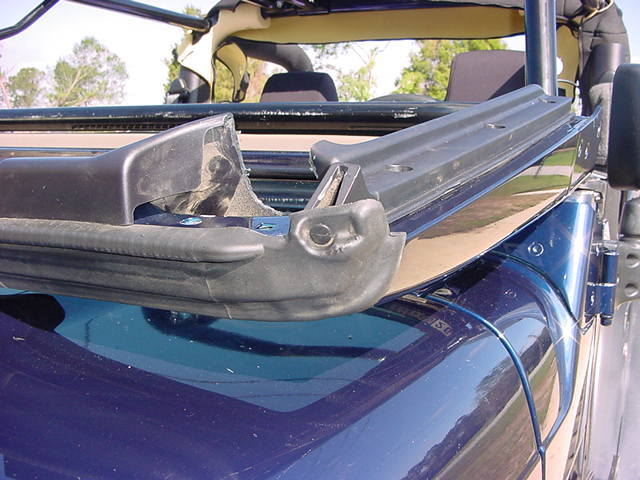
| 20. Remove the nibblets by removing the 2 T-40 Torx bolts holding
them on. The lower bolt is a little hard to get out since they
have big washers on and it is just slightly behind the foam padding. |
 |
| Assemble
the cage. |
| 21. Assemble the spreaders, by sliding the end into the bar, and inserting
the bolt. I placed the nut and washer towards what would be
the inside of the bar when it was installed. Do not tighten
the bolt |
 |
 |
| 22. Insert the Nibblets into the respective ends of the side bars and
screw in the T-55 Security bolt that you removed earlier. |
 |
| 23. Bolt the center bar to one side of the cage. Do not tighten
the bolt. |
 |
| 24. Slide the spreaders onto the bar. |
 |
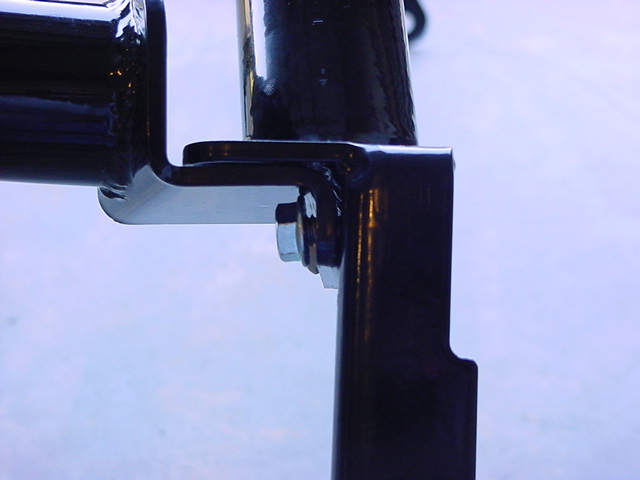
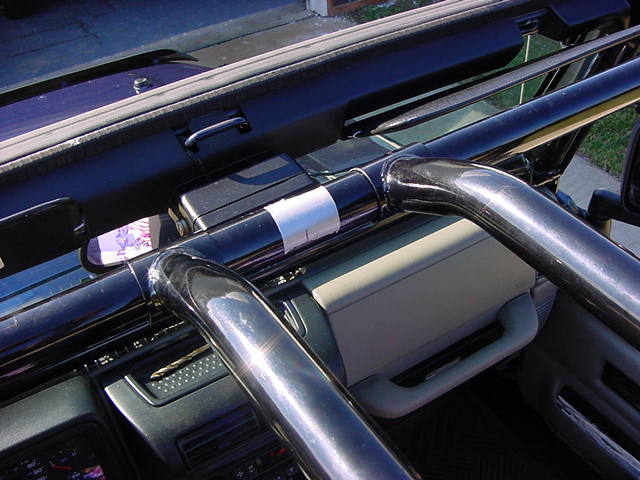
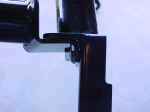
| 25. Bolt the dash bar in. The instructions say to have the nuts
on the inside, but as you can see they don't quite fit well.
I decided to flip them around and put the bolt heads on the inside.
Works better this way. It may be a little harder to get out. |
 |
 |
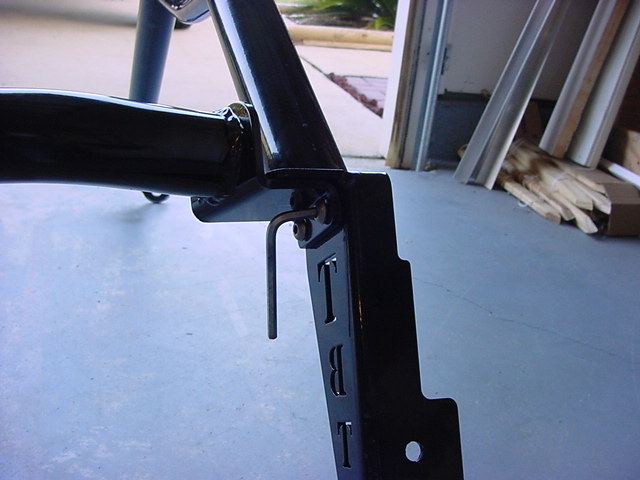
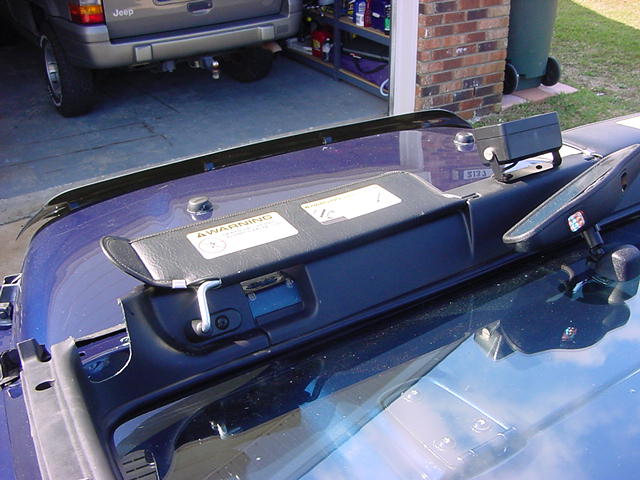
| 26. If you have any intentions on removing the center dash surround
remember the two screws that hold it in on top. Here is how
close they are to the underside of the bar. You also won't be
able to remove the defroster cover once the dash bar is in place,
so remove them now if you want to. |
 |
| 27. Now for the fun part (you can do this by yourself, if your really
careful). Pick up the entire cage and put it in the vehicle.
Having a friend to grab it from the other side helps to protect the
paint, and a few other parts of your anatomy. I installed the
top and bottom bolts on either side into the dash first. I then
loosely installed the T-40 Torx's to bolt the nibblets back to the
center bar. You will need to push, pull, put a little weight
into getting everything to line up. Getting the last bolt into
the nibblet was the hardest. While you have everything loose,
pick up the spreaders and fit them over the center bar, the half moon
piece will slide up and over if you push on the cage. Once they
are up, take a look and bolt everything down starting with the dash. |
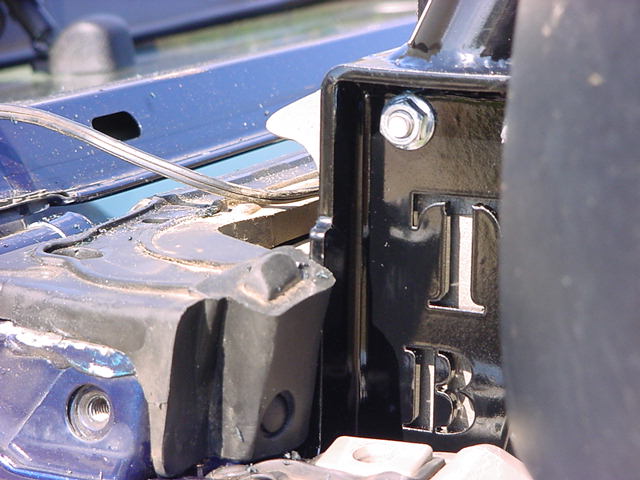
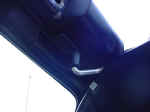
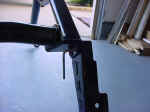
| 28. I decided to work on the window surrounds before I finished up
installing the spreaders. I wanted to have some good light left
to be able to see what I was doing. There are a few places that
the 03 and up windshield surrounds will hit on the TBT cage. |
 |
 |
 |
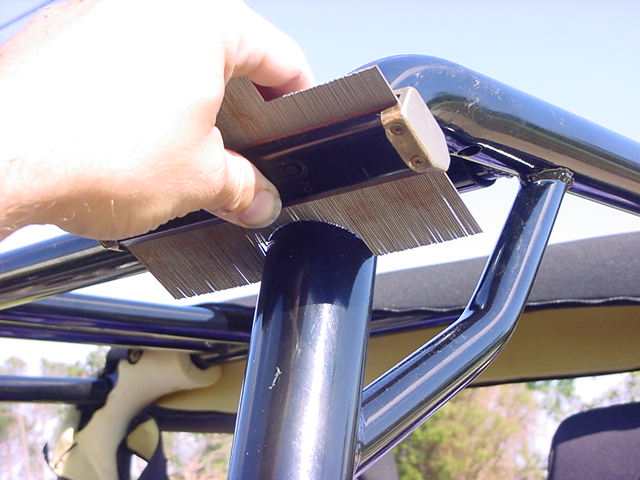
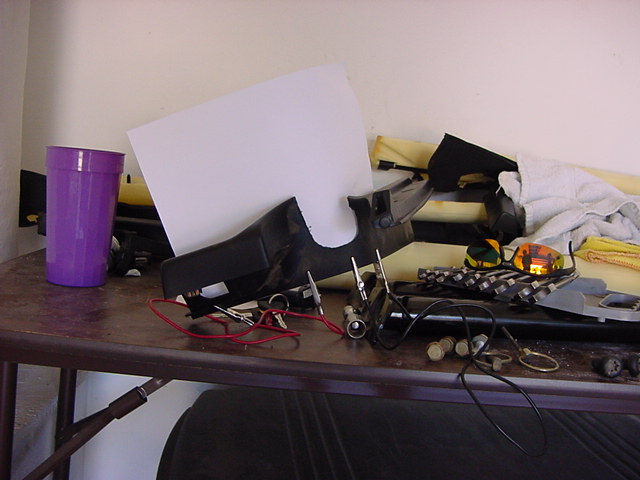
| I
figured I could use this neat contour gauge that I had in the drawer...
yea right. Oh well out came the dremel, and a lot of lift the
windshield, lower the windshield, cut, lift the windshield.......
Get the idea. |
 |
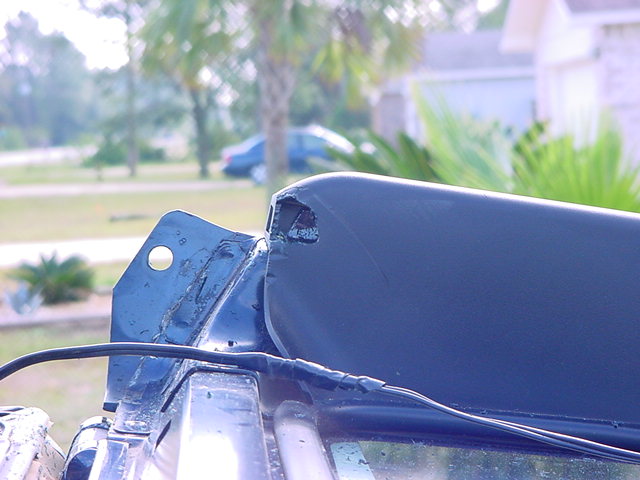
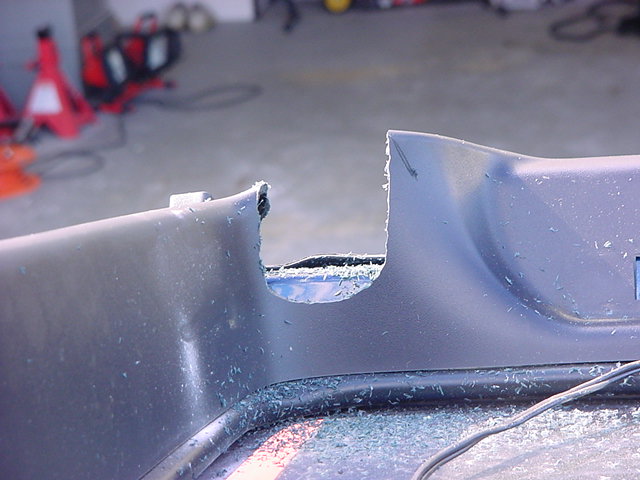
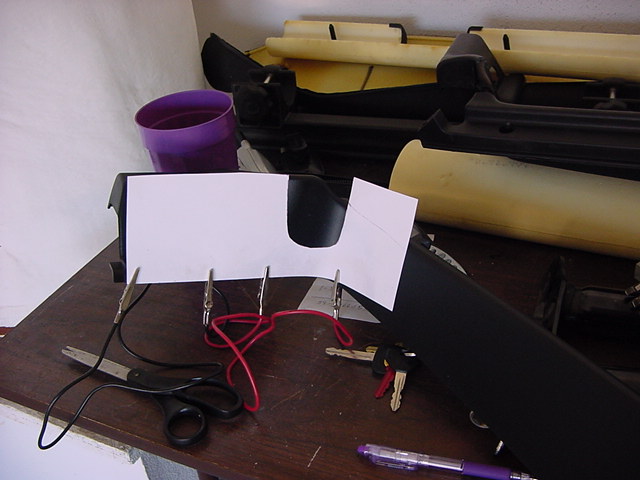
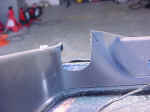
| So
after much pain I came up with these cuts. I made some templates,
and I'll put them up as links below once I get them on the computer.
The main one worked really well on the other side. The
bottom ones were still a work in progress. If someone uses them,
let me know what the needed corrections are. |
 |
 |
 |
 |
 |
 |
 |
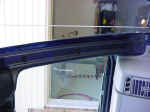
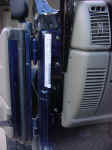
| 29.
Cut your windshield surrounds so that they fit around the bar. |
| 30. Reinstall the windshield surrounds the same way you removed them.
Don't forget the little push retainer on top to hold down the upper
seal. |
 |
| 31. Reinstall the sun visor. |
 |
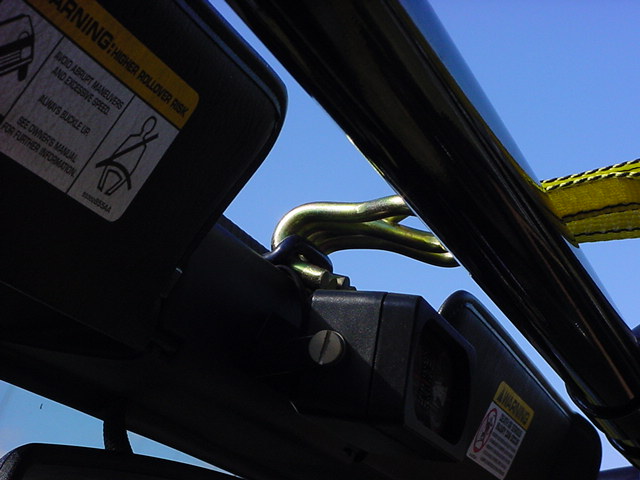
| 32. Now put the windshield up. Now since you don't have the
bars to actually pull the windshield back like stock, I improvised
being able to put the windshield retainer bolts back in. You
can have a buddy push while you screw these in, but I was out of friends
for the day. So out came the ratchet strap. |
 |
 |
| 33. Now reinstall the windshield wipers. |
 |
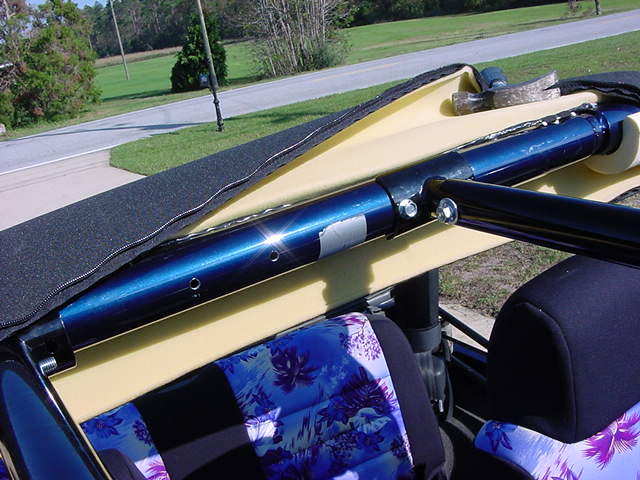
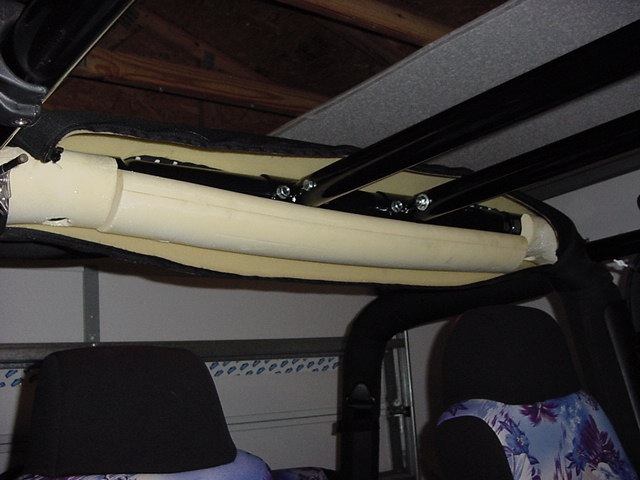
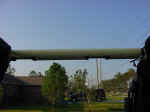
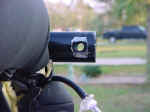
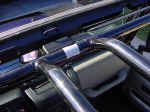
| 34. Measure and mark the center of the roll cage bars. This will
help you to not get them off center, or misaligned. Now measure
and position the spreader bars where you want them. I had two
bars so I decided that I wanted them 7in apart. 6 1/2in's will
allow for most CB's. My intentions are for a power inverter
up here. |
 |
 |
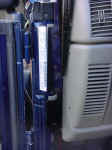
| 35. Center punch the drill hole on the front bar. You will need
to drill these out to 5/16". I recommend drilling a pilot
hole first. After I had the hole drilled I screwed in the Self
Tapping bolt from Troy. I didn't tighten it up, just used it
to hold the front of the bar stable while I marked the rear. |
 |
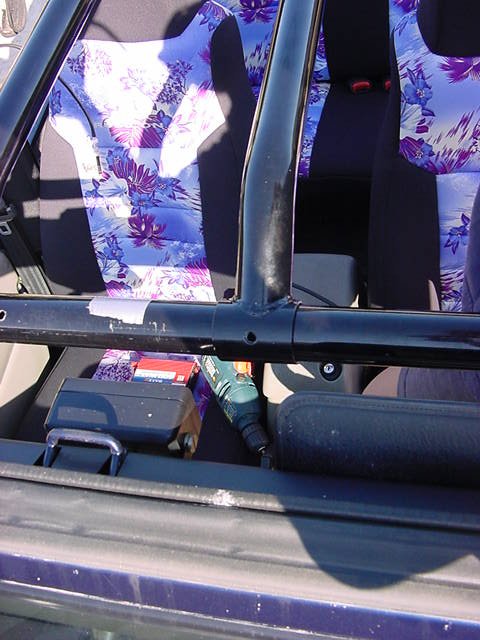
| 36. measure the position of the rear bars and center punch the drill
holes. Remove the front bolt and slid the bars aside so that
you can drill the holes. After the holes are drilled install
the self tapping bolt in the front of the bar and then the rear of
the bar. |
 |
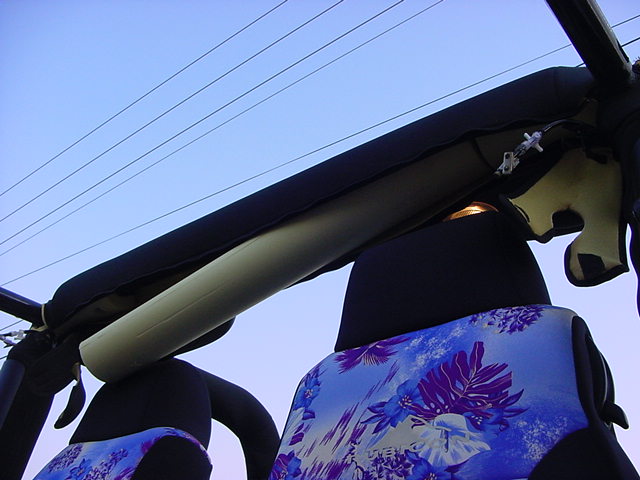
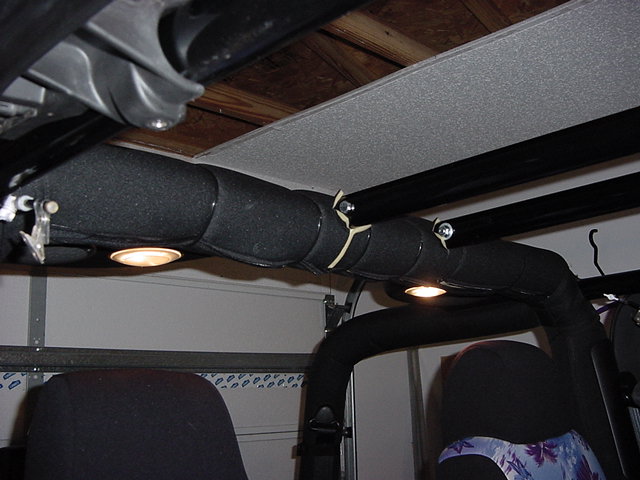
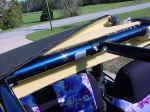
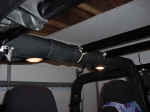
| 37. Fit the foam pad back around the center roll bar and mark
where it needs to be cut to fit around the spreader bars. |
 |
 |
| 38. I decided to just cut the roll bar fabric and zip tie it around the
bars. I intend to remove the entire cover later and sew 3 individual
zippers into it. |
 |
Now for the issues with Toys By Troy. I originally ordered a sport cage,
2 spreaders, and a dash bar. Once everything finally arrived I opened
the boxes. 1 of the spreader bars looked terrible. The powdercoat had
rust coming through it, the connector piece was only partially powdercoated,
and it was missing the hardware. Okay I knew a few of these had gotten
out of the shop due to poor packing (dudes got fired). So a quick phone
call to Mac about this, and another one was on it's way to me. I shipped
the bad one back to him on his ticket. Great customer service. He was
going to take this one back to Troy personally. So I go to install the
cage. After playing around with it I can't get it to line up and go in.
This frustrates me for a full day. I tried just about every way imaginable
to get it in. The center bar wouldn't line up, the dash plates wouldn't
line up, the nibblets wouldn't line up. So I decided to put the bars down
and start measuring things. I though maybe my body was tweaked. Even at
this point I didn't suspect that the bars from Troy could be the problem.
So after no luck with my body being tweaked. I decided to measure the
bars and lay them down on top of each other. Guess what, the passenger
side bar was 1/2 inch longer than the other. The 1/2 inch was in the section
coming up from the dash bracket. This caused all the issues. So I called
Mac back to find out what I was going to have to do (besides put the Jeep
back together). I emailed a bunch of pictures off of the bad bar along
with measurements as to where the problem was. The first set of phone
calls with Toys By Troy did not go exactly well. They were going to have
a tech call me to tell me how to install the bar. Ummm.... yea right.
So 3 days go bye and nothing, no tech (I was actually hoping for this
phone call). I did get a phone call from Mac saying that Troy decided
to send me a new cage since the one I got was made during a switch over
in manufacturing and I got an old bar and a new bar in the box. So I wait
for UPS to come, so that I can ship the old cage back to Troy who was
nice enough to send a return with the new one. Though I do believe that
Troy did get the last laugh. Han Solo could not have gotten out of this
box any easier than he could have gotten out of the carbonite. Talk about
foam packing.